Bedtime is at 8:04

The teenage chickens have survived their first full week in their new house. Every morning, oldest grandgirl goes out and lets the chickens out of their upstairs sleeping quarters before she heads to school. Trying to make sure that the coup is as predator proof, as best, as we can right now, we have been wiring the front door shut every night. I am not going to risk the chicks to see if a raccoon or other hungry animal can figure out how to un-latch the latch. So, the front door is latched and wired every night. Oldest grandgirl’s job is to go out and un-wire the door and open the sleeping quarters door to let the chick out for the day. My job is to double check everything (door, water and food) before I go to work. I re-wire the door before I leave for the day just in case a stray dog or cat gets noisy while we are gone to school and work. So far, oldest grandgirl and I are doing a pretty good job taking care of the little lady chickens.

Except for bedtime.

For the first five days last week, oldest grandgirl had to go out and catch the chickens in the coup and put them up in their sleeping quarters and then shut the door. Normally chickens will automatically go up around bedtime to their roost and bed for the night. These girls like to stay up late, just like teenagers! Three days ago, I thought I would wait and see if they would go up by themselves. The first time I looked out through the dinning room window to check, they were running and chasing each other like crazy. But, low and behold, next time I looked, about 20 minutes later, the little ladies had put themselves to bed.

Woohoo! No more trying to catch the little ladies in the coup. The only thing that I was curious about, was what time did they decide to go to bed? So, the next night, I played like Sherlock Holmes and did a stack out in the dinning room watching the chicks through the window  trying to figure out when the little ladies decided to go up and find their favorite roosting spot to sleep.

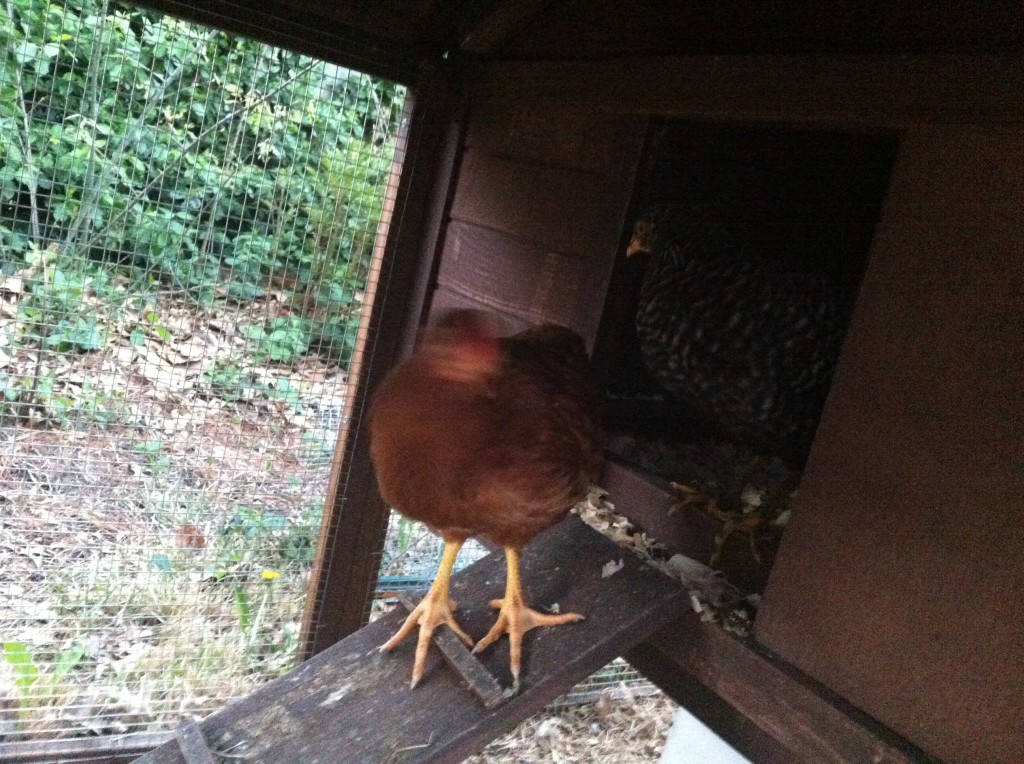
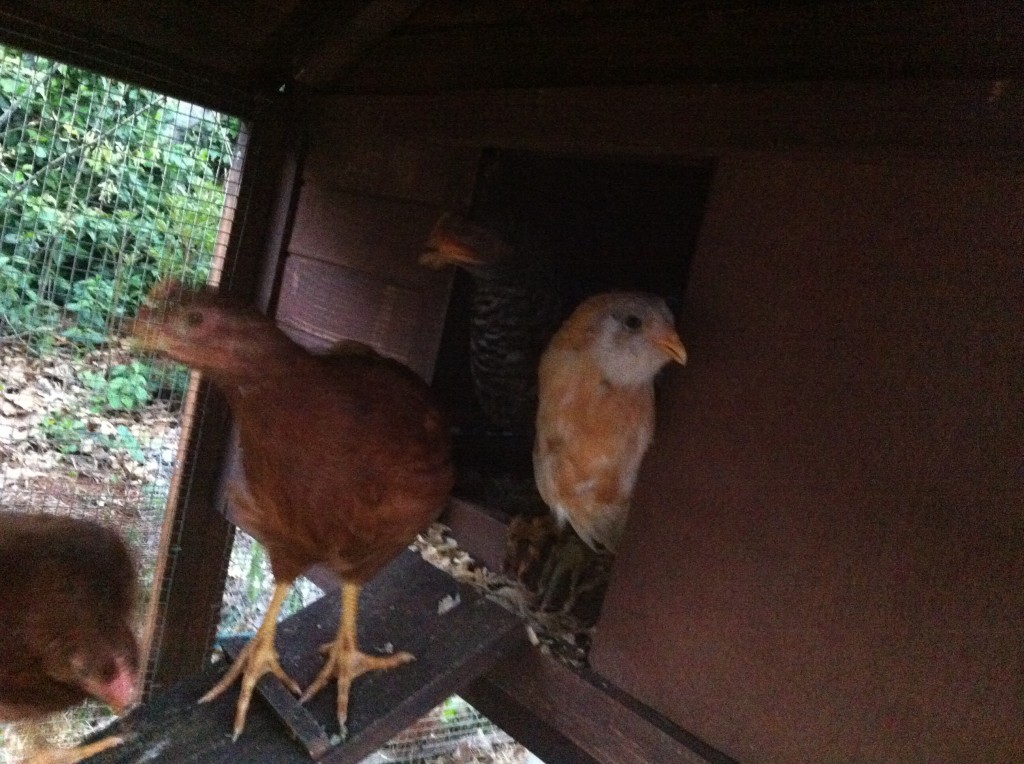
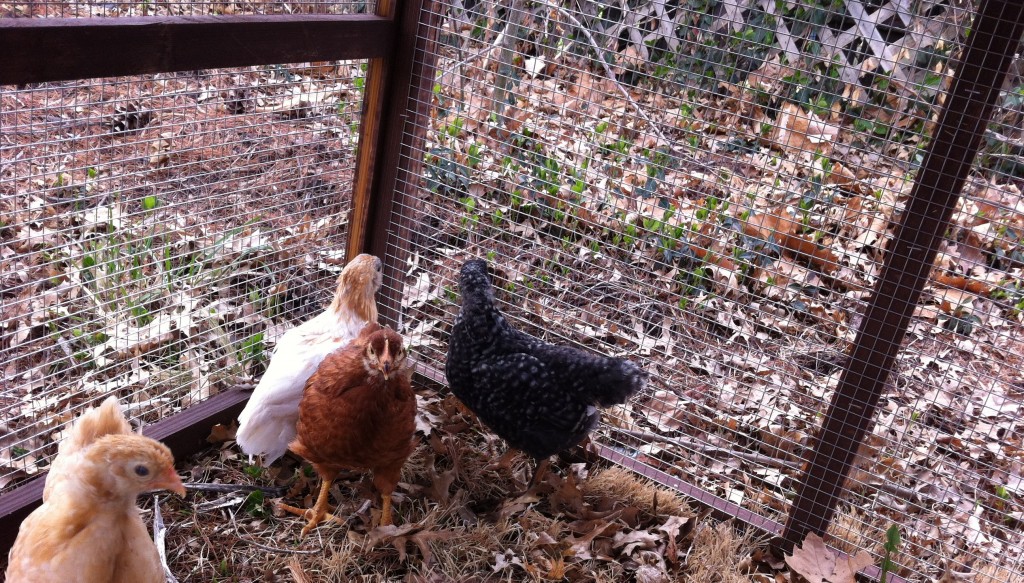
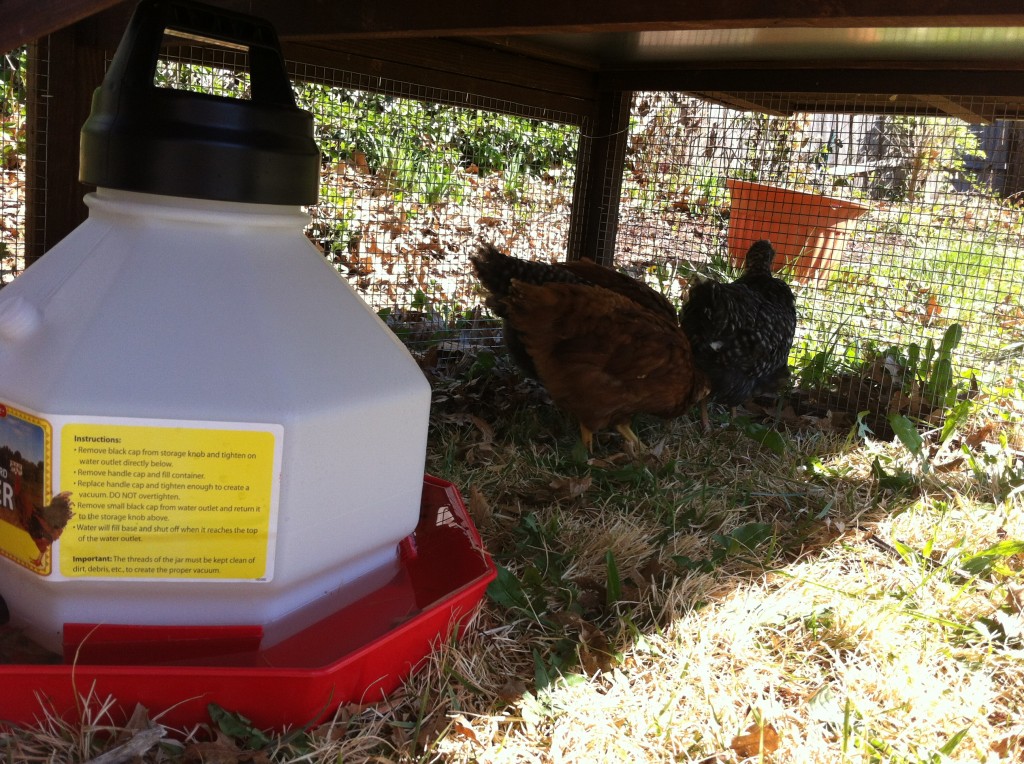
Here they are teasing me by pretending to go to bed. Such naughty girls!

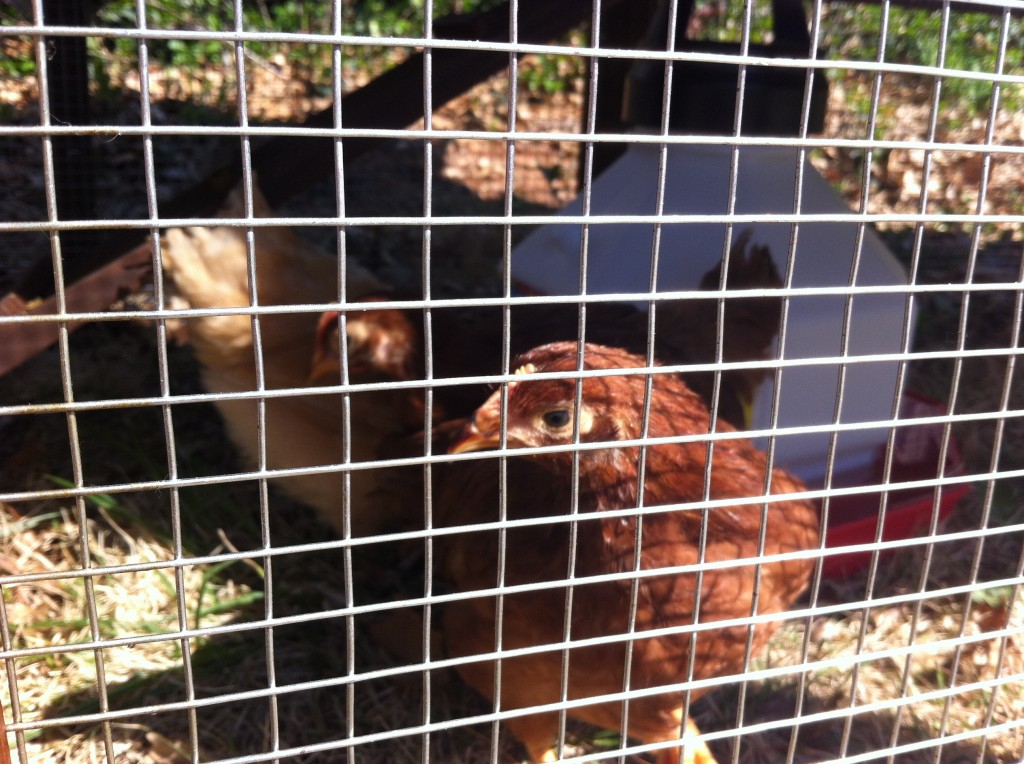
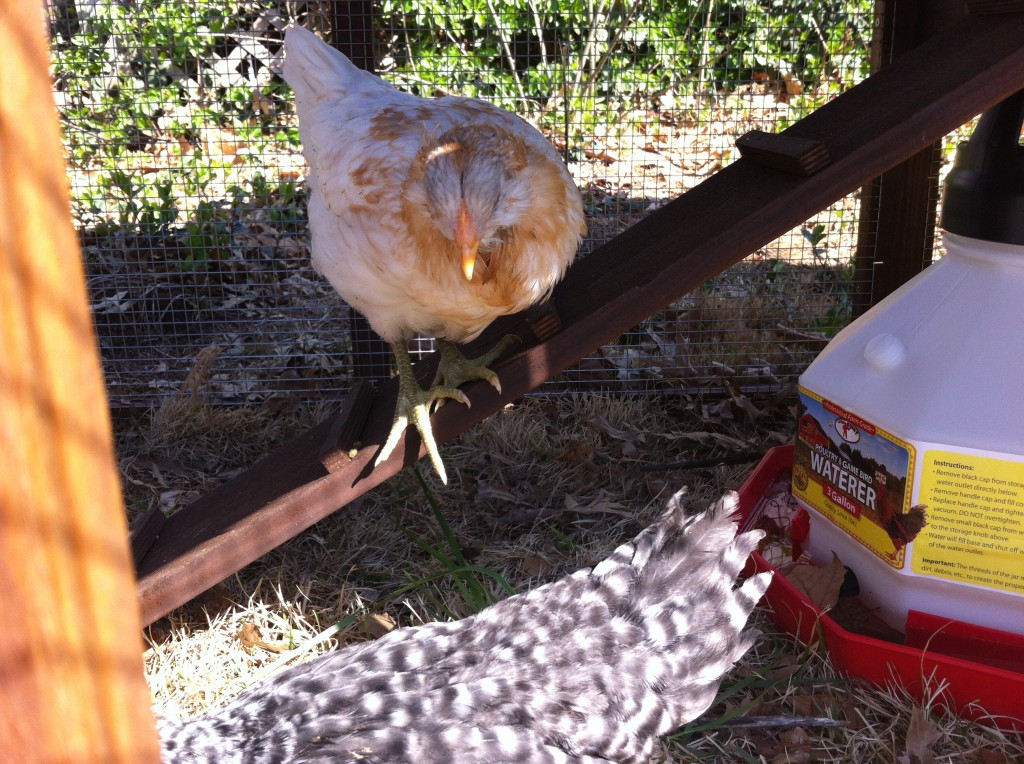
Here they are walking up the ramp to their bed. The noisy girls had to take a peek out of their bedroom to see what the noise was when I opened the front door to the coup to take their picture.

I did finally figure what time they finally decide to go to bed and settle down to sleep. Using all my Sherlock Holmes skills I waited  and watched them from the dinning room window (again) and until the last chick (Sunshine) go into the sleeping quarters to bed.

8:04 p.m. is bedtime.

I went back outside and shut the sleeping quarters door. Before I came back inside I filled the food container and changed their water.

They are all tucked in for the night and with enough food and water for tomorrow.

Chickens are FUN.

Really they are!

Becky

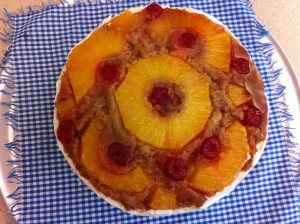
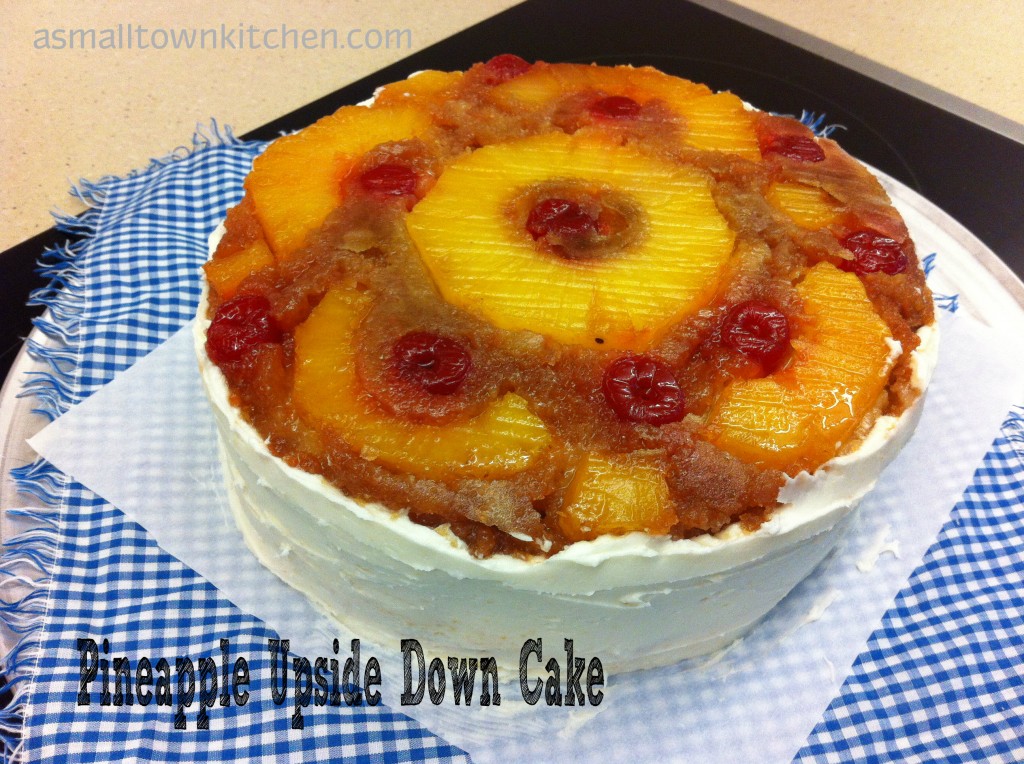
Pineapple Upside Cake

We have been doing some intense cooking the last couple of weeks of school. In my quest of encouraging my students to use fresh ingredients and making items from scratch. I  bought fresh pineapples for them to make pineapple upside down cake. Most of my students  have never cut into a fresh pineapple. I was a little nervous watching them cut them up and cutting out the cores. The students were using the big chef knives to cut the pineapples apart. I think I only had to hand out one band aide.  Relief. Not to brag (but I am) my class made beautiful double layered upside down cakes. Yes, you read right. Double Layers! I let them find a recipe they all agreed upon. They chose a double layered and iced pineapple upside-down cake from Paula Deen. The cake was such a hit and so many teachers wanted to try a bite, that I went and bought another fresh pineapple and made one for them.
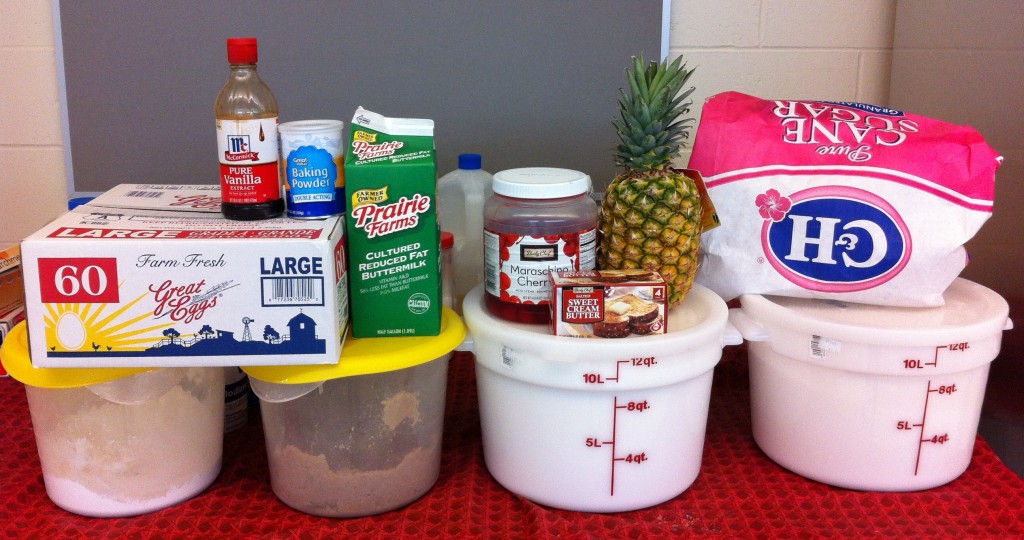
You will need a pineapple, flour, sugar, brown sugar, powdered sugar, butter milk, eggs, maraschino cherries, baking powder, vanilla and salt. (I forgot to include salt in the picture) oops.
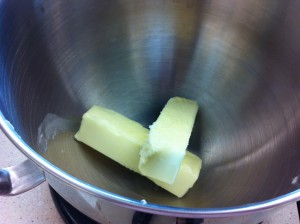
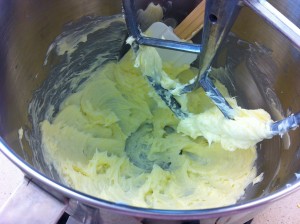
         

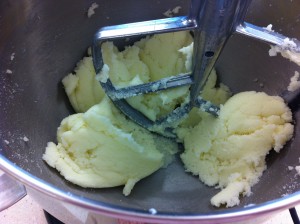
The first thing you do is cream two sticks of softened butter with a mixer.
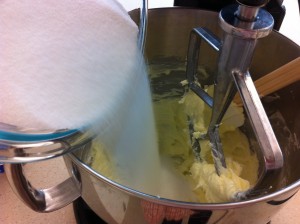
         

Add in the granulated sugar and cream together.
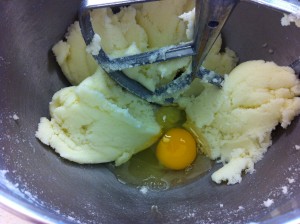
         

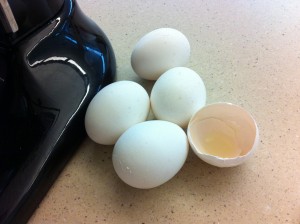
Now it is time to add the eggs one at a time to the creamed sugar and butter mixture.
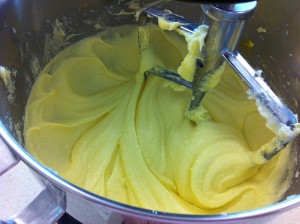
         

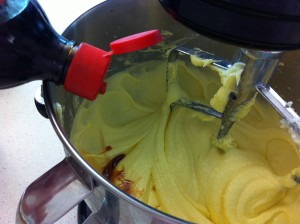
When all the eggs are added in the mixture turns very cream. Now, you can add in the vanilla and mix.
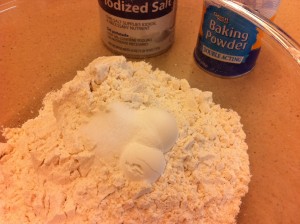
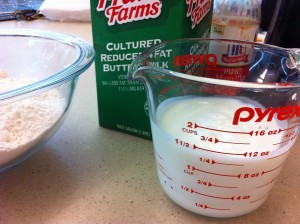
         

In a separate mixing bowl, mix together the flour, salt and baking soda. This is also the time to measure out the butter milk.
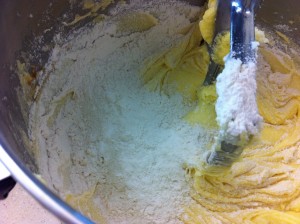
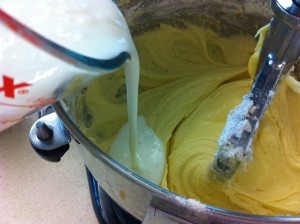
         

Alternately add a little bit of the flour mixture and combine. Then add in a little bit of the buttermilk and combine.
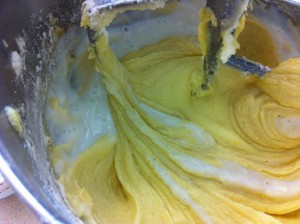
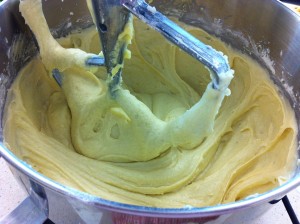
         

Continue to alternate adding the flour and buttermilk, until all the flour and buttermilk is used.
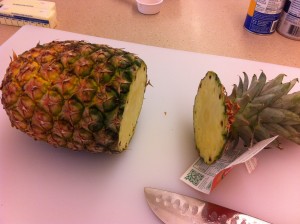
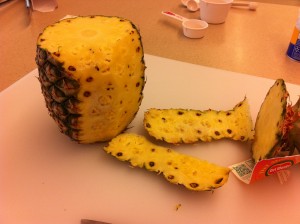
          

Next, I cut up the fresh pineapple. I first cut off the top and then then started cutting the outer part of the pineapple off.
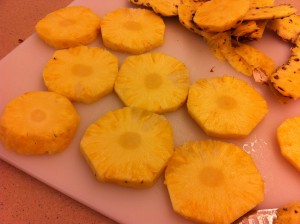
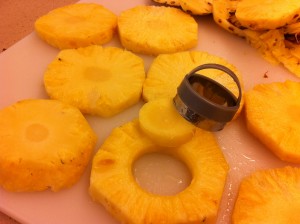
         

I sliced the pineapple into 1/2 in slices. I took a small biscuit cutter and cut out the cores of the pineapple slices.
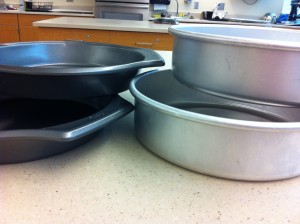
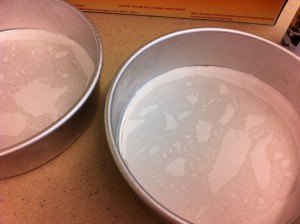
         

When you pick out the round pans to make this cake, pick the taller pans as the cake rises up and the brown sugar cannot bubble out.  I prepared both pans with a spray of vegetable spray and lining the bottom of each pan with parchment paper.
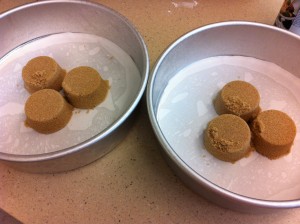
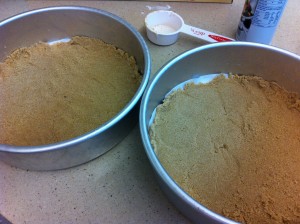
         

I put equal amounts of brown sugar in the bottom of each pan. Spread the brown sugar evenly on the bottom of each pan.
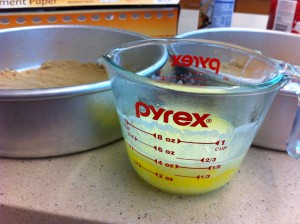
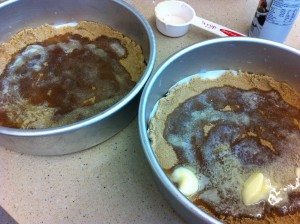
         

Pour equal amounts of melted butter on the brown sugar in each pan.
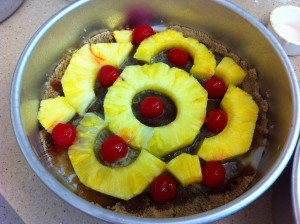
         

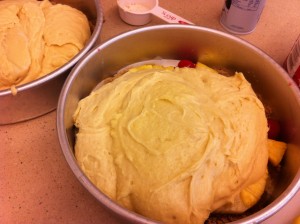
Now, you can get a little creative and decorate the bottom (which will be the top) of each cake with pineapple and maraschino cherries. Equally fill both pans with cake batter.
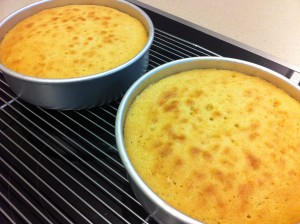
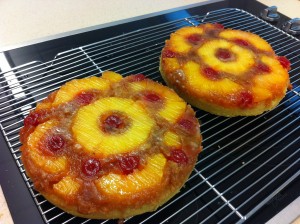
         

Bake in the oven until the cake is done. Cool the cake on a cooling rack until the cakes are completely cool. (I refrigerated mine for a time to make the cake easier to ice)
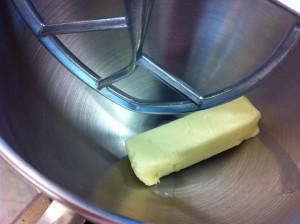
         

You make the icing by creaming the butter with a mixer. (You use two sticks of butter, I just took my picture before I put the other stick of butter in the mixing bowl)
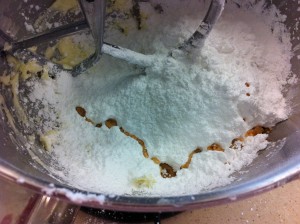
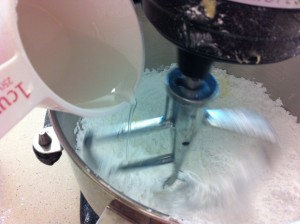
         

Add in the vanilla. Add in enough water to make a spreadable icing. You could also use pineapple juice or the maraschino cherry juice (it will turn pink) instead if you want.
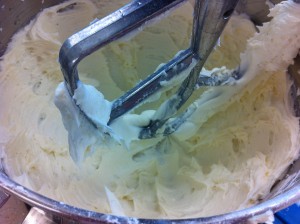
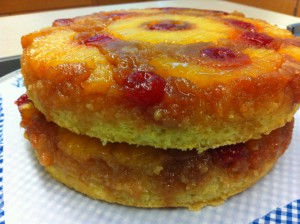
         

Here is a picture of the finished icing. Now, gently stack the cakes on top of each other.
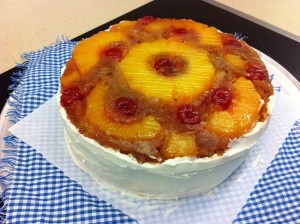
         

Very gently, ice the sides of the cake. This cake is really tender and moist, which is a great thing, but you have to be careful of crumbs coming off in the icing.
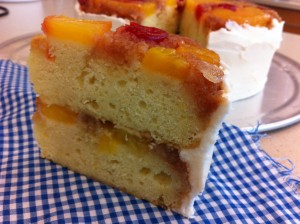
Isn’t this slice of cake a beautiful thang…thing?
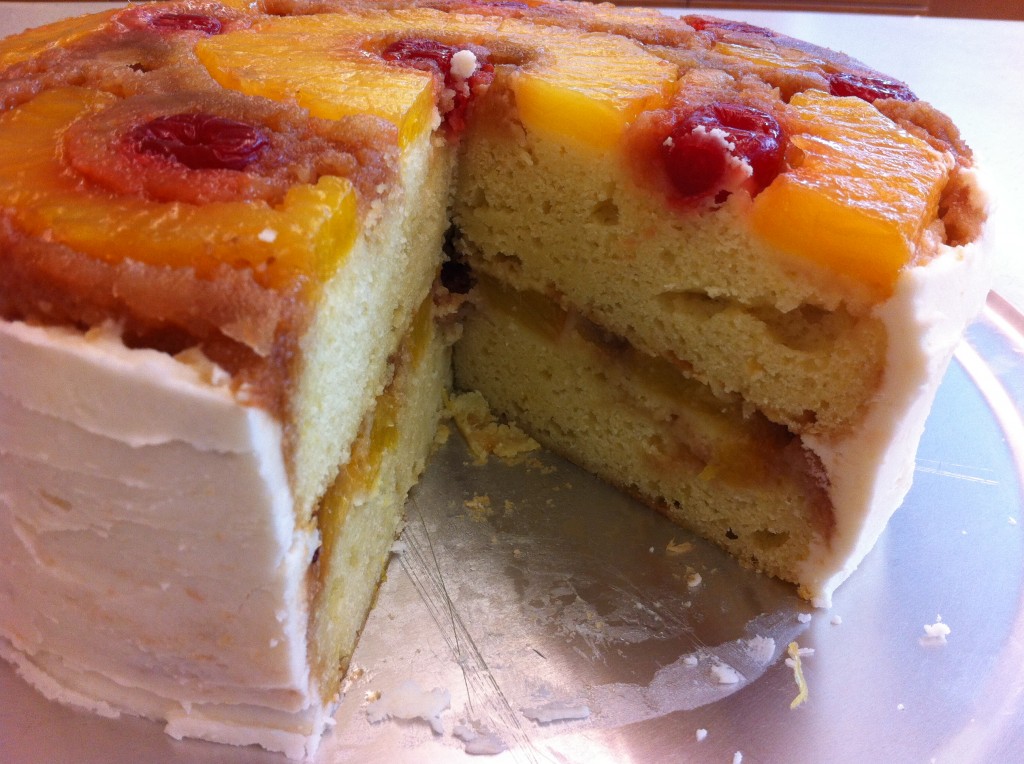
I refrigerated the cake overnight, before I cut it into slices. It sliced beautifully this way.

If you are looking for a show stopper kind of cake or want to try making this cake with fresh pineapple…it really does make a difference….give this cake a try.

Here is the recipe:

Adapted from Paula Deen

Ingredients for the cake:

3 cups of cake flour (I used all purpose flour)

1 cup butter soften PLUS 1/2 cup butter melted

2 1/4 cups sugar

5 large eggs

1 tablespoon vanilla extract

2 teaspoons baking soda

1/4 teaspoon salt

1 1/4 cups buttermilk

1 1/2 cup firmly packed brown sugar

1 fresh pineapple, sliced, peeled and cored (if you do not want to use fresh pineapple use 2 – 20 ounces cans of sliced pineapple)

1 – 10 ounce jar of maraschino cherries

Ingredients for the buttercream frosting:

1 cup butter softened

2 tablespoons of water or you can use pineapple juice or maraschino cherry juice

3 1/2 cups of powdered sugar

1 teaspoon vanilla

Directions for the cake:

Preheat the oven to  350 degrees. Spray two 9 inch round cake pans with vegetable spray and line the bottoms with parchment paper.

In a large mixing bowl, cream the butter with an electric mixer. Add in the sugar and mix until fluffy.. Add in the eggs, one at a time. Beating well after each egg. Stir in the vanilla. Set aside.

In a medium mixing bowl, stir together the flour, baking powder and salt.

Alternately mix in the flour mixture and the buttermilk into the egg mixture.

Press 3/4 of a cup of brown sugar onto the bottom of each round cake pan. Pour the 1/2 cup of melted butter equally onto the brown sugar in each pan. Arrange the pineapples and cherries over the brown sugar.

Top the pineapples with equal amounts of cake batter.

Bake for about 40 minutes or until tooth pick comes out clean.

Let the cakes cool for 10 minutes, then invert onto a cooling rack. Remove the parchment paper. Cool completely.

Icing:

In a mixing bowl, beat all the icing ingredients together until fluffy.

To assemble the cake:

Carefully stack one cake onto of the other cake. Ice the cake with the buttercream frosting.

You can press chopped pecans into the icing for a garnish if desired.

I hope you love this cake enough to jump upside down ; )

Enjoy!

Becky

Other cake post you make enjoy:
                              

Peanut Butter Mousse Cake              Best Ever Chocolate Cake           Blueberry and Blackberry Oat Cake
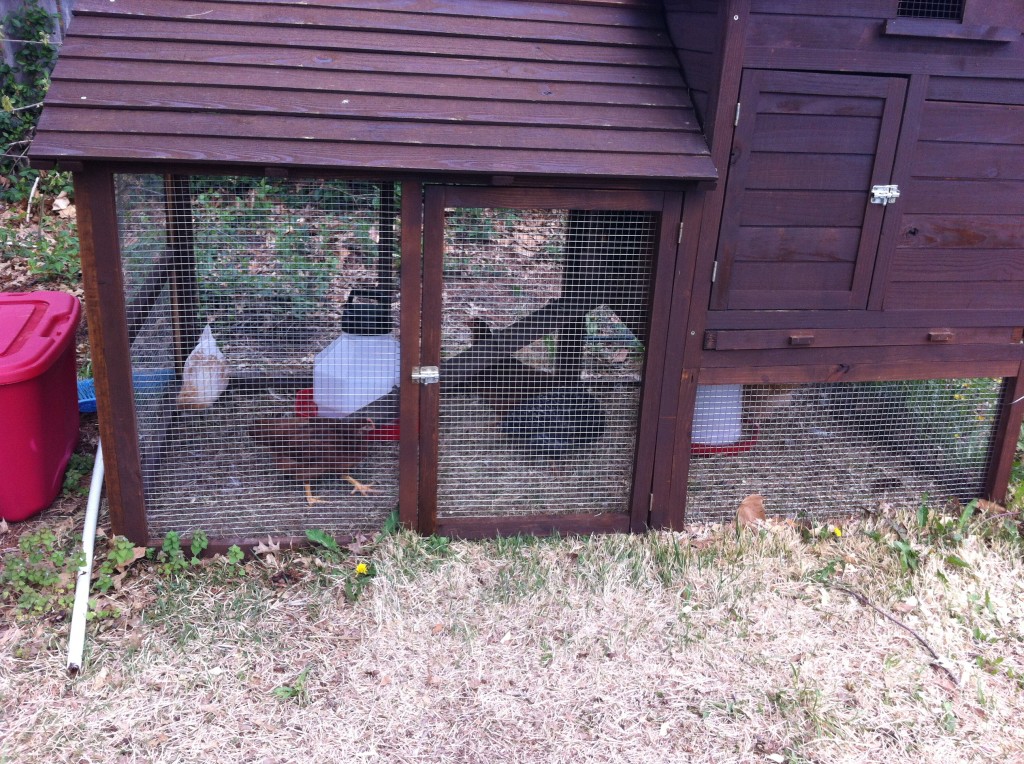
The Chick Condo in My Backyard

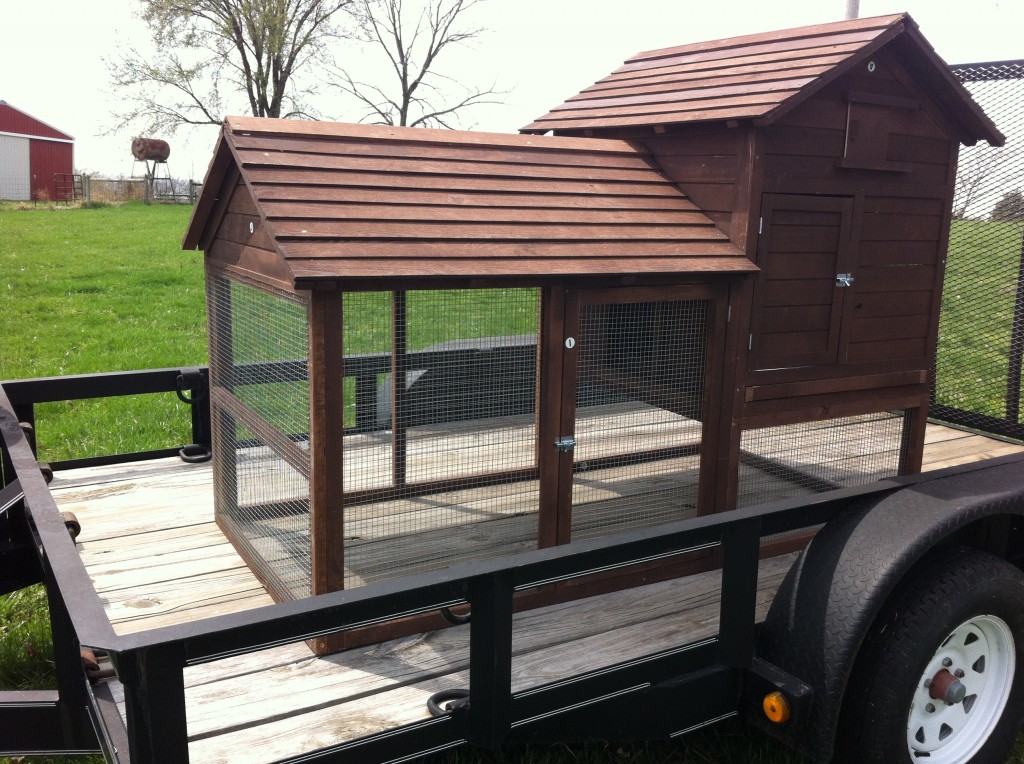
There it is, “The Chick Condo.”

Can you believe that the little chicks are 6 weeks old already? I can’t either.


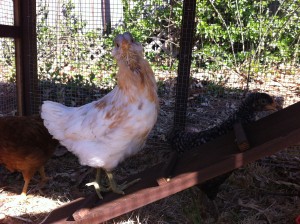
Look how big Sunshine has gotten. She has gone from little bitty chick to a “strutting my stuff,” teenager chick.

My how the time flew by.

Anywho, let me tell you all about getting the condo installed in the backyard.

I am not sure you remember when we bought the coop, but you can read about it here. We bought a chicken coop kit from Sam’s and it is a good thing we bought it when we did, cause Sam’s sold out of their chicken coops within a couple of weeks. Company volunteered to put the coop all together, but he had a wee bit of trouble reading the directions. You can read all about that here. A week we decided it was time to get the coop out of Company’s downstairs and into my backyard. The chicks had really gotten too big for their brooder, you can read about setting up a brooder here. So my son, the Super Hero, recruited a few of his buddies at his job to “volunteer” to go to the farm, load up the coop, come back to my house and set it up in my  backyard. It will only cost me some farm (city) fresh eggs in return. How great is that! I failed to tell them that it will take another 3 months or so before they get any eggs. OOOPS.

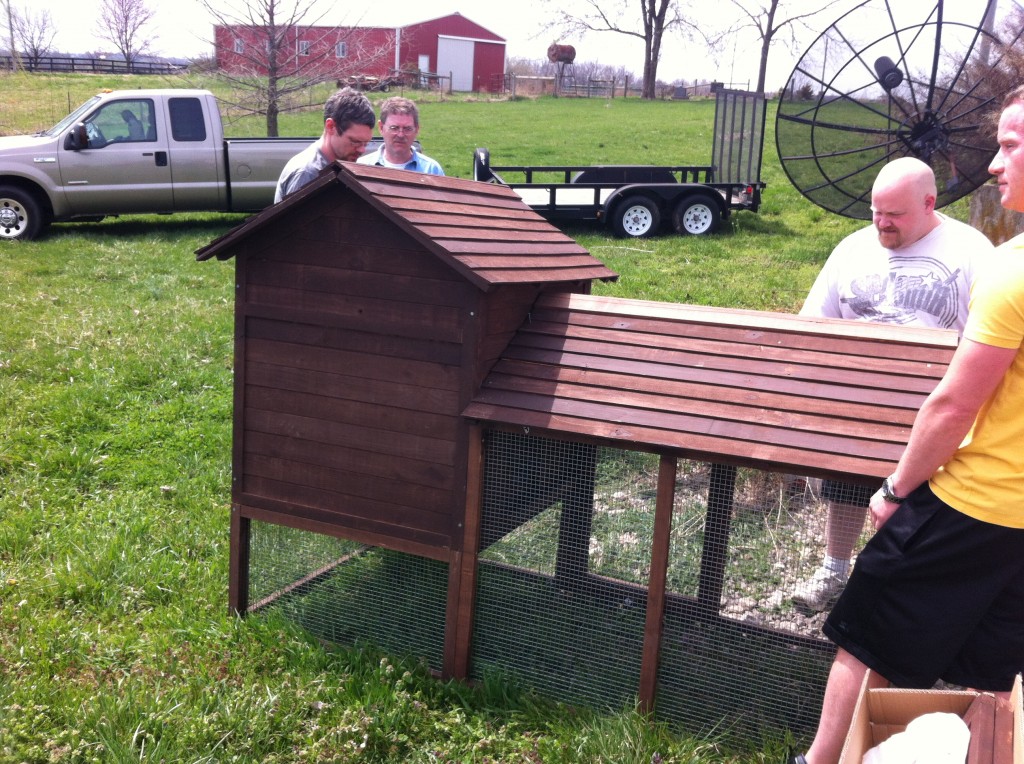
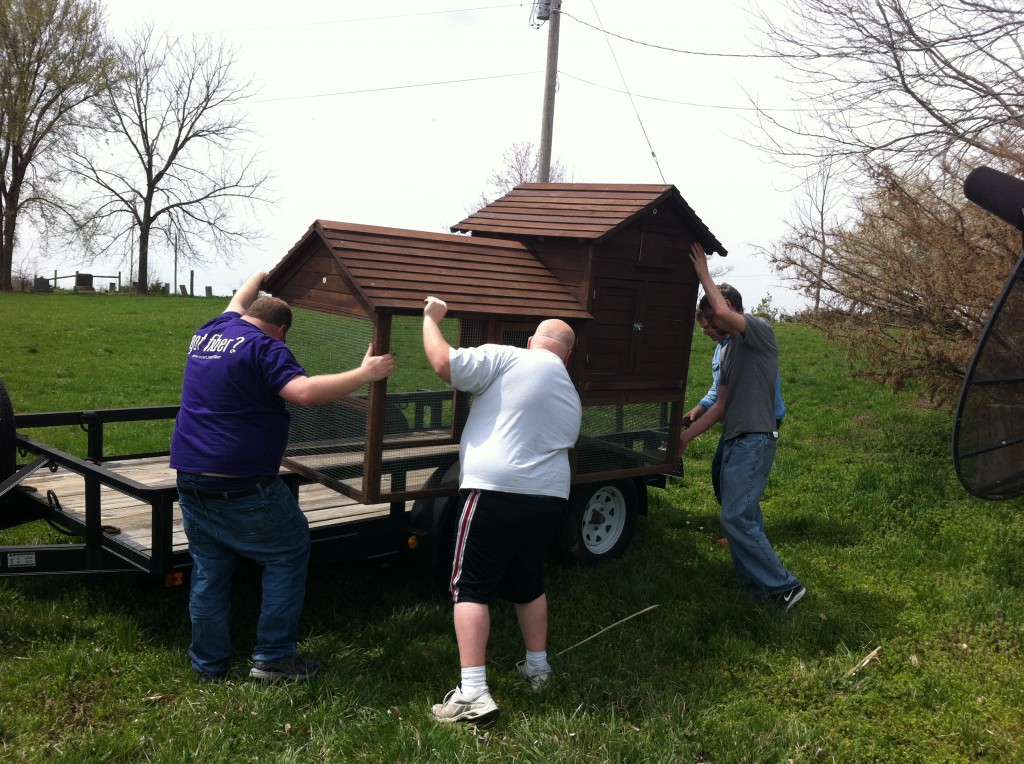
Here is the beginning of the big chicken coop move. The coop is really not that heavy, but it would be really awkward and difficult for two people (one being me) to try to carry the thing to the trailer. The fellas made short work of picking the coop up and carrying it over to the trailer.

Here is a picture where they almost have it on the trailer.

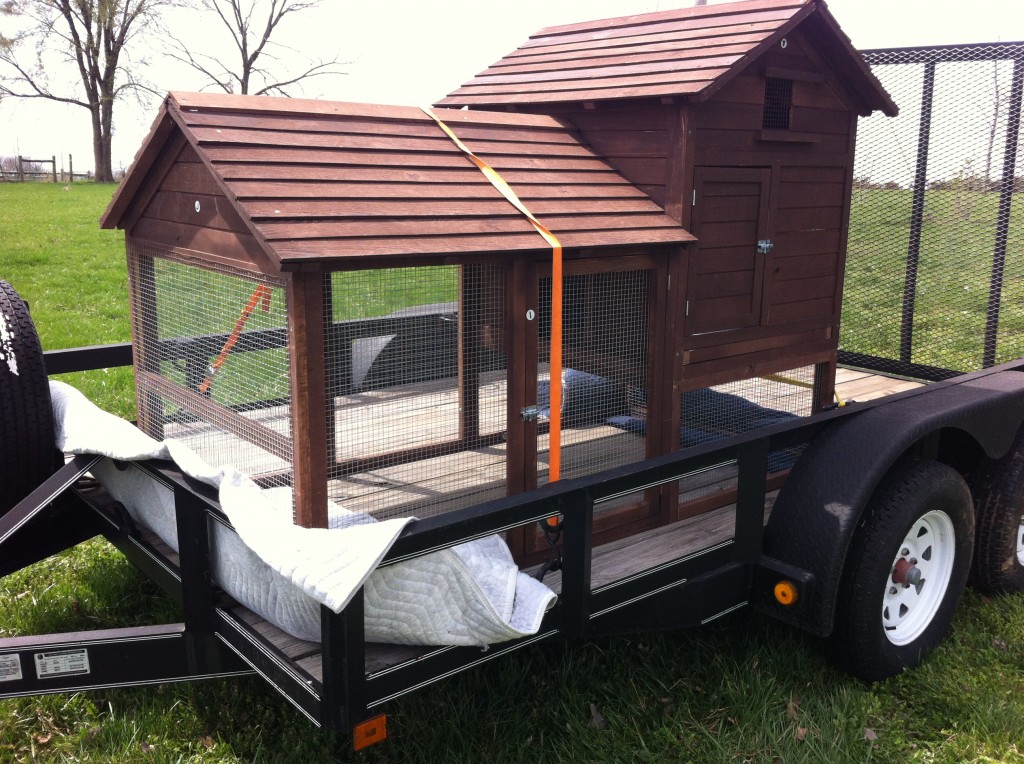
It took (too long) a while to get it all strapped down and secure on the trailer. But, I was glad the boys took such care, because we were going to be driving it on a interstate and the wind was blowing really hard that day. Half way to my house we had to stop and look the coop over because the wind was making it  shift on the trailer.

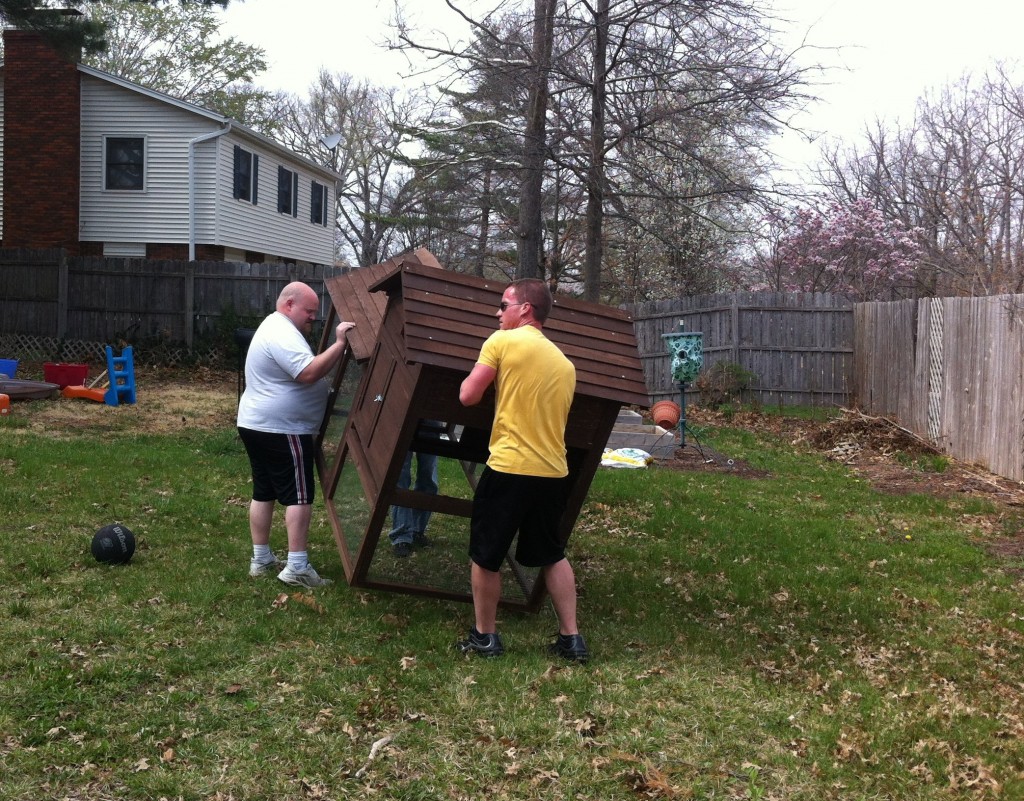
The boys (men) took just a little break carrying the coop to the back yard.

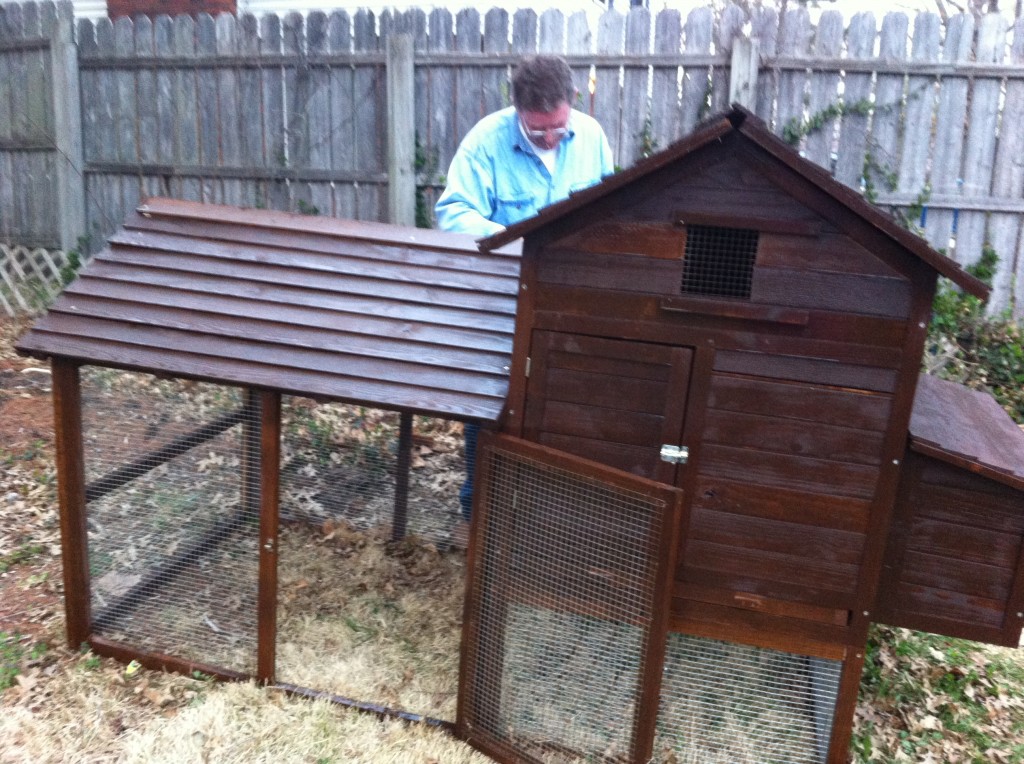
Once we got it in the back yard, Company decided to give the coop a another coat of stain and water sealant.

We let the little ladies check out their new digs for a few hours that night.

We waited a few days to totally move the chicks to the coop because last week it got below freezing here in Mid Missouri. The little ladies have been under the constant heat of a heat lamp since the day they were born. I did not think it was a great idea to just stick them out in freezing temps before getting them adjusted to the weather.

Now, that the days are staying warm. The fluffy feather chicks are now living in their new house full time.

I think the chicks really like their updated high rise condo.

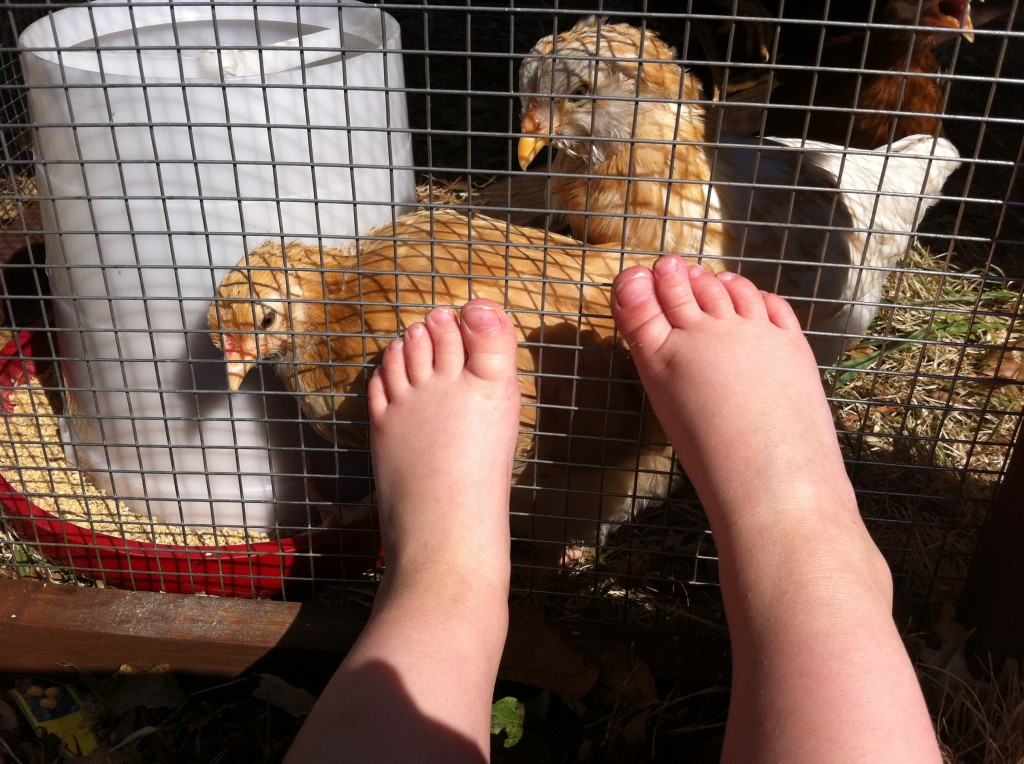
Baby Grandgirl, loves watching the chicks in their new house.

And you know, that is what this is really all about. Getting the grandgirls outside and doing something, like taking care of the chicks, together as a family.

Now, we just have to be patient, waiting for the little hens to start laying eggs.

Time for me to fly the coop and get busy in the kitchen, cleaning…ugh!

Have a great day!

Becky


Mom’s Light Bread

My Mom, the Princess, grew up calling this bread, “Light Bread.”

I think she got the term from my grandma.

I call this bread, “homemade memories of childhood goodness.”

“Us Kids,” Niener Wiener, Me, Jeanie Beanie and Brother, would wait in mouth watering anticipation, until the first hot loaf would finally come out of the oven.

Warm, lathered with butter, crusty and tender.

We were hungry little tow heads, that could (and did) devour as much bread as we could until Mom would finally shoo us from the kitchen.

Us kids, loved and still do love, Mom’s Light Bread. It magically switches our middle age brains into believing we are young, tow headed (not gray) and very hungry kids again.

MMMM…..Mom’s Light Bread.

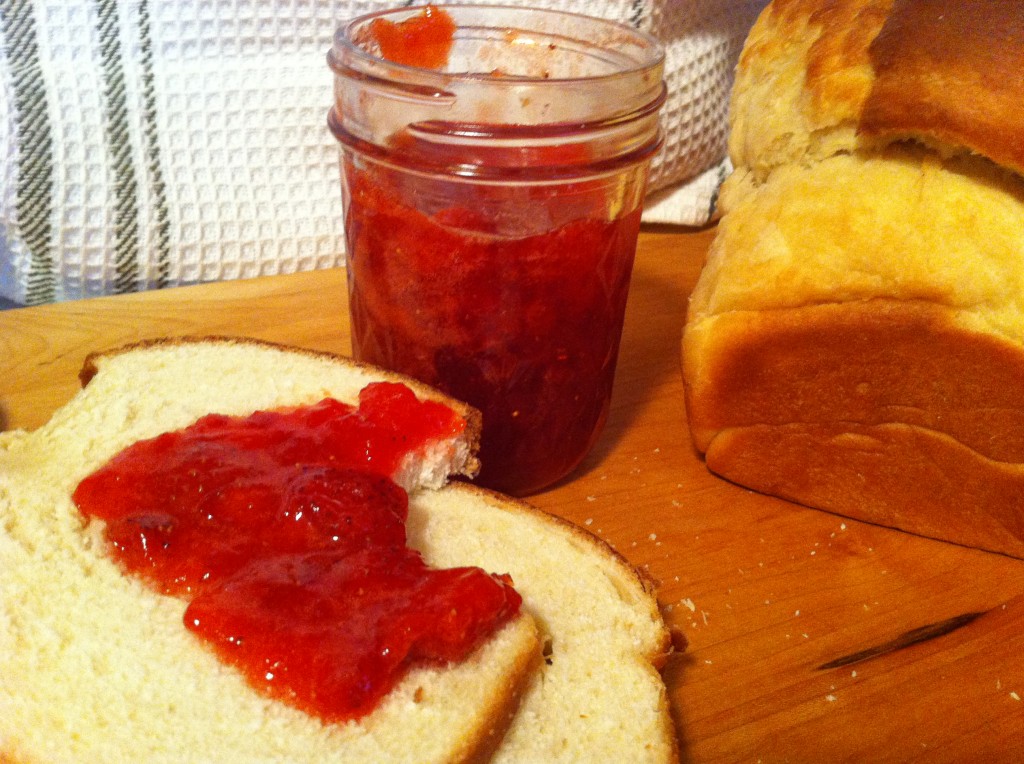
Jeanie Beanie and I, just happened to have our spring break out of school, at the same time this year. Jeanie Beanie started planning a couple of months ago that she wanted Mom to teach her how to make homemade bread over break. I just invited myself to join in on the fun. So a week or so ago, over spring break, us two girls, went to Mom’s and made bread. We. Had. A. Blast. Not only did we hang out with Mom all day, my Aunt Pat and cousins Myra and Connie came for a visit too. We had our own little family reunion. We ate warm light bread with homemade strawberry jam and (real) butter.

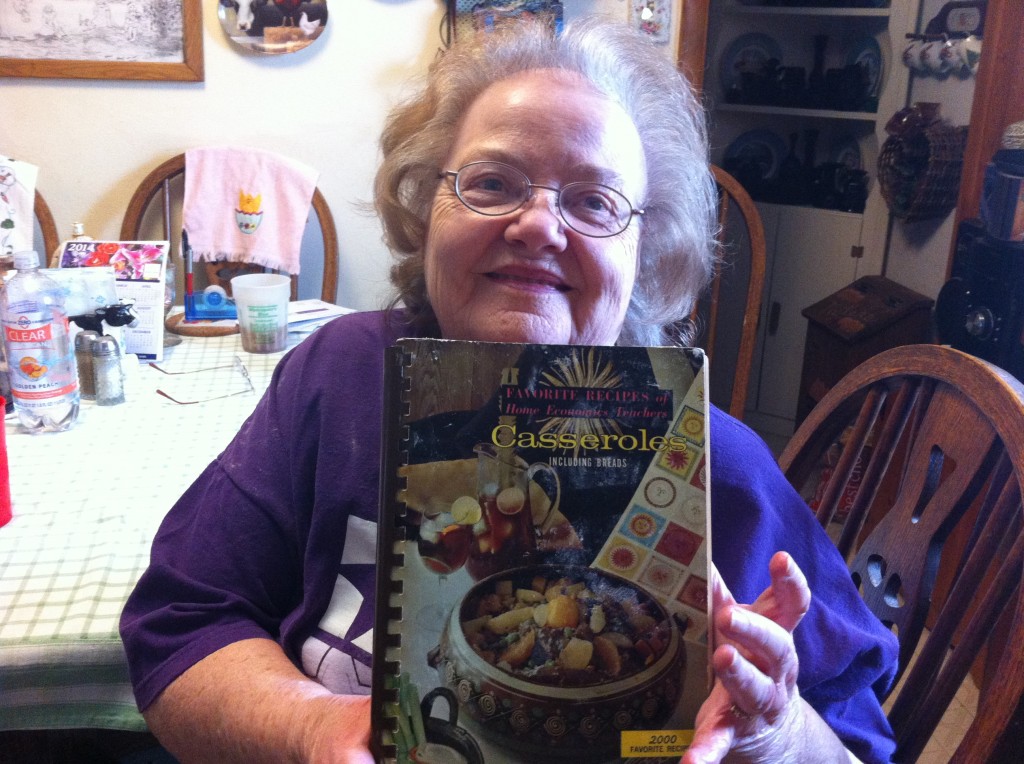
Here is a picture of the beautiful Princess holding her cookbook with her bread recipe in it.

There is a story about this cookbook, that I will have to tell you all about another time. Don’t worry I won’t forget to tell you all about how my mom lost her prized recipe.

Promise.

Anywho, back to making bread. My Mom is a serious bread maker. She has not made her bread in years (cause she lost her recipe) and of course she had hip replacements, breast cancer and a mastectomy.

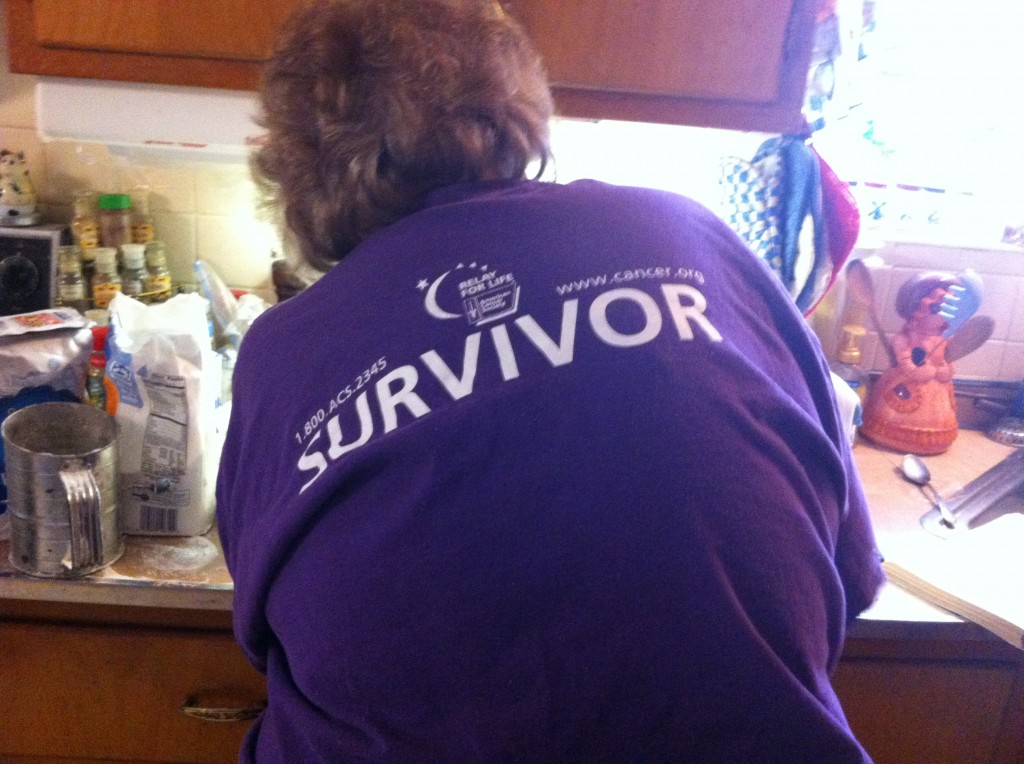
But, my Mom is a survivor and she just keeps moving forward. She got busy making her bread so fast, I hardly had time to take pictures. I had to keep telling her to slow down. I think I  managed to get all the step by step pictures on how to make Mom’s bread. Whew….she wore me out : ).

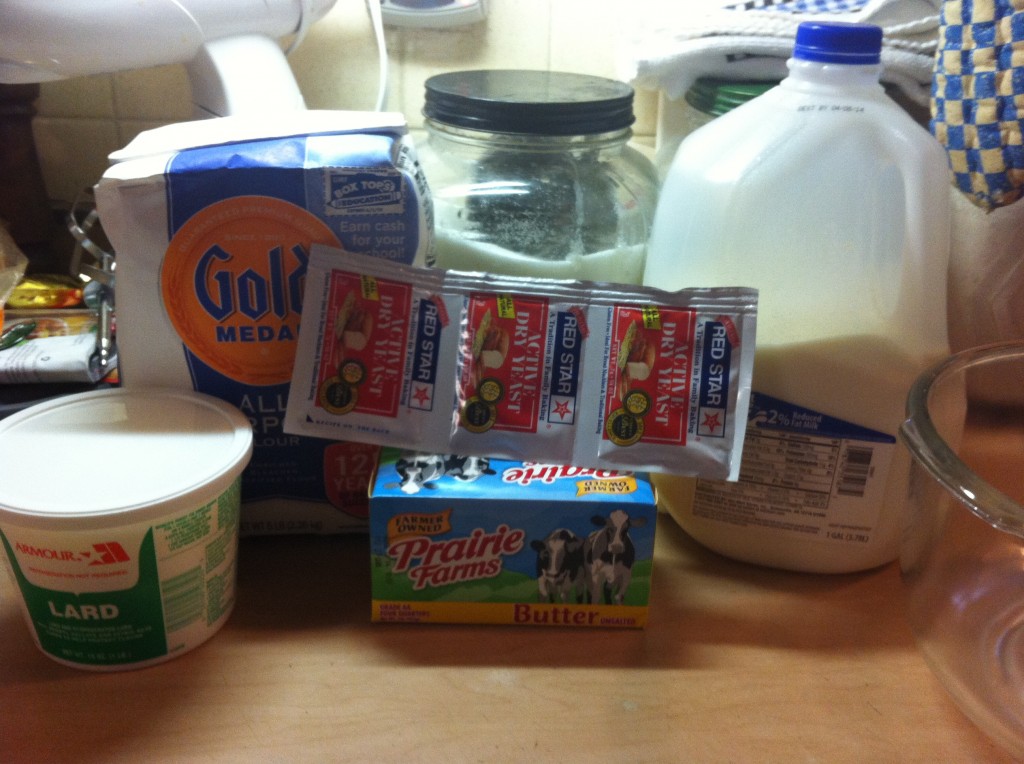
Here is what you need, some butter, milk, yeast, flour, salt and lard to rub on top of the rising dough and to grease your pans with. Mom says lard makes all the difference.  Criso or lard….the choice is up to you. : ) I can just tell you I bought a small container of lard cause Mom said so.


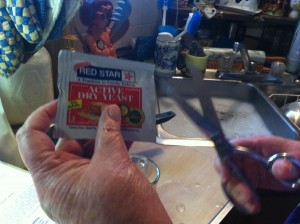
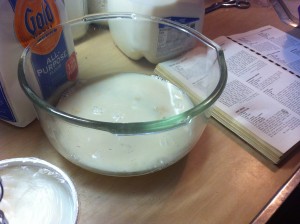
First thing you need to do is dissolve the yeast in some warm water and stir it up to get all the lumps out.


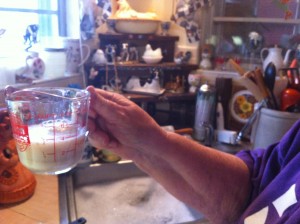
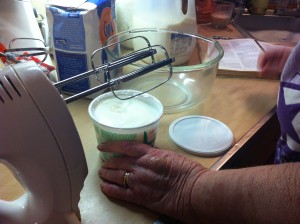
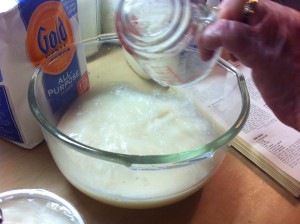
In a large mixing bowl, add together the lard and  warm milk.


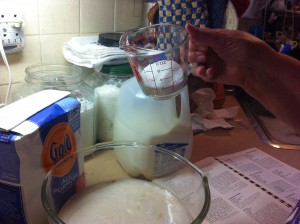
Add the dissolved yeast to the warm milk and lard mixture. Now add in your sugar and salt.


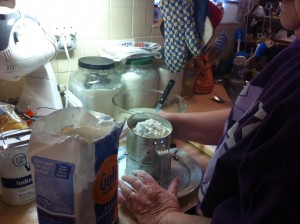
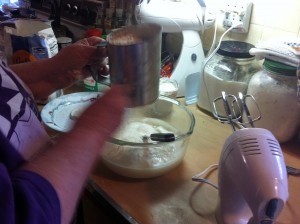
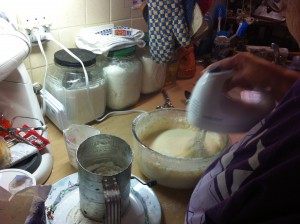
Now, here is secret number one to my Mom’s bread. Mom firmly believes in sifting the flour into the milk mixture.


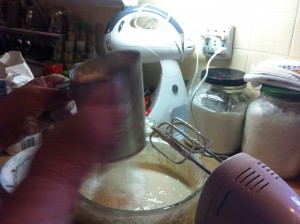
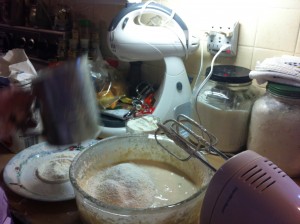
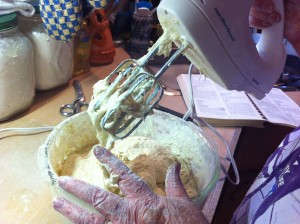
She sifts a little flour and then mixes it up with her mixer. Then she sifts in some more flour.


She sifts in as much flour as she can mix with her hand mixer. (the mixer got a work out that day).


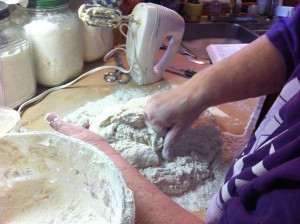
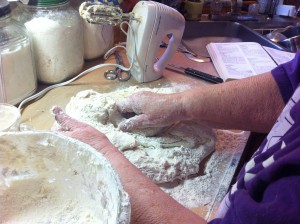
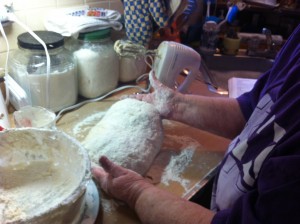
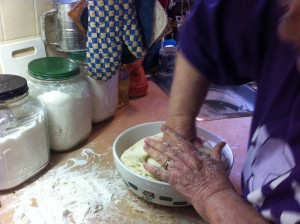
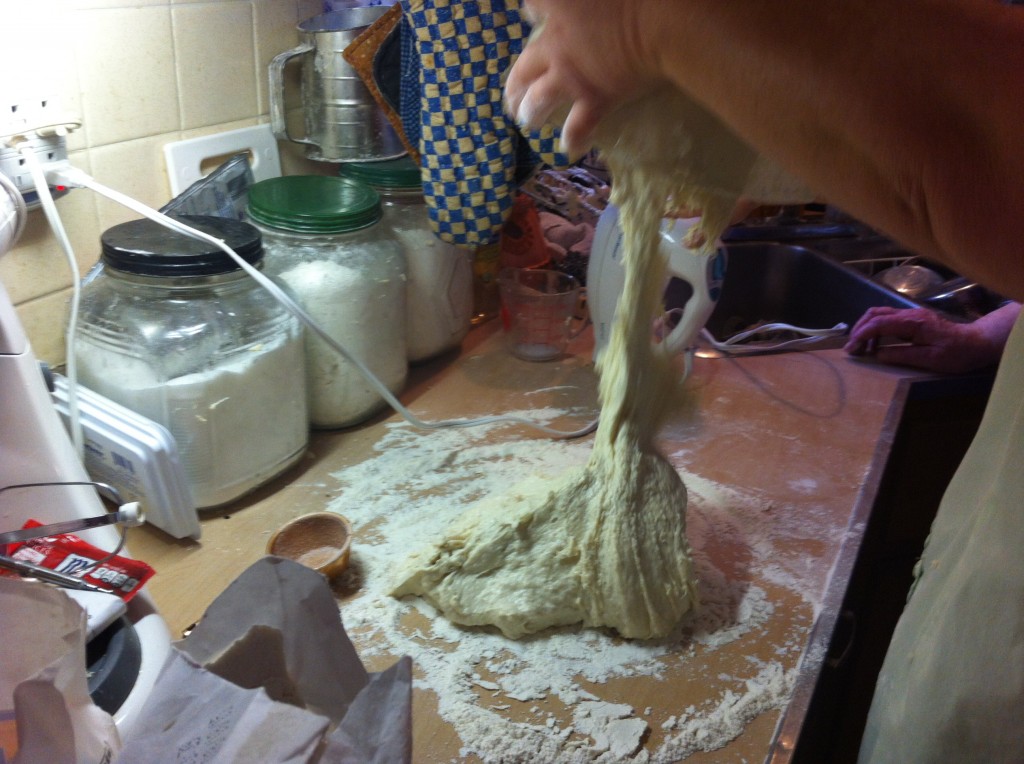
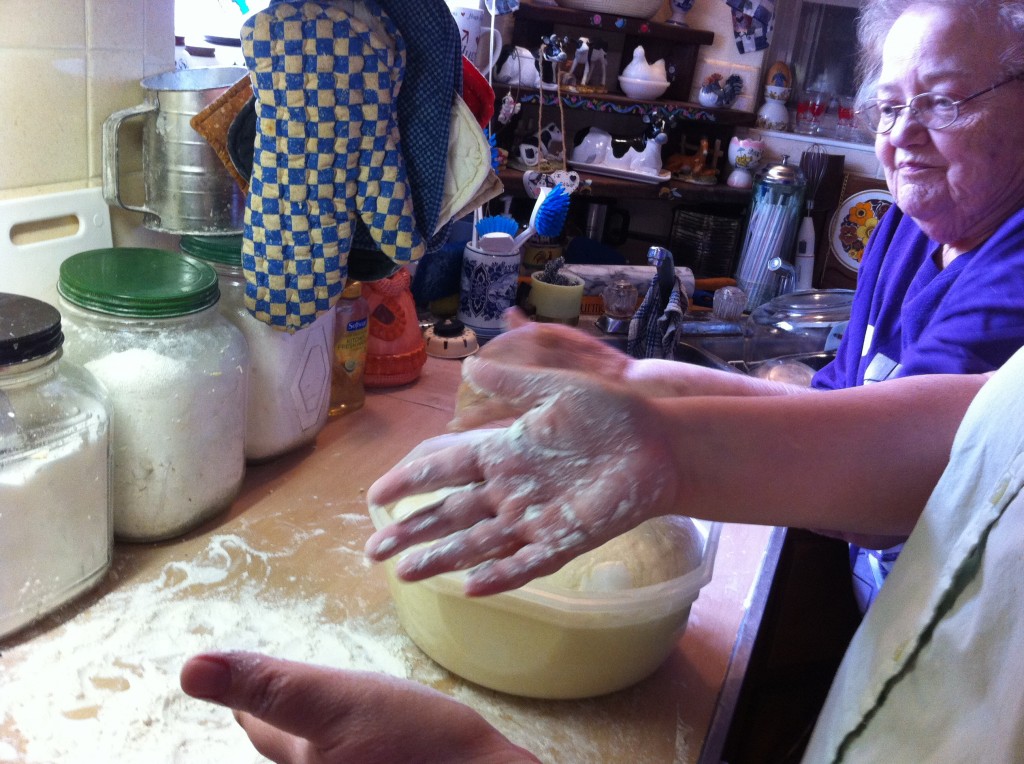
Next, Mom dumps the sticky dough on a flour covered counter and kneads in more flour.


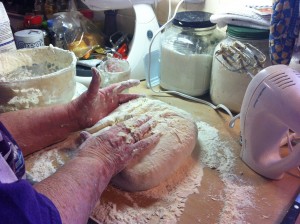
She kneads in enough flour to make a soft dough. She makes sure she kneads the dough at least 10 minutes to help make the dough tender.


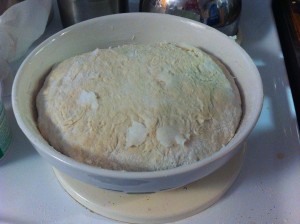
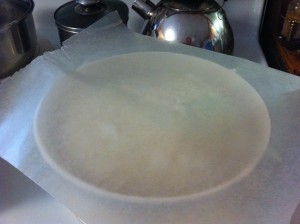
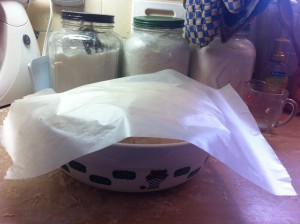
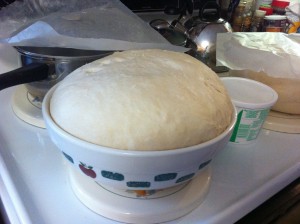
When the dough is ready. She put the dough in a bowl greased with lard. She also gently spreads lard on top of the dough. She covers the dough with wax paper to rise in a warm place.


When the dough rises, Mom takes the dough and punches it down. Then, puts the wax paper on top and lets it rise again, for a double rising.


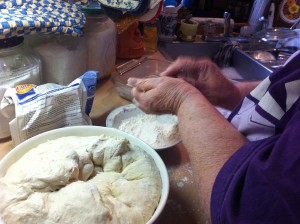
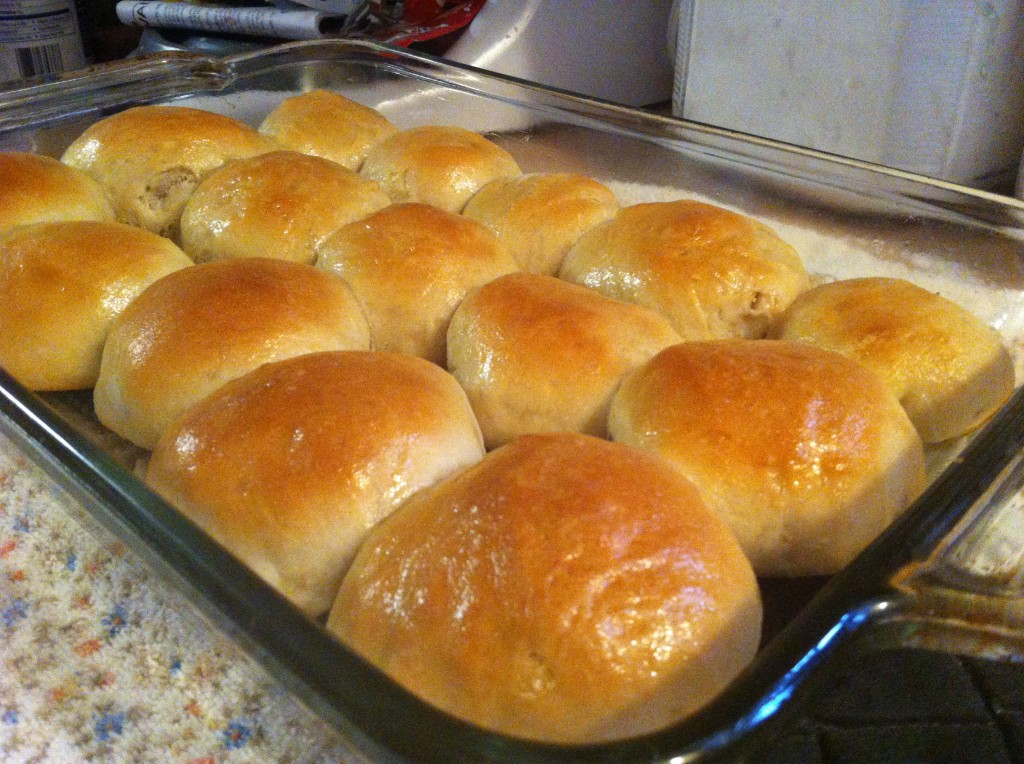
After the dough has risen for the second time, Mom takes the dough and pinches off circles of dough and forms them into rolls.


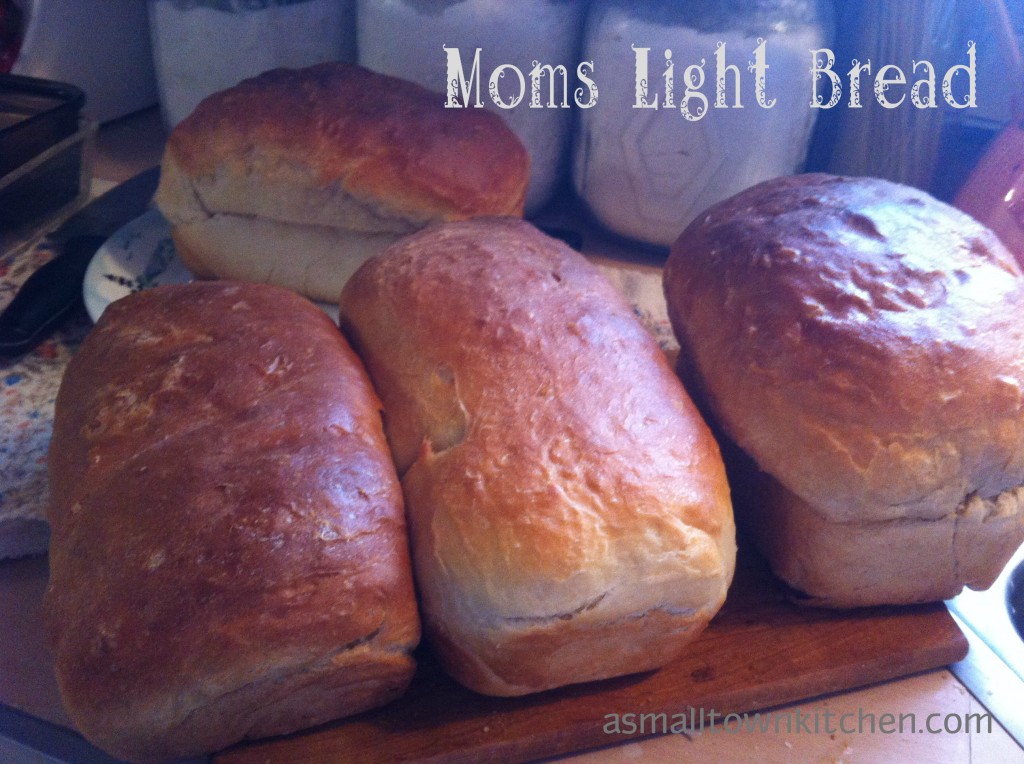
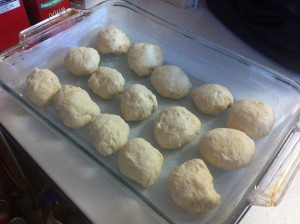
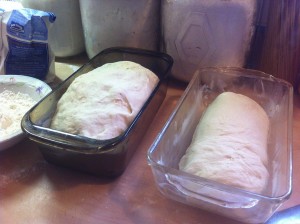
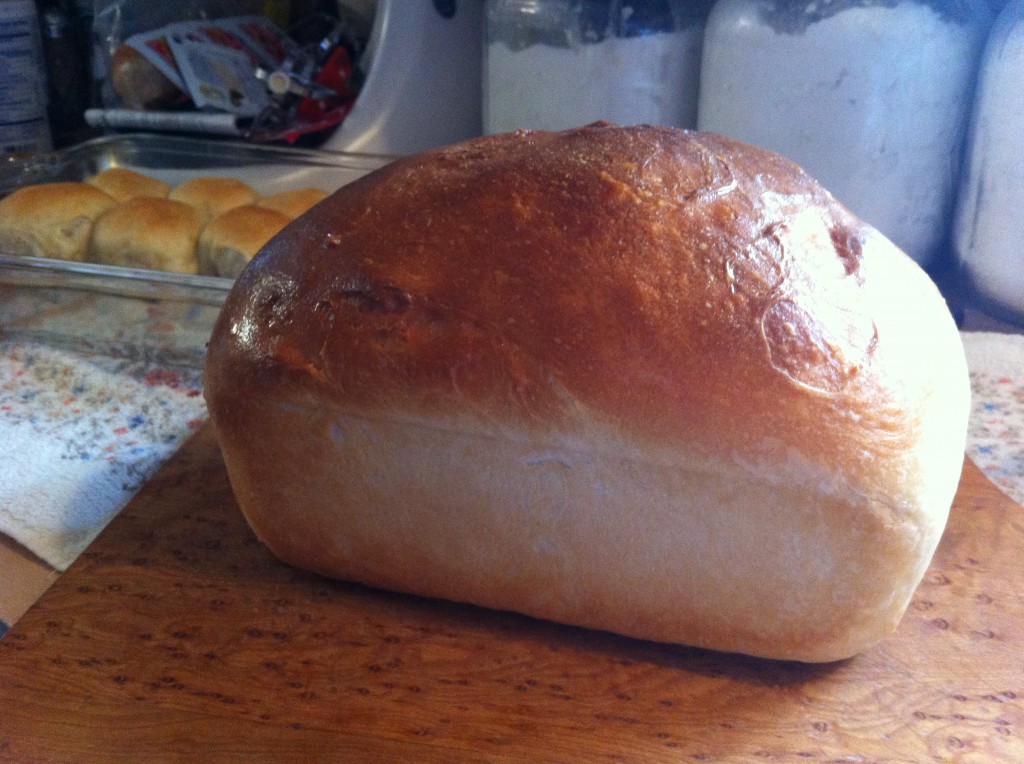
She puts the rolls in a pan greased with lard (again). She took the rest of the dough and formed two loaves of bread. Yes, the pans were greased with lard. Let the dough rise until doubled in the pans. until at 400 degrees until browned.

As soon as they come out of the oven, Mom brushes the rolls with melted butter.

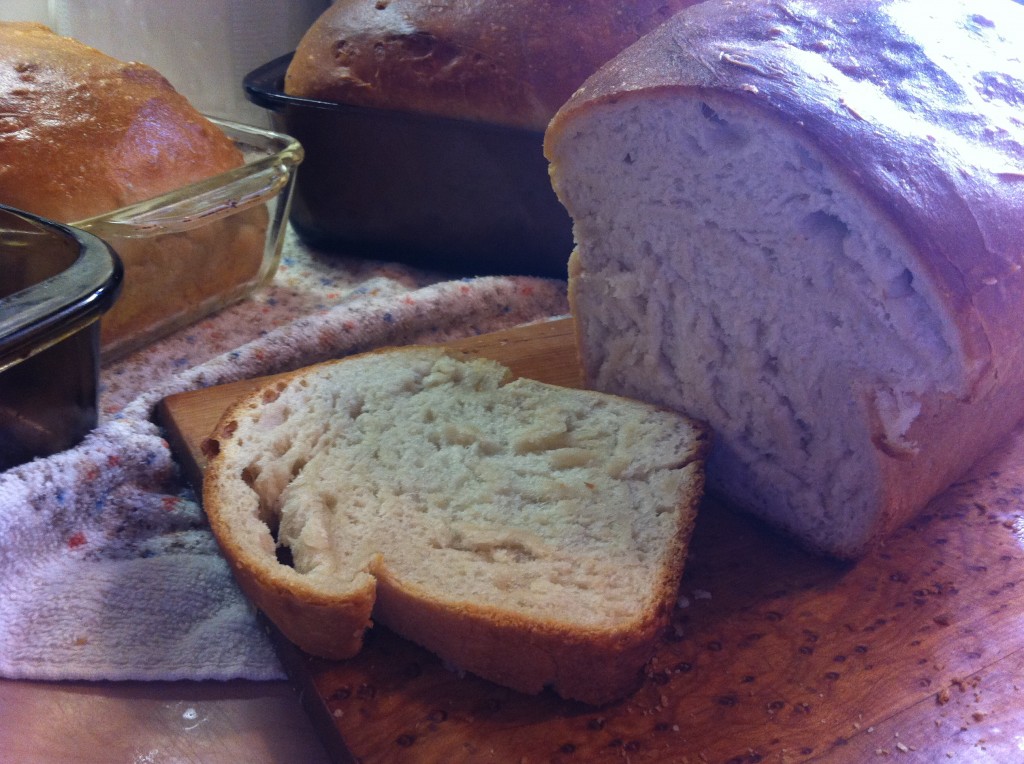
She brushes melted butter on the loaves of bread too. Doesn’t this bread look good enough to tear off a big piece?

Jeanie Beanie got to make some bread too. Mom keep a close watch as sis made her bread. She should get first place on her technique for kneading bread. Go Sis!

Jeanie Beanie managed to get her dough in her (lard greased) bowl just in time to rise before Aunt Pat and cousins Myra and Connie came to visit. I just wish I would have gotten a picture of all of eating bread. Boo!

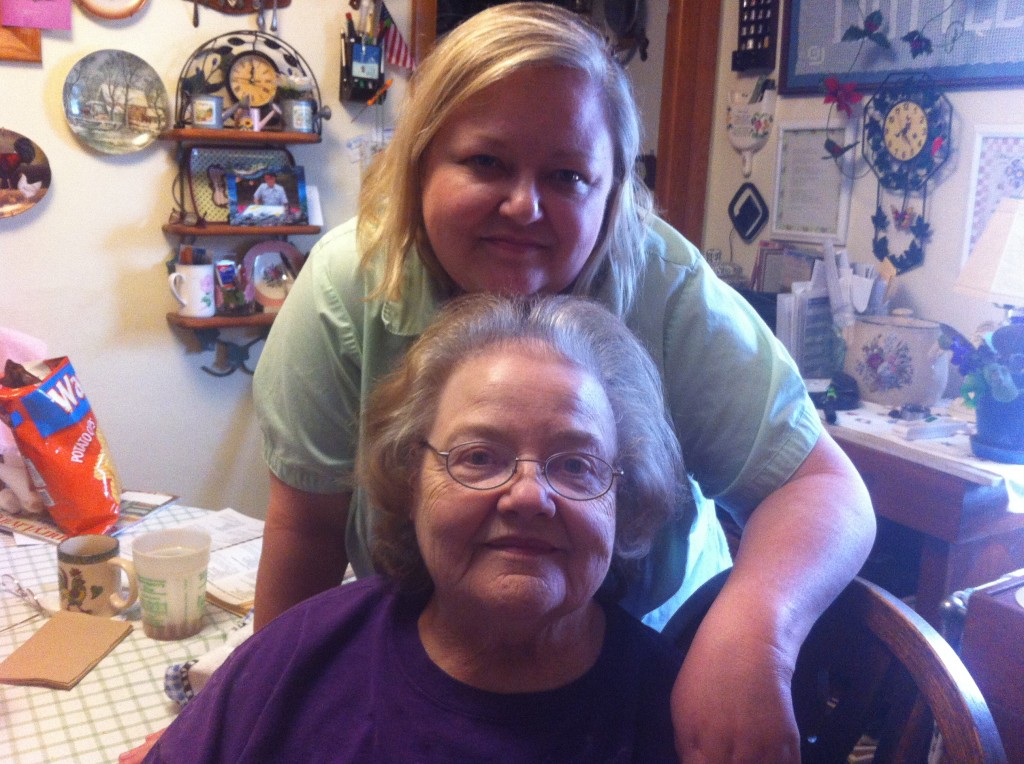
I did get a lovely picture of The Princess and Jeanie Beanie, though…: )

Thank you for hanging in there and reading my long post about such a special day I had with my sister and mom!

Family.

Family and warm bread.

The perfect combination!

Here is the recipe.

Mom’s Light Bread

Adapted from Favorite Recipe from Home Economic Teachers.

Ingredients:

1/2 cup warm water

2 packages of dry yeast

3 1/2 cup warm milk or water

1/4 cup sugar

2 tablespoons salt

10 1/2 to 11 1/2 cup flour

1/4 cup lard or shortening. (more for greasing the bowls, top of bread and pans)

Directions:

Soak your yeast in warm water for 5 minutes. Combine yeast mixture and warm milk or water with sugar and salt in a large mixing bowl. Beat in 3 to 4 cups of sifted flour and lard into the liquid until smooth. Add remaining flour, mixing until the dough leaves the sides of the bowl. Turn your dough out onto a floured surface and knead  the dough for 6 to 10 minutes. Adding additional flour if necessary. Knead dough until it is elastic and smooth. Place the dough in a lightly greased bowl. Grease top of bowl and cover with waxed paper. Let rise in warm place about one hour or until double. Punch down and let rise again until nearly doubled. Dived the dough in four equal parts and shape into loaves or rolls. Bake at 400 degrees until brown, about 45 minutes for loaves of bread and 20 for rolls.

Yield 4 loaves.

Now, all you have to do is slice it and eat it till it is all gone!

Enjoy!

Becky

Other Post you may enjoy reading:


Easter Bird Nest                                  Smashed Roasted Potatoes            Frozen Fluffy Strawberry Pie

Strawberry Row Update

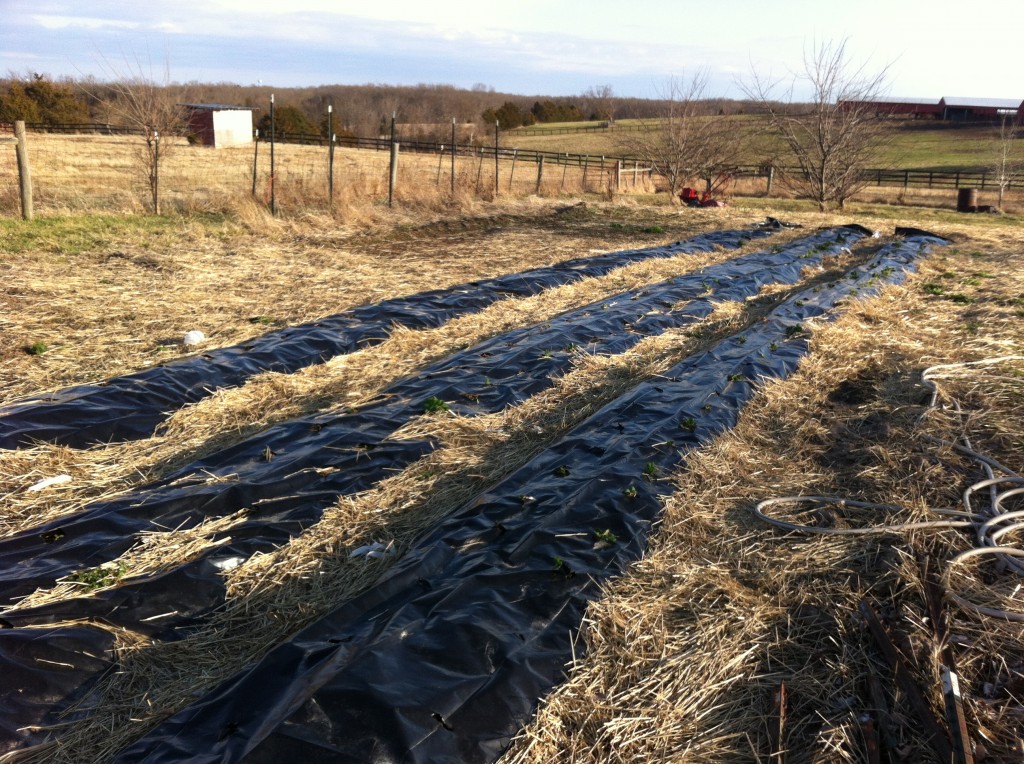
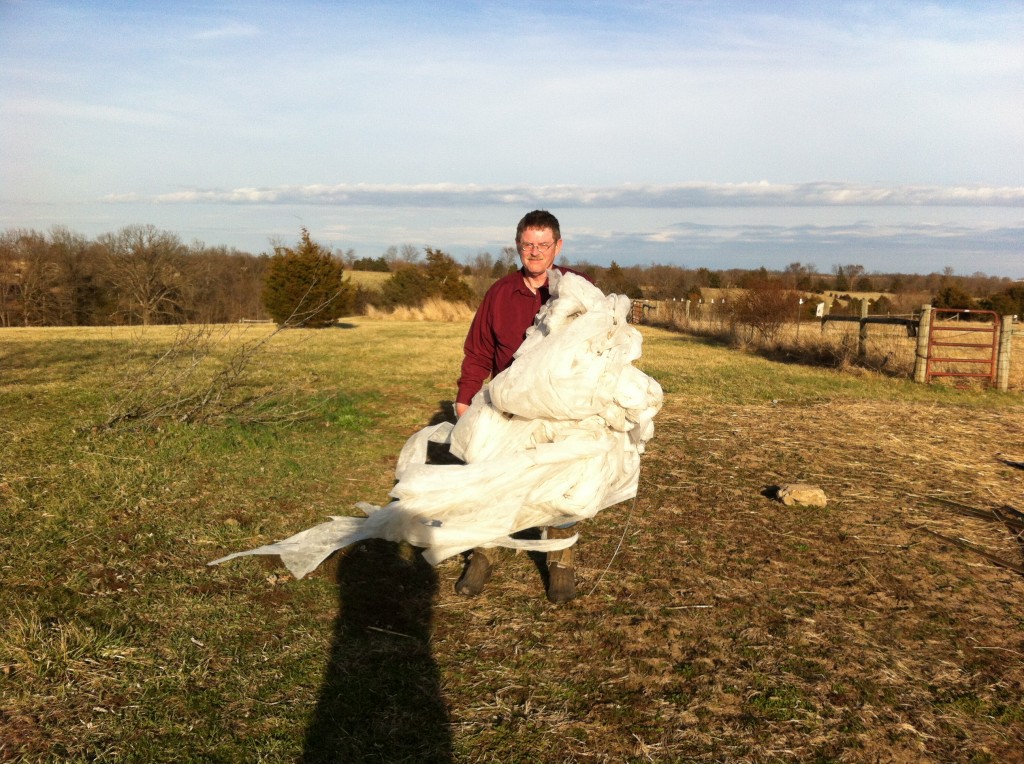
This last week, I went to Company’s house after work and we quickly took down the floating row covers. The wind had ripped, pulled and stretched the agri fabric, so much so, that I doubt much is salvageable to use again. We pulled up the hoops that held up the fabric along with the U landscape wire that held the fabric down. With both of us working, we made short work of the taking the floating row covers. Now, that the weather should stay above 20 degrees at night, we felt pretty confident that we could uncover the strawberries and let all the sun shine in.

After I did some reading about the fabric, I guess we could have left the floating rows up longer. The fabric lets the sun and the rain in. It warms up the air by several degrees and protects the plants from frost. But, the professional strawberry planters that use this system, takes their fabric down around this time. So, we did too. (we like to pretend we know what we are doing)

Here is Company carrying the torn fabric back to the house. That is my shadow. Looks like Company is getting ready for a toga party!

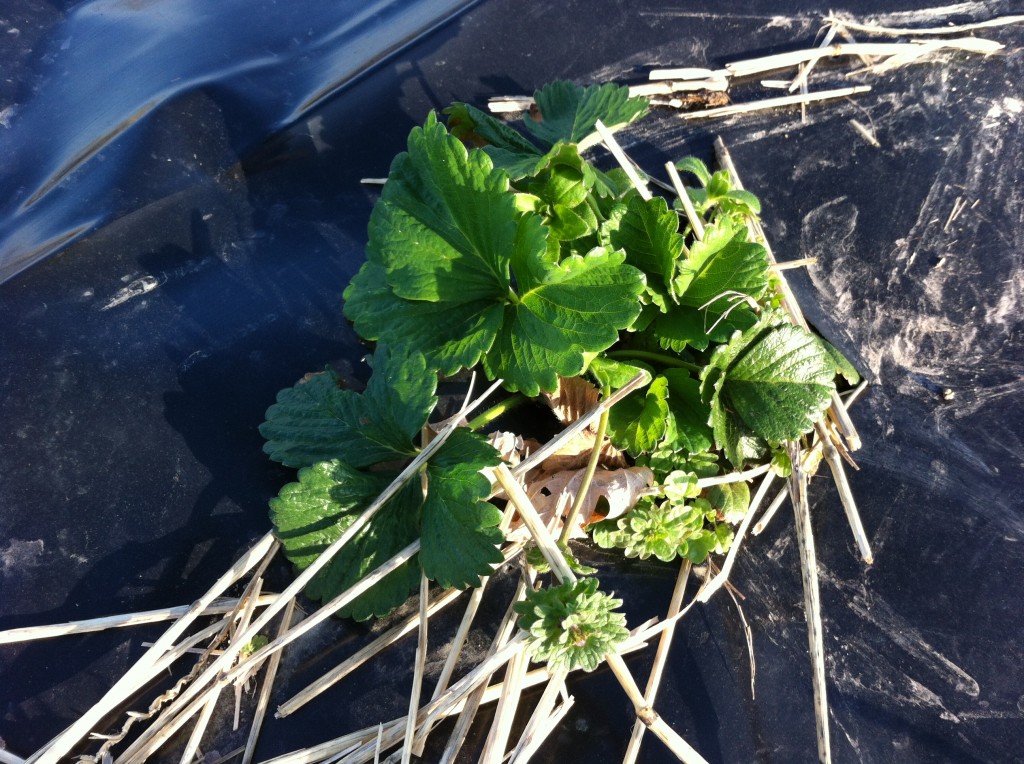
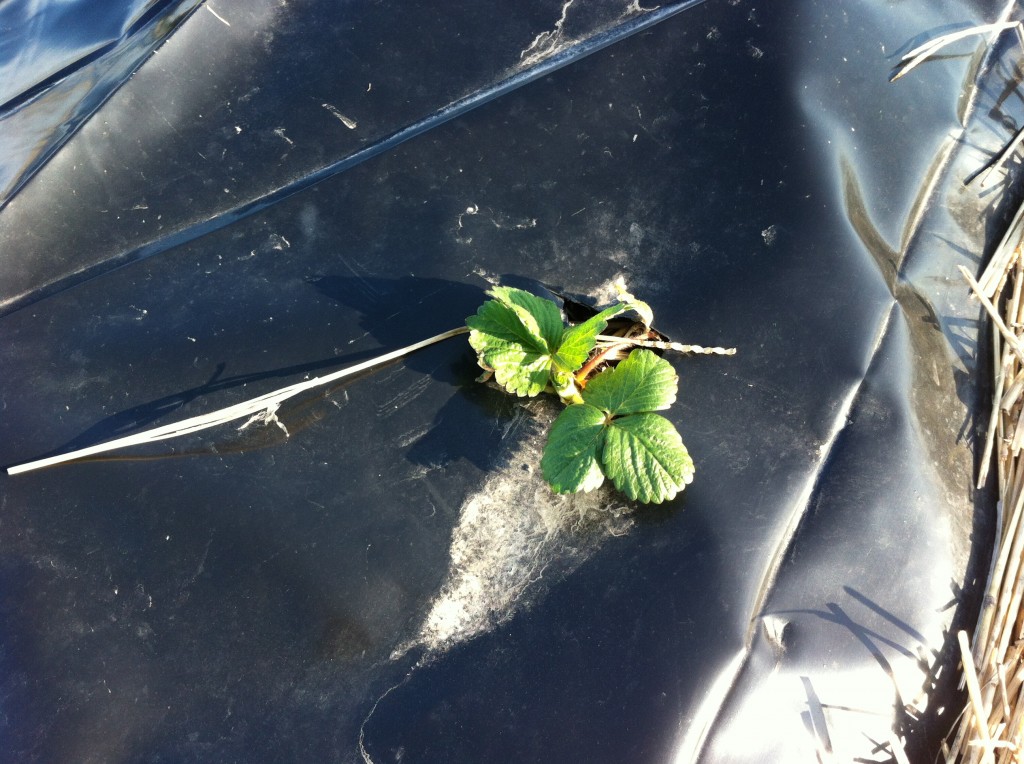
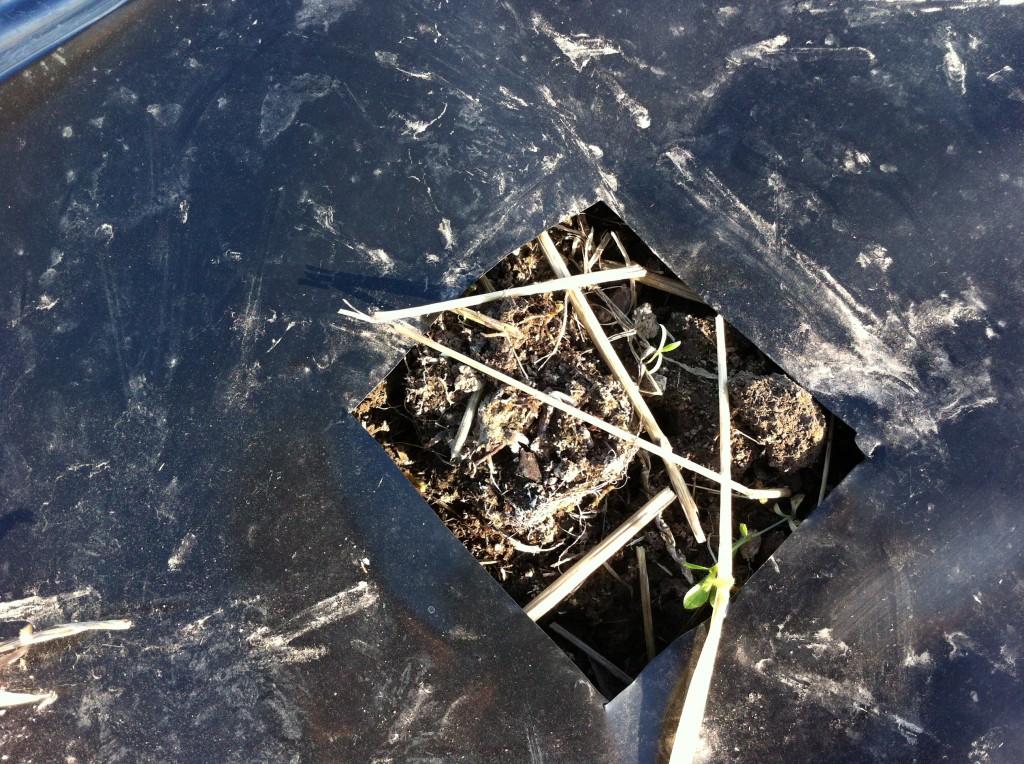
We were not surprised that some of the strawberry plugs did not make it. We had all those nights of 20 degree below winds.

Don’t get too worried. We have more plants that made it than those that did not.

Some are playing a little peek a boo game with us.

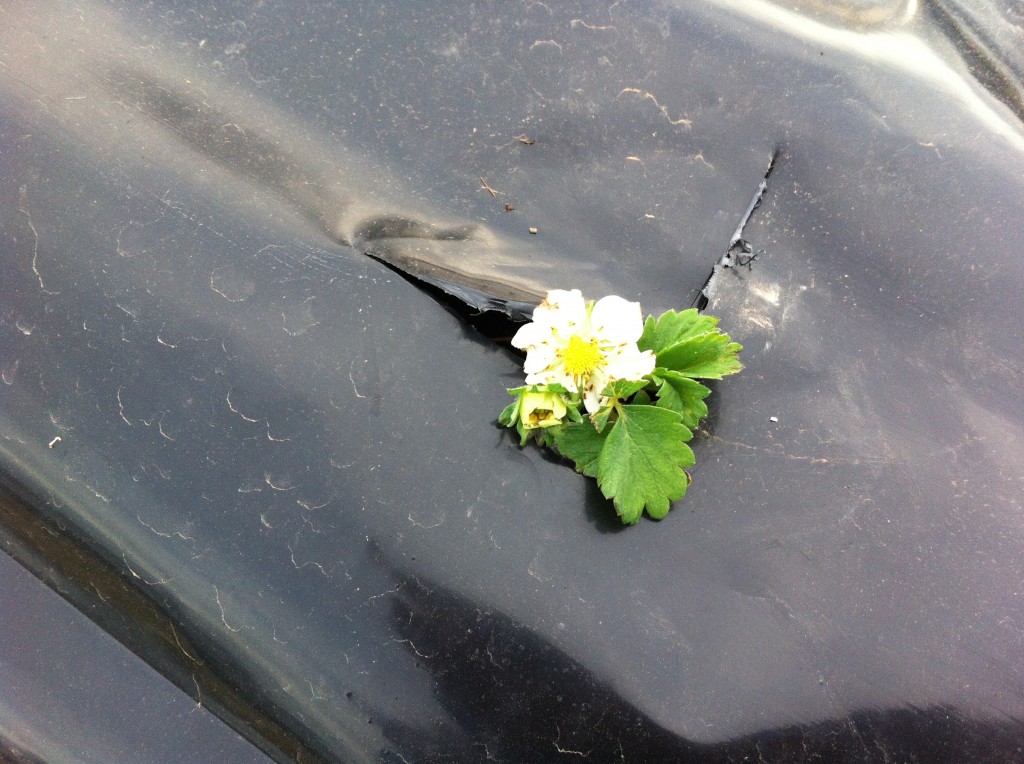
Today, when I checked on them again, I found a bloom.

YeeeHaw……

Hopefully, we will be in strawberry  heaven come May.

I even have more good news!

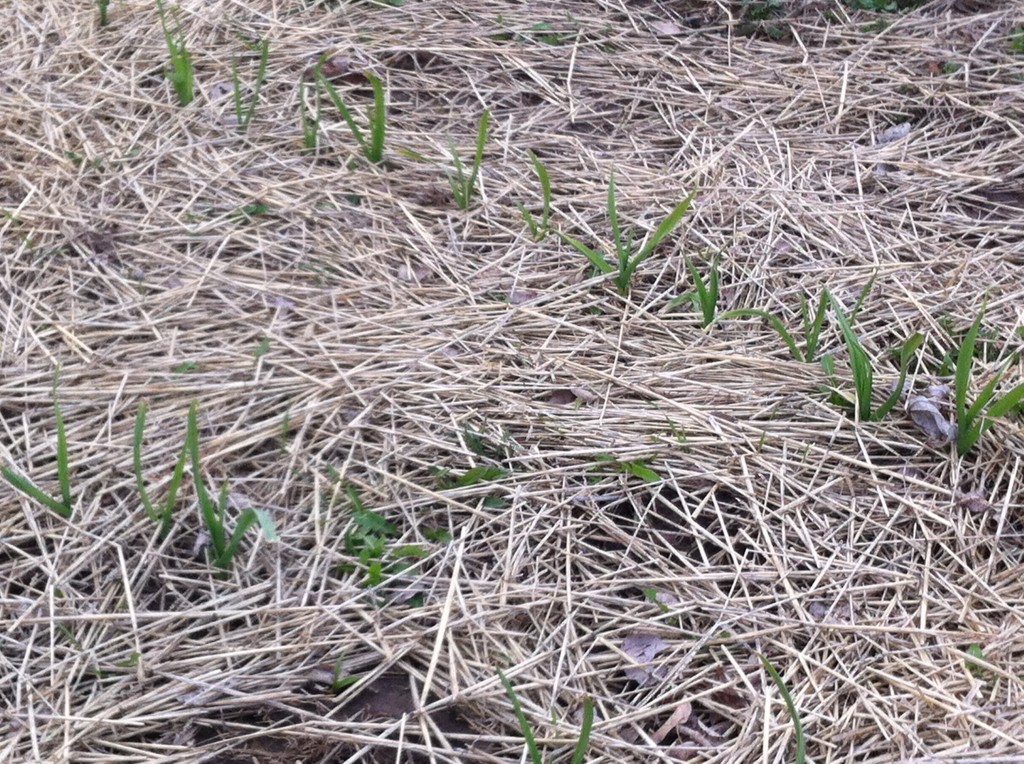
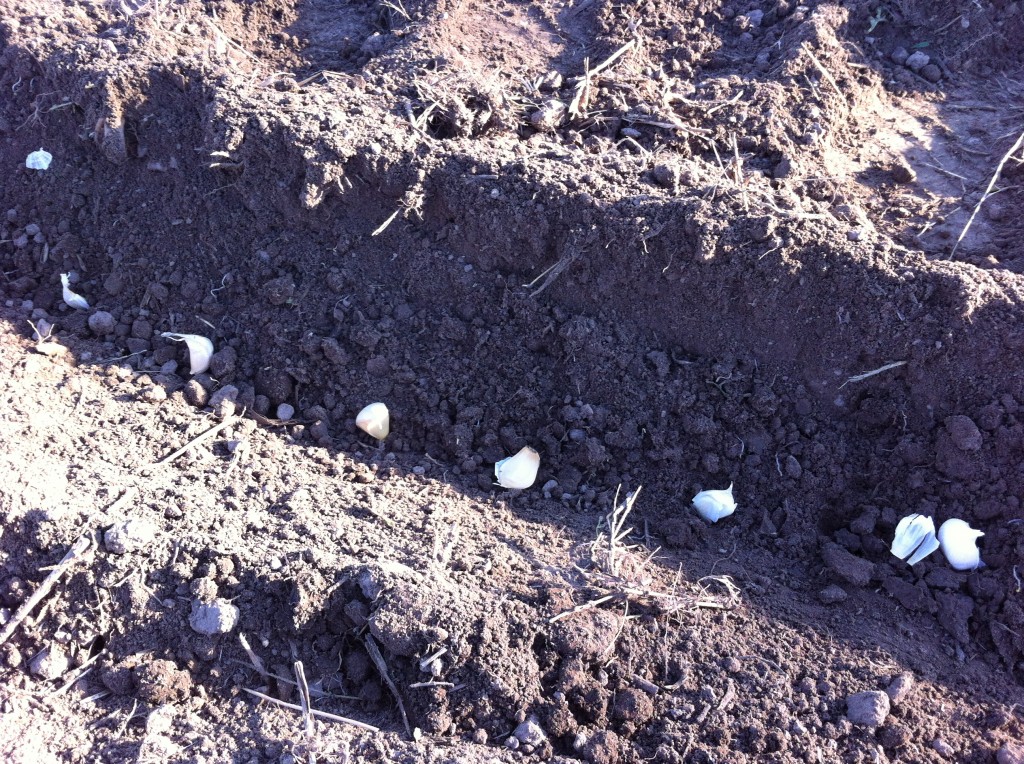
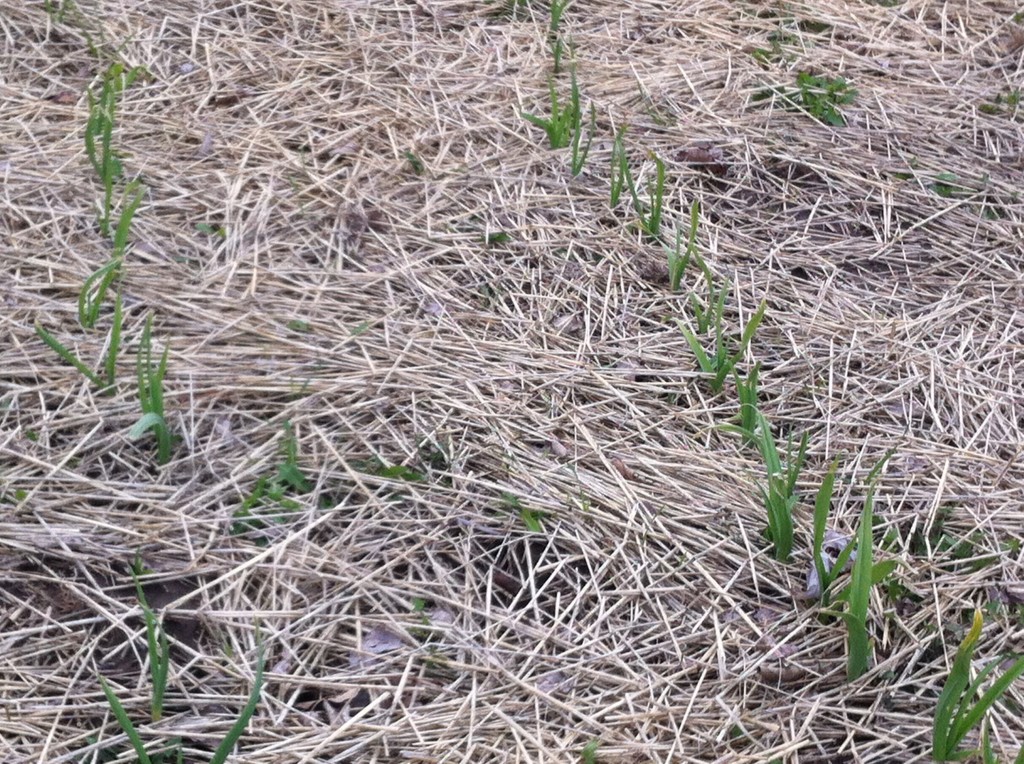
Look what is popping up out of the ground! These rows are the garlic and onion sets that we planted back in October/November.

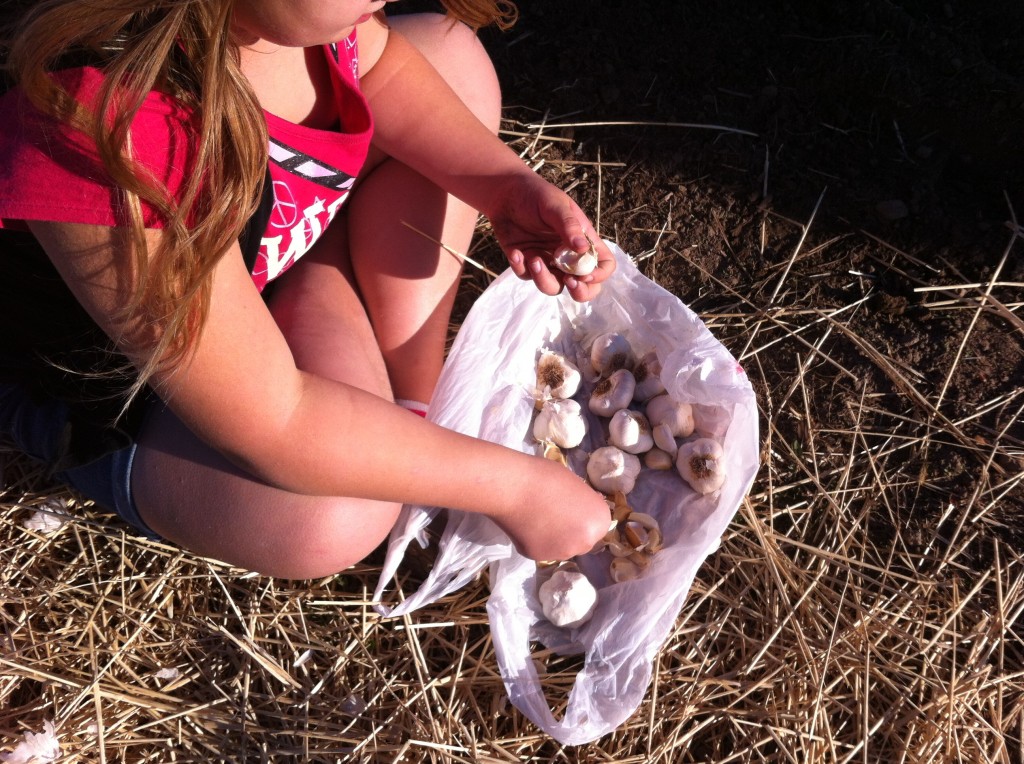
Here is one of the grand girls helping plant the garlic.

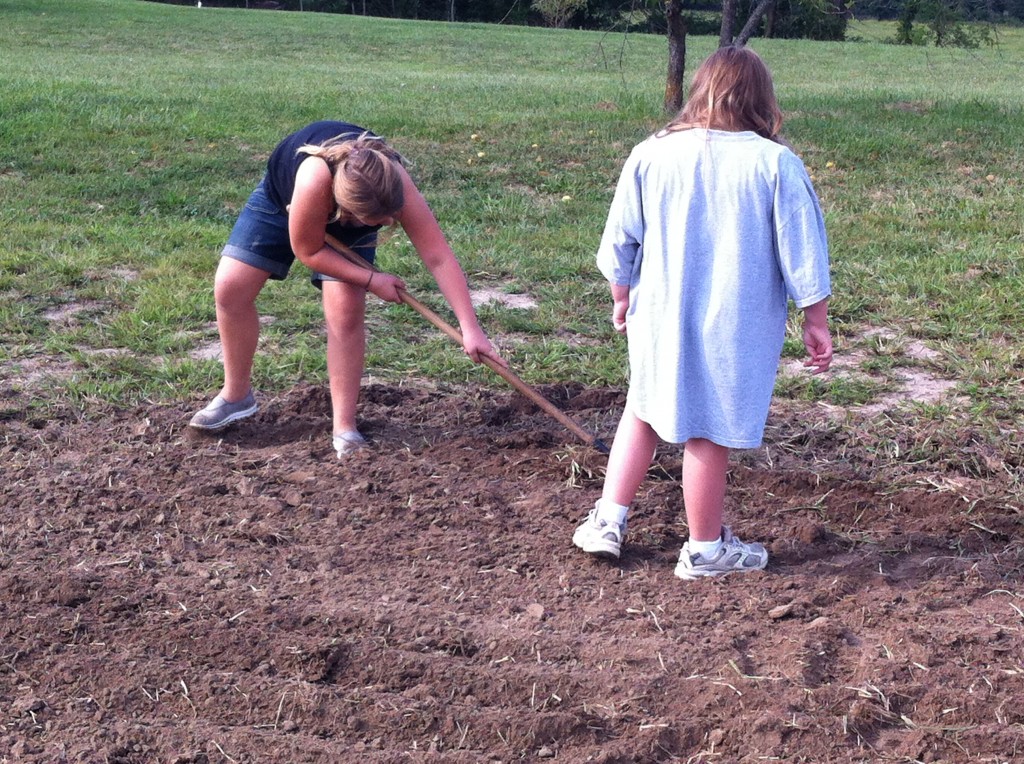
Do the grand girls look like future farmers? ; ) Middle Grand Girl did not want to get her clothes dirty, so she is wearing one of Company’s t-shirts over her clothes. Oldest Grand Girl, does not care if she gets dirty. Ever….

Don’t they look good? I just wish I knew which ones were the garlic and which are the onions. hehe……

I will let Company figure it out.

He HATES onions.

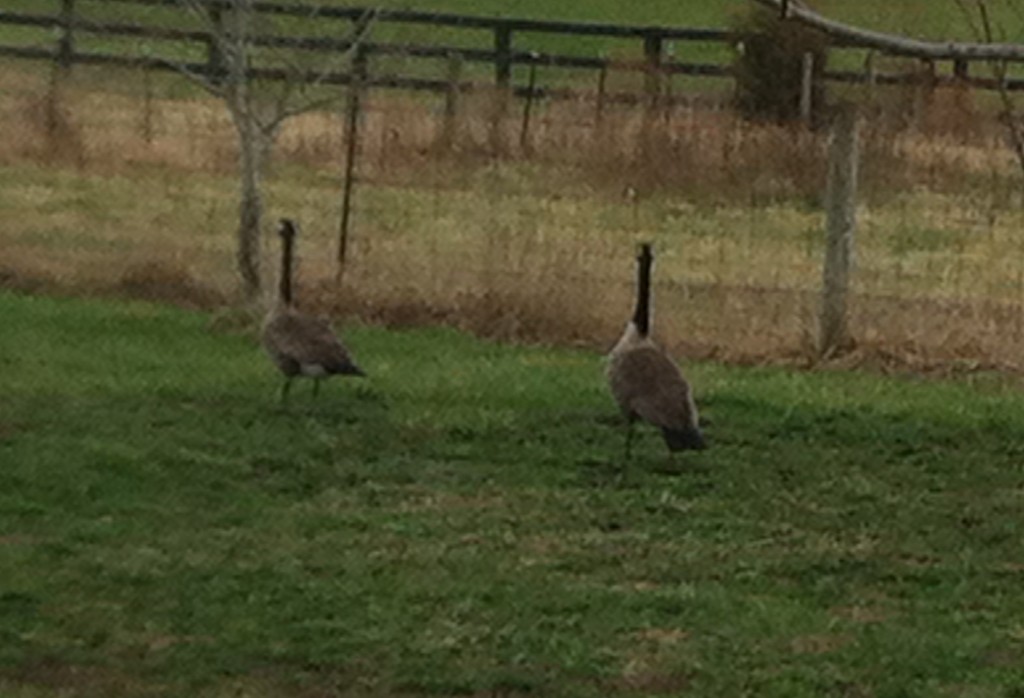
Maybe, he will ask the visiting geese for help.

Anywho, I am going to have to plant other things soon.

I don’t think strawberries, onions and garlic taste too well together.

How is your gardening going?

Becky

Post  you may enjoy:


Strawberry Bread                             Mountain Dew Dumplings              Apple Sour Cream Crumb Pie


Strawberry Rhubarb Crisp

Have you ever heard of a plant called Rhubarb?

I know that I had never heard of it until I went to college and my foods teacher had us make rhubarb spread for biscuits.

I feel in love with rhubarb that day!

If you want to plant some rhubarb in your garden, now is the time to think about planting some. I tried planting some last spring. I think some varmit dug up my two crowns, that I paid $8.00 a piece for, and had them for dessert. You can read about me planting my rhubarb here. Anywho, I think I think I will be planting several crowns over at Company’s house this spring because he has more room. I hope my results will be better than last year!

Well anyway, my good friend Minerva, who I miss and have hardly seen over the last few months, gave me this terrific cookbook called, “Back in the Day Bakery Cookbook.” It is written by Cheryl and Griffith Day.

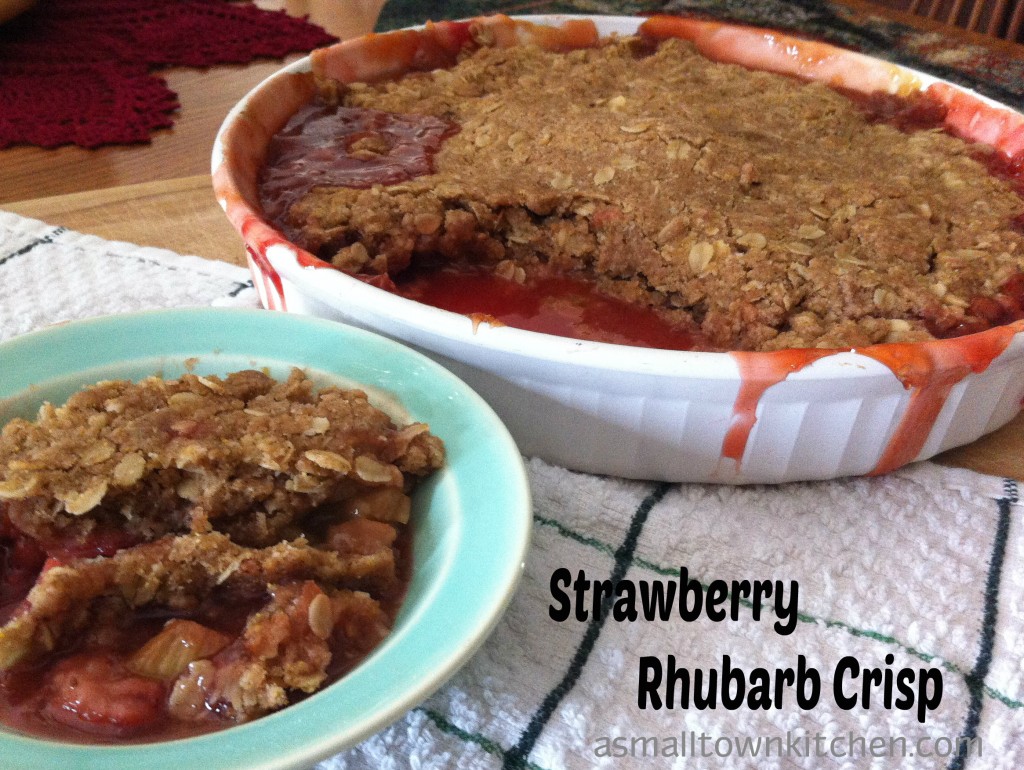
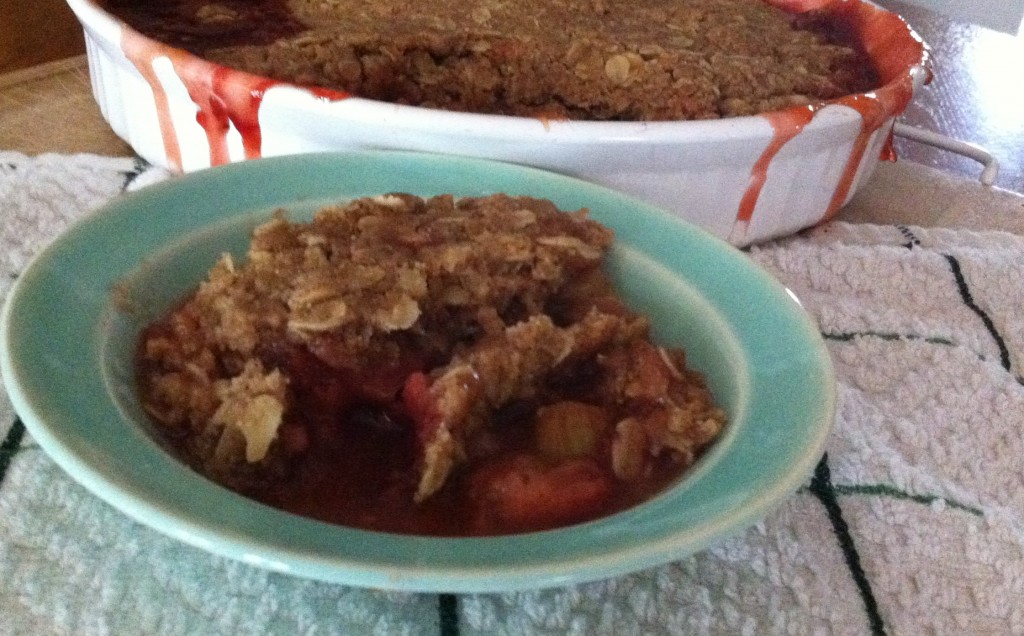
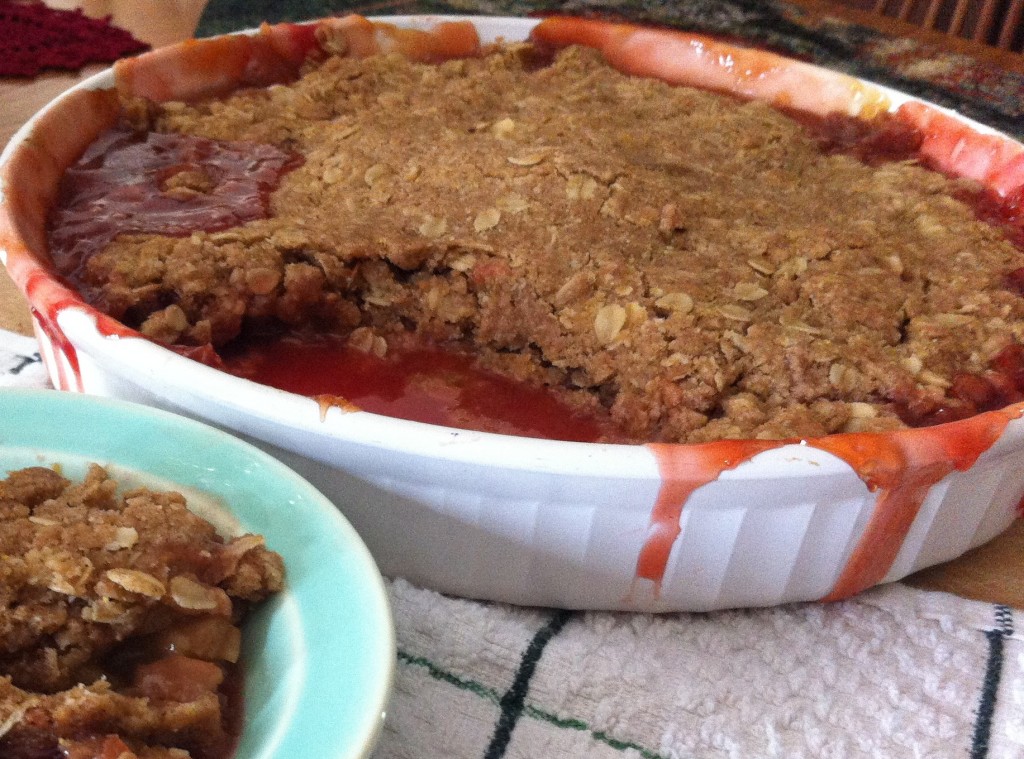
I LOVE LOVE LOVE this cookbook. Of course it has my favorite food group (desserts) as the main attraction and the recipe looks divine. Last year, in my hopes of starting my own rhubarb plot (farm), I made this rhubarb crisp recipe from this cookbook. I think it lasted all off 10 minutes. It is made with strawberries and rhubarb and is topped with a crunchy, sugary topping.

Looking at my pictures of this mouth watering dessert, is tempting me to make some right now at 10:30 at night.

It would be done just in time for a midnight snack.

I need an intervention, immediately! ; )

If you are ready for warm weather, flowers on the trees and a sweet dessert in your kitchen, try a little Strawberry Rhubarb Crisp.

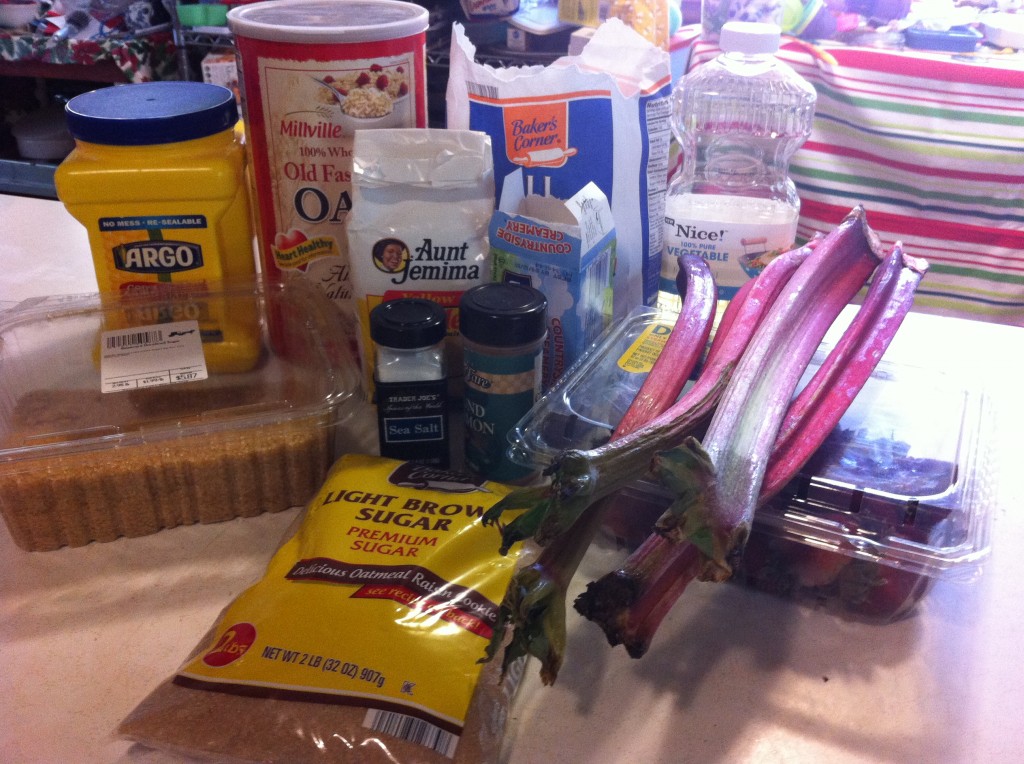
Here is what you will need:

I know it looks like a lot of ingredients, but you should have most of the ingredients in your kitchen cupboard. One thing you might not have is the turbinado sugar. I bought mine at a Amish store, but I have seen it at Hyvee also. It is a course  sugar that still have some maple flavor left in it.


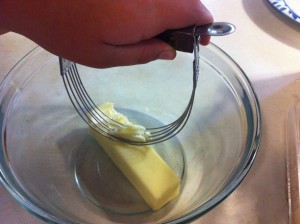
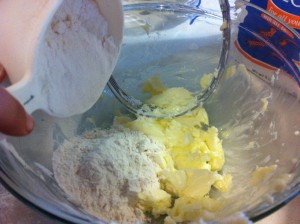
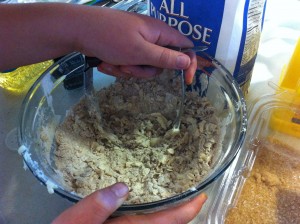
Take your softened butter and with a pastry cutter, cut in the flour. (the recipe says to cut the butter in cubes, sometimes I forget to follow the recipes.)


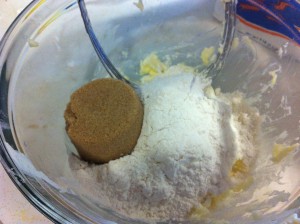
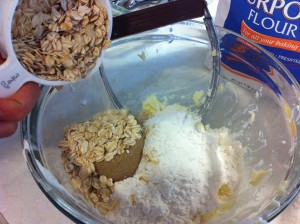
Add in the brown sugar and the oats.


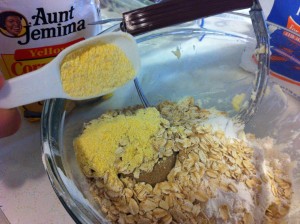
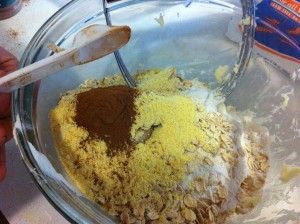
Add in the corn meal, salt and the cinnamon


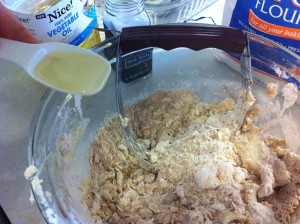
Lastly add in the oil. Now, get crackin with the pastry cutter and mix all the ingredients together. Set aside.


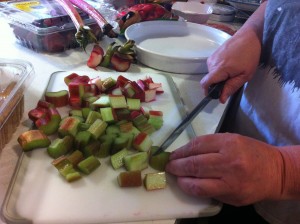
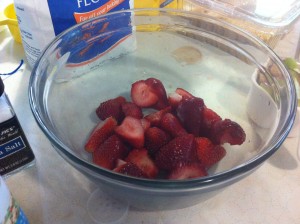
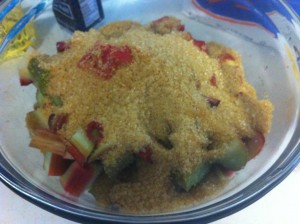
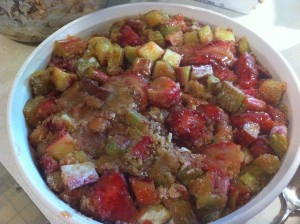
Now it is time to peel and cube the rhubarb. Next, wash and stem the strawberries.


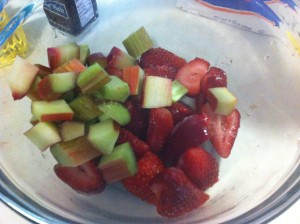
Add the rhubarb to the strawberries. Next, add in the turbinado sugar. (see how coarse it is and the light color of the maple flavor still in the sugar)


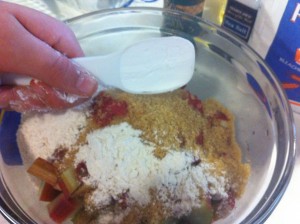
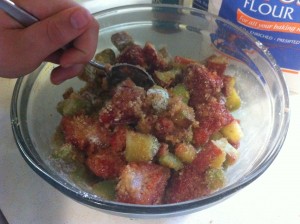
Add  in the corn starch and flour. Mix until all the flour is covered.


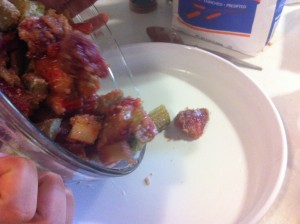
Dump , (is that a funny word to use when cooking?) the filling into a buttered deep dish pie plate. Spread the filling evenly on the bottom.

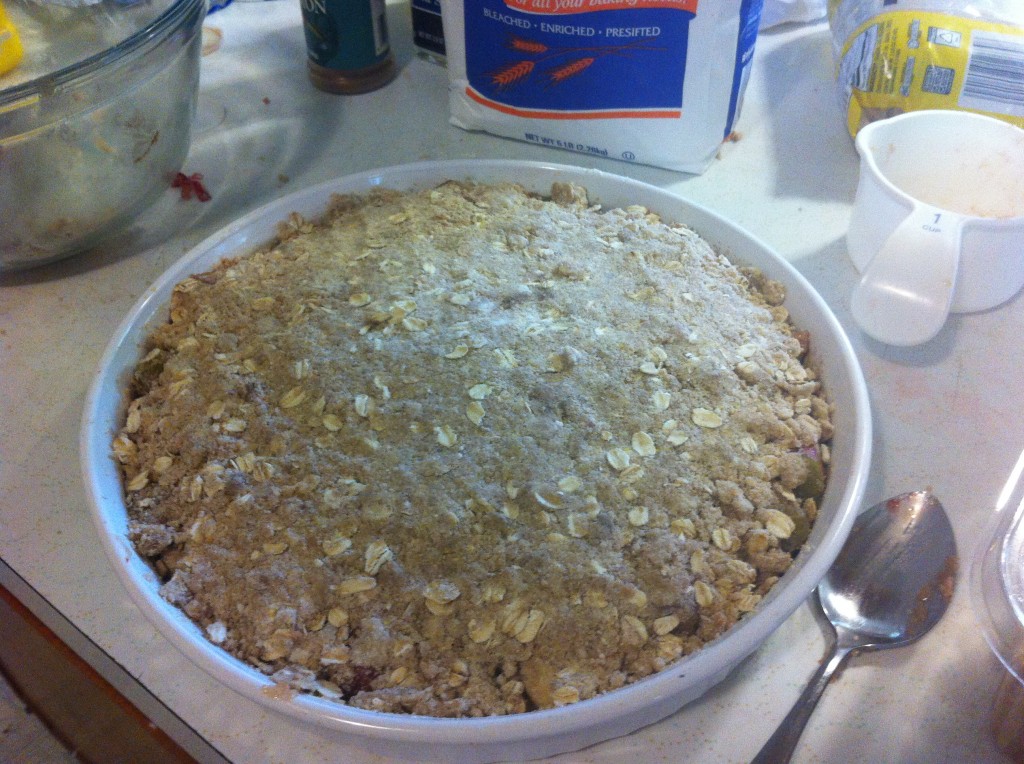
Take the topping and press or crumble it on top of the filling. Bake for 40 to 45 minutes in a 350 degree oven.


Here is the recipe:

Strawberry Rhubarb Crisp

Adapted from The Back in the Day Bakery Cookbook

Ingredients For The Topping:

1 cup flour

1/2 cup brown sugar

3/4 cups old fashioned rolled oats

2 tablespoons yellow cornmeal

2 teaspoons cinnamon

1/4 salt

1/2 cup butter (cut into 1/2 inch cubes)

1 tablespoon oil

Ingredients For The Filling:

2 cups strawberries

4 cups 1 inch pieces peeled rhubarb (I just took a vegetable peeler and went over the backs of mine)

1 1/4 cup turbinado sugar (found at most groceries stores)

3 tablespoons flour

1 tablespoon cornstarch

Directions:

Butter a 9 inch deep dish pie plate and line a baking sheet with parchment paper. You will put the pie plate on top of the baking sheet to catch any bubbling juices that might bubble out of the pie plate.

To make the topping: In a medium mixing bowl, stir together the flour, brown sugar, rolled oats, cornmeal, cinnamon, salt, butter and oil with a fork until completely blended. Set aside.

To make the filling: In another medium bowl, combine the strawberries and rhubarb with the turbinado sugar, flour and cornstarch, stirring to coat the fruit.

Pour the fruit mixture into the prepared pie plate. Sprinkle the topping evenly over the fruit mixture.

Place the pie plate on the baking dish.

Bake for 40 to 45 minutes in a 350 degree oven. The crust will start to get golden brown and crispy.

Now, all you have to do is wait for it cool off before you can eat (all of) it!

I will have to say it again, “I love rhubarb.”

Enjoy,

Becky

Some of my favorite recipes post:


Good Morning Saturday                       Corn Bread Salad                                Crusty White Bread

Easter Bird Nest

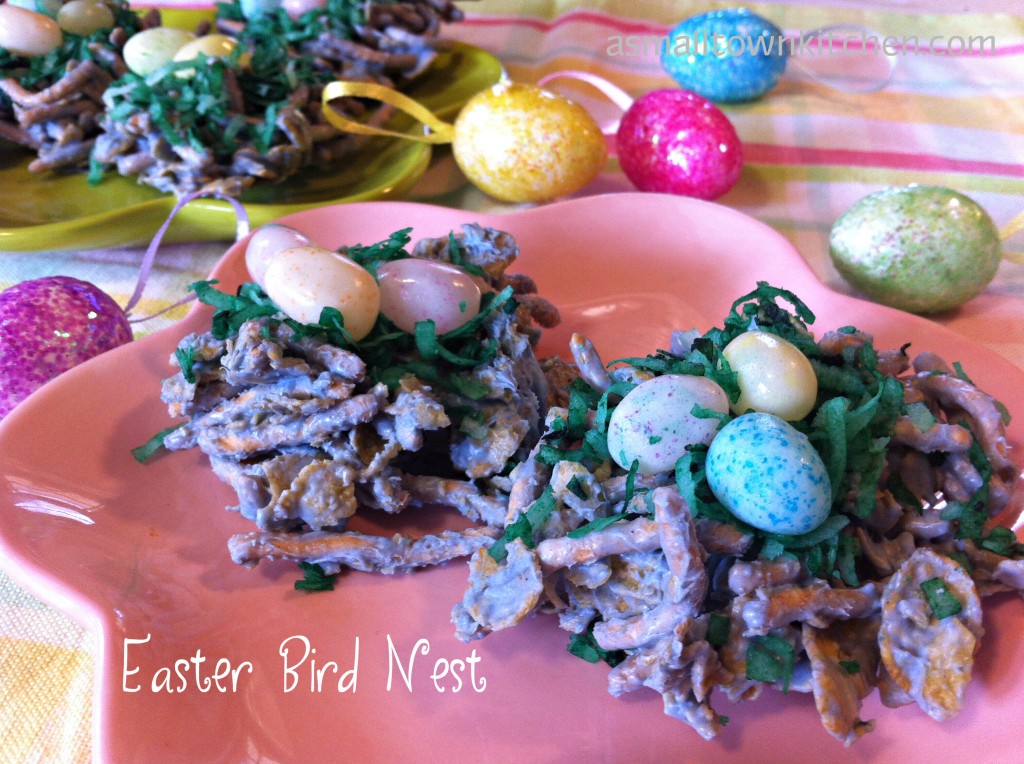
Last Saturday, the Oldest Grandgirl and I decided to start making some Easter treat ideas. I ran across this recipe  on a Catholic Church recipe blog where cooks submitted recipes.  I thought this was a super cute and super easy recipe to make with the Oldest Grandgirl. So, we thought we would give it a go.

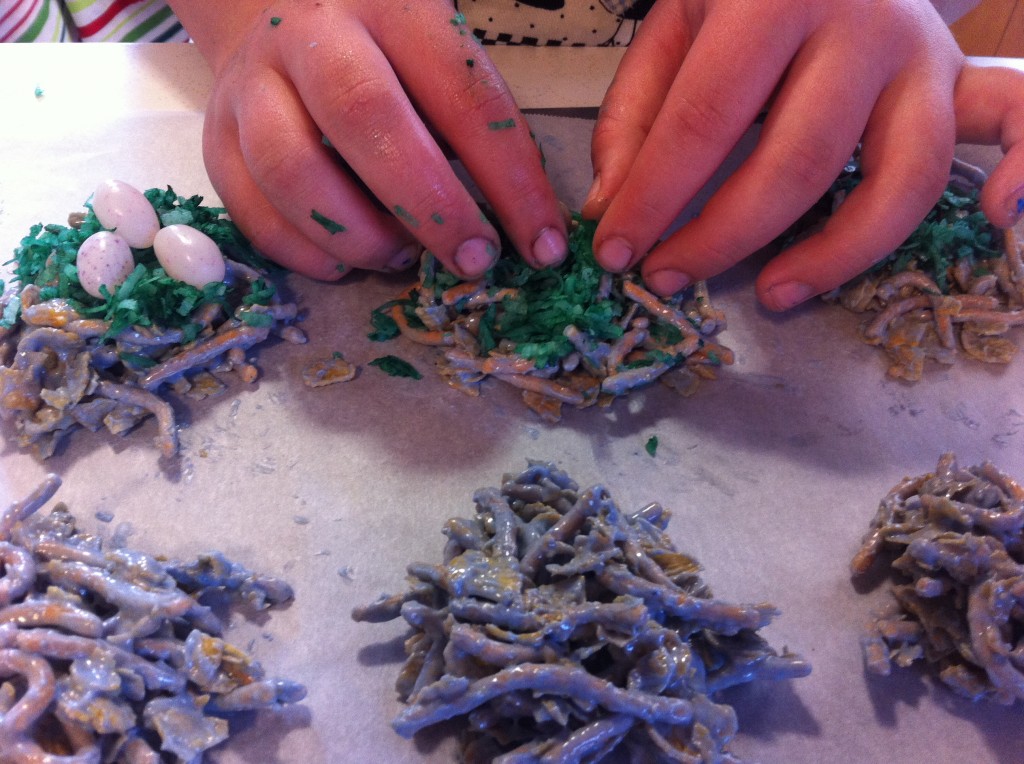
Oldest Grandgirl had to get her hands right in the there to form the nest.

It did not take no time at all until she had them all made. She had so much fun making them, that she got up again Sunday morning and made another batch.

Woo…hoo….(now who volunteers to wash the all the dishes she dirtied?)

If you are looking for a fun, easy, and tasty Easter treat to make with your family, try making these nest.

Don’t worry you will not need a  to lay the eggs.

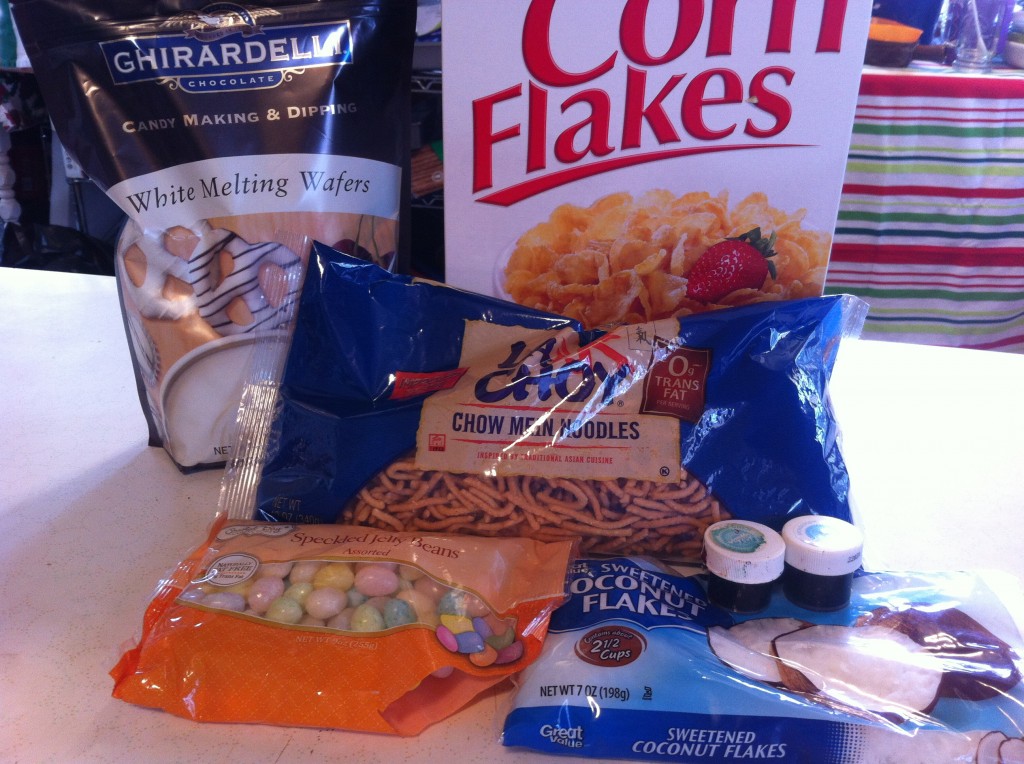
Here is what you will need:

You will need some corn flakes, chow mien noodles, white melting wafers (you can use the Wilton ones too), coconut, some kind of candy for the eggs, I used jelly beans and you will need some green and blue food coloring.


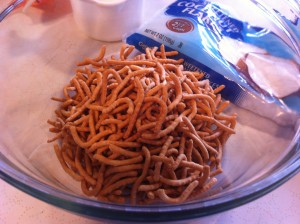
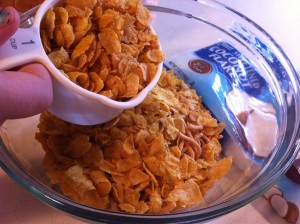
In a medium size bowl, measure out the chow mien noodles and the corn flakes. Stir together.


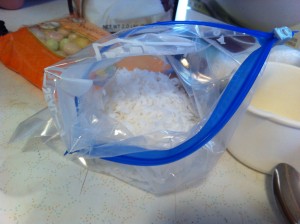
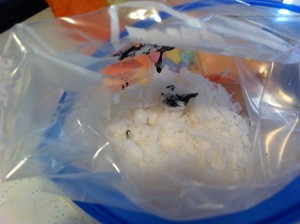
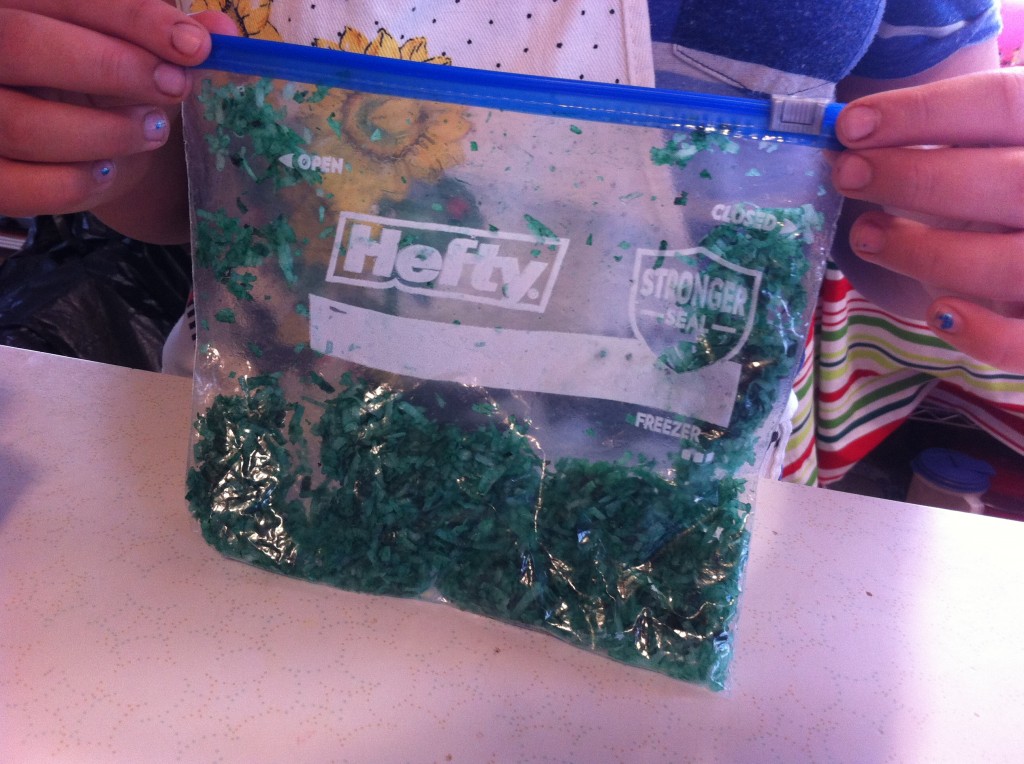
In a zip lock bag, measure in the coconut. Add a small amount of green food coloring.


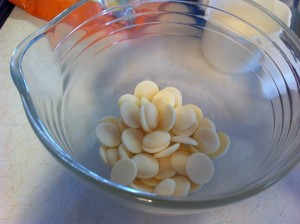
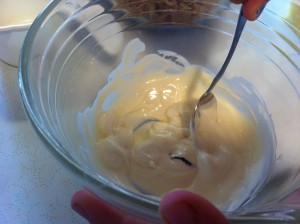
In a microwave safe bowl, measuring in the white candy melts. Place in the microwave at 30 seconds at a time, or until all the candy melts.

While I was melting the candy in the microwave, Oldest Grandgirl was kneading in the food coloring into the coconut, until all the coconut turned green.


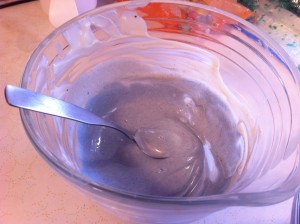
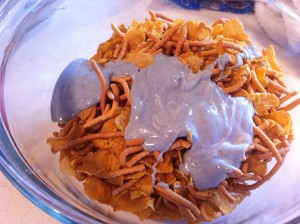
When the candy melts were melted, add a small amount of blue food coloring and stir. Adding more coloring if you want the nest darker. When you get the shade of blue you want, pour the melted candy over the cornflakes and chow mien noodles.

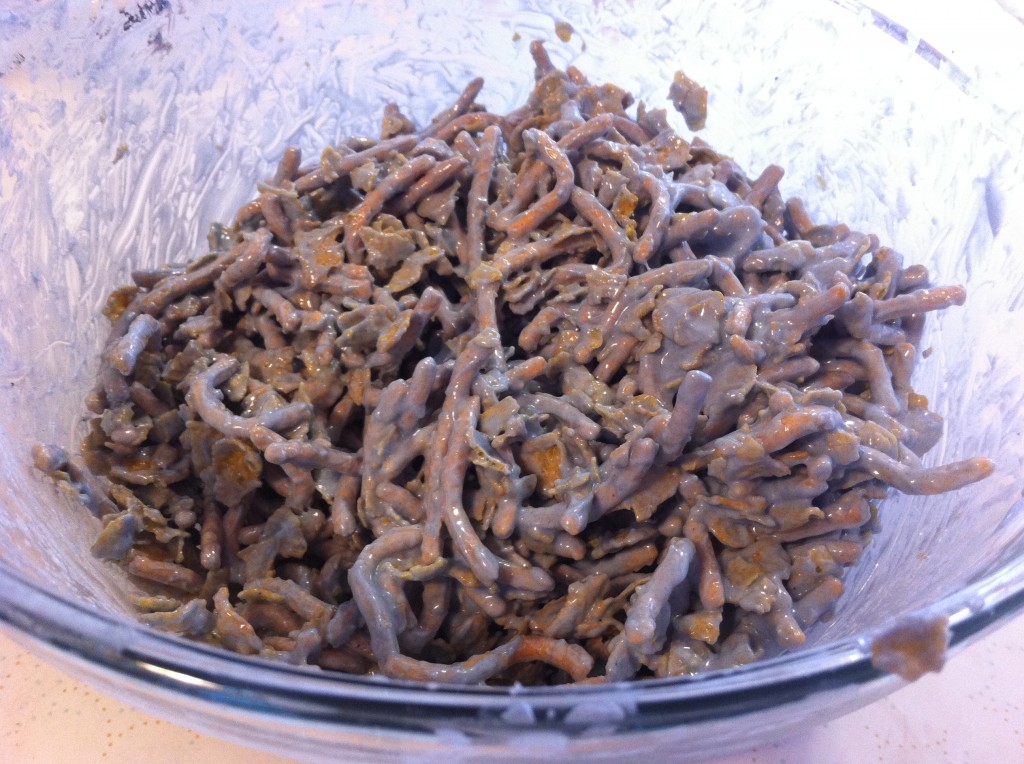
Stir everything together until all the corn flakes and chow mien noodles are coating in the melted candy.

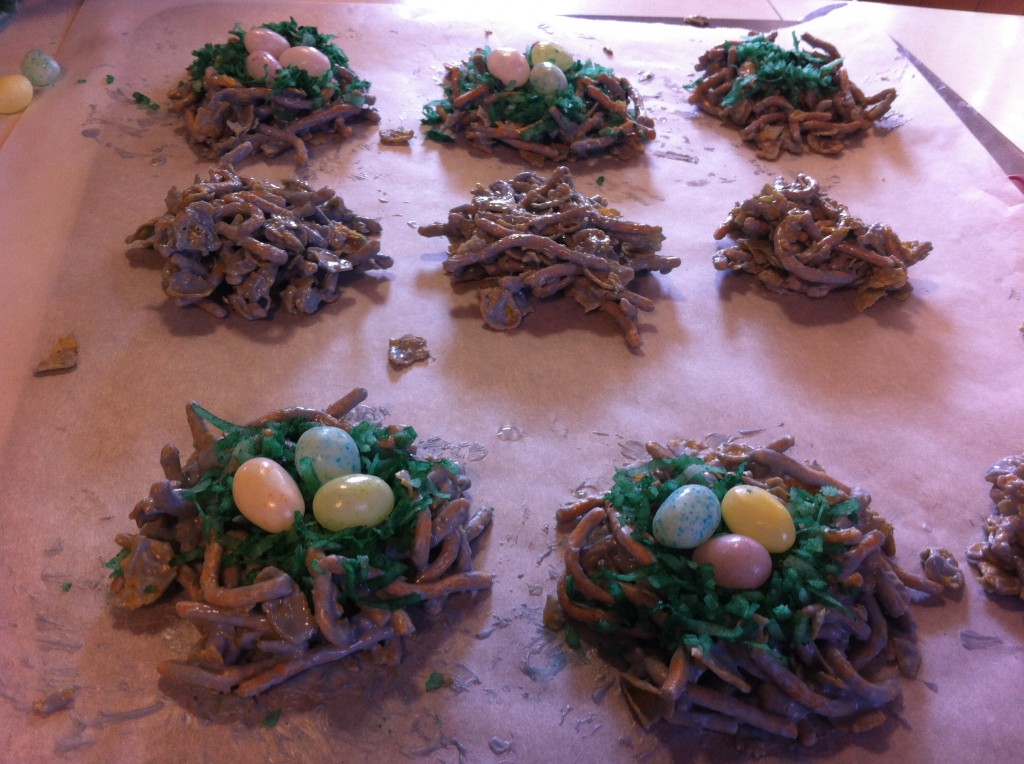
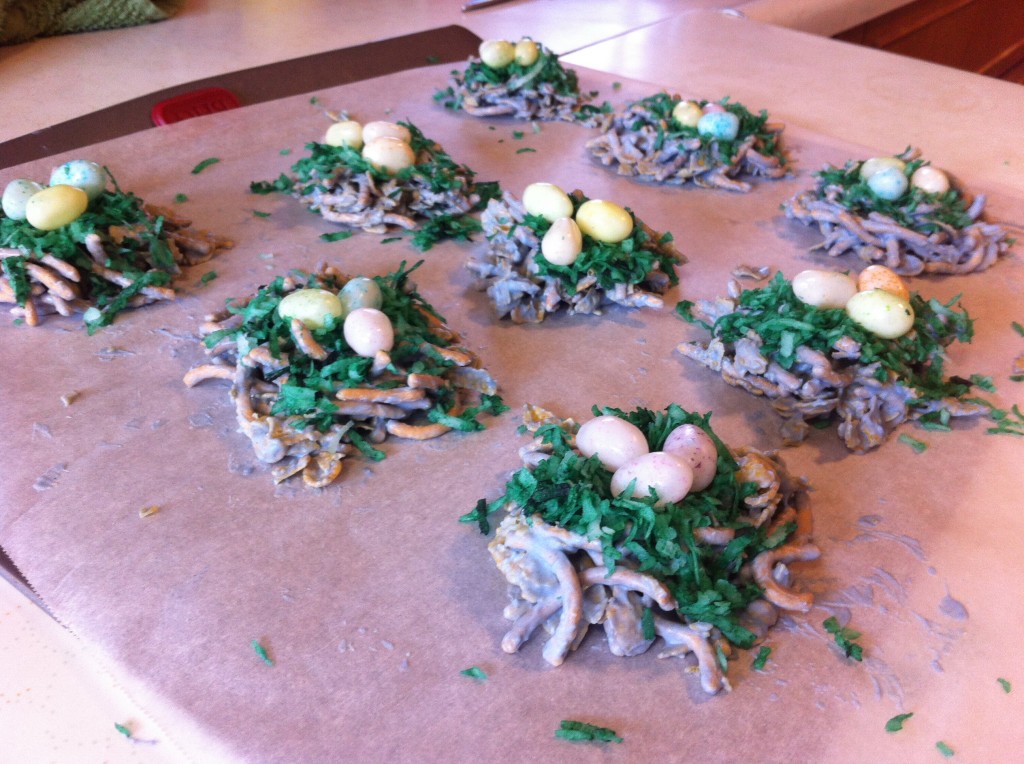
Put parchment paper on a cookie sheet and start forming the little nest. Before the candy melts harden, put a small amount of colored coconut onto the middle of each nest.

Place candy on top of coconut to imitate eggs.

Let the bird nest set until the candy has harden.

That is all there is to making these adorable little nest.

Here is the recipe:

Easter Bird Nest

Adapted from Catholic Cuisine BlogSpot

Ingredients:

2 cups of corn flakes

2 cups of chow mien noodles

1/2 cup shredded coconut

2 cups white candy melts

jelly beans (or another candy to resemble eggs)

blue and green food coloring

Directions:

In a medium size bowl, mix the corn flakes and chow mien noodles together. In a microwave safe bowl measuring the candy melts. Before you melt the chocolate, put the coconut into a zip lock back with a small amount of green food coloring. Knead in the food coloring until you turn the coconut green.

Now, you can melt the candy in the microwave, in 30 second increments, until the candy is melted. Add a small amount of blue food coloring to the melted candy and stir until the candy turns a soft blue.

Pour the melted candy over the corn flakes and chow mien noodle mixture. Stir the candy in until all the corn flakes and chow mien noodles are covered in colored melted candy.

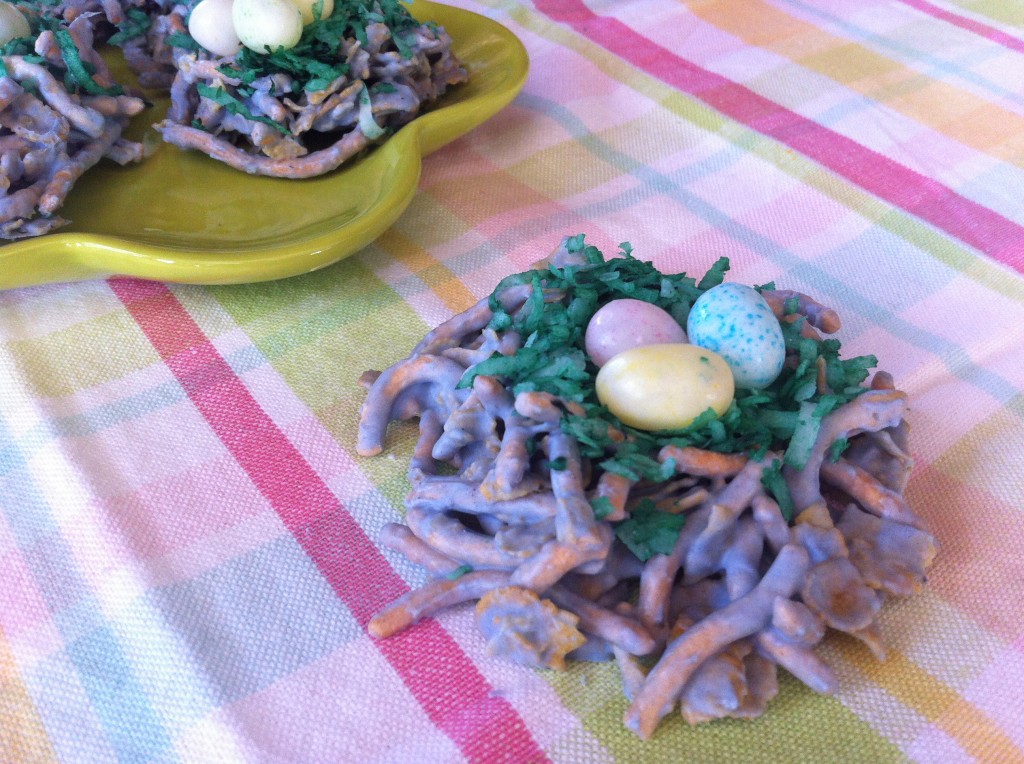
On a parchment covered cookie sheet, spoon out corn flake mixture and form little next. This recipe makes approximately 9 to 12, depending on the size. Before the candy hardens, put the green coconut onto the middle of each nest. Press down to kinda glue to the melted candy. Lastly, arrange 3 jelly beans (or candy of your choice) in the middle of each next to resemble eggs.

Arrange these precious little yummy next on some cute little plates to show them off.

Happy April 1st!

Becky

Other post  you may enjoy:


Coconut Cream Cake                      Creamy Baked Potato Soup               Strawberry Spinach Salad
 

Nervous Mother Hen

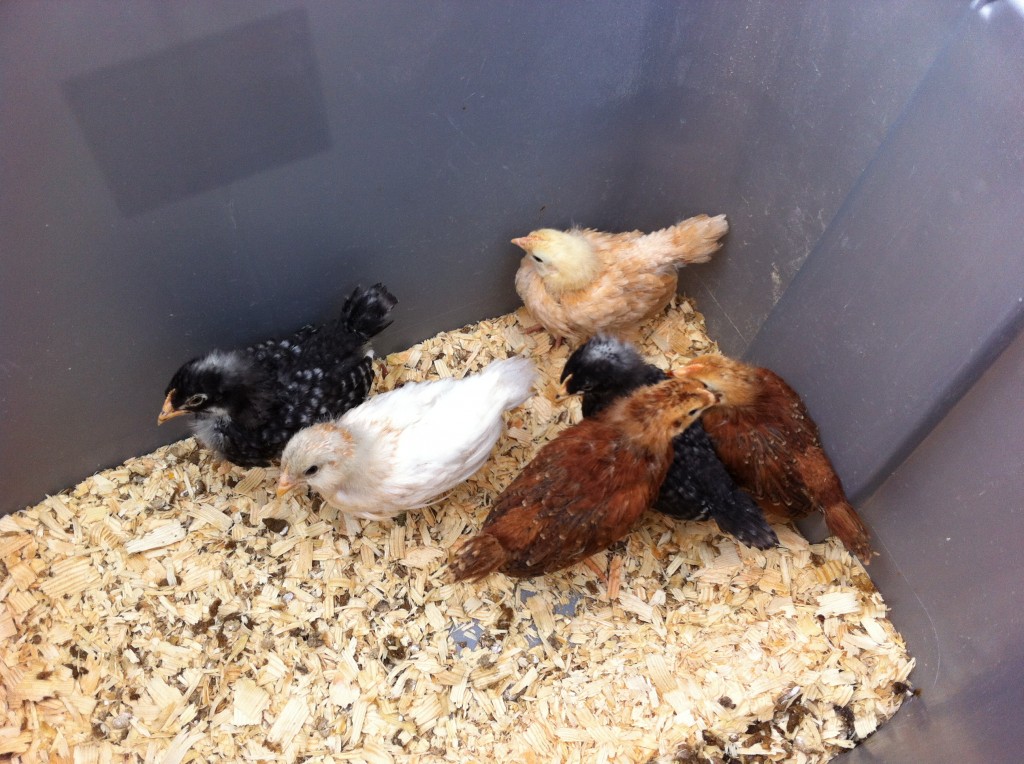
See how big the little ladies are getting?

They will be 3 weeks old tomorrow. My how time flies! They are slowly losing their little downy feathers for regular “big girl” feathers.

Some are trying fly…YIKES!

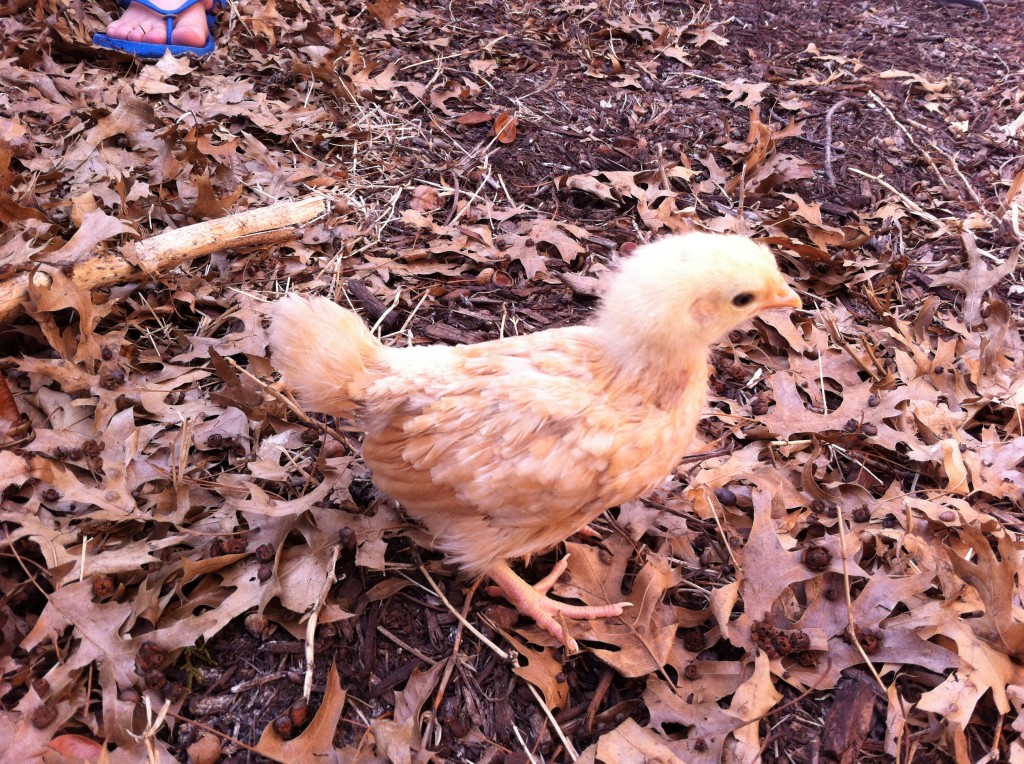
Sunshine, is the sweetest thing. She was the first chick to be let out of the brooder to explore around the back yard. Oldest grandgirl, Oldeset Daughter and I got real nervous.

This little chick can run fast!

We put three of the chicks out first. Their little excursion lasted, maybe 5 minutes. We took them out into a secluded place in the yard so they could not just run off. I positioned Oldest Daughter on one side, Oldest Grandgirl on the other. The fence was on one side and the house on the other. I guarded a spot where the chicks could get through the fence. On a warm day, like 70 degrees, you can take the chicks out for a bit to get them used to outside noises and smells.

5 minutes was long enough.

Back in the brooder they went and back into the garage, where they are safe.

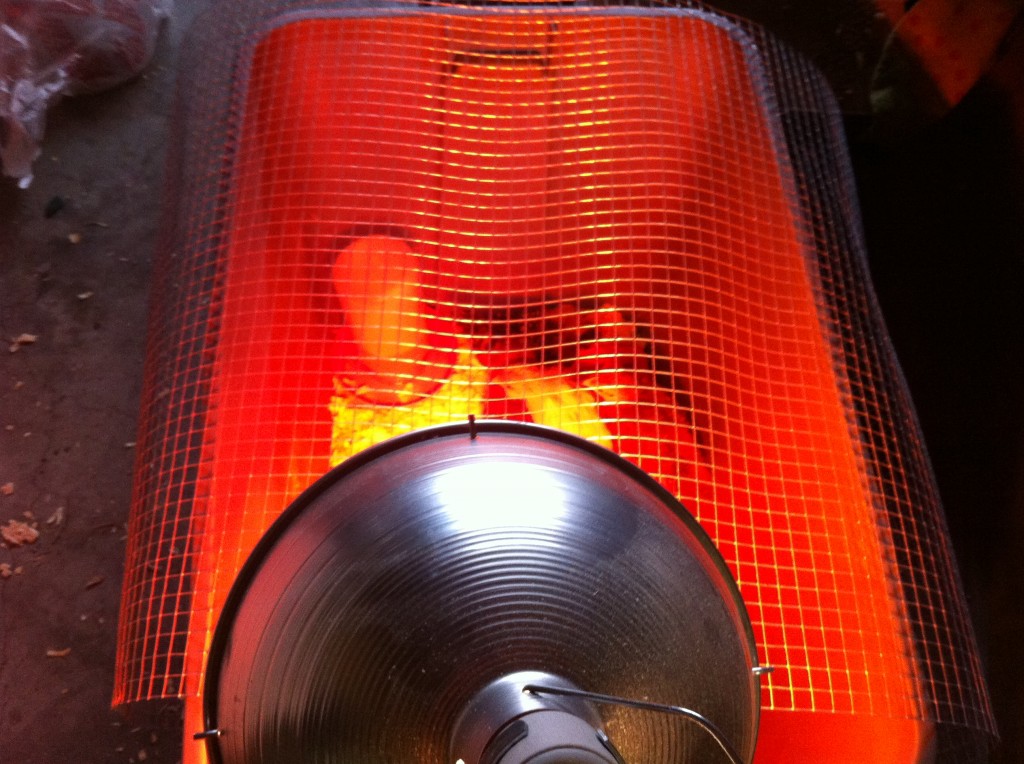
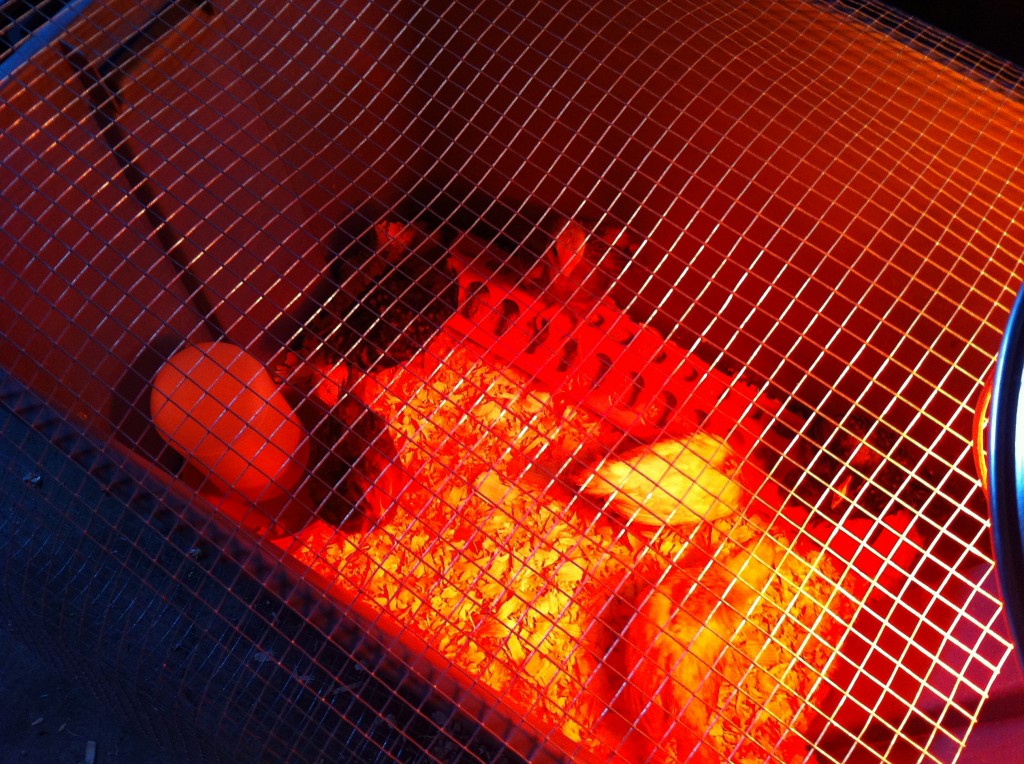
Now, that the little ladies are trying to fly, I drape chicken wire over the top of the brooder so they cannot fly out.

They are all tucked in for the night.

They have fresh bedding.

They have fresh food.

They have fresh water.

Lastly, they are all snuggled and warm with their heat lamp going.

I feel like the hotel commercial that says, “we will leave the light on for you.”

Chicks are fun!

Becky


Setting up a Brooder                             Baby Chicks Day One                    Checking Poopy Bottoms


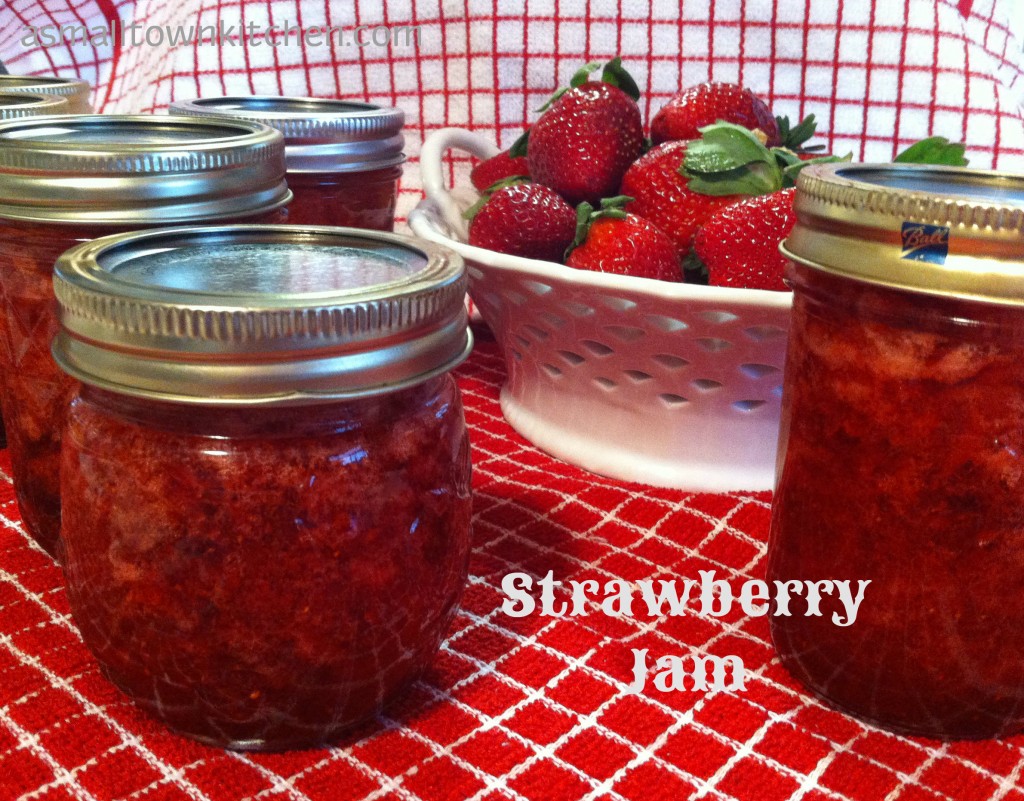
Strawberry Jam

A few weeks ago, there was a sale on strawberries at my local organic grocery store. They had reduced the price of their strawberries down to .99 cents for 16 ounces.

Woo…hoo!

It was a great time  to offer a preserving cooking lab for my advanced foods class using fresh strawberries. So, I showed my classes how to make freezer jam. I try not to get on my soap box too often here on the webpage. In saying that, I promise I won’t stand on it for too long. but, I feel that preserving food is an essential lesson for students.
The preserving foods lab lesson offers the students the opportunity to; cut, chop, follow a recipe, measure, and participating in, start to finish, the techniques in taking a fresh food item and turning it into preserved food, such as jam. Last semester, we took pie pumpkins and made; pumpkin seeds, pumpkin puree and lastly pumpkin pies (with home made crust). You can read about the pie pumpkins here.

This semester, my beginning foods class took the remaining pumpkin puree and made these astonishing delicious pumpkin pancakes with home made caramel sauce. (I promise I will post those recipes soon.) It was refreshing to see how many different food items we could make from the pumpkin puree. Now, my classes were making freezer jam.
Here is one box of freezer jam, about to go into the fridge. You can refrigerate freezer jam for up to 3 weeks if you want to use it right away. Since the students were going to make Southern 7 UP biscuits to eat the jam on, we just put the jam in the refrigerator. Students brought their own containers from home to put their jam in. When we were done with the biscuit lab, the students were able to take their left over jam home….that is if there was any left over to take home.

Well anywho, since I was out of freezer room at home, I decided to take my strawberries and make cooked strawberry jam.  I could process the jam in jars and then be able to store the jam in my pantry. In the three weeks or so since I made the jam, I am not sure how many I have left. It is funny how many pieces of toast you can eat when you have fresh jam to slather on top. Not that I know anything about that. : )

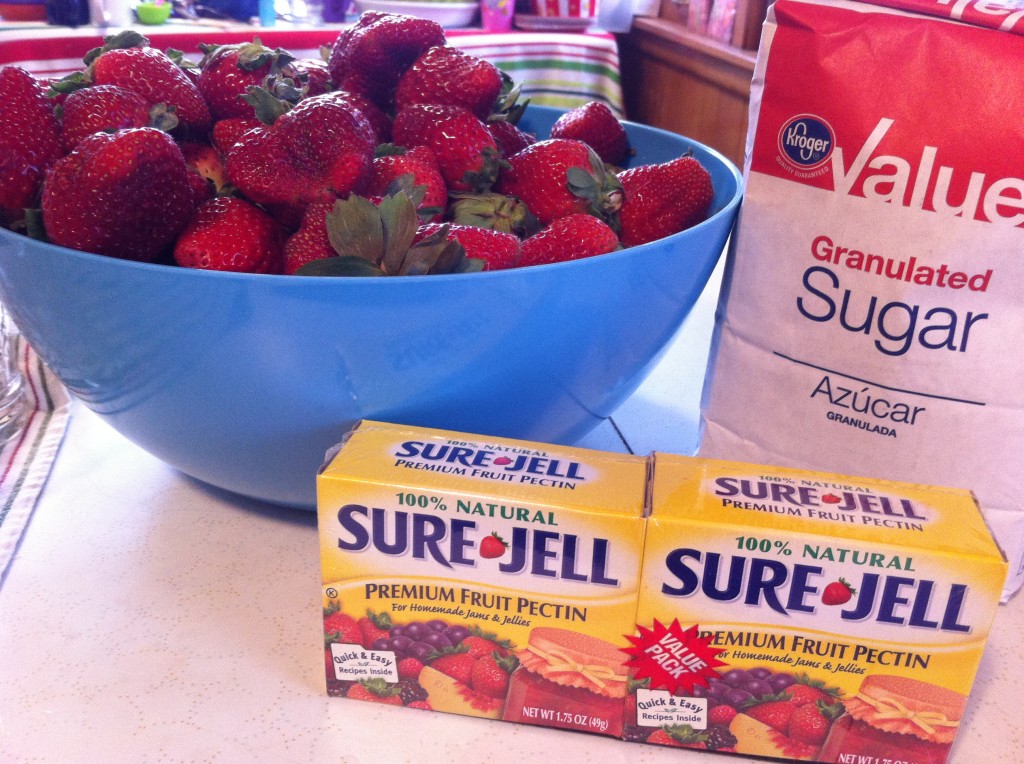
Don’t feel you have to wait until it is strawberry season in your area to make some jam. If you are able to find some strawberries that are on sale during the off season, give this basic, simple and delicious strawberry jam recipe a try. Here is what you need.

You will need strawberries (of course), sugar, and sure jell fruit pectin

.          

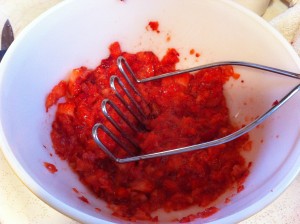
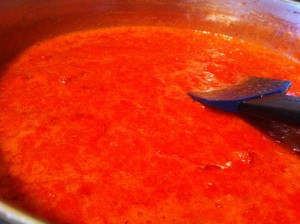
The first thing you do is, cut the green stem off the top of the strawberries and slice up. Take a potato masher and mash the strawberries. Put the strawberries in a large sauce pan.


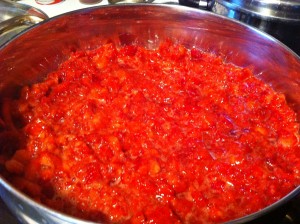
Add in the contents of the box of pectin and cook the strawberries and pectin together until the mixture comes to a FULL boil.


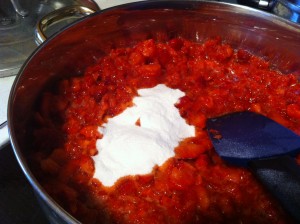
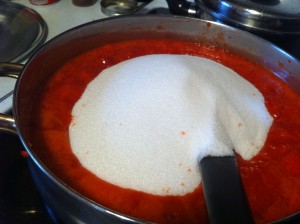
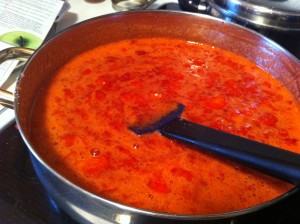
When it comes to a full boil,  quickly add in the sugar and stir. Return the mixture to a full boil.


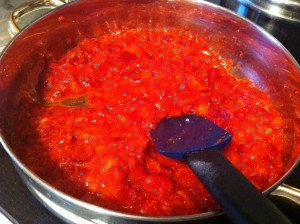
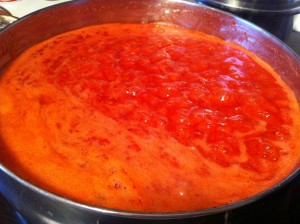
When the mixture comes to a full boil, boil for ONE minute, stirring constantly.


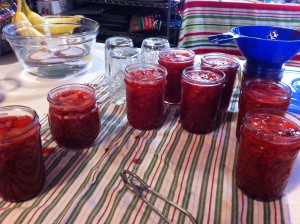
Ladle the jam into sterilized jars to within 1/8 inch from the top. (you want less air in the jar as possible). Wipe the jar rims and threads. Cover with two piece lids. (screw bands and the flat lids that have the little rubber circle edge).


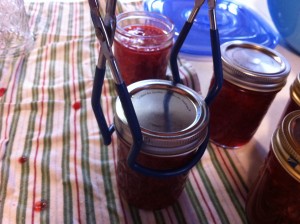
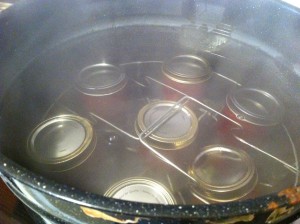
Screw the bands tightly. Place jars on elevated rack in canner.


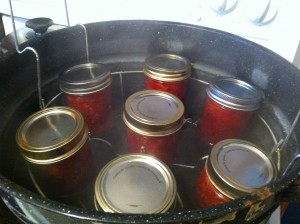
Lower rack into the canner. Water must cover jars by 1 to 2 inches. Cover, and bring water to gentle boil. Process for 10 minutes.


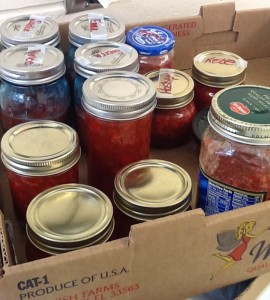
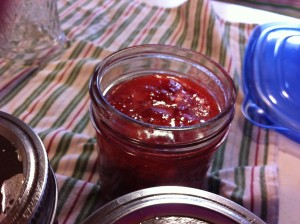
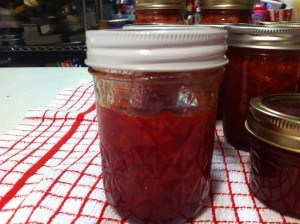
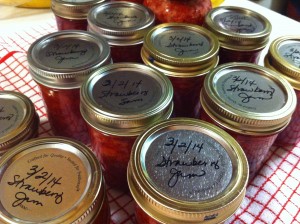
I did not process this jar, as I did not have enough jam to go to the top, so I put it in the refrigerator for us to enjoy now. Let the processed jam stand at room temperature for 24 hours. Store processed jam for up to one year. Be fure to lable the jam with what kind of jam and the date you made it. Refrigerated jam for up to 3 weeks. Note: that jar of jam that went into the refrigerator did not last one week ; )

See, that is all there is to making strawberry jam.

Here is the recipe:

Recipe Adapted from the Sure Jell directions located inside the box of pectin.

Ingredients:

5 cups crushed strawberries

7 cups sugar

1 –1.75 ounce box of Sure Jell

Directions:

1 Bring boiling-water canner, half full with water to a simmer.

2. Sterilize  and wash jars and screw bands with soapy water and rinse with warm water.

3. Pour boiling water over the lids and let stand until you are ready to use them.

4. Measure exact amount of crushed strawberries into a 6 to 8 quart sauce pan.

5. PRE MEASURE the sugar into a seperate bowl, so you will have it ready to add to the strawberries when the time comes.

6. Add the contents of the box of pectin into the crushed strawberries and stir.

7. Bring the strawberry and pectin mixture to a FULL rolling boil, stirring constantly.

8. Quickly add in the premeasured sugar.

9. Return the strawberry, pectin and sugar mixture to a FULL roiling boil. Boil for exactly ONE minute.

10. Ladle the hot jam into the jars. Fill the jars, 1/8 inch from the top. Wipe the rim and threads of jar clean of any spilled jam.

11.  Put a lid on the top of the jar and then screw on the band, tightly.

12.  Put the jars of jam in a elevated rack in the canner. Lower the jars into the canner.

13.  Boil,the jars (making sure there is 1 to 2 inches of water over the top of the jars) for 10 minutes.

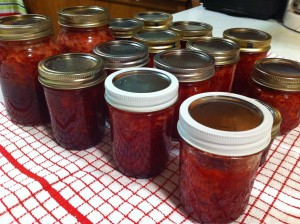
14. Take the jars out of the canner and let sit at room temperature for 24 hours. You should start hearing the lids pop as the jam cools, forming a airtight seal.

Now all you have to do is find an excuse to try some.

Enjoy!

Becky

Other post you may enjoy:


Brown Sugar Meatloaf                               Molasses Cookies                       Poppy Seed Bread with Glaze

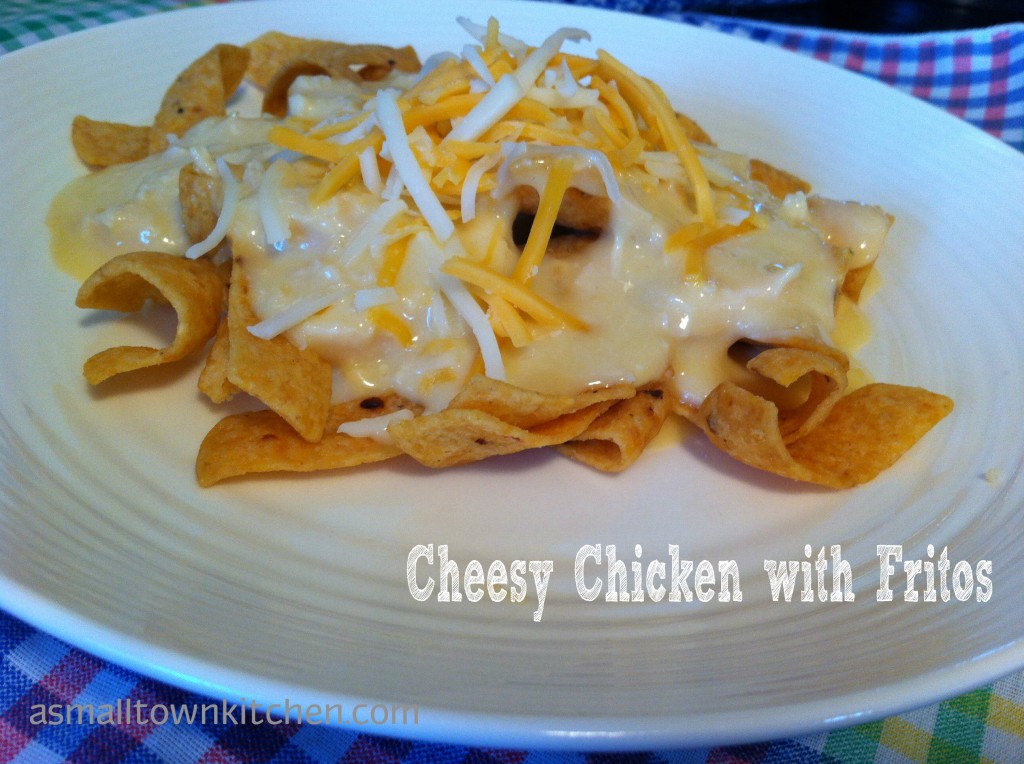
Cheesy Chicken with Fritos

I do not know exactly why this concoction taste so good.

It may be the chickeny, cheesy, creamy sauce, full of chunks of chicken.

It could be the salty, crunchy, corny taste of the fritos.

Maybe, it is when you mix the two together, that makes you want to keep scooping this fun (weird) combination into your mouth until your plate is clean.

Who knows? My sister Niener Wiener, invented this recipe years ago…way back…when I was in college (dust the cobwebs off my diploma). Or, at least that is when I first remember eating it.

Of course, I made the mistake in making this for the Oldest Daughter years ago. Now, she was not only was craving Apple Crisp, but was also craving this easy to make and easy to eat chicken recipe. Oldest Daughter even stopped at the store and the bought fritos.

What was a mom to do, especially after a rather long day chasing kids at school, when I was given the option of making such a simple meal for dinner?

Well, I did what other tired  (overworked) moms would do and made it.

Anywho, I thought I would share the recipe with you!

I know it does not contain all the food groups. You will notice, you do not see any green veggie on my plate, though I did make a salad full of cherry tomatoes with fat free dressing to go with it. Does that help?

Just don’t look at the back of the frito bag (32 original chips for 160 calories), just eat it and enjoy it.

You just have to like chickeny, cheesy, creamy, full of chunks of chicken poured over crunchy, corny, tasty fritos.

Seriously, who doesn’t.

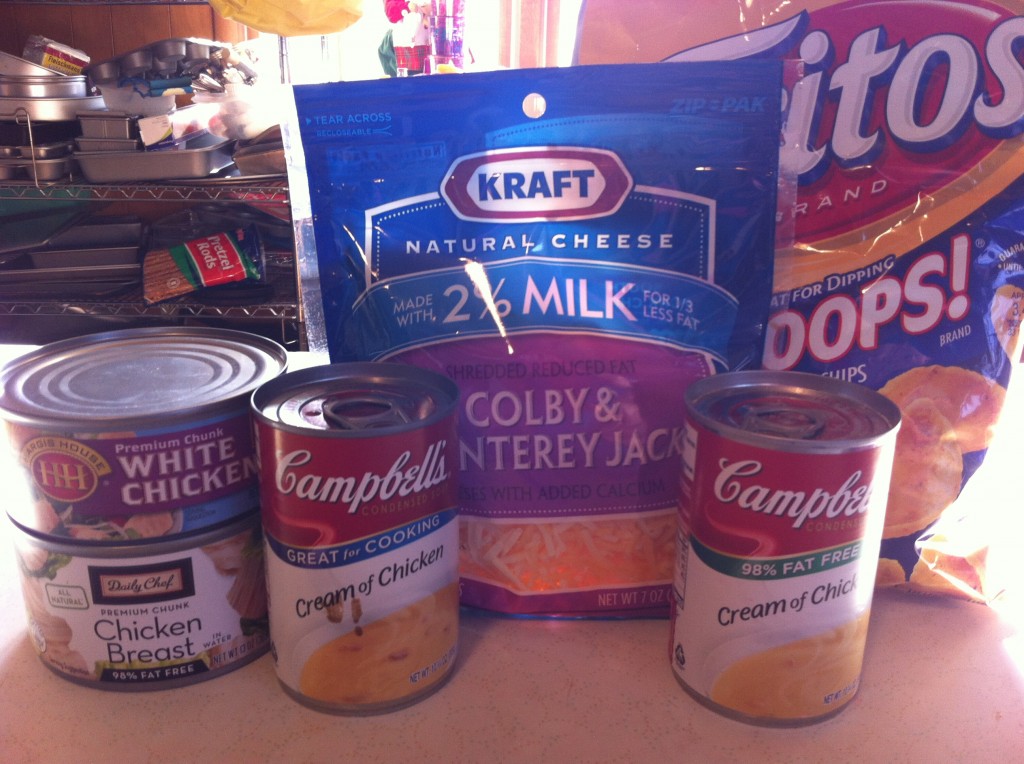
Here is what you need.

You will need two cans of white chicken, 2 cans of cream of chicken soup, 2 cups of either  shredded cheddar cheese (my favorite) or a combination of cheese (that is what I used cause it was in the fridge), milk and of course, fritos.


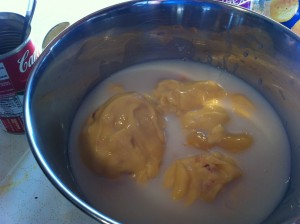
Drain the water off the chicken, and put the chicken in a medium sauce pan. Add in the cream of chicken soup.


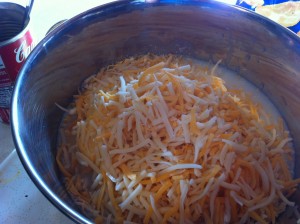
Pour in the milk, and the sprinkle the cheese on top.

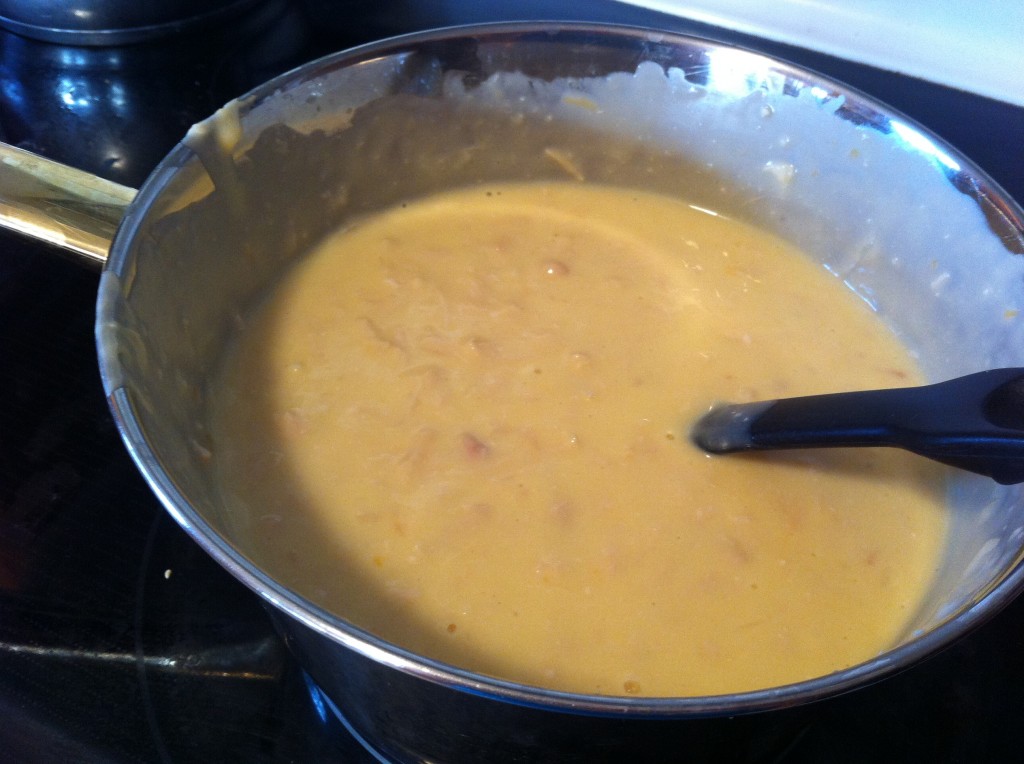
Slowly heat on medium heat, stirring constantly, until the cheese melts and the mixture starts to bubble. I break my big pieces of chicken apart with my spoon as I stir it.

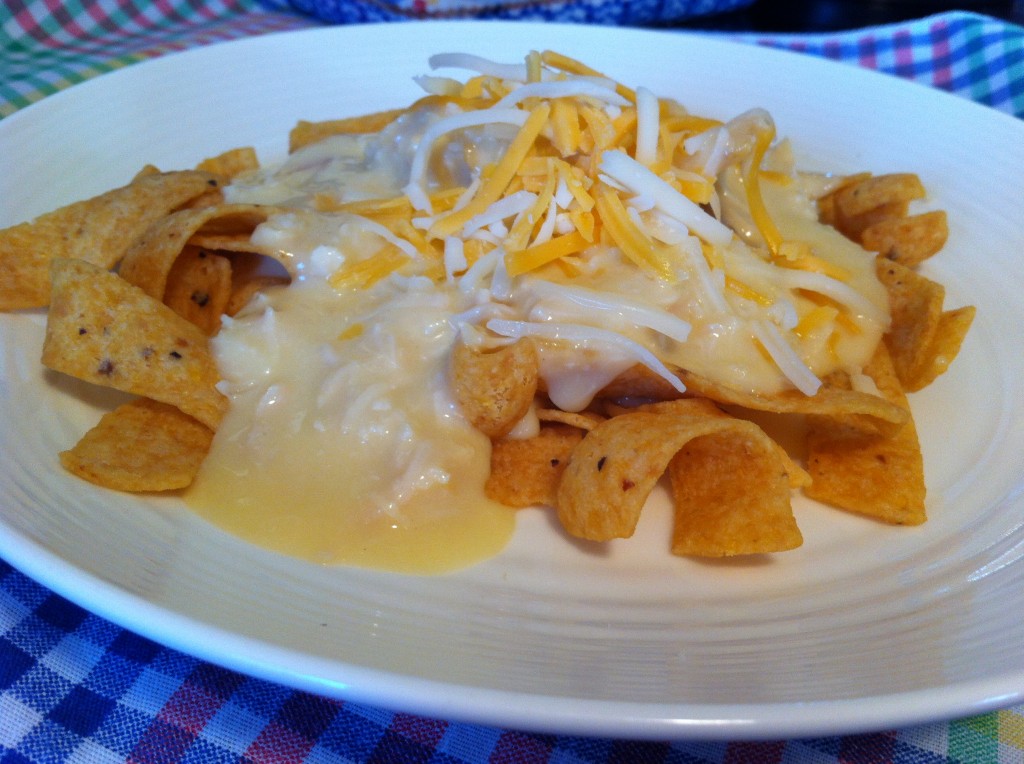
Now, all you have to do get a get a handful of fritos, put them on a plate and pour some Cheesy Chicken over them.

Oh…and don’t forget to grab your fork. : )

Here is your recipe:

Cheesy Chicken with Fritos

Recipe from Sister Neiner Wiener

Ingredients:

2–13 ounce cans of white chunk chicken breast

2–10 ounce cans of cream of chicken soup

1 1/4 cup of milk

2 cups of shredded cheddar cheese

Bag of Fritos

Directions:

Drain the water off of the chicken. Put the chicken, soup, milk and cheese into a medium sauce pan. Heat on medium, stirring continuously, until the cheese melts and the mixture is bubbly.

Serve over fritos or another chip of your choice.

Enjoy!

Becky

Other Post you may enjoy reading.


Broccoli Rice Casserole                     Messy Marvins                               Chicken Pot Pie


Related Posts Plugin for WordPress, Blogger...