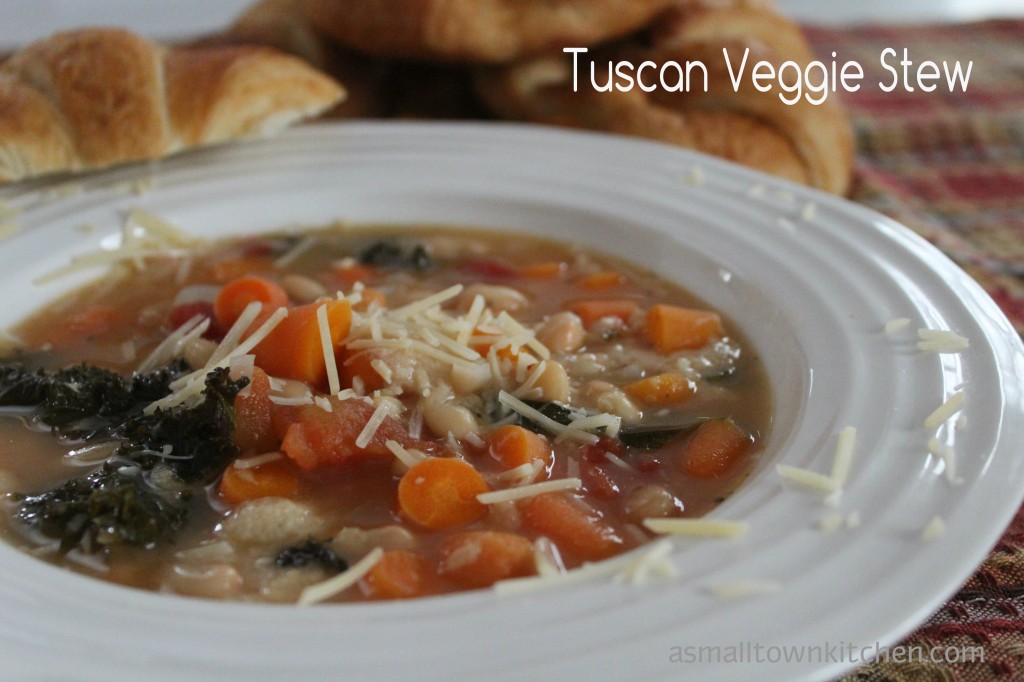
Tuscan Veggie Stew

If you have been reading and following along with me on my recipe and garden PLUS chicken journey, you already know by now that I love soup!

AND, what better time to have soup than in the spring and summer.

No, I am not teasing you…honestly I am not.

I mean you have heard of soup and salad or soup and sandwich meal combinations, right?

If that soup just happens to be made from a medley of veggie goodness and we grow veggies in the spring and summer….that makes this soup pretty perfect for making a big batch now that spring has sprung.

In the spring and summers I do not crave those creamy soups that I do in the winter when there is snow outside and a snow day from school.

I prefer a broth and veggie laded soup that has a great flavor.

This one just happens to have kale in it. MMM…I just happen to be growing kale in my raised garden beds.

Ok, so maybe you are not a kale fan…you can put spinach in this soup instead of the kale….and I just happen to be growing that too.

See…I told you this soup was perfect : ).

I spied this recipe in my Mom the Princess’s Good Housekeeping magazine a few months ago. I really wanted to make it because it had kale in it and Oldest daughter and I love kale. The  broth and veggie combination sounded like it went perfect together too. So, I was anxious to make this soup.  There was one little tiny thing I was hesitant about putting in the soup and that was the stale bread. Not because it might not taste good, but because I do not like soggy bread or crackers. I do like soggy bread so bad that I do not even dunk my cookies in milk.

Yes, I am weird.

I did follow the recipe and make it with the stale bread in it and it was fine, but next time I make it, I will be using gnocchi or a small pasta in the soup instead of the stale bread..

I forgot to mention that this soup also freezes well. I love to take soup I have made at home and froze to take to work for lunch.

MMMM soup in spring and summer….

Now, I just need a sandwich…preferable with bacon on it…lots of bacon, to go with my soup!

Hope you give this super simple delicious soup a try!

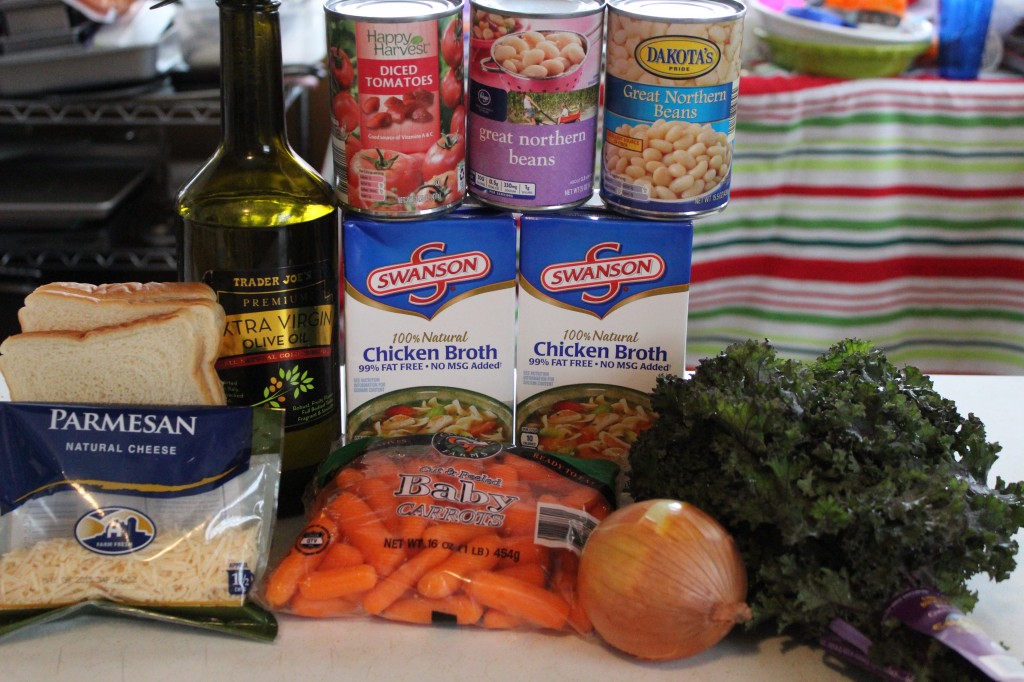
Here is what you need:

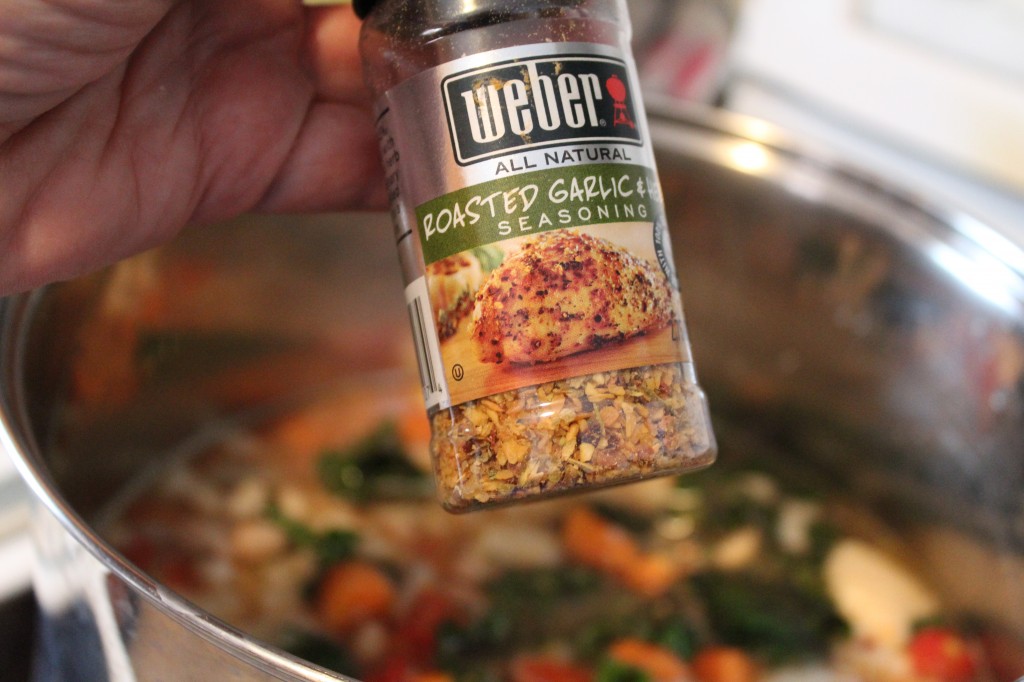
You will need some chicken broth, carrots, onion, kale, white beans, diced tomatoes, olive oil, parmesan cheese and some stale bread. Now…I did sneak in some roasted garlic flavoring in after I taste tested it. I love me some garlic!

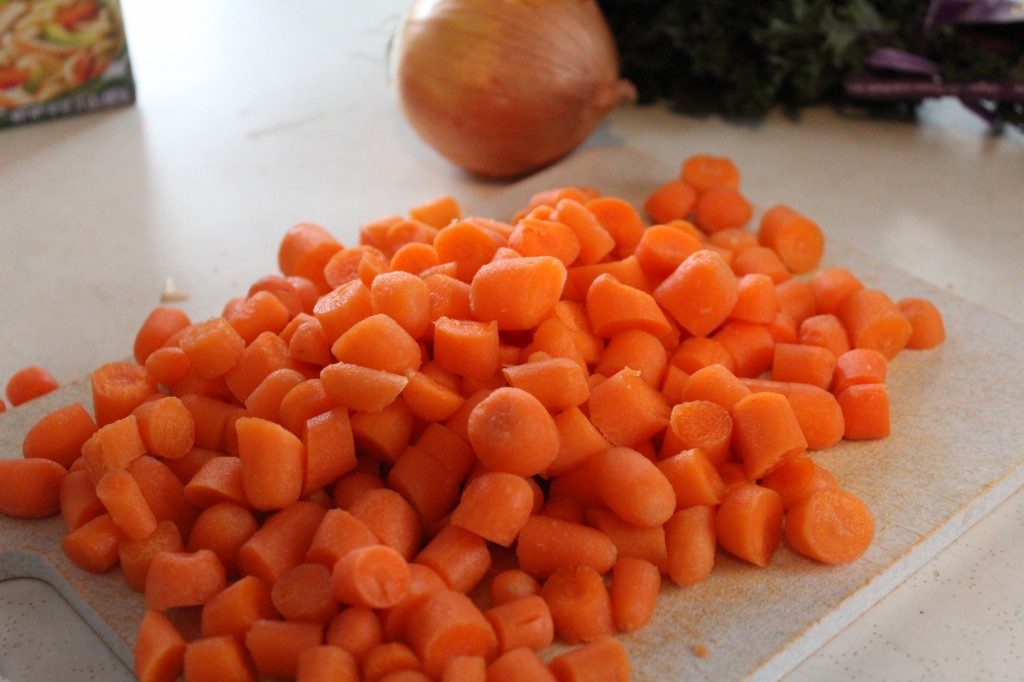
First thing you do is chop up the carrots.

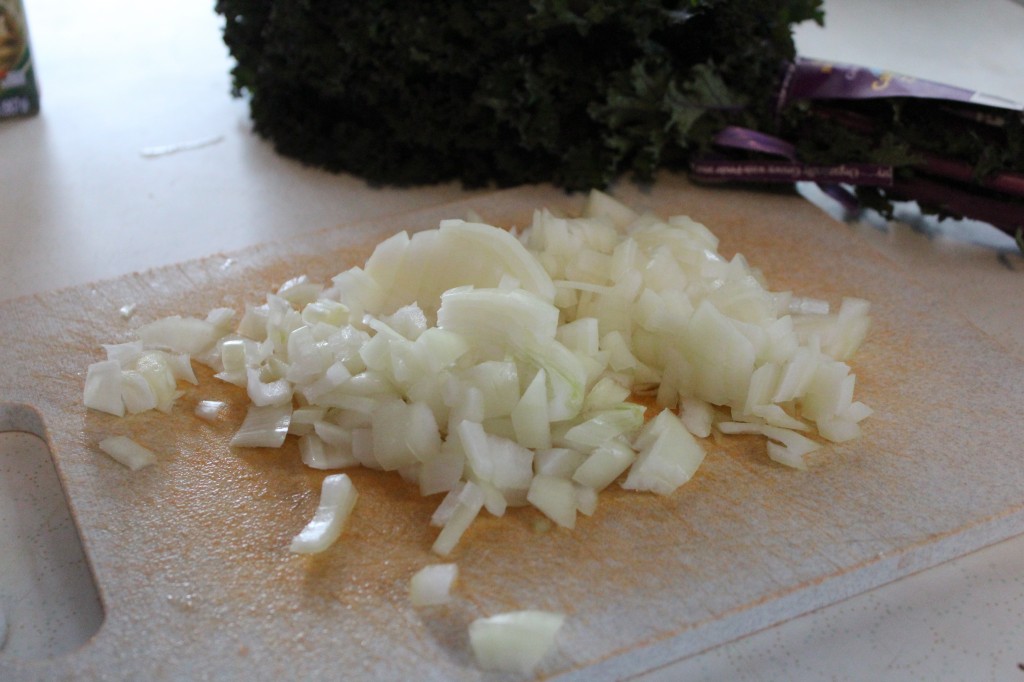
Now you dice up the onion.

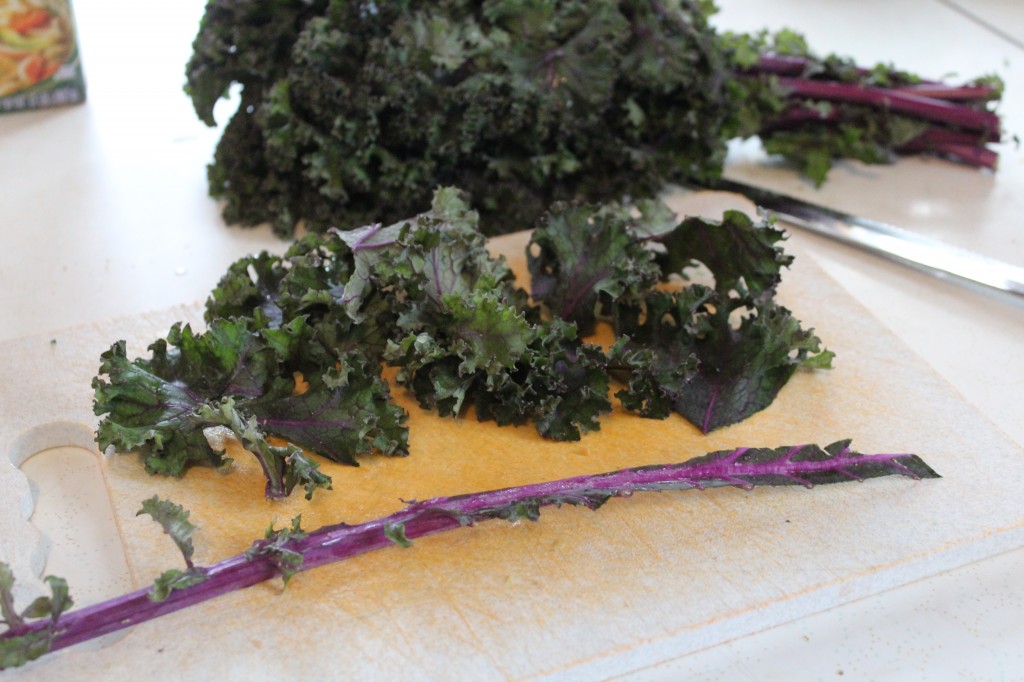
Be sure and take the stalk out of the kale first. Then you cut or chop the kale into large chunks.

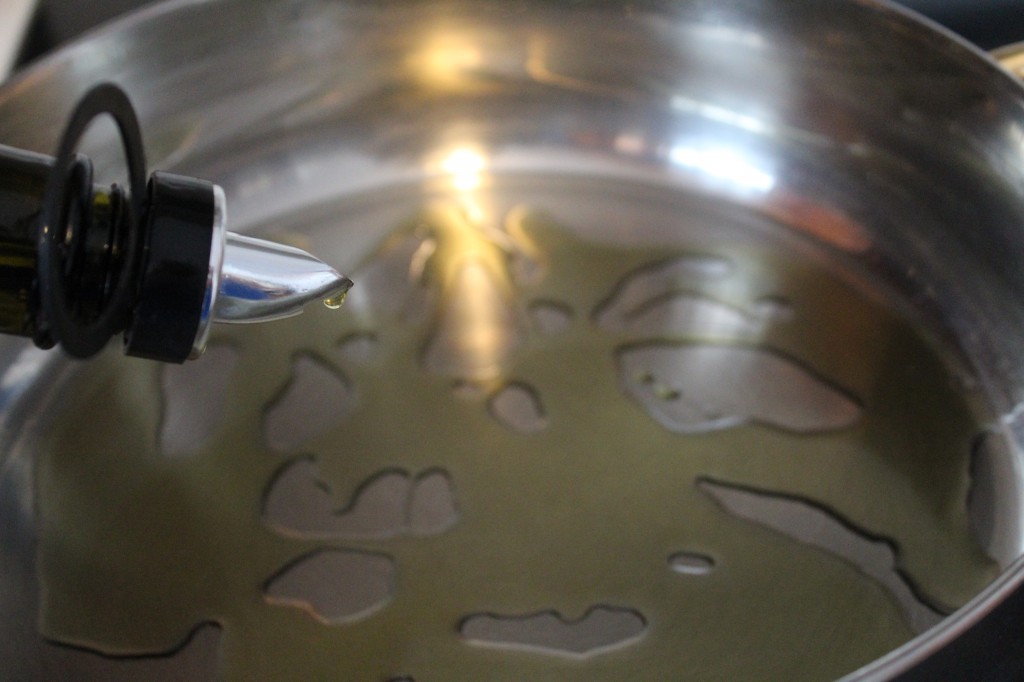
Heat up some olive oil on medium heat in a large sauce pan.

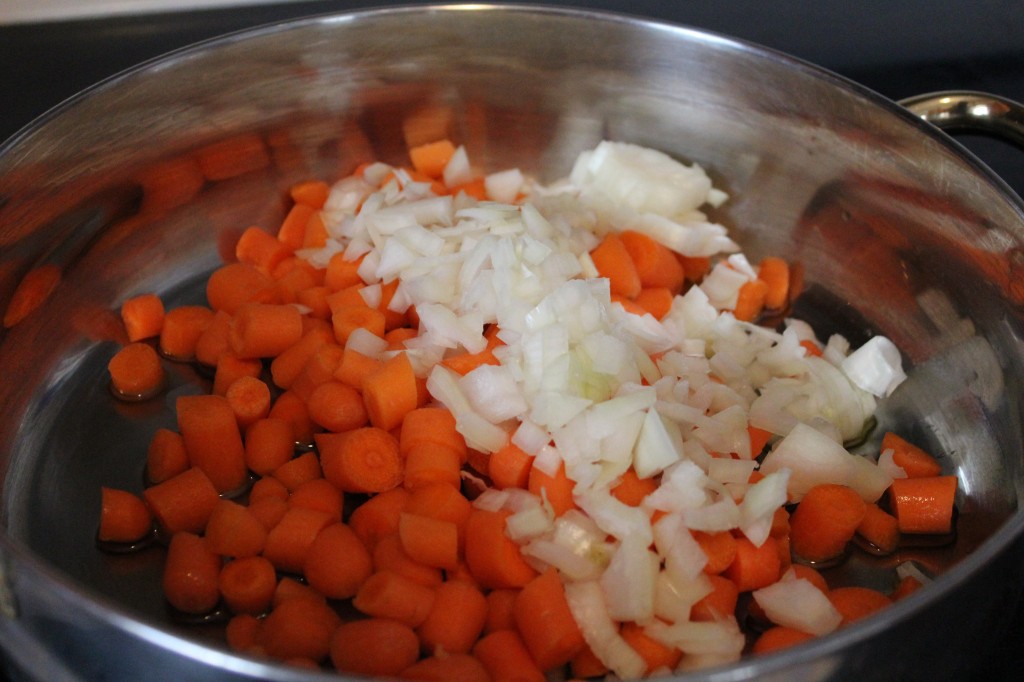
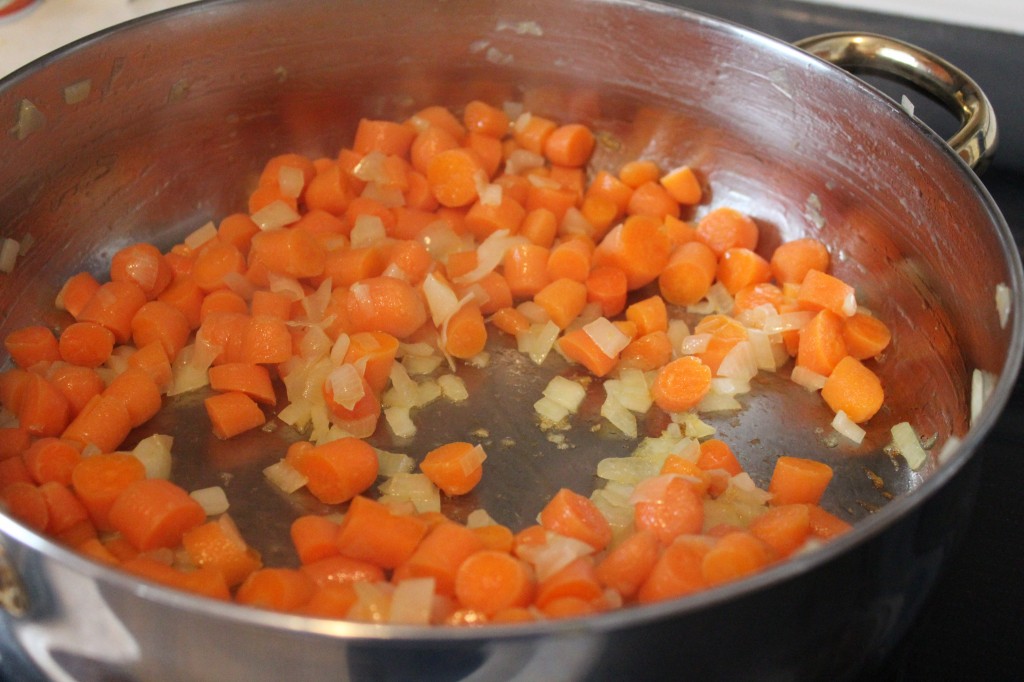
Saute the onions and the carrots.

They should start to get tender.

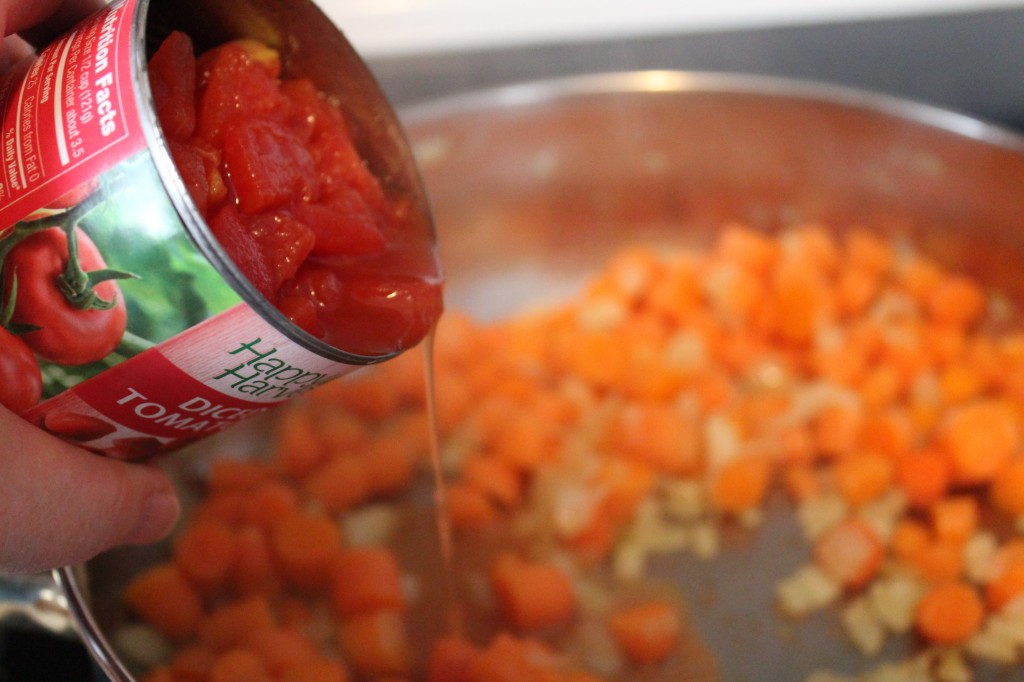
Pour in one can of diced tomatoes.

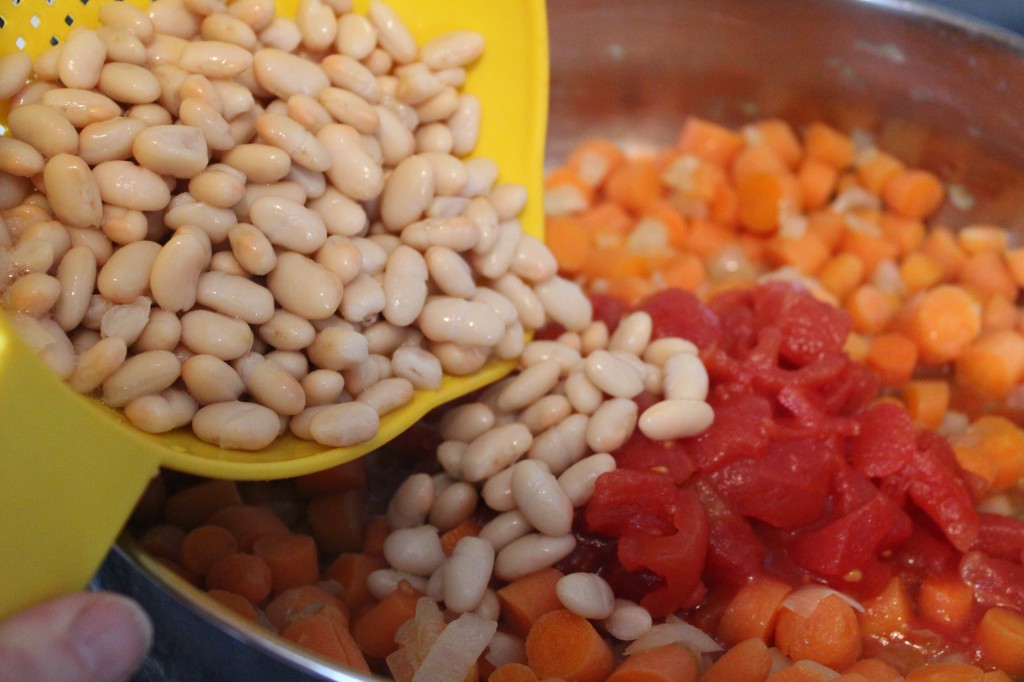
Add in two cans of white beans, drained and rinsed.

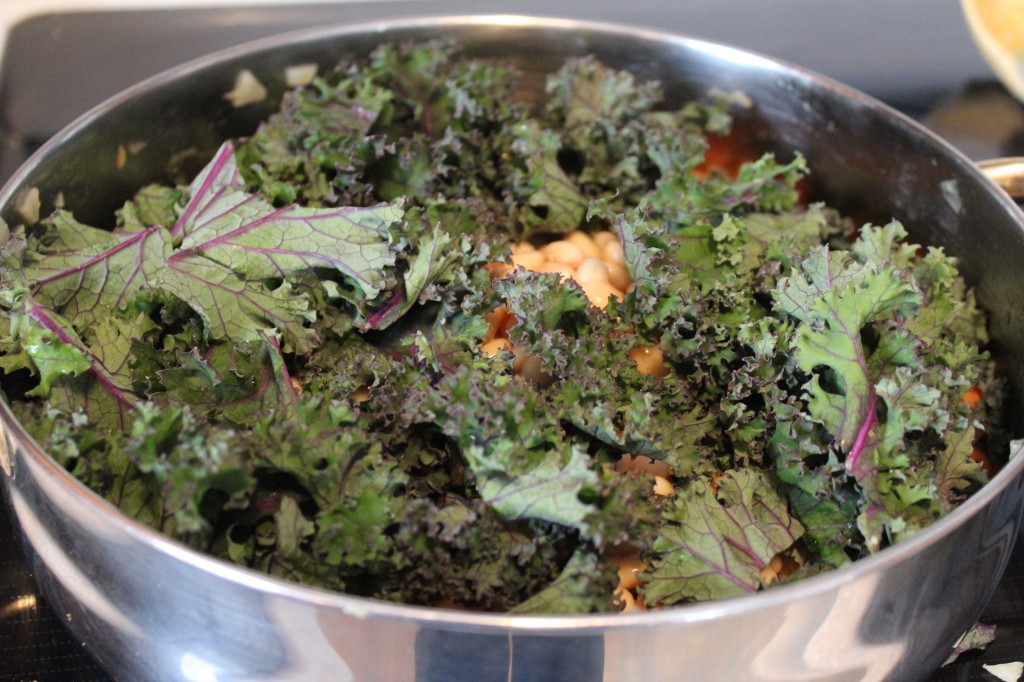
Now add in all that kale. Don’t worry it cooks down.

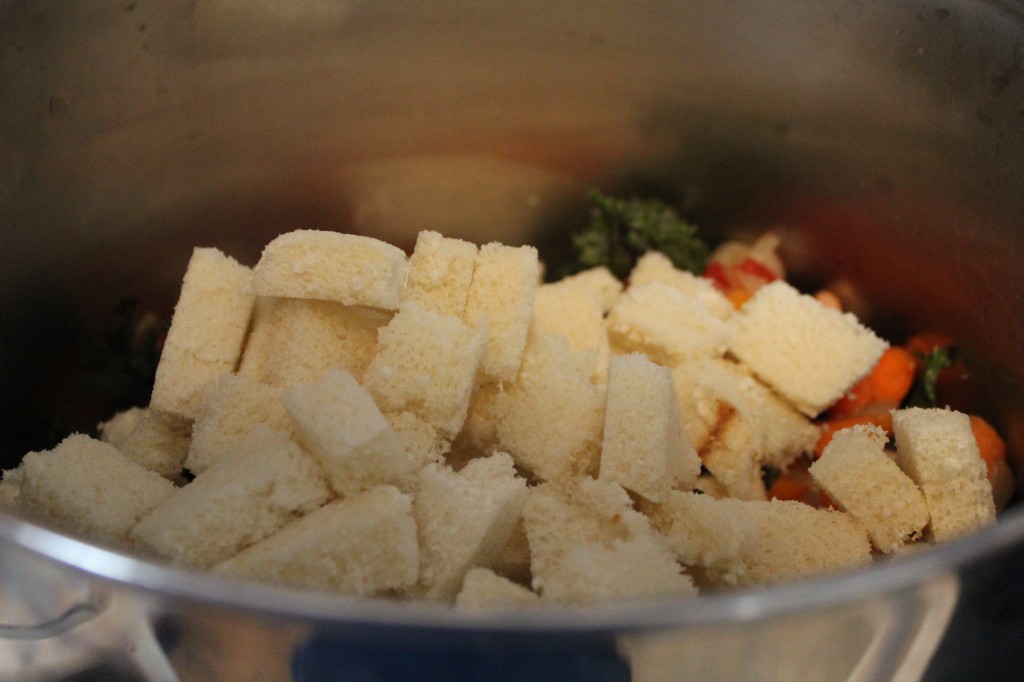
Add in your stale bread cut into chunks. (next time I am going to try potato gnocchi instead.)

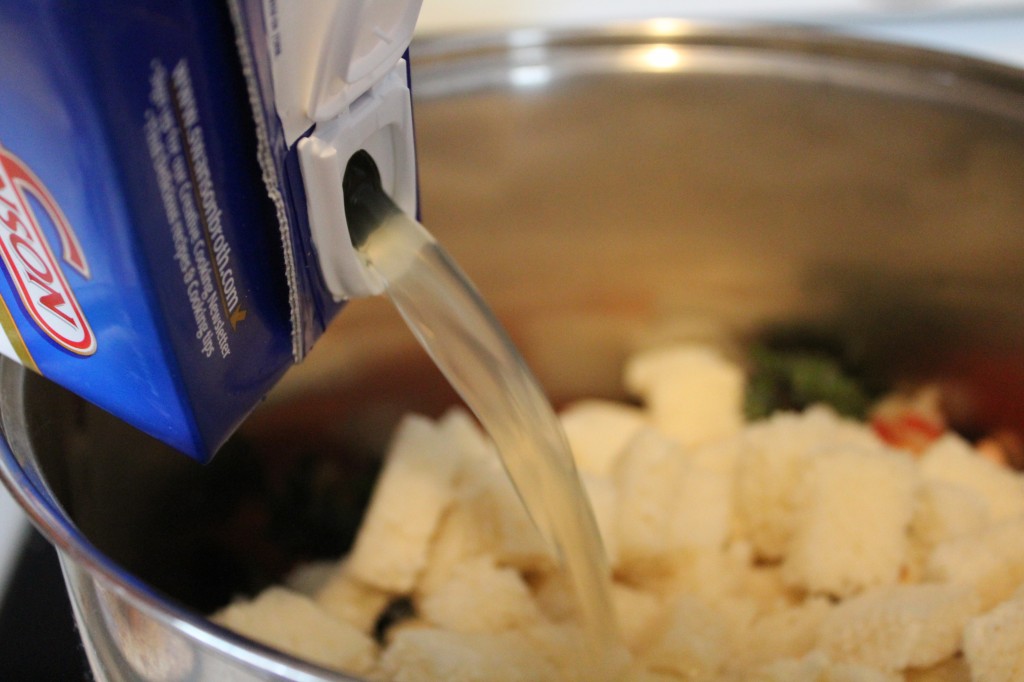
Pour in you chicken stock.

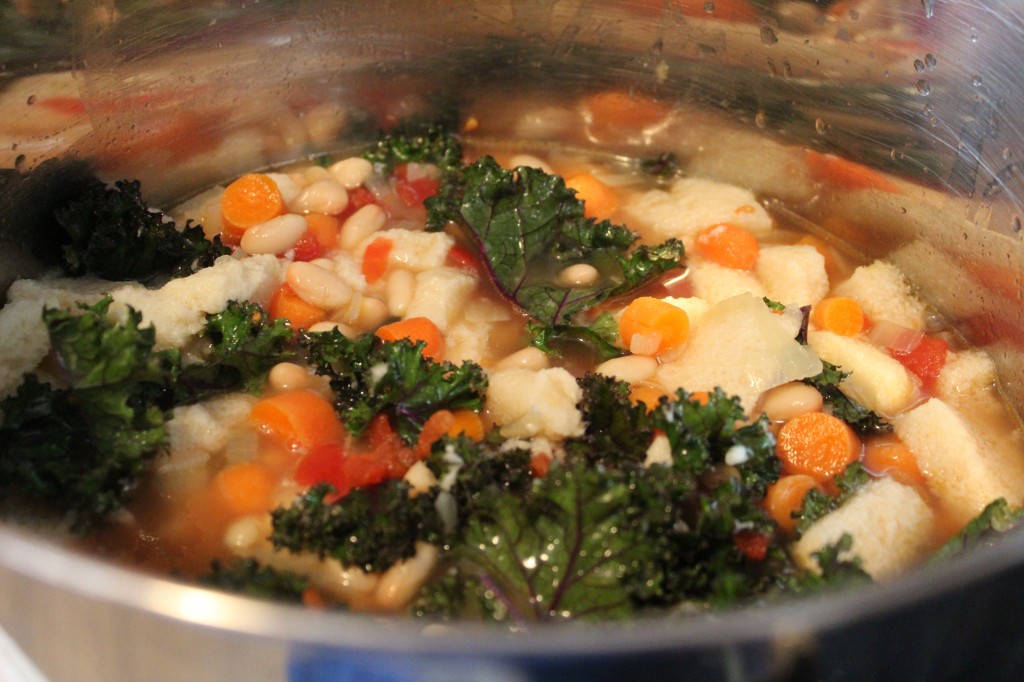
Let simmer until the kale is tender, about 20 minutes.

Do a little taste test and add some seasonings if you want. I add in some roasted garlic seasoning cause I love garlic. It was about a teaspoonful.

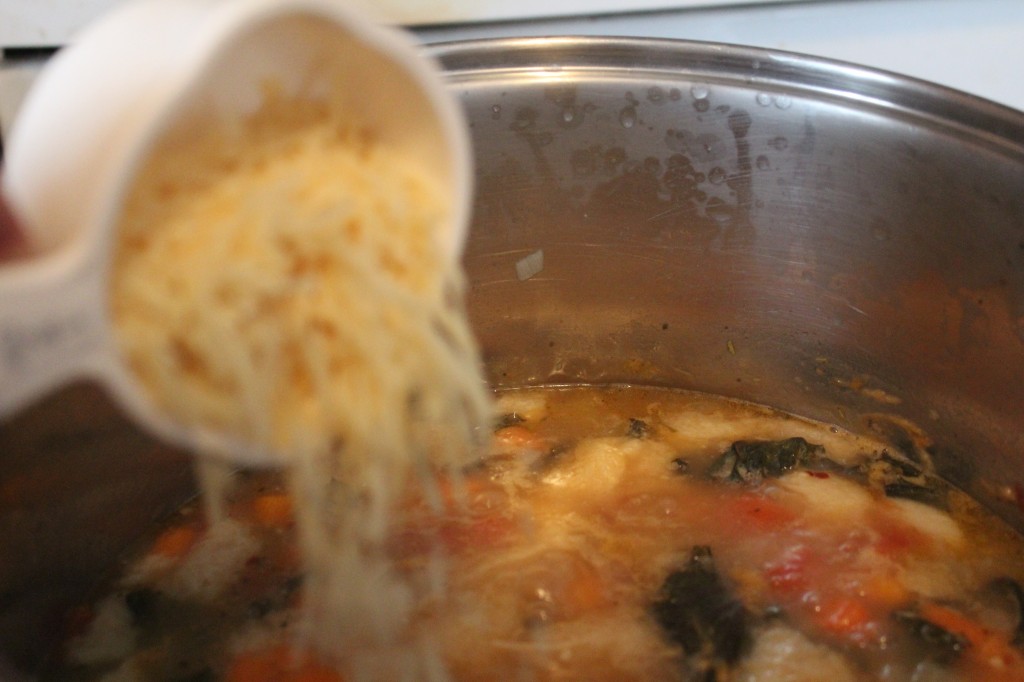
Lastly, add in the parmesan cheese and give it a quick stir.

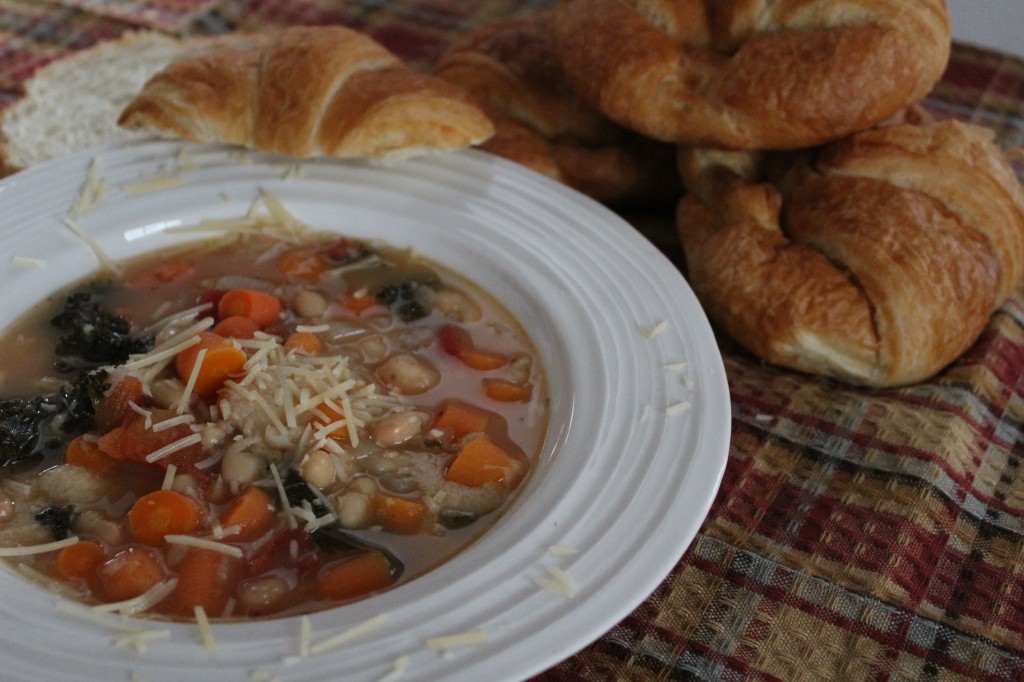
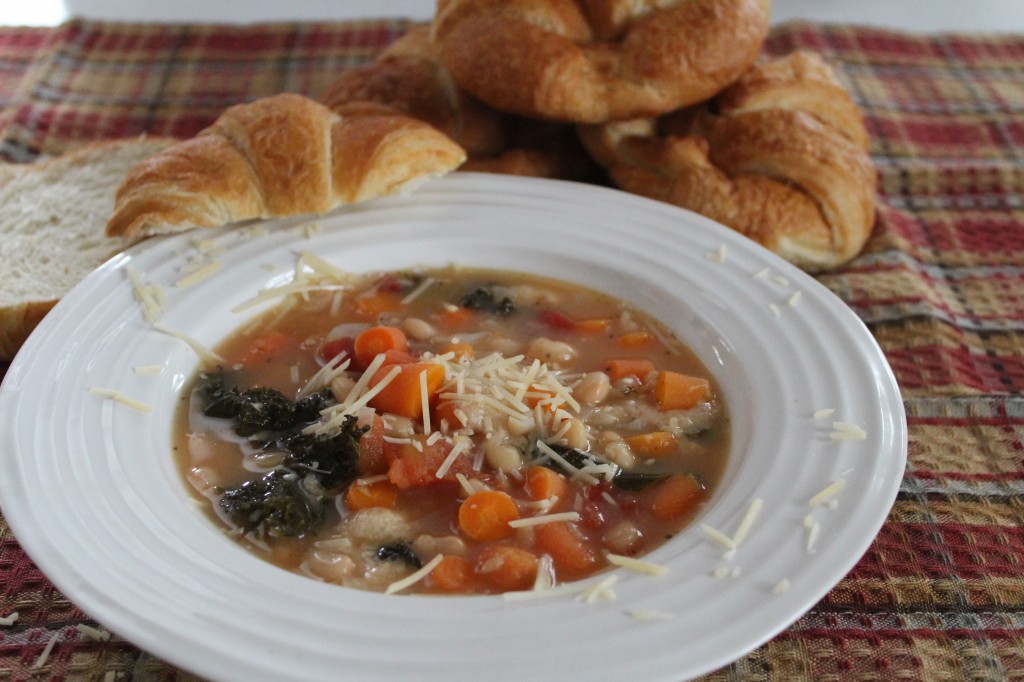
And, now it is ready to eat!

Adapted from Good Housekeeping

Ingredients:

3 to 4 tablespoons olive oil

1 pound of carrots, chopped

1 medium onion, finely chopped

2 quarts Vegetable or Chicken broth (I used Chicken)

1 bunch kale Tuscan or curly, stalk removed and chopped

4 ounce of stale bread turn into small pieces about 4 cups worth (you could substitute the bread for gnocchi, tortellini or even a small pasta, I would just use 1 to 1 1/2 cups worth though)

2 can white beans rinsed and drained

1 – 14 ounce can of diced tomatoes

1/3 cup parmesan cheese (additional amounts make be served as a garnish)

Directions:

In a large stock pot, heat oil on medium and saute the carrots and onions. Cook for 10 minutes or until vegetables are starting to get tender.

Add the broth, kale (after removing the stalks) bread, beans and tomatoes. Simmer for 20 minutes or until Kale is tender. Stir in the parmesan cheese and serve.

You can garnish with parmesan cheese or olive oil if you want.

This recipe is so quick and simple to make and taste so good!

Enjoy!

Becky

Other post you may enjoy reading:
     

Glazed Strawberry Bread                                                      Apple Sour Cream Crumb Pie


Brown Sugar Meatloaf                                                            Knorr Spinach Dip

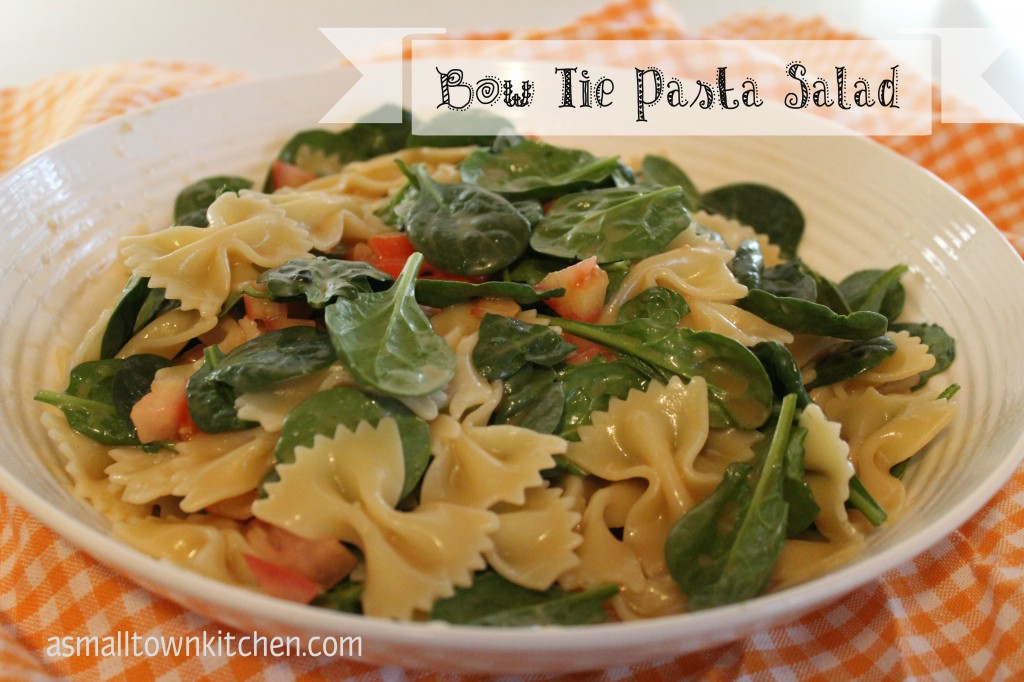
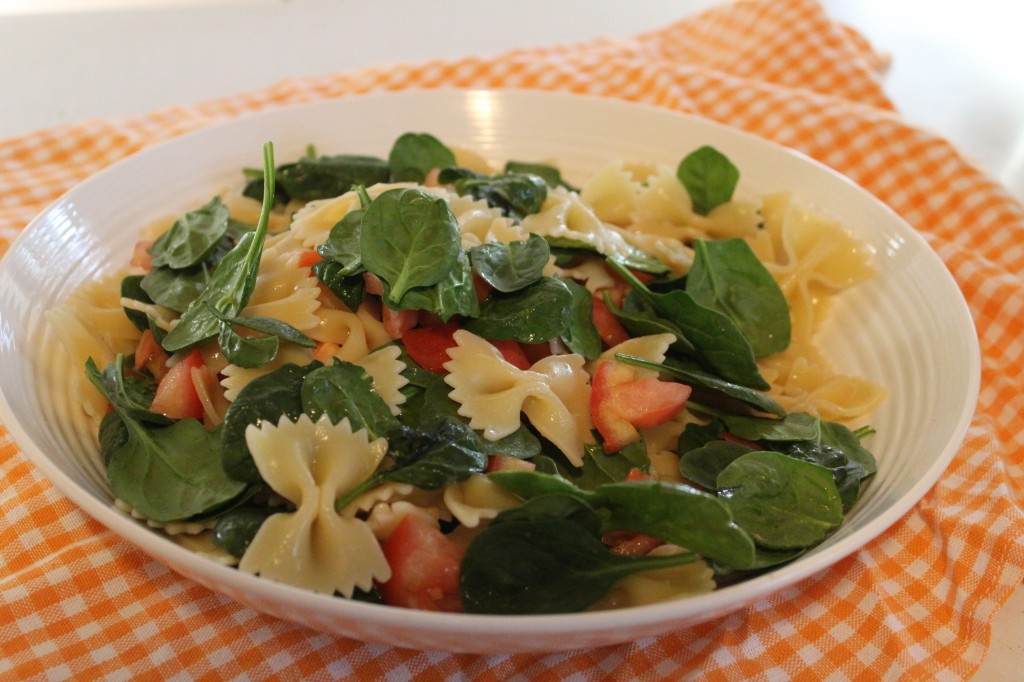
Bow Tie Pasta Salad

I am obsessed with this salad.

Just ask my good friend Jeanetta!

Jeanetta would bring this salad to school for teachers luncheons and I would practically follow her around to see where she sat her salad down at.

Then, I would politely (well sorta) position myself to be first in line to make sure I got some of her famous salad.

I don’t know if she finally felt sorry for me or was tired of me stalking her salad, that she finally gave me the recipe.

Yippe!

I just love how all these simple everyday ingredients come together to make this yummy summer (or anytime) salad.

It has all those things in a salad that I love!

Pasta….come on who does not love pasta???

Tomatoes…..ok…not every body loves tomatoes…but then the same ones that don’t eat tomatoes…eat ketchup…..mmmm you got to wonder about them. Yes, I am talking about my super hero son who does not eat tomatoes!

Fresh spinach….fine, not everyone loves spinach, not sure why….I must be kin to Popeye cause I love spinach; cooked or fresh!

A little bit of red onion…I have to sneak them in cause Company hates onions….what he does not taste does not kill him…hehe..

AND last but not least the dressing seasoned with oriental  ramen noodle seasoning packets.

YUM!

Anywho, with summertime approaching and all the backyard BBQing starting, you might need a simple, party pleasing, great tasting, easy to make pasta salad!

Here is what you need!

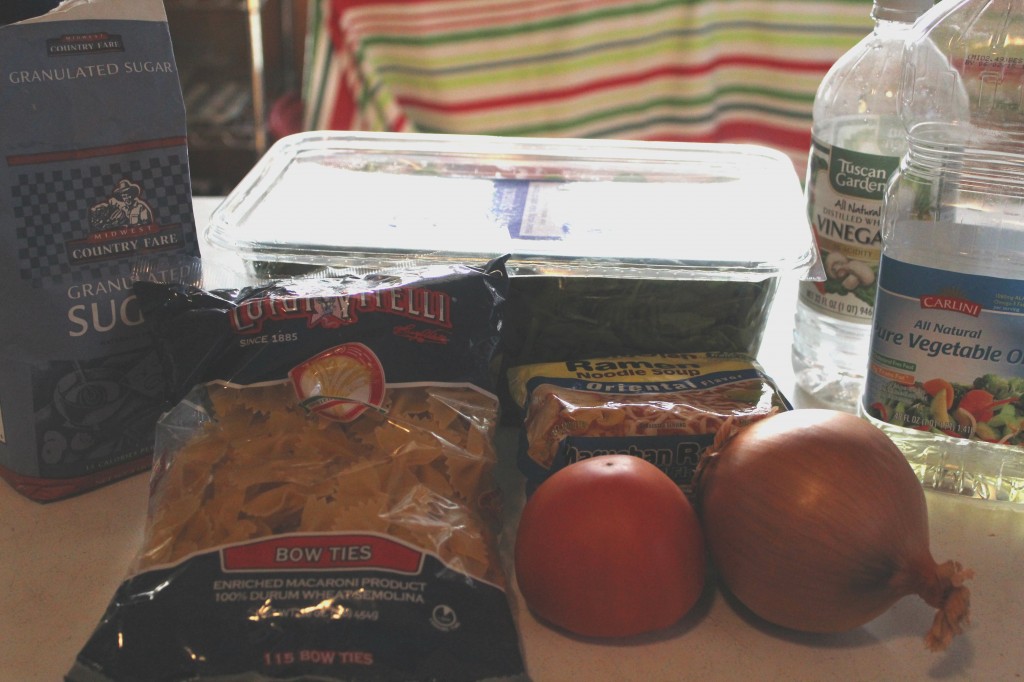
For the dressing, sugar, vegetable oil, vinegar and 2 packets of oriental ramen nooodle seasoning packets. For the salad, bow tie pasta, tomatoes (I usually use cherry tomatoes cut in half) sweet red onion (I had to use yellow cause I was out of red) and fresh spinach.

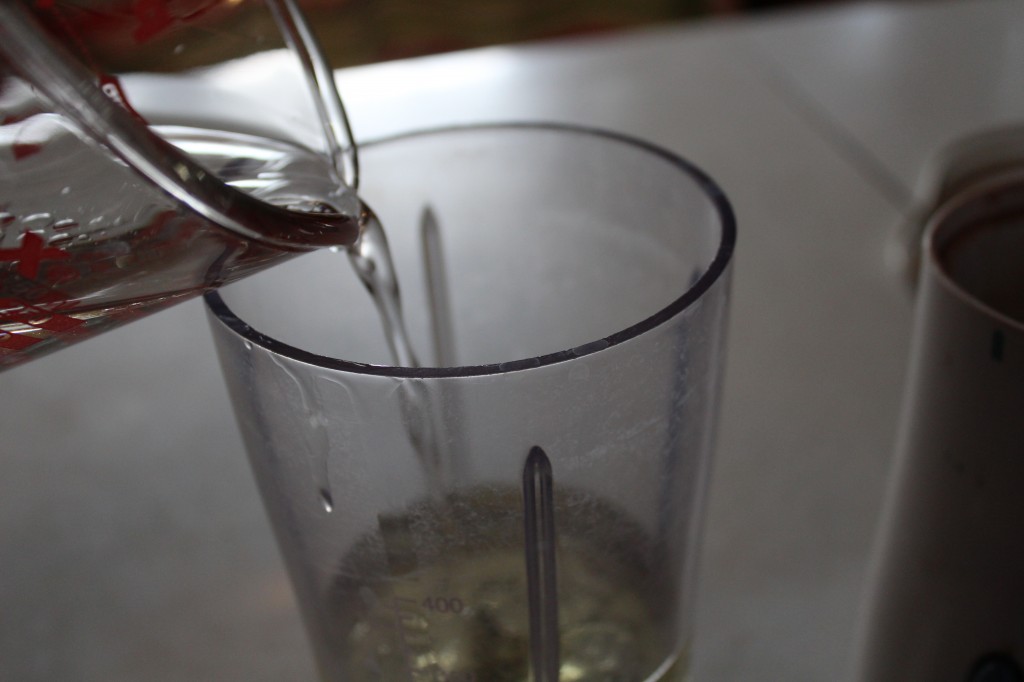
Let’s make the dressing first. In a little blender or a big blender, pour in your oil.

Now, add in  your vinegar.

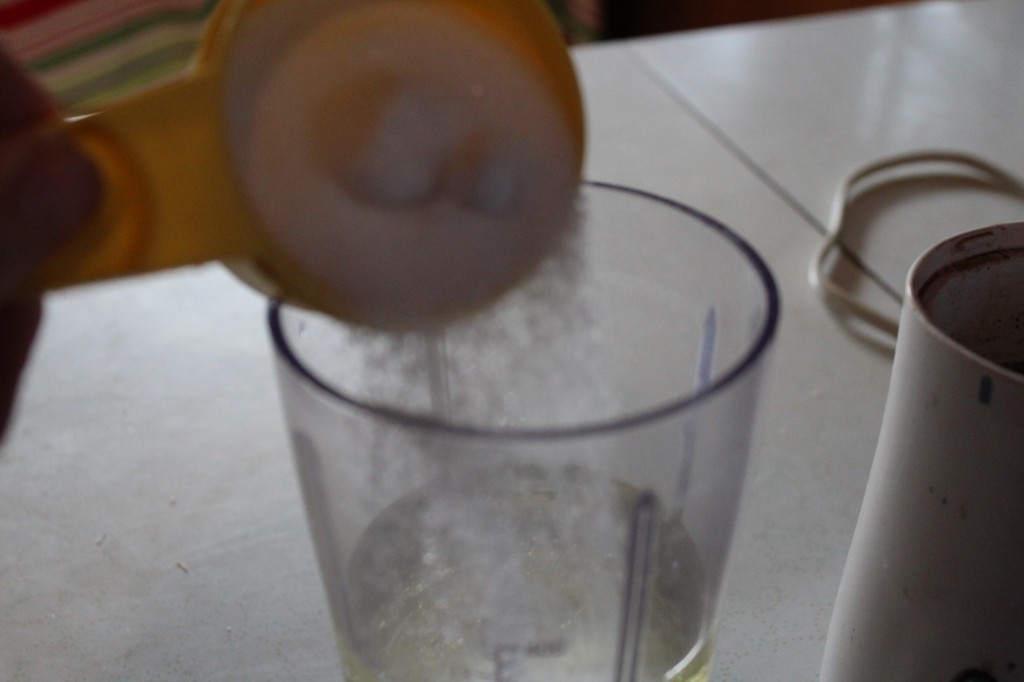
Toss in your sugar.

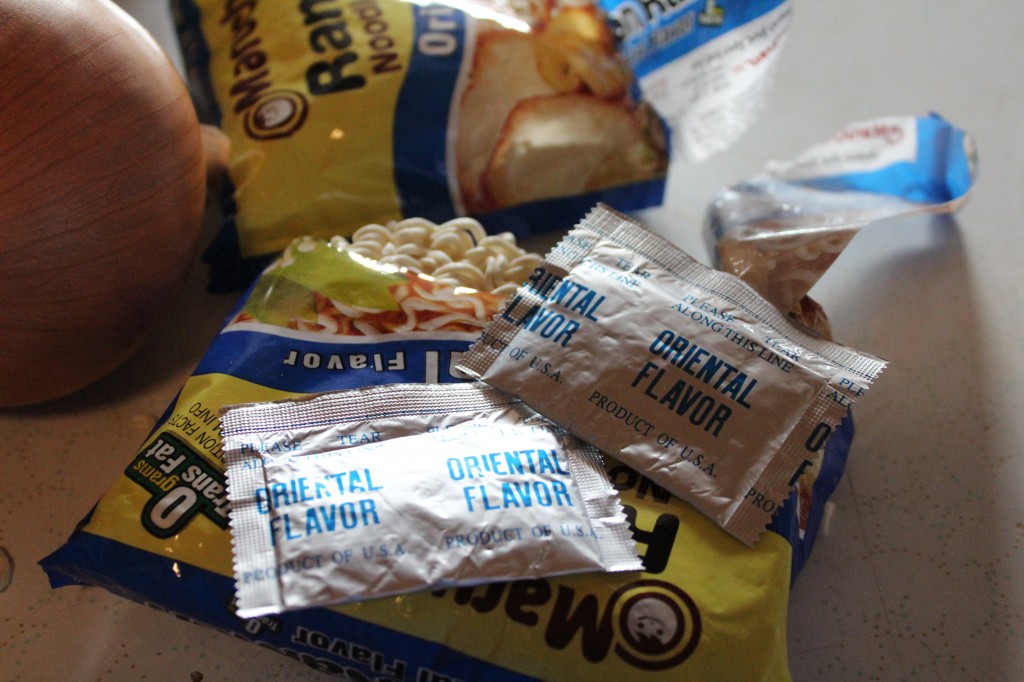
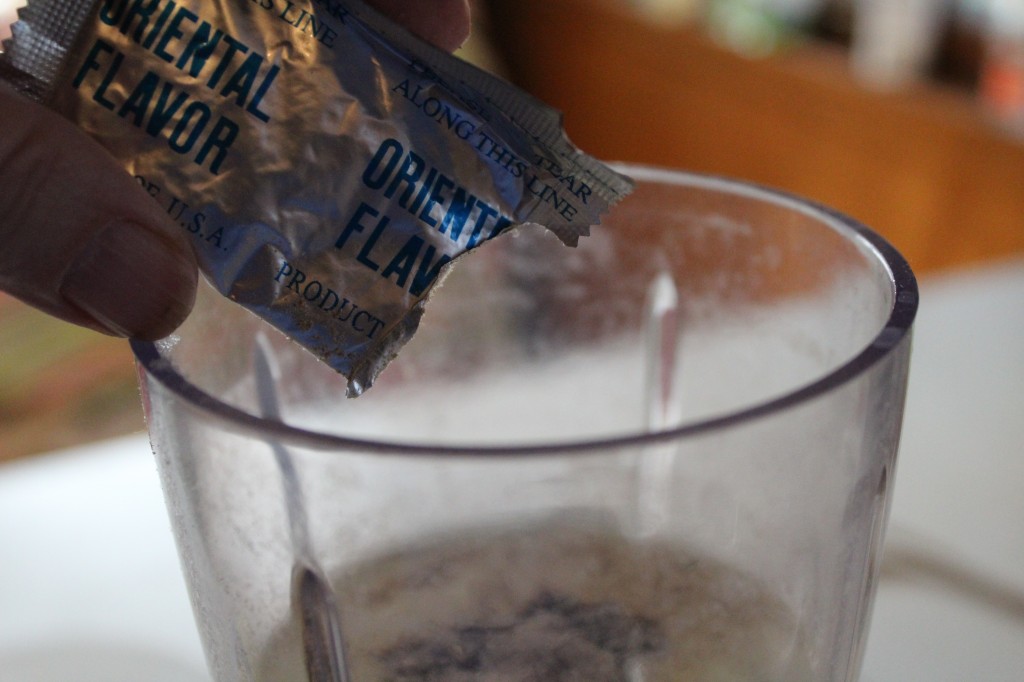
Now add in the secret ingredient of two packets of oriental flavor ramen noodle seasoning packets.

Just sprinkle them in.

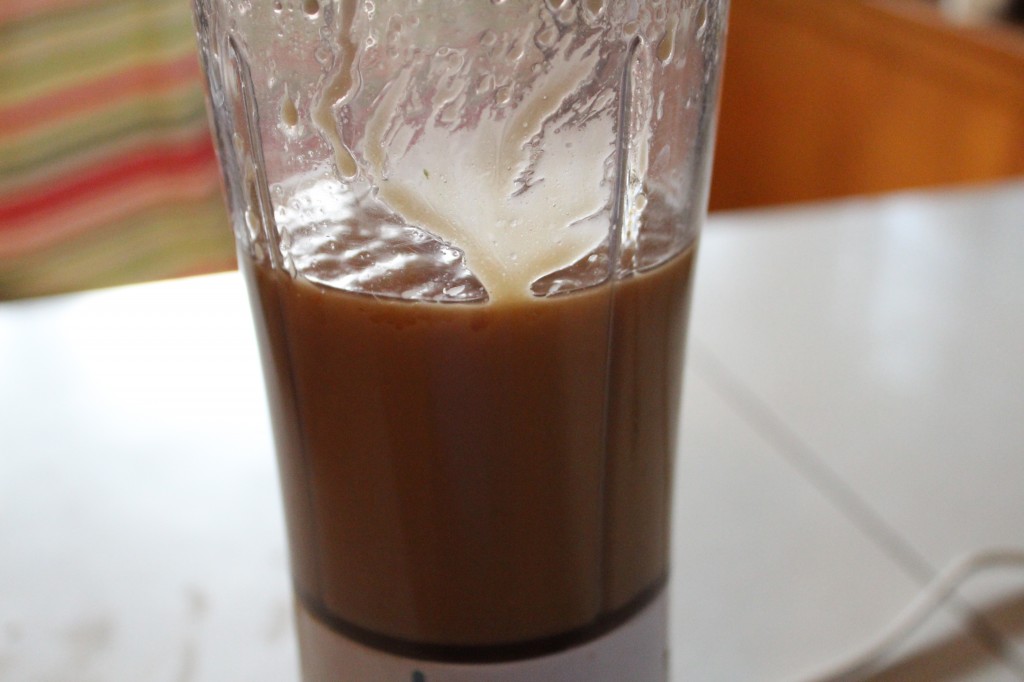
Using  your blender, blend the dressing until it is smooth and thick. The oil and vinegar should totally be emulsified.

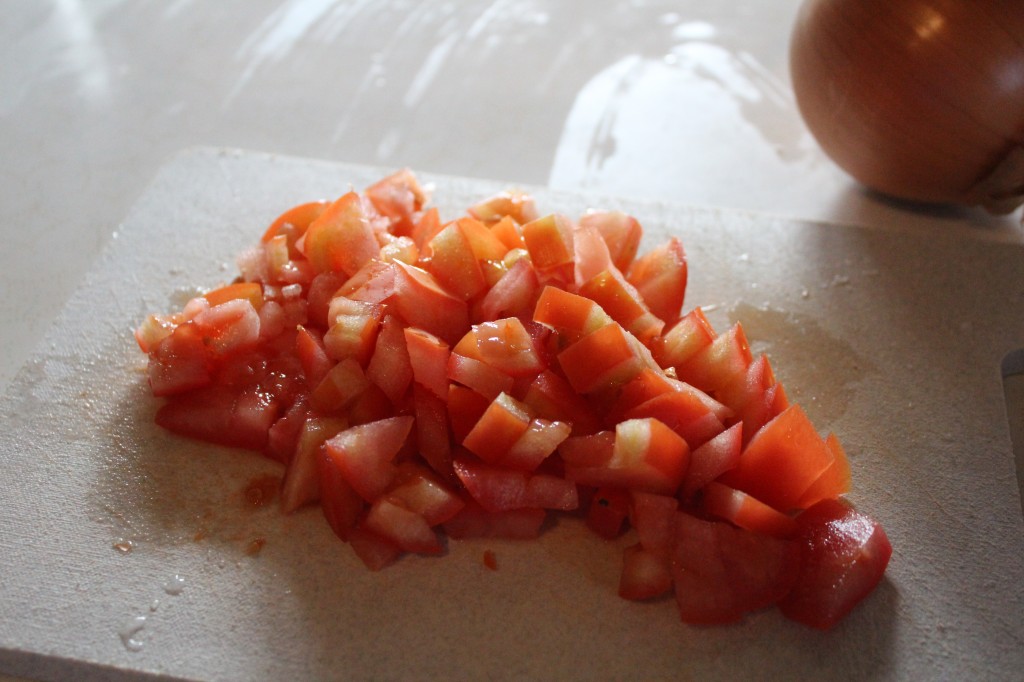
Now chop up your tomato, or if you are using cherry tomatoes, cut the cherry tomatoes in half. Also finely chop up a half of a red onion.

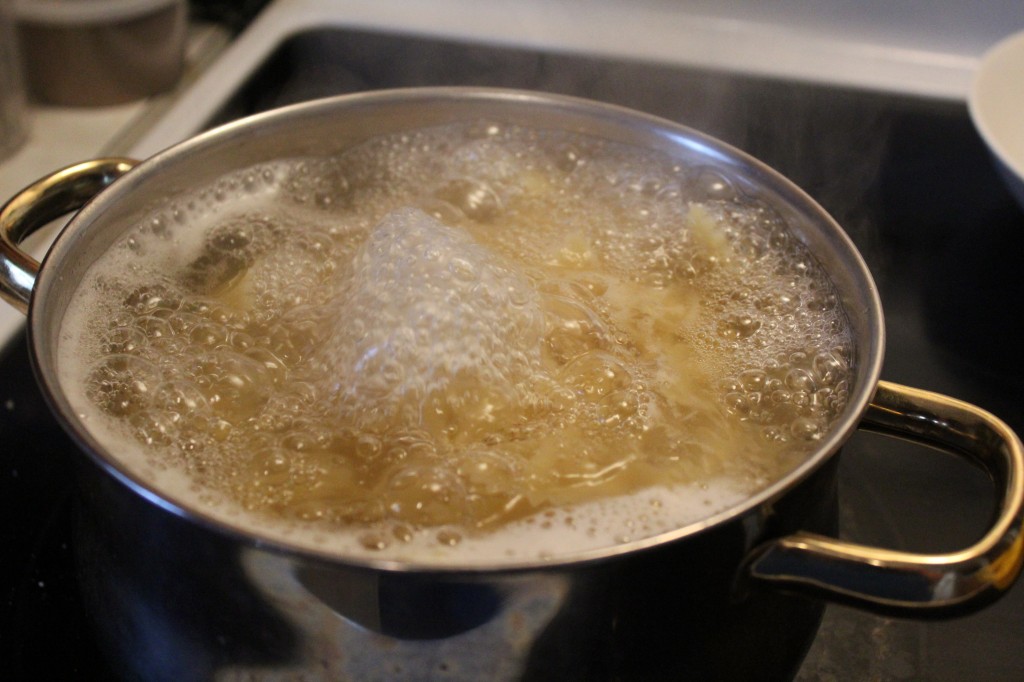
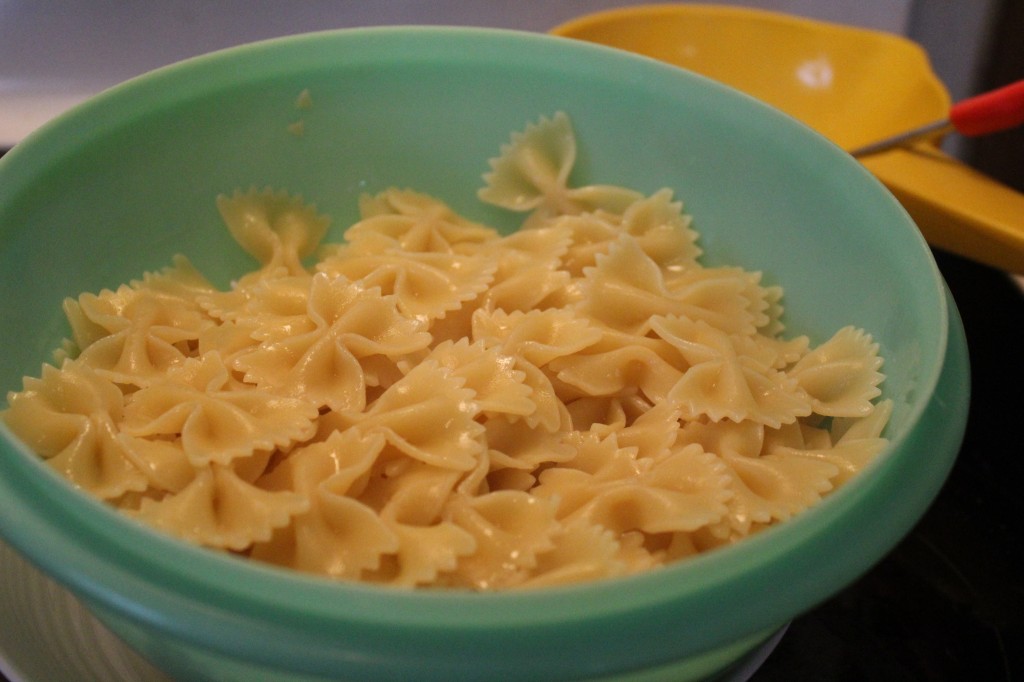
Start some salted water to boil and boil bow tie pasta following the directions on the box.

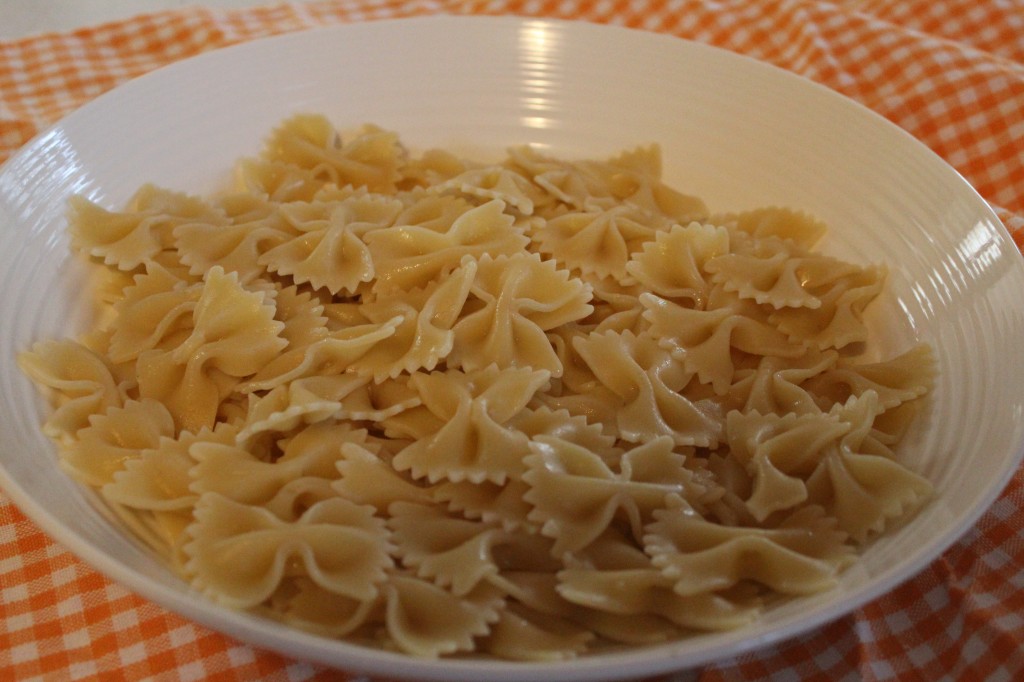
When finished cooking, run cold water over the pasta to cool.

Now it is time to assemble the salad.

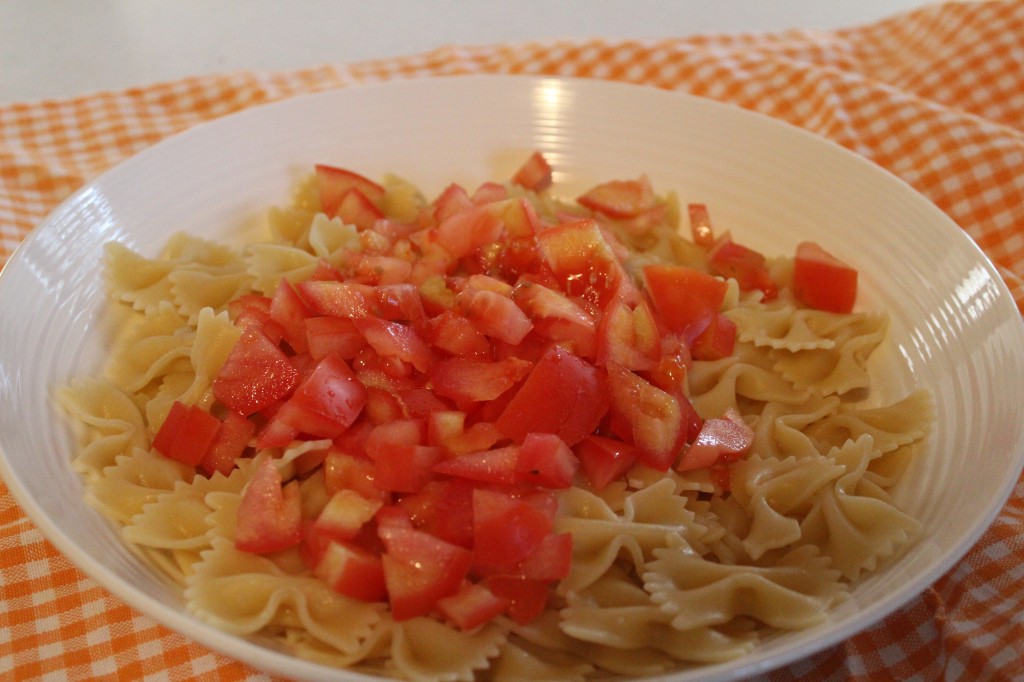
In a large bowl put in the cooked and cooled pasta. Add in the tomatoes.

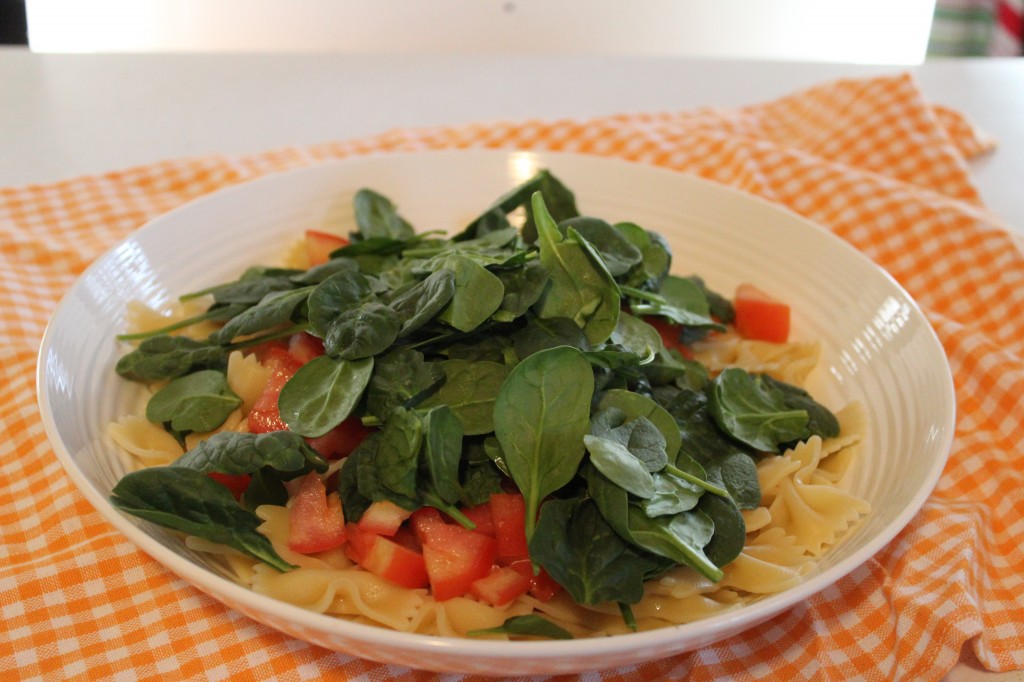
Add in the diced onions and the spinach.

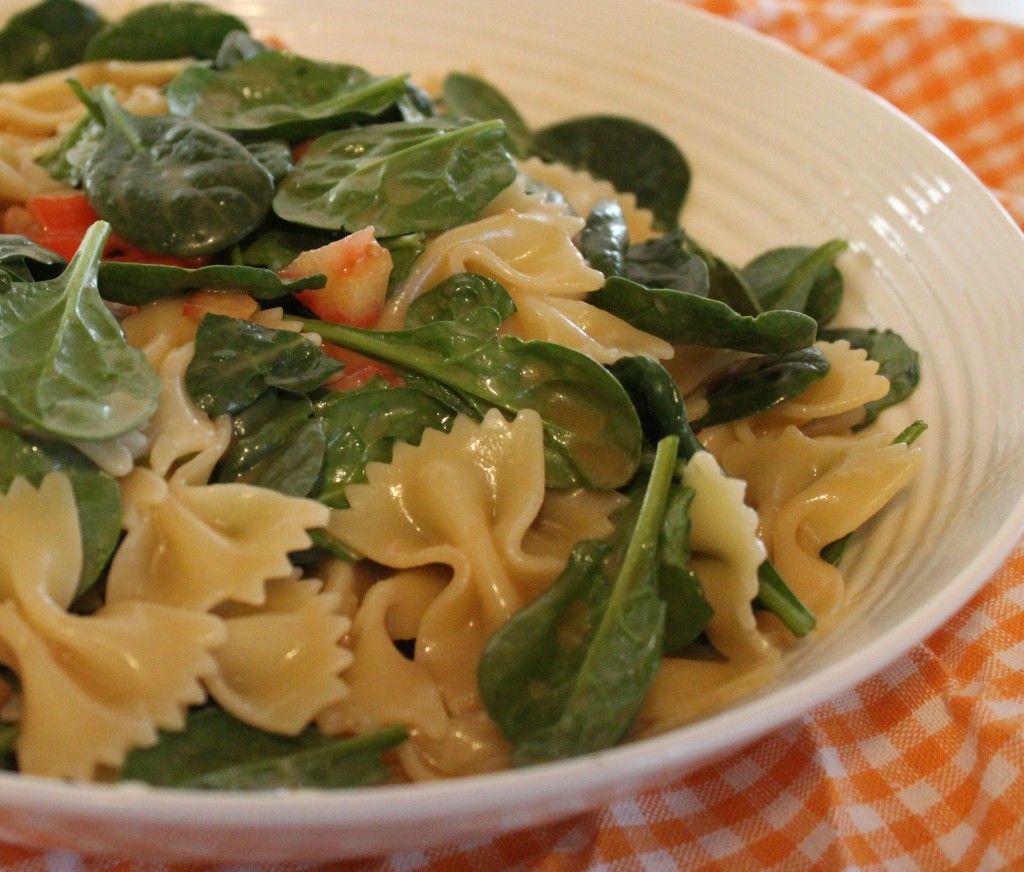
Toss and the salad ingredients together.

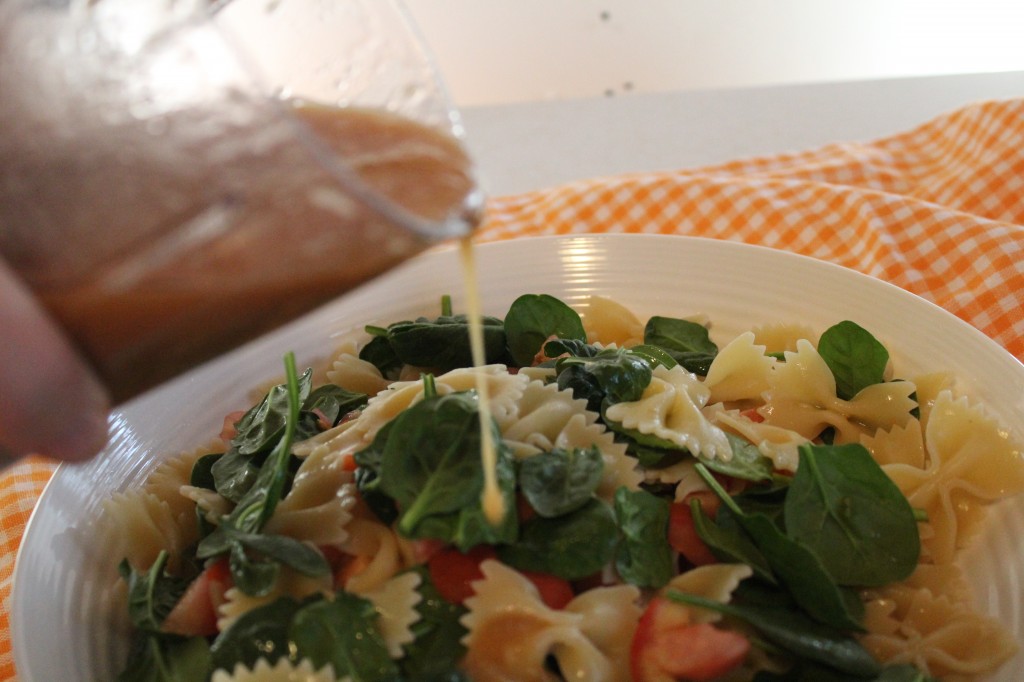
Now drizzle on the amount of dressing that you like.

All you need now is a fork!

Here is the recipe:

Courtesy of my friend Jeanetta!

Bow Tie Pasta Salad

Ingredients:

1- 16 ounce box bow tie pasta

2 to 3 cups of fresh baby spinach

2 cups cherry tomatoes sliced in half

1/2 sweet red onion diced

3/4 cup vegetable oil

1/2 cup vinegar

1/2 cup sugar

2 seasoning packets from oriental flavor ramen noodle packages.

Directions:

Slice the cherry tomatoes in half. Dice the red onion.

Cook pasta according to the package directions. Drain and let cool.

In a blender, blend together the vegetable oil, vinegar and sugar. Add in the oriental flavoring packets. Blend until fully emulsified.

In a large bowl combine the cooked pasta, tomatoes and onions. Toss together .

Right before serving, add in 2 cups of spinach leaves. Toss.

Drizzle with dressing in the amount that you like. Toss and serve.

Enjoy!

Becky

Here is a couple of other post you may enjoy reading:
     

St. Louis Style Oven BBQ Ribs                                                Grilled Steak Burgers


Unearthing Canning Jars

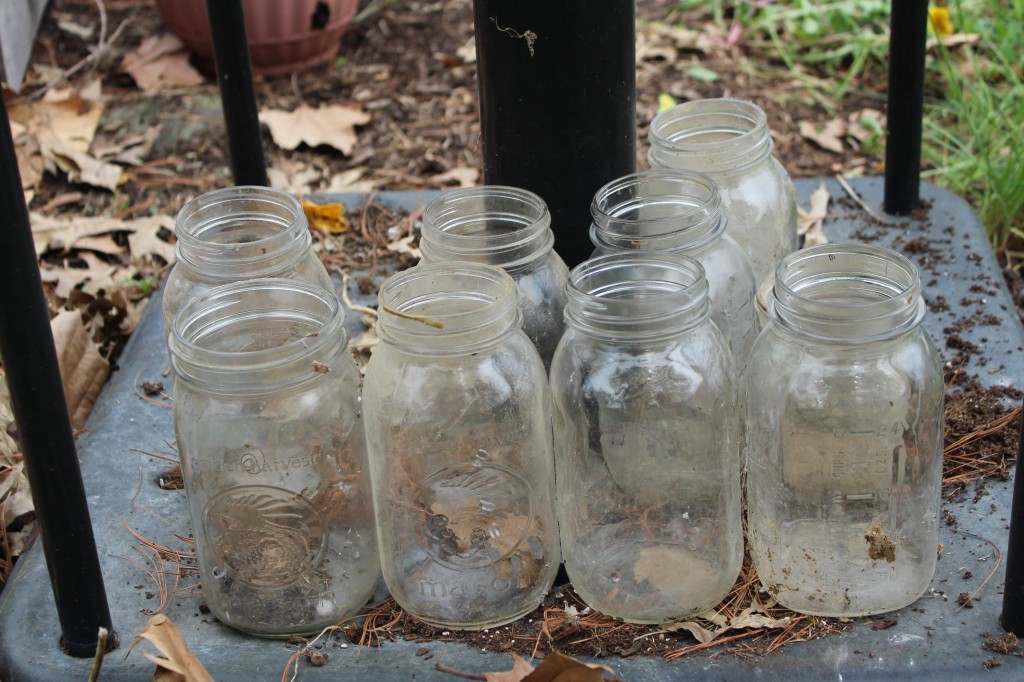
Several years ago my friend Roberta found 5 large boxes of canning jars for sale at a garage sale. She called me and wanted to know if I wanted her to buy them for me.

Of course I said yes.

Looking back I am not sure why I wanted them. I was not even canning food at that period in my life. I had done some jam making, green bean canning and corn freezing years before. But, at that particular moment, I wasn’t. I was too busy finishing my masters degree, teaching junior high and raising kids.

I just knew I wanted those jars.

Roberta dropped them off at my house and I paid her back the $25 she spent buying these jars. (did i get a great buy?)

Not sure where to store the jars, I dragged those boxes across the back yard and put them in the shed. Where they have stayed for several years.

The jars have had many adventures in the shed.

Spiders and wasp just love to keep the jars company.

My brother in law, Gary even painted their little house (shed) the same color as the trim on the house a couple of summers back.

The MOST exciting adventure was when the jars had to share the shed with a ground hog that loved living in the shed.

That ground hog dug a big hole in the dirt floor of the shed and threw dirt all over the jars, buried several of the jars, broke some of the jars and when he finally left (not on his own free will) he had left a pretty good mess in the shed.

Now, that I am back to canning and growing (or rather trying to grow) some of my own back yard veggie vittles.

It was time to unearth the jars.

Company and I have been slowly bringing the jars out of the shed. One by one.

They were dirty and a little dinged up. We threw away the broken ones and checked for cracked in the other ones.

Then we set them outside to let the rain and the sun shine, clean them up a bit before I bring them into the house for a final big cleaning.

We still have three boxes left to bring out.

I think the jars look happier now. Dusty and and a little worn but happy to be out of the boxes.

But jars are never truly happy until they are filled with garden goodness.

What do you think?

Let the canning season begin!

Becky

Other post you may enjoy:
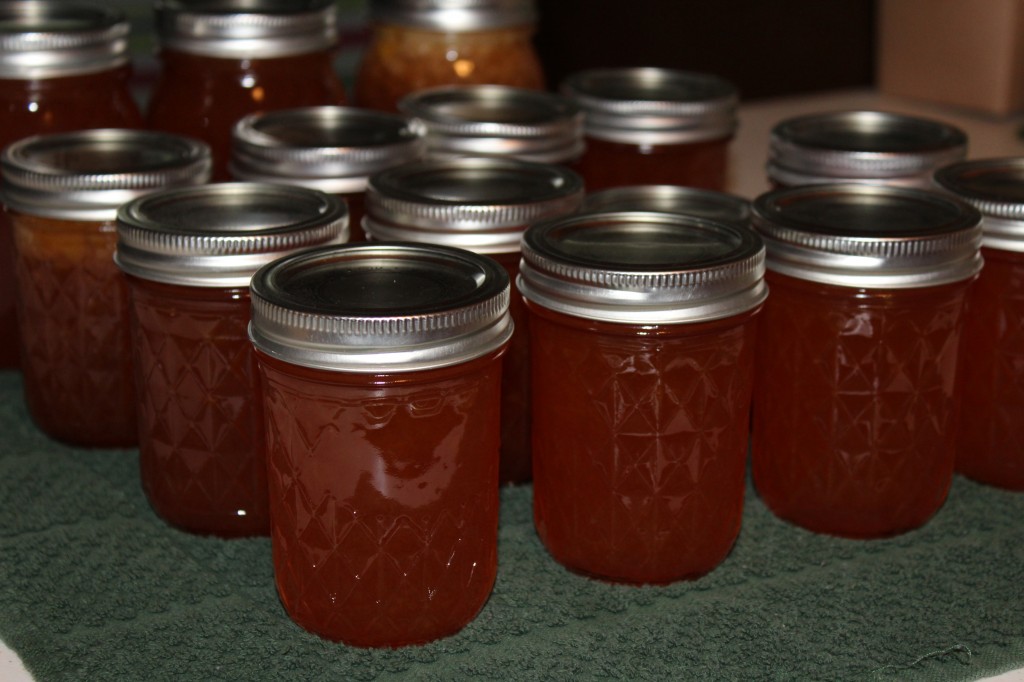
    blackberry jam

 Rhubarb Jam                                                                                  Blackberry jam


Old Fashion Red Velvet Cake

I love to bake layer cakes.

The taller the better.

Lots of layers of cake.

Not sure exactly why, but I am pretty sure it has to do with all the icing in between each layer.

It has to be the icing!

Icing makes me happy!

But cake makes me happy too.

Ok…so maybe it is cake and icing that makes me happy.

One thing I know for sure is that this cake makes my happy. : )
When my baby girl, who will be getting married in a few short months, was trying to pick out flavors of cake to taste test for her wedding cake, Red Velvet Cake was on the list. It is a classic flavor and the red color looks so delish with the white icing. When we got to taste of the cake and the flavor was somewhat lacking( and even the cake decorated said she was not a fan of her red velvet cake)  All of her other cakes were great and we did choose this decorator for the her wedding cake, but it got me thinking about the Red Velvet Cakes I was used to eating years ago.

Moist, slightly chocolate flavored, icing not too sweet, four layers, deep red color…..these are some of the mandatory things I was looking for in a recipe.

I looked around in several of my cookbooks, my cut out newspaper recipes and finally found a couple of recipes that seems to most resemble the one I was looking for.

I ended up using two different recipes. One for the cake and another for the icing.

The icing has flour in it but not cooked in a paste like other cooked flour icings. I loved it! My son, liked the icing and loved the cake but would like a traditional cream cheese icing.

I love cream cheese icing too!

Anywho, pick your favorite type of icing, but make this cake.

It will make you (and me) happy!

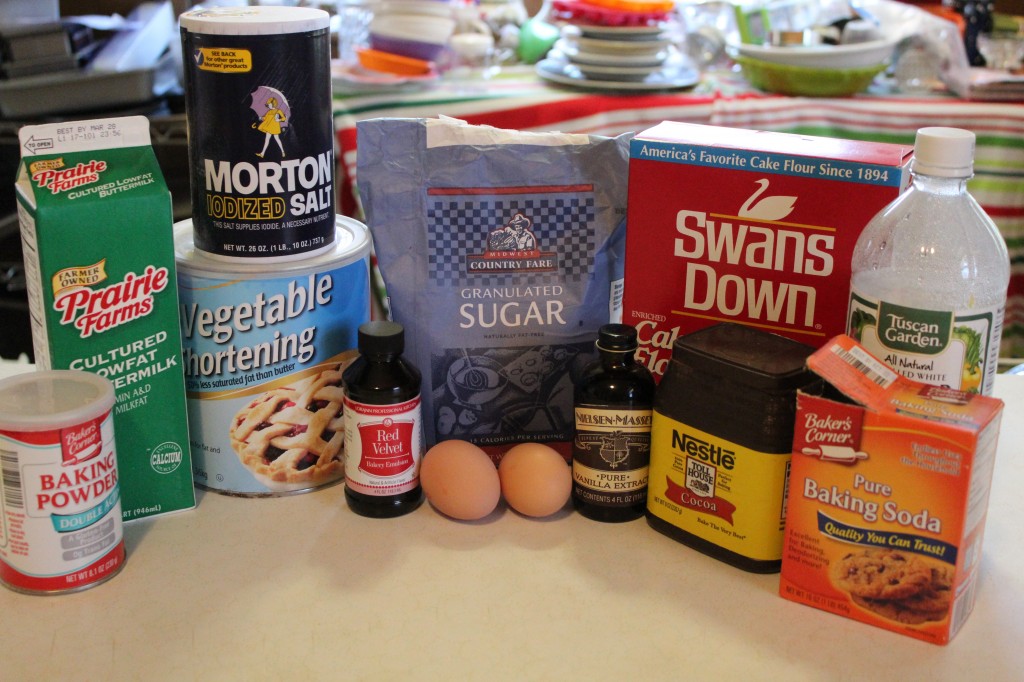
Here is what you will need to make this perfect Red Velvet Cake.

You will need cake flour, sugar, buttermilk, salt, baking powder, eggs, cocoa powder, baking soda, vinegar, vanilla, red food coloring (I used some red velvet cake food coloring I found at a Amish store and vegetable shortening.

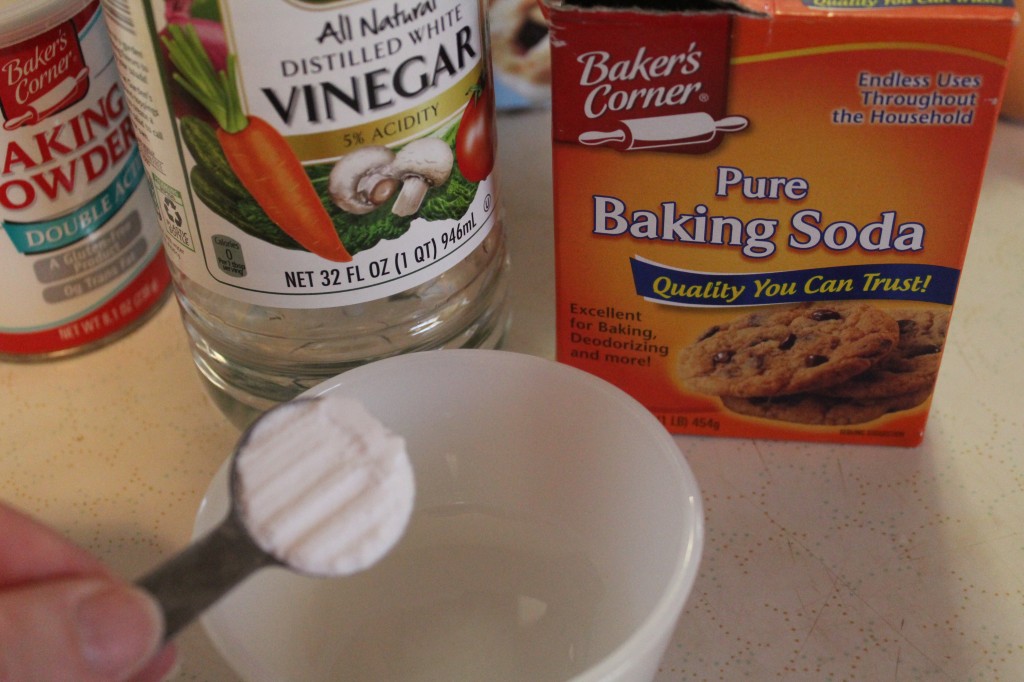
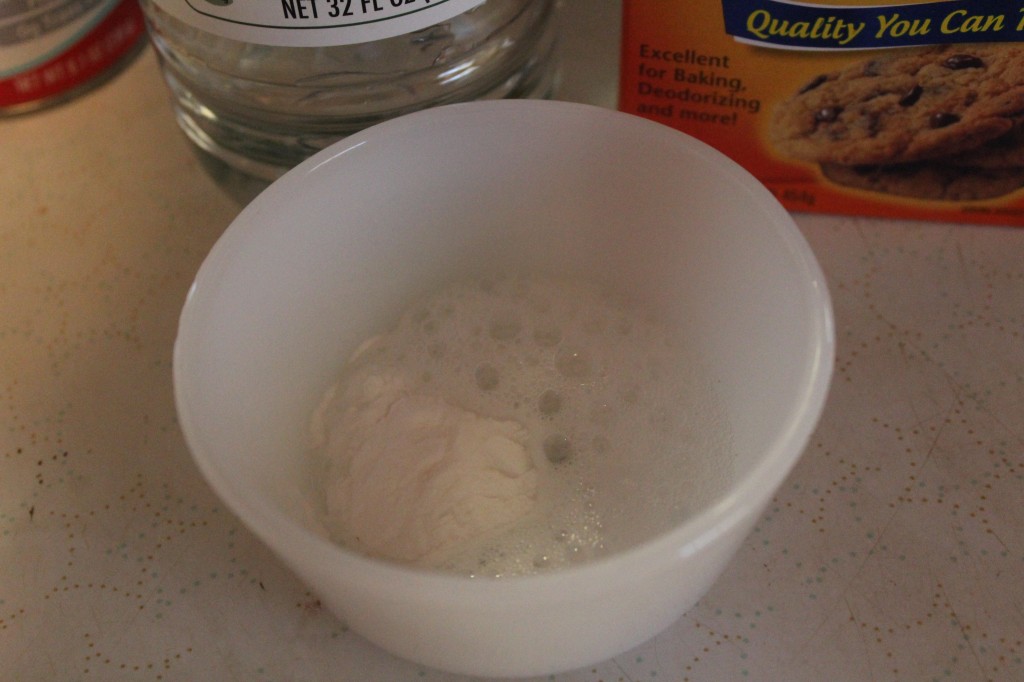
First thing you need to do is dissolve the baking soda in the vinegar.

It will look like a little volcano of bubbles for a bit.

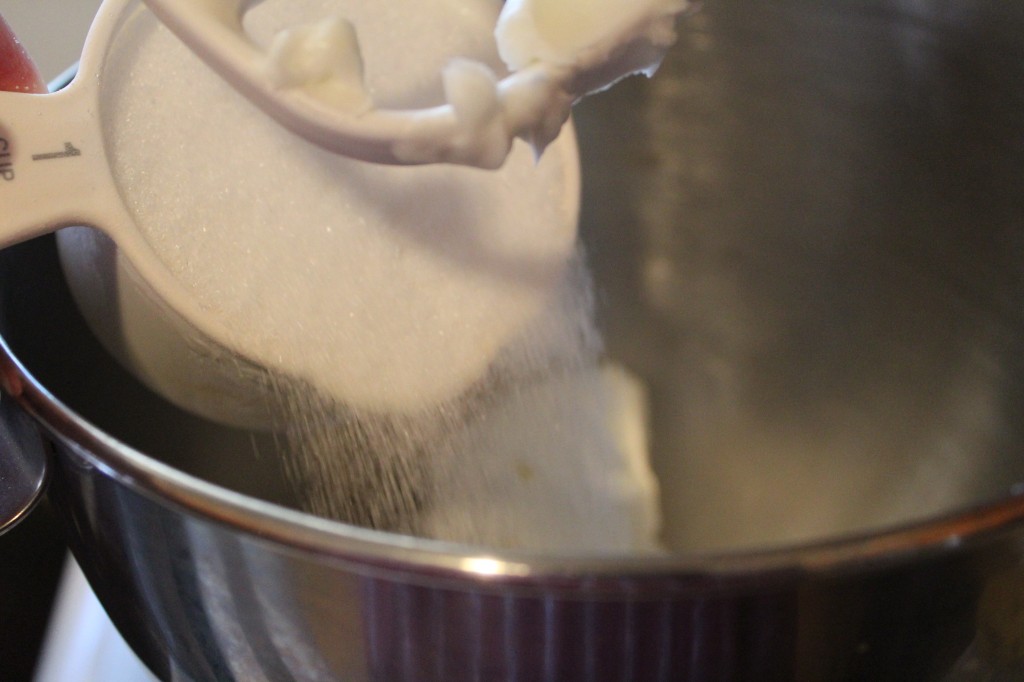
Now on to the stand mixer. In a mixer cream together the sugar.

Here is a picture of me adding the sugar. Cream the shortening and sugar together until light and fluffy.

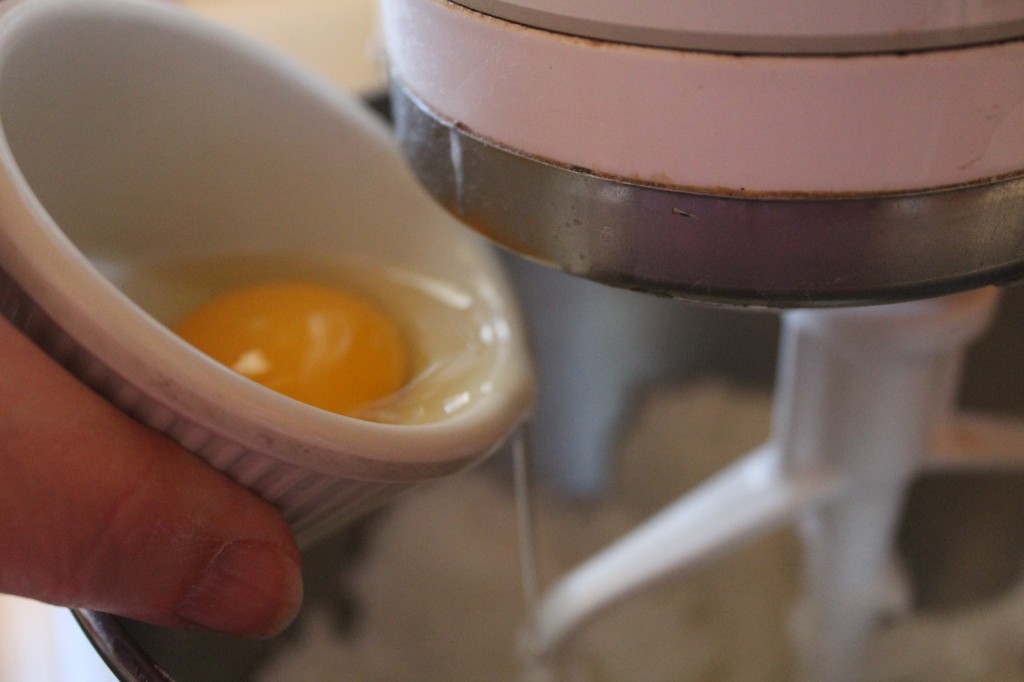
Now, add in the eggs, one at a time, beating after each one.

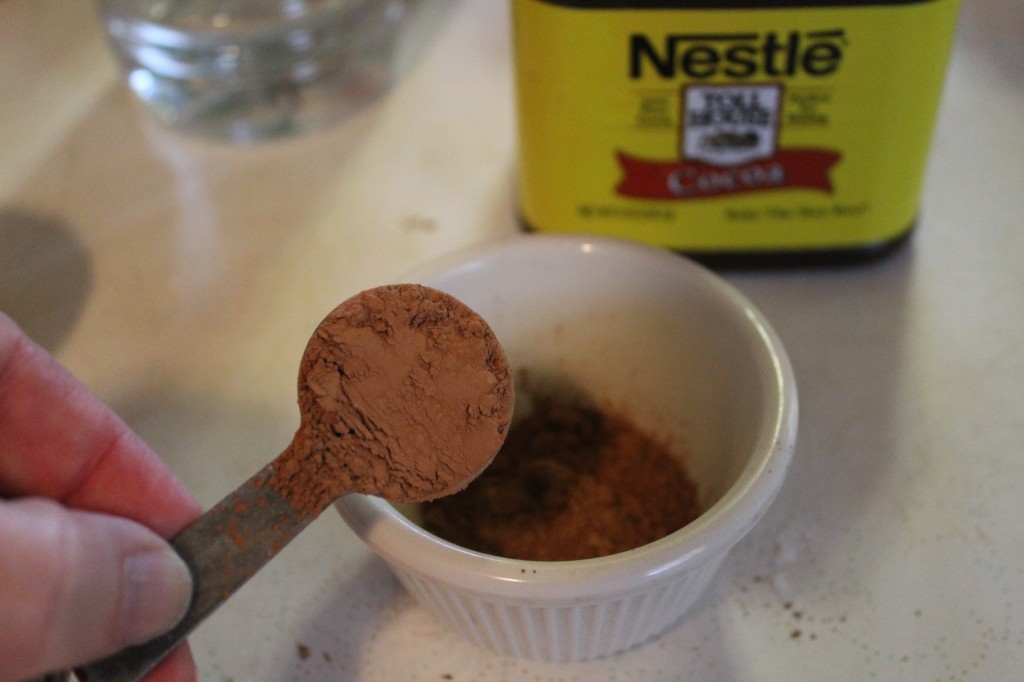
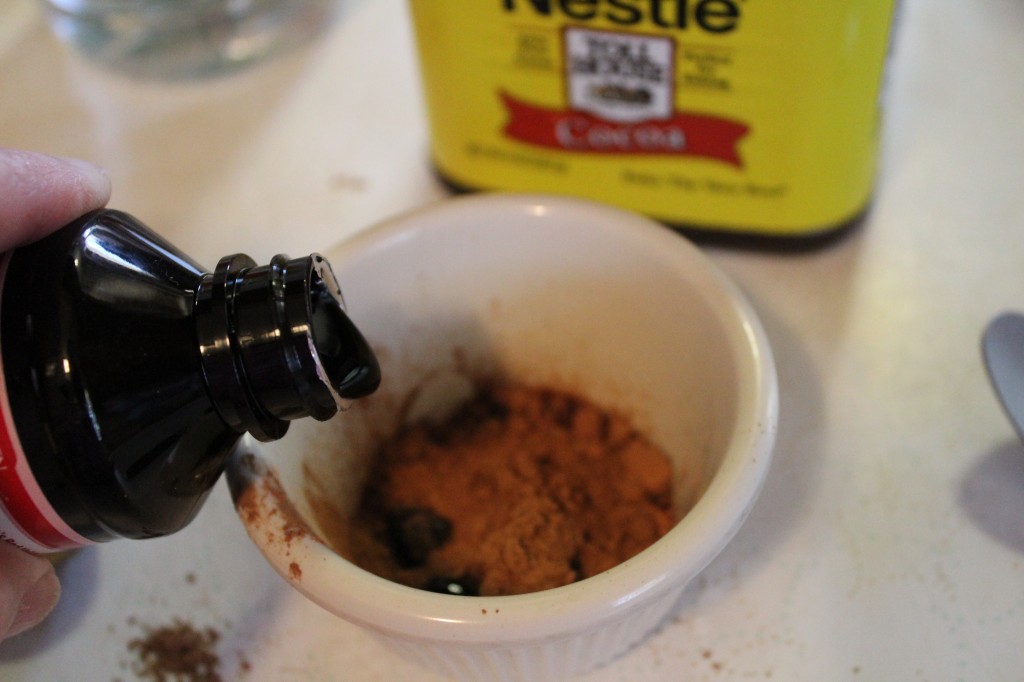
In a small bowl add in the cocoa powder.

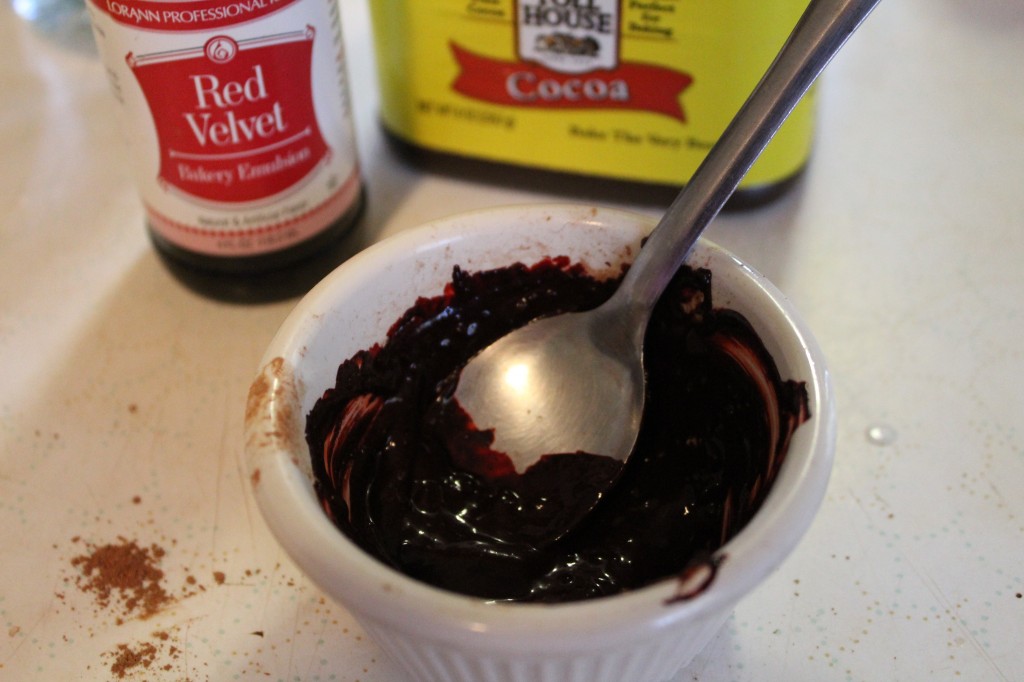
Add in half the amount of red food coloring.

Mix the two together to remove all the lumps.

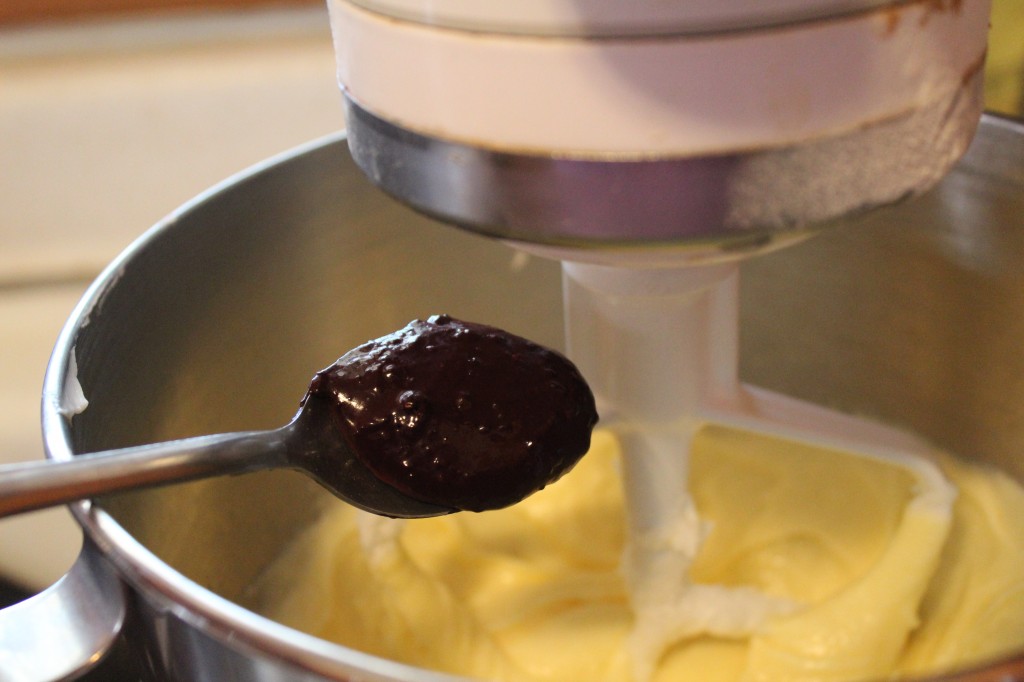
Add the cocoa mixture to the creamed sugar mixture.

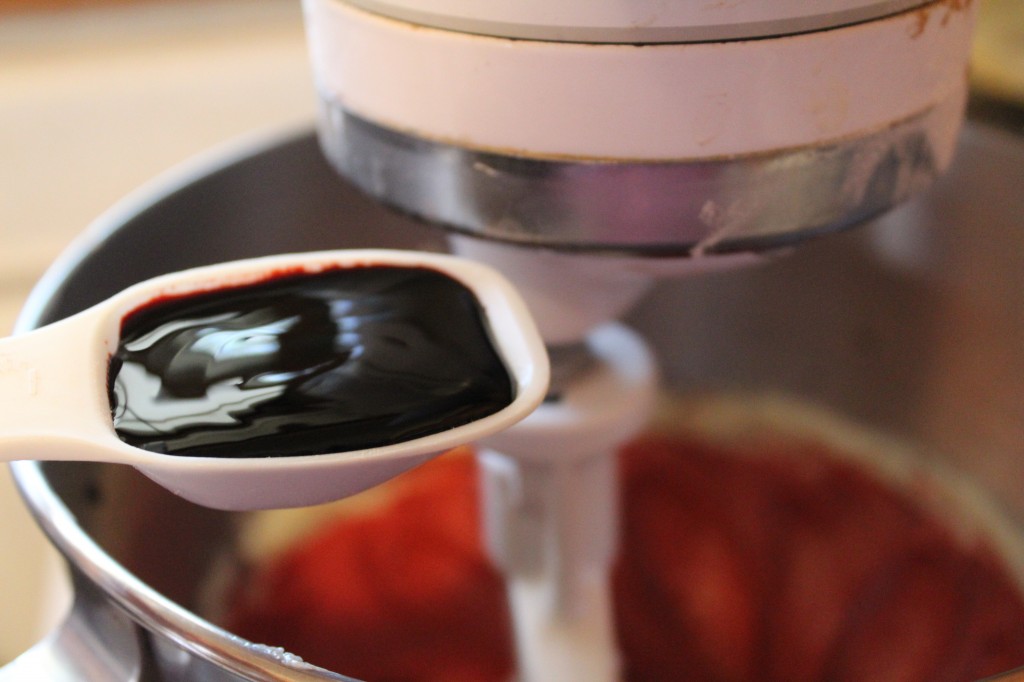
Now add in the rest of the red food color and mix all together.

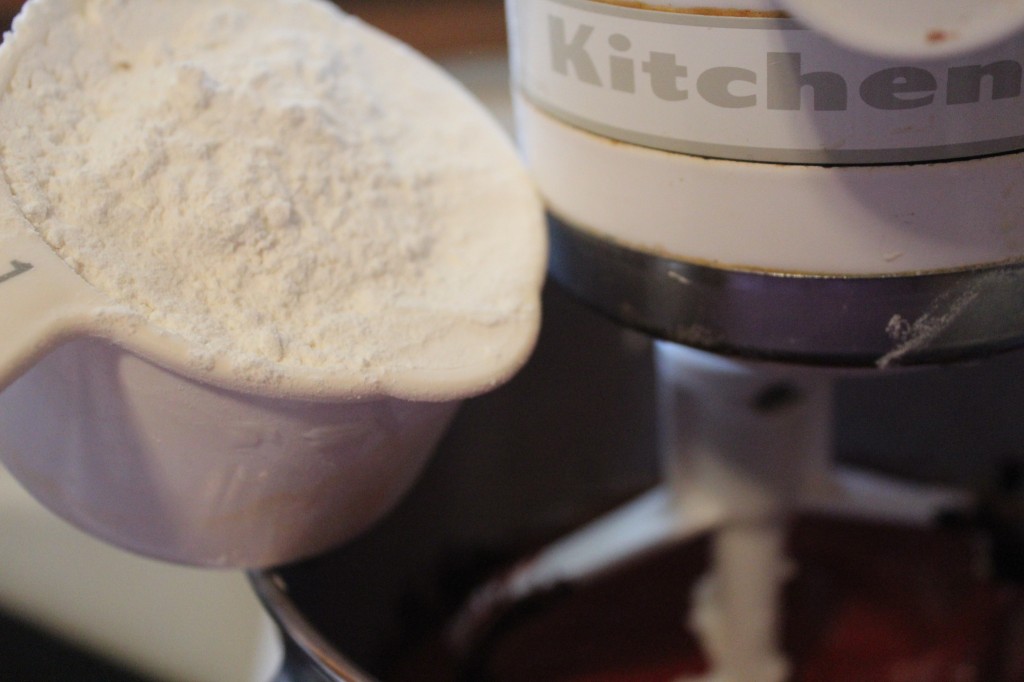
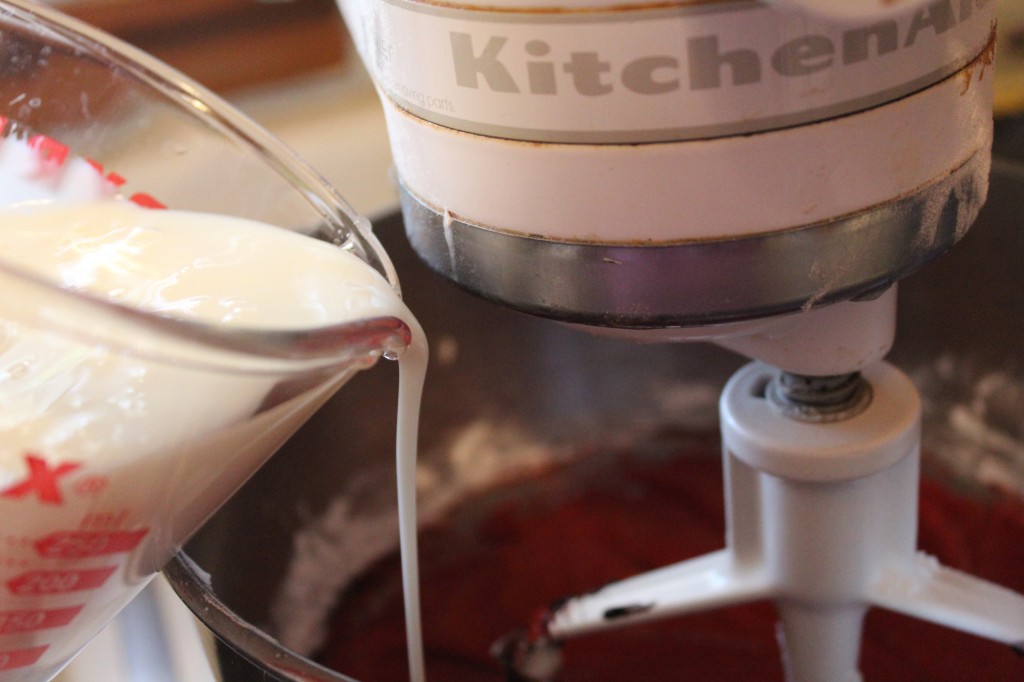
Alternately add in the flour, salt and baking powder with the buttermilk.

Here is a picture of me adding the buttermilk.

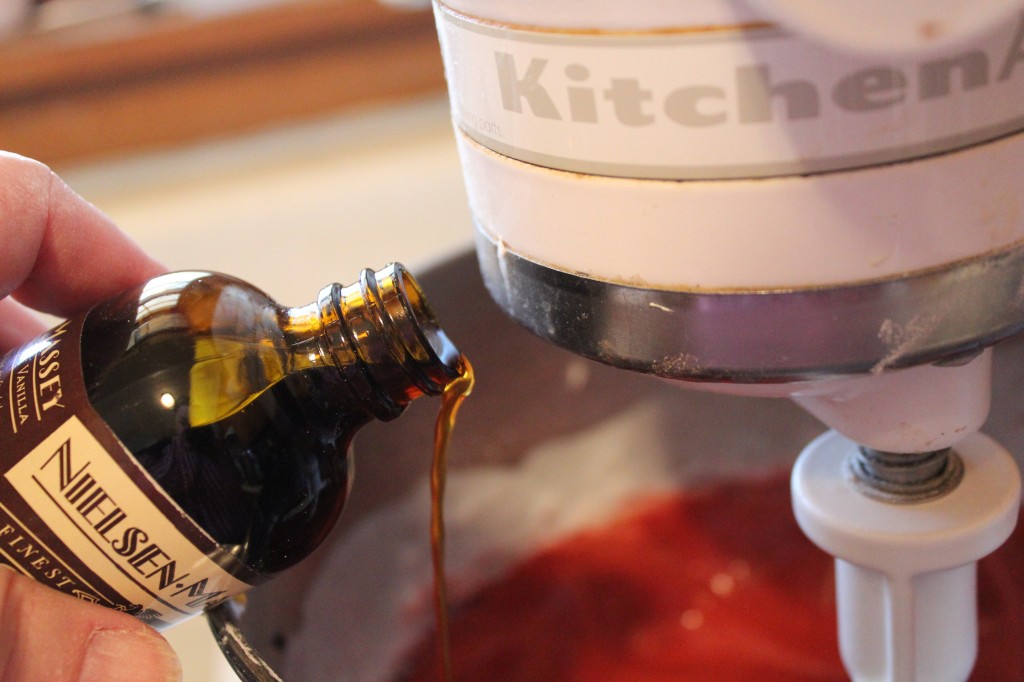
Now it is time to add in the vanilla.

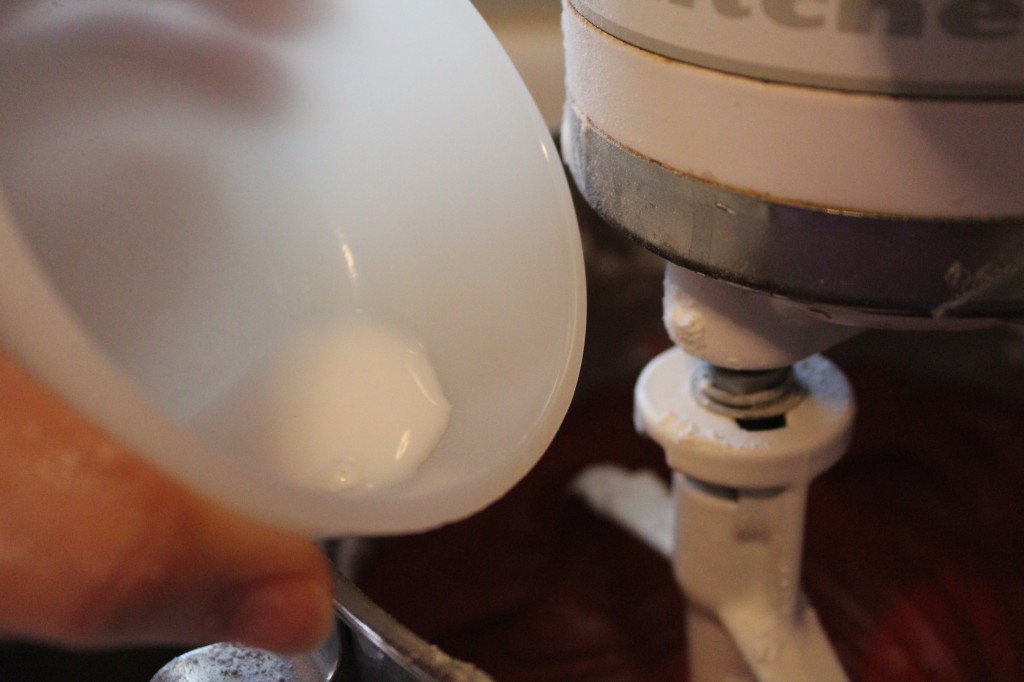
Lastly, add in the baking soda and vinegar mixture and mix in.

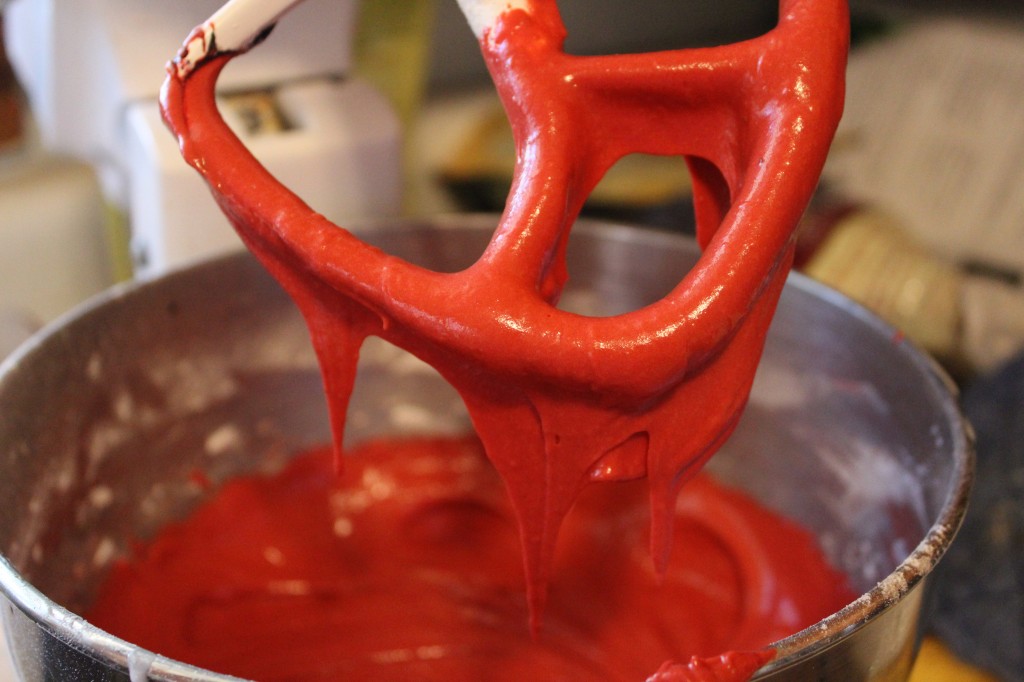
Look at the beautiful red batter.

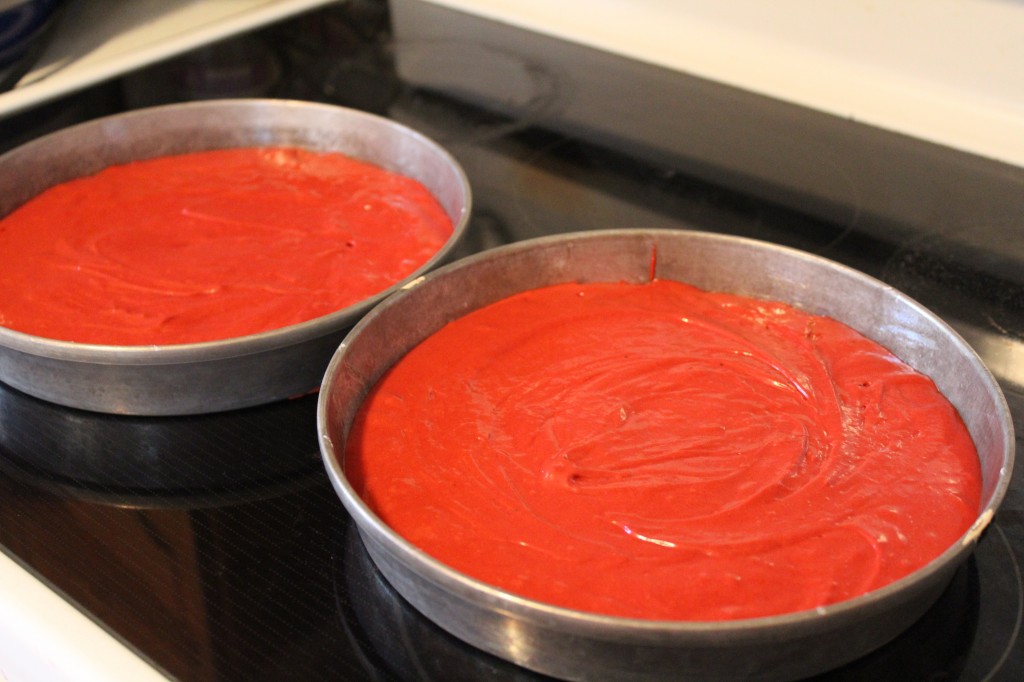
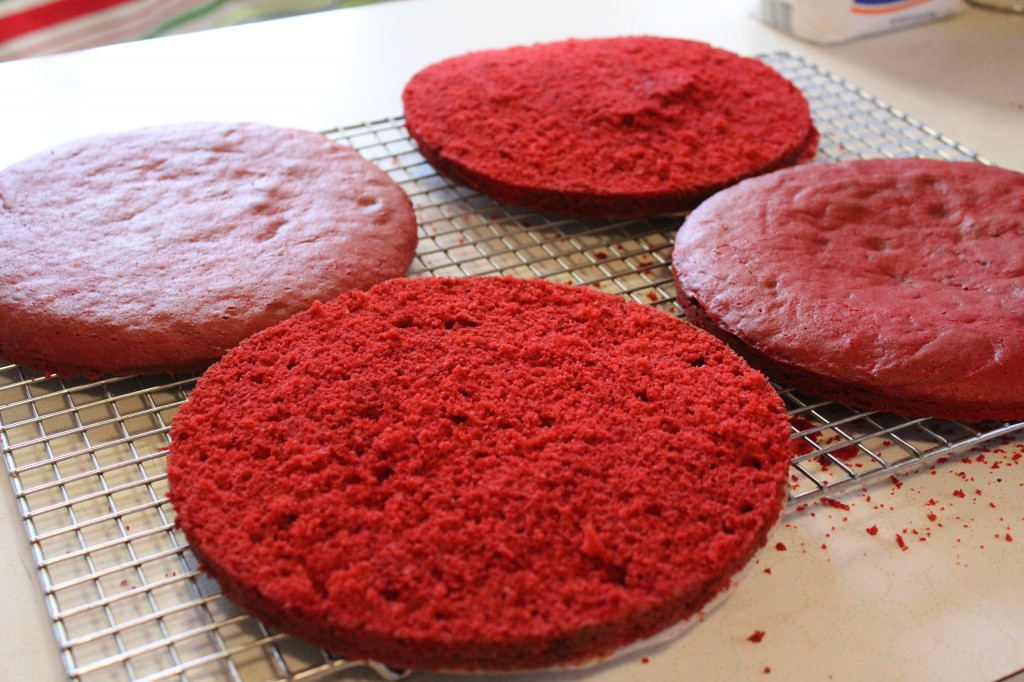
Pour the batter, in equals amount into prepared 8 inch cake pans. I ALWAYS line my cake pans with parchment paper before pouring in the batter. Place the cake pans in the oven and bake for around 30 minutes at 350 degrees. When done take the cakes out and cool for 10 minutes then put on a cooling rack. When cool, cut the cakes in half horizontally to make four layers.

Now, onto the icing!

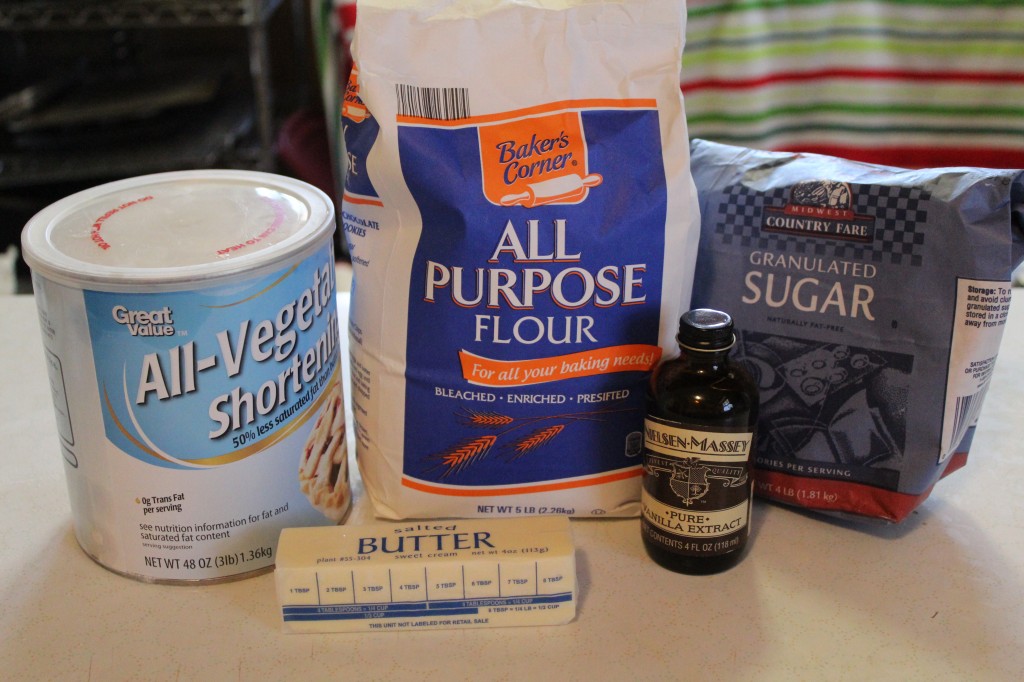
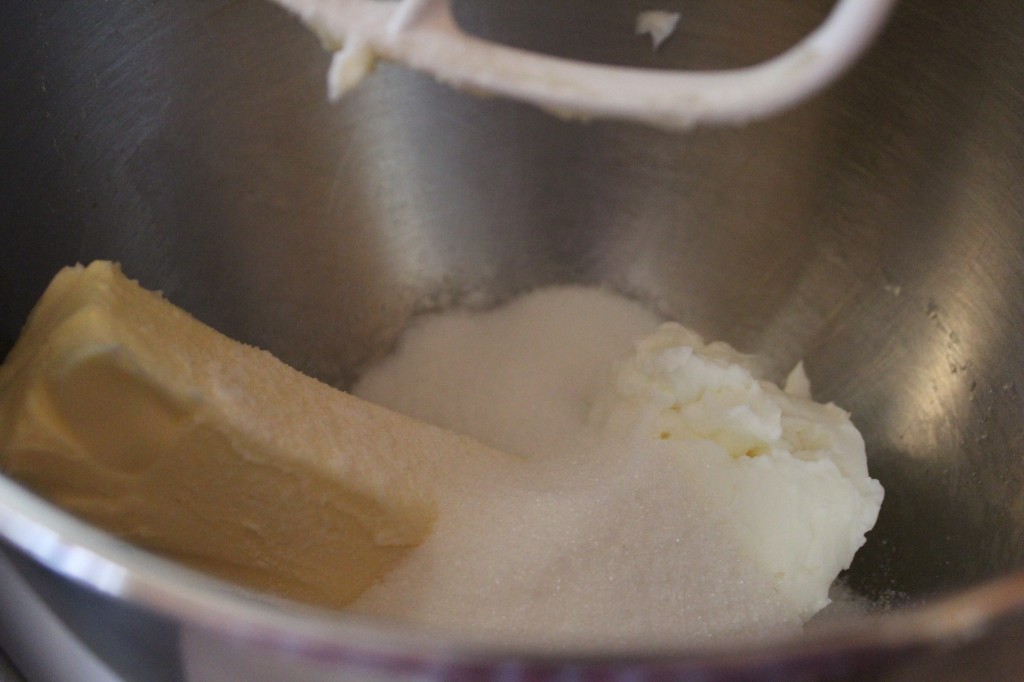
For the icing you will need vegetable shortening, butter, flour, sugar and vanilla.

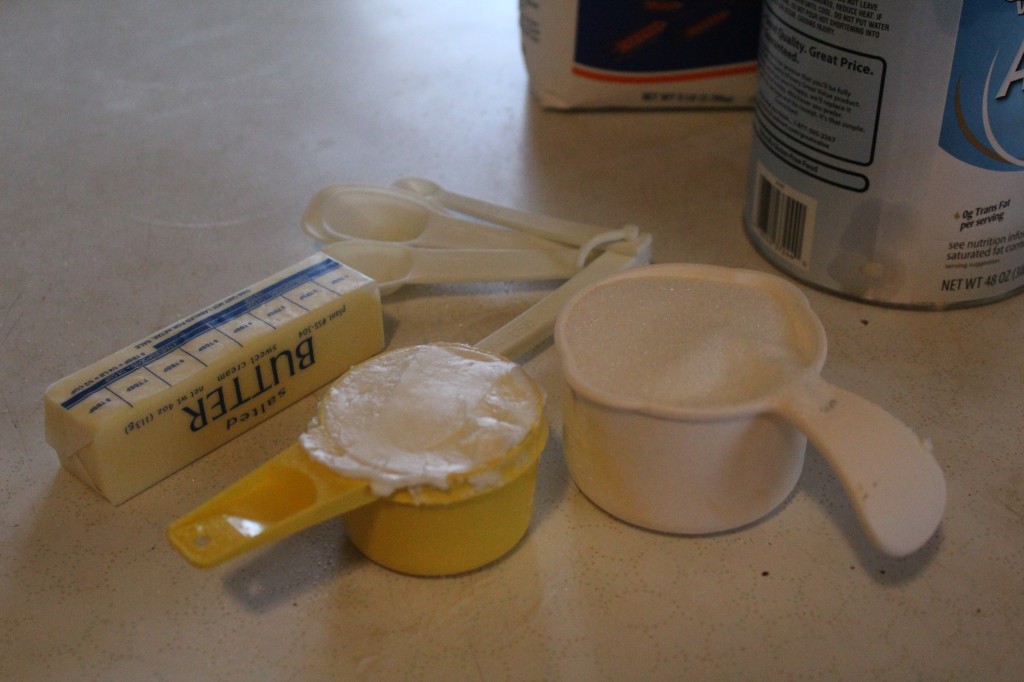
Measure out the butter, vegetable shortening and the sugar.

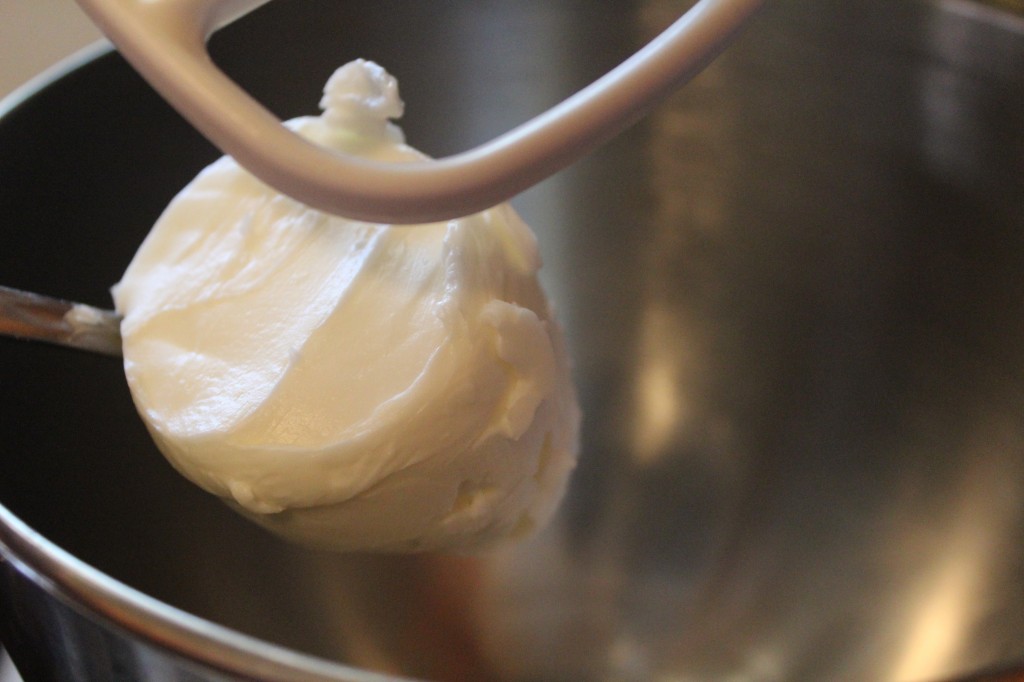
With a mixer, cream together the sugar, butter and vegetable shortening.

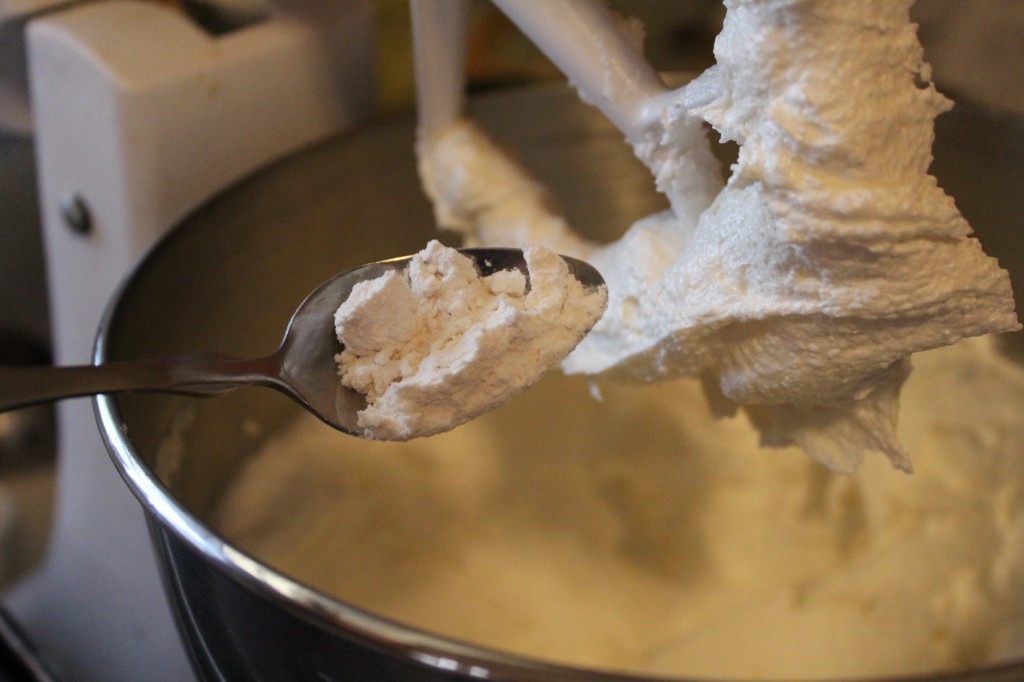
Cream until light and fluffy. Add in the flour, one tablespoon at a time.

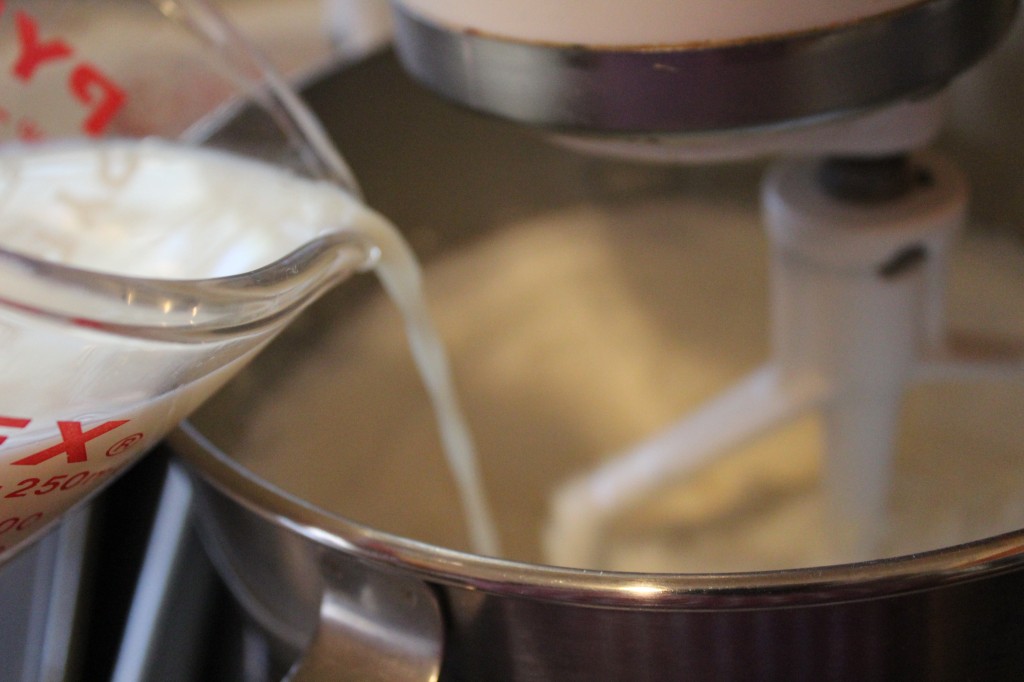
Add in the milk. Keep mixing to incorporate the milk in. The icing will start to get real creamy.

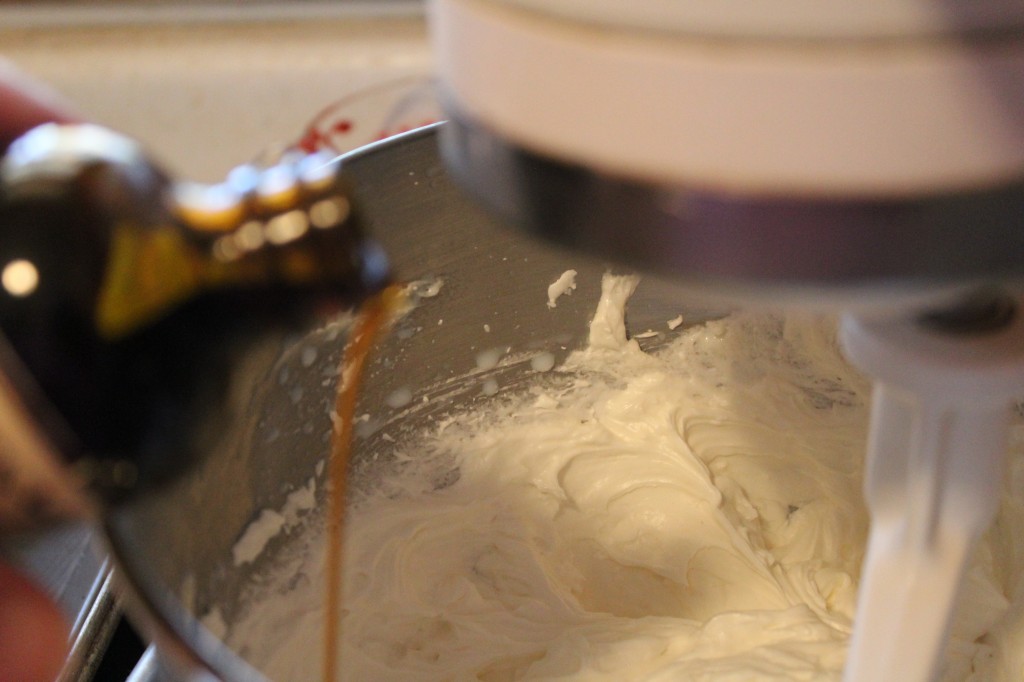
Add in the vanilla.

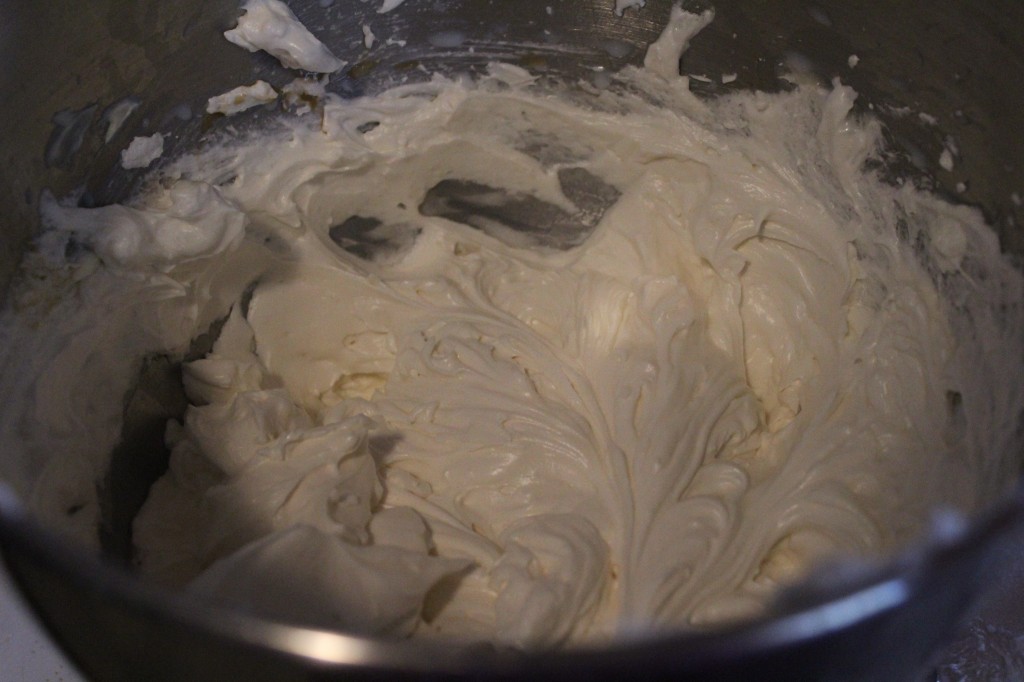
There you go! Look how pretty the icing is!

Here is a picture of the cakes cut in half horizontally. I saved all the crumbs from cutting the cake to decorate the top of the cake.

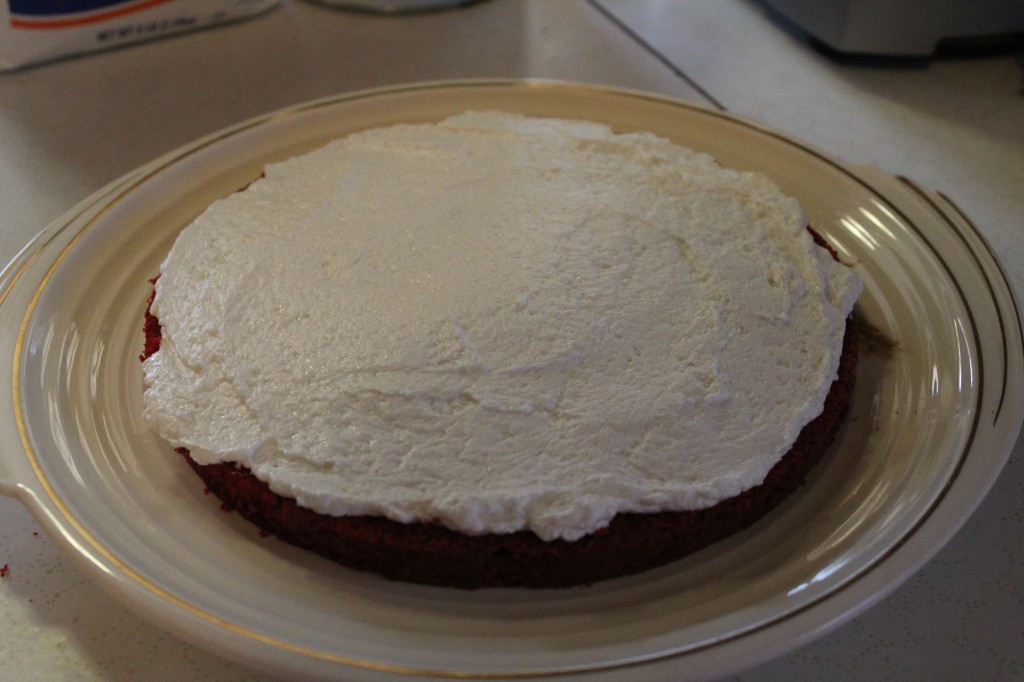
Spread 1/4 of the icing on top of the bottom layer. Continue to add another layer of cake and ice the top of the layer until you get to the top.

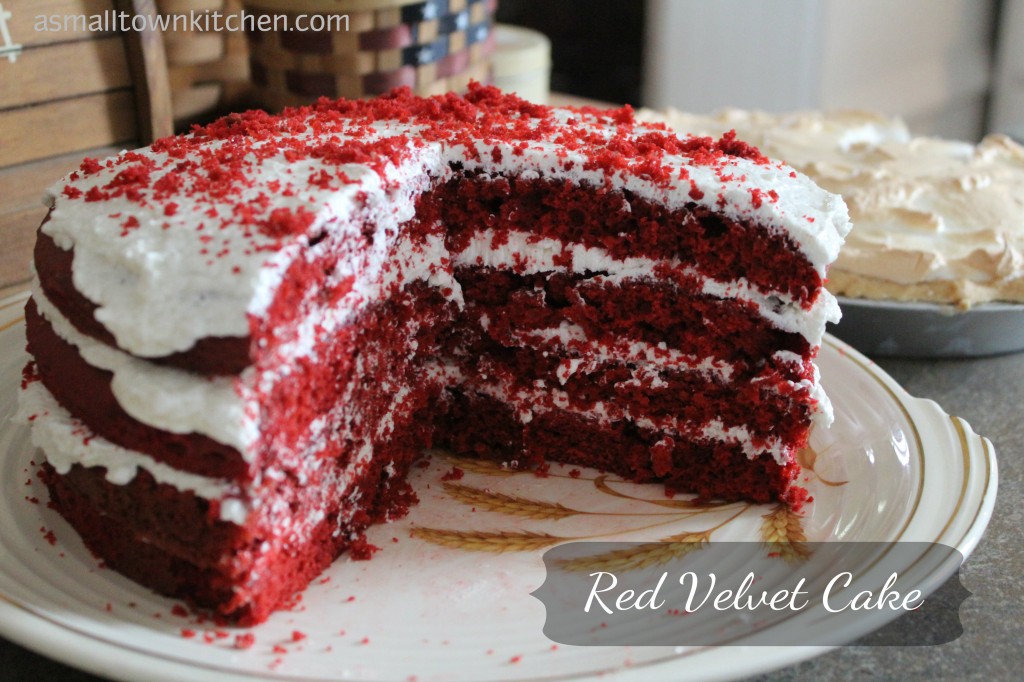
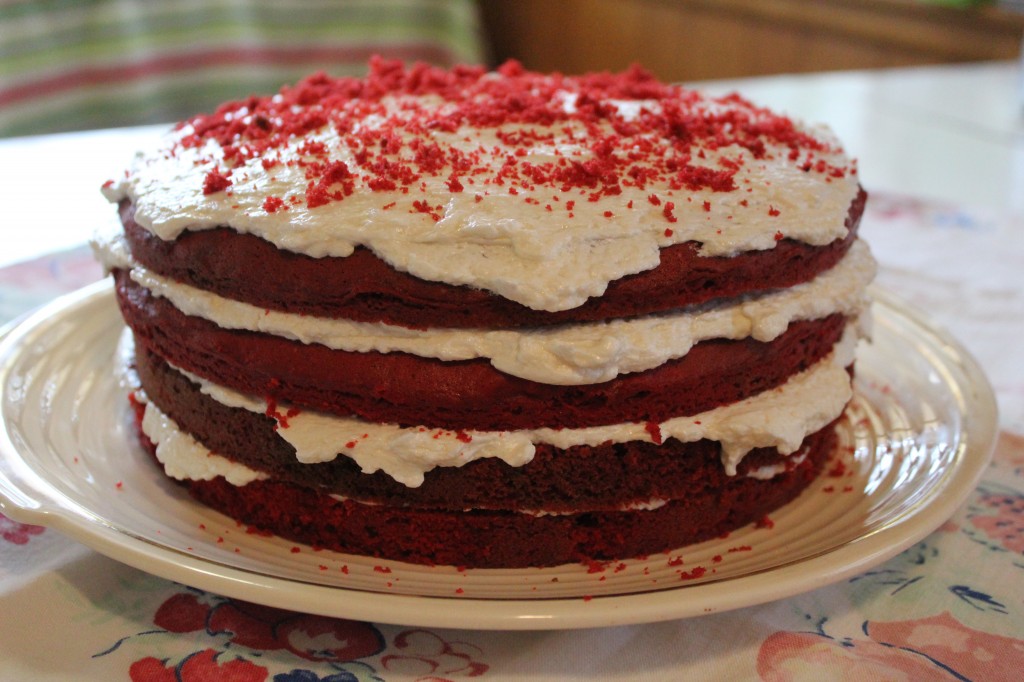
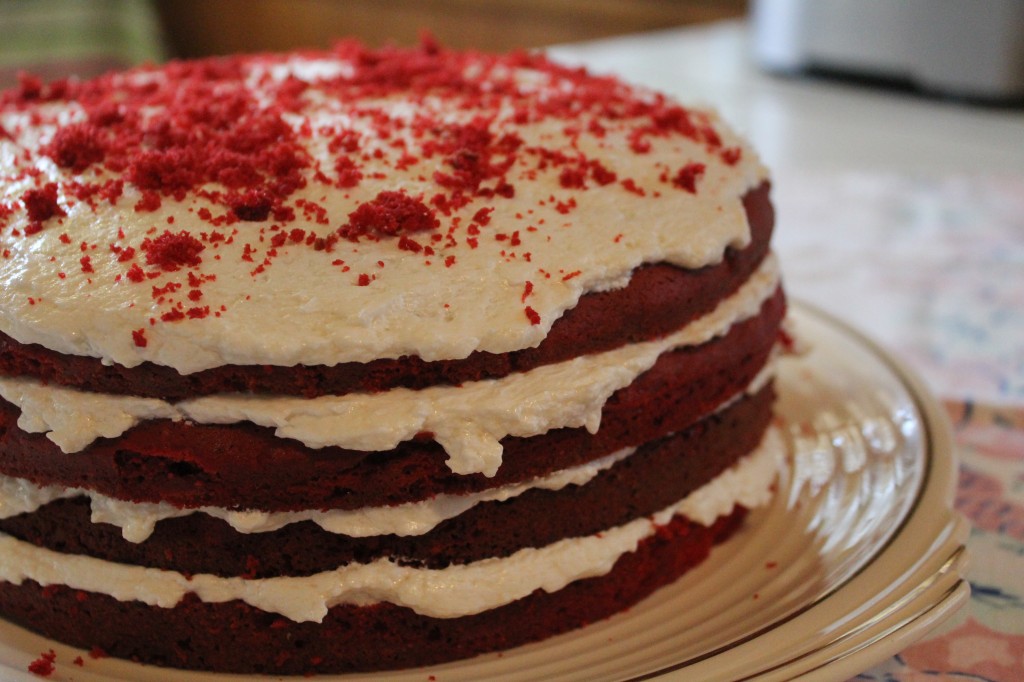
Here is the finished cake topped with all the extra crumbs.

Are you ready to make cake???

Alrighty!

Here is the recipe:

Adapted from Iowa State Fair Prize Winning Cook Book

Red Velvet Cake

Ingredients:

1/2 cup shortening

1 1/2 cup granulated sugar

2 eggs

2 ounces red food coloring (I used red velvet food coloring I bought at the Amish store, it worked great)

1 teaspoon vanilla

2 teaspoons cocoa

1 teaspoon salt

1 cup buttermilk

2 1/2 cup cake flour

1 teaspoon baking powder

1 teaspoon baking soda

1 teaspoon vinegar

Directions:

Mix the vinegar and soda together in a small bowl. Let stand. Cream the shortening and sugar together till light and fluffy. Add in the eggs. Make a paste of the cocoa and a small amount of the red food coloring. Add the cocoa paste to the cramed mixture. Add the remainder of the food coloring. Alternately, add in the buttermilk, salt, baking powder and flour. Add in the vanilla and the vinegar/soda mixture.. Mix all ingredients together and pour into 2 – 8 inch pan. (I lined mine with parchment paper).

Bake for around 30 minutes at 350 degree.

Cool. Split layers in half, making 4 layers. Spread the frosting between layers and top of cake only.

Keep in the refrigerator.

Frosting Recipe:

Ingredients:

3/4 cup margarine (I used butter)

3/4 cup shortening

1 1/2 cup sugar

4 1/2 tablespoons flour

1 cup milk plus 3 tablespoons (room temperature)

1 1/2 teaspoon vanilla (I have also used vanilla paste)

Directions:

Cream margarine, shortening and sugar together till light and fluffy. Add in the flour, one tablespoon at a time. Add in the milk and vanilla. Beat the frosting well. On my stand mixer I let it mix for several minutes until the frosting got real creamy.

Here is just a little close up picture of all the yummy layers!

Enjoy!

Becky

Here is a few other post you may enjoy!

Strawberry Cake

Oven BBQ Brisket


Fry Bread Taco

How about a little Fry Bread Taco to celebrate Cinco De Mayo!

When my foods class was looking to make some southwestern dishes last year, I came across this recipe. I loved the look of it and how is was like a tostado. I had my students make it at school and they all loved the recipe. So much so, that this year we made it again just a couple of weeks ago.

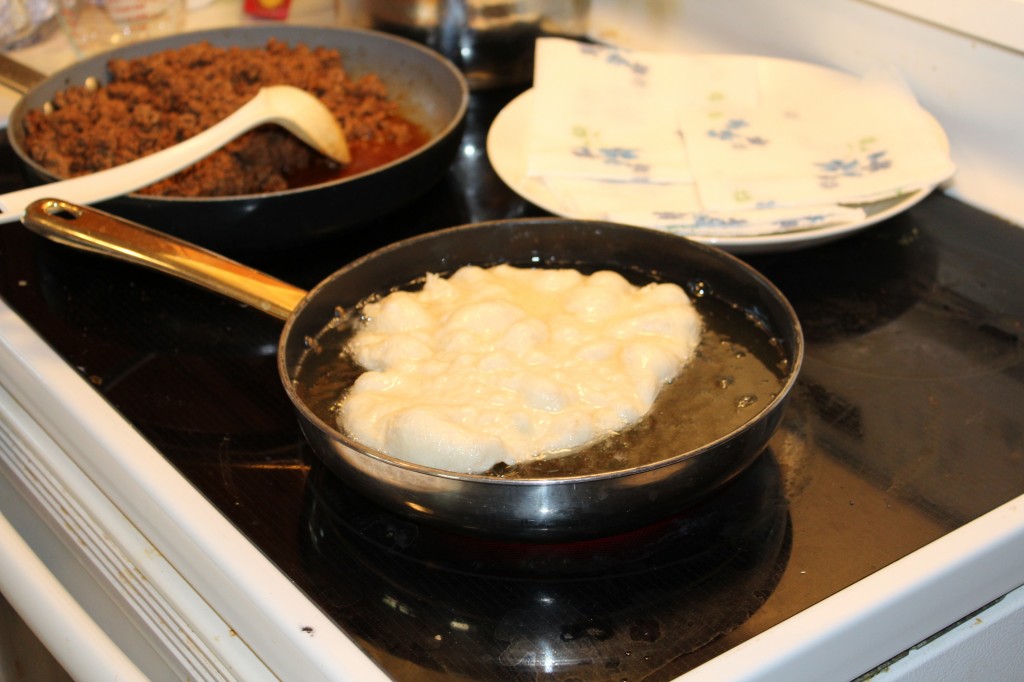
I had never had fry bread before we made them at school. Now, I could make these every week for taco night. The fry bread does not take took long. I just fried mine in a skillet on the cook top of my range. I rolled them out to about 6 inches circle and then fried them up. They puff up when frying and I love the crispy edges.

You can add extra toppings to your liking too on top. Like avocado, black olives ect. The night I made these for my kiddos, I just had the basic ingredients and it was still super yummy.

Definitely, a family please-er dinner.

Anywho, here is what you need to make it!

Happy Cinco De Mayo!

Becky

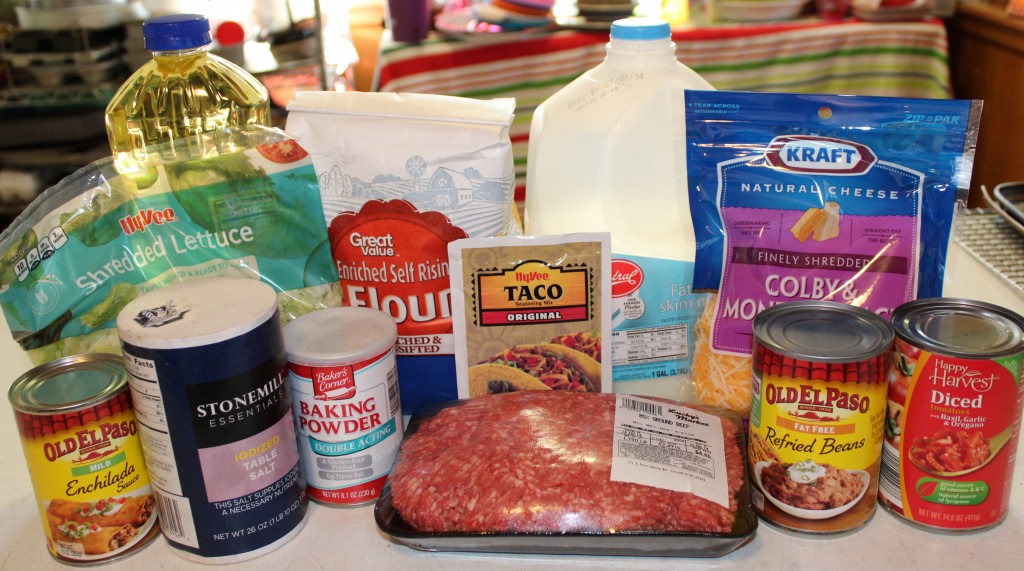
You will need some oil for frying the fry bread. Some hamburger meat and taco seasoning for the meat. Some refried beans, pacante sauce or enchilado sauce, cheese, dice tomatoes (I was out of fresh tomatoes and decided to just use canned ones) and shredded lettuce; for the toppings. For the fry bread, some flour, salt, milk and baking powder.

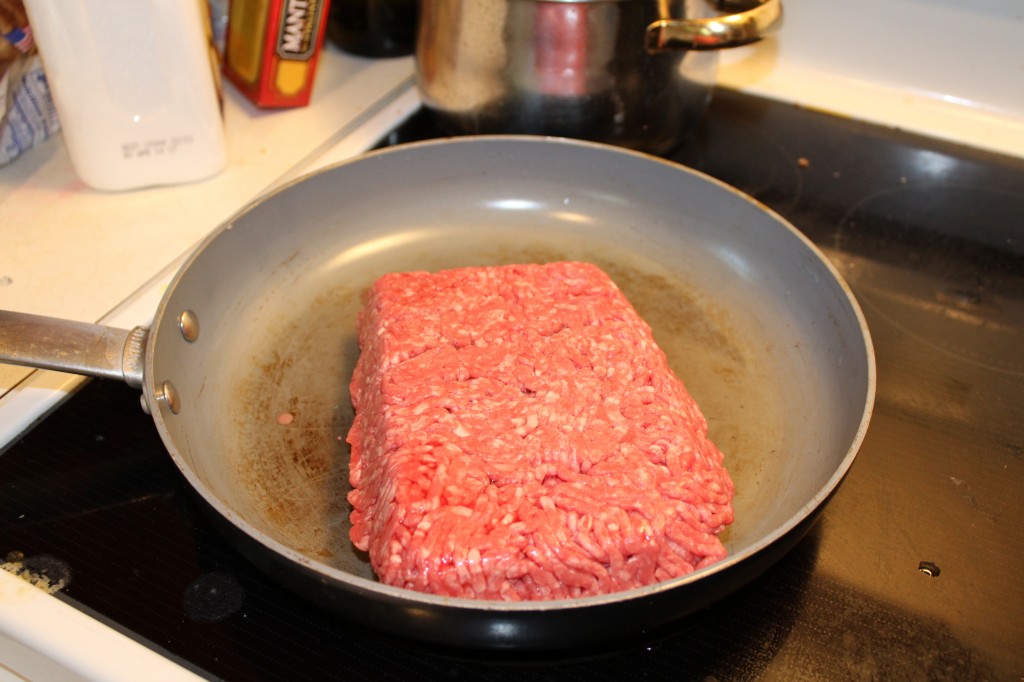
First thing I did was fry up the hamburger.

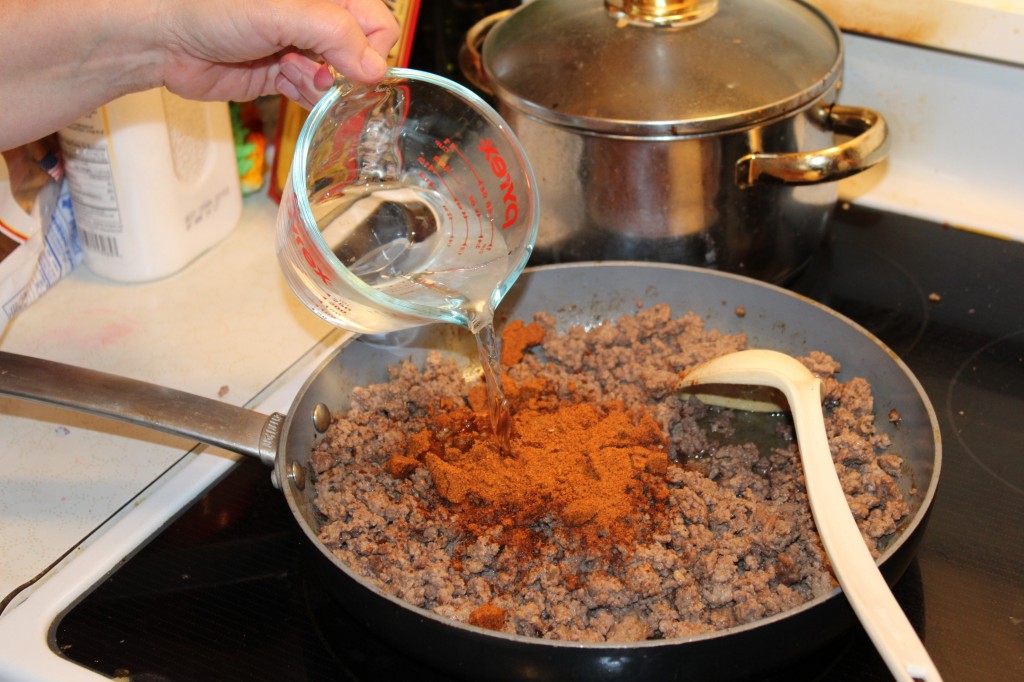
I drained off the grease. Then I added some water and the taco seasoning.

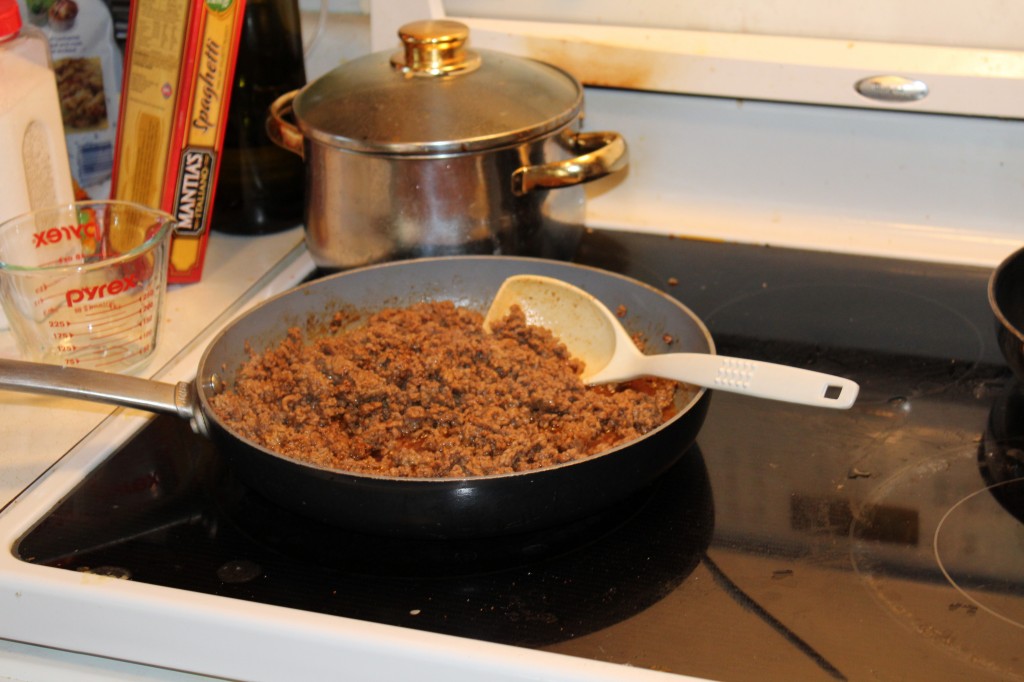
I let it cook for about 5 minutes and then I set it aside.

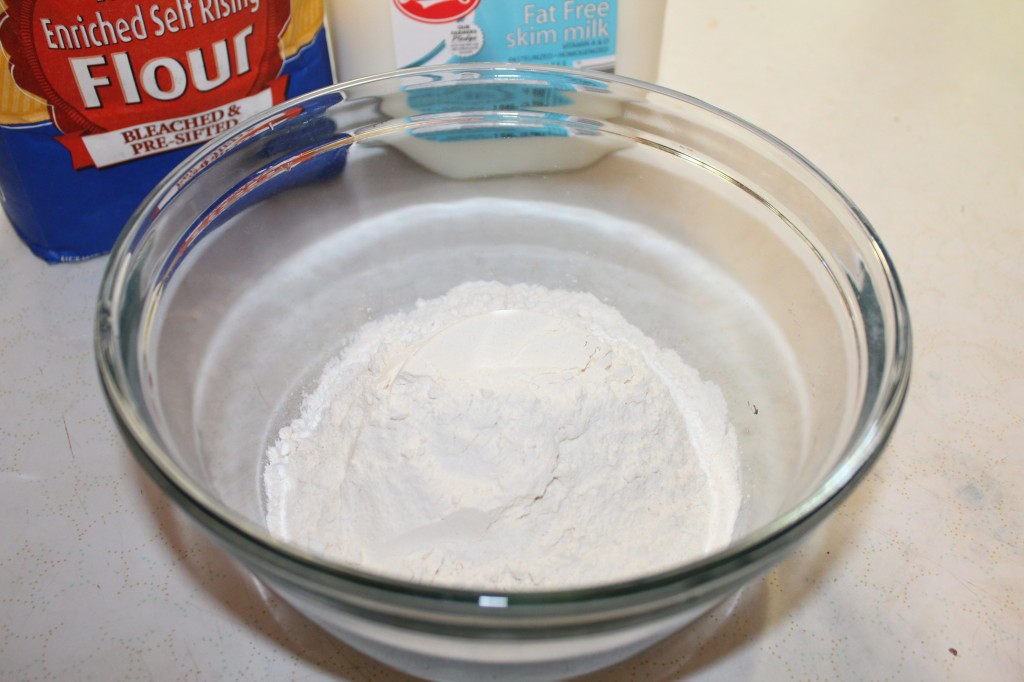
Next, I started my fry bread. In a medium bowl add in the flour.

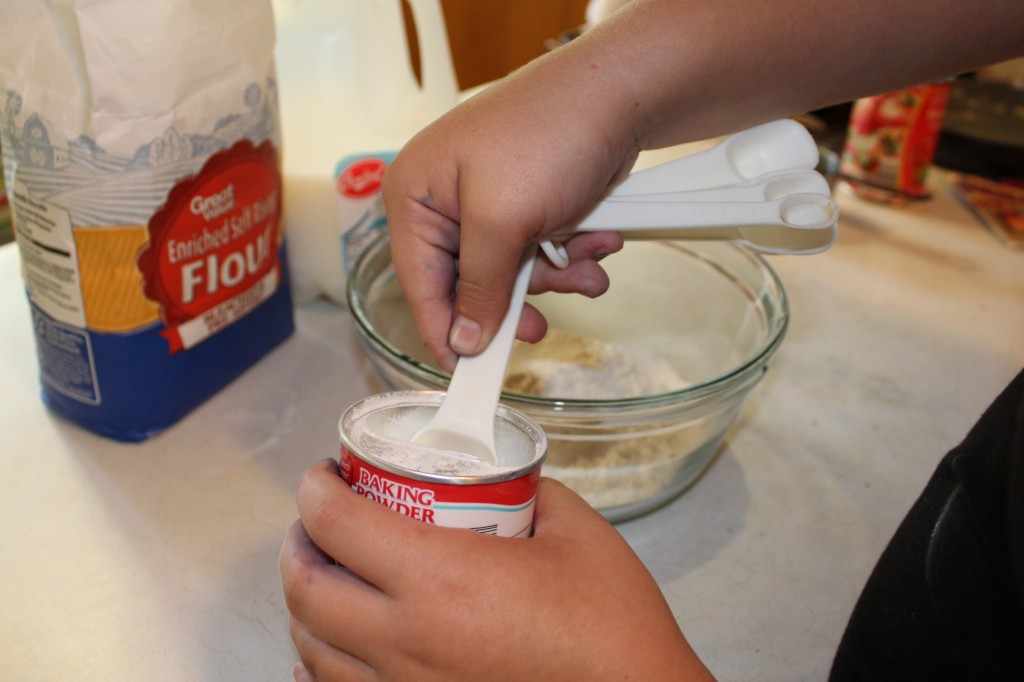
Now, add in the baking powder.

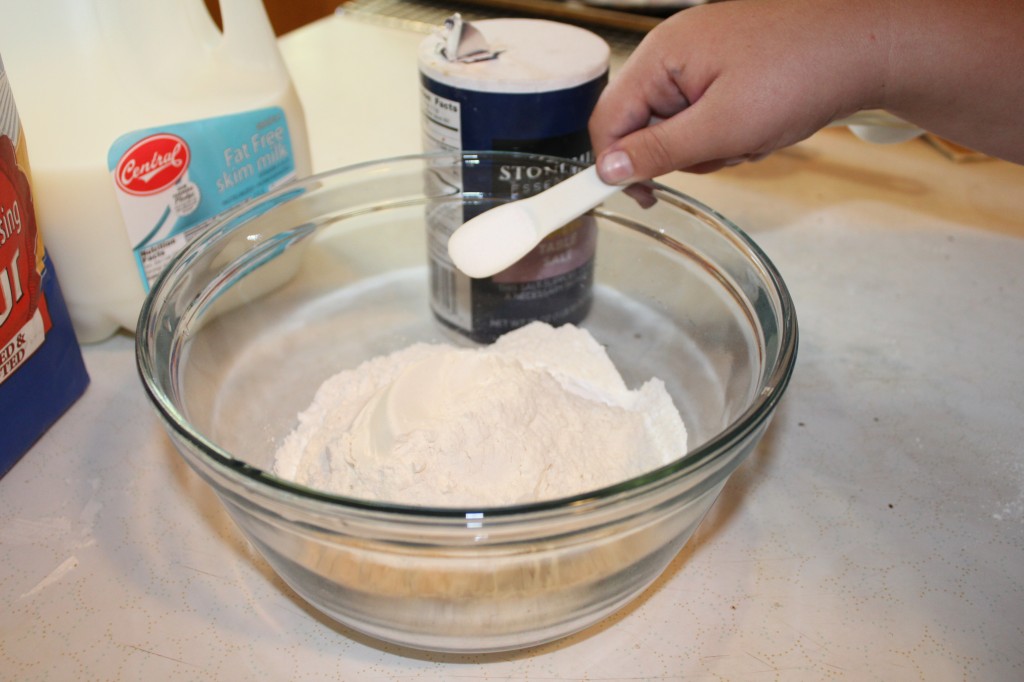
Then add the salt.

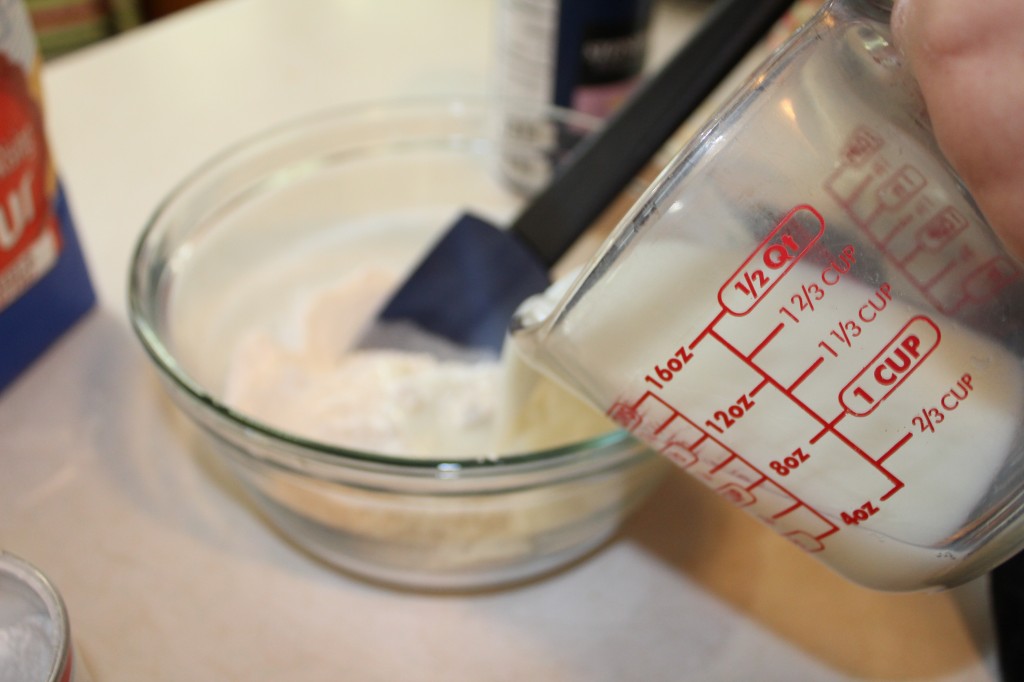
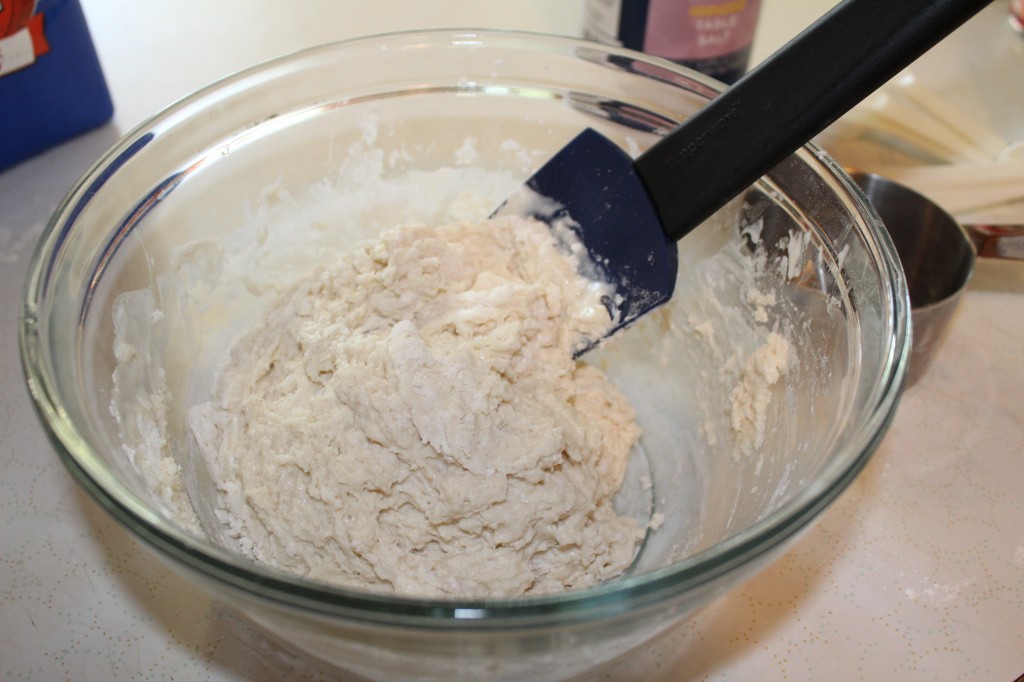
Stir the dry ingredients together. Now add in the milk until you form a soft dough.

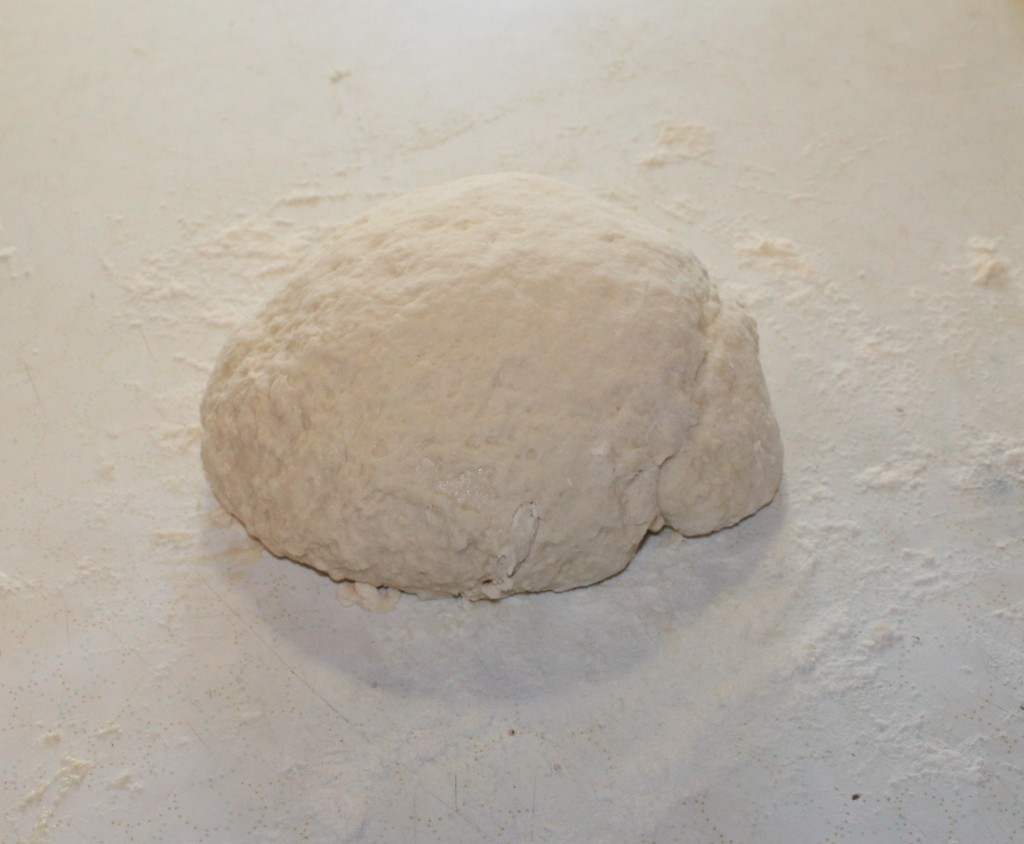
Here is the dough. It is just a bit tacky and that is ok.

Put the dough on a floured surface and kneed a few times to form it into a ball.

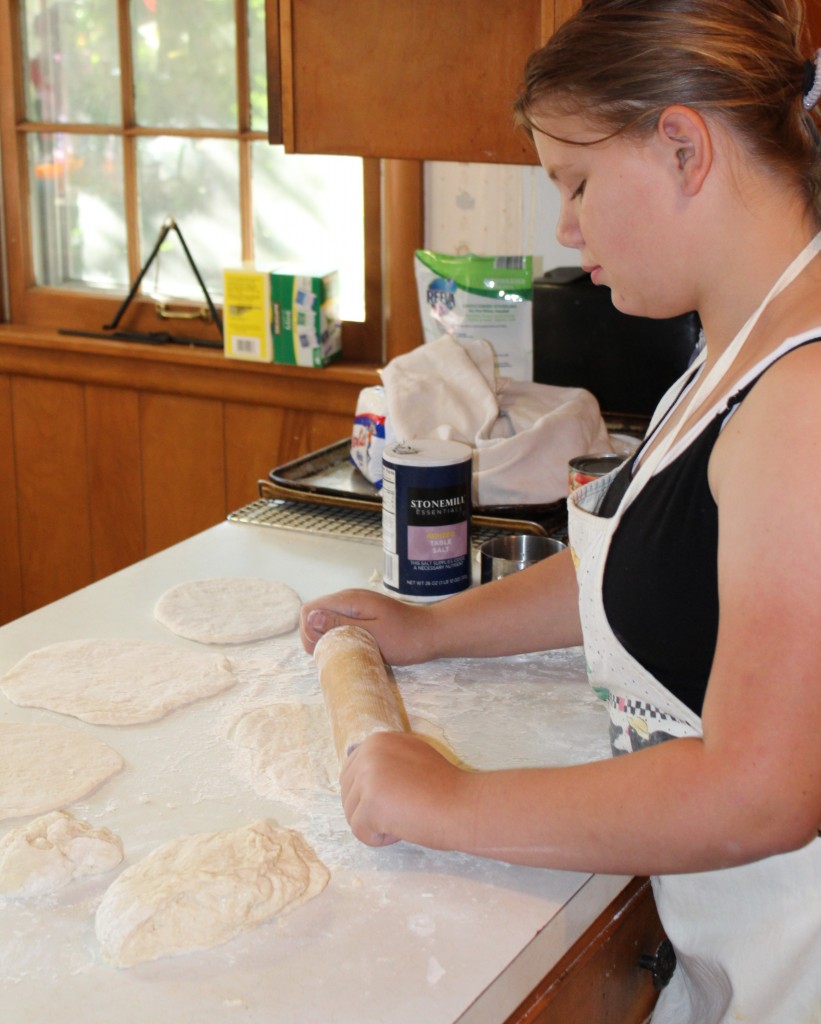
I let my grand daughter do this part. Cut the dough into equal parts and roll the dough into about 6 in circles.

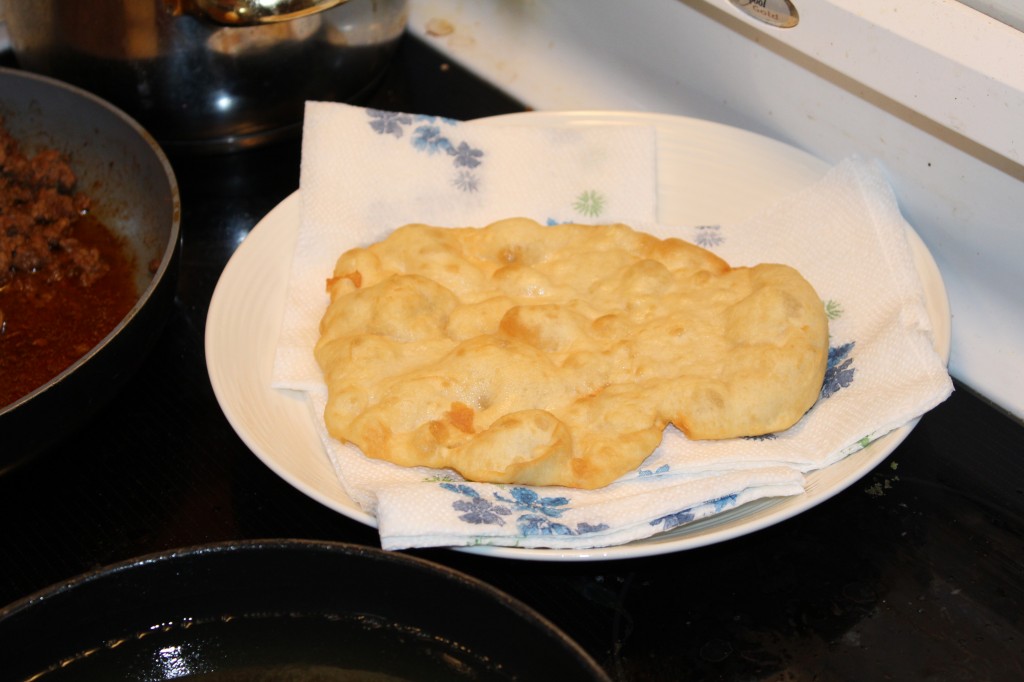
I did mine in a skillet on the cook top. I heated up some oil and fry the fry bread on both sides.

Take them out of the oil and drain on a paper towel.

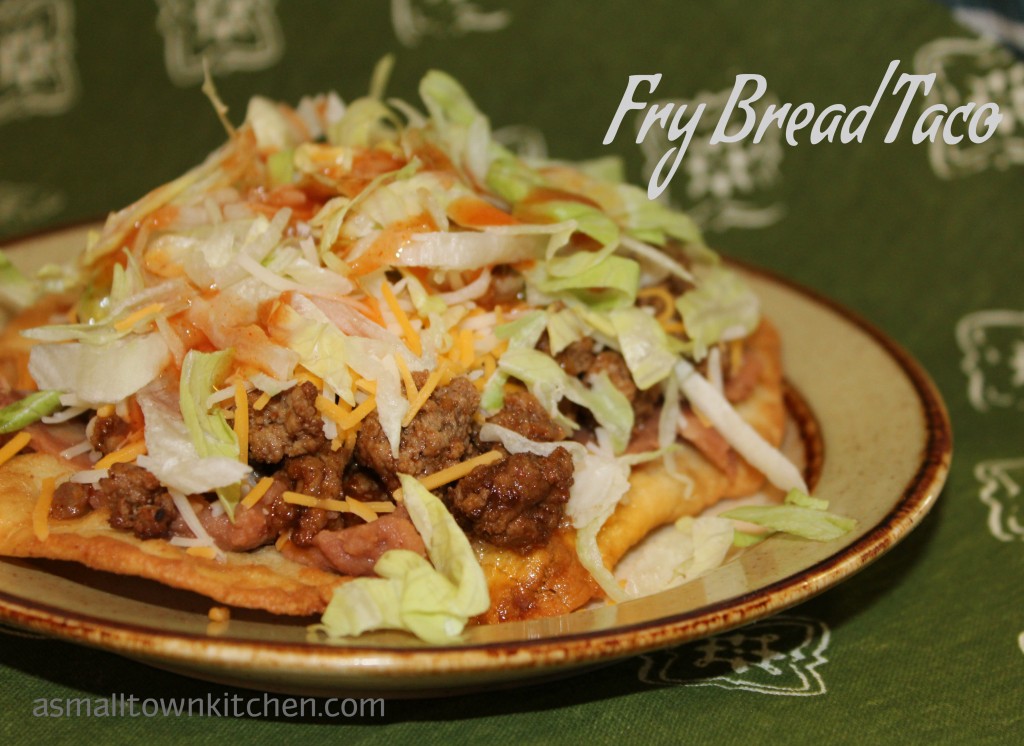
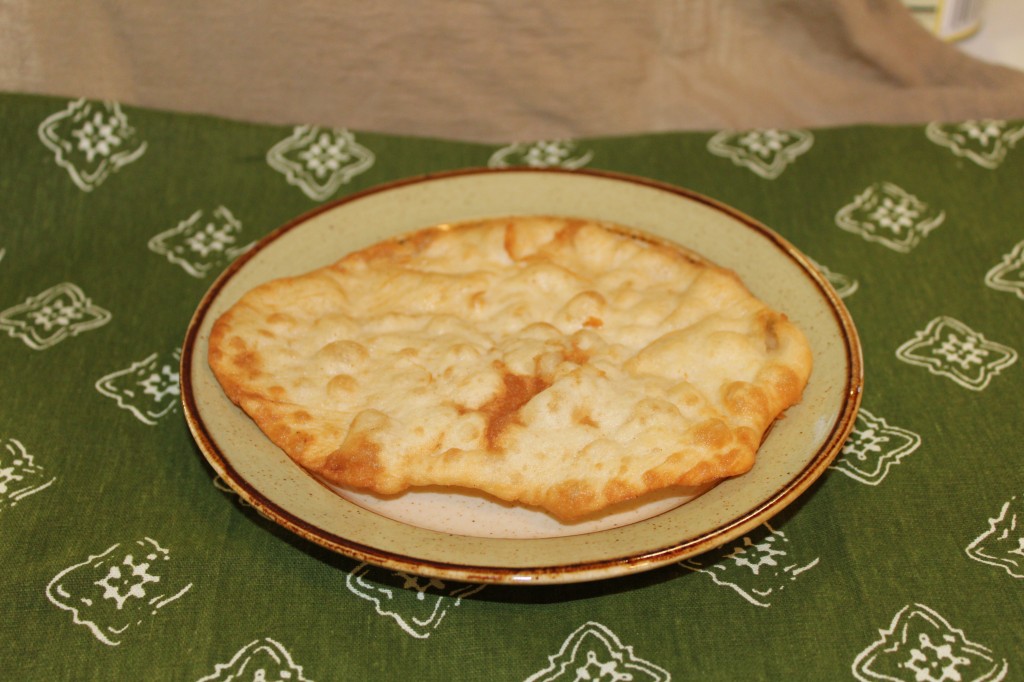
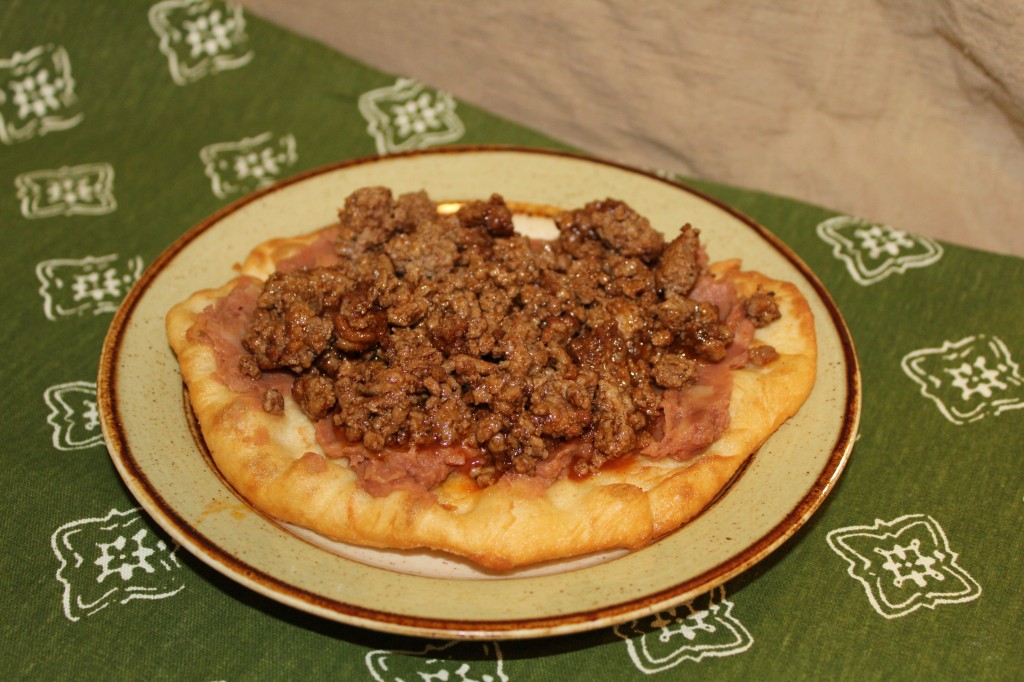
Here is what they look like.

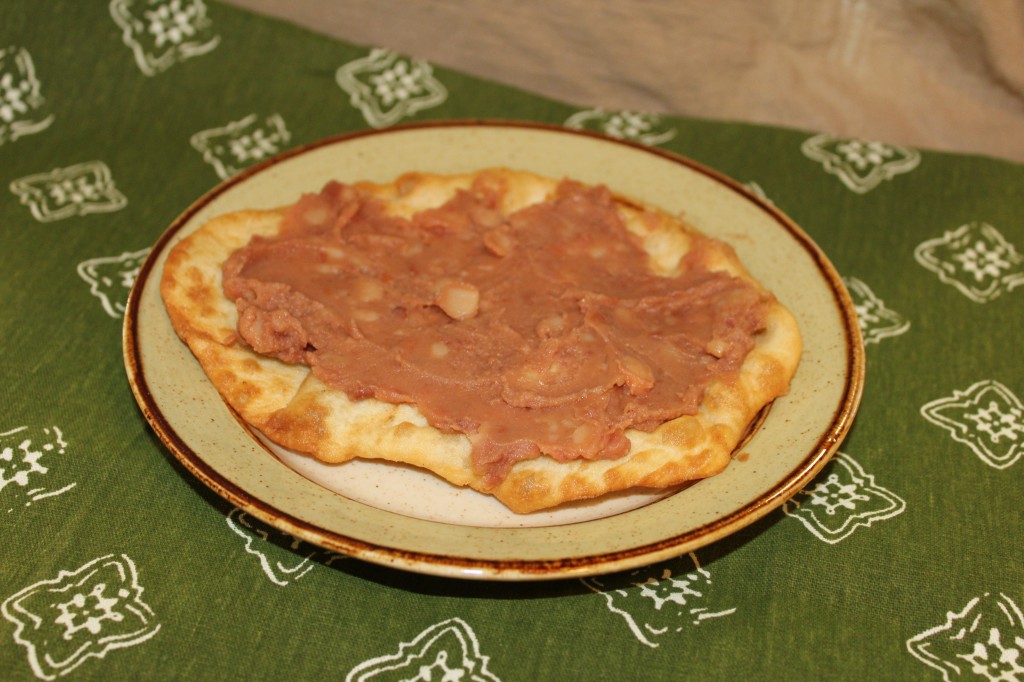
Now the fun begins. First spread some re fried beans on the top of the fry bread.

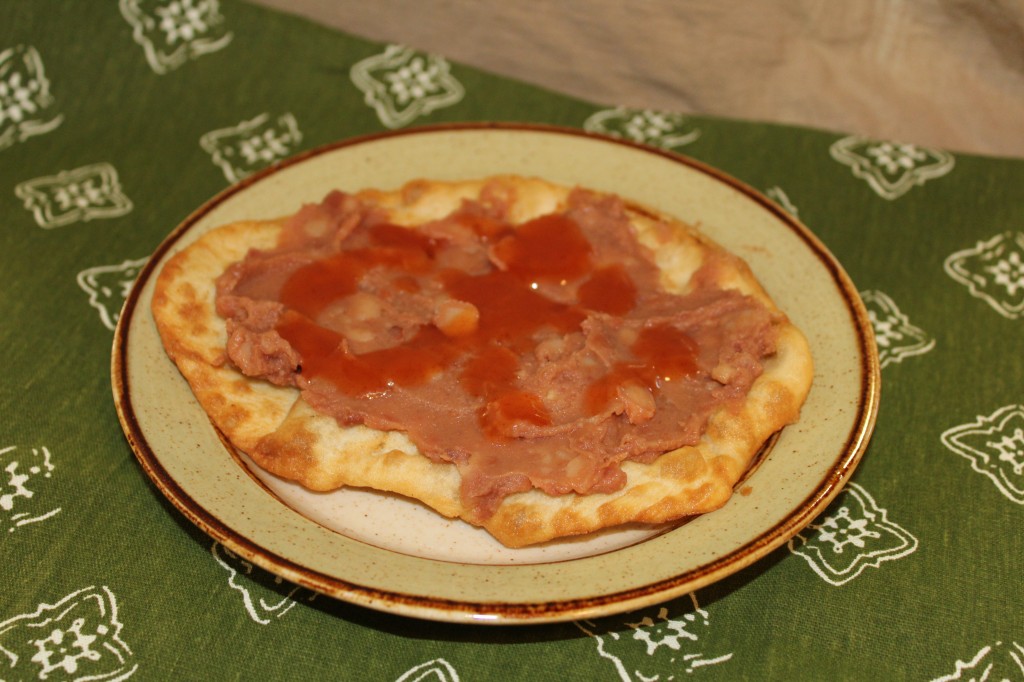
Add a little picate or enchilado sauce.

Now add some taco meat.

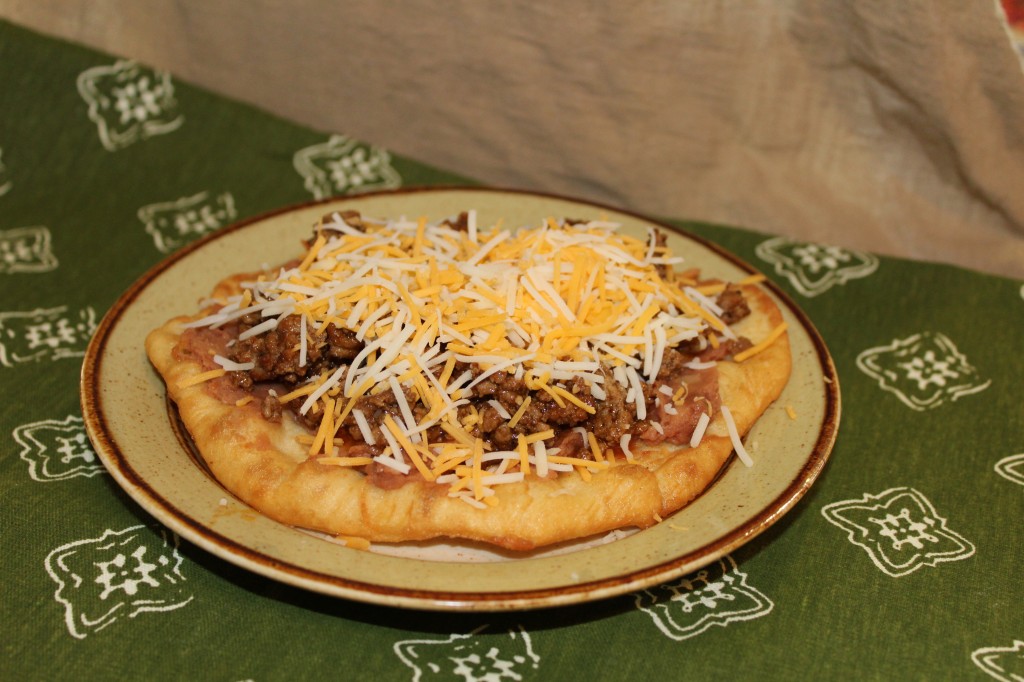
Top with some cheese.

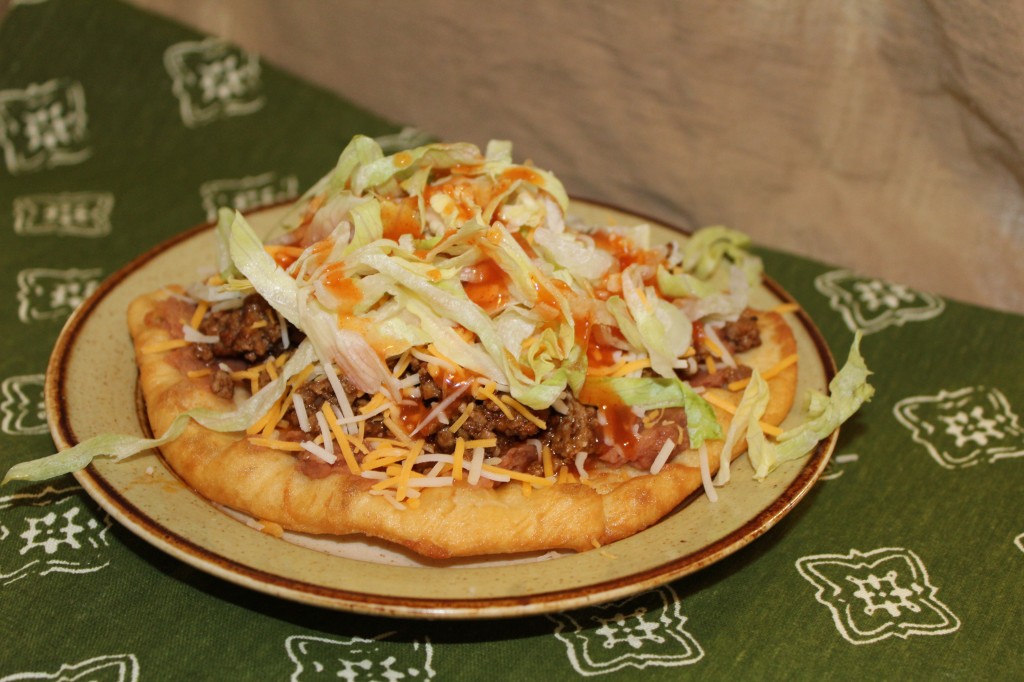
Now some lettuce, tomatoes and another drizzle of picante or enchilada sauce.

You can keep adding toppings, like sour cream, avocado ect.

YUM!

Hope you enjoy them!

Here is the recipe!

Indian Fry Bread Taco

Adapted from AllRecipes

Ingredients:

For the Fry Bread:

2 cups flour

1 teaspoon salt

1 teaspoon baking powder

1 cup milk

Oil for frying the fry bread

For the taco meat:

1 pound hamburger

1 package of taco seasoning

1/2 cup water

Toppings:

1-15.5 can re fried beans

1 cup shredded  cheddar cheese

Diced tomatoes

Shredded lettuce

Picante sauce (I used enchilada sauce and it worked just fine)

Optional:

sliced black olives

sour cream

sliced avocado

Directions:

For the meat: Fry the hamburger until brown. Drain the grease. Add in the taco seasoning and water and cook for  5 minutes. Set aside.

For the fry bread: In a medium bowl, stir together the flour, baking powder, and salt. Stir in milk, and mix until the dough comes together. Add more flour if necessary to be able to handle the dough. On a floured surface, knead the dough until smooth, at least 5 minutes. Let the dough rest for 5 minutes. Cut dough into equal pieces and roll into circles. In a large frying pan heat oil to 375 degrees. Fry the fry bread till light tan and crispy, turn and repeat on the other side. Remove from heat and drain on paper towels.

Assembly:

Take a warm fry bread and spread it with a layer of refried beans. Top with some picante sauce. Next top with some taco meat. Now add on some cheese. Lastly some lettuce, diced tomatoes and more picante sauce. If you want add sliced black olives and sour cream

Enjoy!

Becky

Other Post you may enjoy!

Oh so lovely Strawberry Rhubarb Crisp


Counting Eggs!


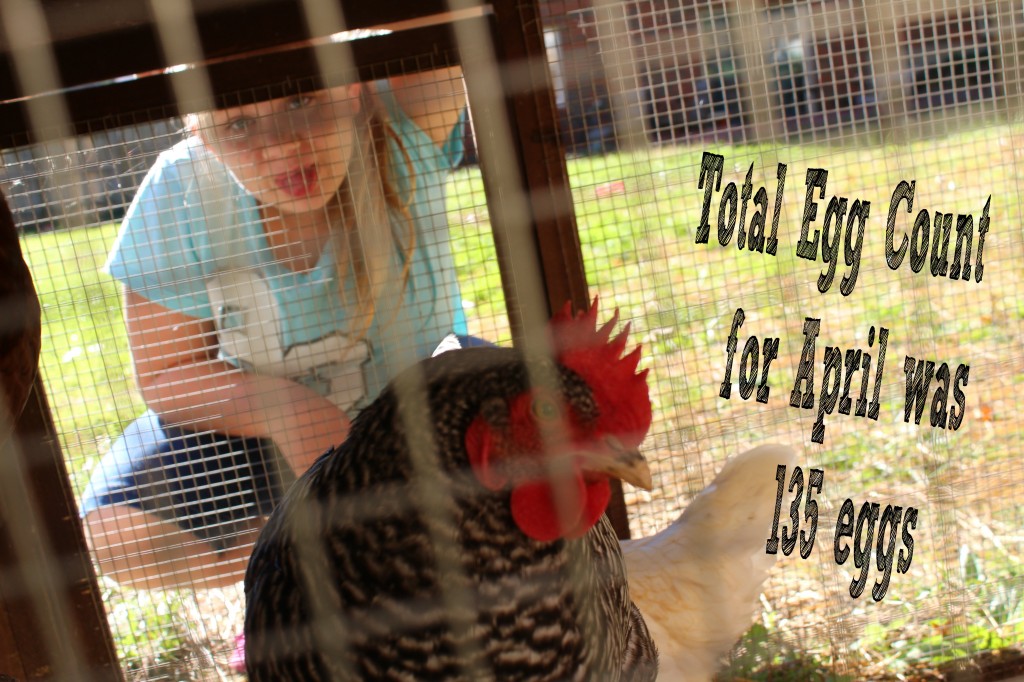
My oldest grand girl so totally, photo bombed, my photo…haha!

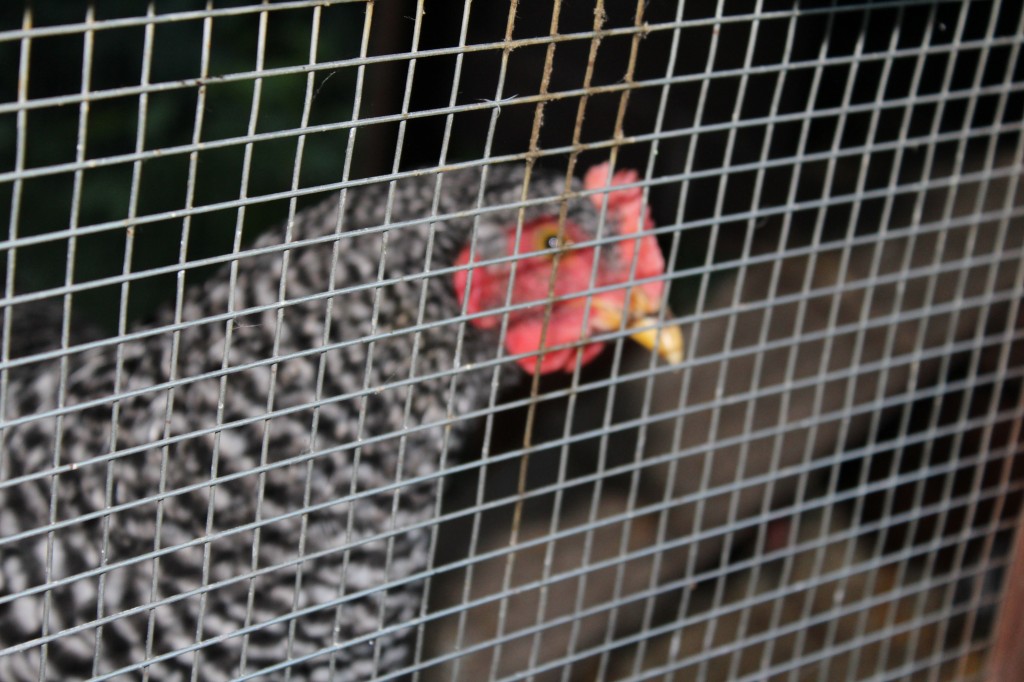
I have been keeping a daily count of the number of eggs my backyard chickens lay.

This month we had a grand total of 135. UP from 114 last month!!

I am sure the chickens like all the sun shine and longer days that spring has provided.

Not to mention all that kale and left over veggies from the fridge.

It is hard to believe that I have had the chickens for a year now.

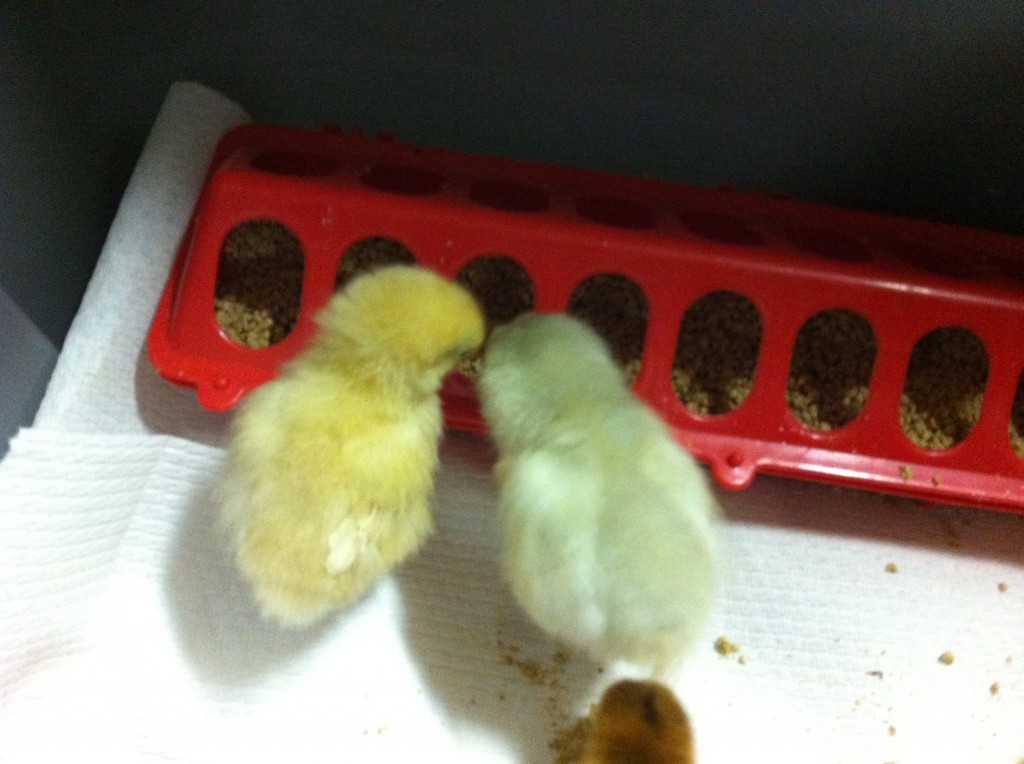
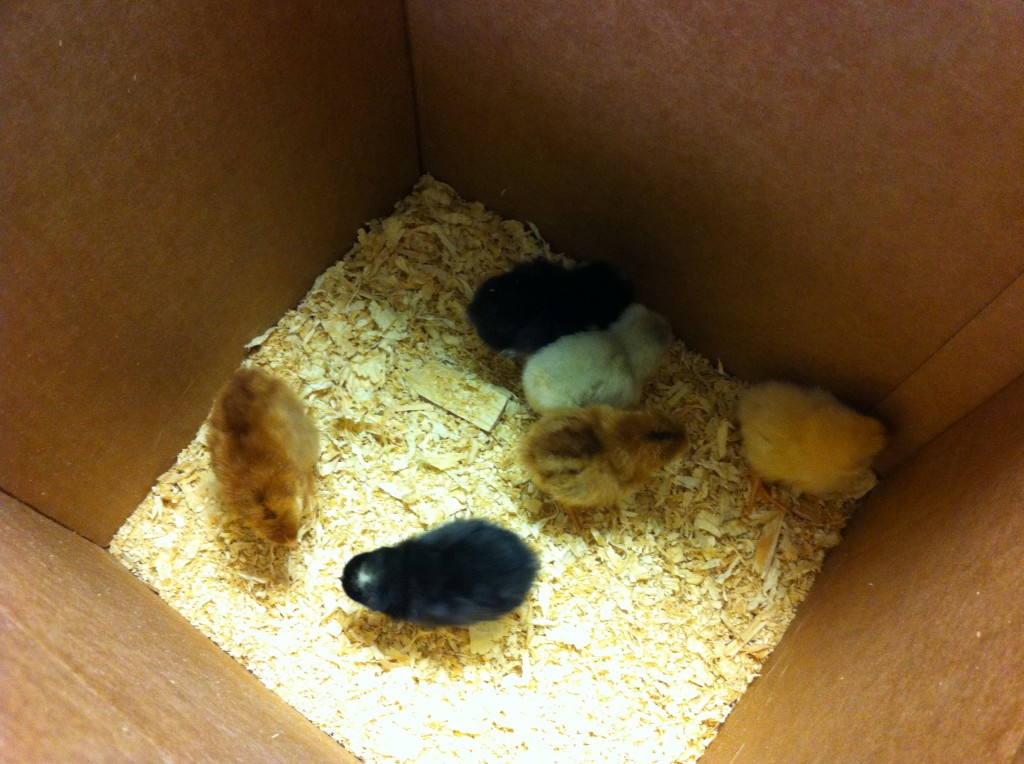
Here is a picture of  Bunny and Sunshine when they were a couple of days old.

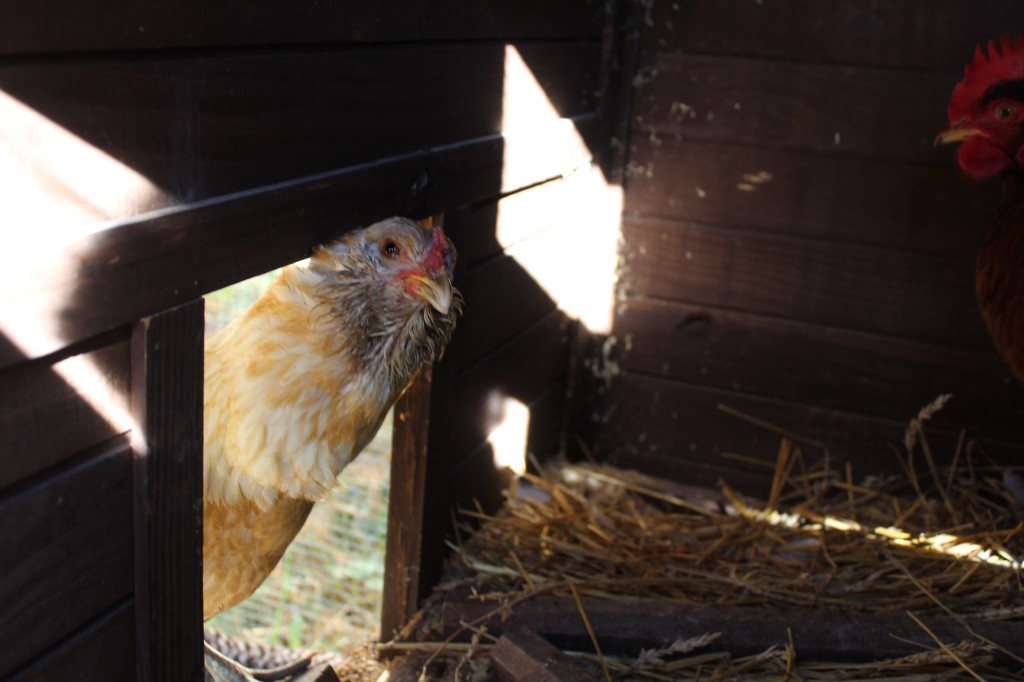
Here is Bunny now.

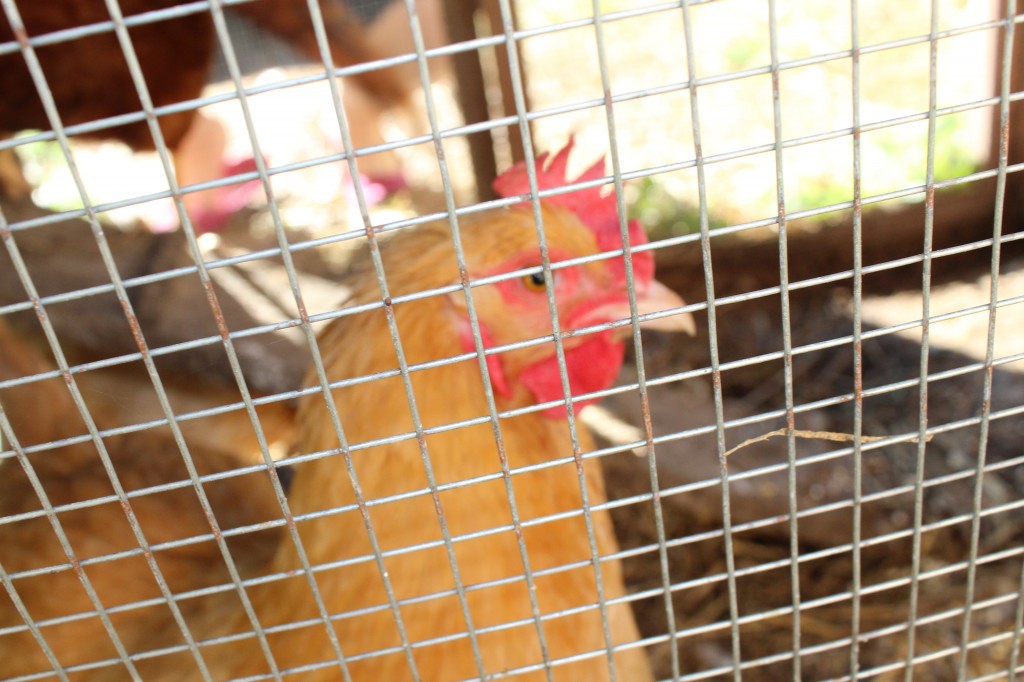
Here is Sunshine!

Wow, they grew up fast!

Ok, Chocolate Chip….I won’t leave you out!

In thinking back over the last year with chickens, I am so glad that I took that plunge into “Backyard Chicken-hood”.

Yes, they poop….but having the best tasting eggs is worth it!

Squawk!

Becky

Other post you may enjoy!

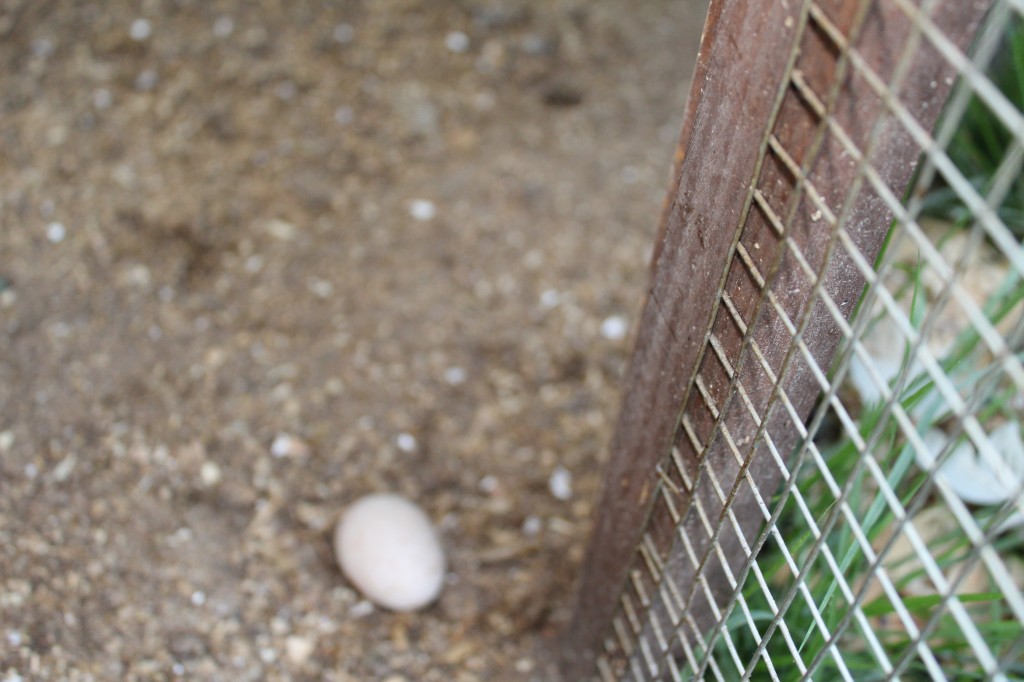
Look, some chick laid an egg!

Here is another one : )

Call me Mother Hen

This is the post of the first day I brought my chickens home.


Related Posts Plugin for WordPress, Blogger...