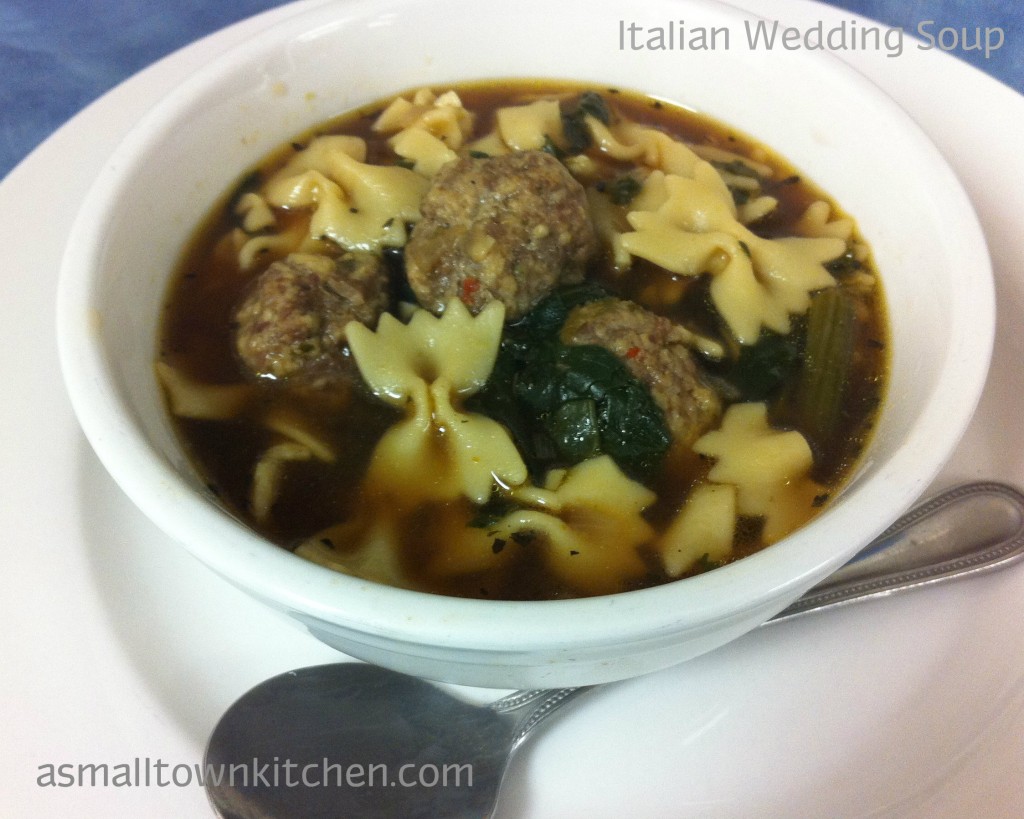
Italian Wedding Soup

What is your favorite comfort food….besides chocolate? ; )

I have to say that my favorite comfort food (besides chocolate) is hot rolls and delicious soup.

I can eat soup in the summer, fall, especially the winter and spring.

I guess that means I eat soup all year long.

I am slow sometimes.

When I was asked to cater in dinner for the science department at my school this past week (and where I made The Best Chocolate Cake),  I decided I would make two kinds of soups. I have several favorite soup recipes to choose from.

Here are a few of the soups I make that I have posted about.

   Velvetta Cheese Soup                      Taco Soup                      Butternut Squash Soup


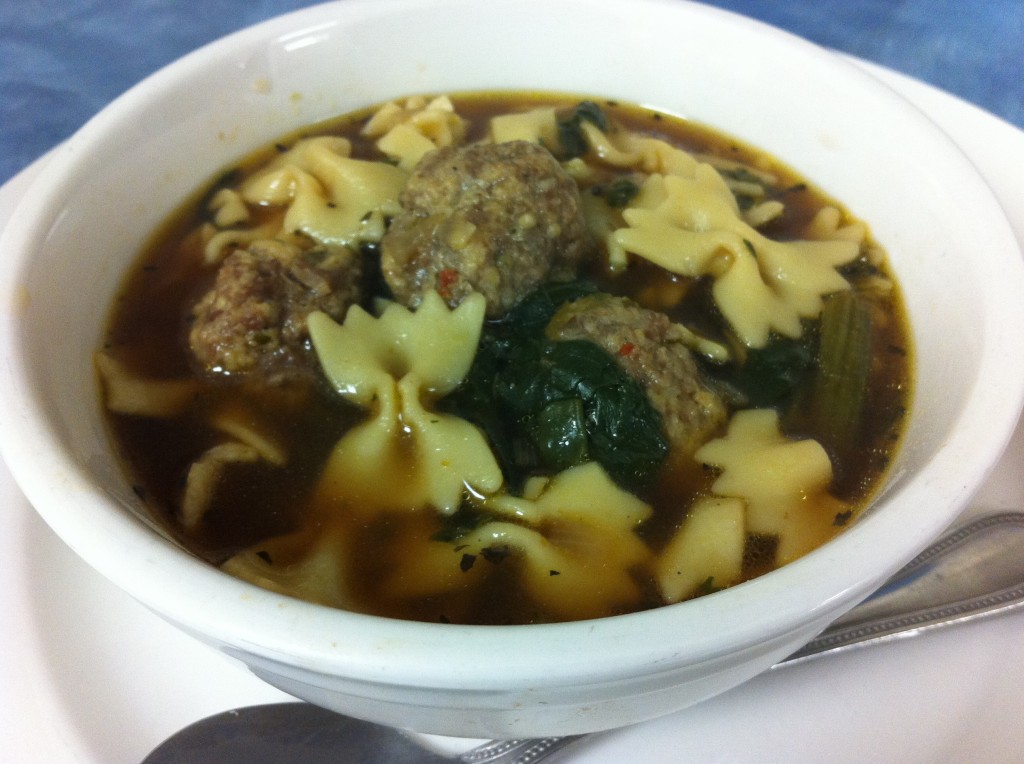
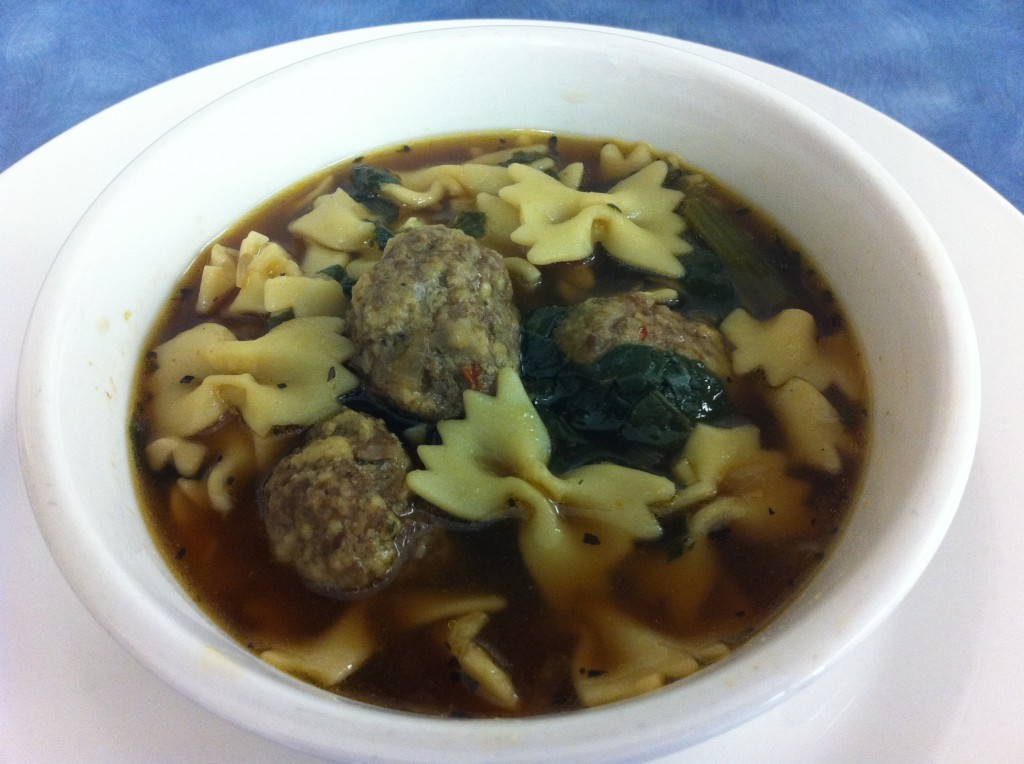
Well, I love soup, and I hard time choosing which kind of soup to make. There was this one soup I have not made in a couple of years that I really love. It has small little homemade meatballs with miniature bow tie pasta floating around in a vegetable beef broth. It goes perfect with hot rolls.

Hot rolls + soup = comfort food to me.

Yes, that is how math works in my head. If I really need to add ( 1 + 1) I have to ask oldest daughter who does not cook.

Anywho….

Ding Ding Ding….I decided to make Italian Wedding Soup.

I found this recipe a few years ago on the Taste of Home website and I have tweak it a bit to suit my taste. That is the beauty of making homemade soup. You can add more vegetables, different vegetables or even chicken meatballs instead of sausage and beef.

Have fun with this recipe.

Make it the way you want it to taste.

This post is all about comfort food not complicated food.

Enjoy!

Becky

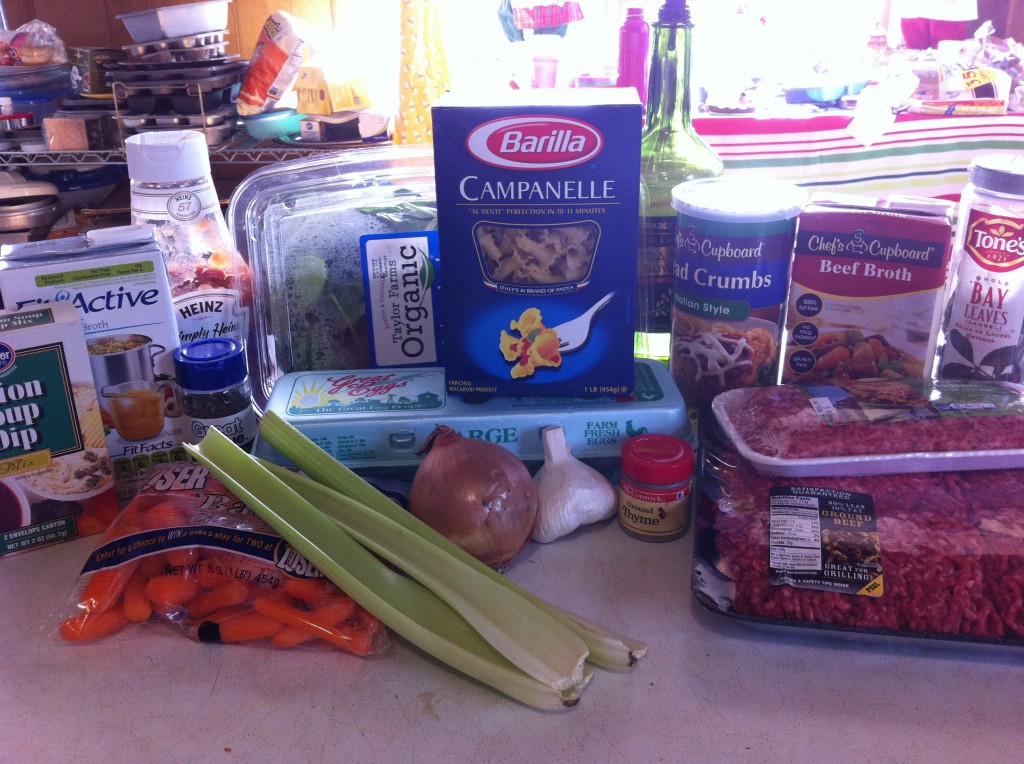
Here is your grocery list and step by step instructions:

This soup has both chicken and beef broth in it. You can purchase premade or you can make it from soup base. I bought premade this time from Aldi’s. I was pretty impressed with it. It tasted pretty darn good plus it did not have any msg in it. Also, I used fresh spinach but you can use frozen spinach if you prefer. Also, I decide to use mini bow tie pasta, just cause I wanted too….use what ever pasta you have on hand.


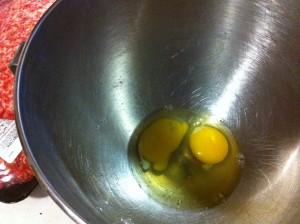
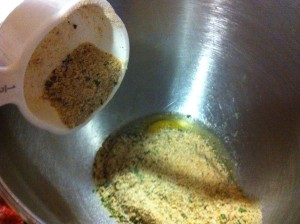
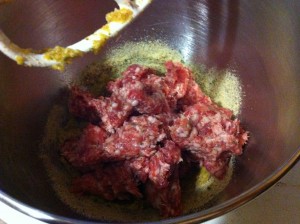
To make the meatballs start by putting 2 eggs in a mixing bowl. Add in the season bread crumbs.


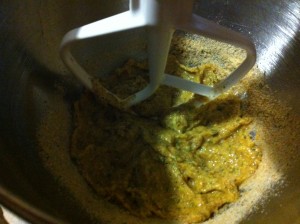
Mix the bread crumbs  and the eggs together to combine. Next add the Italian sausage. I used mild Italian sausage.


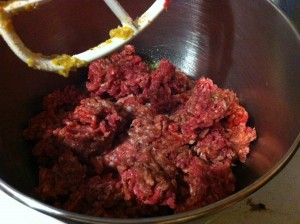
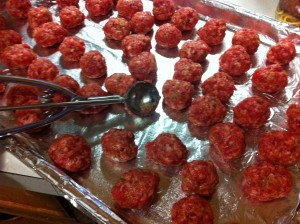
Add the hamburger and combine all the meatball ingredients. On a large greased foil lined cookie sheet place the 3/4 inch meatballs. I used my smallest cookie scoop. Bake at 350 degrees for 15 to 18 minutes. Drain the meatballs on a paper towel.

 You could make these meatballs ahead and freeze them in the freezer until you are ready to use them.

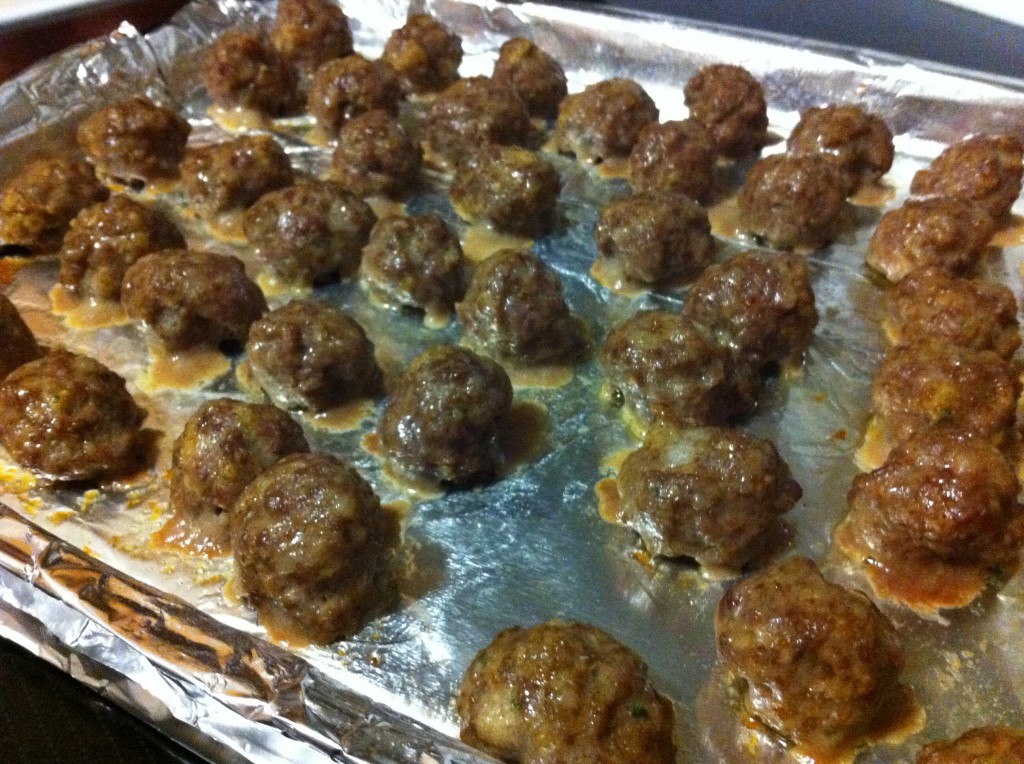
This is what they look like when they come out of the oven all cooked. They are the perfect size for your spoon.

Next step….The Soup.

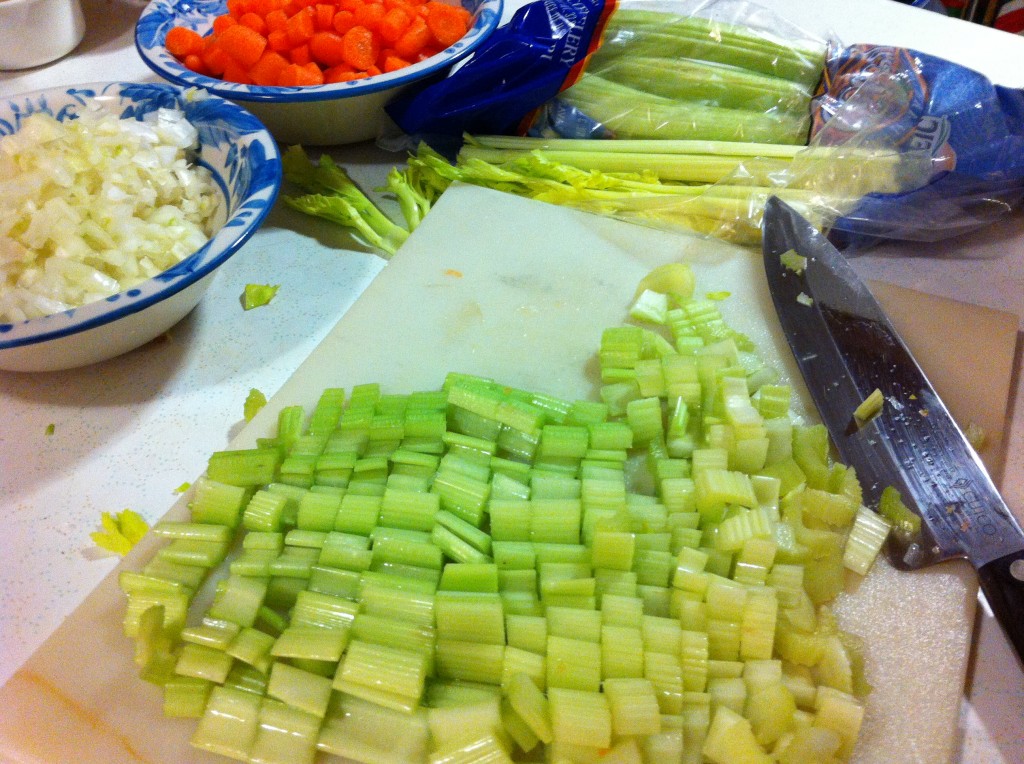
Dice up the celery, onion and the carrots.

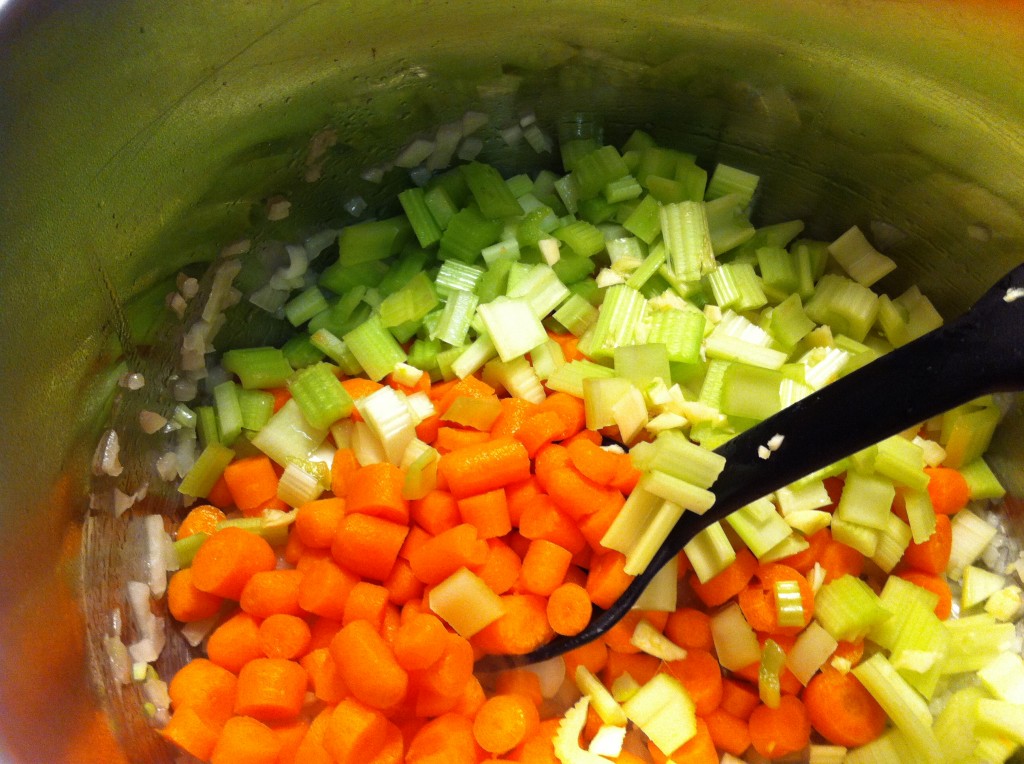
In a dutch oven or a large stock pot heat up the olive oil. Add the chopped vegetable and saute.

Saute the vegetables until they are tender.


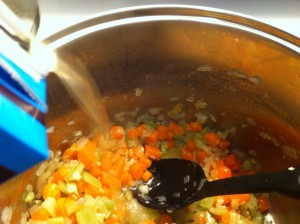
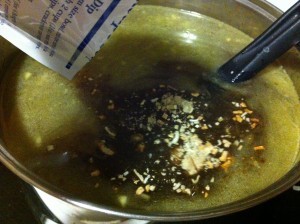
Pour in the chicken and beef broth. Next add in the onion soup mix.


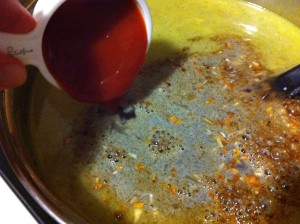
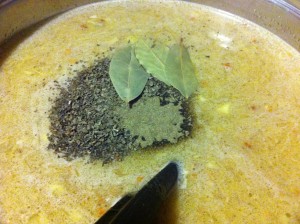
Next add in the ketchup and stir in. Add in the basil, thyme and bay leaves.

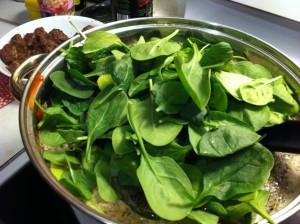
Add in fresh or chopped frozen spinach along with the meatballs. Bring the soup to a boil and simmer for 30 minutes.

Now it is time to add the dry pasta. Add the pasta and cook for another 12 minutes until the pasta is tender.

Easy Peasy, Nice and Easy!

Soups on….now where are the rolls?

Enjoy the day!

Becky

Here is the recipe

Italian Wedding Soup

Adapted from Taste of Home

Ingredients:

2 eggs slightly beaten

1/2 cup seasoned bread crumbs.

I pound ground beef. I used 90 % lean ground beef

I pound Italian Sausage. I used mild.

4 to 5 medium carrots, sliced

5 celery ribs, diced

1 large onion, chopped

3 garlic cloves, minced

5 tablespoons olive oil.

4 cans chicken broth

2 cans beef broth

1/2 pound of fresh spinach, chopped or 1-10 ounce package of chopped  frozen spinach

1 and 1/2 teaspoon basil

1 envelope onion soup mix

5 tablespoons ketchup

1/2 teaspoon thyme

3 bay leaves

2 cups of uncooked mini bow tie pasta (you can use any pasta of your choice)

Directions:

In  large mixing bowl, combine the eggs and the bread crumbs. Add the ground beef and the sausage. With a mixture, gently mix all the ingredients to combine. You can also do this by hand if you do not have a stand mixer. Shape the meat mixture into 3/4 inch meatballs.

Line a large cookie sheet with foil and grease. Preheat oven to 350 degrees. Place the meatballs onto the greased foil lined cookie sheet and bake for 15 to 18 minutes. Drain the meatballs on a paper towel.

In a large stock pot or dutch oven, saute the carrots, celery and onions in the oil until tender.

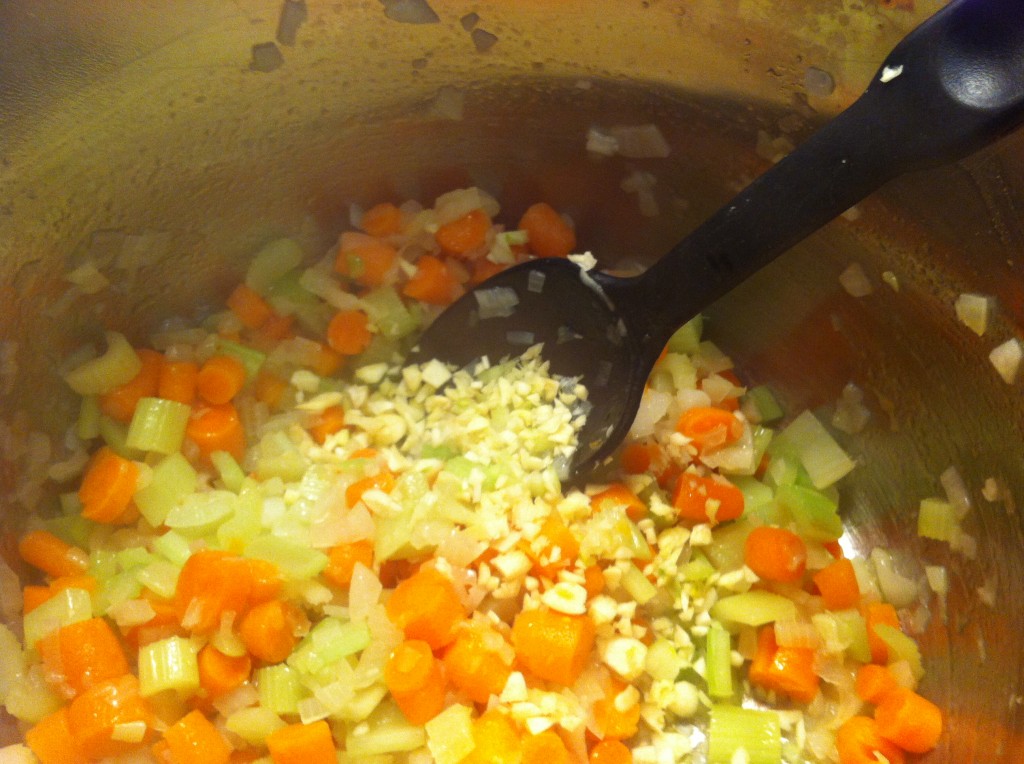
Add the mined garlic and cook another minute.

Stir in the chicken and beef broth, basil, soup mix, ketchup, thyme, spinach and bay leaves.

Bring soup to a boil. Add in the meatballs and simmer for 30 minutes. Add the pasta and cook another 12 to 13 minutes or until the pasta is tender. Remove bay leaves and serve.
 

The Best Chocolate Cake

A couple of months ago I was approached ta work to make a small dinner for our science department.

The department chair wanted to treat her department to a little TLC with having a dinner catered for them.

At first I was a little surprise to be asked. I cook a lot for my school, but it is always for a club activity or a hospitality room.

This was a PAYING job.

Waawhoo….

After I picked myself off of the floor and agreed to make the dinner, the first thing I wanted to make was a great dessert.

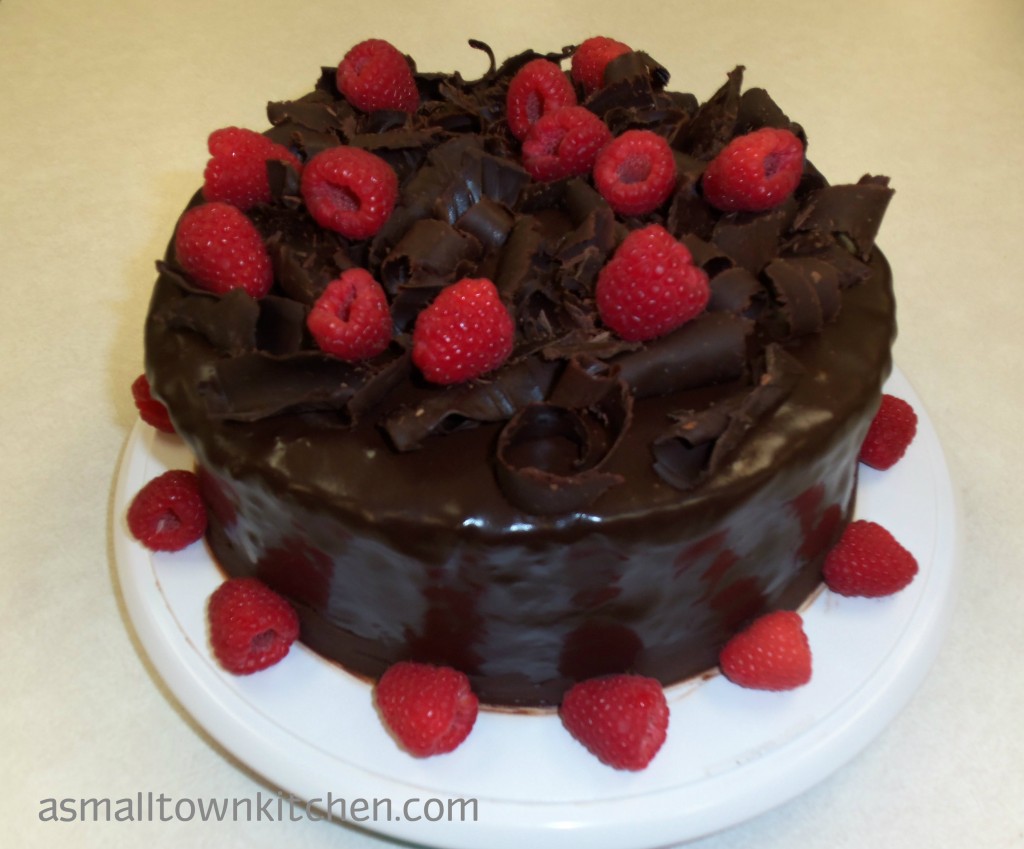
I remembered this chocolate cake I made last year. It  was so moist and rich and covered with a layer of chocolate ganache and topped with chocolate curls.

This cake has the WOW factor.

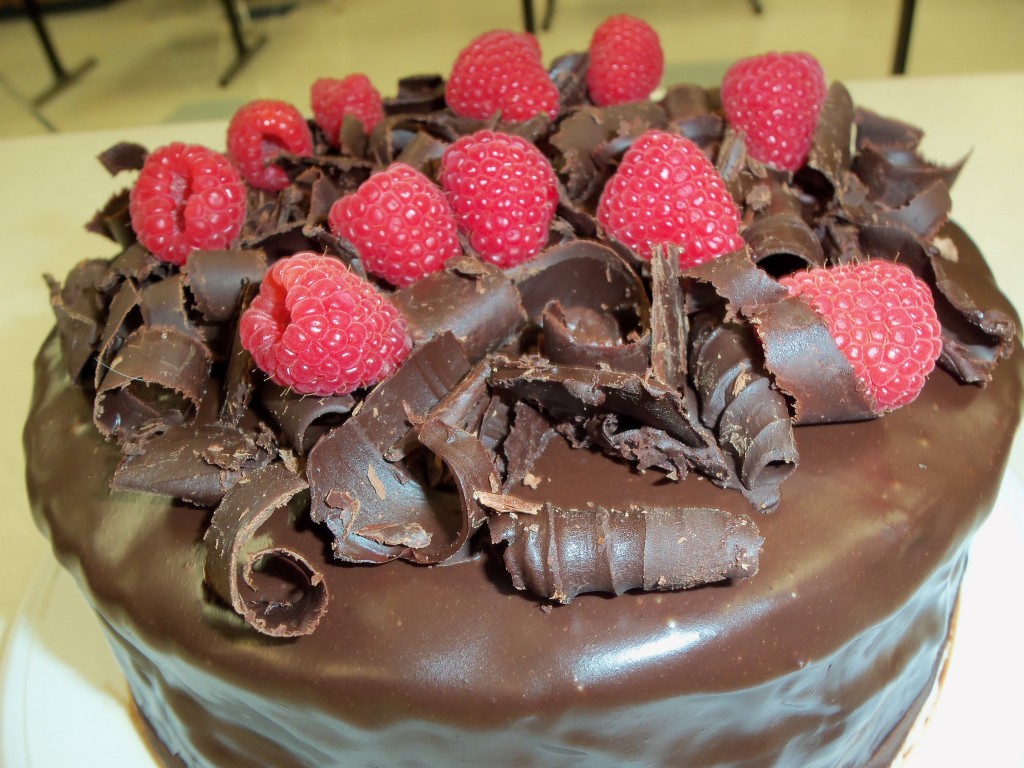
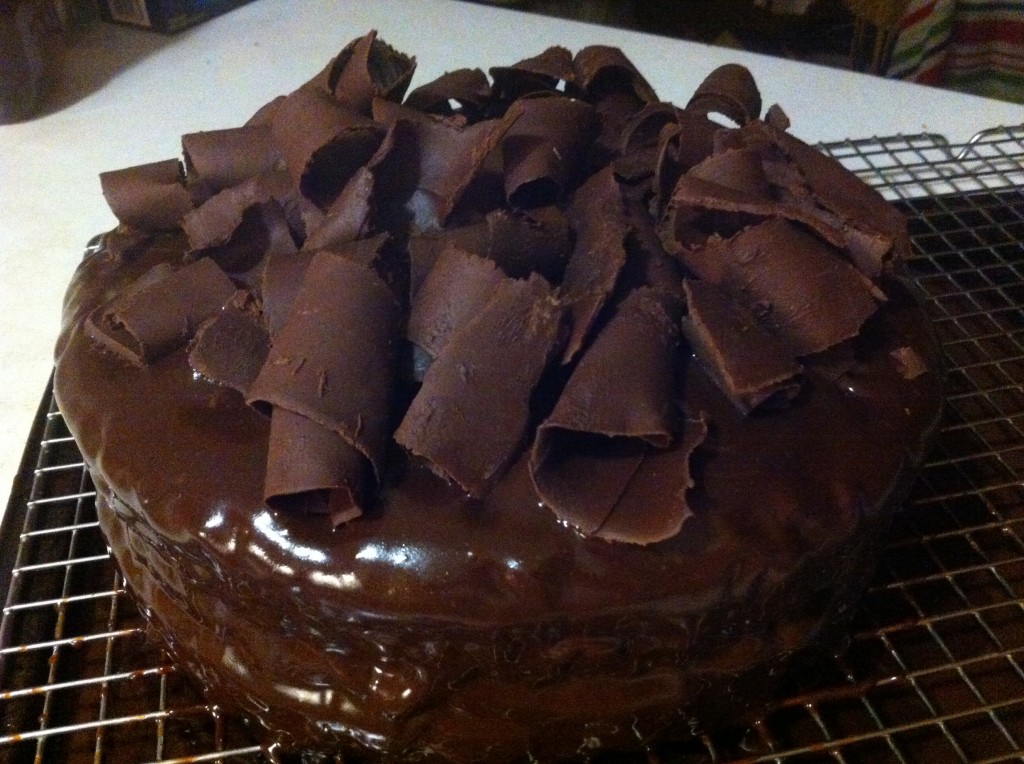
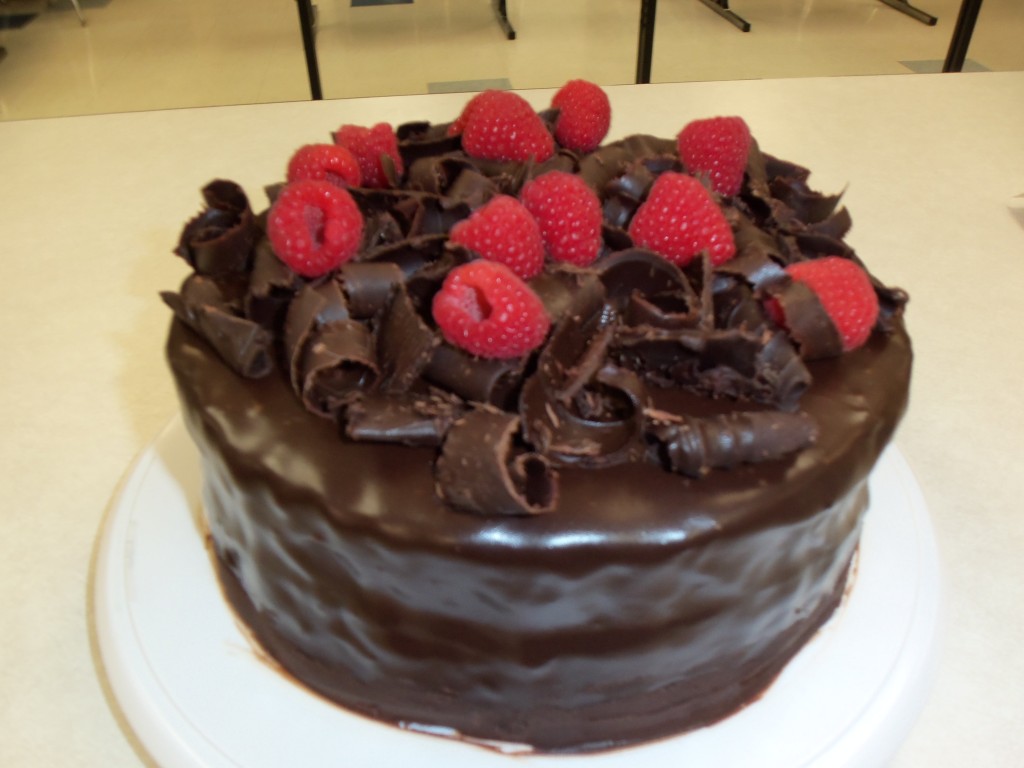
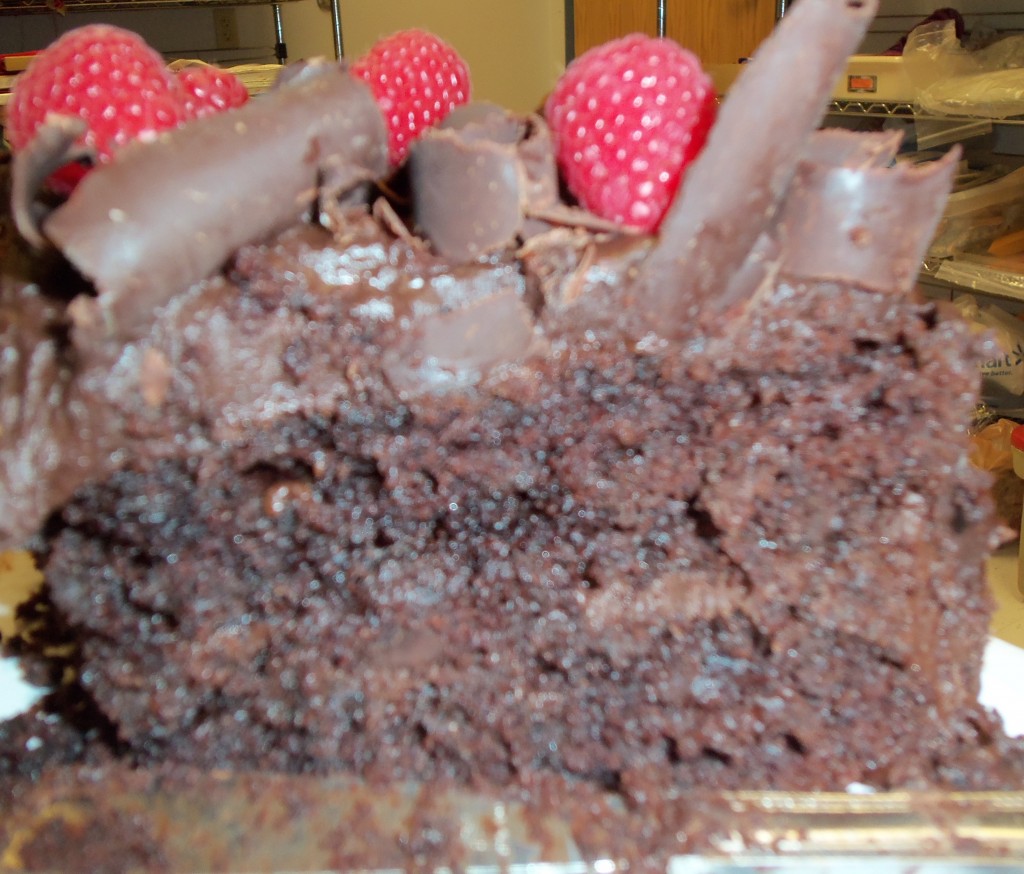
Here is the top of the cake when  I made it the for the first time last year. The one I made this year I put strawberries on it instead of raspberries.

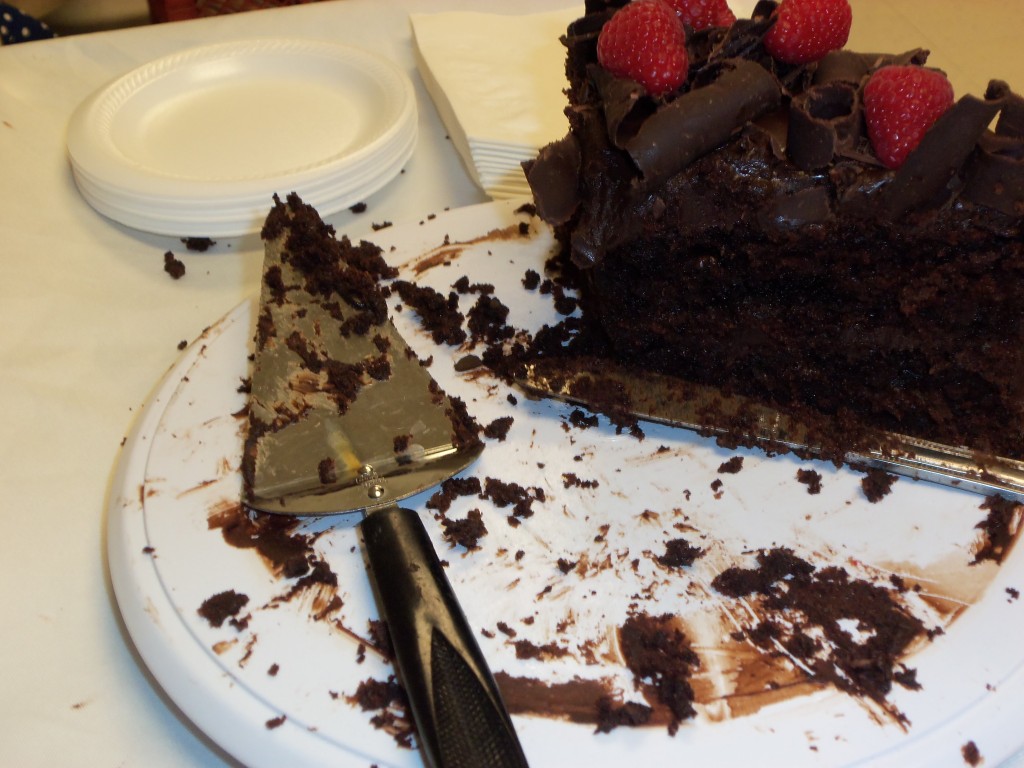
This is how fast this cake will disappear.

You will not believe how simple this cake really is to make. It starts out using a deviled food cake mix , a bunch of chocolate chips, sour cream, a pudding mix and some oil. It takes a total of 3 bags of chocolate chips to make this cake. On for the cake, one for  the ganache and one for the chocolate curls.

You like chocolate, right?

It even has a filling of premade chocolate frosting.

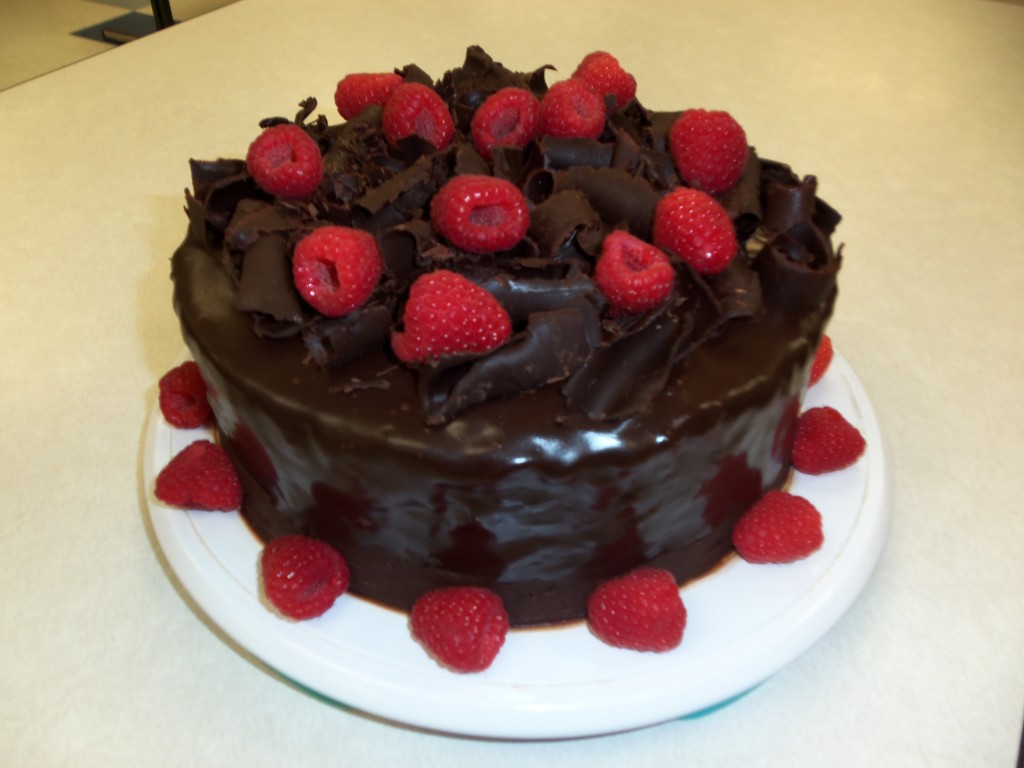
 With a rich chocolate ganache and topped with chocolate curls and  decorated  with berries of your choice, this cake is pure decadence.


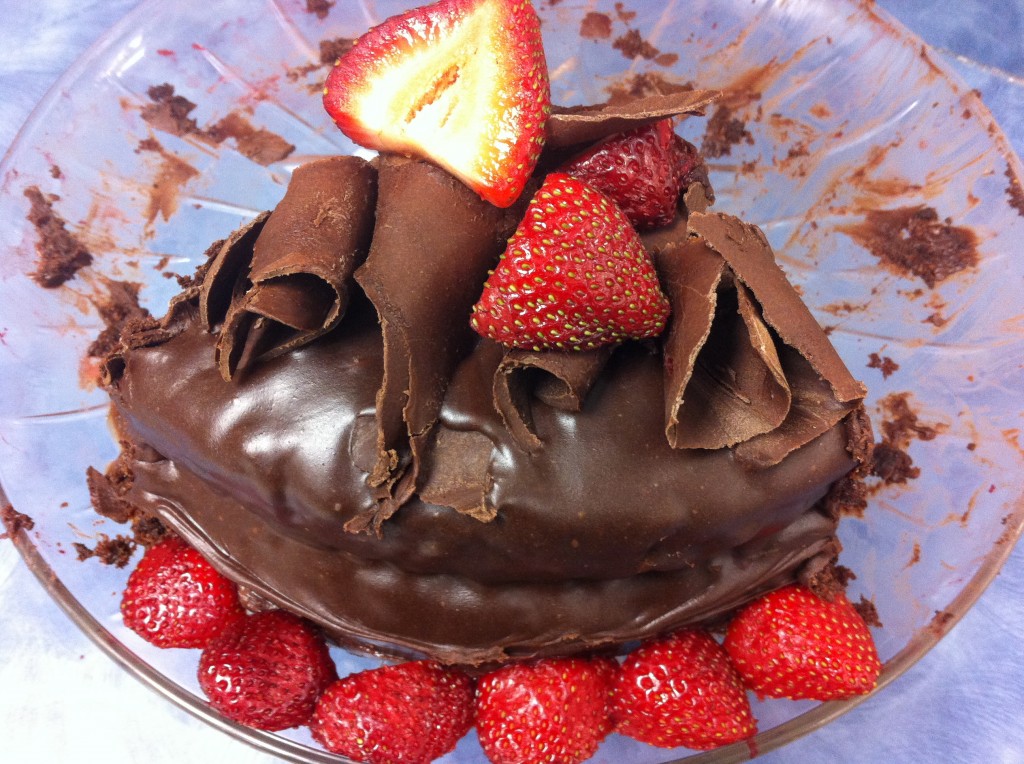
Here is the one I made with stawberries.

 Are you ready to make one yet?

I know you can!

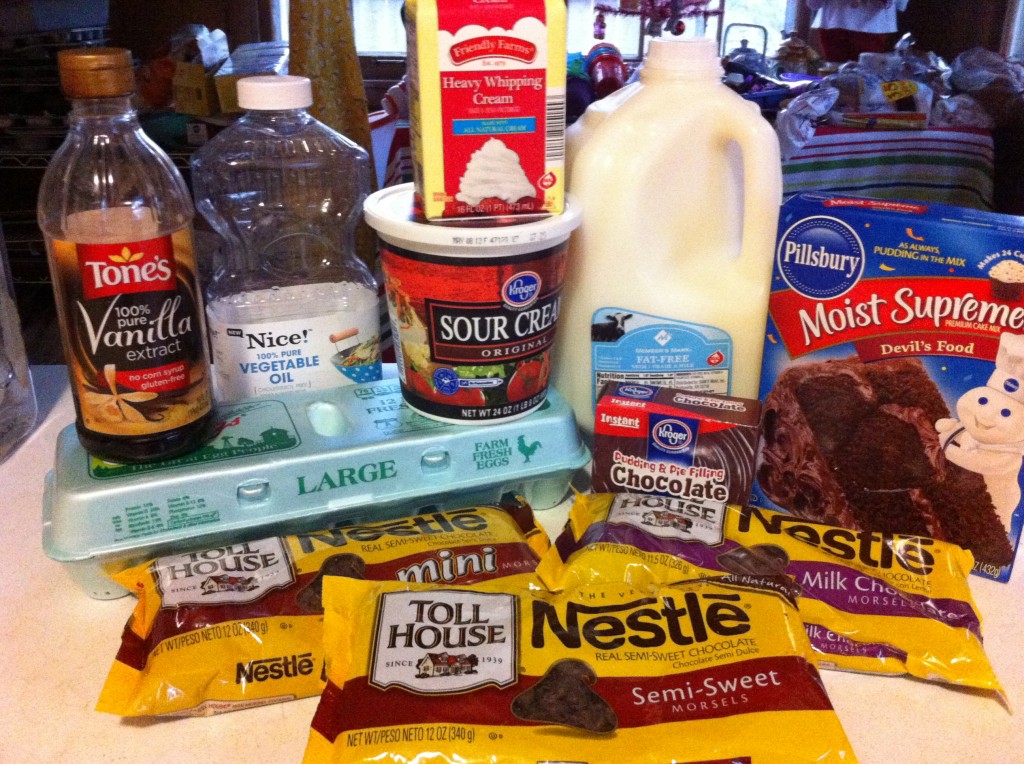
Here is your grocery list and step by step instructions.

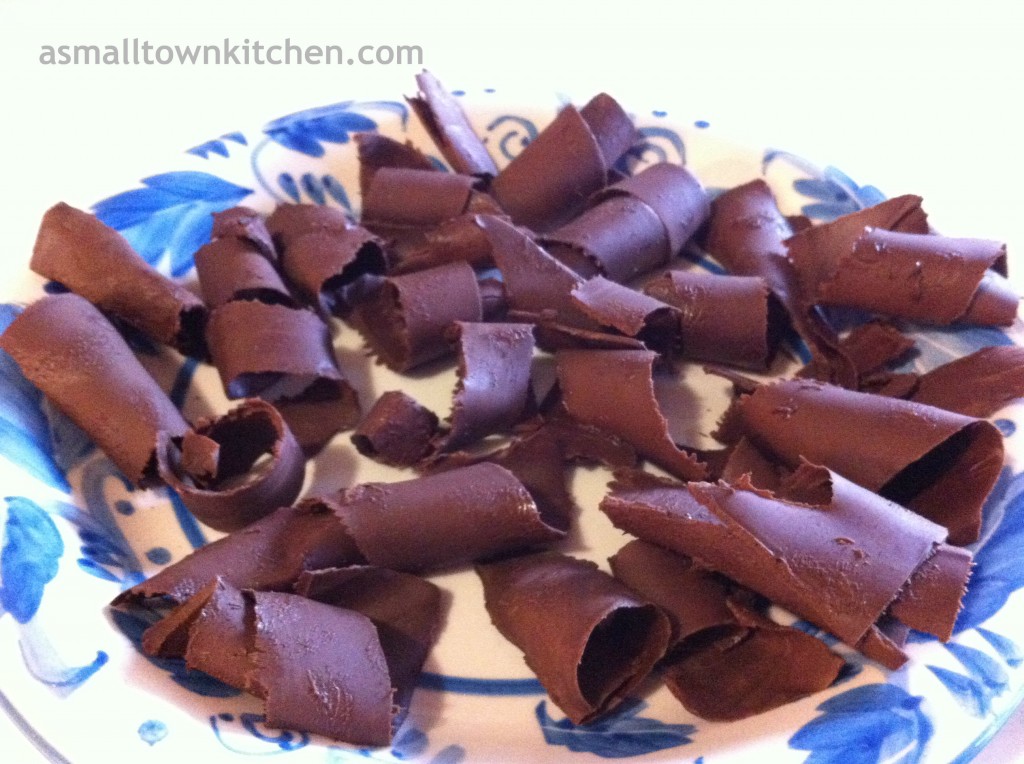
 Here is everything you need to make this cake except for a tub of ready to use chocolate frosting. I have already made the chocolate curls and you can see my step by step instructions on how to make them here.


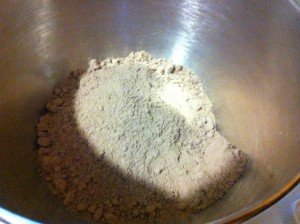
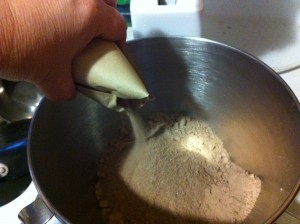
The first thing you need to do is put the cake mix and the pudding mix in a large mixing bowl.


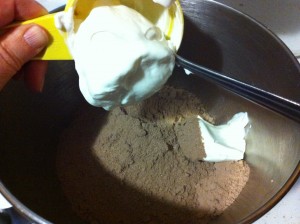
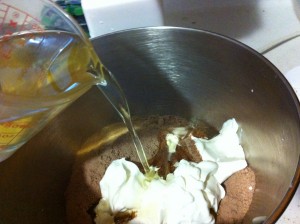
Next add your sour cream and the vegetable oil to the cake mix.


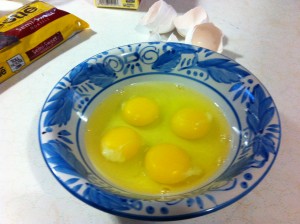
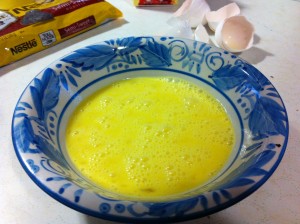
Crack four eggs in to a small bowl and beat with a fork.


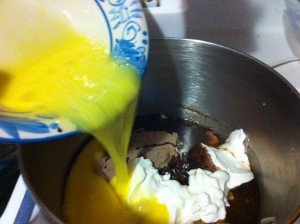
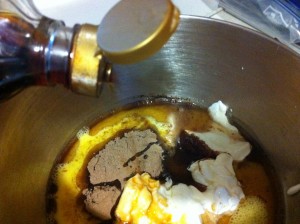
Add the beaten eggs and vanilla into the mixing bowl with the cake mix.


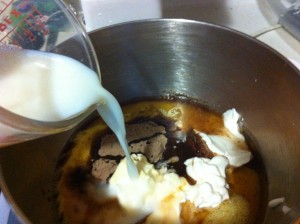
Now, add the milk. The fun starts now. With your mixer, combine all the ingredients.


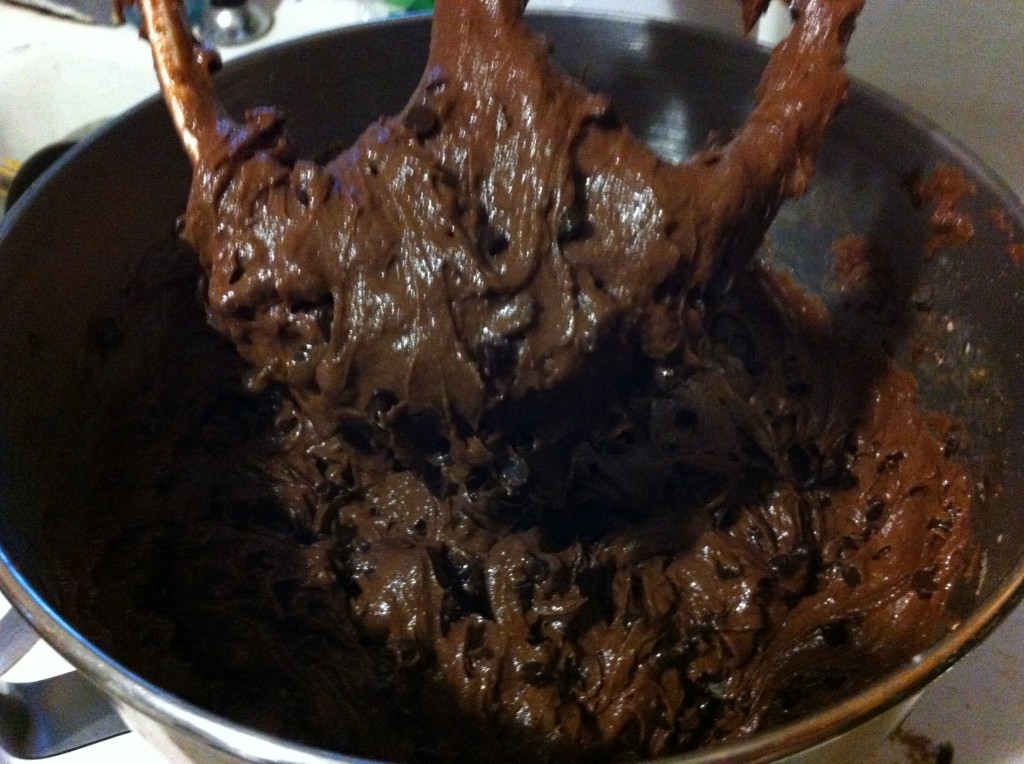
Combine all the ingredients until the batter is nice and thick.


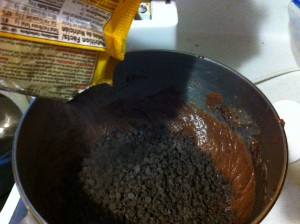
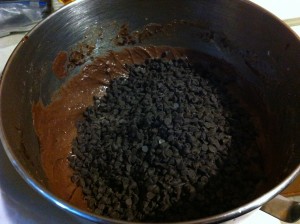
Here is where you use the first bag of chocolate chips. These are semi sweet miniature chocolate chips. Add the whole bag ; )

Is this beautiful batter or what?


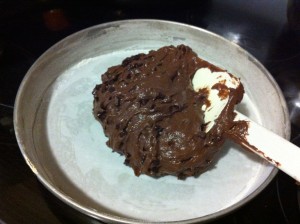
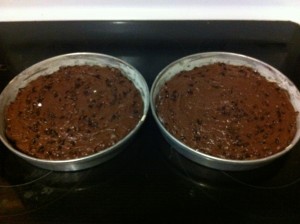
Evenly pour batter into two 9 inch round cake pans. I have the bottoms of the pans covered in parchment paper and the sides are coated with butter then flour. I hate it when a cake sticks in a pan.

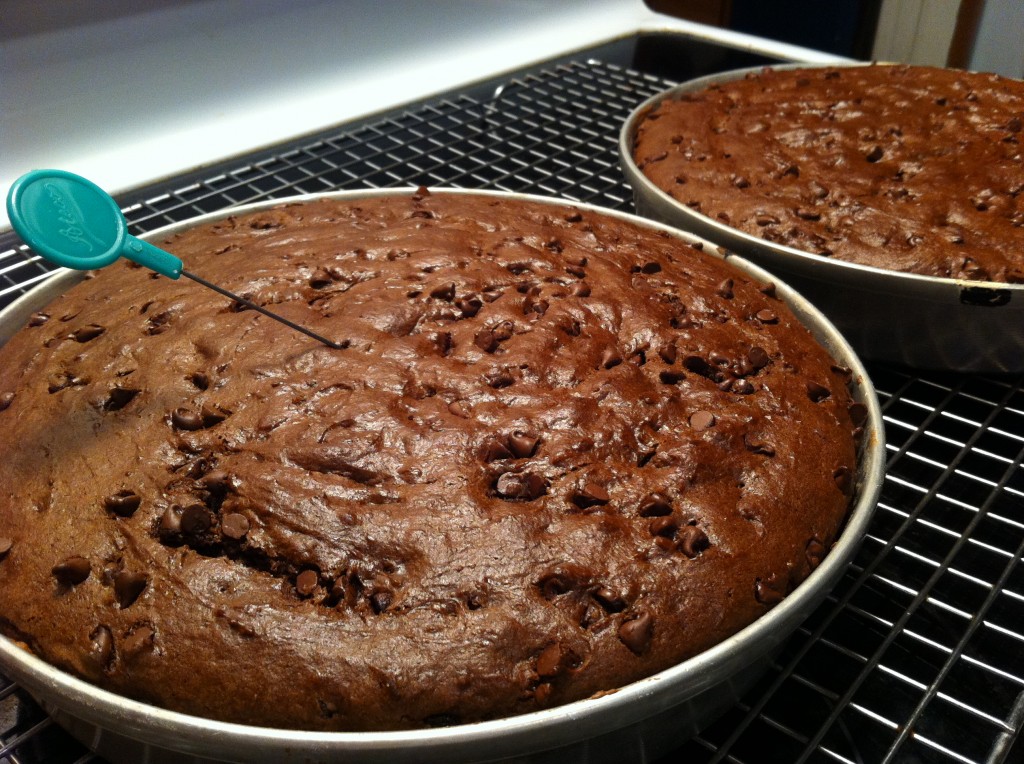
Bake in a 350 degree oven for around 35 to 40 minutes, or until a tooth pick comes out clean. I use a cake tester. It looks likes I am taking the temperature of the cake.


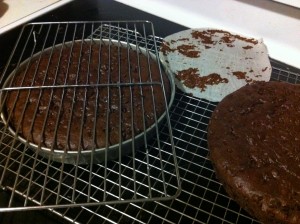
Use another smaller cooling rack to invert your cake on to get it out of the pan to cool on a larger cooling rack. Cool completely.


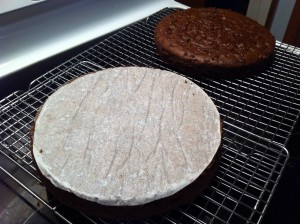
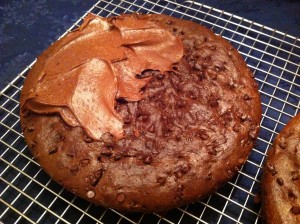
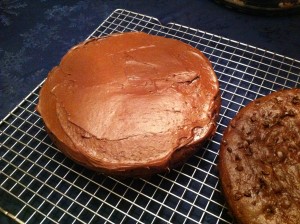
When the cakes are totally cooled frost the top of the bottom layer.

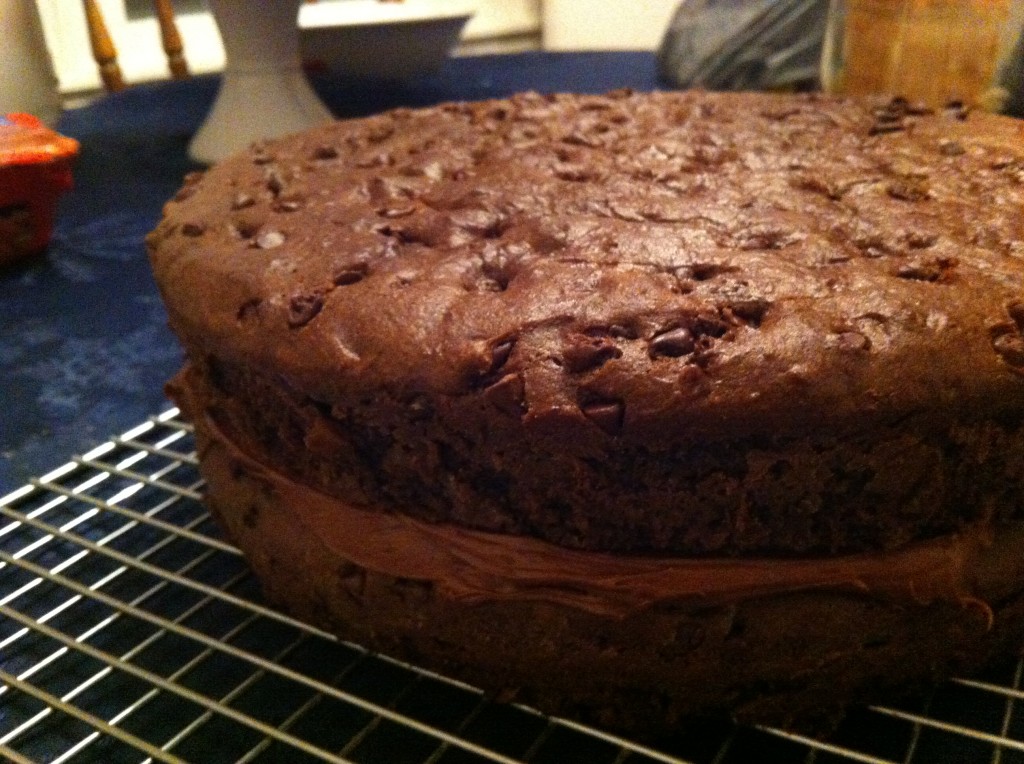
Place the top cake round onto the frosted bottom layer. It is starting to look like a layer cake. Don’t you agree? Now, just leave the cakes alone for a bit while you make the ganache. Leave the cake on the cooling rack. You will see in a bit why.

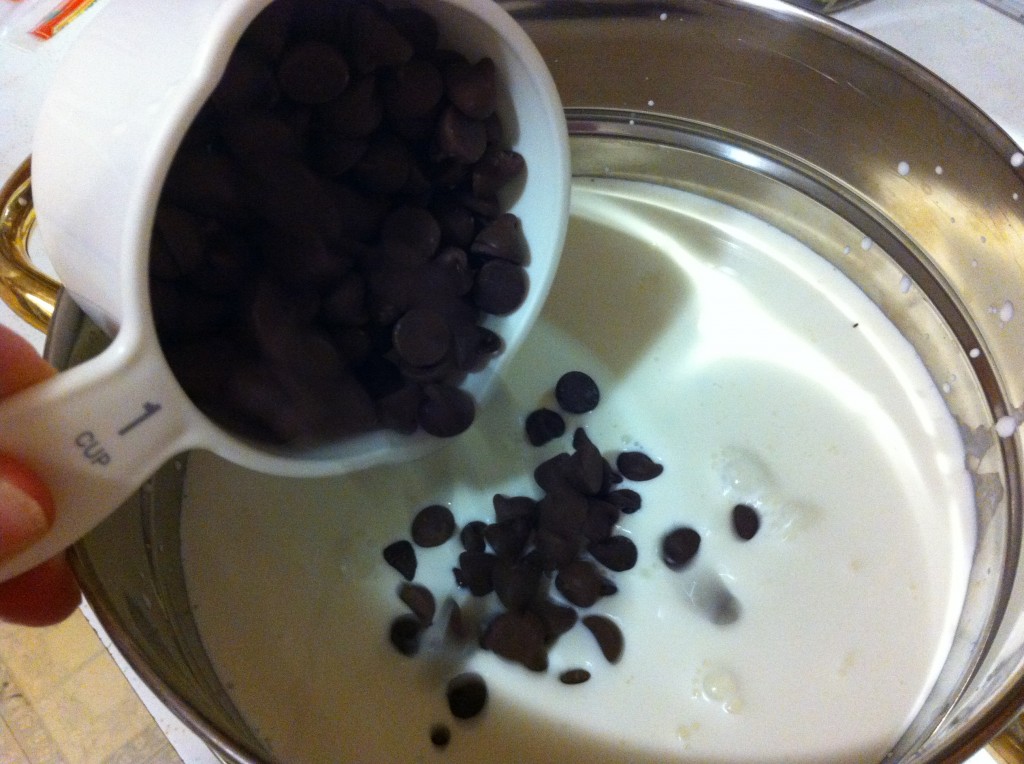
Here is the part where you use chocolate chip bag number two. In a double boiler, melt the chocolate chips and the whipping cream together. You can do this in the microwave too. Just put the chips and whipping cream in a microwave safe bowl and heat for a minute at a time until all the chips are melted. Let the ganache cool slightly before you pour it over the cake.

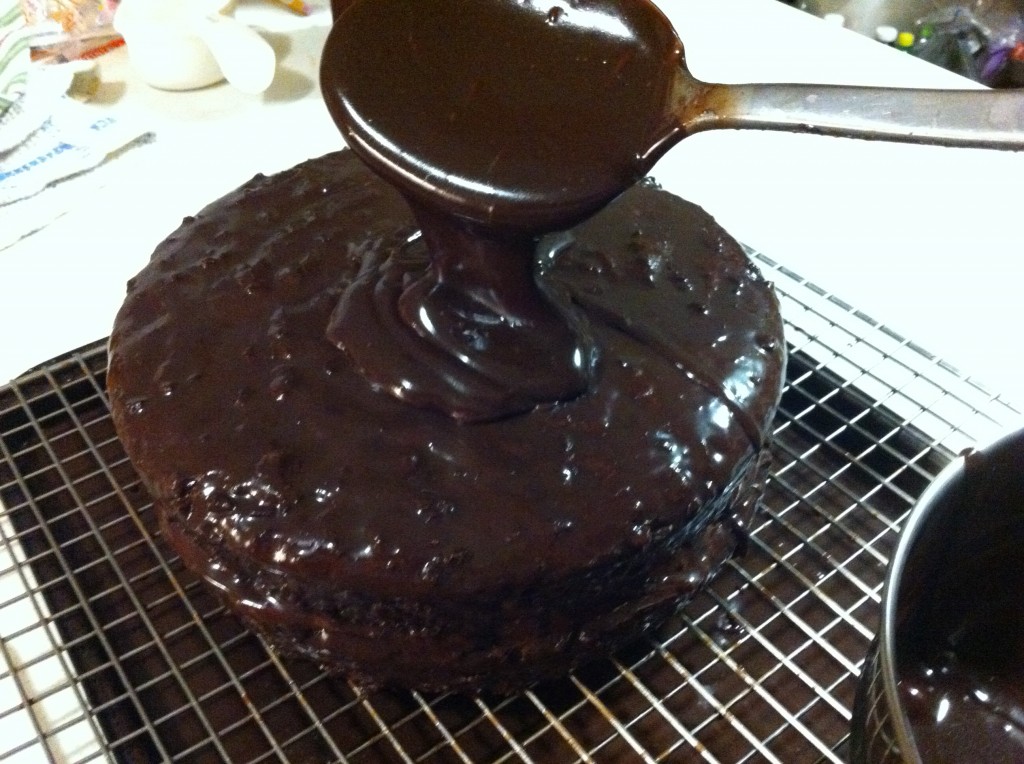
Put a baking sheet under the cooling rack with the cake on it. Slowly pour the ganache over the cake until it is completely covered. I did mine a couple of times to get the thickness I wanted. The baking pan underneath will catch the dripping ganache.

Now you use the third bag of chocolate chips. While the ganache is still moist, (so the curls will stick to the cake) decorate the top of the cake with chocolate curls. I posted step by step directions on how to make chocolate curls here.

Decorate with your choice of berries. Then try not to eat the whole cake. At least wait until no one is looking. I won’t tell….promise!

If you think this cake is too hard. It really isn’t. Just allow plenty of time and make the curls the day before. I always put the cake in the fridge overnight to firm it up before I put it on a cake plate.

Surprise someone in your life with a beautiful and delicious cake.

Everyone loves a beautiful cake.

They will love you for it.

Here is the recipe

The Best Chocolate Cake

Ingredients:

Chocolate Curls:

1 – 11.5 ounce package of semi sweet chocolate chips

Cake:

1 box devils food cake mix

1 package of instant chocolate pudding mix

1 cup of sour cream

1 cup of vegetable oil

4 eggs, beaten

1/2 cup milk

1 teaspoon vanilla

1 – 11.5 ounce package of semi sweet miniature chocolate chips

Middle frosting:

I tub of ready to use chocolate frosting

Ganache:

1-11.5 ounce package of  semi sweet chocolate chips (I have used dark chocolate chips too and it taste great also)

1 cup of whipping cream

Berries for decorations is optional

Directions:

Preheat you oven to 350 degrees.

For the Cake:

In a large mixing bowl, mix together the cake mix, pudding mix, sour cream, vegetable oil, eggs, milk and vanilla. Mix together. The batter will be thick. Add the chocolate chips and mix in. Pour the batter evenly between two 9 inch prepared cake pans. Bake for approximately 35 to 40 minutes or until a tooth pick comes out clean. When the cakes are baked. Cool fior 10 minutes and remove the cakes from the pan and cool completely on a cooking racks. When the cakes are cooled. Frost the top of the bottom layer with the ready to use chocolate frosting. (you will not use the whole tub….though I did try too)

Leave the cake on the cooling rack.

To make the ganache:

Slowly melt together the chocolate chips and whipping cream. Put a baking sheet under the cooling rack the cake is on.  Pour the ganache evenly  over the layered cake. The ganache will drip down into the baking sheet. Make sure you get all the sides of the cake covered.

To decorate the cake with curls.

Using the curls you made earlier (you can find the directions for the curls here) decorate the top of the cake while the ganache is still moist. This will help secure the curls to the top of the cake. Decorate with berries if you desire.

I cannot even put into words how moist and delicious this cake is.

Do not be intimidate by this cake. You can make it!!

Go for it and let me know what you think.

There is a reason why it is named, “The Best Chocolate Cake.”

It is.

Becky

Here are some other post you might enjoy reading:

        Key Lime Cake                                    Chocolate Chip Cookie Dough Cheesecake                                        


How to make Chocolate Curls

Everyone loves a beautiful cake.

I know I do.

Those kind of cakes that you see in a fancy bakery and stare at while you drool behind the glass.

It it amazing how a few beautiful chocolate curls add elegance to a cake (or cup cake) and entice you to want to take a big’o bite.

Recently I was asked to cater a small dinner for my science department. I was very humbled and honored to be asked to make them dinner.

I was getting paid too…yippee!

I wanted to make a knock your socks off chocolate cake for a big finish to the dinner. I have them terrific recipe for a chocolate cake that has these to die for chocolate curls on top. I thought I would I would share with you how to make easy chocolate curls.

Here goes : D


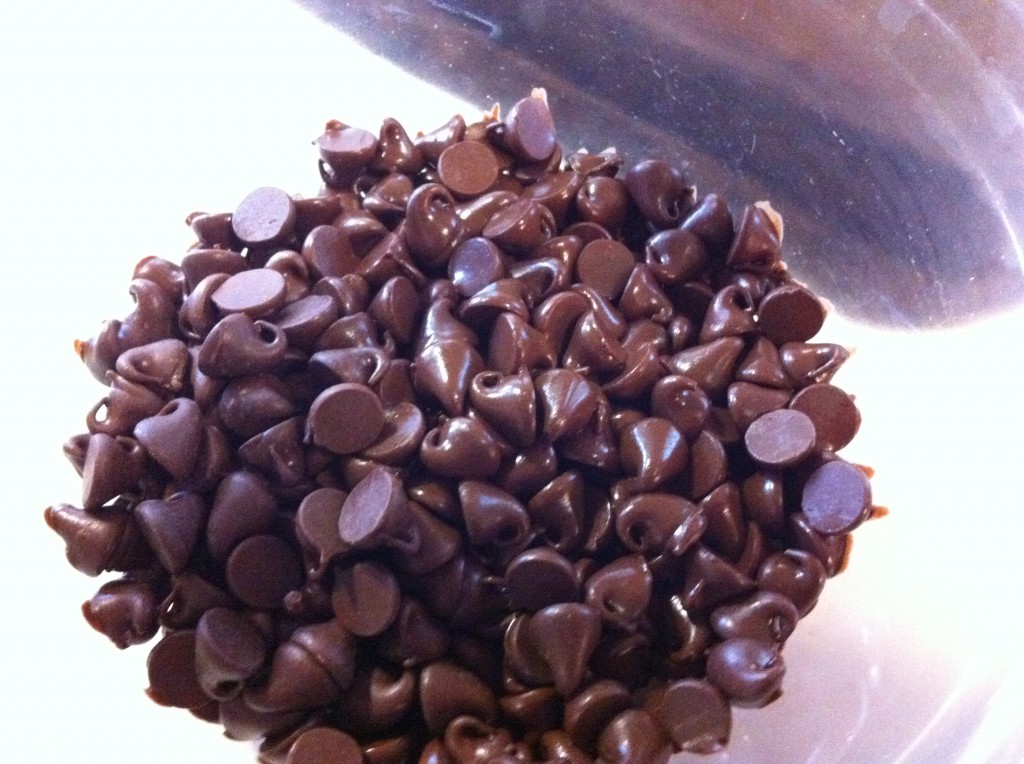
The first thing you need to do is take a package of semi sweet chocolate chips and put them in a microwave safe bowl and microwave for one minute.


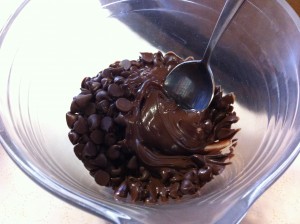
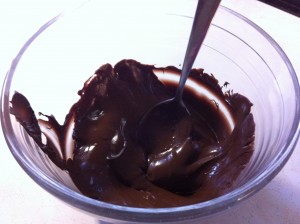
With a spoon stir the slightly melted chips. Put the chips back in the microwave for another 20 to 30 seconds. Do not microwave too long. Stir the chips until they are completely melted.

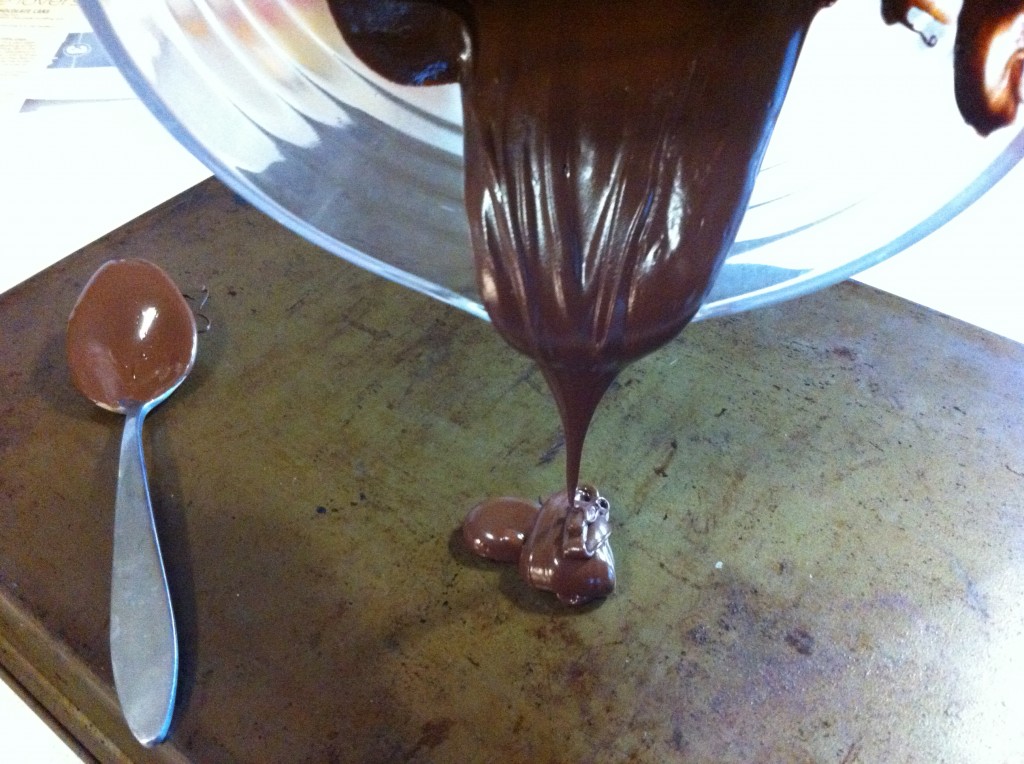
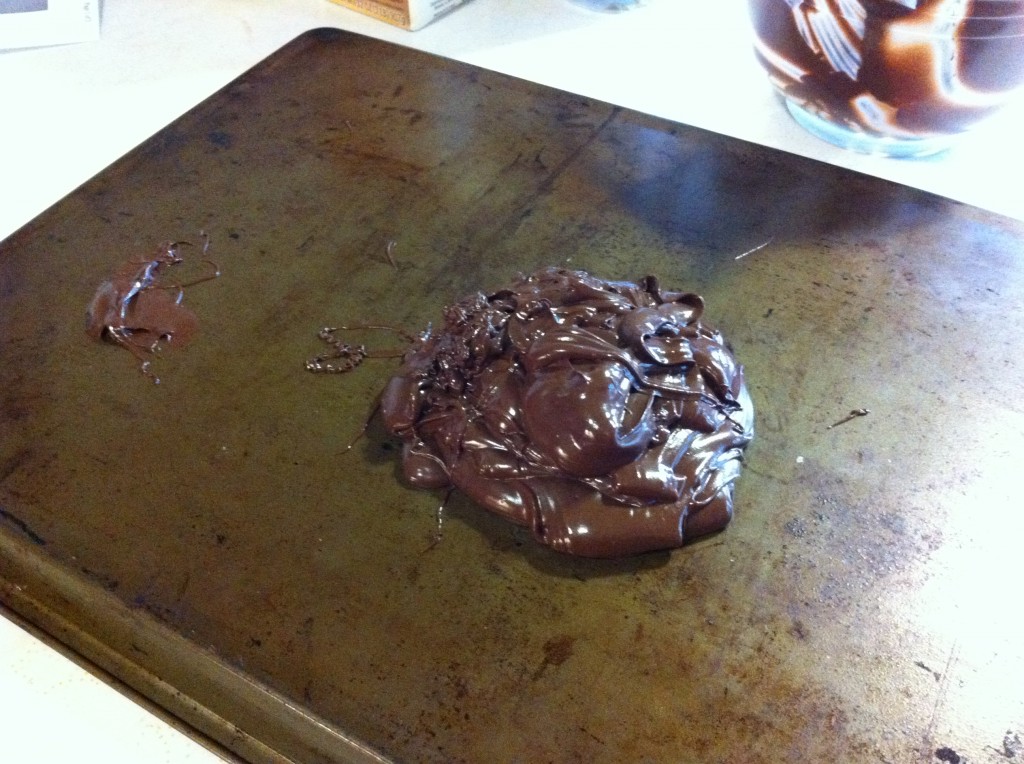
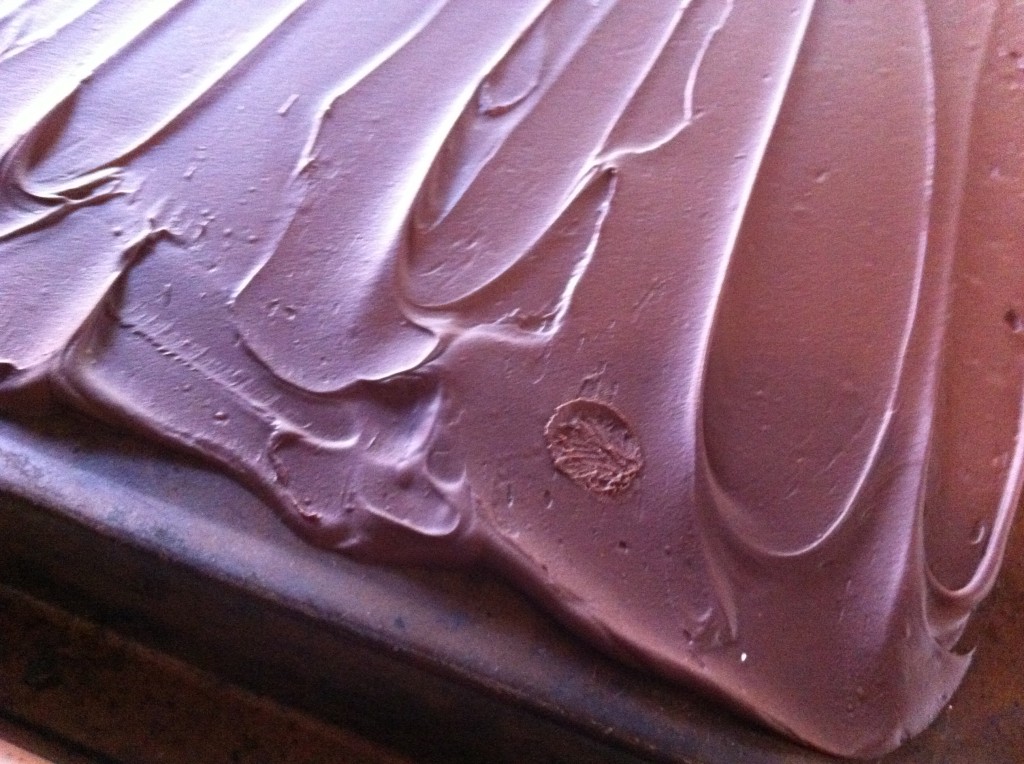
Get out an baking sheet and turn it over. Pout the melted chocolate on the bottom of the baking sheet.

I poured the melted chocolate right in the middle of the baking sheet.

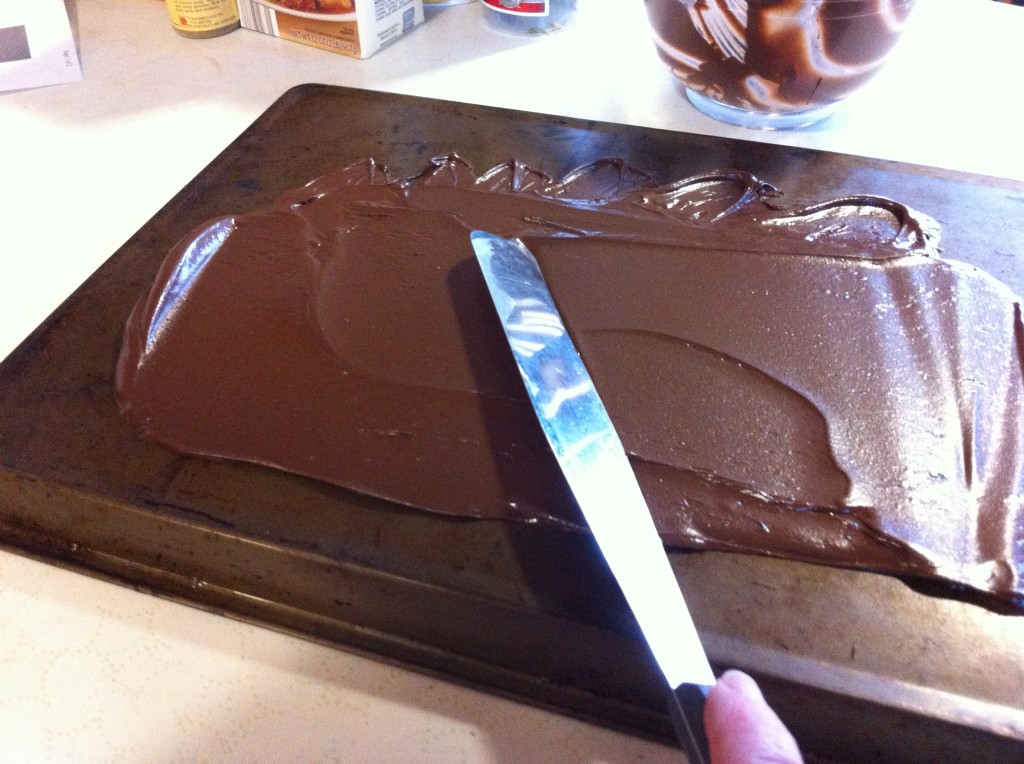
With a spatula, spread a thin layer of chocolate on the baking sheet.

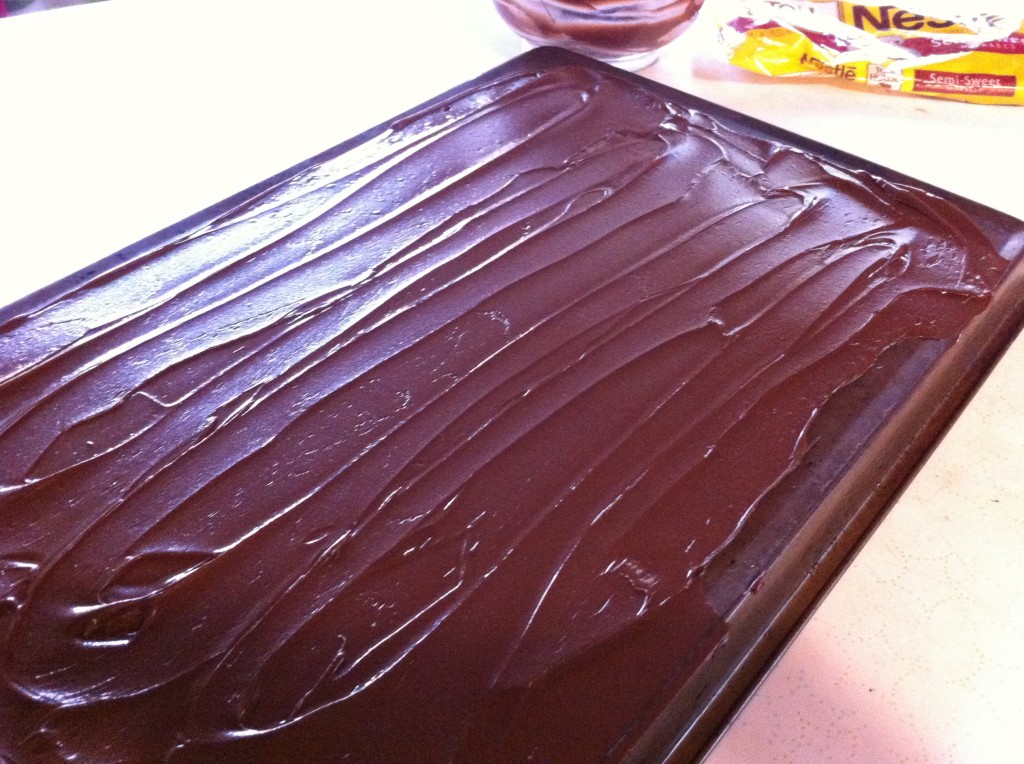
There will be enough chocolate to cover the entire bottom of the baking sheet.  Now, put the pan in the refrigerator until the chocolate starts to harden.

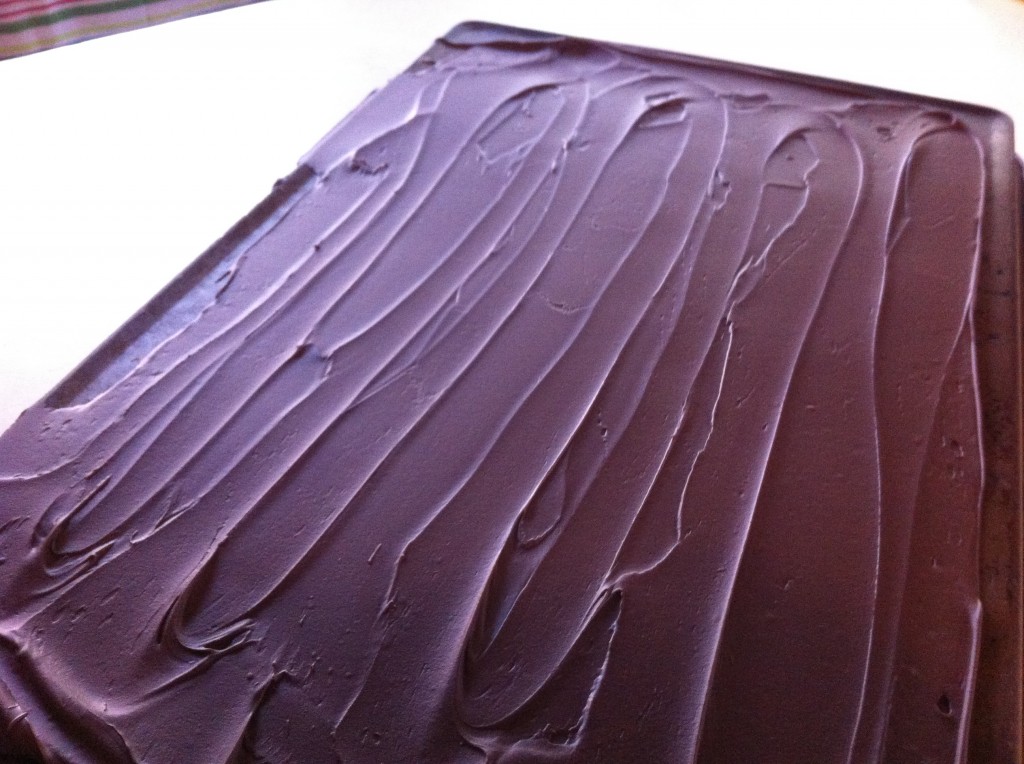
When the chocolate firms up, take it out of the refrigerator to let the chocolate begin to warm up.

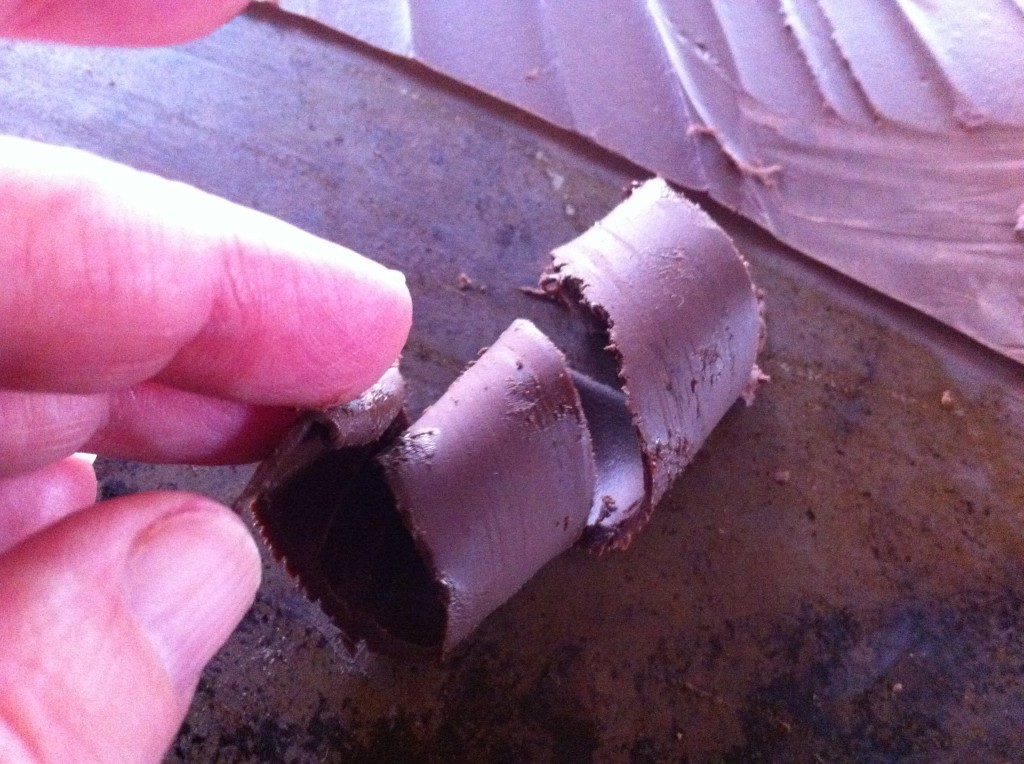
When the chocolate warms up enough to the point where you can put your finger on it and it leaves a finger print it is almost warm enough to start making curls. See my finger print on the chocolate?

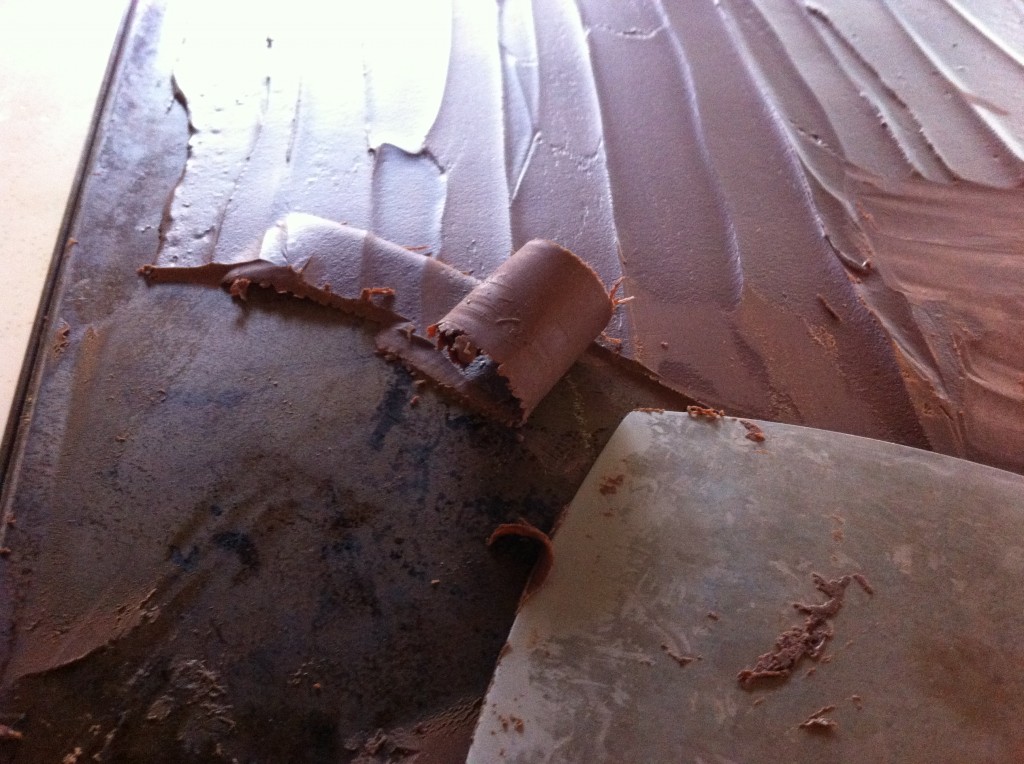
The a sharp spatula I scrape the chocolate diagonally across the pan to start making the curls. If your curls start breaking the chocolate is too cold still.

I know you can make these curls!!

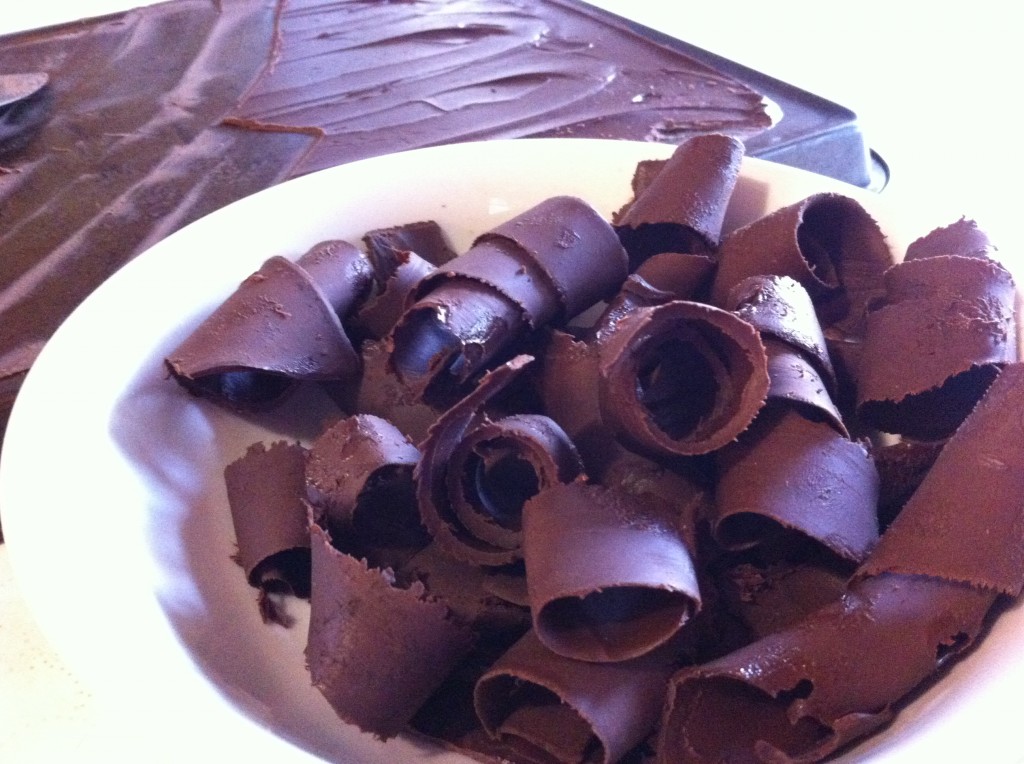
One package of chocolate chips will make more than enough curls to top your cake or cup cakes. It is best to make the curls the day before and let them dry out a bit in the refrigerator over night.

Next time you start staring at those beautiful cakes in the bakery and am tempted to buy one, just remember that you can make your own beautiful chocolate cake with these chocolate curls.

You will be able to open up your own bakery!

Enjoy,

Becky

Coupon Bargains and Update

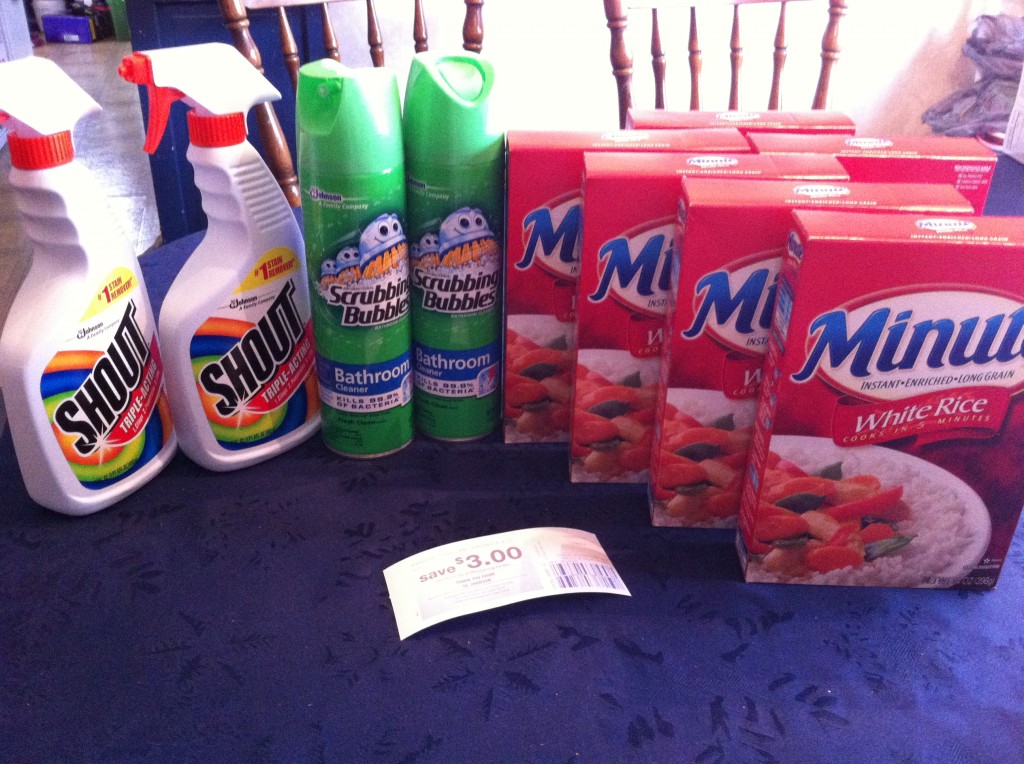
I went to Gerbes and picked up these items on sale. They have a buy 5 items and save $5 sale going on now. I was able to get the rice for .29 cents a box, the Shout and Scrubbing Bubbles for $1.oo a can and then I got a $3.00 coupon to use on my next transation.

Sweet!

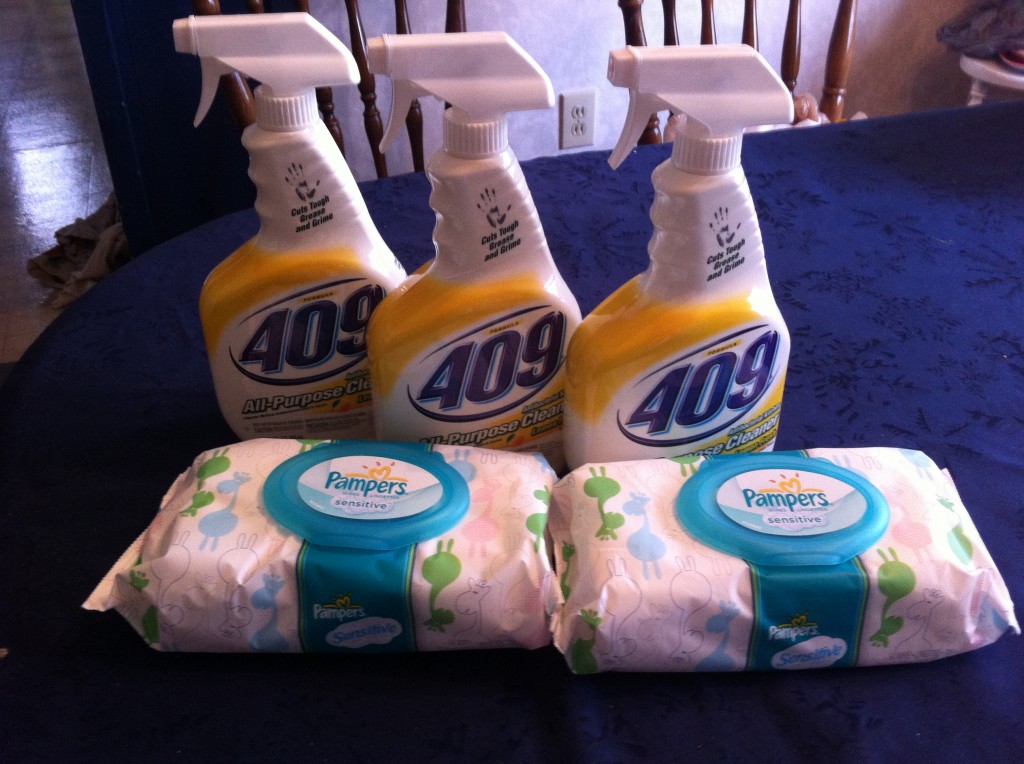
I was able to pick these up also at Gerbes using the buy 5 save $5 sale. After coupons I paid .49 cents for each of the 409 and just .29 cents for each of the pamper wipes. My daughter who does not cook was very happy when I gave her the wipes. Youngest baby grand girl needs lots of wipes.

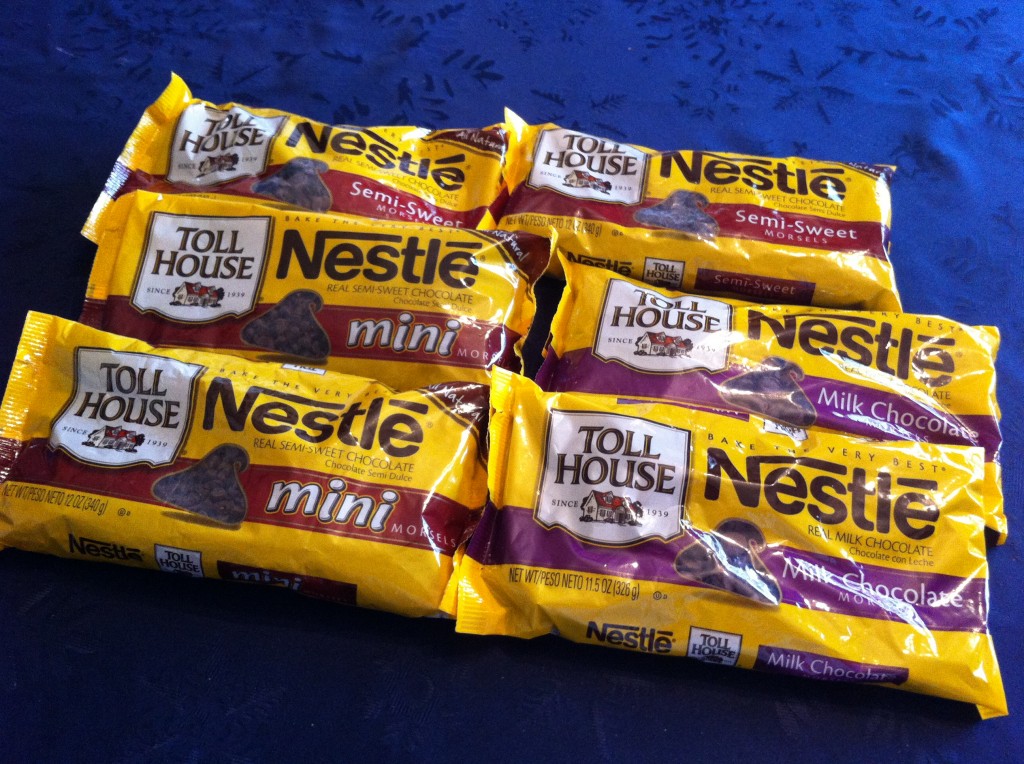
I am making this super rich chocolate cake later this week (I will post the recipe later this week). It takes several bags of chocolate chips. These bags were on sale for $2.49 at Gerbes and I had $1.00 off coupons off of two bags, making them $1.99 a bag. I also got a $3.50 coupon off my next purchase if I buy more chocolate chips.

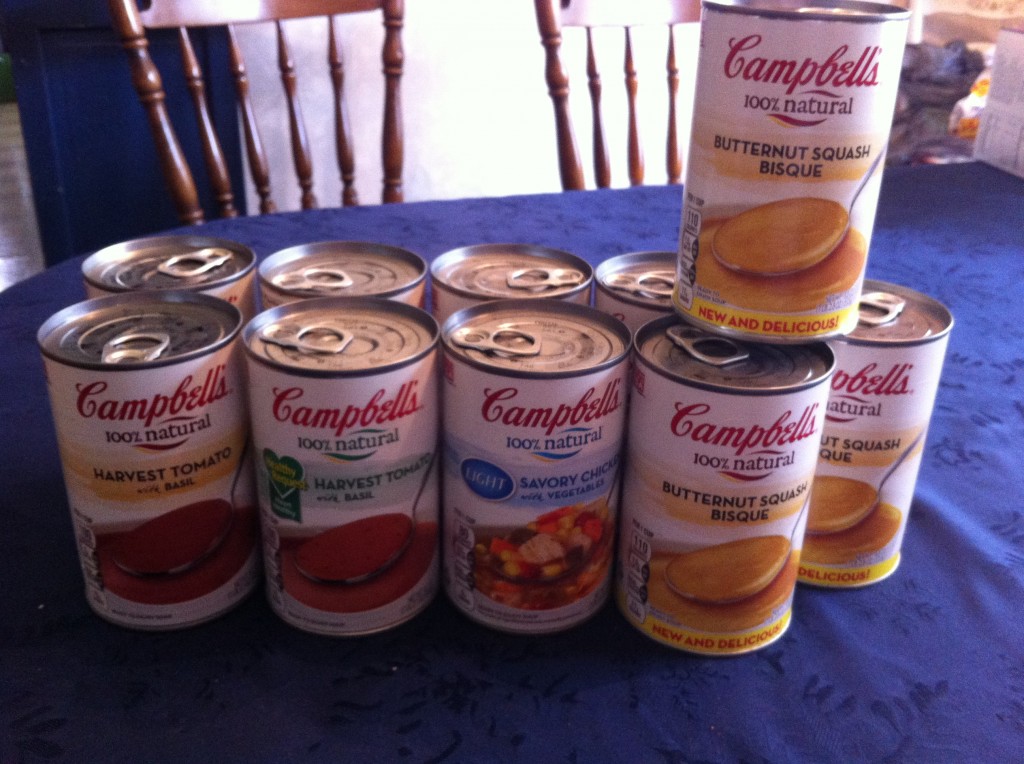
Oldest daughter who does not cook did a little couponing too. She was able to get these cans of soup for .50 cents each. I giggled when I seen she had bought butternut squash soup. She would never in her right mind bought this soup if I had not made homemade butternut squash soup. I will be curious to find out if this soup is as good as the one that I came up with.

I also bought 5 toothbrushes and 5 tubes of tooth paste for free. I will be donating them to school for students who may need some personal hygiene items.

I also bought some groceries at Aldis.

So lets see:

I spent:

$2.20 at Gerbes

$44.68 at Gerbes

$48.50 at Aldi’s

Total $95.38 for last week and today.

I had a balance of $380.22

I spent $95.38

Leaving me a total of $294.84

I will add another $75.00

So my latest update is $369.84 on April 21st.

My balance keeps getting a little higher each week.

Would you not add anymore to your budget till you spend down your amount.

Or lower the amount you spend each week.

MMMMM….I will have to think on it.

Lights out girl scouts…it is past my bed time.

Happy Couponing,

Becky

Other post you might enjoy

Budget Update on April 14th

Garden Update

Am I the only one out there ready for “real” spring weather to arrive?

I am SO ready to get my raised garden beds in.

You are probably wondering what the problem is.

I am part of the problem.

Yep…I will own it!

I keep changing my mind where to put my raised garden beds.

 I really wanted them close to my kitchen door without being in the front yard. It gets plenty of afternoon sun, but I am afraid I will have a ton of acrons in them when fall arrives. So the only logical place to put them is clear over on the other side of my yard in the corner.


I took yarn and popcycle sticks to measure off a couple of 4 foot by 4 foot spaces to get an idea of how they would look. I think I will  combine two of them and make a 4 foot by 8 foot one and two 4 foot by 4 foot ones. I ordered cedar in the length and width I wanted and it was delivered a couple of weeks ago. I will take a picture of the wood this week so you can see it. I was all ready to go, then it rained, and rained and hailed and rained some more. I am not complaining about the rain after the drought Mid Missouri suffered from last year, but it has delayed my progress just a bit. It is hard to get a truck in the back yard full of dirt and mulch when the ground is super wet. I don’t know what my neighbors would say if I had to call a tow truck to pull a truck out of my back yard. It might be pretty funny until I got the bill.

Anywho, my little plants are growing and are staying indoors until I get them in the ground.

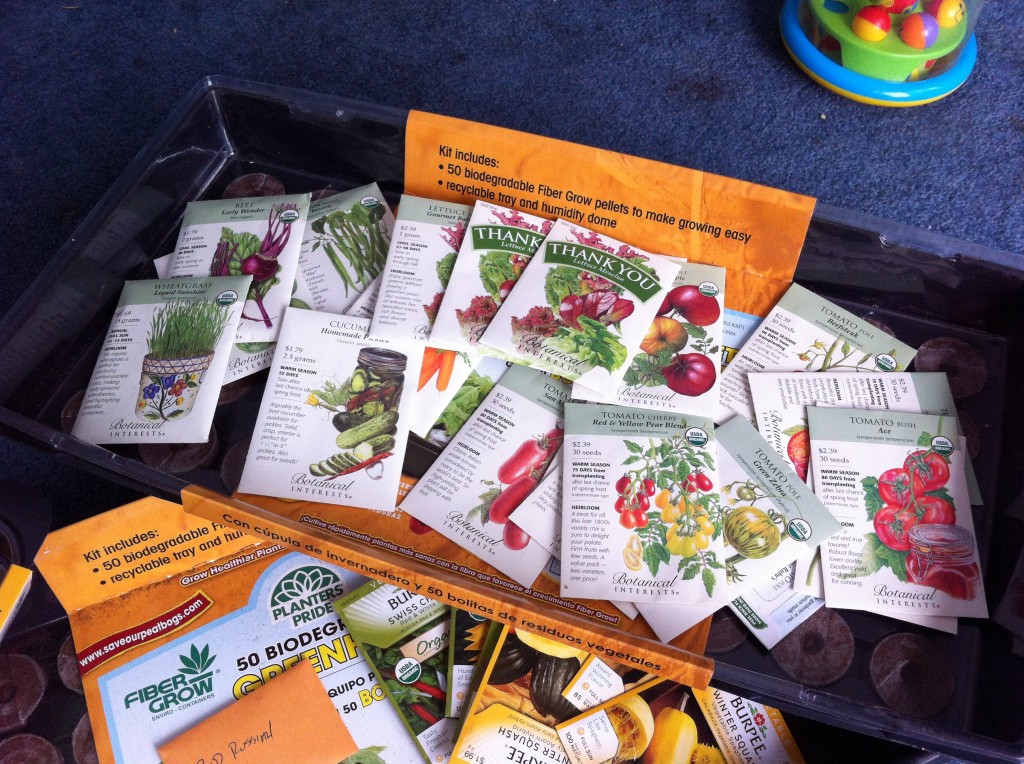
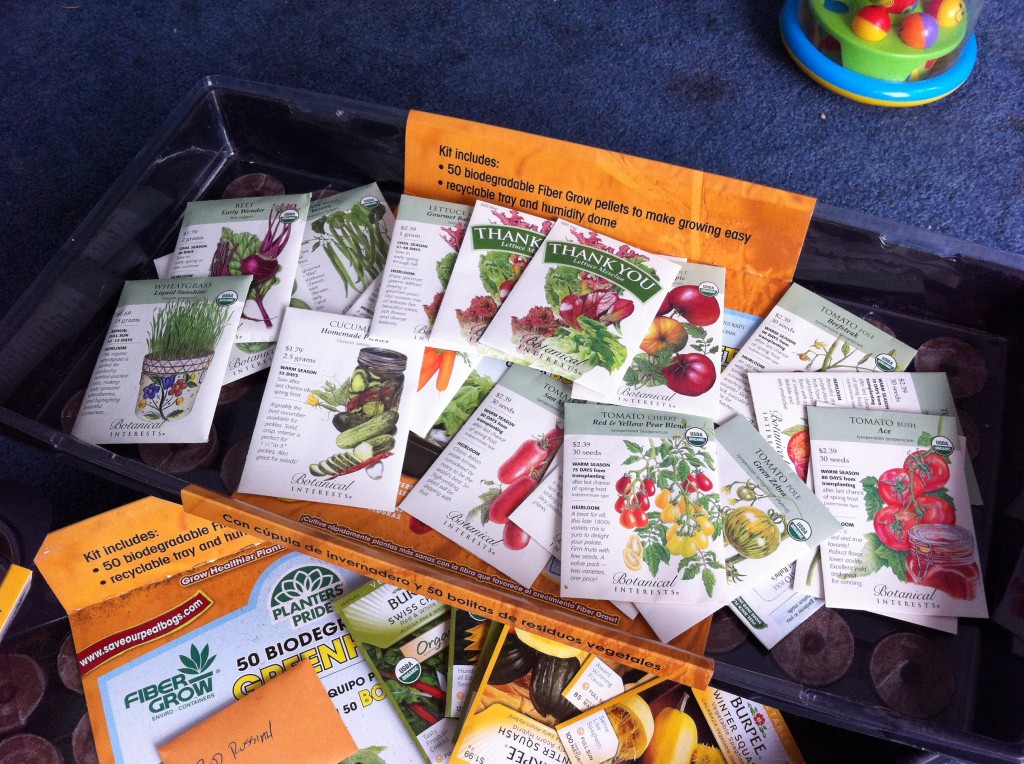
A few weeks ago I planted a bunch of different tomato plants and some kale. They are not ready for the garden yet but they are at least 4 inches tall already.

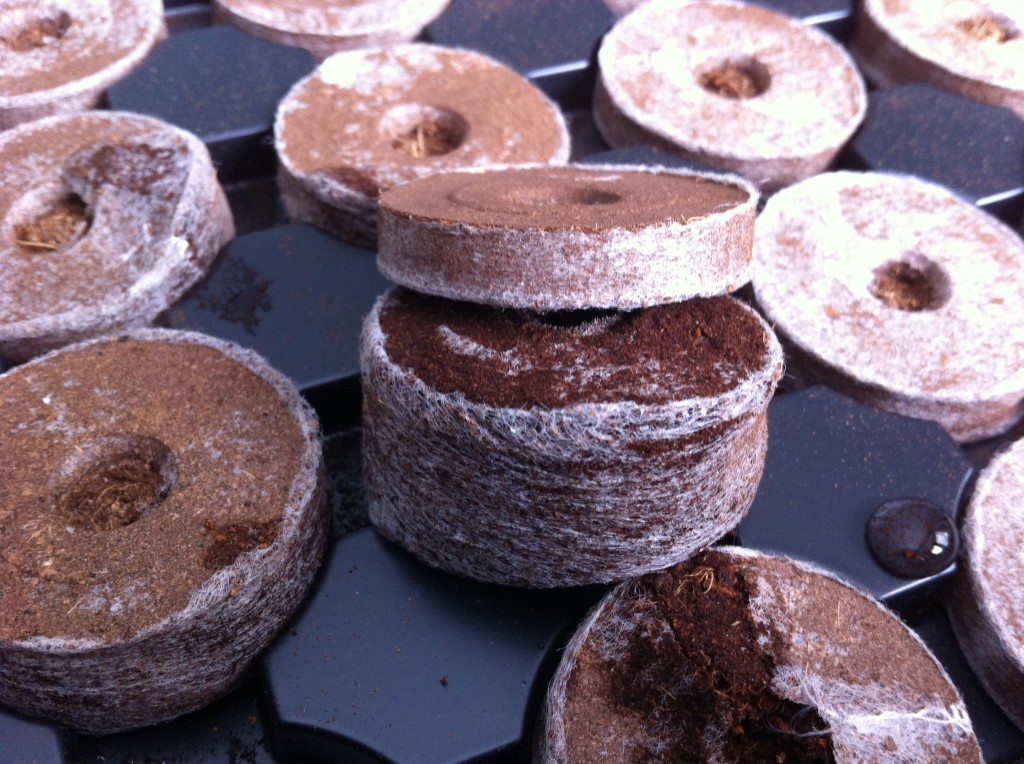
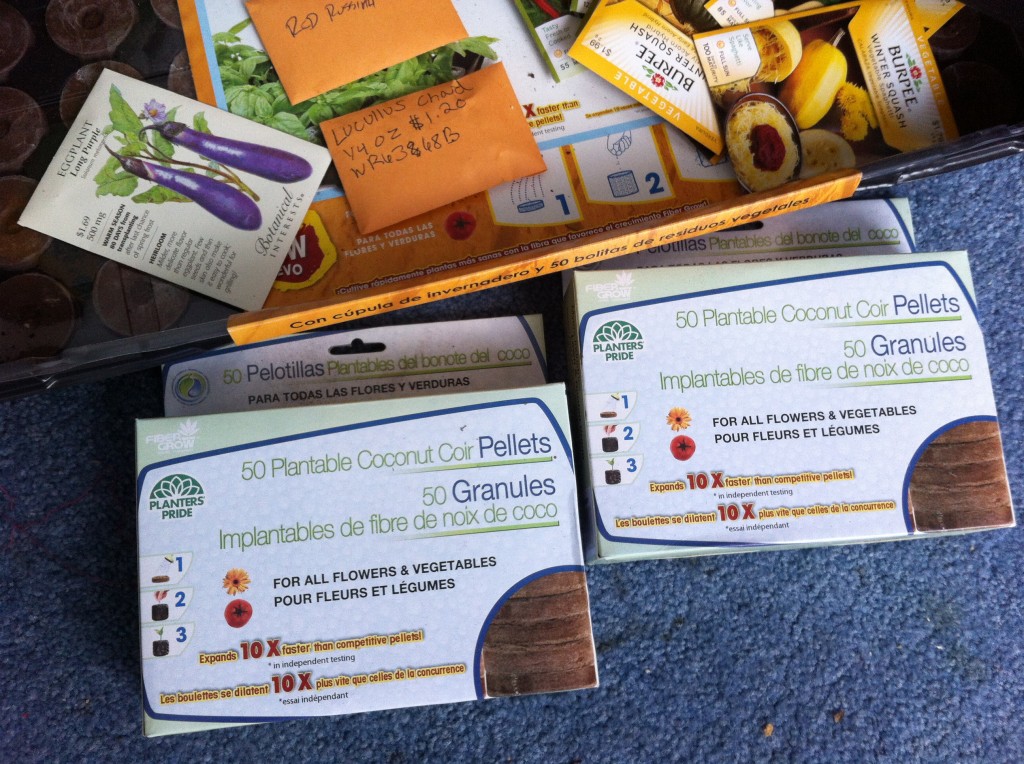
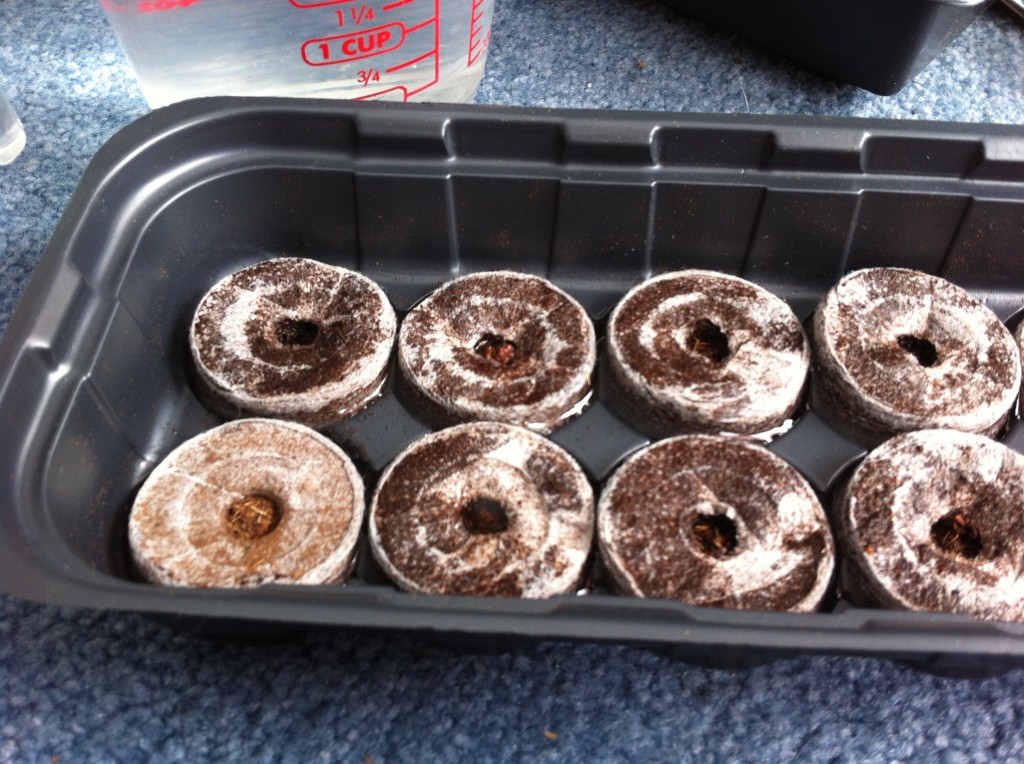
I used these little seed pellets. They are really skinny until you put warm water on them and then they swell up.

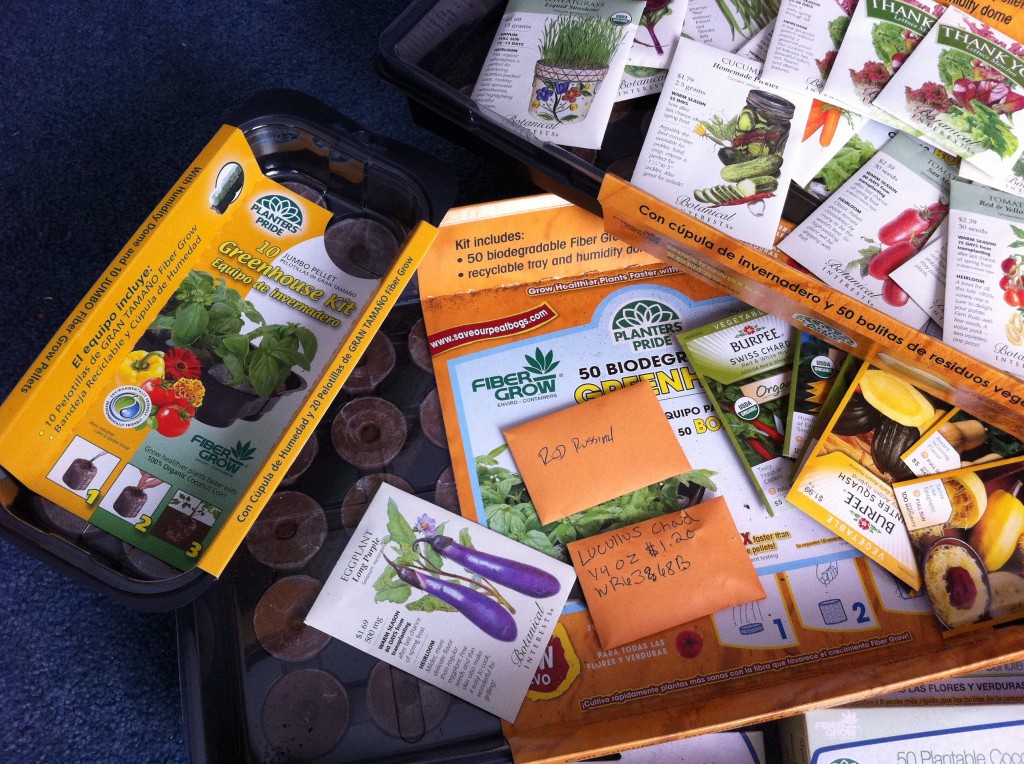
These are extra ones I bought when I am ready to start more seeds.

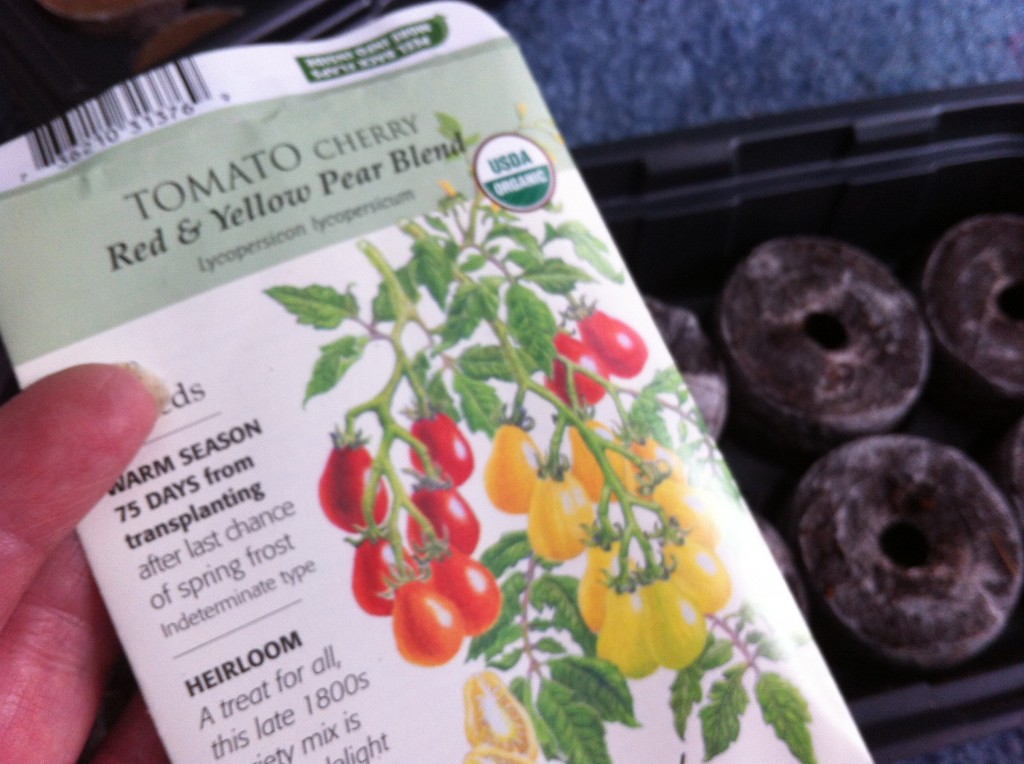
Here is one kind of tomato I planted.

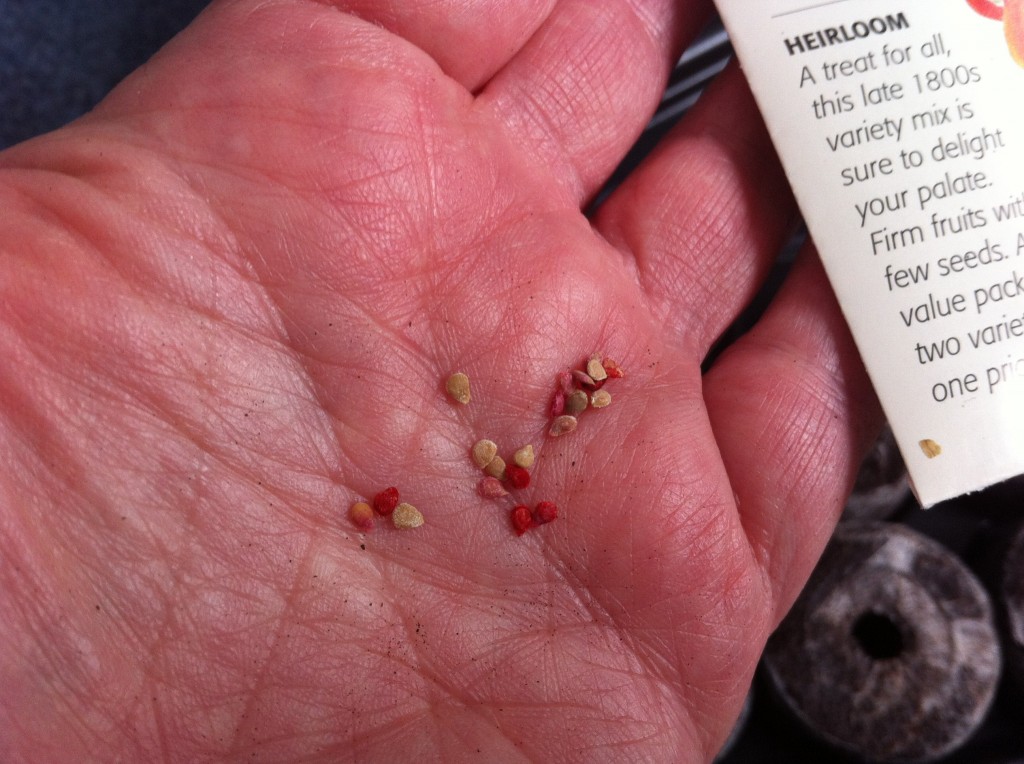
I thought it was interesting how the seeds were different colors.


My little tomato seeds are all in there very snug. I will have to take a picture this week to show you how big they are now.


I don’t think my 4 little 4×4 foot raised gardens will be able to hold all these seeds.

Do you?

I think I need a farm!!

Everyone has to start somewhere, right?

Here’s to gardening weather. It will be here before we know it!

Becky


Pecan Buttermilk Pancakes

Good Morning!!!

The sun is shining this morning in mid Missouri….Yippee…

Three days ago this is what I had in my front yard..


It takes children with college degrees to be smart enough to run out after a tornado warning, large hail and pouring rain to collect large hail from the front yard.

Yes….this is my oldest daughter who does not cook. Obviously she does not have brains either. : D

Anywho…it is a fine, fine, fine morning in Missouri and it seemed like the perfect morning to make “home made” pancakes.

When I was growing up, The Princess could not just go to the store and buy a package of pancake mix, or stop by a IHOP,  to make pancakes for her four, always starving, perfect children. I use the word “perfect” here very loosely. When The Princess made us pancakes, she always made them from scratch and they always had this delicious little crunch ring on the outside edge. Mom always got this crunch ring by frying her pancakes with a little bit of oil, bacon grease, butter or lard.

Niener Wiener, Me, Jeanie Beanie and baby brother Robert loved her pancakes, especially the little crunch ring on the outside edge.

Did your mom make them like that for you?

This morning, on this fine day in Mid Missouri I was thinking about that those pancakes and that little crunch ring and thought I would surprise my munchins at home with home made buttermilk pancakes.

Aren’t I the perfect Mom?

I use the word perfect here very loosely. : D

Anywho, I bought this simply divine cookbook yesterday at Sam’s and it had a buttermilk pancake recipe in it that looked way too good to stay shut up in a cookbook. (I have a whole story to tell about this cookbook, so check back later today if you are the least bit curious)

I just happen to buy some real buttermilk yesterday at the store for another recipe I wanted to make and Walla….the pancake stars aligned and I realized I could make homemade pecan buttermilk pancakes.

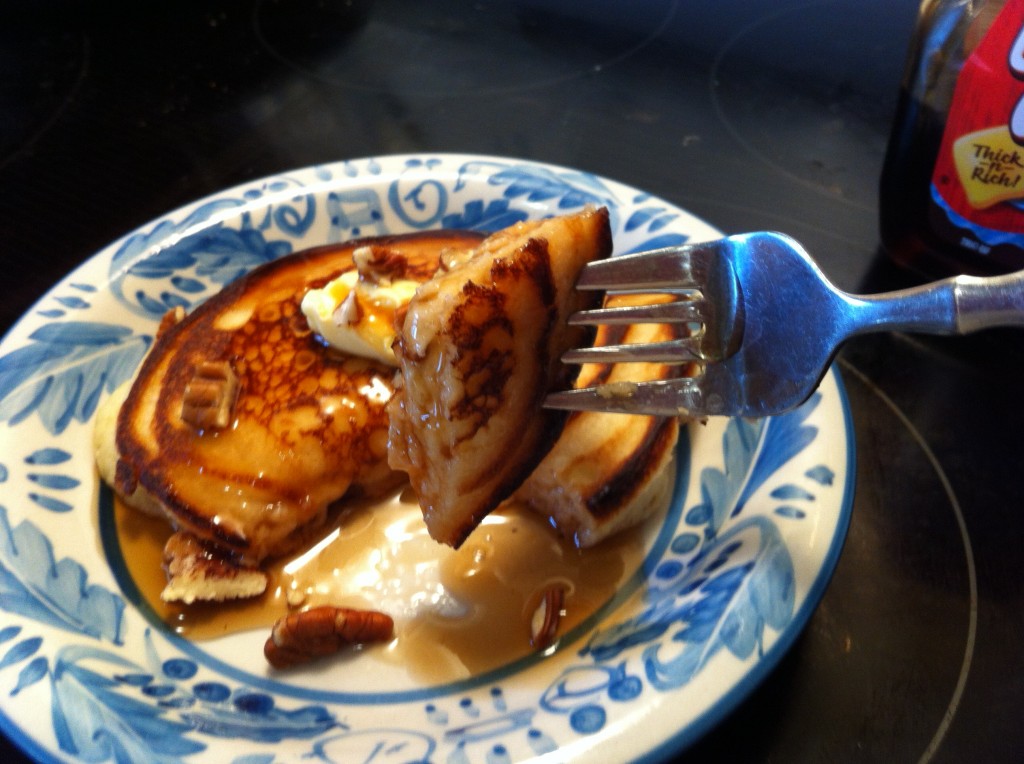
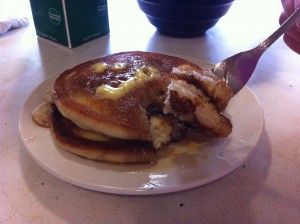
Here is my first bite. The outside crunch ring was perfect. The pecans were perfect. The only thing that was not perfect was that I only got one pancake. My little munchins downstair ran off with the rest.

How is that for a compliment?

It is the best kind!

So pancake lovers unite! If you want to make a thick and tender pancake with an outside crunch ring, this recipe will have you napping the rest of the day in pancake heaven.

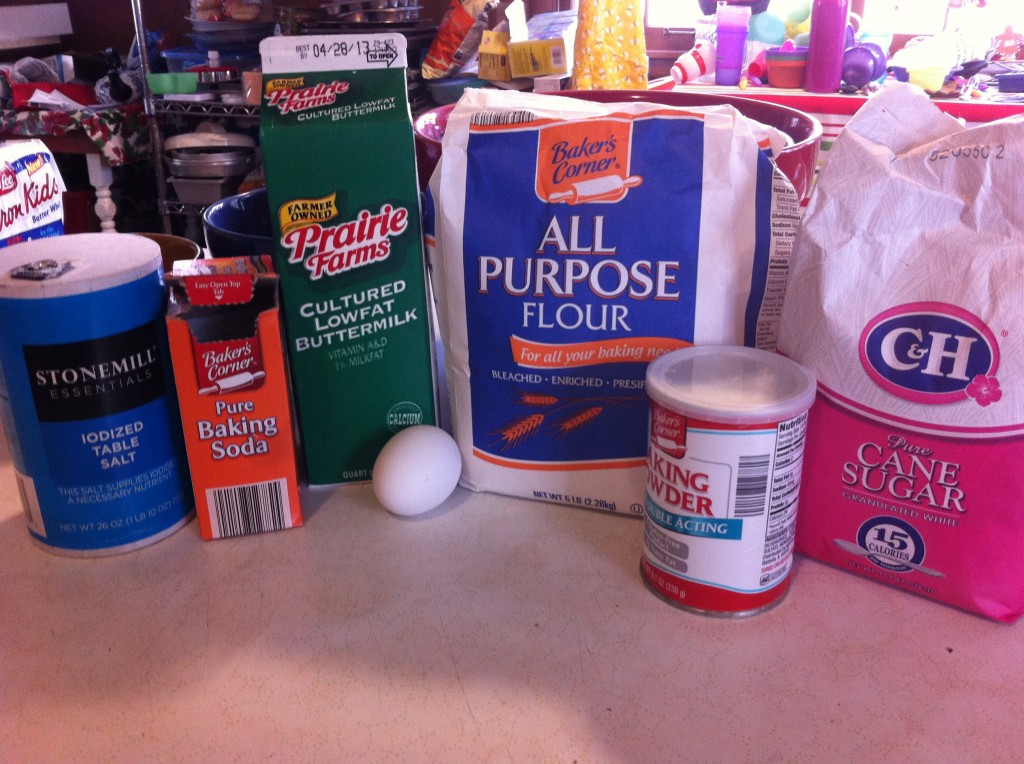
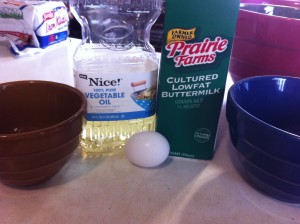
Here is your shopping list and step by step directions:

In my haste to taste delicious pecan buttermilk pancakes, I forgot to put the oil in the pictures. My Bad!


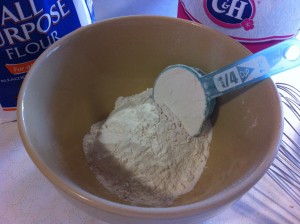
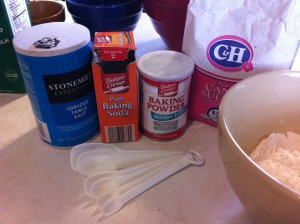
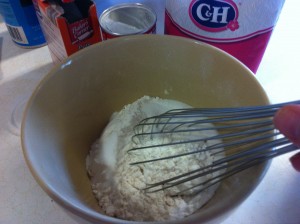
Measure the flour and put it in a medium size bowl. Next measure out the salt, baking soda, baking powder and the sugar.


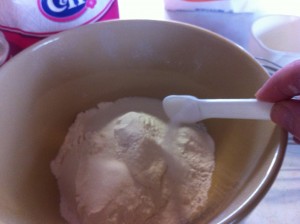
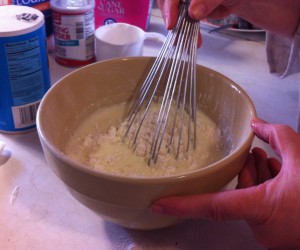
Add the salt, baking soda, baking powder and sugar and whisk to combine.

Now it’s time to get out all the wet ingredients.


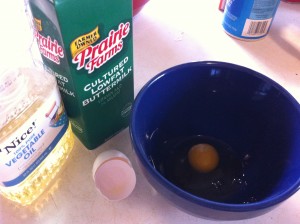
Crack the egg and add it to a medium size bowl. Next add in the vegetable oil.


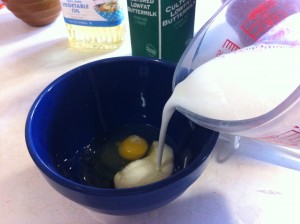
Measure out the buttermilk and add it to the egg and the oil.


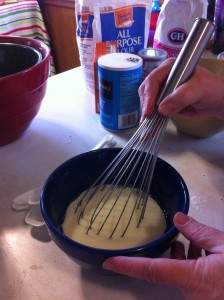
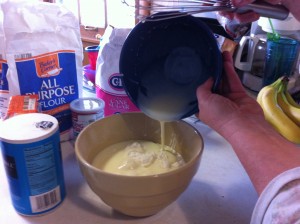
With a whisk, mix all the wet ingredients together, making sure the egg in completely mixed in. Pour the wet ingredients into the dry ingredients.


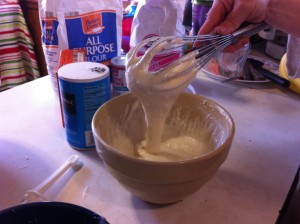
With a whisk, carefully combine the wet and dry ingredients together. Be careful not to over mix. The batter will be thick with small lumps.

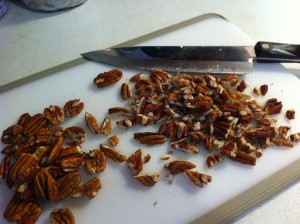
If you plan on adding pecans to your pancakes, now is the time to have a few chopped up and ready to go. My son the Super Hero, hates nuts.  But..he is out of town this weekend to attend a wedding.  So the Pee Cans are back on the menu and  ready to add to our pancakes.


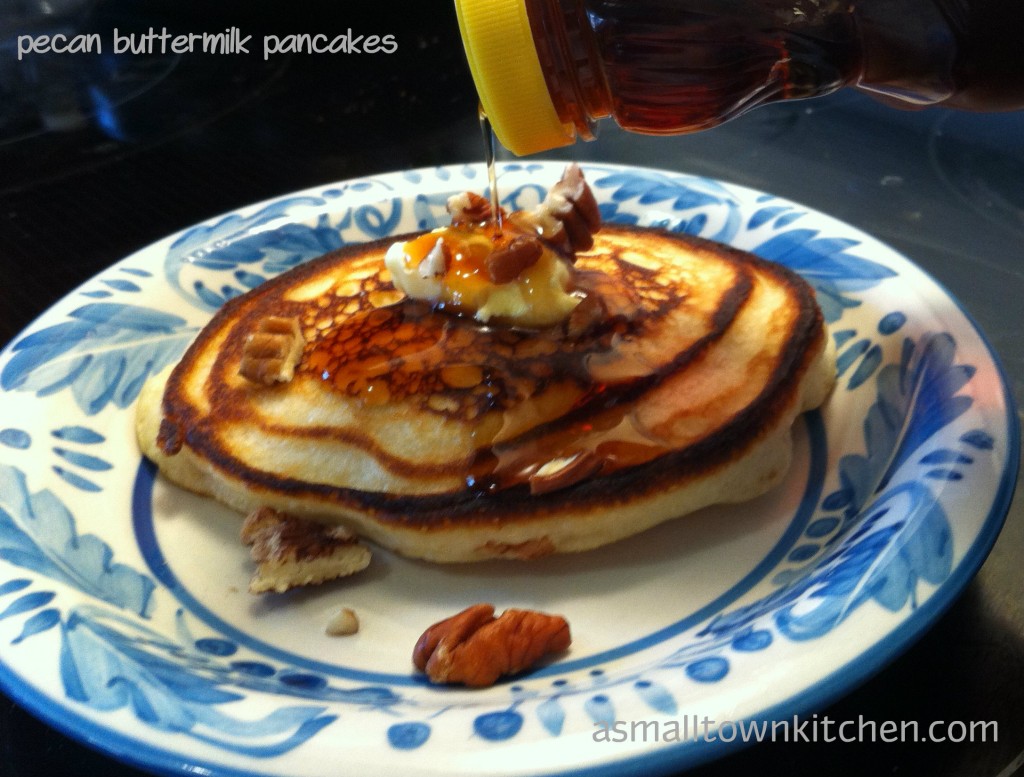
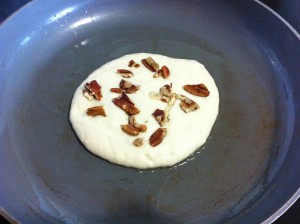
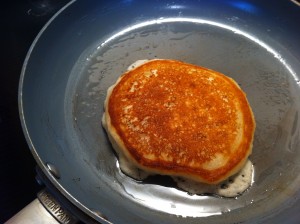
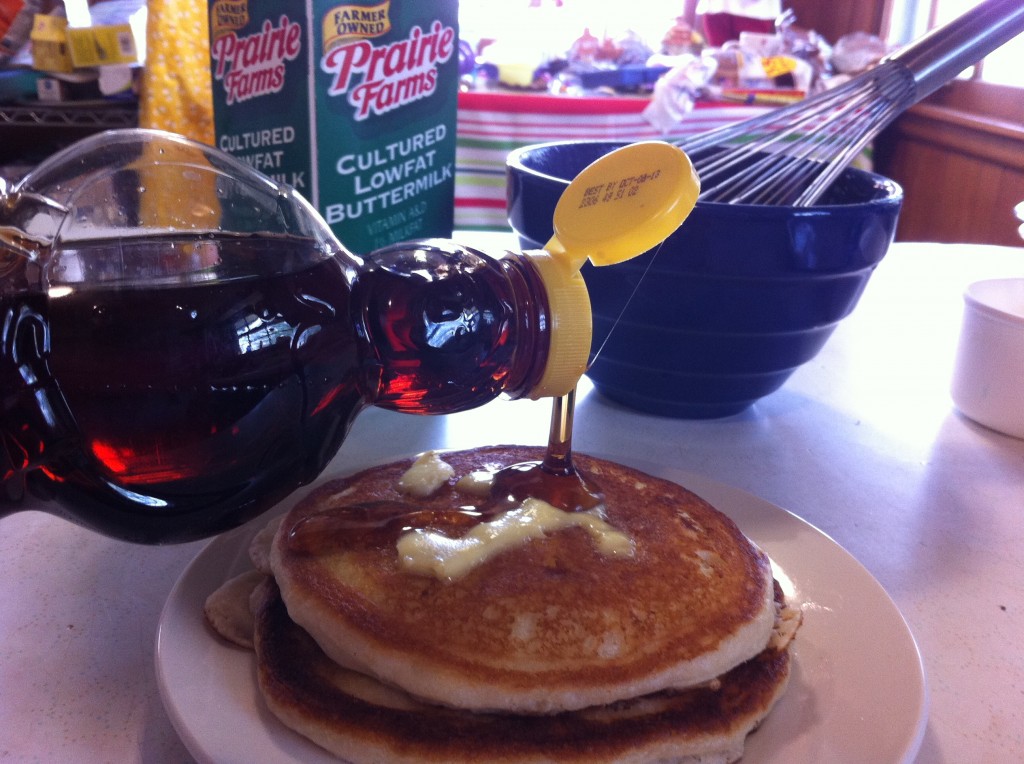
In a medium skillet add a little vegetable oil. Pour in 1/4 cup of batter. You may have to spread it around a bit. If it is too thick in the middle the middle will not get cooked on the inside. Add a few chopped pecans onto the wet batter. Fry the pancake until bubbles start to rise. Carefully flip the pancake over to cook on the other side. See that lovely crunch ring on the outside of the pancake? Seriously, that is the best part besides the biets with the pecans, besides the part with all the butter and rich syrup…seriously this whole pancake is delicious.


Don’t you just want a bite?

That is all there is to making fanatically delicious pecan pancakes.

Are you ready for the recipe?

Here it is.

Enjoy the day!

Becky

Pecan Buttermilk Pancakes

Adapted from Southern Living

Ingredients:

1 and 1/4 cups of all purpose flour

2 tablespoons sugar

2 teaspoons baking powder

1/2 teaspoon baking soda

3/4 teaspoon salt

1 large egg

1 and 1/3 cup buttermilk

3 tablespoons vegetable oil

1 cup chopped pecans (optional)

Directions;

In a medium bowl stir together the flour, baking powder, baking soda, salt and sugar. In a separate bowl whisk together the egg, buttermilk and the oil. Add the buttermilk mixture to the flour mixture and stir to combine. Do not over mix. Batter will have small lumps.

Heat a griddle to medium heat and add a small amount of oil. Measure out about 1/4 cup of batter and pour it on the hot  griddle. Sprinkle chopped pecans onto the wet batter, if desired. Cook until bubbles start to rise. Flip pancake over and cook on the other side.

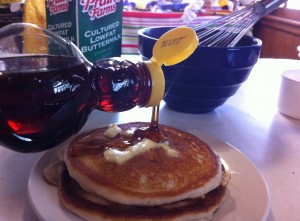
Serve with butter and syrup or even some fresh berries.

Can you make out the smiley face butter on top? You will have your family smiling too when you make them for your family. You might want to double the recipe.

Enjoy!

Here is another post from A Small Town Kitchen you might enjoy.

Baking Powder Biscuits                             Strawberry Bread


Garlic Cheddar Biscuits


Praline Snickerdoodles

How is everyone?

If you live in central Missouri, I hope you are not floating down the Missouri River like Tom Sayer. : )

We have had so much rain lately maybe we all should be buying a boat. Not that I am complaining after the drought we had last summer. I am sure the ground is loving this rain.

One of the things that I love to do when it is stormy outside (since I can’t go outside and plant my seedlings) is to spend some time in my kitchen baking something yummy.

I noticed this recipe a few weeks ago while I was looking through that Brownies and Bar magazine that I made those yummy Banana Bars and the  Chocolate Shortcake Brownie with Macaroon from. This recipe really got my attention because my son the  Super Hero  loves snickerdoodles. The praline part sounded really pretty good too.

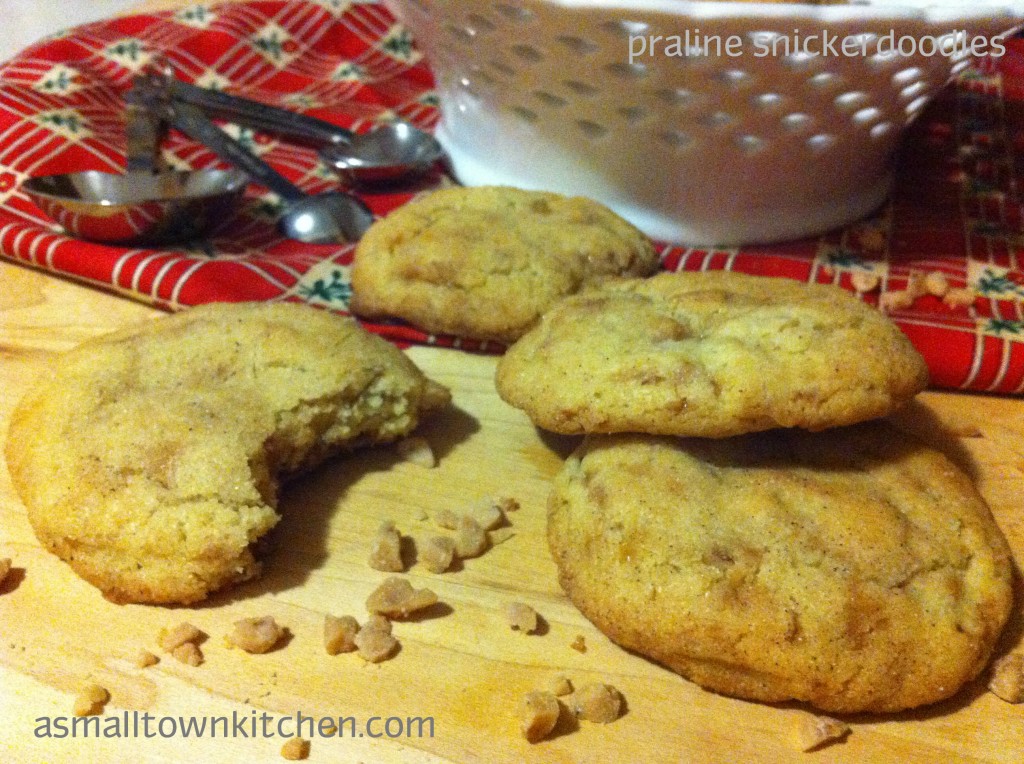
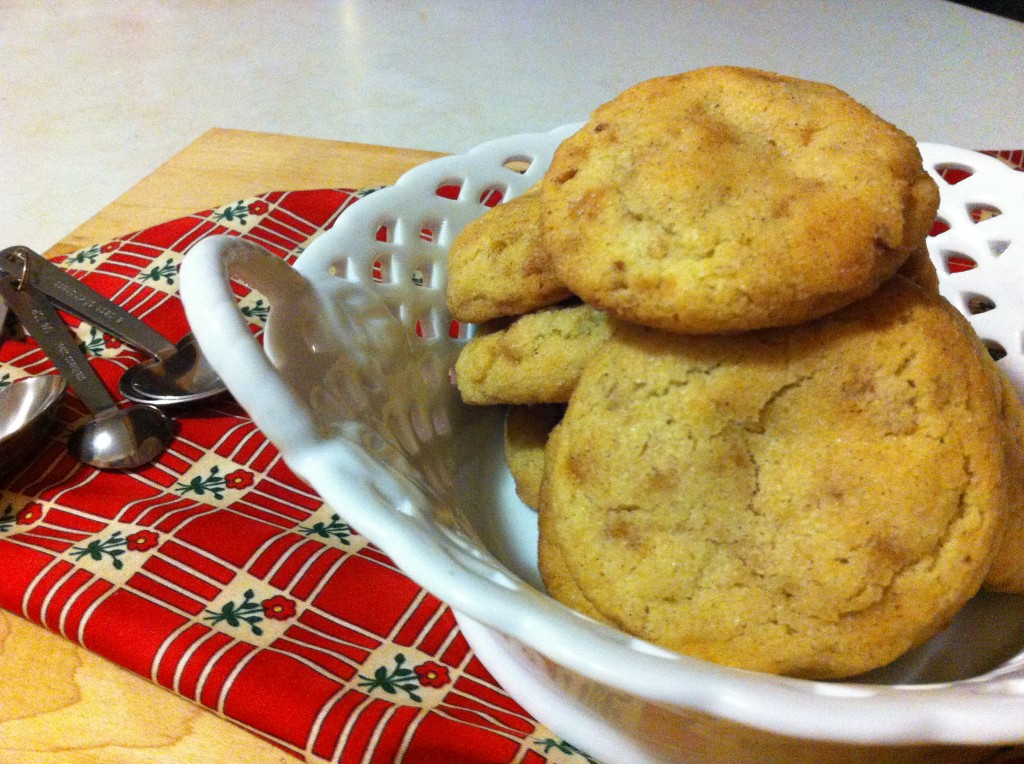
So anywho, the other night when it was raining outside I made these sinfully chewy cinnamony cookie.

They are easy to whip together. Just allow an extra hour for refrigeration to chill the dough and then they will be ready to pop in the oven.

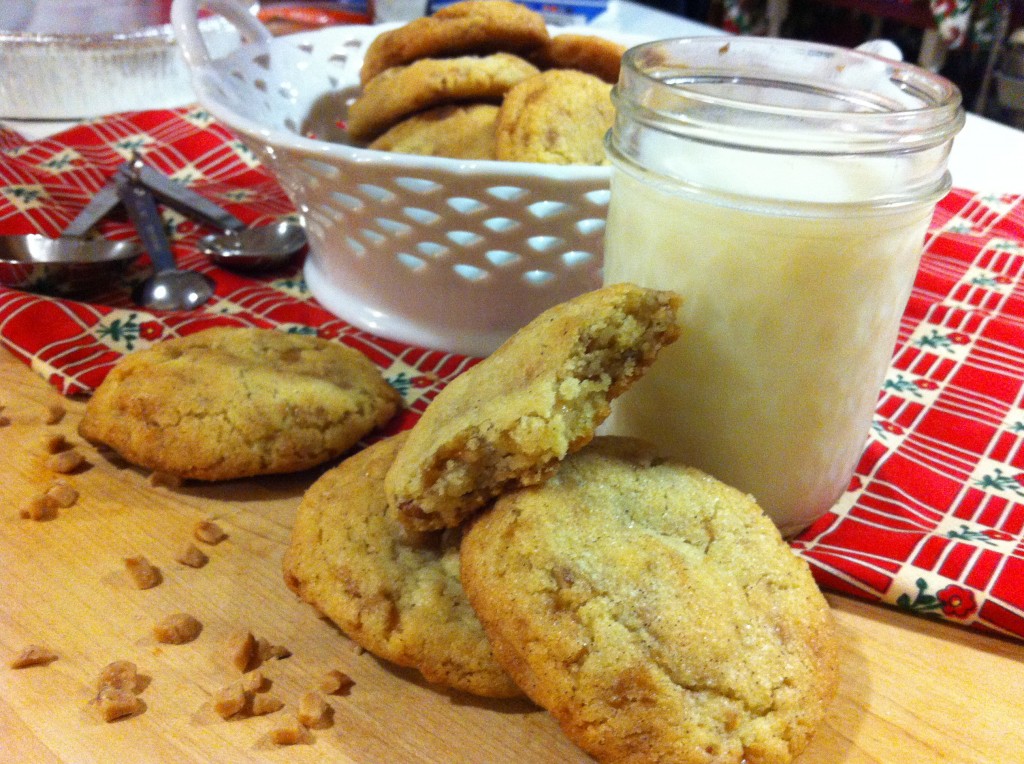
Warning: These cookies are highly addictive. Do not eat them right out of the oven while they are warm, with milk, if you plan on having any cookies left over.
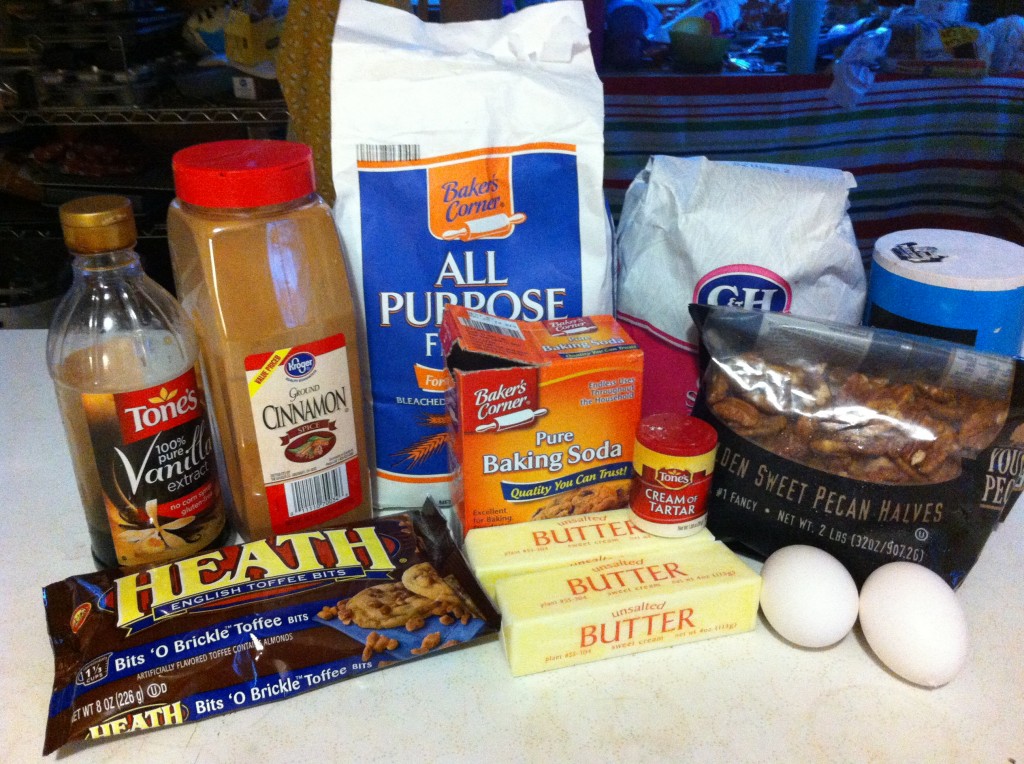
Here are your step by step instructions:

Suprise…..they have pecans in them too.


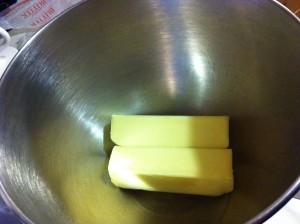
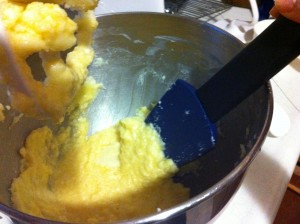
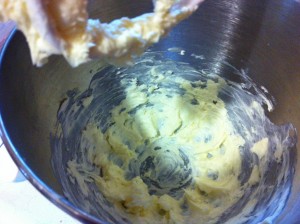
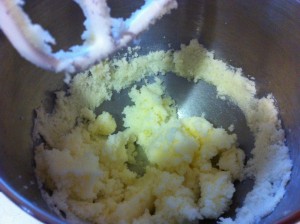
In a large mixing bowl put in 2 sticks of soften butter and cream.

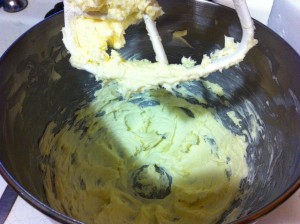
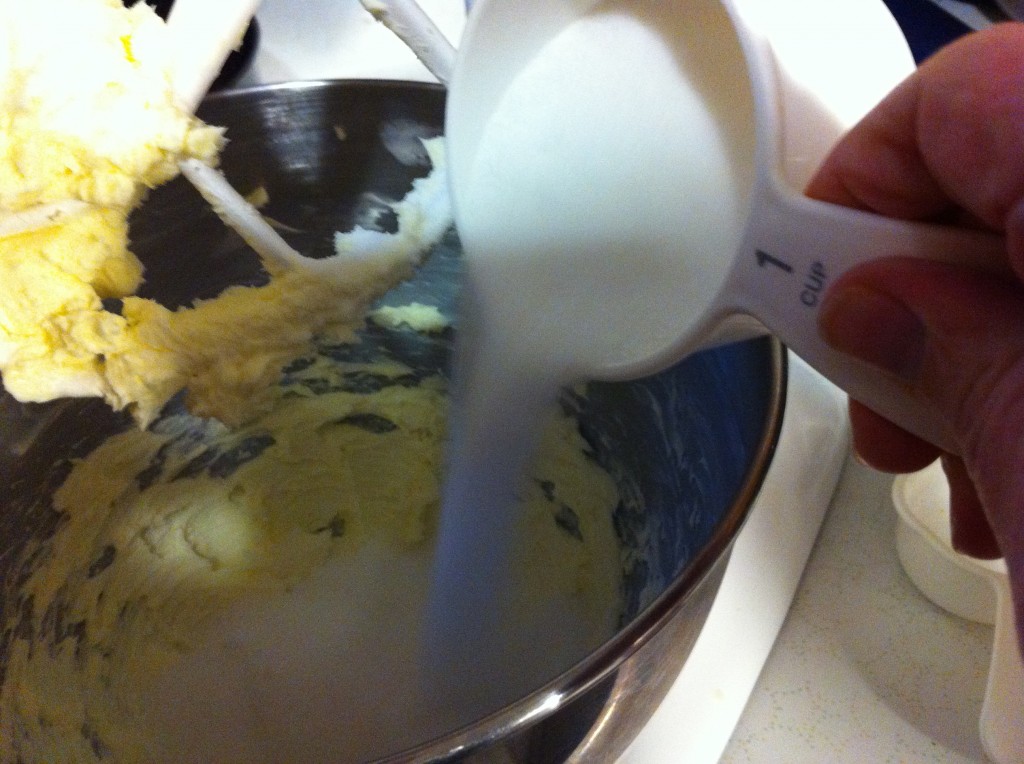
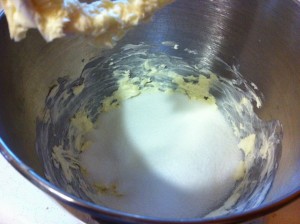
Add the sugar. Cream the sugar and butter together.


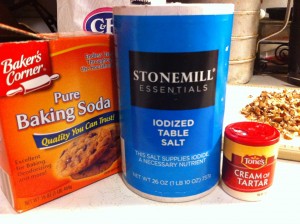
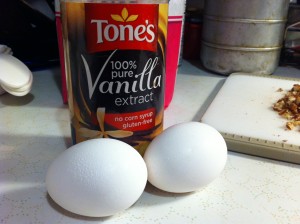
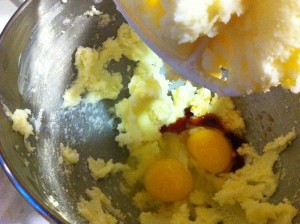
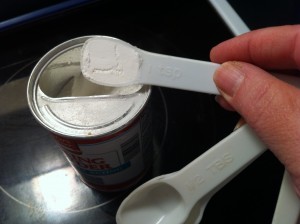
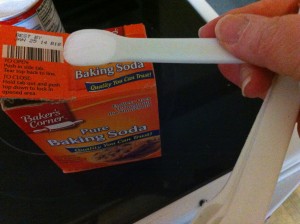
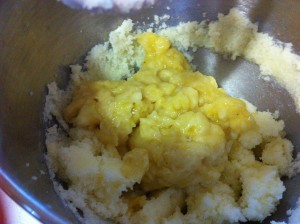
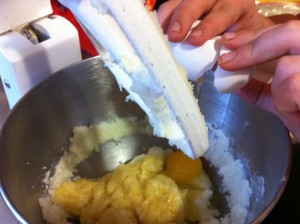
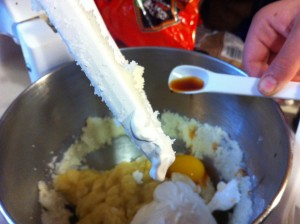
Next add the baking soda, cream of tartar and salt to the creamed butter mixture. Then add in the vanilla and two eggs.
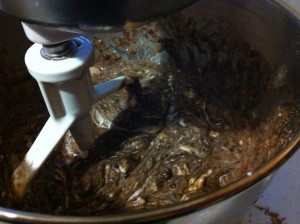
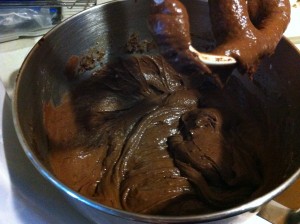
    

After  you add the eggs and mix, be sure to stop and scrap the bowl several times.

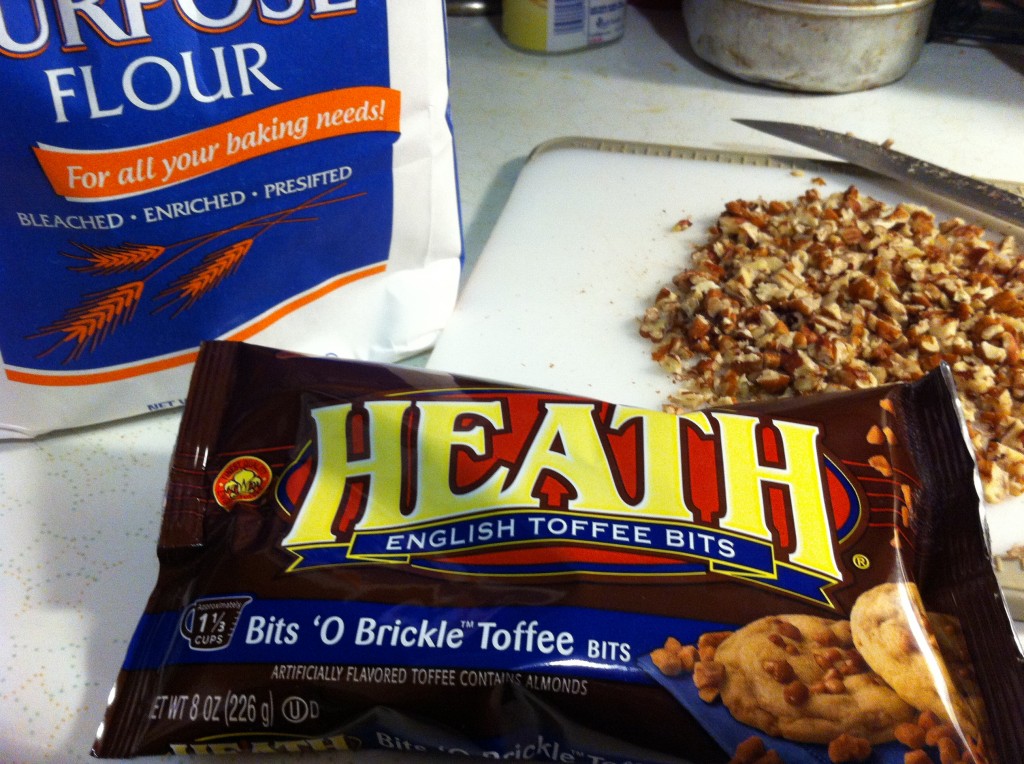
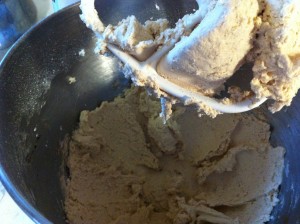
Now that the butter, sugar and eggs are all cream together it is time to add the flour, chopped pecans and those yummy toffee pieces.


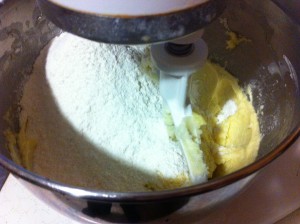
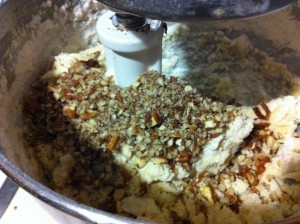
Add the flour and the chopped nuts.


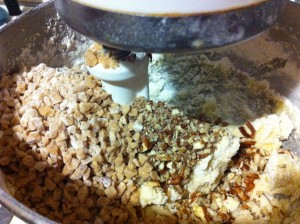
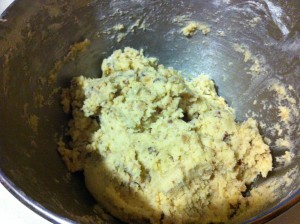
Add the toffee pieces and using the mixer combine all the dry ingredients without over mixing. Place the dough in the refridgerator for one hour.

Preheat the oven to 375 degrees.


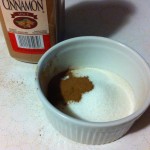
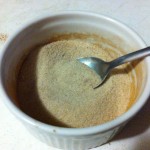
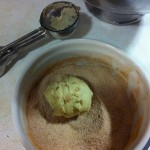
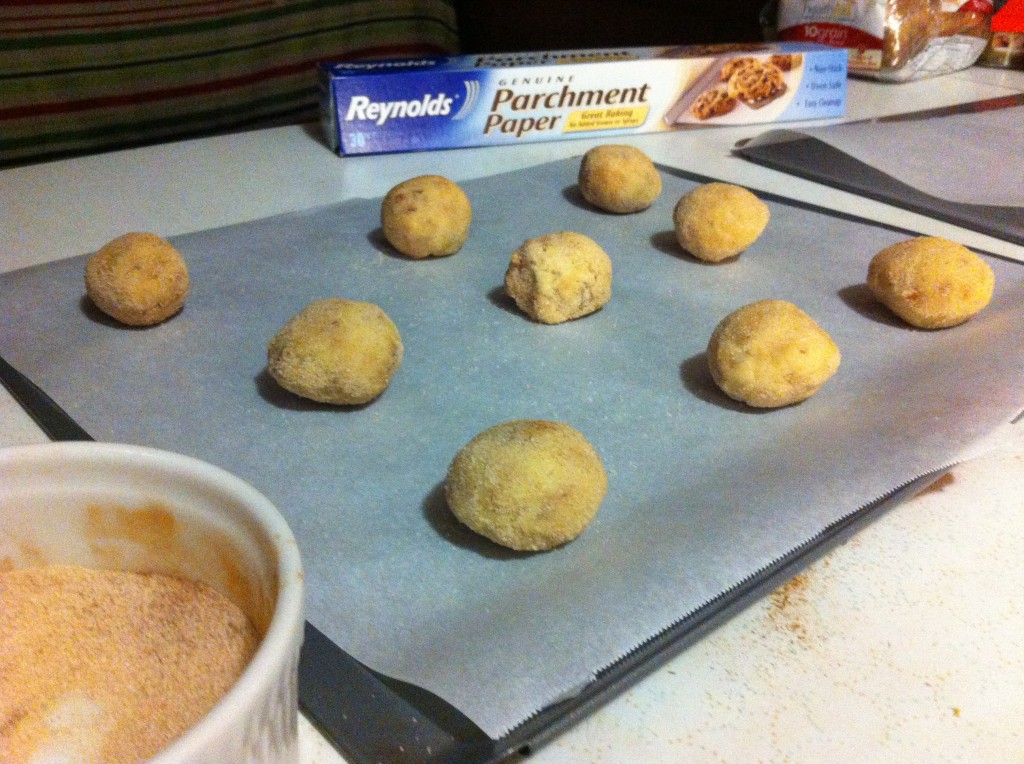
In a small bowl mix 1/4 cup of sugar and 1 teaspoon of cinnamon together. After the dough has chilled, scoop out 2 inch balls and roll into the cinnamon sugar mixture to coat.

Place the scoops of cinnamon coated dough onto a parchment lined cookie sheet.

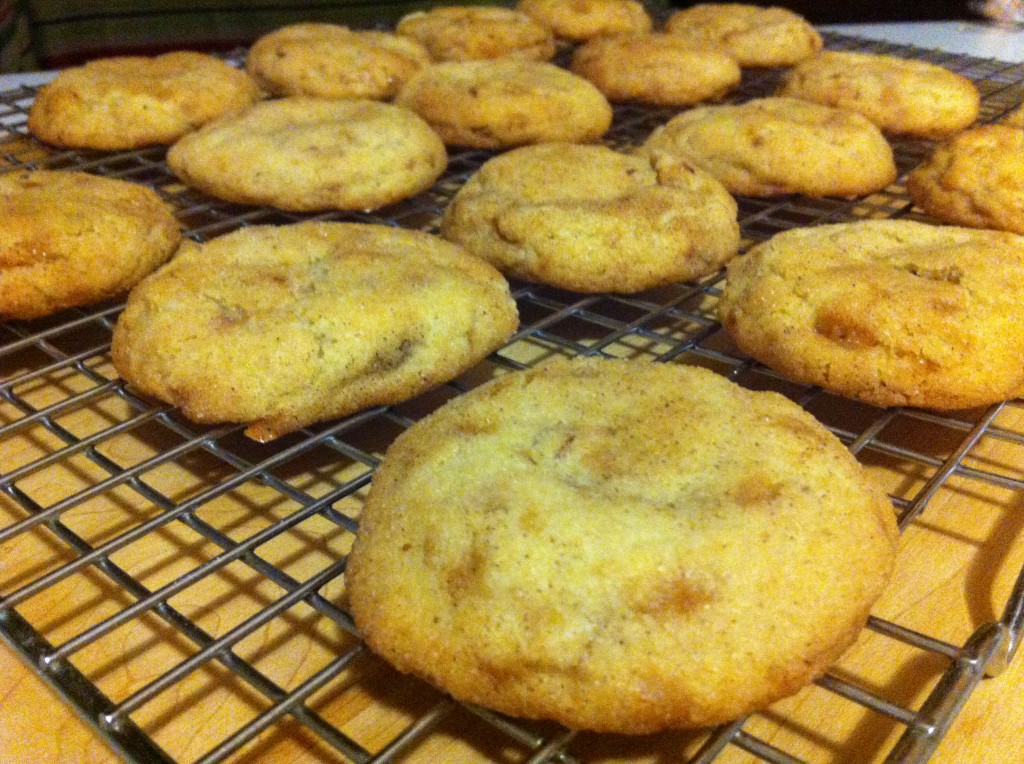
Bake in a preheated 375 degree oven for 9 to 10 minutes. Do not overbake. Bake just until the outside edge starts turing brown.
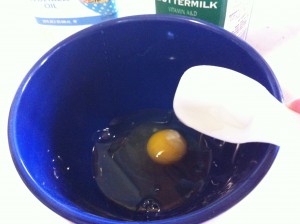
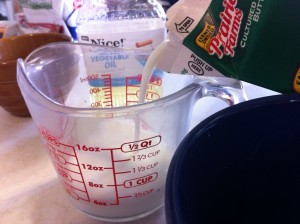
I ate one while the cookie was still warm right out of the oven….OH. MY.

I told the Super Hero to try one. OOOPS….I forgot the Super Hero does not like nuts.

This means only two thing.

It means that I will have to make a batch without the nuts for him.

AND it means more cookies for me.

My BAD.

Here is  your recipe;

Praline Snickerdoodles

Adapted from Better Home and Garden

Ingredients:

1 cup soften butter

1 and 1/2 cup sugar

1 teaspoon cream of tartar

1 teaspoon baking soda

1/4 teaspoon salt

2 eggs

1 teaspoon vanilla

3 cups all purpose flour

1 cup almond toffee bits

1/2 cups chopped pecans

Cinnamon Sugar Topping

1/4 cup sugar

1 teaspoon cinnamon

Directions:

In a large mixing bowl cream the soften butter. Add the sugar and cream together. Add the cream of tartar, baking soda and salt. Beat until combined. Be sure and scrap the bowl down several tims. Beat in the eggs and vanilla until combined.

Add the flour, chopped pecans and toffee bits to the creamed butter and sugar mixture. Mix in the dry ingredients with the mixer until all the ingredients are combined. Do not over mix.

Chill the dough for one hour.

Preheat the oven to 375 degrees.

While the dough is chilling, make the cinnamon sugar coating. In a small bowl stir together the sugar and cinnamon.

When the dough is chilled, scoop out 2 inch balls of dough and roll each one in the cinnamon sugar mixture to coat.

Place on a parchment lined cookie sheet and bake for  9 to 10 minutes until the edge just starts to turn brown. Do not over bake.

Cool on a cooling rack.

Makes 2 dozen cookies.

Enjoy!

Becky

Here is some post you may enjoy reading : D

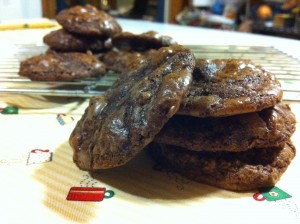
Buttermilk Chocolate Cookies

Grocery Budget Update

Whew where has the time gone?

I have not posted a budget update in three weeks.

You might have remembered me mentioning I was pretty sick for a couple of weeks with a pretty bad sinus infection.

That was when the blur started.

Yes, the blur.

The blur is when your life just goes by in a big blur.

I not sure what I did, what I bought and where I went.

I know I manage to go to work and to my part time tutoring job. The house is not burnt down, so I am assuming I turned off the oven. If I cooked. I don’t remember cooking too much.

Anywho, I did go back through my bank account to see exactly what I did buy and try to make some sense as to where I am in my grocery budget.

So, let’s see if we can figure it out.

On March 24th I had $320.61 in my budget.

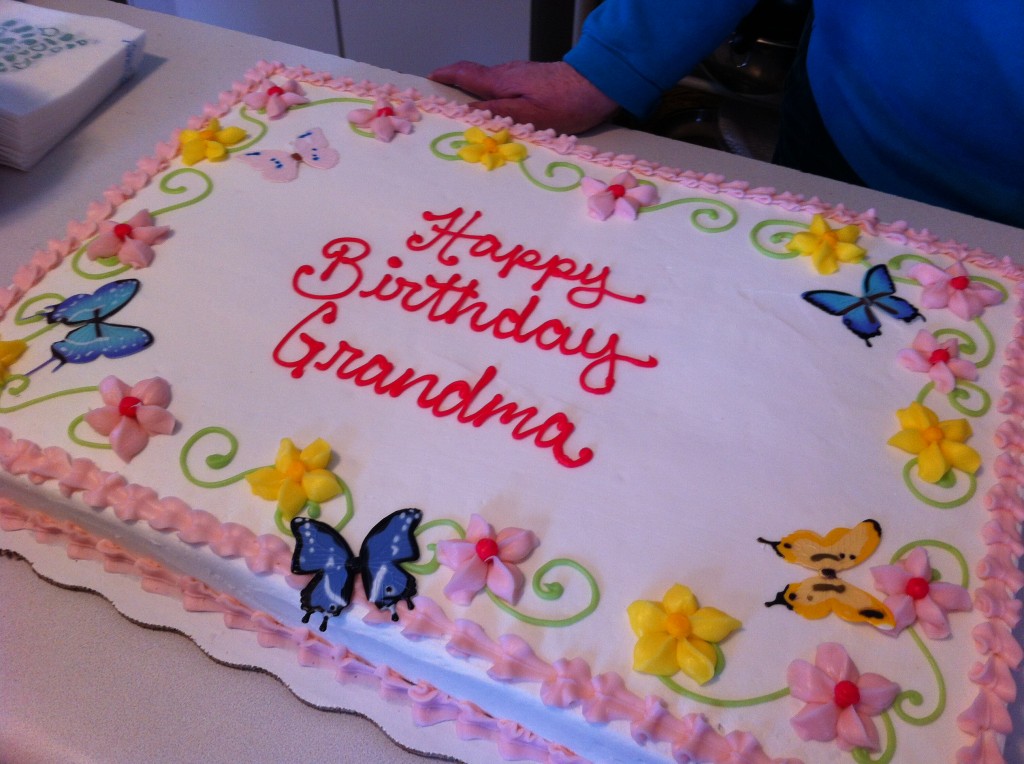
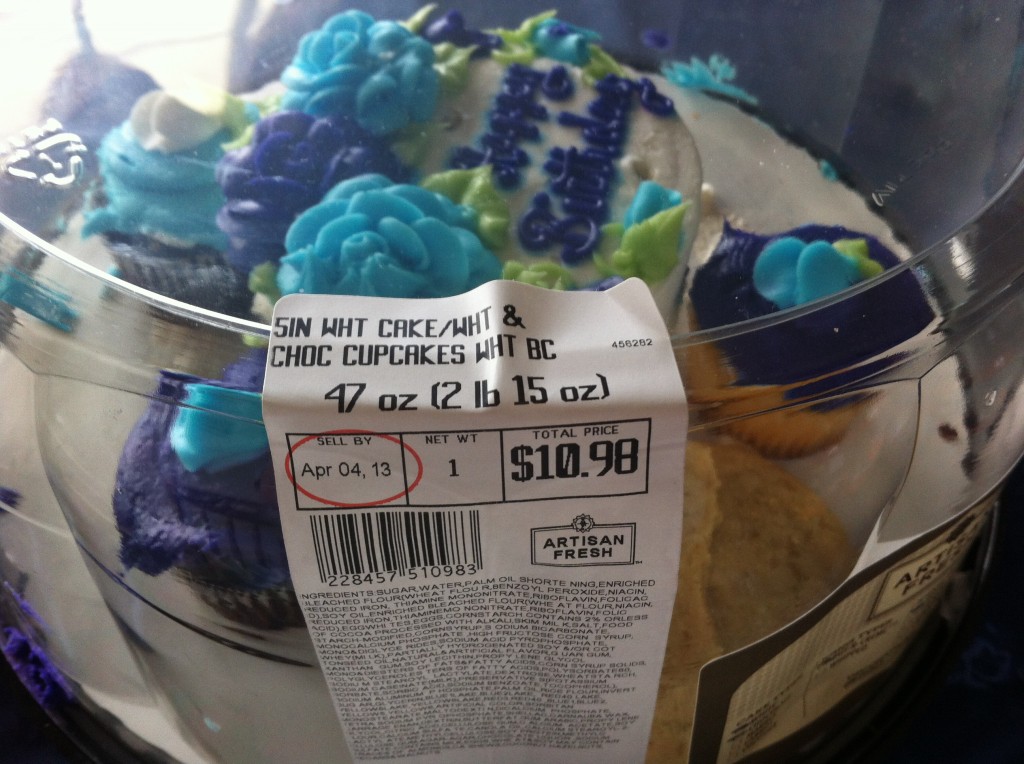
I bought two birthday cakes and some potato salad and coleslaw for Easter and birthdays.

I spent a total of $60.49

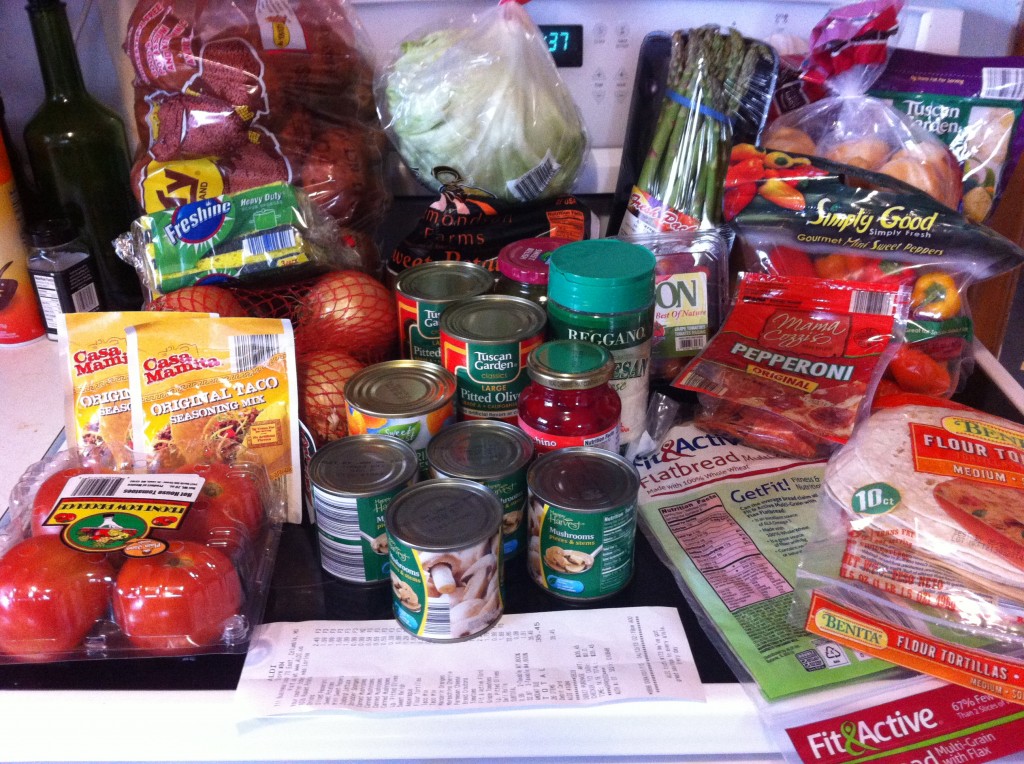
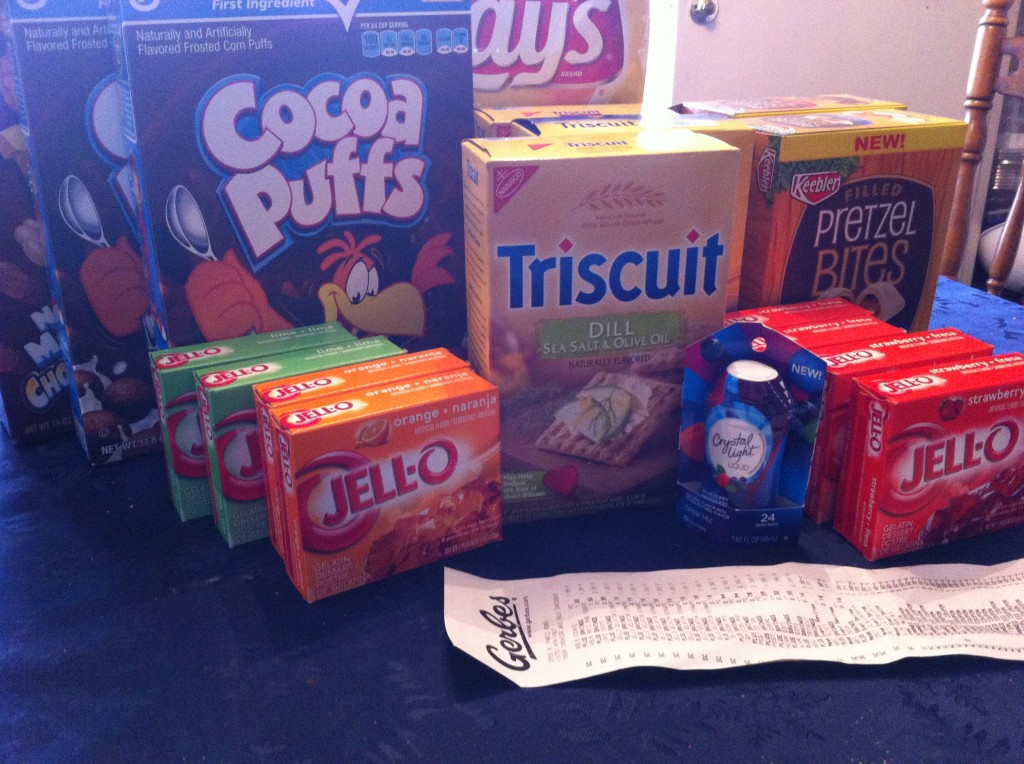
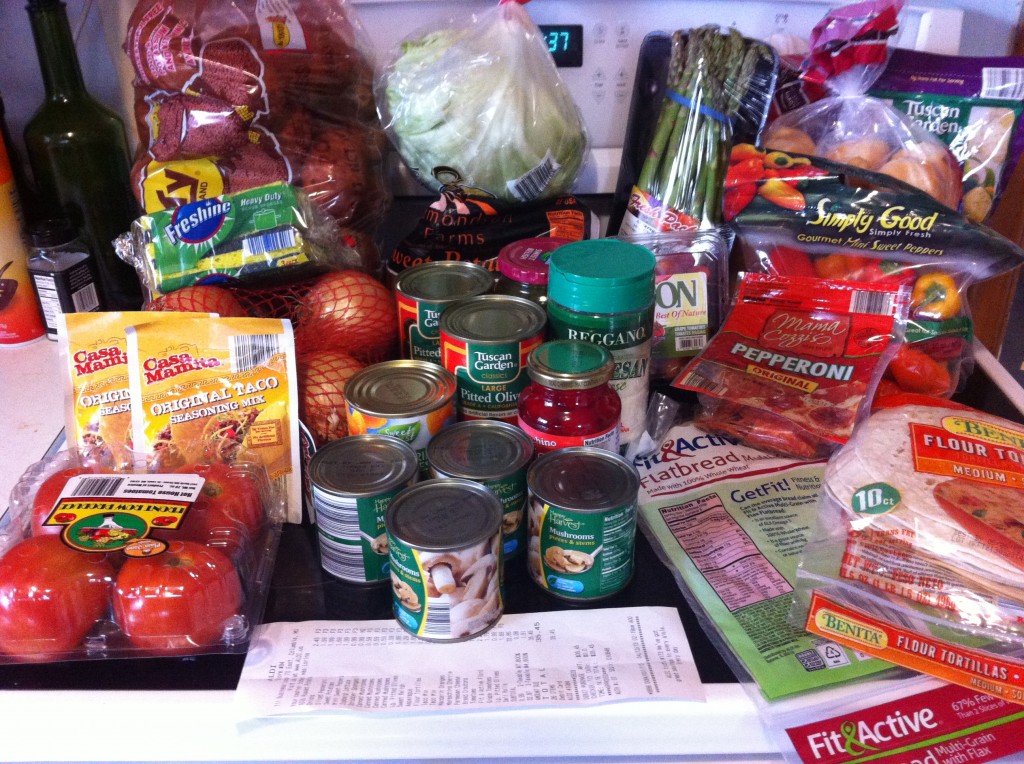
I had several purchases from Gerbes. This is a partial picture of what I bought. (I ate one box of cereal and the free gallon of milk I got free when I bought 4 boxes of cereal.) It is also missing some potato chip dip and a couple of packages of the new Crystal Light liquid water flavoring. (I used it up too while I was at school).

Here are my purchases:

$21.97

$6.93

$14.04

$8.02

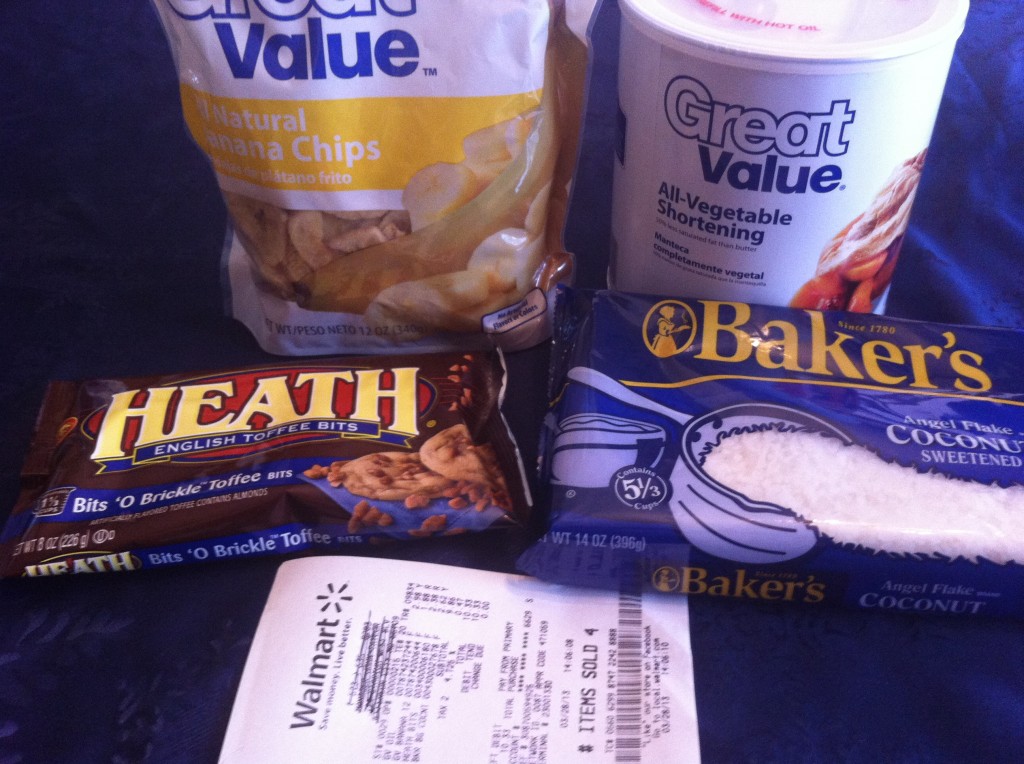
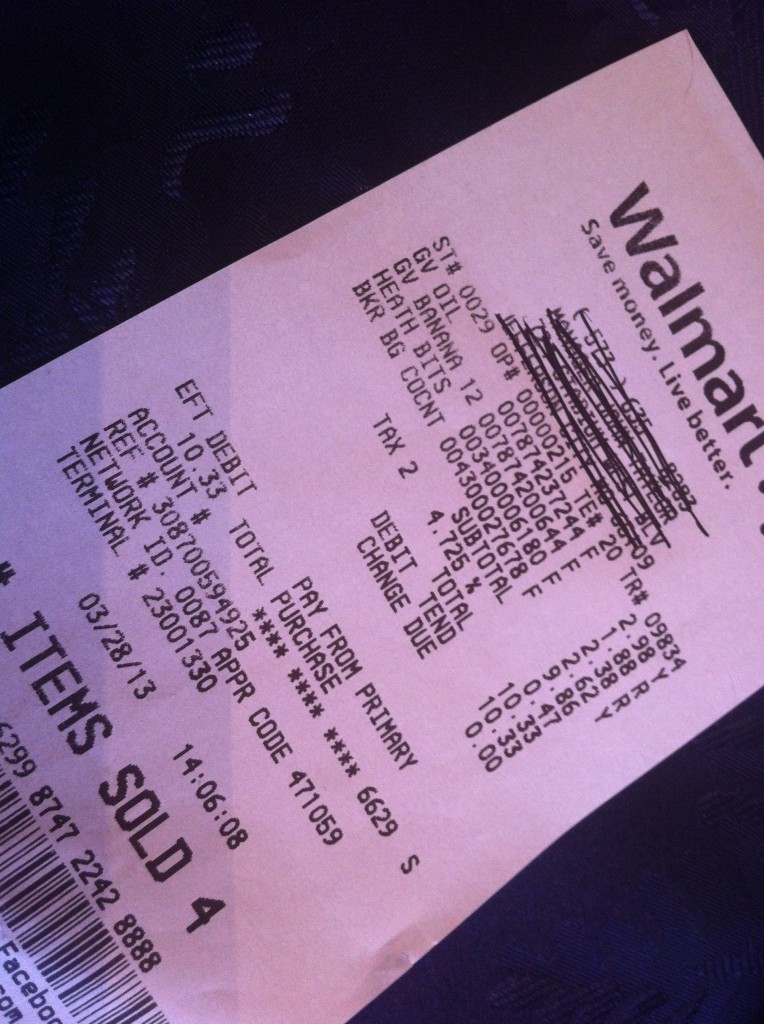
Here is my shopping trip to Walmart for $10.33

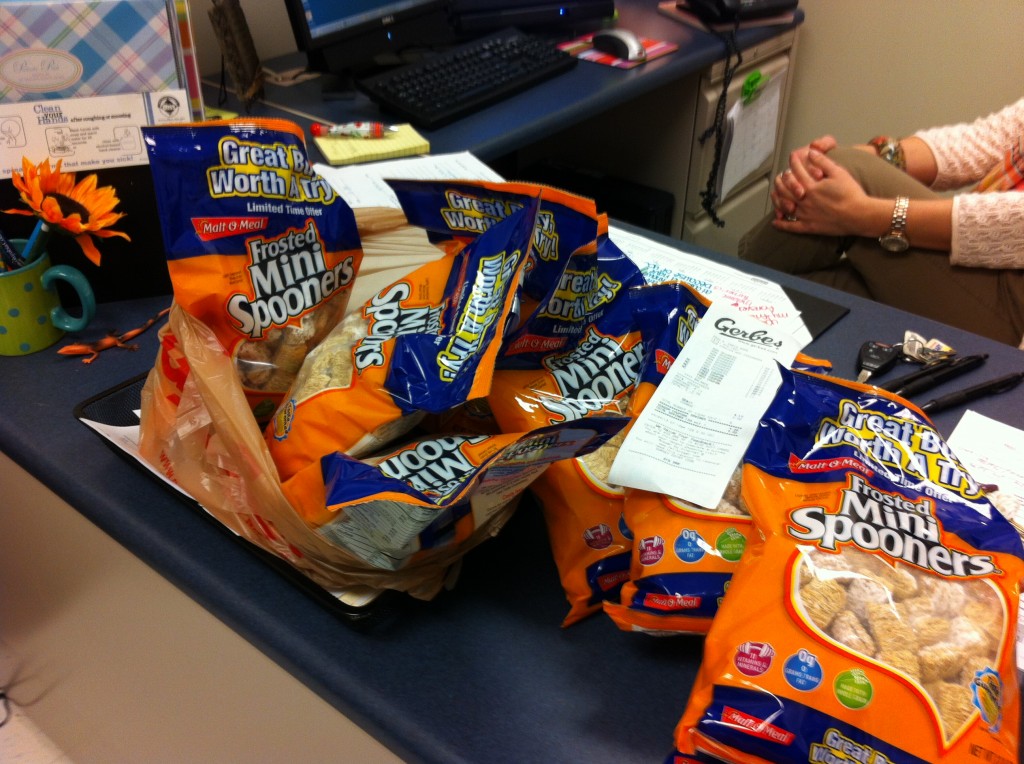
Here is a little shopping trip to Gerbes. I bought these cereals for .50 cents a bag with BOGO coupons when the cereal was on sale for $1.00. I donated the 6 bags to the nurses office for snacks to very hungry students.

$3. 24

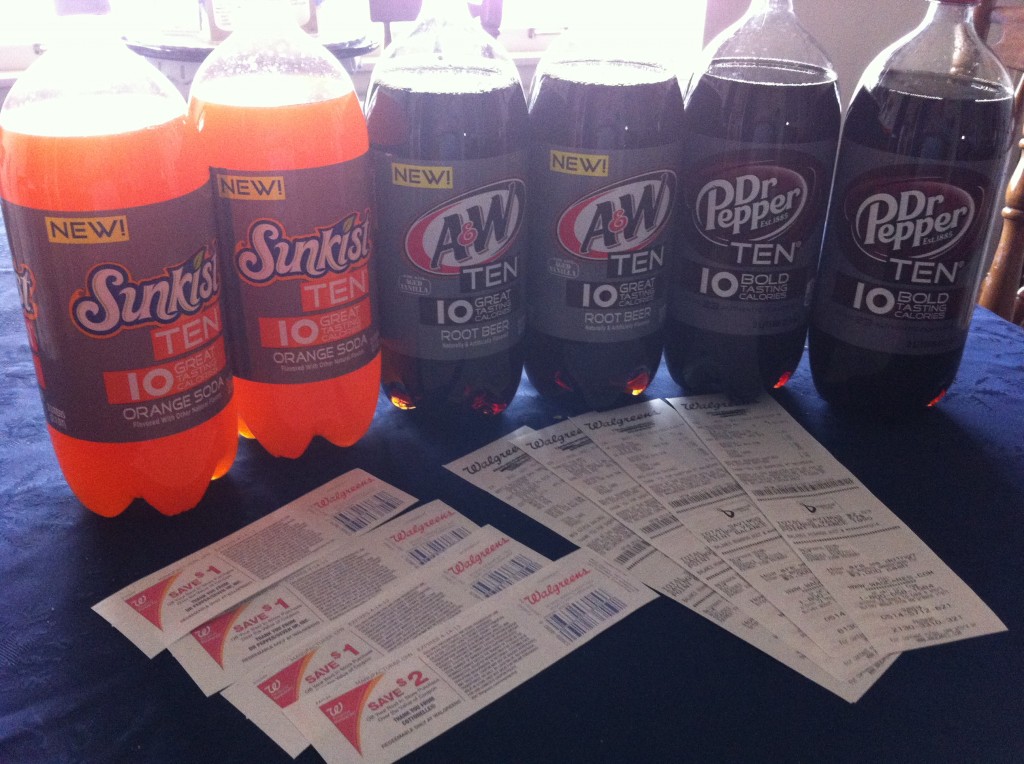
I bought this soda at Walgreens and got back $5.00 in register rewards. So soda ended up being around .25 cents a two liter bottle.

Walgreens:

$1.23.

$1.51

$1.30

Yesterday, I went to Aldis to get some salad and sandwich stuff


I did not have too much time to coupon this weekend because I was working on Oldest Grand girl a costume for her Choir concert later this week. Aldi’s is a great place to pick up essentials when you do don’t have time to cut coupons.

I spent $36.33 there.

I think that is it!!!

So lets see.

I started with $320.61

I spent a total of $165.39

On March 31 and on April 7th and 14th I could add $75.00 for each week.

So when I add my weekly budget and subtract what I spent my new total is $380.22

I am very thankful that my oldest daughter who does not cook bought a bunch of veggies, fruit, hamburger, some deli meat and a couple of rotisserie chickens while I was sick. I am sure my total would be a lot less if she had not jumped in.

I think I am pretty much on the mend.

Right now, just computer screen  is a blur……cause I don’t have my reading glasses on. : D Minerva if you are reading this, I am really trying to spell all my words right hehe.

How is your couponing going? Have you found any great deals out there?

Monday starts a new week of bargains!

Becky


Gardening Update


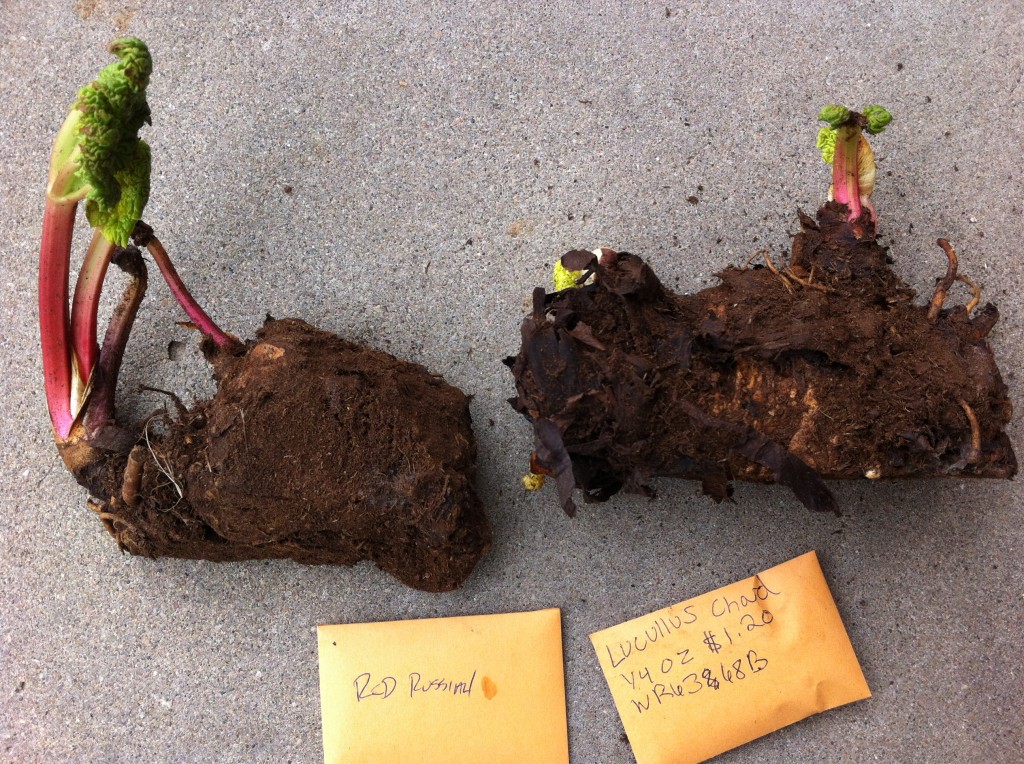
Guess what I bought a couple of weeks ago?

Does anyone out there recognise the green leafy and rooty plant?

It is really edible…I promise.

Have you heard of rhubarb?

Does strawberry rhubarb pie sound familiar?

Well anywho, even though I am a (somewhat) country gal I really do not remember eating rhubarb pie growing up. I think it is because I loved eating apple pie so much. After a couple of large slices of apple why would I want to eat some pie with a weird name like rhubarb in it….right???

I was wrong.

Yes, I will own it!

The first time I introduced my taste buds to rhubarb was in college. My foods teacher (yes the scary one) had us make a rhubarb spread for our biscuits. I feel in love with the tartness of the rhubarb stalks. I thought it was so amazing that you could cut the little stalks into chunks and cook them down with sugar and make this combination of sweet and tartness into a  spread for your biscuits or bread in 30 minutes.

Since then I have only made that spread a few times because I can’t find rhubarb stalks.

This year I decided to plant my own.

It only took me two weeks to find someplace local where I could buy the roots. I had to pay almost $8.00 for each chunk of roots.

Was that too much money???

I was told by local farmers that you usually can get the roots from a friend when they divide up their plants for free.

That is great when you have friends that have rhubarb growing in their garden. My friends perfer to plant things like tulips, iris, lilies and roses.

So, I went on a mission to find some rhubarb. I was at a point I would pay what ever price the store wanted.

Yes, I am crazy sometimes.

Anywho, I bought my rhubarb and dug two holes and planted them right in my  flower bed.

Yep, they are planted next to my iris, lilies, cone flowers and a few weeds too.

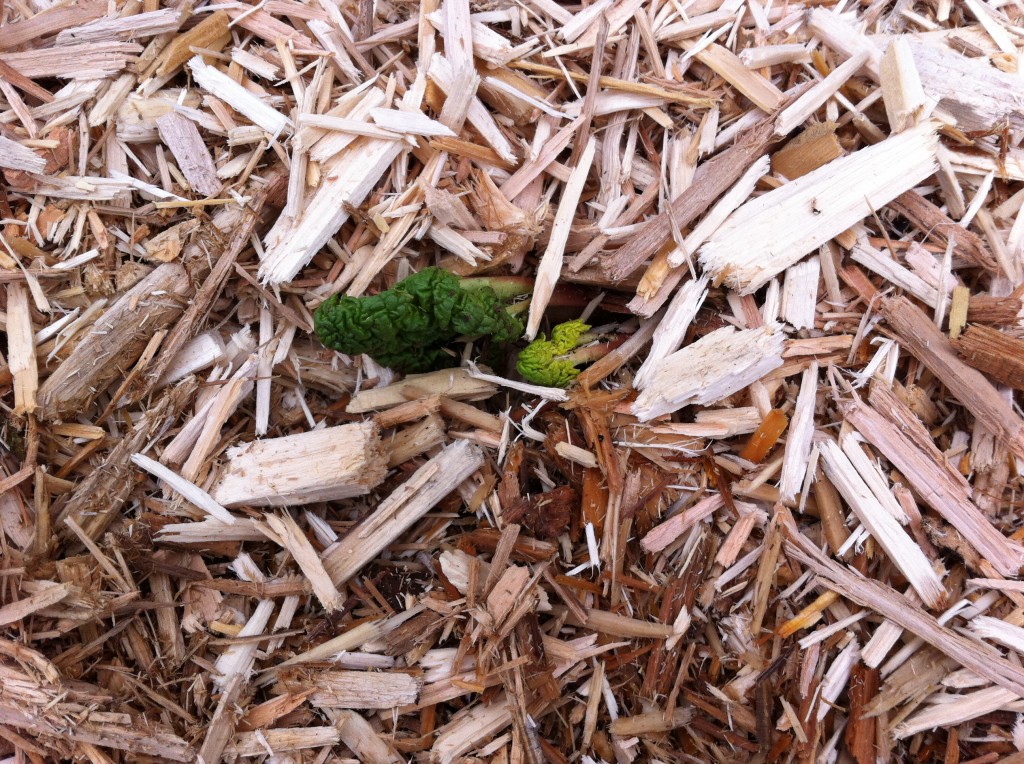
Here they are all snug as a rug with a nice layer of mulch.

They will grow there for two years before I can cut the stalks to make into jam or a nice big pie.

So, it looks like I will have to try to find some stalks this year to make some tangy spread.

Or find myself a farmer friend who will give me some.

Do you know one?

I don’t either : D

What have you planted so far this year?

 With all the snow I am a few weeks late in planting anything except my garlic (I planted way back in Dec) and my rhubarb. I have a bunch of seedling in the house that is just waiting to get outdoors.

I will have to show you pictures of all my little seedling and big seedlings this weekend.

Tomorrow is Friday…whohoo!!!

The weekend is almost here.

Becky


Going Bananas

We love to eat bananas at our house.

I bet you do too.

But sometimes you can’t eat them all before they start turning a little brown. Right?

What may not be so great for snacking, a over ripe banana is great for cooking.

I wanted to make some kind of goodie goodness for my baby college girl when she came home for her birthday, while making enough to make into a couple of little goodie boxes for a couple of wonderful ladies at school. These two ladies  helped so much with furneral of our custodian at school when he passed away. You can read my little dedication to him here.

When I saw how many bananas I had that I needed to make into something, I started thinking of different ways to use them up instead of making the traditional banana bread.

Remember those Chocolate Shortbread Blondies with Macaroons that I made a couple of weeks ago? Well anywho, in that same magazine there was this recipe for banana bars.

MMMMM…..that sounds good.

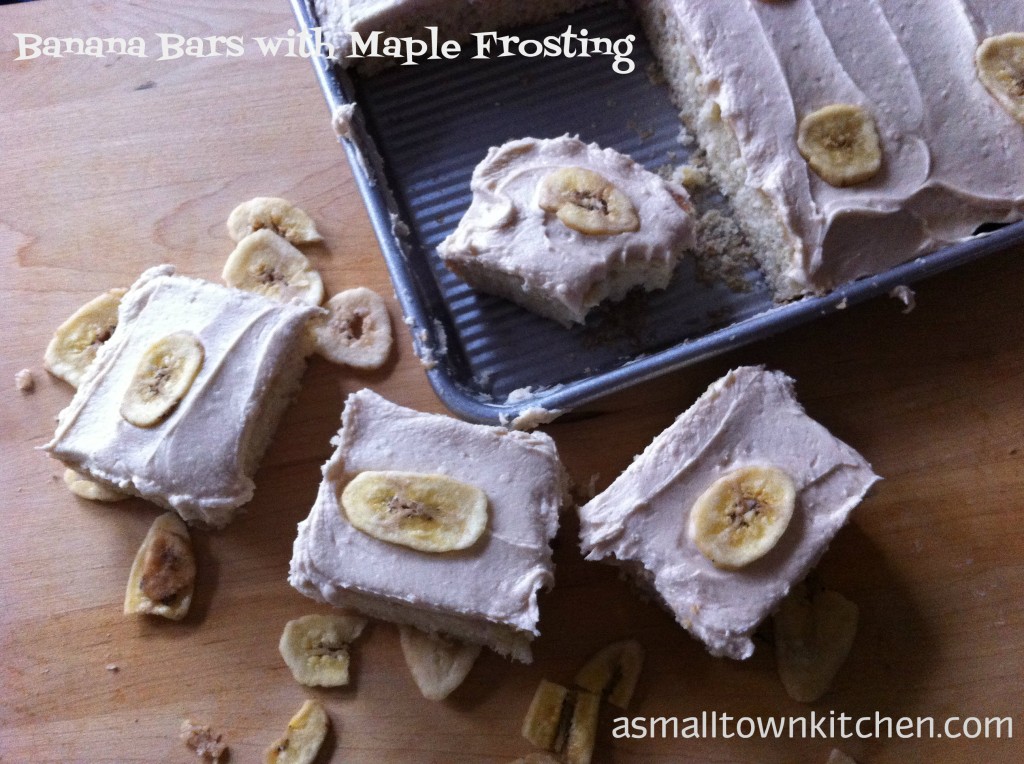
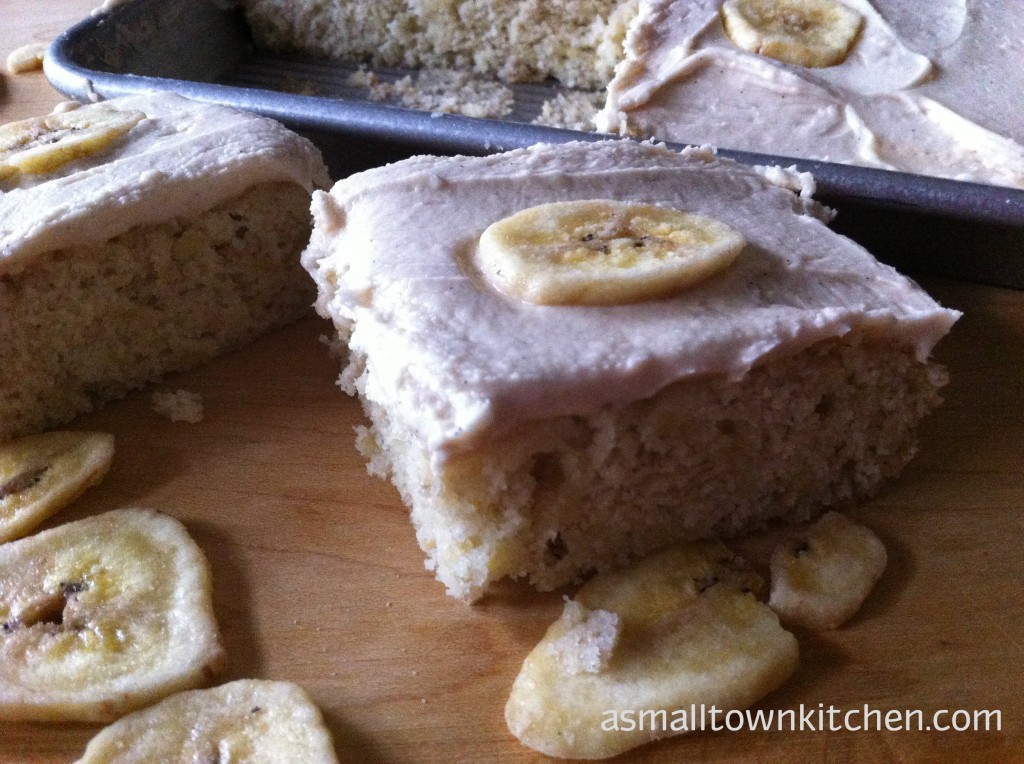
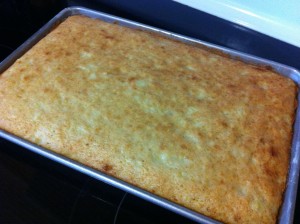
I looked the recipe over and decided to change it up a bit and came up with a Banana Bar with Maple Frosting. This recipe will drive your taste buds bananas with it’s smack your lips maple icing and the perfectly moist banana bar it sits on.

You can make these up in a jiffy. They cut into perfect bars which makes them great for gifts boxes or to take to that potluck supper when you don’t know what to make.

Here are your step by step instructions.

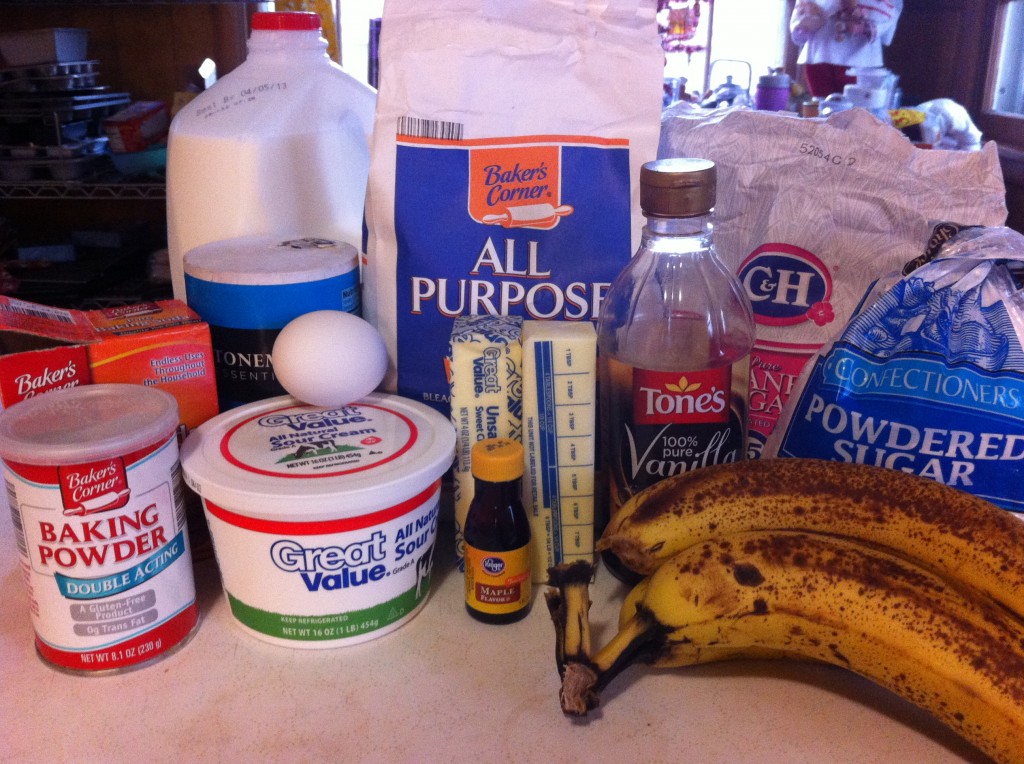
This is all you need to make these bananalicious bars.


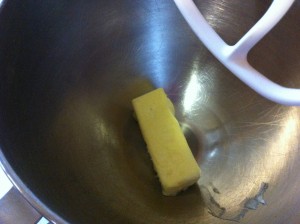
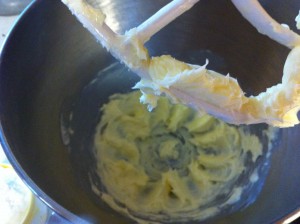
Put the stick of butter into a mixer bowl and cream.


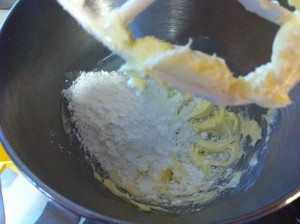
Add the sugar and the baking powder.


Add the baking soda. Cream together the butter, sugar, baking powder and baking soda.


Add the smashed bananas and the eggs That is grand girl putting in the eggs. She loves to crack the eggs.


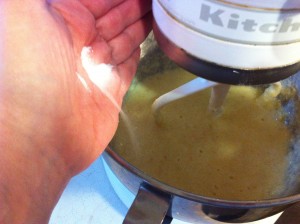
Add the sour cream and the vanilla. I forgot to add the salt earlier so I had to add it now. OOPS….nobody is perfect : D   Cream all the wet ingredients together.


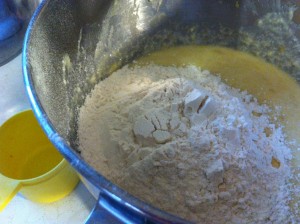
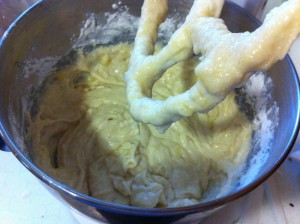
Add the flour and mix with the wet ingredients until just mixed together.

Now it is time to get your pan ready.

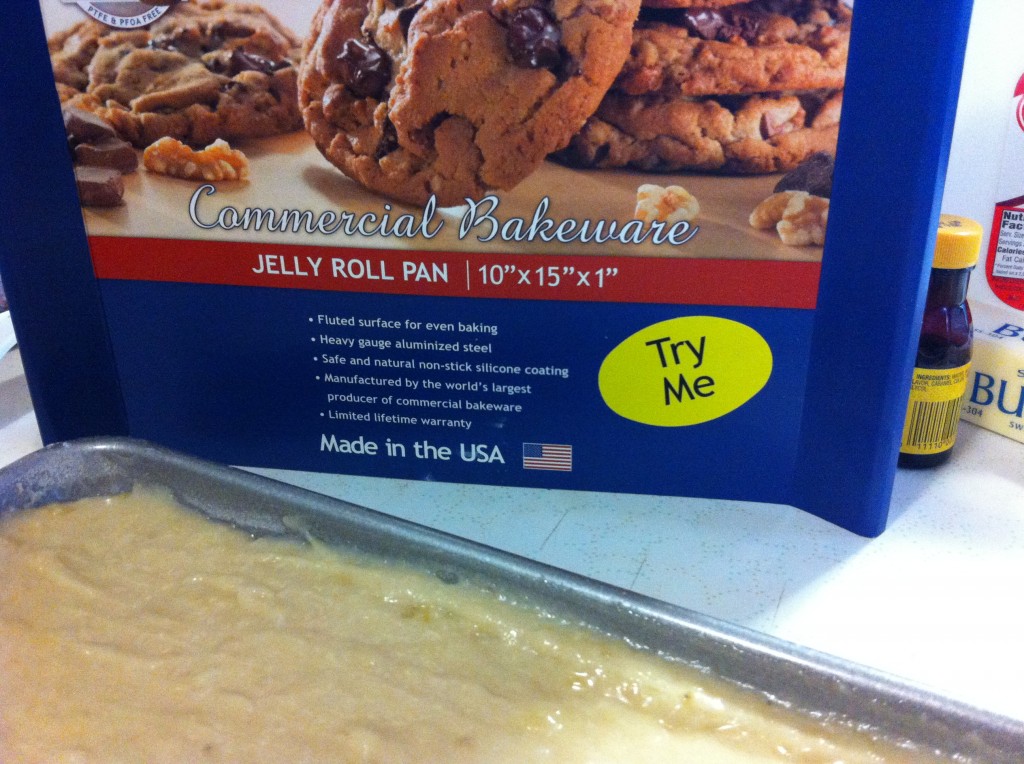
I bought a new pan for these bars….but you do not have too.  I found this cute pan at Bed Bath and Beyond for a try me price of $9.99

I was really looking for a new jelly roll pan and found this smaller pan and I thought I would try it out. It worked great!!


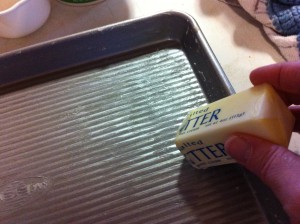
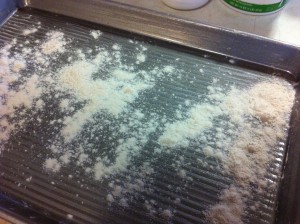
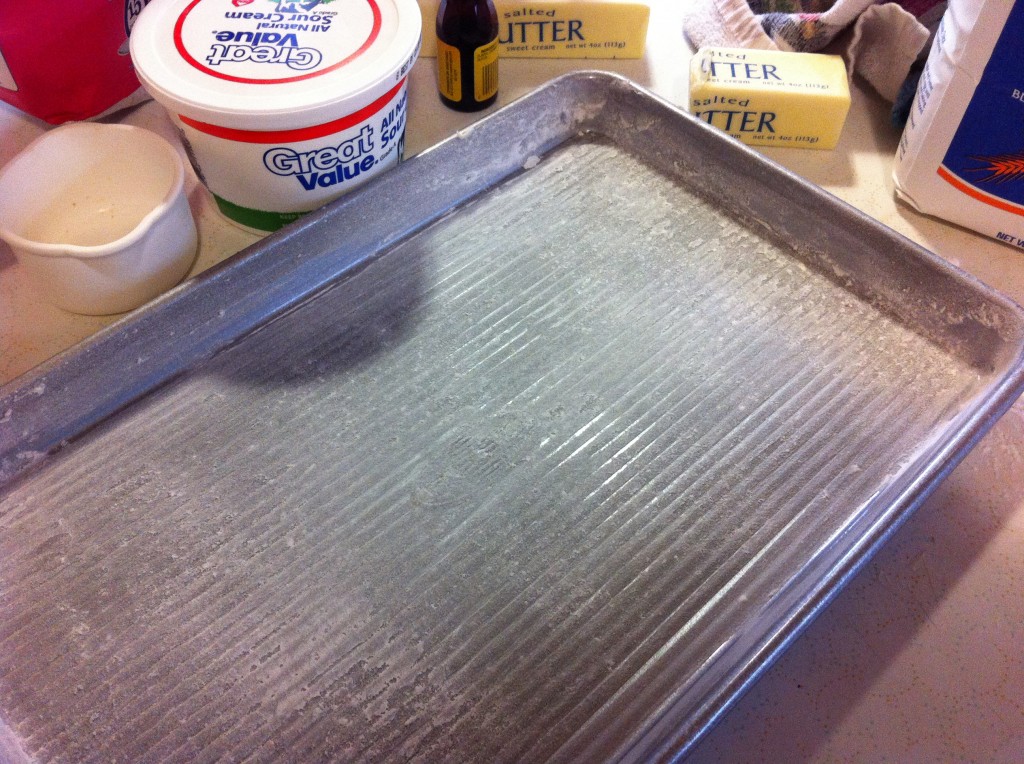
One thing that good pans mention is that even though they can go into the dishwasher they recommend that you wash them by hand so you do not get a residue on them. They also recommend that you do not use cooking spray but instead grease your pan the traditional way but using butter or Crisco and put a thin layer on the pan. The you coat the pan with a thin layer of flour.

This is how great cooks have been doing it for years….so why use cooking spray that can gum up on  your pan?


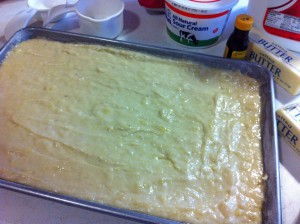
Pour batter into pan and bake at 350 degrees until a toothpick comes out clean.

While it cools, it is time to make the yummy maple frosting.


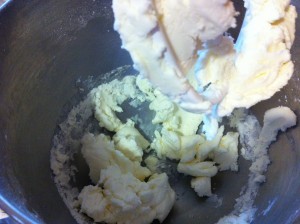
Put the soften butter into a mixer bowl and cream until smooth.


Add 3 cups of powdered sugar and beat in.


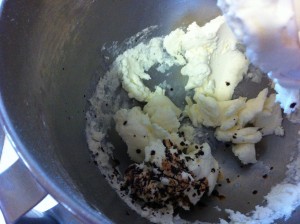
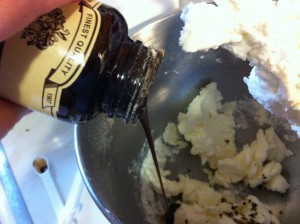
Add in maple flavoring and vanilla.

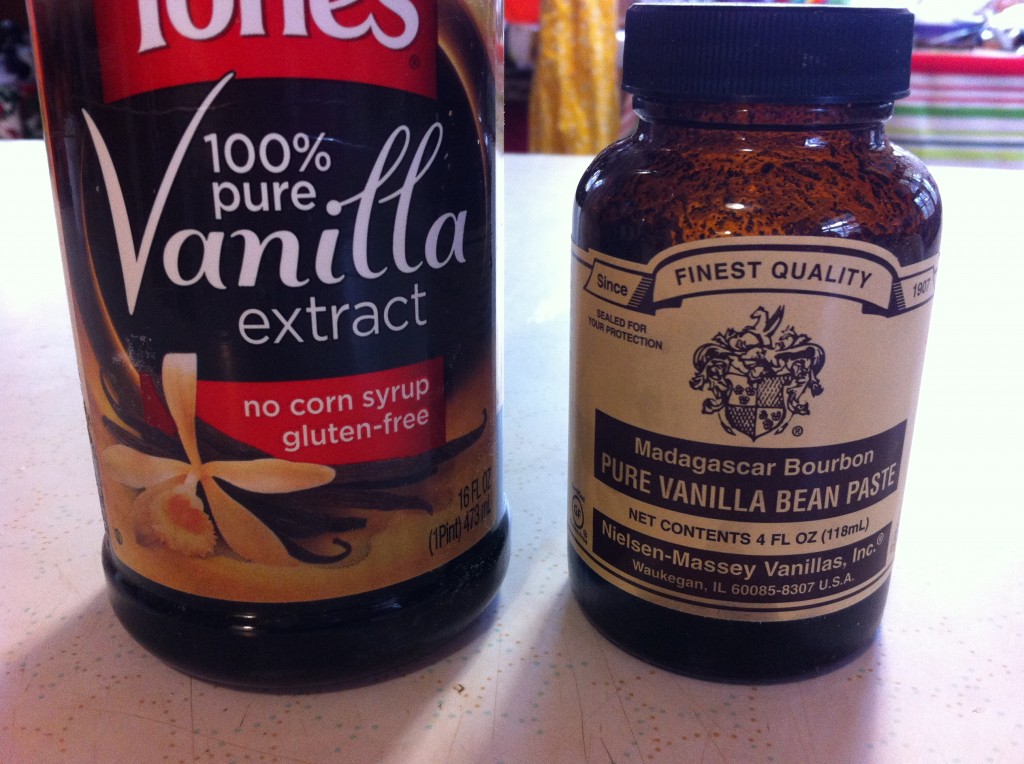
I love using real vanilla. The only thing I love more is using pure vanilla bean paste. I love this stuff and will often use it in icing when I want a more intense flavor. And, of course I love those little specks of vanilla beans you get to see. You can use either one and this icing will turn out just fine.


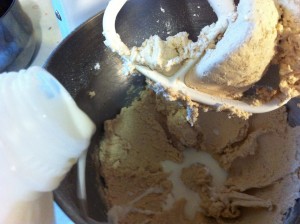
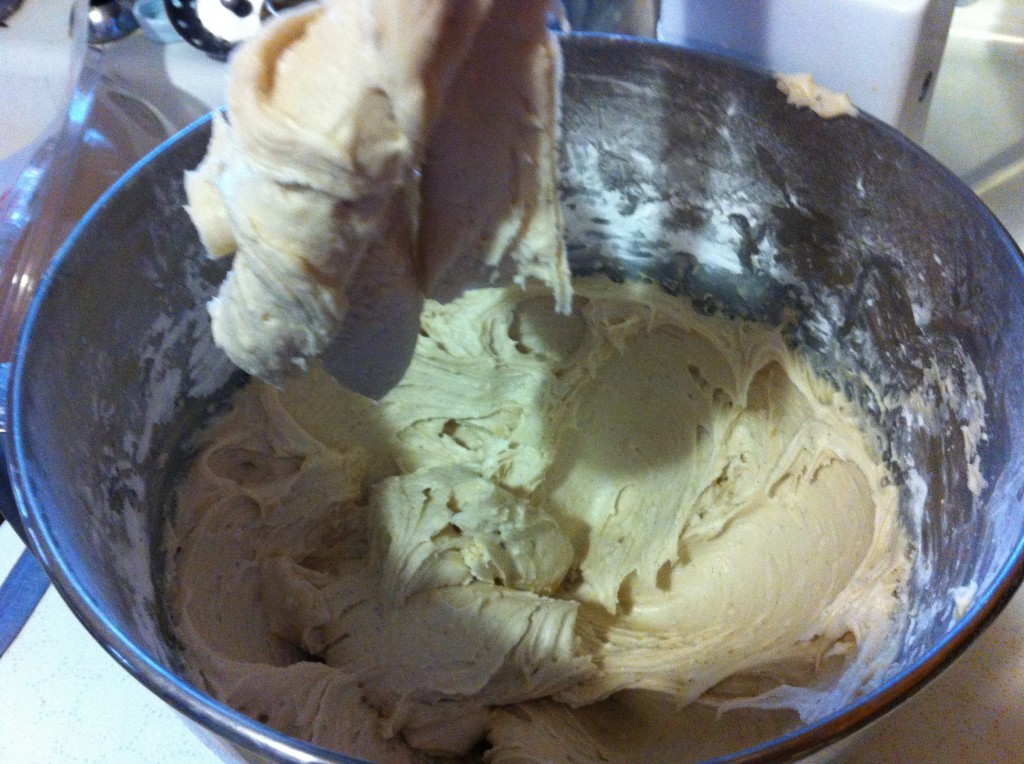
Add another 3 cups of powdered sugar and enough milk to make reach a spreading consistency.

This looks perfect. It taste perfect too.

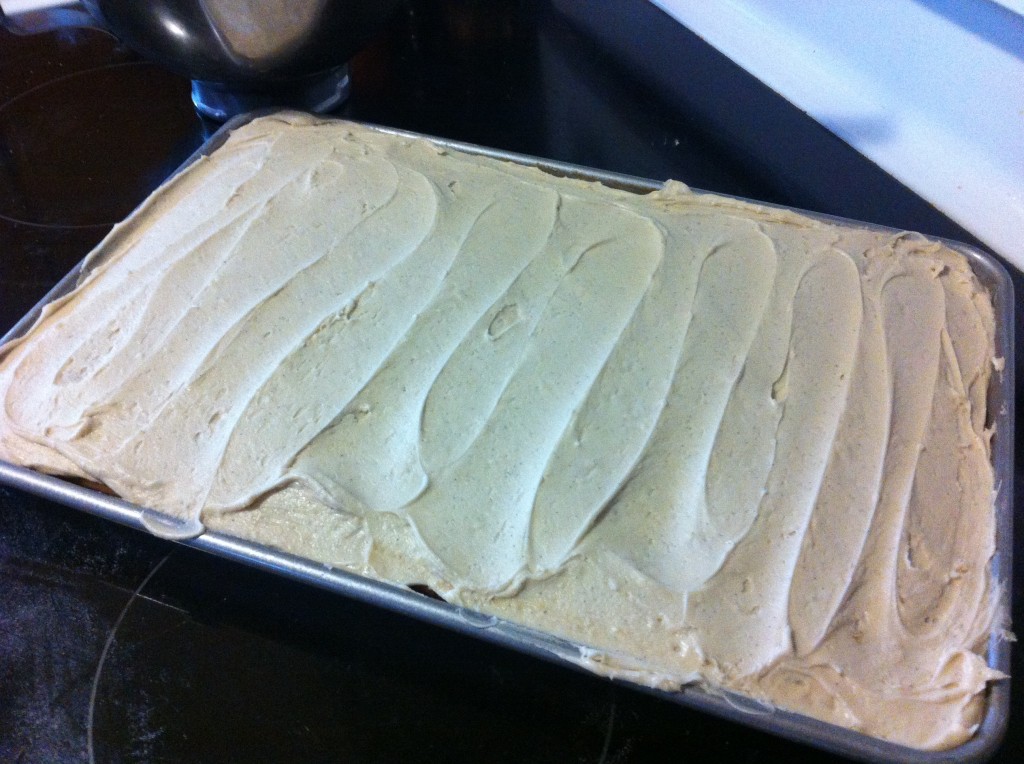
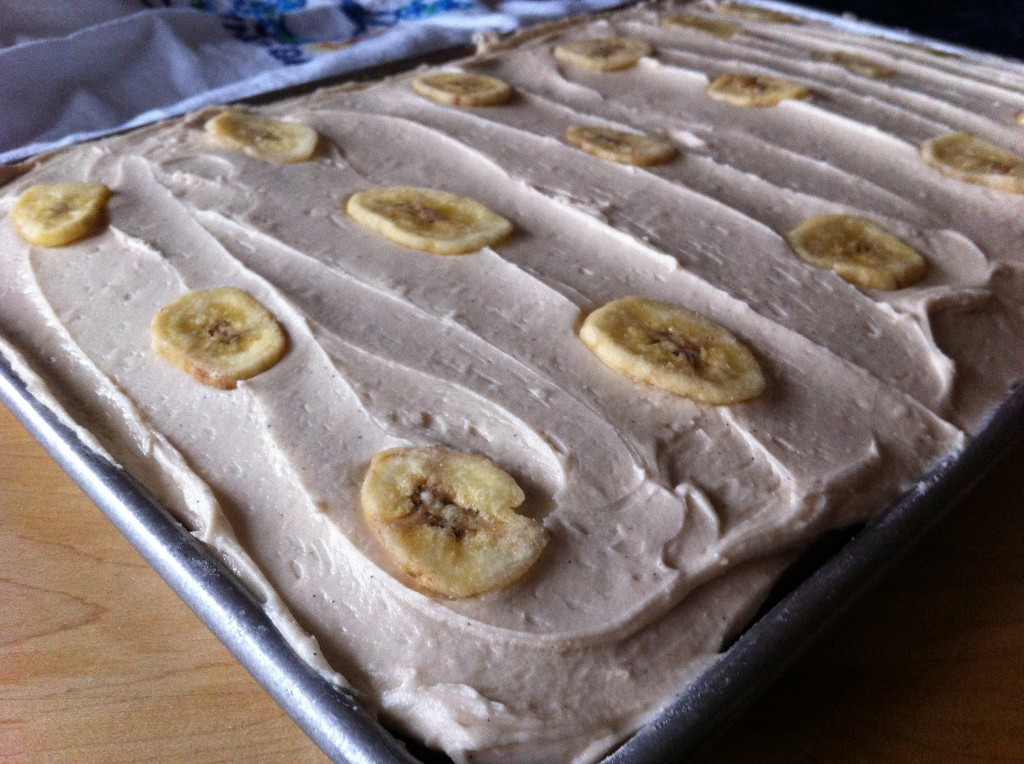
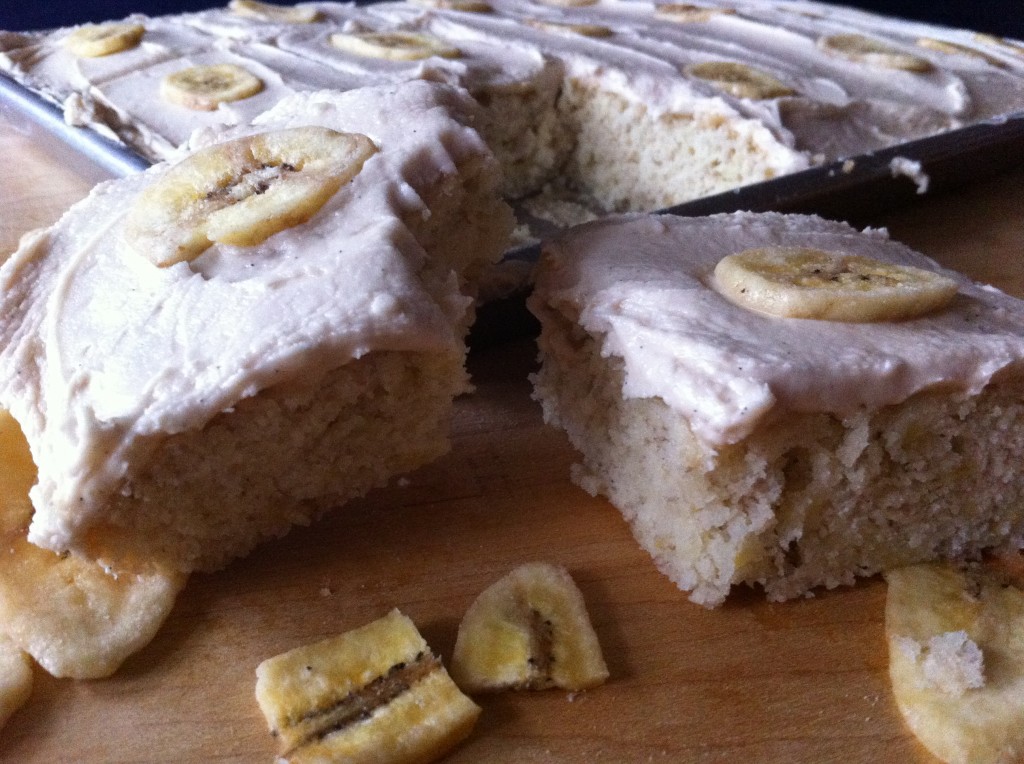
Spread frosting over the cooled bars.

Decorate with dried banana chips.

See how easy they are to make? Your family will go bananas over this recipe.

I hope you do too!

Enjoy,

Becky

Here is your recipe:

Banana Bas with Maple Frosting

Adapted from Better Homes and Garden

Ingredients for Banana Bars:

1/2 cup of butter, softened

1 and 1/3 cups of sugar

1 and 1/2 teaspoons baking powder

1/2 teaspoon baking soda

1/4 teaspoon salt

1 egg

1 and 1/3 cup mashed bananas (about 3 medium bananas)

1/2 cup sour cream

1 teaspoon vanilla

2 cups of all purpose flour

Ingredients for Maple Frosting:

1/3 cup of softened butter

6 cups of posdered sugar

2 teaspoons vanilla

1/2 te aspoon maple flavoring

enough milk to make the frosting reach a spreading consisitency

Banana Chips are optional

Directions:

Preheat your oven to 350 degrees. Grease a 15 x 10 x 1 inch baking pan.

In a large mixing bowl beat butter with an electric mixer. Add the sugar, baking powder, baking soda and salt. Beat until ingredients are combined. Add the egg, mashed bananas, sour cream and vanilla until all the ingredients are mixed together. Mix in the flour until it is mixed in without over mixing it.

Pour batter into prepared pan. Spread evenly. Bake for about 25 minutes or until a toothpick comes out clean.

Cool.

While the bars cool, make the frosting.

In a mixing bowl beat butter until smooth. Add 3 cups of powdered sugar, beating well. Beat in vanilla and maple flavoring. Gradually beat in the remaining 3 cups of powdered sugar. Add enough milk to have the frosting reach a spreading consistency.

Spread frosting on cooled bars. Decorate with banana chips if your desire.


Related Posts Plugin for WordPress, Blogger...