The Princess’s Birthday is Today

Today is my Mom,”The Princess,” Birthday. Can you guess which Mom pictured above is my real Mom? I probably have forgotten to tell you that my Mom is an identical twin. So, I really grew up with two Moms. They are affectionately called by the family as, ” The Twins.” I took this picture of the two of them together at the Christmas party at The Old Home Place back in December. You can read about our fun day here at Christmas at The Old Home  Place. 

Anywho….today is both My Mom’s birthday.

Take a guess and see if you can guess the correct Princess.

Whew, this has been a busy week of birthdays. First I had Oldest Daughter, then Baby College Girl and now the Princess.

Good thing I love birthday cake.

Have a great Saturday!

Be on the look out for a bunny running around giving out chocolate tomorrow!

I am hoping the bunny stops here, I am all out of my chocolate marshmallow eggs.

Becky

Another post about my family you might enjoy.

The Stocking Tradition Continues

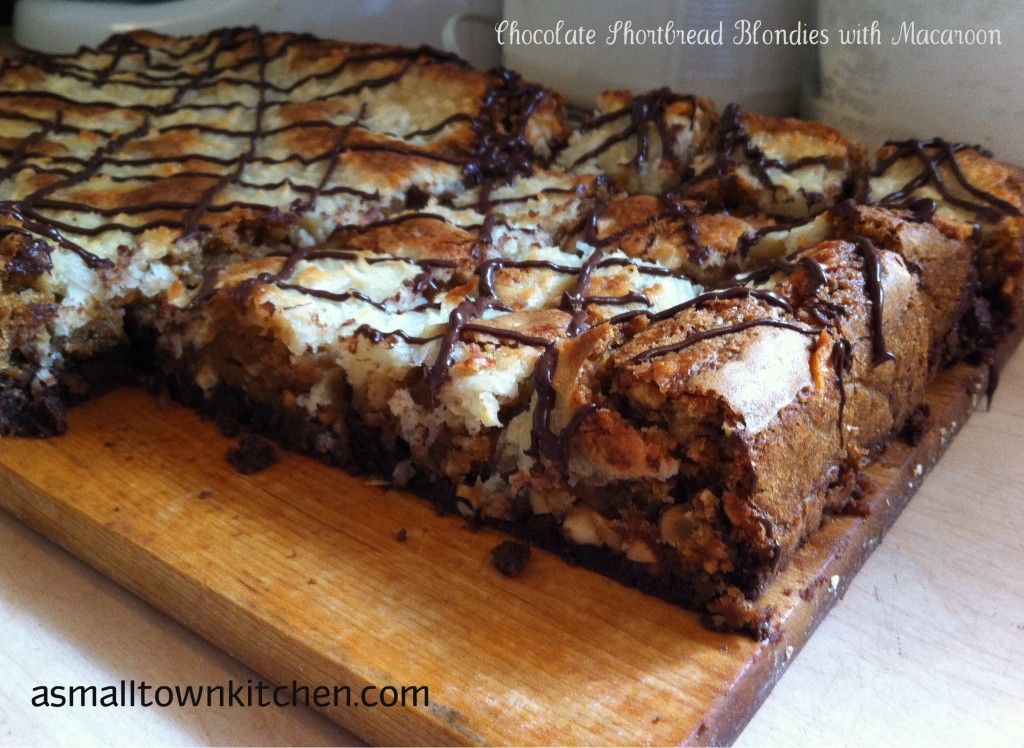
Chocolate Shortbread Blondies with Macaroon

Don’t you love it when you buy a new recipe magazine and you can not decide which recipe to make from it?

That was my problem last night.

A few weeks ago I bought this Better Homes and Garden magazine on Brownies and Bars.

The pictures are so gorgous, you’ll want to rip out the page, crumble it up and put it in your mouth for a taste.

But don’t. You might eat the recipe.

Trust me I know.

Anywho, last night I was looking for a yummy recipe to make into little goodie boxes for my Mom the Princess, Neiner Weiner, Jeanie Beanie and PIC. I wanted to take a little chewy goodie to give them when I went up for a visit today.

After narrowing down the choices to three, I finally had to decide on the one that I had all the ingredients to.

So, I settled on making Chocolate Shortbread Blondies with Macaroon.

Whew….who came up with that name?

I would have just called them Knock Your Taste Buds Off and Bring Me A Glass of Milk Blondie.

Maybe, we should keep with the original name.

If you love chocolate. If you love peanuts. If you love coconut. If you love chewy, moist, lick your fingers clean, blondies, then you have to make these.  Allow yourself a couple of hours. They have a few steps to them, but I know you can do it! Just follow the step by step pictures to help you out. I made a couple of small mistakes, but they were easily corrected.
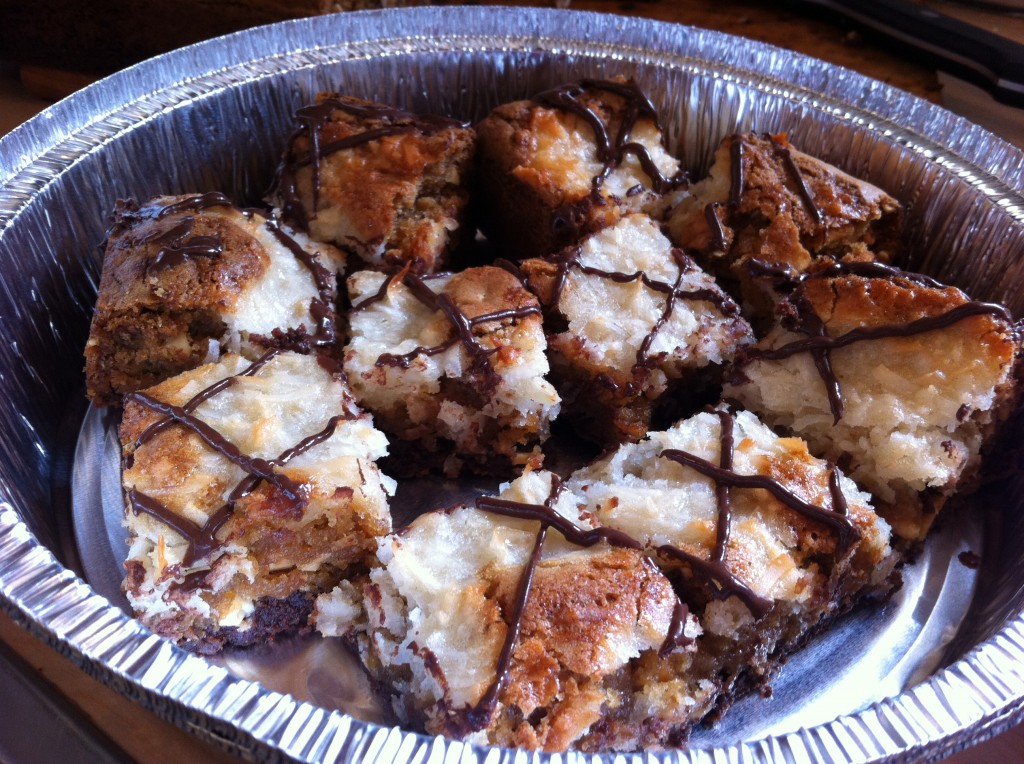
These are the little goodie tins I made for everyone. I bought the tins for 3 for $1.00 at the dollar store. They even came with a lid. Cool uh?

PIC took hers to her work and I don’t think she had any left by they time she left to go home.

If you need a recipe for a pot luck, office party, holiday dinner or pinic, these would be perfect.

Have a go and give them a try.

Here are your step by step instructions.
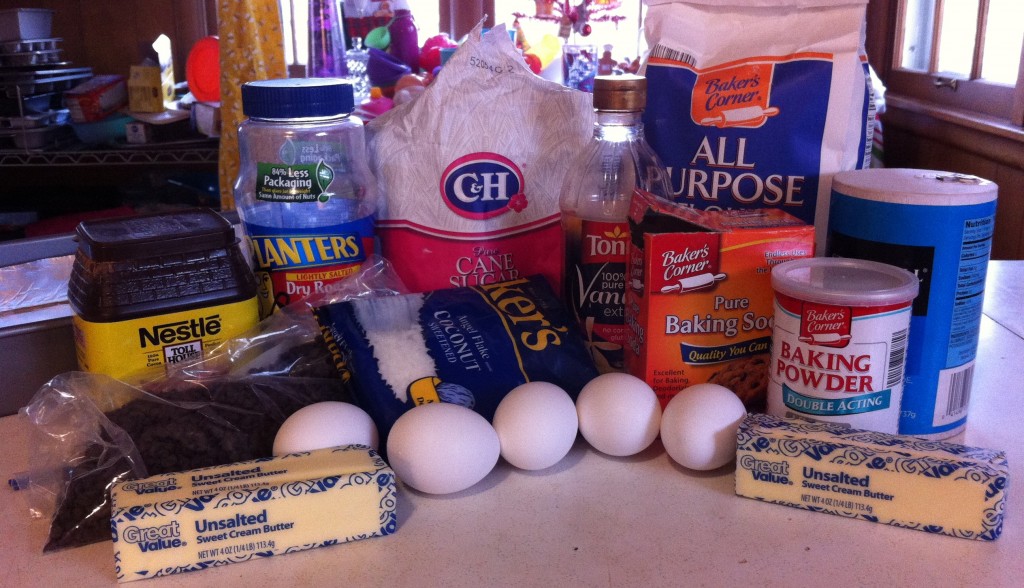
This is what you will need to make these sinfully delicious blondies. I forgot to put one more stick of butter in the picture. I can’t count sometimes.

The first thing you will make will be the crust on the bottom.
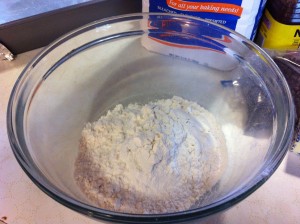
    

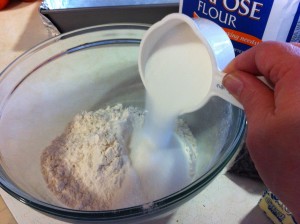
Add the flour and the sugar into a medium bowl.
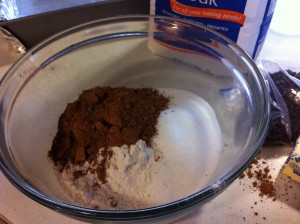
    

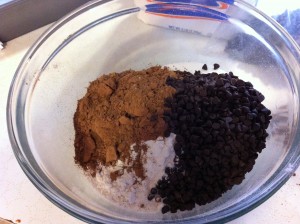
Add the cocoa and the miniature chocolate chips to the flour and the sugar.
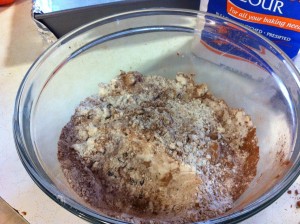
    

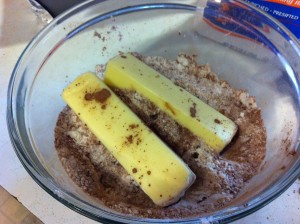
Stir the flour mixture together and add 2 sticks of butter.
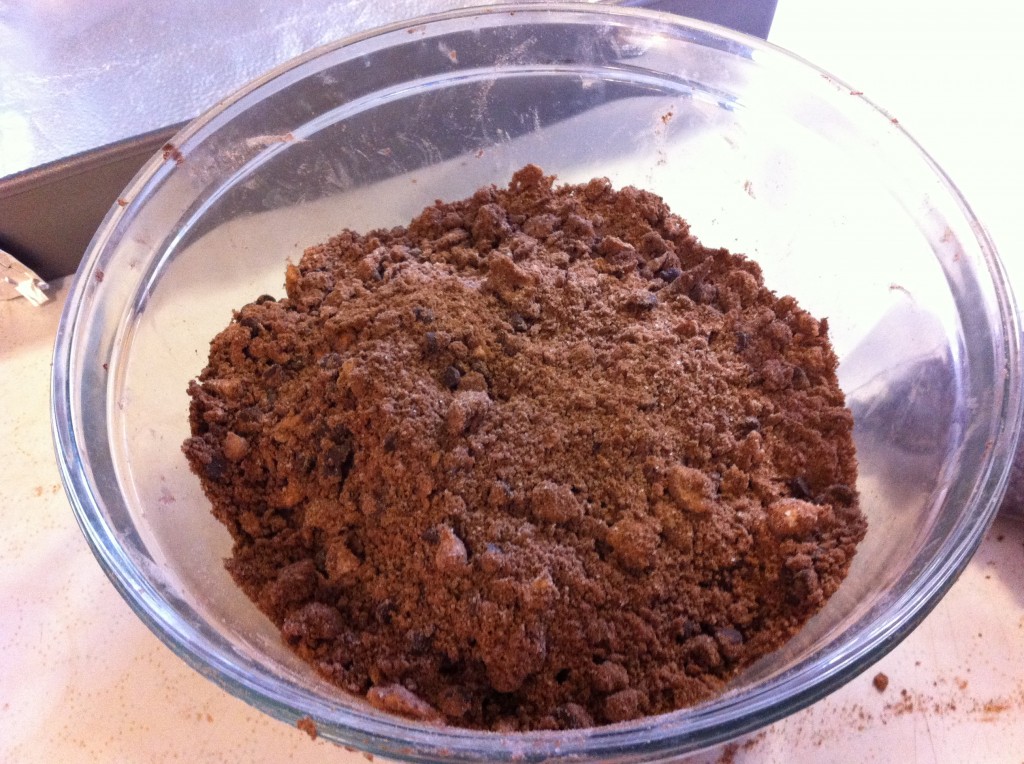
With a pastry cutter, cut the butter into the flour mixture until it resembles course crumbs.
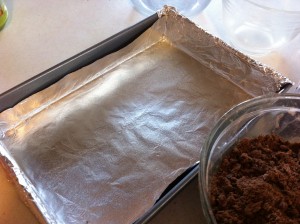
    

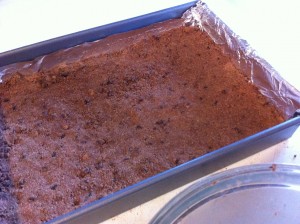
Line a 13 x 9 x 2 baking pan with foil and lightly grease (I used cooking spray). Press the crust mixture evenly in the bottom of the pan. Bake in a preheated 350 degree oven for 8 minutes or until set.
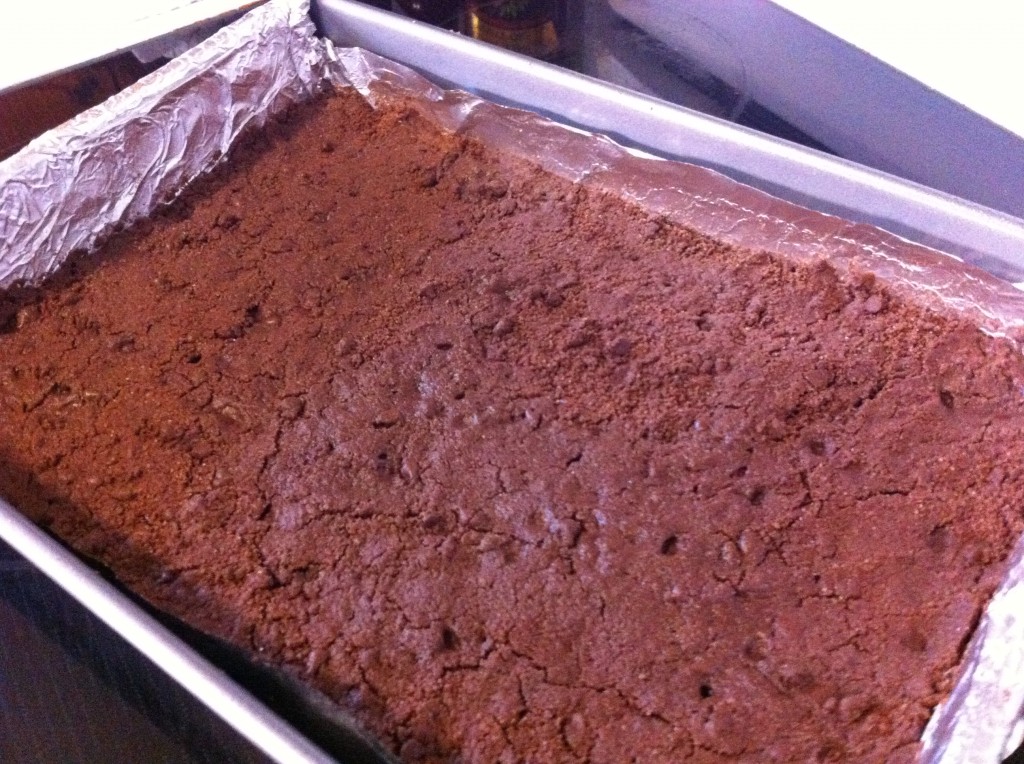
This is what it looks like when it comes out of the oven. Just let it cool while you make filling and the macaroon topping.

Now it is time to make the macaroon topping.
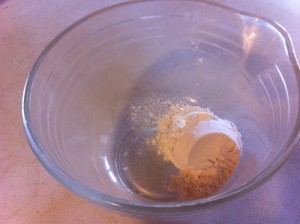
    

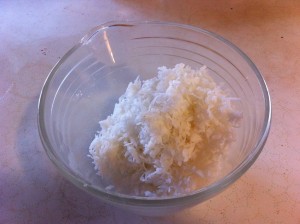
In a medium bowl, add the flour and sugar (not shown because I forgot to take the picture). Measure out the coconut and add it to the flour and sugar.

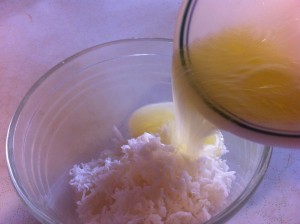
    

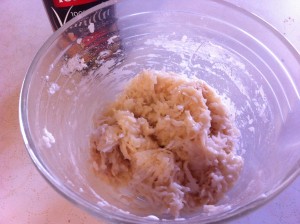
Lightly beat 3 egg whites. Add the lightly beaten egg whites to the macaroon mixture.
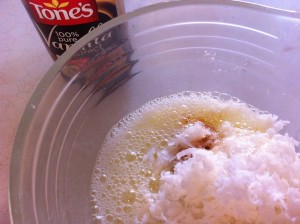
    

Add the vanilla and stir to combine. Set the macaroon topping aside for later.

Now it is time to make the filling.
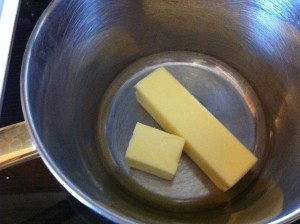
    

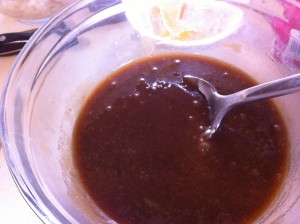
In a medium sauce pan melt together the butter and the brown sugar.
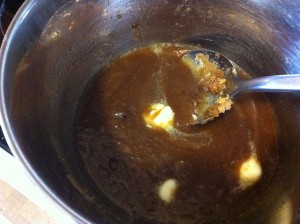
Stir while it melts together. Cool slightly and and pour into a medium size bowl.
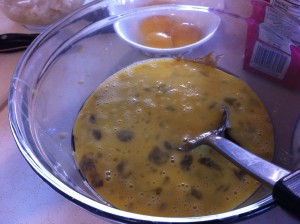
    

Add two slightly beaten eggs and stir together. Add 2 teaspoons vanilla and stir.
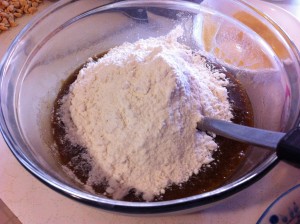
    

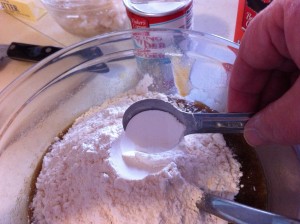
Add the flour and baking powder.
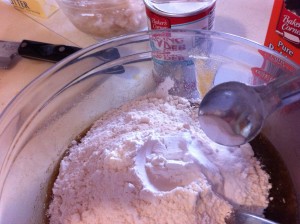
    

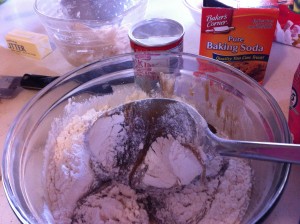
Add the baking soda and stir everything together.
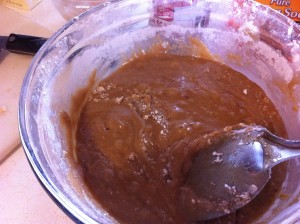
    

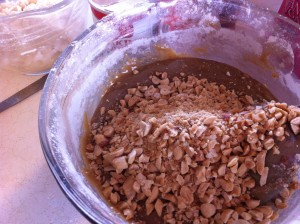
This what it will look like. Now, add the chopped peanuts.

Now the fun begins…..though I know you were already having fun! Right?
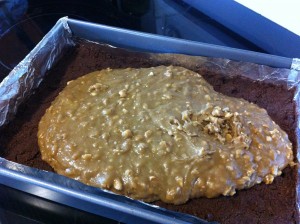
    

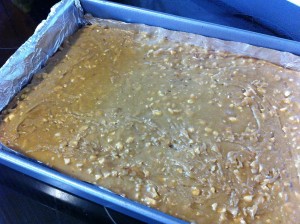
Pour the filling over the chocolate crust. Spread out evenly.
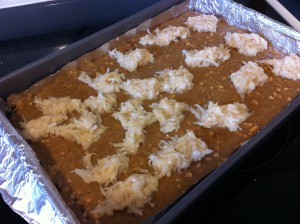
    

Spoon macaroon topping into small mounds evenly over the top of the filling. Spread out evenly. Place in a 350 degree preheated oven and bake 30 to 35 minutes or until the topping turns light brown.
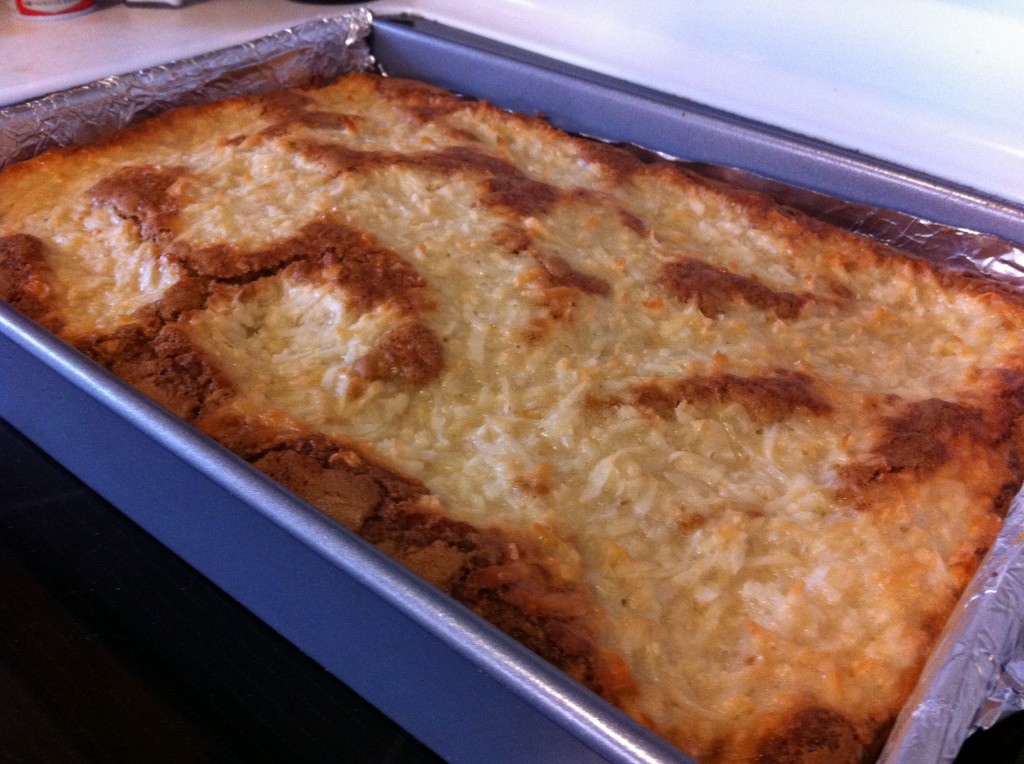
This is what mine looked like when it came out of the oven. Cool bars in the pan on a wire rack.
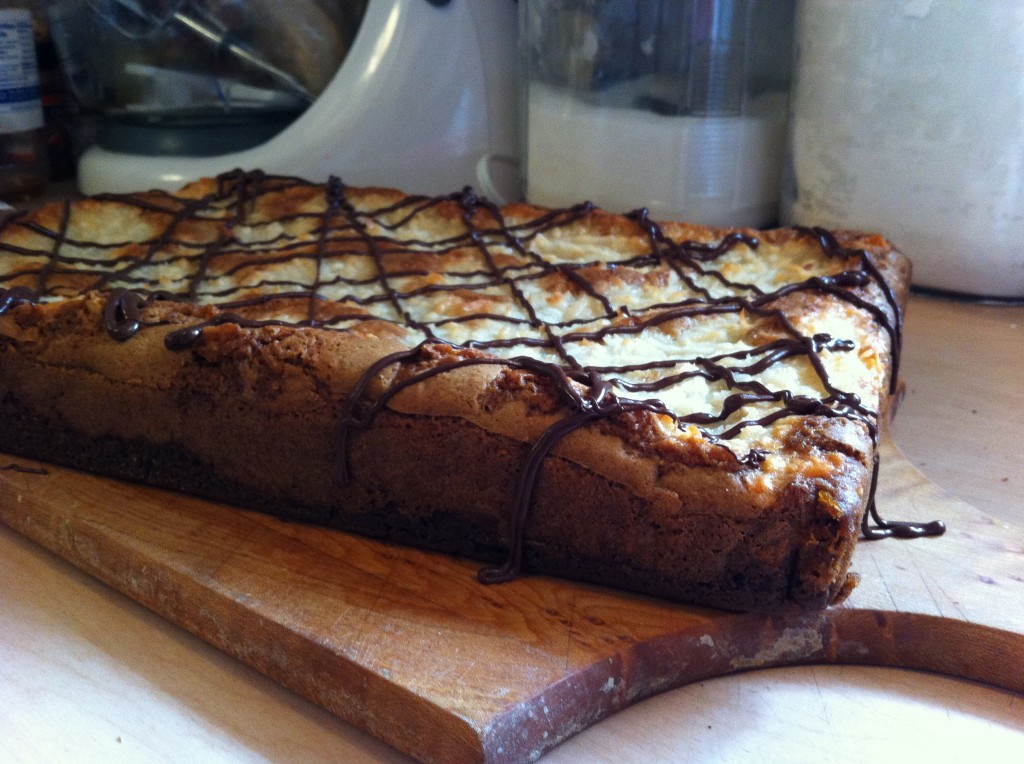
When cool, take the blondies out of the pan and drizzle melted chocolate over the top.
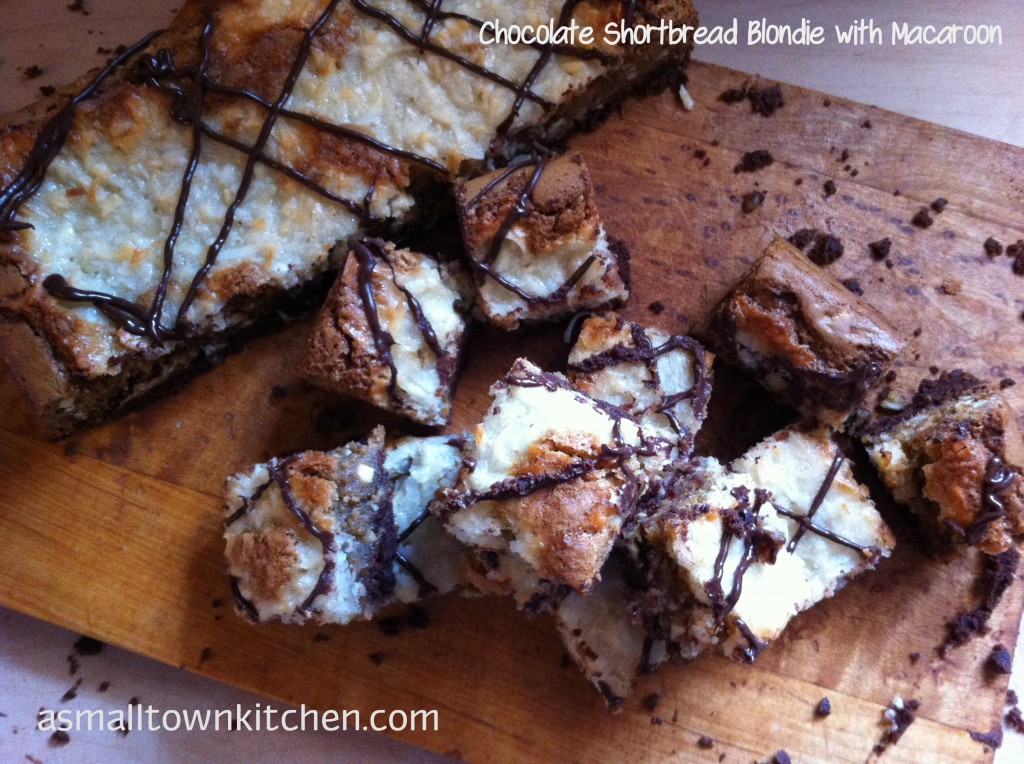
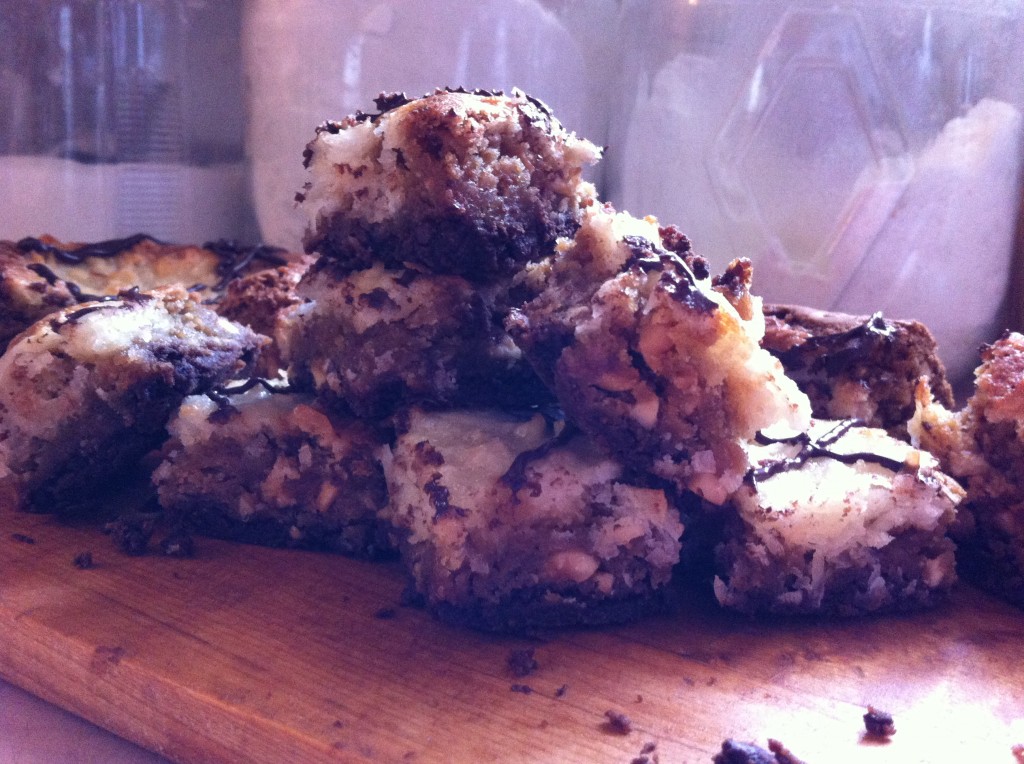
Cut into 32 bars.

Can you believe I gave them all away??? Was I crazy or what?

I did eat one of the Princess’s before I left for home.

I may have to go back tomorrow for another visit to eat (gobble down) another one.

When you make yours, be prepared to gobble too.

Enjoy!

Becky

Here is the recipe

Chocolate Shortbread Blondies with Macaroon

Adapted from Better Homes and Garden

Ingredients:

For the crust:

1 and 1/2 cups of flour

2/3 cups of sugar

1/2 cups of cocoa powder

1 cup of butter

1/2 cup miniature semi sweet chocolate pieces

For the Macaroon Topping:

1/3 cup sugar

1/4 cup flour

1 and 1/4 cup sweetened flaked coconut

3 slightly beaten egg whites

1/2 teaspoon vanilla

For the Filling:

2 cups packed brown sugar

2/3 cups butter

2 eggs

2 teaspoons vanilla

2 cups of flour

1 teaspoon baking powder

1/4 teaspoon baking soda

1 cup chopped peanuts

Optional: melted chocolate chips to drizzle on top

Directions:

Preheat oven to 350 degrees. Prepare a 13 x 9 x 2 inch pan by lining it with foil and lightly grease.

For the crust:  In a medium bowl, combine flour, sugar, chocolate pieces and cocoa. Using a pastry blender, cut up the butter until the crust resembles course crumbs. Press the crust evenly into the foil lined pan. Bake for 8 minutes or until set.

For the macaroon topping:  In a medium bowl stir together the sugar and flour. Stir in coconut and 3 lightly beaten egg whites. Stir in the vanilla and set aside for later.

For the filling:  In a medium saucepan melt together the butter and the brown sugar. Stir till totally mixed together. Cool Slightly. Pour into a medium sized bowl. Stir in 2 slightly beaten eggs. Stir in the vanilla. Add the flour, baking powder and soda and combine together. Stir in the chopped nuts.

Putting it all together: Pour the warm filling over the crust and spread evenly. Spoon out the macaroon topping in small mounds evenly over the top. Spread the macaroon over the top of the filling. Bake in a preheated 350 degree oven for 30 to 35 minutes or until the macaroon topping turns light brown. Cool in the pan on a wire rack. Using the edges of the foil remove the bars from the pan. Drizzle the bars with melted chocolate if desired.
Soup…It’s Whats for (Birthday) Dinner

Yesterday was Oldest Daughter’s Birthday!

Hard to believe that the years have flown by so quickly!

She has blessed me with two little grand girls that keep me smiling every day.

Anywho, when I asked her what she wanted for her birthday dinner, she said, “Cheese Soup.”

You are probably wondering….really soup?

Now, you have to keep in mind that my spring break week off is full of birthdays.

Yesterday was Oldest Daughter’s, Friday is Baby College Girl’s and Saturday is the Princess’s.

Baby College girl is heading home on Saturday, so we are officially celebrating both birthdays on Saturday. While we are celebrating Easter and the Princess’s birthday on Sunday.

Whew!

Oldest Daughter just wanted her favorite cheese soup for dinner.  So, while I cleaned house, had a plummer come (ugh..major repair scheduled for next week) and cleaned the snow off my car so I could take her billfold to her job that she left at home, I made birthday girl her soup.

We also finished up the last of the cornbread.

You can find the Cheese Soup Recipe and the Honey Cornbread Recipe just by clicking on the link.

I offered to make her some brownies or another yummy goodie  to go with her soup. We are waiting to have real birthday cake on Saturday with Baby College Girl.

But, Oldest Daughter told me, “it was ok, she had it covered.”

This is the reason she needed her billfold. Oldest Girl saw a very large chocolate pie with sweet whipped cream and chocolate shavings on the top.

It had birthday pie written all over it.

Maybe I will make some brownies today….or should I wait till we finish the chocolate pie?

Do you celebrate birthdays with a normal birthday cake, or have you had something fun and out of the ordinary.

We do not have to be ordinary everyday.

Right!

Have a great Wednesday!

Becky

Secret Hiding Place

Do you have a secret hiding place?

Well, I do.

At least until my kiddos get around to ever to reading this post.

Everyone needs a secret hiding place.

Right?

It is getting harder and harder for me to find a place to hide things with my nosey little grand girls.

But I think I found the perfect place.

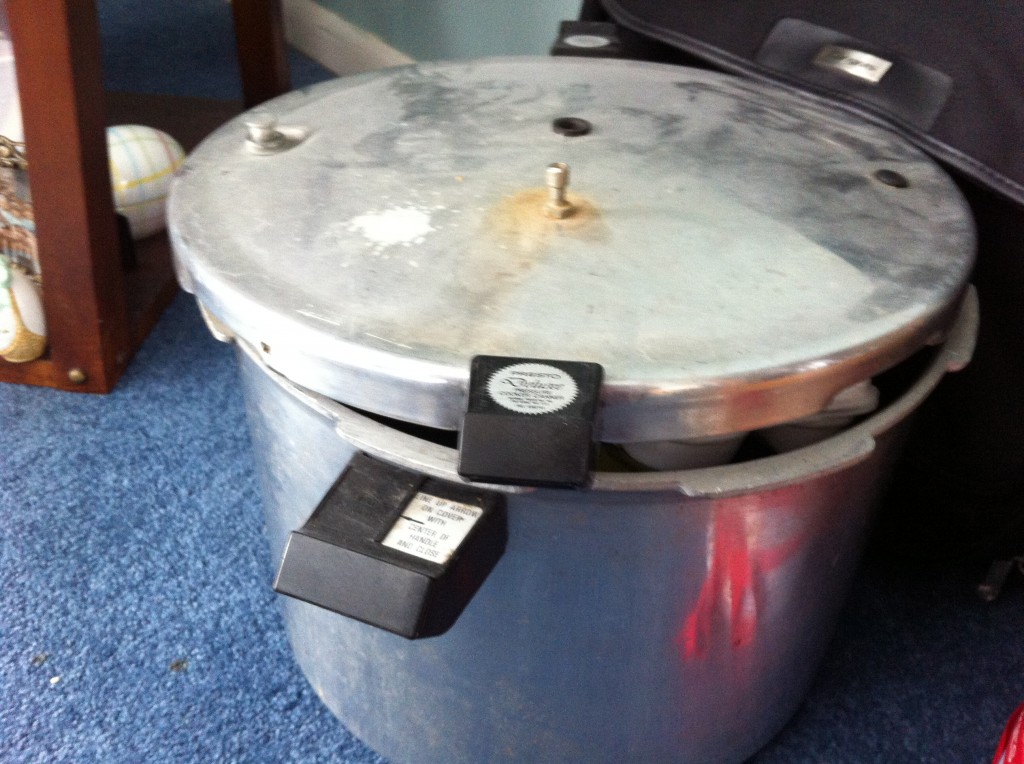
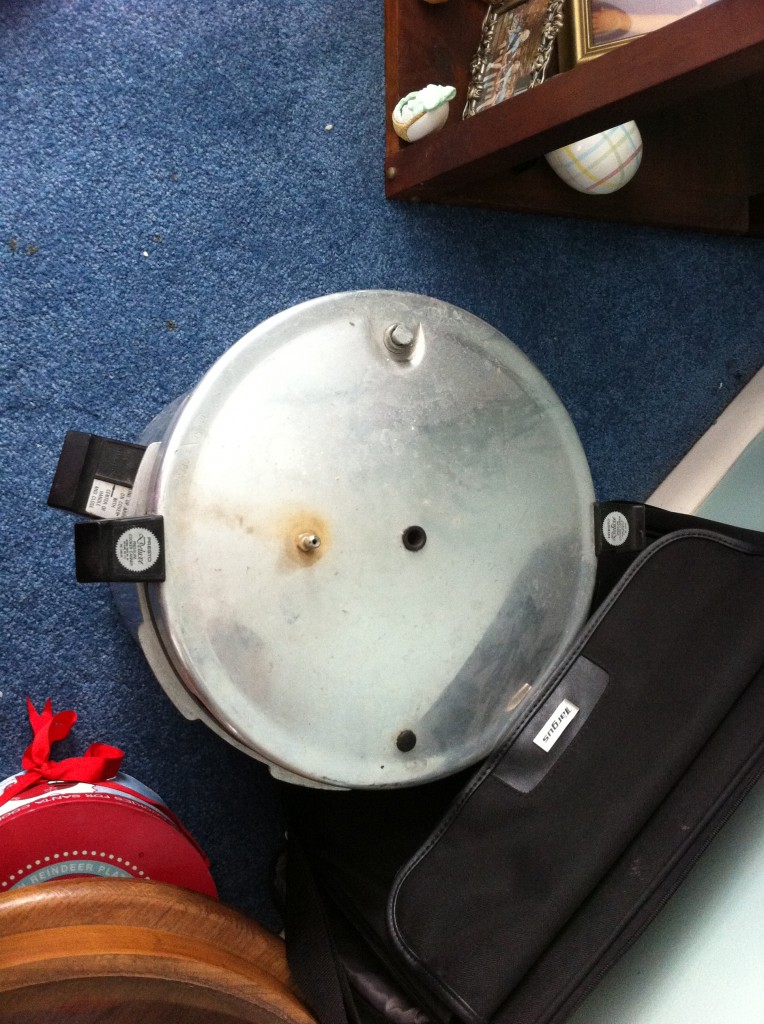
Way back in the dinosaur age, I bought a pressure cooker.

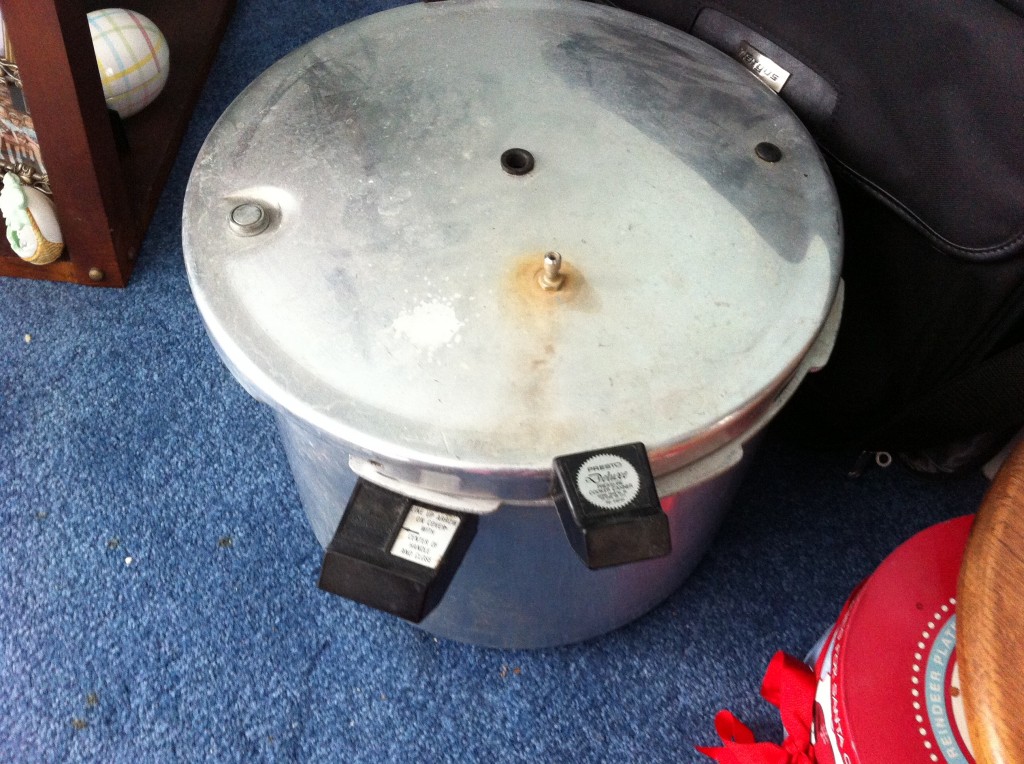
It had been stored away, literally for years and years. See that dust on top? That is dinosaur dust…..no lie.

Anywho, I brought it back from the brink of death and took it to a canning class I took last summer at the local Extention Office.

Beside showing us how to properly can and preserve food safely, they also checked out our pressure cookers to make sure they were safe to use. Mine almost passed inspection. I need a new rubber gasket and a new pressure valve. It will cost about $40 for parts which is way better than paying over $100 for the size of one I have now.

Sorry, I got off topic.

After the class was over, I carried the pressure cooker back into the house and sat it down by my china cabinet.

And there she be, for over a year now.

I am pathetic.

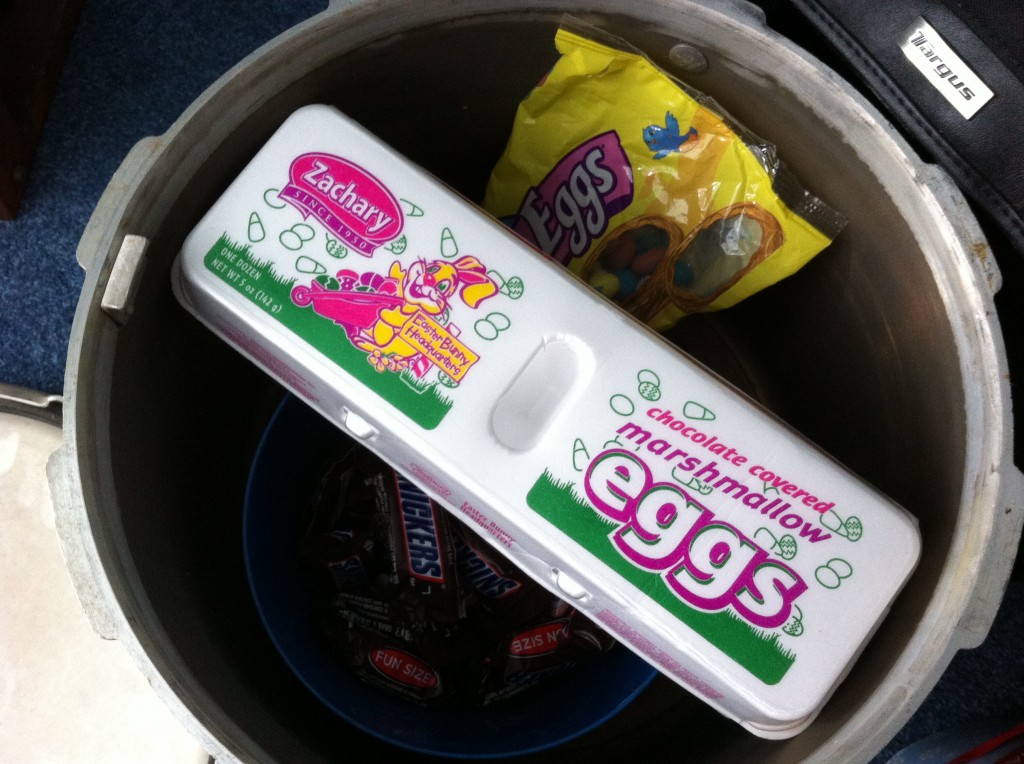
My Oldest Daughter who does not cook bought me one of my favorite Easter candies of all time. Those chocolate covered marshmallow eggs that come in those egg cartons. I love those things. I sat them by my computer, and ate one, then two, then three…..I was going for the fourth one, when it dawned on me I could hide them from my marshmallow egg loving self and they would last longer.

I looked around and saw my pressure cooker sitting innocently there on the floor.

Eureka! The perfect hiding place.

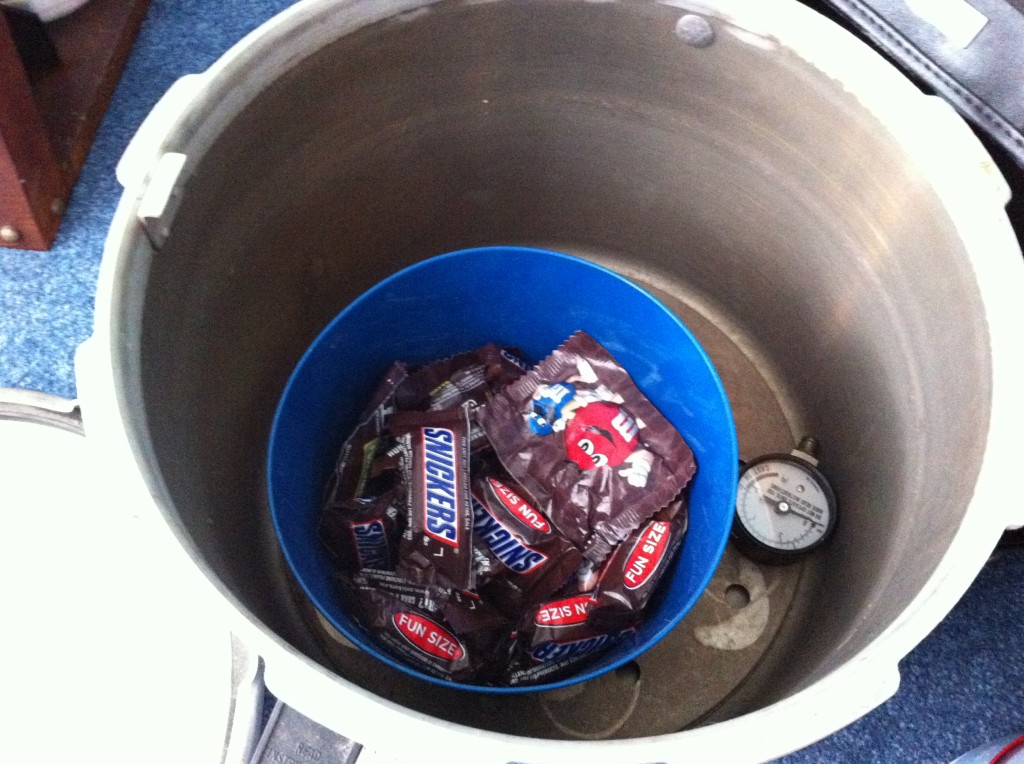
I went over to hide my eggs and a bag of malted eggs (also one of my favorites). I took off the lid and…..

SURPRISE!!! I found my Holloween candy I hid in there back in November.

See, I told you it was a great hiding place.

Now my eggs are inside the cooker all safe and sound.

Until I need to hid more candy.

MMMMM……. that snickers bar looks pretty good to me right now.

Have a great Monday!

I am off to the big city (St. Louis) to do some fabric shopping with a friend of mine. Wahoo!!!

Have a great Monday!

Becky

P.S. You can’t even tell there is candy in there can you?????

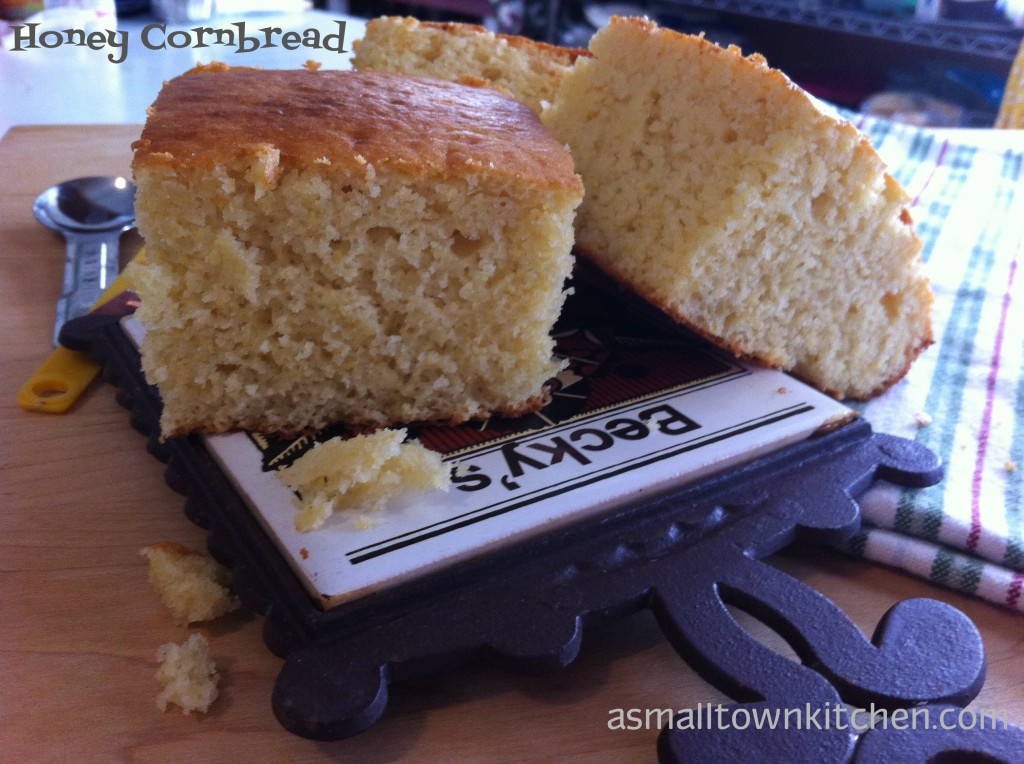
Honey Cornbread

Do you love cornbread as much as I do?

If you love a  sweet and moist cornbread, you are sure to love this recipe.

I don’t know if you have ever traveled to the Ozarks in Missouri. But you might have heard of a little town called Branson.

You know, Shepard of the Hills, Silver Dollar City (which they say now has the biggest and fastest wooden roller coaster in the United States), The Titanic Exhibit and we can’t forget Dixie Stampede (my grand girls  favorite place).

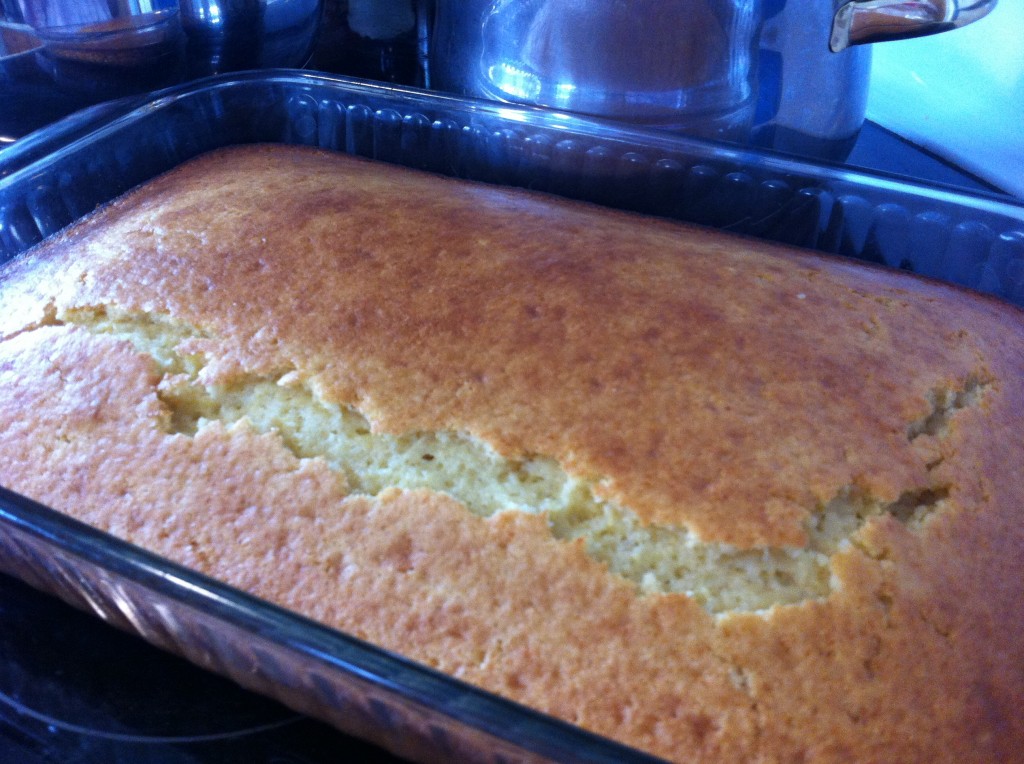
Well, in Branson there is this restaurant called McFarland’s. Every time I go to Branson, I have to eat there just to pig out on their cornbread and honey butter. They make the best cornbread and honey butter. With all the snow outside, I decided to make a pot of chili for my Super Hero, Oldest Daughter who does not cook and oldest grand girl. Oh and me too. I also made a big pan of McFarland’s Honey  Cornbread. When the Oldest Daughter came upstairs and saw I was making cornbread she immediately said, ” I love you Mom.”

If you love cornbread and want your kids to tell you how much they love you, try making this recipe.

Eat it with some chili, soup or all by itself (which is what the Super Hero did for dinner). It is that good.

Here are your step by step instructions:

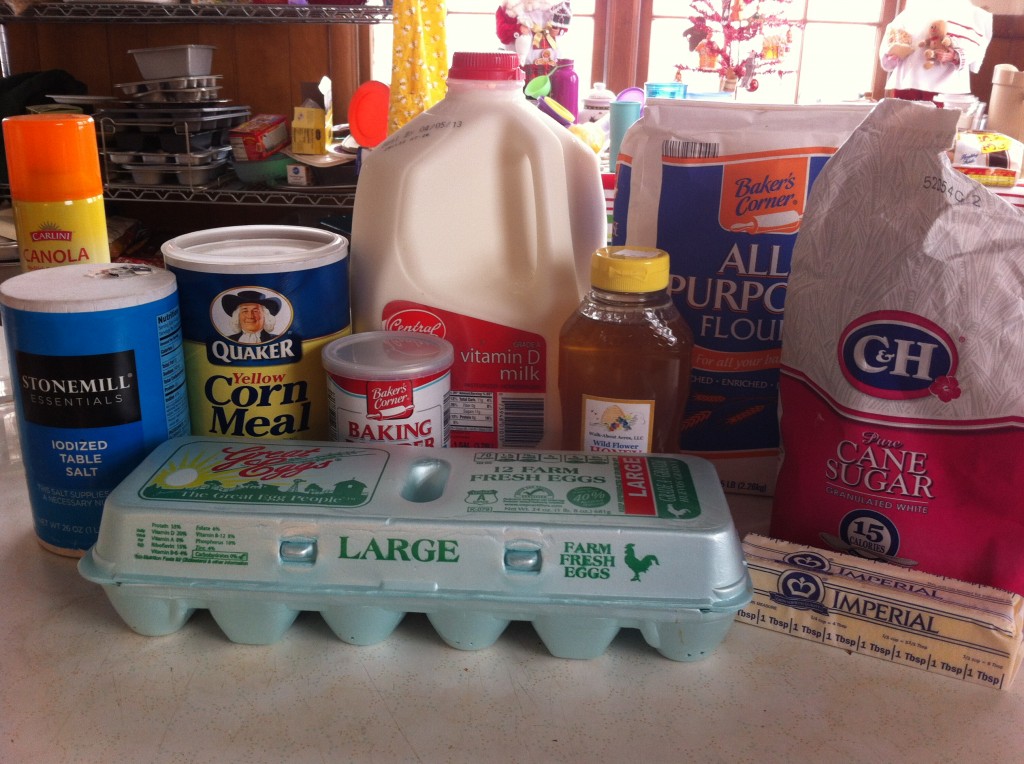
This is what you will need to make the best corn bread….ever.


In a mixing bowl, add four eggs and a half a stick of margarine.


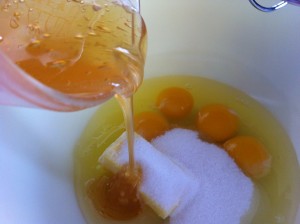
Next, add in the sugar and pour in the honey. If you spray your measuring cup with cooking spray it helps to keep the honey from sticking to the cup when pouring.

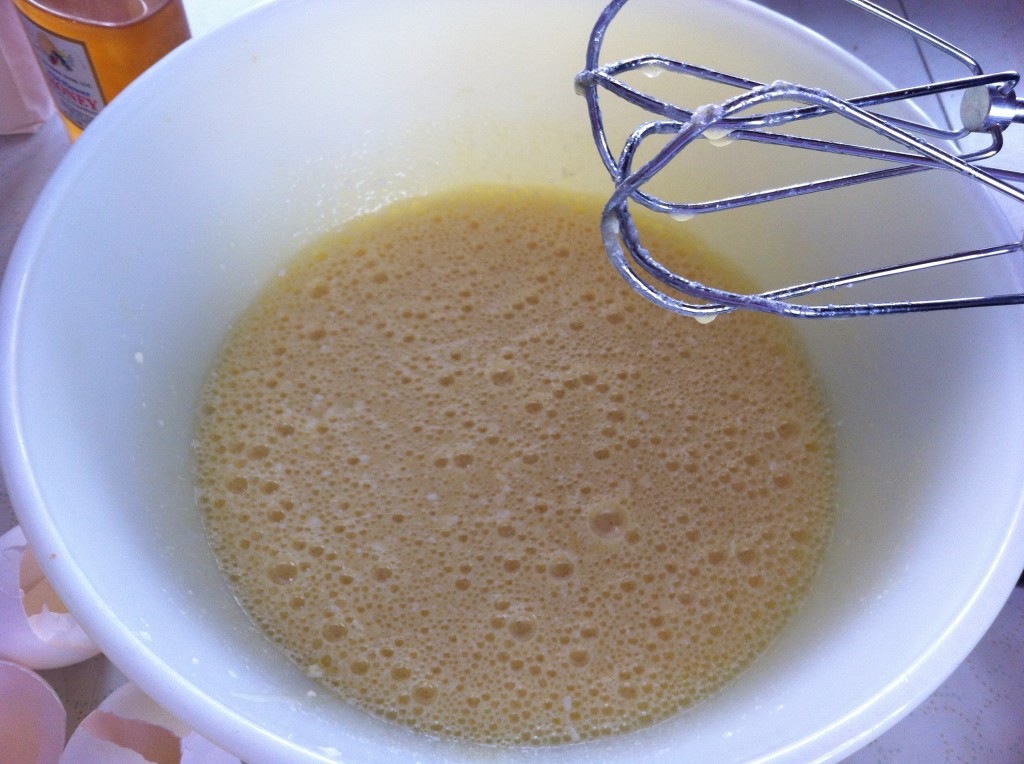
With a mixer, cream all the wet ingredients together.

In a separate bowl:


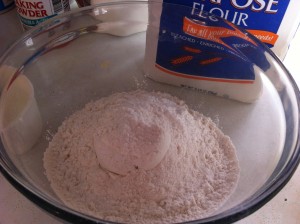
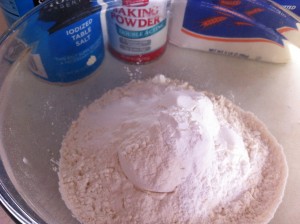
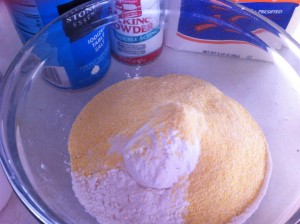
Measure out the flour, baking powder and salt.

Measure out the corn meal and add it to the flour mixture. Stir to combine.


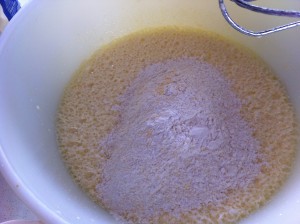
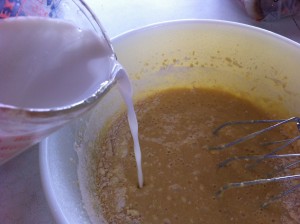
Alternate mixing in the flour/corn meal mixture with the milk. Being careful not to over stir the batter. There might be some lumps and it is ok.

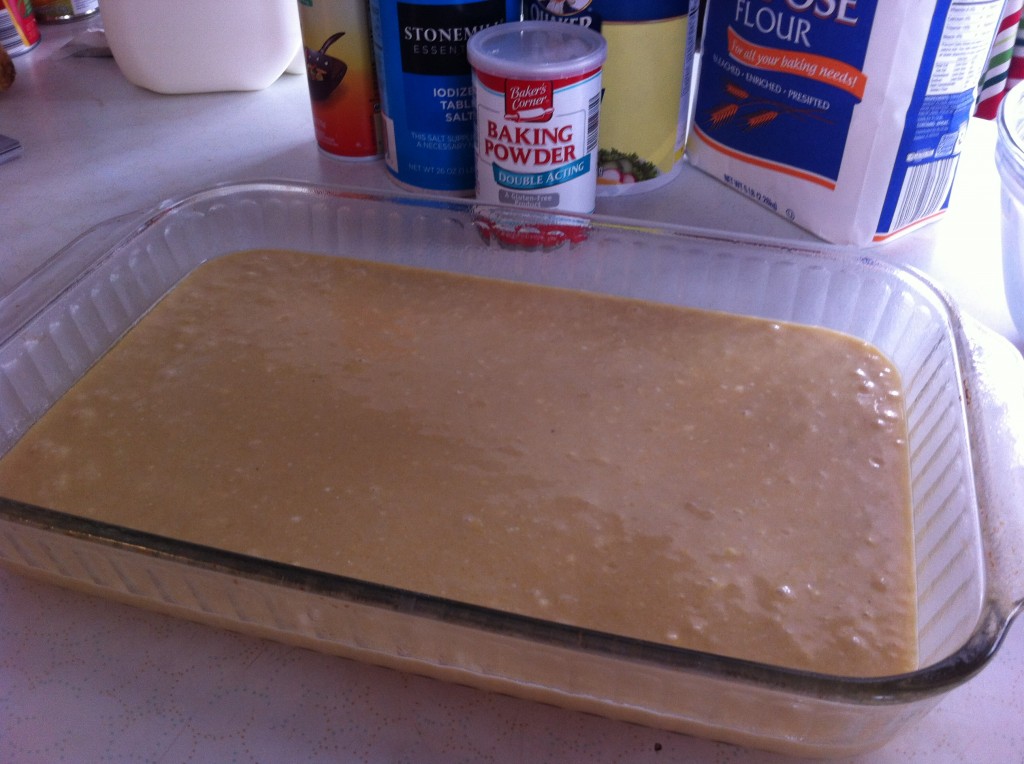
Pour the batter into a greased 9 by 13 baking dish.

Put the cornbread in a preheated 375 degree oven for 20 to 30 minutes or when ever a tooth pick comes out clean.

Easy Peasy! You can make this in no time!

Here is the recipe:

Honey Cornbread

Adapted from McFarland’s Restaurant

Ingredients:

2/3 cup sugar

2 and 1/3 cups of flour

4 eggs

1/4 cup margarine

1 and1/2 tablespoon baking powder

1/2 cup corn meal

1 and 1/4 cups milk (the original recipe calls for 1 and 1/3 cups of milk, but I find it makes the batter a little too runny)

1/2 cup honey

1 teaspoon salt

Directions:

Preheat your oven to 375. The original recipe says to heat the oven to 400 degrees but I find that it is too hot.

Cream sugar, margarine, eggs and honey together in a large mixing bowl.

In a separate mixing bowl, mix together the flour, baking powder, salt and corn meal.

Alternate adding the dry ingredients and the milk to the honey and sugar mixture. Do not over mix.

Pour the batter into a greased 9 by 13 pan. The original recipe says a 11 by 14 pan, but I always use a 9 by 13 and it works just fine.

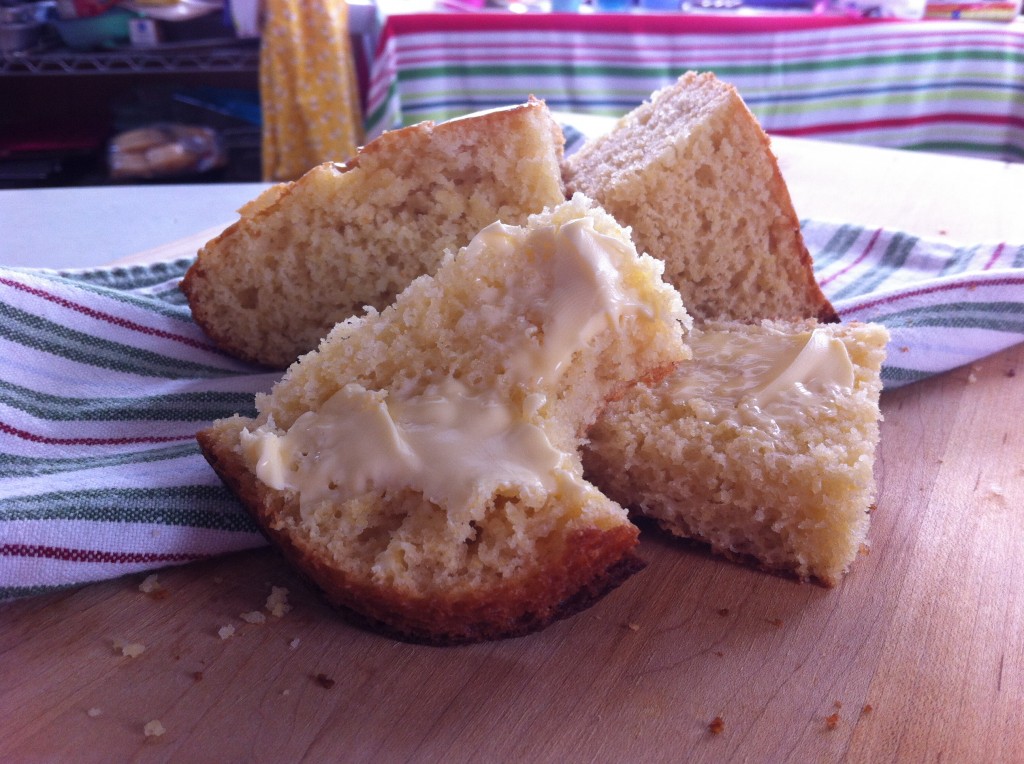
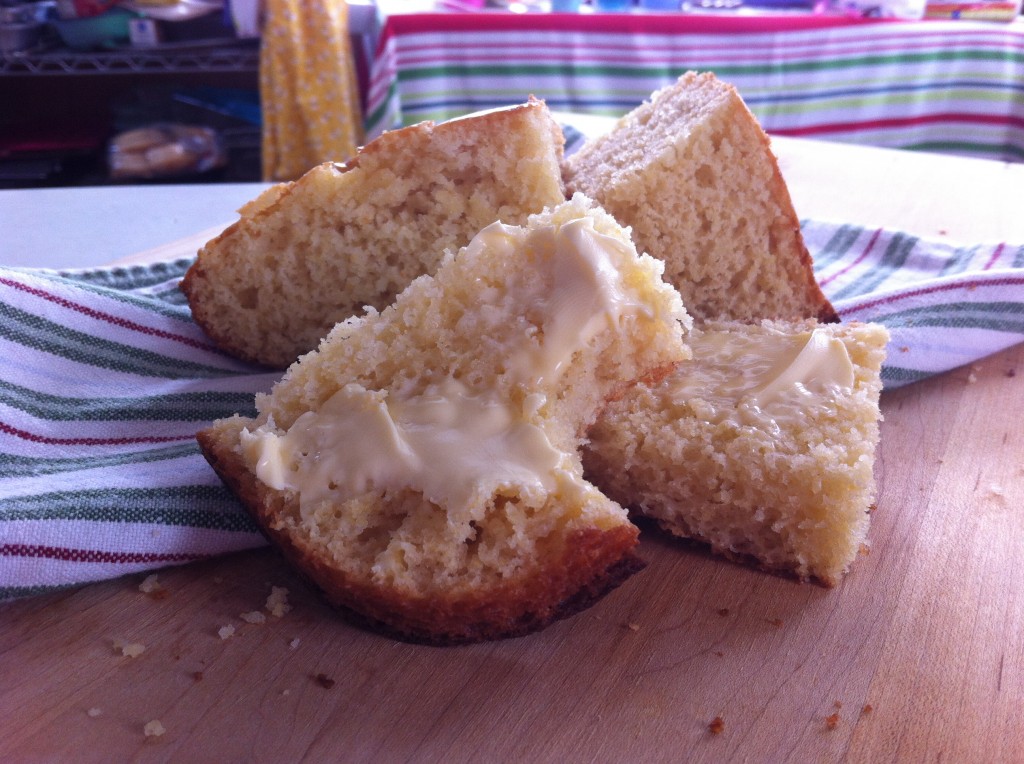
Slather some butter on a while it is warm and take a big bite.

Yum!

Enjoy your day!

Becky

If you like Honey Cornbread you may also like:

                    Baking Powder Biscuits


Watching it Snow….Again

Here is a gander out my front door.

How does it look outside your front door?

Central Missouri got lucky again (not) and we are looking for totals of  6 to 9 inches of snow.

You can snow me over….

Doesn’t mother nature know it is the fifth day of spring.

Here is a little peek of spring flowers from my front yard.

I hope they like snow.

Anywho, I am watching movies, cleaning my kitchen, making chili, baking the best ever corn bread (I will share that recipe later on today) and trying to talk myself out of taking a nap.

How are you spending your Sunday?

Becky


Budget Update

My Aldi’s shopping trip. If you do not have the time to cut coupons, or coupons are not your bag, BUT you still want to save money, Aldi’s is a great place to shop for all your  staples. I  buy my flour, sugar, cooking spray and assorted fruits and veggies there all the time. Just don’t forget your quarter for the cart and bring your reusable grocery bags.

I spent a total of $27.48 at Aldi’s.


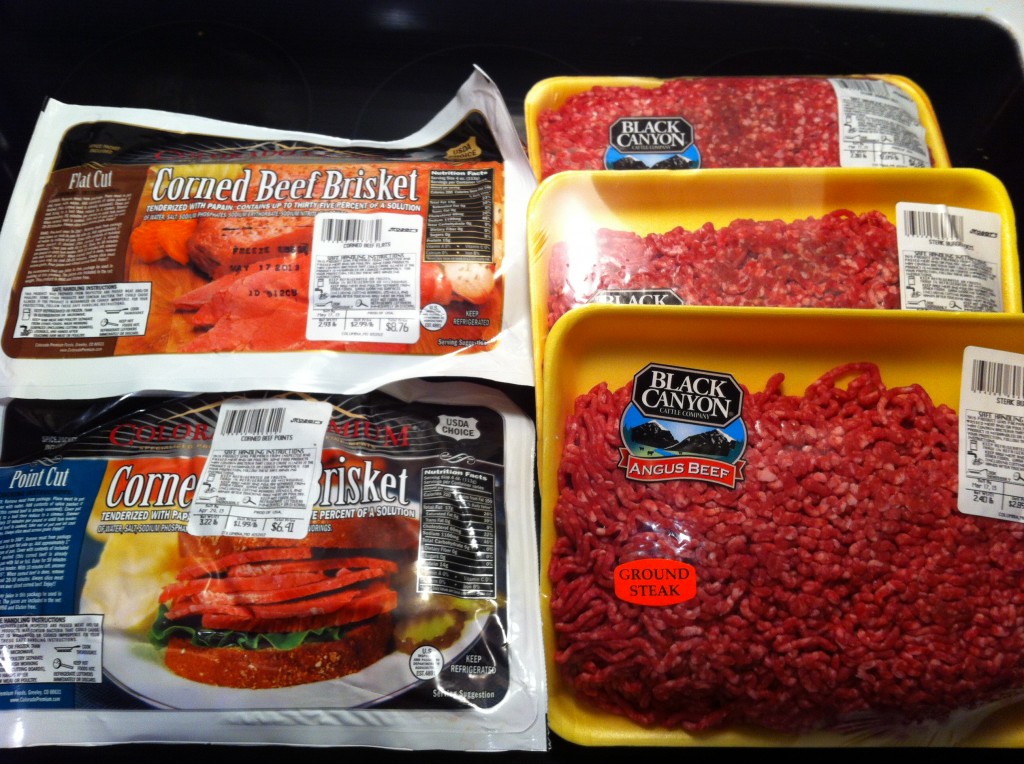
I stocked up on some ground steak that was on sale, so when it does stop snowing I can get my grill out and make these out of this world steak burgers. I also bought my point cut and flat cut corn beef for Saint Patrick’s Day.

I spent a total of $37.76 at my local family owned grocery store.

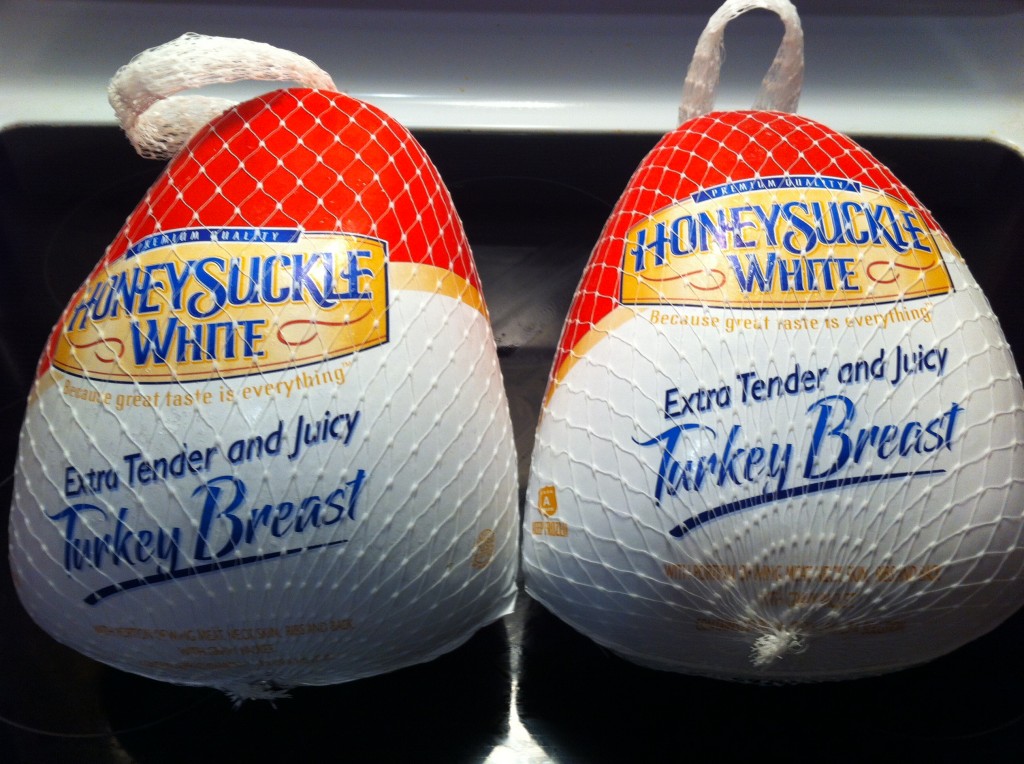
BOGO (buy one get one free). I also bought two turkey breast for the freezer. The local Gerbes had these on sale last week. These are great in my crock pot. I put them in, in the morning, and when I come home I have tender juicy turkey to eat all week.

I spent $30.10 for two turkey breast.

I went to my local Gerbes store and was able to buy all this pizza dough free plus I made .25 cents for each one I bought. Gerbes also had a deal if you bought 4 breakfast items you would get a gallon of milk free. I was able to score two free gallons of milk. I also had a e-coupon for a free bottle of Ragu and a Gerbes coupon for a free dozen of eggs.

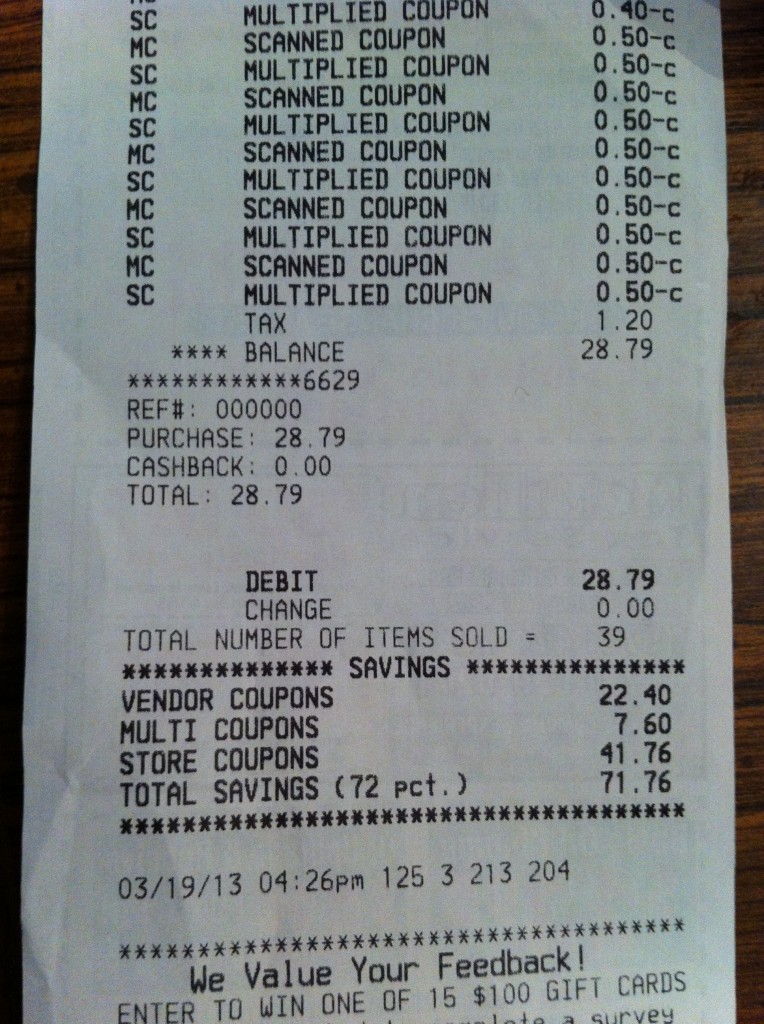
I bought all of this for $28.79.

I don’t have a picture of my grocery store shopping from last night, because I have not brought it up from down stairs yet. Plus I did not pick up my receipt..pooo. But I was able to buy 7 two liter bottles of soda, the new liquid crystal lights (5 of them), one can of Marie Callander soup (free with e-coupon) 1 box of Kashi cereal for just $1.00, one protein bar (free with coupon) and maybe a couple of more things that I can’t remember.

I spent a total of $14.04. Not too bad since those Crystal lights were $1.79 a piece and I bought 5 of them. (normally the price is $3.79)

As of March 11th I had $355.68 in my grocery fund.

I spent:

$27.79 at Aldi’s

$28.79 at Gerbes

$30.10 at Gerbes

$14.04 at Gerbes

$37.76 at Mosers

That is a total of $108.07

That leaves me a budget of $247.61

Today is Sunday so I get to add another $75.00

This gives me a total of $320.61 as of March 24.

Woohoo….not too bad.

I think I have this all updated now for the last two weeks…whew….

How is your budget going? Are you couponing or find it easier to use the sale adds? Which ever way works for you, you know it is a great feeling saving money at the grocery store. I love having the extra money for other things that I love to do.

What do you do with your extra money?

Becky


Sad Start to Spring Break

I could not help myself.

It started about Wednesday.

Please forgive me.

But, I started counting the days until Spring Break!

I have the whole week off next week and I am ready.

I do not want you to think that I do not love teaching. I really do! But this last week has been a hard, long week.

We had a death in our school community.

Our fabulous custodian had a freak motorcycle accident and was killed last week.

We cried. The students cried. We asked, why? The students asked, why?
It was hard to walk past the cafeteria and not look for him, talking to the kids, laughing, working hard, and doing it all with a smile.

He was only 40 years old.
He would crank up the music in the cafeteria after lunch and move tables, sweep, mop and take out the mounds and mounds of trash left over by, around 800, constantly starving students.
He was excited about getting a new snow blower next year.

He was fabulous.

His funeral is today.

It will be held at school.

He loved our school.

We loved him.

Please think of our kiddos, while they struggle to say goodbye to a young vibrant man, that was more than just a custodian. He was a father, a grandfather, a man not afraid to break up a fight at school, play basketball in the gym with the kids, come to every teachers rescue when we had leaking pipes, freezing trailers, wet floors, cold water and broken chairs.

Now we have broken hearts.

Thank you for letting me share about a man that our school will not soon forget.

Becky

Irish Soda Bread

Happy Saint Patrick’s Day!

Top of the Morning to You….well how about evening to you.

Are you wearing your green today?

Have you been pinched?

I hope everyone is doing great on this fine Irish Holiday!

I wanted to tell you more about my corn beef experiment today. It looks like it will have to wait a couple of days.

I guess I should back track and fill you in on what I am talking about.

When I went to buy a corn beef to roast for St. Pat’s day, I found you had two choices to choose from.  I guess I never paid attention before. So, I decided to buy one of each cut. I bought a point cut one and a flat cut ones. I roasted the point cut in an enamel cast iron dutch oven. I put the flat cut one in a crock pot.  We ate most of the point cut corn beef last night for dinner and the corn beef tasted so good and so tender. Bliss on a fork. I wanted to get the flat cut one out of the crock pot and show you it today. I also wanted to taste it to see if I could tell any difference.

Well…..blarney….it aint gonna happen.

I just ran out of time.

It is all safe and snug in the fridge for tomorrow night for dinner.

But…..

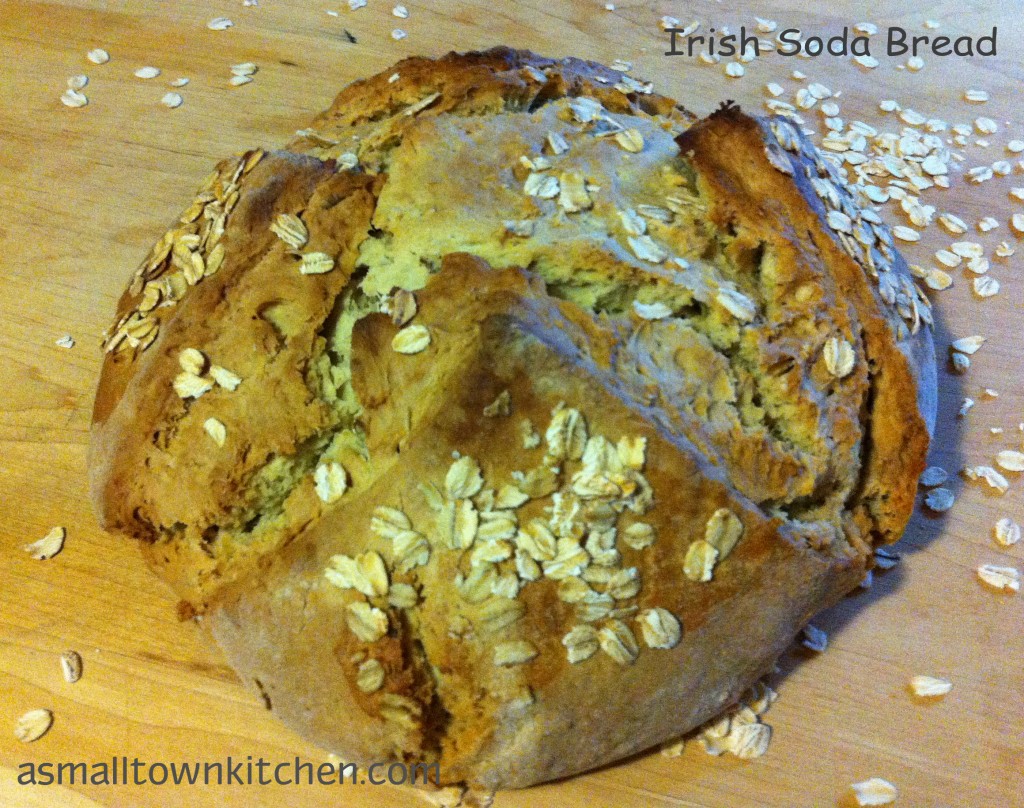
Today I did have time to make some Irish Soda Bread.

It is already baked, ready to heat up to go with the corn beef, potatoes and cabbage for tomorrow nights dinner.

It is missing a big slice out of it though.

Know why?

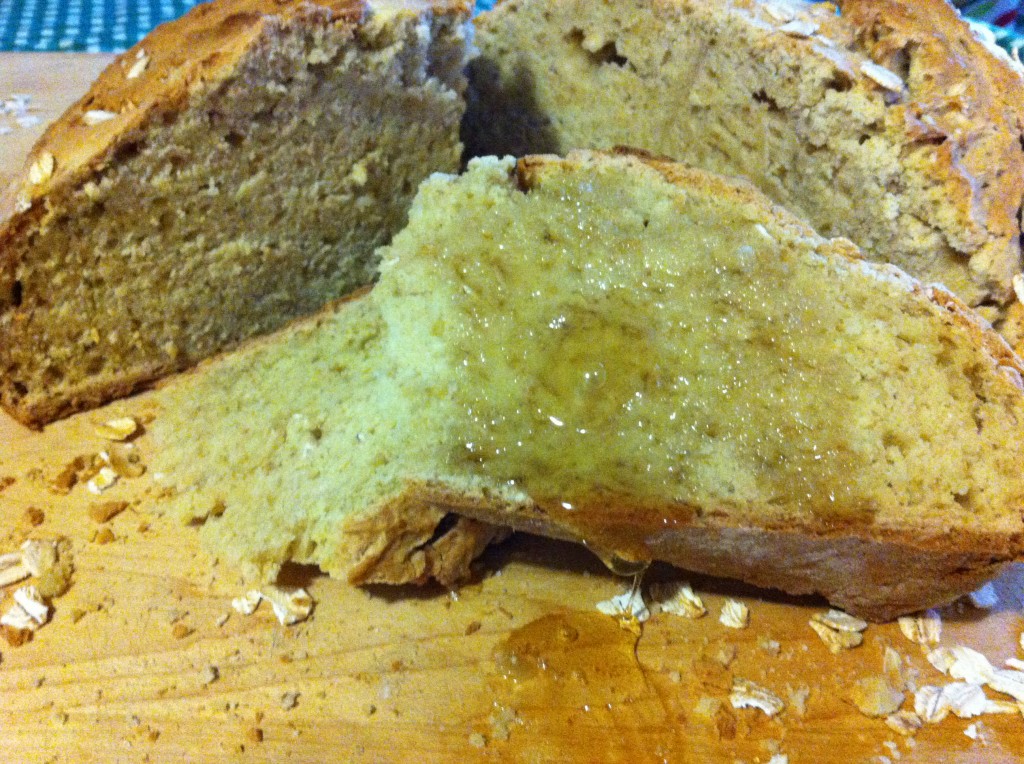
I ate it warm, right out of the oven, with honey…

Oh Baby….was it good too.

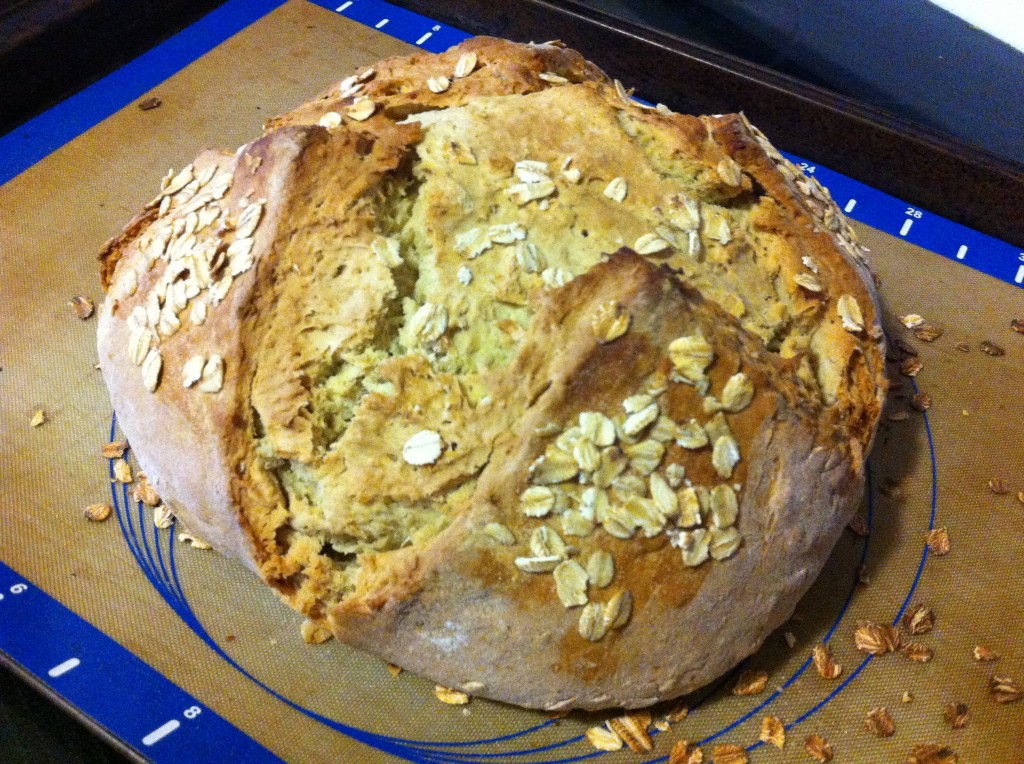
See that piece right in the middle with the honey dripping off of it?

I ate it, hehe……

Sometimes the cook needs to eat first.

Right?

If you have left over corn beef and want to make a very filling, quick bread, to go with it, this recipe does the trick.

I had it ready to go in the oven in about 10 minutes, and it was out of the oven in 50 minutes, and it was in my tum tum in about 5 minutes. (I would have been quicker but it took me 4 minutes to find the honey)

The oatmeal in this recipe, adds  rustic richness you and your loved ones are sure to love.

It does not have to an Irish holiday to bake it either. It will taste good on any day of the month, I promise.

Give it a try!

Becky

Here is your step by step instructions.

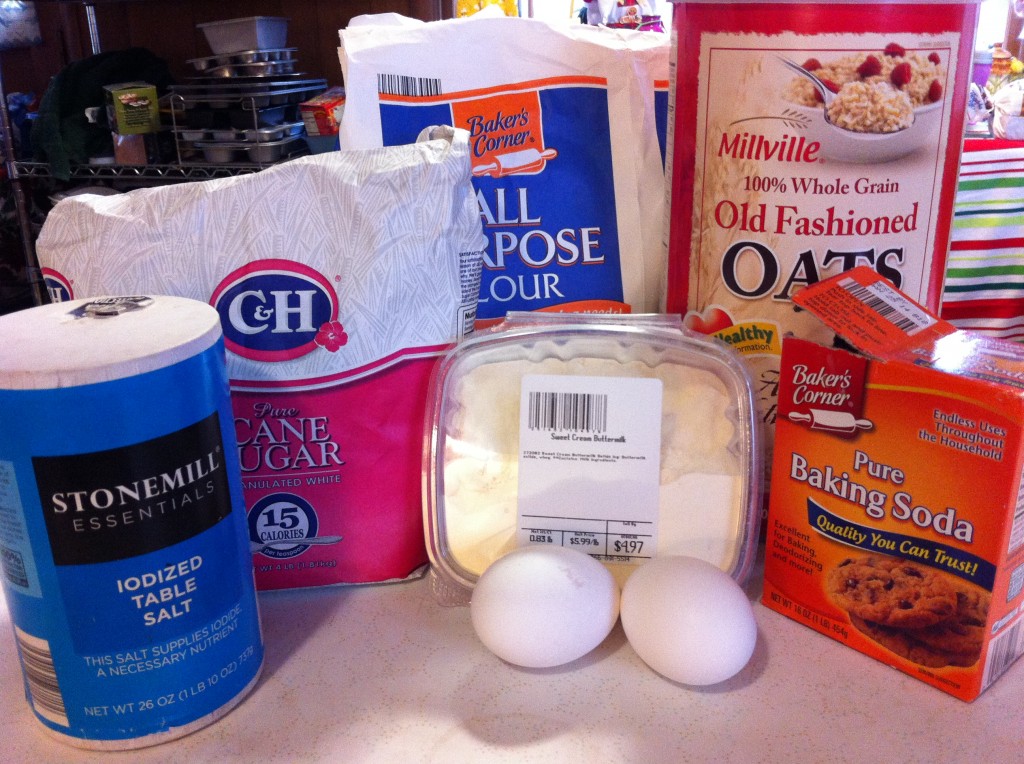
Here is what you will need, except I forgot to put the butter in the picture…Sorry! Also I used my powdered buttermilk, that I add to water to, to make the buttermilk. You can use regular buttermilk or substitute buttermik, by taking one cup of milk and add 1 tablesoon of vinegar to it and letting it set for about 5 minutes before using.


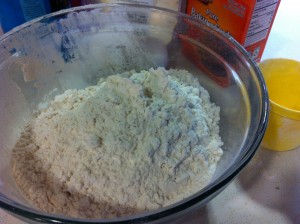
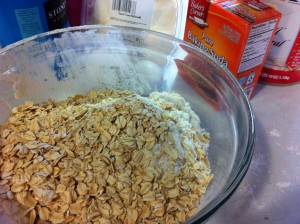
Measure out the flour and the oatmeal and put them in a bowl. I was going to use my hand held mixer today for this recipe, but if you have a standing mixer that will work great too.


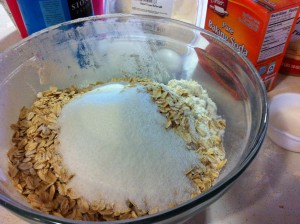
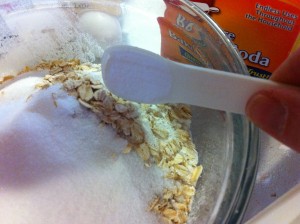
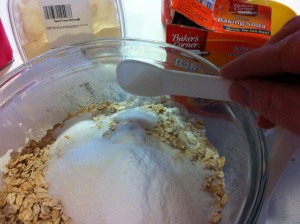
Add your sugar and your baking soda.


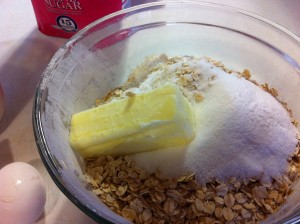
Add the salt and the butter.


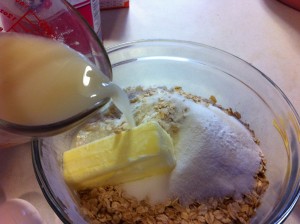
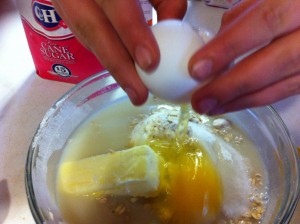
Pour in the butter milk. (I used powdered buttermilk mixed with water) Add two eggs. Oldest Grand Girl is helping me with the eggs.


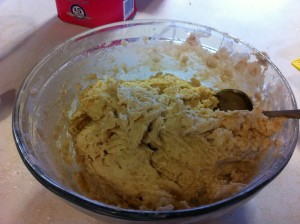
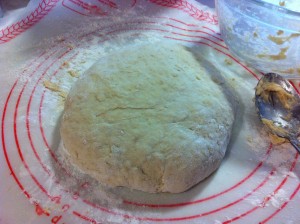
Mix the dough together, being careful not to over mix because it will make your dough tough. Turn out onto a counter or pastry board and knead the dough two or three time, forming a nice circle of dough.

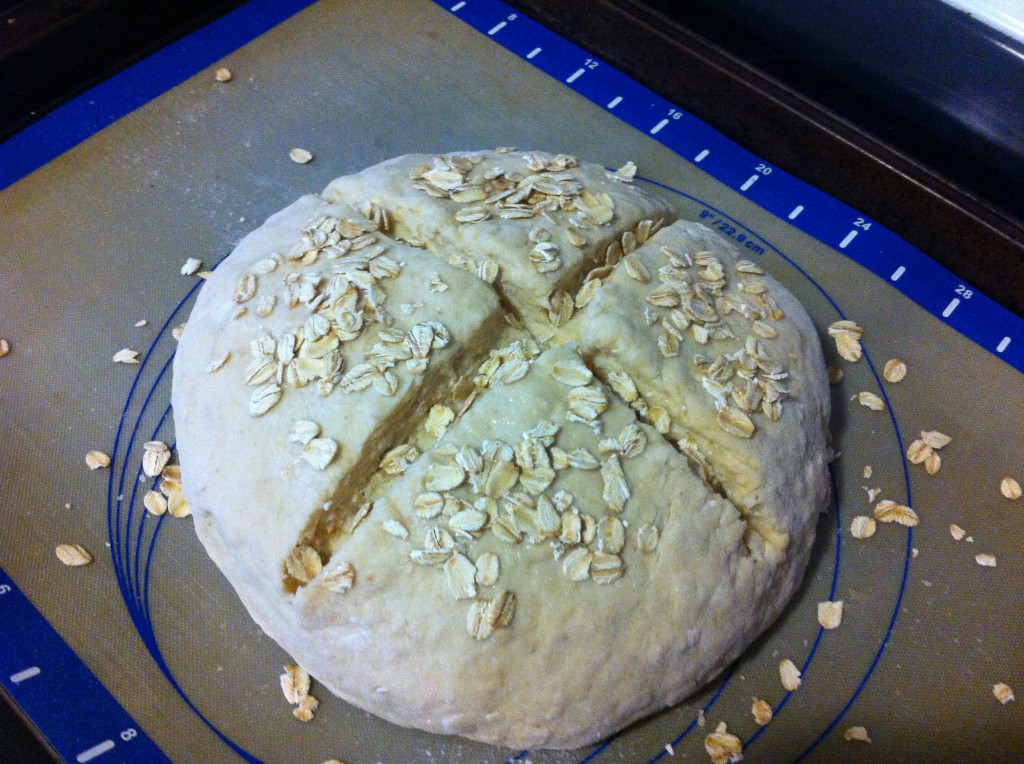
Place the dough on a baking sheet, lined with parchment paper or a silicone baking liner. Cut an X in the dough and sprinkle with oatmeal. Put it in a preheated 375 degree oven and bake for 40 to 50 minutes. (Mine took 50)

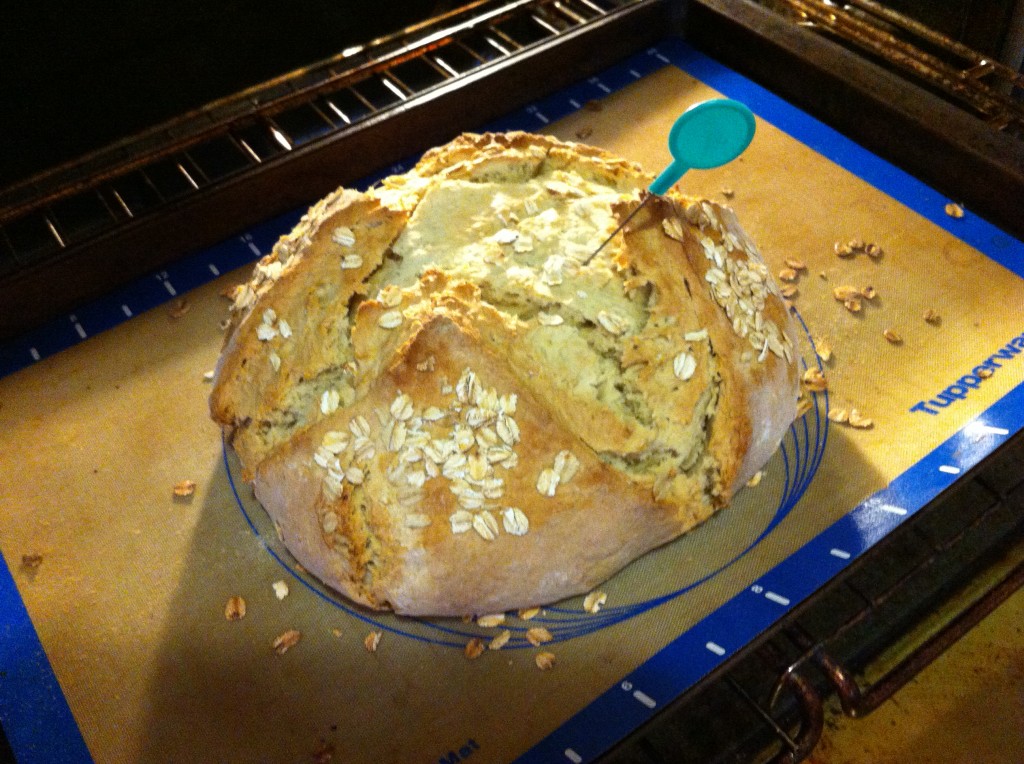
You will want to take a cake tester or a toothpick to make sure it cooked in the middle. The bread will sound hollow when it is baked through.

Here it is right out of the oven.

Now, all you need is a knife and some honey…or butter….or soup….or corn beef….or just eat it by itself.

It is hearty and filling and delicious and the best part…EASY.

Enjoy!

Here is the recipe:

Irish Soda Bread

Adapted from One Hundred Dollars A Month website

Ingredients:

4 cups of flour

1 cup of old fashion or steel cut oats

5 tablespoons of sugar

1 teaspoon of baking soda

1 and 1/2 teaspoons of salt

1 and 1/2 cup of buttermilk (I used my powdered buttermilk)

6 tablespoons of unsalted butter, soften

2 eggs

Directions:

In a large mixing bowl stir together the dry ingredients. Add the buttermilk, soften butter and eggs. With an electric mixer, mix together. Be careful not to over mix or it will make the dough tough.

Place dough on a floured surface (pastry board or counter) and knead 2 to three time, making a nice circle of dough.

Place the dough on a baking sheet lined with parchment paper or a silicone baking sheet.

Cut an X on top of the dough. Sprinkle with oats.

Bake in a preheated 375 degree oven until the dough is baked through.

Enjoy!

Point Cut Corn Beef

It is almost St. Patty’s Day.

Have you bought your corn beef yet?

It is on sale every where right now.

Did you go and could not decide which cut to buy?

What was that again?

Yes, which cut of corn beef to buy?

What?!

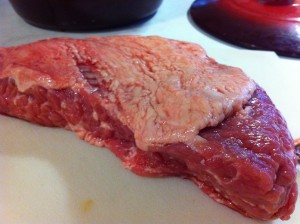
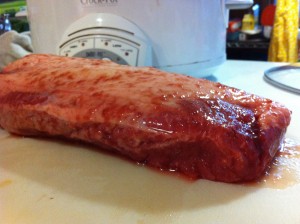
Yes, there are two cuts of corn beef that you can buy. The point cut and the flat cut.


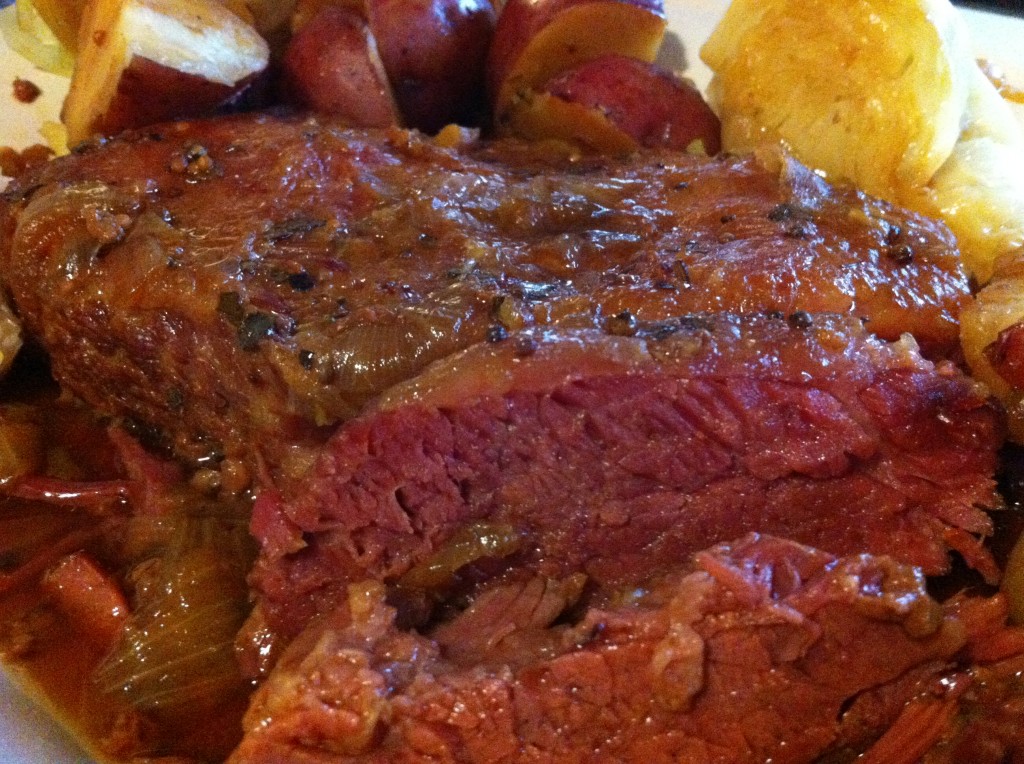
Here is the point cut.                                                               Here is the flat cut.

So whats the different? Basically it is a brisket cut into two pieces.

The point cut will have more fat on the top and will be cheaper in price. While the flat cut is higher in price and less fat on top.

Some cooks while swear that the point cut has more flavor. Other will say the flat cut has less fat.

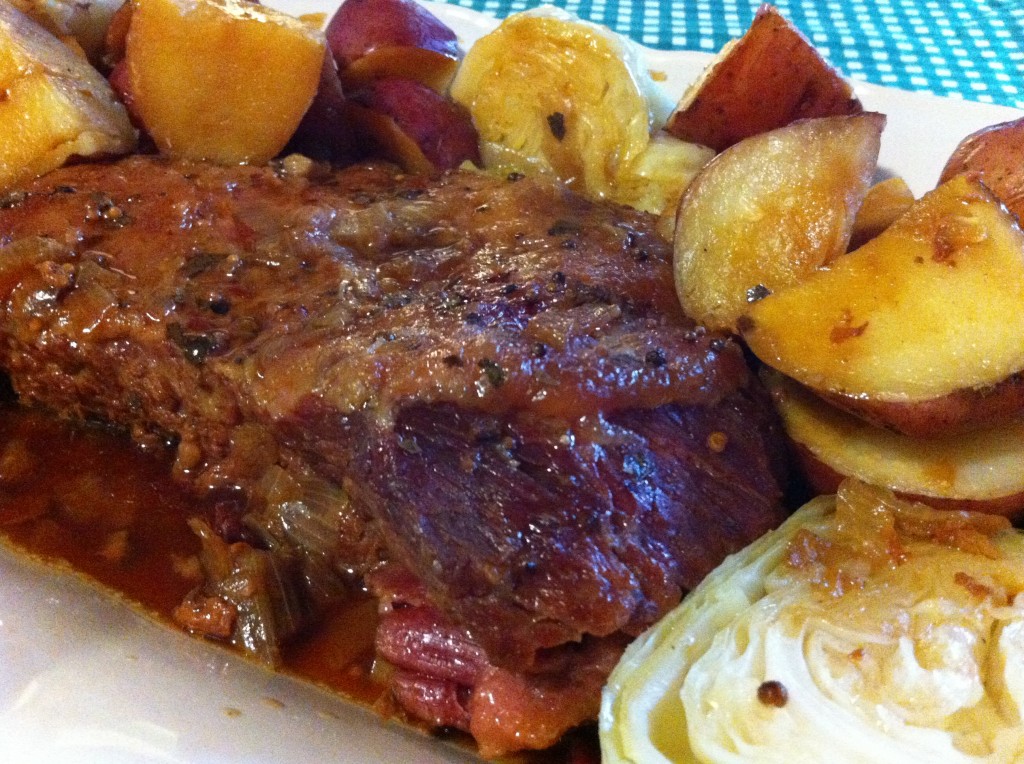
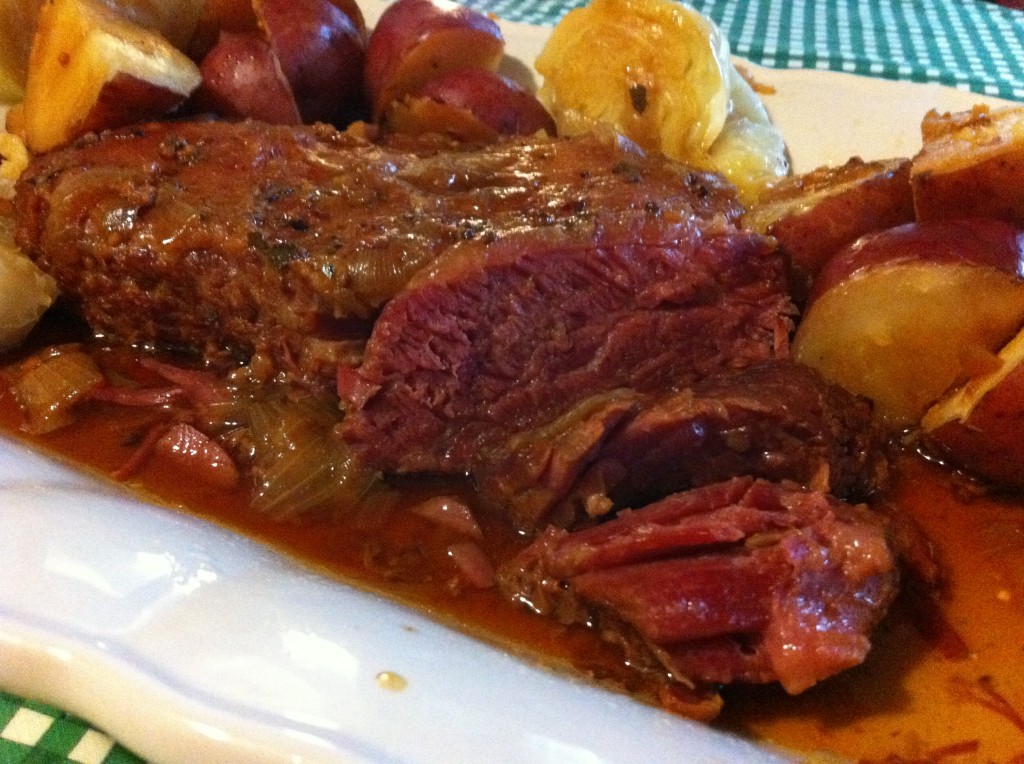
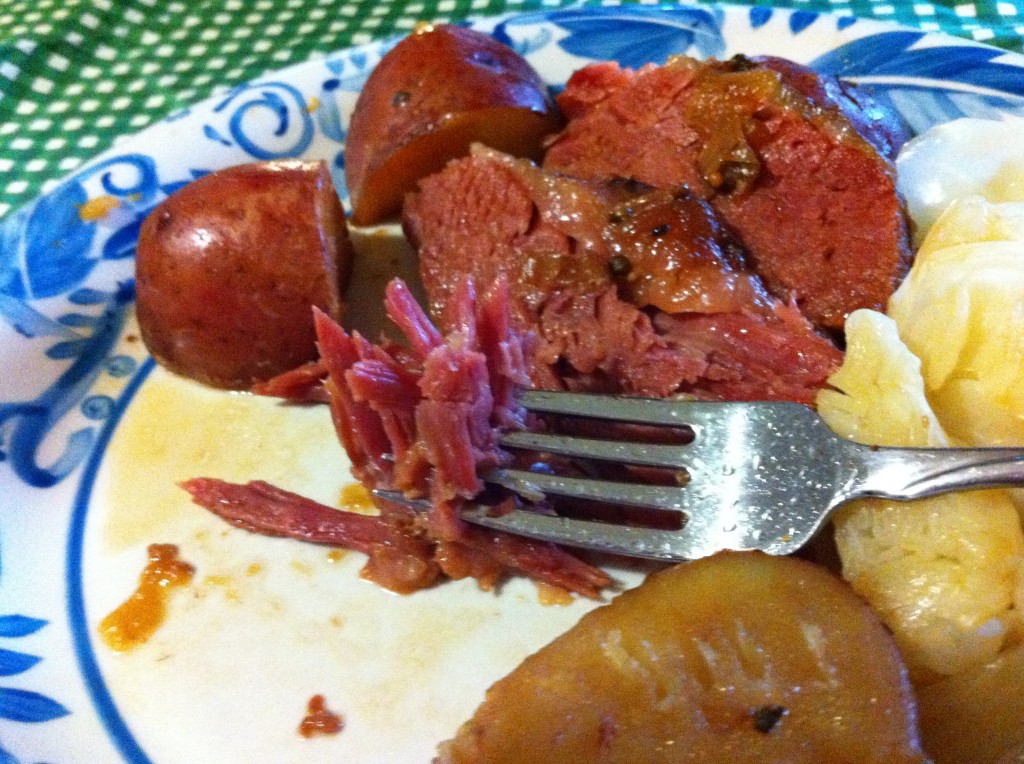
I just ate a big slice of point cut corn beef and though it did have a little bit of fat left on top after cooking, it was tender and delicious and very rich in flavor.

I have a flat cut cooking off in the crock pot right now, that I will talk more about tomorrow.

Today, I am going to talk about cooking a point cut corn beef.

So, here we go.

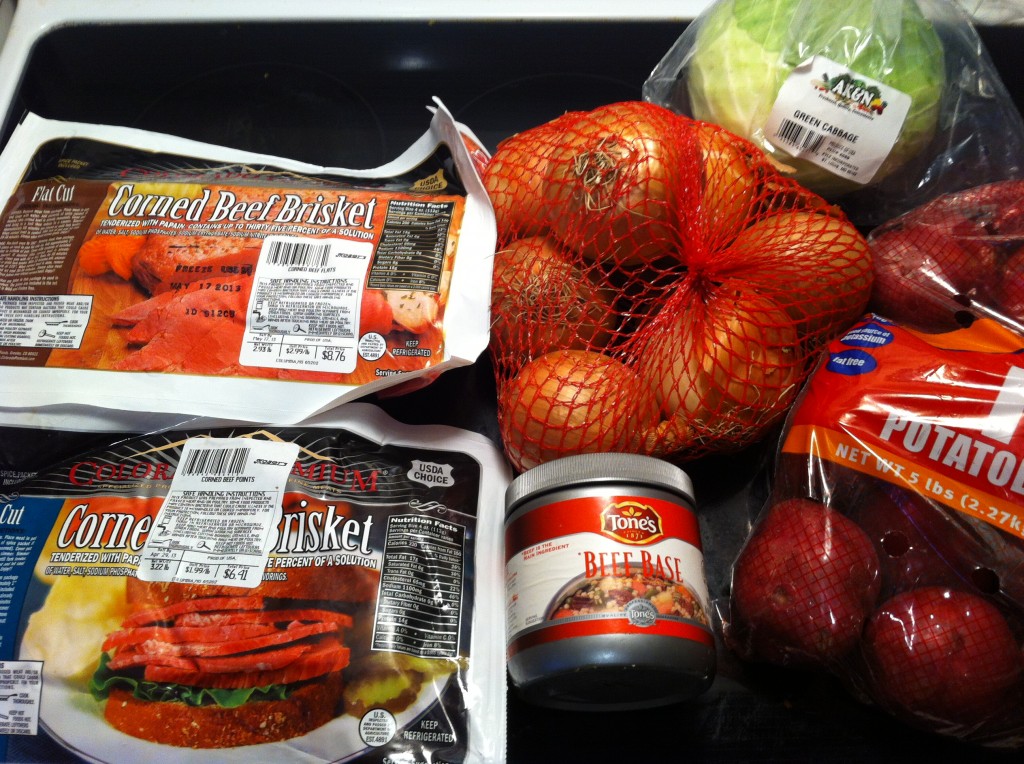
This is what you will need to make corn beef.  Purchase  a point cut corn beef, 2 to 3 pounds of red potatoes, 1 large onion and 1 cup of beef broth or use 1 teaspoon beef base with 1 cup of water.

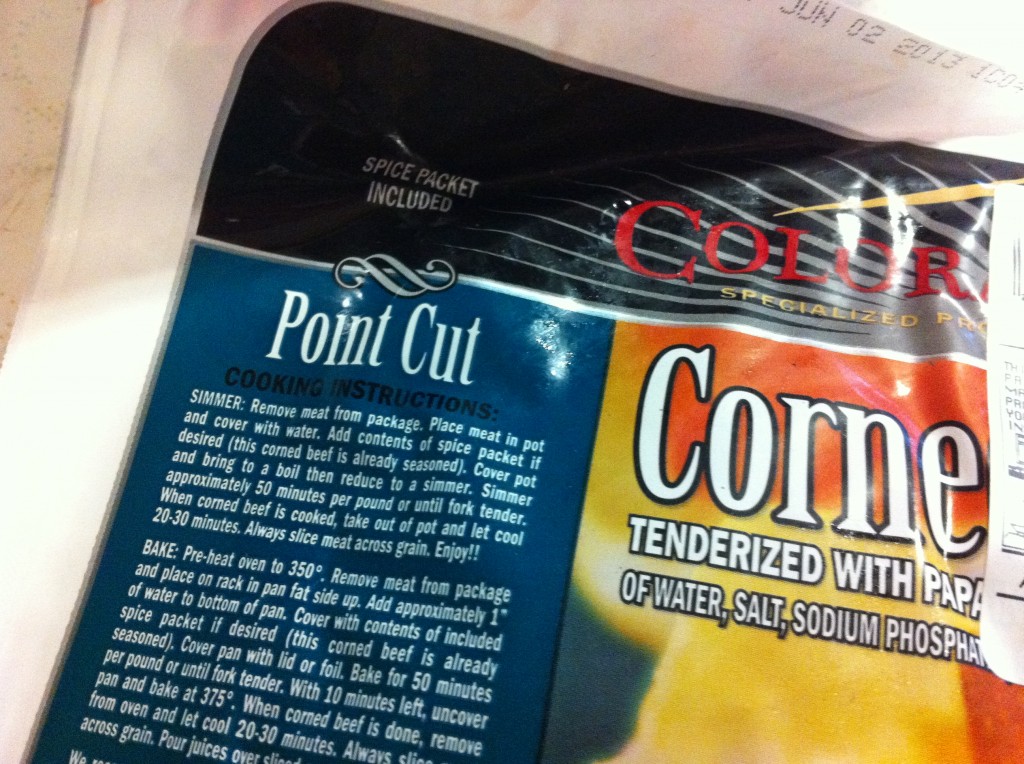
On the upper corner of the package it should say what cut the corn beef it. This one says point cut.

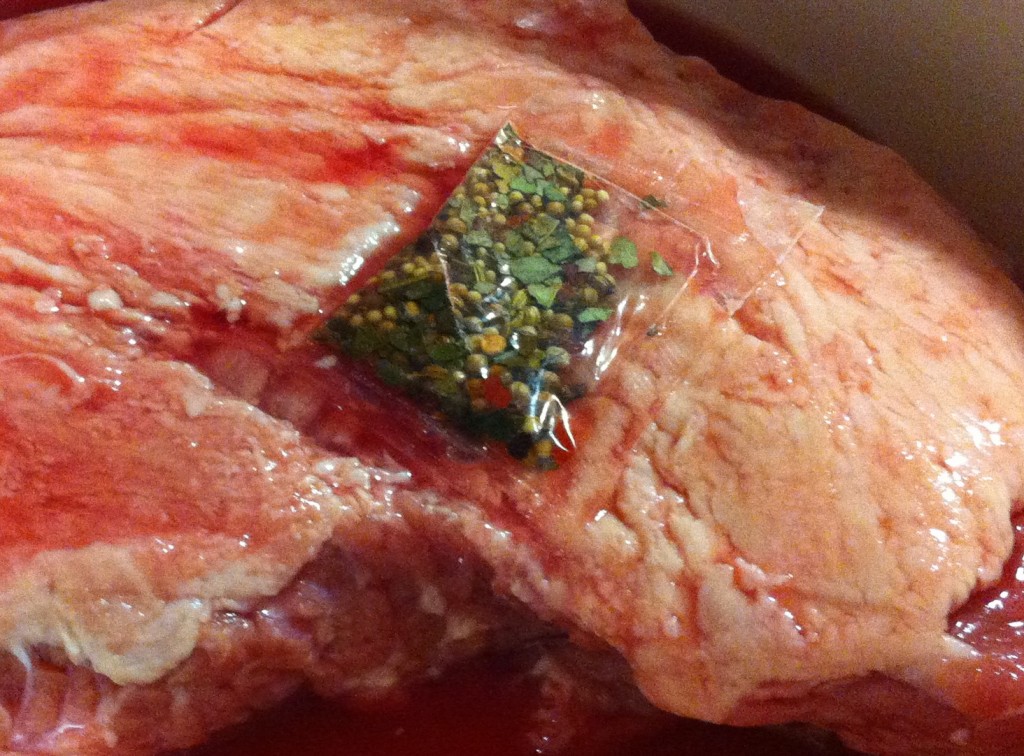
It will also come with a seasoning package.

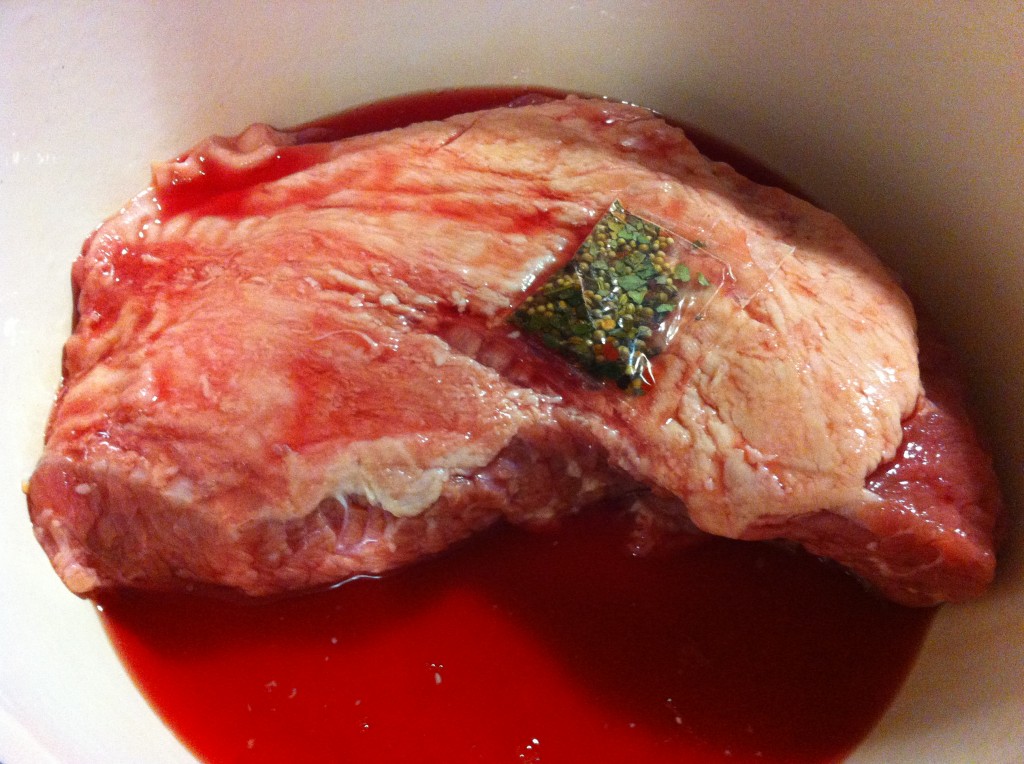
The juice that comes in the package with the corn beef is seasoned too. The direction on my package said to cook the juice with the corn beef. I have read that some cooks will rinse off the corn beef and use beef broth instead. It really is a personal choice.

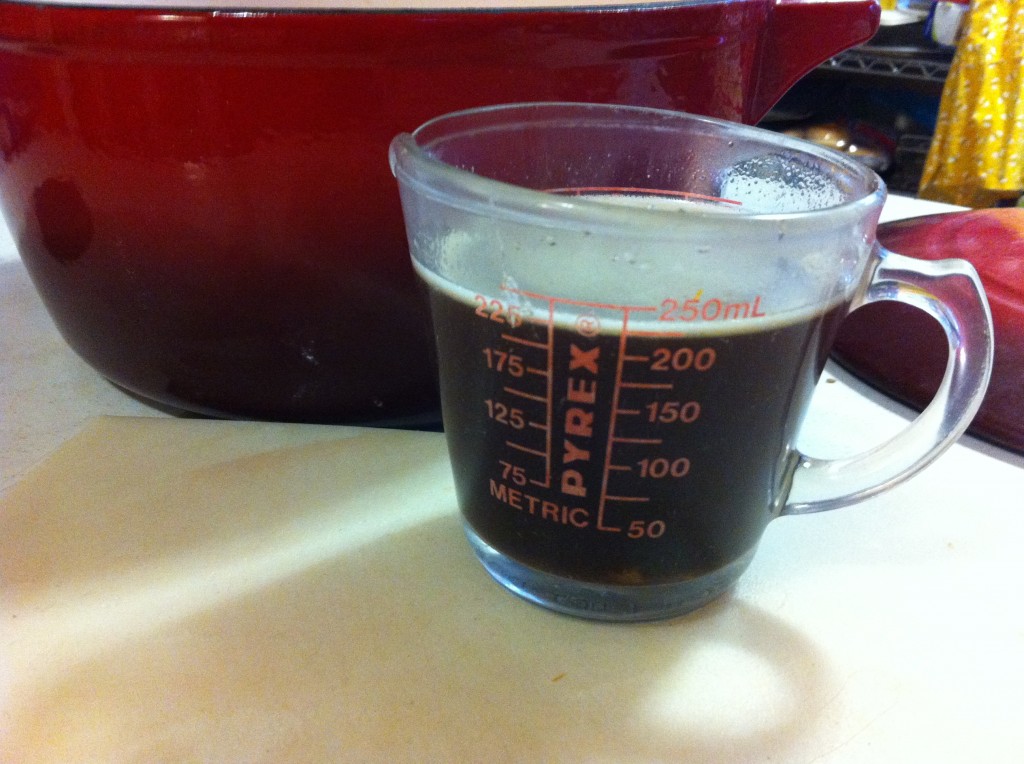
I decided to use the juice in the package and add a cup of beef broth I made from the beef soup base. Be careful to measure the soup base carefully and not add too much because it is salty. (Mine ended up a little salty cause I was in a hurry this morning and just scooped some in).

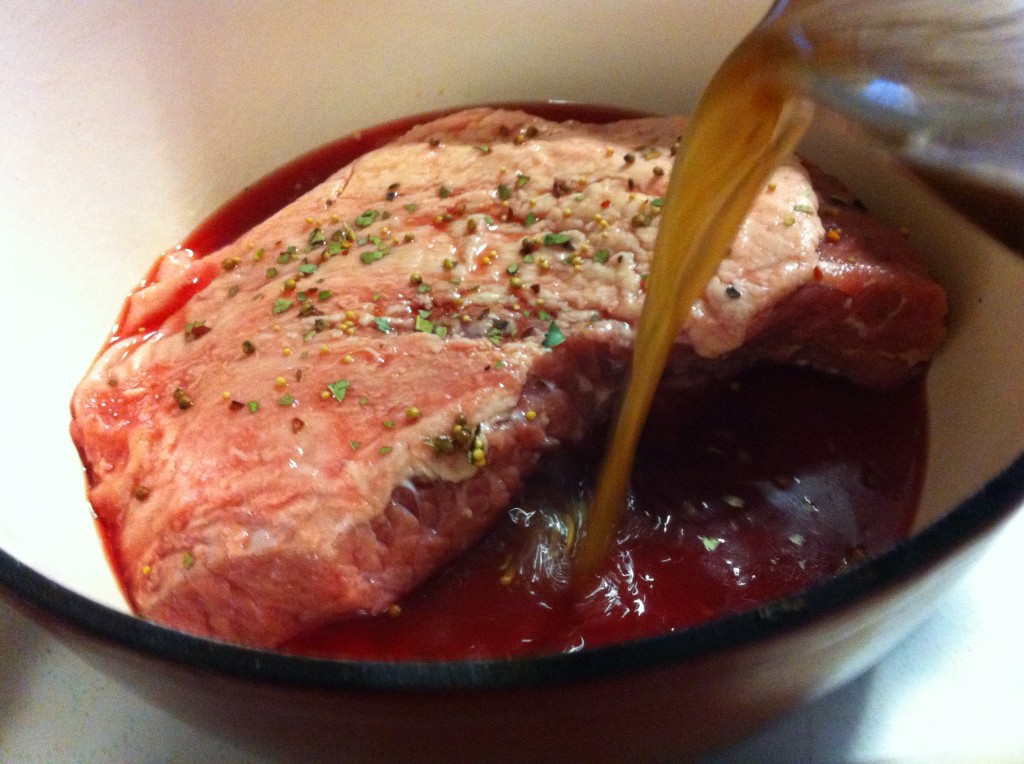
I added my one cup of beef stock (made from the soup base) in the pot. I am using a enamel cast iron Dutch oven with a lid, to roast it in.

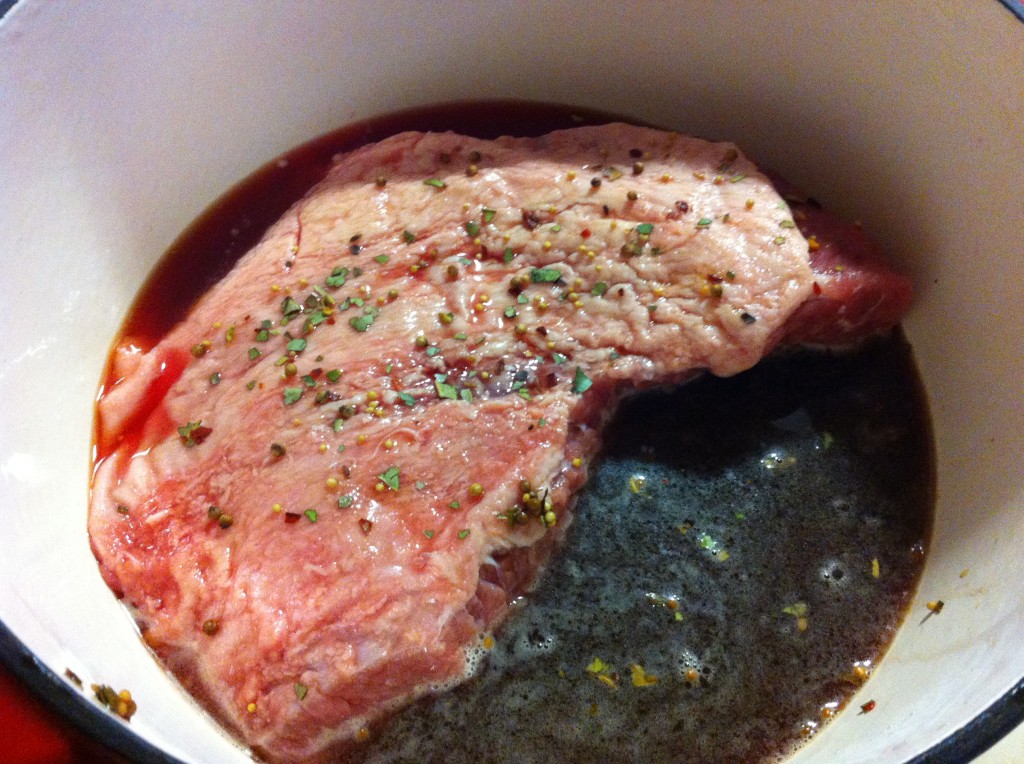
I sprinkled the season package on top.

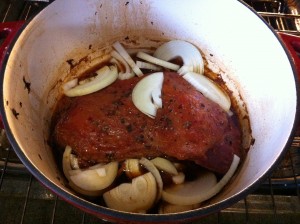
I put the  corn beef in a dutch oven, put the lid on it and put it in the oven at 275 degrees and roasted it slowly for 9 hours. It could take less or longer depending on the size of your corn beef. Mine was right at 3 pounds. The corn beef should be fork tender at this point.


Ater cooking until the corn beef in tender, I sliced up an onion and the red potatoes. I placed the onions on top of the corn beef.


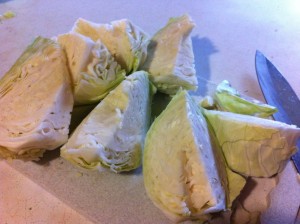
I took a cabbage and cut the core out and cut it into wedges. I placed the potatoes down into broth and laid 4 cabbage wedges on top.

I put the lid back on the Dutch oven, increase the heat of the oven to 325 degrees and roasted for one hour or until the potatoes and the cabbage are both tender.

It is not too late to make one of these for St. Pat’s Day. You can cook it over night in the oven, or the crock pot. Or you can just put it on first thing in the morning and let it cook, slow, all day. Your whole house will smell amazing. It even brought the super hero out of his room asking me what was the great smell.

It made a great dinner.

Luck of Irish to Yea!

Becky

Here is the recipe

Point Cut Corn Beef

Ingredients:

1-Point Cut Corn Beef (one one I used was three pounds, this includes the juice)

I package of Point Cut Corn Beef. I used Colorado brand (hey it was on sale for : D )

2 or 3 pounds of red potatoes

1 large onion

1/2 of a cabbage

1 to 2 cups of beef stock.

Direction:

Place entire contents of the point cut corn beef into a cast iron dutch oven (you can use a crock pot also). Add one cup of beef stock. Sprinkle the contents of the seasoning package on top of the corn beef.  Roast in a preheated 275 degree oven. Roast in the  oven for approximately 8 to 9 hours, or until the corn beef is fork tender.

Slice one onion and lay it over the corn beef. Slice red potatoes in half and put them down into the broth. You may need to add another cup of beef broth or water, if it has cooked out. Place 3 to 4 wedges of cabbage on top of the corn beef.

Place it back into the oven. Turn the heat up on the oven to 325, and roast for another hour or until the potatoes and cabbage is tender.

I did not add anymore salt to this recipe. The juice from the seasoning package, the juice from teh package and the beef broth added plenty of salt.

It comes out tender and juicy.

Enjoy!

Becky

Related Posts Plugin for WordPress, Blogger...