Appetizers For New Years

Are you looking for some simple but mouth watering appetizers to make for New Years Eve?

Here are three of my favorite appetizers to make for a crowd. I also included my easy oven baked St. Louis BBQ Ribs.

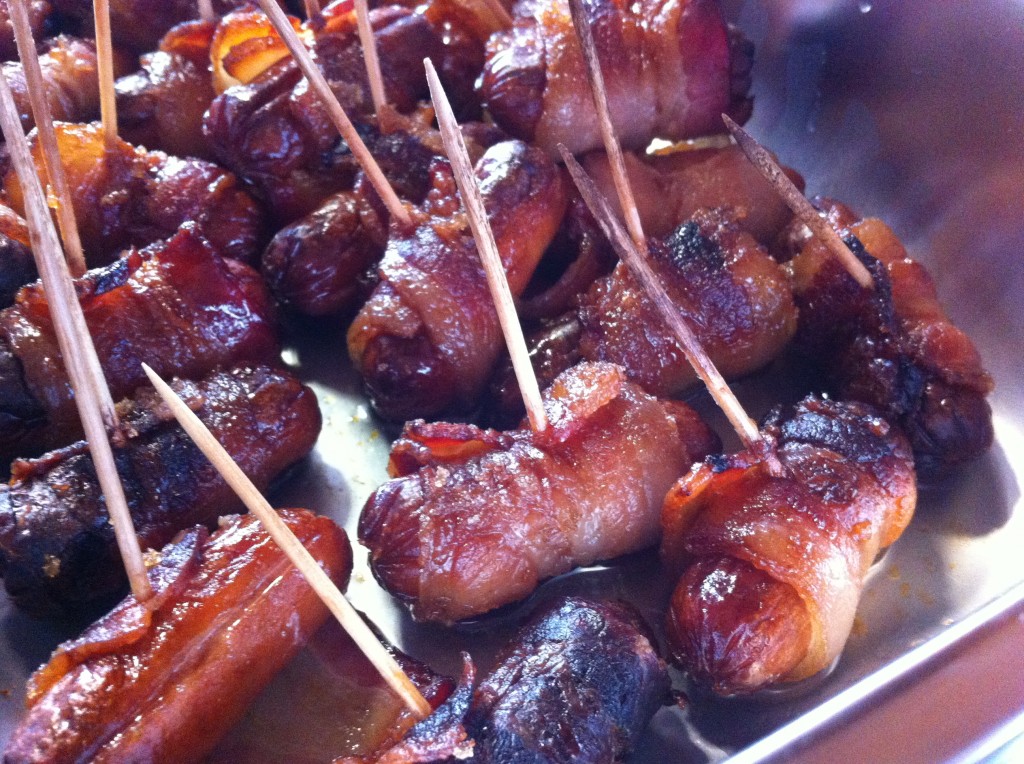
The first on the list is Bacon Wrapped Brown Sugar Little Smokies. Who can resist a little smokie wrapped in bacon, baked with brown sugar sprinkled on them? I can’t!

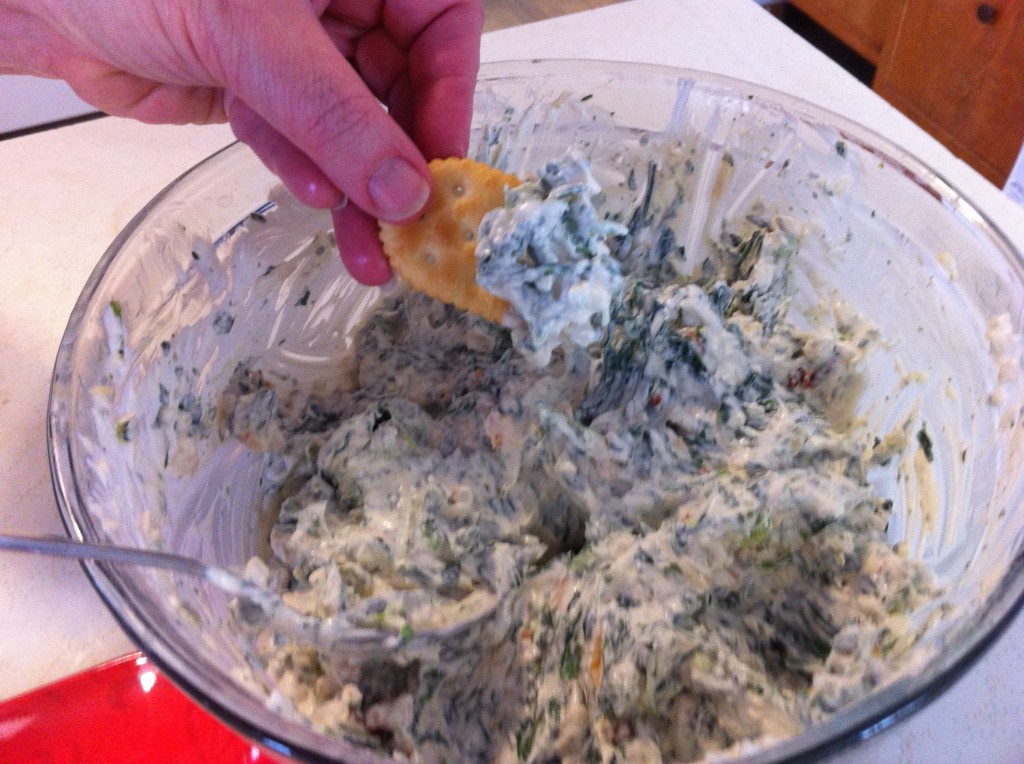
For the dippers in your family, (that would be me), I love this Spinach Dip. The dip has chopped water chestnuts in it to give it a slight crunch. I can eat the whole bowl of this classic dip. Show me the crackers.

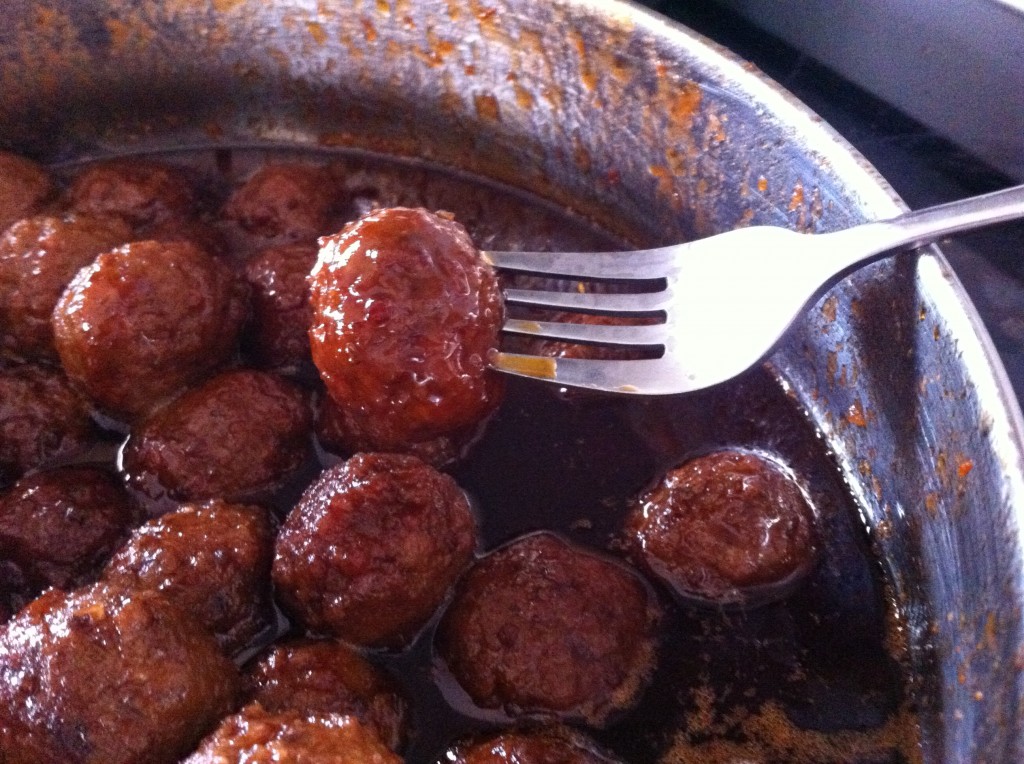
Want a bite? I do! It only takes three ingredients to make these Sweet and Savory Meatballs. Seriously. Easy, Peasy, Nice and Delicious!

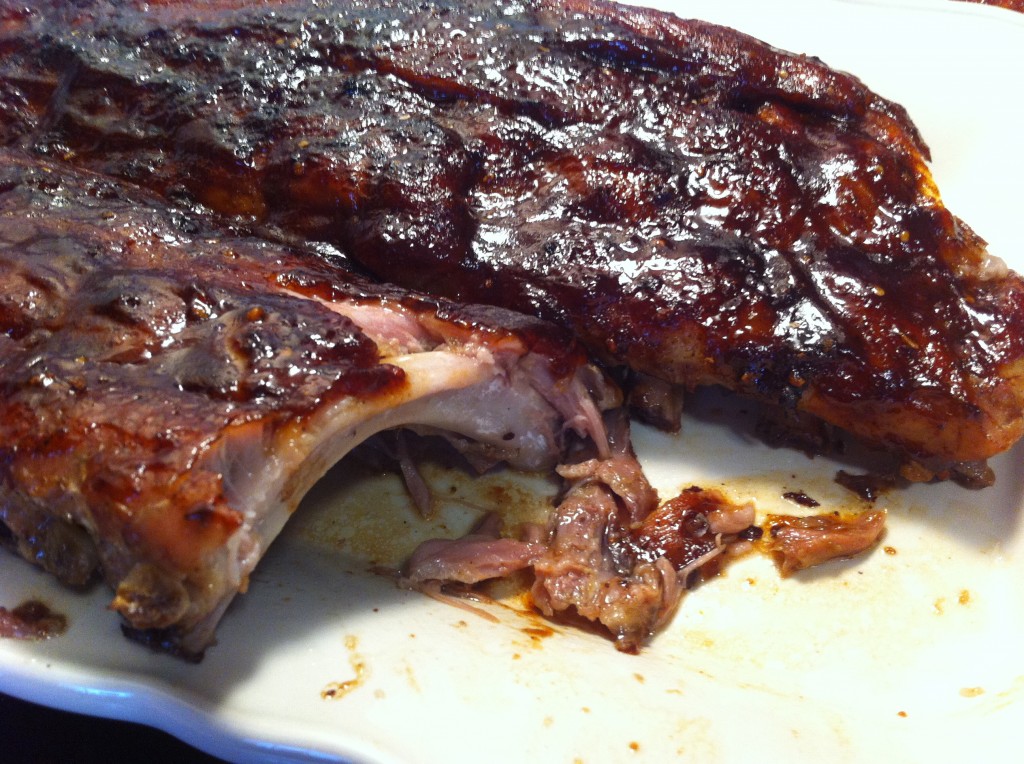
Too cold to BBQ outside and you want ribs to ring in the New Year. Try these, fall of the bone, Oven St. Louis BBQ Ribs.

I will be running out to the grocery store in a bit to pick up what I need (crave) for New Year’s Eve. Oldest daughter who does not cook, wants rotel dip and something sweet. I want some of those brown sugar smokies and stuffed mushrooms. I think  Company is coming over too….he hates mushrooms. That means more for me…hehe! I will make extra rotel dip for him.

If you don’t hear from me until tomorrow, have a great New Year’s Eve. Stay safe, Drive Safe and Eat food…Really Good Food!

Happy New Years!

Becky


Overnight Cinnamon Rolls

Merry Christmas and Happy New Year!

I am finally in the upright position after having the flu for four days. I was pretty much in bed or pretending to feel well, walking and looking like a zombie, while baby college girl was home for Christmas. I think that Santa must have decided to give me the flu for Christmas instead of coal. Jeepers….I must have been a bad girl this last year ; )

Anywho, while I am still feeling good enough, I am going to finally post my overnight cinnamon roll recipe. I don’t know if you remember me talking about making over a hundred cinnamon rolls for the staff at my high school in December, but I had so many staff members wanting the recipe I thought I better get it posted in time for the new year. What better way to start 2014 than eating hot cinnamon rolls for breakfast, right? One of the best things about this recipe (besides the gooey icing) is that you can make them the day before, put them in the fridge overnight and bake them in the morning. I am using Alton Brown’s Overnight Cinnamon Roll recipe, with some changes and with a different, delicious cream cheese icing. From the viewers who made his recipe, some had a hard time getting the dough to rise. I have included the little tricks that I used and it worked for all 130 something cinnamon rolls. So come on, give them a try…who can resist warm cinnamon rolls.

Here is what you need to make these cinnamon rolls.
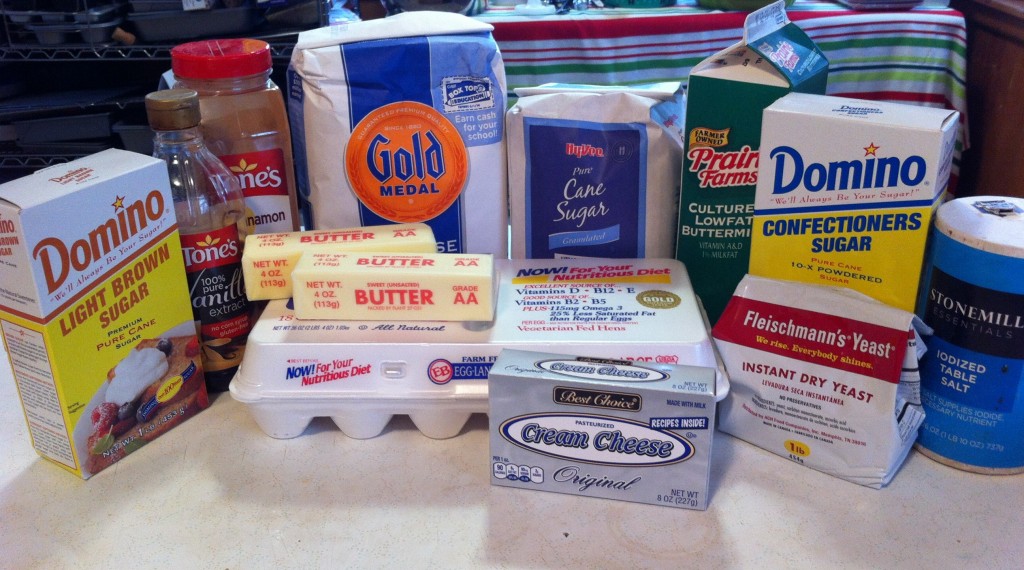
Make sure that your ingredients are at room temperature. This will help in the dough rising.
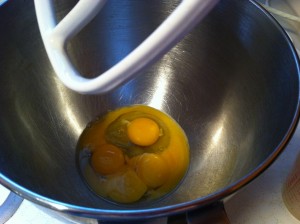
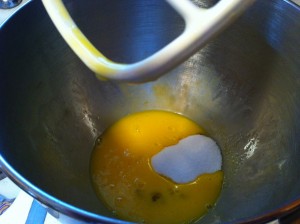
         

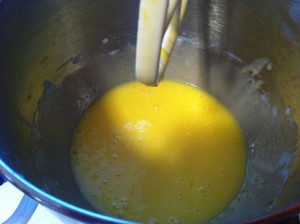
The first thing you need to do is put four egg yolks and one egg in a large mixing bowl. Next, add the sugar and combine.
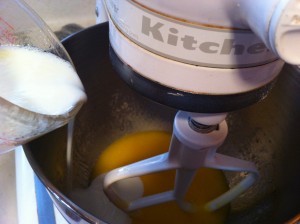
         

Next add the buttermilk. I warmed my buttermilk in the microwave for 3o seconds before I slowly poured it into the egg mixture. After, I mixed in the warm milk, I added the warm melted butter and combined everything together with the mixer.
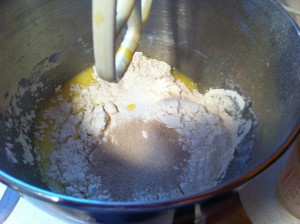
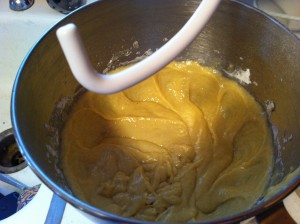
         

Now, add in two cups of flour, salt and the yeast. Use the paddle attachment to mix the dough until the flour and yeast is all mixed together. Now, take the paddle attachment off and put on the dough hook.
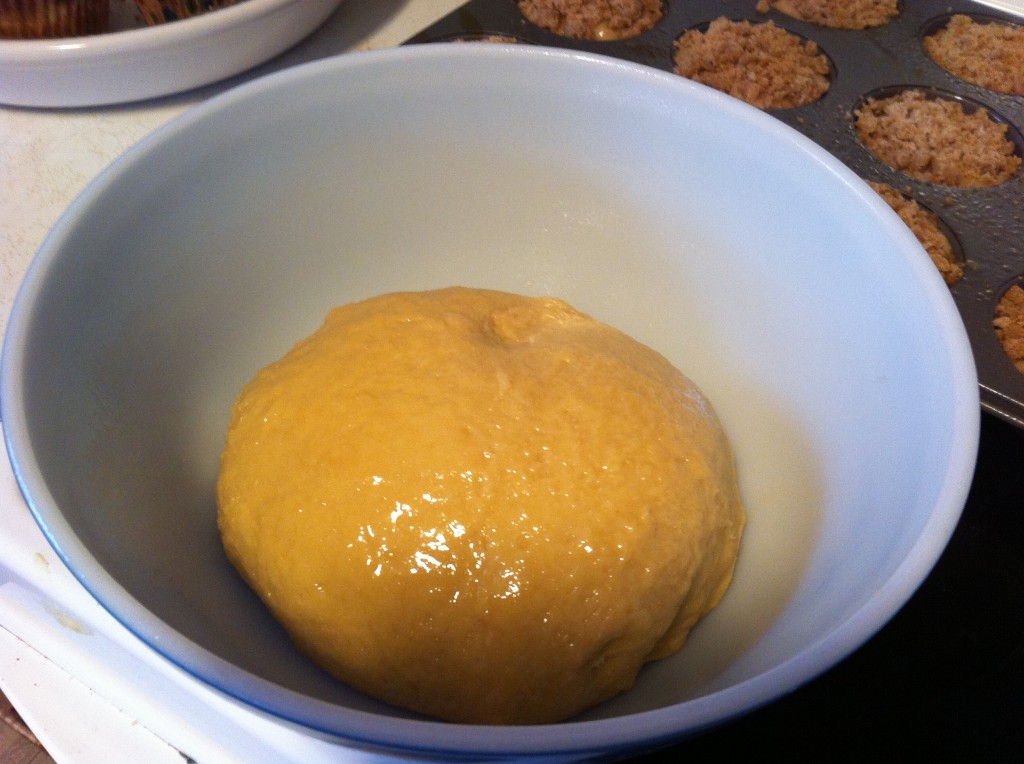
Add in enough flour to form a nice soft, slightly sticky dough. The amount of the flour depends a lot on how fresh the flour is. I just add about 1/2 cup of flour at time and when the dough starts pulling together with the dough hook, I just start tapping flour in a little at time until the dough cleans the sides of the bowl. You do not want to add too much flour because it can make your dough dry. When you dough is ready, use vegetable spray and spray a large bowl. Put the dough in the bowl to rise. I also spray the top of the dough so it does not dry out. I cover the bowl with a cloth and put the bowl in a warm place to rise.
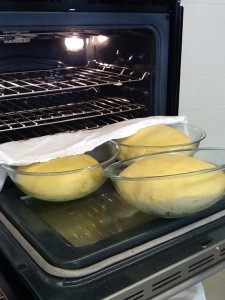
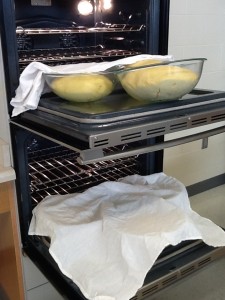
                  

Here is a picture of all the bowls of dough I had sitting on the oven doors to rise for the ones I made at school. I warmed the ovens up and then turned the ovens off. I sat the bowls on the oven doors with a cloth over them to rise. I felt like the dough needed the extra warmth to rise.
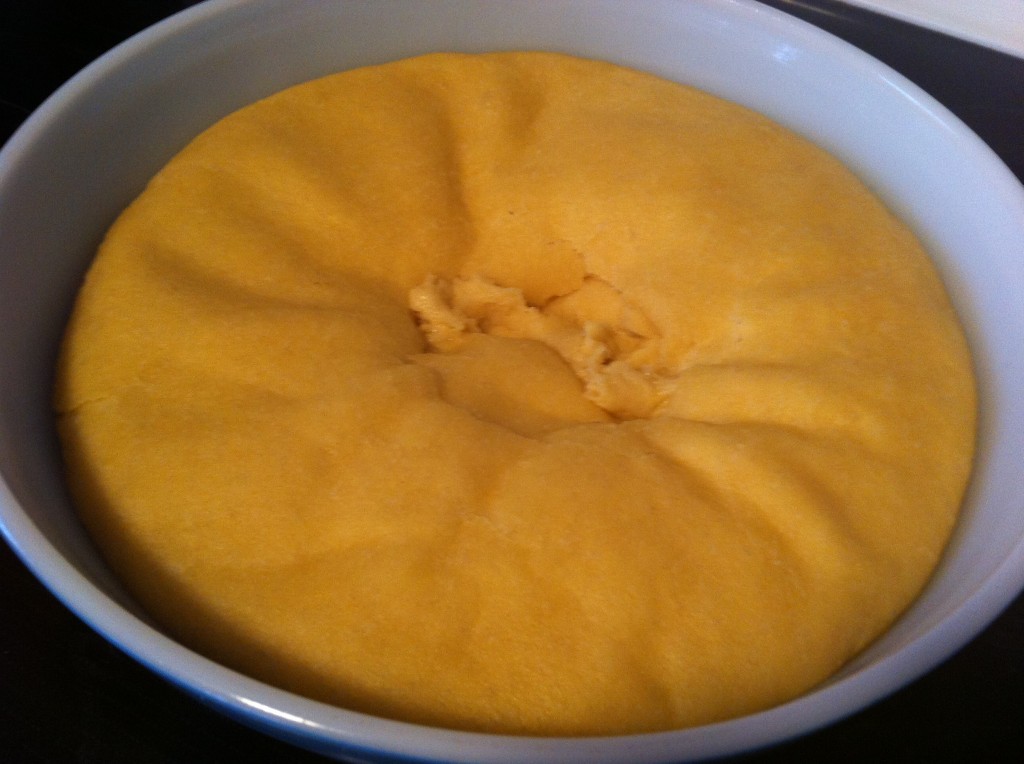
When the dough doubles in size (mine took about two hours), punch the dough down and get ready to roll the dough out.
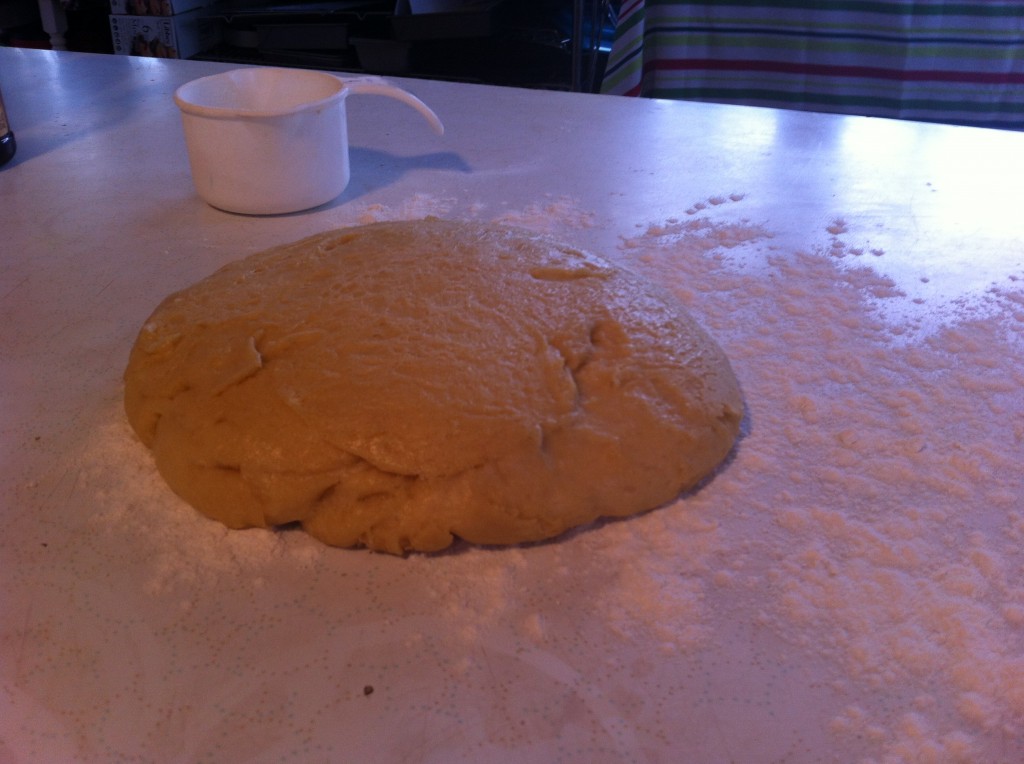
Lightly flour your counter top. Set the dough on top of the flour.
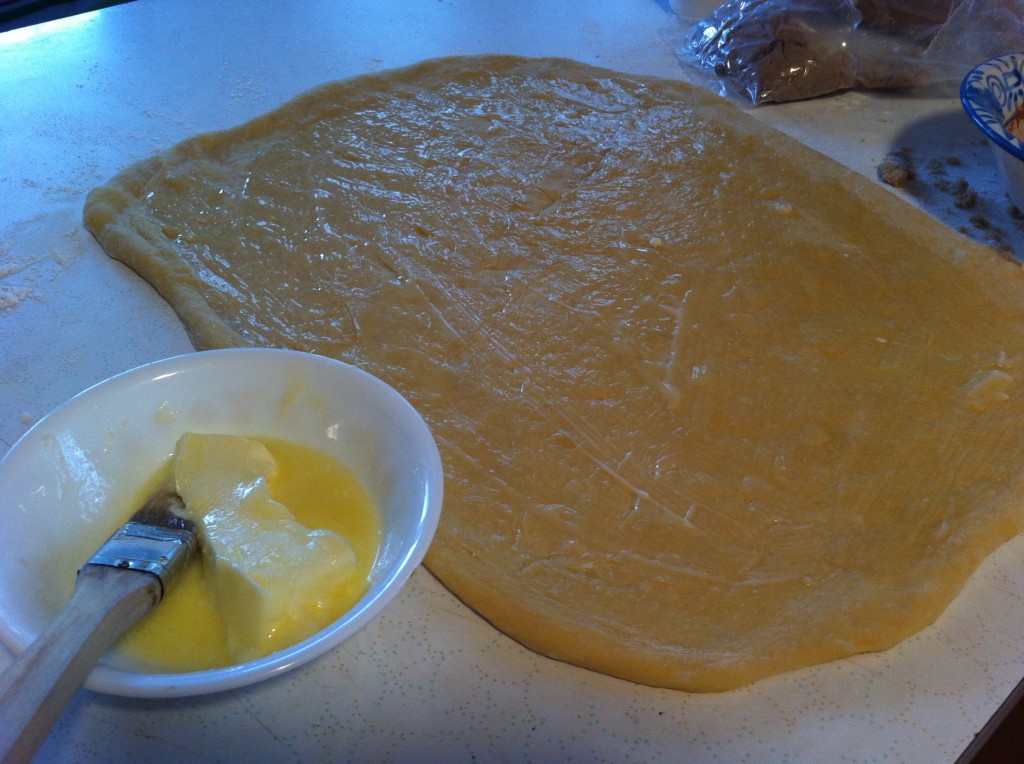
Roll the dough into a large rectangle about a 18 inch by 12 inch. Spread melted butter on top of the dough.
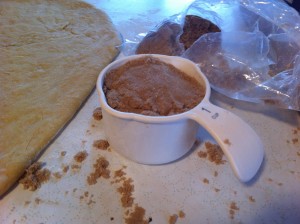
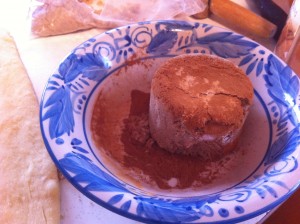
         

Measure out the brown sugar and the cinnamon and mix together.
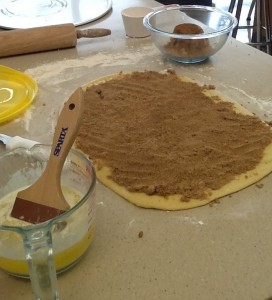
         

Spread the cinnamon brown sugar on top of the buttered dough. Starting with the long side of the dough, roll the dough up. Cut the dough into approximately 10 rolls.
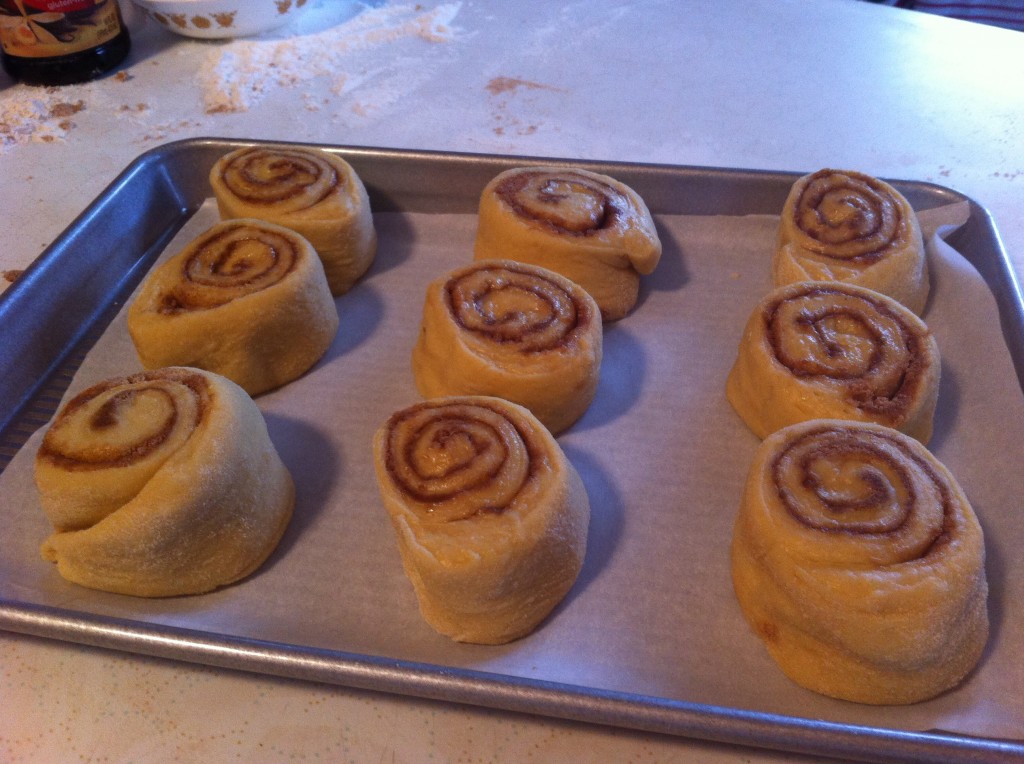
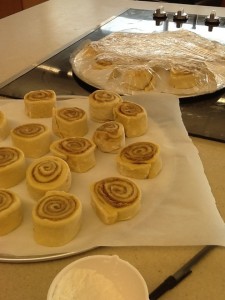
Set the rolls on a parchment paper covered cookie sheet. Cover with plastic wrap and put in the refrigerator until  you are ready to bake. When you are ready to bake, warm your oven to 200 degrees. Place the pan of rolls in the oven (take the plastic wrap off). Make sure to leave the door of the oven  ajar. Let the rolls rise for about 20 minutes. Take the rolls out of the oven and heat the oven up to 350. When the oven is preheated place the rolls back into the  oven and bake for about 20 minutes or until the inside of the roll is cooked through.
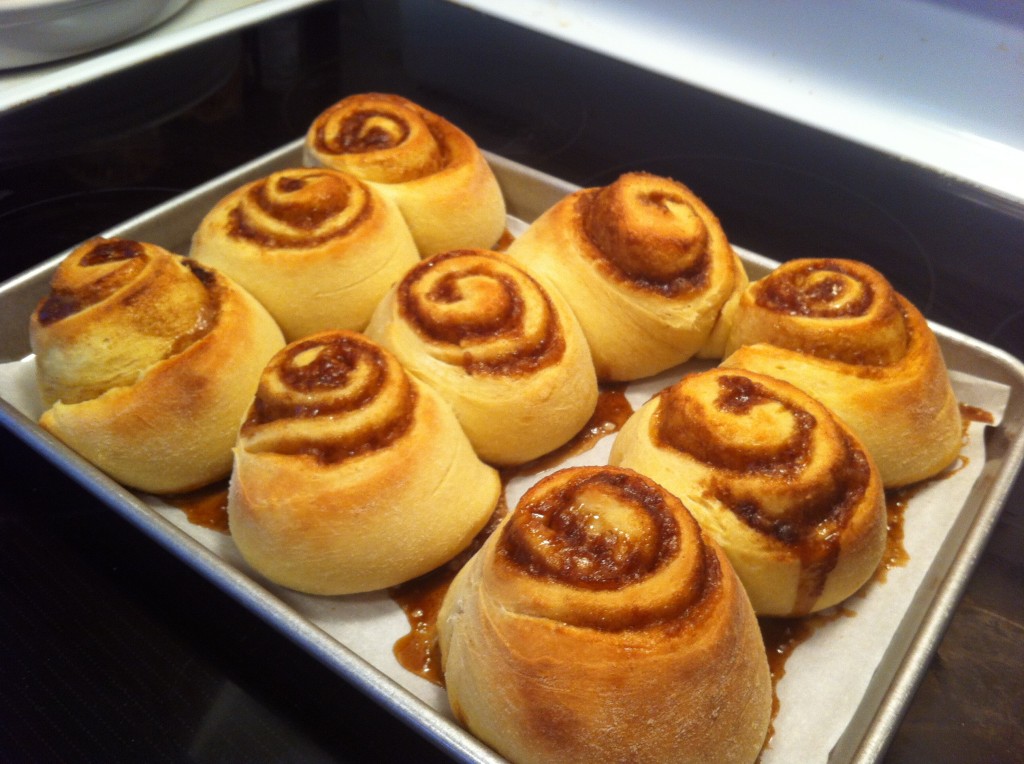
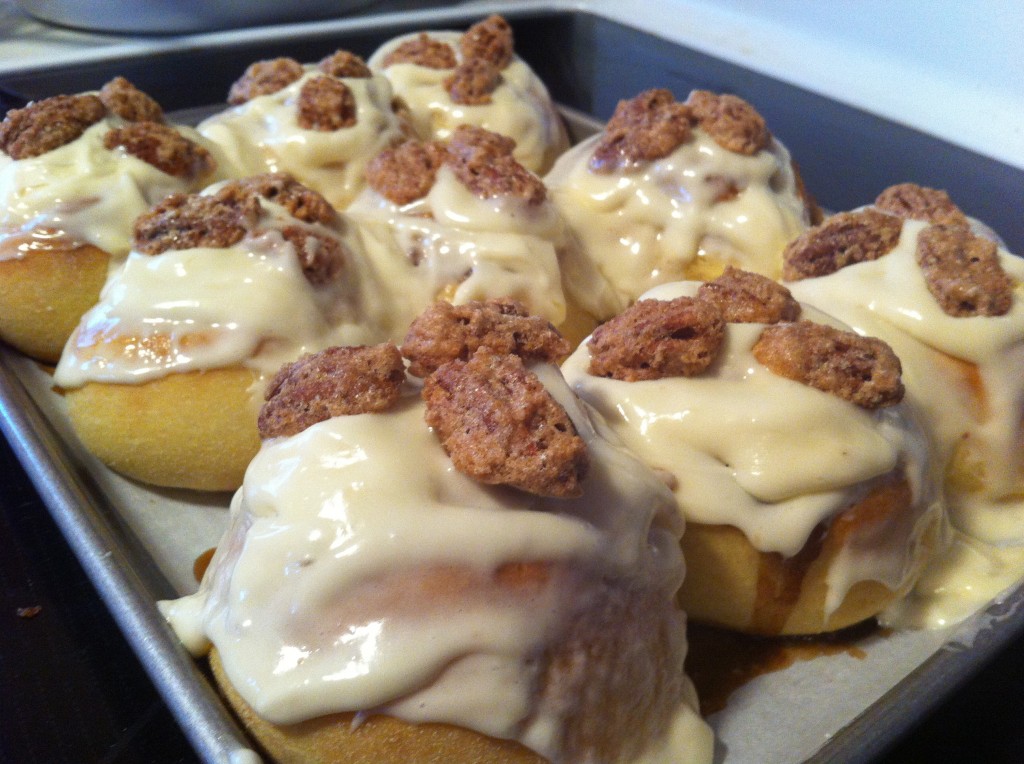
The rolls will pop up in the middle and brown sugar will start oozing out.
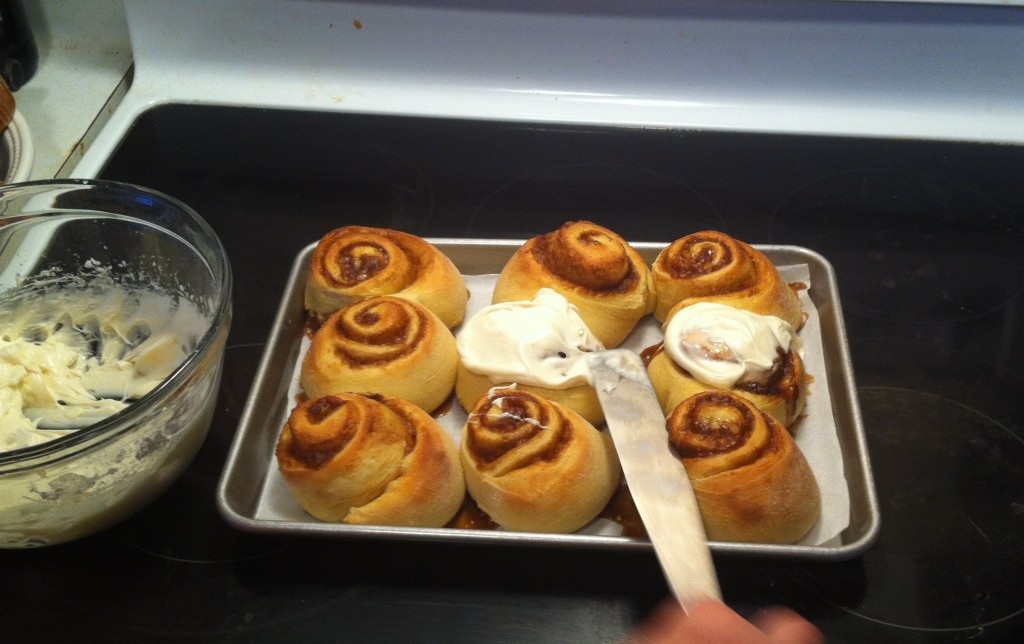
While the rolls are still warm, spread with the icing.
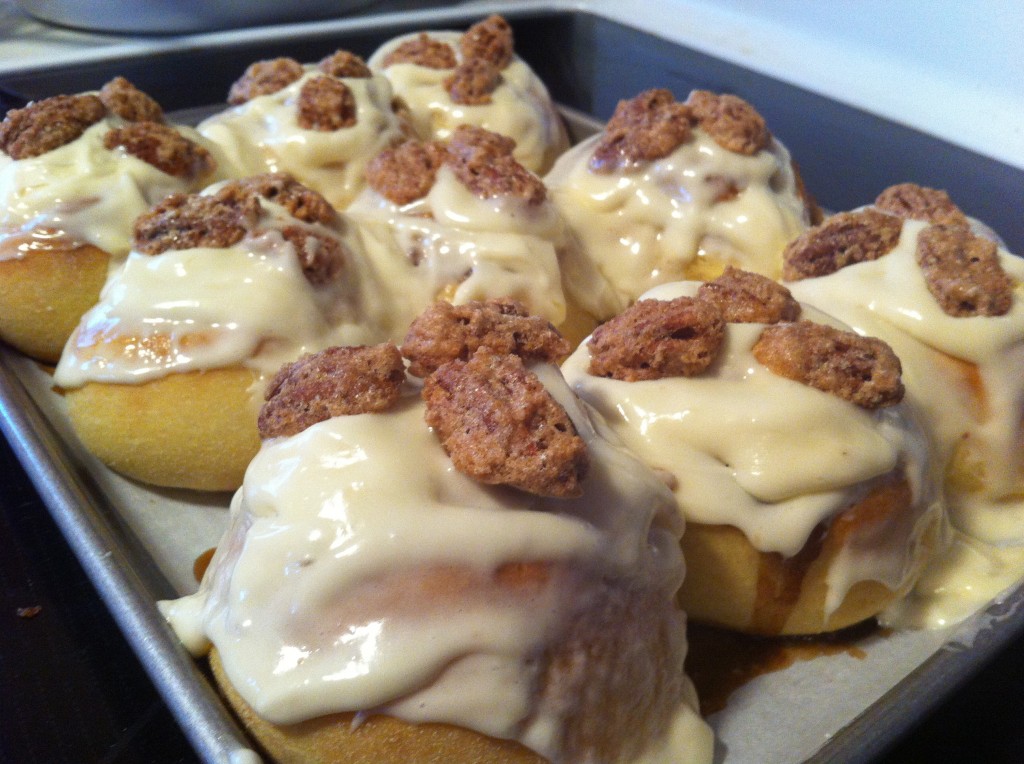
If you want, after you ice the warm cinnamon rolls you can top them with sugared pecans.

Here is how to make my favorite icing for the cinnamon rolls.
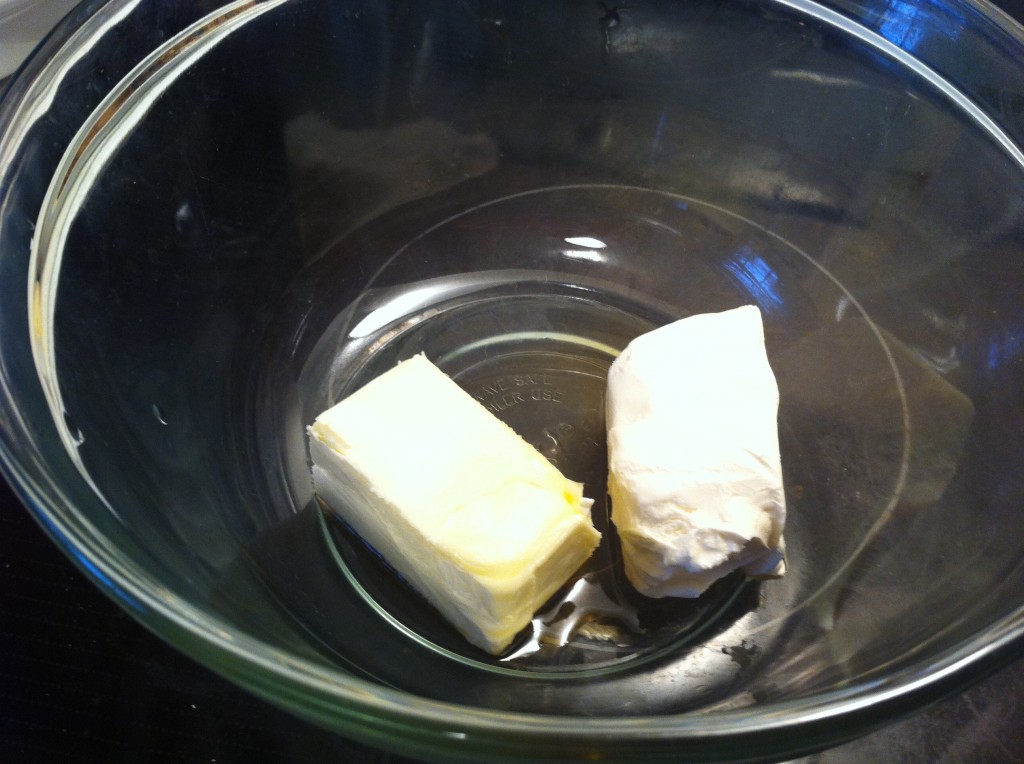
In a bowl add the soften butter and cream cheese.
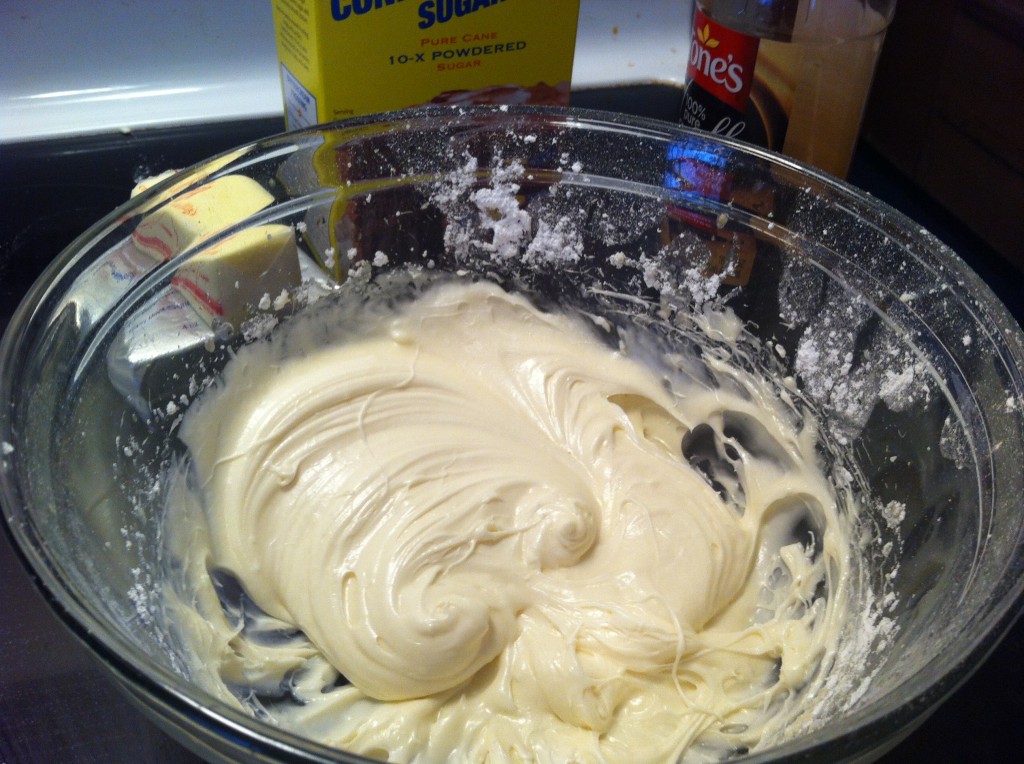
With a mixer, mix in the powdered sugar, warm water, vanilla and salt. You will end up with a bowl full of creamy icing.

Here is the recipe:

Overnight Cinnamon Rolls

Recipe adapted from Alton Brown

Ingredients:

4 large egg yolks: room temperature

1 large egg: room temperature

1/3 cup sugar

6 tablespoons melted butter

3/4 cup of buttermilk, warmed slightly in the microwave

Approximately 4 cups of flour: you may not use the total amount

1 package of instant dry yeast or 2 1/4 teaspoons

1 1/4 teaspoons salt

Vegetable spray

Filling:

1 cup packed brown sugar

1 tablespoon ground cinnamon

Melted butter: enough to brush on the dough approximately 2 tablespoons

Icing:

4 tablespoon butter, softened

2 ounces cream cheese, softened

1 1/2 cups powdered sugar

2 tablespoons warm water

1/2 teaspoon vanilla extract

1/4 teaspoon salt

Directions:

In a stand mixer with the paddle attachment, combine the egg yolks, egg, sugar, butter and buttermilk. Add 2 cups of flour along with the yeast and salt. Combined until all the flour is incorporated. Switch to the dough hook attachment. Add 1 cup of flour and  knead for 5 minutes. Add more flour until the dough cleans the sides of the bowl. The dough should be soft and moist. Spray a large bowl with vegetable oil. Take the dough out of the mixing bowl and transfer to the large bowl. Lightly spray the top of the dough with the oil. Cover and let rise in a warm place (I used a warm oven door) until the dough doubles in size. It took mine about 2 hours.

Combine the brown sugar, cinnamon and salt in a medium bowl.

Turn the dough out onto a lightly floured work surface. Roll the dough into a rectangle about a  18 by 12 inch rectangle. Brush the dough with melted butter. Sprinkle the dough with brown sugar and cinnamon. Leaving a edge on one side to use later to seal the rolled dough together. Press the brown sugar on to the dough. Beginning with the long edge, roll the dough up. Seal the edge together. With a serrated knife, slice the dough into 10 to 12 cinnamon rolls. Arrange on a cooking sheet, lined with parchment paper.  Cover the rolls with plastic wrap and refrigerate overnight.

In the morning, remove the rolls from the fridge and place in a warm 200 degree oven. Be sure and take off the plastic wrap. Turn the oven off and leave the door ajar. Let the rolls rise and proof for 20 minutes or until the rolls look slightly puffy. Take the rolls out of the oven.

Preheat the oven to 350 degrees.

When the oven is preheated, place the rolls in the preheated oven and bake until the rolls are golden brown. While the rolls are baking, make the icing. When the rolls come out of the oven, let them cool slightly. After the rolls have cooled, ice with the icing and serve.
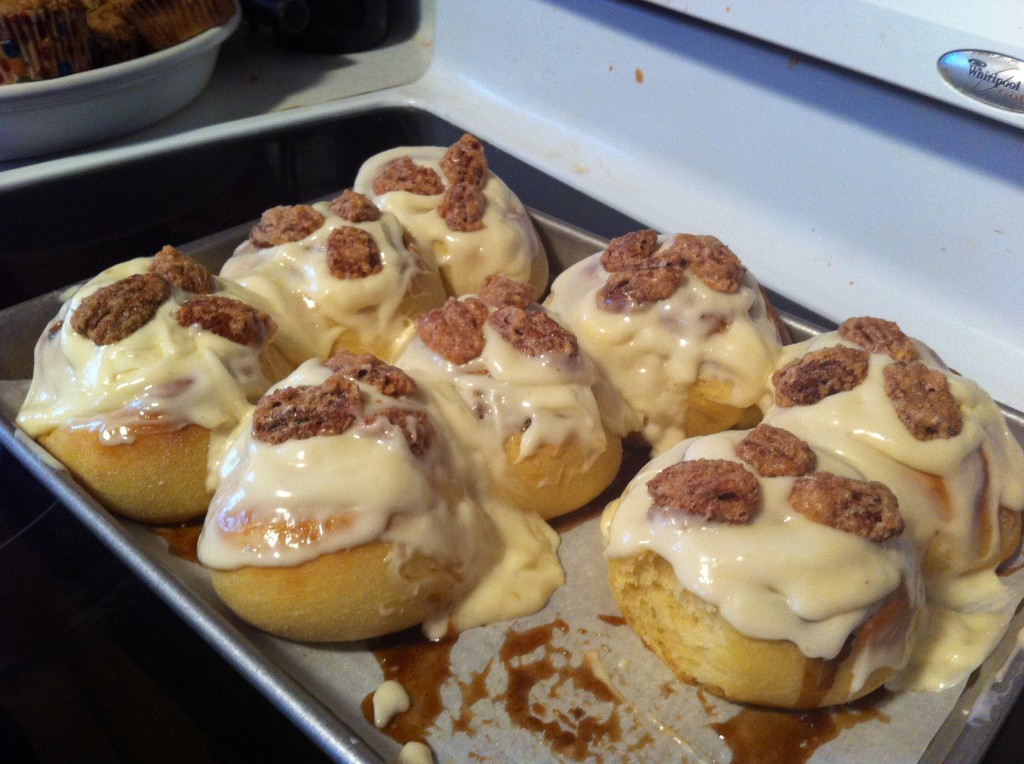
Before, I finish this post, I wanted to thank all the teachers who came to my rescue the morning I was making all those cinnamon rolls.

Does it look like we are having fun!!!
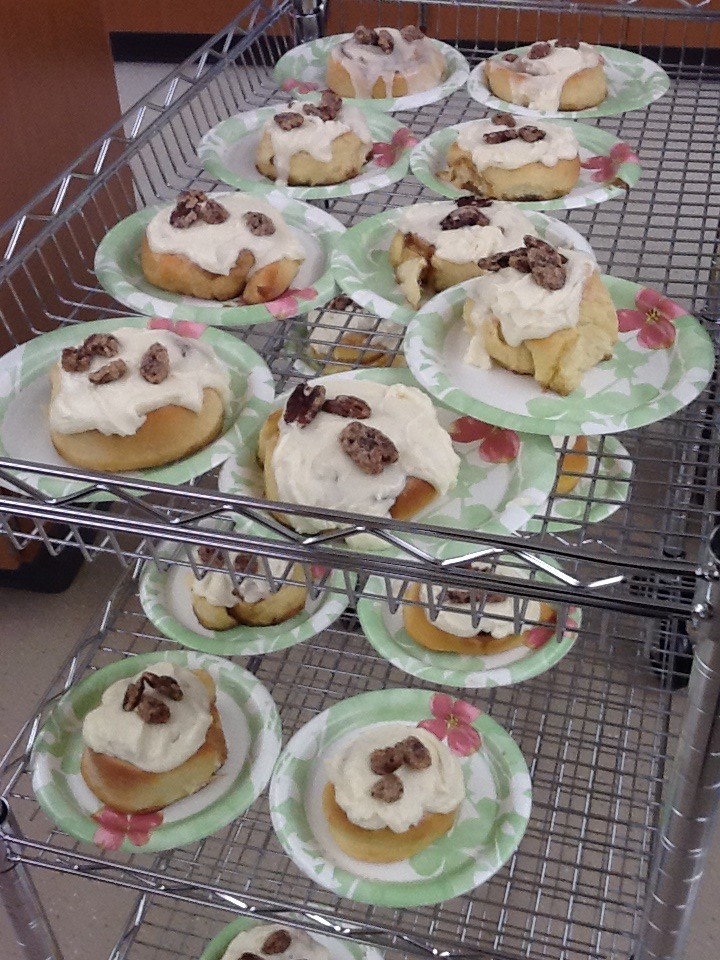
Don’t worry, you don’t have to make this many….not unless you have a really big family.

Enjoy!

Becky

Other Posts you may enjoy:

 

Buttermilk Pecan Pancakes
 

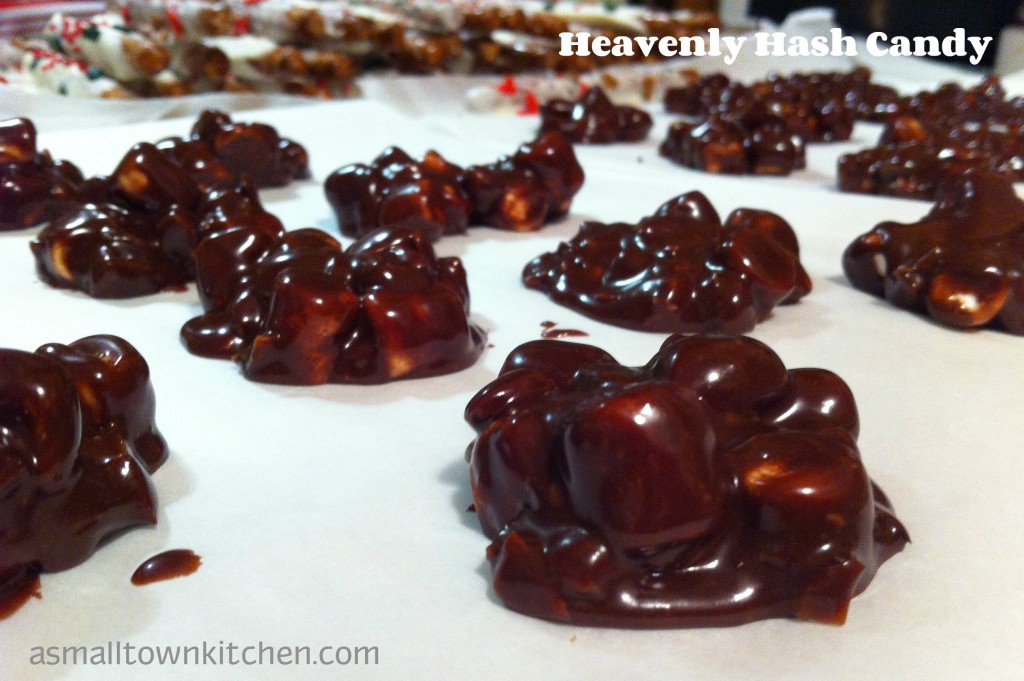
Heavenly Hash Candy

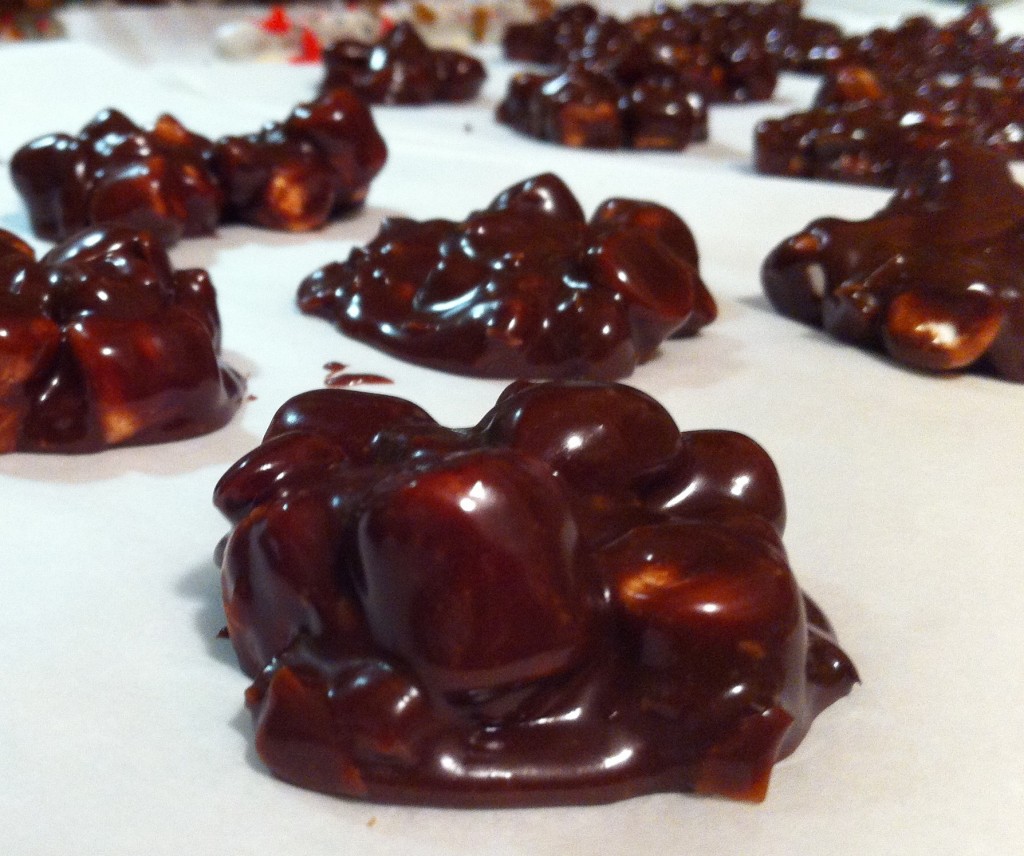
I must be feeling a little nostalgic. Yesterday, I made those cute and delicious,  strawberries in winter candy and today I am making another childhood favorite, heavenly hash candy.

I think it has something to do with marshmallows. I love anything to do with marshmallows. Marshmallow cream, marshmallows on top of sweet potatoes, on top of a steaming mug of cocoa and of course grabbing a handful right out of the bag for a snack. This candy is full of marshmallows.

I think I need an intervention!

Anywho, when I happen to run across a picture of this candy, it brought back memories of family gatherings and tables full of great food, I knew I had to add heavenly hash to the trays of goodies. They are full of marshmallows and nuts (I used almonds) and all coated in creamy chocolate goodness.

I will have to admit it took me a couple of tries to get it right. I am not sure if I mis-measured the sugar or I did not boil the milk and sugar for the full two minutes. The first batch just would not set up. I was not just going to give up, and I thought I would try it again. This time I took extra time to make sure I measured everything correctly and boiled the milk and sugar the full two minutes. This does not mean simmer either, make sure you boil it for two minutes to insure the candy will set up. I just finished my fourth third batch and the candy set up like a dream.

I know it will for you too.

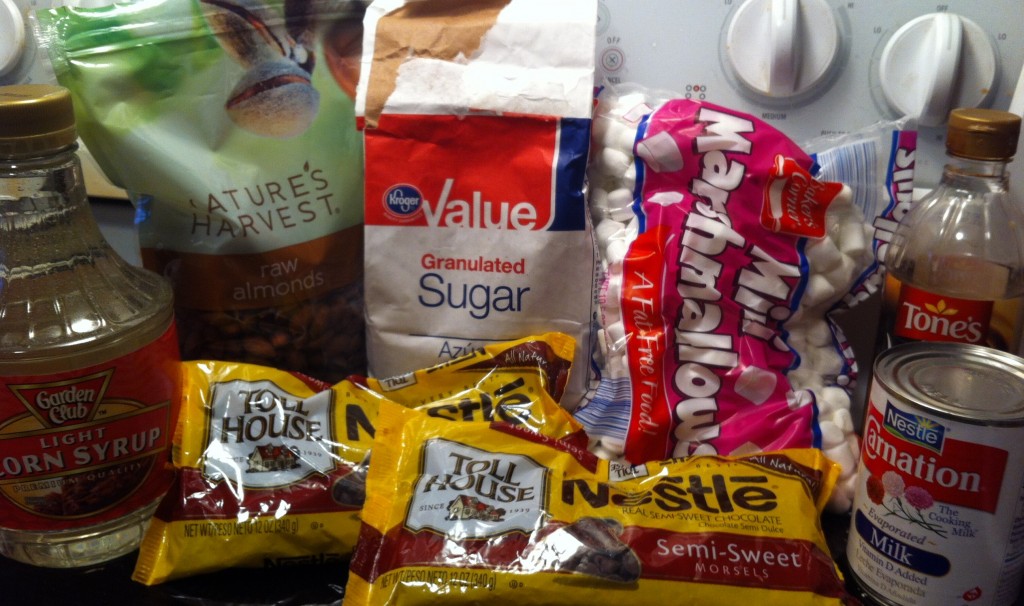
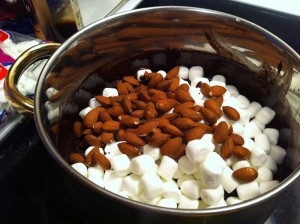
Here is everything you will need to make Heavenly Hash Candy.


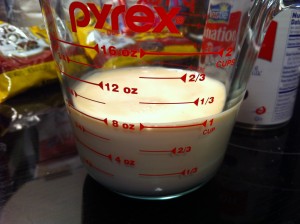
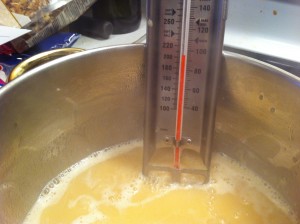
First thing you need to do is measure out one cup of evaporated milk. Put the milk in a medium size sauce pan and add one cup of sugar. Do not worry about using a candy thermometer. I was just curious to see what temperature the milk would get when I boiled it.


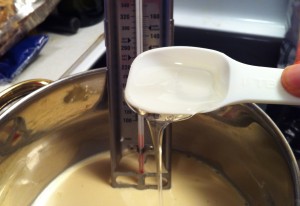
Now, add three tablespoons of corn syrup. Stir the milk, sugar and corn syrup until the sugar dissolves. Bring the milk mixture to a rolling boil and boil for two minutes. The mixture will look really foamy when it boils.


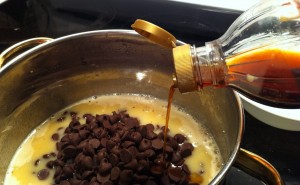
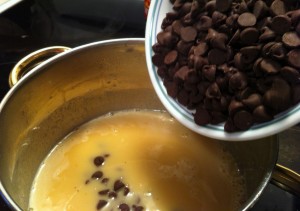
Let the hot milk mixture cool for two minutes. Then, add in the chocolate chips (two cups) and one teaspoon of vanilla.

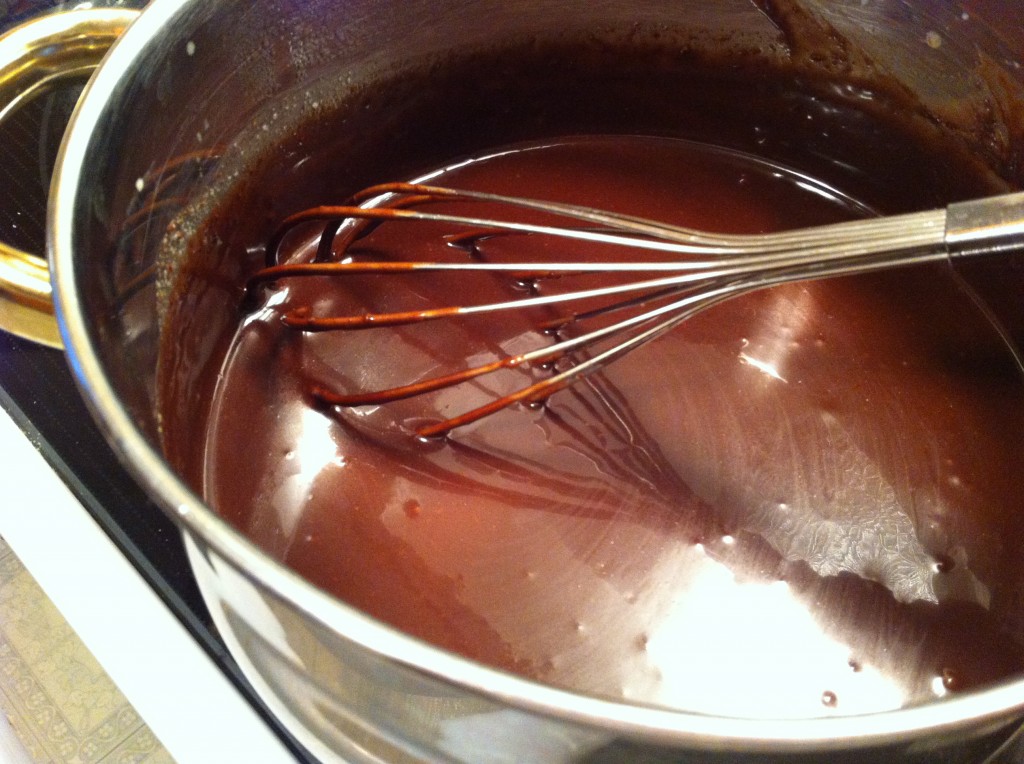
With a whisk, whisk the chocolate chips and vanilla with the hot milk mixture until the chocolate chips are melted. Let the chocolate mixture cool for 20 minutes.


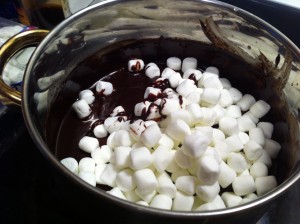
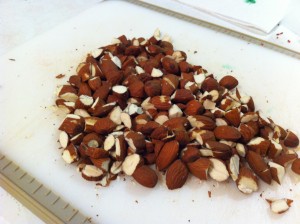
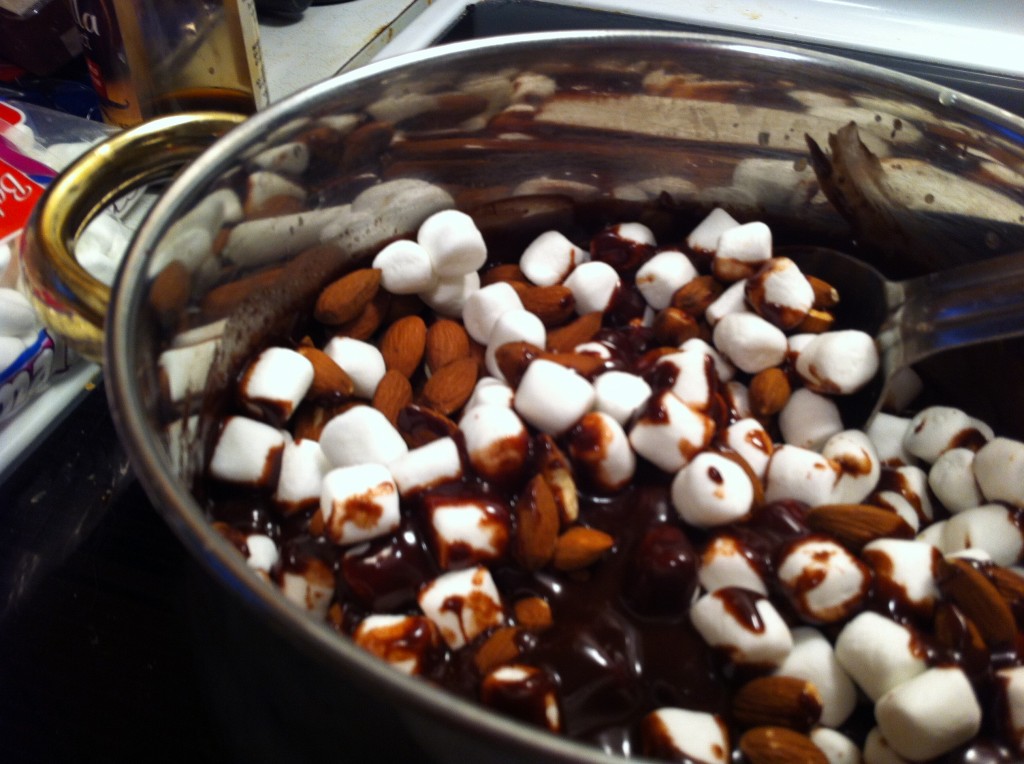
After the chocolate has cooled for twenty minutes, stir in two cups of miniature marshmallows and 2 cups of chopped nuts. I used almonds. I left some whole and some  I just did a rough chop on.

With a large spoon, stir all everything together until the marshmallows are well coated in chocolate.

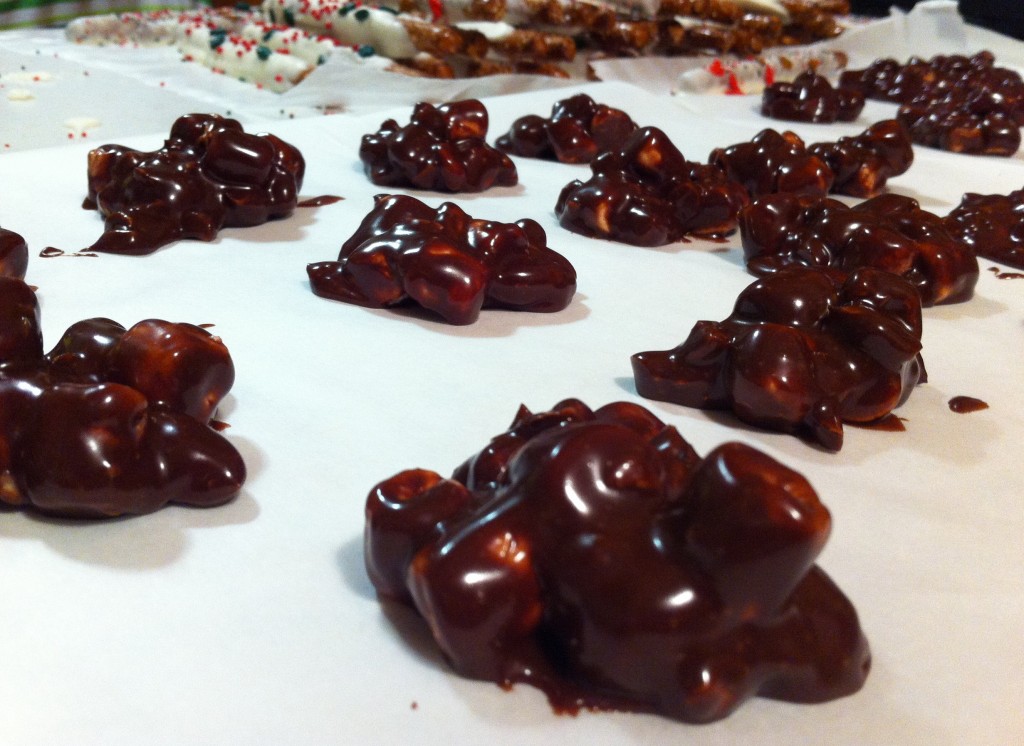
Using a spoon, scoop out the candy onto parchment paper to set up. This candy will set up faster in the fridge, but I just mine set up on the counter.  If you want, you can spread the candy in a parchment lined pan and cut into bars. I store the candy in the fridge until I am ready to fill my trays.

Bring a little bit heaven to your holiday candy making with these heavenly hash chocolate candies. I am sure your little angles will love them.

Here is the recipe:

Heavenly Hash Candy

Ingredients:

1 cup of evaporated milk

1 cup of sugar

3 tablespoons light corn syrup

2 cups of semi sweet chocolate chips

1 teaspoon vanilla

2 cups chopped nuts (I used almonds, leaving some whole and some I did a rough chopped)

2 cups miniature marshmallows.

Directions:

In a medium sauce pan, heat the evaporated milk, sugar and corn syrup, stirring until the sugar is dissolved. Bring the milk to a full boil and boil for a full two minutes (no short cuts here). Let the milk cool down for 2 minutes and add the chocolate chips and vanilla. Stir, until all the chocolate chips melts. Let the chocolate mixture cool for 20 minutes. When the chocolate mixture has cooled, stir in the marshmallows and the nuts. Stir until all the marshmallows are coated in chocolate. With a spoon, scoop out the candy and place on parchment paper to set up. Store in the refrigerator.

I hope your goodie making is going faster than mine!

Happy Candy Making,

Becky


Other post you might enjoy reading.

Caramel Toffee Pretzels


Strawberries in Winter Candy

WooHoo…..holiday break is finally here! I have postponed my holiday baking until the last minute (as usual) and spent the better part of the day in the kitchen making home made goodies for my Christmas Trays I give out as gifts on Christmas Day.

Last week, I happen to run across this recipe for, strawberries in winter candy,  from an old cookbook one of my students brought to school. She was making no bake cookies and was using the recipe for them from the  old cookbook. I asked to borrow the book for the day to look through it on my spare time. She informed me the book belonged to her mom and she needed it back. (I guess her mom made it clear that she was not to lose the cookbook at school.) After I spent, more time than I could spare, looking through the cookbook and making copies of interesting recipes, this recipe caught my eye.  I remembered eating these strawberry candies at a church fellowship dinner way back when I was in college. I don’t know about you, but some recipes just put a smile on  your face when you see find it. I knew I just had to add these to my Christmas trays.

I mean…who does not like Strawberries in Winter? The name alone sounds yummy!

This recipe does not require any baking or boiling. All you have to do is stir the ingredients together, chill, form into a strawberry shape and chill again.

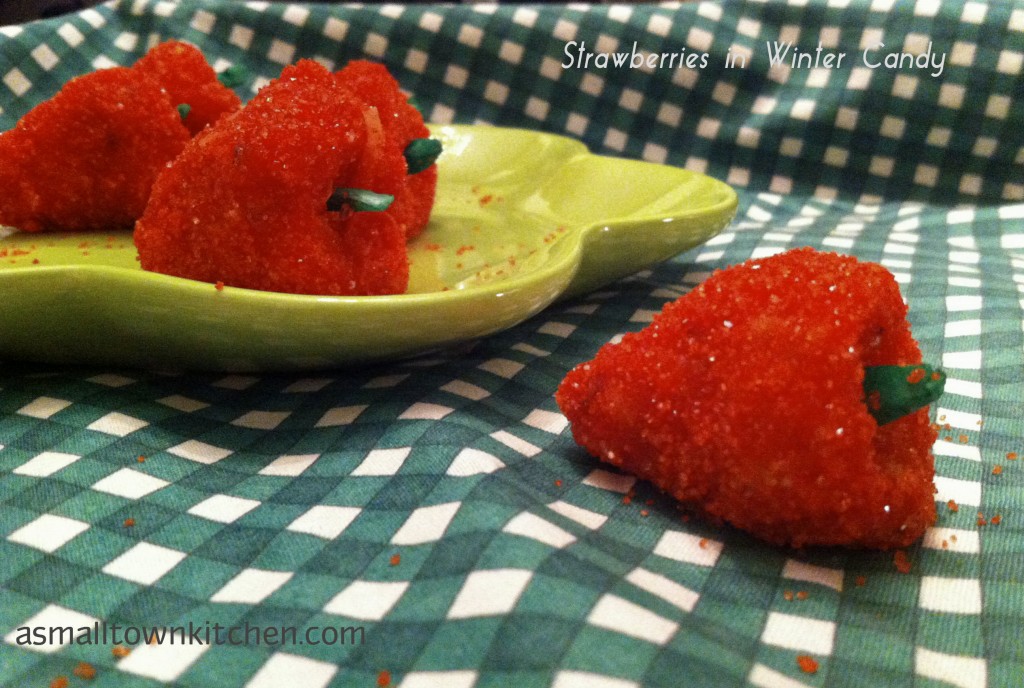
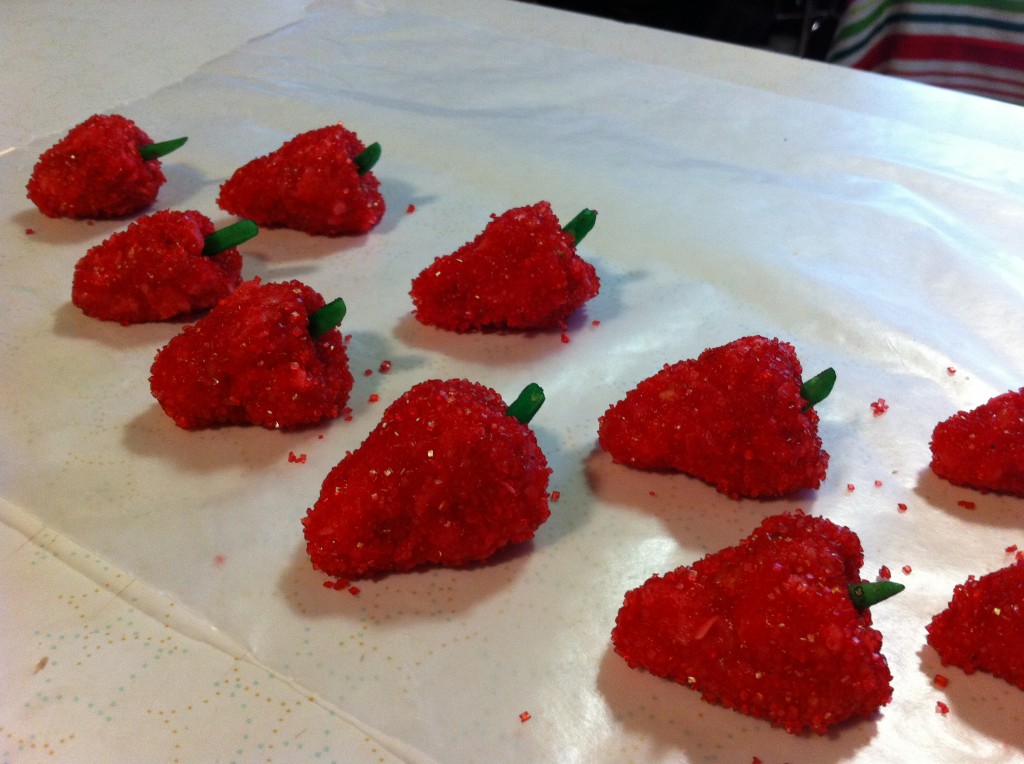
They look so pretty when they are made. The bright red color of the sanding sugar will add a splash of color to your holiday table.

On these cold and icy days here in mid Missouri, some strawberries in winter sure sound good!

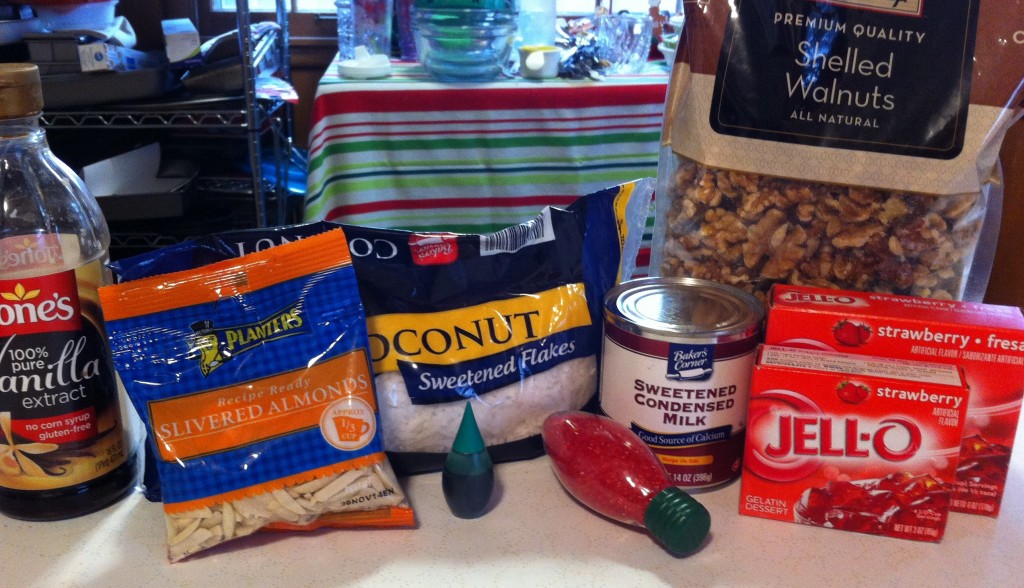
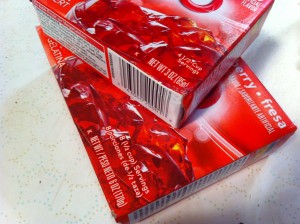
Here is all you need to make these delightful candy strawberries.

The candy is made from sweetened condensed milk, coconuts, chopped walnuts, vanilla and jello. The outside is rolled in red sanding sugar and the stem is made from greed dyed almonds.

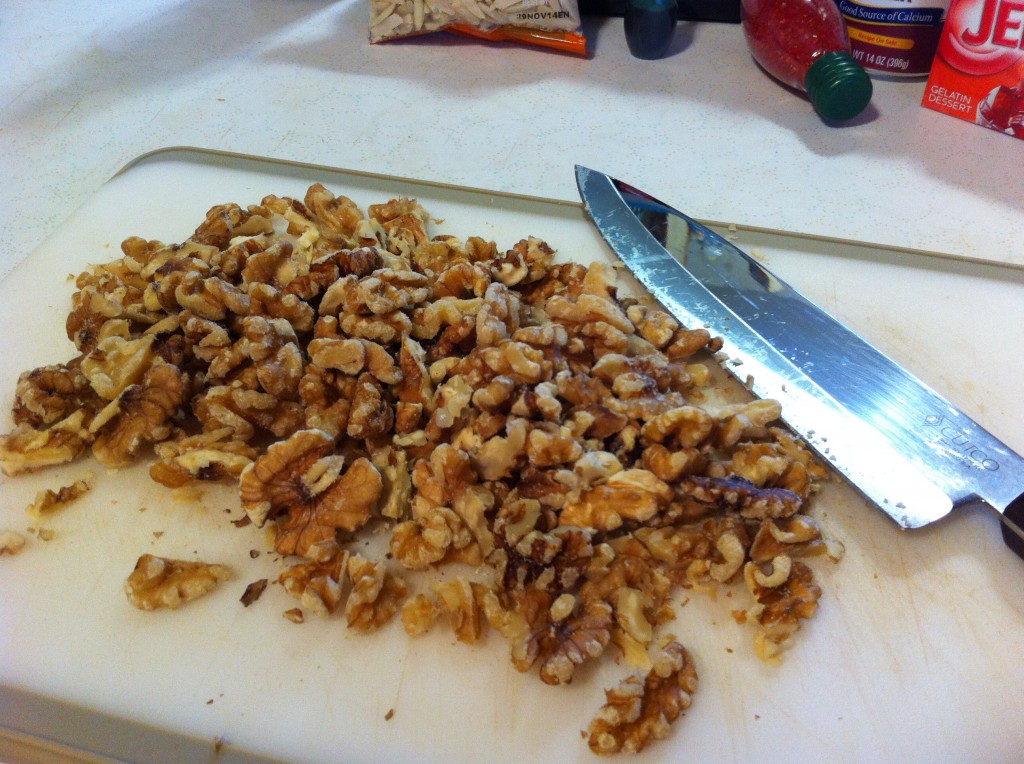
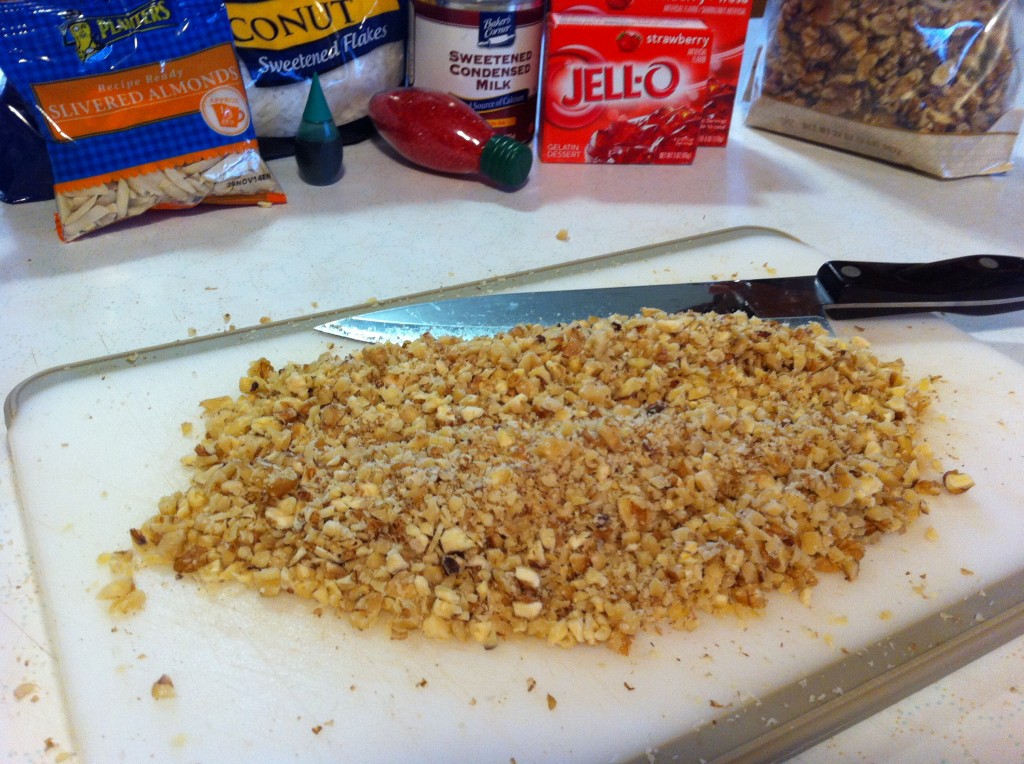
The first thing you need to do is chop the walnuts. I chopped them in pretty small pieces.

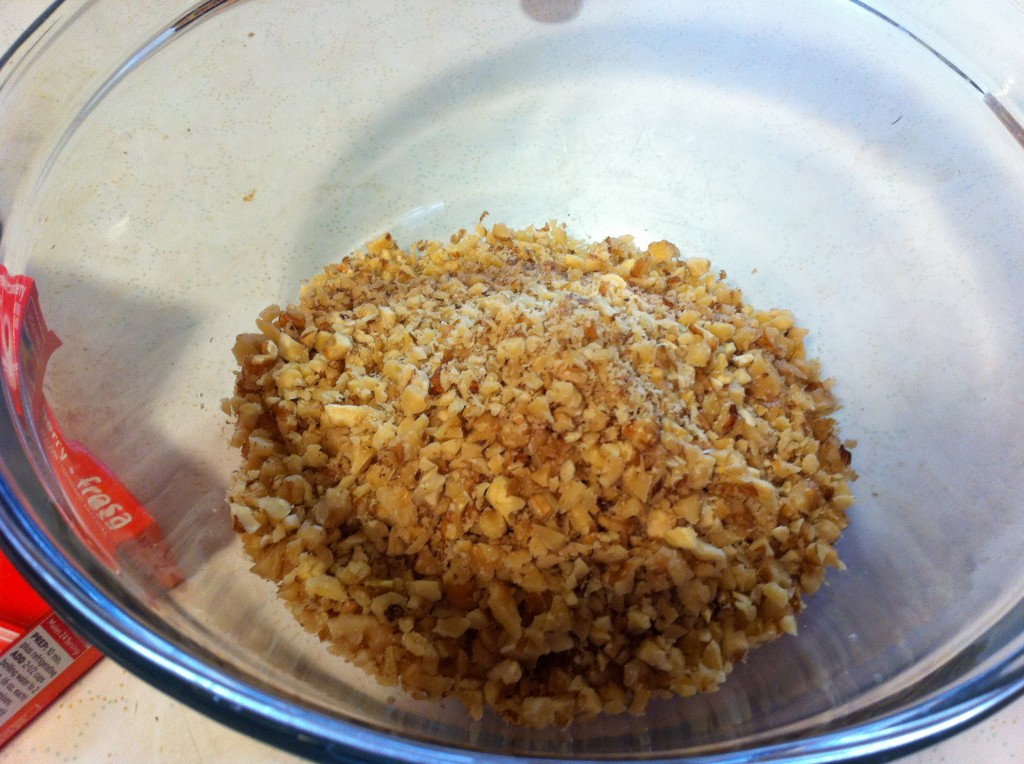
Place the chopped walnuts in a medium size bowl.

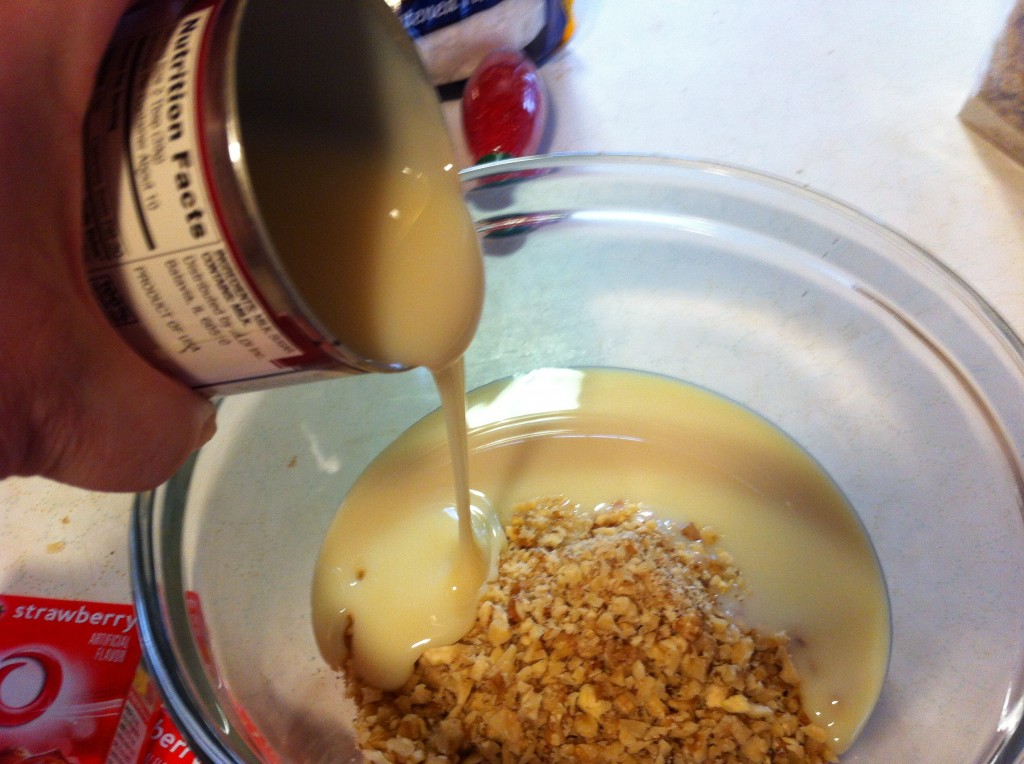
Next, pour in one can of sweetened condensed milk.


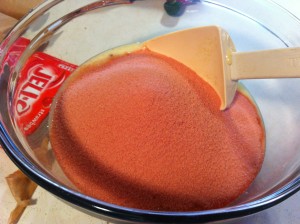
You will need 3–3 ounce packages of strawberry jello. I just used a 6 ounce size and a 3 ounce box. Pour the jello to the bowl with the sweetened condensed milk and chopped walnuts.


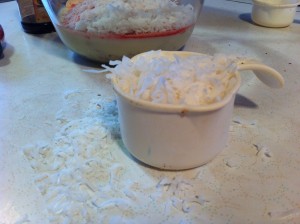
Add the vanilla to the bowl and measure out the coconut.

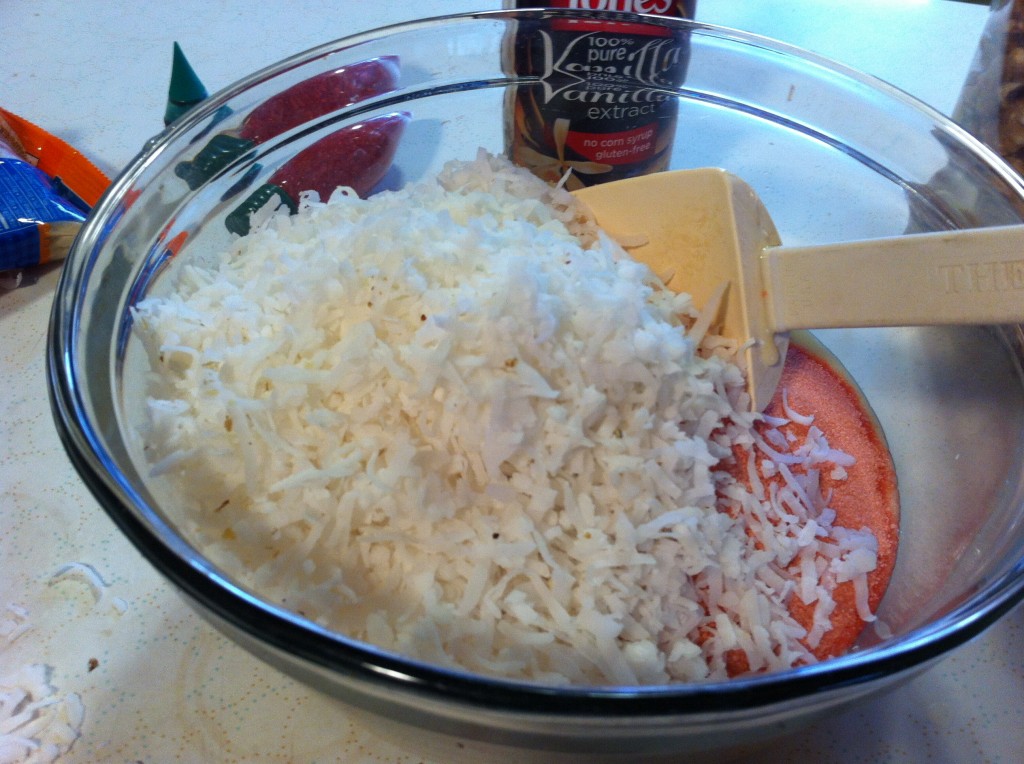
Add the coconut to the strawberry jello mixture.

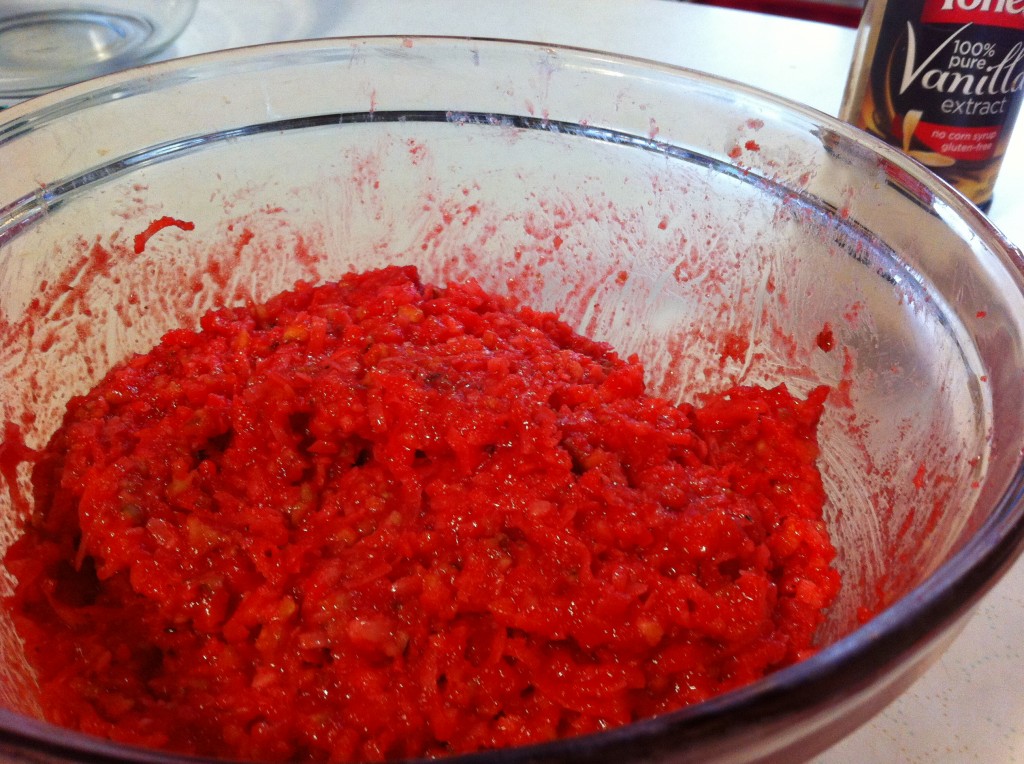
Stir everything together until all the ingredients are coated and you cannot see the white of the coconut. Now it is time to refrigerate the candy mixture for one hour to firm it up.

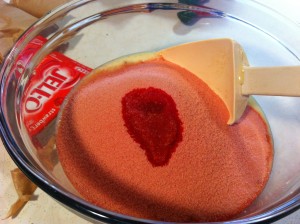
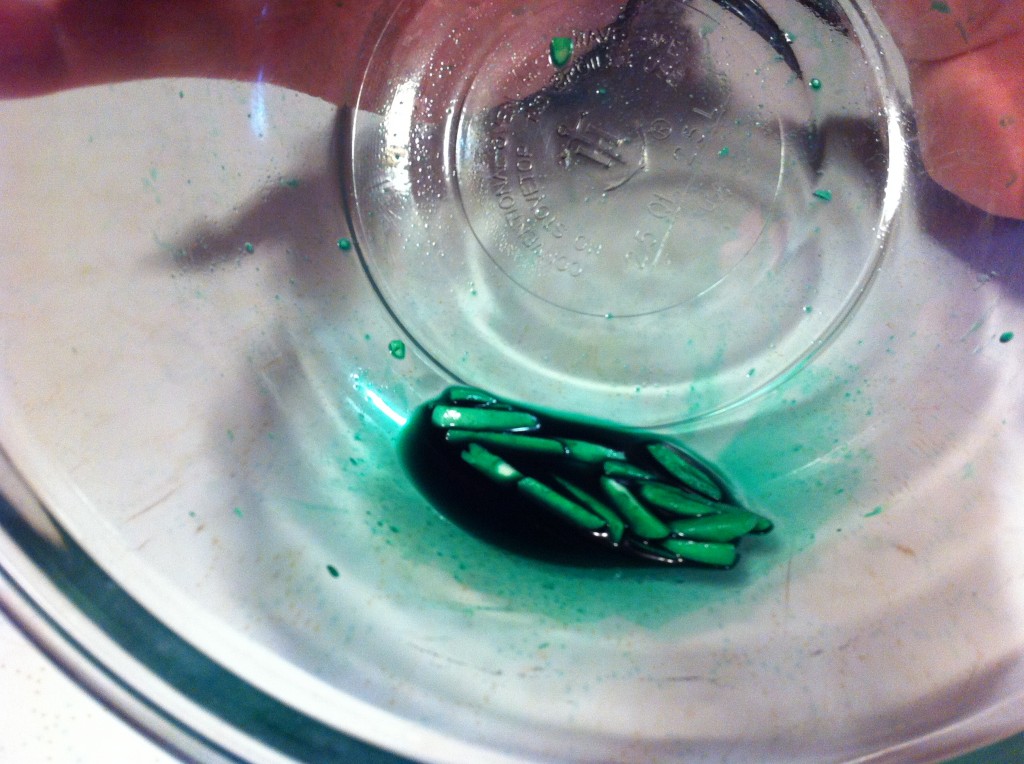
While the candy mixture is firming up in the refrigerator, you can dye some slivered almonds green for the strawberry stems. To do this just squeeze some food coloring into a bowl, add a bit of water, and then just stir you almonds around until they are coated in green food coloring.

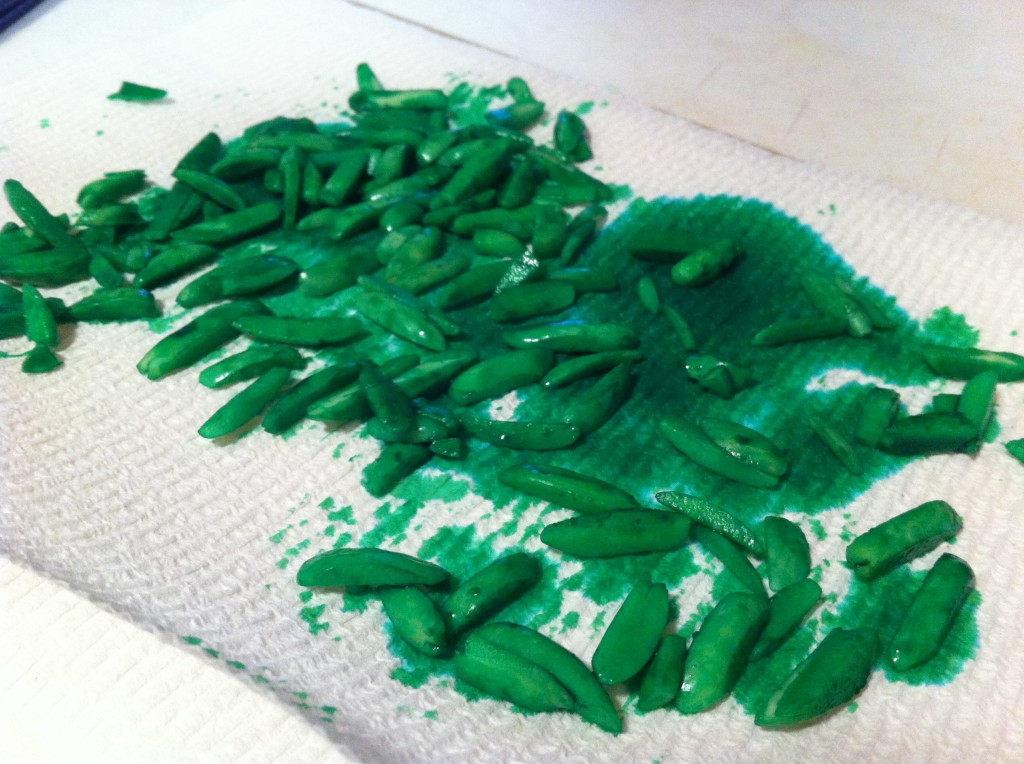
After, I got the almonds all dyed, I just scooped them up and put them on a paper towel to dry.


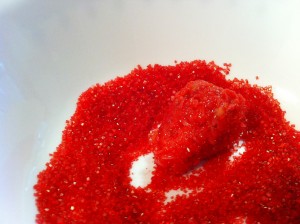
Here is the first one I made. I took the jello mixture and formed it into a strawberry shape. I then took it and rolled it in red sanding sugar. After that I put it on wax paper and inserted the dyed almond in the end for the stem.

I was really surprised that forming the strawberries did not turn my hands red.

You can have these made in no time.

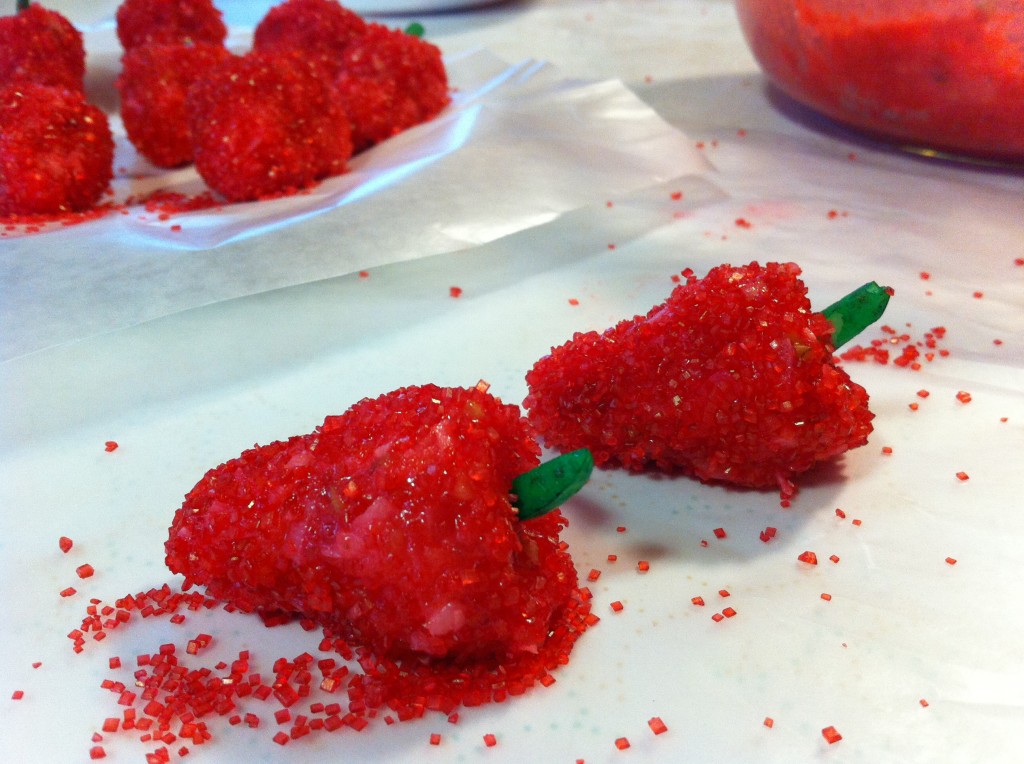
After you get done, just put them in the refrigerator to firm up. The sugar coated hardens up slightly to add a nice coating. Keep them in the fridge until you are ready to bring them out to your guest. They will be amazed that you were able to make them strawberries in winter.

Just in case you were wondering, I did return the old cookbook to my student, but not before I copied a few more recipes “gems.” All of which I will share of course. : )

Here is the recipe:

Adapted from Old Silver Dollar City Cookbook

Ingredients:

1 1/2 cup chopped nuts (I used walnuts)

1 1/2 cup flaked coconut

3 (3 ounce) packages of strawberry flavored gelatin

1 (14 ounce) can sweetened condensed milk

1 teaspoon vanilla

1/2 cup red colored sanding sugar (I think I used a little more than that)

1 small package of slivered almonds

Green food coloring

Directions:

In a medium mixing bowl, combined the nuts, sweetened condensed milk, gelatin, coconut and vanilla. Combined until all the ingredients are well blended. Set in refrigerator for one hour.

Meanwhile, dye your slivered almonds in a small bowl with green food coloring and a little bit of water. Place the almonds a paper towel to dry.

When the strawberry mixture is chilled, shape the mixture into strawberry shapes and roll in the red colored sugar.

Place a green dyed almond in the end for a stem.

Place in the refrigerator until you are ready to serve.

These strawberries makes winter a little less cold.
Here are a couple recipes links, I thought you might like also.
                    

Cracker Toffee                           Buttermilk Chocolate Cookies   
Happy Holiday Baking,

Becky

Meringue Fudge Drop Cookies
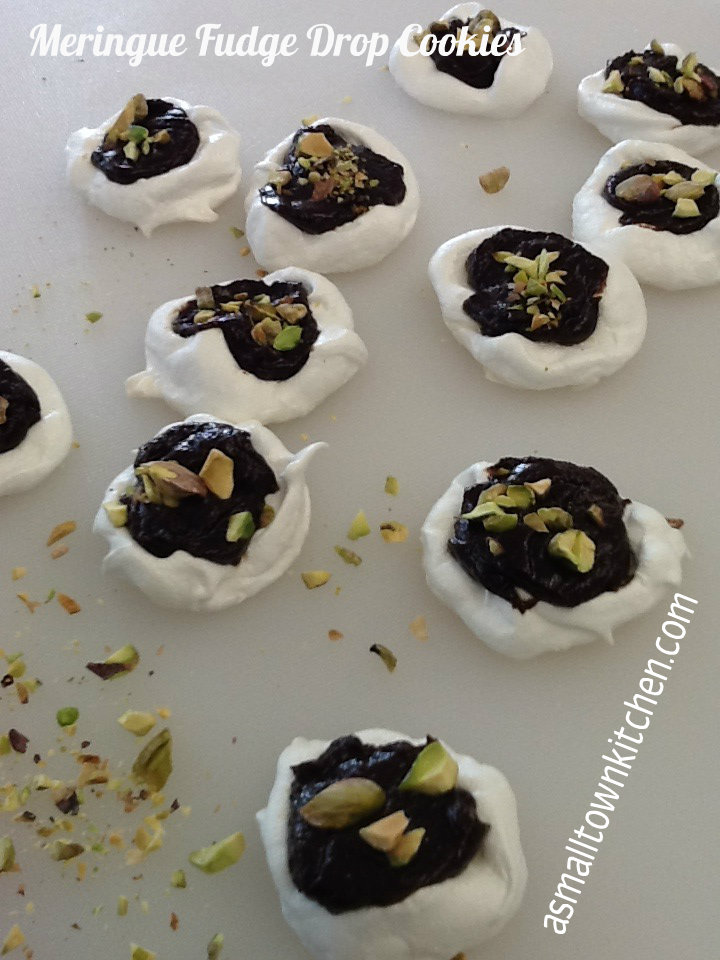
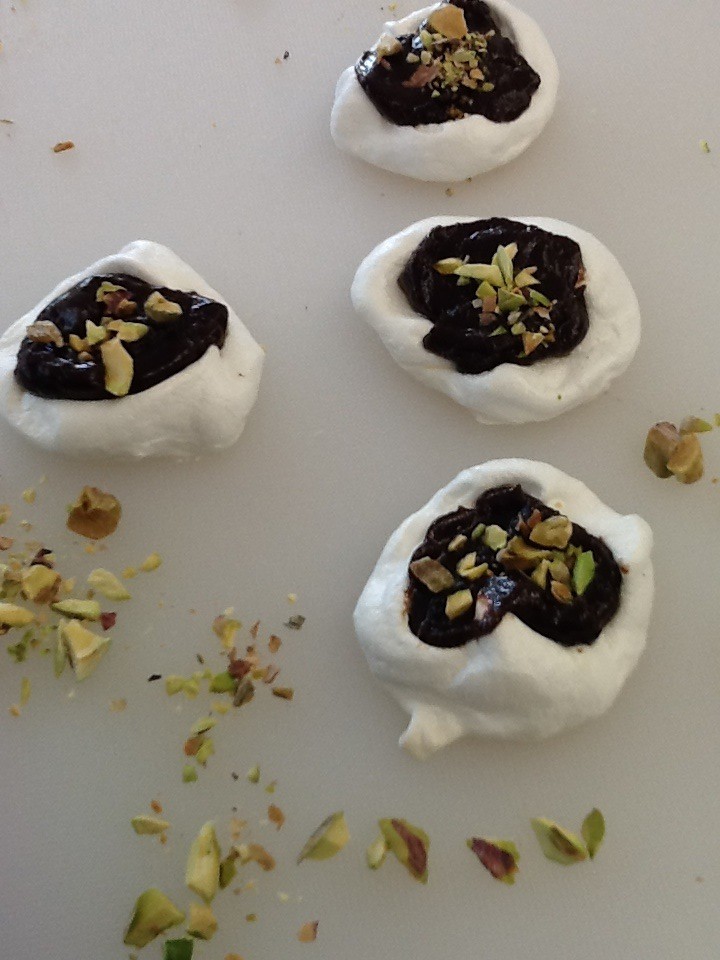
Every year about this time, I try to make a few unusual cookies to take to a local business that is our departments partner in education. So, today while I had a break from teaching I thought I would try my  hand at making these pretty holiday cookies.
During Thanksgiving break from school, I was able to go to some flea markets, Salvation Army and Goodwill stores to see if I could find any treasures that I could use. Among some sweaters and cool dishes, I found some old recipe magazines. I figured at a quarter a piece, if I could find two or three recipes I would like to try, I would buy a few (ended up buying 7). This recipe was in one of the magazines. I thought it was a fun and different take on regular meringue cookies and putting the pistachios on top, added a finishing holiday color to them.

I was able to make these in about a hour and half, and that includes cooking and cooling time. There were much easier than I thought they would be to make. After sampling one of them (ok a few of them) I was impressed by the crunch and slight chew to the cookie and when you add that to the creamy fudge topping, it sent these cookies to holiday heaven. One thing I would have suggest that I did not do, is waiting to fill the cookie until you are ready to plate them up. You can make the cookies and the fudge filling a head of time  and when you are ready to eat them, pass them around or take them to a party, fill the cookies real quick, top them with some nuts and you are good to go. Do not store the cookies in the refrigerator (I learned the hard way) as the cookies absorbed some moisture. But, if  you are making the filling ahead of time, put the filling in the fridge because it has two eggs cooked in the filling. Now, the recipe did not say to do this, but just cause I like to do things on the safe side.

If you are searching for a gorgeous cookie to add to your cookie recipe arsenal, then give this one a try. It is even gluten free!

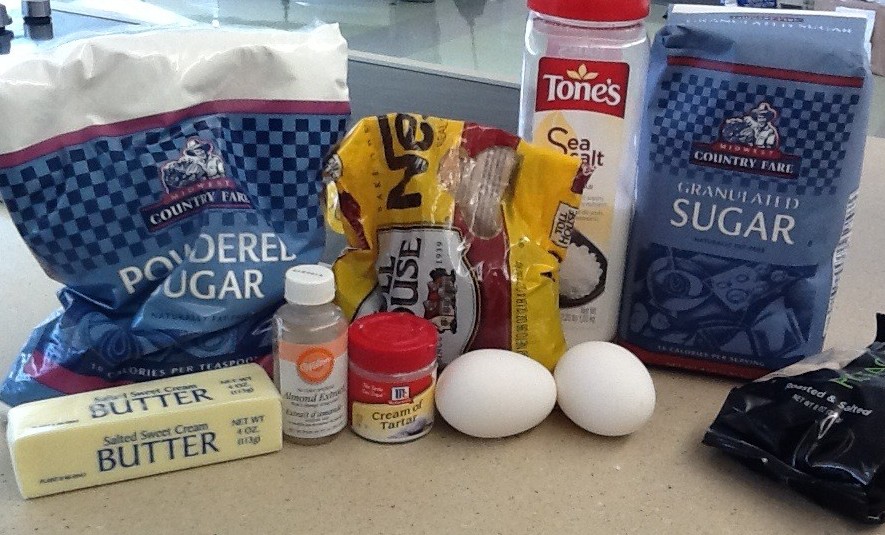
Here is all you need to make these cookies.

For the cookie you will need two egg whites, salt, almond flavoring and cream of tartar. For the fudge you will need two egg yolks, some butter, chocolate chips and powdered sugar, You garnish the cookies with chopped pistachios.


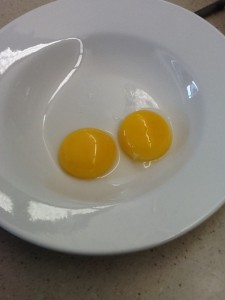
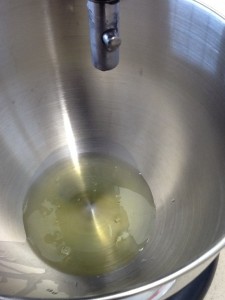
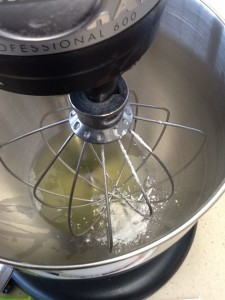
Separate the eggs whites from the yolks. Put the whites into a mixing bowl and save the yolks for the fudge filling.


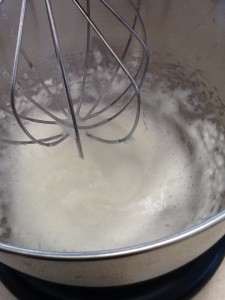
With you whisk attachment, whisk the egg whites until they are foamy.


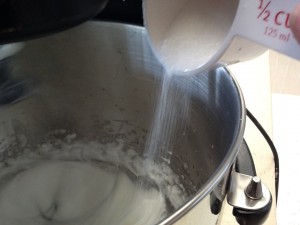
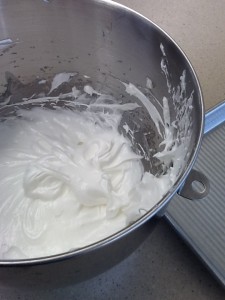
Add the sugar one tablespoon at a time to the foamy eggs. Whisk on high until you add all the sugar and the eggs whites form a stiff peak.

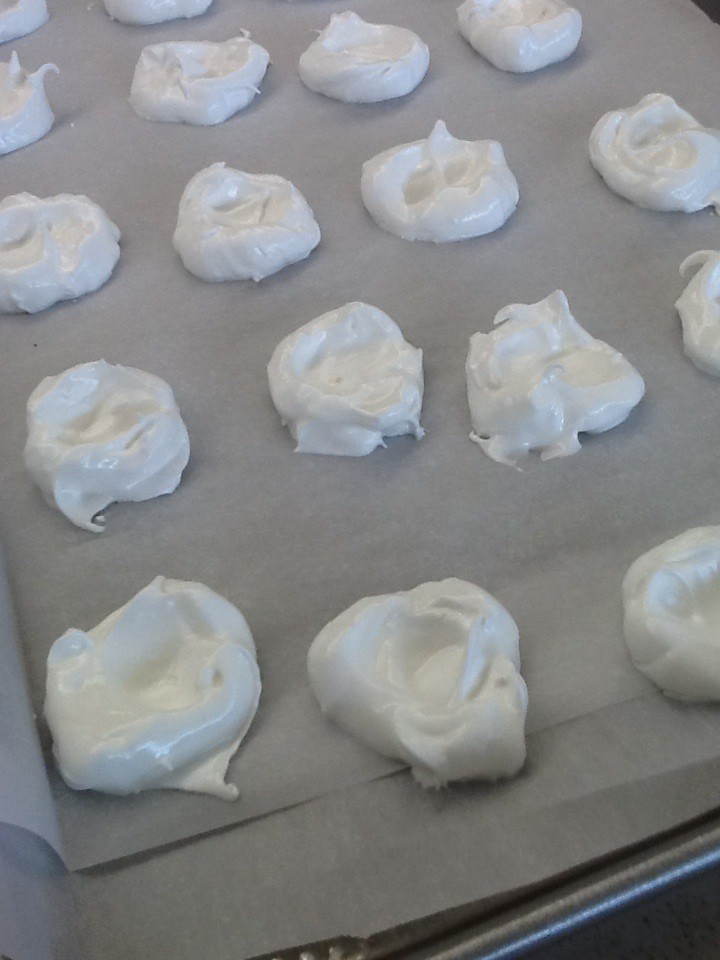
With a teaspoon, spoon out the meringue onto a parchment covered cookie sheet. After you get the meringue scooped out on the cookie sheet, take a small spoon and form a little hole in the center of each cookie. After the cookie are baked this little hole is where you will put the fudge filling. Bake the cookies for 30 to 40 minutes in a 250 degree oven. Make sure the cookies sound hollow and are dry. I rotated my pan half way through the cooking process to make sure all the cookies got an equal amount of heat to dry them out.

While the cookies are baking, you can start on the filling.


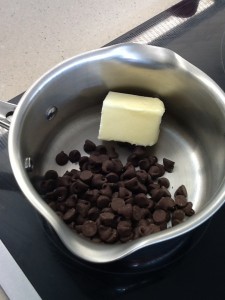
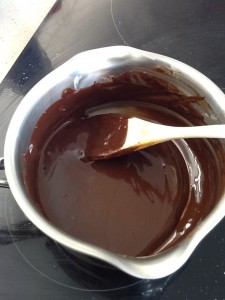
In a small sauce pan, melt the chocolate chips and the butter together.


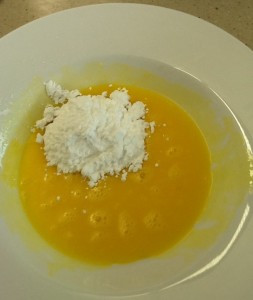
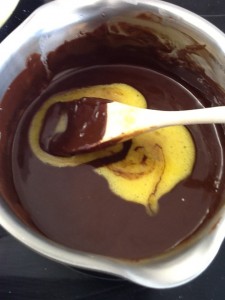
In a small bowl, beat the egg yolks till creamy and stir in the powdered sugar. Add the egg mixture to the melted chocolate.

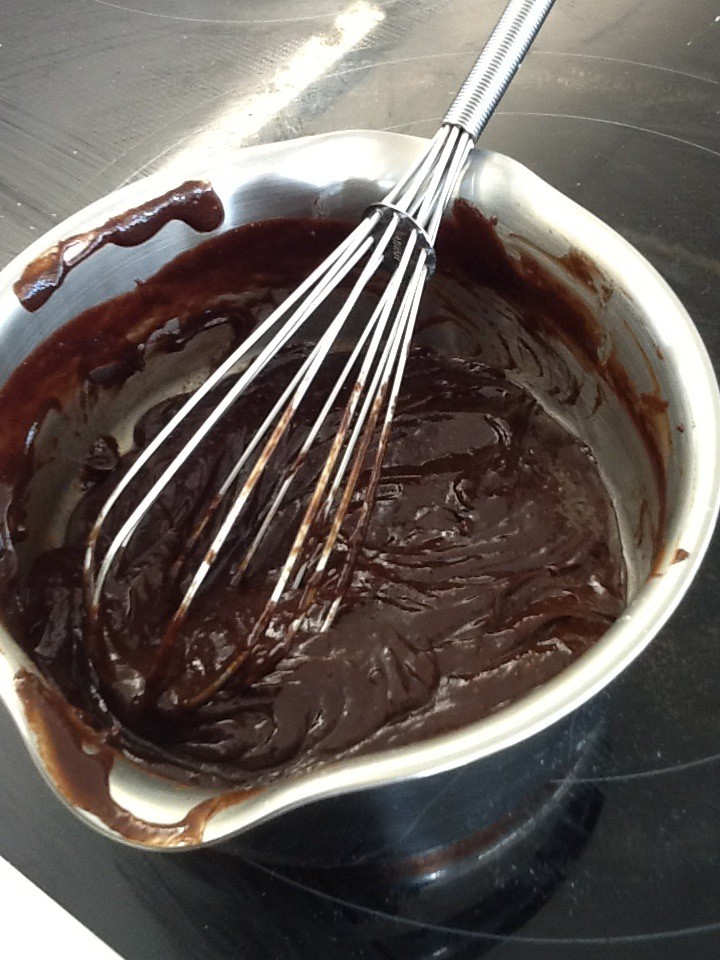
Whisk the eggs and melted chocolate mixture on the range on low heat until it thickens making sure it reaches a temperature of 160 degrees. Take the fudge filling off of the heat and let it cool.


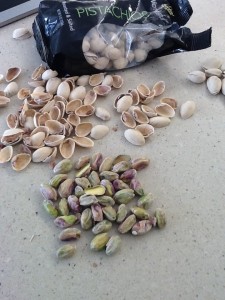
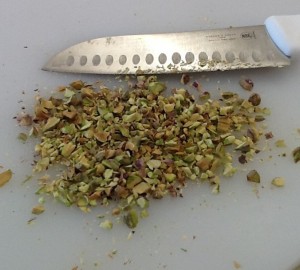
As the filling cools, chop up some pistachios.  You only need a couple of tablespoons but I always like to add more nuts.

With the cooled cookies and the cooled fudge filling. You can fill each cookie with the fudge. I used a small spoon. After you fill them, top them with some pistachios and press them into the filling to secure. If you do no plan to serve the cookies right away, just store the meringue cookies in a air tight container in a dry spot. Put the filling in a sealed container in the refrigerator. When you are ready to serve, then fill and decorate with nuts.

These cookies are so pretty on a plate!

Here are your directions:

Meringue Fudge Drops

Adapted from Taste of Home

Ingredients for the cookie:

2 egg whites

1/4 teaspoon almond extract

1/8 teaspoon cream of tartar

1/8 teaspoon of salt

1/2 cup sugar

Ingredients for the filling:

1/c cup semisweet chocolate chips

3 tablespoons butter

2 egg yolks (slightly beaten)

2 tablespoon confectionery sugar

2 tablespoons chopped pistachios

Directions for the cookie.

In a mixing bowl, beat the egg whites, almond extract, cream of tartar and salt on medium speed until it forms soft peaks. Keep beating, and add the sugar one tablespoon at a time until the egg whites form stiff peaks. Line a baking sheet with parchment paper and spoon out meringue, forming little circles. Take a small spoon and make an indentation in each of the cookies. Bake in a 250 degree oven for 35 to 40 minutes or until the all the cookies are dry to the touch. Let cool.

Directions for the filling: 

In a small sauce pan, on medium heat, melt the butter and the chocolate chips together. With a whisk, add in the beaten egg and powdered sugar and mix together completely. Turn the heat to low and continue to cook and stir the filling until it becomes thick and the filling reaches 160 degrees. Cool to room temperature.

To finish the cookie, spoon the filling into the indentation in the cookies and top with the chopped pistachios.

Happy Baking!

Becky

If you like this post, you might like to check out these other cookie recipes.


   Molasses Cookies                      PIC”s Creamy Peanut Clusters


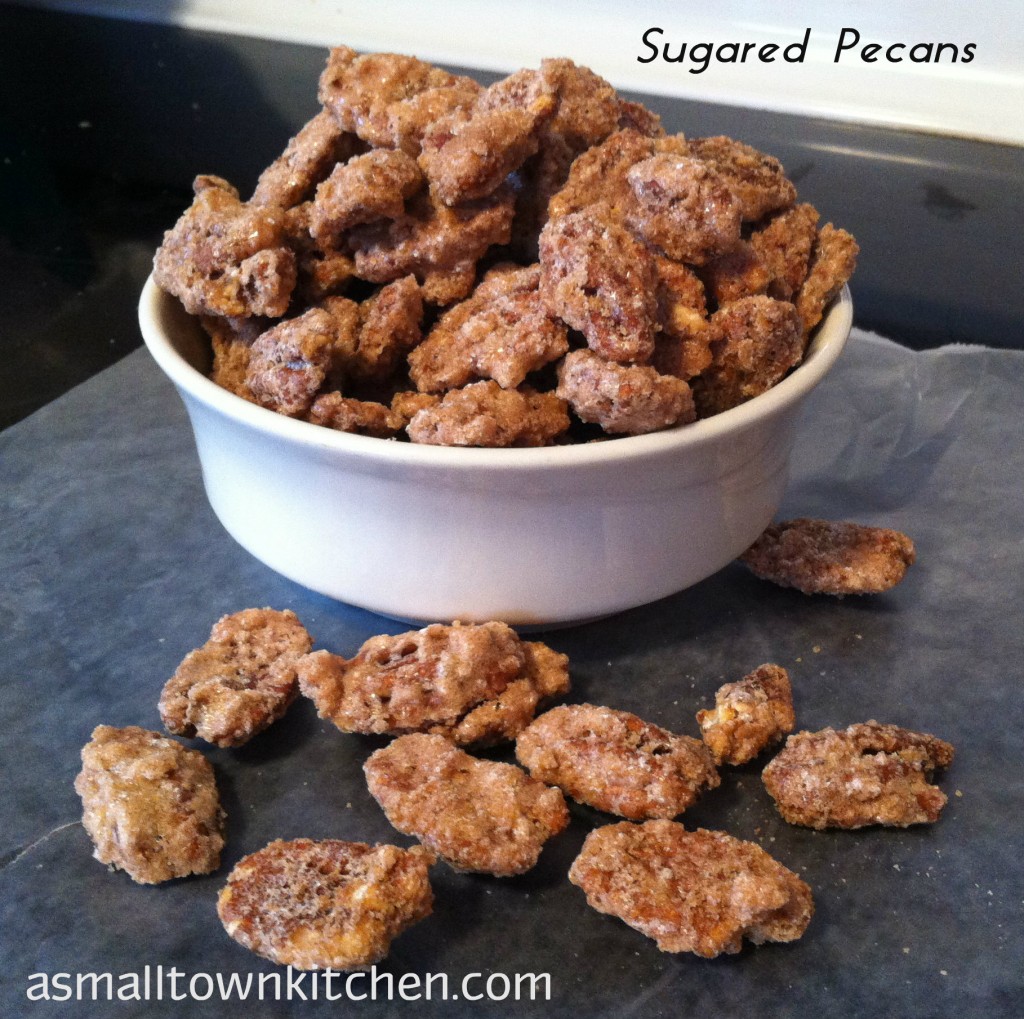
Sugared Pecans

Warning! After  you finish making these scrumptious pecans you will need to hide them in a really SAFE place or  you will eat all of them!

This past week I made 117 cinnamon rolls for the staff at my high school for our December staff meeting. I really wanted to make the rolls extra special, so I decided to try my hand at making sugared pecans to sprinkle on top of the rolls. If I had know how deliciously easy they were to make, I would have tried making them a long time ago! You can bag the pecans up to give as a gift or use them as a garnish in salads or in my case on top of my cinnamon rolls. You just need a few everyday ingredients and in a hour your house will smell almost as good as these pecans taste.

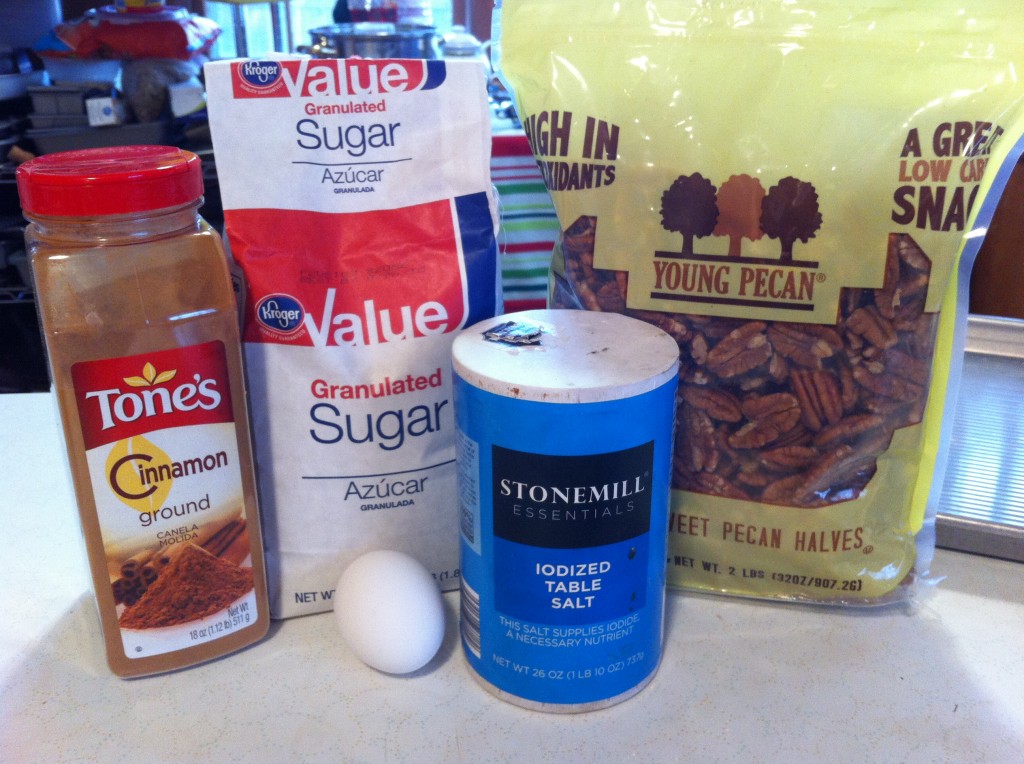
All  you need is a egg white, pecans, sugar, cinnamon and a touch of salt.


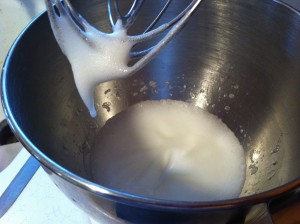
The first thing  you need to do is separate the egg and put the egg white into a mixing bowl. Add one tablespoon of water. With the whisk attachment, whisk the egg white until the mixture is foamy.


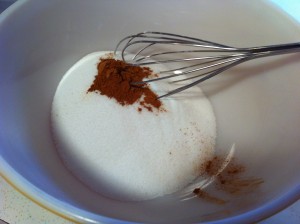
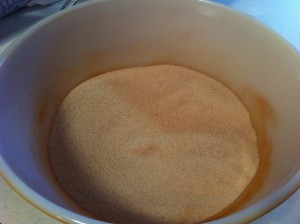
In another bowl, put in the sugar and the cinnamon and whisk together.


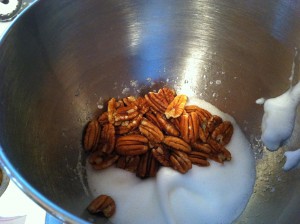
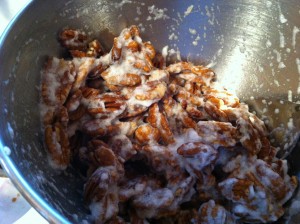
Add the pecans and stir to cover the pecans with the egg white.


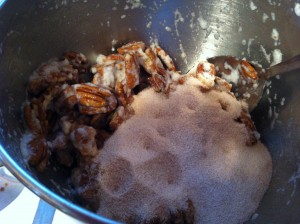
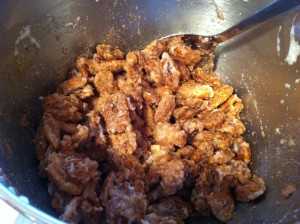
Pour in the cinnamon sugar onto the pecans and stir to coat each pecan with the sugar.

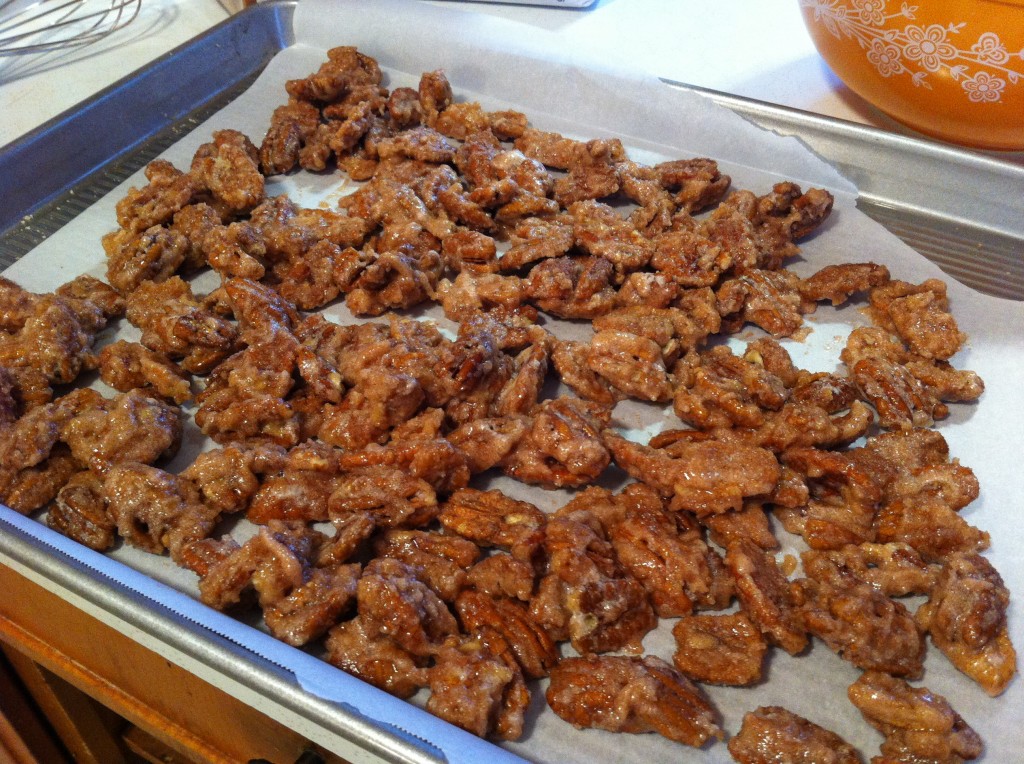
Pour the sugar coated pecans onto a cookie sheet that is lined by parchment paper or a silicone baking mat to keep the sugar from sticking to the bottom of the pan.

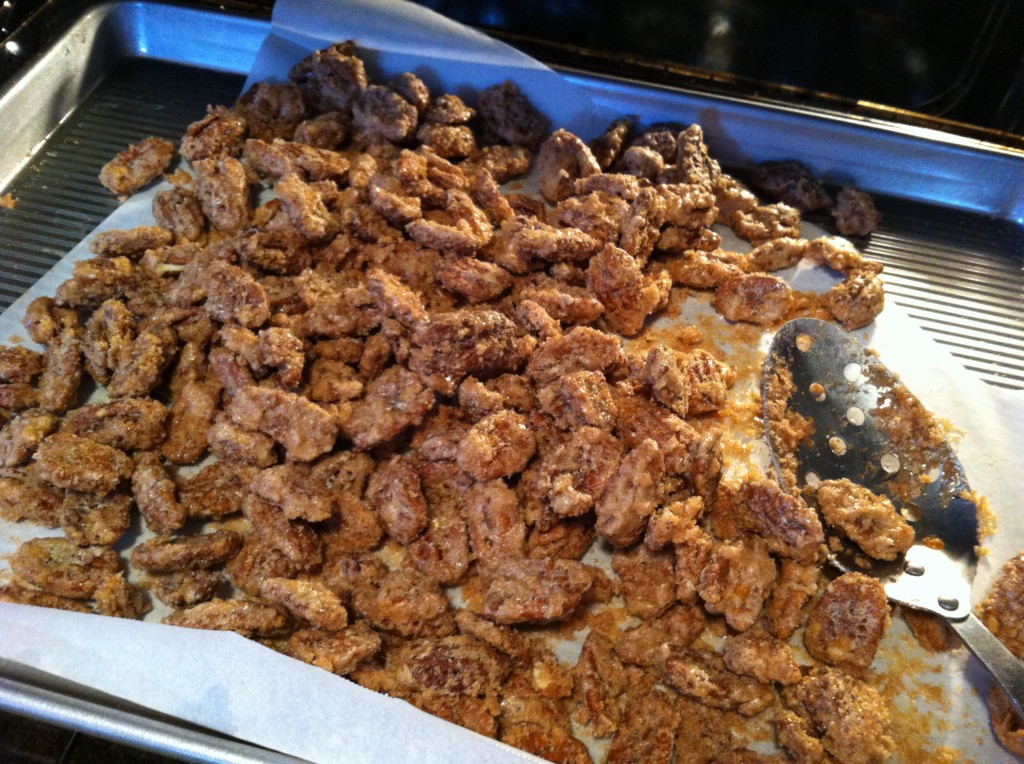
Put the pecans in a 250 degree oven for one hour. Be sure and stir the pecans every 15 minutes.

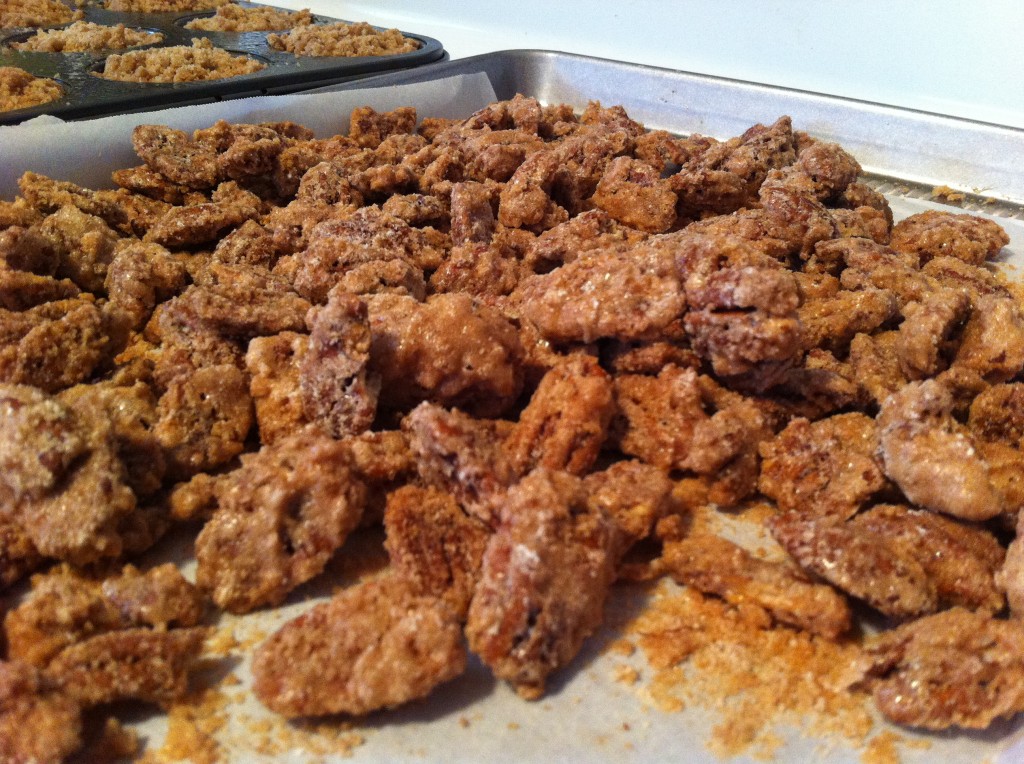
Take the pecans out of the oven and let cool. They will crisp up after they cool.

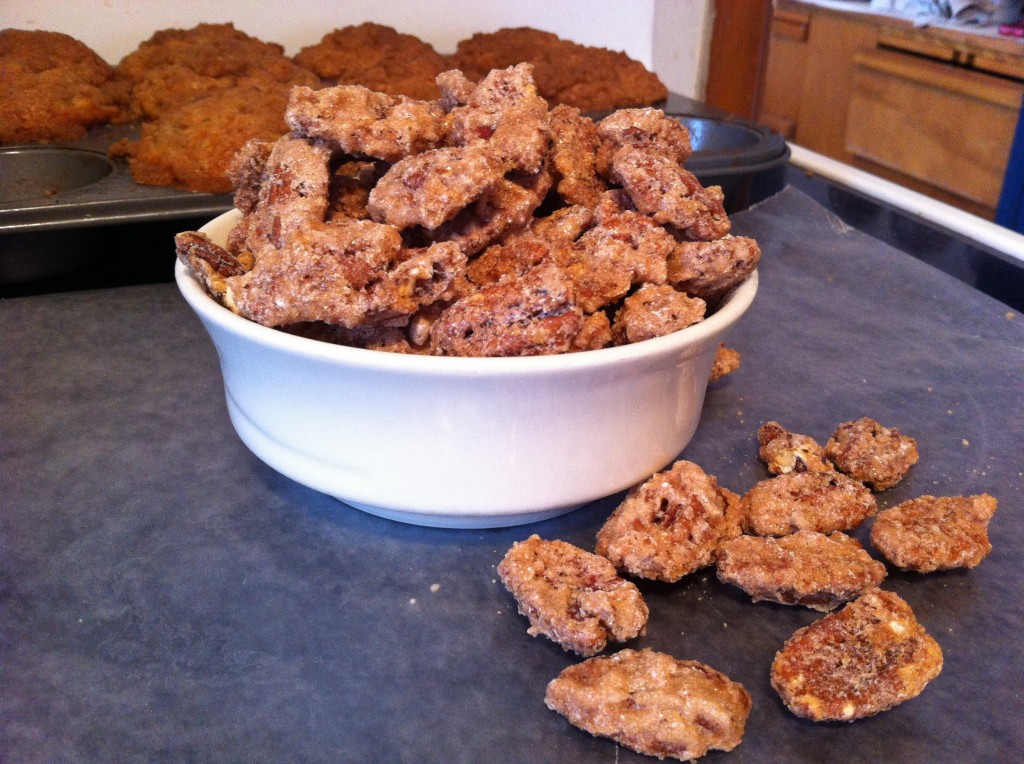
Now, the only problem you will have will be not eating them all!

Give these a try! I was pleasantly surprised how easy they are to make!

Here is the recipe:

Sugared Pecans

Ingredients:

4 cups of pecans (one pound)

1 egg white

1 tablespoon water

1 cup of sugar

1 teaspoon cinnamon

Directions:

Whisk the egg white and water with an electric mixer until the egg white reaches a soft peak. In a different bowl mix together the sugar and the cinnamon. Add the pecans to the foamy egg white and stir to coat each pecan. Pour the sugar over the egg white coated pecans and stir the pecans and sugar together until all the pecans are covered in sugar. Preheat your oven to 250. Pour the pecans on a parchment paper lined cookie sheet and bake for one hour, making sure to stir every 15 minutes. Take out of the oven and cool. Store in air tight container.


I put some sugar pecans on top of warm cinnamon rolls.  You can also chop and put them in a salad.

OR….you can just eat them…which is my favorite way.

Christmas is just around the corner! How is  your holiday baking going?

Me….I am going nuts….: )

Becky


The Strawberry Project, part four, Floating Row Covers

How did you spend last weekend? Shopping for Christmas? Staying inside where it was warm?

I wish I could have joined you! I am not quite sure how to worked out that Company and I installed the floating row covers over the strawberry plugs right when those Canada freezing winds made it all the way down to Missouri!

BRRRRRR…….

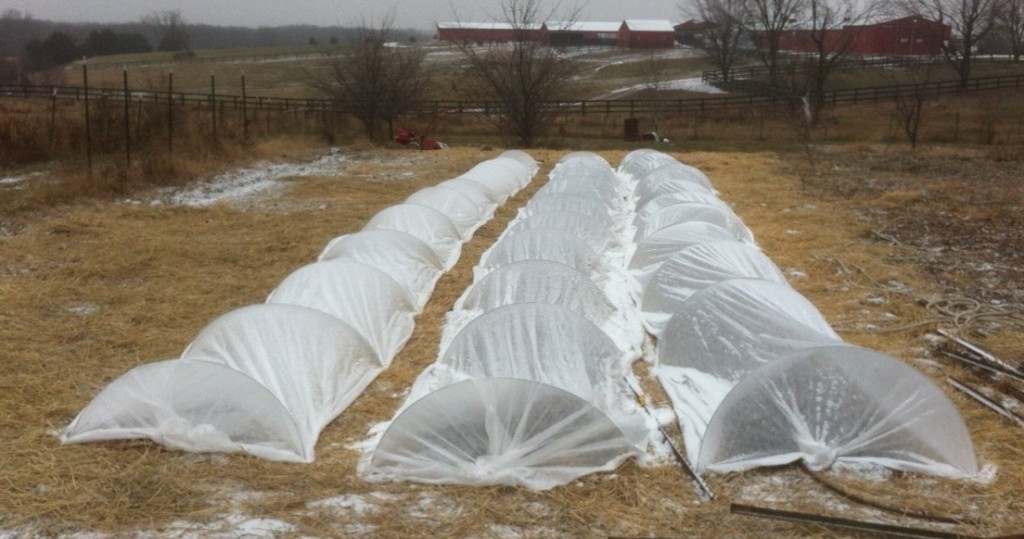
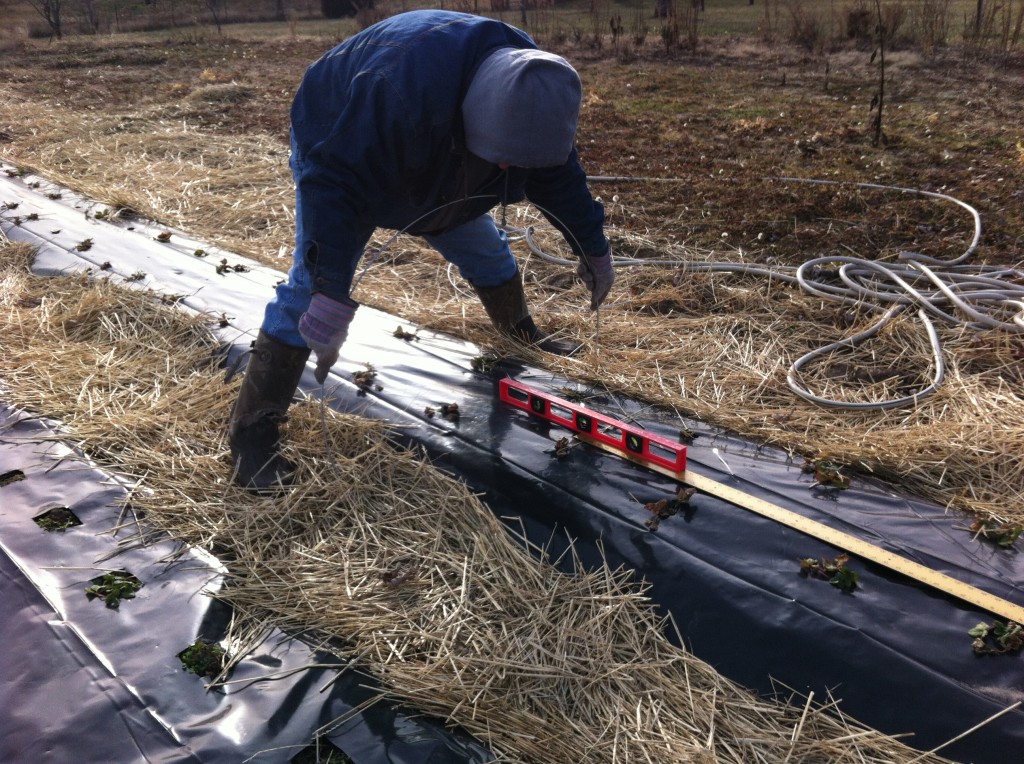
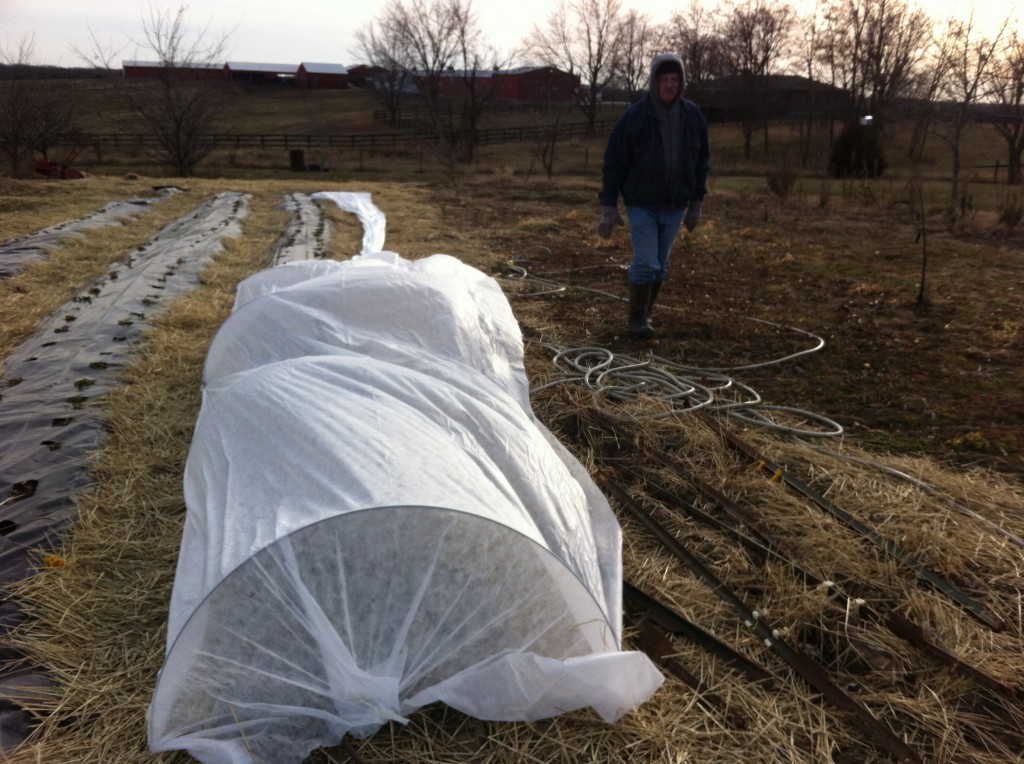
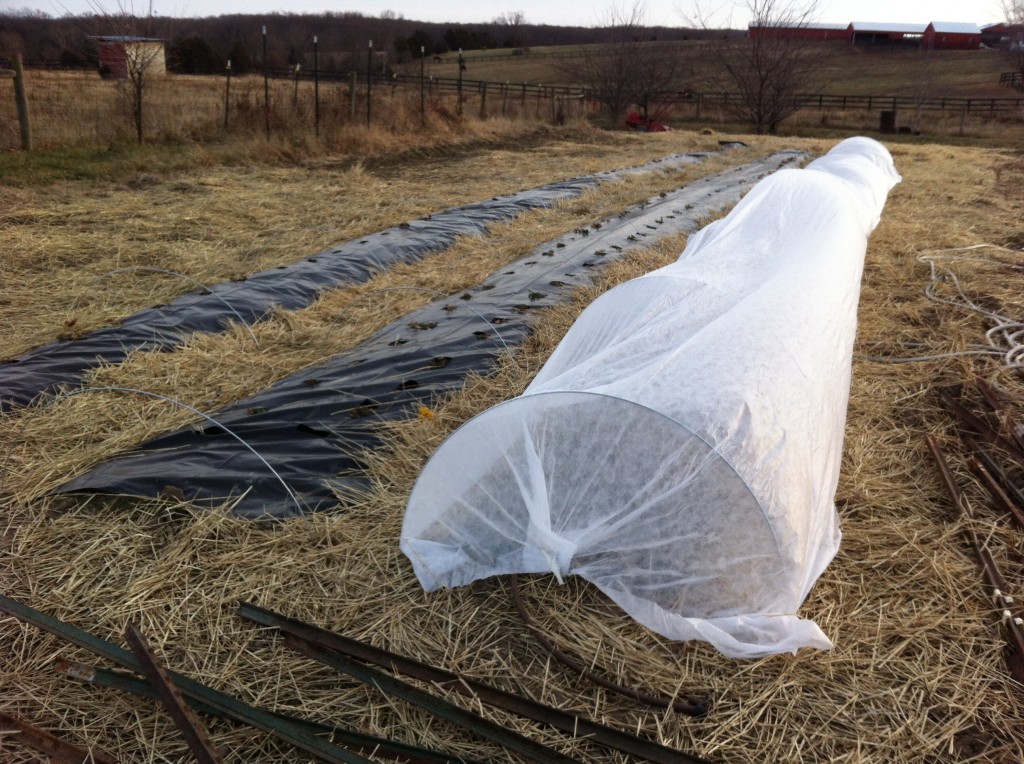
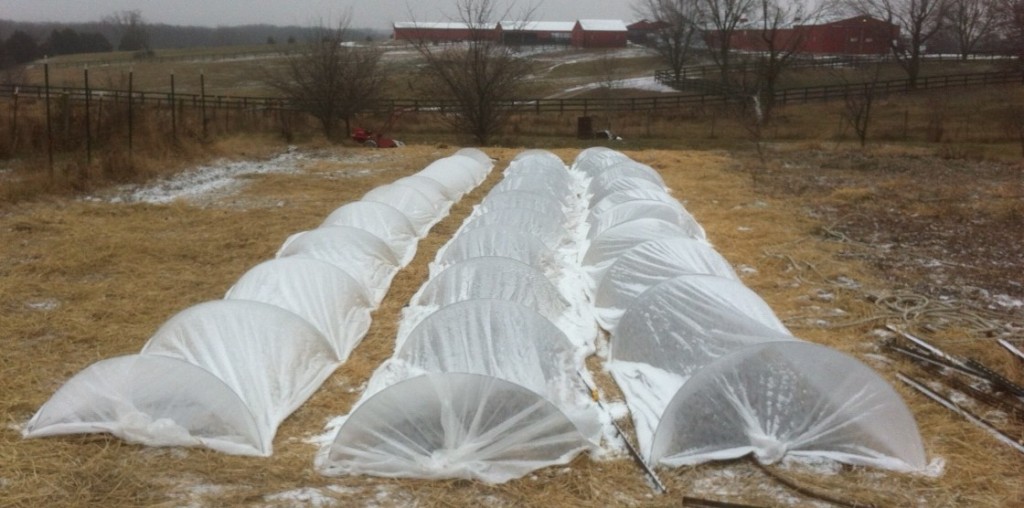
Underneath those ghostly looking fabric covered hoops, are the strawberry plugs (all 250 of them) that we planted back in October. The trick about installing the row covers, from what I have read, (cause  you know that I have not done this before) is that  you have to let the strawberries have a few cold nights so they will go dormant. If you install the row covers too early, the strawberries will not go to sleep for the winter, so we decided to wait and watch the weather. Thanksgiving weekend the weather was in the 60’s, we decided to wait one more week. Little did I know, waiting one more week, we would be installing these things in 20 degree weather with a wicked wind blowing on us.

I kept making excuses to go to the house to warm up. Company, on the other hand stayed out there working away in the cold. The biggest snag we hit was that we ran out of landscape staples to put in the ground to hold the row covers down over the hoops. We wasted a lot of time running to several stores trying to find them. It had something to do with them being out of season. Go figure!

Anywho, if you want to extend your garden a little longer into the winter, you can install a floating row cover over your garden rows. If you decide to do that, I would put the fabric down with staples on one side of the hoops and use small sand bags on the other, so you can take the sand bags off the fabric easily to get to the veggie goodies you are growing under them. For us, we covered the strawberries for the winter to hibernate and to keep the frost, sleet and snow off of them until we peek at them in February.

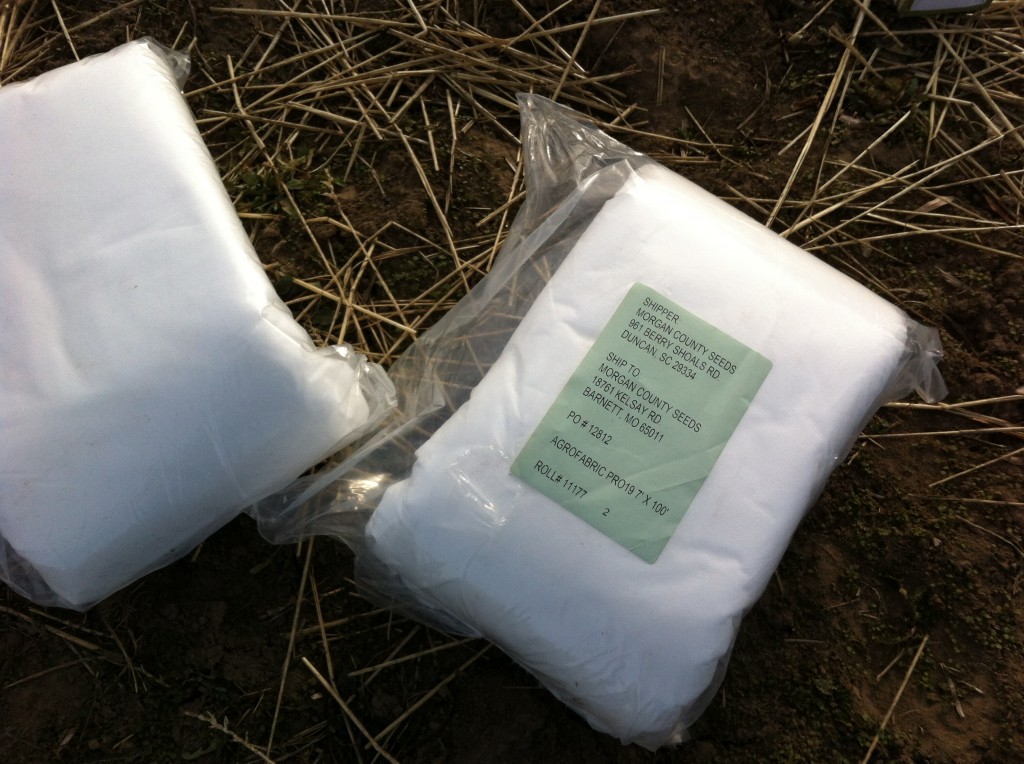
To install row covers you will need some kind of agrofabric. We use the 19 weight, but if are wanting to continue growing  longer into the fall you can get heavier fabric. I ordered ours from our locally owned garden center. We had 3-sixty foot long rows, so I ordered two packages of 7 foot wide 100 feet long.

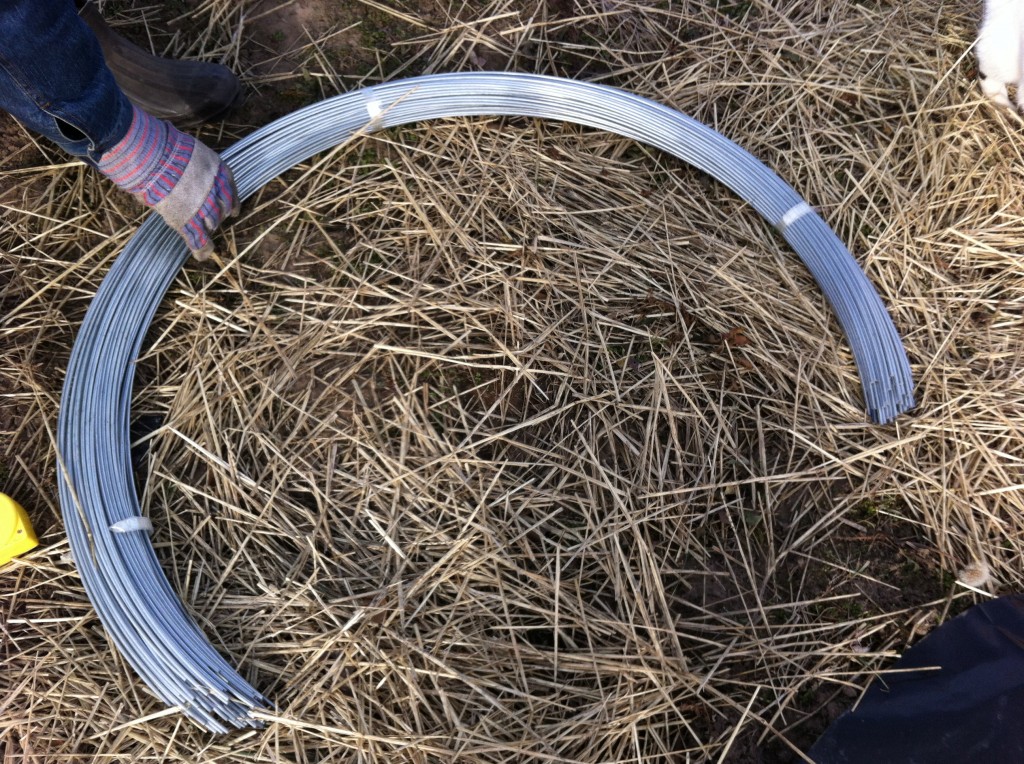
You will also need wire hoops to go into the ground. I ordered a package of 100 and we used 13 for each row. So…we have plenty left over for other projects, I can dream up.

You also need landscape staples. We ended up finding them at Menards for $2 for a pack of 50. We bought a bunch of packs so we would not run out.

The first thing you do is put the wire hoops about 5 feet apart. Company had to measure each time to make sure they were 5 feet a part…it must be a guy thing. We were lucky that they went pretty easily into the ground.

The next thing we did was start covering the hoops with the fabric. The wind was blowing like crazy, so this took longer than I thought it would.

Here is our first row all covered up.

Here is a picture of the rest of strawberries all tucked in for winter.  Yippee!

If you missed the earlier post and complete start to finish photos of our strawberry plug project here are the links.

The Strawberry Project Part One.

The Strawberry Project Part Two

The Strawberry Project Part Three

Please keep your fingers crossed for us that come spring, we will have fresh strawberries to pick and share!

It might take until spring for us to thaw out!

Becky


Thanksgiving Dressing, done right…finally!

Are you a dressing or stuffing eater? Well, to be honest, I am not. But, it does not mean I do not want to make a great tasting dressing for Thanksgiving! I have tried the cornbread with sausage and other doodads in it and it tasted fine (the little bit I tried). I just still was not satisfied with what I made. My sister in law, PIC, always told me how much she loved the dressing her mom made each year.  PIC’s mom is a great cook, so I knew her dressing would taste fabulous, I just had to re-create it, somehow.

So….for the last several years…yep years folks, I have been perfecting on this simple, yet totally terrific dressing. It has a crispy buttery top crust and a moist and flavorful inside. For several years I tried adding extra sage, or poultry seasoning or garlic and it was too over powering. Last year I just trusted the Pepperidge Farm folks with the seasonings they put on their bread crumbs and just add just a touch of sage and you know what happened, it was the best one I made…after years of trying to get it just right.

The best part in all of this, is that I finally wrote the recipe down so I do not have to worry about trying to remember what I did or adding any unnecessary seasoning. If you are looking for a simple, uncomplicated and the perfect compliment to your turkey and gravy, give this dressing recipe a try.

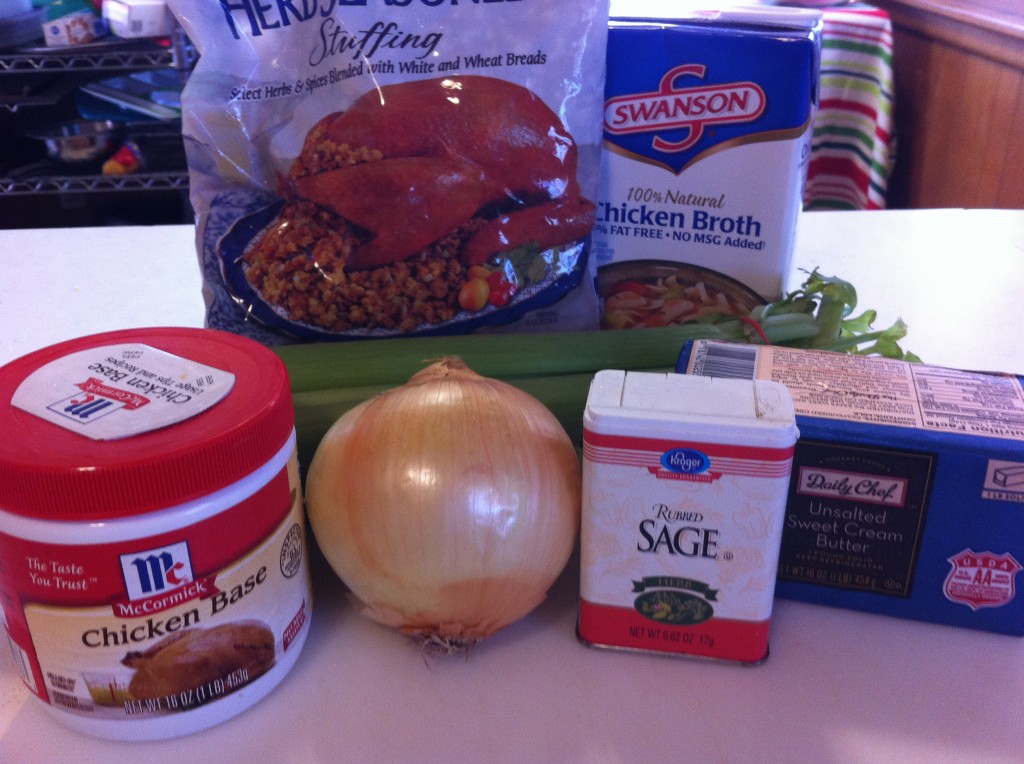
Here is what you need to make this special dressing for Thanksgiving, or Christmas or any other time you want to make dressing.

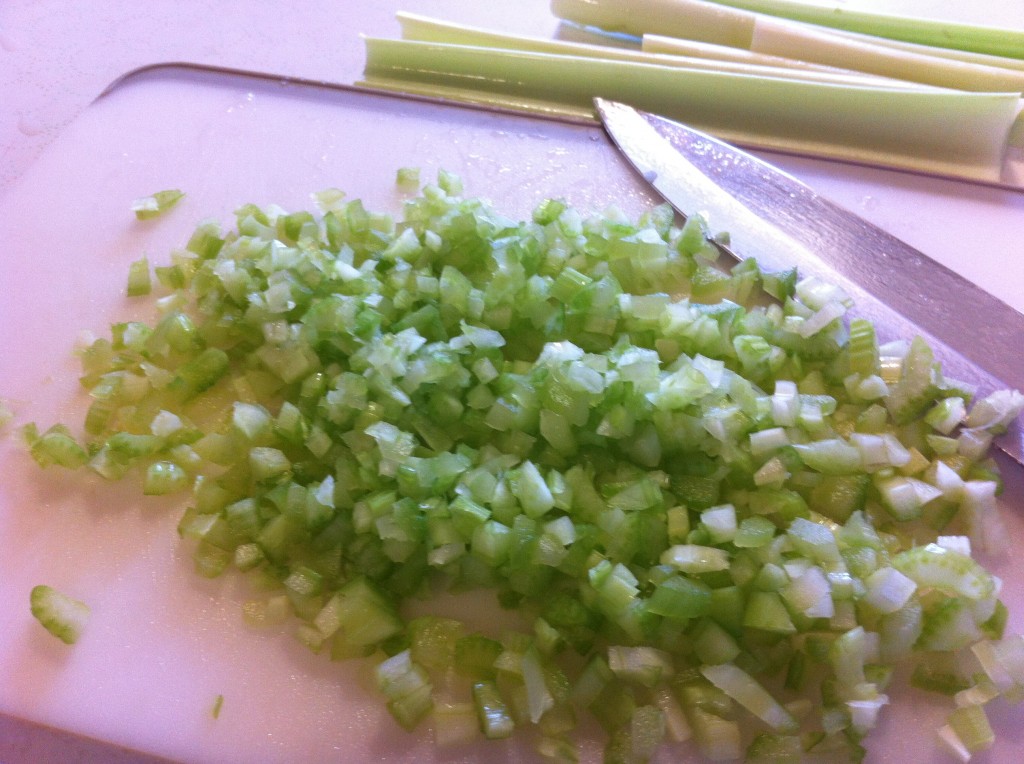
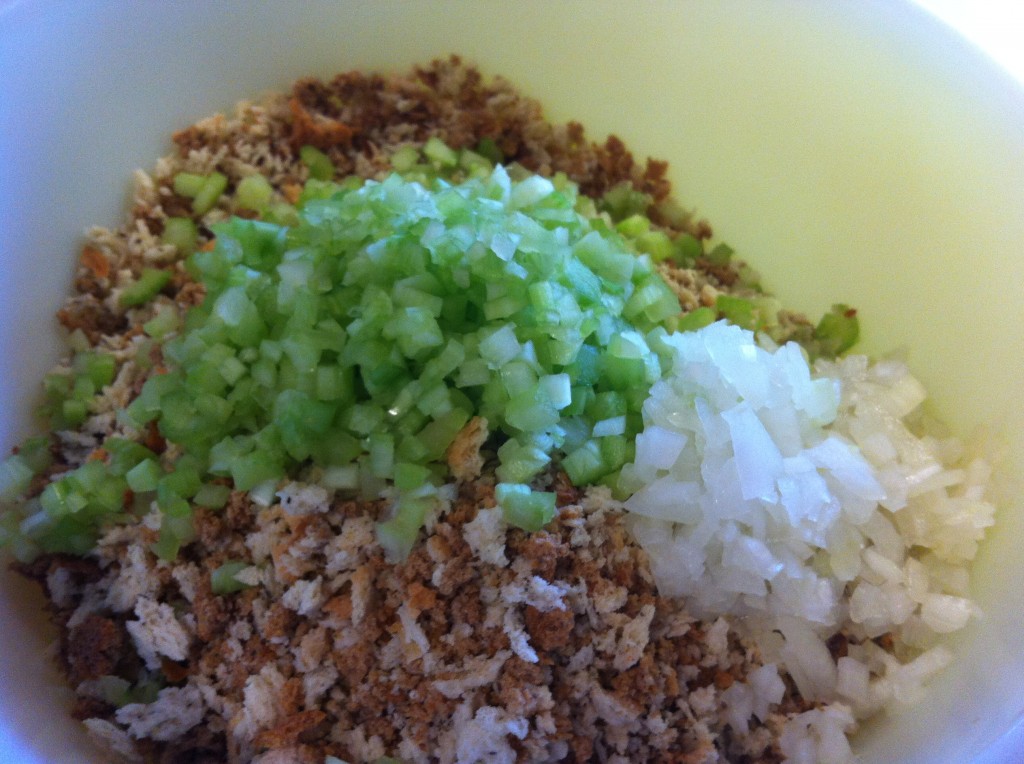
The first thing  you need to do is chop up the celery and onion into small pieces.

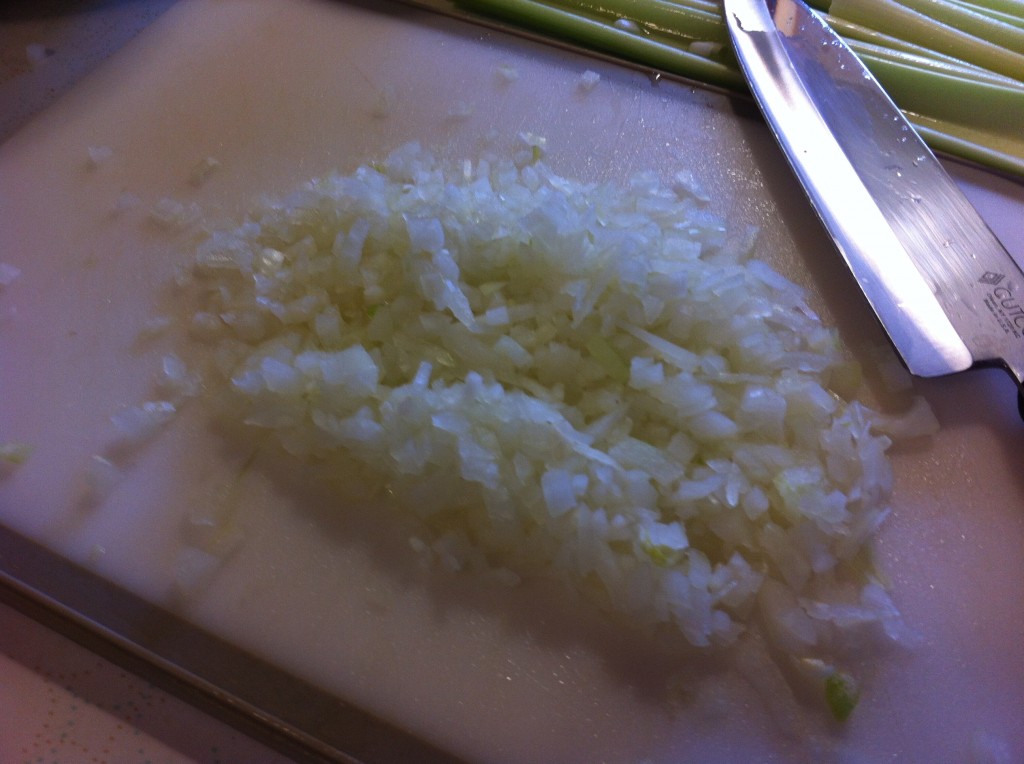
Here is the onions all chopped up.

In a bowl, put the seasoned bread crumbs and the chopped celery and onion.

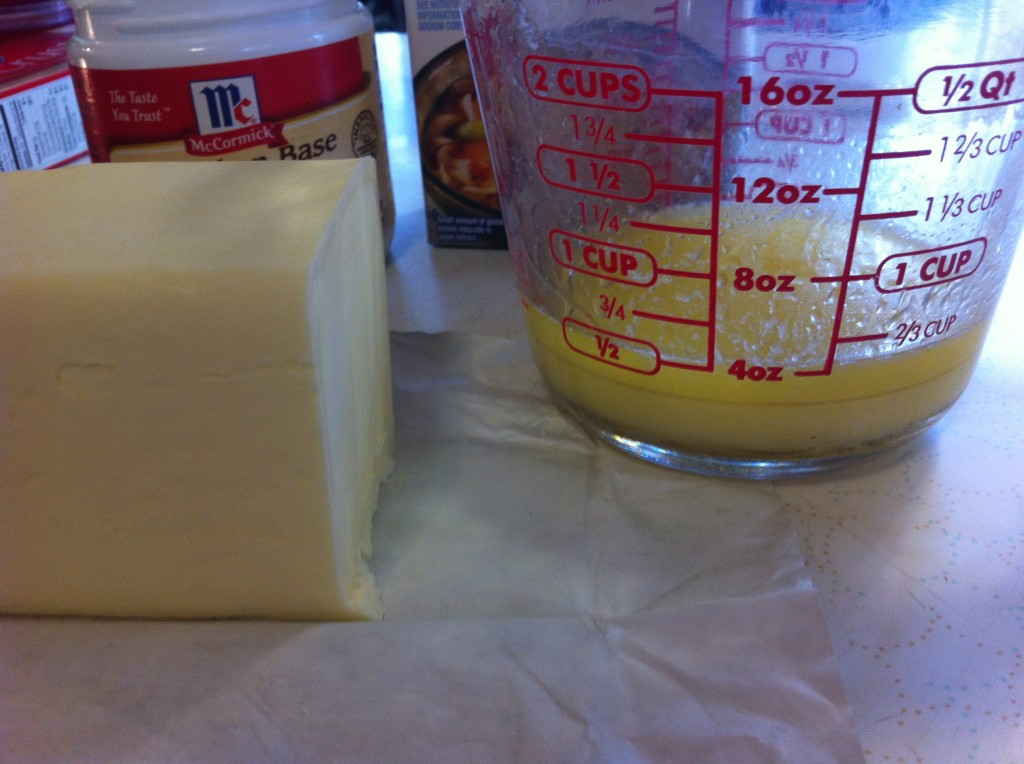
Melt the butter.

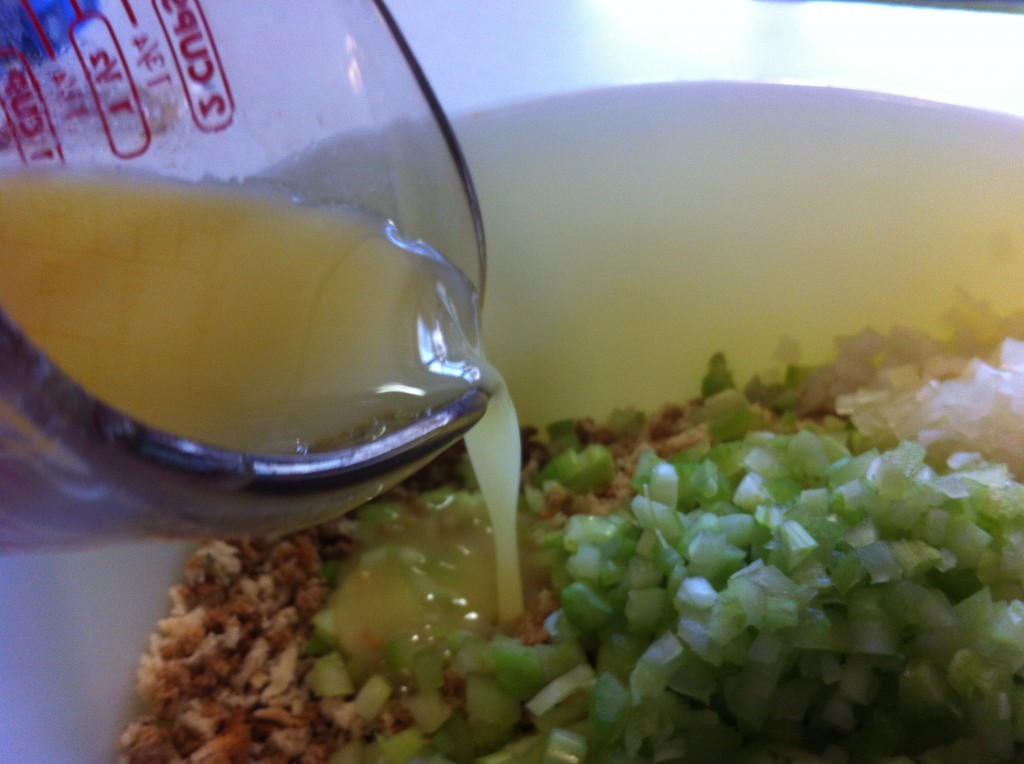
Pour the melted butter into the bowl with breadcrumbs, celery and onions.

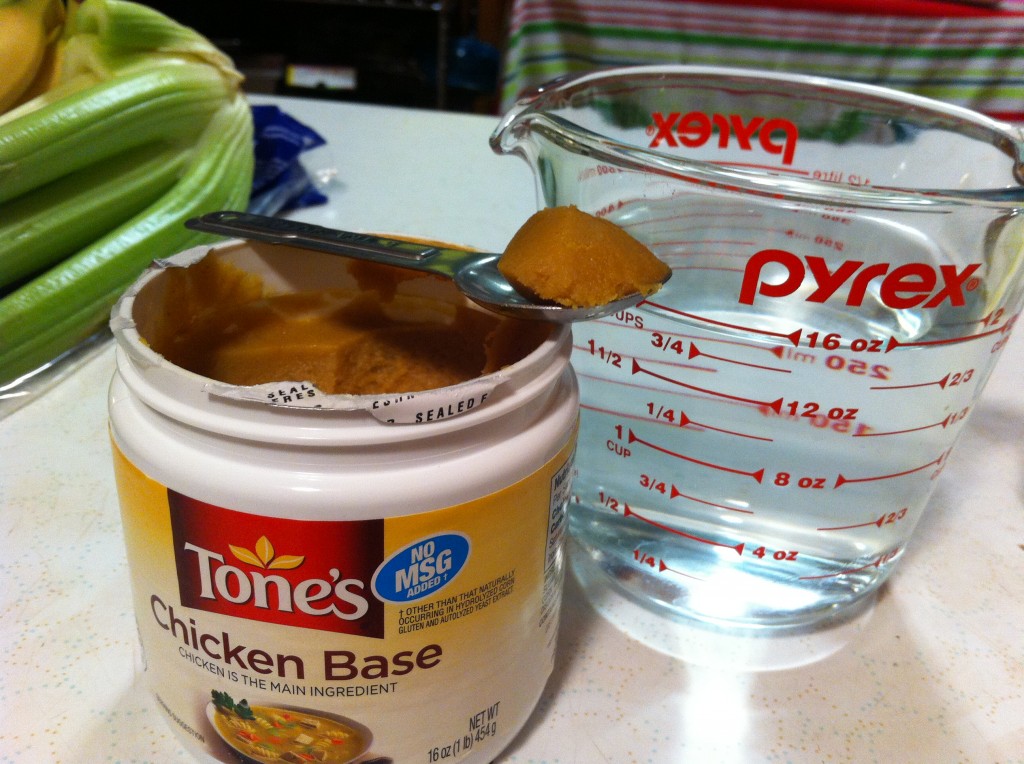
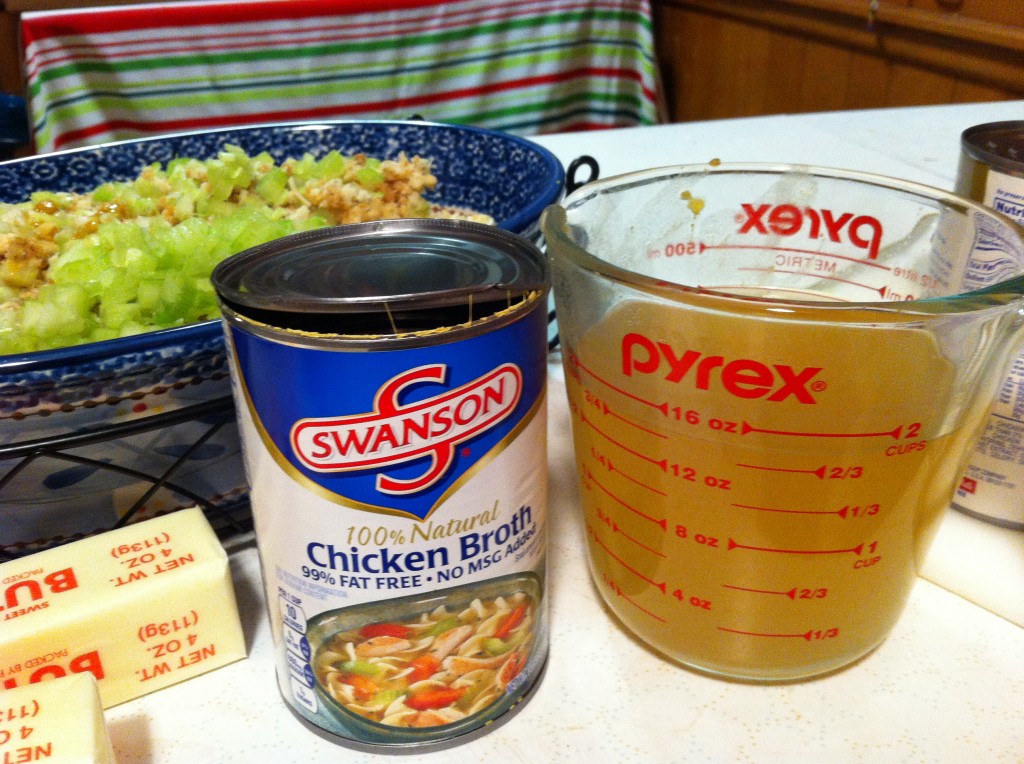
Make the chicken soup base. I add the base to water and then heat it in the microwave to help dissolve it. The reason I use half chicken base and half chicken stock is that the soup base has a real rich taste and it adds a little salt to the dressing too.

Measure out the chicken broth.

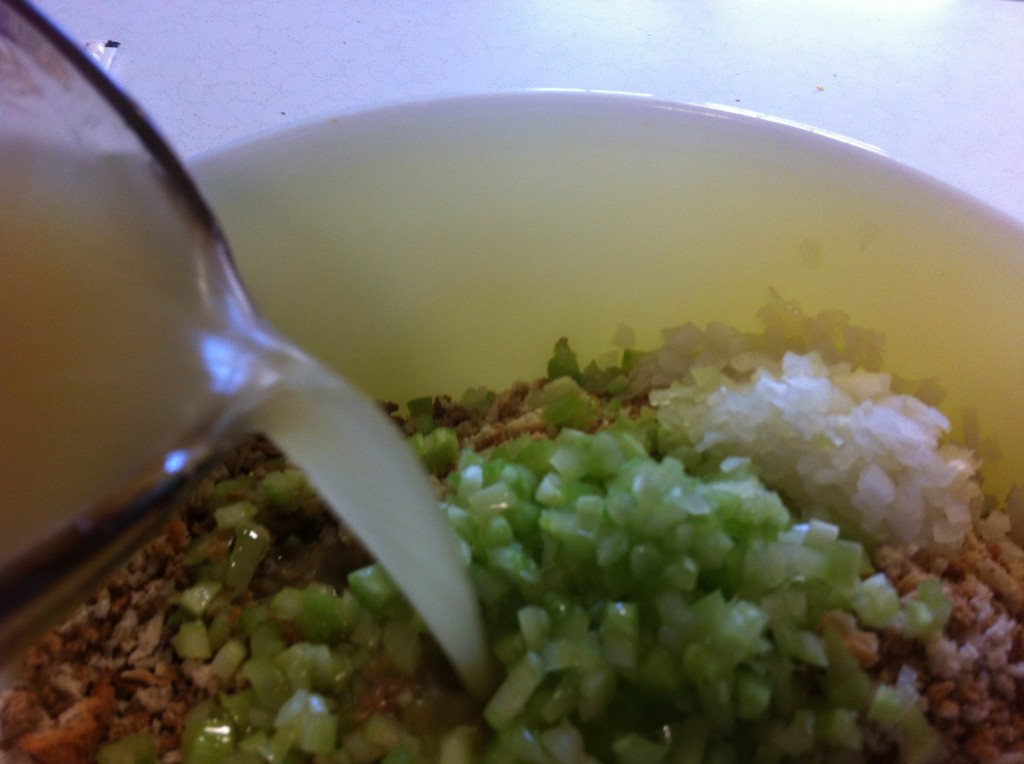
Pour in the chicken soup base and the chicken broth.

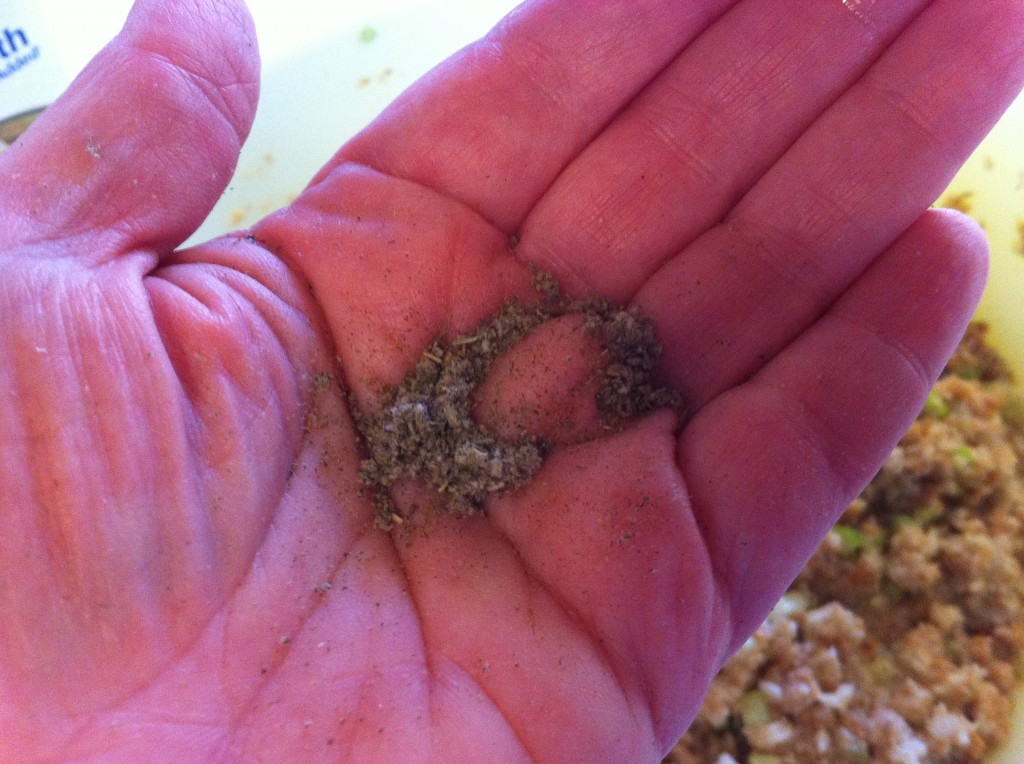
Add a small amount of sage. If you add too much, it can over power your dressing pretty fast.

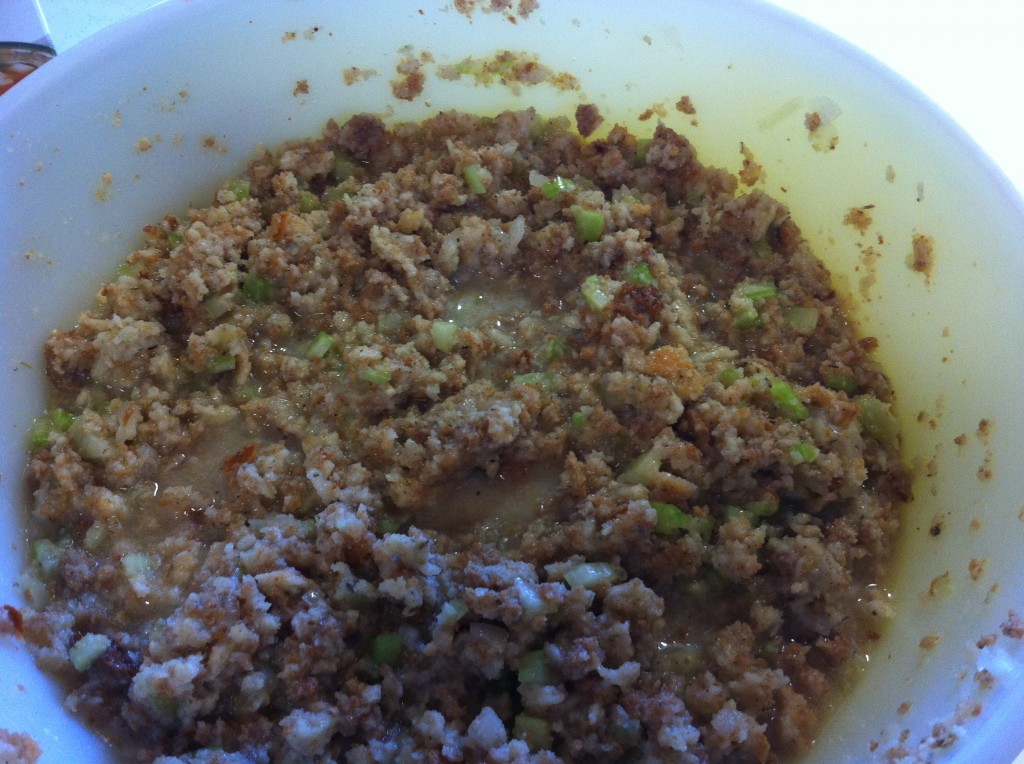
Stir every thing together.

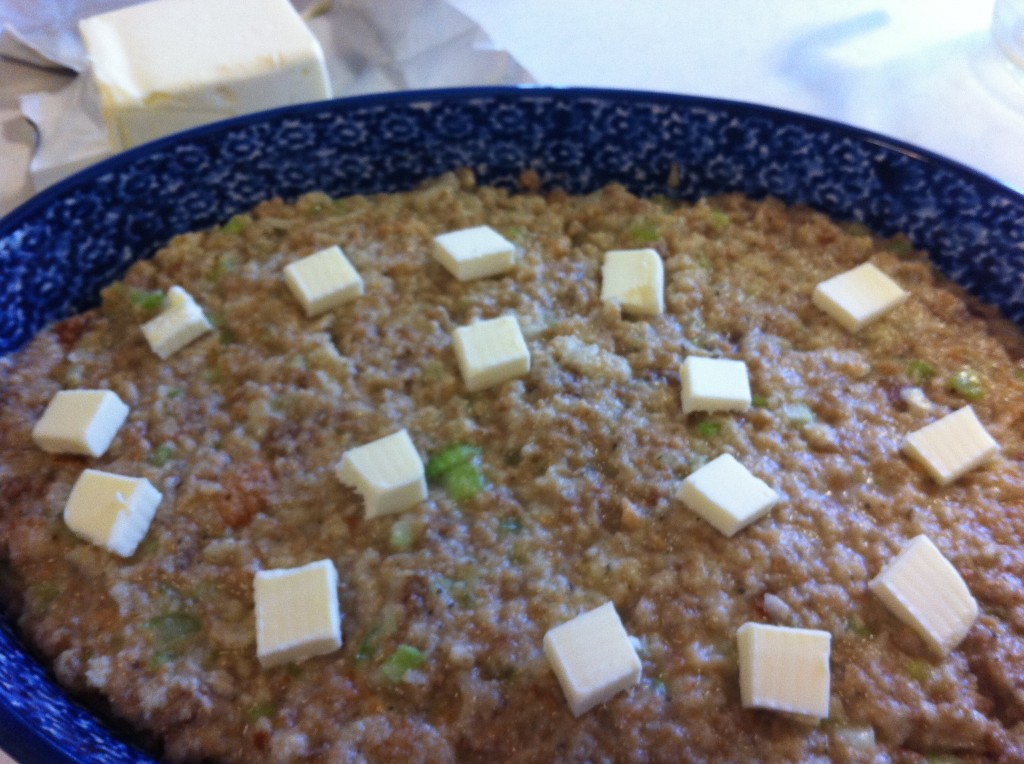
Put the dressing in a casserole dish and level smooth. Put small pats of butter on top. I usually make my dressing the day before I bake it. I think it taste better if it made the day before because the flavors really come out. This Thanksgiving, I had to make it and bake it in the morning and it was still gobbled up. So you choose what works best for you.

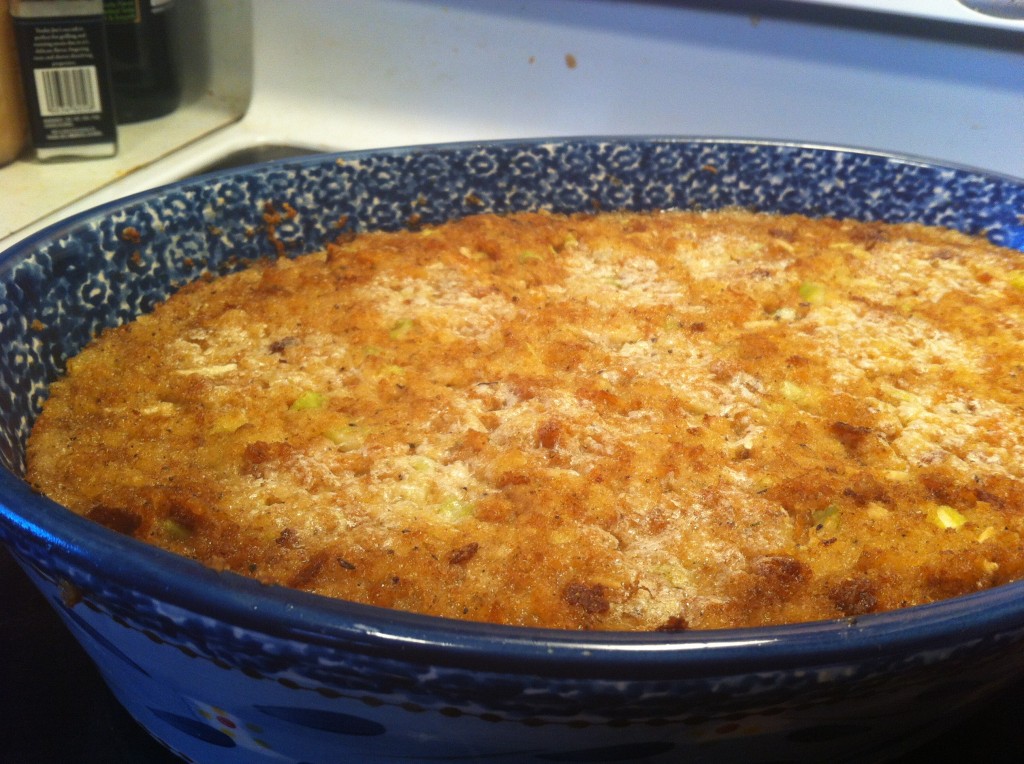
Bake at 375 degrees for around 46 minutes or until the top gets a little crispy and it is heated all the way through. If you make your dressing the day before and you take it right out of the refrigerator to bake it may take a little bit more time to bake.

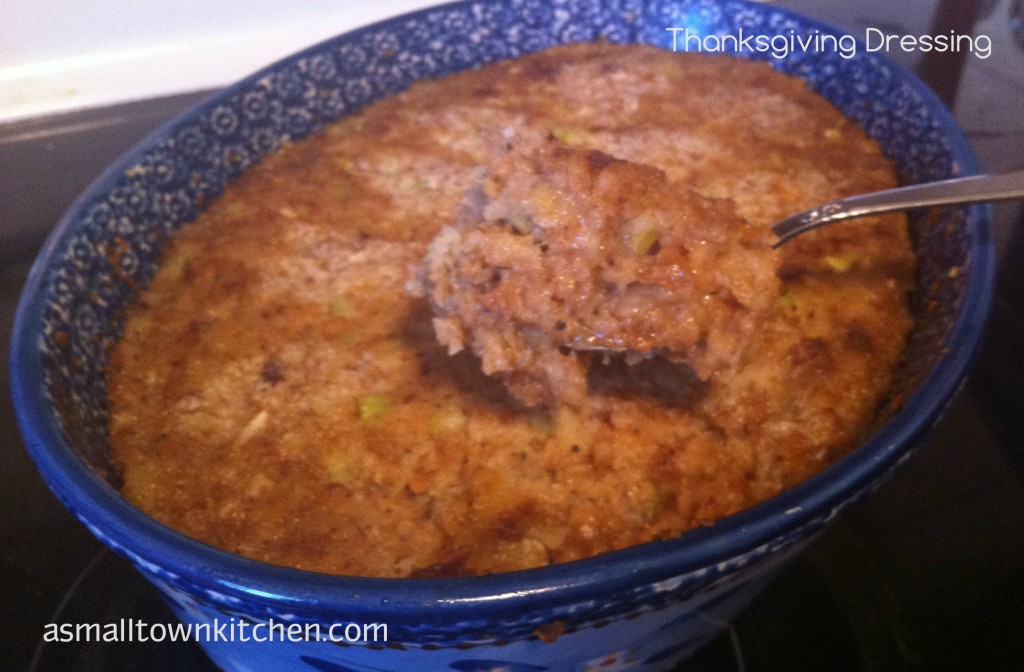
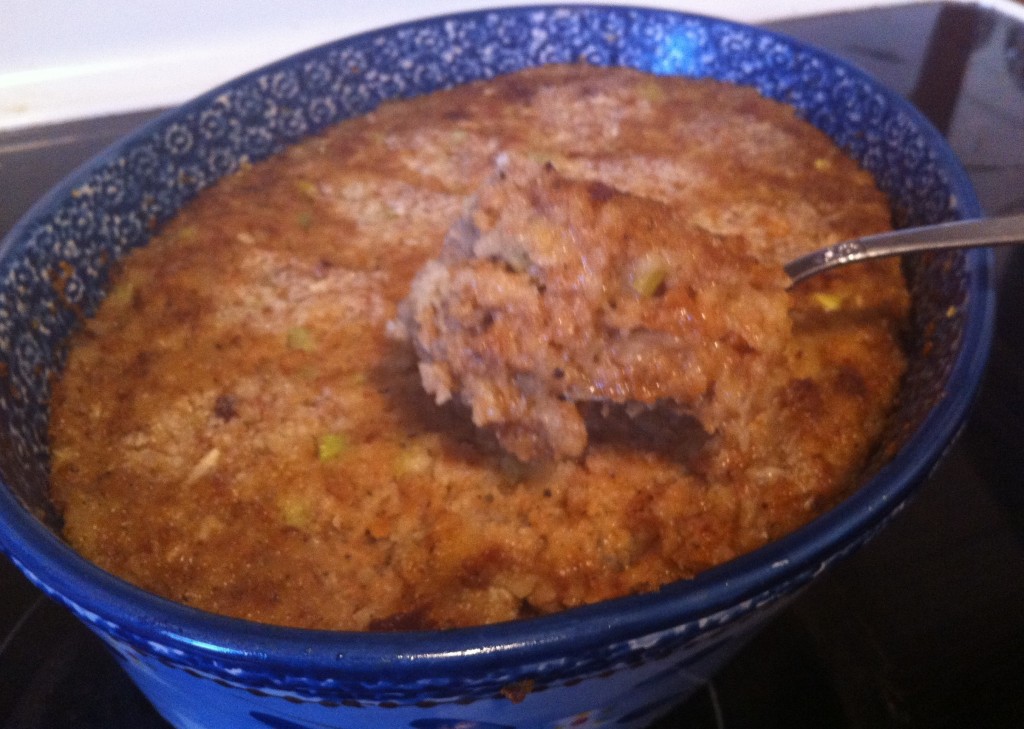
Now it is time to scoop it out and watch it disappear.

One thing I figured out about making dressing, it is that people are passionate about their dressing. This recipe can be tweak it you need too. If you like more onions, celery or sage, just add a little more and if you don’t add a little less.

Me…I am leaving it as it is cause PIC thought it was great and my Daddy told me it was the best I have made so far. Who wants to argue with a 95 year old…not me : )

Here is the recipe:

Perfect Thanksgiving Dressing

Ingredients:

1 – 14 ounce package of Pepperidge Farms Herb Seasoned Stuffing Bread Crumbs

1/2 cup melted butter

2/3 cup chopped celery

1/3 cup chopped onion

1/2 teaspoon sage

2 cups of chicken broth made from chicken soup base

2 to 2 and  1/2 cup chicken broth (canned broth such as Swanson)

Extra butter (around 1/4 cup) to put pats of butter on top

Directions:

In a large bowl, add the herb seasoned bread crumbs, celery, onions and sage. Stir to combine. Pour in the chicken soup base and the chicken stock, along with the melted butter. With a large spoon, mix everything together. Spoon the dressing into a greased casserole dish and level off with the back of a spoon. Arrange small pats of butter on top of the dressing. Bake in a preheated 375 degree oven until the butter on top is melted and the top gets slightly crispy and the insides are heated through.

I know that Thanksgiving is over this year, but Christmas is right around the corner and you made need a perfect, uncomplicated dressing recipe.

Enjoy!

Becky


Related Posts Plugin for WordPress, Blogger...