Holiday Baking…whew…..

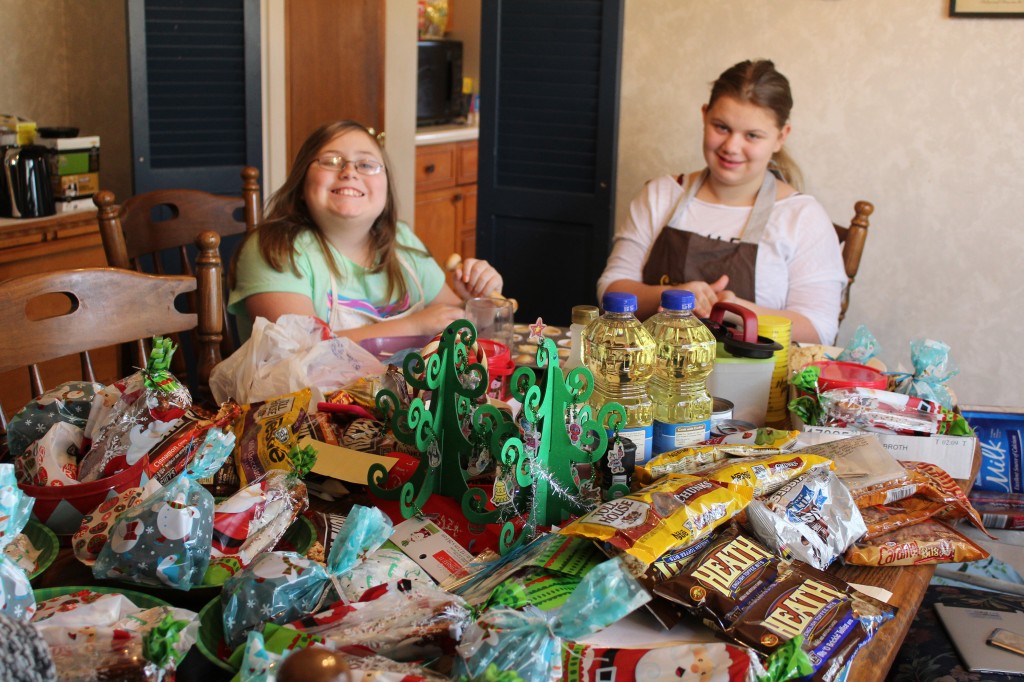
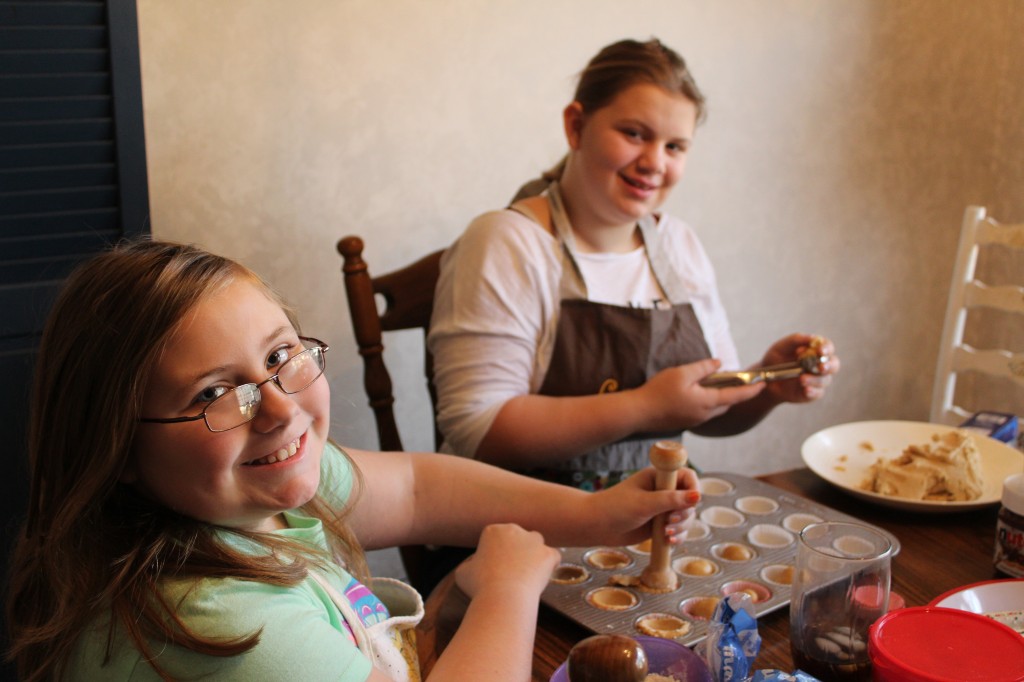
Can you see the grand girls behind the creative mess on my dining room table?

I have had a fun two days in the kitchen making a grand mess with my granddaughters and my baby college girl.

Never thought making a mess would be so fun and tasty!

Every years for as far back as I care to remember, I have been making goodie trays for my family at Christmas.

Normally every year, I spend my time alone in the kitchen cooking away. I think I kinda drive the kids out of the kitchen cause I am in the “zone” and on a mission to get everything made and wrapped up on a limited amount of time.

WELL….this year I had help. Baby College Girl took off of work and came up to hang out with me in the kitchen along with two of my granddaughter. I was a little nervous about turning over my baking and candy making to my little chefs, but I was so glad I did. They did a great job. We hung out and dipped candy, made cookie dough, melted chocolate for fudge, wrapped goodies up and had a totally perfect holiday fun in the kitchen.

Here is a few things that we made:

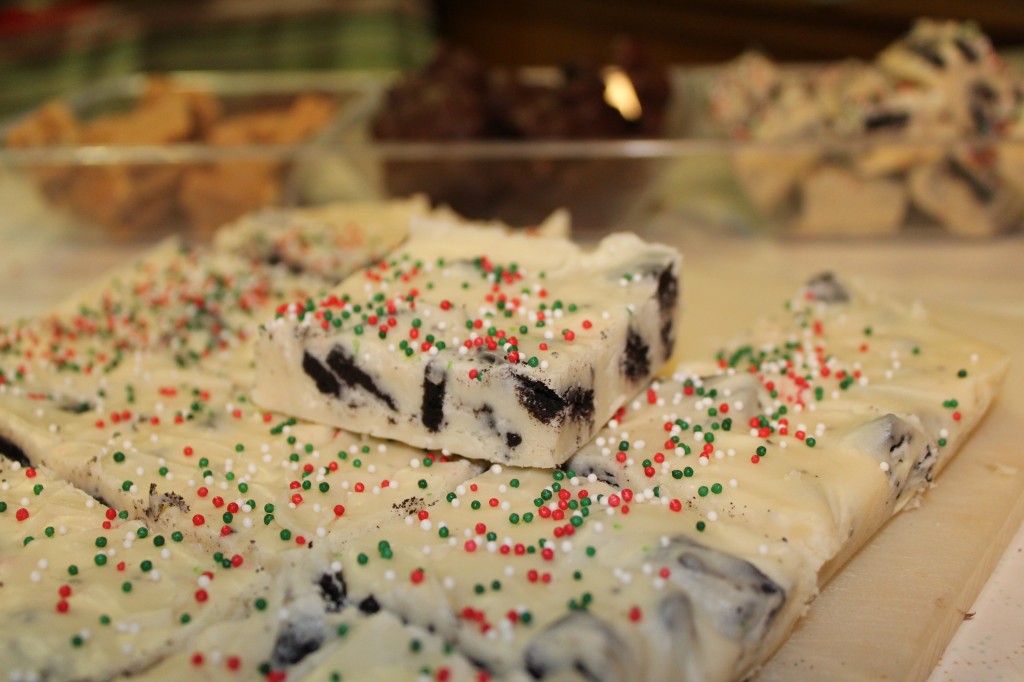
White Chocolate Fudge with chopped Oreos.

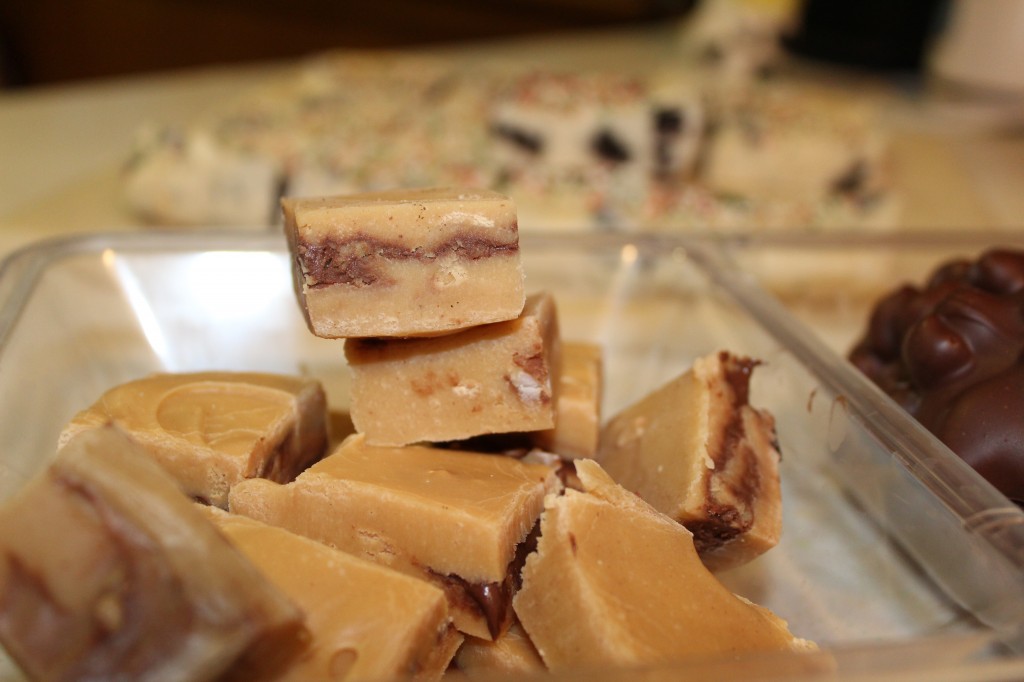
Peanut Butter Fudge with Nutella and Reece’scup filling.

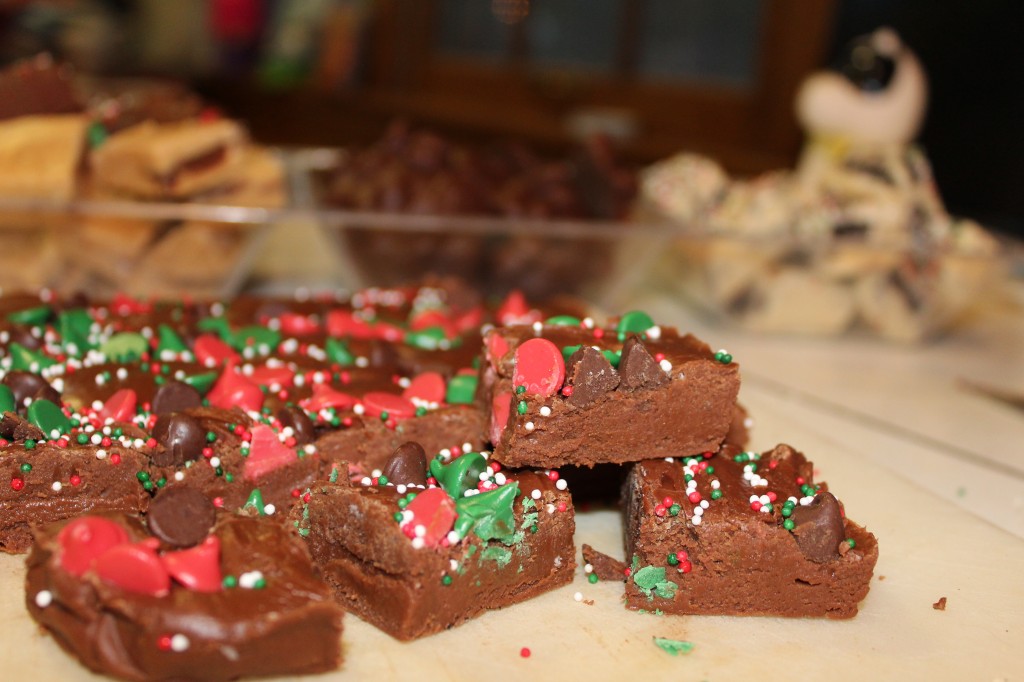
Milk Chocolate Fudge with colored chocolate chips and sprinkle.

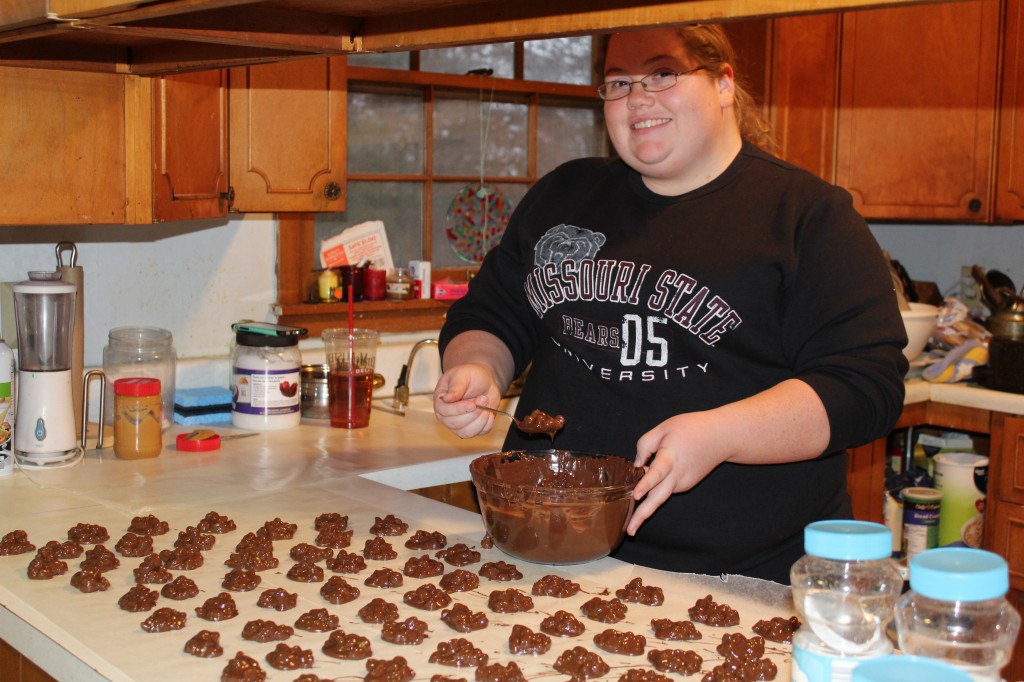
Baby College Girl Making PIC Grandpa’s Peanut Clusters.

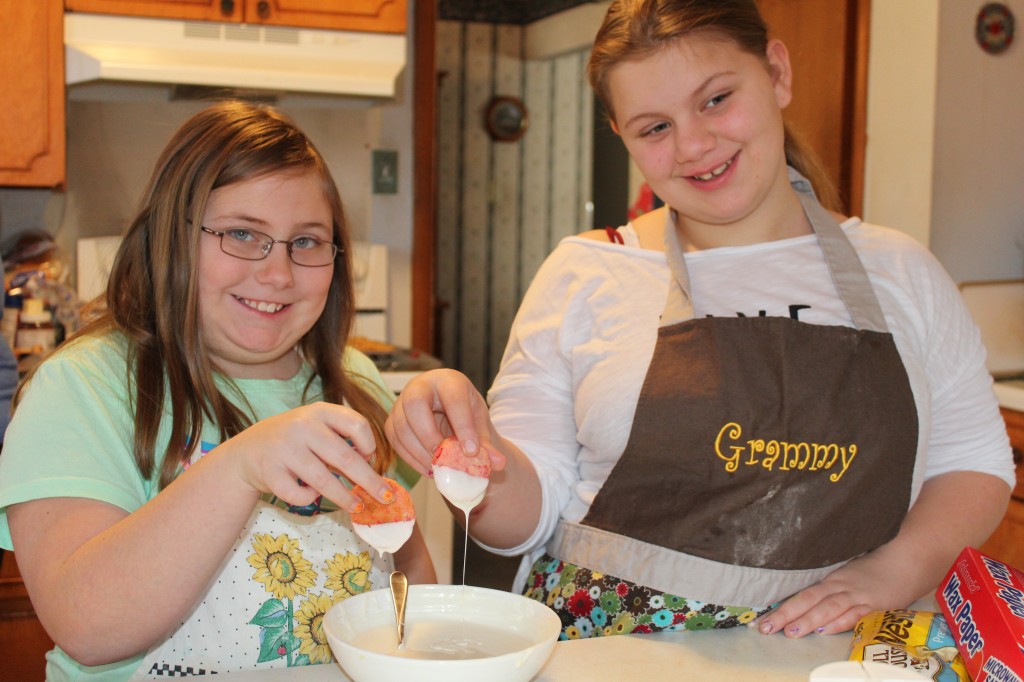
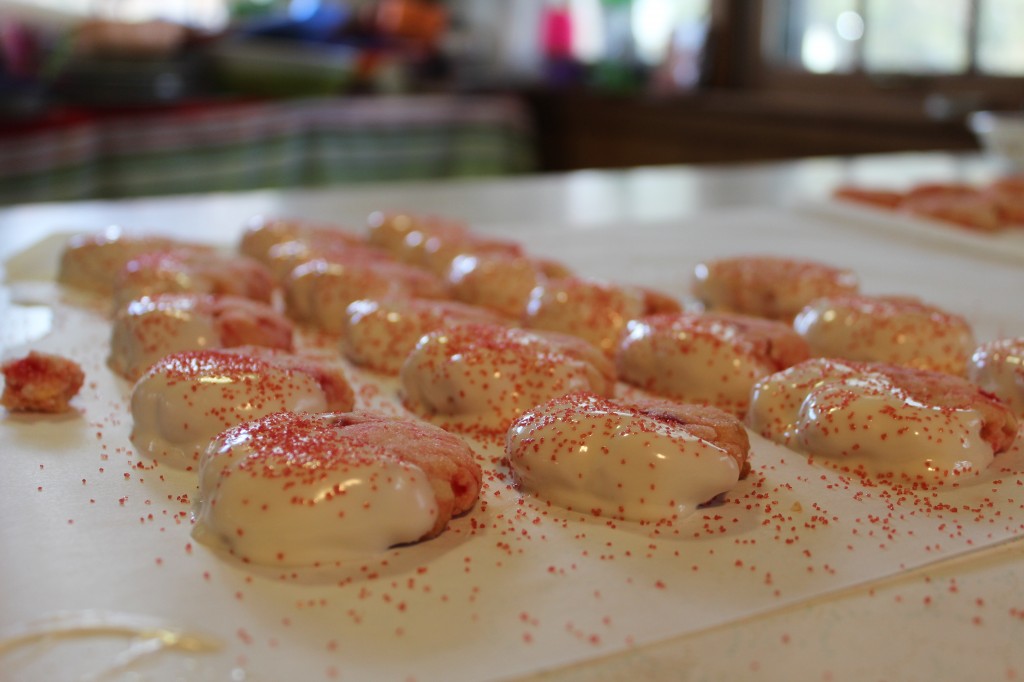
Grand girls dipping the Cherry Cookies in white chocolate.

Cherry Cookies with White Chocolate.

Grand girls filling the pan with fudge puddle dough.

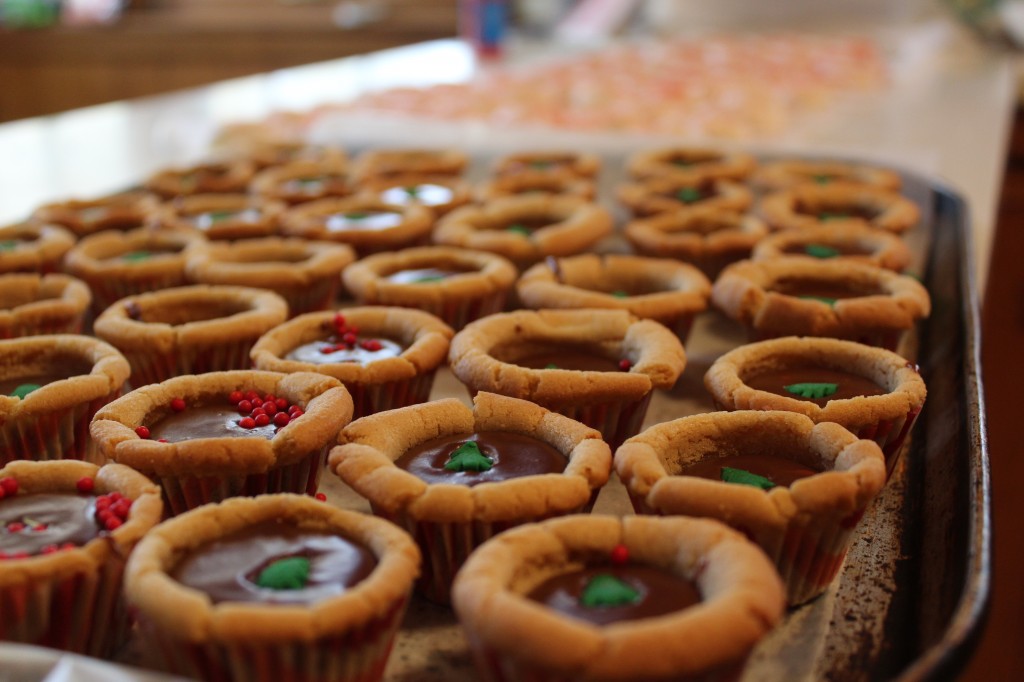
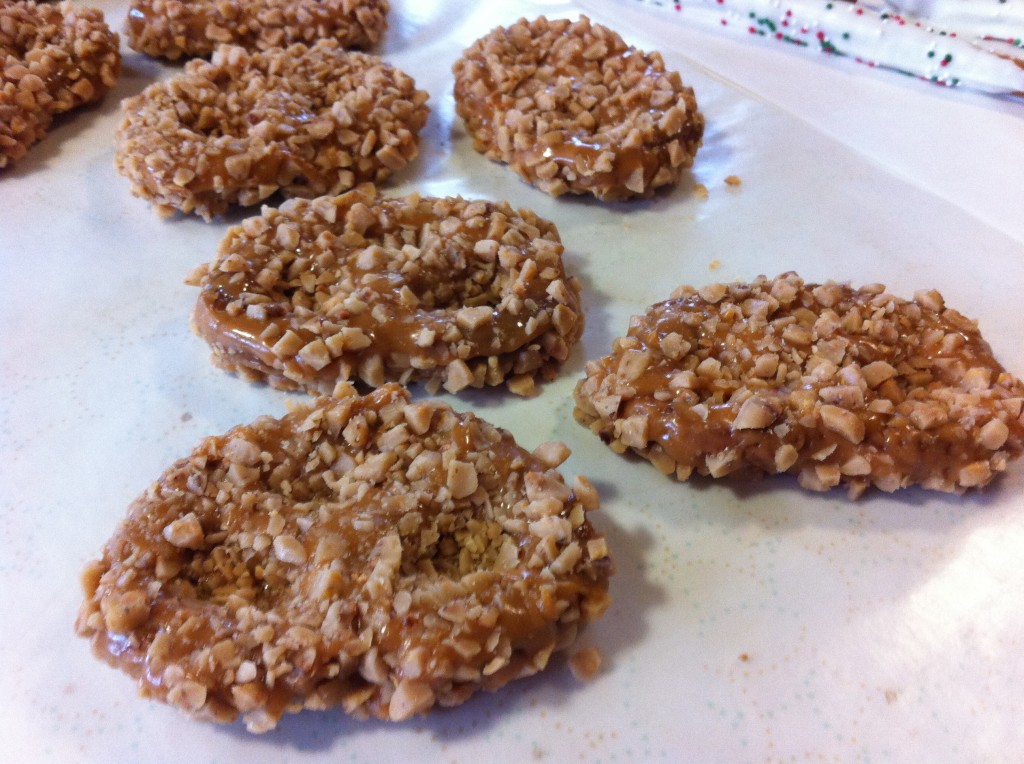
Fudge Puddle Cookies.

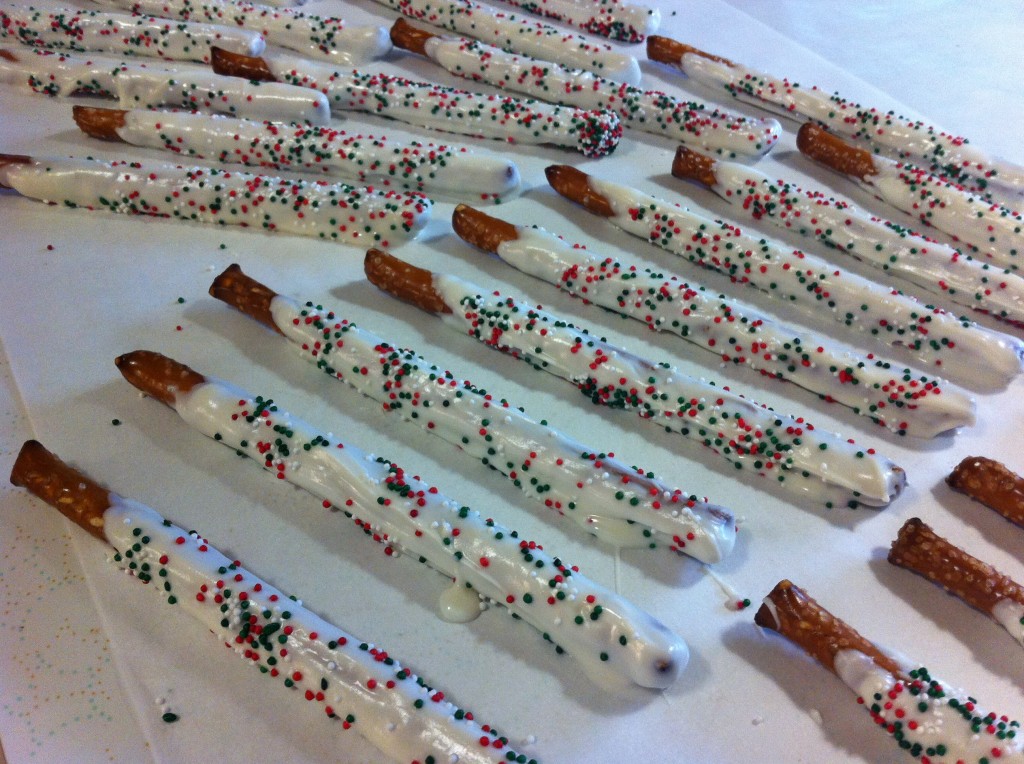
Dipped Pretzels.

This is what I still need to make!

Caramel  Toffee Pretzels

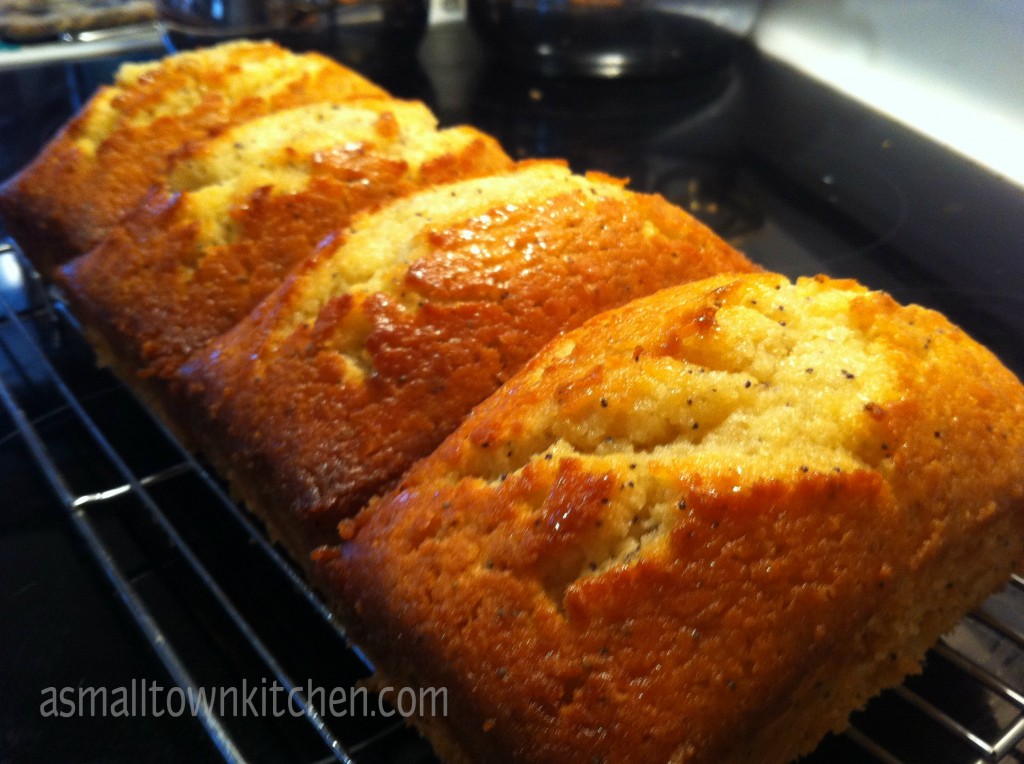
Poppy Seed Bread or maybe some Pumpkin Bread….I need to decide soon…haha…

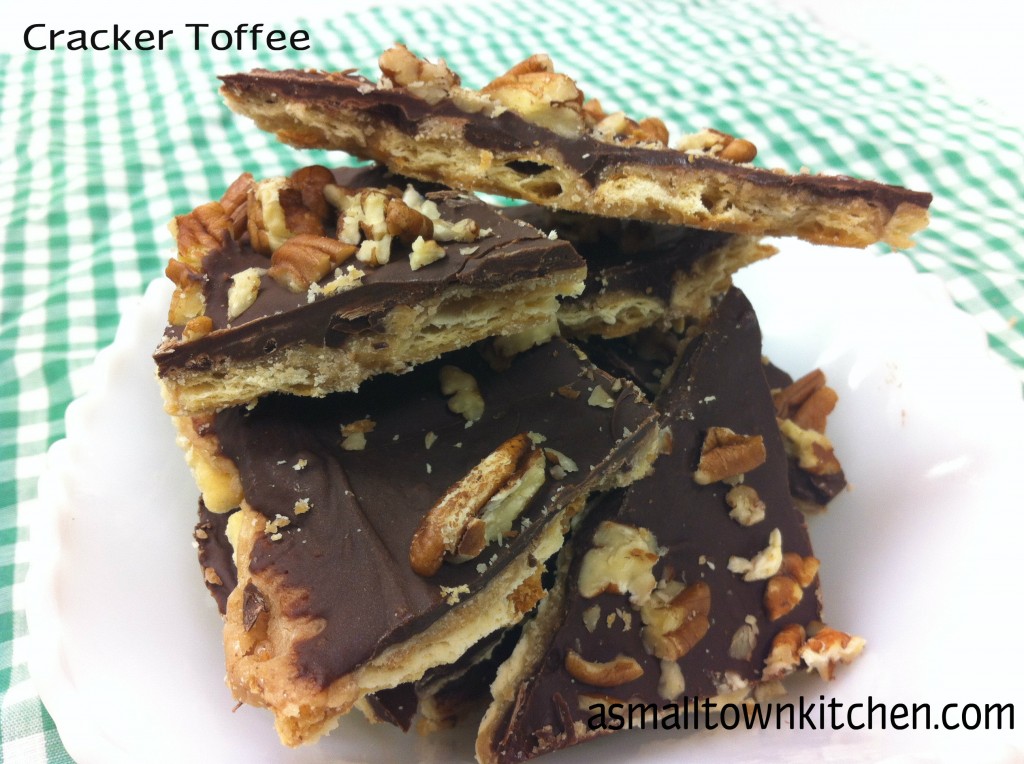
Cracker Toffee (love this stuff!)

I also have a couple of cookies I would love to make but Christmas Eve is tomorrow…and I hardly have any presents wrapped. But, I am craving some Ranger cookies.

Don’t you love Christmas Baking????

How is your baking going?? Are you running as late as I am?

I better get back into the kitchen. If I do not show up with Caramel Toffee Pretzels, I doubt anyone would let me into the house when I arrive at Mom’s for Christmas.

Merry Christmas!

Becky


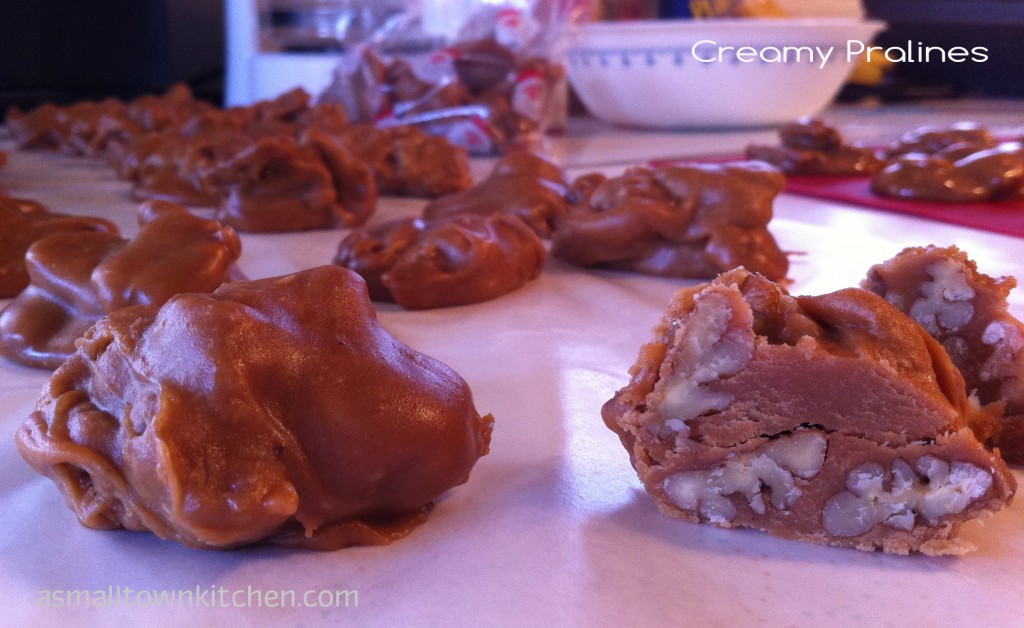
Creamy Pralines

As I look back on the candies I made or tried to make (divinity) it seems I wanted to make candies that I loved to eat growing up. I learned how to make pralines in college in one of my foods classes. That is where I learned how to use a thing called a candy thermometer and how to put your hot sugar syrup in water to see if it was a hard crack, soft ball….you know what I am talking about. A few years ago I went on vacation to Savannah with PIC  (sister in law) and my niece Sparkle (my nick name for her).  I loved walking down by the riverfront, watching the candy masters make batch after batch of fresh, warm, melt in your mouth pralines.

I don’t know if you call them praw-leens or pralines…just give me some.

I found this old recipe for creamy pralines. I don’t know if I if they are quite as good as the candy masters in Savannah, but they are pretty close. On these cold winter days here in Mid Missouri, a little taste of the South sounds pretty darn good. Do not be intimidated to make pralines. The trick is to stir the candy while it is cooling off until it starts turning a little dull and then you quickly scoop them out in little puddles on parchment paper. Wait till they set up (if you can) and then make some hot tea and indulge with one or two or more pralines.

Sounds good to me : )

Hope it does to you too.

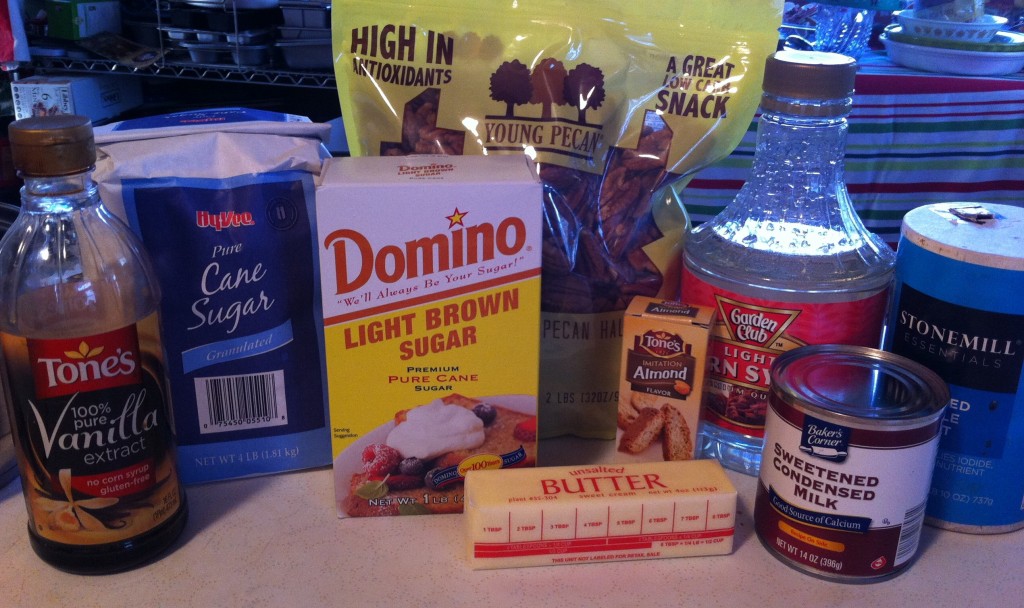
Anywho, here is what you need to make these creamy pralines.

This recipe has sweetened condensed milk in it instead of half and half or regular milk.


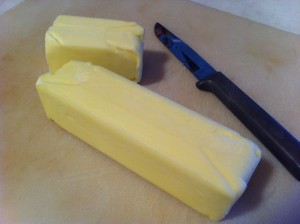
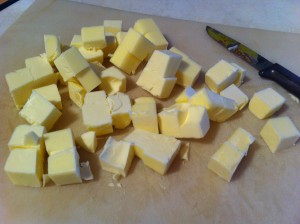
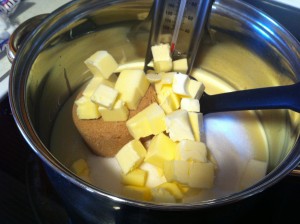
The first thing I did was cut up my butter into little cubes, so it will melt faster and easier.


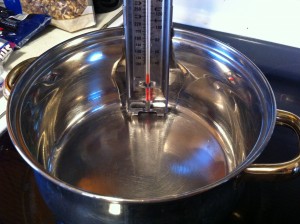
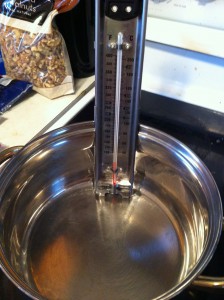
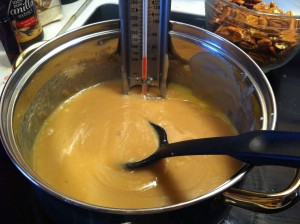
I set up the pan with the candy thermometer next. The thermometer snaps on the back top of the pan.


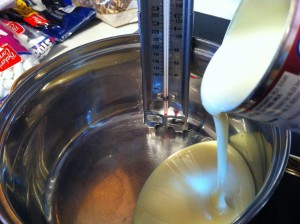
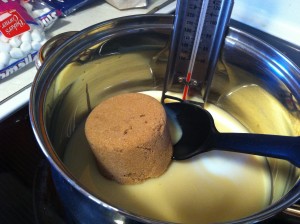
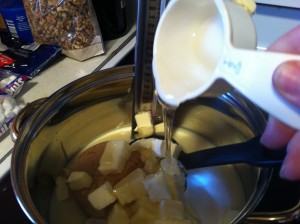
Pour in the sweetened condensed milk and firmly packed brown sugar into the in the heavy saucepan.


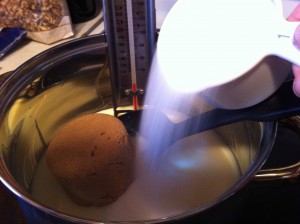
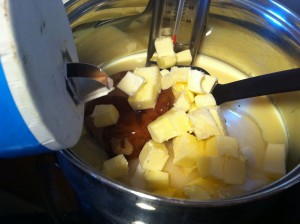
Add in the granulated sugar and toss in the cubed butter.


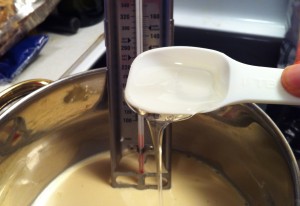
Pour in the corn syrup and add the salt.


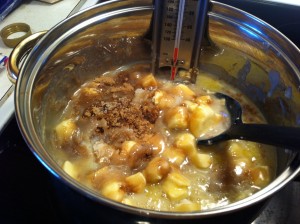
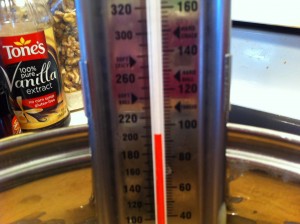
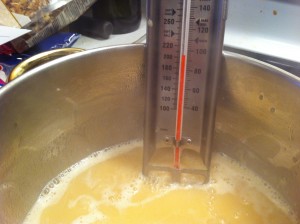
Stir gently and heat on low until the butter melts. Turn the heat up to medium and stir continuously until the candy reaches a soft ball stage or 238 degrees.


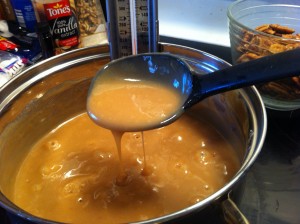
Heat up the mixture until it reaches 238 degrees on a candy thermometer. It will start to thicken up and boil.


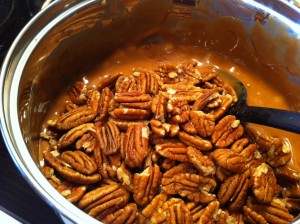
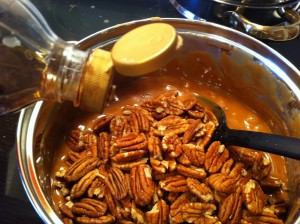
When the mixture reaches 238 degrees, remove from the heat. Add the pecans, vanilla and almond flavoring.

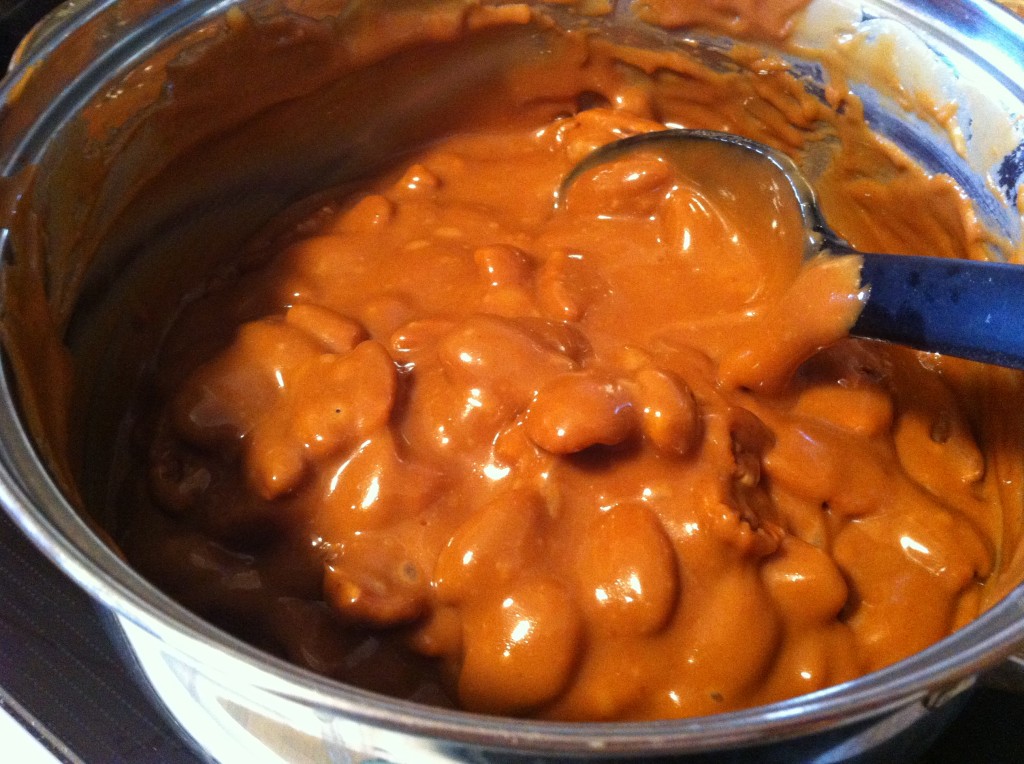
Stir in the pecans and flavorings. Beat the mixture with a spoon until it starts to thicken.

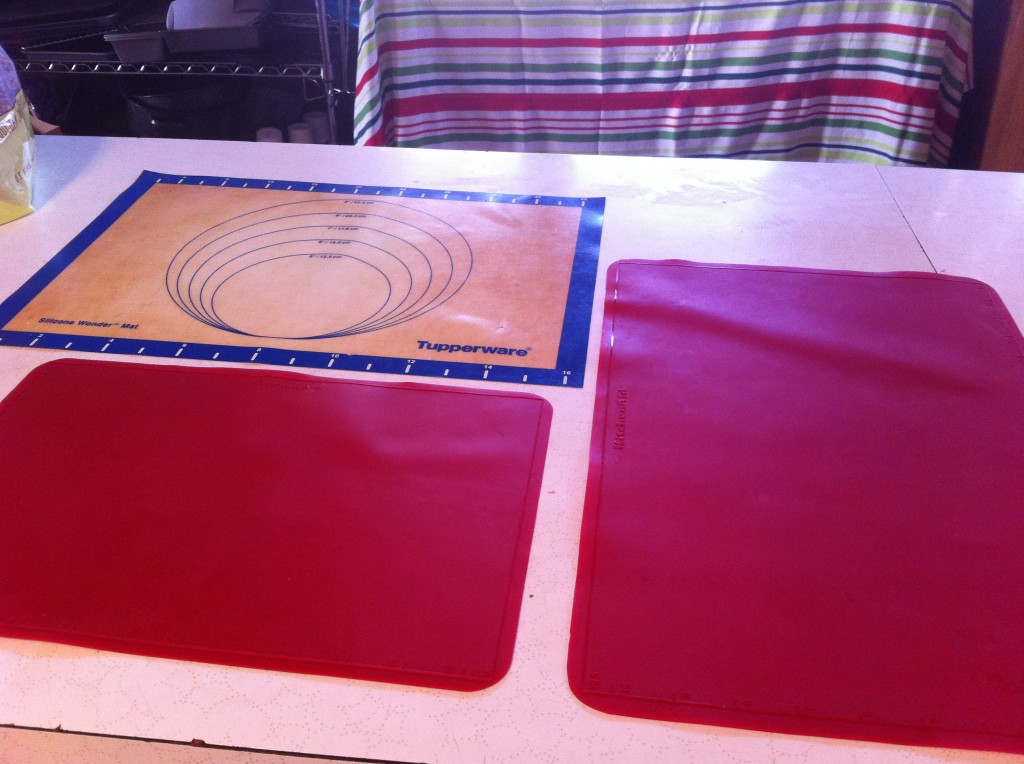
Have an area prepared to drop the candy on. I used silicone sheets, but you can use parchment paper also.

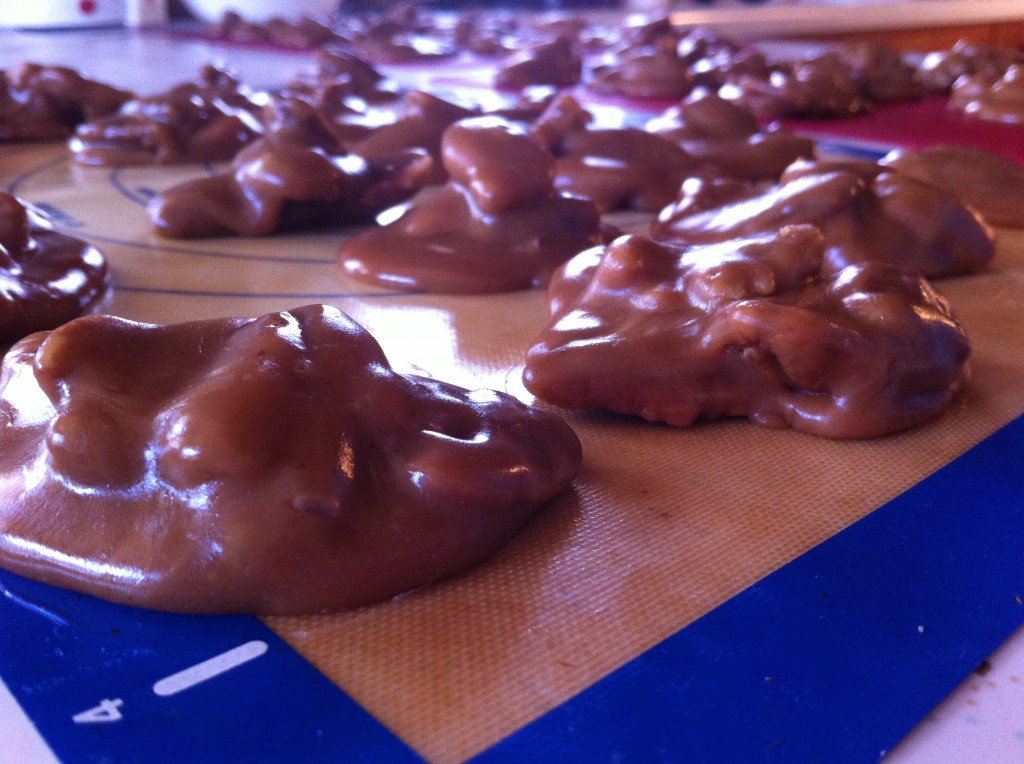
Working quickly, drop by rounded tablespoon onto a prepared surface. Let stand until firm.

Don’t you just want to grab one and eat it? I do.

Here is the recipe.

Creamy Pralines

Recipe Adapted from Old Southern Living Cookbook

Ingredients:

1 cup sugar

1 cup firmly packed light brown sugar

1 – 14 ounce can of sweetened condense milk

3/4 cup butter or margarine cut up into cubes

1/2 cup light corn syrup

1/8 teaspoon salt

3 cups of pecans

1 teaspoon vanilla

1/2 teaspoon almond flavoring

Directions:

In a heavy saucepan, on low heat, stir together the sugar, brown sugar, butter, sweetened condensed milk, corn syrup and salt. After the butter has melted, turn the heat to medium. Stirring continuously, heat the mixture to soft ball stage or 238 degrees. Take the mixture off the heat and add the pecans and flavoring. Beat the mixture together with a spoon. Continue beating until the mixture cools slightly and starts to thicken. Work quickly (before the candy sets ups) and with a tablespoon, spoon out spoonfuls onto parchment paper. Let sit until the candy cools and becomes firm.

Makes approximately 3 dozen pralines.

If you can’t make it to Savannah anytime soon, and you are craving some pralines, give this recipe a try.

I know you can make them.

Enjoy,

Becky


Heavenly Hash Candy

I must be feeling a little nostalgic. Yesterday, I made those cute and delicious,  strawberries in winter candy and today I am making another childhood favorite, heavenly hash candy.

I think it has something to do with marshmallows. I love anything to do with marshmallows. Marshmallow cream, marshmallows on top of sweet potatoes, on top of a steaming mug of cocoa and of course grabbing a handful right out of the bag for a snack. This candy is full of marshmallows.

I think I need an intervention!

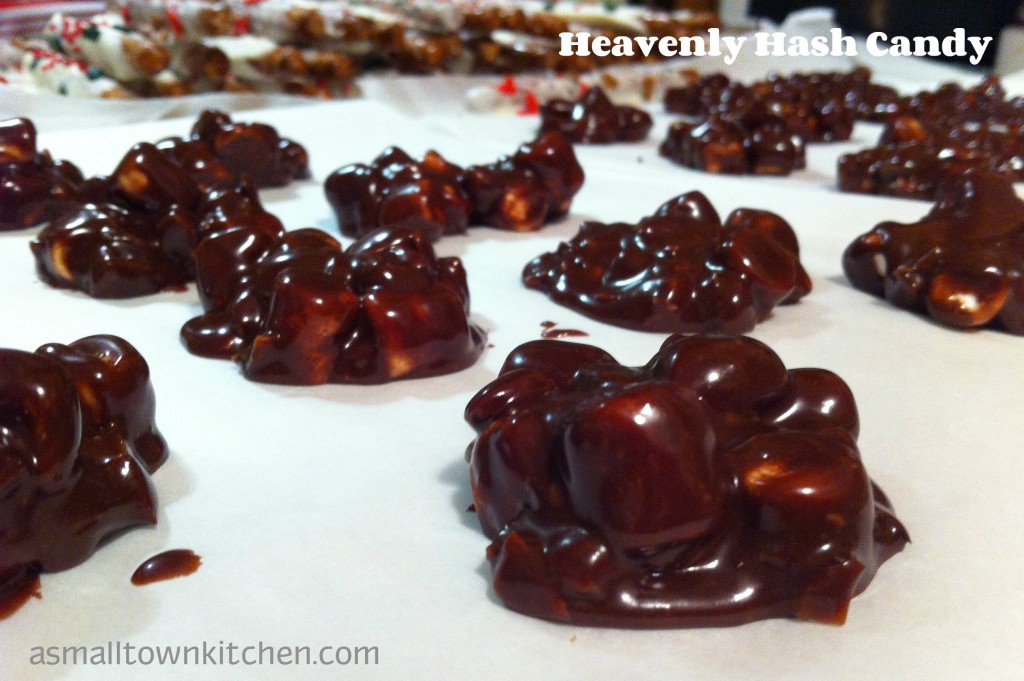
Anywho, when I happen to run across a picture of this candy, it brought back memories of family gatherings and tables full of great food, I knew I had to add heavenly hash to the trays of goodies. They are full of marshmallows and nuts (I used almonds) and all coated in creamy chocolate goodness.

I will have to admit it took me a couple of tries to get it right. I am not sure if I mis-measured the sugar or I did not boil the milk and sugar for the full two minutes. The first batch just would not set up. I was not just going to give up, and I thought I would try it again. This time I took extra time to make sure I measured everything correctly and boiled the milk and sugar the full two minutes. This does not mean simmer either, make sure you boil it for two minutes to insure the candy will set up. I just finished my fourth third batch and the candy set up like a dream.

I know it will for you too.

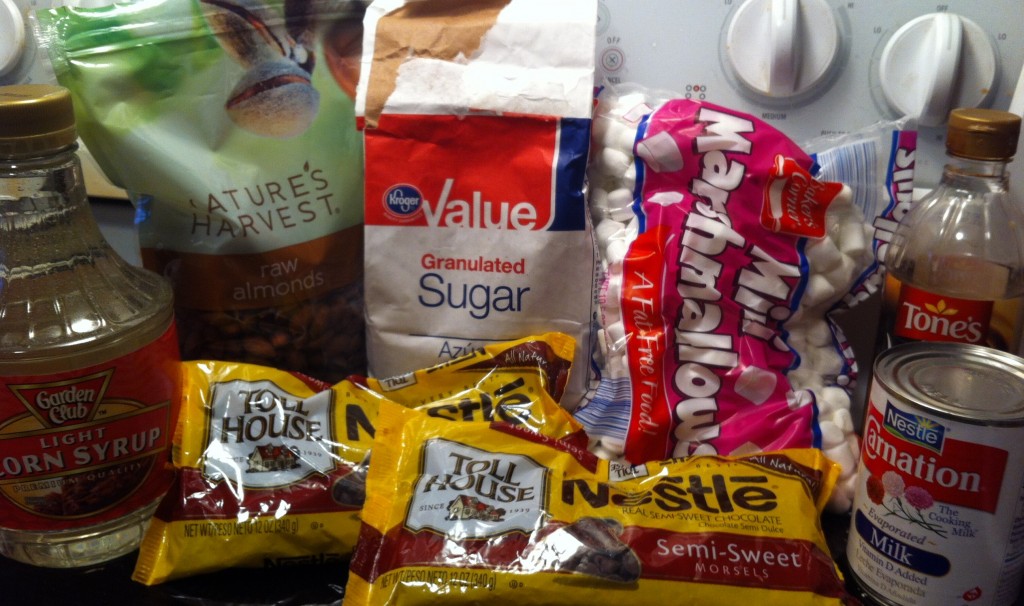
Here is everything you will need to make Heavenly Hash Candy.


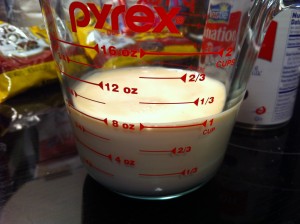
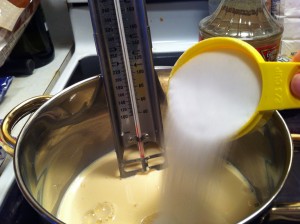
First thing you need to do is measure out one cup of evaporated milk. Put the milk in a medium size sauce pan and add one cup of sugar. Do not worry about using a candy thermometer. I was just curious to see what temperature the milk would get when I boiled it.


Now, add three tablespoons of corn syrup. Stir the milk, sugar and corn syrup until the sugar dissolves. Bring the milk mixture to a rolling boil and boil for two minutes. The mixture will look really foamy when it boils.


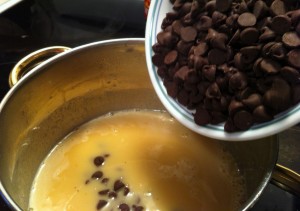
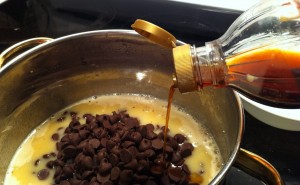
Let the hot milk mixture cool for two minutes. Then, add in the chocolate chips (two cups) and one teaspoon of vanilla.

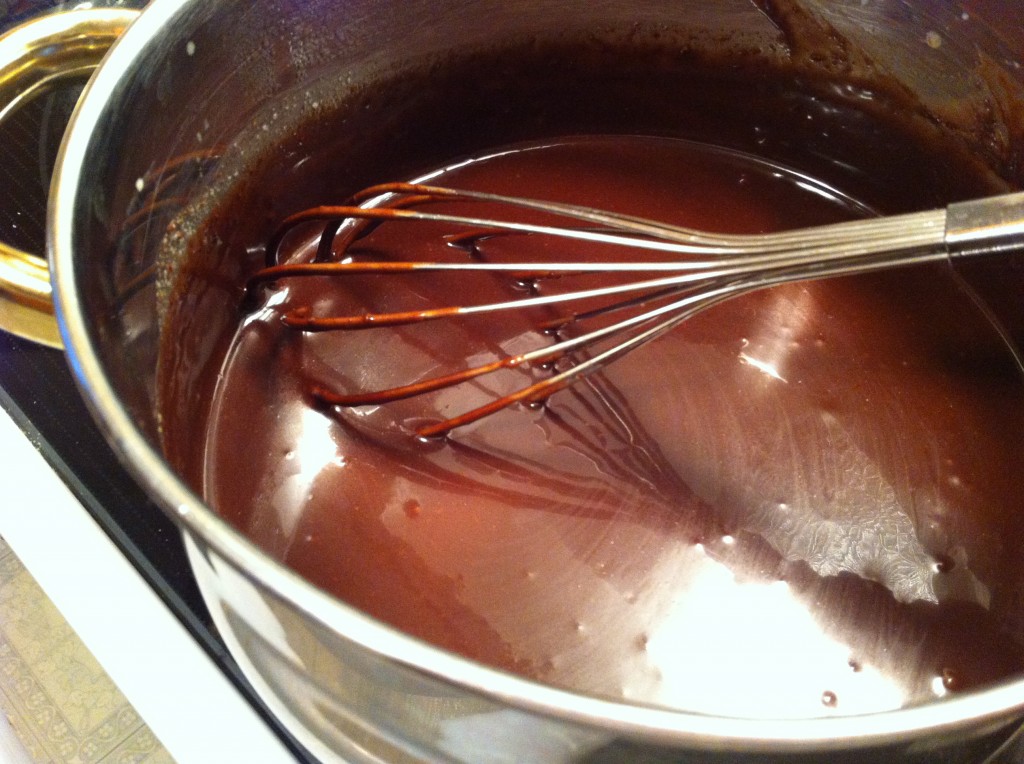
With a whisk, whisk the chocolate chips and vanilla with the hot milk mixture until the chocolate chips are melted. Let the chocolate mixture cool for 20 minutes.


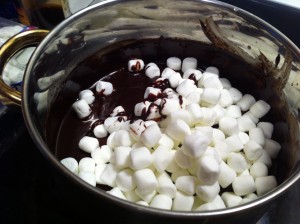
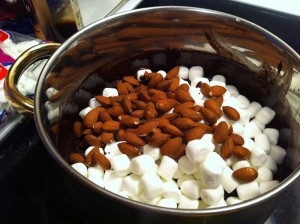
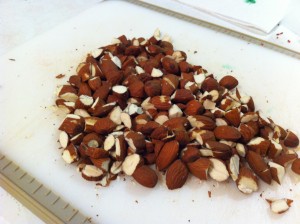
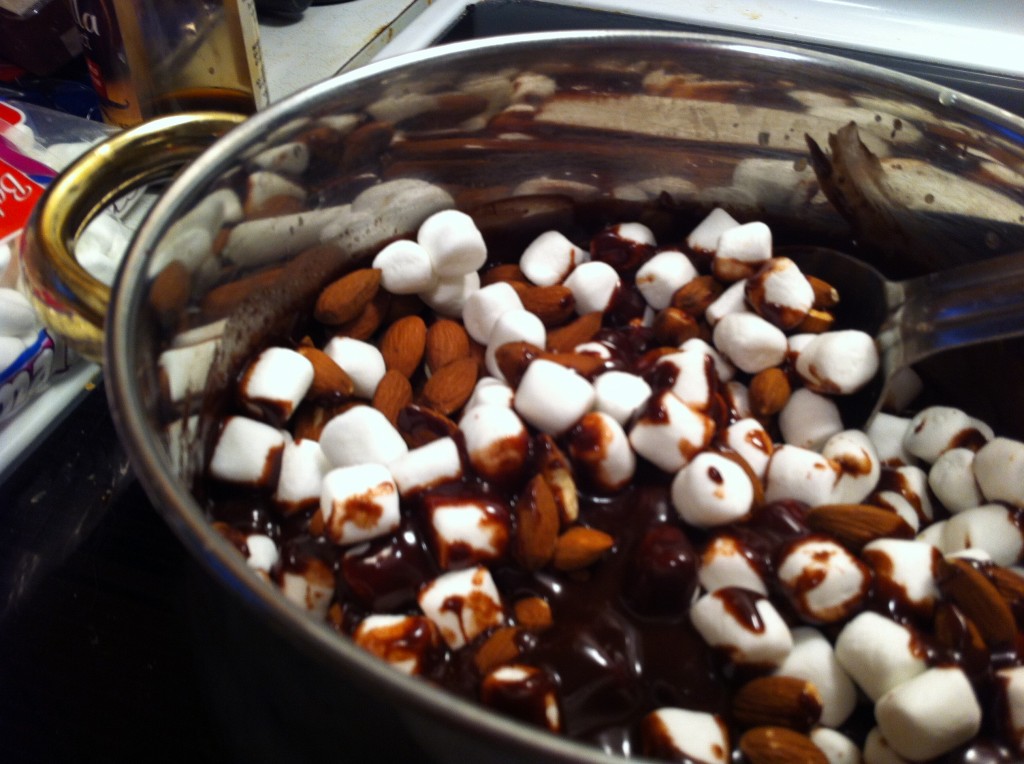
After the chocolate has cooled for twenty minutes, stir in two cups of miniature marshmallows and 2 cups of chopped nuts. I used almonds. I left some whole and some  I just did a rough chop on.

With a large spoon, stir all everything together until the marshmallows are well coated in chocolate.

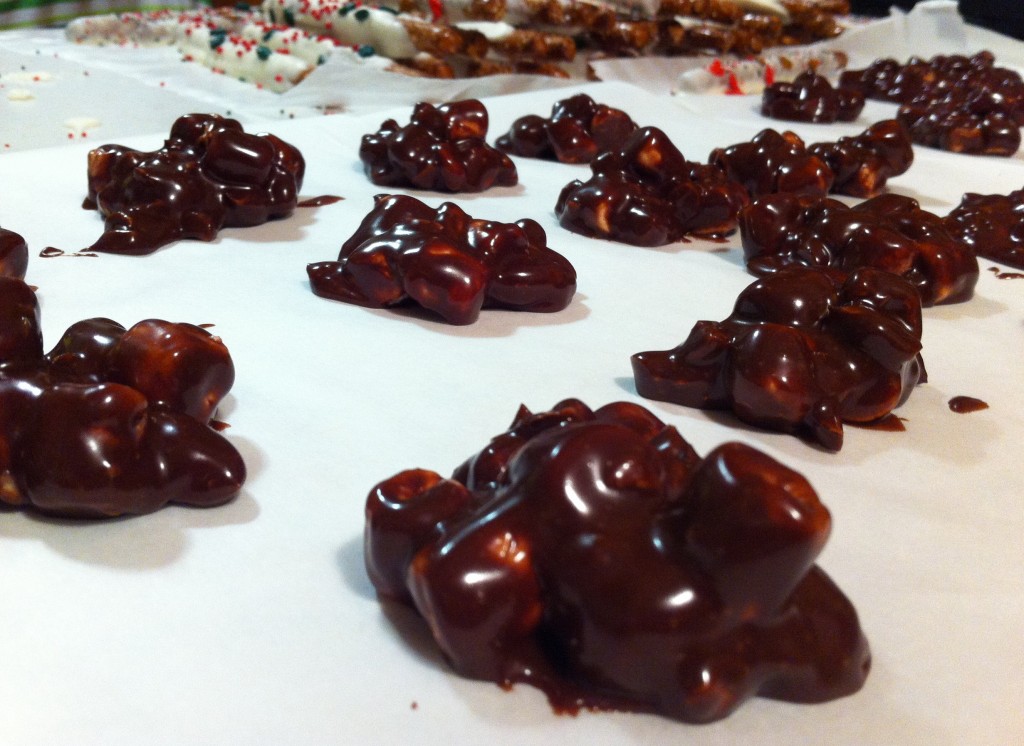
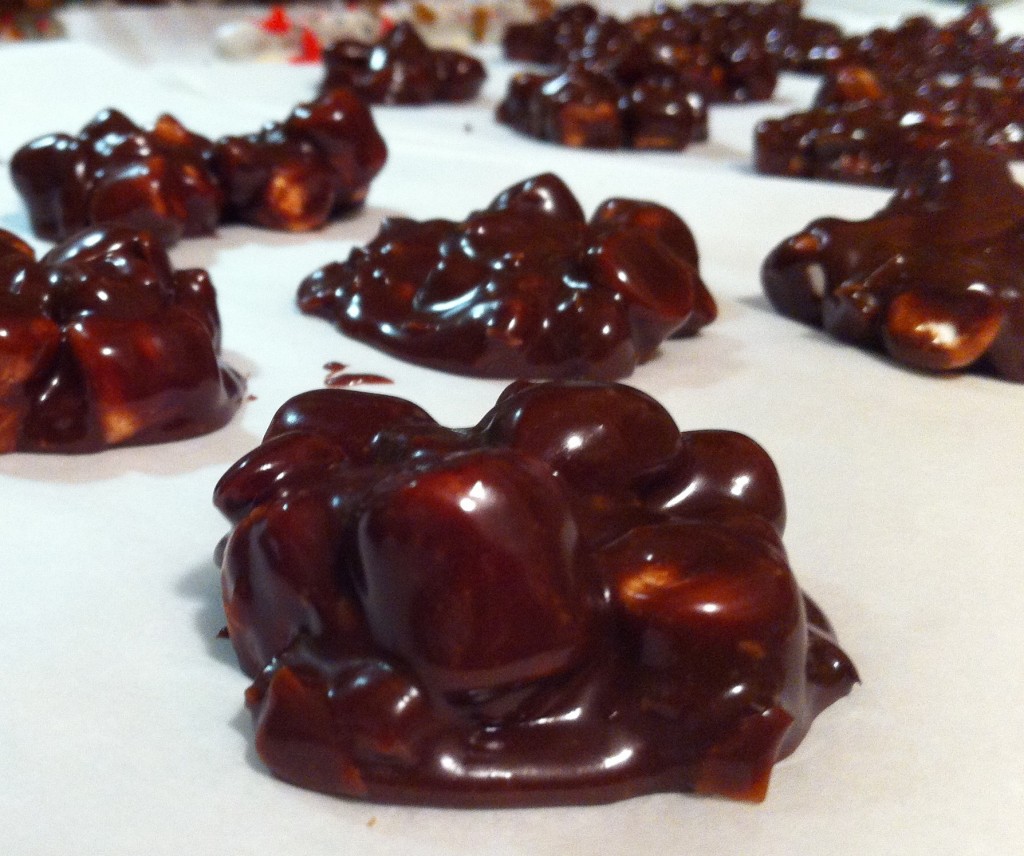
Using a spoon, scoop out the candy onto parchment paper to set up. This candy will set up faster in the fridge, but I just mine set up on the counter.  If you want, you can spread the candy in a parchment lined pan and cut into bars. I store the candy in the fridge until I am ready to fill my trays.

Bring a little bit heaven to your holiday candy making with these heavenly hash chocolate candies. I am sure your little angles will love them.

Here is the recipe:

Heavenly Hash Candy

Ingredients:

1 cup of evaporated milk

1 cup of sugar

3 tablespoons light corn syrup

2 cups of semi sweet chocolate chips

1 teaspoon vanilla

2 cups chopped nuts (I used almonds, leaving some whole and some I did a rough chopped)

2 cups miniature marshmallows.

Directions:

In a medium sauce pan, heat the evaporated milk, sugar and corn syrup, stirring until the sugar is dissolved. Bring the milk to a full boil and boil for a full two minutes (no short cuts here). Let the milk cool down for 2 minutes and add the chocolate chips and vanilla. Stir, until all the chocolate chips melts. Let the chocolate mixture cool for 20 minutes. When the chocolate mixture has cooled, stir in the marshmallows and the nuts. Stir until all the marshmallows are coated in chocolate. With a spoon, scoop out the candy and place on parchment paper to set up. Store in the refrigerator.

I hope your goodie making is going faster than mine!

Happy Candy Making,

Becky


Other post you might enjoy reading.

Caramel Toffee Pretzels


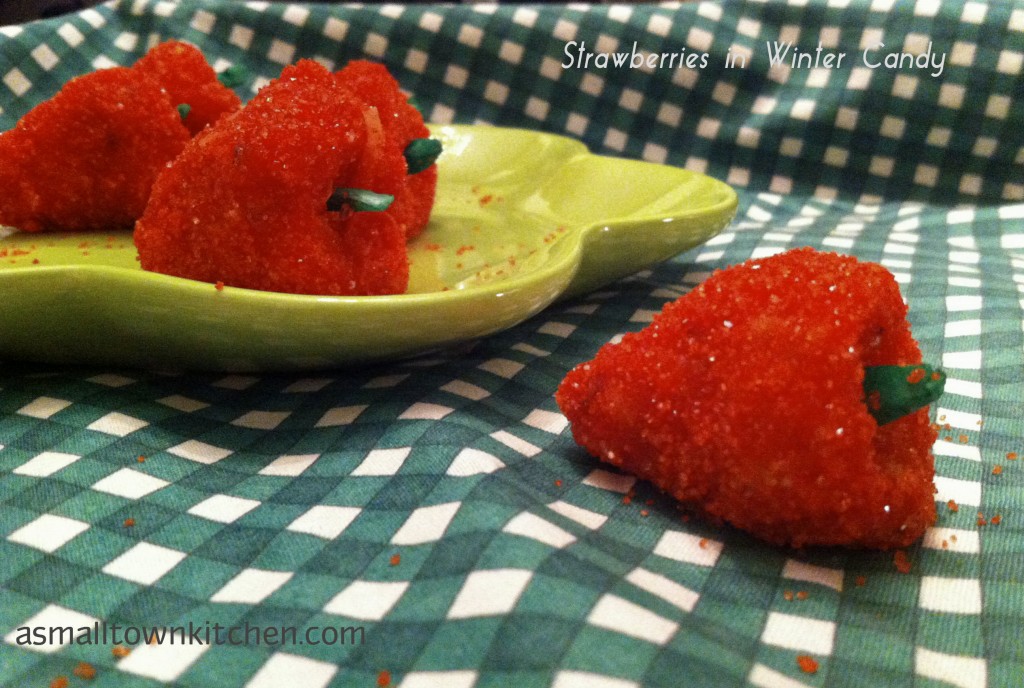
Strawberries in Winter Candy

WooHoo…..holiday break is finally here! I have postponed my holiday baking until the last minute (as usual) and spent the better part of the day in the kitchen making home made goodies for my Christmas Trays I give out as gifts on Christmas Day.

Last week, I happen to run across this recipe for, strawberries in winter candy,  from an old cookbook one of my students brought to school. She was making no bake cookies and was using the recipe for them from the  old cookbook. I asked to borrow the book for the day to look through it on my spare time. She informed me the book belonged to her mom and she needed it back. (I guess her mom made it clear that she was not to lose the cookbook at school.) After I spent, more time than I could spare, looking through the cookbook and making copies of interesting recipes, this recipe caught my eye.  I remembered eating these strawberry candies at a church fellowship dinner way back when I was in college. I don’t know about you, but some recipes just put a smile on  your face when you see find it. I knew I just had to add these to my Christmas trays.

I mean…who does not like Strawberries in Winter? The name alone sounds yummy!

This recipe does not require any baking or boiling. All you have to do is stir the ingredients together, chill, form into a strawberry shape and chill again.

They look so pretty when they are made. The bright red color of the sanding sugar will add a splash of color to your holiday table.

On these cold and icy days here in mid Missouri, some strawberries in winter sure sound good!

Here is all you need to make these delightful candy strawberries.
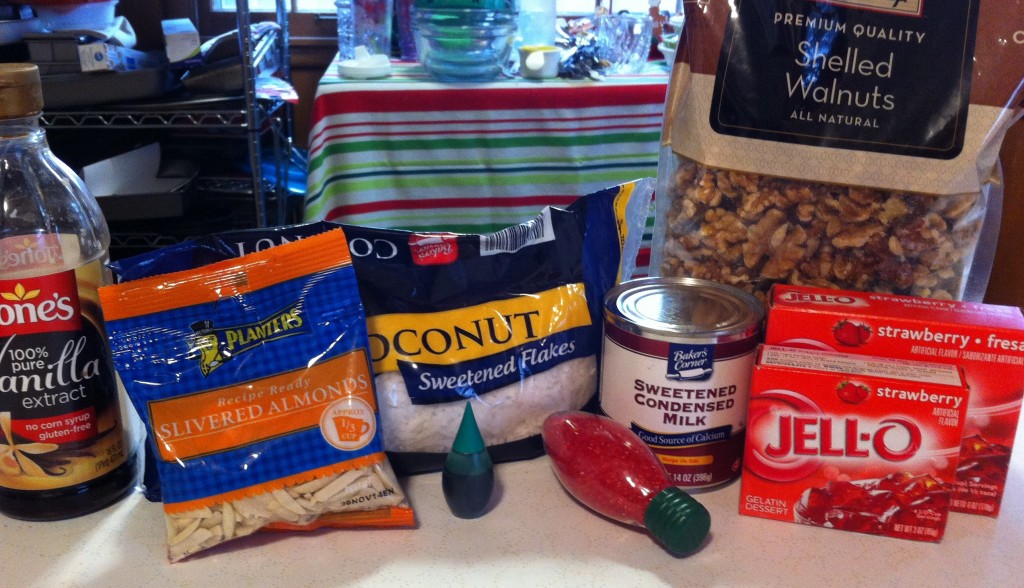
The candy is made from sweetened condensed milk, coconuts, chopped walnuts, vanilla and jello. The outside is rolled in red sanding sugar and the stem is made from greed dyed almonds.
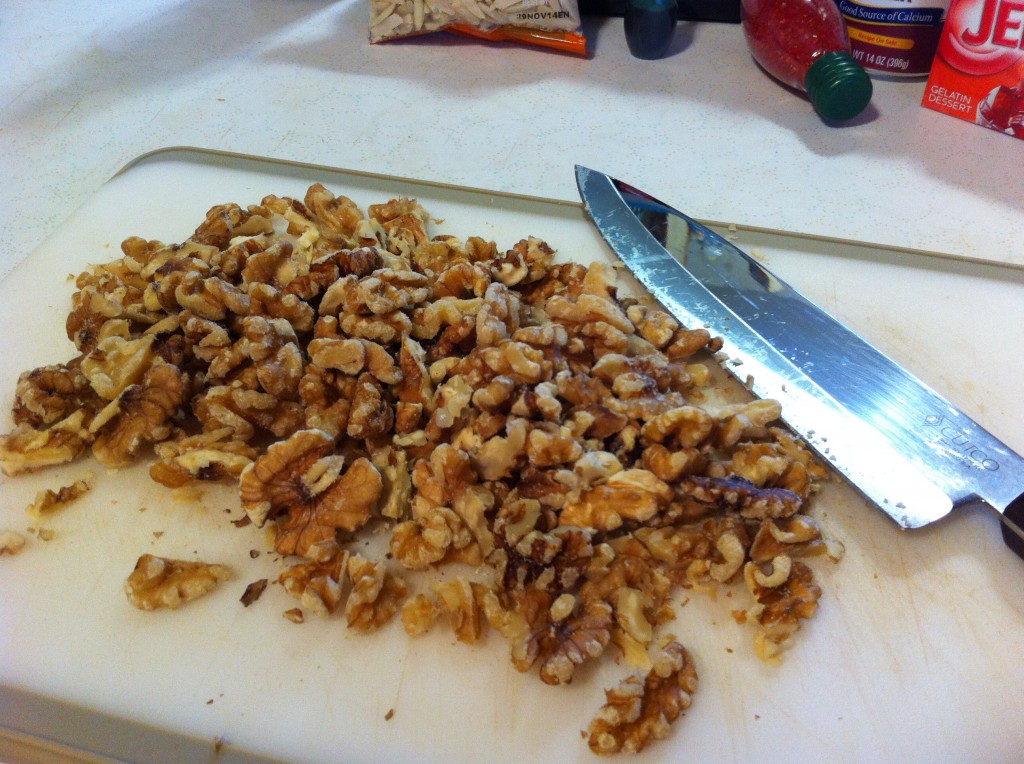
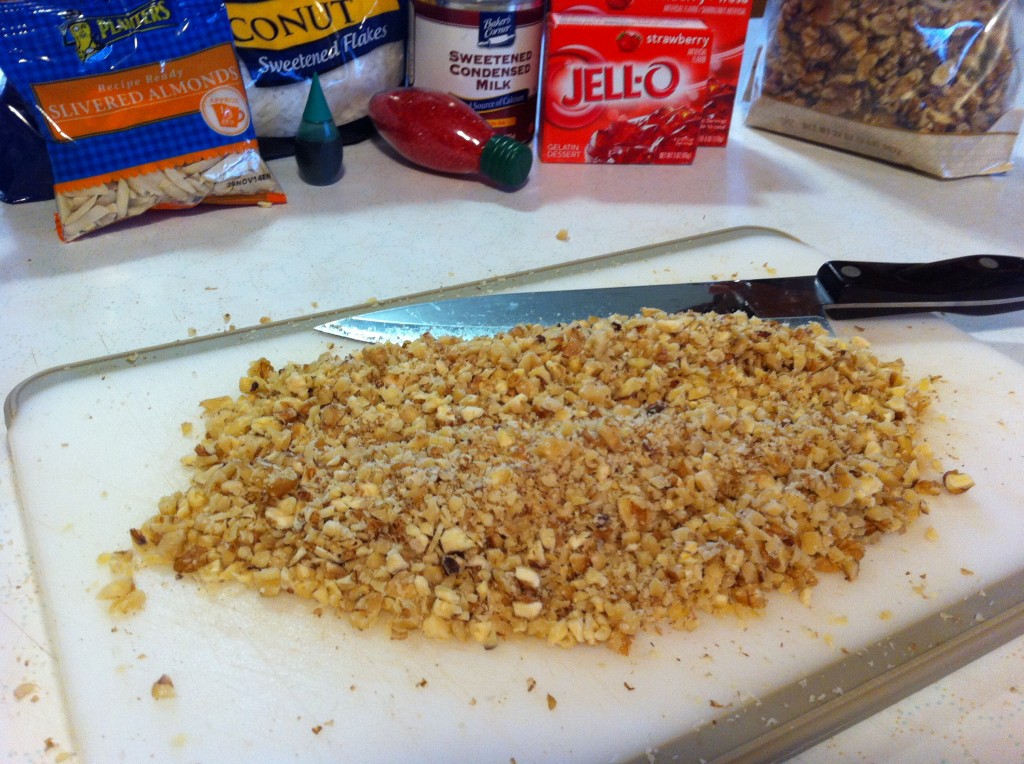
The first thing you need to do is chop the walnuts. I chopped them in pretty small pieces.
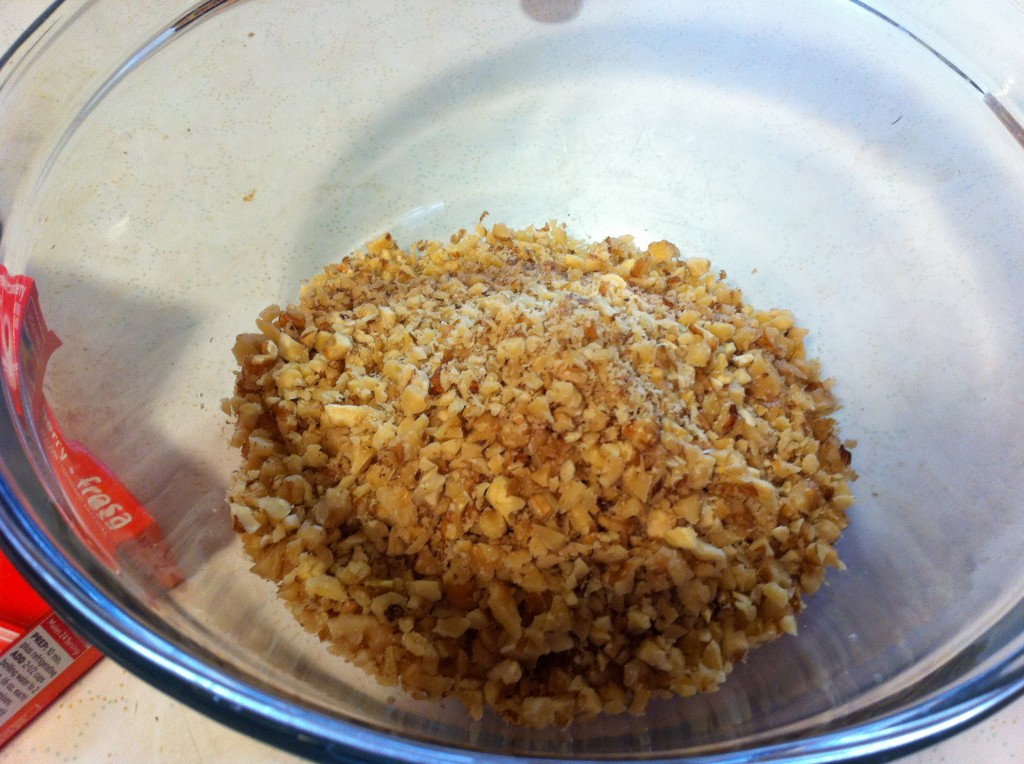
Place the chopped walnuts in a medium size bowl.
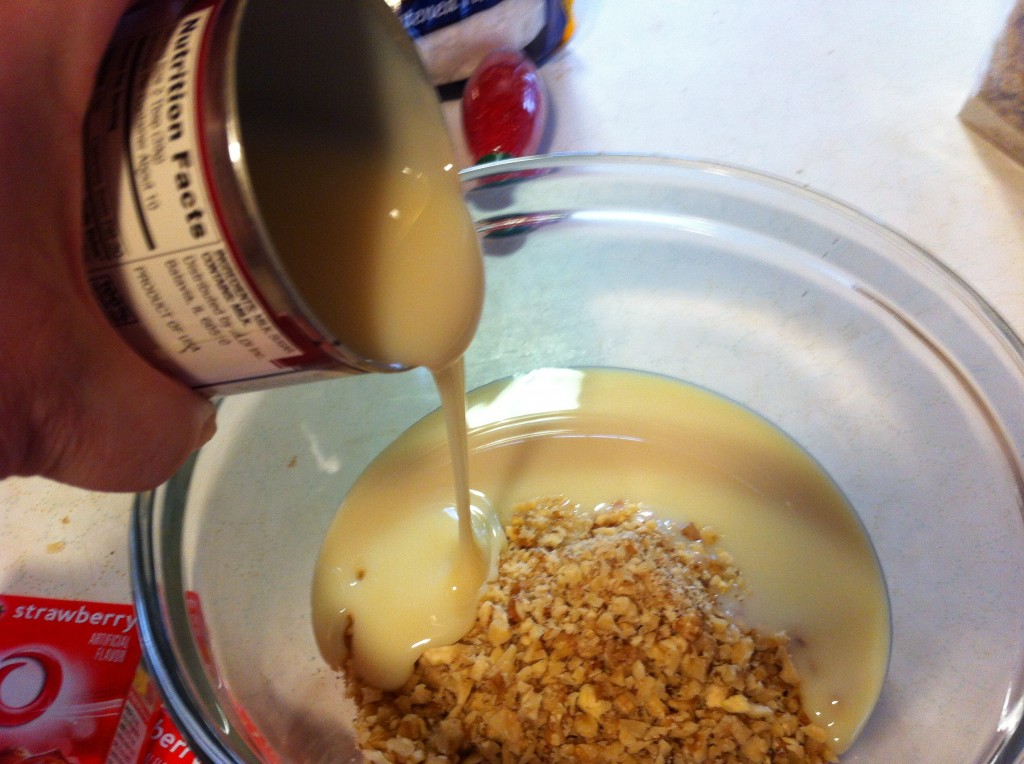
Next, pour in one can of sweetened condensed milk.
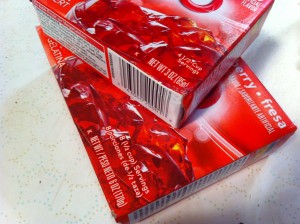
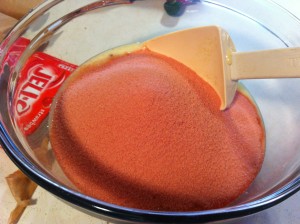
         

You will need 3–3 ounce packages of strawberry jello. I just used a 6 ounce size and a 3 ounce box. Pour the jello to the bowl with the sweetened condensed milk and chopped walnuts.
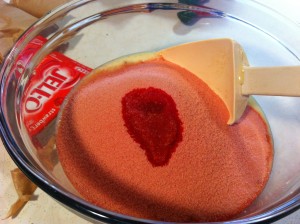
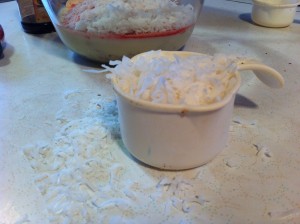
         

Add the vanilla to the bowl and measure out the coconut.
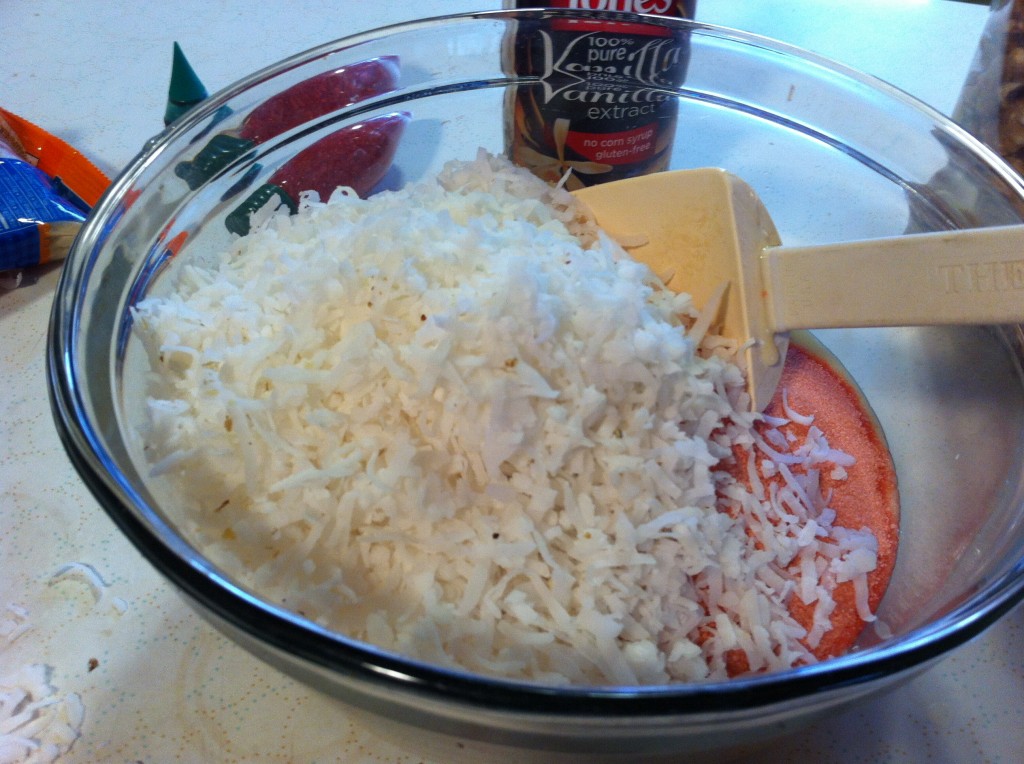
Add the coconut to the strawberry jello mixture.
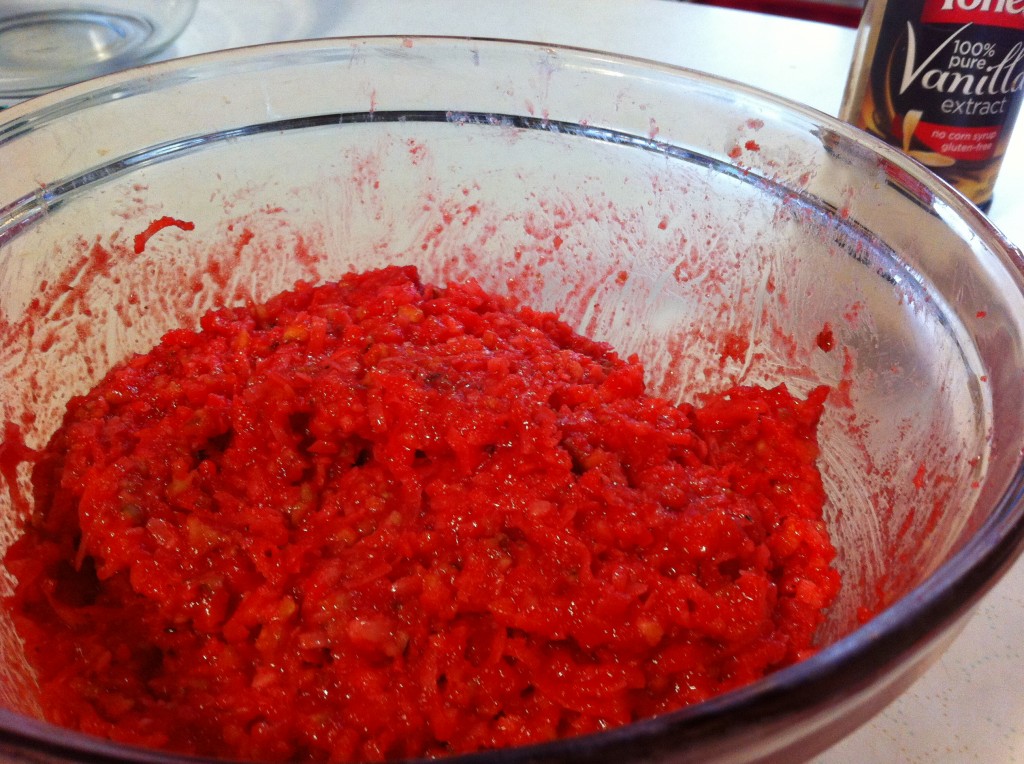
Stir everything together until all the ingredients are coated and you cannot see the white of the coconut. Now it is time to refrigerate the candy mixture for one hour to firm it up.
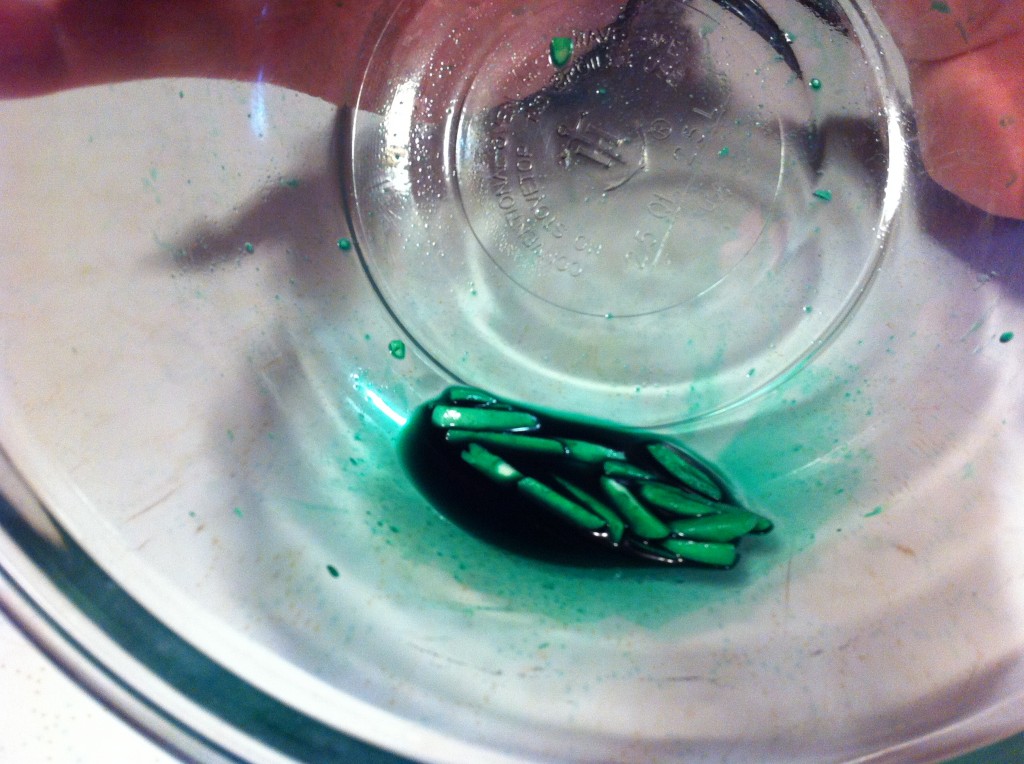
While the candy mixture is firming up in the refrigerator, you can dye some slivered almonds green for the strawberry stems. To do this just squeeze some food coloring into a bowl, add a bit of water, and then just stir you almonds around until they are coated in green food coloring.
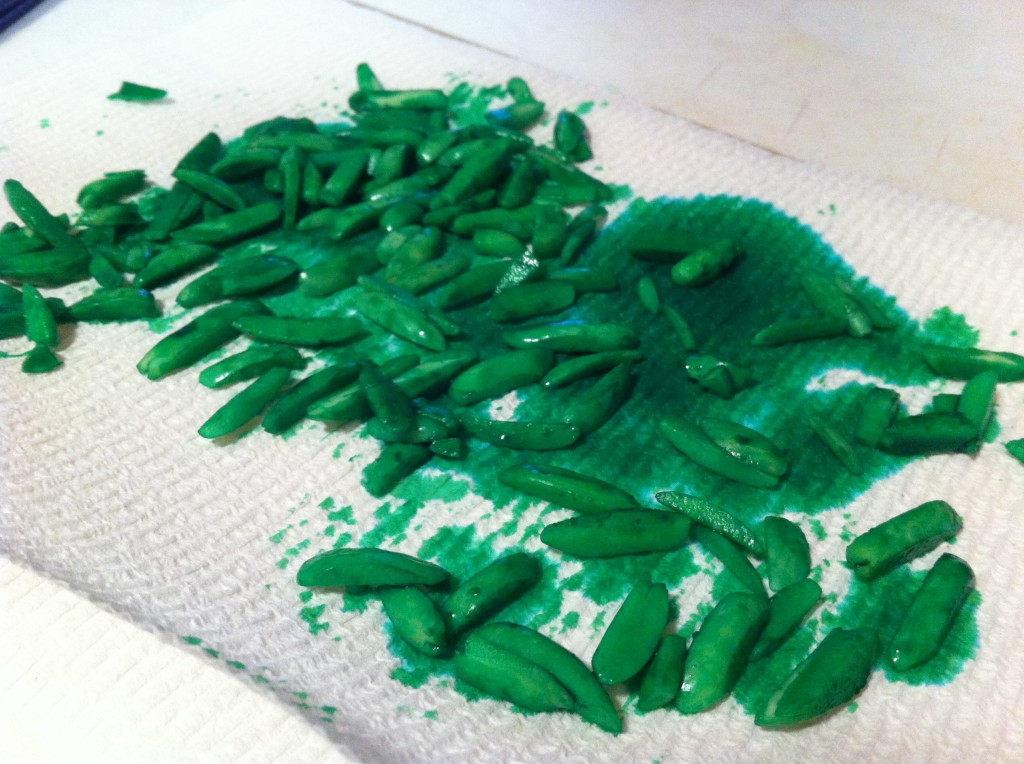
After, I got the almonds all dyed, I just scooped them up and put them on a paper towel to dry.
         

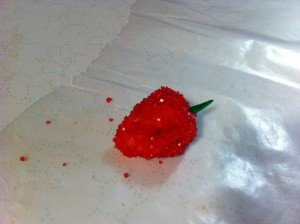
Here is the first one I made. I took the jello mixture and formed it into a strawberry shape. I then took it and rolled it in red sanding sugar. After that I put it on wax paper and inserted the dyed almond in the end for the stem.
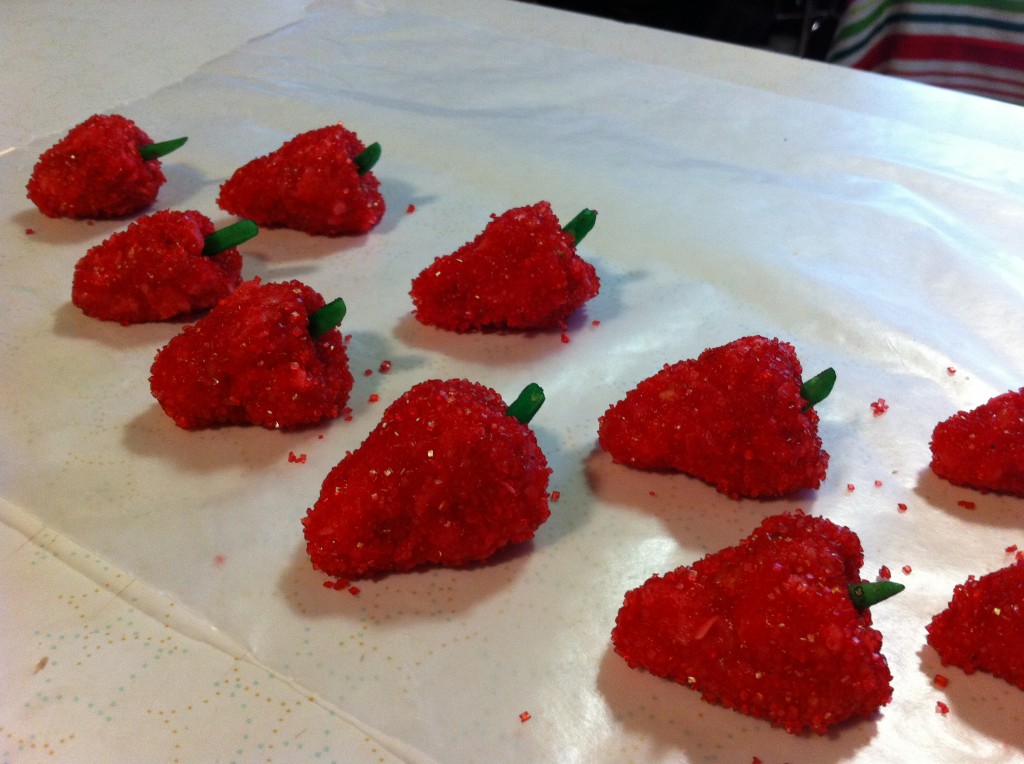
I was really surprised that forming the strawberries did not turn my hands red.
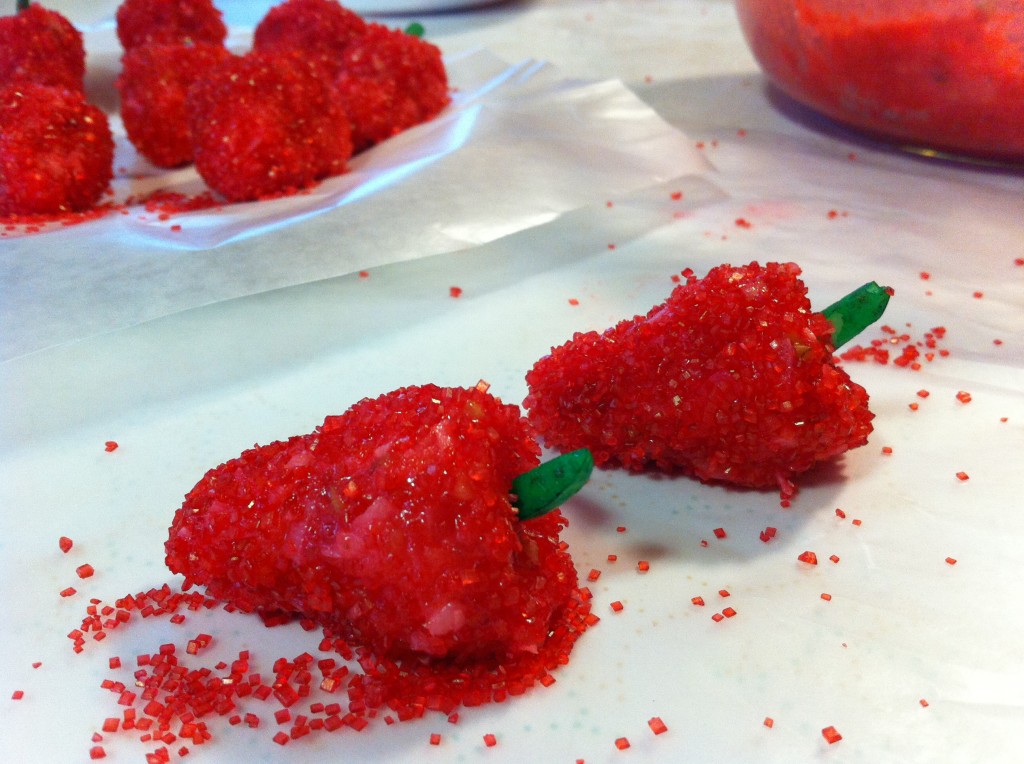
You can have these made in no time.

After you get done, just put them in the refrigerator to firm up. The sugar coated hardens up slightly to add a nice coating. Keep them in the fridge until you are ready to bring them out to your guest. They will be amazed that you were able to make them strawberries in winter.

Just in case you were wondering, I did return the old cookbook to my student, but not before I copied a few more recipes “gems.” All of which I will share of course. : )

Here is the recipe:

Adapted from Old Silver Dollar City Cookbook

Ingredients:

1 1/2 cup chopped nuts (I used walnuts)

1 1/2 cup flaked coconut

3 (3 ounce) packages of strawberry flavored gelatin

1 (14 ounce) can sweetened condensed milk

1 teaspoon vanilla

1/2 cup red colored sanding sugar (I think I used a little more than that)

1 small package of slivered almonds

Green food coloring

Directions:

In a medium mixing bowl, combined the nuts, sweetened condensed milk, gelatin, coconut and vanilla. Combined until all the ingredients are well blended. Set in refrigerator for one hour.

Meanwhile, dye your slivered almonds in a small bowl with green food coloring and a little bit of water. Place the almonds a paper towel to dry.

When the strawberry mixture is chilled, shape the mixture into strawberry shapes and roll in the red colored sugar.

Place a green dyed almond in the end for a stem.

Place in the refrigerator until you are ready to serve.
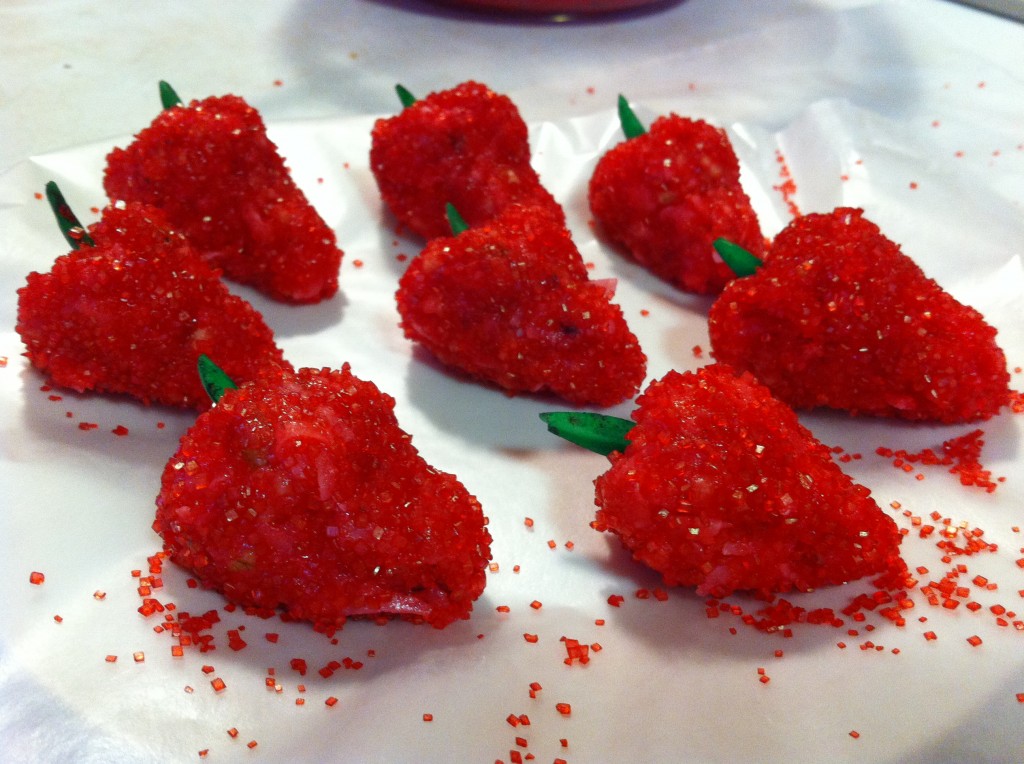
These strawberries makes winter a little less cold.

Here are a couple recipes links, I thought you might like also.
                    

Cracker Toffee                           Buttermilk Chocolate Cookies   

Happy Holiday Baking,

Becky

Related Posts Plugin for WordPress, Blogger...