Basil and Sweet Pepper Jelly

It has been sooooo long since I have posted anything.

I really do not know where to start.

Do I start with a recipe and pretend I have not posted in like 8 months?

Or, just say that with my sweet Daddy going to heaven and my Mom falling down several times and being in skilled nursing twice to recover, plus teaching summer and canning goodies from my garden and school starting again, it has taken this long to get my life in better balanced.

Just trying to balance life.

I know you all are too!

So…that being said let just start with a fun canning recipe.

Okay?

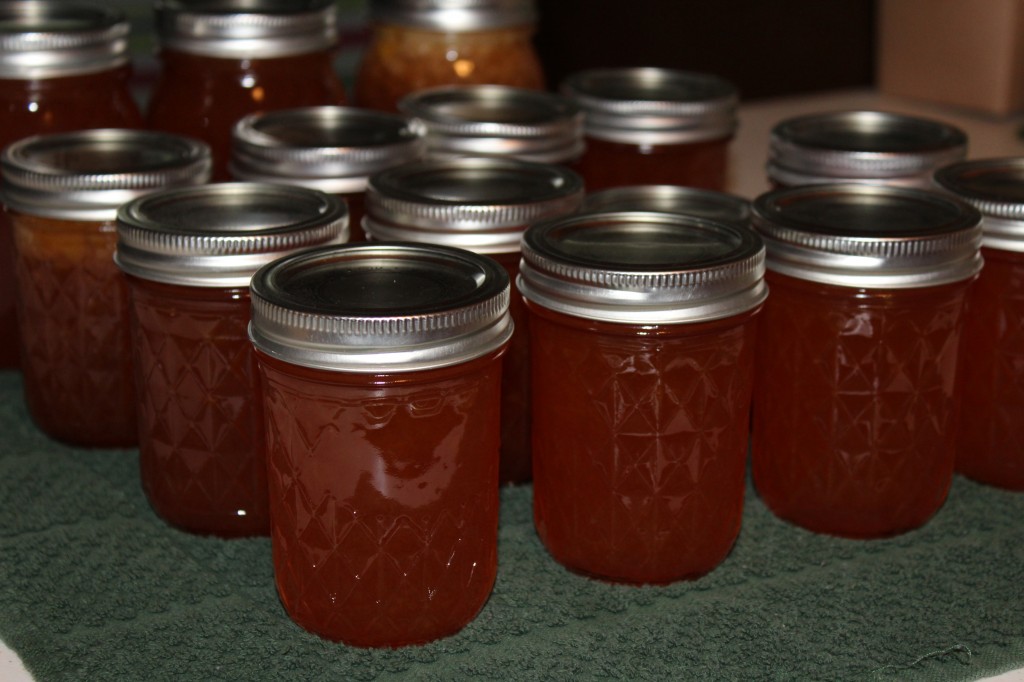
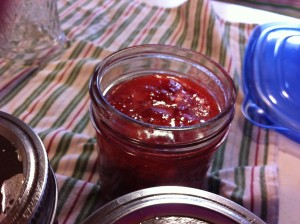
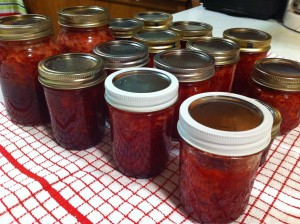
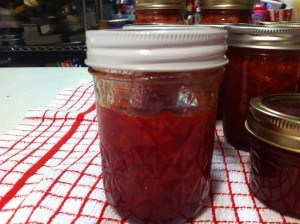
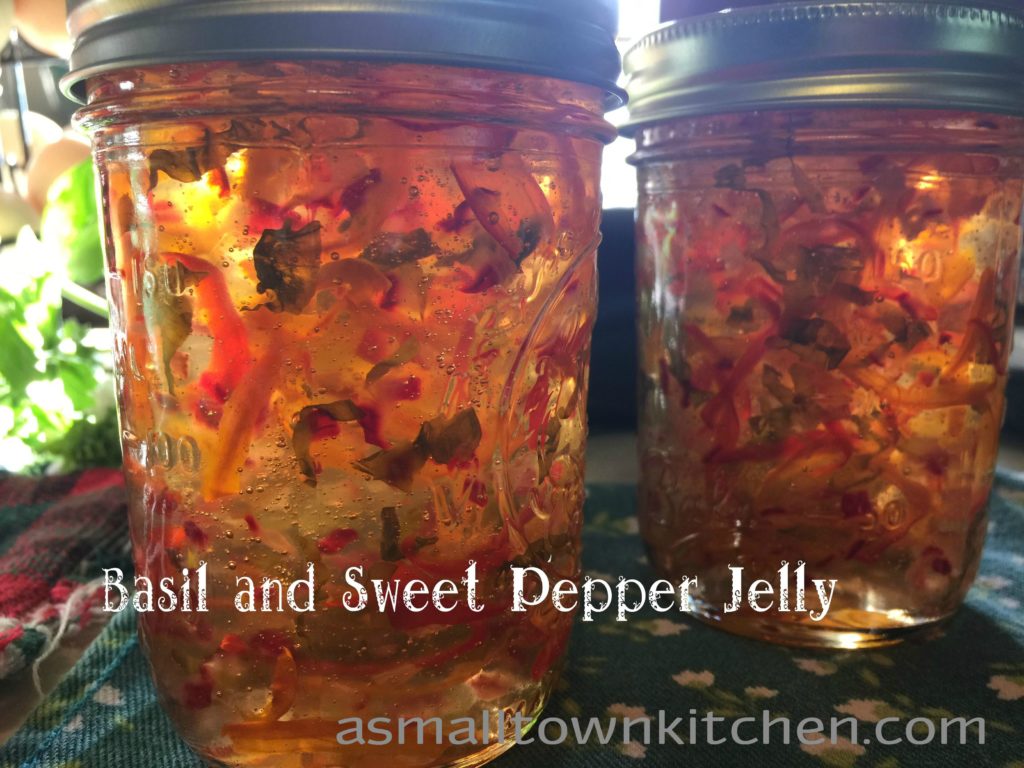
This recipe caught my attention a couple of years ago. I just thought it was beautiful. I love how the peppers just float, suspended in the jelly.

This is the perfect jelly to put over cream cheese and serve with crackers. Even though I just used mild sweet peppers, cause I am allergic to jalapeños, you could definitely switch out some sweet peppers for the hot ones.

That is the great thing about canning. As long as you stay within the “safe rules” you can mix things up a bit.

Add this beautiful and delicious jelly to your pantry. On a day when you need a fast appetizer just throw in on brie, cream cheese or serve it plan and it will be tasty and beautiful!
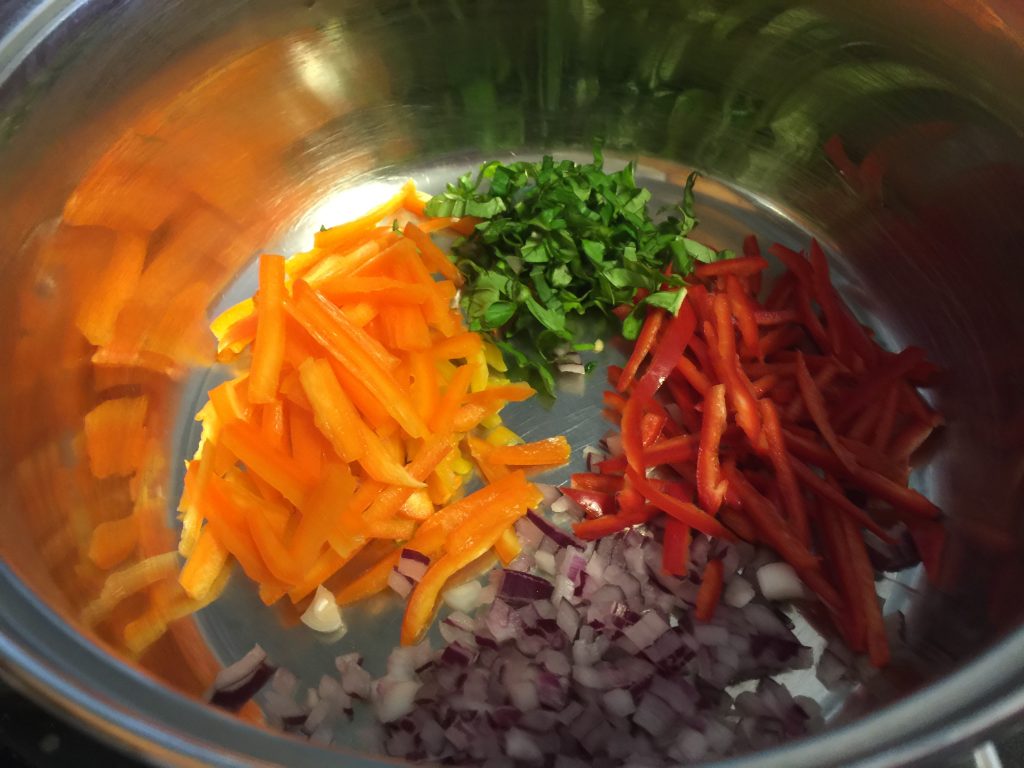
Here is what you will need for this recipe: thinly sliced mild yellow peppers, thinly sliced mild red peppers, chopped red onion, fresh basil cut in strips, dried basil, white vinegar, granulated sugar and 1 pouch of liquid pectin.

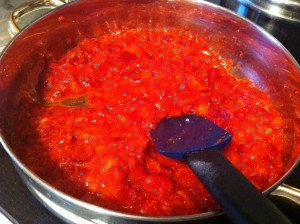
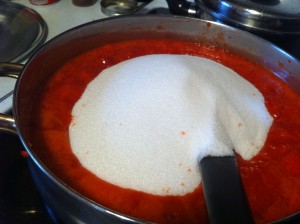
First thing you do is chop and slice all your veggies up. Put them in a deep sauce pan. Add in the vinegar, stir in the sugar.
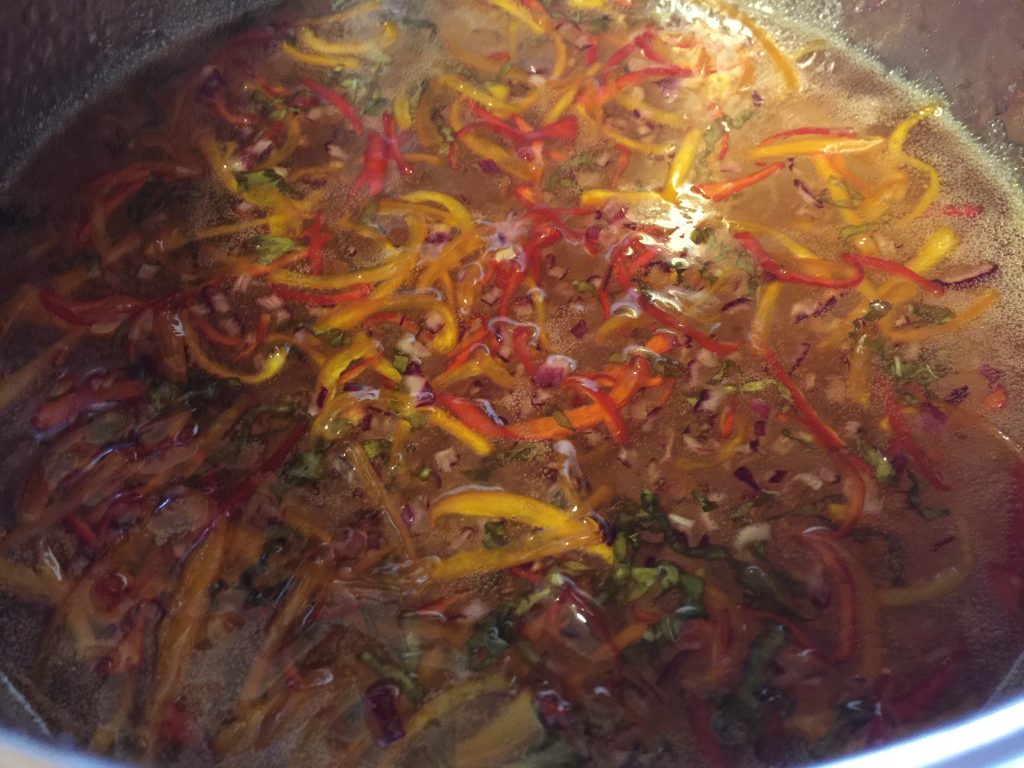
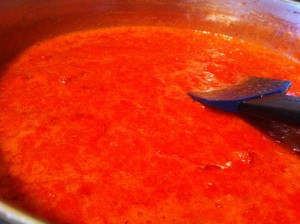
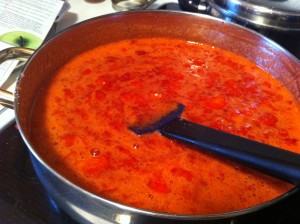
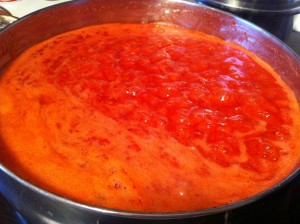
Over high heat, stirring to a full boil (that cannot be stirred down). Stir in the liquid pectin. Bring back to a boil, stirring constantly, and boil for a full minute. Remove from heat and skim off the foam.
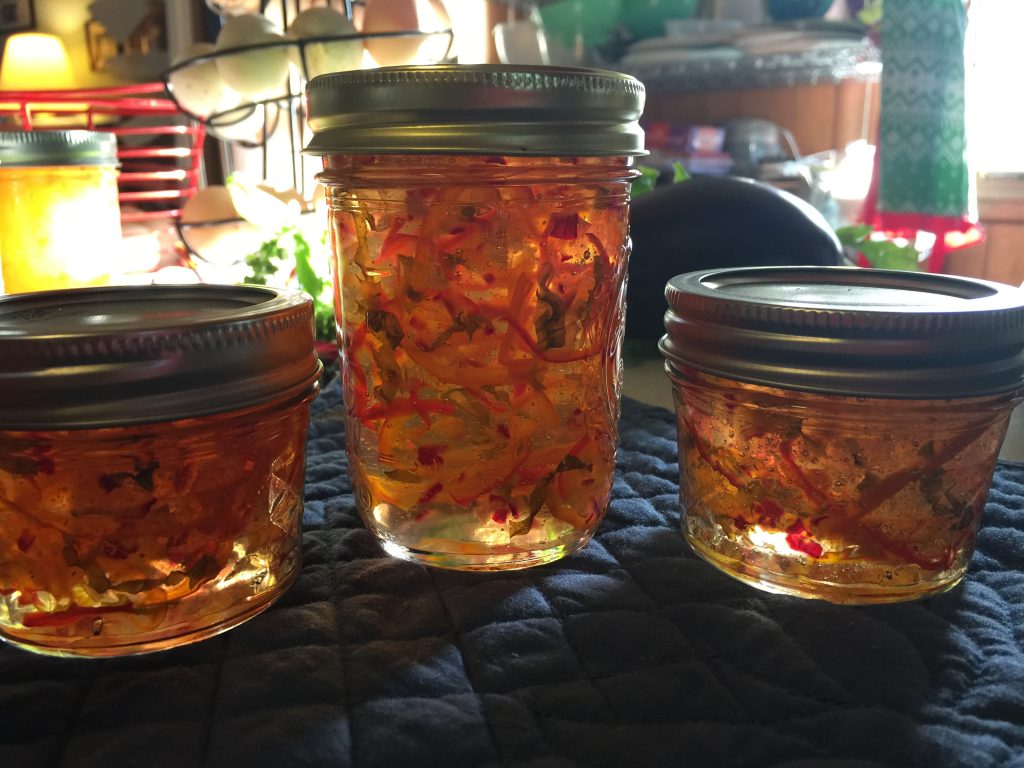
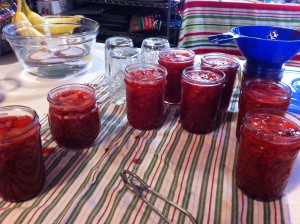
Pour hot jelly into hot jars, leaving 1/4 inch headspace. Wipe the rim, Center lid on the jar. Screw the band down, finger tight.

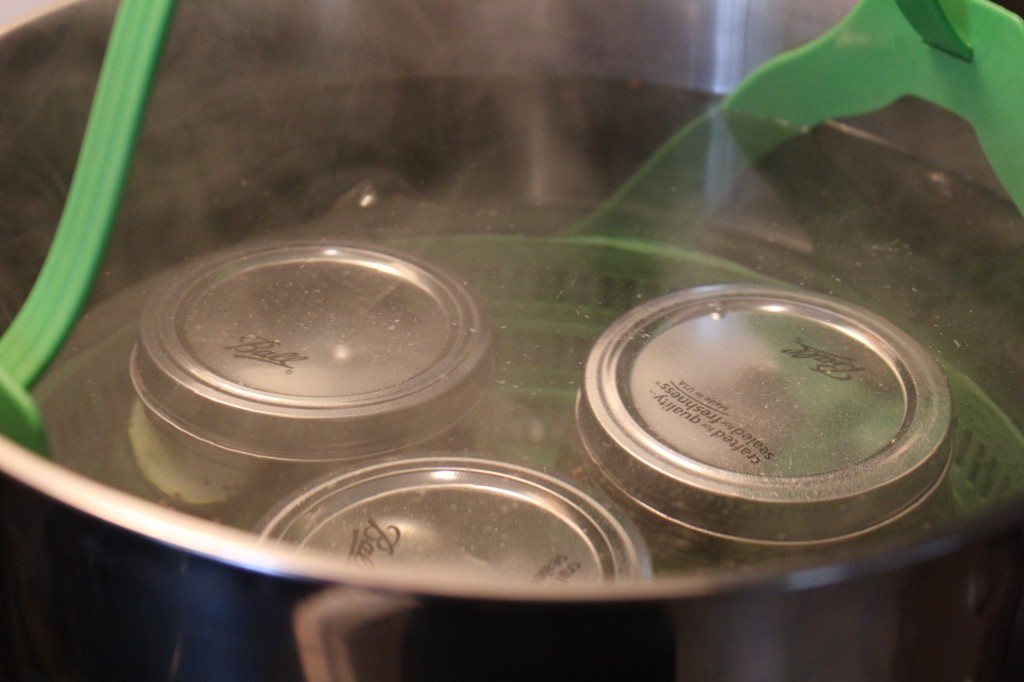
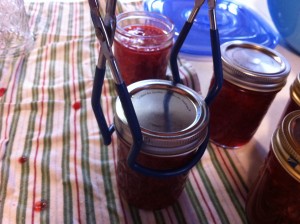
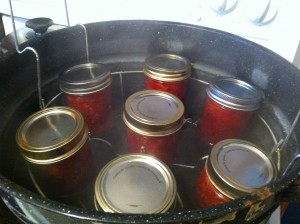
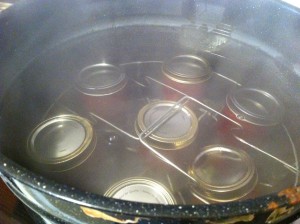
Place jars into water bath canner, make sure all the jars are completely covered with water and boil and process for 10 minutes.

Remove jars and cool.

Basil and Sweet Pepper Jelly Adapted from the Banana Pepper Jelly Recipe from Ball Preserving Book

Ingredients:

  • 1/2 cup thinly sliced yellow peppers
  • 1/4 cup thinly slice red peppers (this is where you could switch out to jalapeños)
  • 1/4 cup finely chopped red onion
  • 3 to 4 basil leaves, cut into ribbons
  • 1/4 tsp dried basil
  • 3/4 cup white vinegar
  • 3 cups sugar
  • 1 pouch liquid pectin

Directions:

  • Prepare your water bath canner. Put a touch of white vinegar in the water so you do not get calcium deposits on your jar.
  • In a large deep sauce pan, add your yellow and red peppers, onions, fresh and dried basil, vinegar and sugar.
  • Bring to a boil that you cannot stir down. this is very important to get your jelly to a certain temperature.
  • Stir in the pectin.
  • Bring to a hard boil, stirring constantly.
  • Boil for one full minute.
  • Remove from heat and skim off any foam.

Quickly ladle the jelly into hot jars, leaving 1/4 inch headspace and wipe the rims off with a warm paper towel to remove any jelly that might have spilled on the rim. Place the lid on and then the screw band. Tighten the band on finger tip tight.

Place jars in canner, making sure that they are completely immersed in water, and bring water back to a boil and process for 10 minutes. Remove jars and cool for 24 hours.

Whew…that is all there is to it!

You know what I am most proud of about this jelly?

I grew the peppers and basil in my little backyard garden.

But whether you grow them yourself or buy them, you will be proud of it too!

Enjoy!

Becky
Canning Season Has Begun

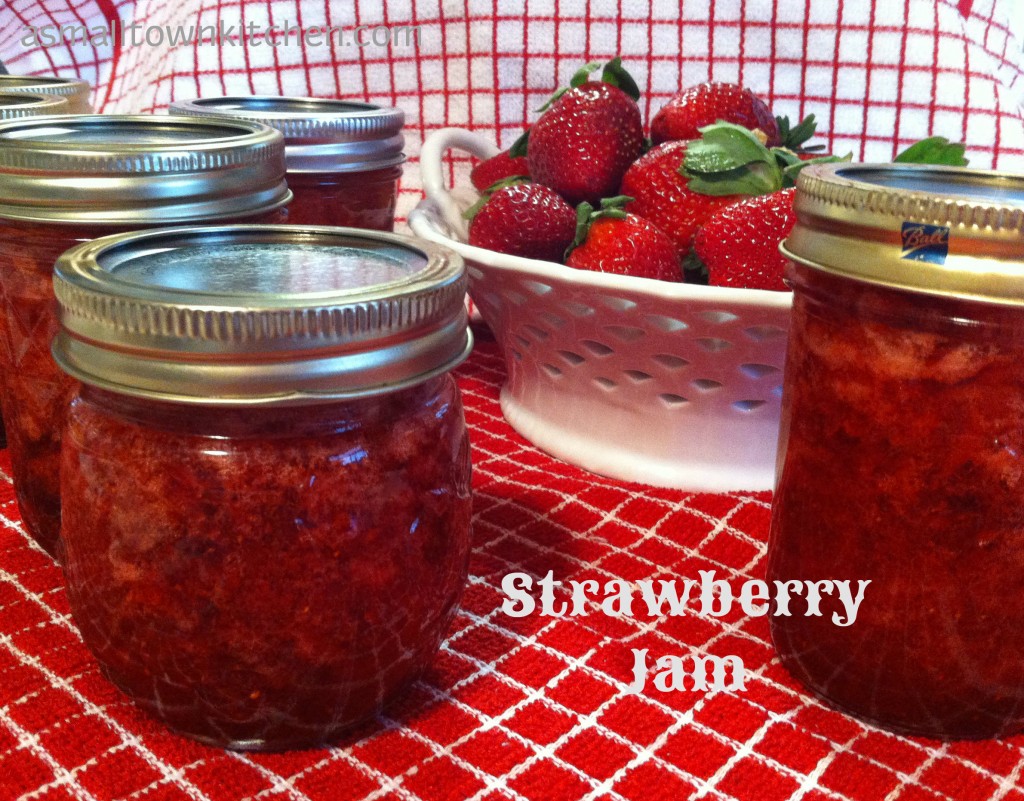
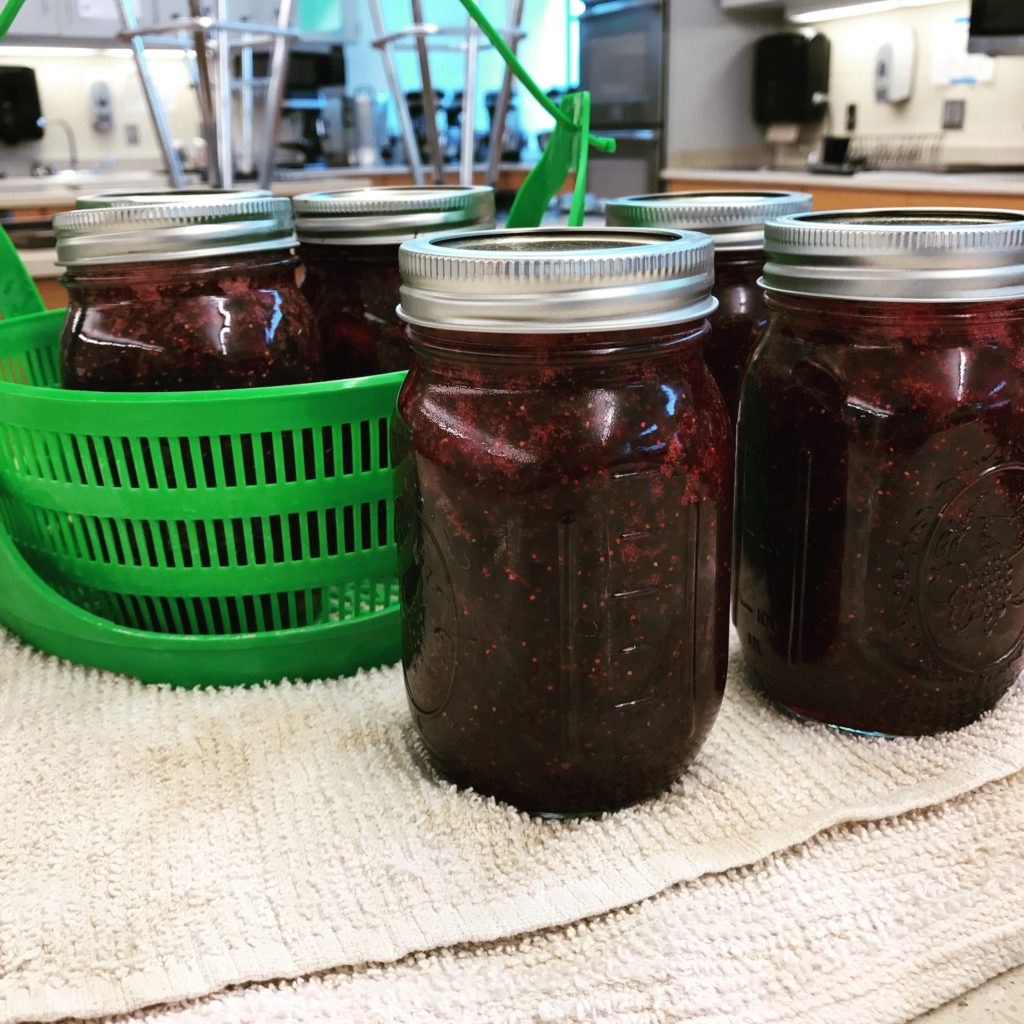
Yes, I know….for some serious “canners” you have been canning all year, but for me with my school schedule, my canning is more seasonal, to go along with summer break. I had a little break last week and was off (for the most part) the whole week. Summer school starts tomorrow though. But anywho, last week I drove my friend Carol to the Amish Produce Auction. I brought home a few goodies, my favorite being the fresh picked strawberries. The prices were pretty high, but I was able to buy a small box for $11.00. woohooo!! So I took them to school and put them in the fridge (so my grandchildren would not eat them) and later in the week I made my first couple of batches of strawberry jam. I was able to get 8 pints in all.

Good thing too….cause we were totally out of strawberry jam. If you have never made jam before, start with strawberry jam. It is easy and delicious AND if it does not set up, it makes a perfect strawberry syrup for pancakes, pies and cakes. Though, I am confident yours will turn out.  : )

I love the deep red color of this batch of jam. I think it is from the smaller, sweeter berries from the Amish. I am really going to try again to get a big strawberry patch going. Produce auctions are a ton of fun, but I would rather be picking things fresh from my own little backyard. : )

Here is the link to my previous post on how to make strawberry jam. It has step by step pictures and the recipe. No secret recipe. I just use the recipe from surjell package. It always works for me.

Oh….and if you need some homemade biscuits to go with that jam, here is my favorite recipe on how to make baking powder biscuits.

Have a wonderful Sunday!

Enjoy!

Becky
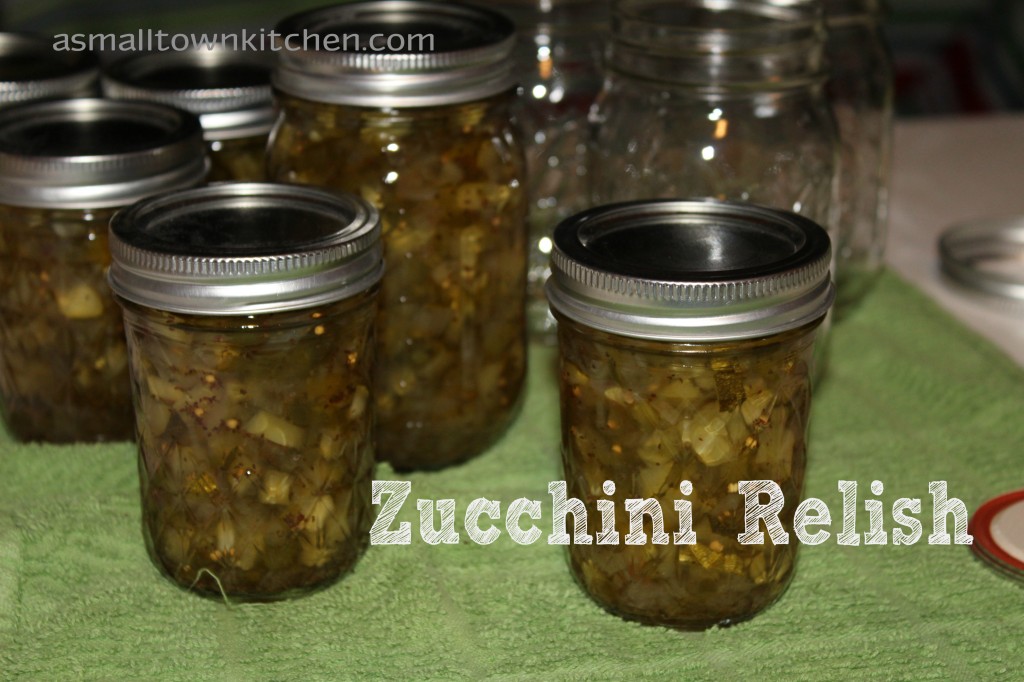
Zucchini Relish

I know is has been a LONG while since I have posted a recipe.

It has been a LONG few months for me.

Most of my extra time has been full of family and work. With out going into a lot of boring details….cause HEY who wants boring? But, in case you are worried, everything seems to be going pretty smooth right now. I just finished teaching summer school, my Mom the Princess, is doing much better and I am ready to spend more time in my garden, messing with my backyard chickens and of course and always in the kitchen cooking and messing it up. (cleaning is for grandchildren to do right?) Ha!

Since it is gardening season now, and if you are like a lot of my friends that grow zucchini, sometimes you get an abundance of zucchini. You grow so much that you are giving it away to everyone and then your friends start avoiding you when they seen you coming toward them with zucchini. So, I thought I would help you out and post a few zucchini recipes.  I will start with  my favorite zucchini relish recipe that my kids and grand kids will eat first, before they even think about opening a can of store bought relish. It is a sweet relish. You can use it in any recipe that calls for sweet relish. Like, chicken salad and tater sauce and it is great on brats and hot dogs.

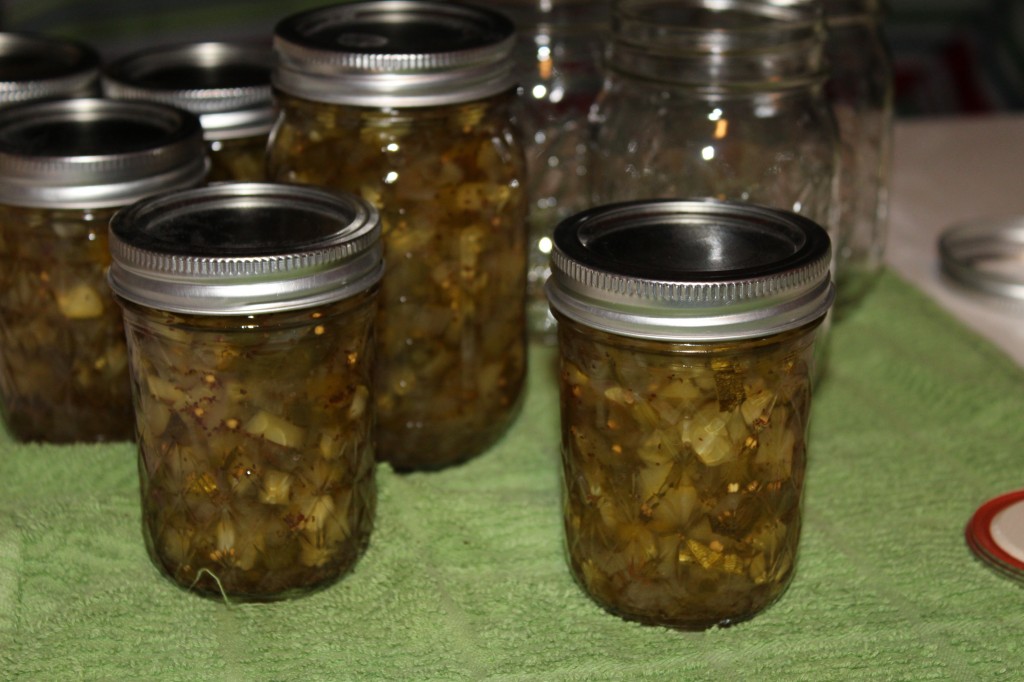
Besides being tasty and delicious…it looks great in the jars. ; ) I mean…we want pretty fill jars too…right?

Here goes:

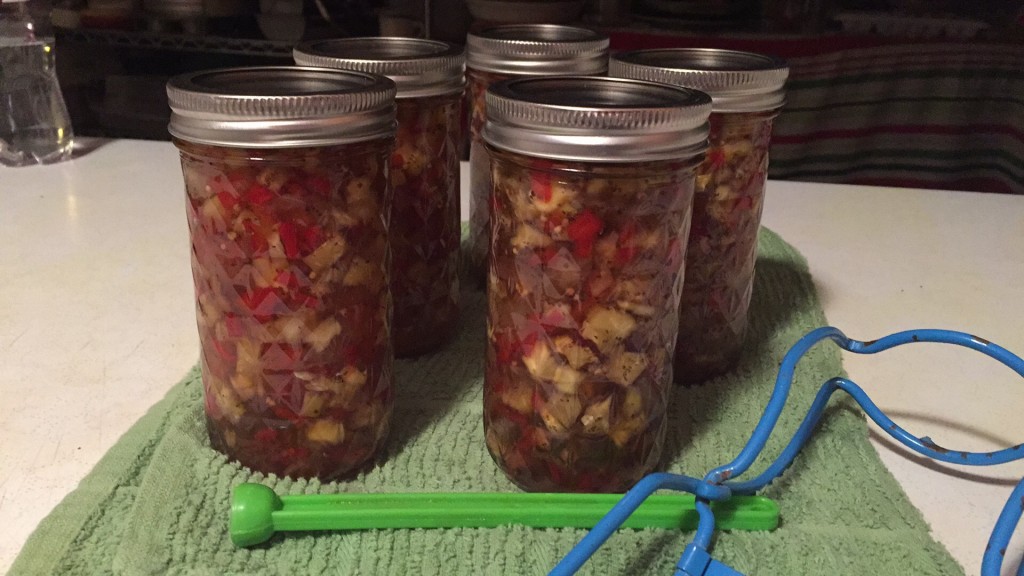
Above is a picture of the relish I made with a mixture of orange and red sweet peppers. I love the colors!

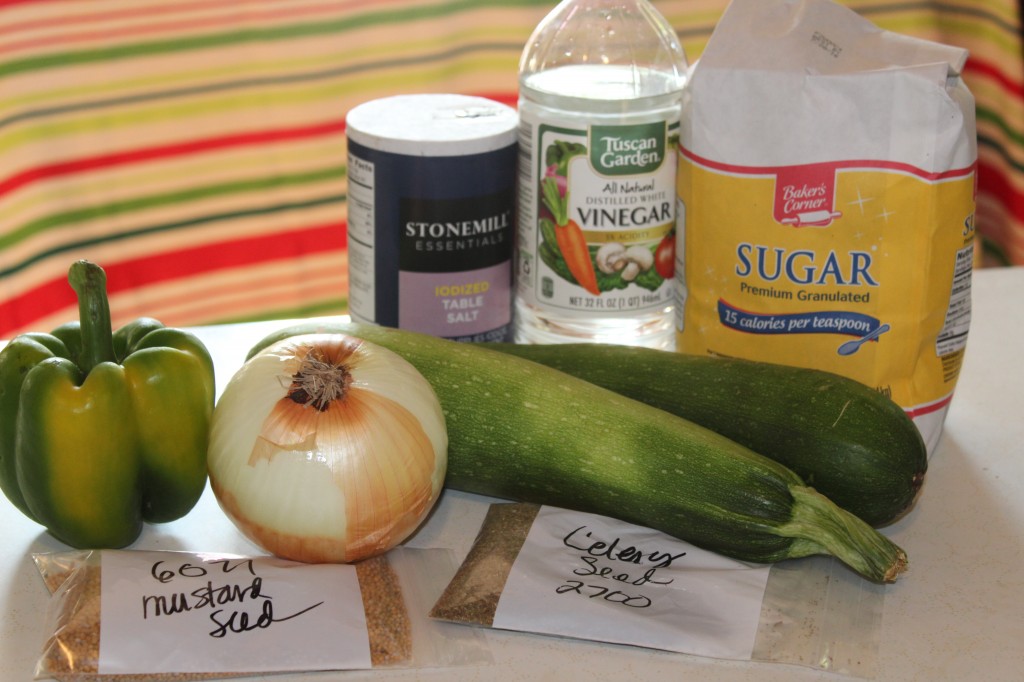
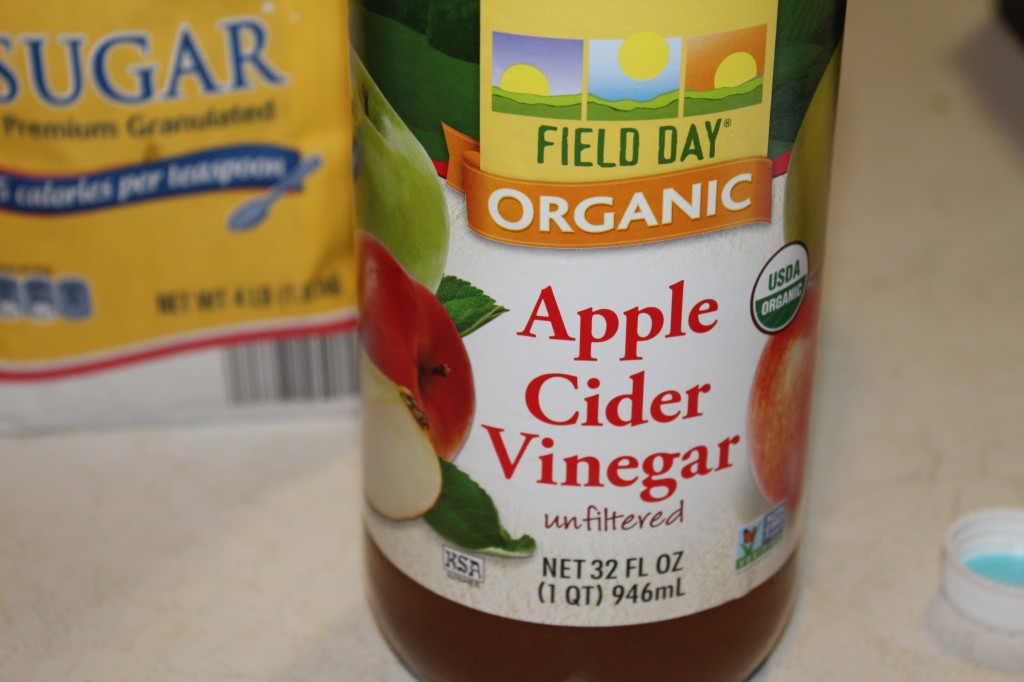
Here is what you need. Zucchini (0f course) apple cider vinegar (I put the white vinegar in the picture by mistake oops), sugar, sweet peppers, sweet onion, mustard seed and celery seed.

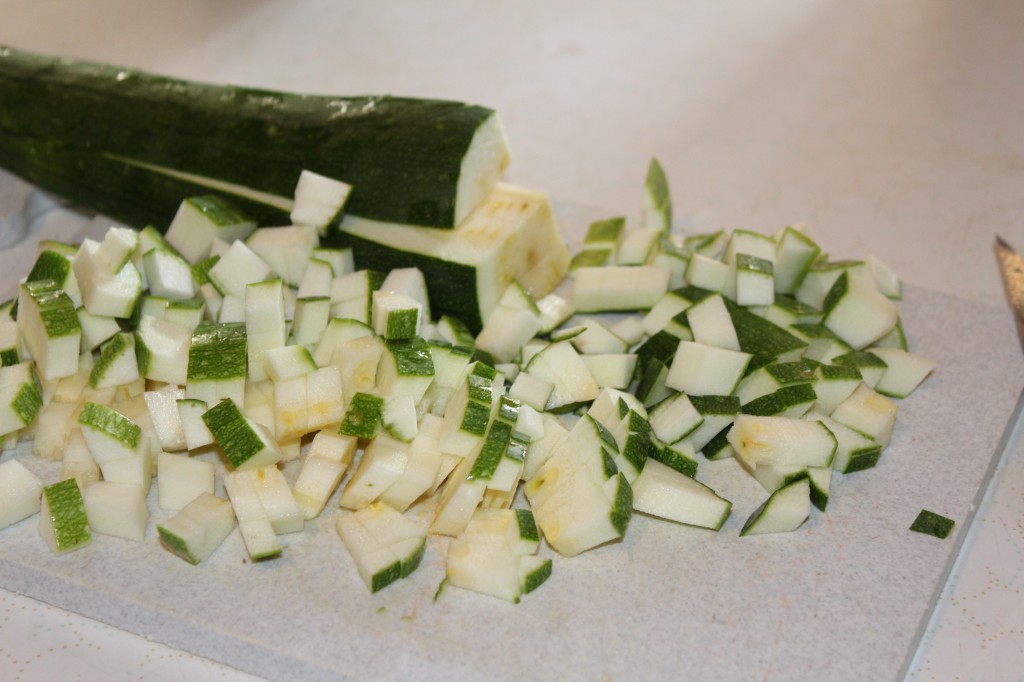
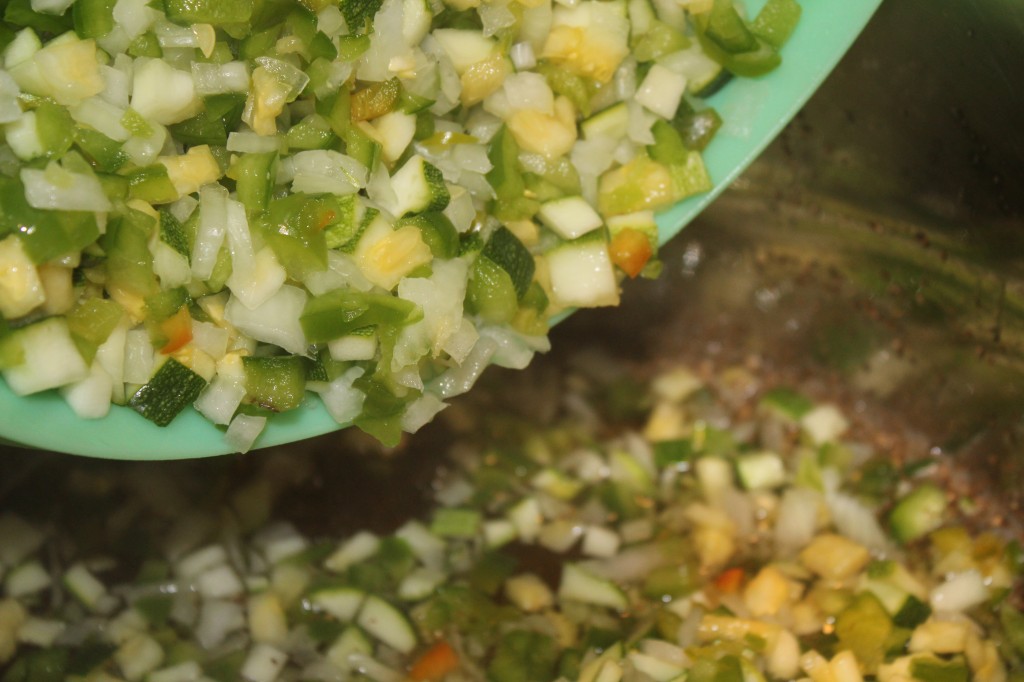
First you chop up your zucchini. I do not peel mine. I like the texture of the peelings being left on in the relish.

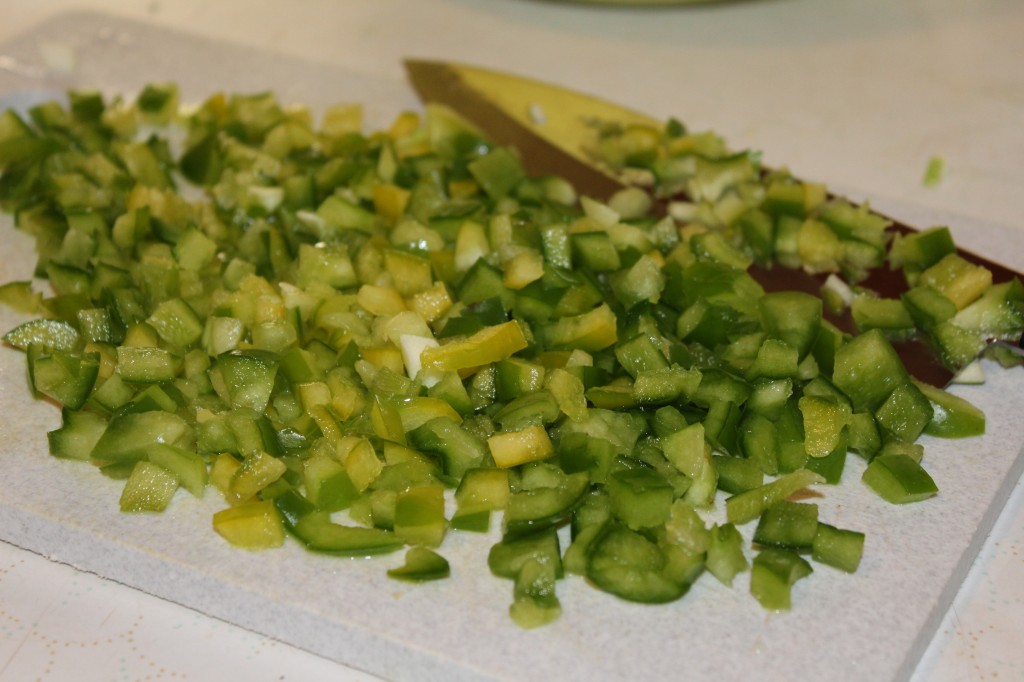
Chop up the sweet pepper. In this picture I used green peppers. Make sure you remove all the white pith and seeds out of the chopped peppers.

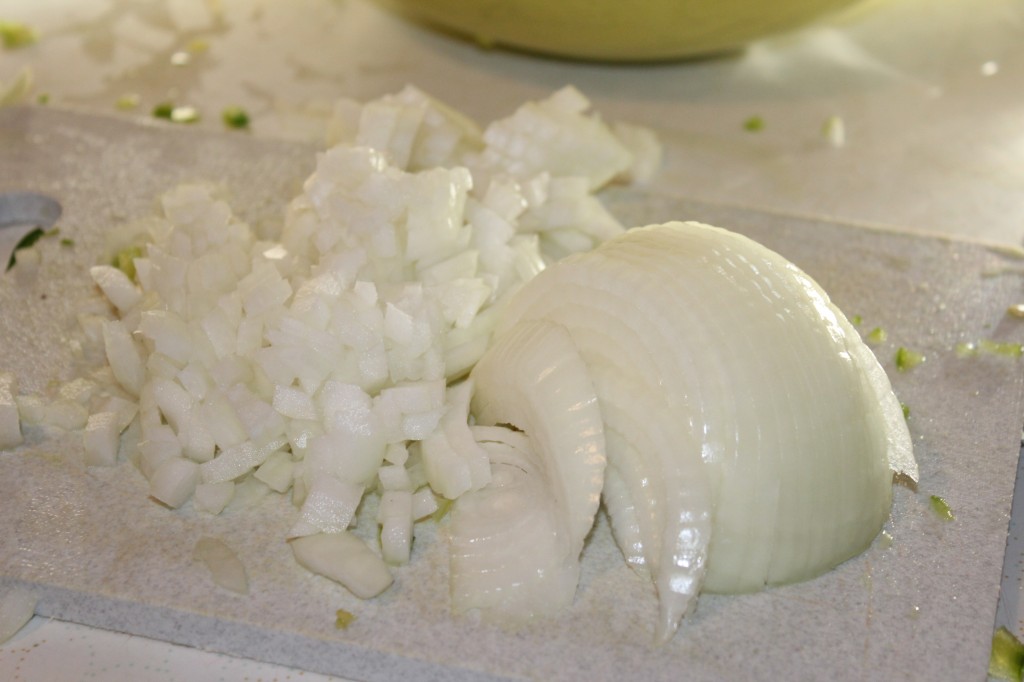
Chop up the onion. Try not to cry. I seem to always cry chopping onions.

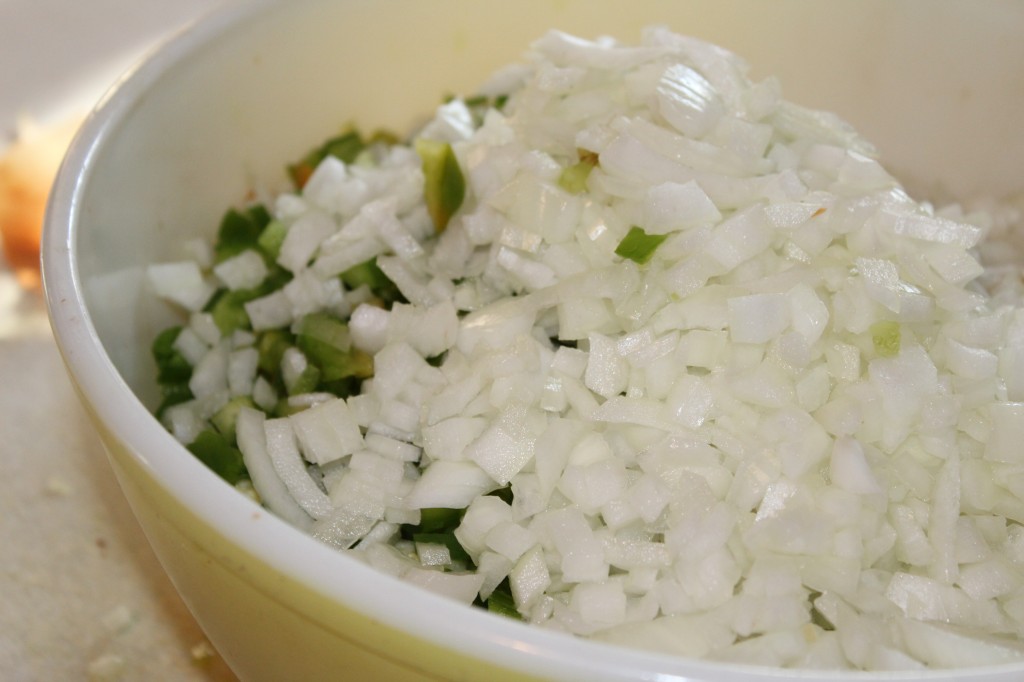
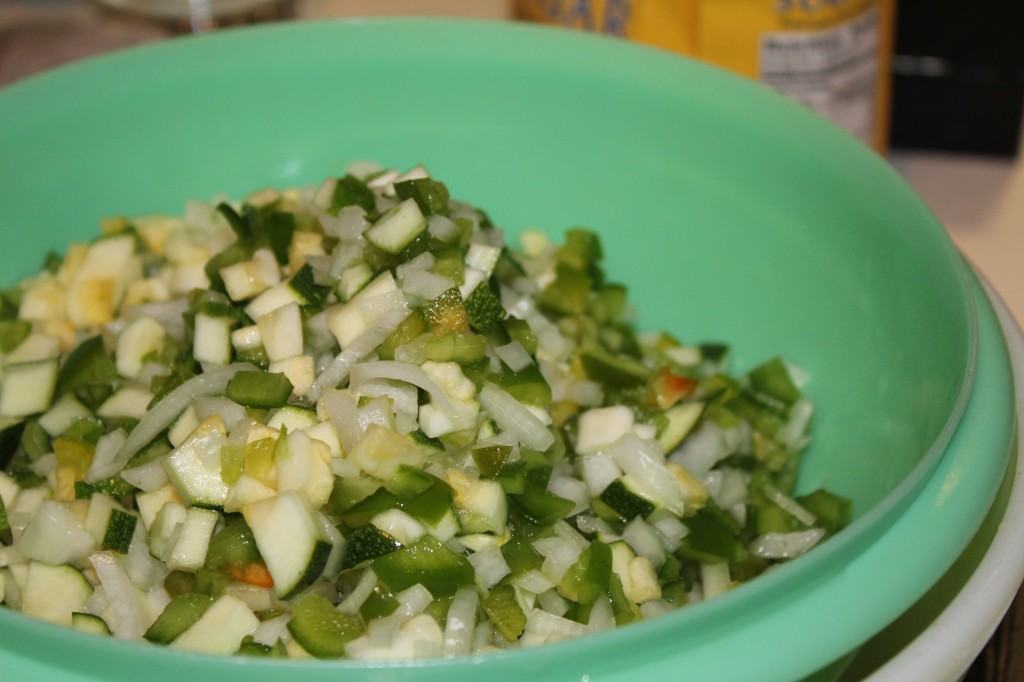
In a large bowl put in the zucchini, onions and peppers.

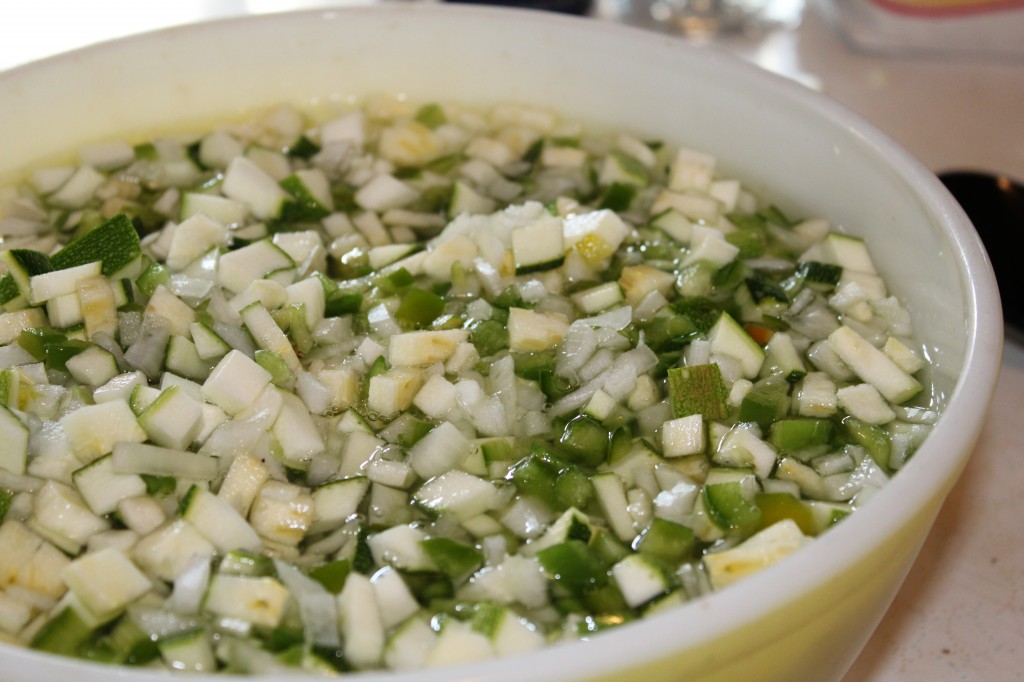
Cover with cold water.

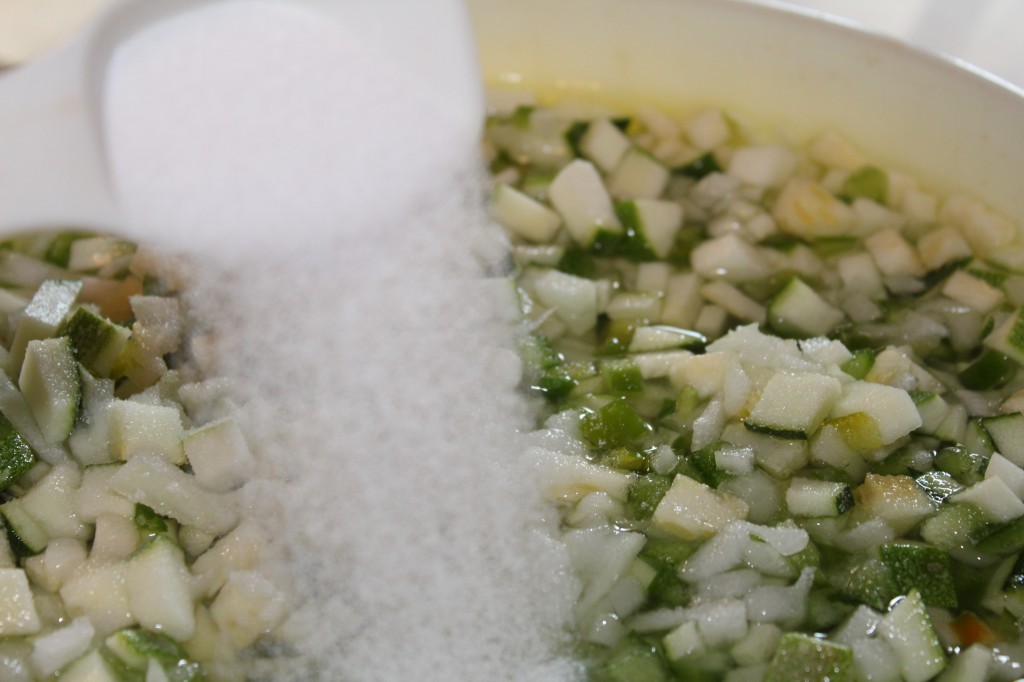
Add salt and stir. Let the mixture sit for 2 hours.

Drain off the salted water, rinse, and drain again.

Here is a picture of the correct cider vinegar…oops.

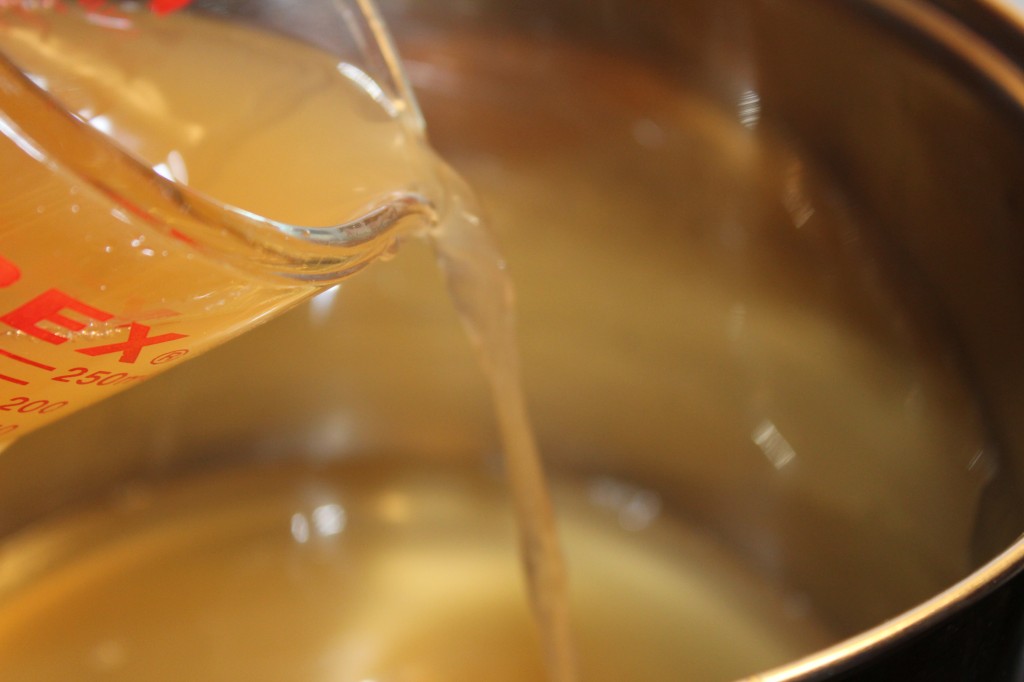
In a large sauce pan or stock pot, pour in the vinegar.

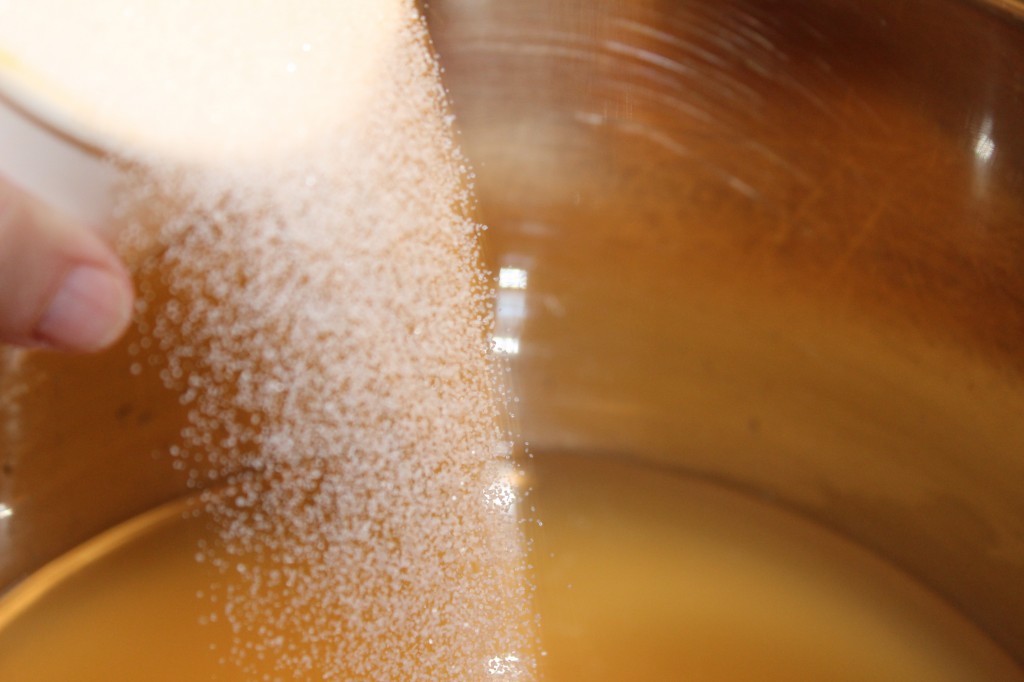
Add in the sugar.

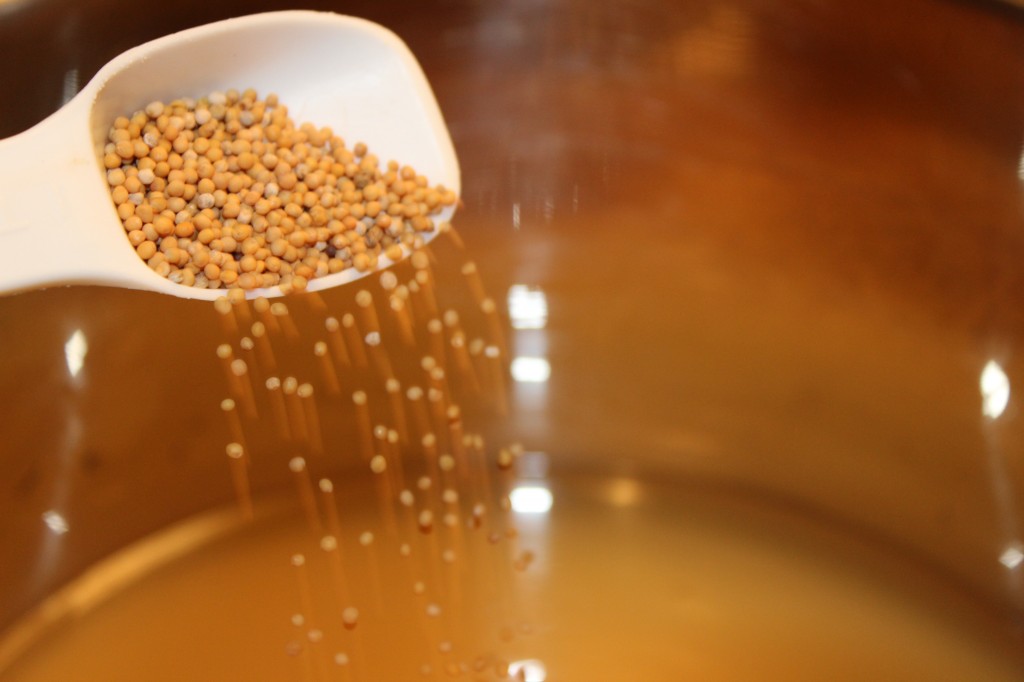
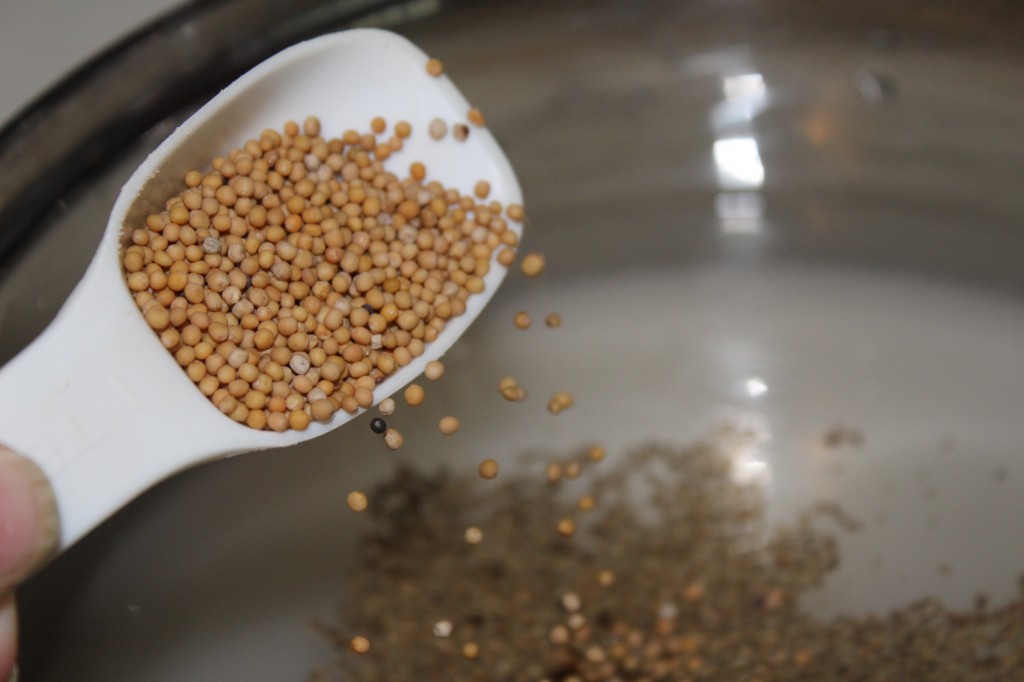
Add in the mustard seeds.

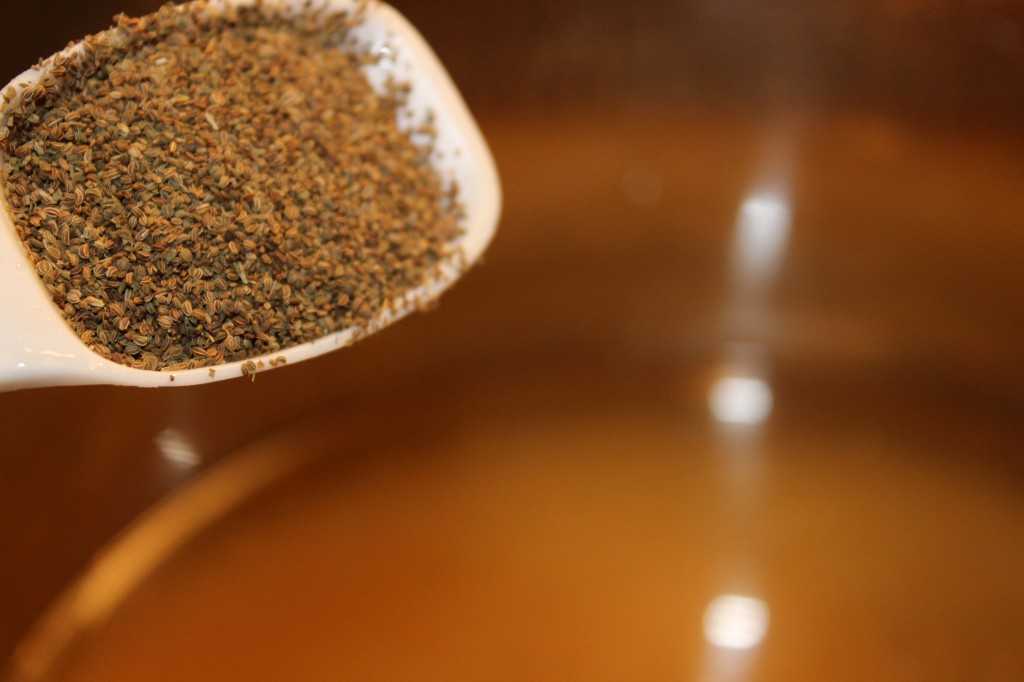
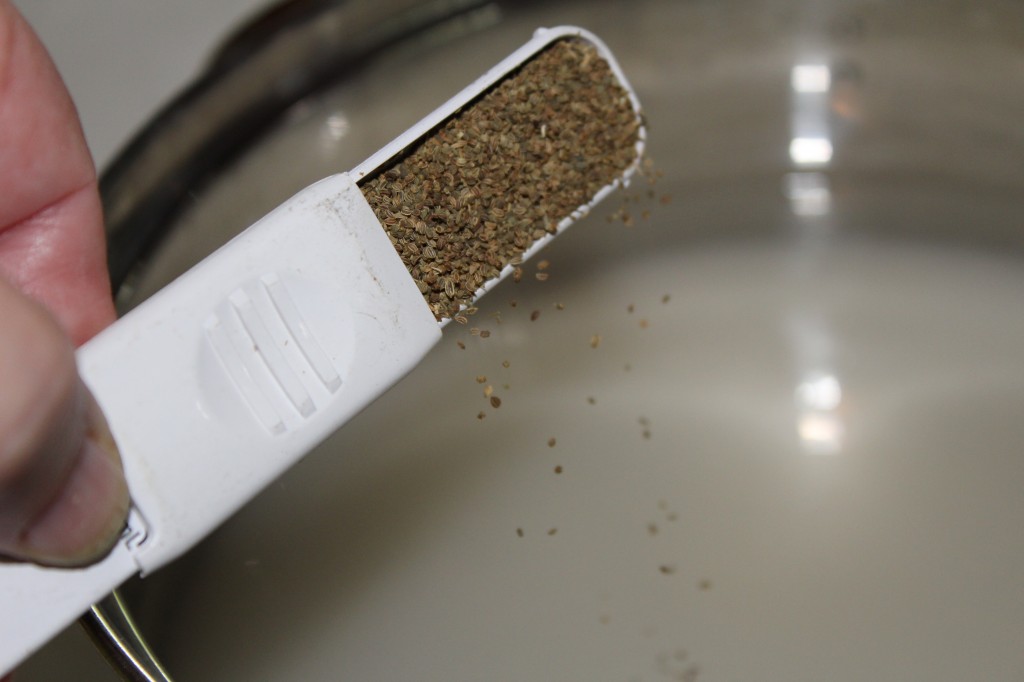
Lastly, add in the celery seeds.

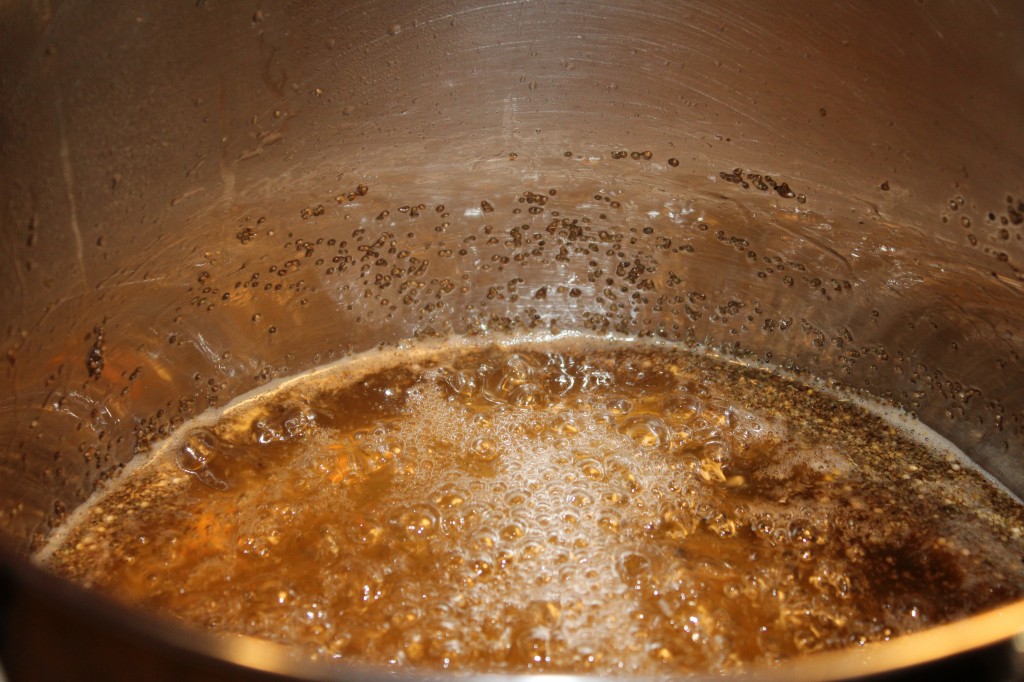
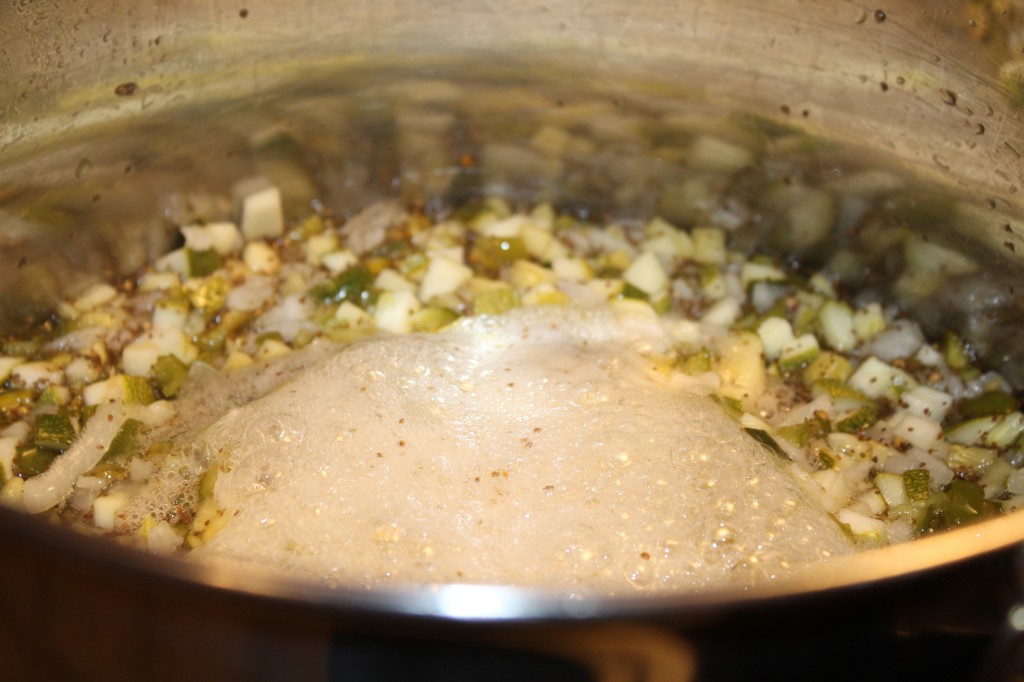
Bring to a boil.

Add in the zucchini mixture.

Bring to a simmer, and simmer for 10 minutes.

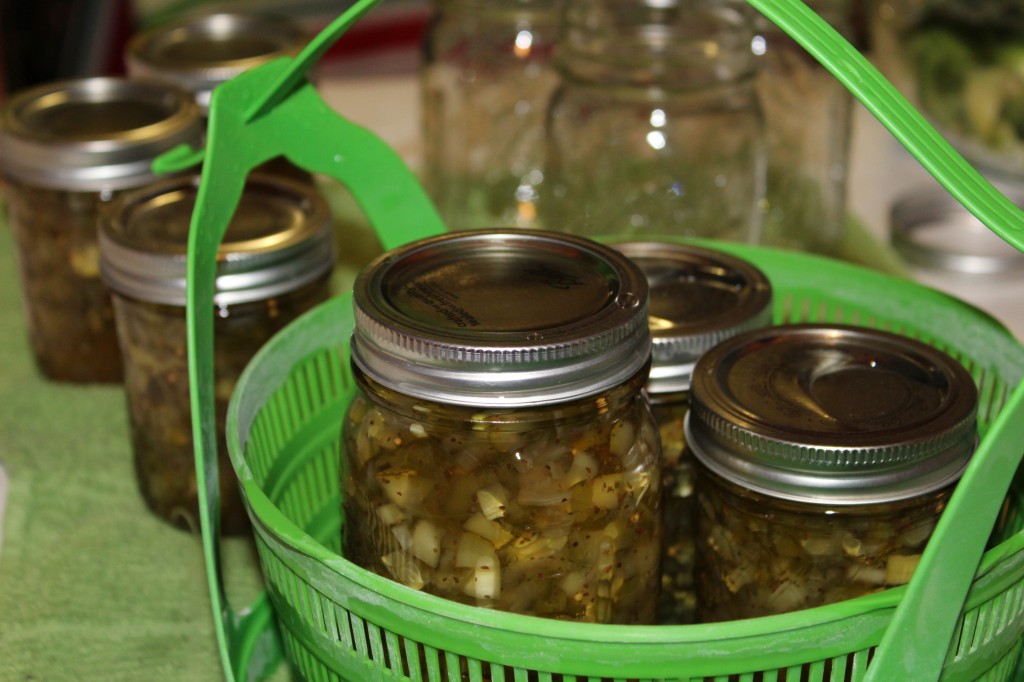
Fill jars and water bath can for 10 minutes.

It really is easy and I have doubled this recipe when I have made it and it turned out fine. (I would not double a jam or jelly recipe though.)

Anywho, I hope you give it a try and let me know how you like it!

Enjoy!

Becky
Here is the  recipe:

Zucchini Relish

Adapted from Ball Blue Book

Ingredients:

2 cups chopped zucchini (I do not peel mine)

1 cup chopped sweet onion (I used vidalia onions)

1 cup chopped sweet peppers (In one batched I used green in another I used a mixture of orange and red)

2 Tablespoons salt

1 cup apple cider vinegar

1 1/2 cup sugar

1 teaspoon mustard seeds

2 teaspoons celery seeds

Directions:

Chop the zucchini, onions and peppers. Put the veggies in a large bowl and cover with cold water. Sprinkle the salt over the mixture and stir. Let it sit for 2 hours. Drain off the salted water, rinse and drain again.

In a large saucepan, add in the vinegar, sugar, mustard and celery seeds. Now, add in the zucchini mixture. Bring to a simmering boil for 10 minutes.

Hot pack the relish in pint jars, leaving a 1/4 inch head space. Remove air pockets by poking a skewer or a Popsicle stick in the relish. Wipe off the jar rims and put on the lid and ring.

Water bath can for 10 minutes in boiling water.

Follow water bath canning instructions found on the Ball Canning web site if you need further instruction

Remove the relish from the water and let the jars cool over night. Making sure the lids are sealed.


In a Pickle!

Have you ever made something, but then could not eat it for a couple of months?

That was me!

Or, have you ever found yourself so busy with family and work that you had to put off working on something you love doing for a few months, until things slow down?

That was me!!

It seemed, there for a few months, my life and free time was, “in a pickle!”

I guess that is my way of explaining why I have not posted in 6 long months!

I missed all my readers!

I missed posting my recipes and talking about my back yard girls as I affectionately call my chickens.

I missed everything there was to do about staying connected with everyone through this webpage.

So, I think my life is slowly, slowing down, and I can finally get back on track with posting and chit-chatting with everyone now.

You might have wondered what I have been up to the last few months, and I will explain in the coming recipe post, as I try to get caught up.

Even though, I might not have posted a recipe, my kitchen has been busy and so has my camera!

I have a ton of things to share!!!

One thing I will share now to try to explain my absence is that my Mom “The Princess” first had a breast cancer scare and then had a heart attack along with pneumonia right before the holidays. My super strong mom is a fighter though and is slowly getting her strength back and is now able to get out of the house some and going back to church.

Prayers were answered!

So anywho, I thought what was more fitting to get back to posting and get my webpage out of being “in a pickle,” was to post about me canning sweet pickles.

So here goes!!

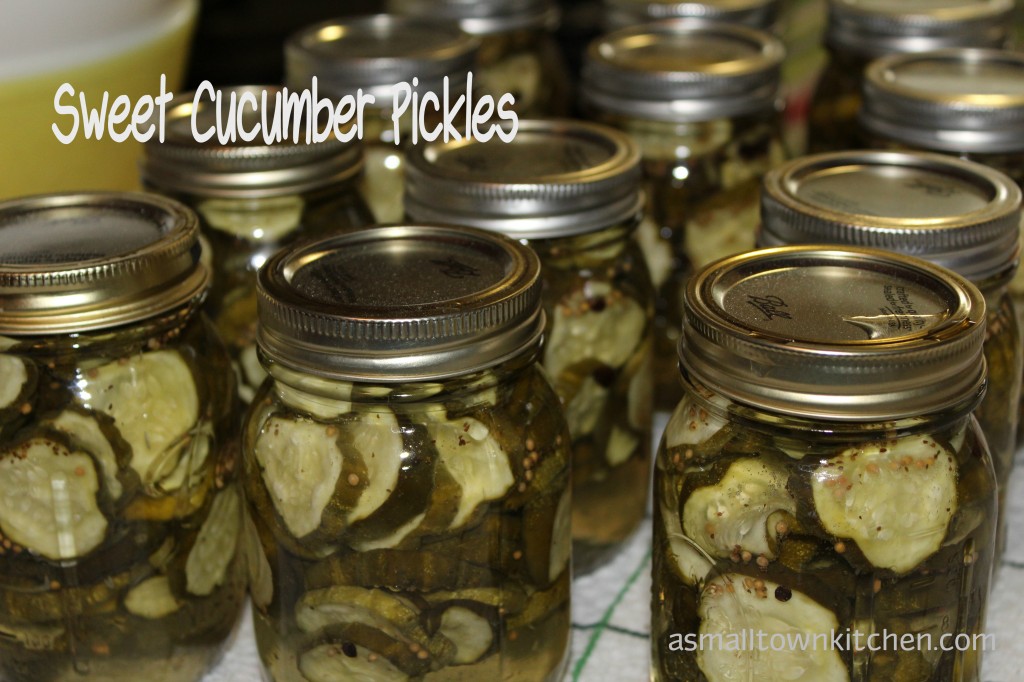
Sweet Cucumber Pickles!

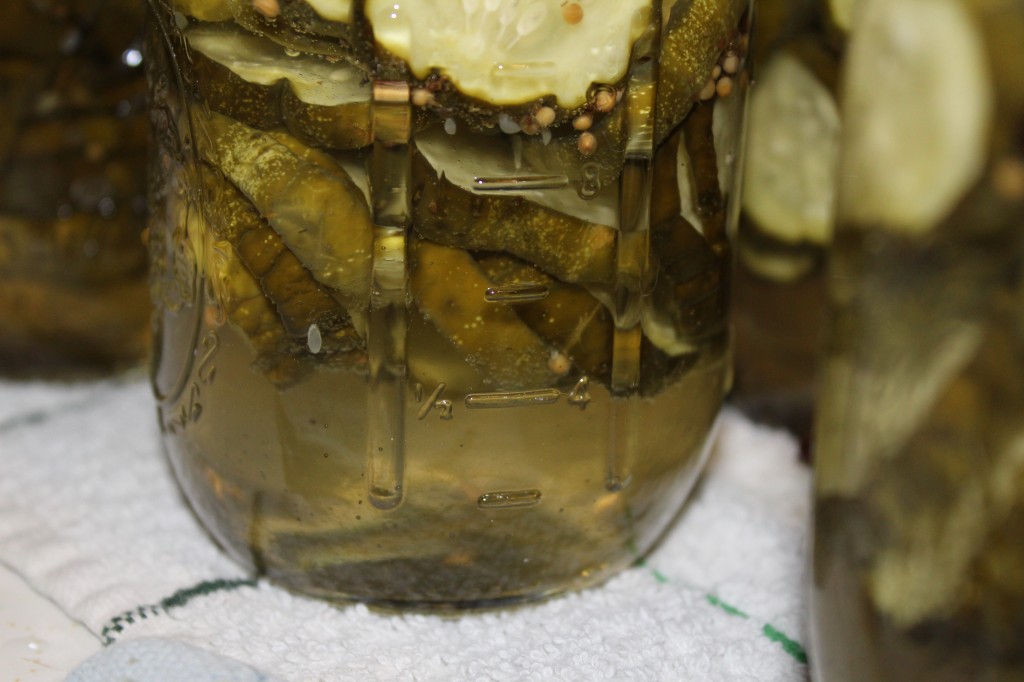
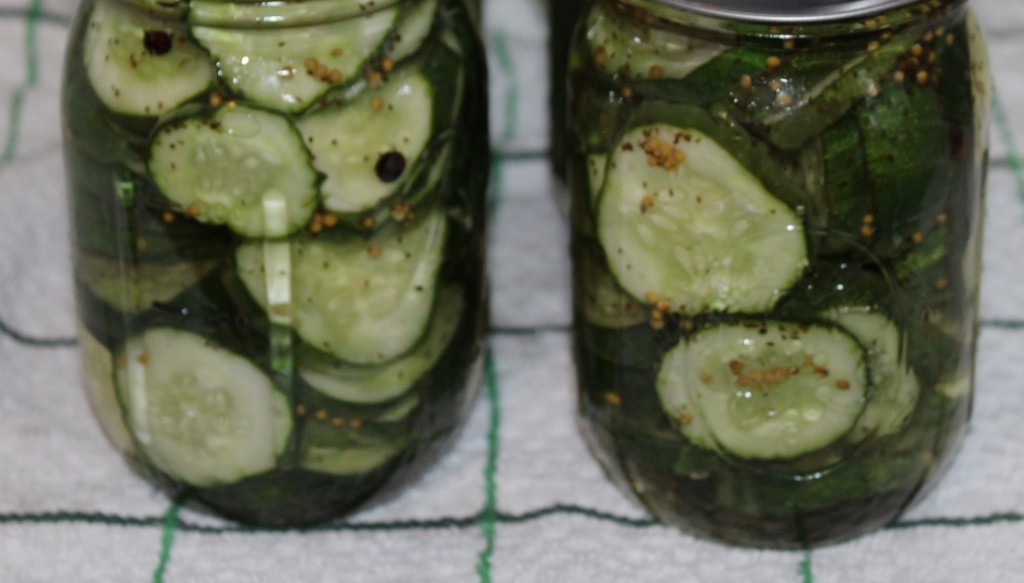
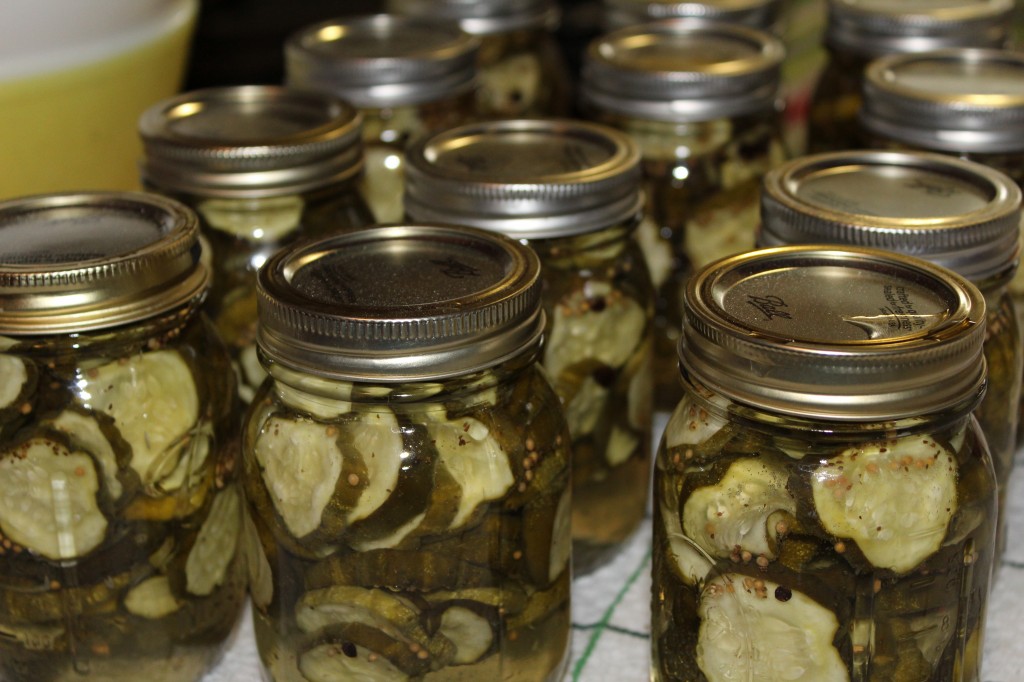
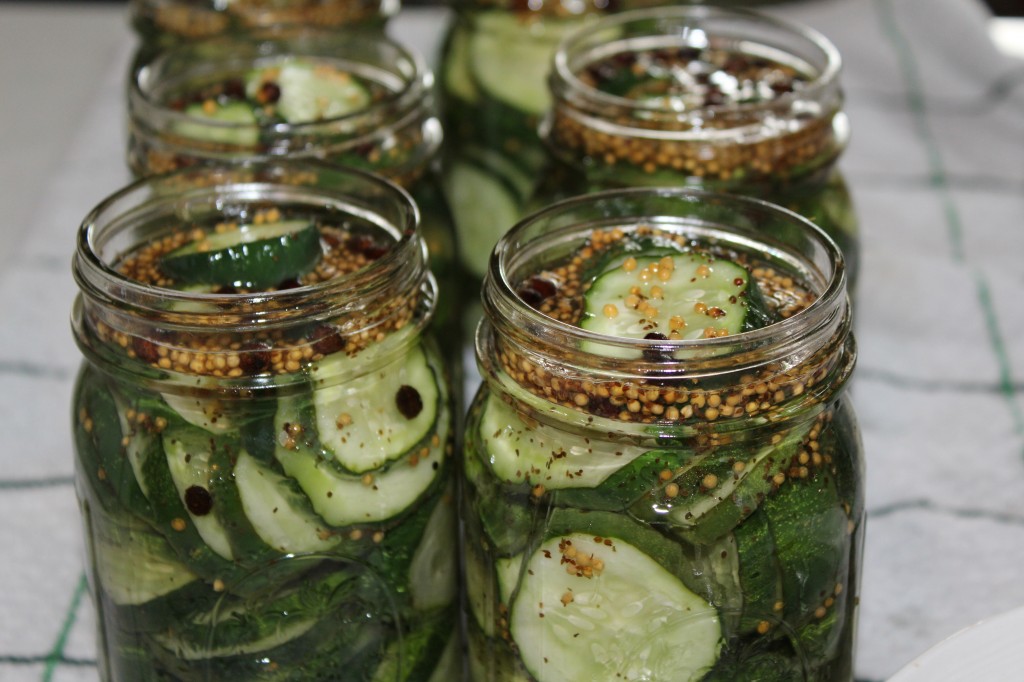
When I first made my pickles and water bath canned them, my pickles floated. I thought maybe I had acquired magic powers to get pickles to float, only to find out that after a couple of weeks they settled down and went to the bottom. I was later to learn that the air trapped inside the cucumbers had to slowly release for the pickles to stay where they were suppose too.

By the time the pickles were ready to eat, they decided to quit showing off and sit still.

These little pickles are perfect to snack on and are the perfect size to put on little slider hamburgers.

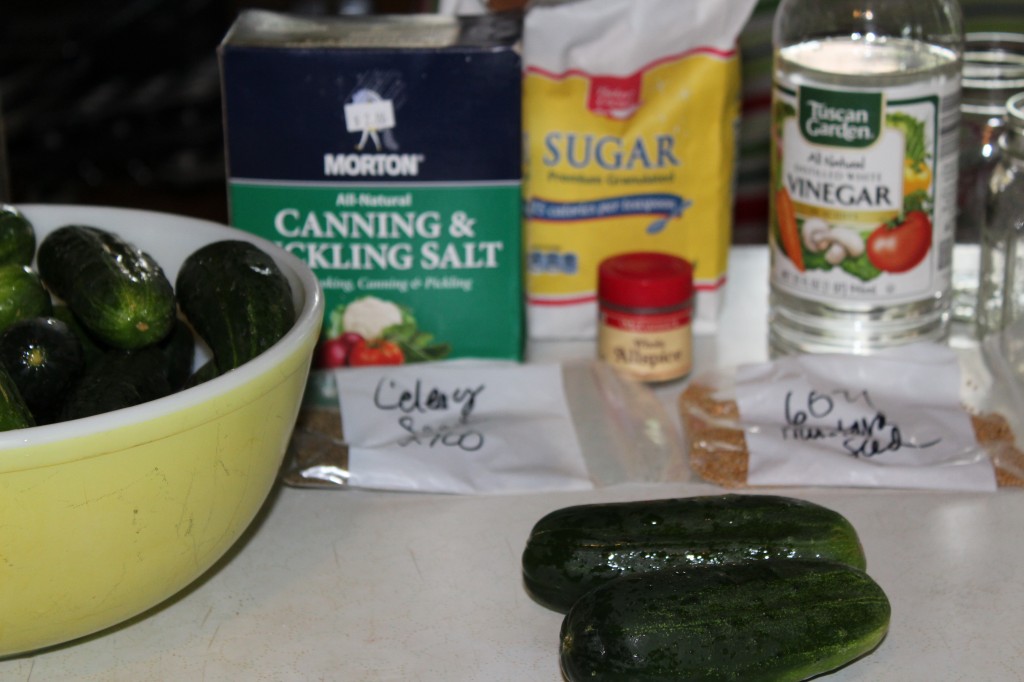
Here is what you need to make these delicious little sweet pickles.

Pickling cucumbers, (not regular salad cucumbers that are bigger and longer) sugar, pickling salt, ice, vinegar (5%), celery seed, whole allspice and  mustard seed.

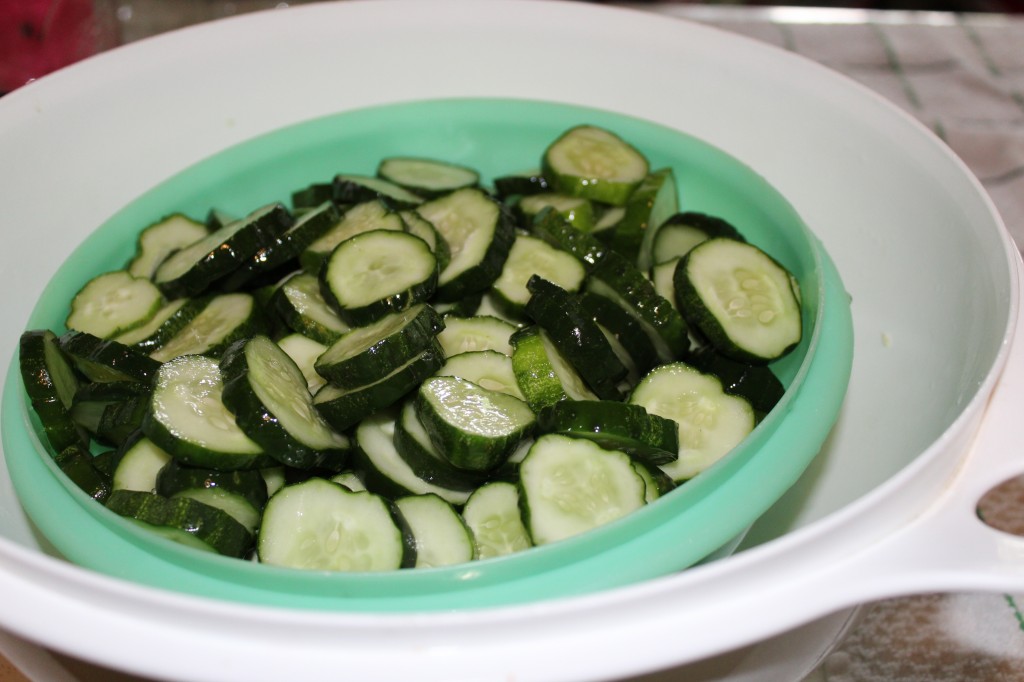
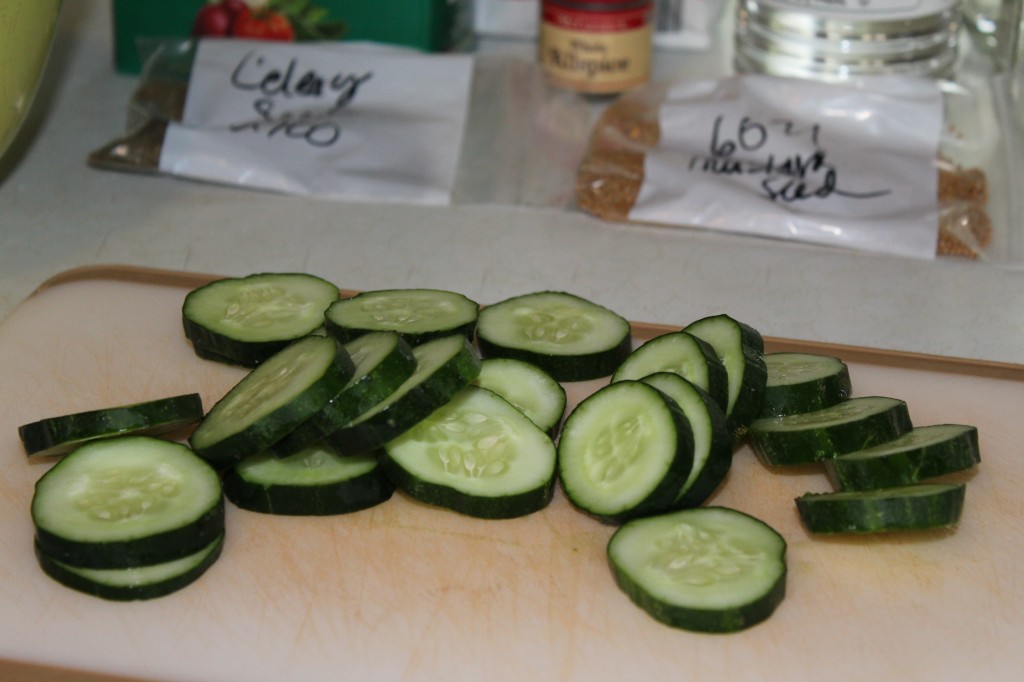
The first thing you need to do is cut the blossom end off the cucumber, (it can cause soft pickles) and then slice the cucumbers into slices. Mine are about 1/4 inch.

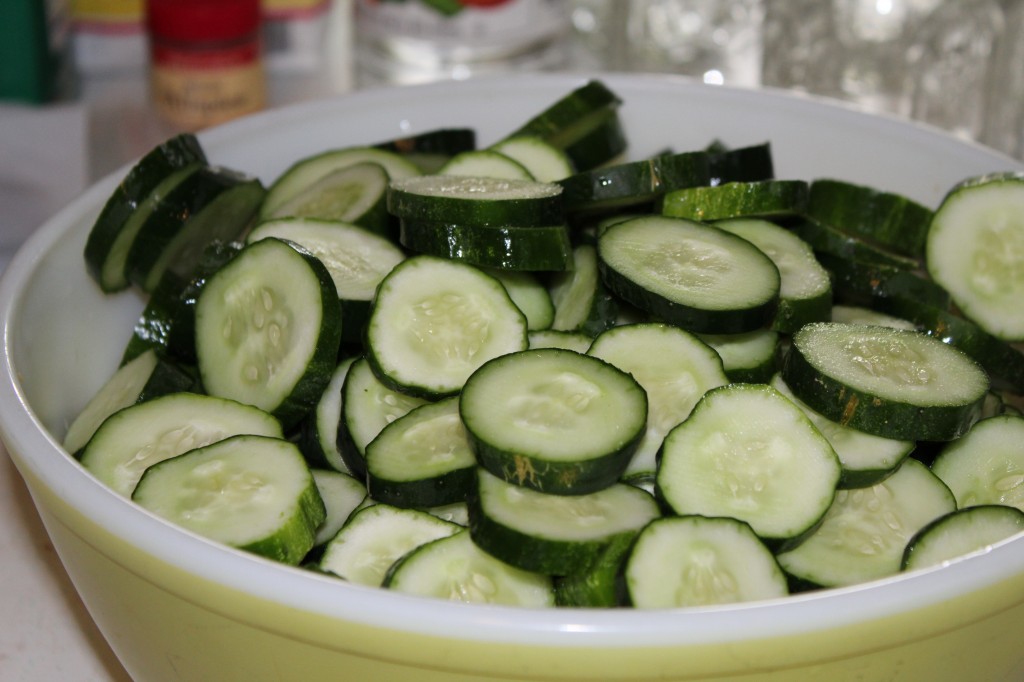
My sliced cucumbers filled up this big bowl.

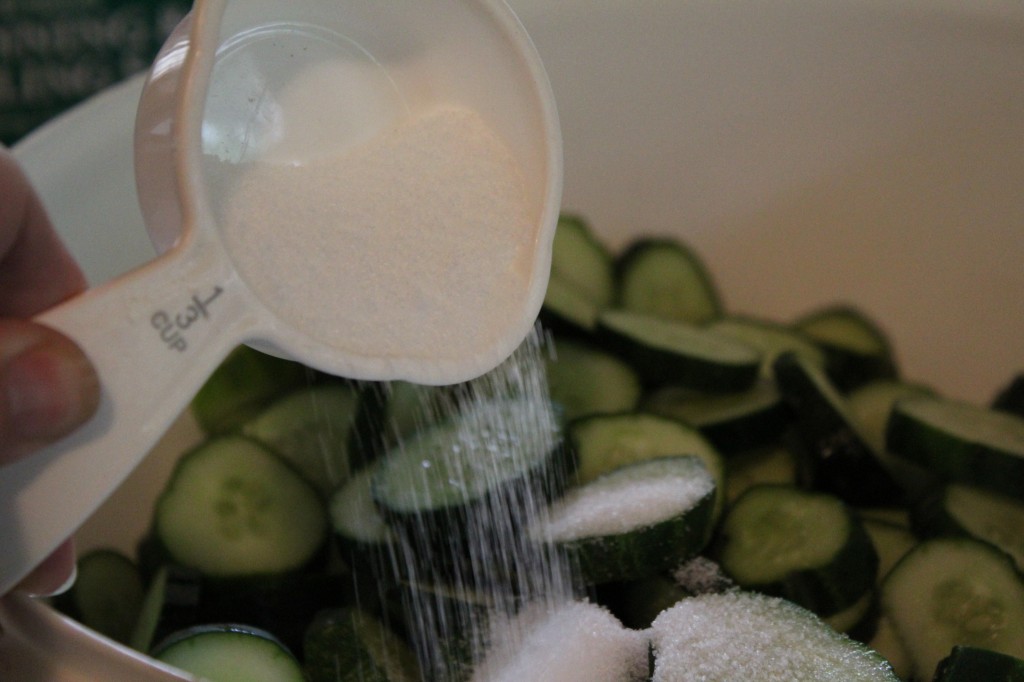
Next, sprinkle the pickling salt over the cucumbers.

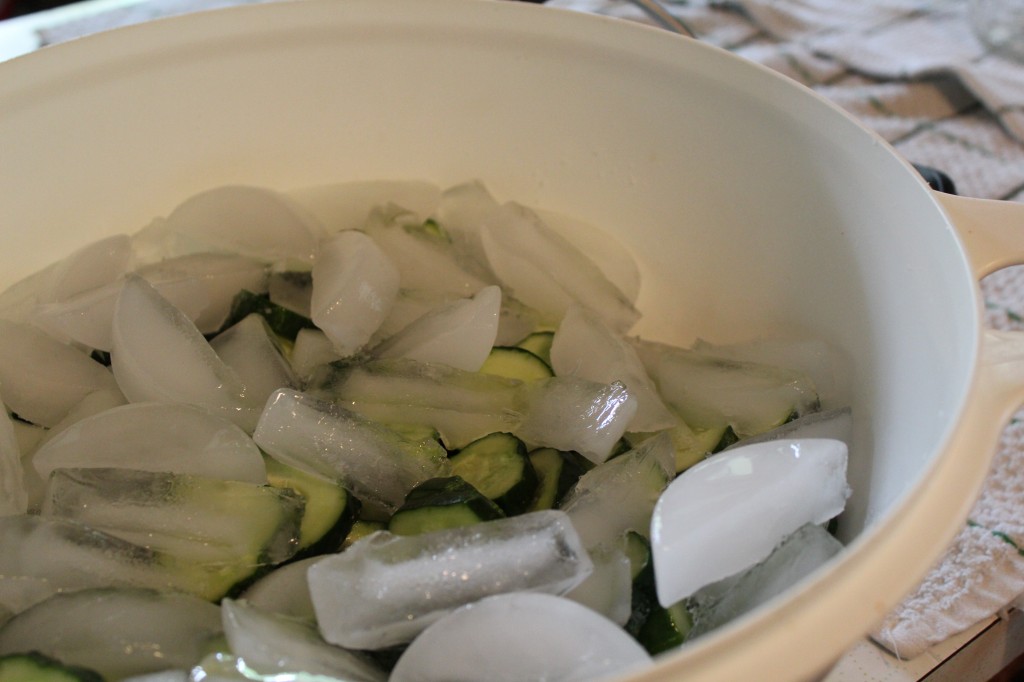
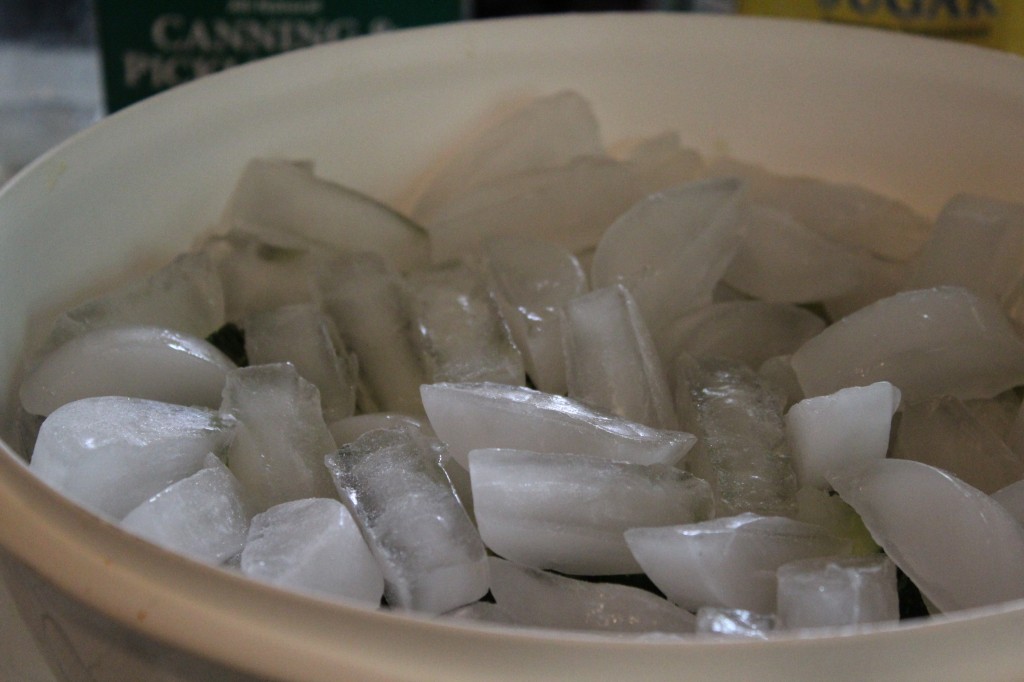
The next thing you do is cover the cucumbers with ice and put in the refrigerator for 3 to 4 hours. If the ice melts, add more ice. Now you can get all your jars, lids and rings out and set up for water bath canning….or you can take a nap, like me..LOL

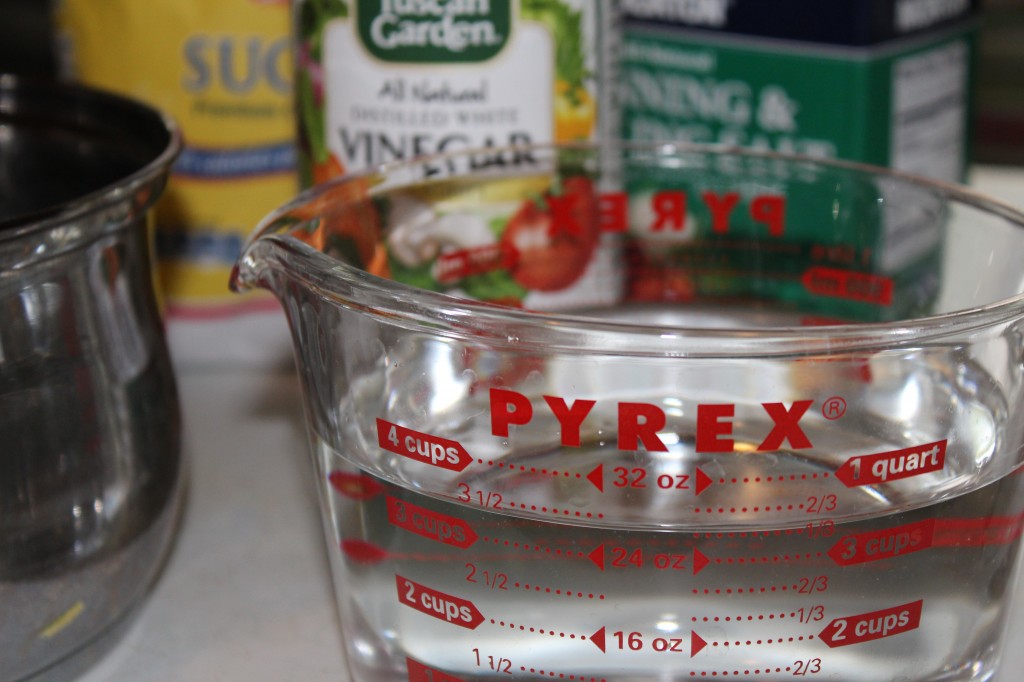
Time to make the brine. Measure out the vinegar and pour it into a large sauce pan.

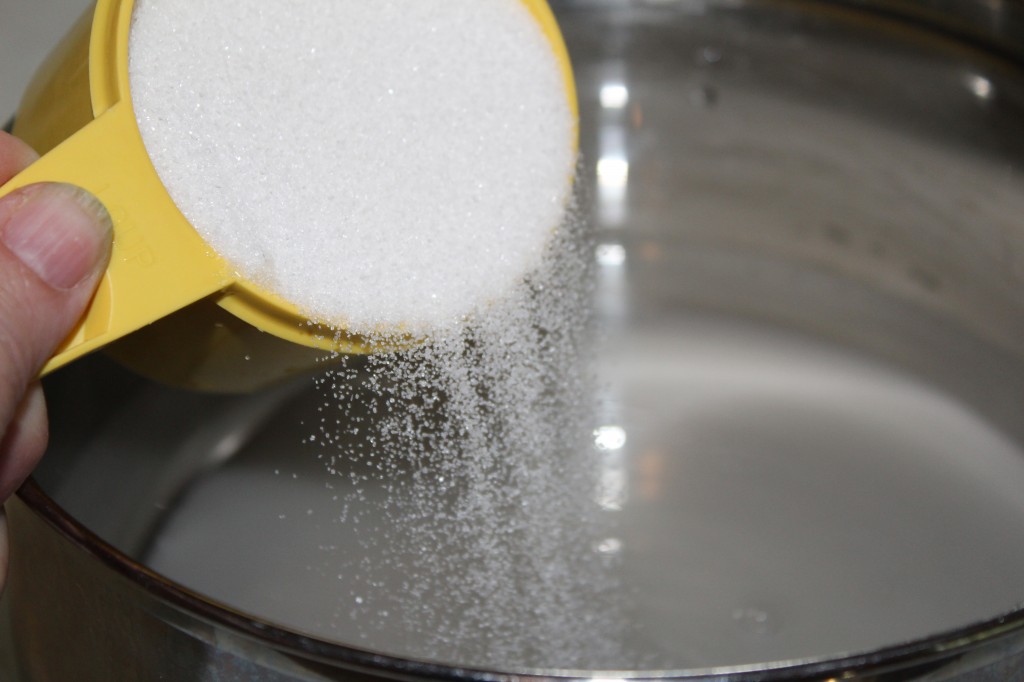
Add the sugar to the vinegar.

Add the celery seed to the vinegar and sugar mixture.

Next, add in the mustard seeds.

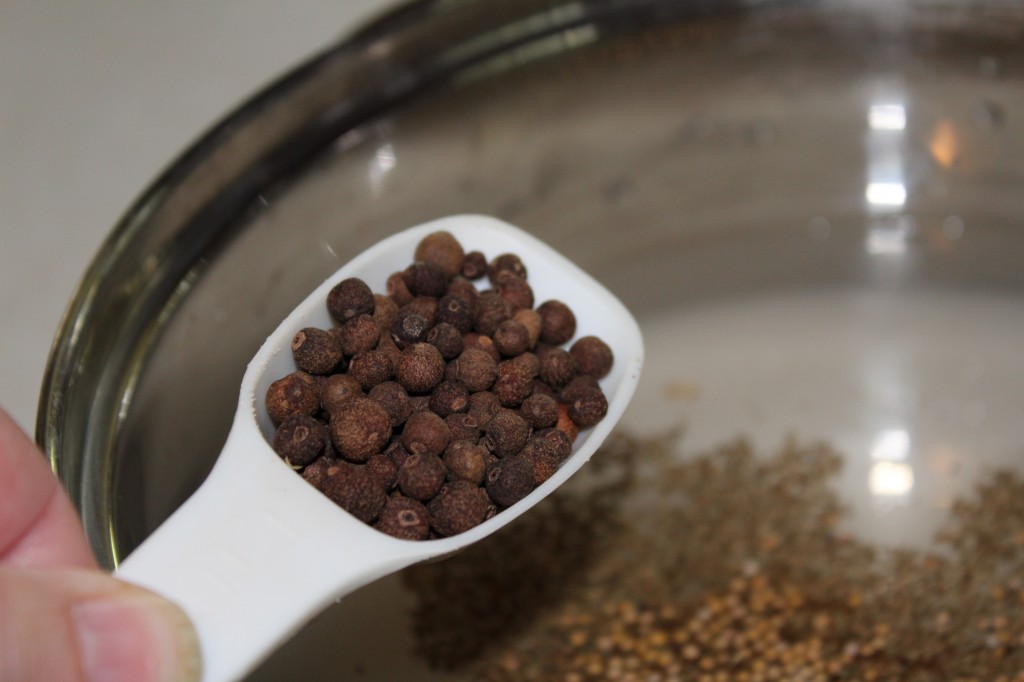
Now, add in the whole allspice. Bring the mixture to a boil.

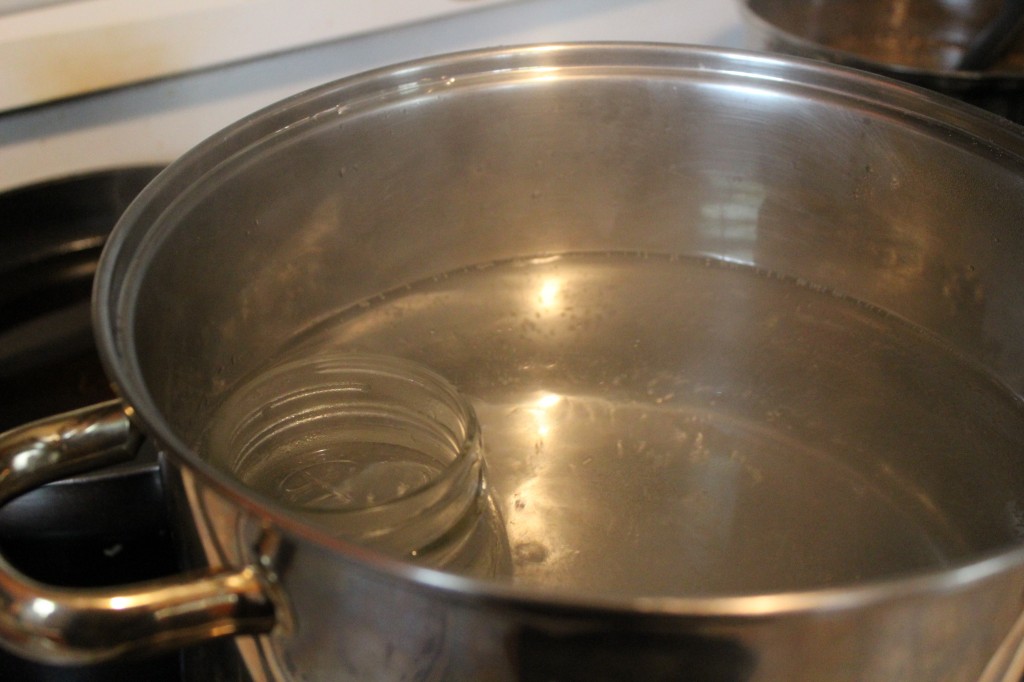
Be sure and sterilize your jars before you fill them with cucumbers. I do a dip in boiling water with my jars before I fill them up.

Take you pickles out to the fridge. See how much they have shrunk….LOL…

Drain the pickles and remove any ice that is left.

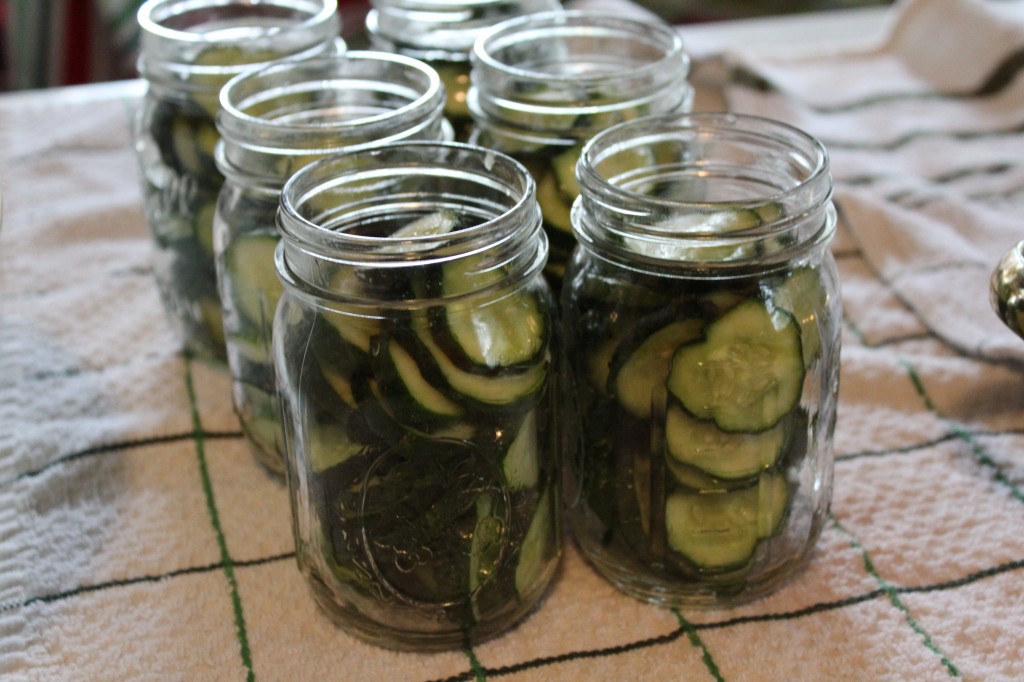
Fill each jar with pickles to 1/2 inch from the top. Try to pack tightly as the pickles will shrink as they are processed.

Fill the jars with the hot brine leaving 1/2 inch head space. Remove the air bubbles. You can do this with a wooden skewer but running it down the inside side of the jars.

Wipe the rim of each jar with a wet paper towel to remove any syrup/brine and put on the lids and rims.

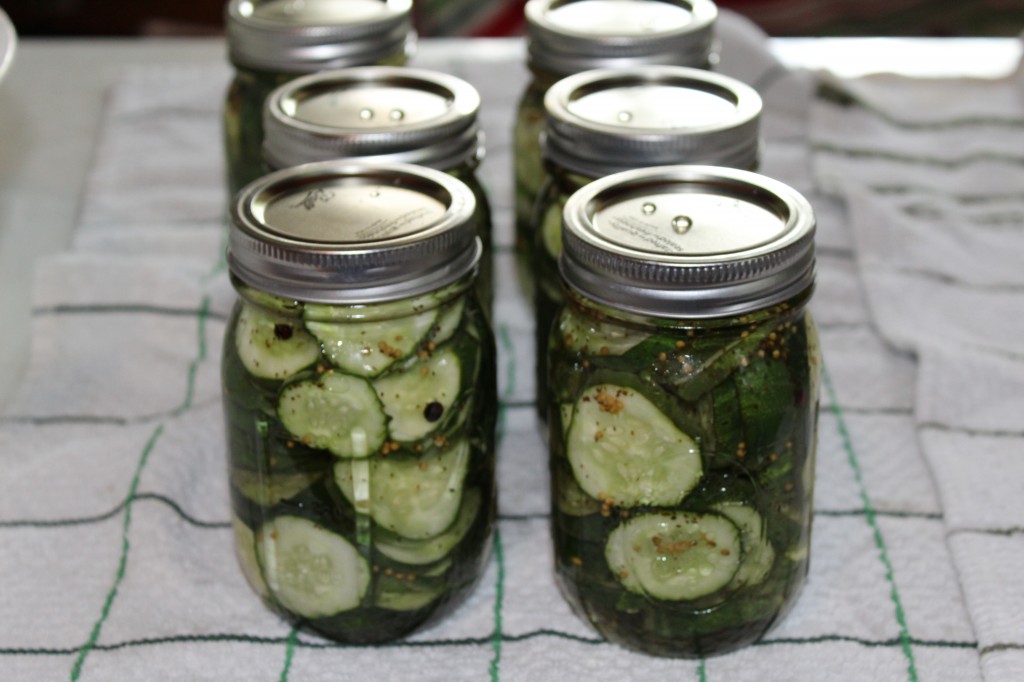
Water bath can or process the jars in boiling water for 10 minutes for pints or 15 minutes for quarts.

Now, here is one of my favorite parts….waiting to hear the pop of the lids after you take the jars out of the boiling water.

The hardest part of this recipe is waiting a few weeks (4 to 5) to allow the pickles to develop the ideal flavor.

As with any food that is canned, be sure to use a certified canning recipe and follow all the steps. Please refer to the Ball book of canning or  your local extension office  for complete instructions on water bath canning.

Here is the recipe.

This recipe is from Ohio Extension Office. They have a great video you can watch to assist you making these pickles. Here is the link. https://www.youtube.com/watch?v=Vo5Yx6ADsTg

Ingredients!

8 pounds 3 to 4 inch pickling cucumbers

1/3 cup canning or pickling salt

4 1/2 cups sugar

3 1/2 cups vinegar (5%)

2 teaspoons celery seed

1 tablespoon whole allspice

2 tablespoons mustard seed

Directions:

Cut 1/4 inch off the blossom end of the cucumber and discard. This blossom end can lead to soft pickles. Cut cucumbers into 1/4 inch slices. Place in a bowl and sprinkle with 1/3 cup canning salt. Cover with ice and put into the refrigerator for 3 to 4 hours. This will help draw the moisture from the cucumbers.

Combine sugar, vinegar, celery seed, allspice and mustard seed into a large saucepan. Heat to boiling.

Drain the liquid from the cucumbers.

Pack the cucumbers into the jars and fill the jars leaving 1/2 inch head space at the top.

Fill the jars with the hot canning liquid. Filling the jars to  1/2 inch from the top.

Remove any air bubbles. (you can use a wooden skewer to do this but running it down the inside side of the jars)

Adjust the lids and rings.

Water bath process for 10 minutes for pints or 15 minutes for quarts.

After procession and cooling, store the jars for 4 to 5 weeks to allow pickles to develop the best flavor.

As with any canning, be sure to use approved recipes and follow all the proper canning steps to prevent spoilage.

Enjoy!

Becky
 

Corn From My Freezer

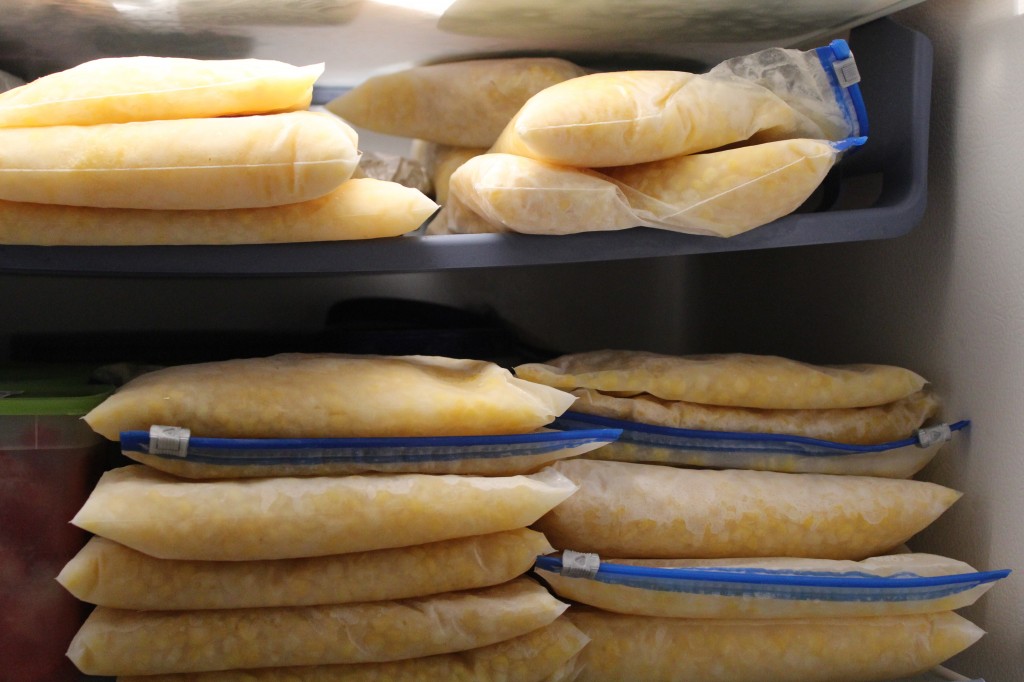
I have been hording my frozen corn all winter.

Kinda funny, right?

I mean, the reason why we freeze or can food in the summer is so we can eat it all winter.

I think that is right, right?

So, why am I hording it?

Maybe, I have a problem with sharing.

Maybe, I was saving it to eat on a snow day from school….which we did not get any…well, maybe we got one. (but I did not feel like sharing that day).

But, I think the real reason I have turned into a corn hoarder is…

drumroll…….

Cause it taste so good!

And ya know, cooks in the kitchen want that taste to last the whole year.

Two more months till fresh sweet corn from the Amish.

I better count my supply to make sure it last until then.

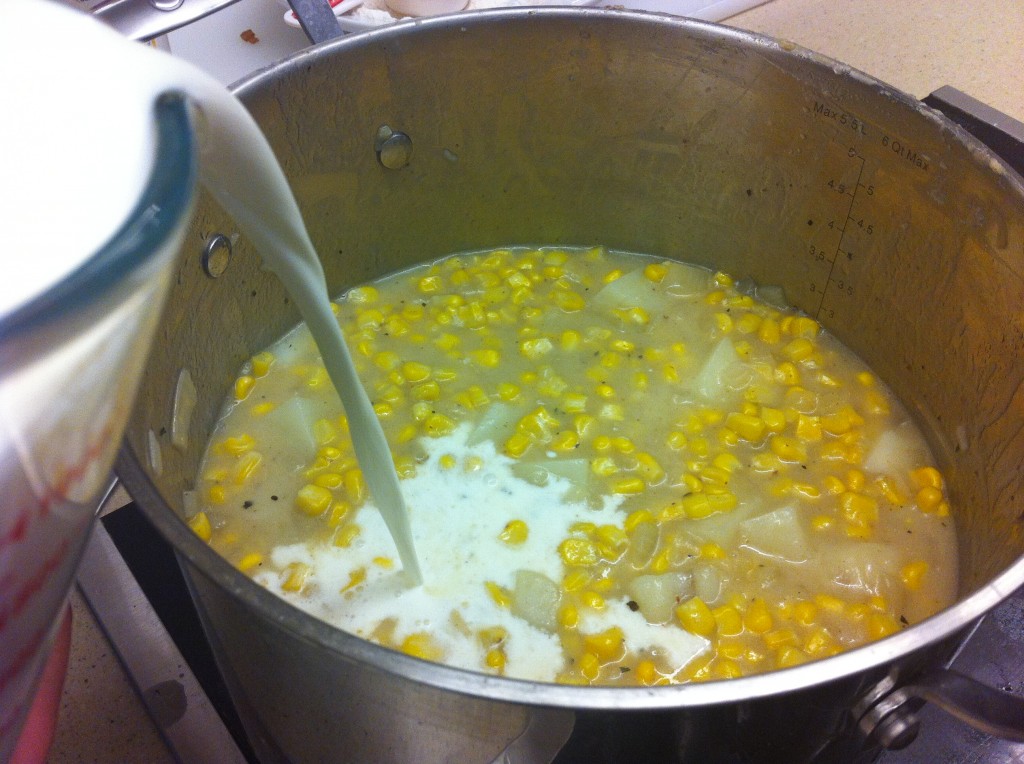
Making Cheesy Corn Chowder, find the recipe HERE.

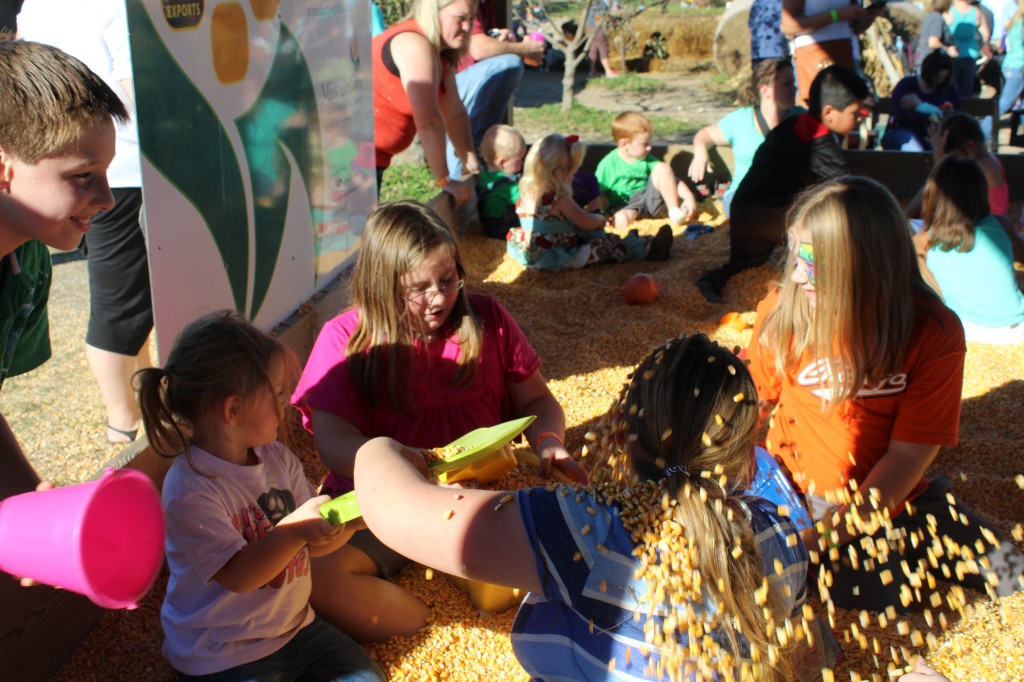
Grand girls and great nephew playing in the corn bind when we went to the corn maze last year.

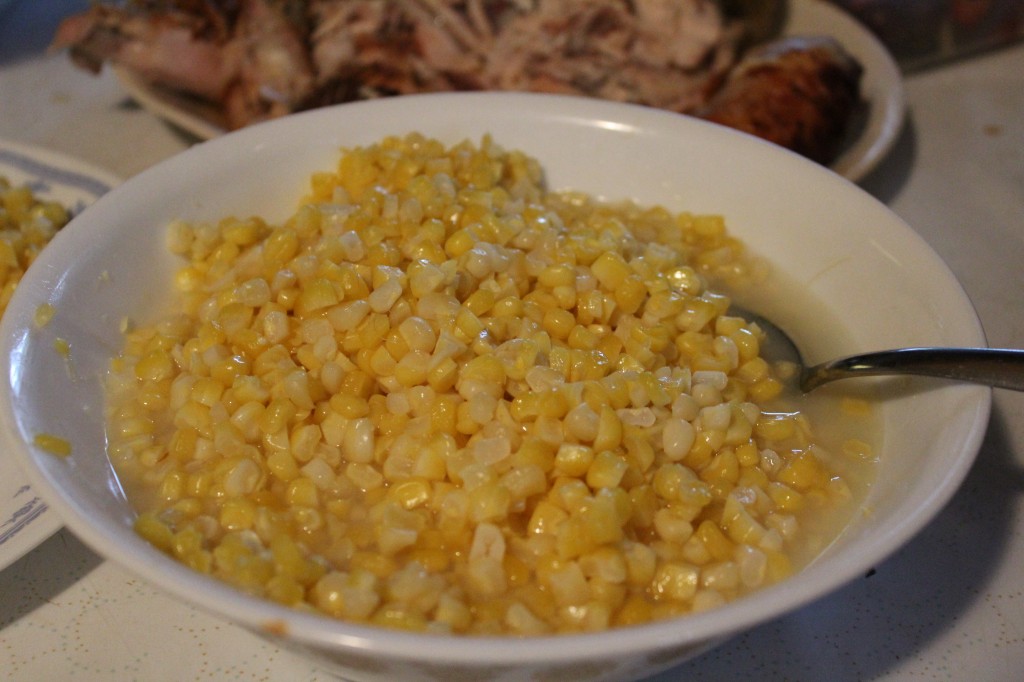
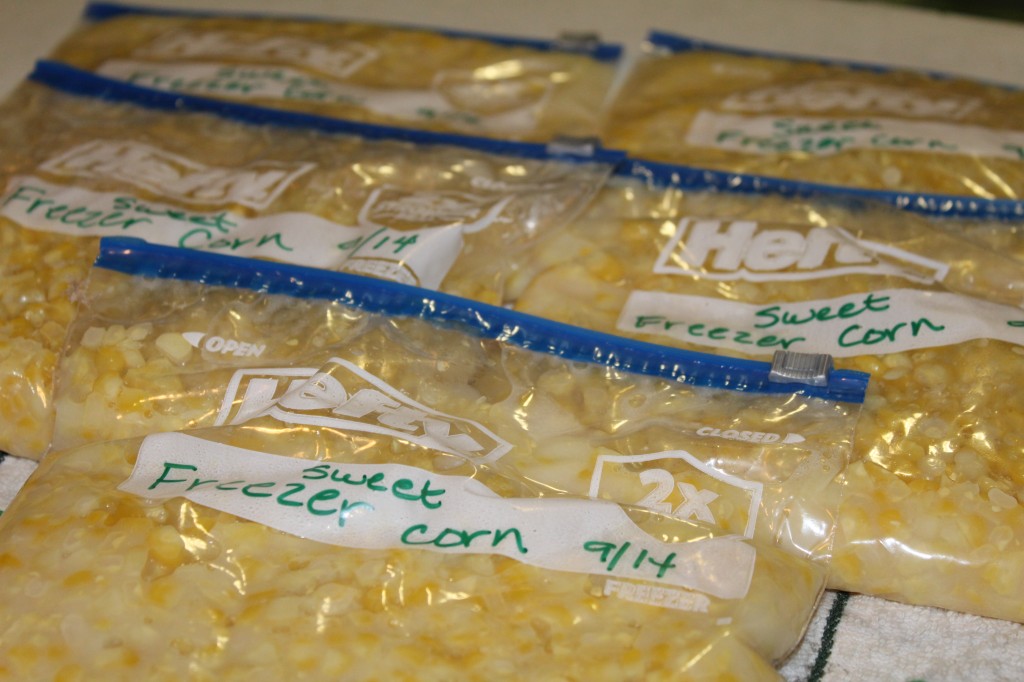
Sweet Freezer Corn recipe HERE.

I am giving the recipe I used, but I tried a new one last summer and I will get that one posted soon so you can compare the two and see which one  you like better.

I guess I better get out of here and go teach summer school!

Becky


Unearthing Canning Jars

Several years ago my friend Roberta found 5 large boxes of canning jars for sale at a garage sale. She called me and wanted to know if I wanted her to buy them for me.

Of course I said yes.

Looking back I am not sure why I wanted them. I was not even canning food at that period in my life. I had done some jam making, green bean canning and corn freezing years before. But, at that particular moment, I wasn’t. I was too busy finishing my masters degree, teaching junior high and raising kids.

I just knew I wanted those jars.

Roberta dropped them off at my house and I paid her back the $25 she spent buying these jars. (did i get a great buy?)

Not sure where to store the jars, I dragged those boxes across the back yard and put them in the shed. Where they have stayed for several years.

The jars have had many adventures in the shed.

Spiders and wasp just love to keep the jars company.

My brother in law, Gary even painted their little house (shed) the same color as the trim on the house a couple of summers back.

The MOST exciting adventure was when the jars had to share the shed with a ground hog that loved living in the shed.

That ground hog dug a big hole in the dirt floor of the shed and threw dirt all over the jars, buried several of the jars, broke some of the jars and when he finally left (not on his own free will) he had left a pretty good mess in the shed.

Now, that I am back to canning and growing (or rather trying to grow) some of my own back yard veggie vittles.

It was time to unearth the jars.

Company and I have been slowly bringing the jars out of the shed. One by one.

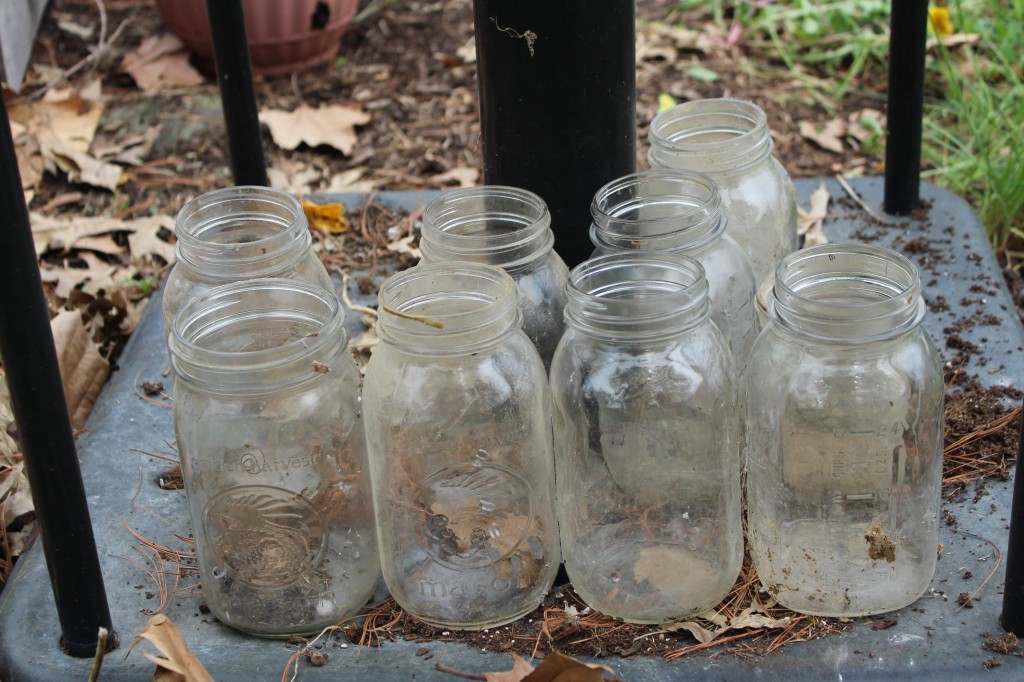
They were dirty and a little dinged up. We threw away the broken ones and checked for cracked in the other ones.

Then we set them outside to let the rain and the sun shine, clean them up a bit before I bring them into the house for a final big cleaning.

We still have three boxes left to bring out.

I think the jars look happier now. Dusty and and a little worn but happy to be out of the boxes.

But jars are never truly happy until they are filled with garden goodness.

What do you think?

Let the canning season begin!

Becky

Other post you may enjoy:

    blackberry jam

 Rhubarb Jam                                                                                  Blackberry jam


Apples plus Squeezo equals Apple Butter

Tomorrow is the first day of fall, and what better way to celebrate the leaves changing colors, the crisp cool nights and sweater weather…than with homemade apple butter.

I bought a box of apples during one of my Mennonite shopping trips. That poor box of apples sat in my kitchen the whole time while I was trying to recover (and still teach) from one bad sinus and ear infection. I finally started feeling like my usual self the end of last week. I know that everyone in my family are ecstatic that I am feeling better. I think I was a little complainy. Even the Princess (mom) told me I was a grouch….ouch!

Feeling better, I started sorting through the apples. They had sat in that box for over two weeks. Some were ready for the compost pile, some were ready for the chickens (and they loved them) and the rest were ready to meet THE SQUEEZO.

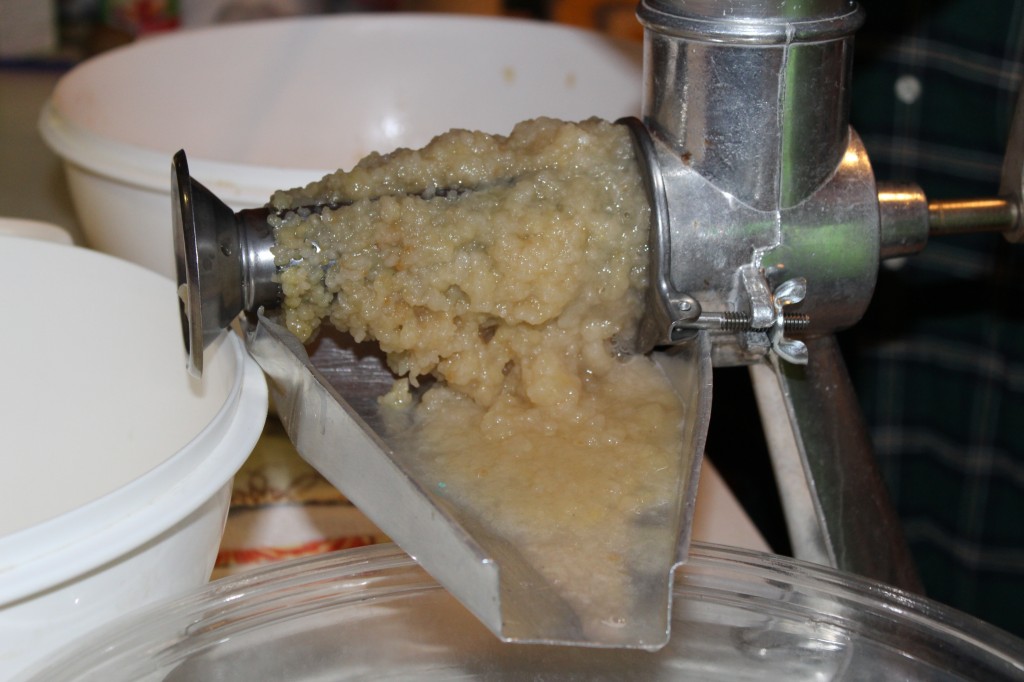
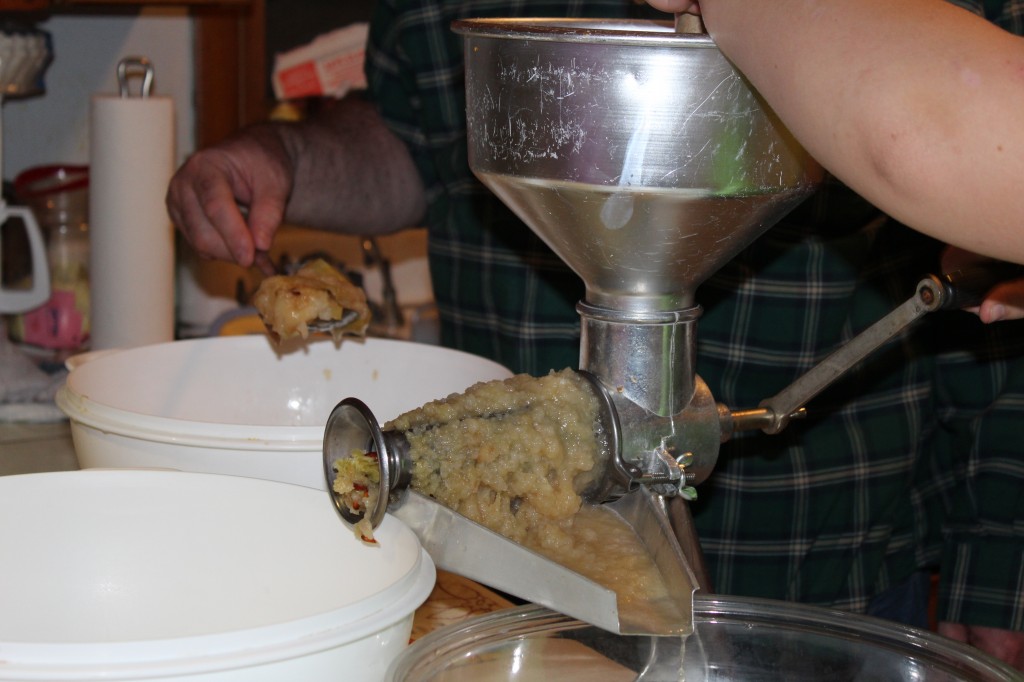
This is a picture of the squeeze doing some magic on the apples.

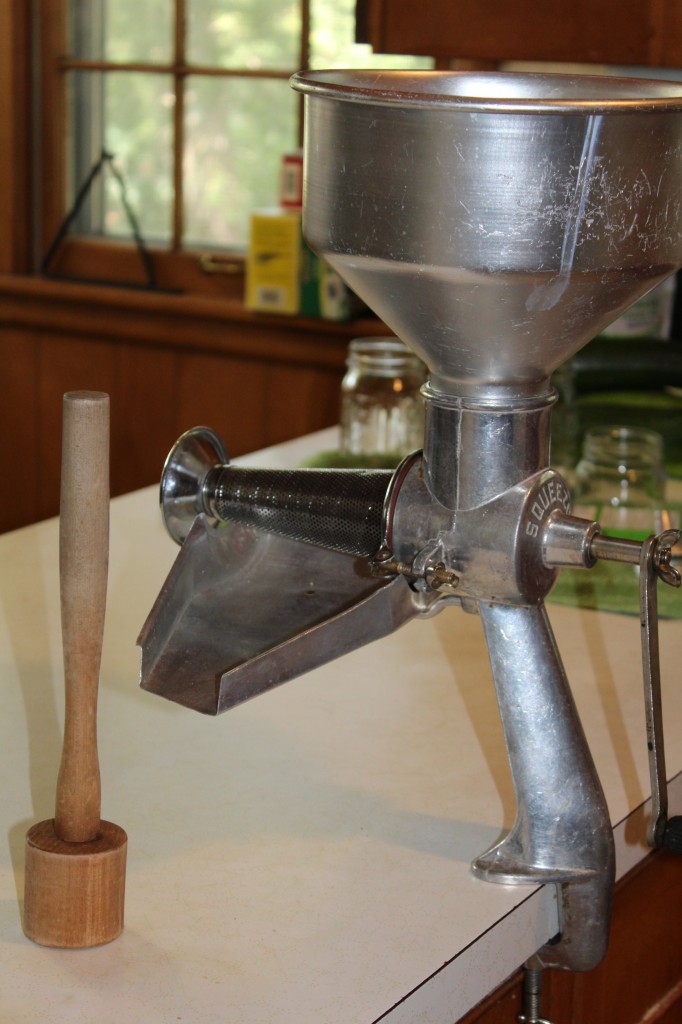
This is the what it looks like all put together.

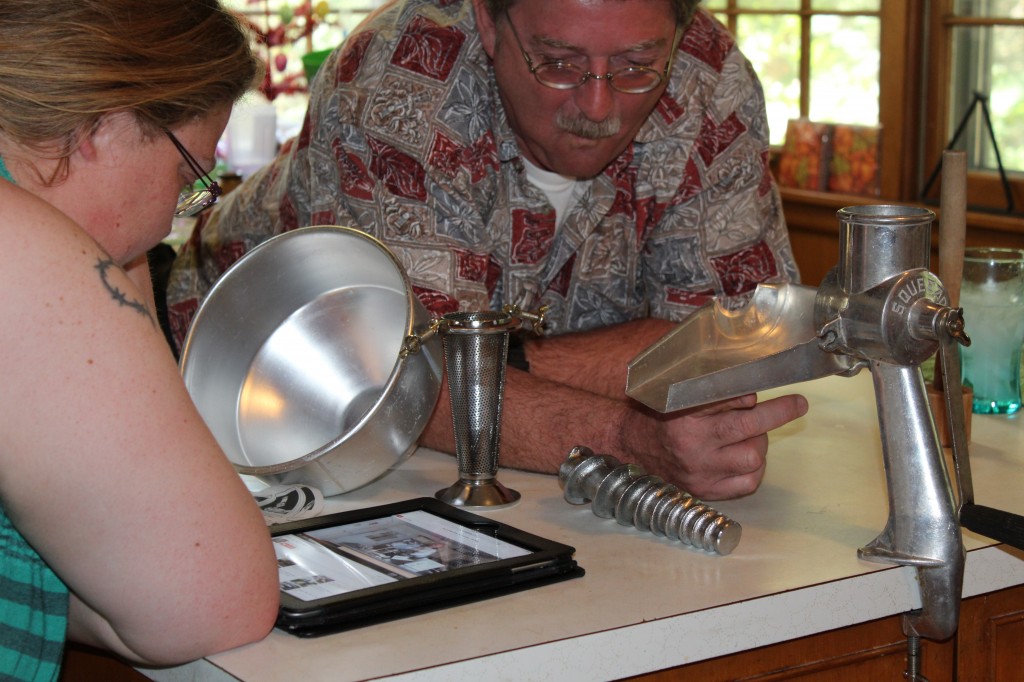
It took three college degrees and a you tube video to figure out how to put it together. Oldest Daughter who does not cook, watched the video and in about 5 minutes had it all put together. I pretend that I can’t figure it out, so she will keep putting it together for me. (please do not tell her) hehe.

Well anywho, let me tell you about this contraption they call The Squeezo. I guess it has been around for about 100 years. They are pretty pricey if  you buy one brand new (over $200). I was able to buy a used one from a retired teacher about a hour drive away for about $50. I had so much fun talking with that retire teacher, I bought a pressure cooker from her too. I need to have oldest daughter watch some you tube videos to teach me how to use it too. ; )

I love this squeezo (food mill). I do not have to peel or core my apples for apple sauce and for apple butter. I think I can do jam with the pureed apples too, but I have not tried that yet. I did use it for peach jam and it worked great. Though I used the smaller strainer and I got more juice than pulp. The peach jam will be on another post…promise!

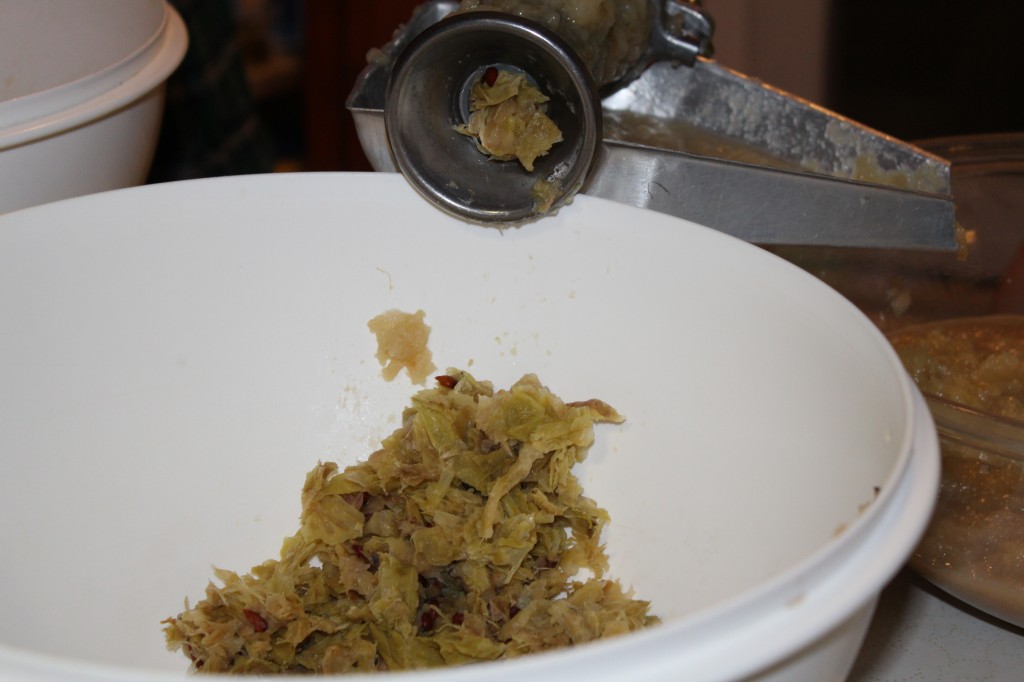
You load steamed apples that have cooled in the hopper at the top. Push the apples down into the mill with a wooden mallet and turn the handle. The apple puree comes out of the holes in the strainer and the peeling, core and seeds come out the middle.

Here is the picture of the peelings and stuff. We were able to get about 10 cups of puree done in less than 20 minutes. Woot Woot!

I found the most fabulous recipe for apple butter!!

It is from a website called Taste of Southern. Just click on the link and you will find step by step pictures and recipe.

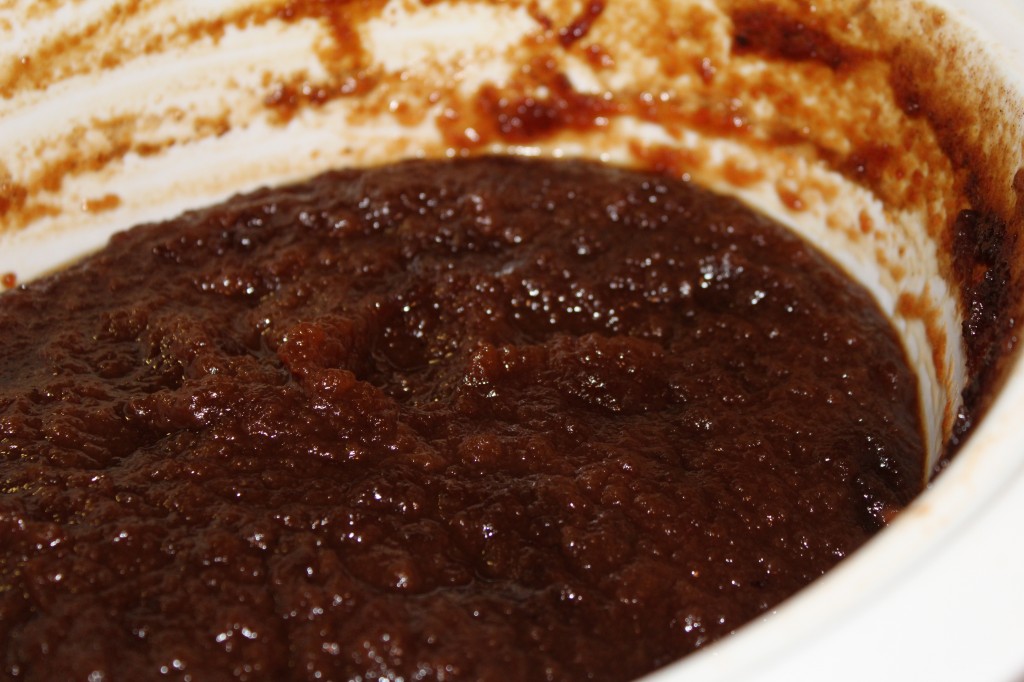
I cooked the apple butter in the crock pot overnight. The original recipe cooks the apple butter on top of the stove and that is fine too.

After about 11 hours it cooked down to about half the original amount.

So, let me tell you a little about this recipe.

You will need some sort of food mill, or food sieve.

I took the stems off the apples.  I cut them in fourths and put them in a big pot.

I put in 3 cups of water and 1 cup of apple cider vinegar. I had read on many reviews that people prefer the taste of their apple butter if they use apple cider vinegar instead of using apple cider.

I cooked the apples until they got soft.

I scooped out the apples and drained. I let them cool and bit and then put them through the food mill.

For every ONE cup of apple puree you need 1/2 cup of sugar.

The FIRST cup of apple puree use 1/2 cup of brown sugar. Then after the first 1/2 cup of brown sugar, start using regular sugar.

ok….so now that you have that down, here is the recipe.

Apple Butter

Adapted from Taste of Southern Website

5 pounds of apples

3 cups water

1 cup apple cider vinegar

1/2 cup brown sugar

3 1/2 cups white granulated sugar

2 teaspoons cinnamon

1 teaspoon grown cloves

1 teaspoon ground allspice

1/2 teaspoon nutmeg

1 teaspoon vanilla

1 lemon, zest plus juice (I used 2 tablespoons lemon juice)

Pinch of salt

Directions:

Wash and slice apples into quarters and put them in large stock pot.

Add 3 cups of water and 1 cup apple cider vinegar.

Bring to a rolling boil and then reduce to simmer for about 30 minutes or until soft.

Scoop out apples and run them through a food mill or sieve.

Measure the amount of puree you now have.

Add 1/2 cup sugar to each cup of apple puree, adjusting amount as needed, starting with the brown sugar and the remainder as white sugar. You need 1/2 cup of sugar to each 1 cup of puree.

(Crock pot method)

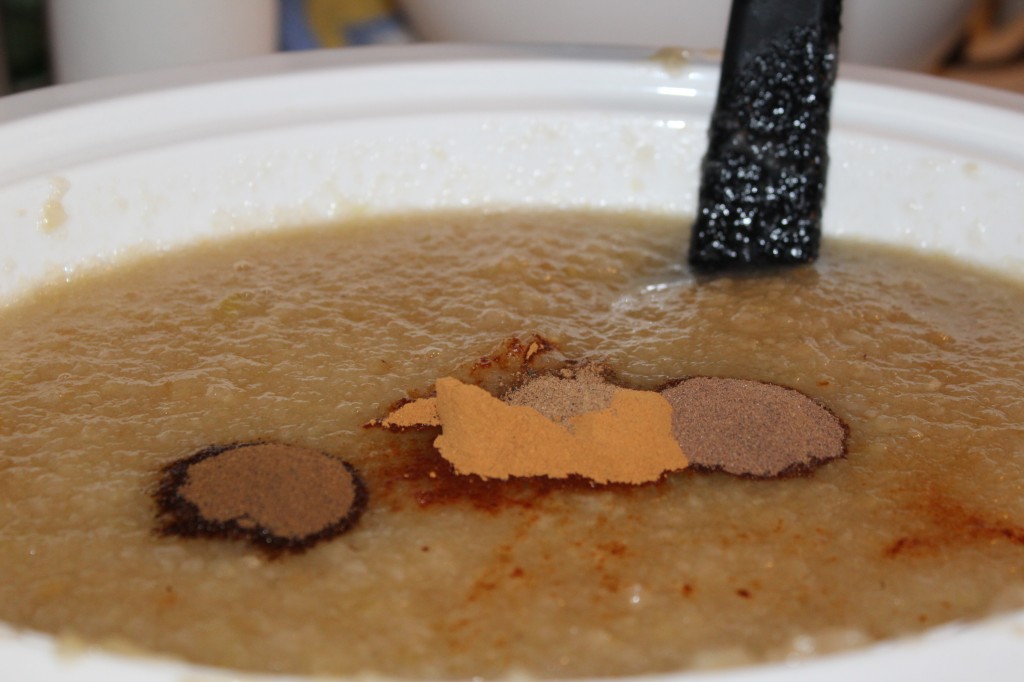
Put the apple puree and the sugar in the crock pot and stir until the sugar as dissolved. Add the cinnamon, allspice, nutmeg and cloves. Stir in. Add in the vanilla and lemon juice and zest (I used 2 tablespoons lemon juice instead). Add in a pinch of salt.

Stir well to incorporate.

Put crock pot on low for 10 hours. I used a skewer to prop my lid up a bit so the steam could escape and let the apple butter cook down.

Cook until you get the desired thickness. (I like mine thick).

Now, when it is done you can freeze it or water bath process it.

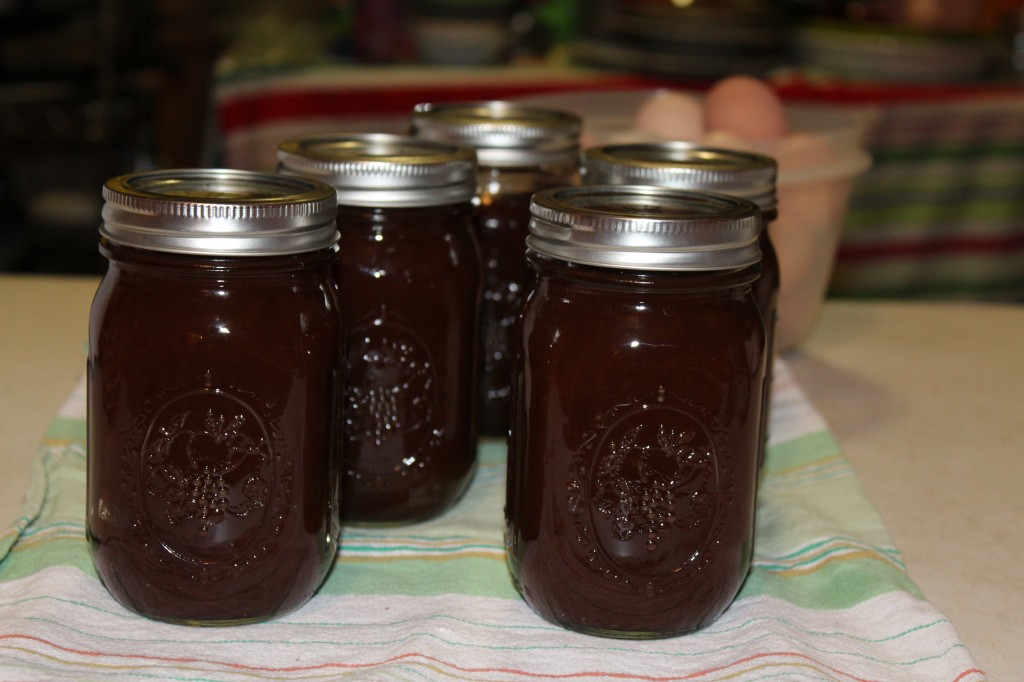
I water bath processed mine for 10 minutes.

I put one jar in the fridge and the rest is still on the counter. I looked in the fridge tonight and half the jar is already eaten…..

I think that is a sign that is GOOD!

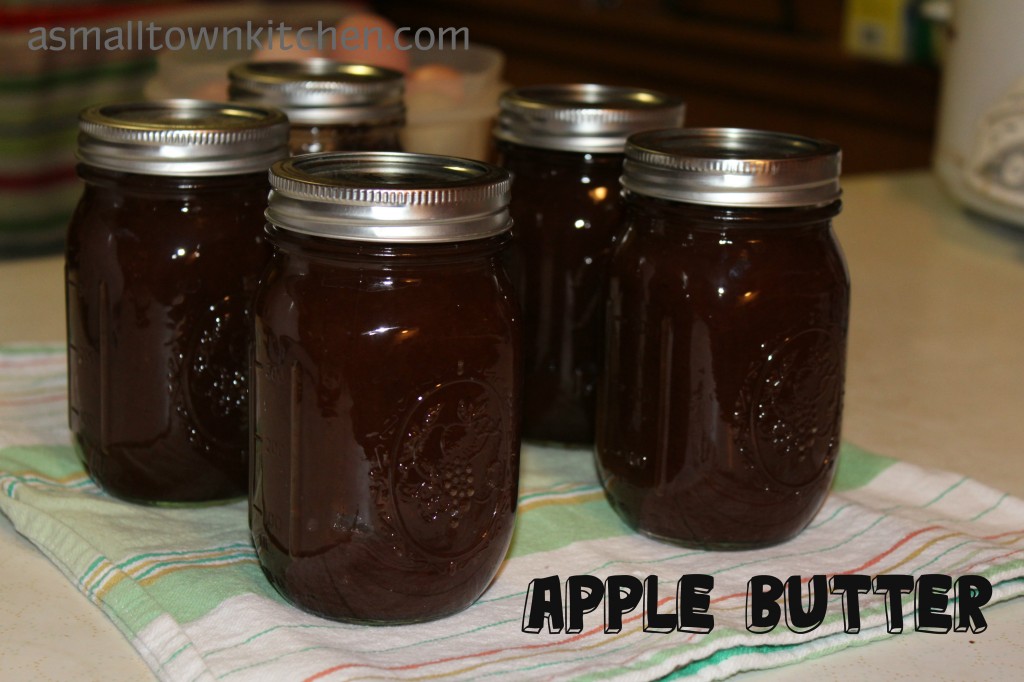
I was able to make 5 pints of apple butter when my crock pot is pretty full to start off with.

I know this was a LONG post and if you are still reading.

Congratulations!

Because now you know all the secrets to this recipe!

Enjoy!

Becky
Older Post You May Enjoy:


Baked Potato Soup                                Apple Crisp                                   Messy Marvins 


Spice Plum Jam

I am back!

I am so sorry that it has taken me a whole month to finally find the time to post a proper post!

A lot has been going on.

The biggest news is that my Baby College Girl got engage! I will do a whole post on it with adorable pictures and all fun we have had picking out her wedding dress and brides maids dresses, shoes, ect ect ect….exciting times!

I also went on vacation for 10 days to Savannah GA., been canning and freezing and dehydrating yummy food, and then before I knew it, it was time for school to start again…and did I mention taking care of chickens….: )

Anywho, do not worry. I took a ton of pictures of everything and I promise to get you all caught on up recipes and fun small town news.

I will start with this Spice Plum Jam recipe.

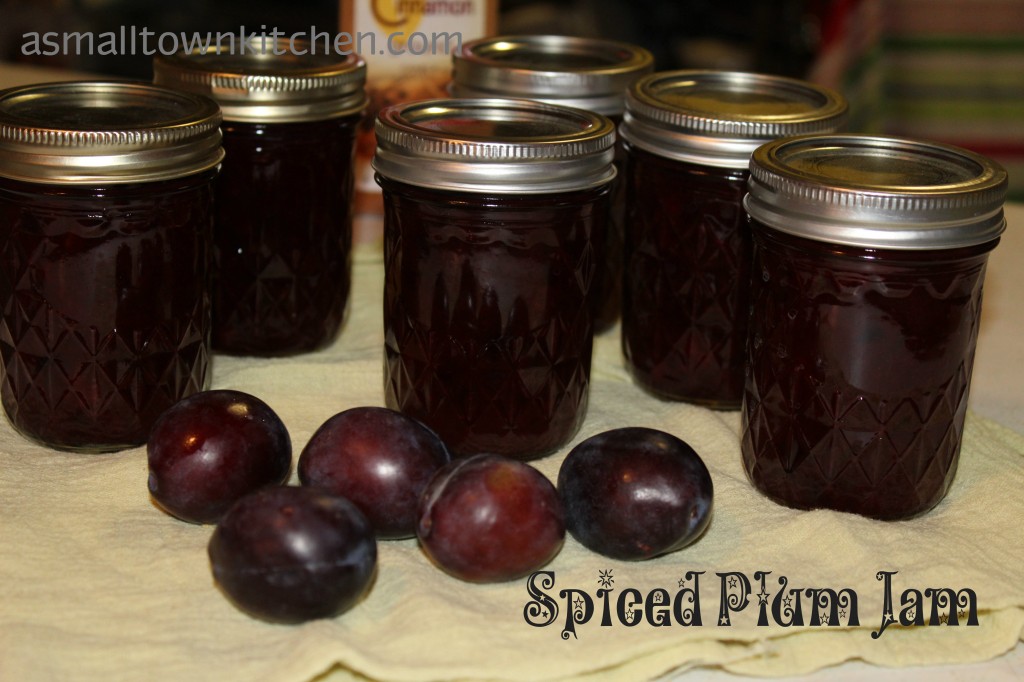
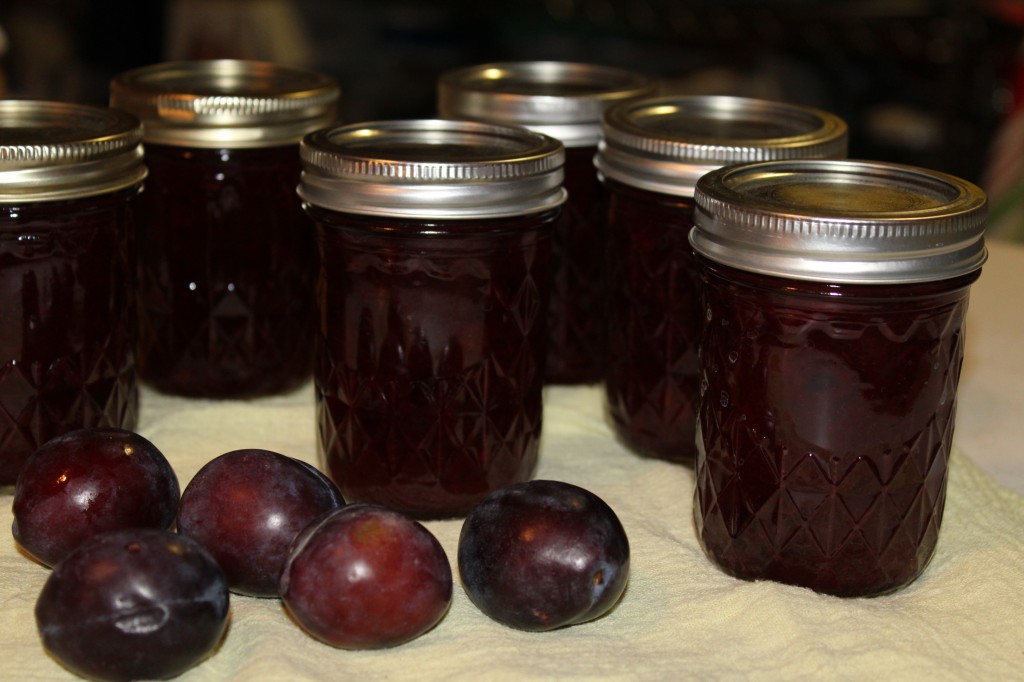
I love love love plum jam. I love the tangy sweetness and the dark red color. Oldest daughter does too. She tried some tonight and told me that it was amazing. It took about a hour and a half to make and I have 6 beautiful jars of jam. I just hope I remember to share. : )

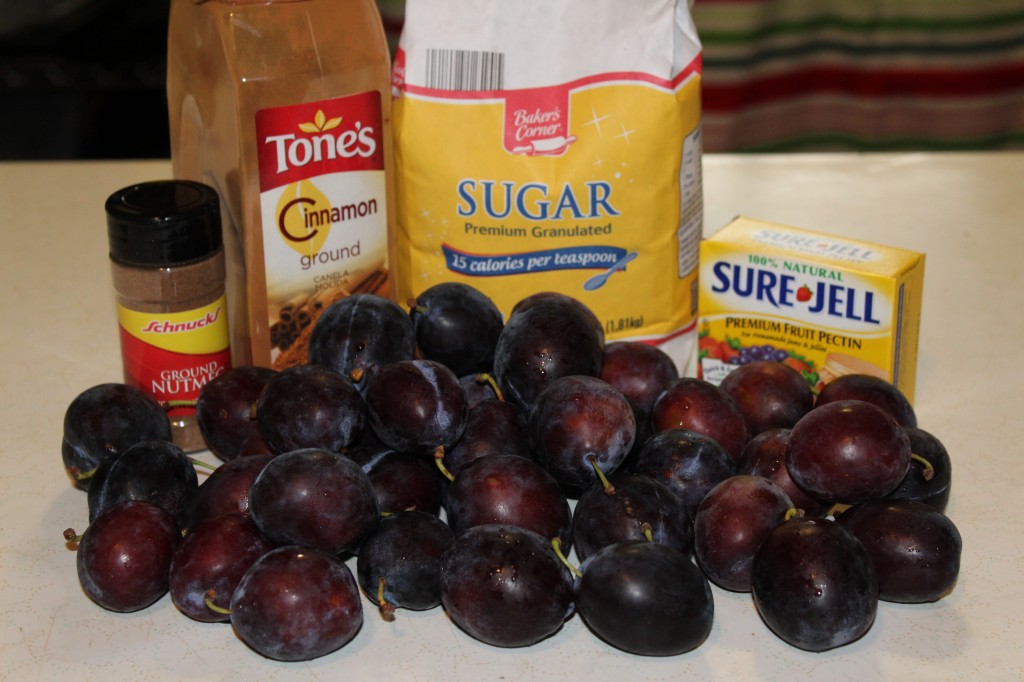
Here is what you need:

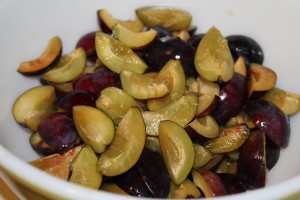
You will need plums, about 2 quarts, nutmeg, cinnamon, sugar and a box of sure jell.


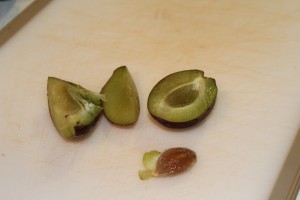
The first thing you need to do is get the fruit ready. There is a small pit in the middle that you will need to cut out.


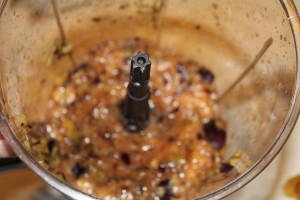
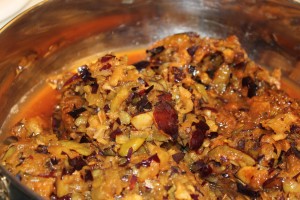
I put the fruit in a blender and pulsed it a few times to chop the plums into smaller pieces. I added 1/2 cup of water to the chopped up plums and boiled the plums for 5 minutes to cook the fruit. AFTER, you cook the fruit you measure out 6 1/2 cup of cooked fruit to make the jam.


Measure out 6 1/2 cup of cooked plums. Add one box of sure jell.


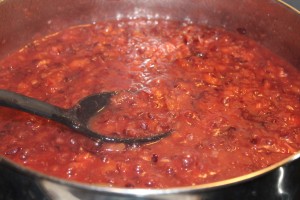
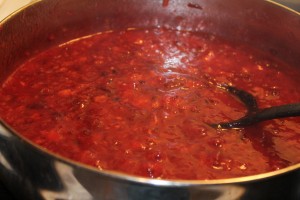
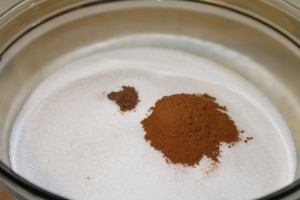
Measure out the sugar, cinnamon and nutmeg into a bowl. Bring the pectin and plums to a boil and boil for one minute. (I always time this.)


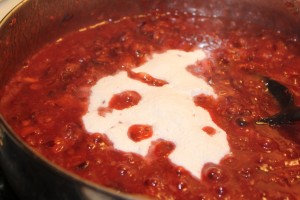
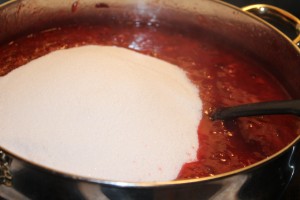
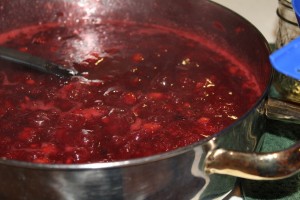
Add in the sugar, cinnamon and nutmeg mixture and stir in. Bring to a full rolling boil. Boil for one minute, stirring constantly. Remove from heat.


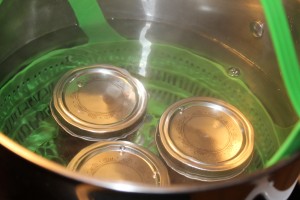
Skim off any foam with a metal spoon. Ladle jam into prepared jars and water bath process for 10 minutes.

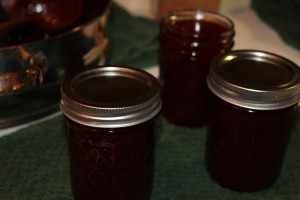
Take the jars out of the canner and place upright on a towel to cool.

Whalla….that is all there is to making “Awesome” Spice Plum Jam.

Here is the recipe:

Spice Plum Jam

Adapted from Sure Jell Plum Jam Recipe

Ingredients:

6 1/2 cup cooked plums

4 1/2 sugar

1 1/2 teaspoon of cinnamon

1/2 teaspoon of nutmeg

Directions:

Using a dry measuring up, measure out the exact amount of fruit.

Stir in 1 package of Sure Jell fruit pectin into prepared fruit.

Bring mixture to a full rolling boil and boil for one minute.

Add sugar, cinnamon and nutmeg to the fruit. Return to a full rolling boil and boil for exactly one minute.

Remove from heat and skim off any foam.

Ladle into prepared jars, filling each to within 1/4 inch of top. Wipe jar rims and threads. Cover with two piece lids.

Place jars in a water bath canner.

Cover and bring water to boil.

Boil for 10 minutes.

Remove jars and place upright on a towel to cool completely.

I think it is time to make some biscuits so I can open up the first jar.

Happy Canning!

Becky

Here is a few more post you might be interesting in reading:


Strawberry Jam                           Vanilla Rhubarb Jam              Cheesy Corn Chowder


Strawberry Jam

A few weeks ago, there was a sale on strawberries at my local organic grocery store. They had reduced the price of their strawberries down to .99 cents for 16 ounces.

Woo…hoo!

It was a great time  to offer a preserving cooking lab for my advanced foods class using fresh strawberries. So, I showed my classes how to make freezer jam. I try not to get on my soap box too often here on the webpage. In saying that, I promise I won’t stand on it for too long. but, I feel that preserving food is an essential lesson for students.

The preserving foods lab lesson offers the students the opportunity to; cut, chop, follow a recipe, measure, and participating in, start to finish, the techniques in taking a fresh food item and turning it into preserved food, such as jam. Last semester, we took pie pumpkins and made; pumpkin seeds, pumpkin puree and lastly pumpkin pies (with home made crust). You can read about the pie pumpkins here.

This semester, my beginning foods class took the remaining pumpkin puree and made these astonishing delicious pumpkin pancakes with home made caramel sauce. (I promise I will post those recipes soon.) It was refreshing to see how many different food items we could make from the pumpkin puree. Now, my classes were making freezer jam.

Here is one box of freezer jam, about to go into the fridge. You can refrigerate freezer jam for up to 3 weeks if you want to use it right away. Since the students were going to make Southern 7 UP biscuits to eat the jam on, we just put the jam in the refrigerator. Students brought their own containers from home to put their jam in. When we were done with the biscuit lab, the students were able to take their left over jam home….that is if there was any left over to take home.

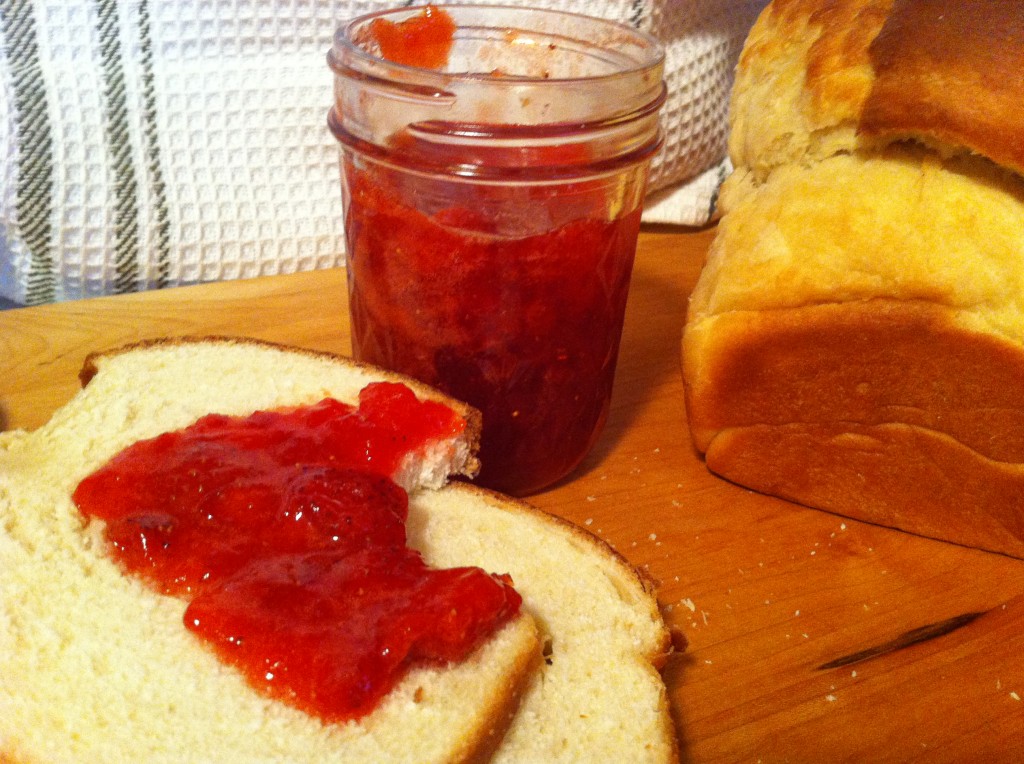
Well anywho, since I was out of freezer room at home, I decided to take my strawberries and make cooked strawberry jam.  I could process the jam in jars and then be able to store the jam in my pantry. In the three weeks or so since I made the jam, I am not sure how many I have left. It is funny how many pieces of toast you can eat when you have fresh jam to slather on top. Not that I know anything about that. : )

Don’t feel you have to wait until it is strawberry season in your area to make some jam. If you are able to find some strawberries that are on sale during the off season, give this basic, simple and delicious strawberry jam recipe a try. Here is what you need.

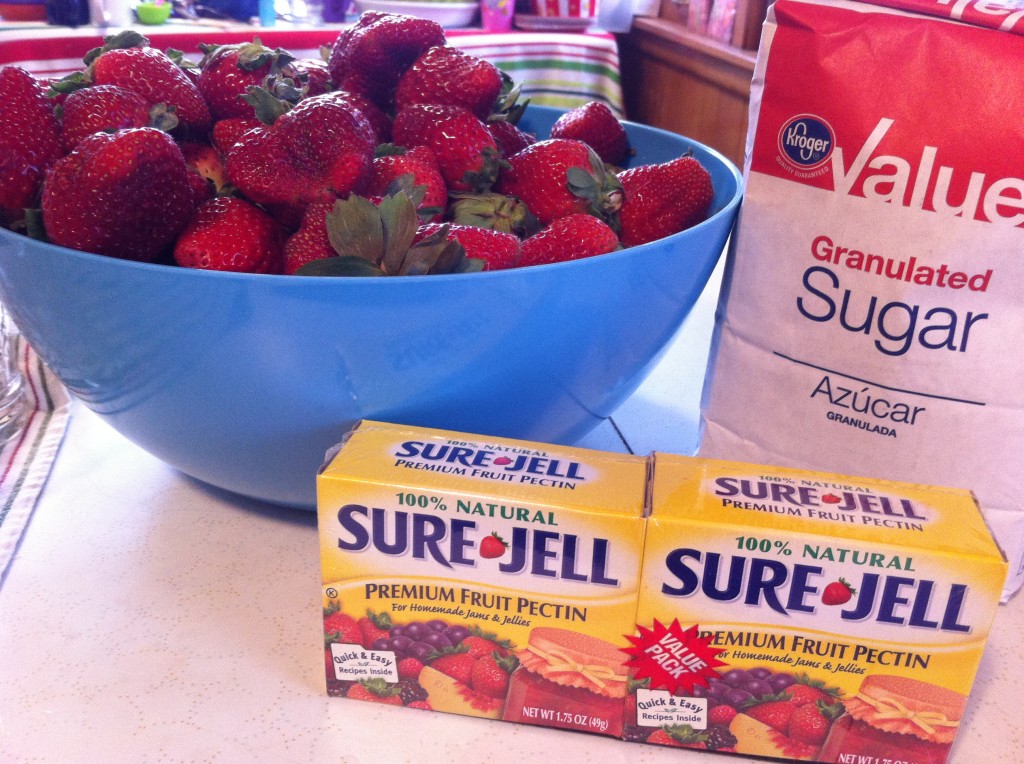
You will need strawberries (of course), sugar, and sure jell fruit pectin

.          

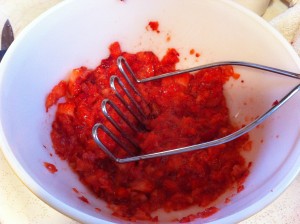
The first thing you do is, cut the green stem off the top of the strawberries and slice up. Take a potato masher and mash the strawberries. Put the strawberries in a large sauce pan.


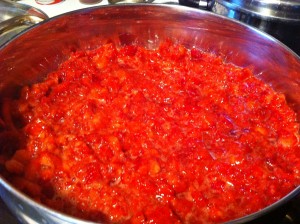
Add in the contents of the box of pectin and cook the strawberries and pectin together until the mixture comes to a FULL boil.


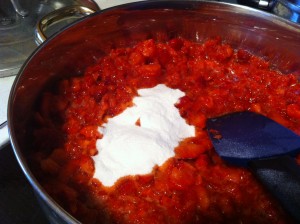
When it comes to a full boil,  quickly add in the sugar and stir. Return the mixture to a full boil.


When the mixture comes to a full boil, boil for ONE minute, stirring constantly.


Ladle the jam into sterilized jars to within 1/8 inch from the top. (you want less air in the jar as possible). Wipe the jar rims and threads. Cover with two piece lids. (screw bands and the flat lids that have the little rubber circle edge).


Screw the bands tightly. Place jars on elevated rack in canner.


Lower rack into the canner. Water must cover jars by 1 to 2 inches. Cover, and bring water to gentle boil. Process for 10 minutes.


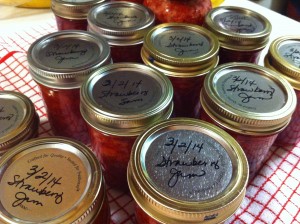
I did not process this jar, as I did not have enough jam to go to the top, so I put it in the refrigerator for us to enjoy now. Let the processed jam stand at room temperature for 24 hours. Store processed jam for up to one year. Be fure to lable the jam with what kind of jam and the date you made it. Refrigerated jam for up to 3 weeks. Note: that jar of jam that went into the refrigerator did not last one week ; )

See, that is all there is to making strawberry jam.

Here is the recipe:

Recipe Adapted from the Sure Jell directions located inside the box of pectin.

Ingredients:

5 cups crushed strawberries

7 cups sugar

1 –1.75 ounce box of Sure Jell

Directions:

1 Bring boiling-water canner, half full with water to a simmer.

2. Sterilize  and wash jars and screw bands with soapy water and rinse with warm water.

3. Pour boiling water over the lids and let stand until you are ready to use them.

4. Measure exact amount of crushed strawberries into a 6 to 8 quart sauce pan.

5. PRE MEASURE the sugar into a seperate bowl, so you will have it ready to add to the strawberries when the time comes.

6. Add the contents of the box of pectin into the crushed strawberries and stir.

7. Bring the strawberry and pectin mixture to a FULL rolling boil, stirring constantly.

8. Quickly add in the premeasured sugar.

9. Return the strawberry, pectin and sugar mixture to a FULL roiling boil. Boil for exactly ONE minute.

10. Ladle the hot jam into the jars. Fill the jars, 1/8 inch from the top. Wipe the rim and threads of jar clean of any spilled jam.

11.  Put a lid on the top of the jar and then screw on the band, tightly.

12.  Put the jars of jam in a elevated rack in the canner. Lower the jars into the canner.

13.  Boil,the jars (making sure there is 1 to 2 inches of water over the top of the jars) for 10 minutes.

14. Take the jars out of the canner and let sit at room temperature for 24 hours. You should start hearing the lids pop as the jam cools, forming a airtight seal.

Now all you have to do is find an excuse to try some.

Enjoy!

Becky
Other post you may enjoy:


Brown Sugar Meatloaf                               Molasses Cookies                       Poppy Seed Bread with Glaze

Blackberry Jam

I love me some blackberry jam!

When I went blackberry pickin a few weeks ago with my retired teacher friends, I was able to pick around 8 pounds of blackberries.

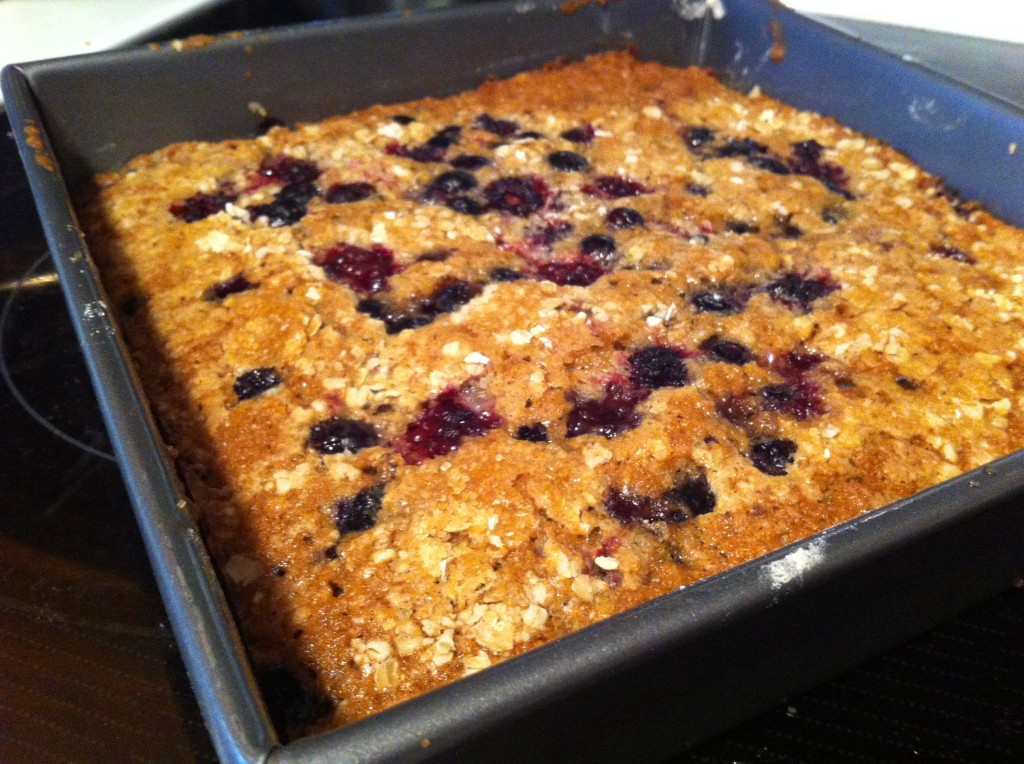
I used some blackberries to make this super yummy oatcake with blue berries and blackberries. You can find the recipe here.

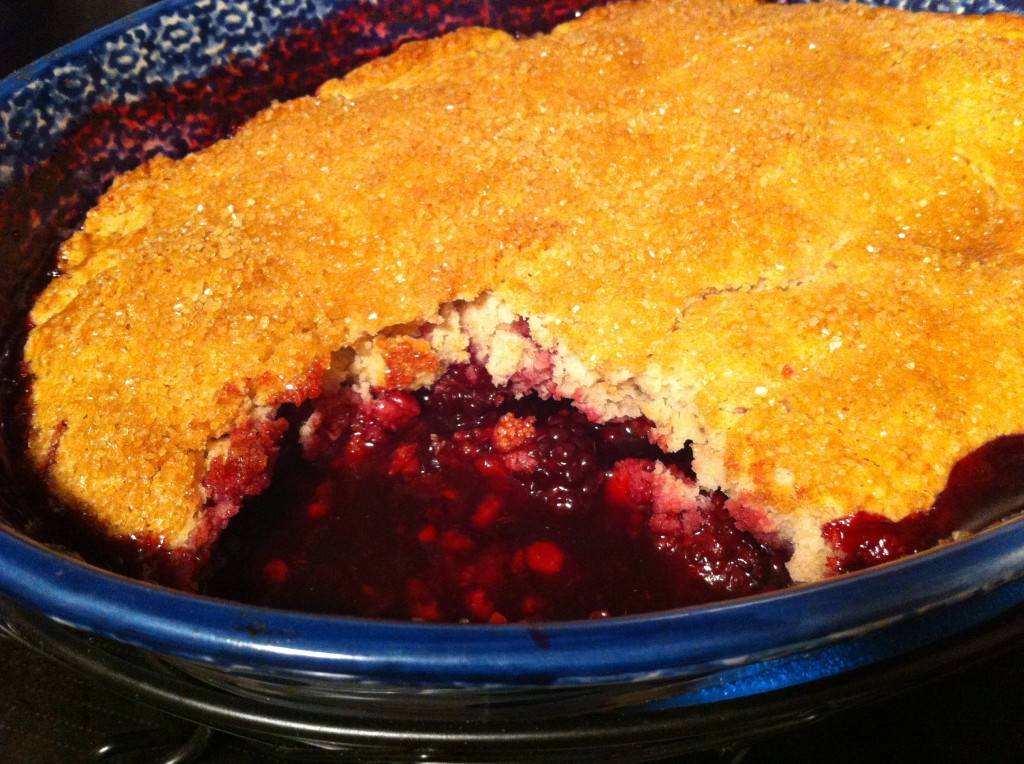
I also made this blackberry cobbler when Company came over. You can find the recipe here.

I had just enough blackberries left over to make a batch of blackberry jam.

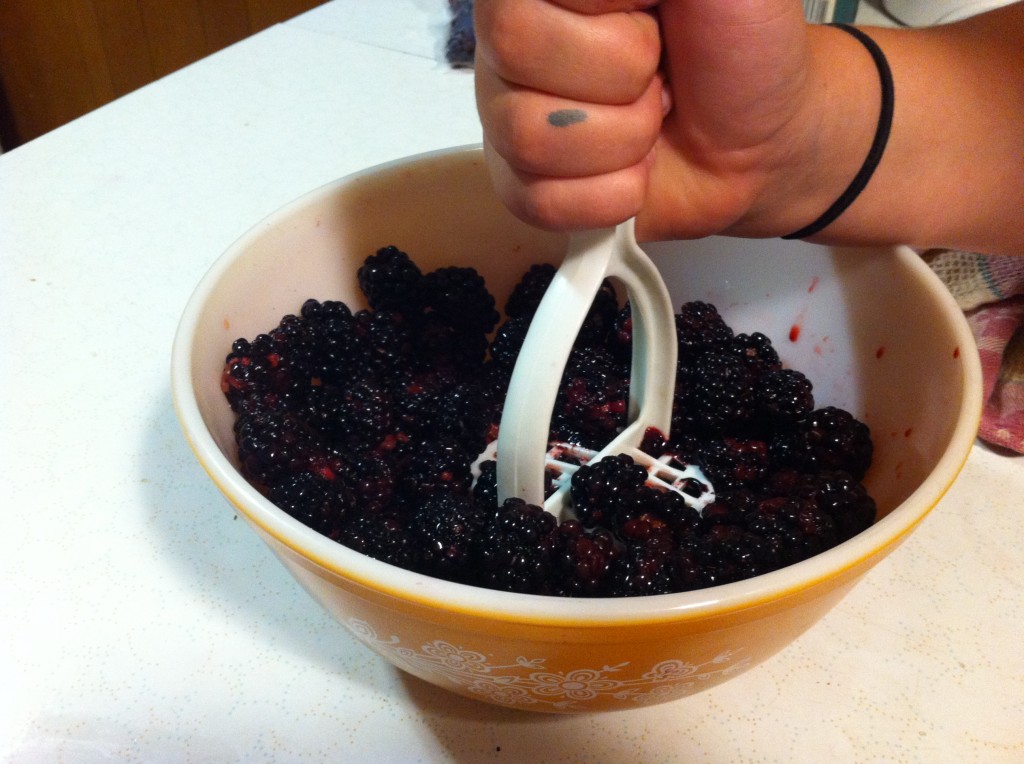
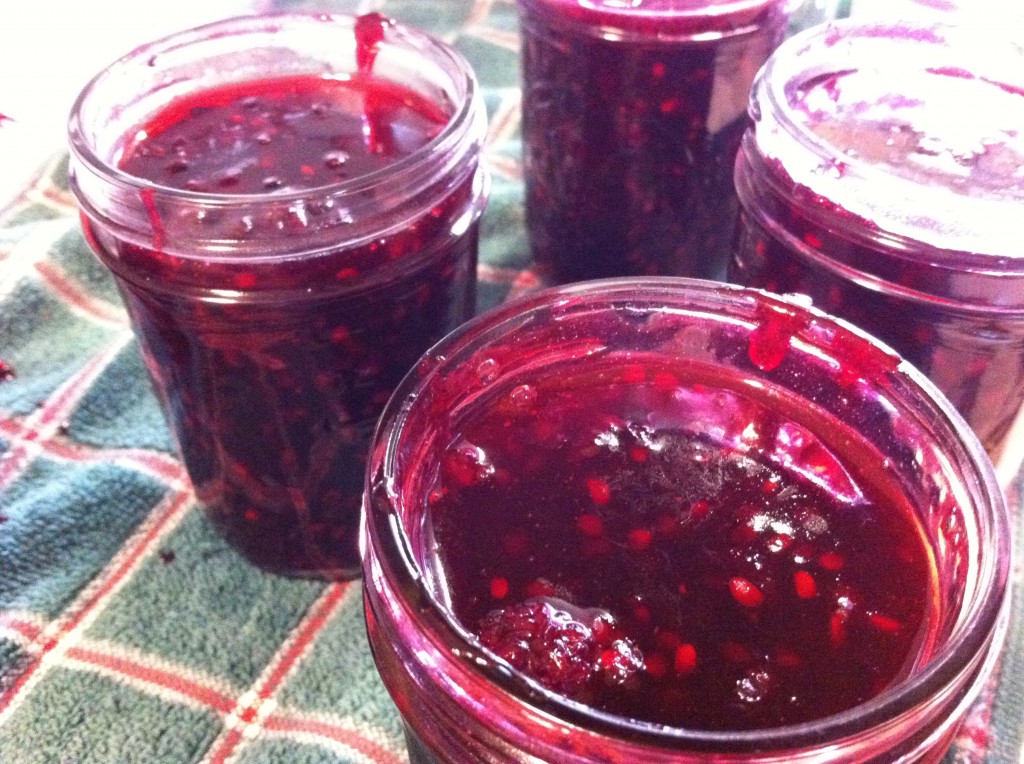
Jam is not that hard to make. You can tell from the above picture I had oldest grand girl helping me mash the berries first a little to get the juice out.

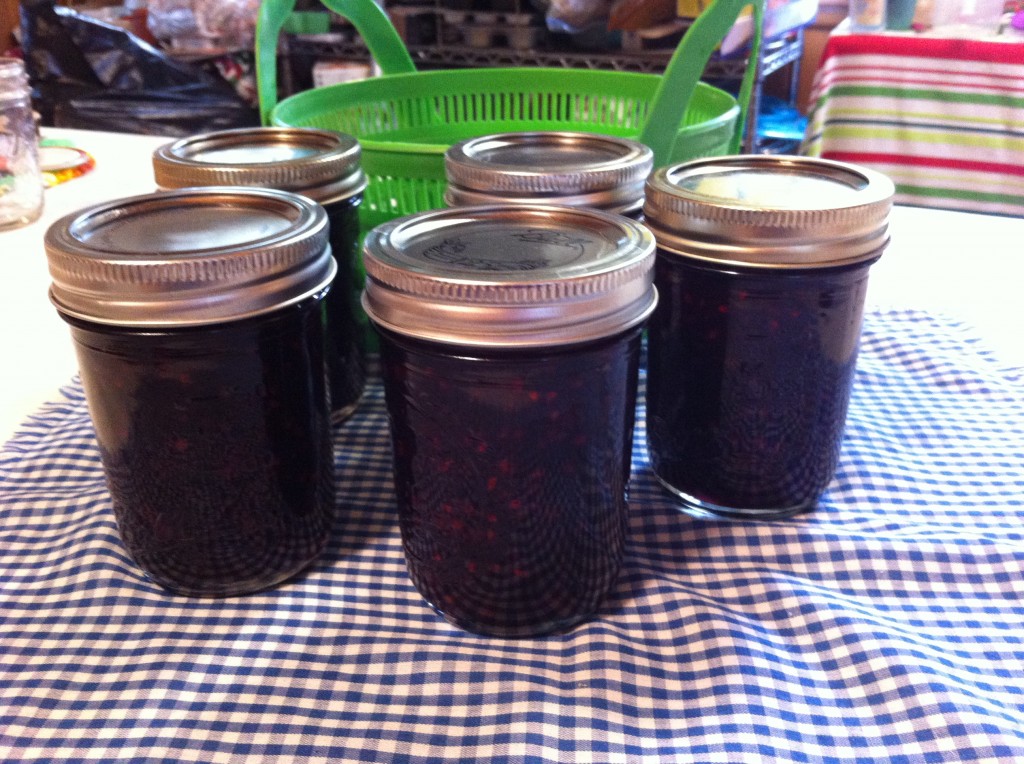
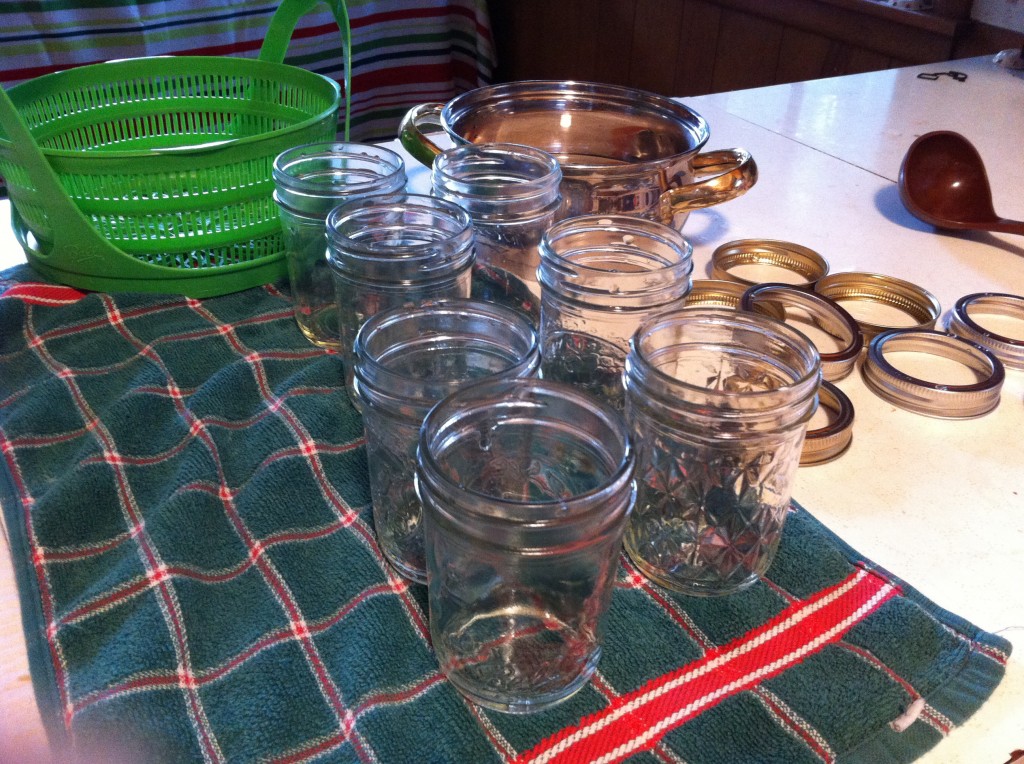
First thing I do is get my jars washed and sterilized. After that, I put them on a tea towel, along with the rings. I keep the lids hot by keeping them in hot water in a pan behind the jars.

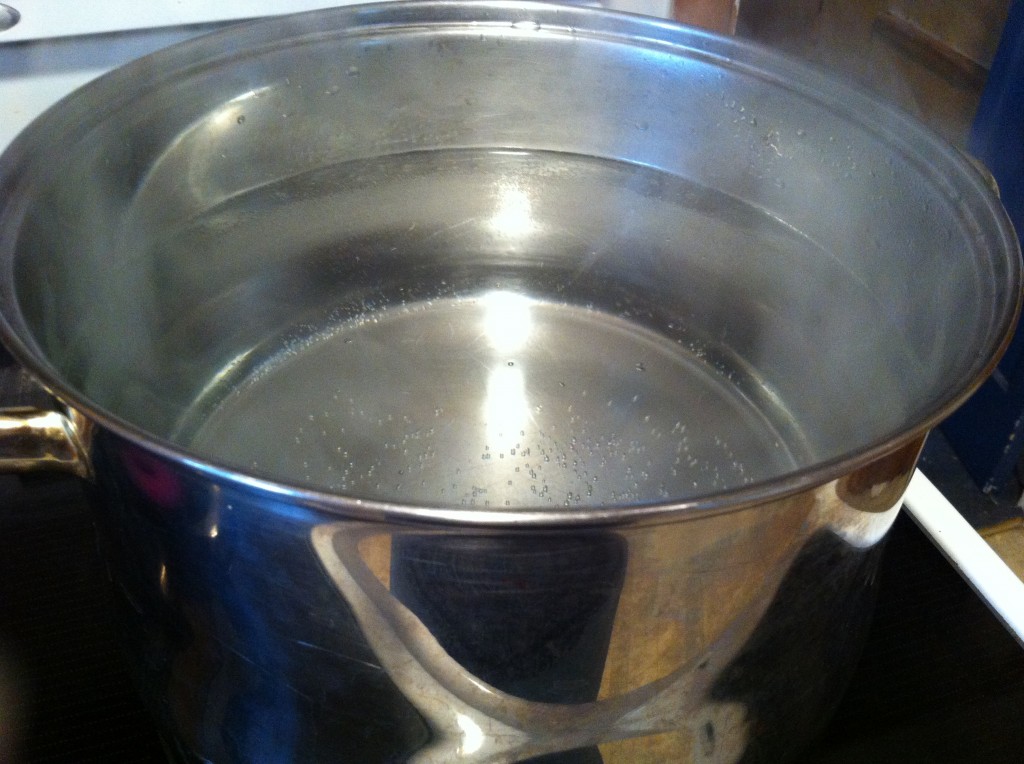
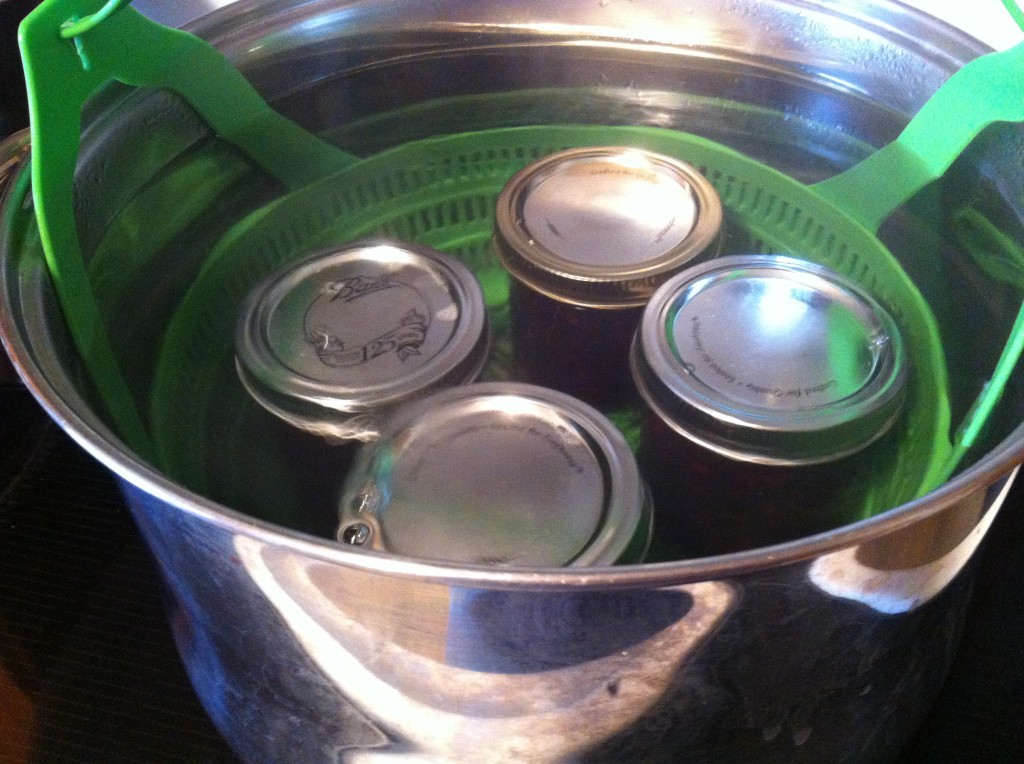
I fill a stock pot with water and bring it to a boil to do a 10 minute water bath processing after the jars are filled.

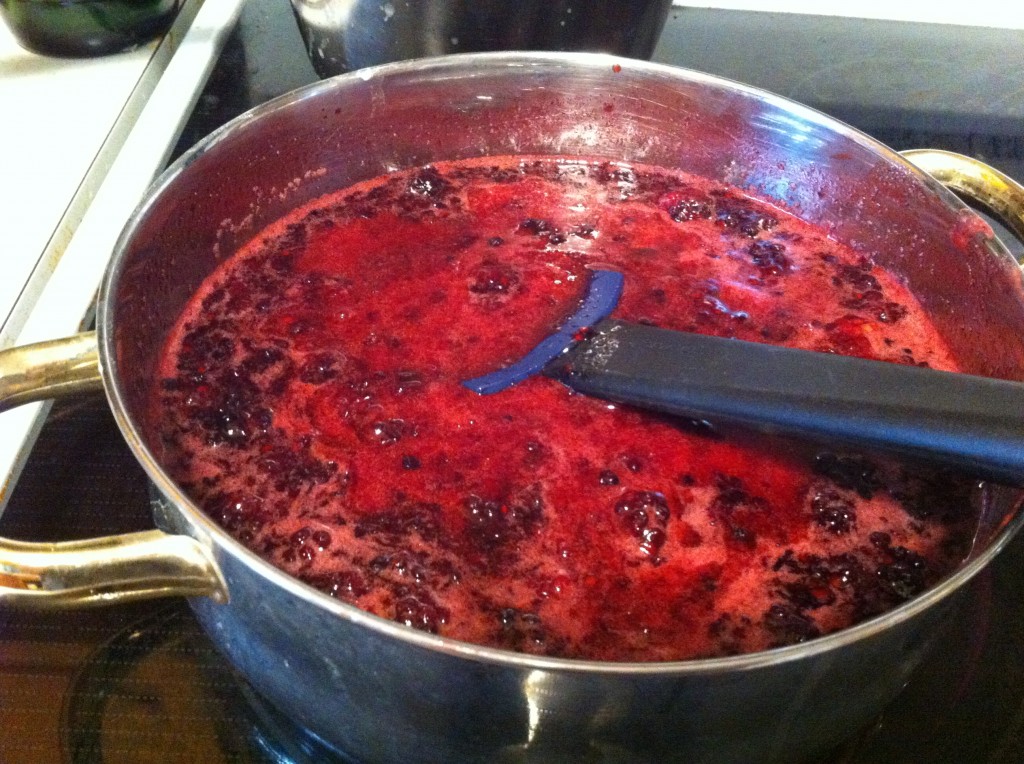
Now, it is time to get the jam started. For this batch of jam, I just used the recipe included in the sure jell pectin box. In a large pan you take crushed blackberries with a small amount of sugar and the pectin and bring to a full rolling boil. Next, you add in the rest of the sugar and bring it back to a boil.

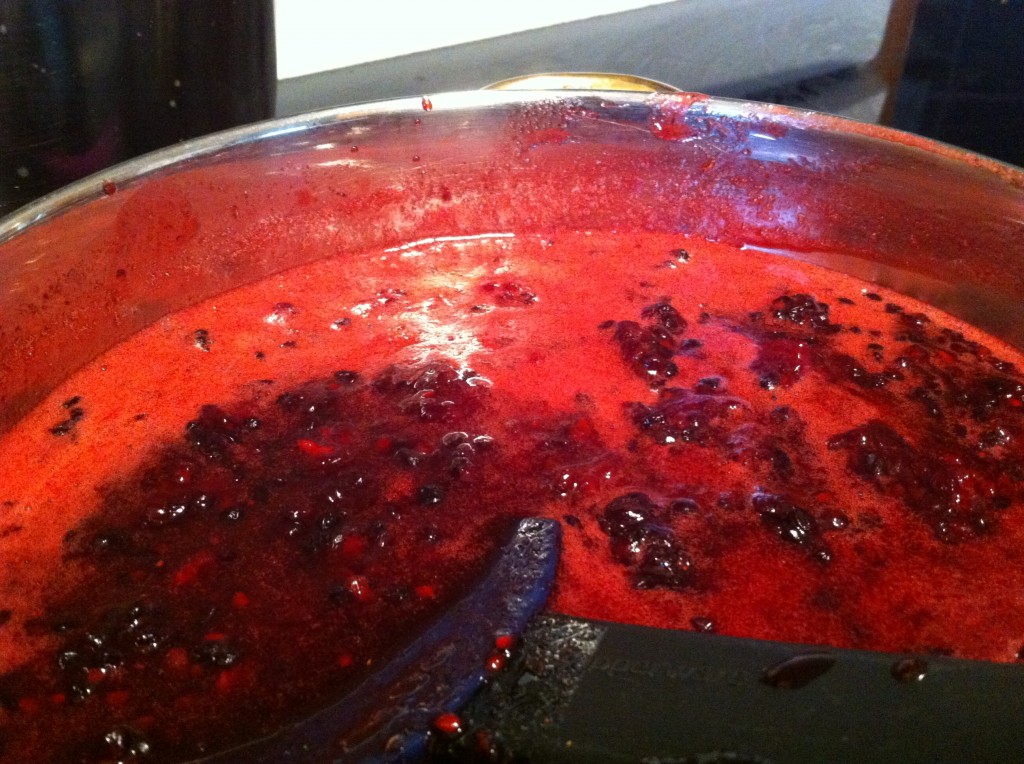
Bring the jam back to a boil and boil for a full one minute. You can see the foam start to build up on top of the boiling jam. Some cooks add in a 1/2 teaspoon of butter to reduce foaming. It is a personal choice.

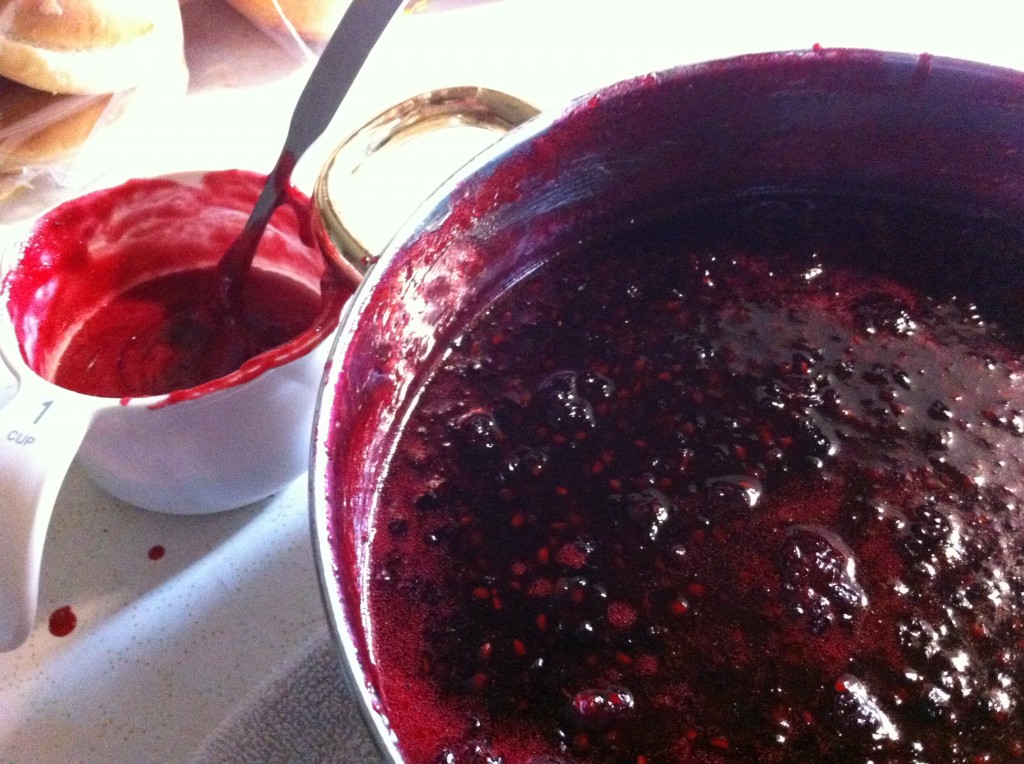
I usually just scoop off the foam and put it into a cup

Next, ladle in the hot jam into the hot jars. Be sure and wipe the top of each jar clean before you put the lids on.  You want to fill each jar with jam to about 1/4 inch from the top.

After  you get the lids and rings screwed on, put the jars in boiling water for 10 minutes.

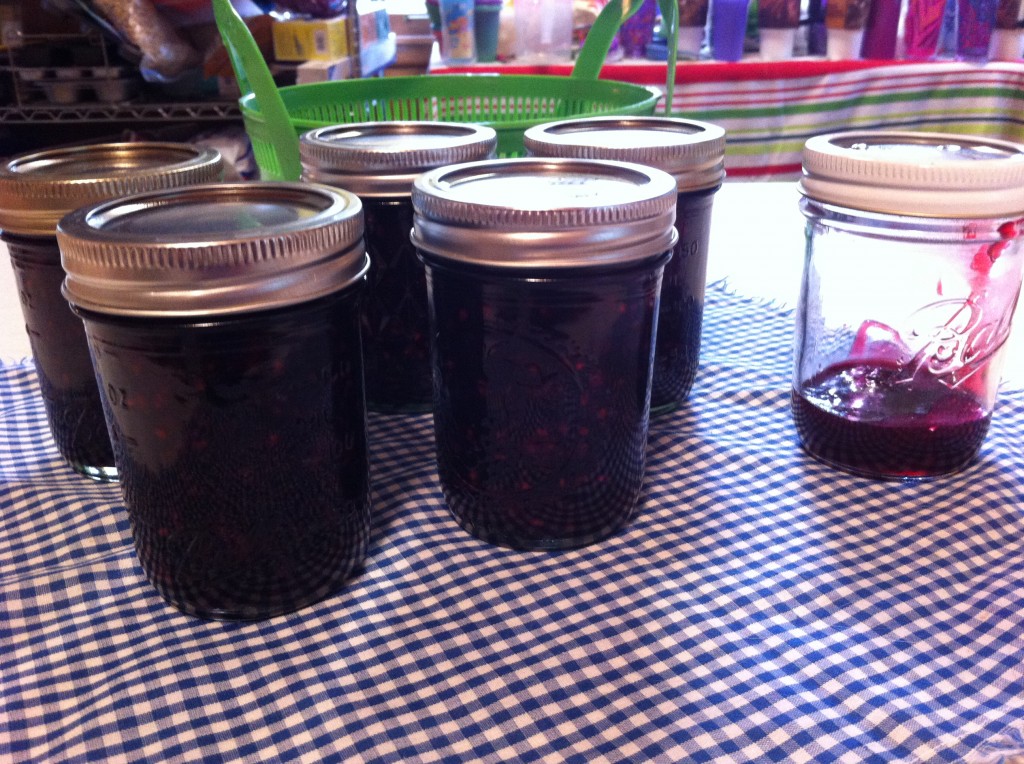
Remove jars from boiling water and let cool on a kitchen towel. That little bit, in that jar I had left over, it went into the refrigerator.

We have since ate it….

See how easy making jam it : )

Now, we just need some warm biscuits.

Anywho, blackberry season is over here in mid Missouri, but if you have some berries you picked in your freezer or just want to buy some fresh berries at the store, you can make blackberry jam year round.

Here is the recipe

Blackberry Jam

Adapted from the  Sure Jell recipe

Ingredients:

5 cups crushed berries

4 cups sugar

1 box (1.75 ounce) of pectin. I used Sure Jell for this recipe

Directions:

In a large pot or canner, bring pot half full of boiling water

Wash and sterilize jars and rings. Pour boiling water over the lids and keep hot in the water.

Crush 5 cups of berries with a potato masher. Do not puree.

Measure out 5 cups of crushed berries, 1 box of pectin and 1/4 cup of sugar. Put the sugar, pectin and berry mixture into large sauce pan and bring to a boil.

Add the rest of the sugar into the boiling berry mixture.

Bring to a boil and boil for one minute at a full rolling boil.

Remove from heat. If you have foam on top of your jam you can just skim it off with a spoon.

Ladle the hot jam into prepared jars.

Wipe top of jars clean.

Place lids on and rings. Screw the rings on with out making them overly tight.

Place jars of jam into canner (make sure you use some sort of rack, I used my little ball green canner basket) and process with boiling water for 10 minutes.

Remove jars from boiling water and cool on a towel.

Make sure all lids make that “pop” sound or run your finger over the top to make sure the lids have sealed.

Keep at room temperature for 24 hours.

The hardest part is keeping  your spoon out of the jars as you sample it….

Let me know how you do!!

Enjoy!

Becky
 

Here is another jam recipe you might enjoy making:
Vanilla Rhubarb Jam


Related Posts Plugin for WordPress, Blogger...