Creamy Cherry Salad

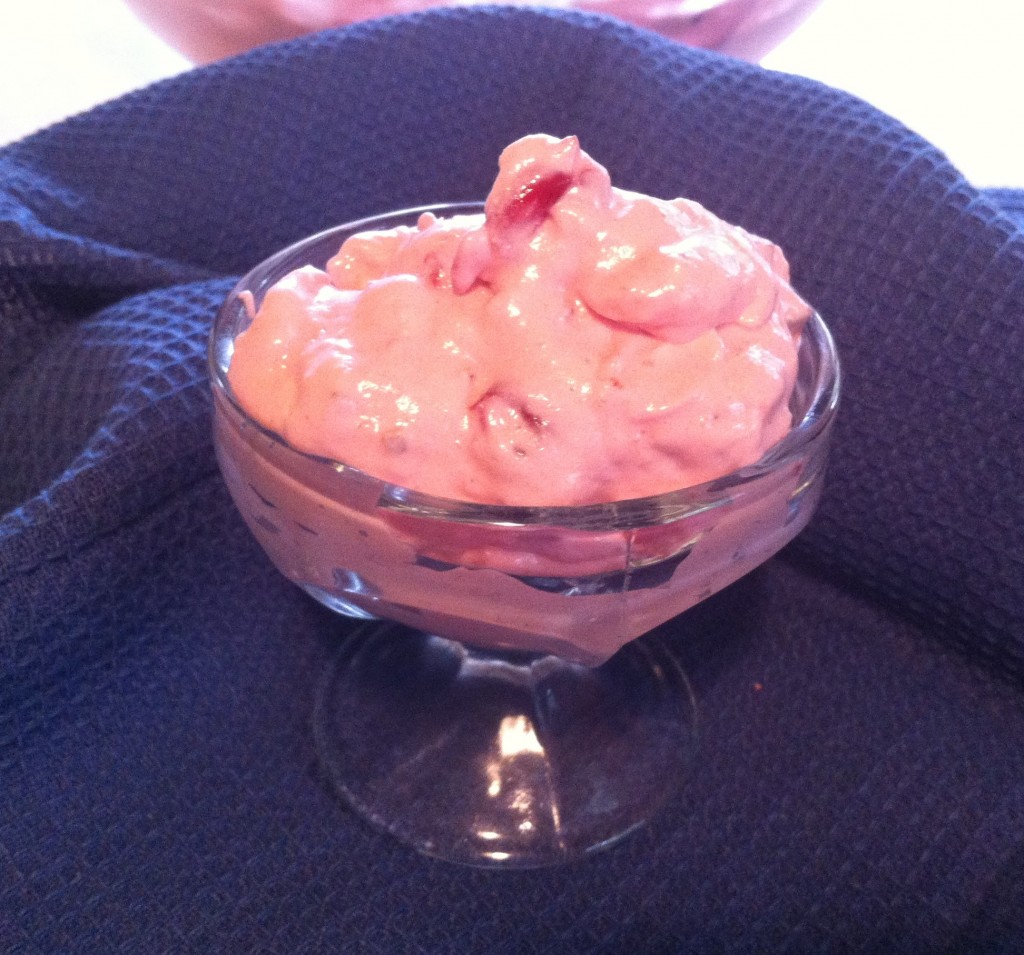
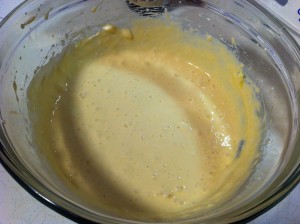
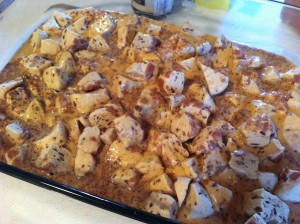
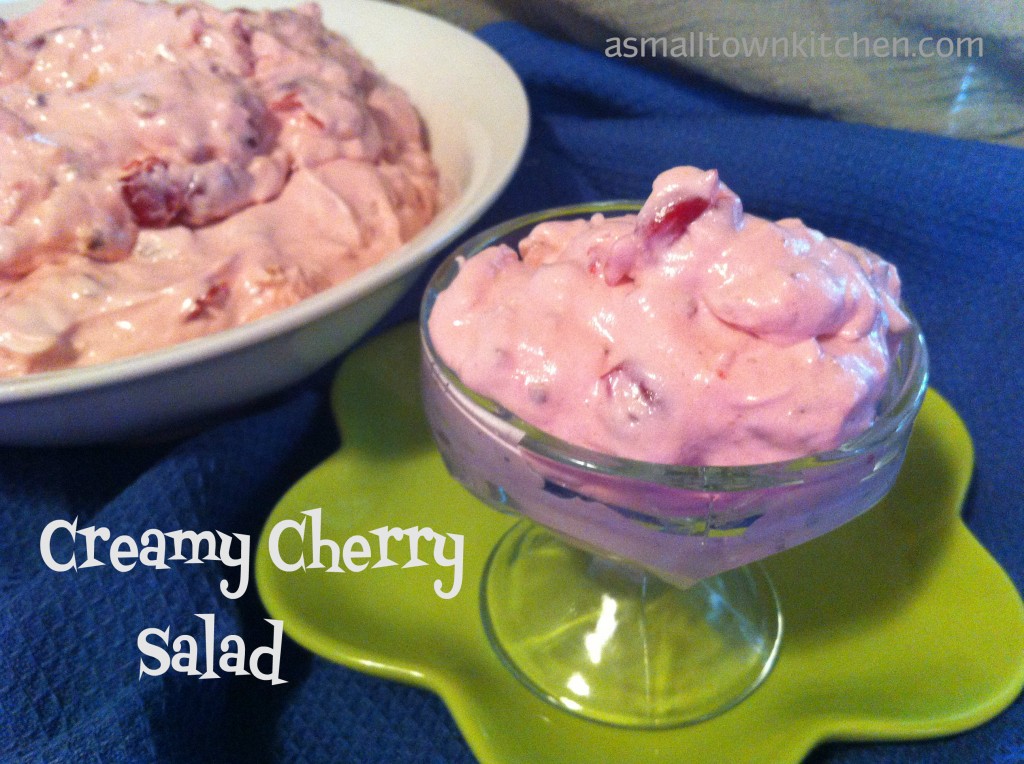
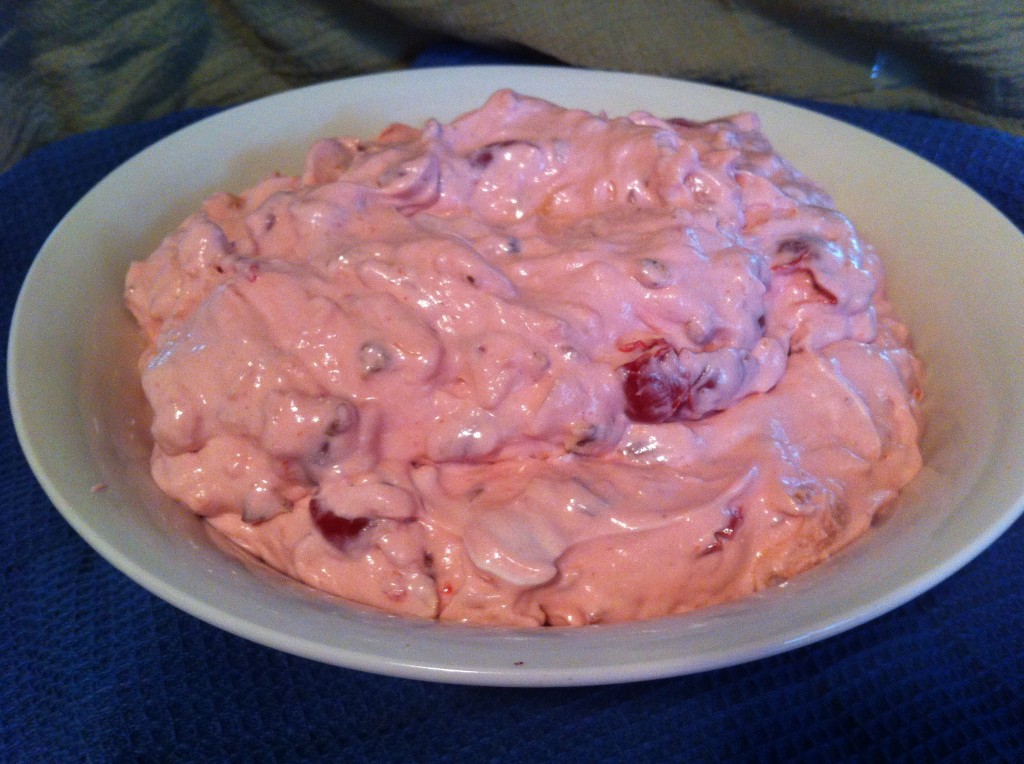
Does this picture want to make you run to the kitchen and get a spoon and take a big bite?

I hope it does!

We celebrated my Dad’s 96th birthday last Saturday. (His real birthday was on Memorial Day) I was making a bunch of things to go with the Tickle Your Ribs BBQ that my Little Brother is famous for. (well…famous in our family anyway!) Saturday, he fought the rain all day to grill pork steaks and pulled pork, drenched in his home made bbq sauce. YUMMY! I was looking for extra special recipes to make to compliment all his hard work on his grill.

I had been eyeing this Creamy Cherry Salad recipe for a long time. I have been saving the recipe for months waiting for a special dinner to make it. Dad’s birthday seemed like the perfect time! I had all the ingredients to make it too, except the sour cream (the one container I found had expired, poo). Super Hero son came to my rescue and went to the store to pick up the sour cream. In no time at all I had this beautiful salad made! You just open some containers, chop up some pecans, throw it all in a bowl and stir.

Easy Peasy Nice and Easy! (and delicious)

With the beautiful pink color and the pop of red from the cherries, it would be a perfect for Memorial Day, 4th of July or a Christmas dinner. (and any other time you want to indulge yourself)

Anywho, I took this dish and Niener Wiener wanted the recipe right away. (her DAR group theme is cherries this year and she wants to make it for their next carry in dinner, woohoo success!). I also made home style fresh green beans, that the grand girls helped me snap, Smokestack Baked Beans (recipe coming soon, Deviled Eggs and Strawberry Spinach Salad.

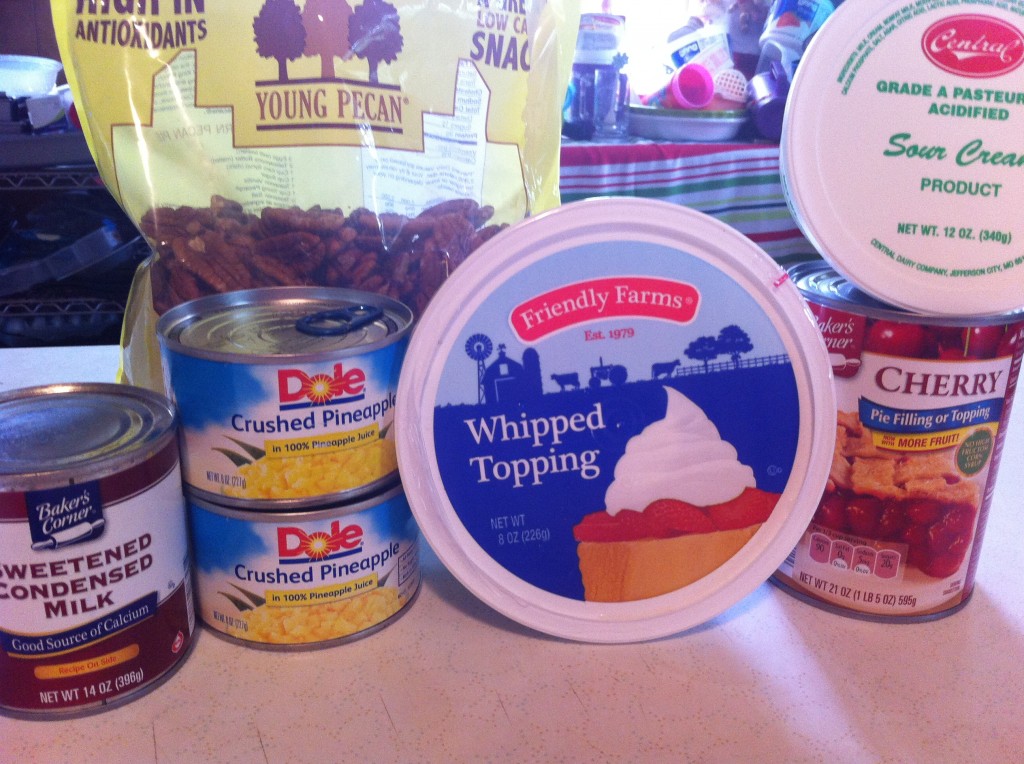
Here is all you need to make this quick and yummy recipe:

You will need one can of sweetened condensed milk, chopped pecans, 1 regular size can crushed pineapple, drained, (I  had to use to small cans because that is what I had on hand) some sour cream, 1 container cool whip and one can of cherry pie filling.


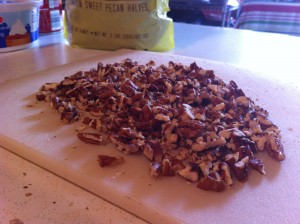
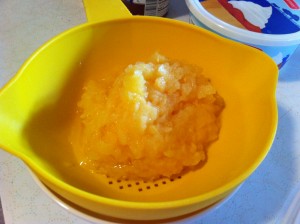
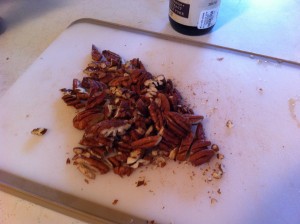
First thing I did was chop my pecans and drained the pineapple. (I saved the juice for the grand girls)


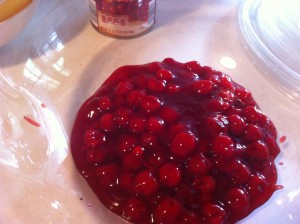
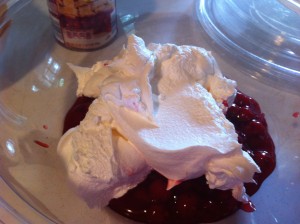
In a large bowl, (I was taking this to my dad’s birthday party, so I was using a clear plastic bowl that had a snap on lid for travel) add the can of cherry pie filling and the cool whip.


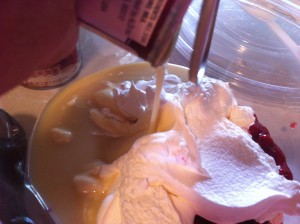
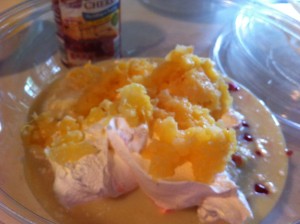
Pour in the whole can of sweetened condensed milk. Add the drained crushed pineapple.


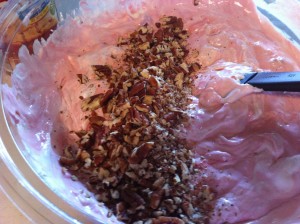
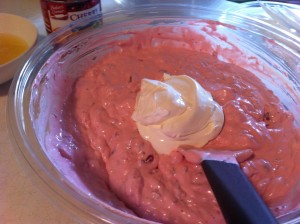
Add in the chopped pecans. Finally stir in the sour cream.

And then LOW and BEHOLD….you have a beautiful and deliciously creamy and yummy salad that looks like this….

Are you ready to grab a spoon now?

Here is your recipe:

Creamy Cherry Salad

Adapted from old Silver Dollar City Recipe Cookbook

Ingredients:

1 (20 ounce) can cherry pie filling 1 cup chopped pecans

1 (9 ounce) container of cool whip

1 (20 ounce) can crushed pineapple, drained well

1 cup sour cream

1 can sweetened condensed milk

Directions:

In a large serving bowl, blend all ingredients together. Chill until firm. Serves 10 to 15.

Enjoy!

Becky

Other post you may enjoy!


Vanilla Rhubarb Jam     Strawberry Pretzel Salad (coming soon)    Frozen Fluffy Strawberry Pie
 

Cherry Pie Bars

My little brother’s birthday was a couple of weeks ago.

I love a great birthday party!

Especially one, with BBQ ribs and chicken.

And, birthday boy was doing all the cooking.

Little Brother was celebrating his birthday by BBQing his famous ribs and chicken and inviting Me and Company over for dinner.

All I needed to do was bring a dessert.

The big problem I had was that my little brother does not eat many sweets.  That is probably why he has kept his girlish figure…: ) He does love coconut cream pie and banana cream pie and peanut m and m’s. I just did not have a ton of time to go to the store and make the pie I really wanted to make for him. So, I settled for a dessert that I already had all the ingredients for, it could bake while I was getting ready to go and it travels great.

Did I mention that it is pretty to look at too.

And, most importantly, it taste great too.

The crust is tender, it is not too sweet and if you serve it warm, a big scoop of ice cream goes perfect on top.

So Anywho, if you are looking for a pretty dessert to take to a bbq or picnic, I really recommend this one.

Just make sure you leave a piece for you at home, cause there will not be any left overs.

Here is what you need to make Cherry Pie Bars.

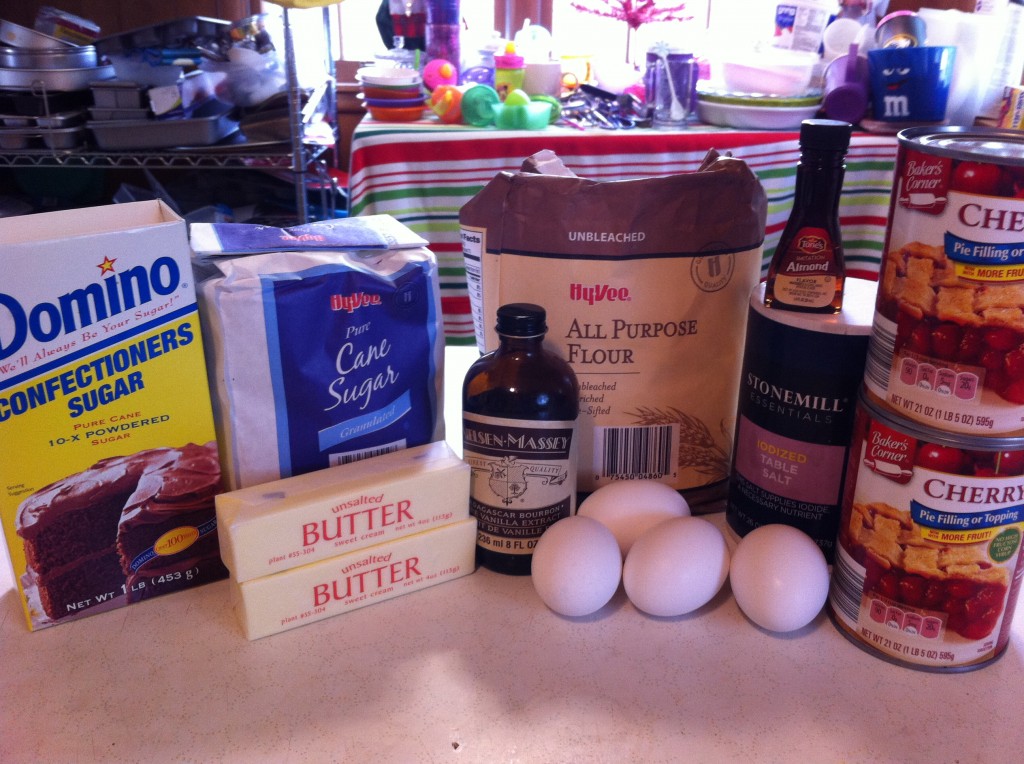
You will need some eggs, butter, vanilla, flour, powdered sugar, salt, almond extract and canned cherry pie filling. It calls for one big can, (which I did not have) so I used 2 smaller cans and it was the perfect amount.


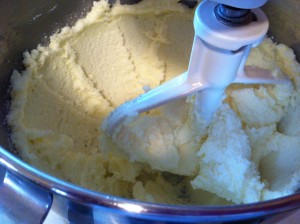
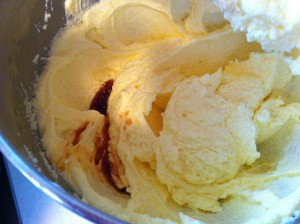
First thing you do is cream the butter and sugar together in a large mixing bowl with a mixer. I used my stand mixer.


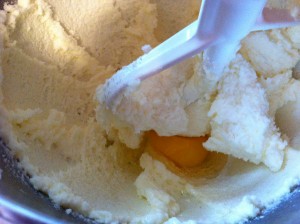
Next, add in the eggs, one at a time, beating the each egg in before adding the next one.


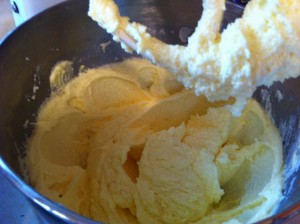
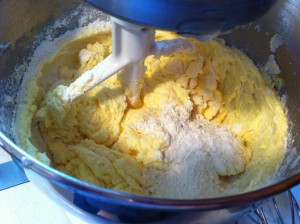
Add in the vanilla and almond extract. Lastly mix in the flour and salt. Now  you have the crust part all done.


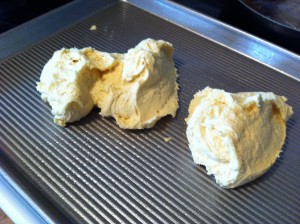
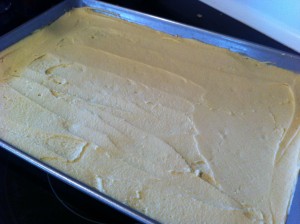
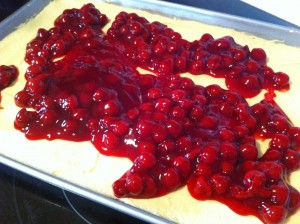
Scoop half of the crust onto a greased 9by 13 baking dish. (I used my jelly roll pan). Spread the crust out evenly on the bottom of the pan.


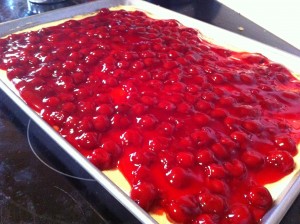
Cover the crust with the pie filling. Spread it out evenly on the crust.


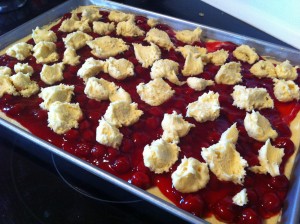
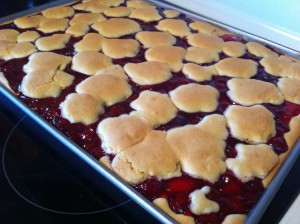
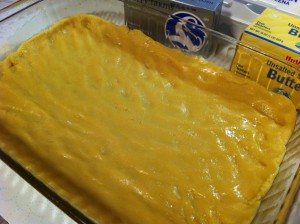
With the left over crust, with a teaspoon, drop teaspoonful’s on top of the cherry pie filling. It looks and taste better if you try to evenly drop the crust. Now, pop the bars into a preheated 350 degree oven and bake for about 30 to 35 minutes.


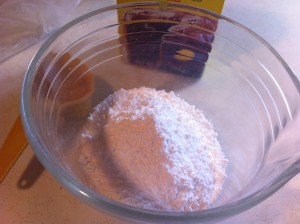
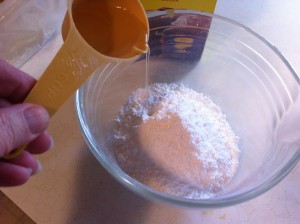
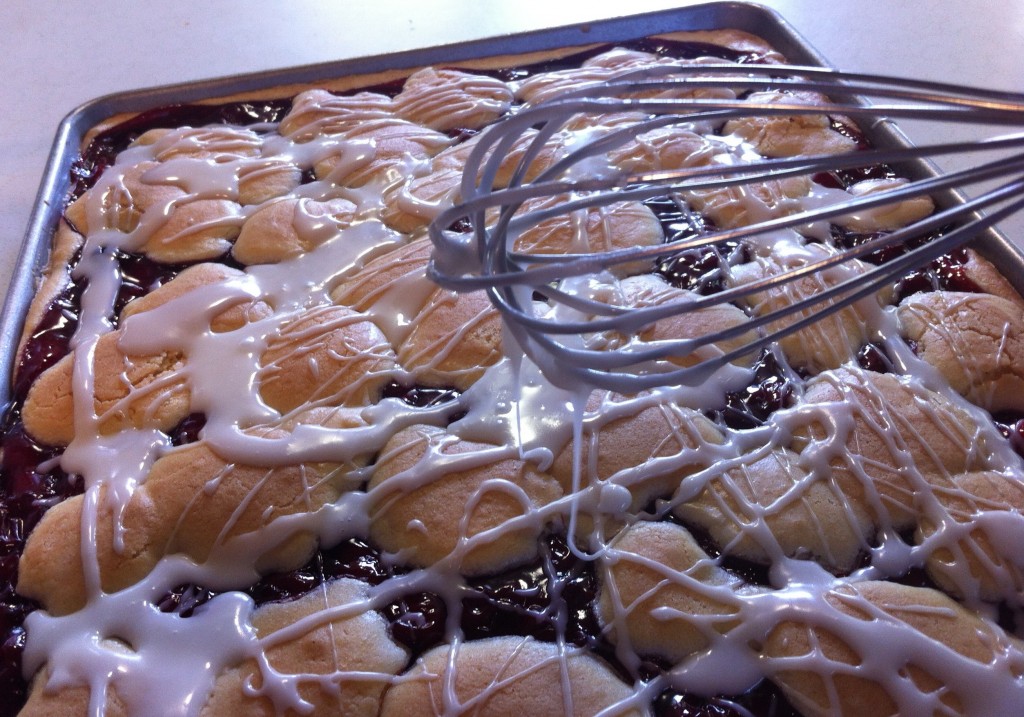
While the cherry pie bars are baking make your glaze. In a medium bowl, whisk together the powdered sugar and water.


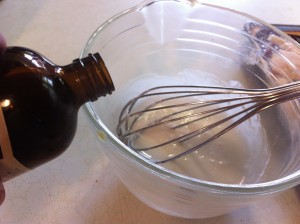
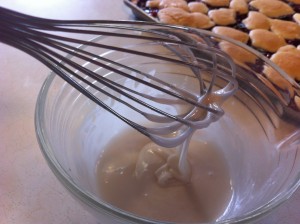
Whisk in the vanilla and almond extract. Whisk together until you do not have any lumps.

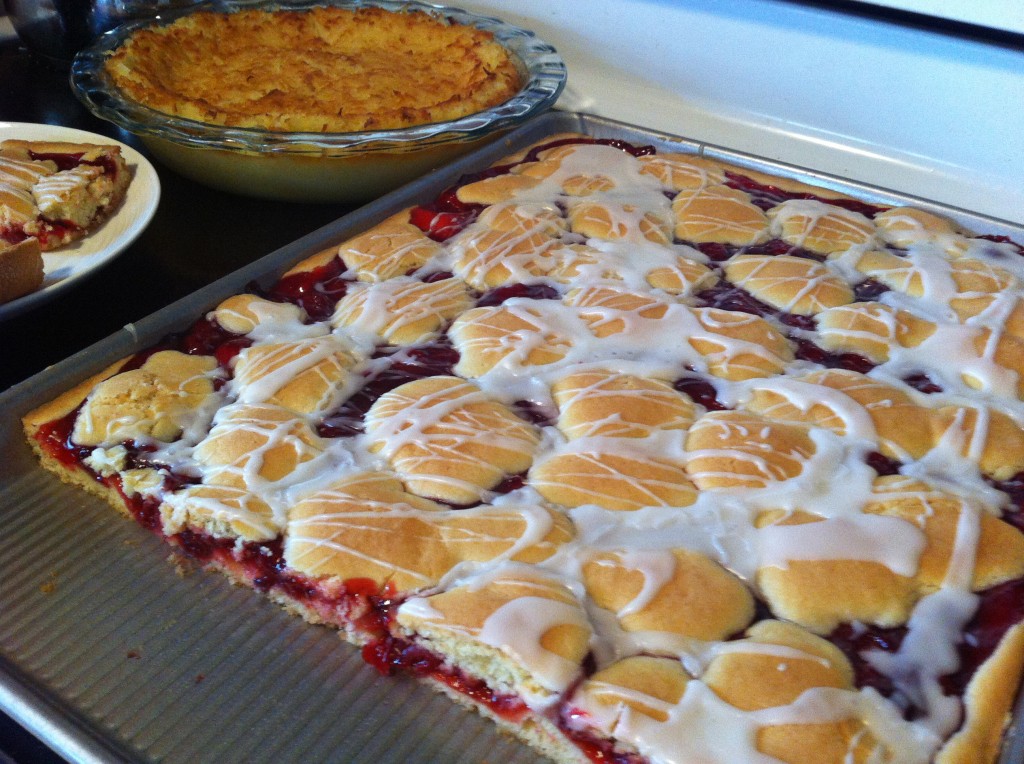
After the bars are baked and cooled, drizzle the glaze over the cherry pie bars. The glaze really adds a finishing touch!

Memorial Day is this weekend and this would be the perfect dessert to bake, take and share.

Here is the recipe:

Cherry Pie Bars

Adapted from Taste of Home

Ingredients:

1 cup soften butter

2 cups sugar

4 eggs

1 teaspoon vanilla

1/4 teaspoon almond extract

3 cups flour

1 teaspoon salt

1 can (21 ounce) cherry pie filling

Glaze

1 cup powdered sugar

1 teaspoon vanilla

1/2 teaspoon almond extract

2 teaspoon water or milk

Directions:

Grease a 9 by 13 baking sheet. Preheat oven to 350 degrees.

In a large bowl using a mixer, cream together the butter and sugar. Add the eggs, one at a time. Mix in the vanilla and the almond extract. Add in the flour and salt. Divide the dough in half. Press half of the dough evenly on the bottom of the greased baking sheet. Evenly spread the cherry pie filling over the dough. With a spoon, drop spoonfuls of dough evenly across the top of the cherry pie filling. Bake in the oven for about 30 to 35 minutes. Cool completely. Whisk together the ingredients for the glaze and drizzle evenly (this is the fun part) over the top of bars.

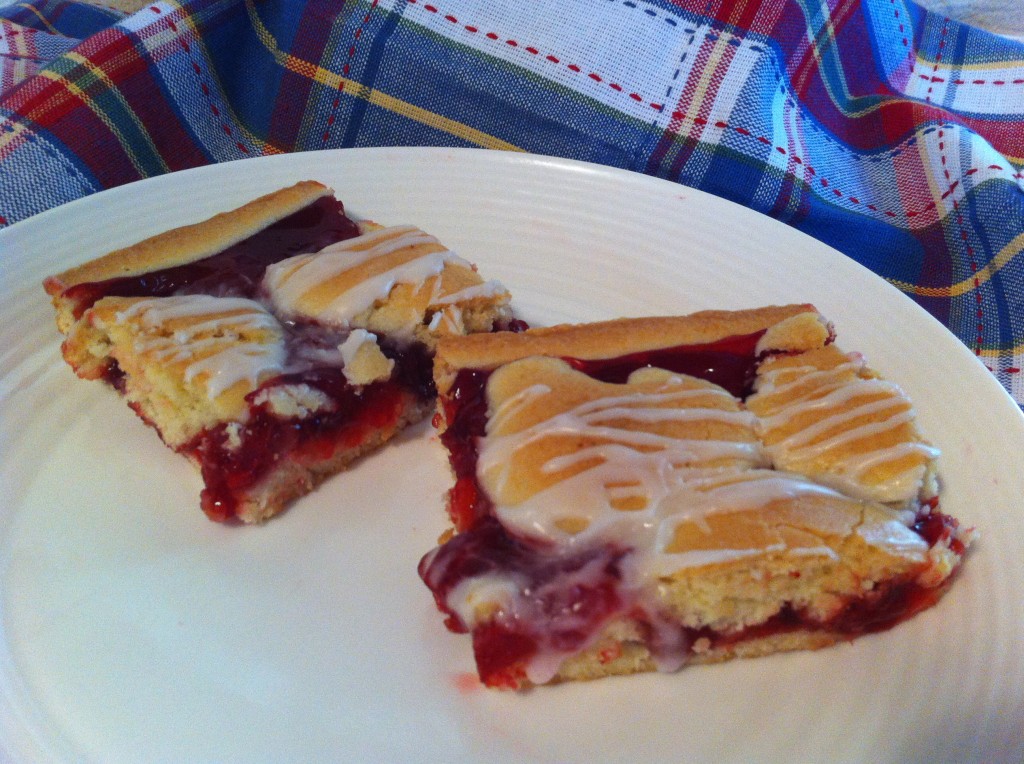
Now all you have to do is slice you a (few) pieces. See that pie way in the back on the left hand side? That is a make it own’s crust Coconut Pie. See, I did try to make the birthday boy a pie he would like to eat. The desserts were good enough to bribe little brother into bringing back left over ribs. : )

Besides being pretty, these are yummy and addictive.

Enjoy!

Becky

Other post you may enjoy reading:


  Farmer’s Oatmeal Cake            Frozen Fluffy Strawberry Pie             Mom’s Light Bread
St. Louis Gooey Butter Cake

Can the real Gooey Butter Cake please stand up.

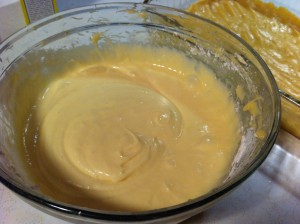
To tell you the truth, there is so many different recipes for gooey butter cake out there, it is hard to say if you have the REAL one. The key is find the one that you believe is the closest one to it. But, more importantly, the one recipe that  you love to eat. A very popular and good recipe for gooey butter cake, uses a cake mix for the base with a gooey sweet cream cheese topping. I like that recipe and I have made it several times. And, it gets eaten every time. I just wanted a more traditional old fashioned gooey butter cake recipe.

So, as any crazy recipe loving baker would do, I started searching for the ONE recipe. One that I would be happy to bake for others. One that I would love baking. Most importantly, one that I love eating. (the three important ones)

I knew I was as close as I was going to get to the ONE recipe, when one of the teachers at my school tried a piece and told me that this recipe tasted just like the gooey butter cake from St. Louis. He should know, they had some baked up and drove the cakes all the way to Georgia to serve at his wedding rehearsal dinner.

If you love the gooey butter cake made from a cake mix, it is ok. I love it too. But, if you want to try a more traditional old fashioned recipe, give this recipe a try.

It might make you stand up and cheer. (or ask for another piece)

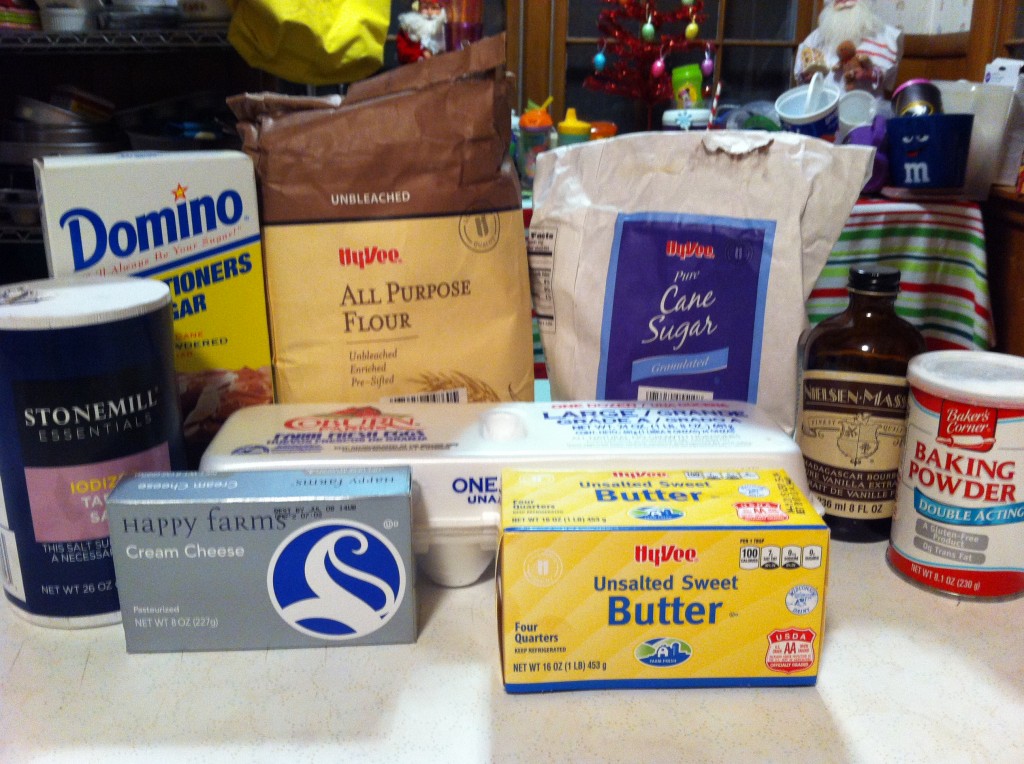
Here is what you need to make this delicious cake. You will need some butter, eggs, cream cheese, salt, powdered sugar, granulated sugar, vanilla, flour and baking powder.


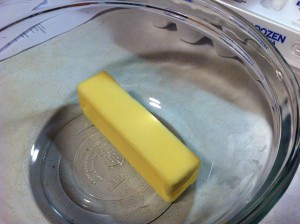
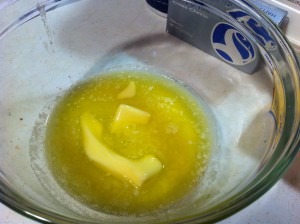
The first thing you need to do is start making the base of the cake. In a microwave safe bowl melt the butter.


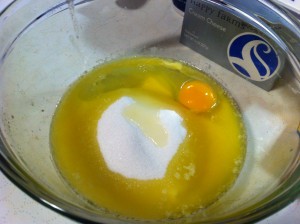
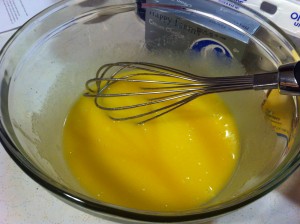
Add in the sugar and the eggs. Mix the butter mixture together with a whisk.


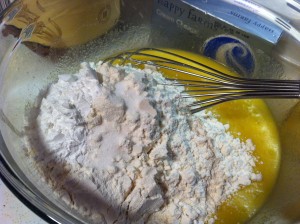
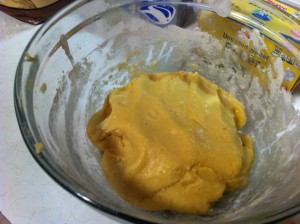
Add in the flour, salt and the baking powder. With  your hands, form the dough into a ball.


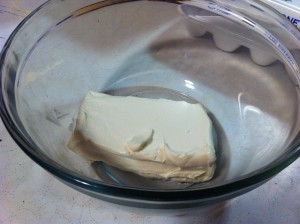
In a greased 9 by 13 pan, press the dough evenly on the bottom. Now, let’s make the gooey topping. Put the cream cheese into a medium mixing bowl.


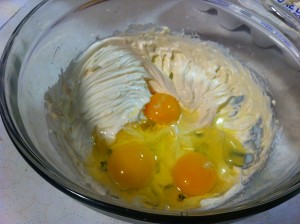
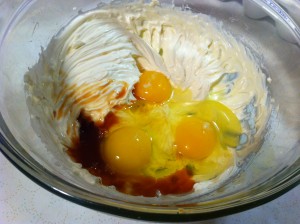
With a mixer, mix the cream cheese to soften. Now, add the eggs and the vanilla to the cream cheese.


With a mixer, mix the cream cheese mixture until smooth.  In a microwave bowl, melt the butter.


Add in 4 cups (or 1 one pound box) of powdered sugar. (I save about 4 tablespoon spoons of the sugar to sprinkle on top)  Add in the melted butter.


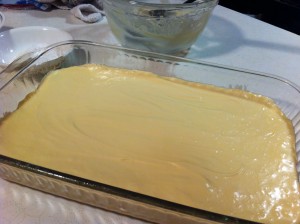
With a mixer, mix in the melted butter and the powdered sugar. Pour the filling onto the bottom cake.


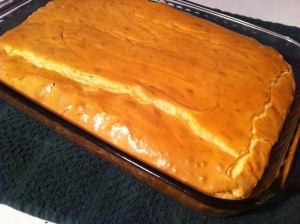
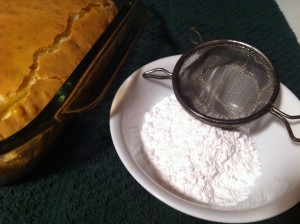
Bake in a 350 degree oven for 40 minutes or until the topping browns slightly. With the saved powdered sugar, dust the top of the cake with powdered sugar using a fine strainer.

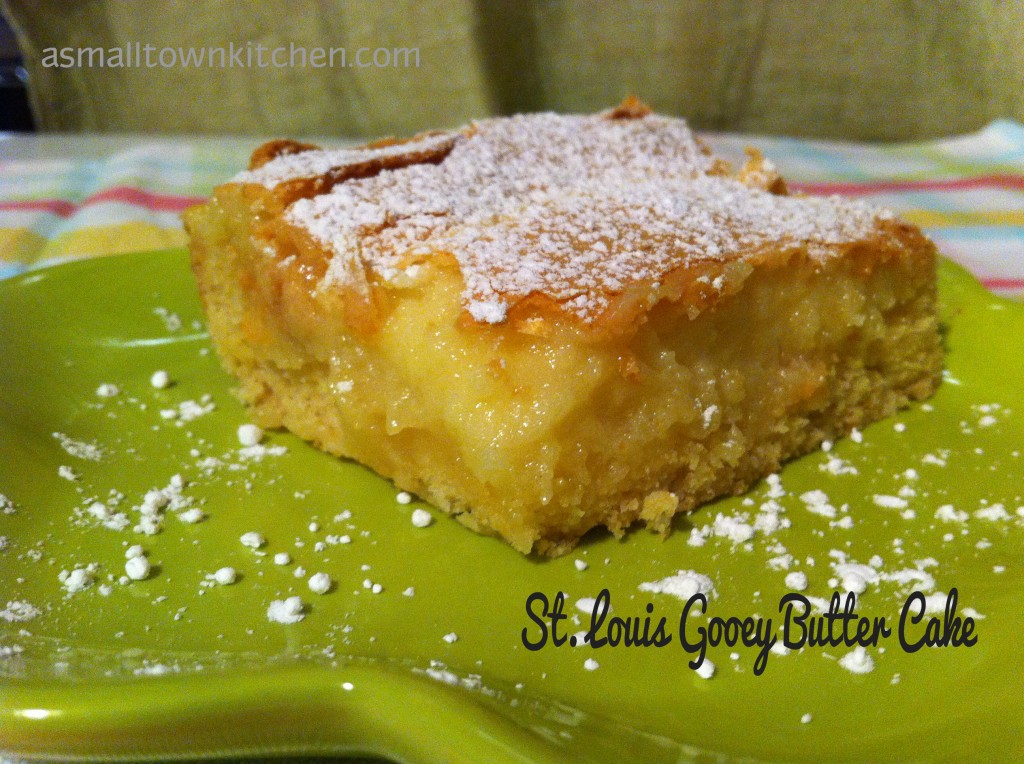
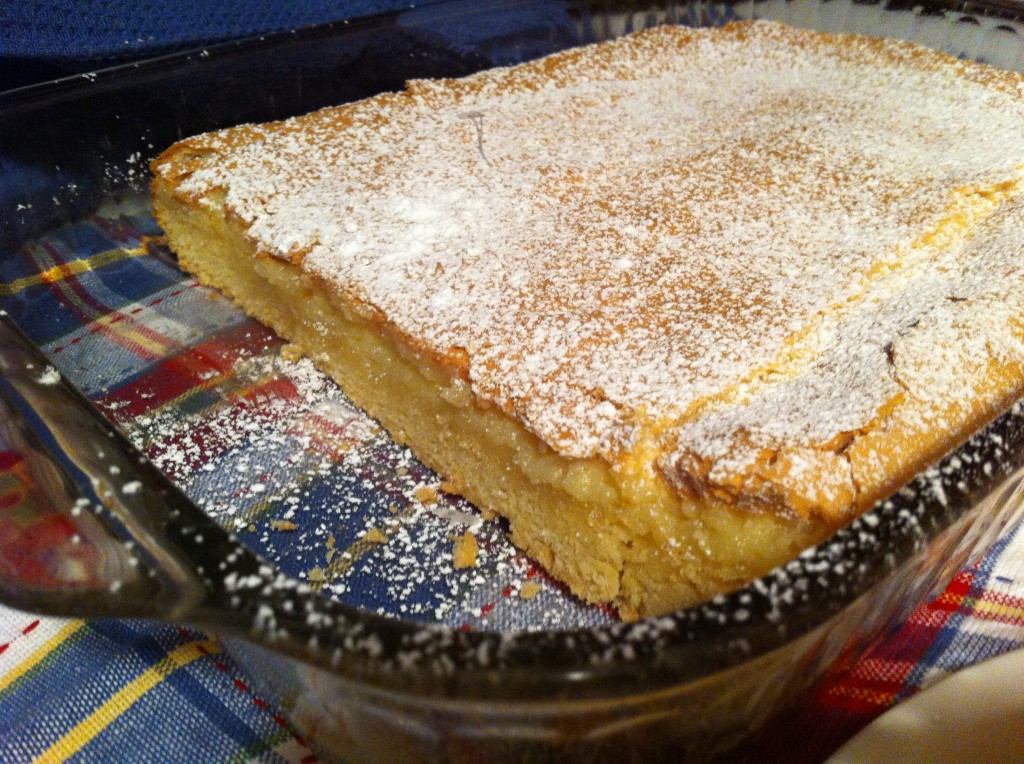
This is what mine looked like all sprinkled with powdered sugar. Can you see the gooey topping? This cake slices into beautiful slices

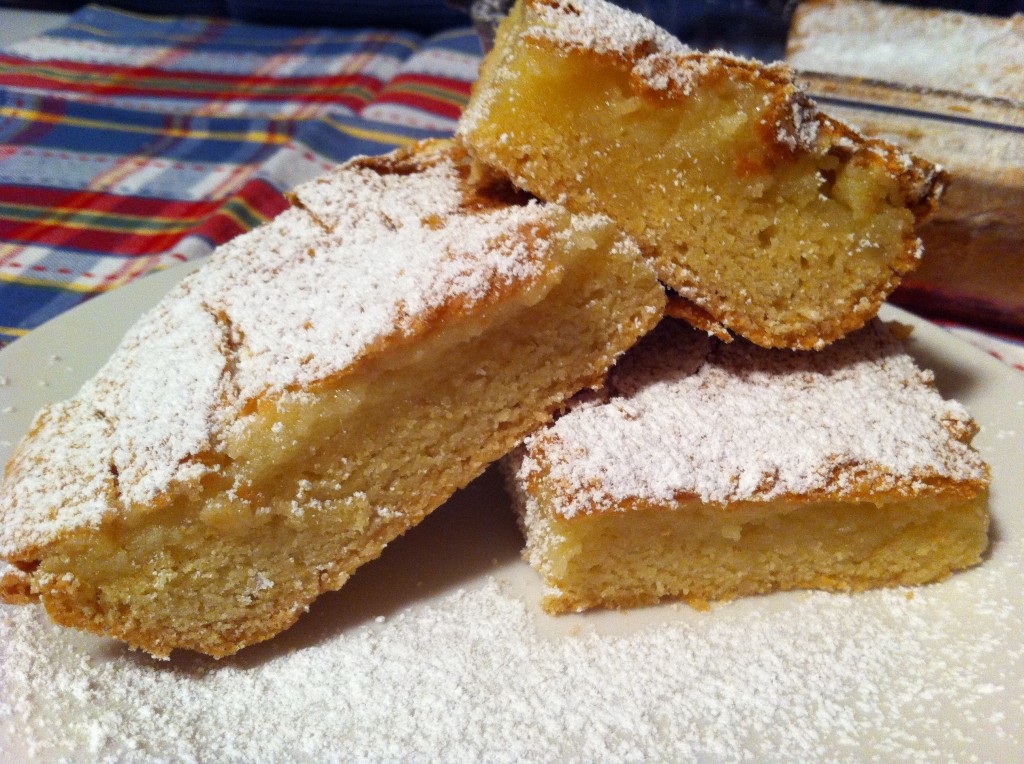
Here is a pictures of warm slices all stacked up ready to be devoured.

How about if I give you the recipe now. : )

Here is the recipe:

Old Fashion St. Louis Gooey Butter Cake

Adapted from Suzanne  Corbett posted on St Charles.patch.com

Ingredients:

2 cups all purpose flour

2 teaspoon baking powder

3/4 teaspoon salt

3/4 cup sugar

1/2 cup butter, melted

1 extra large egg or 1 egg and one egg white

Topping

8 ounce package of cream cheese at room temperature

2 extra large eggs or 2 eggs and one yolk

16 ounces powdered sugar

1/2 cup butter

2 teaspoon vanilla

Directions:

Preheat oven to 350 degrees. Grease a 9 by 13 baking pan.

For the cake:  In a medium bowl combine the flour, baking powder and salt. In another mixing bowl whisk together the sugar, melted butter and egg. Add the flour mixture to the butter mixture and combine. Spread the combined mixture evenly on the bottom of the baking dish.

For the topping:  Beat the cream cheese with an electric mixer until smooth and fluffy. Beat in the eggs and vanilla. Reserve 2 to 3 tablespoons of the powdered sugar to dust cake with later. Add the remaining powdered sugar to the cream cheese along with the melted butter. Mix together with the electric mixer. Pour the topping to top of the cake and spread evenly. Bake for 40 minutes or until top is set and obtains a golden brown crust but it is still gooey and soft. Remove from the oven and cool. When the cake has cooled,  dust with the reserved powdered sugar.

Makes 16 servings.

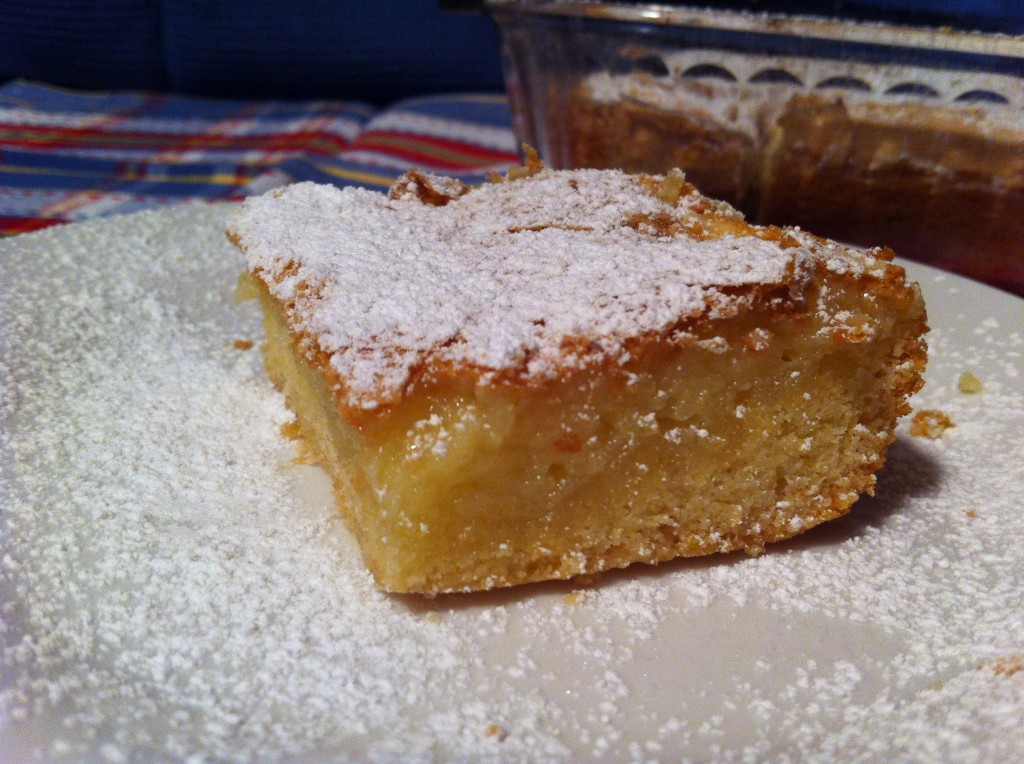
This picture tempts me to go into the kitchen and make another batch and then hid them all for myself.

Hope this post tempts you to try this recipe for yourself.

Warning! Make two batches one for your family and friends and one for yourself : ).

Enjoy,

Becky

Other post you may enjoy reading:


    Taco Soup                                  Garlic Cheddar Biscuits                  Strawberry Spinach Salad 


Cinnamon French Toast Bake

I bet you thought I would never post another recipe! I am so sorry it has taken me awhile to post a recipe. It is the end of the school year in teacher world and balancing everything can be a bit of a challenge. I have a couple of BIG functions on my to do list, but I can finally see the sun light. Whew….

I have had this post, almost done, for several weeks, just waiting until I had some uninterrupted time to put in the recipe and check my spelling. (as you have probably noticed, I write like I talk and spell like I can’t). Tonight, my clothes are in the dryer, the house is quiet and I have about 20 minutes before the washing machine buzzer goes off. So, here goes with getting this post finally published.

Four reasons you should try this recipe.

I first heard of this recipe on the radio on my way to work. The DJ on the radio was raving about this French toast bake that one of his coworkers had brought in share with the crew. He had a list of the ingredients and told about how easy it was to make and especially how addictive it was to eat. Secondly, one of my co-workers asked me for a easy breakfast casserole recipe that she could make to take to a morning staff meeting. I told her about this recipe, and that I had not tried it, but the ingredients sounded great together, it was easy to make and was suppose to taste divine. Thirdly, my co-worker took a leap of faith and  made it and some people at her meeting loved it and wanted the recipe. And, now the fourth reason. I finally made this recipe for Easter Morning, when Baby College Girl was home for the weekend. While it was baking, it made the house smell like a bake shop and when it came out to the oven, everyone lined up with their plates to eat it.

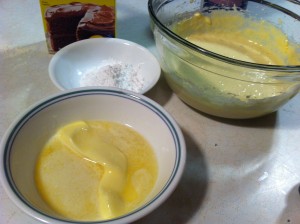
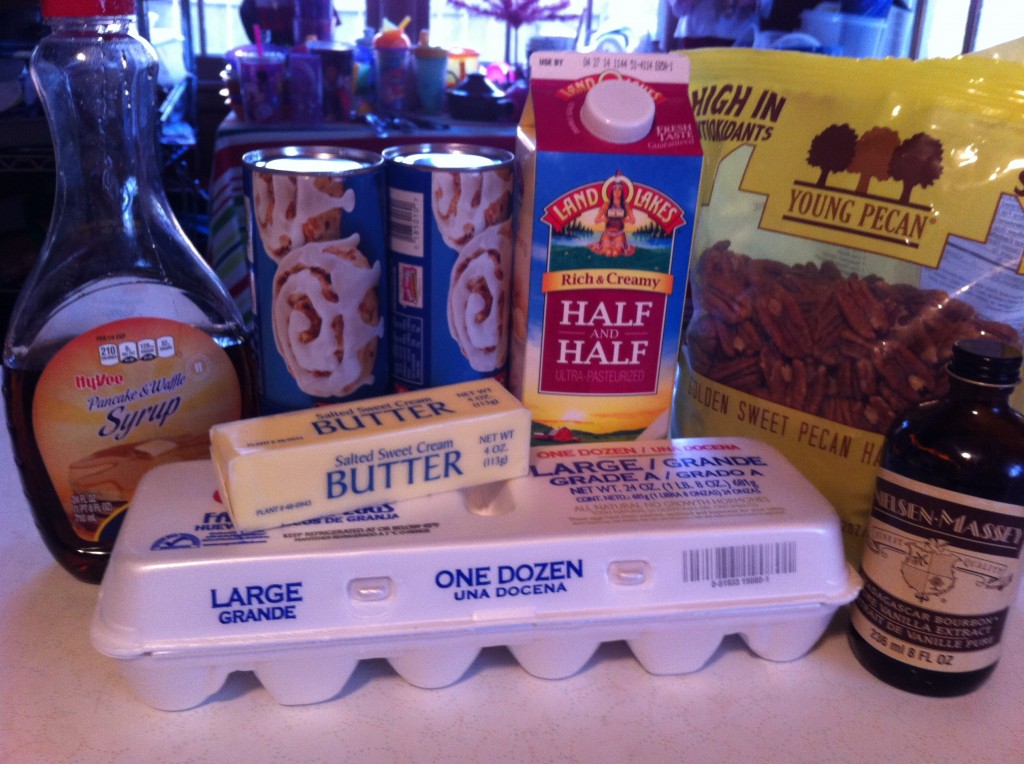
Here is what you will need. Some canned cinnamon rolls with icing (save the icing to glaze the rolls later), eggs, vanilla, butter, cinnamon, maple syrup, half and half and some pecans (which are optional.)


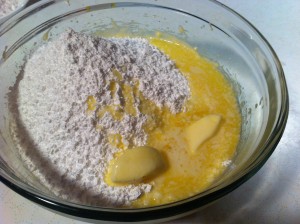
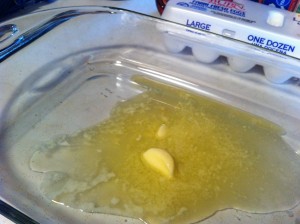
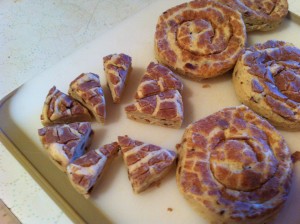
First, melt the butter in a 9 by 13 baking dish. Open the cans of cinnamon roll and cut each roll into 8 pieces. I used my pizza cutter for this and it worked great.


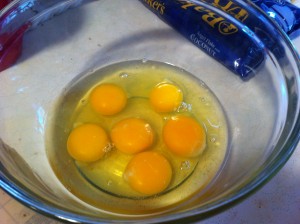
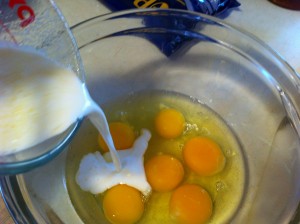
Take 6 eggs and beat them thoroughly together with the half and half.


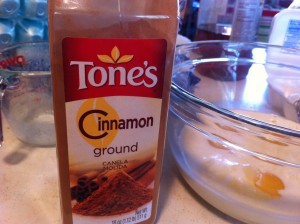
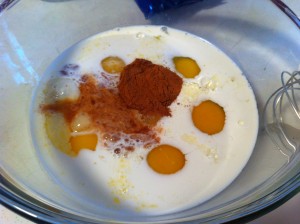
Add some cinnamon (which I forgot to put in the main ingredient picture) and some vanilla.


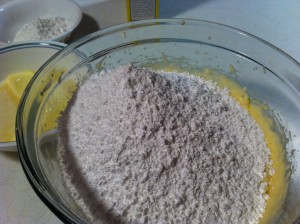
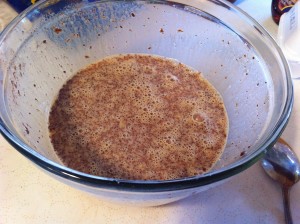
Beat everything together until all the eggs are totally incorporated into the cream. Pour the egg mixture over the cinnamon rolls.


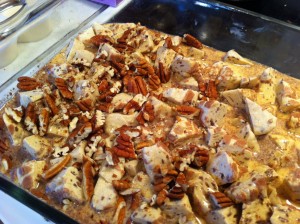
Chop up the pecans. Sprinkle the pecans on top of the rolls. I only sprinkled half of the rolls with pecans cause The Super Hero does not like nuts in his food.


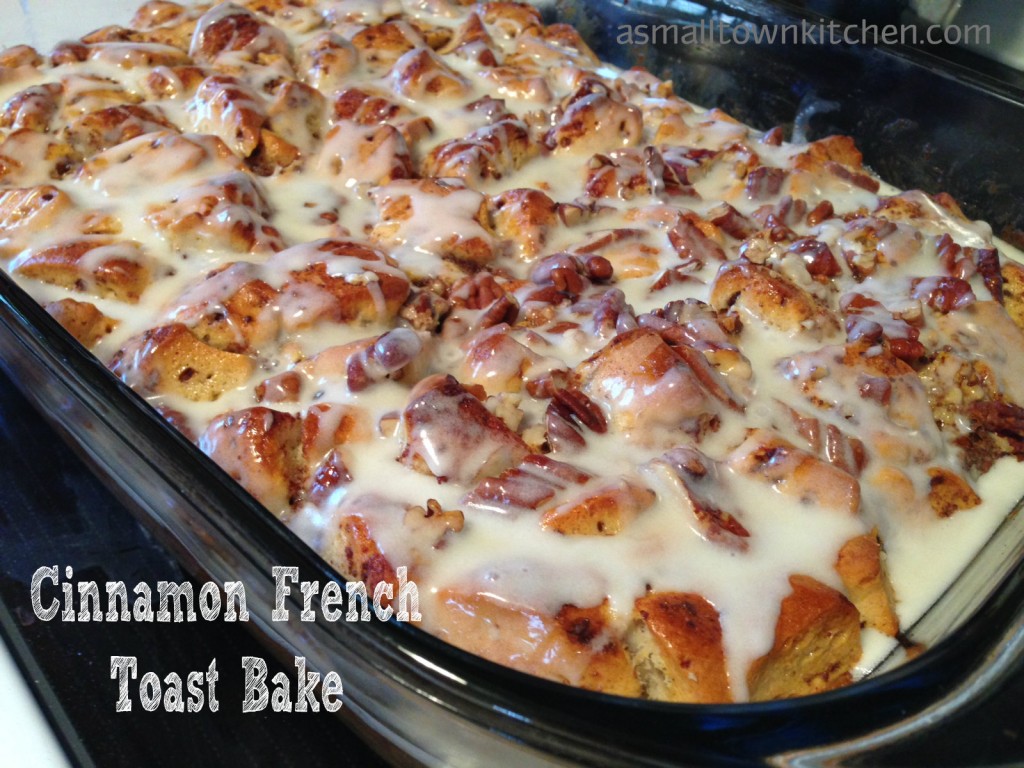
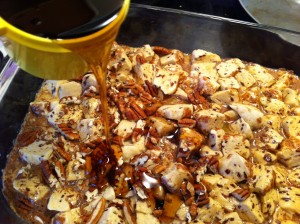
Drizzle maple syrup over the top of the rolls. Bake in the oven until all the eggs and rolls are cooked through. When the casserole cools, drizzle the top with the icing from the cinnamon roll packages.

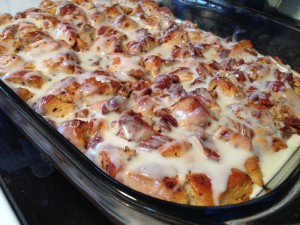
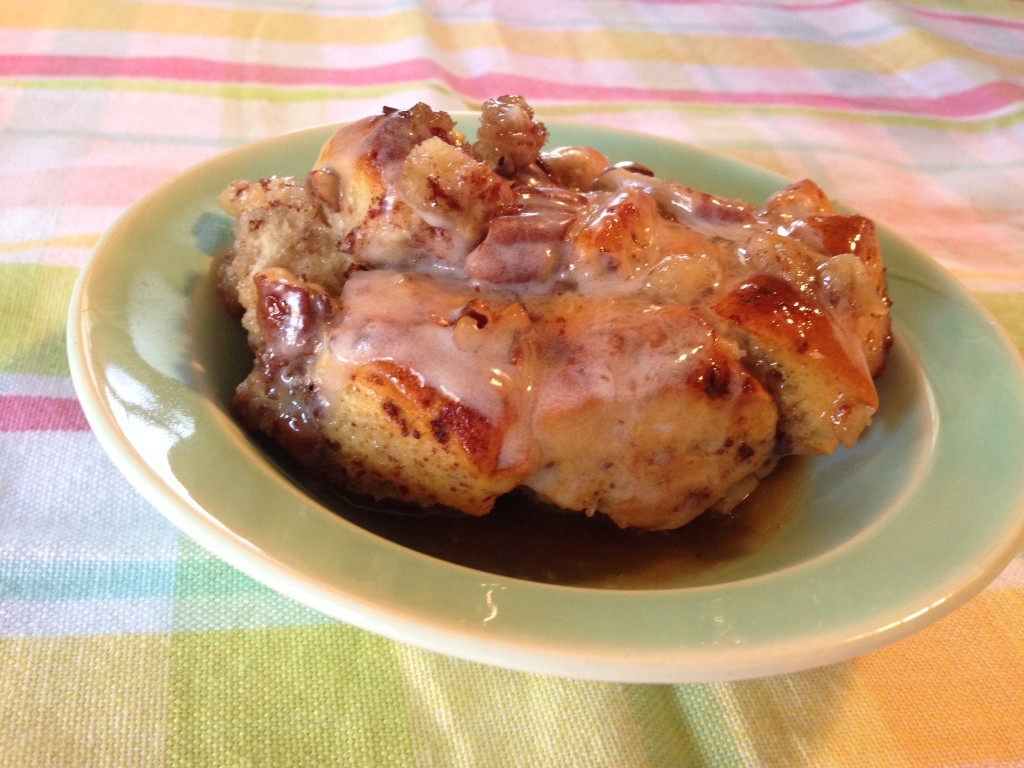
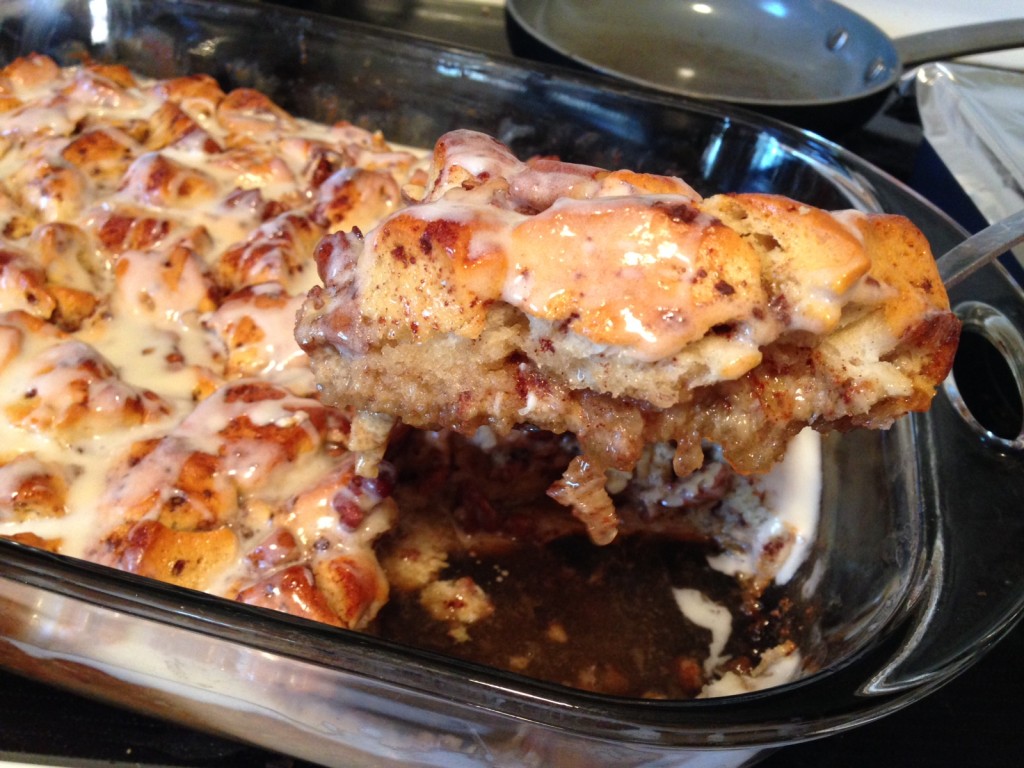
It comes out moist and delicious. It really does make a difference to let the casserole sit for 15 minutes before eating as the rolls absorb all the maple syrup that has settled on the bottom.

Are you ready for the recipe?

Here it is!

Cinnamon French Toast Bake

Adapted from the Pillsbury Website

Ingredients:

2 cans (8 rolls in each one) of refrigerated cinnamon rolls

1/4 cup butter or margarine, melted

6 large eggs

1/2 cup whipping cream (I am sure you can use half and half or another milk)

2 teaspoon ground cinnamon

2 teaspoon vanilla

1 cup pecans

1 cup maple syrup (I used my pancake syrup)

Garnish:

You garnish with the icing from the cinnamon rolls and more maple syrup (optional) and powdered sugar (optional)

Directions:

Heat oven to 375

Pour melted butter into a 9 by 13 baking dish.

Cut each cinnamon roll into 8 pieces.

Place cut roll pieces evenly into the bottom of the melted butter 9 by 13 dish.

In a medium bowl, mix together the whipping cream, eggs, cinnamon and vanilla.

Gently pour the egg mixture over the cut rolls.

Sprinkle with pecans and drizzle with maple syrup.

Bake in the oven for  20 to 25 minutes or until done.

Cool for 15 minutes.

Drizzle with icing from the cinnamon roll packages.

Drizzle with more maple syrup if desired.

Serve warm.


If you are looking for a breakfast casserole that is easy to prepare but does not taste like it is, give this one a try.

I was also told that the leftovers taste just as good the next day re-heat in the microwave.

I would not know, as mine was gone in one day. : )

Enjoy,

Becky

Other post you may enjoy reading:


Fluffy Strawberry Pie                      Overnight Cinnamon Rolls                Tuna Noodle Casserole
I hope I like Playing in the Dirt!

Guess who disked and tilled the garden last weekend?

Yes, Company got the dirt turned under, disked and tilled.

Woo…hoo….

The dirt is still clumpy and needs to be tilled a couple of more times to get the dirt nice and smooth.

I told Company that he needs to add some compose to the garden dirt.

I went on to tell him that all he needed to do was jump over his fence into his neighbors cow pasture and pick up some cow patties. Then, he could put the patties on top of his garden soil and till the patties in.

He just gave me a blank stare.

I think I will be buying some miracle grow and a truck load of compost from the lawn and garden store.

Cause, I don’t  think Company likes jumping over fences.

Or maybe he just needs to ask his neighbor to turn off the electricity to it first.

mmmmm….what do you think?

Becky


The Country Garden Update

Spring must be here!

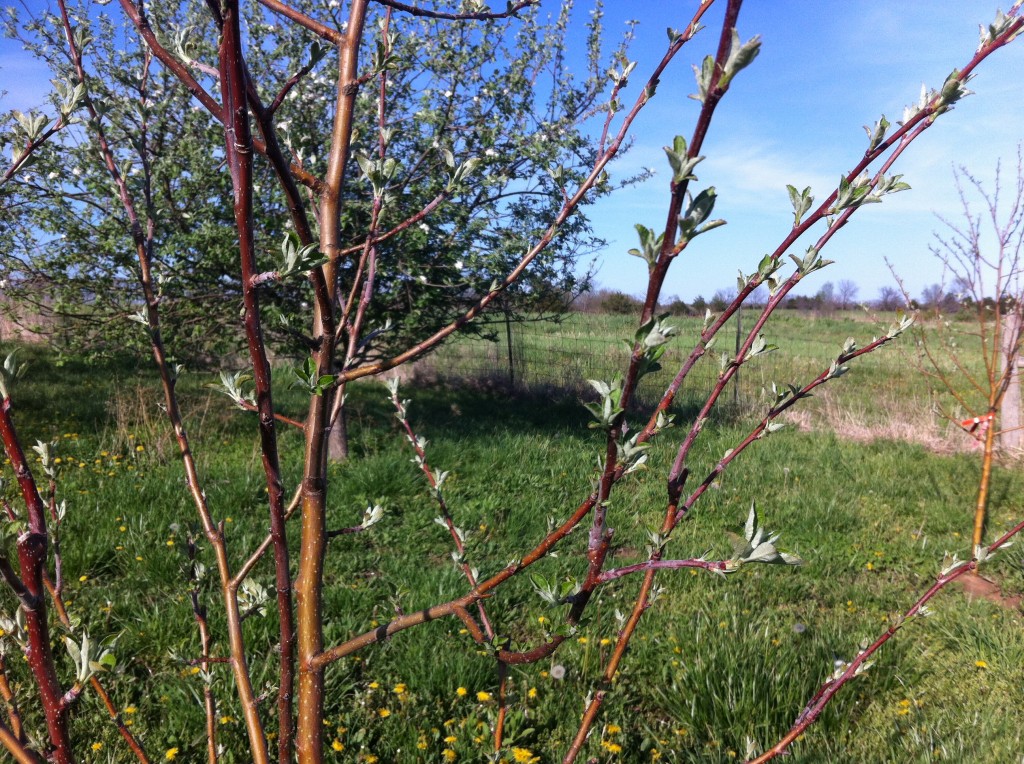
I drove to Company’s house after work last Friday and we had to walk around his yard (acreage) to check out all the blooms. The five apples trees that he planted years ago are all blooming. Here is a picture of them in all their glory. I am hoping for a bumper crop of apples this fall. Especially after making my first ever canned apple pie filling and then used it to make Apple Crisp.


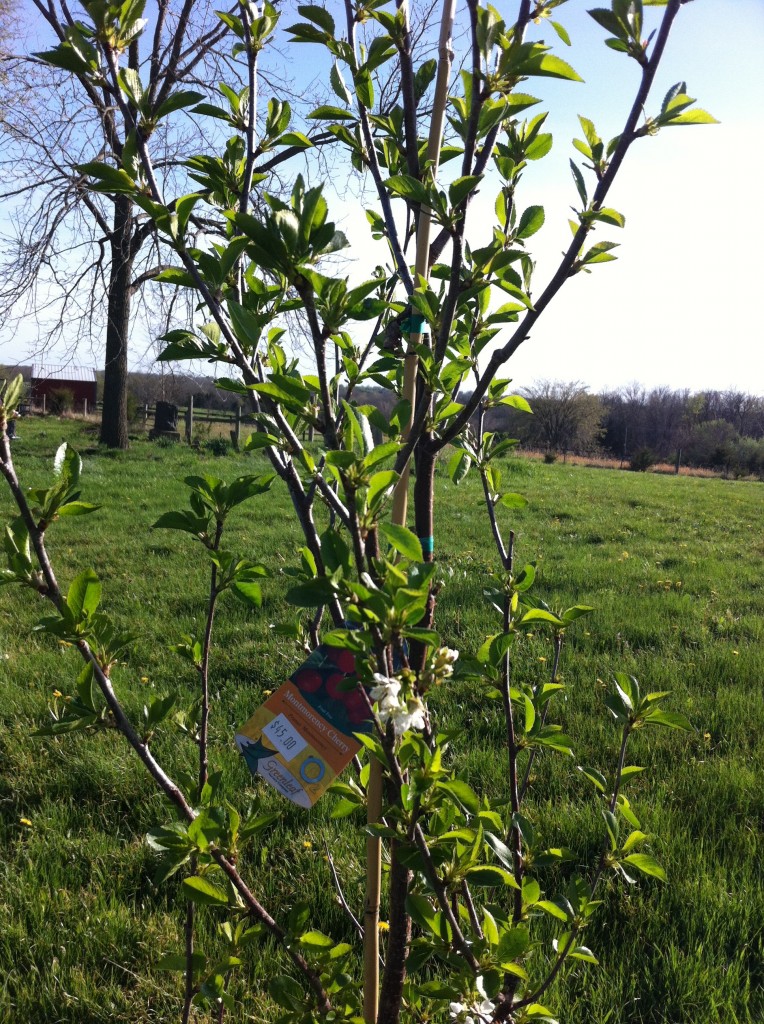
We planted two additional apple trees last fall. I am happy to say they made it through the winter and are starting to leaf out. After the winter we had and all the below O temperatures, it was a relief to see those little leaves.

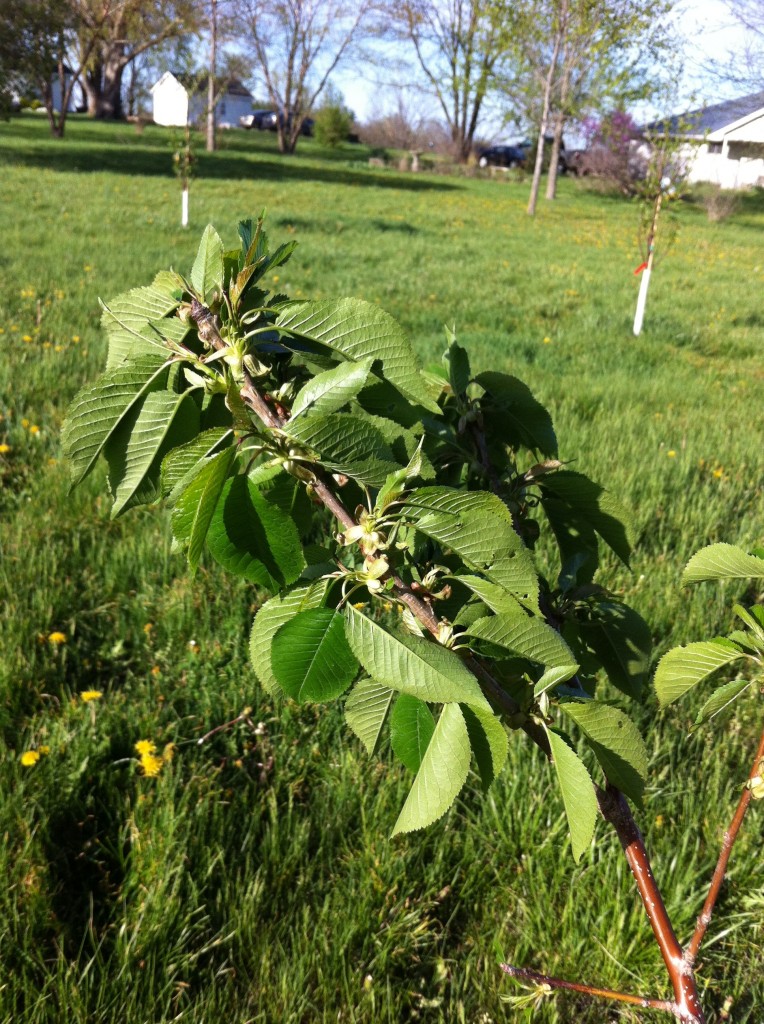
In his front yard, we planted four cherry trees too. They made it through the winter also. Can you see the little blooms on the tree. I am not sure how many cherries we will get this year. (I may have to raid Niener Wieners cherry trees to get some cherries this year). Anyhow, just wait till next year, I might get enough for a pie or two. ; )

Lastly, we planted one peach tree not too far from Company’s other peach tree. It made it through the winter too.

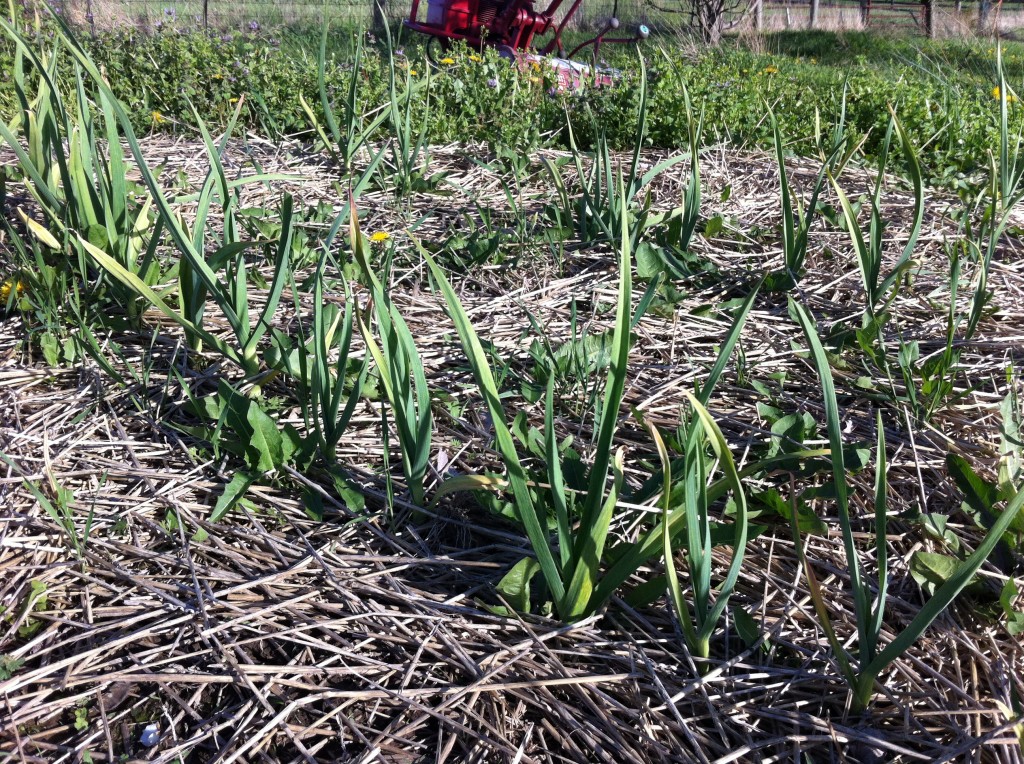
Check out the garlic and onions. Even though I do not know which row is what, I am still super excited they made it through the winter too. You always plant garlic in the fall, but this year we planted onions to “over winter” them. I have never done that, but you are suppose to get early onions. I guess it must work, not unless all these green things are garlic. : )

It was time to start watering the strawberries. The cold weather was hard on them and I think we lost about half of the 250 plugs we planted. But, we turned on the drip line to try to save the ones that made it through the winter. I am heading over to Company’s house after work after school today to check on the strawberries and see how they are doing.

Company was suppose to till up the rest of the garden today (he is off work). So, I REALLY am going to his house to see if he actually did it. I will let you know the update on that.

Happy Gardening!

Becky


Related Posts Plugin for WordPress, Blogger...