Chocolate Chip Cookie Dough Cheesecake

Have you ever used the excuse you had to make something just to buy the magazine the recipe was in?

Whew…I thought I was the only one that did that.

Tonight, I did just that! I was looking at all the great fall baking magazines at Sam’s Club. I was in recipe heaven! I kept going back and looking at this recipe in a Better Homes and Garden Holiday Baking magazine.  It was a cheesecake that had cookie dough in it. Hmmmmm…I did need to make a dessert tonight for a lady’s day church lunch tomorrow.

Perfect!

I can buy the magazine, make the cheesecake for tomorrow and not feel an ounce of guilt over buying the magazine. The bonus was, I had almost everything at home to make it. I bought the couple of items I needed (eggs and cream cheese) and headed home to make a cheesecake. My granddaughter helped me to make this cheesecake. We had it in the oven in less than 20 minutes. If I can do this with a 10 year old, I know you can whip this up in no time at your house.

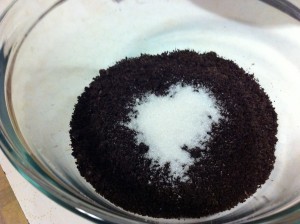
 For the Crust. First thing you need to do is crush the chocolate sandwich cookies. I did mine in a food processor. You can do yours in a zip lock bag and pound them with a rolling pin. Depends if you have had a bad day or not. 

I guess I had a pretty good day.


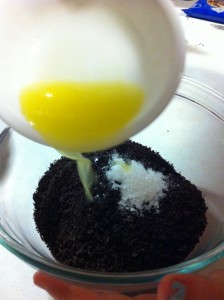
Next, add the sugar and melted butter to the crushed cookies.

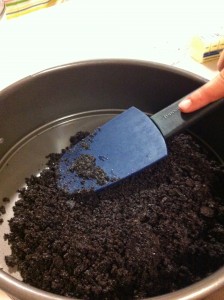
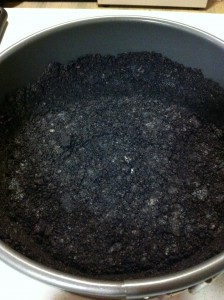
Put the cookie mix in a 9 inch spring-form pan and press onto the bottom and up the sides, 1 and 1/2 inch.


I started using a spatula. It was faster just to use my hands.


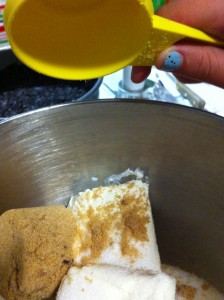
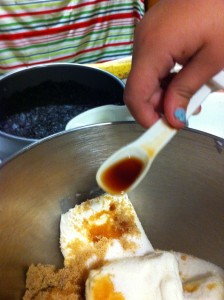
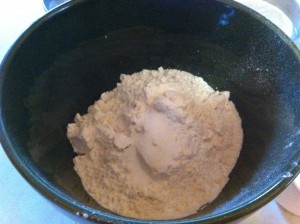
For the filling. In a large mixing bowl, add your cream cheese, sugar, brown sugar, vanilla, and flour. My granddaughter is adding the ingredients. Don’t you love her green sparkle nail polish : ) ?

Stir in the milk.

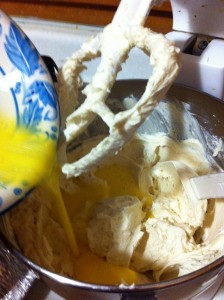
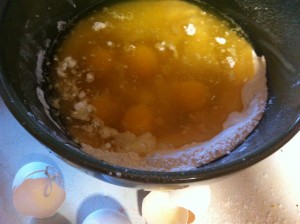
Add in your lightly beaten eggs. Mix together.


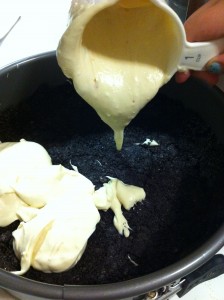
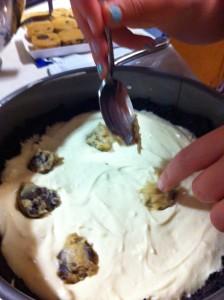
Take two cups of the cream cheese mixture an pour over the crust. Top the mixture with half of the cookie dough, a teaspoon at a time.


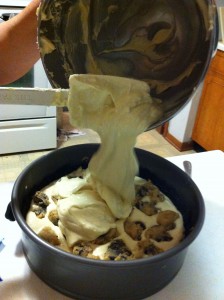
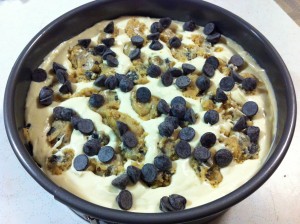
Pour the rest of the cream cheese mixture over the cookie dough. Add remaining cookie dough to the top and sprinkle with chocolate chips. Put the spring-form pan on a shallow baking dish. Put it in the oven at 350 degrees and bake for about an hour.

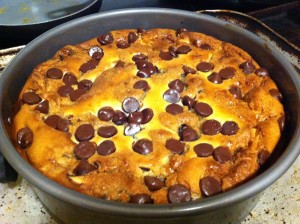
This is what mine looked like when it came out of the oven.

I hope the church ladies will be impressed. : )

I am happy I had a great excuse to buy a new magazine full of recipes : ).

I will let you know tomorrow if I have any left : ).

Enjoy!

Becky  

Chocolate Chip Cookie Dough Cheesecake

adapted from Better Home and Gardens Holiday Baking magazine

For the crust:

1 3/4 cup of finely crushed chocolate sandwich cookies.

1 tablespoons sugar

3 tablespoons melted butter

In a mixing bowl, mix crushed cookies, sugar and butter together. Press mixture onto the bottom and up the sides of a 9 in spring form pan.

For the filling:

3 – 8 ounce packages of cream cheese (softened)

3 eggs (slightly beaten)

1/2 cup sugar

1/2 cup brown sugar

2 tablespoons flour

1 teaspoon vanilla

1/4 cup milk

1 roll of refrigerated chocolate chip cookie dough.

1/2 cup chocolate chips

In a large mixing bowl, cream the cream cheese, sugar, brown sugar, vanilla and flour until combined. Beat in the milk until smooth, then stir in the eggs.

Pour half the mixture (about 2 cups) over the chocolate cookie crust. In spoonful amounts, dap half the cookie dough onto the cream cheese filling. When you are done, pour the rest of the filling over the cookie dough and cream cheese bottom. Top the second layer with spoonfuls of cookie dough, then sprinkle with chocolate chips.

Put the springform pan onto a shallow baking dish and place a 350 degree oven. Bake for approximately one hour.

A couple of helpful hints. Make sure the bottom of the spring-form pan is securely locked in. (why would I know that?)

The next time I bake this I will lower the temperature 10 degrees to 340 degrees. I thought it looked a little on the brown side and I only baked it 55 minutes.

Make sure you put it on a shallow pan. The butter from the cookie dough will leak out the bottom. If you put it on a cookie sheet you just might set off your smoke alarms. (been there done that).

Urban Community Garden

Everyone loves a field trip! Including me. Yesterday, I just had the urge to explore something new.

I had read a little story in our local paper about a community urban garden. It is a garden that provides education and resources for families to create a edible garden in thier backyard. As a teacher, this really interested me.

 A couple of days later, I just happen to accidentally drive by it. Whoohoo, what is the chances of that. I knew, when I had more time I had to go back and explore.

Sunday afternoon was a perfect afternoon for my field trip. My granddaughters are my little explorers……my car is the Santa Maria.  I was able to take one of my granddaughters. I picked her up, she got buckled up and we sailed away to find this garden of urban.

I was very interested in seeing the chickens. Don’t know why. I am just a little “cuckoo” sometimes.

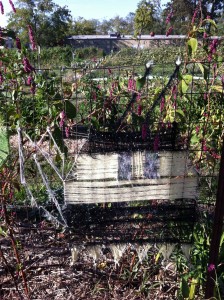
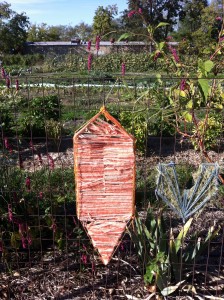
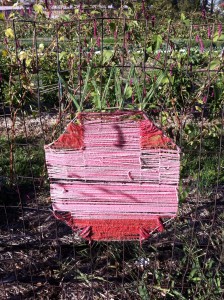
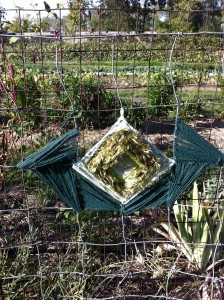
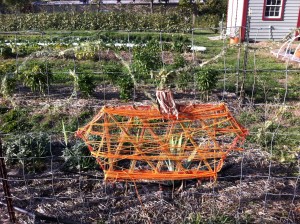
The first thing we found was land. Ok…we parked next to the curb. But, we were delighted to find the fence surrounding the garden decorated with the cutest, cleverest, and adorable string art.


We were greeted by Mr. BeeBumble and Mrs. C. Carrot and of course Mr. Heirloom Tomato.


We can’t forget to mention, Ms. Lettuce B. Friends and Sister Pie Pumpkin.

What we were really looking for was the chickens.

Why did the chicken cross the road?

I don’t know either.


There were two large coops on the urban (farm) garden. One housed white chickens and the other coop housed different colored ones. The different colored ones, followed us up and down the side of the coop.  They wanted to be friends. We were making a connection….wait…I think they wanted to be fed.

The white chickens just kind of sat around, ignoring us.

We really liked the different colored ones.

Next, we visited the home of Bee Bumble.

Bees sting.

We did not stay long.

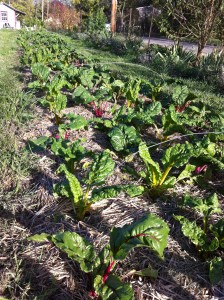
Next, we took a walk through the garden. The rows are so nice and straight. My granddaughter looks down for a closer view.


We found these little guys hiding.

What are these little guys? or girls? Are they beets?

We were able to talk to one of the workers. He was so gracious and answered so many of my questions.

I need to go back and ask some more.

Next time, I need to take all my granddaughters on an expedition for further exploration of the urban garden.

Or maybe a closer look at Bee Bumbles house with out fear of being greeted at the door by a angry door (bee) man.

We may not know a lot nowabout the urban garden . We may not know how it all works. But, we do know one thing.

All gardens and chicken need a little water!

I will share more information about this urban garden as our exploration continues.

It was time to go home. We climbed back on board the santa maria to sail for home via a pit stop at McDonalds.

Happy Gardening!

Becky

Fried EggPlant


    Today marks the first day of Fall.  What better way to celebrate the arrival of cool, crisp air than to make a little fried eggplant. Not too long, long. long ago, I thought eggplant was a food that only vegetarians ate when they were really hungry. I mean, who eats a purple, egg looking vegetable, that leaks water? Right?

 My first encounter with eggplant was when I was in high school. I worked at this drug store and one of the pharmacy ladies brought in a eggplant sandwich. She proudly showed me this sandwich novelty and told me that everyone at her commune ate it.  Hmmm….They must have been really hungry. She offered me a little taste. I politely declined.

 My mistake.

Fast forward a college degree, many years, and a trip to a local restaurant where I was out to lunch with some teachers during a break from beginning of school meetings. A teacher at my table ordered fried eggplant appetizers. (Did she secretly live in a commune?)   It a wink of an eye, a heaping plate of french fry looking eggplant arrived at our table. They were fries in disguise! I had to try them. They were crunchy. They were delicious. They had a sprinkling of cheese on top. I was addicted.  

I now love purple looking egg shaped vegetables. I have made them several times but I have gone back to that restaurant many times and ordered their eggplant appetizer.

They make me happy.

I hope this recipe will make you happy too!

fried egg plant            

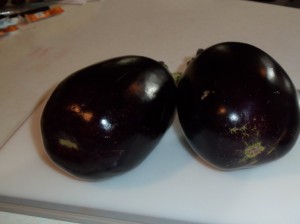
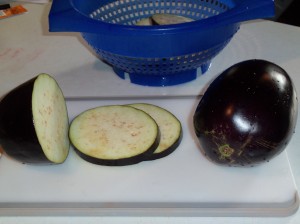
Start off with a couple of nice eggplants. Slice them into 1/4 inch slices.

fried egg plant

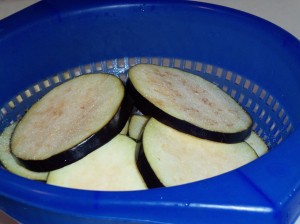
Line a strainer with paper towels. Salt the eggplant lightly on each side and place in a strainer. Let the egg plant “weep” in the strainer for at least 45 minutes. This will allow all the extra moisture to drain out, leaving your eggplant ready for frying.


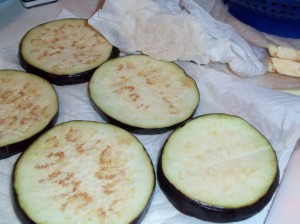
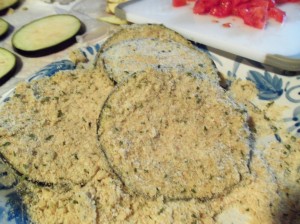
Take the eggplant out of the strainer and pat dry. Dip egg plant in a egg and milk bath and coat with Italian bread crumbs.


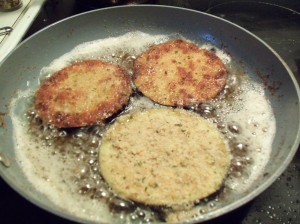
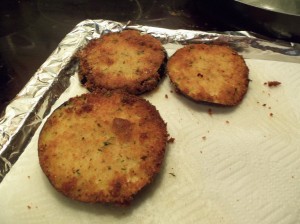
Place well coated eggplant in a frying pan with 1/2 inch of vegetable oil. The oil should be heated to around 360 degrees. After you fry them to a crispy brown, place them on a paper towel to drain.

You could eat these little crunchy flying saucers now. Serve them warm with a little ranch dressing.

Lock yourself in a closet and eat them all yourself.

 I would never tell!


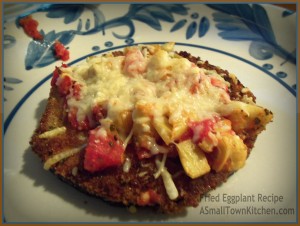
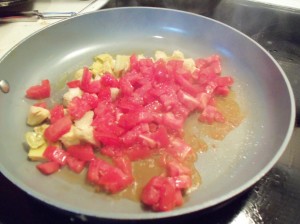
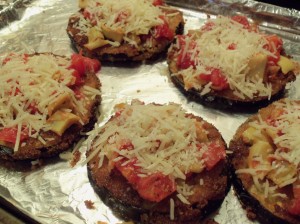
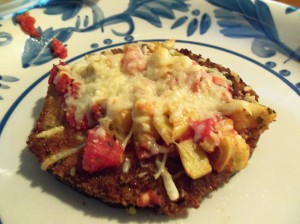
 Or, you could top them with saute’d tomatoes, garlic and artichokes in olive oil. Then top them with parmesan cheese and bake in the oven till the cheese gets all melty. 

Now, hide in a lock closet and eat them. Or, share them.

They are perfect. They are a meal.

Enjoy!

Becky

Recipe for Fried Eggplant topped with tomatoes, artichokes and parmesan cheese.

Ingredients:

2 medium eggplants sliced in 1/4 inch slices

salt

2 eggs

3 tablespoons of milk

vegetable oil (enough to fill frying pan 1/2 in full) to fry the egg plant

2 cups Italian bread crumbs

4 roma tomatoes (seeded) diced in 1/4 cubes

1 jar of artichoke hearts (in water) drained and diced

2 cloves of garlic minced

3 tablespoons olive oil (to saute the tomatoes, garlic and artichoke hearts)

3/4 cup of shredded parmesan cheese.

Directions:

Slice the eggplant into 1/4 inch slices.

Line a large strainer with paper towels and place in the sink or place the strainer on a cookie sheet (to catch excess water).  Lightly salt the sliced egg plant on both sides and place in the strainer. Let the eggplant “weep” for at least 45 minutes to release excess water. This will help in making a crispier fried eggplant.
Take the eggplant out of strainer and pat dry with a paper towel.

In a medium bowl, beat together the eggs and milk.

Dip the slices of eggplant into the egg and milk mixture. The dip the eggplant into Italian flavored bread crumbs. Thoroughly coat both sides.

Heat 1/2 inch of vegetable oil in a frying pan to around 360 degrees. Fry the egg plant on both sides until it is lightly brown and crispy.

Place eggplant on paper towel to drain.

Take the roma tomatoes and take the seeds out. Dice the tomatoes into 1/4 inch cubes. Drain the artichokes hearts and dice. Mince the garlic.

In a sauce pan, heat 2 tablespoons of olive oil. Saute the tomatoes, garlic and artichokes hearts for approximately 4 minutes.

Measure equal amounts of tomato mixture and place on top of each fried eggplant slice. Place the eggplants on a foil lined cookie sheet. Heat the oven to 375 degrees.

Sprinkle shredded parmesan cheese on top of each eggplant slice. Place the fried eggplant slices in the oven and bake until the cheese is melted.

Serve warm with your favorite dipping sauce.

Couponing, Three reasons why I love it.

I blame my journey into couponing on my sister Nina. She was so excited! She was so in love! She thought the whole world should be watching the show, “Extreme Couponing”. She would call me and make sure I knew what time the show started.  She wanted everyone to buy a binder, load it down with coupons and get their groceries for free. FREE…really….ok…she had my attention. I was intriqued yet very skeptical but thought I would give it a go. I have made mistakes but learned a lot I now have a binder of my own. I bought several newspapers each week. I cut and clip and try to add match. I guess this means I am now a couponer (is that a real word?) Am I an extreme couponer…no…do I save money…Yes…do I get all my groceries free…No! but here are three reasons why I love couponing (this week).

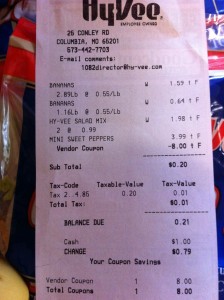
Here is reason number one why I love couponing….


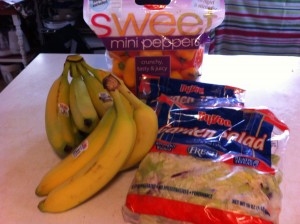
I bought a bag of mini sweet peppers ( l love these roasted in the oven) 2 bags of salad mix and a couple of pounds of bananas for .21 cents

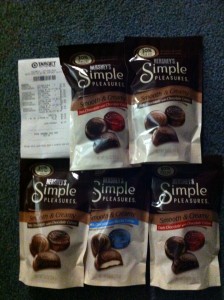
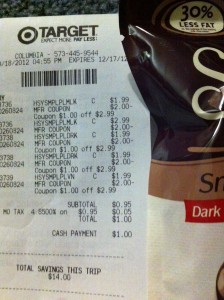
Reason number two why I love couponing….


At Target I bought 5 bags of simple pleasure chocolates for $1.00.

Reason number three why I love couponing…….


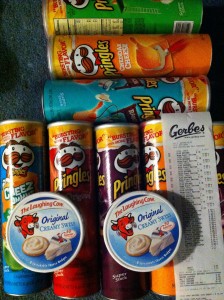
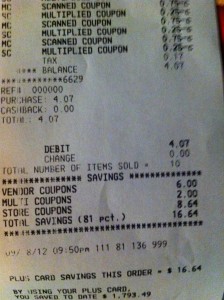
At Gerbes I bought 8 pringles and 2 laughing cow cheeses for $4.07.

These are three of my best deals I got this week at my local stores.      

Does it take time?….Yes.

Do you have to plan it out?….Yes

Do you have to go to more than one store?….Yes

Do you really have to go to more than one store?….No…but you get the best buys if you do.

Couponing tip number one. Start small.

Couponing tip number two. Go to the store that you are most familiar with and coupon match with their sale adds.

Couponing tip number three. Do not be embarrassed buying 10 boxes of Frosted Flakes for $1.25 each. You will say “GREEEEAT” at the check out.

Couponing tip number four. Do not eat all the chocolate in one sitting……this is why they invented locked doors.

 Try a little coupon trip to your favorite store. Let me know how you do!

Becky

Oven Barbecue Brisket


It was raining outside. It was Labor Day weekend. It was suppose to be a weekend filled with BBQ on the grill. The rain was on and the grill was off…at least for two days. I was not totally complaining about the rain. Missouri was in a drought most of the summer. My yard looked like a dessert. It was probably a little bit selfish of me to think of the rain ruining my big bbq plans…..I had to think of a solution and quick…my stomach was saying bbq bbq….well not really, cause stomachs can’t actually talk (right?) but mine was giving me the signal of bbq withdrawal.

I remembered, I had this great recipe for Oven BBQ Brisket. Brisket is one of those tricky cuts of meat. When it is done right, you have this pull apart tender, rich slice of heaven. When it is done wrong….well the closest thing I can think of is shoe leather and grease. Don’t be afraid. This recipe is rediculously easy. A perfect solution when the weather is not cooperating outside.  Just remember, you need to marinate the brisket overnight in the refrigerator the night before.

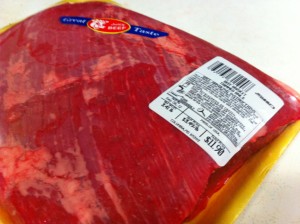
First, start off with a trimmed piece of brisket. This is about a three and a half pound brisket.


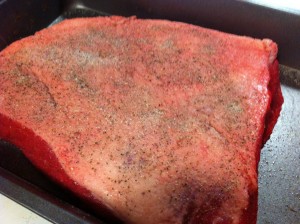
There is fat layer underneath all this brisket. After you get the seasoning rubbed into the meat, you will want to bake the brisket with the fat side up. This way, all the rendering of fat seeps down into the meat to add flavor and of course tenderness.

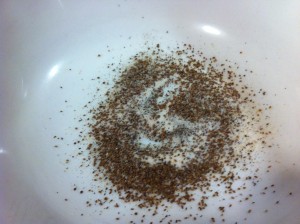
In a bowl mix together celery seeds, garlic salt, onion salt and sugar.

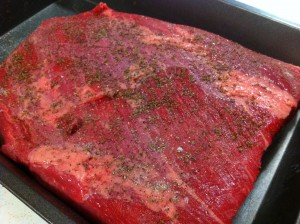
Rub the seasoning into both sides of the meat. Rub a dub dub.


See the layer of fat?

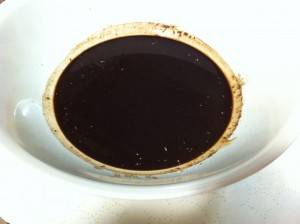
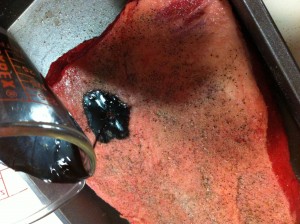
Mix together liquid smoke and Worcestershire sauce.  

Pour othe sauce over both sides of the brisket.

All lathered up with seasonings and sauce. Now, it is time to put this baby to bed. Cover tightly with foil and put it into the fridge to spend the night. Nighty nite!

Wake up! Now it is time to bake! About five hours before you want to eat (if you are making a 3 and 1/2 pound brisket, earlier, if you are making a larger one) turn your oven on 300 degrees. Your brisket will need to bake for about one hour per pound or until tender.

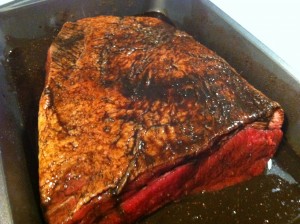
This is my brisket 4 hours later.

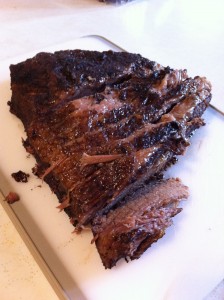
Now, take your brisket out and thinly slice.

You might want to sneak a bite right now. It is really good. It will get even better!

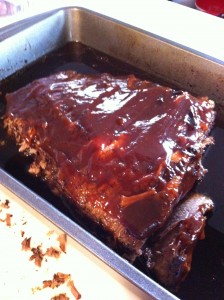
Place the brisket back in the pan with all those juices and pour your favorite bbq sauce over it

Bake uncovered at 300 degrees for another hour. (I  lightly sprinkled brown sugar over the top of my brisket. I just wanted too : ).  

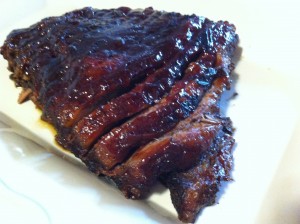
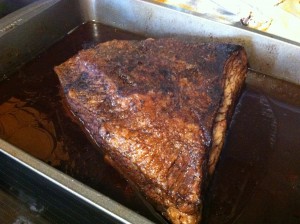
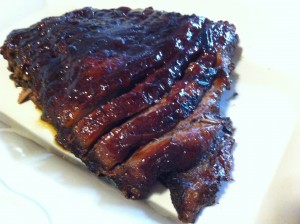
This is what it looks like when it comes out of the oven.

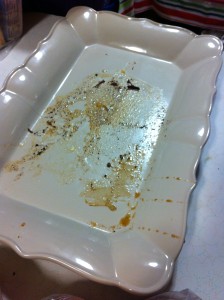
This is what it looks like after we eat.

Which way did it go………

Grab your fork, let it rain and eat bbq!

Enjoy,

Becky

Oven BBQ Brisket    

Ingredient:  

3 to 4 pounds trimmed brisket

2 teaspoon celery salt

1 teasoon garlic salt

1 teaspoon onion salt

2 teaspoon sugar

4 tablespoon liquid smoke

4 tablespoon worcestershire sauce

2 to 3 tablespoons brown sugar

1 cup of your favorite bbq sauce. I  usedSweet Baby’s Ray Honey Barbecue Sauce)

Directions:

The night before you bake it.

Mix garlic salt, onion salt, sugar and celery seed together. Rub the seasoning into both sides of the brisket. Place brisket into a 9 by 13 baking dish.

In a bowl, stir together worcestershire sauce and liquid smoke. Pour over both sides of brisket.

Cover pan with foil and place brisket into the fridge to marinate over night..

Five hours before you plan to serve the brisket. Heat oven to 300 degrees. Place the brisket into the oven and slow bake the brisket approximately one hour per pound or until tender.

Take brisket out of the oven and place on a cutting board. Thinly slice brisket and carefully place it back into baking dish.

Pour barbeque sauce over the brisket. Sprinkle brown suger on top of brisket.

Bake the brisket, uncovered back into the oven. Bake for one hour in a 300 degree oven.

Key Lime Cake

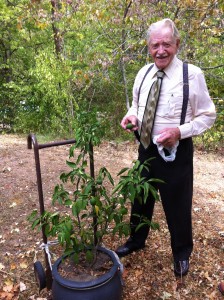
      You are never to old to plant a lime tree. My 94 year old dad proved that by planting a lime tree 6 years ago. On a family vacation to Florida six years ago, my dad bought a little lime tree that came in a box at a souvenir shop. He carried that little box home and told everyone he was going to plant a lime tree. We did not remind him that we live in Missouri, and lime trees do not exactly grow in Missouri. Anywho, my dad planted this little tree in a pot and six years later…..ShaZaam…he has limes.


He hauled his lime tree outside in the summer and hauled it back inside in the winter….for six years. Last year he had four limes, but this year

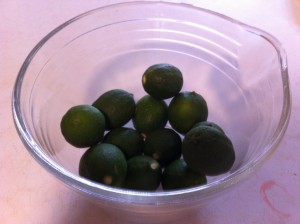
he had about a dozen. Guess who got the limes……yeppers….me!

Now, that I had Dad’s limes, I needed to find a great recipe using lime juice. I had recently watched a show featuring Trisha Yearwood’s lime cake. Ding, Ding, Ding..lime cake it is.

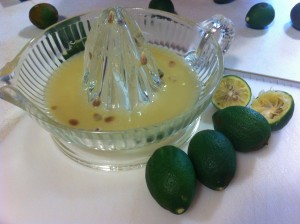
First, for the glaze,  you need to squeze the limes to get the juice out. You might try microwaving them for 10 seconds and then rolling them on the table before squeezing to get more juice out. I still needed to buy more lime juice at the store to make up the difference. Save the juice to make the glaze.

In a mixing bowl, add lime jello. Then add the sugar to the lime jello. See that little speck of green…that is the lime jello : )

Next, add the flour, salt, baking powder and baking soda. Stir and mix well. Next, add the eggs, oil, orange juice, lime juice and vanilla.

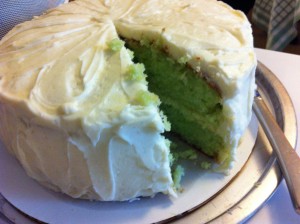
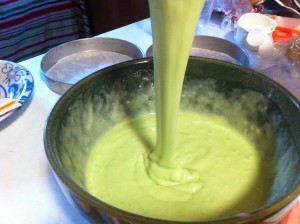
Next, mix together until combined. Don’t you love the green color from the lime jello??

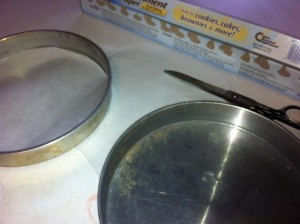
Prepare your pans. You can bake this cake in a 9 by 12 sheet cake pan or bake it in two layer pans. Since we were celebrating Dad’ harvest from his lime tree, I decided to make a layered cake. I alway spray my pans lightly with a vegetable spray and cover the bottom of the pans with parchment paper. I never have to worry about losing half my cake from geting stuck in the pan.

Put even amounts of batter into each pan. Place in a preheated 350 degree oven and bake for 35 minutes.

While the cake is baking, it is now time to get out all that lime juice.. In a mixing bowl, mix the lime juice and confectioners sugar together. I had to microwave mine to get all the sugar to dissolve.

When the cakes come out of the oven, cool the cakes for 5 minutes. Remove cakes from pans and place on a cooling rack.

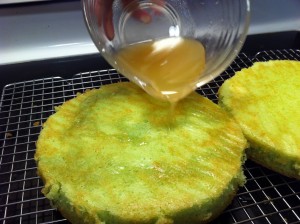
While cake is still warm, pierce the cake with a fork or skewer and pour the glaze over the cakes. Allow cakes to cool completely.

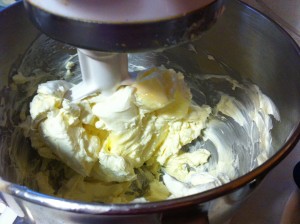
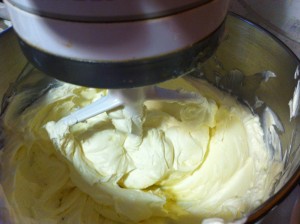
Time to make the cream cheese icing. Cream the butter and cream cheese together in a mixing bowl.

After you are finished creaming them together, add the powdered sugar.

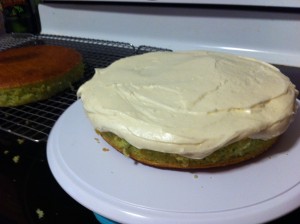
Almost done!!! Time to ice the cake.

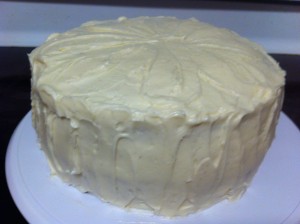
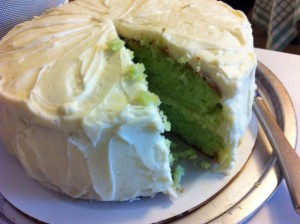
I always ice a cake passed the edge of the cake. It makes it easier to ice the sides. Place the other cake on top, and ice top and sides.  All finished!

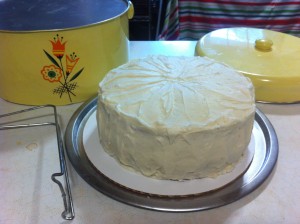
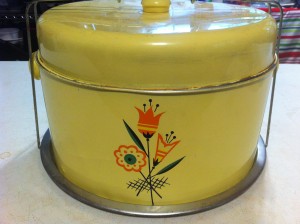
Now, it was time to pack up the cake and take it to Mom’s and Dad’s for our dessert. My Dad bought me an antique cake carrier for Christmas, and it was perfect to take the cake for the drive to Mom’s and Dad’s.

All packed up! Kinda like putting a baby in a car seat : )

Who gets the first piece?

Dad does!

Key Lime Cake recipe adapted from Trisha Yearwood’s recipe

Ingredients:

For the Cake:

1 – three ounce package of lime flavored gelatin

1 1/3 cup of sugar

2 cups sifted all purpose flor

1/2 teaspoon salt

1 teaspoon baking powder

1 teaspoon baking soda

1 cup vegetable oil

3/4 cup orange juice

1 tablespoon lime juice

1/2 teaspoon vanilla extract

5 large eggs, slightly beaten

For the Glaze:

1/2 cup key lime juice (it takes about 25 key limes or 4 large limes)

1/2 cup confectioners sugar

For the Icing:

1/2 cup butter at room temperature

one 8 ounce package of cream cheese room temperature

one pound box confectioner’s sugar

NOTE: I doubled the icing recipe because I was making a layered cake. I did have left over icing so try making 1 and 1/2 recipes of icing)

Directions:

Preheat oven to 350 degrees

In a large mixing bowl, mix the gelatin, granulated sugar, flour, salt baking powder and soda. Stir to mix well. Add the oil, orange juice, lime juice, vanilla and eggs. Mix until well combined. Pour the batter evenly i the pan and bake for 35 minutes. Be sure and check you cake often at the end, the cake tends to get very brown on top. When done, cool the cake in the pan for about 5 minutes and then place on a cooling rack.

For the glaze: While the cake is still hot, mix the lime juice and confectioners sugar together. If you are having a hard time getting the sugar to dissolve try microwaving the glaze for a minute. Pierce the cake and while the cake is hot, pour the glaze over the layers. Let cool completely.

For the icing: Cream the butter and cream cheese. Beat in the confectioners sugar until mixture is smooth. (I added some vanilla paste, just cause I love those little specks of vanilla beans). Spread the icing on the top of the bottom layer of cake. Place the top layer on and ice the top and sides.

This cake was moist and tangyingly good! So different and so divine!

Pucker up with lime cake!

Enjoy,

Becky

Related Posts Plugin for WordPress, Blogger...