Raspberry and White Chocolate Scones

Not sure if I have ever told you that I do not like to eat eggs.

Yes, I have backyard chickens and love collecting, counting and sharing my little egg shell wrapped yumminess, but I really do not like scrambled eggs. I technically eat eggs in backed goods…but that is like a cake or a cookie. : )  Believe it or not, I have really gotten better about eating eggs over the last few years. I have started eating the occasional boiled and deviled egg. Progress!

So, why am I talking about eggs when I am posting a recipe about delicious and moist, fruit and white chocolate filled scones covered in a drizzle of vanilla bean glaze.

Well, it is because these are the things that I like to eat for breakfast.

For those of us who do not eat that traditional breakfast of eggs, bacon and toast, we are experts at finding other breakfast combinations.

Pancakes, biscuits and cereal (which is what I had for breakfast this morning).

Which by the way…does include bacon! Ha!

Let’s talk scones. I do not want a dry, tasteless, biscuit like scone that you need a ton of marmalade to make it taste good. That does not mean that I do not like a scone that is covered in marmalade…you should know me better than that. Let just forget the dry and tasteless part…ok?

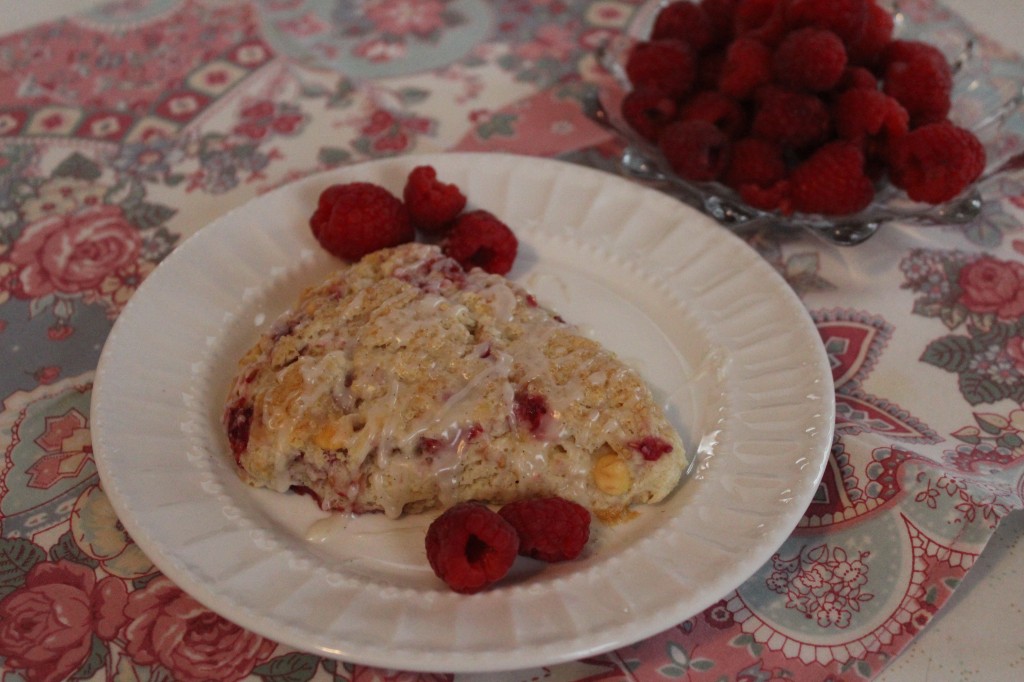
This recipe for Raspberry and White Chocolate Scones is moist and every crumb taste gooooood! It is sweet but not too sweet and the raspberries add that bit of tartness that I love.

These scones lasted for about 5 minutes after they were glazed.

Yes, about 5 minutes….I barely got to take a picture of them!

It is cool this morning in Mid Missouri. So, make you some hot tea and some warm scones and warm up that tummy.

It will make you happy!

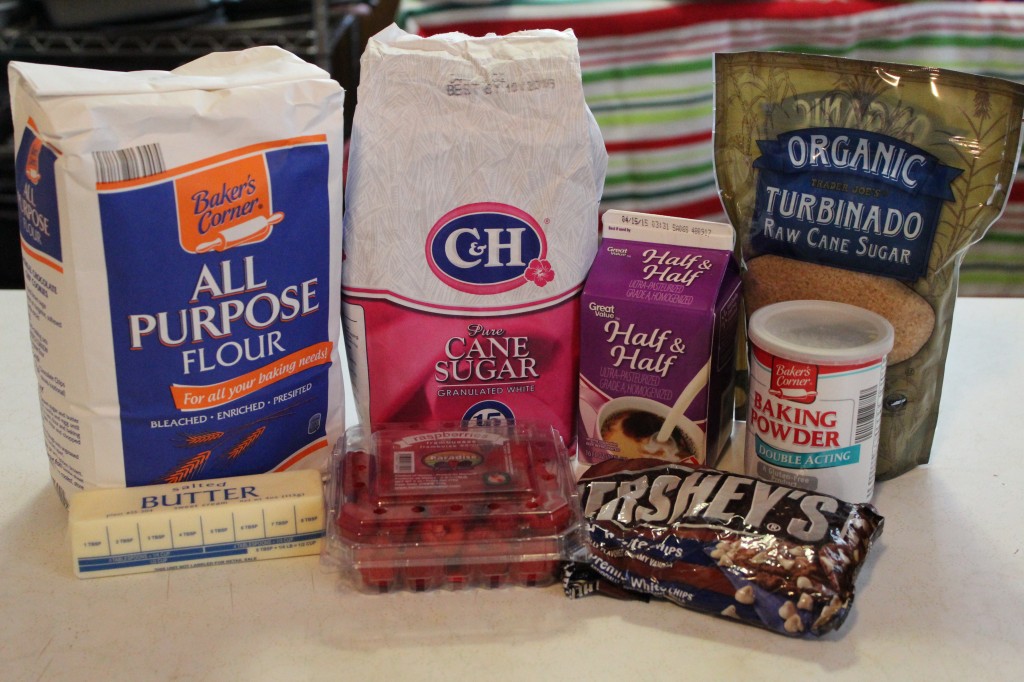
Here is what you will need for the scones, the ingredients for the glaze is a little further down:

You will need flour, salt (I forgot to put the salt in the picture), baking powder, sugar, whipping cream (I was out so I used half and half and it worked fine), butter, raspberries, white chocolate chips and a course sugar to top them with. I used turbinado raw can sugar, but you can use a course sanding sugar like this too.

This is from Wilton brand sanding sugar.

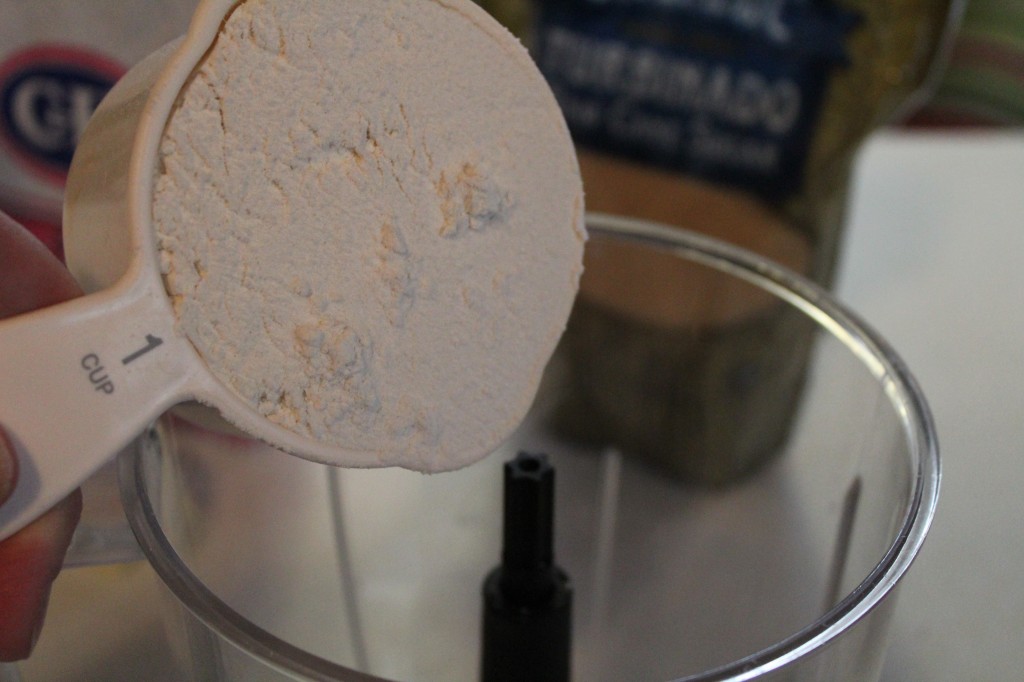
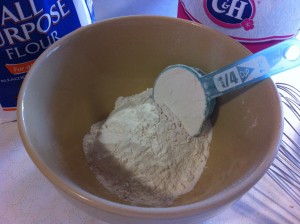
I used by little blender to mix my scones together, but you can definitely use a pastry blender to cut in your butter. First, measure out your flour and put it a bowl or your little blender.

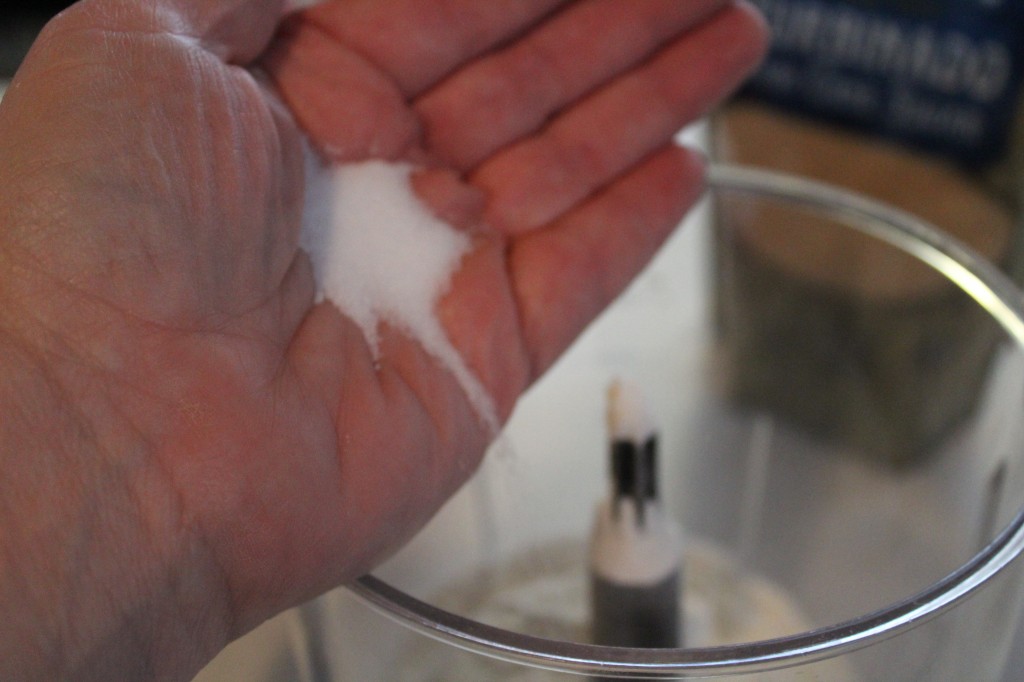
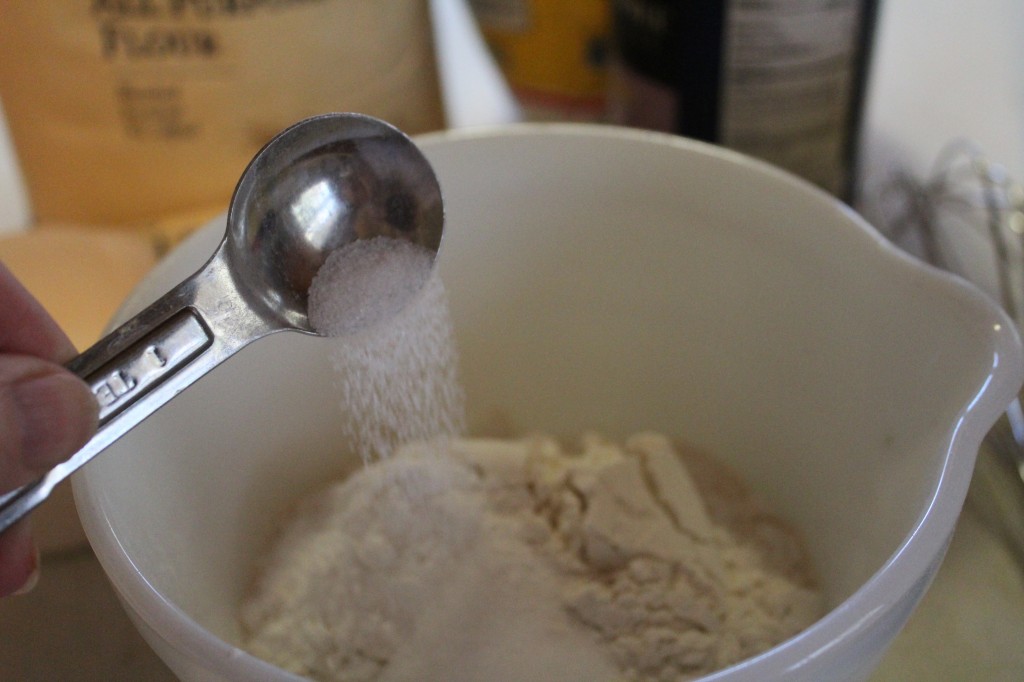
Add in the salt.

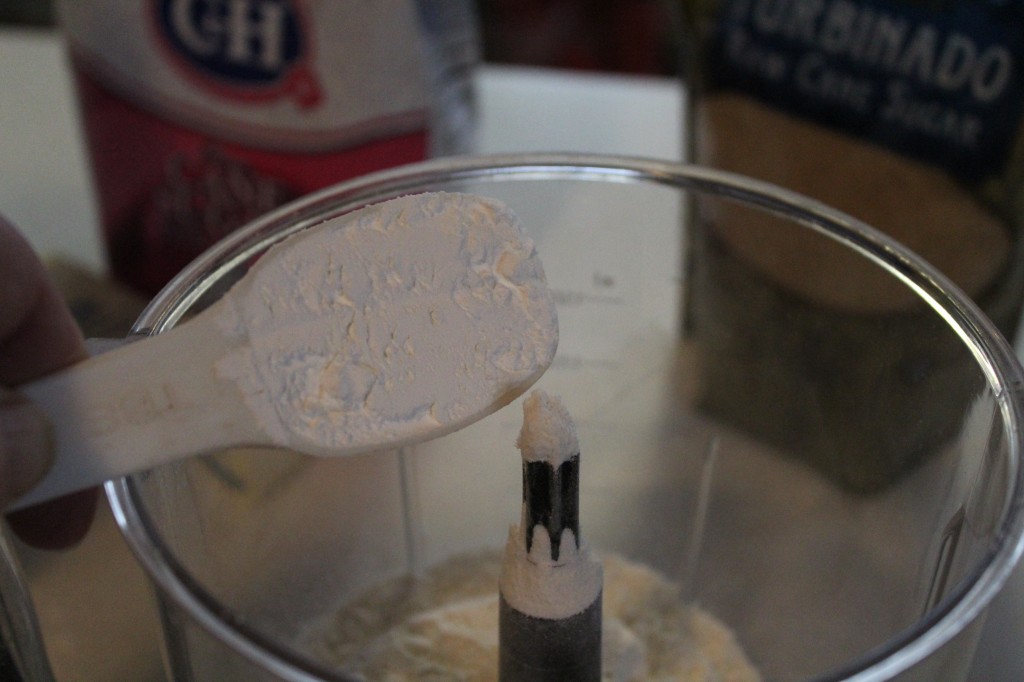
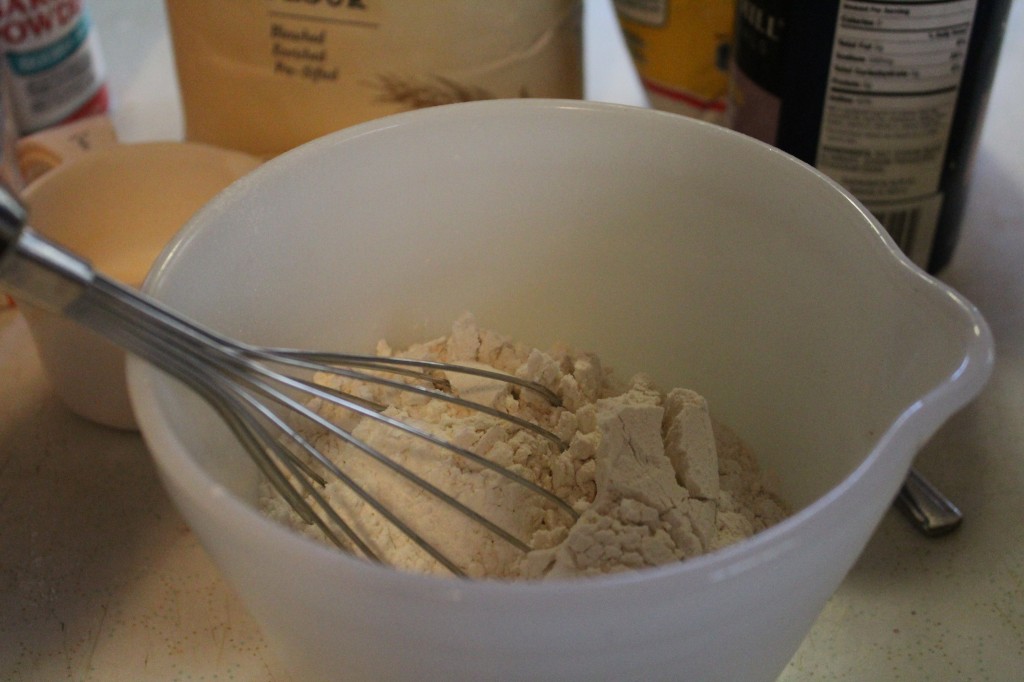
Now the baking powder and mix together.

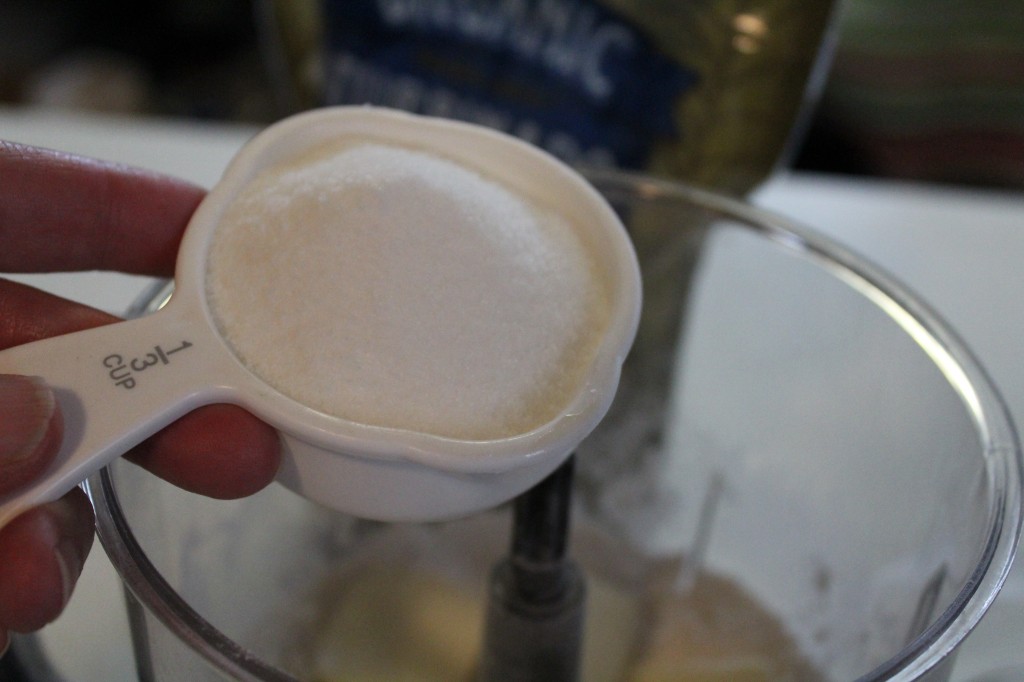
Stir in the sugar.

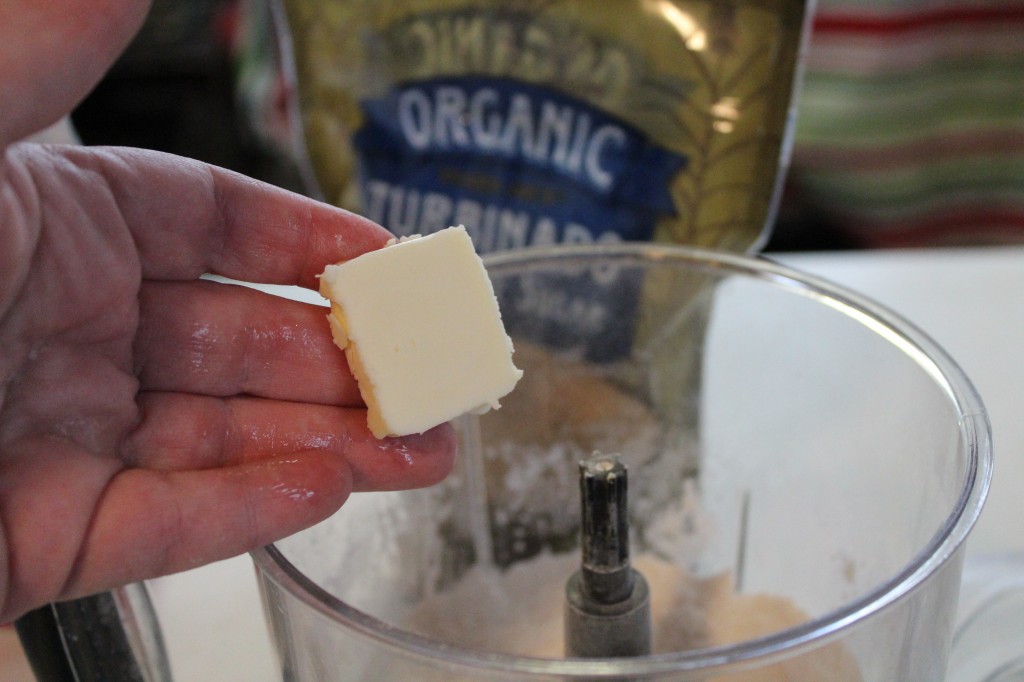
Add in the cold butter slices and cut in with a pastry blender or pulse a few times on your blender.

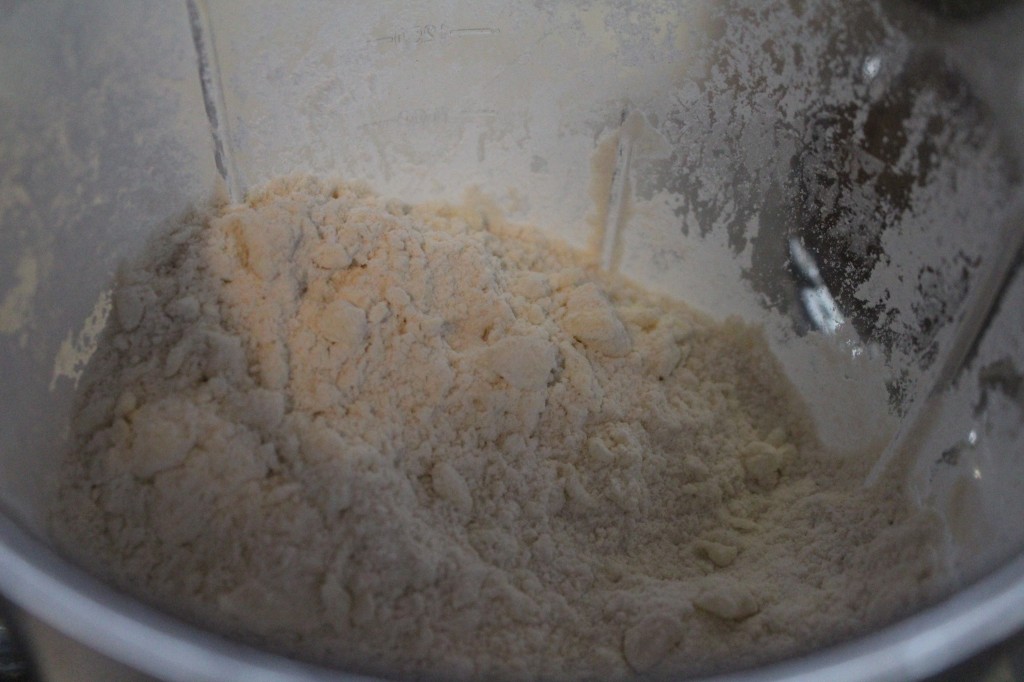
Your dough should start looking like crumbs with small pieces of butter.

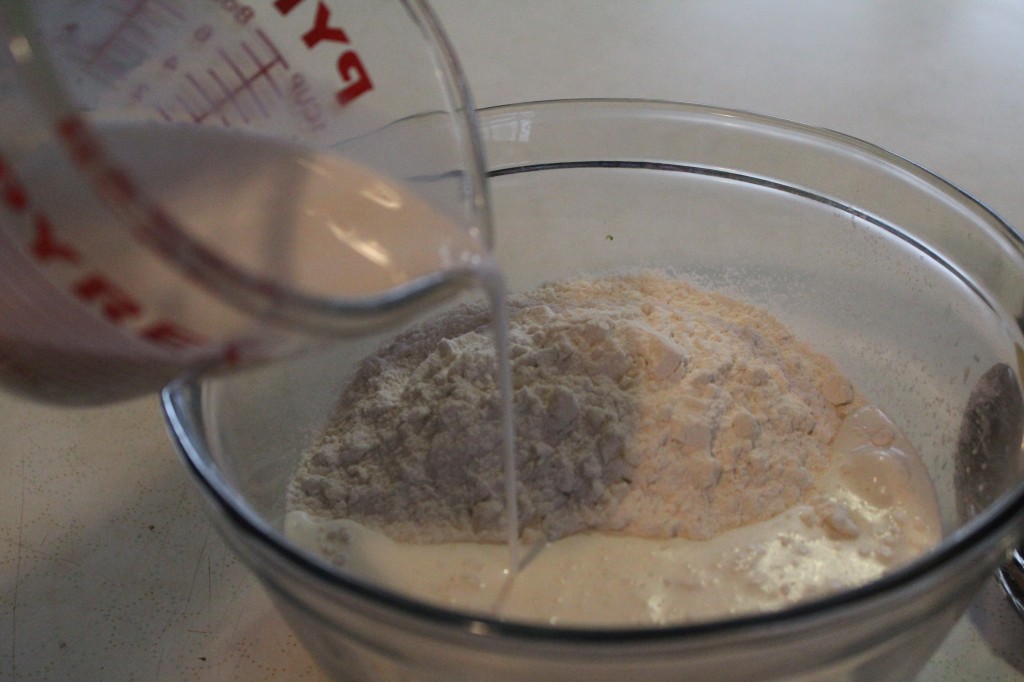
I transferred my flour and butter mixture to a bowl. Now, pour in the whipping cream (I used half and half) and stir together, gently.

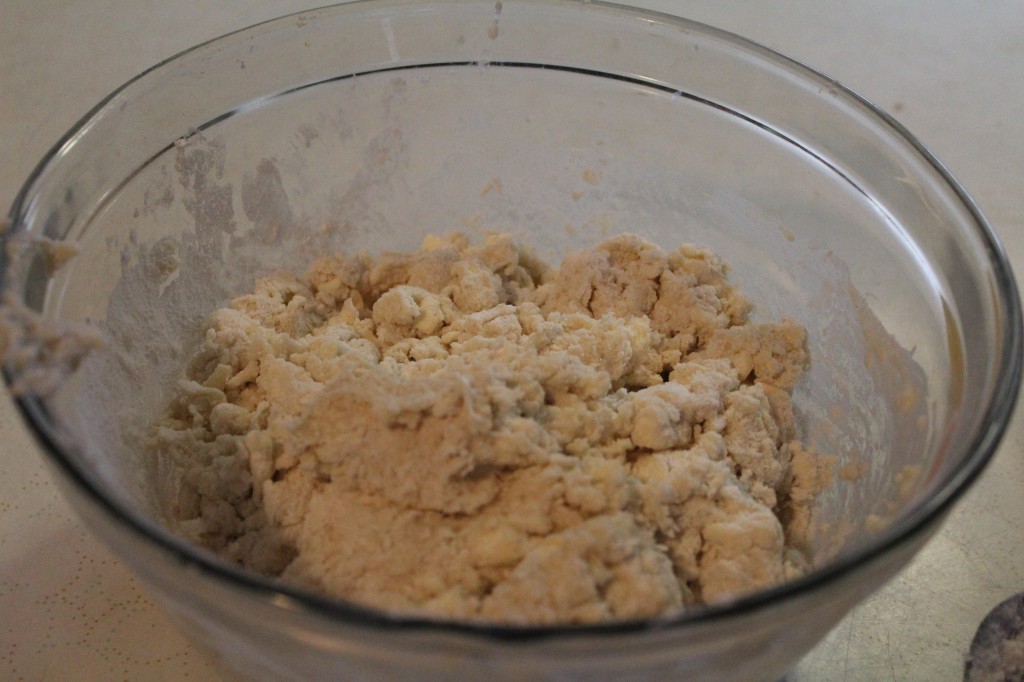
The dough will start to take shape.

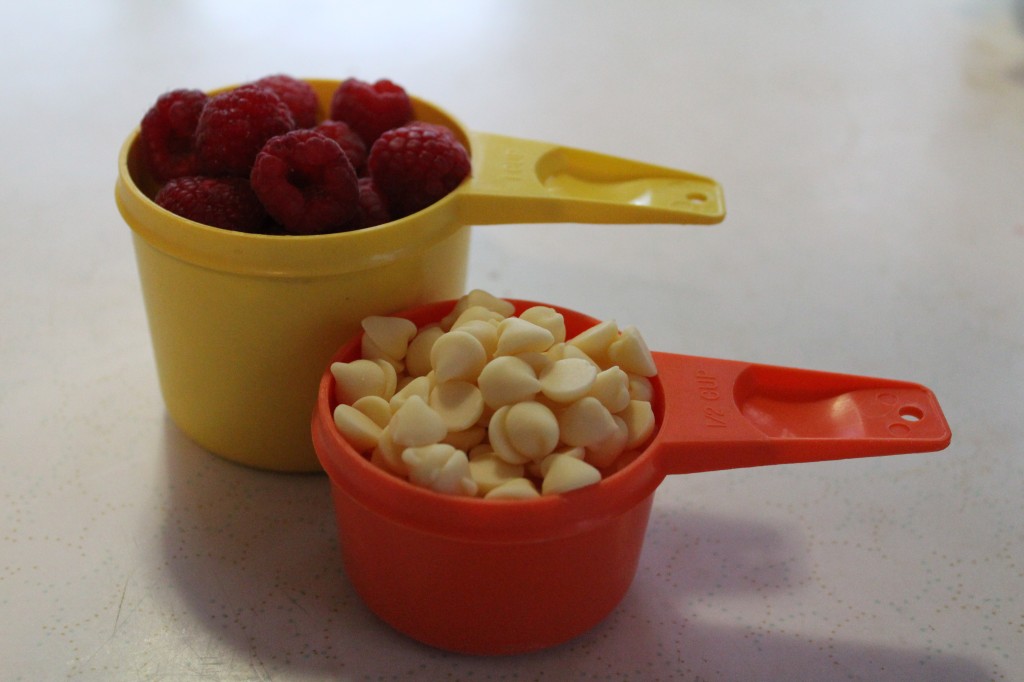
Measure out your raspberries and white chocolate chips.

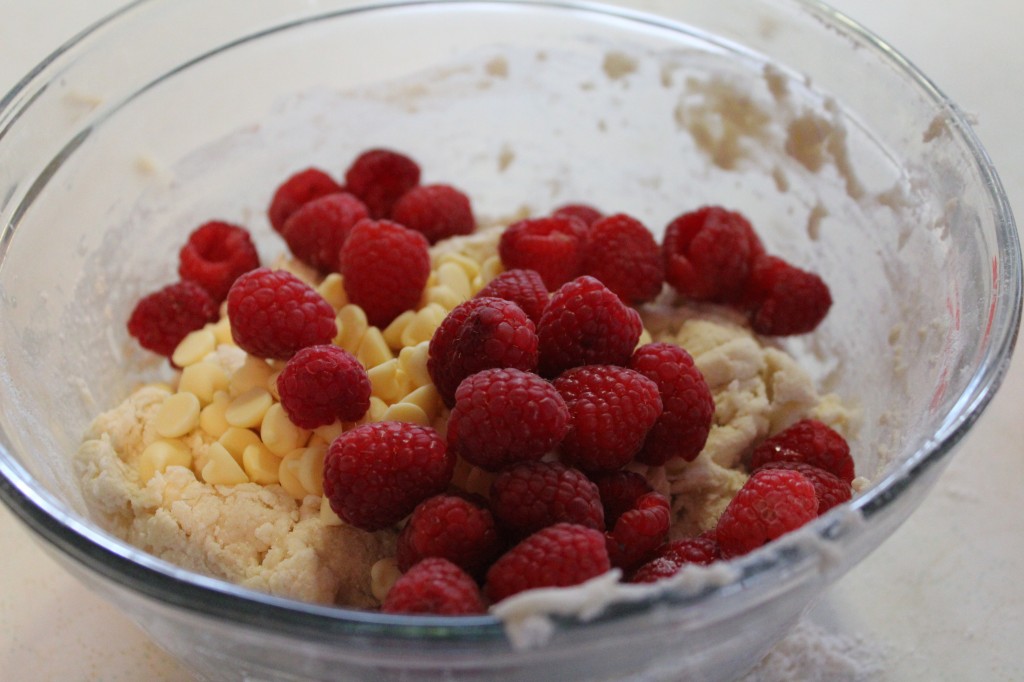
Add in to your dough and gentle knead in the dough. Be care not to break apart all the berries and be gentle during this process.

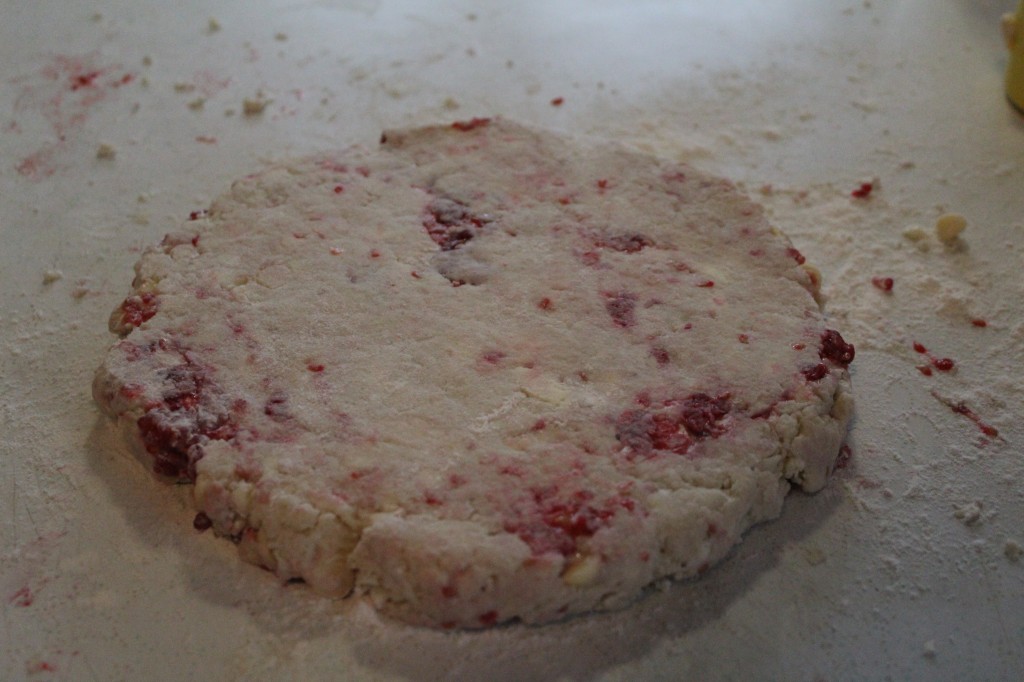
Form the dough into a nice circle.

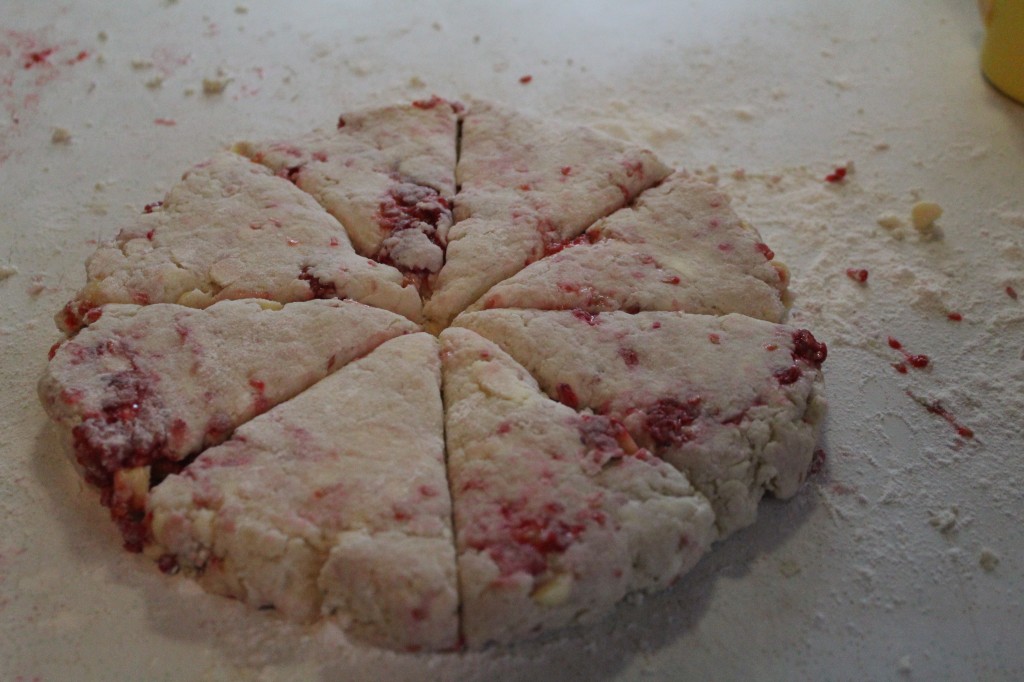
Cut like a pizza into  8 wedges.

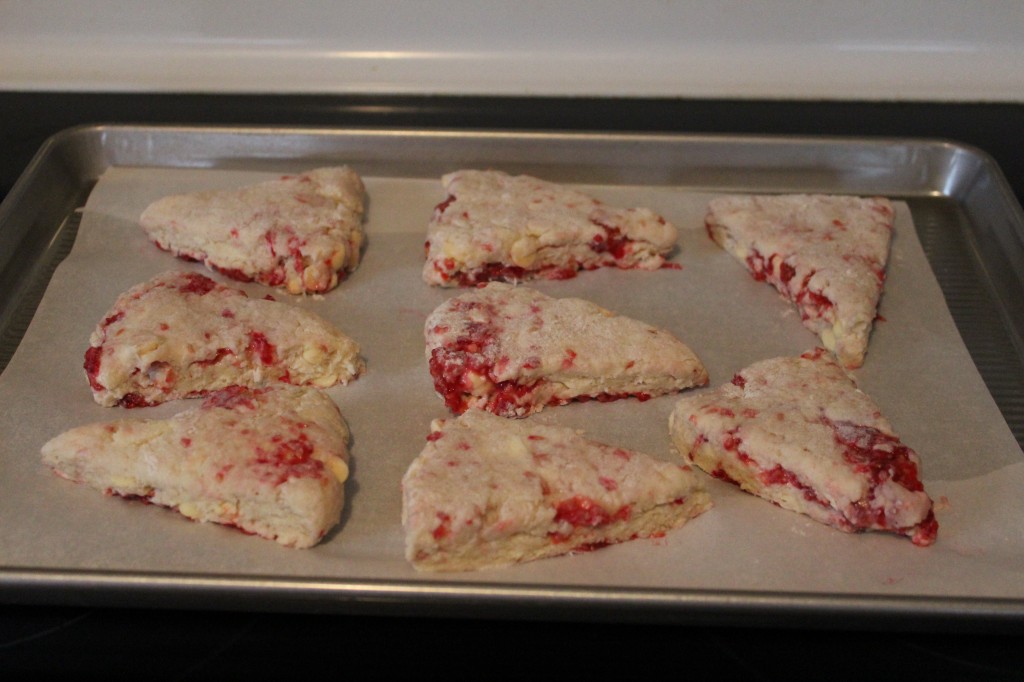
Place the scones on a parchment lined cookie sheet.

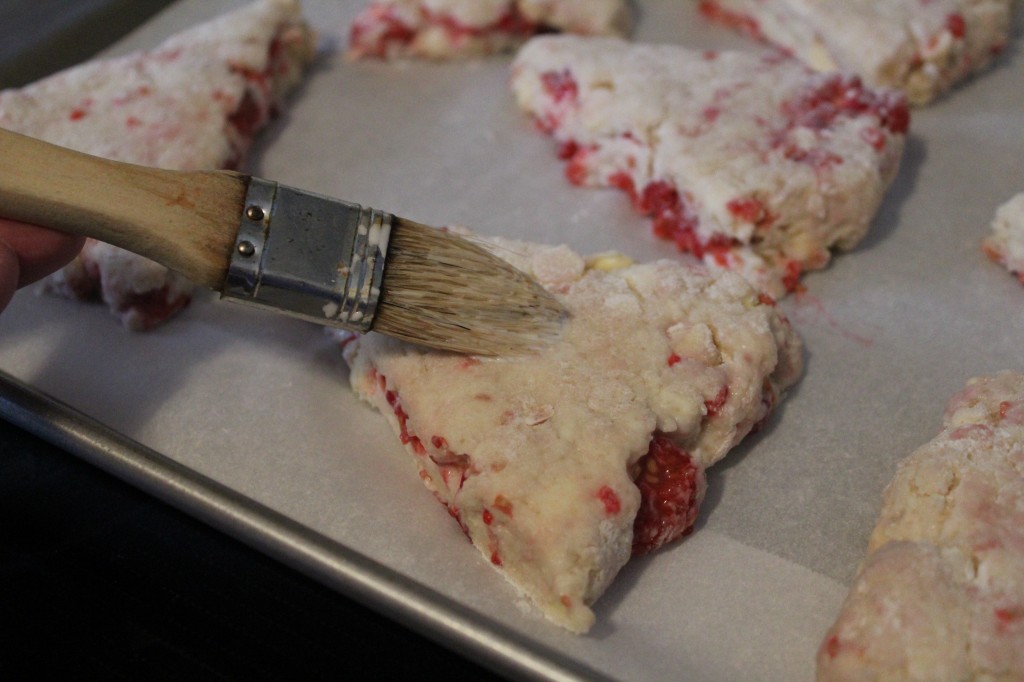
With a pastry brush, brush the tops of each scone with half and half.

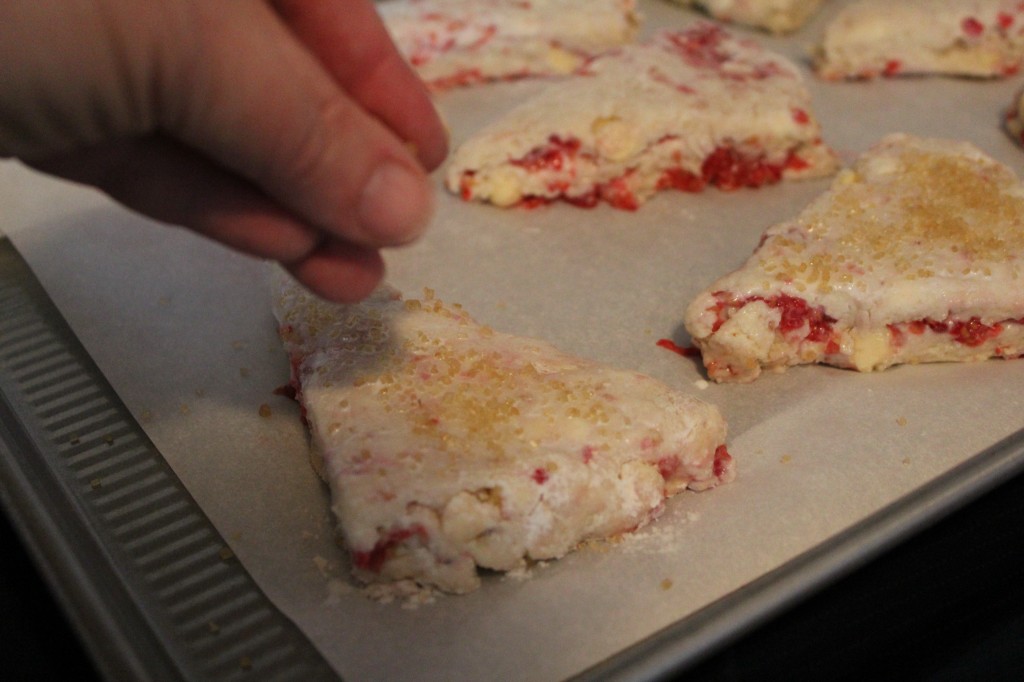
Sprinkle with turbinado sugar or sanding sugar. I love the little sugar crunch on the top. YUM! Put the scones in the oven and start baking. While the scones are baking, make the glaze.

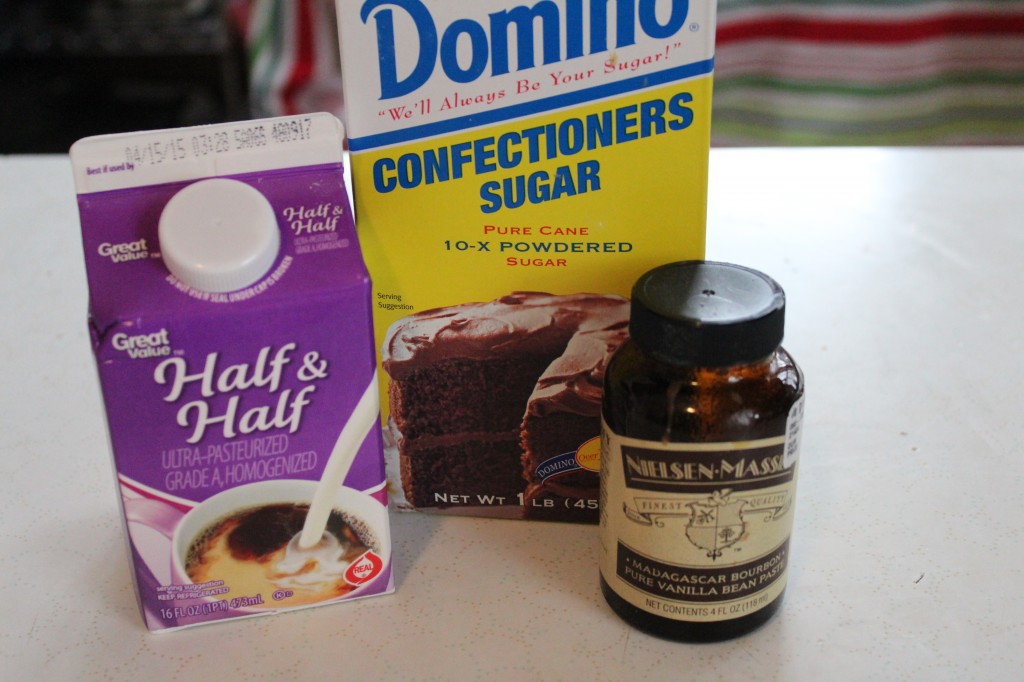
You will need some more half and half, powdered sugar and vanilla bean paste. If you do not have vanilla bean paste, just use vanilla.

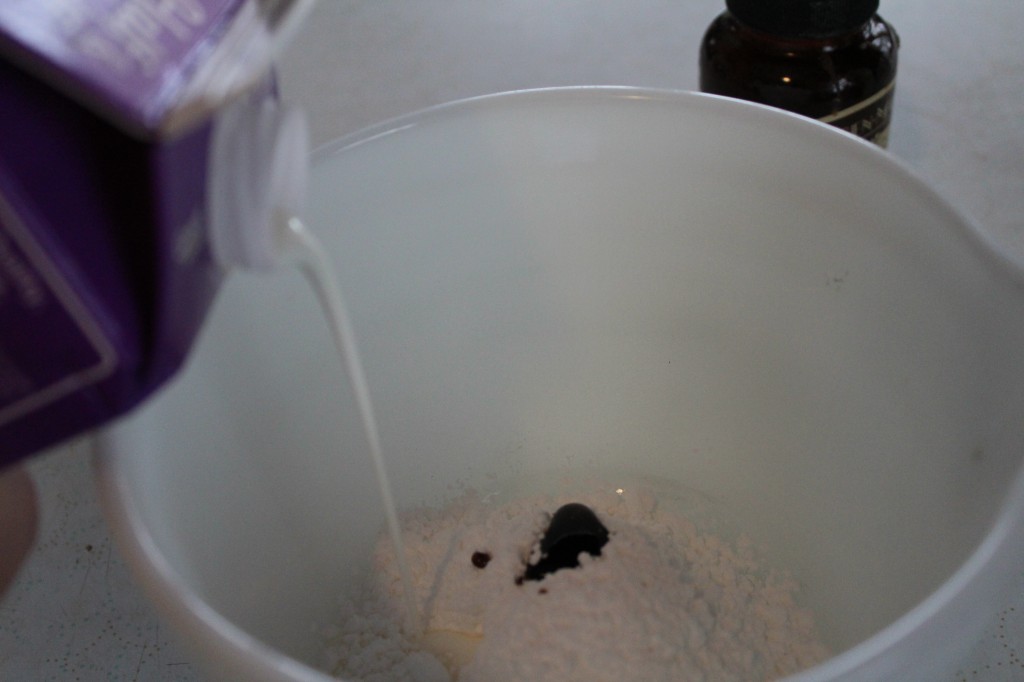
Add the powdered sugar, half and half and the vanilla bean paste.

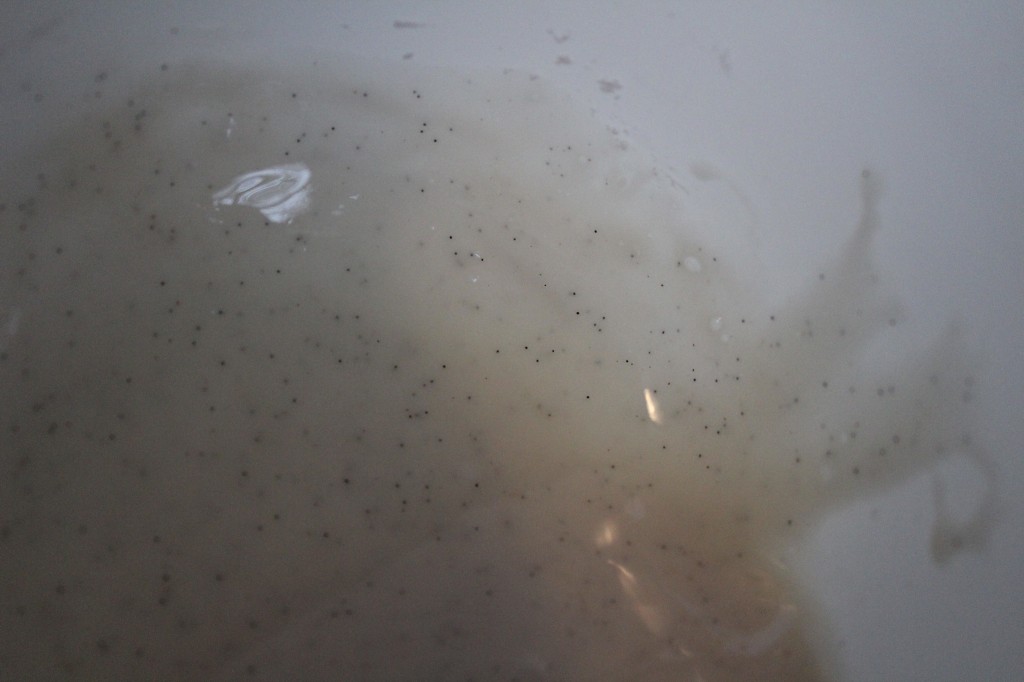
Stir together until smooth. I LOVE the little bits of vanilla beans.

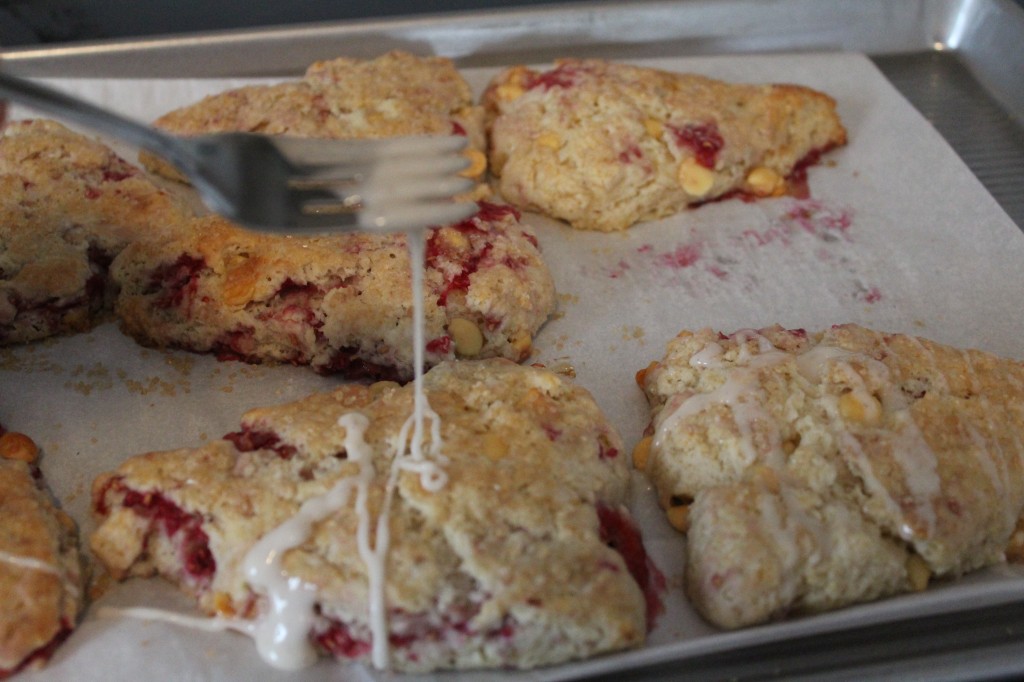
When the scones are warm and just out of the oven, drizzle the glaze over each one.

There you go!

You might not even need bacon to go with them : ).

If you are looking for a special breakfast or an afternoon tea scone, I think you will love these!

Here is the recipe:

Adapted from Southern Living

Raspberry and White Chocolate Scones

Ingredients:

2 cups of all purpose flour

1/3 cup sugar

1 tablespoon baking powder

1/2 teaspoon salt

1/2 cup cold butter cut into 1/2 inch cubes

1 cup whipping cream (save 2 tablespoons to brush on top of scones)

2/3 cups of fresh raspberries

1/2 cup white chocolate chips

Sanding sugar

Ingredients for the glaze:

1/2 powdered sugar

1 to 2 tablespoons milk to thin consistency ( I just went ahead and used my half and half)

1/4 teaspoon vanilla (I used vanilla paste)

Direction:

In a large bowl (I used my little blender) mix together the flour, salt, baking powder and sugar. Cut in the cold butter with a pastry blender until the mixture starts to look like crumbs. Pour in the half and half (save 2 tablespoons to brush on top of the scones) and gently stir to start forming a dough. Add in the raspberries and white chocolate chips. Gentle knead them in. Take the dough out of the bowl and form into a circle. Cut the dough like a pizza into 8 wedges. Brush each scone with the reserved whipping cream and sprinkle with turbinado sugar or a sanding sugar. Place the scones into a  450 degree preheated oven and bake 13 to 15 minutes until light golden color.

While the scones are baking, stir together the milk, powdered sugar and vanilla paste.

When the scones come out of the oven, drizzle with the glaze.

Now, try not to eat all of them!

Enjoy!

Becky

Here are some other post that might interest you:

         

Chocolate Peanut Butter Mousse Cake             Broccoli Rice Casserole

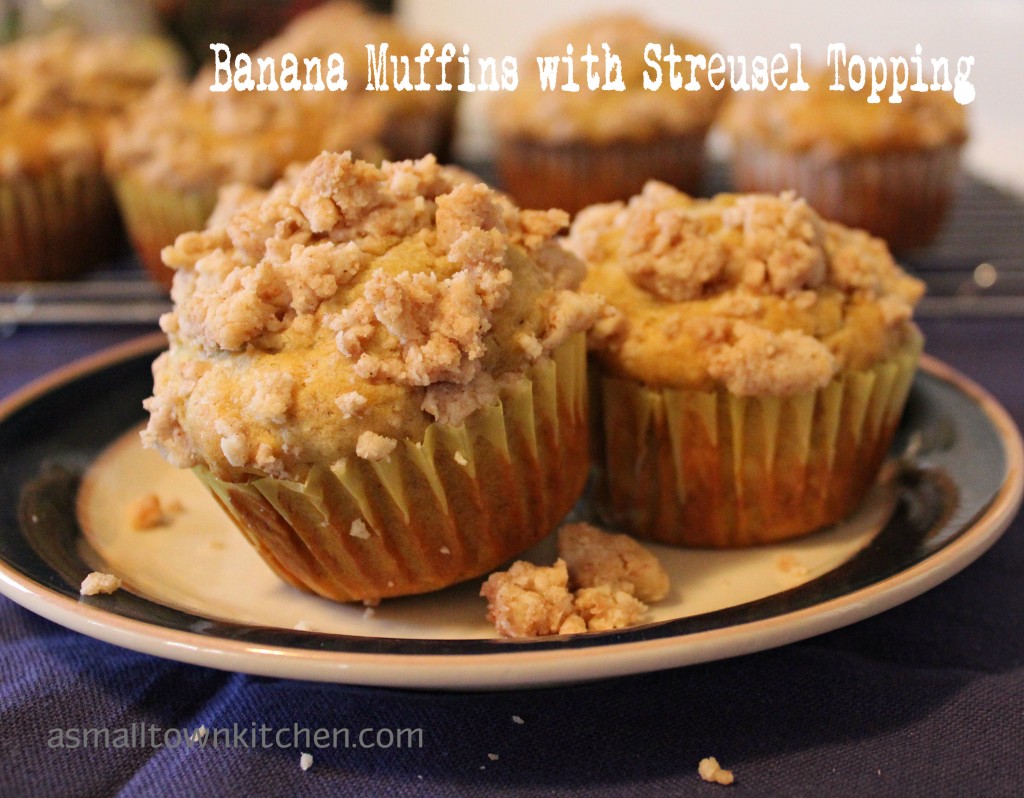
Banana Muffins with Streusel Topping

Banana Muffins with Streusel Topping

My youngest grandgirl loves her bananas.

Bananas are her go to snack during that in between time from getting home from day care and before dinner.

“Nana Please,” and she is not talking about me…she wants a banana.

So, you can pretty much count on that I will have some bananas in the house…somewhere. (youngest grandgirl likes to hide food behind my big chair in the living room.)

There are times though, that we cannot eat all of those needed bananas and I have to do something drastic to use up those bananas…like make banana muffins. (you did not think I would throw them away did you? hehe)

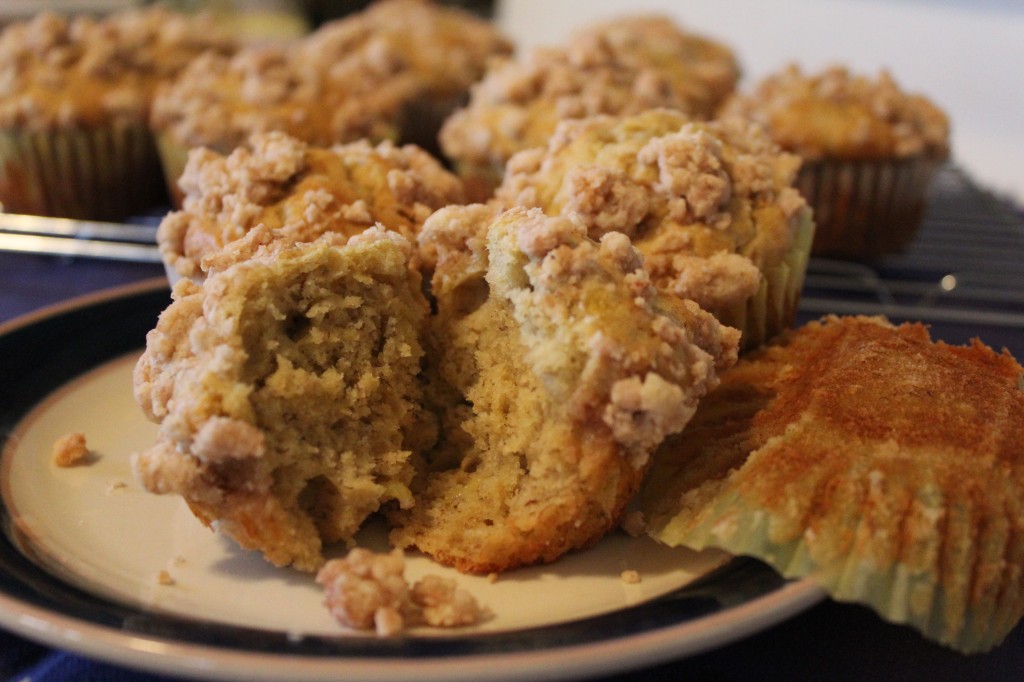
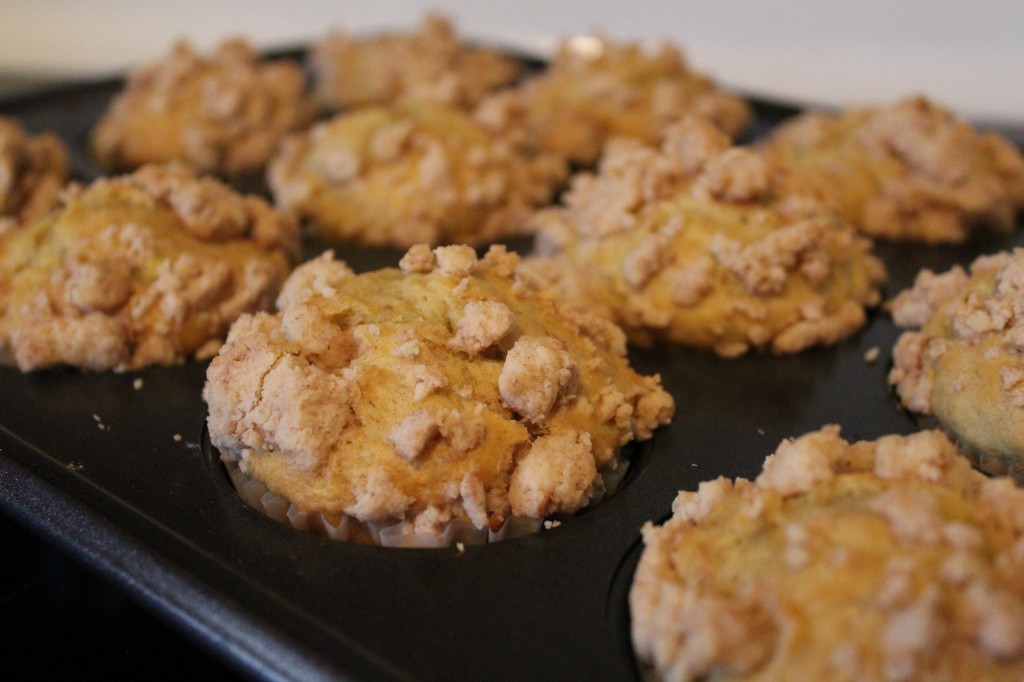
Anywho, I took my favorite and very simple banana bread recipe and topped it with a melt in your mouth streusel topping.

My old kids, my grand kids and myself included, could not stay out of them.

Yum a yum yummy!

If you need a little comfort food and you are looking at some bananas, do something drastic too…make some Banana Muffins with Streusel Topping.

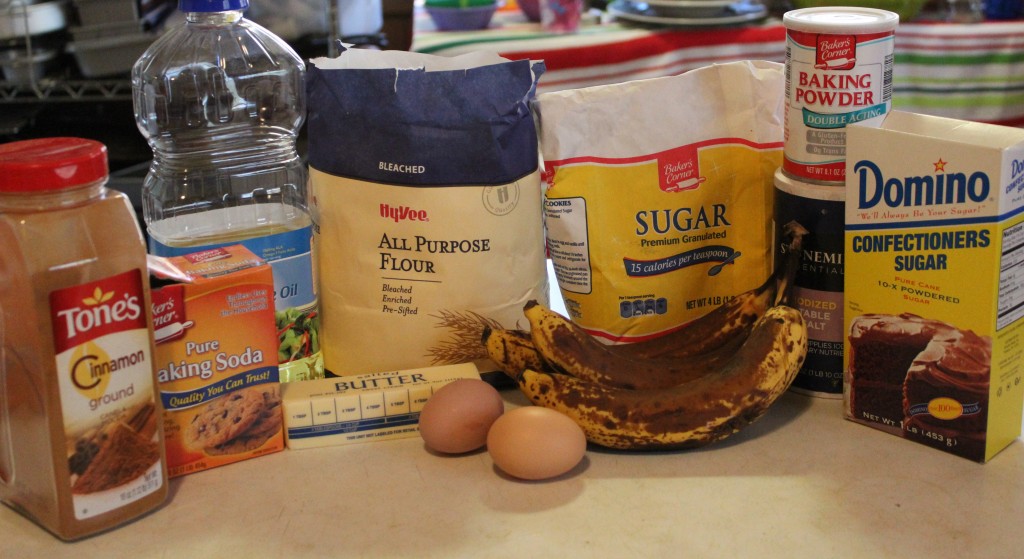
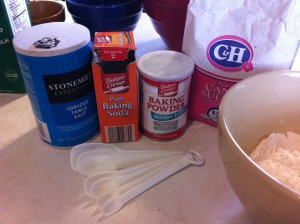
Here is what you need to make them.

I bet you have pretty much all of this in your kitchen right now. Flour, sugar, powdered sugar, oil, butter, salt, baking soda, baking powder, cinnamon and a couple of eggs.

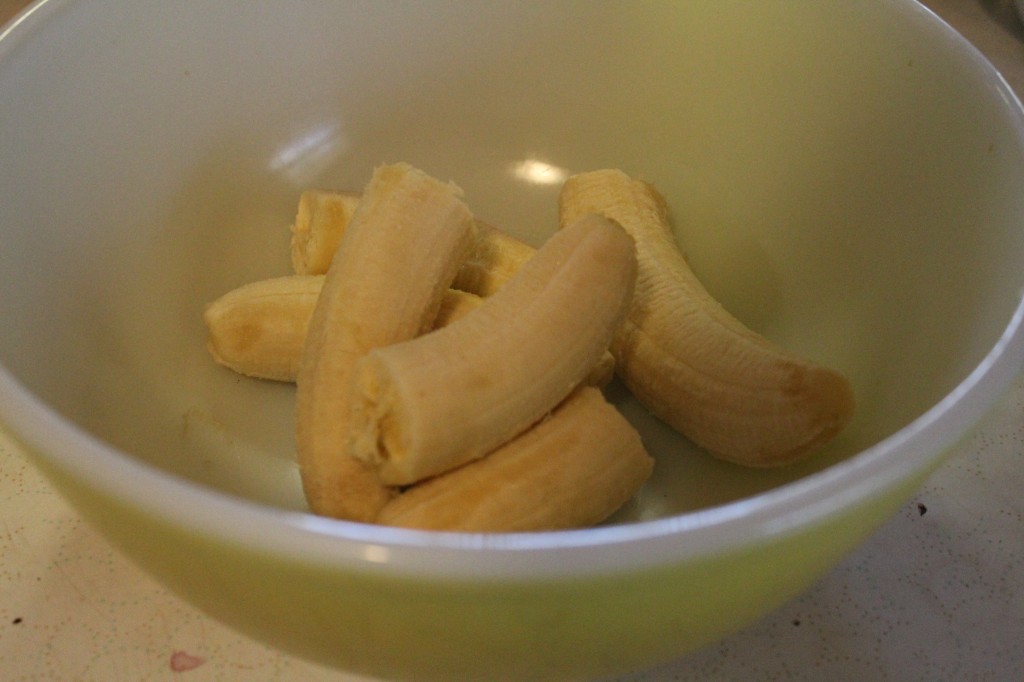
First thing I do is take a mixer to these bananas to smash them up.

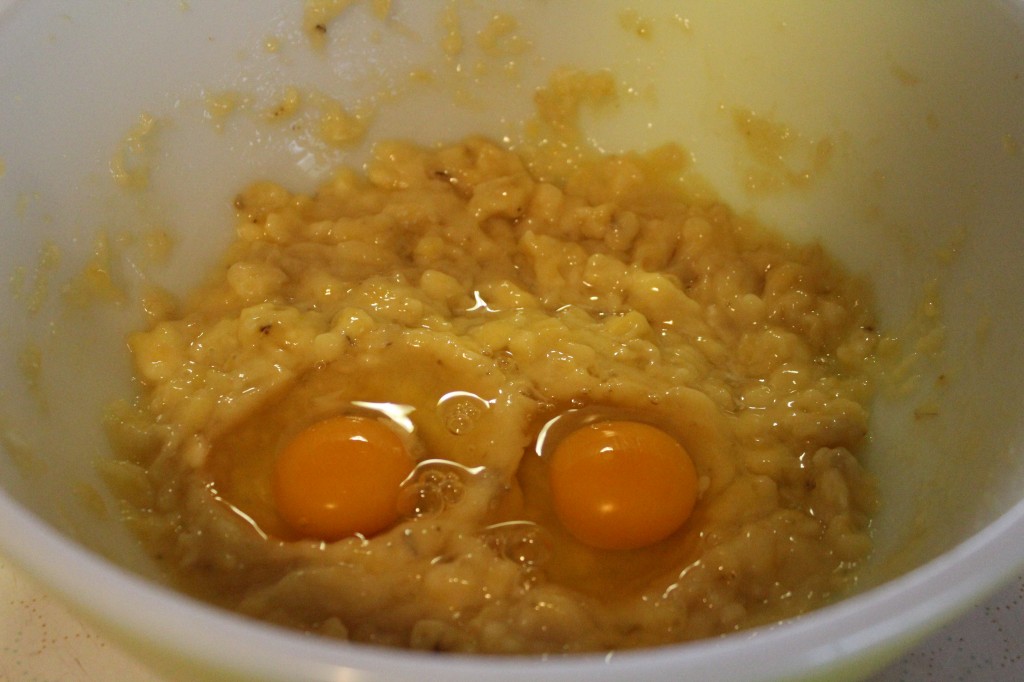
Then I add my eggs. (these came from my backyard beauties)

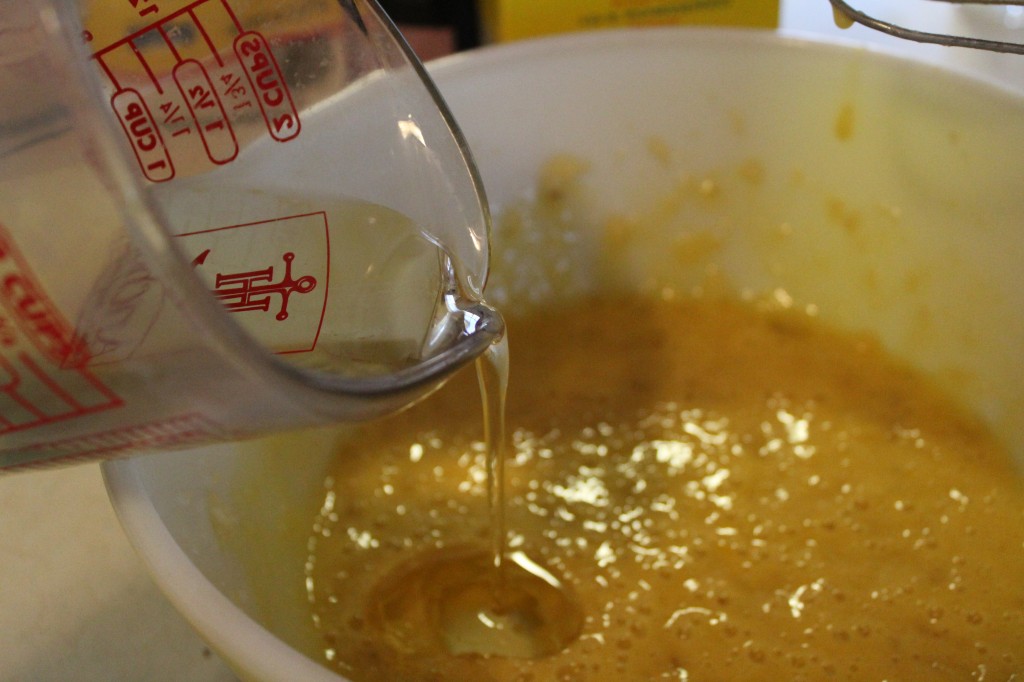
With a mixer, mix in the eggs with the bananas, then mix in the oil. Add the sugar into the banana mixture…I forgot to get a picture of that…ooops.

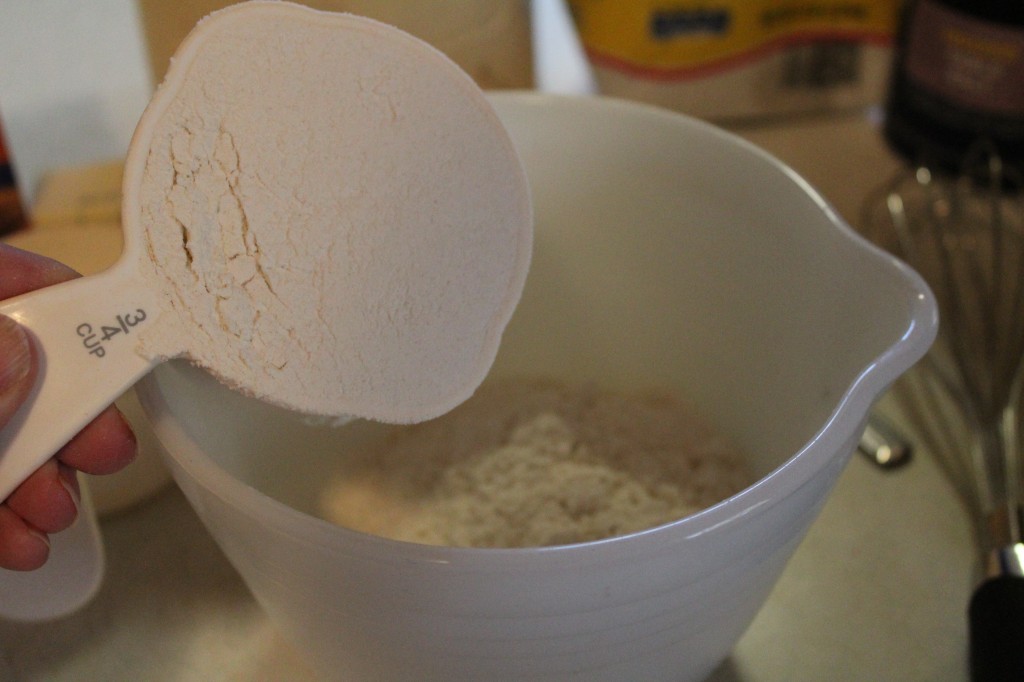
In a separate bowl, add in the flour.

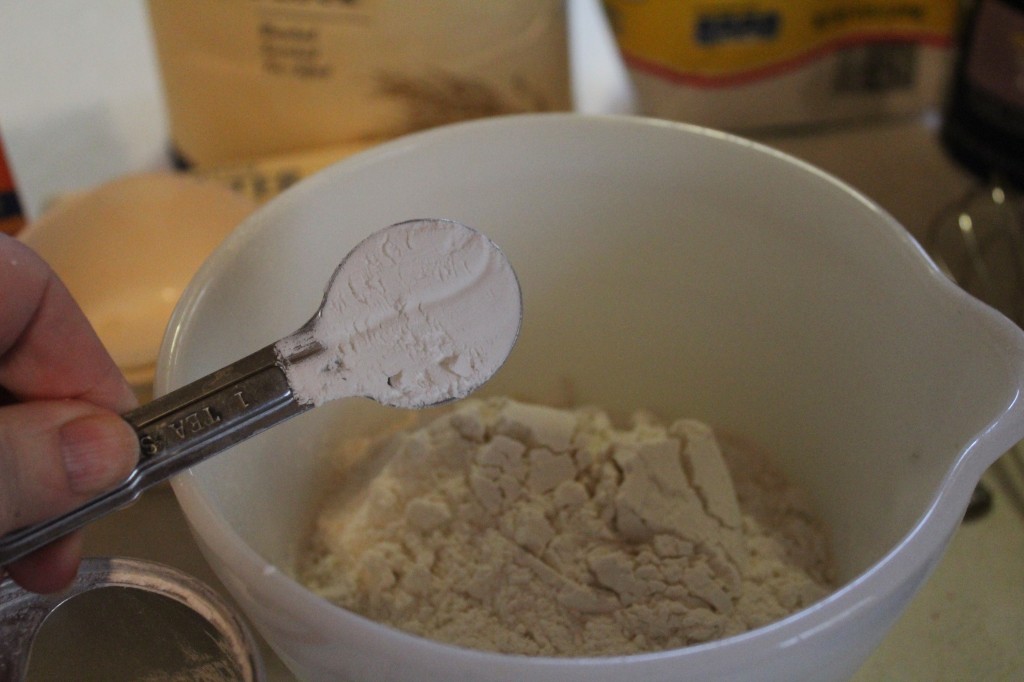
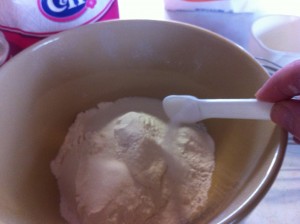
Add the baking powder and soda.

Add in the salt.

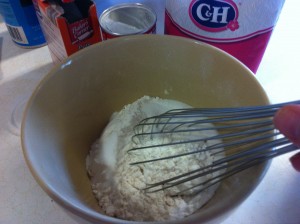
Whisk the dry ingredients together.

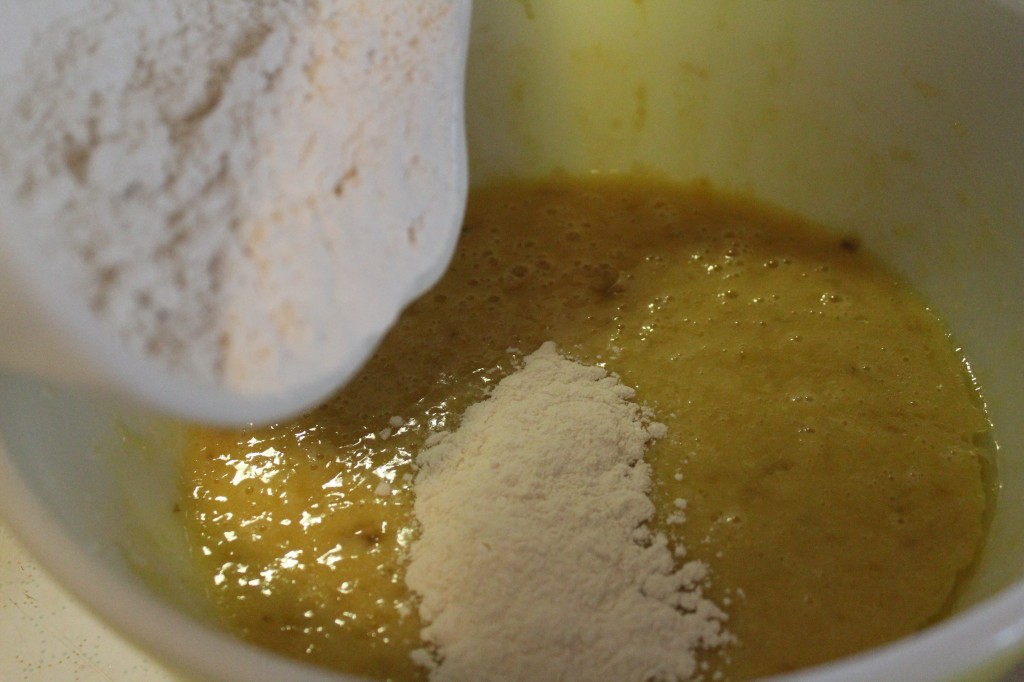
Add the dry ingredients to the banana mixture.

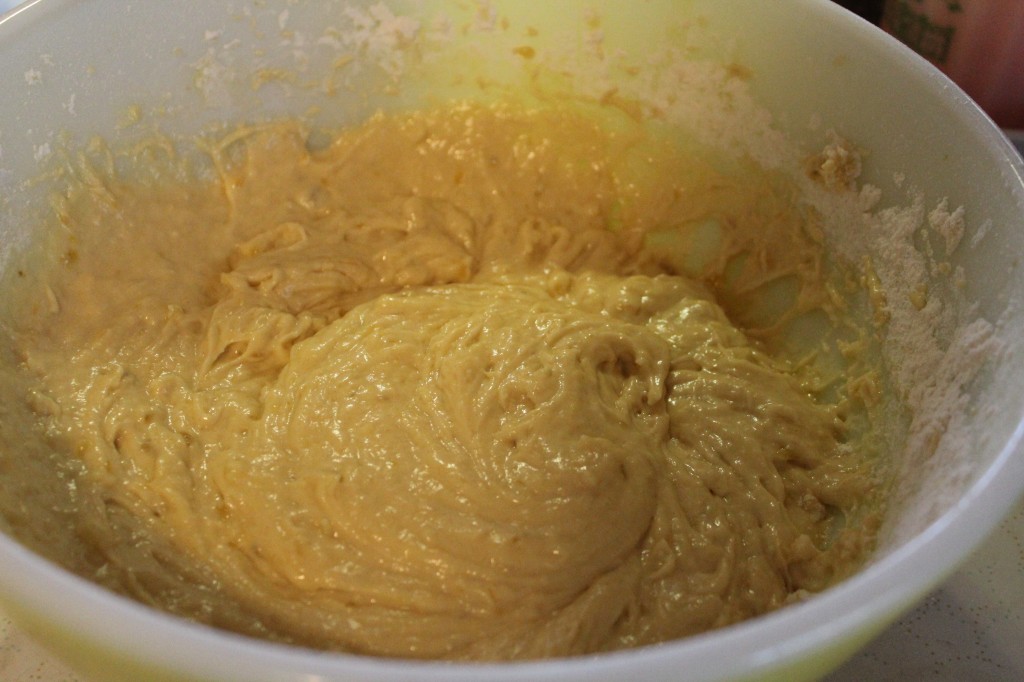
And now mix all up, without over mixing. (it causes tunnels in your muffins)

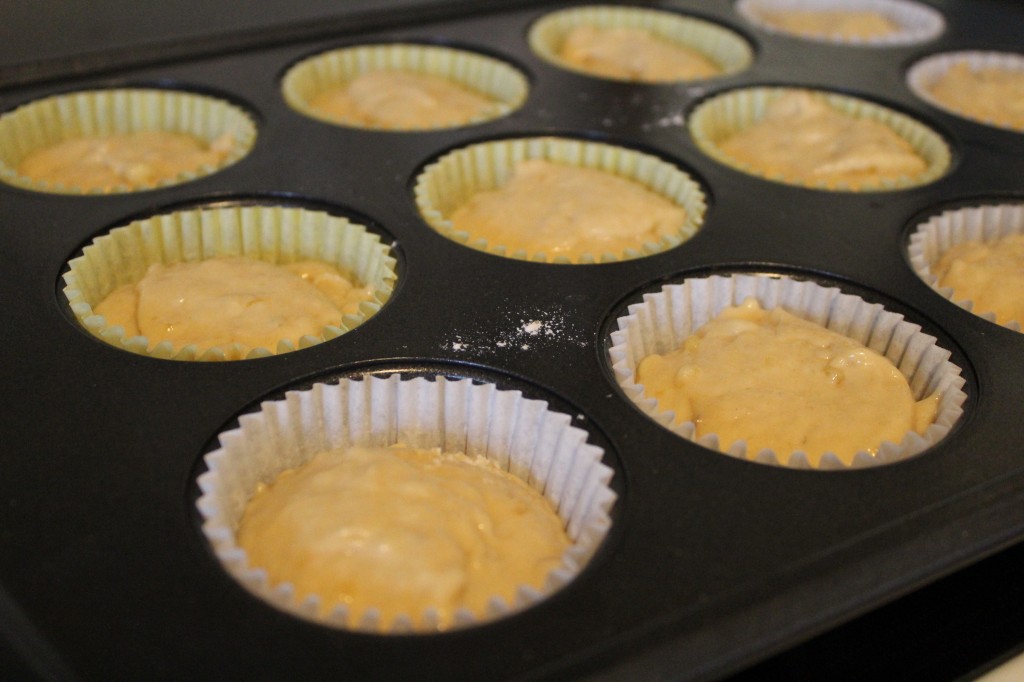
Fill the muffins tins up two-thirds with the batter.

Now, lets make the topping!

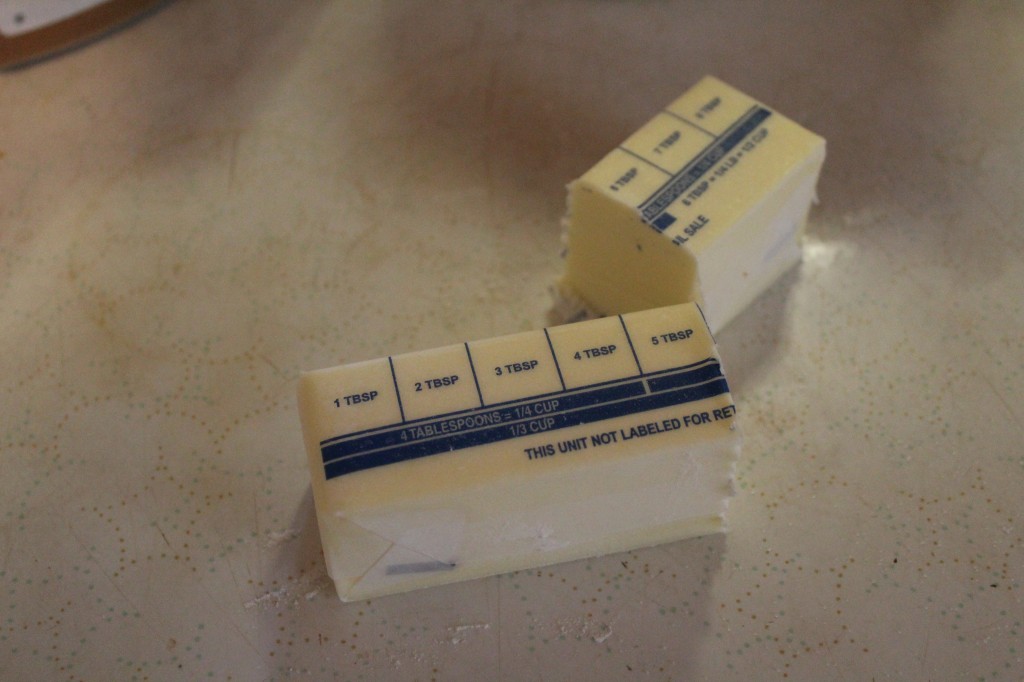
Cut off 5 tablespoons of butter.

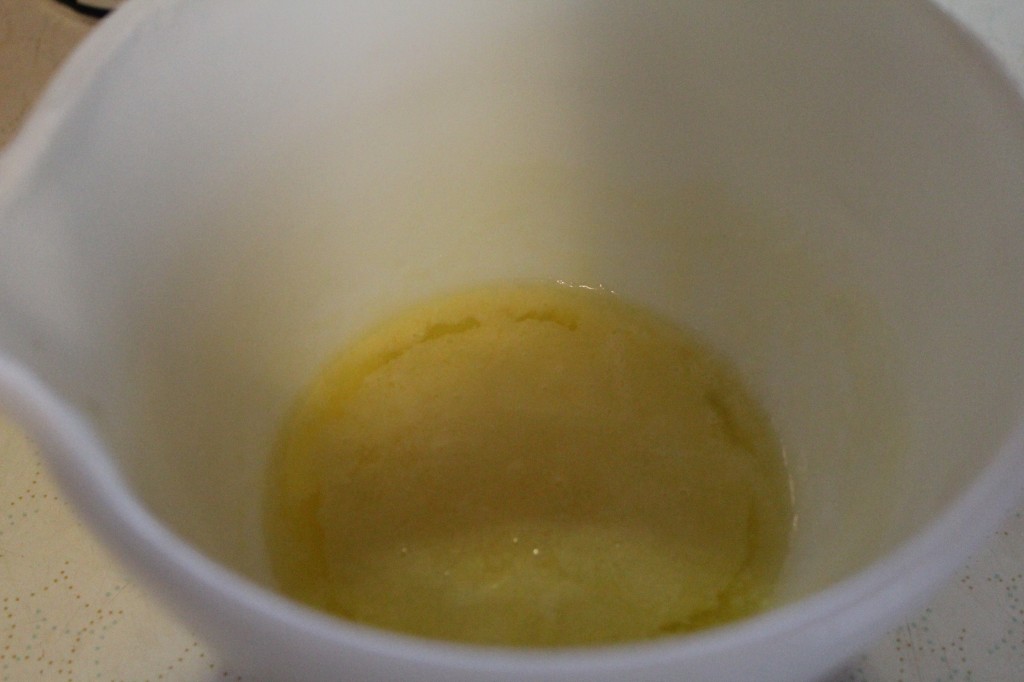
You want to melt it. I just put mine in the microwave to melt.

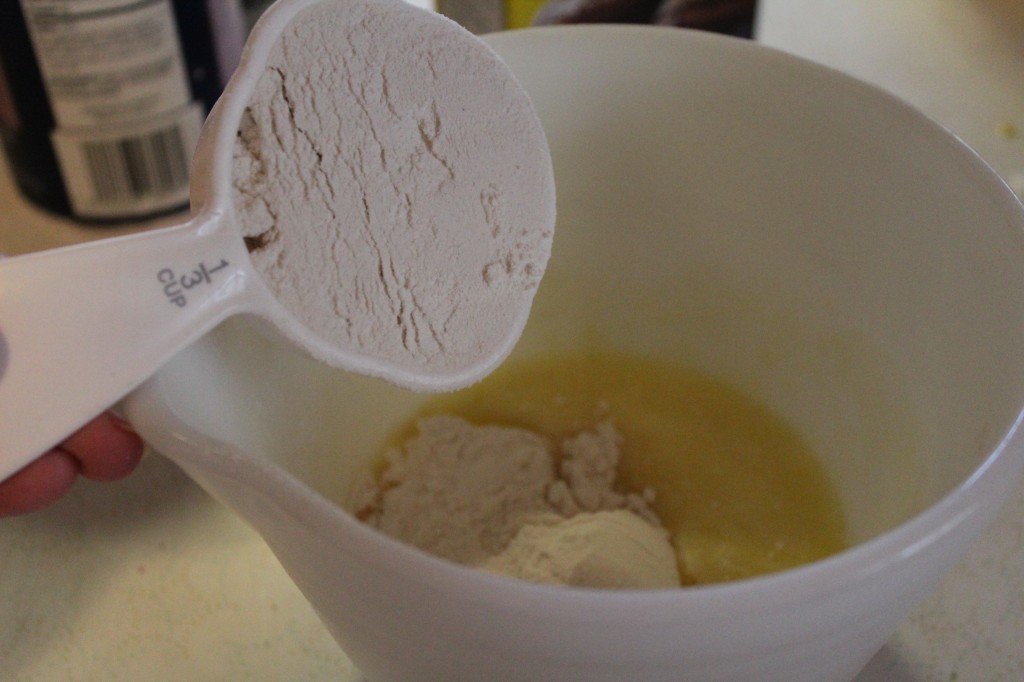
Add in your flour.

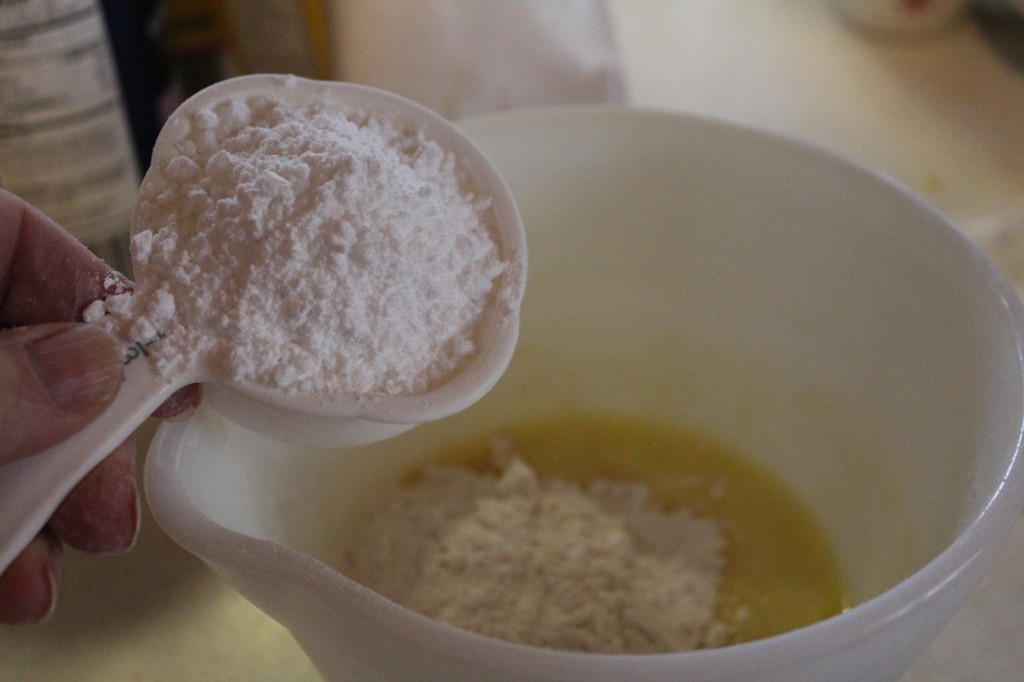
Add in your powdered sugar.

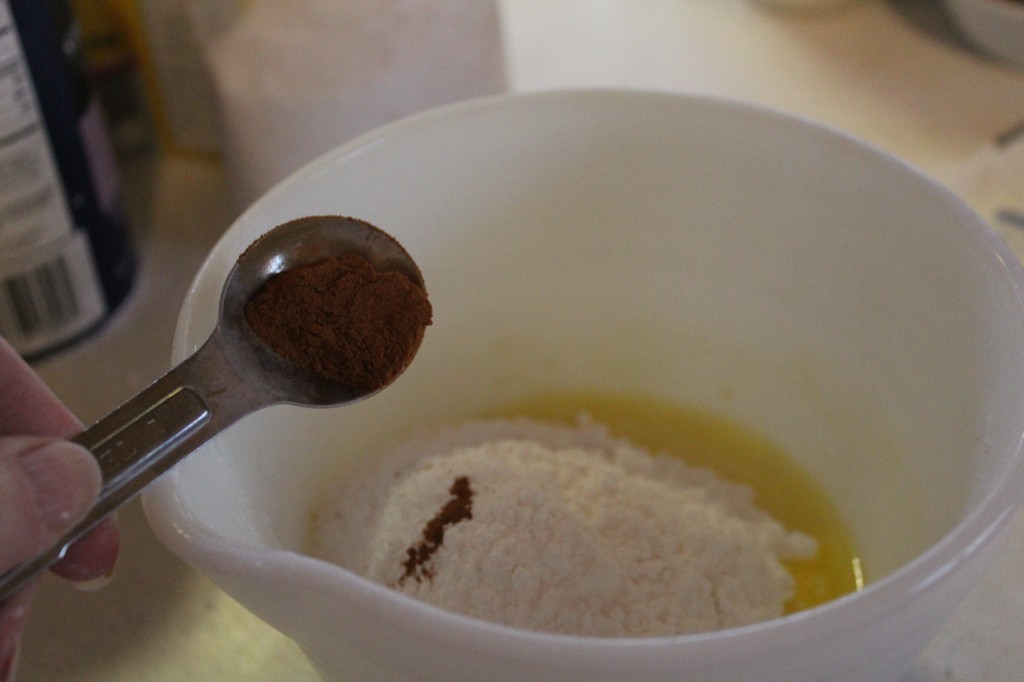
Now cinnamon…yum!

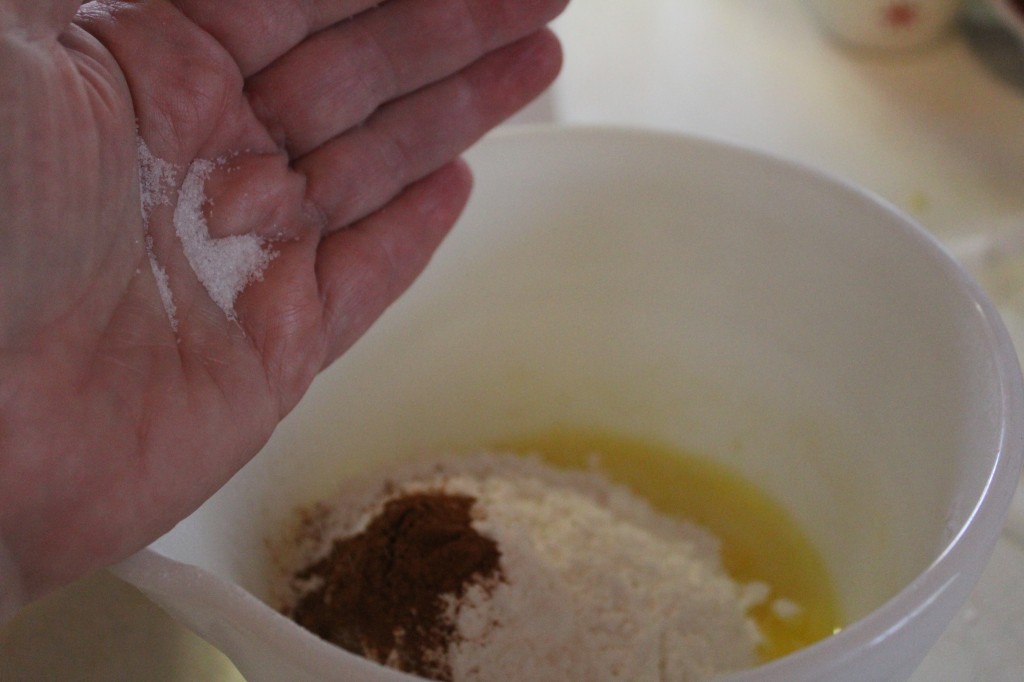
A pinch of salt.

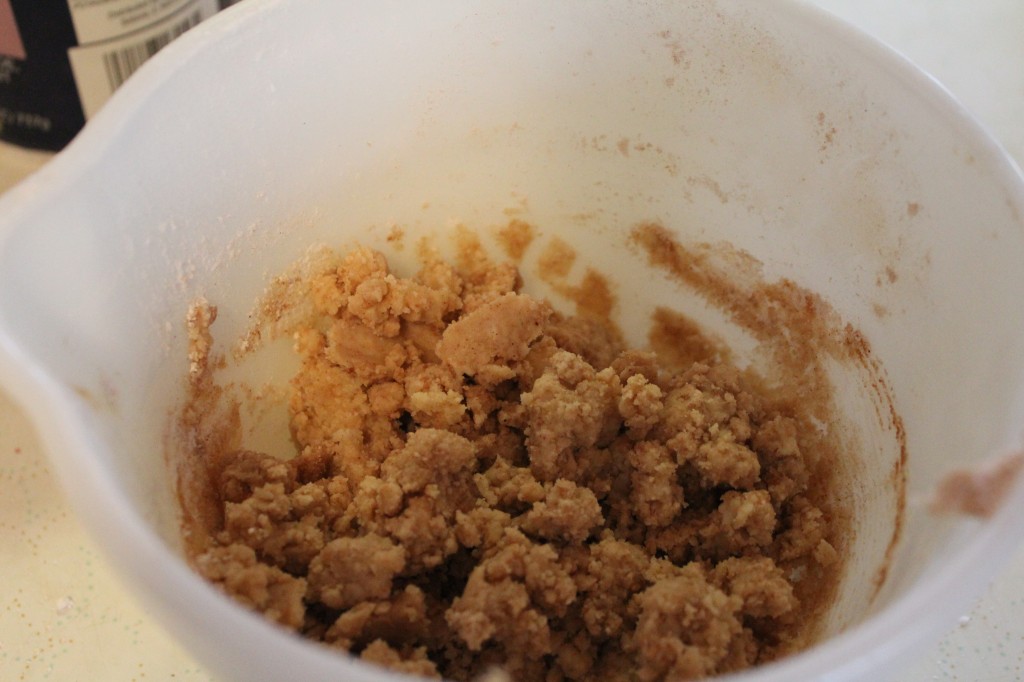
Mix it all together. The great thing about this topping is that  you can put it on any kind of muffin or quick breads to add a little homemade goodness.

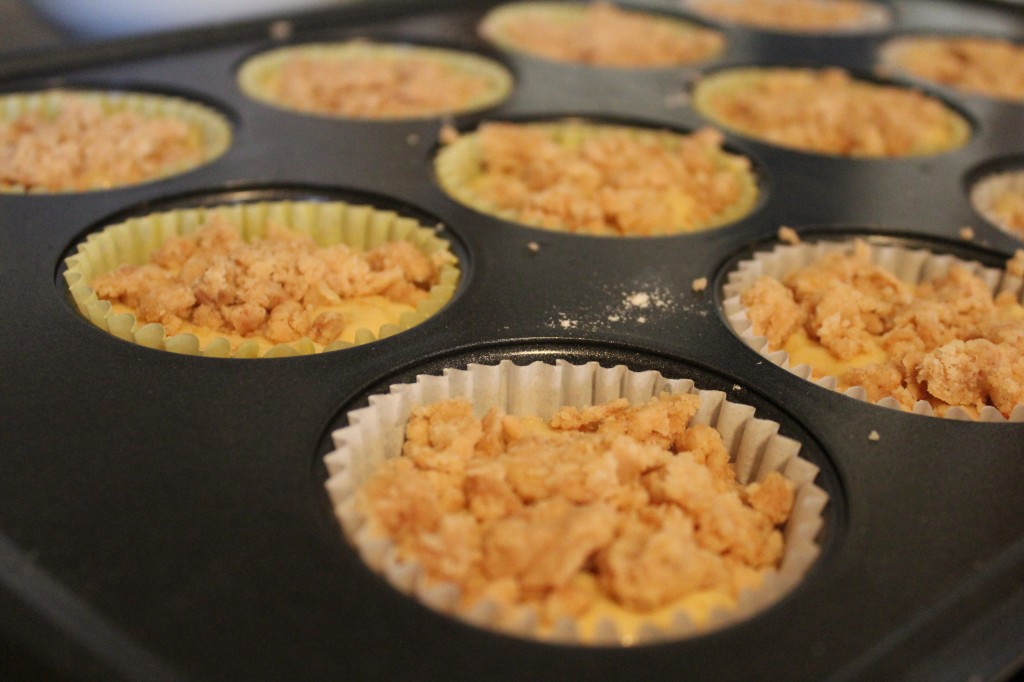
Drop small pieces of the topping onto the top of each muffin. I also gently pressed the topping into the batter.

Put the muffins in a preheated 350 degree oven to bake. They take about 20 minutes.

Here is the recipe:
Banana Muffins with Streusel Topping

Ingredients:

3/4 cup of sugar

1/2 cup oil

2 eggs

3 ripe bananas, mashed

1 3/4 cups flour

2 teaspoon baking powder

1/2 teaspoon baking soda

1/2 teaspoon salt

Streusel Topping

5 tablespoons butter, melted (I have also used margarine)

2/3 cup flour

2/3 cup powdered sugar

1/4 teaspoon cinnamon

pinch of salt

Directions for the Banana Muffins

In a large mixing bowl, mix together the sugar, oil, eggs and the bananas.

Add in the flour, baking powder, baking soda and salt.

Heat the oven to 35o degrees.

Grease or line a muffin tin with papers and fill each muffin cup 2/3 full of batter.

Now, make the topping.

Directions for the Streusel topping:

In a medium size bowl, stir together the melted butter, flour, powdered sugar, cinnamon and salt. It will be clumpy, but that is ok.

Back to the muffins:

Now that the streusel is ready, sprinkle streusel on the top of each muffin. I pressed the streusel down slightly into the batter so it will bake on and not fall off when you take them out of the oven.

Bake the muffins in a preheated 350 degree oven for about 20 minutes or until a toothpick comes out clean when inserted into the muffin. Cool for 10 minutes then remove from muffin tin.

Makes about 15 muffins.

Enjoy!

Becky

Here are some other recipes you might enjoy.


Velvetta Cheese Soup                    Easter Bird Nest                           Pistachio Bread with Cinnamon Swirl

A Bucketful of Muffins

Have you ever had to cook for a crowd? Or just wanted to bake something that you could enjoy today and for later?

That is why I love to make these muffins.

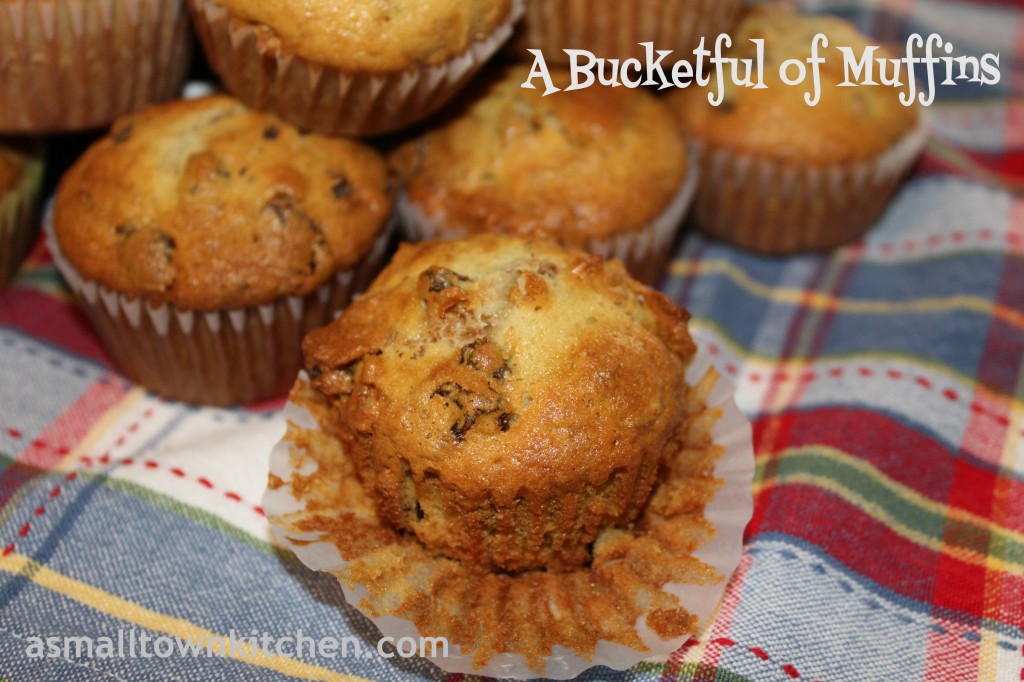
When I had to start going to meetings before school, several of us teachers brought in enough goodies to feed all the teachers a nice breakfast. It is great to just hop in your car, drive to school, knowing that breakfast was there waiting for you. Yummy breakfast food to celebrate the start of school and to get you ready to go to all those FABULOUS meetings….. : ). One of the things that I made to share were these terrific muffins. They are full of raisin bran cereal and extra raisins. I love them so much, I made a batch for home and shared with Niener Wiener and Jeanie Beanie. I froze the rest in the freezer. All I had to do was pull a muffin out and microwave it for breakfast. It was like eating a fresh baked muffin. If you would rather bake a few of the muffins at a time, you can do that too. Just put the batter in the refrigerator and bake a few at a time. The only trick is that you do not stir the muffin batter after it goes into the fridge because it breaks down the cereal.

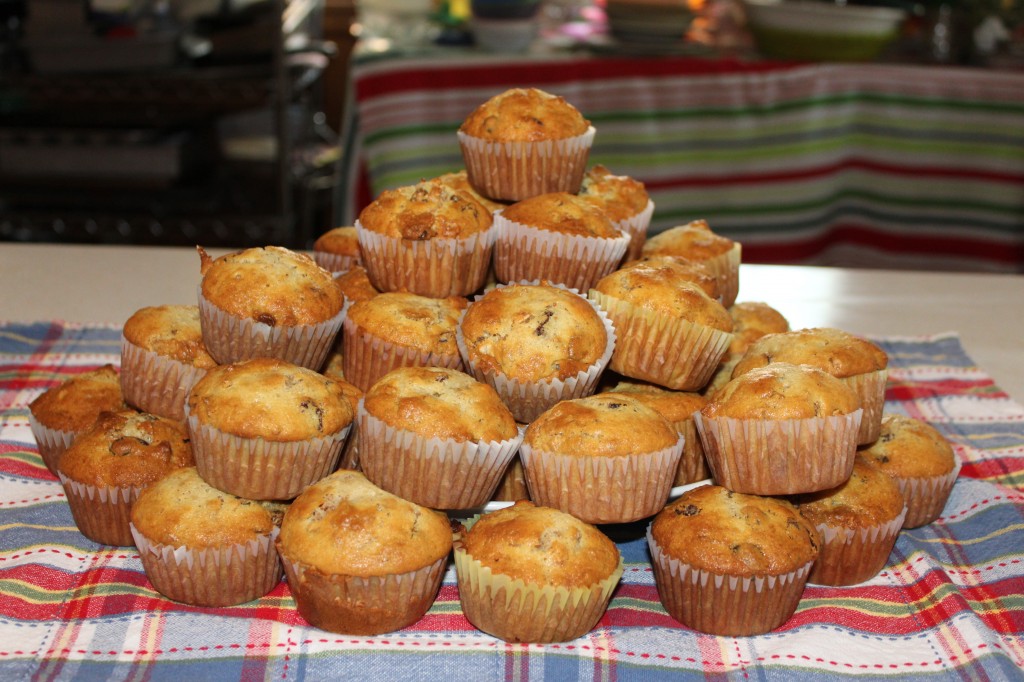
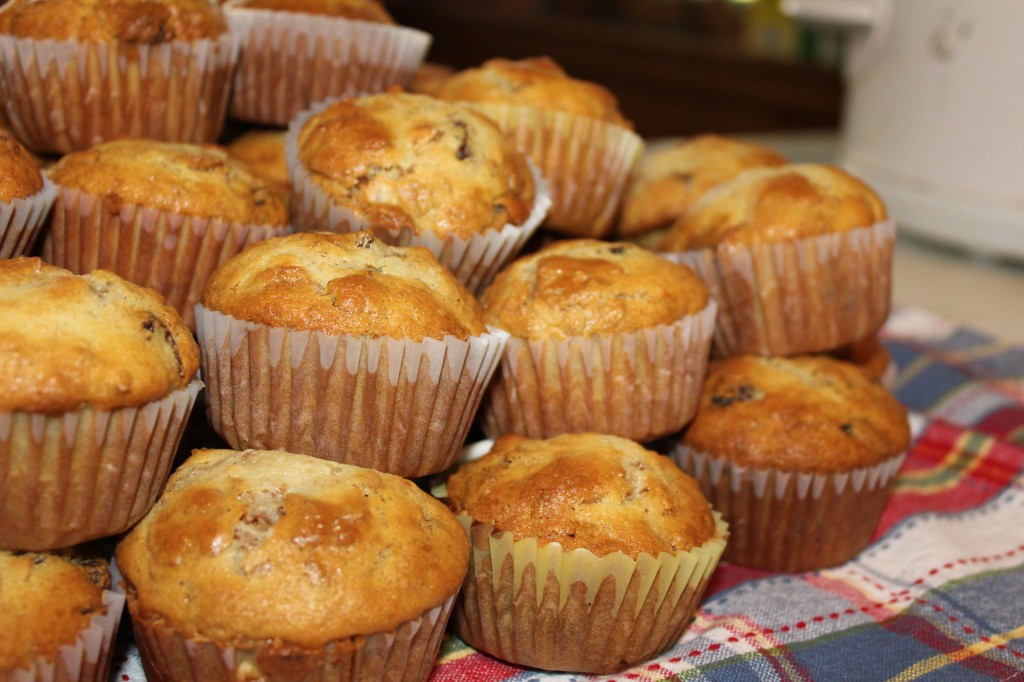
See, it really does make a bucket full of muffins!

Lets get started!

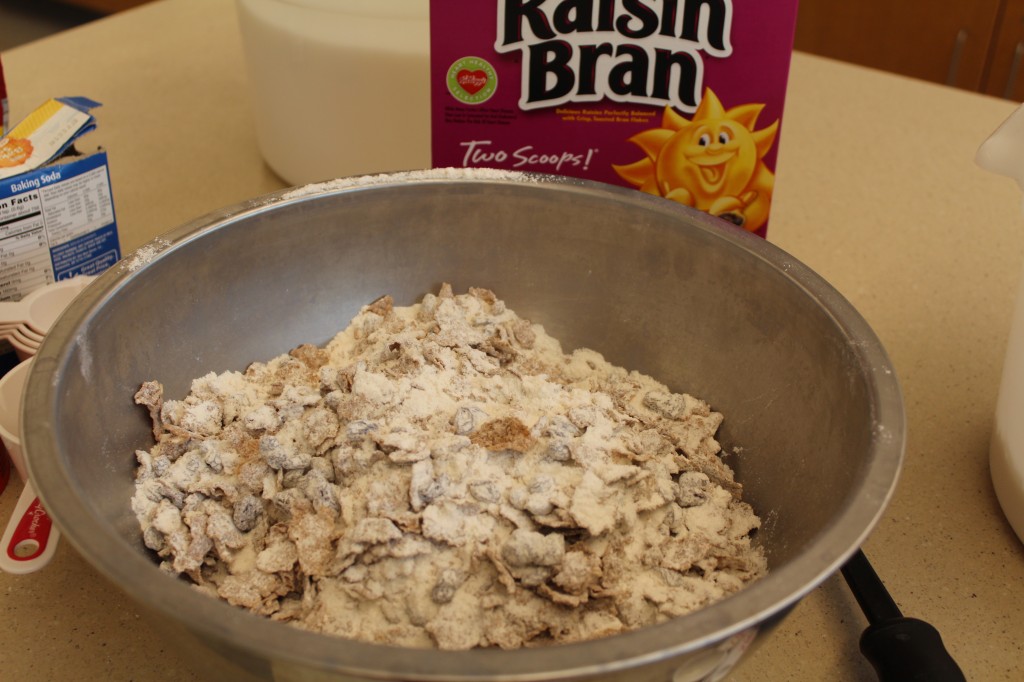
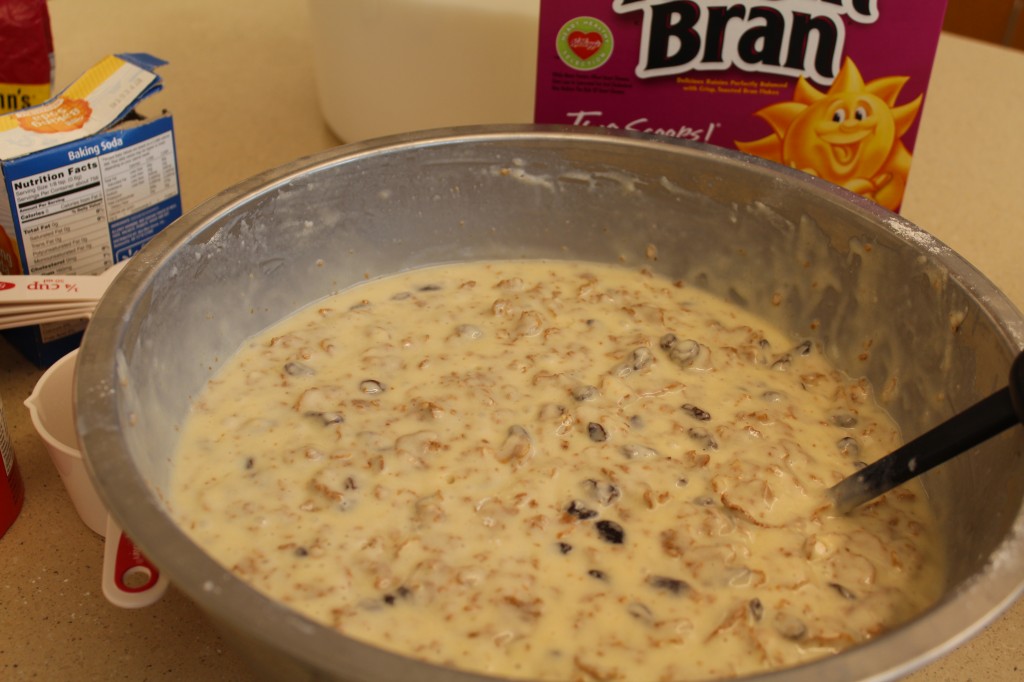
Can you tell I am making these at school? First thing you do is put all the dry ingredients together. This includes the flour, raisin bran cereal, sugar, more raisins, baking soda and salt.

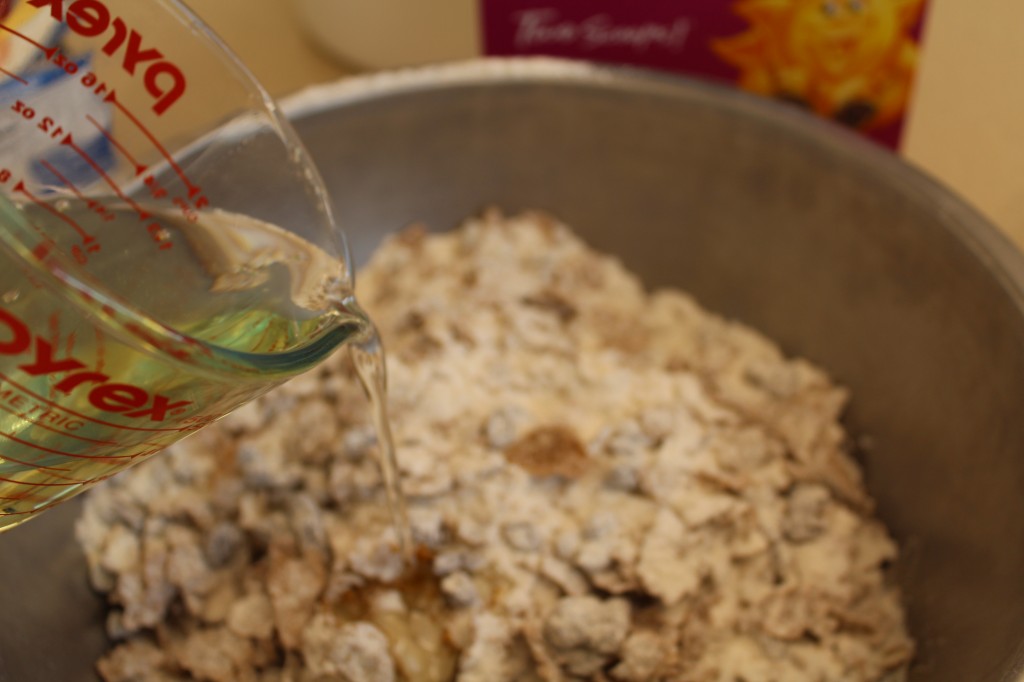
Add the oil.

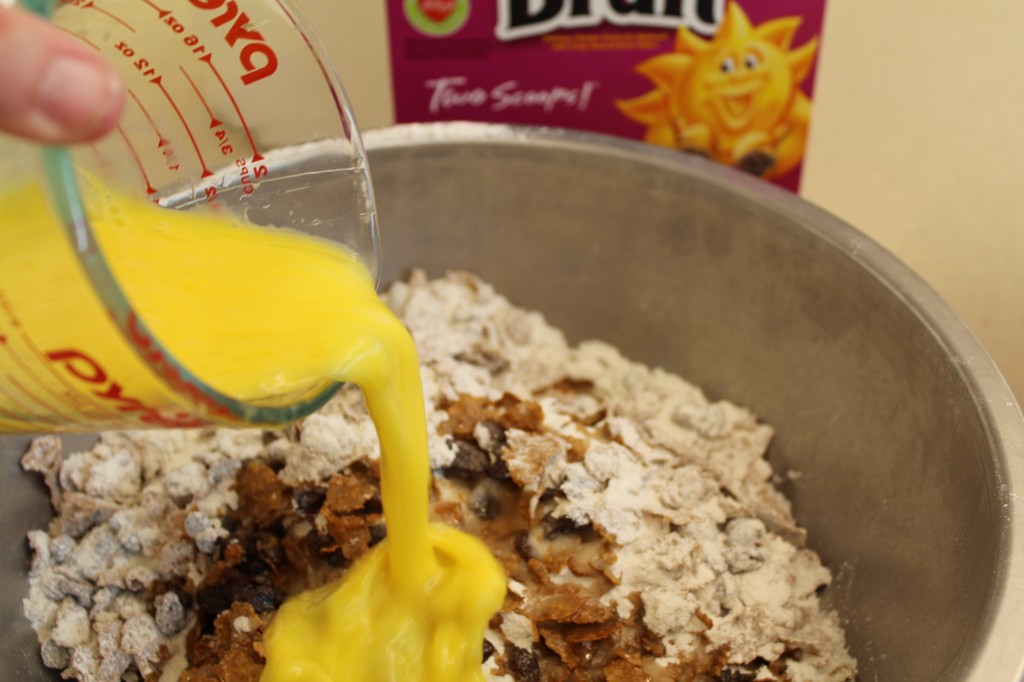
Add four beaten eggs.

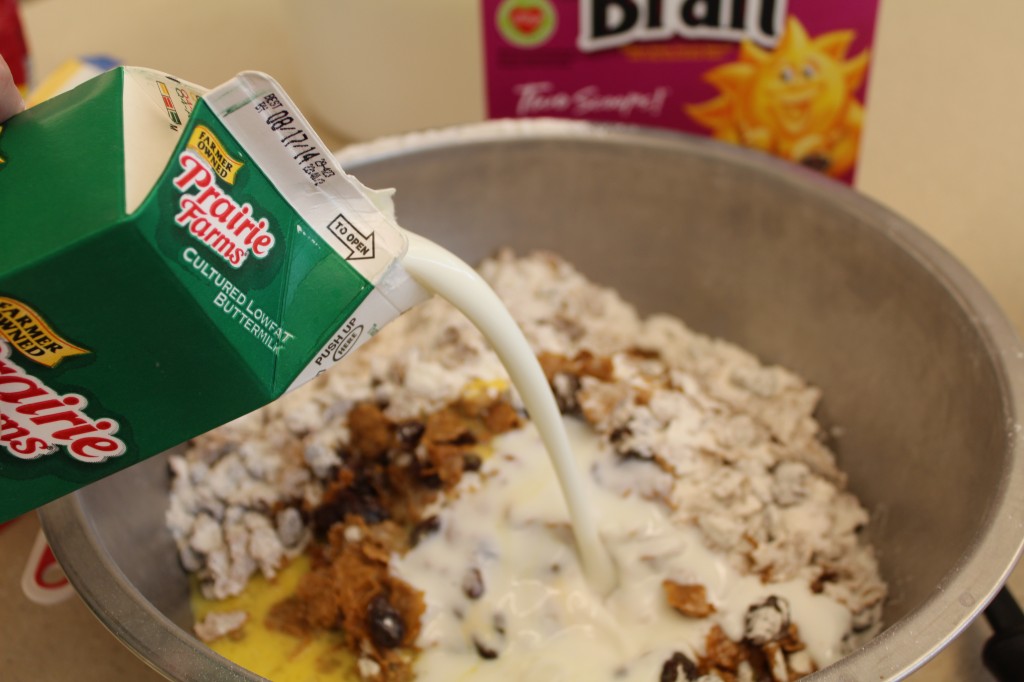
Add a whole quart of buttermilk.

Mix together, but do not over mix because it will break down the raising bran cereal.

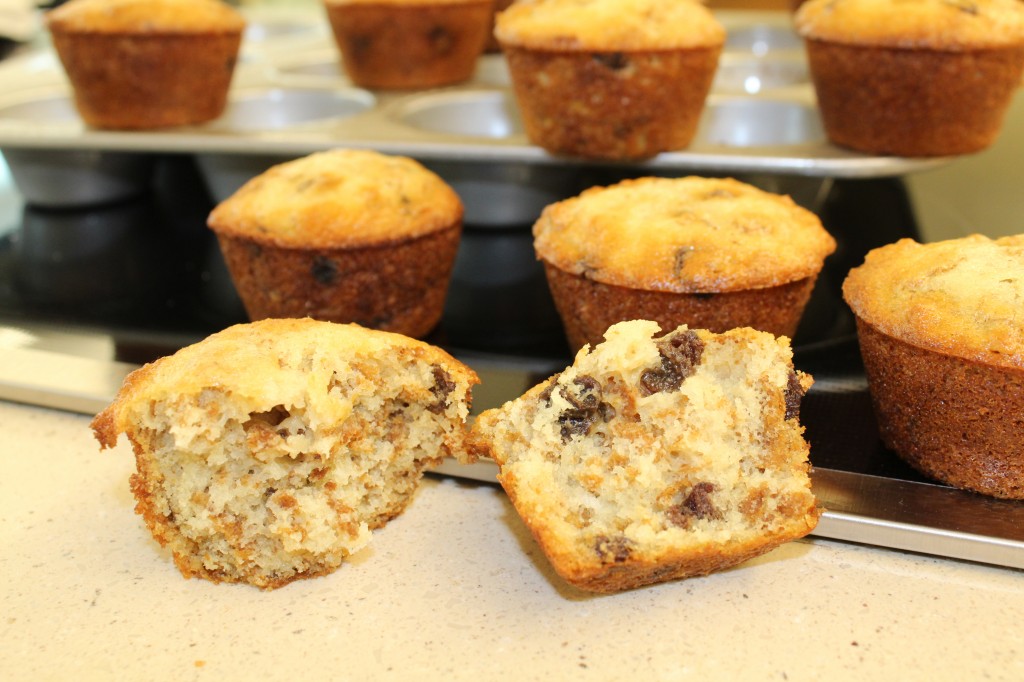
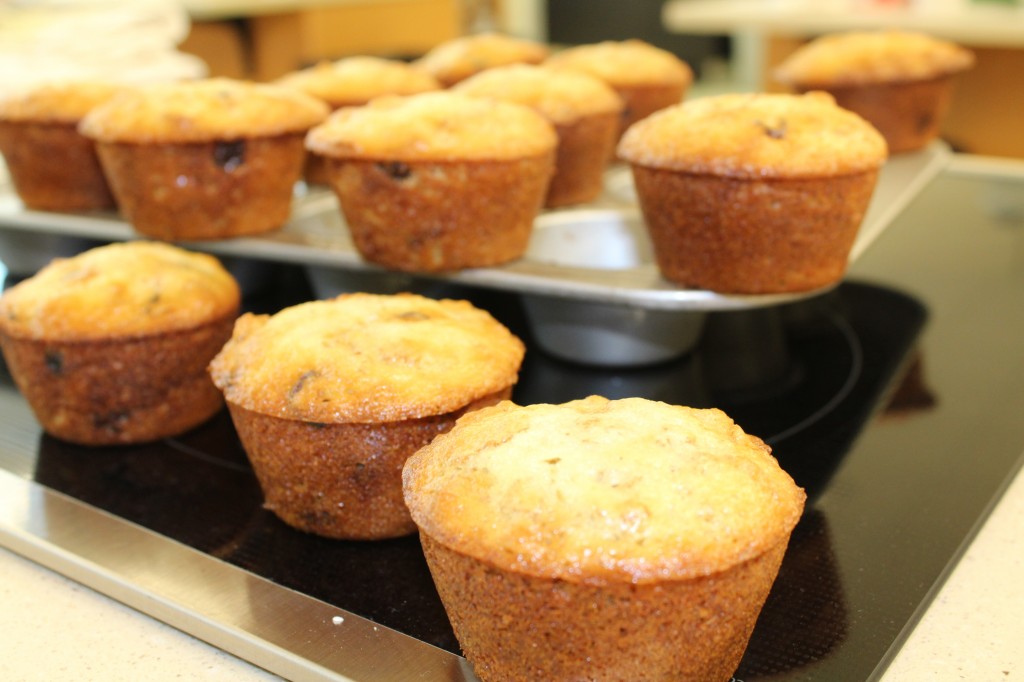
Bake muffins for 15 to 20 minutes in a 400 degree oven. I love the bits of cereal through the muffin.

The recipe says that the batter will last in the fridge for 4 weeks. If you can make yourself wait that long before eating all of them.

As you can tell I made the whole batch!

These muffins are moist and dense at the same time. I love all the raisins!

Hope you do too!

Becky

Here is the recipe:

Bucketful of Muffins

Adapted from a old church cookbook I found at Salvation Army

Ingredients:

Dry Ingredients:

1–15 ounce box Raisin Bran Cereal

5 teaspoons of baking soda

5 cup of all purpose flour

2 teaspoons salt

2 cups of raisins

3 cups of sugar

Wet Ingredients:

4 beaten eggs

1 cup of vegetable oil

1 quart buttermilk

Directions:

Mix all the dry ingredients in a very large bowl. Mix well. Add in the eggs, oil and buttermilk. Stir together but do not over mix and break down the cereal. If you are not baking all the muffins you can store in a covered container in the refrigerator. Do not stir any time after mixing the batter together.

Bake muffins as needed (or all of the batter like I did) in a 400 degree oven for 15 to 20 minutes.

Other post you may enjoy reading:


Taco Soup                                            Strawberry Bread                        Brown Sugar Meatloaf

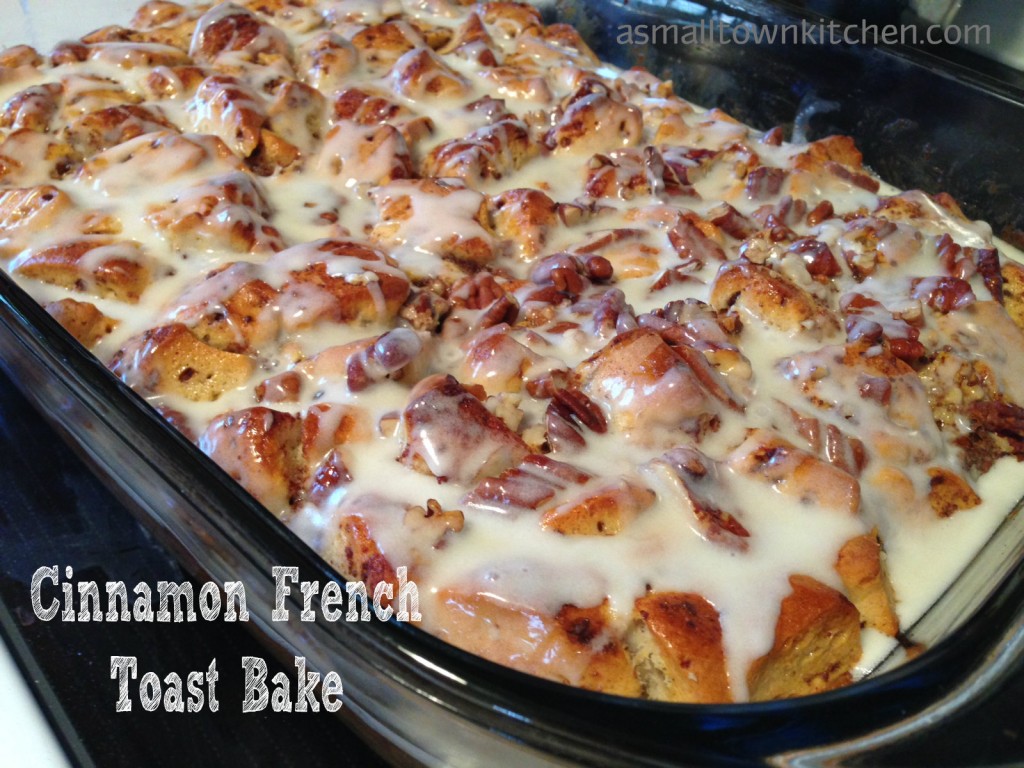
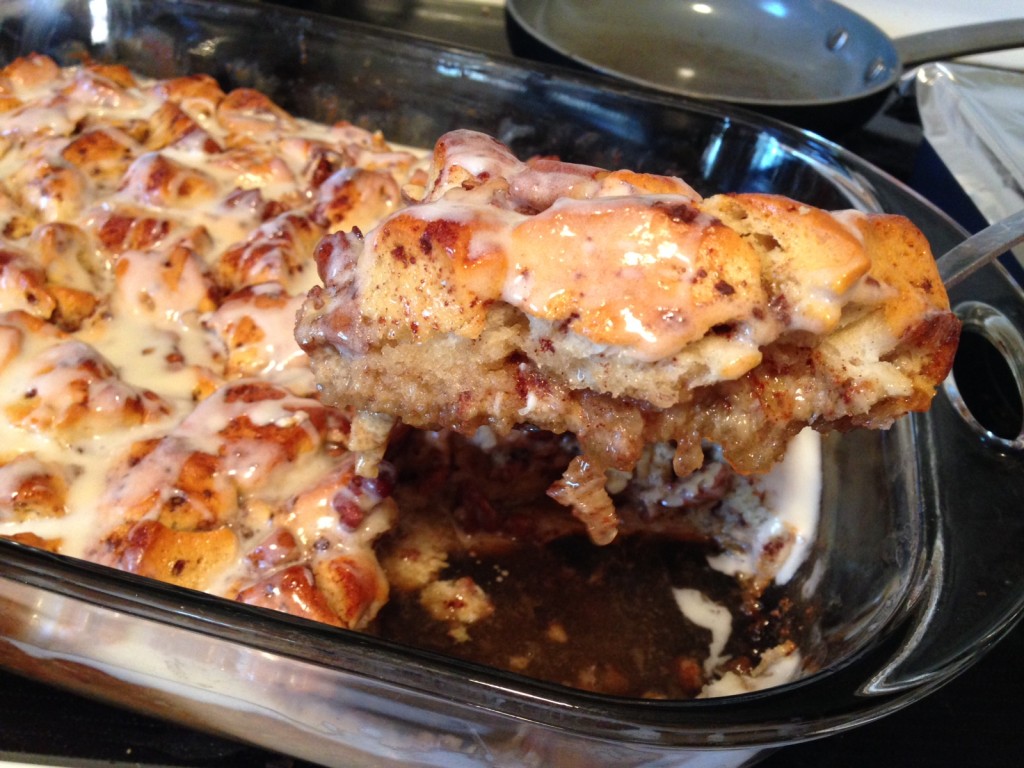
Cinnamon French Toast Bake

I bet you thought I would never post another recipe! I am so sorry it has taken me awhile to post a recipe. It is the end of the school year in teacher world and balancing everything can be a bit of a challenge. I have a couple of BIG functions on my to do list, but I can finally see the sun light. Whew….

I have had this post, almost done, for several weeks, just waiting until I had some uninterrupted time to put in the recipe and check my spelling. (as you have probably noticed, I write like I talk and spell like I can’t). Tonight, my clothes are in the dryer, the house is quiet and I have about 20 minutes before the washing machine buzzer goes off. So, here goes with getting this post finally published.

Four reasons you should try this recipe.

I first heard of this recipe on the radio on my way to work. The DJ on the radio was raving about this French toast bake that one of his coworkers had brought in share with the crew. He had a list of the ingredients and told about how easy it was to make and especially how addictive it was to eat. Secondly, one of my co-workers asked me for a easy breakfast casserole recipe that she could make to take to a morning staff meeting. I told her about this recipe, and that I had not tried it, but the ingredients sounded great together, it was easy to make and was suppose to taste divine. Thirdly, my co-worker took a leap of faith and  made it and some people at her meeting loved it and wanted the recipe. And, now the fourth reason. I finally made this recipe for Easter Morning, when Baby College Girl was home for the weekend. While it was baking, it made the house smell like a bake shop and when it came out to the oven, everyone lined up with their plates to eat it.

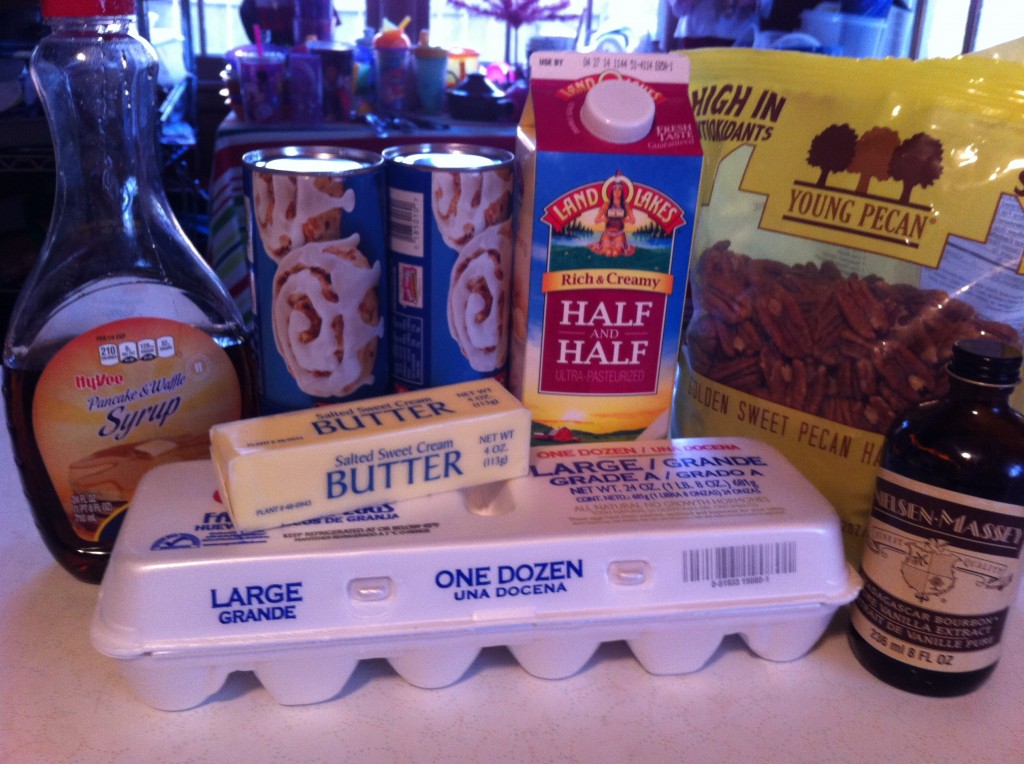
Here is what you will need. Some canned cinnamon rolls with icing (save the icing to glaze the rolls later), eggs, vanilla, butter, cinnamon, maple syrup, half and half and some pecans (which are optional.)


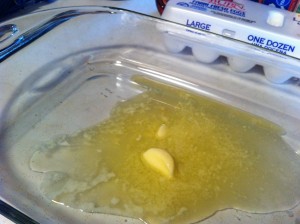
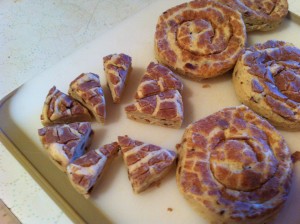
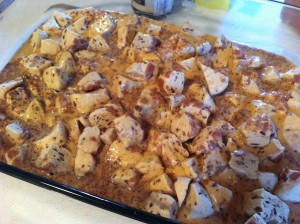
First, melt the butter in a 9 by 13 baking dish. Open the cans of cinnamon roll and cut each roll into 8 pieces. I used my pizza cutter for this and it worked great.


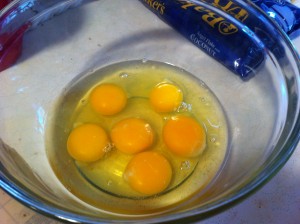
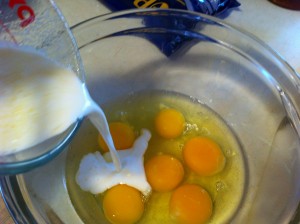
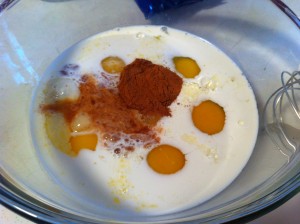
Take 6 eggs and beat them thoroughly together with the half and half.


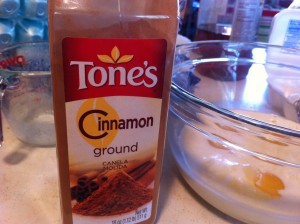
Add some cinnamon (which I forgot to put in the main ingredient picture) and some vanilla.


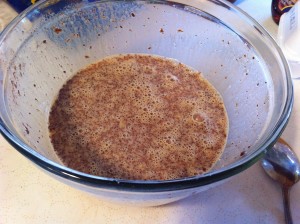
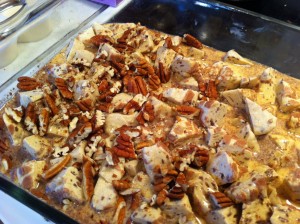
Beat everything together until all the eggs are totally incorporated into the cream. Pour the egg mixture over the cinnamon rolls.


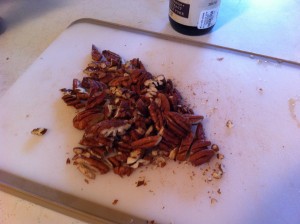
Chop up the pecans. Sprinkle the pecans on top of the rolls. I only sprinkled half of the rolls with pecans cause The Super Hero does not like nuts in his food.


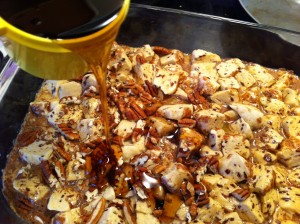
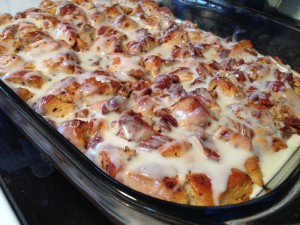
Drizzle maple syrup over the top of the rolls. Bake in the oven until all the eggs and rolls are cooked through. When the casserole cools, drizzle the top with the icing from the cinnamon roll packages.

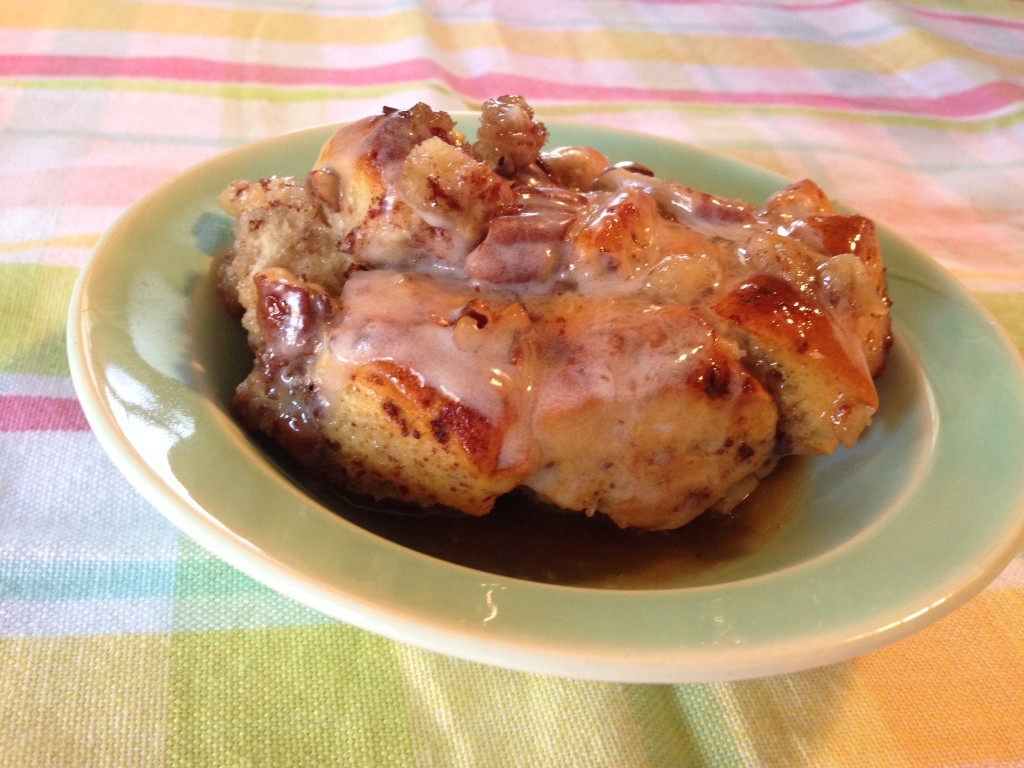
It comes out moist and delicious. It really does make a difference to let the casserole sit for 15 minutes before eating as the rolls absorb all the maple syrup that has settled on the bottom.

Are you ready for the recipe?

Here it is!

Cinnamon French Toast Bake

Adapted from the Pillsbury Website

Ingredients:

2 cans (8 rolls in each one) of refrigerated cinnamon rolls

1/4 cup butter or margarine, melted

6 large eggs

1/2 cup whipping cream (I am sure you can use half and half or another milk)

2 teaspoon ground cinnamon

2 teaspoon vanilla

1 cup pecans

1 cup maple syrup (I used my pancake syrup)

Garnish:

You garnish with the icing from the cinnamon rolls and more maple syrup (optional) and powdered sugar (optional)

Directions:

Heat oven to 375

Pour melted butter into a 9 by 13 baking dish.

Cut each cinnamon roll into 8 pieces.

Place cut roll pieces evenly into the bottom of the melted butter 9 by 13 dish.

In a medium bowl, mix together the whipping cream, eggs, cinnamon and vanilla.

Gently pour the egg mixture over the cut rolls.

Sprinkle with pecans and drizzle with maple syrup.

Bake in the oven for  20 to 25 minutes or until done.

Cool for 15 minutes.

Drizzle with icing from the cinnamon roll packages.

Drizzle with more maple syrup if desired.

Serve warm.


If you are looking for a breakfast casserole that is easy to prepare but does not taste like it is, give this one a try.

I was also told that the leftovers taste just as good the next day re-heat in the microwave.

I would not know, as mine was gone in one day. : )

Enjoy,

Becky

Other post you may enjoy reading:


Fluffy Strawberry Pie                      Overnight Cinnamon Rolls                Tuna Noodle Casserole

Thanksgiving Dressing, done right…finally!

Are you a dressing or stuffing eater? Well, to be honest, I am not. But, it does not mean I do not want to make a great tasting dressing for Thanksgiving! I have tried the cornbread with sausage and other doodads in it and it tasted fine (the little bit I tried). I just still was not satisfied with what I made. My sister in law, PIC, always told me how much she loved the dressing her mom made each year.  PIC’s mom is a great cook, so I knew her dressing would taste fabulous, I just had to re-create it, somehow.

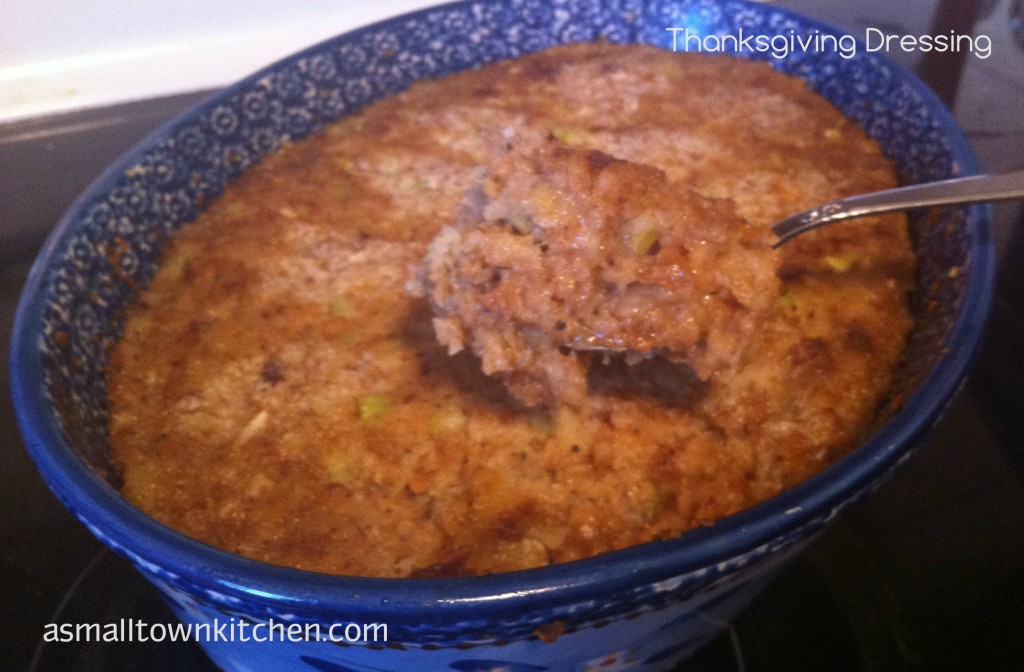
So….for the last several years…yep years folks, I have been perfecting on this simple, yet totally terrific dressing. It has a crispy buttery top crust and a moist and flavorful inside. For several years I tried adding extra sage, or poultry seasoning or garlic and it was too over powering. Last year I just trusted the Pepperidge Farm folks with the seasonings they put on their bread crumbs and just add just a touch of sage and you know what happened, it was the best one I made…after years of trying to get it just right.

The best part in all of this, is that I finally wrote the recipe down so I do not have to worry about trying to remember what I did or adding any unnecessary seasoning. If you are looking for a simple, uncomplicated and the perfect compliment to your turkey and gravy, give this dressing recipe a try.

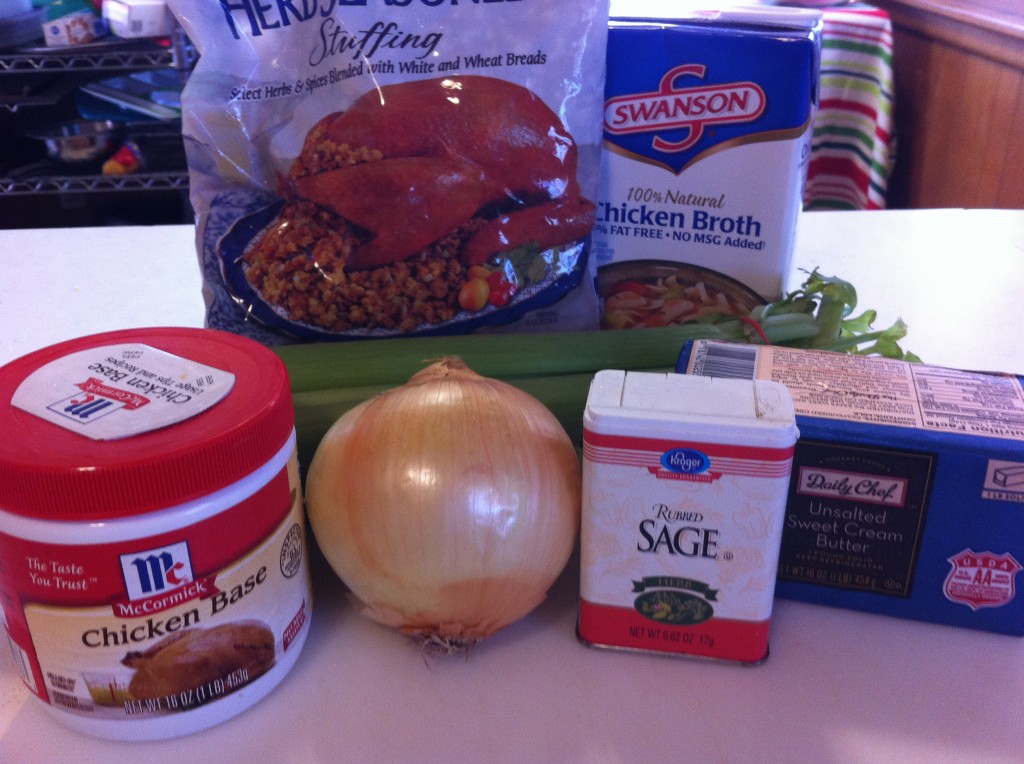
Here is what you need to make this special dressing for Thanksgiving, or Christmas or any other time you want to make dressing.

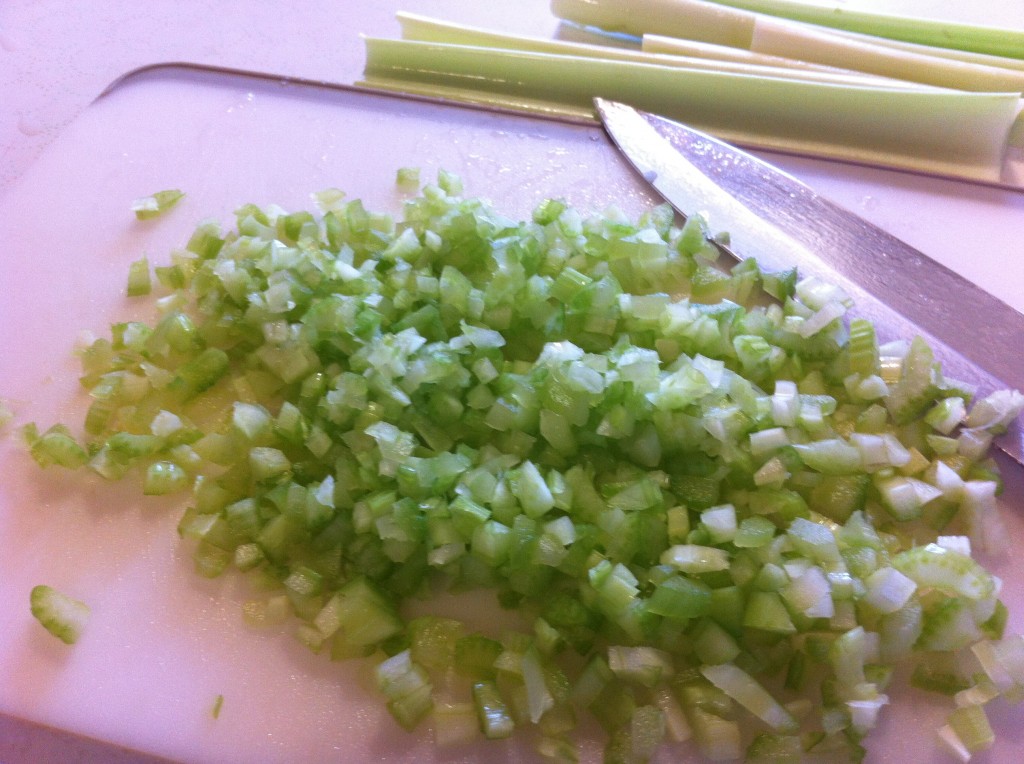
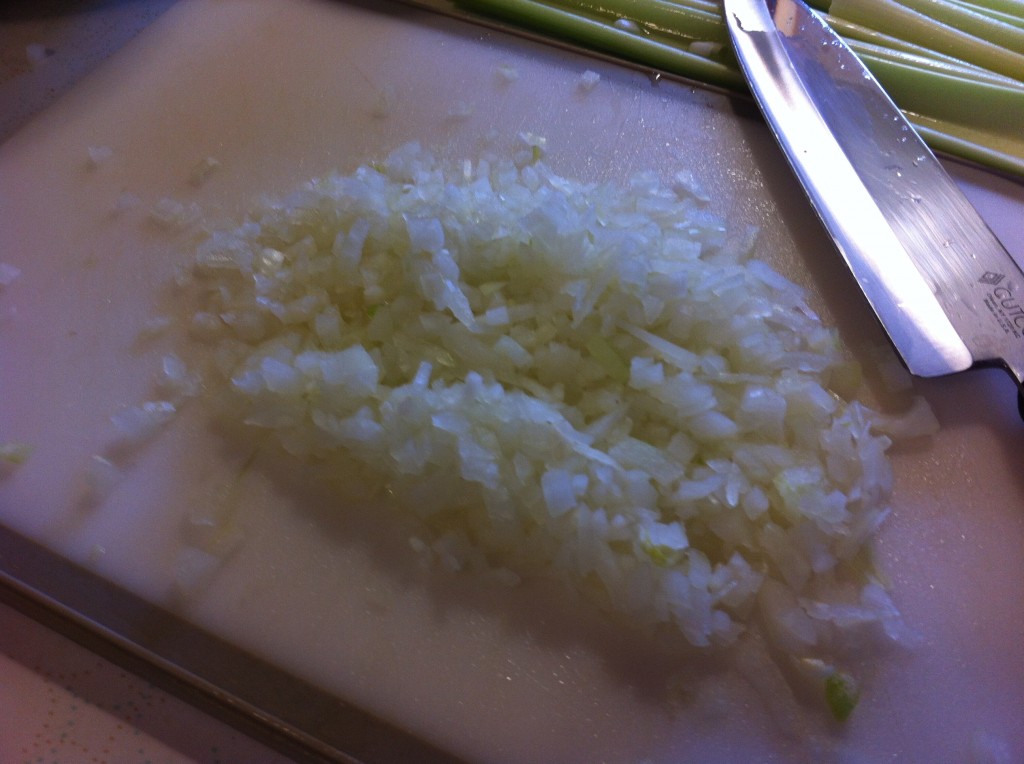
The first thing  you need to do is chop up the celery and onion into small pieces.

Here is the onions all chopped up.

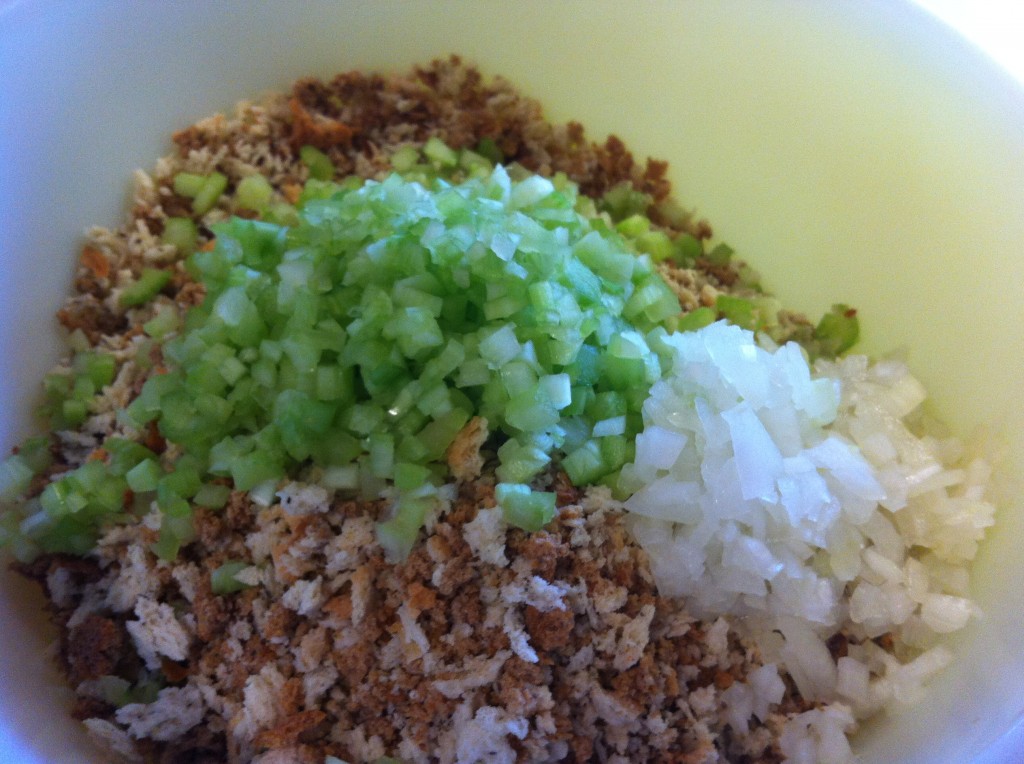
In a bowl, put the seasoned bread crumbs and the chopped celery and onion.

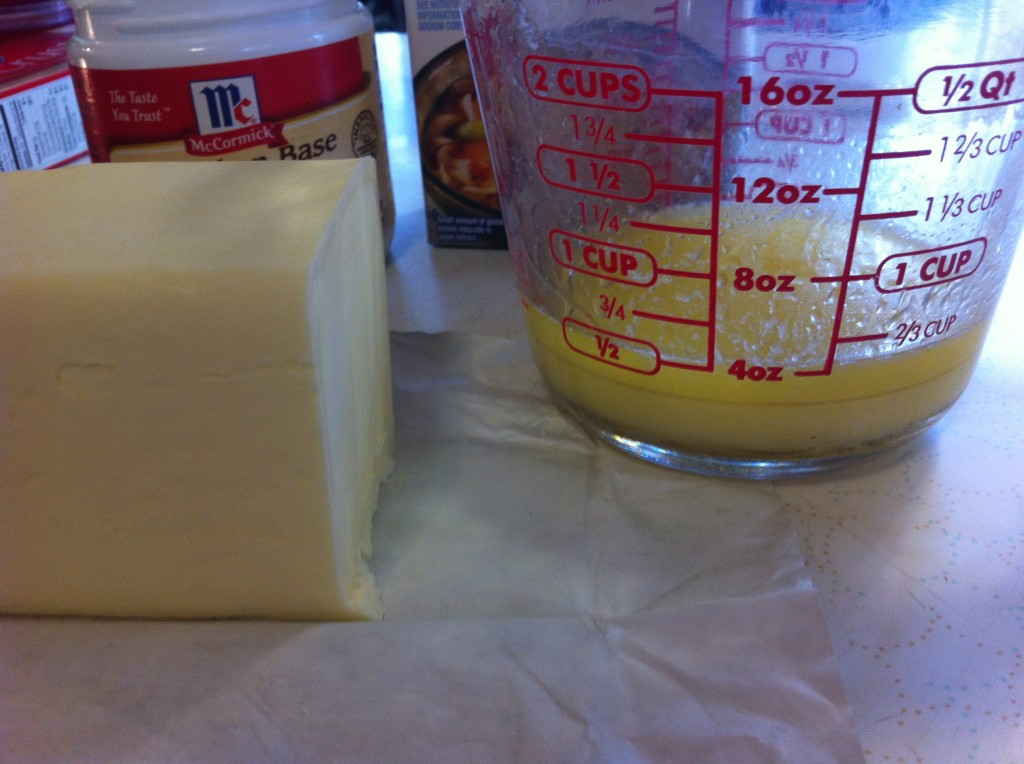
Melt the butter.

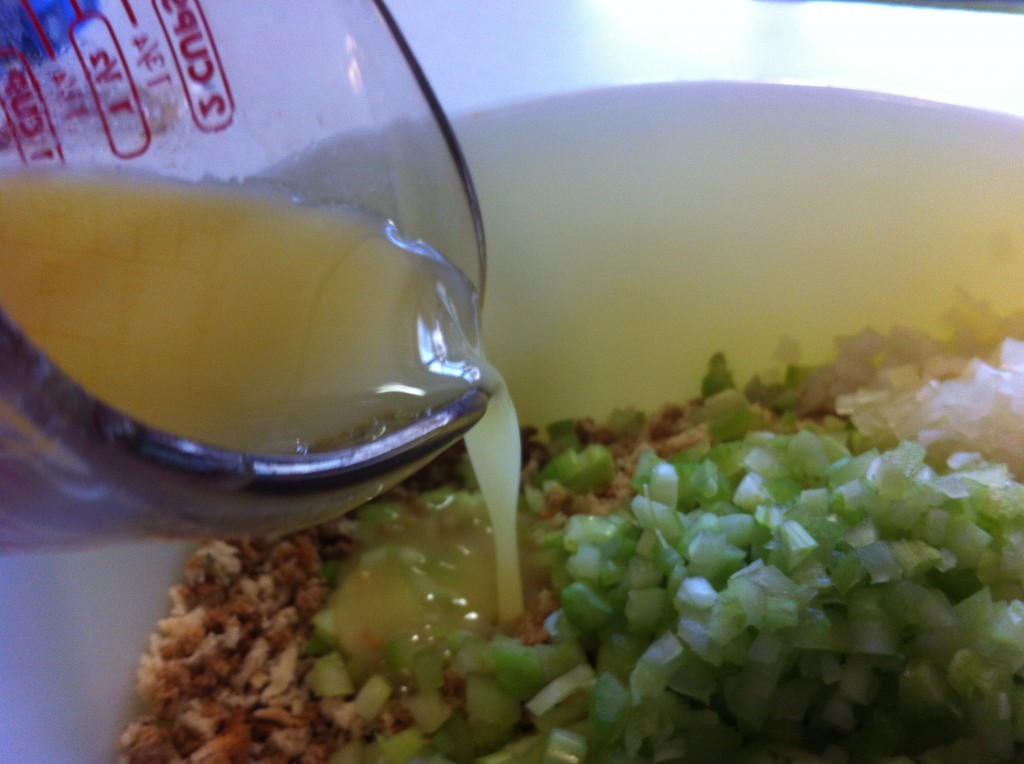
Pour the melted butter into the bowl with breadcrumbs, celery and onions.

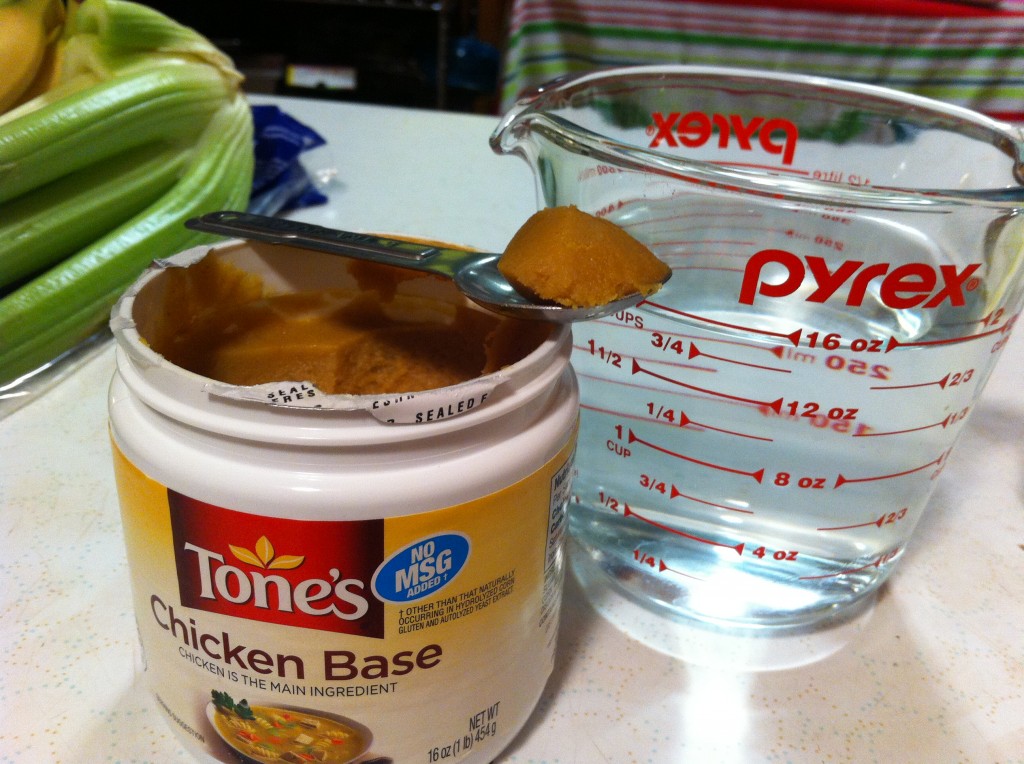
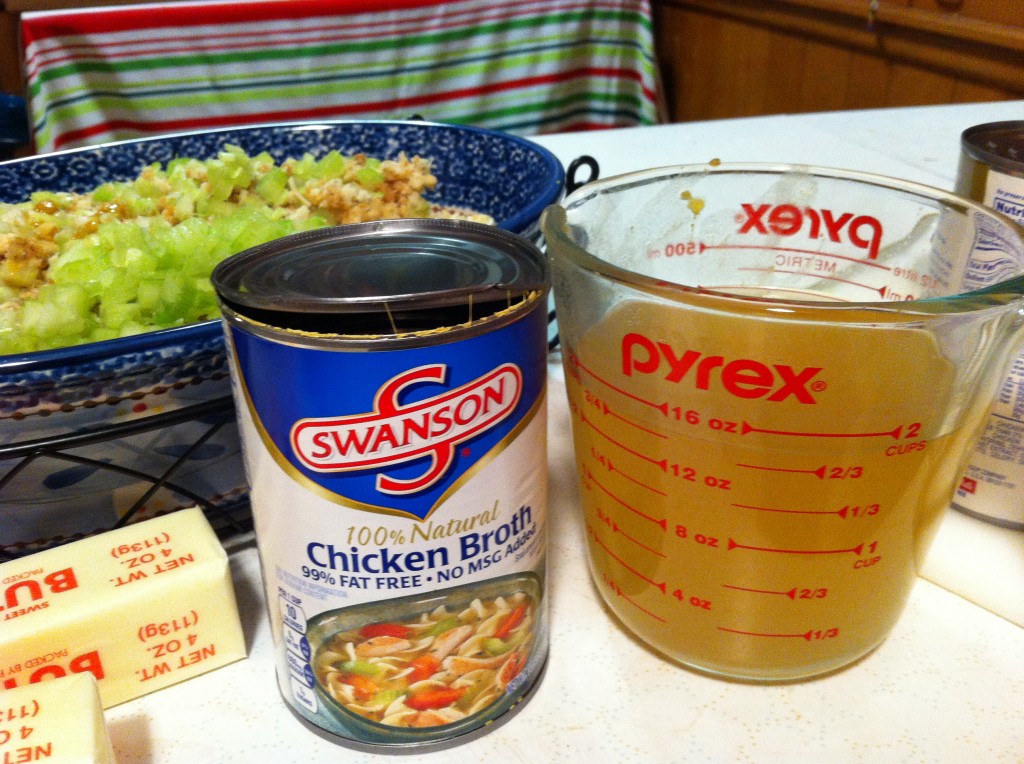
Make the chicken soup base. I add the base to water and then heat it in the microwave to help dissolve it. The reason I use half chicken base and half chicken stock is that the soup base has a real rich taste and it adds a little salt to the dressing too.

Measure out the chicken broth.

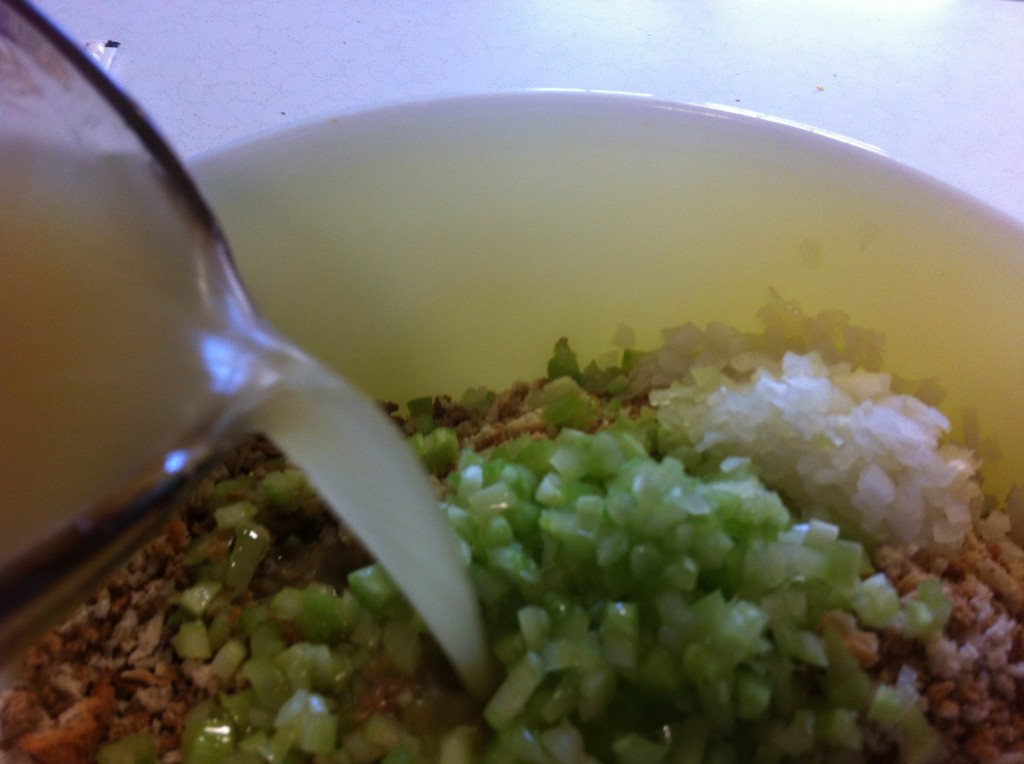
Pour in the chicken soup base and the chicken broth.

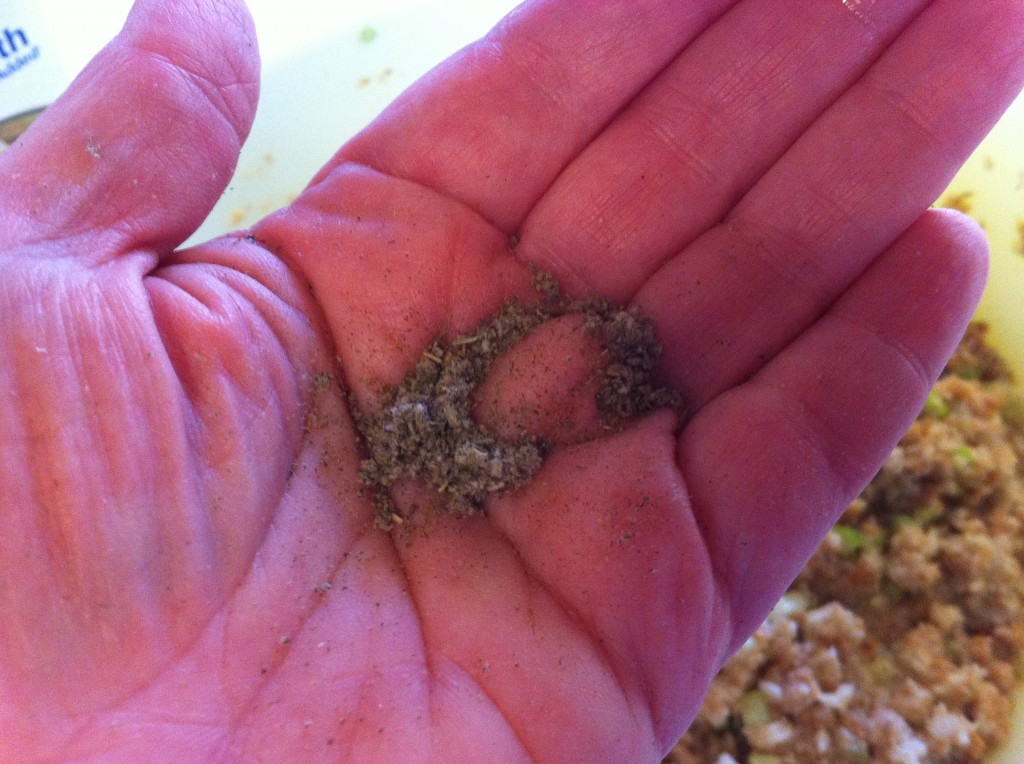
Add a small amount of sage. If you add too much, it can over power your dressing pretty fast.

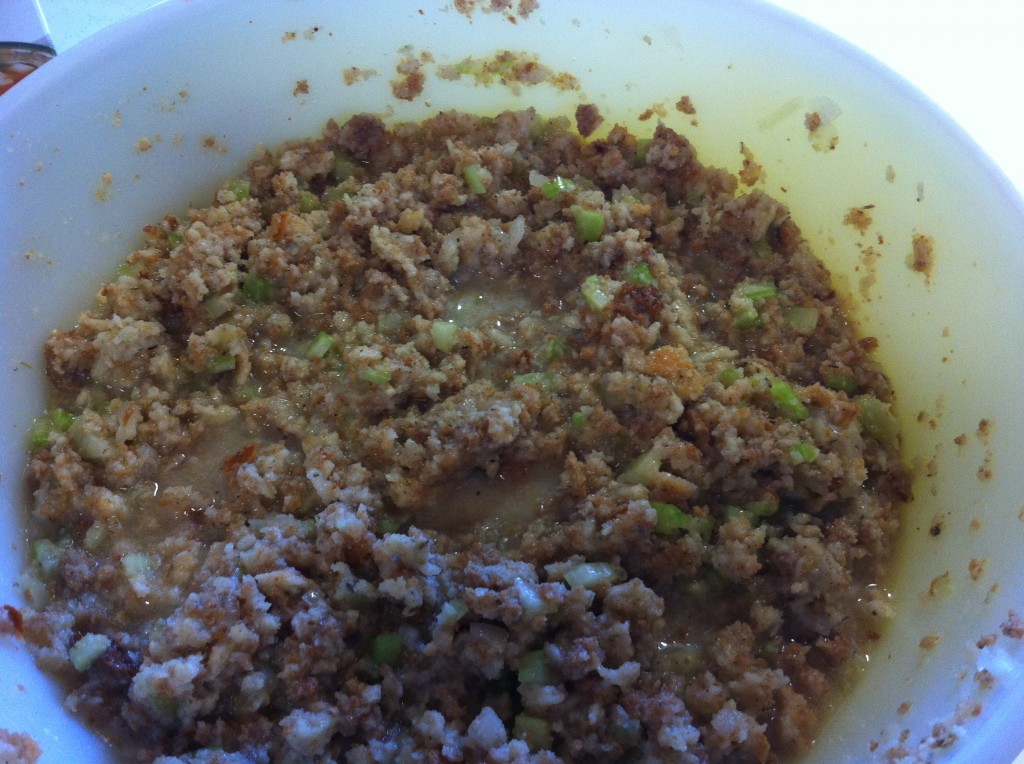
Stir every thing together.

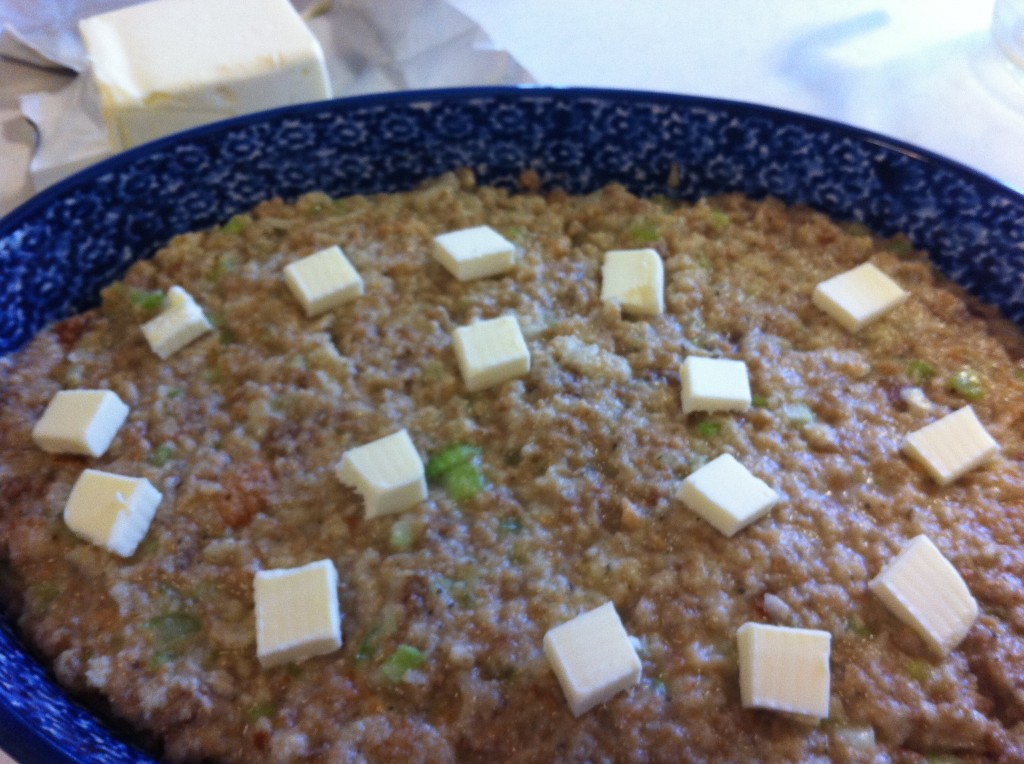
Put the dressing in a casserole dish and level smooth. Put small pats of butter on top. I usually make my dressing the day before I bake it. I think it taste better if it made the day before because the flavors really come out. This Thanksgiving, I had to make it and bake it in the morning and it was still gobbled up. So you choose what works best for you.

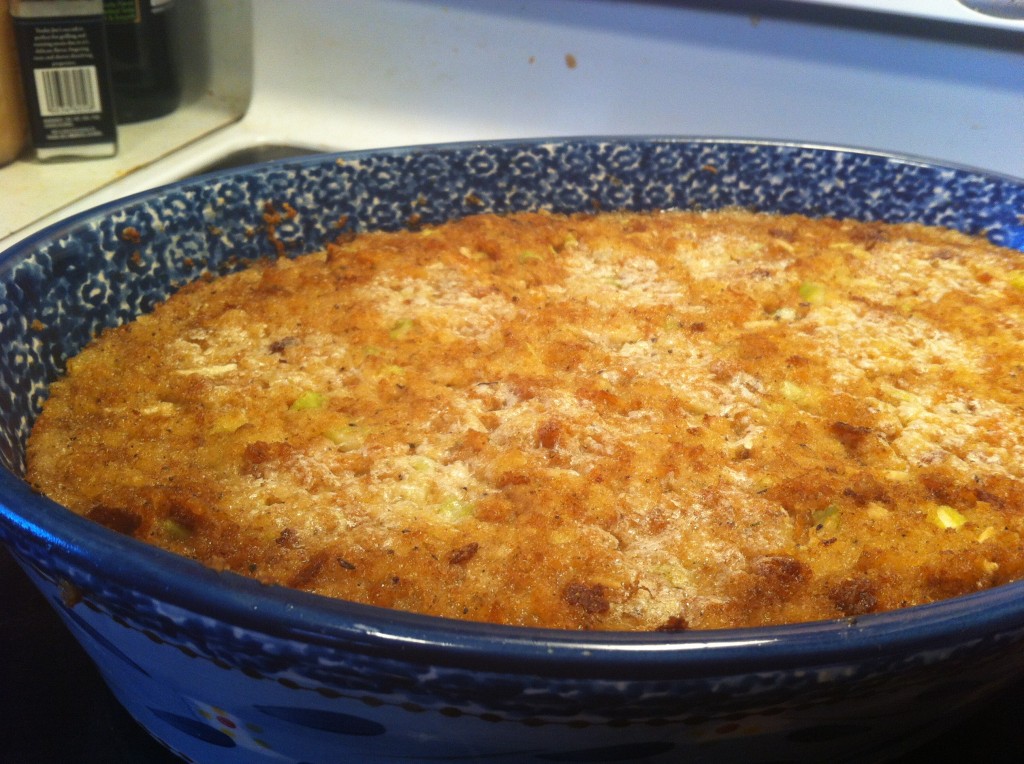
Bake at 375 degrees for around 46 minutes or until the top gets a little crispy and it is heated all the way through. If you make your dressing the day before and you take it right out of the refrigerator to bake it may take a little bit more time to bake.

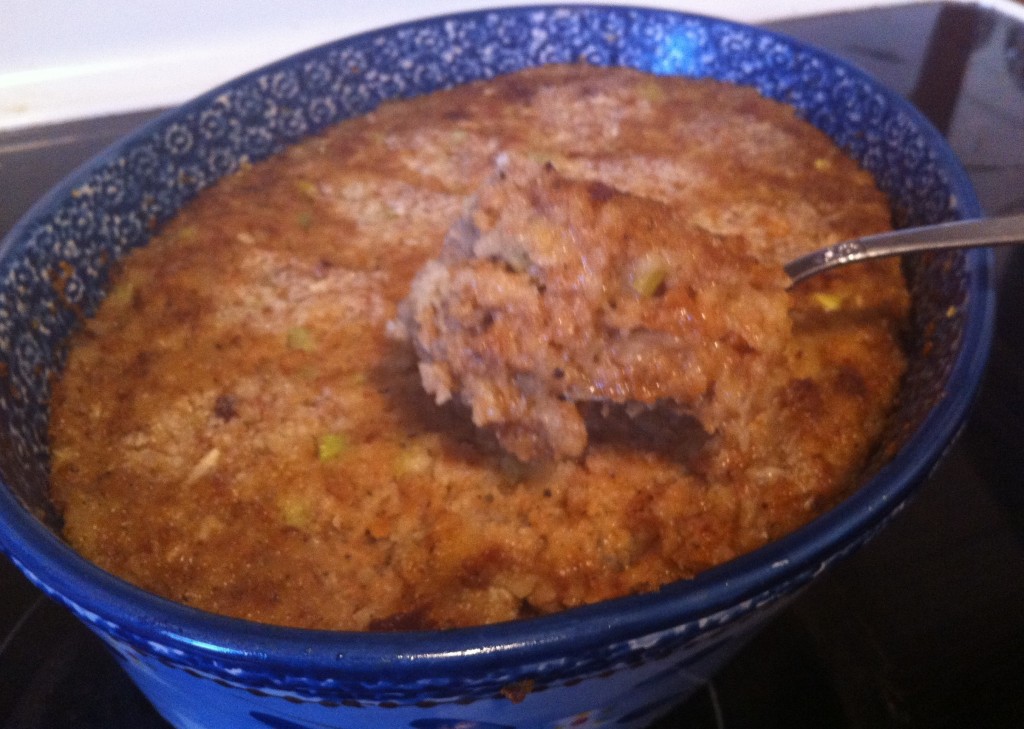
Now it is time to scoop it out and watch it disappear.

One thing I figured out about making dressing, it is that people are passionate about their dressing. This recipe can be tweak it you need too. If you like more onions, celery or sage, just add a little more and if you don’t add a little less.

Me…I am leaving it as it is cause PIC thought it was great and my Daddy told me it was the best I have made so far. Who wants to argue with a 95 year old…not me : )

Here is the recipe:

Perfect Thanksgiving Dressing

Ingredients:

1 – 14 ounce package of Pepperidge Farms Herb Seasoned Stuffing Bread Crumbs

1/2 cup melted butter

2/3 cup chopped celery

1/3 cup chopped onion

1/2 teaspoon sage

2 cups of chicken broth made from chicken soup base

2 to 2 and  1/2 cup chicken broth (canned broth such as Swanson)

Extra butter (around 1/4 cup) to put pats of butter on top

Directions:

In a large bowl, add the herb seasoned bread crumbs, celery, onions and sage. Stir to combine. Pour in the chicken soup base and the chicken stock, along with the melted butter. With a large spoon, mix everything together. Spoon the dressing into a greased casserole dish and level off with the back of a spoon. Arrange small pats of butter on top of the dressing. Bake in a preheated 375 degree oven until the butter on top is melted and the top gets slightly crispy and the insides are heated through.

I know that Thanksgiving is over this year, but Christmas is right around the corner and you made need a perfect, uncomplicated dressing recipe.

Enjoy!

Becky


Pecan Buttermilk Pancakes

Good Morning!!!

The sun is shining this morning in mid Missouri….Yippee…

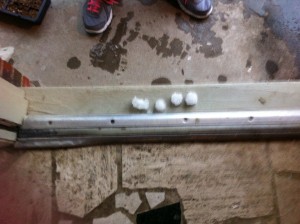
Three days ago this is what I had in my front yard..


It takes children with college degrees to be smart enough to run out after a tornado warning, large hail and pouring rain to collect large hail from the front yard.

Yes….this is my oldest daughter who does not cook. Obviously she does not have brains either. : D

Anywho…it is a fine, fine, fine morning in Missouri and it seemed like the perfect morning to make “home made” pancakes.

When I was growing up, The Princess could not just go to the store and buy a package of pancake mix, or stop by a IHOP,  to make pancakes for her four, always starving, perfect children. I use the word “perfect” here very loosely. When The Princess made us pancakes, she always made them from scratch and they always had this delicious little crunch ring on the outside edge. Mom always got this crunch ring by frying her pancakes with a little bit of oil, bacon grease, butter or lard.

Niener Wiener, Me, Jeanie Beanie and baby brother Robert loved her pancakes, especially the little crunch ring on the outside edge.

Did your mom make them like that for you?

This morning, on this fine day in Mid Missouri I was thinking about that those pancakes and that little crunch ring and thought I would surprise my munchins at home with home made buttermilk pancakes.

Aren’t I the perfect Mom?

I use the word perfect here very loosely. : D

Anywho, I bought this simply divine cookbook yesterday at Sam’s and it had a buttermilk pancake recipe in it that looked way too good to stay shut up in a cookbook. (I have a whole story to tell about this cookbook, so check back later today if you are the least bit curious)

I just happen to buy some real buttermilk yesterday at the store for another recipe I wanted to make and Walla….the pancake stars aligned and I realized I could make homemade pecan buttermilk pancakes.

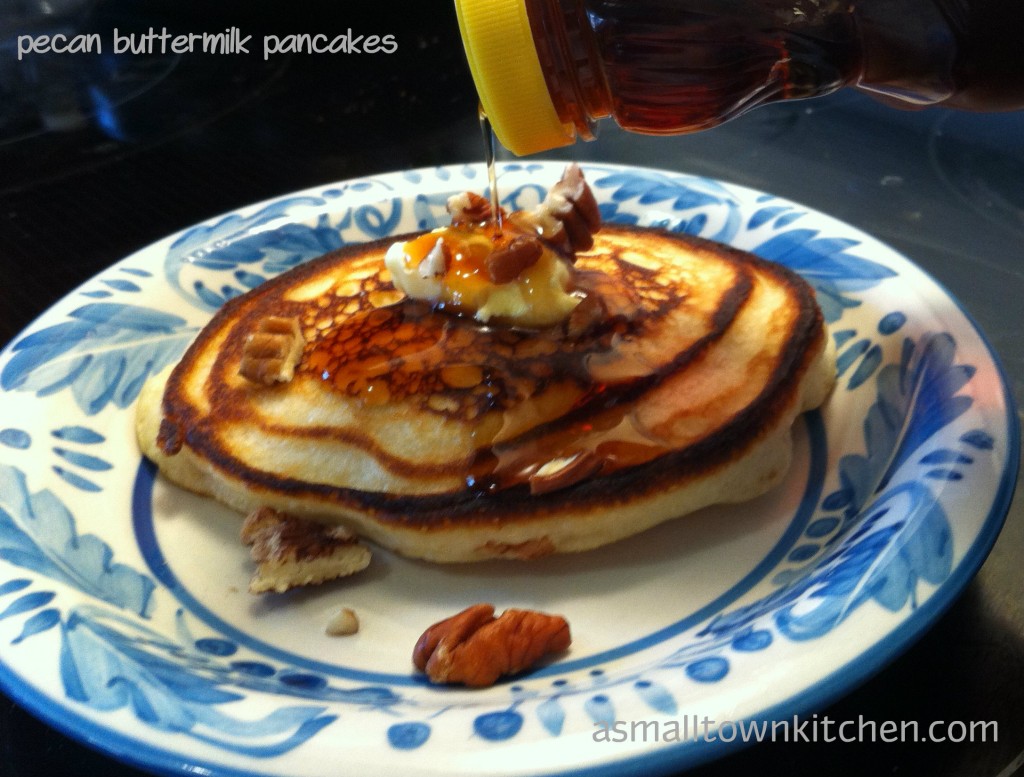
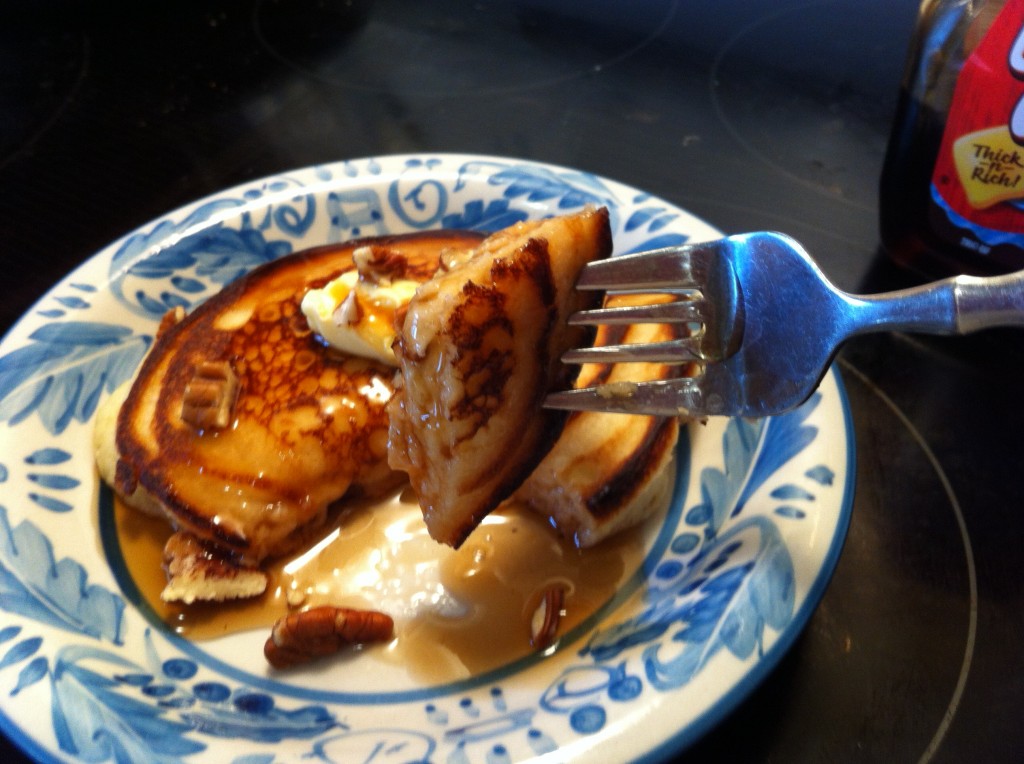
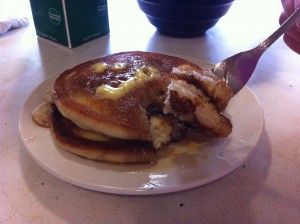
Here is my first bite. The outside crunch ring was perfect. The pecans were perfect. The only thing that was not perfect was that I only got one pancake. My little munchins downstair ran off with the rest.

How is that for a compliment?

It is the best kind!

So pancake lovers unite! If you want to make a thick and tender pancake with an outside crunch ring, this recipe will have you napping the rest of the day in pancake heaven.

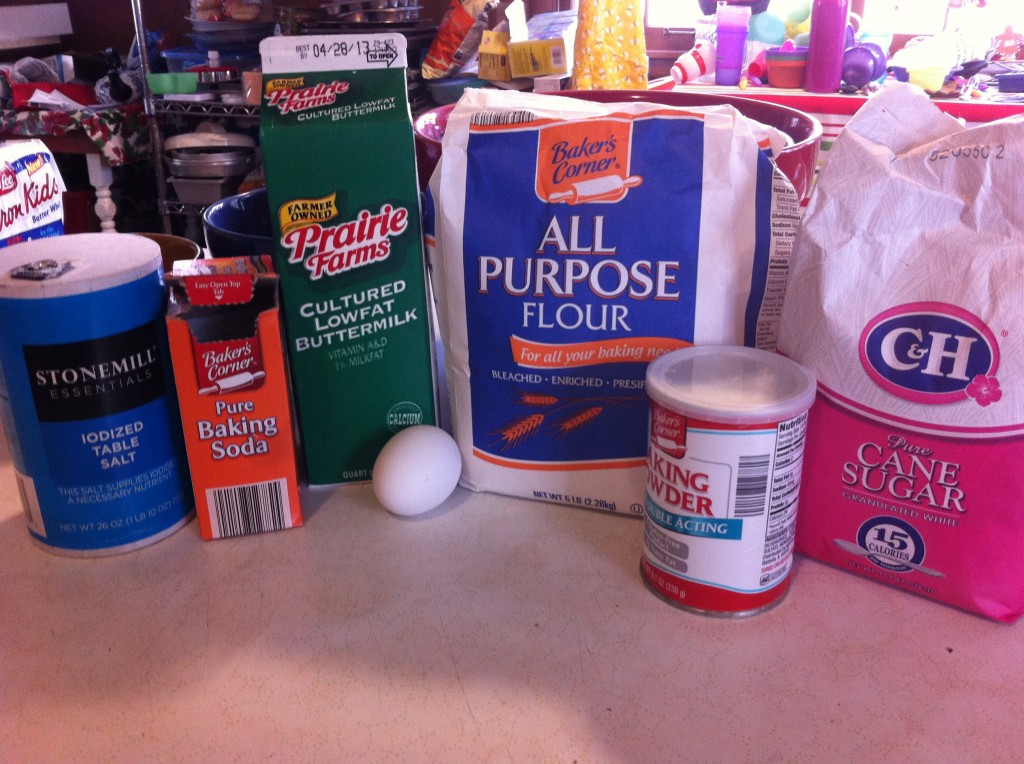
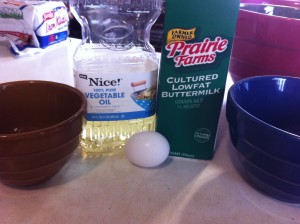
Here is your shopping list and step by step directions:

In my haste to taste delicious pecan buttermilk pancakes, I forgot to put the oil in the pictures. My Bad!


Measure the flour and put it in a medium size bowl. Next measure out the salt, baking soda, baking powder and the sugar.


Add the salt, baking soda, baking powder and sugar and whisk to combine.

Now it’s time to get out all the wet ingredients.


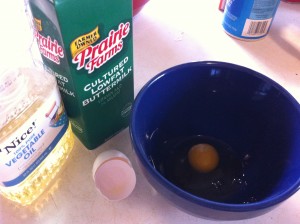
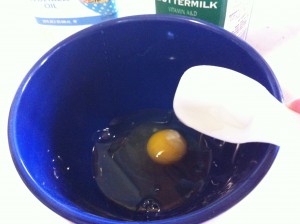
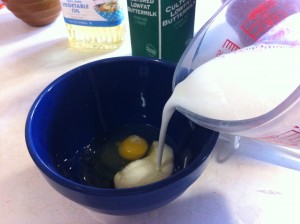
Crack the egg and add it to a medium size bowl. Next add in the vegetable oil.


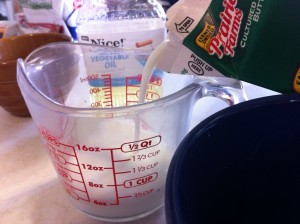
Measure out the buttermilk and add it to the egg and the oil.


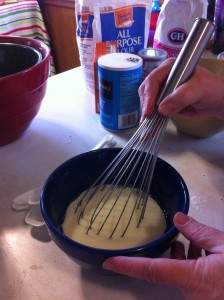
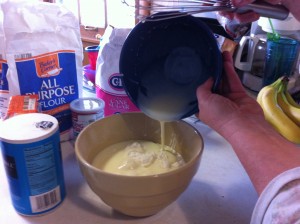
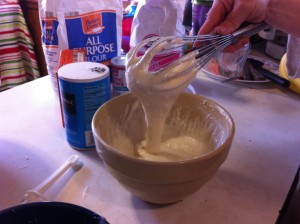
With a whisk, mix all the wet ingredients together, making sure the egg in completely mixed in. Pour the wet ingredients into the dry ingredients.


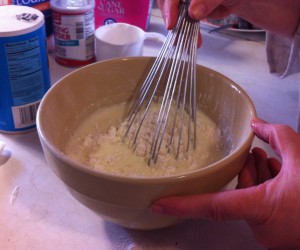
With a whisk, carefully combine the wet and dry ingredients together. Be careful not to over mix. The batter will be thick with small lumps.

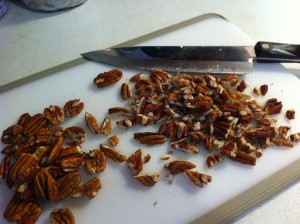
If you plan on adding pecans to your pancakes, now is the time to have a few chopped up and ready to go. My son the Super Hero, hates nuts.  But..he is out of town this weekend to attend a wedding.  So the Pee Cans are back on the menu and  ready to add to our pancakes.


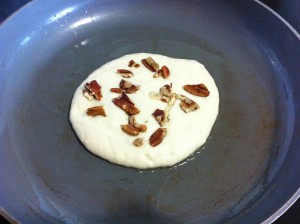
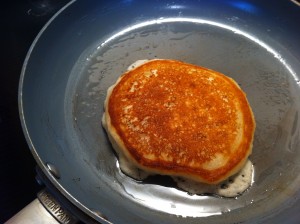
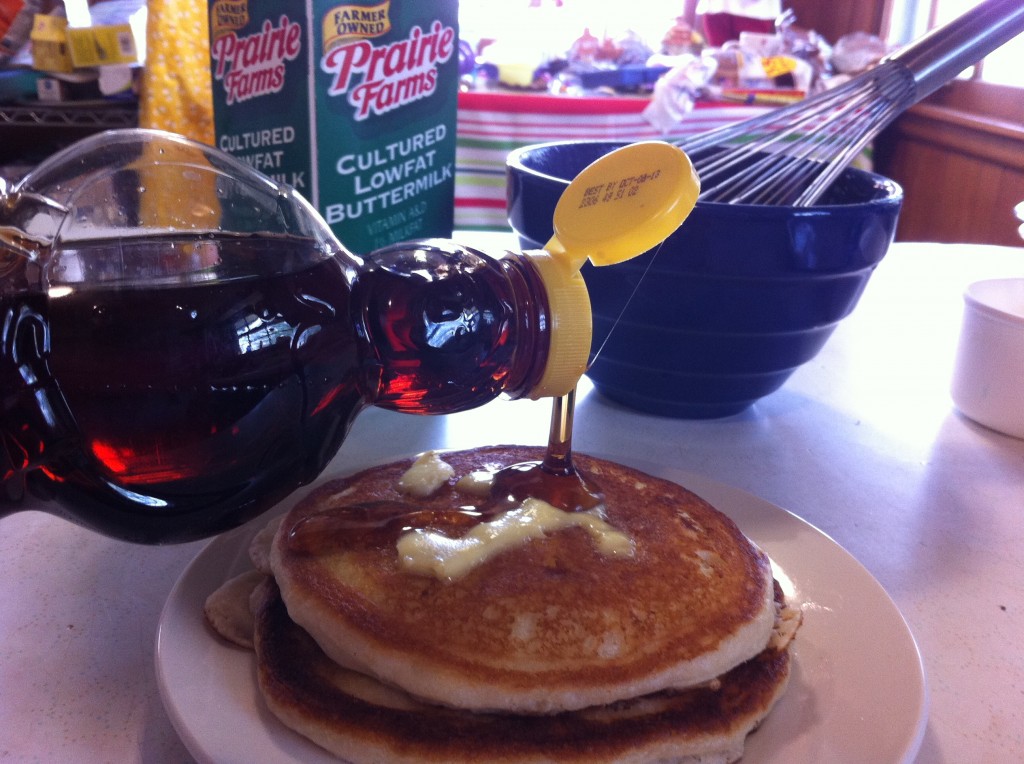
In a medium skillet add a little vegetable oil. Pour in 1/4 cup of batter. You may have to spread it around a bit. If it is too thick in the middle the middle will not get cooked on the inside. Add a few chopped pecans onto the wet batter. Fry the pancake until bubbles start to rise. Carefully flip the pancake over to cook on the other side. See that lovely crunch ring on the outside of the pancake? Seriously, that is the best part besides the biets with the pecans, besides the part with all the butter and rich syrup…seriously this whole pancake is delicious.


Don’t you just want a bite?

That is all there is to making fanatically delicious pecan pancakes.

Are you ready for the recipe?

Here it is.

Enjoy the day!

Becky

Pecan Buttermilk Pancakes

Adapted from Southern Living

Ingredients:

1 and 1/4 cups of all purpose flour

2 tablespoons sugar

2 teaspoons baking powder

1/2 teaspoon baking soda

3/4 teaspoon salt

1 large egg

1 and 1/3 cup buttermilk

3 tablespoons vegetable oil

1 cup chopped pecans (optional)

Directions;

In a medium bowl stir together the flour, baking powder, baking soda, salt and sugar. In a separate bowl whisk together the egg, buttermilk and the oil. Add the buttermilk mixture to the flour mixture and stir to combine. Do not over mix. Batter will have small lumps.

Heat a griddle to medium heat and add a small amount of oil. Measure out about 1/4 cup of batter and pour it on the hot  griddle. Sprinkle chopped pecans onto the wet batter, if desired. Cook until bubbles start to rise. Flip pancake over and cook on the other side.

Serve with butter and syrup or even some fresh berries.

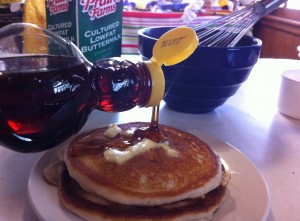
Can you make out the smiley face butter on top? You will have your family smiling too when you make them for your family. You might want to double the recipe.

Enjoy!

Here is another post from A Small Town Kitchen you might enjoy.

Baking Powder Biscuits                             Strawberry Bread


Garlic Cheddar Biscuits


Day in the Kitchen

Today was the first time I had my kids at school cook something that was actually part of my classwork.

Yesterday, I put the students in kitchen groups, or I should say they put themselves in kitchen group,s that I had to approve. They got to explore a little bit in the kitchen they where assigned too, to see where everything is located. It did not take long until they had to inform me that they already knew where everything was.

Funny how they thought the big upright freezer was a refridgerator.

Whatever….  : D

I got up early this morning; and by the way it was freezing outside; and made my way to the closest grocery store to buy the ingredients for microwave monkey bread. Microwave monkey bread is always the first cooking lab I do with my students. One of the main reasons is that it is so easy.  |It is also not expensive to make and the students love it. They love it so much, they did not even offer me a one little nibble all day. So much for getting up early on a freezing day to earn a bite of monkey bread.

I decided I would come home and make a batch that I could keep all to myself.

Right now it is hiding in the microwave. It is still warm, and gooey and cinnamony….. Please don’t tell oldest daughter who does not cook. She loves anything with cinnamon in it.

I am not sure where I got this recipe, or where I found this recipe, but I have been using it for years and years. I like to find recipes that my students are able to make at home, with ingredients that they probably already have.

If you need a super easy, super lip smacking, super fast treat on a Snow Day morning (all teachers dream of snow days), or any morning, you should  give this recipe a try!

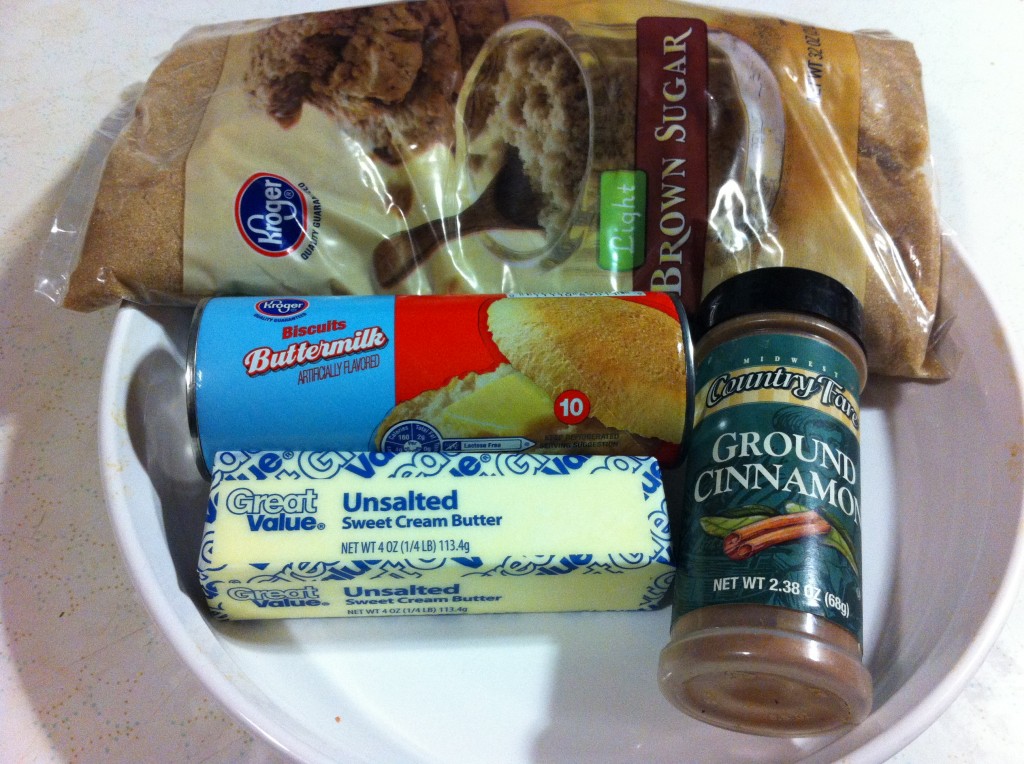
This is all you need! How cool is that?

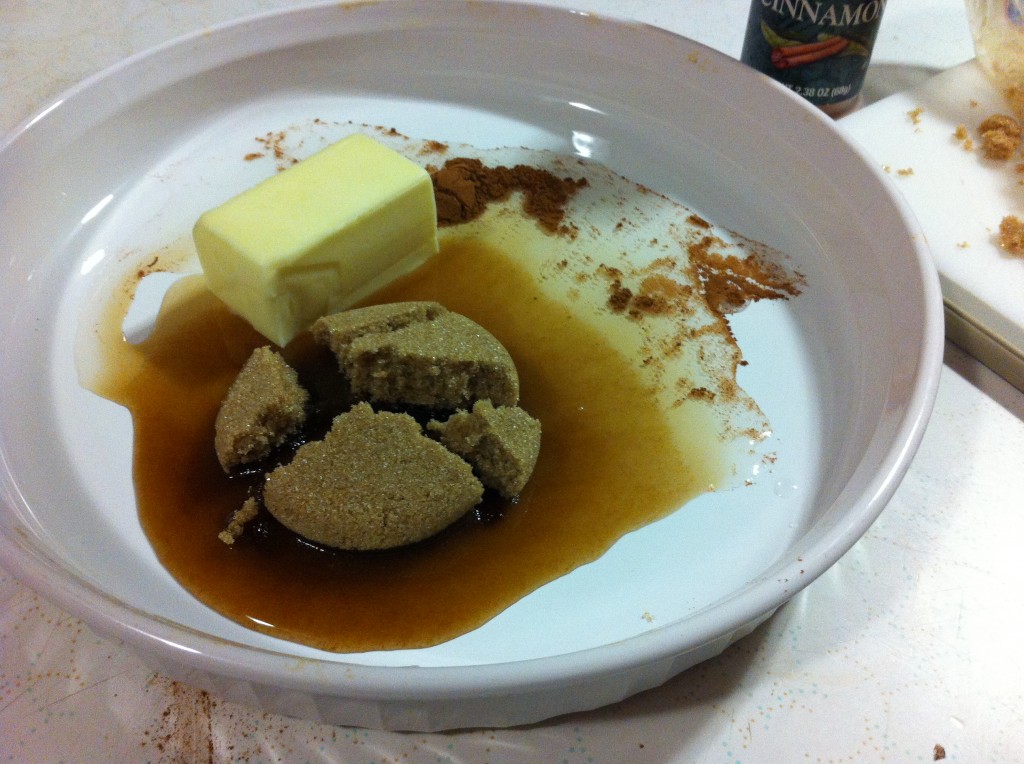
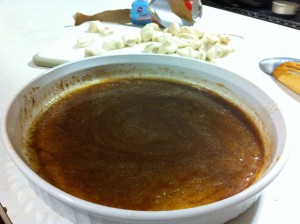
First thing you do is, melt 1/4 cup butter or margarine, 2 tablespoons of water, 1/2 cup of brown sugar and 1/2 teaspoon of cinnamon together in the microwave.


This is what it looks like melted.                                      This is what it looks like stired together


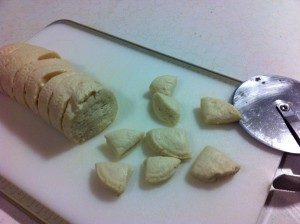
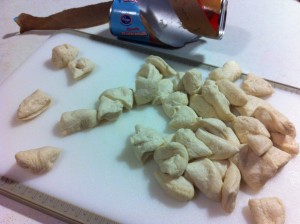
On a cutting board, using a pizza cutter (I found that it works the easiest) and cut each biscuit into four pieces.


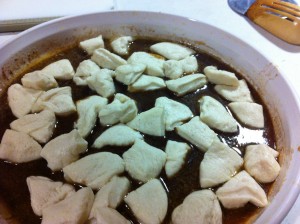
Put all the little pieces of biscuits in the brown sugar and butter sauce. Stir to coat each piece.


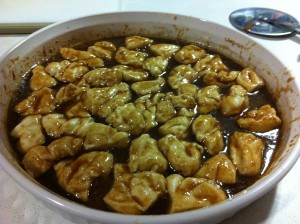
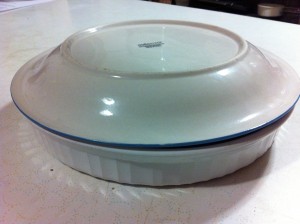
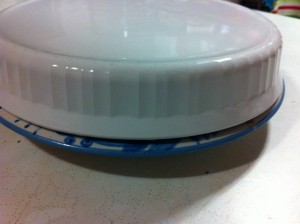
Cook for three minutes in the microwave. Take it out of the microwave and let it stand for 2 minutes. Place a plate over the top of the pan and invert.

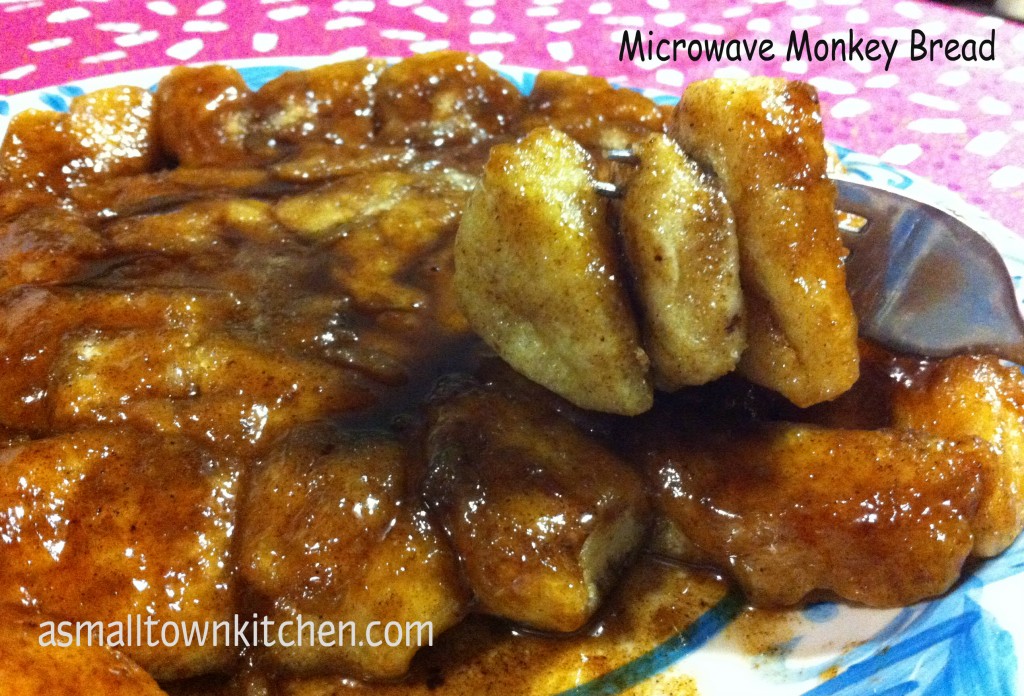
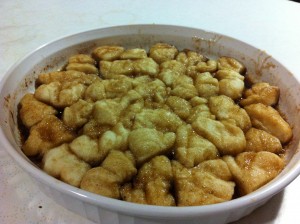
Invert the monkey bread onto a plate.

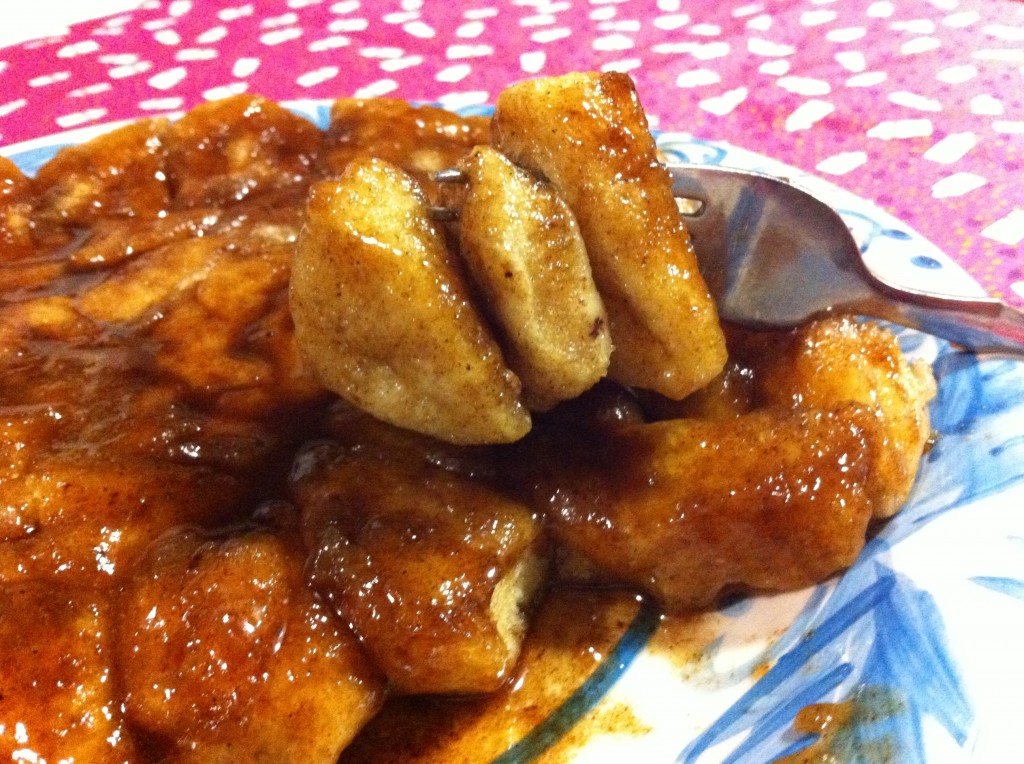
Grab a fork super quick and grab a bite, because they will not last long!

In fact, that is where I am heading.

Right to my golden, gooey, globs of deliciousness hiding in the microwave.

I just need to find a fork!

Enjoy,

Becky

Microwave Monkey Bread

Ingredients:

1/4 cup of margarine or butter

1/2 cup of brown sugar

2 tablespoons water

1/2 teaspoon cinnamon

1-7.5 ounce can of refrigerator biscuits (10 small biscuits)

Serves 4

Directions:

In a round microwave safe dish, melt the butter, brown sugar, water and cinnamon on high for 45 seconds. Place a lid on the dish to prevent splattering.

Cut each biscuit into 4 pieces. Place the biscuits into melted brown sugar and butter sauce. Stir to coat each piece of biscuit.

Cook biscuits in the microwave on high for 3 to 4 minutes or until the biscuits are cooked. remove from the microwave with potholders. Let the bread sit for one minute to allow the sauce to thicken. Place a plate over the pan and turn monkey bread over onto a plate to serve.


Related Posts Plugin for WordPress, Blogger...