Shoney’s Cabbage Soup

Have you ever heard of a Shoney’s Restaurant?

Shoney’s used to be in several towns/cities in Missouri. Way back when my kids were just sprouts, me and their dad would take them to Shoney’s and we would pig out on their all you could eat breakfast bar. It is embarrassing to think how many pieces of their crispy bacon I would eat at one sitting. If you timed it just right, you could eat breakfast, but they would start putting out the all you could eat salad and soup bar.

And….if you know anything about me by now, you know that I am love’n me some soup.

One of my favorite soups was their Cabbage Soup.

Now….hang on there….there is more to this soup than cabbage.

Let’s just say the cabbage is the finishing touch. AND you can add as little or as much as you want.

BUT, don’t be afraid to add some.

When I came back from Savannah GA on vacation. I was ready for just some soup. (Even though I went to the Pirate House three times just to eat their Crab Bisque, corn muffins and orange marmalade). I had eaten at a Irish Pub, a local BBQ, At Robert Irvine’s restaurant Nosh and a couple of more restaurants on River Street.

I just needed some homemade soup.

So….I made a big batch of Shoney’s Cabbage Soup, took it to Mom’s after church for lunch. Niener Wiener and her hubby, Jeanie Beanie, Company, The Princess and Prince (Mom and Dad) and me. We slurped on this soup and smacked out lips and Nieners hubby Gary ate a few bowls. There was just enough soup to send home Jeanie Beanie and Nierner a container for dinner.

Anywho, it is officially fall. You can eat soup everyday (like me) or make a batch, have it for dinner, then freeze the rest in containers to take to work for lunch (like me also).

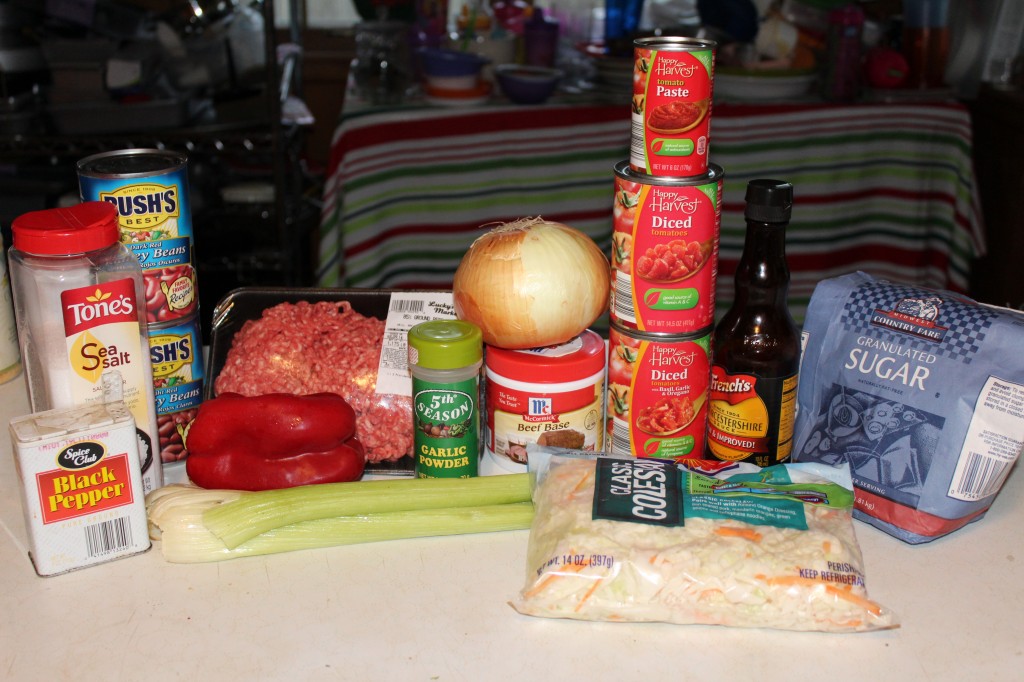
Here is what you need to make this recipe.

Yes…CABBAGE…some celery, red pepper (you could use green) diced tomatoes, hamburger, tomato paste, beef soup base, Worcestershire  sauce, kidney beans, sugar, onion, garlic powder, pepper and salt.


First brown  you hamburger and drain well. (sometimes I rinse mine with water after I fry it to get all the grease off).


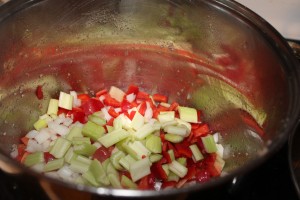
Chop up the celery in bite size pieces.                                              Chop up the red pepper into bite size pieces.


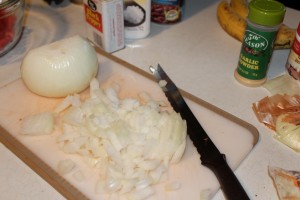
Now, saving the best for last, chop up the onion. Add all the chopped vegetables to the brown and drained hamburger meat.


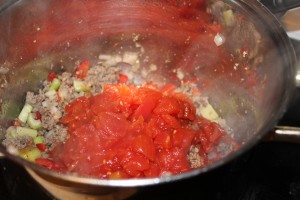
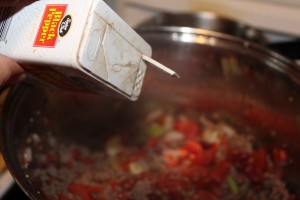
Add in the dice tomatoes and season with a little bit of pepper (to taste).


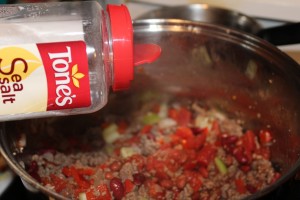
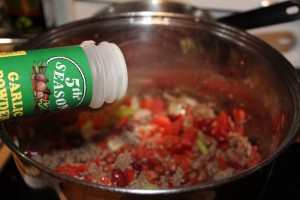
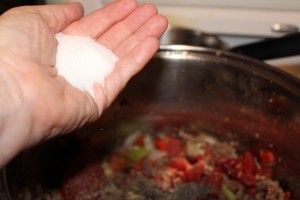
Add some salt (I used sea salt) and some garlic powder. You could probably sneak in a diced garlic clove if you wanted to. Also, you are using a beef soup base which can be salty, so you may want to wait to salt the soup after all the ingredients are in and you taste it first.


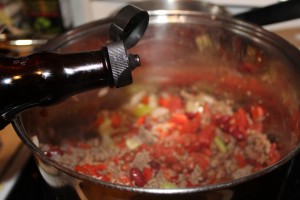
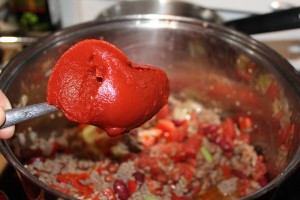
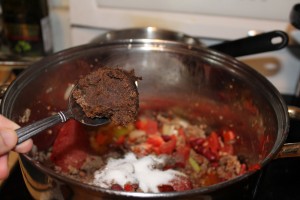
Add the Worcestershire Sauce and the tomato paste.


Add the sugar and the beef soup base. The beef soup base can be salty so be careful how much salt you use.


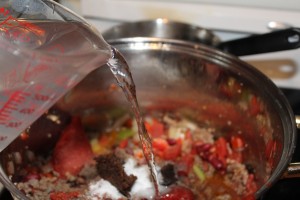
Add in the water and bring the soup to a simmer.


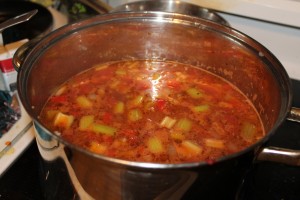
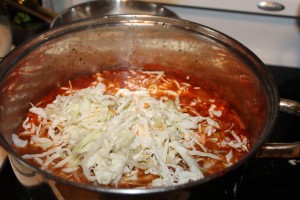
Add in the shredded cabbage. (I used already shredded cole slaw cabbage)

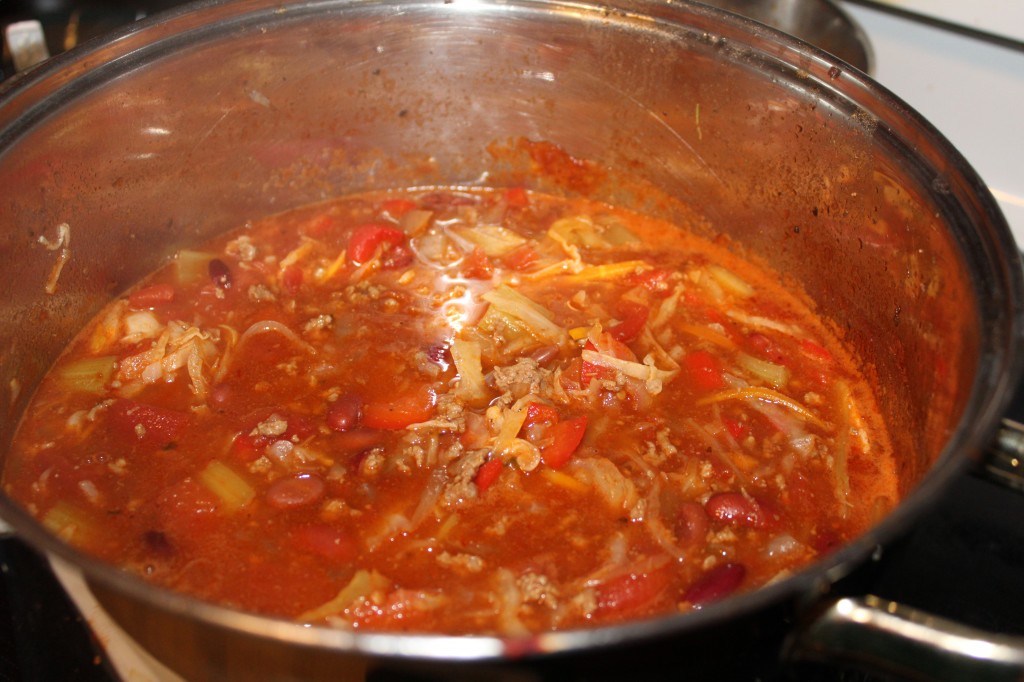
Simmer until the cabbage is tender.

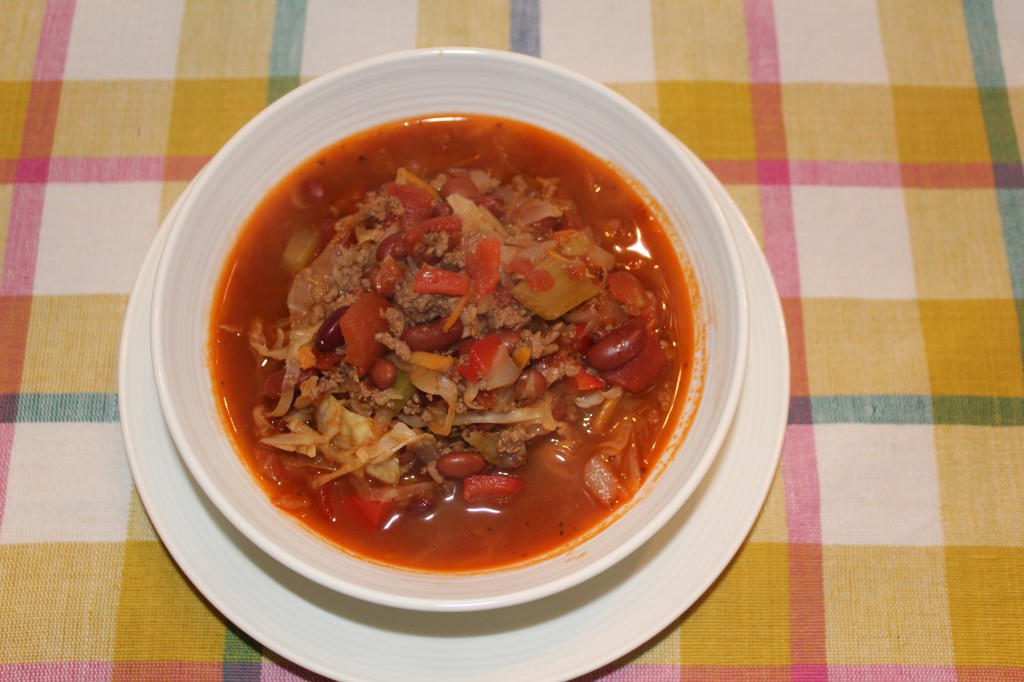
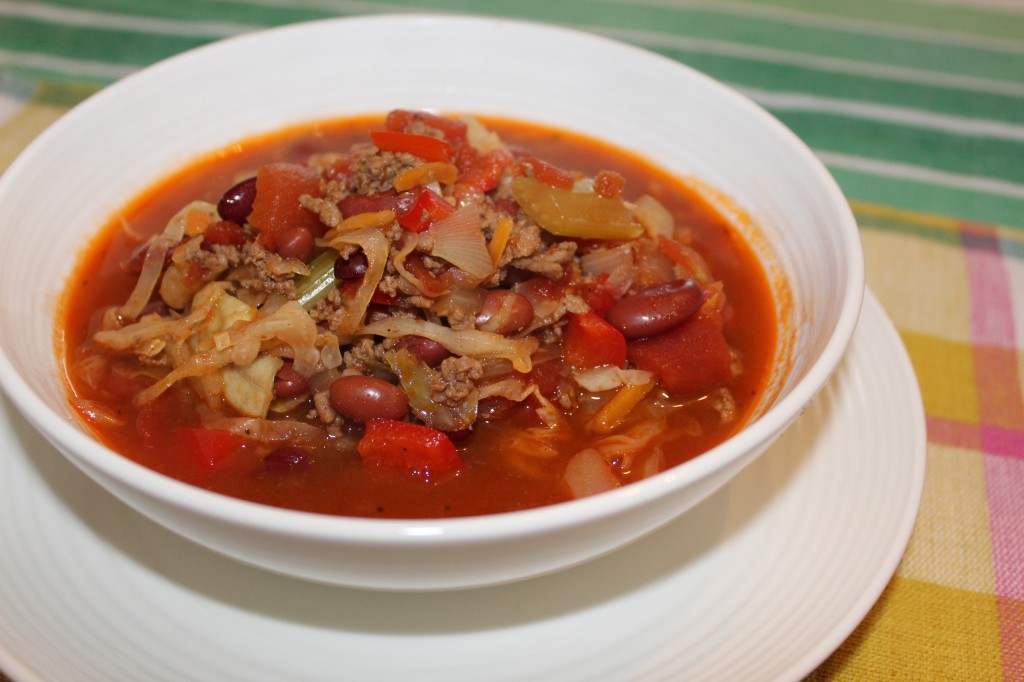
There you go…Shoney’s Cabbage Soup.

MMMM….I wish I could eat some now….OH I CAN….I have some in the freezer.

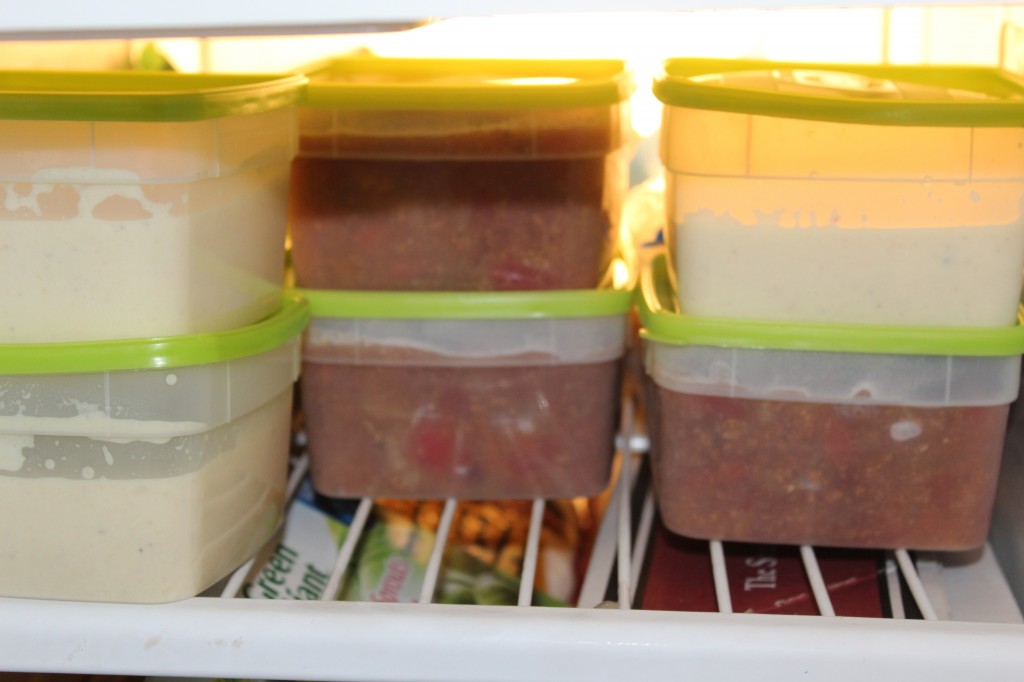
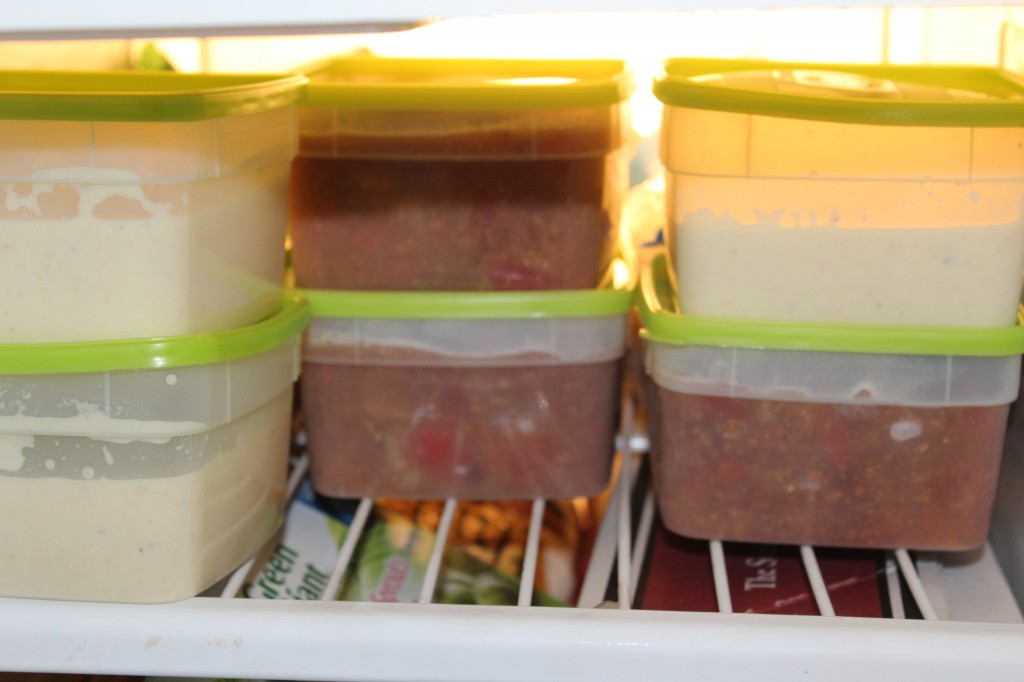
See, there is the cabbage soup right next to the Roasted Cauliflower Soup  in the freezer.

Here is the recipe:

Shoney’s Cabbage Soup

Adapted from church cookbook I bought at Goodwill

Ingredients:

3 pounds of ground beef, browned and drained

1 medium onion, chopped

2 stalks of celery, chopped

1 green or red sweet pepper, chopped

4 to 6 cups of water (depending on how thick you want the soup)

2 large cans diced tomatoes and juice

2 large cans kidney beans and juice

2 to 3 tablespoon beef soup base (be careful here, this can be salty…good but salty)

1 tablespoon pepper

Salt to taste (taste after adding beef soup base and then salt)

3 tablespoons sugar

4 ounces tomato paste

2 tablespoons Worcestershire sauce

I package of pre shredded cole slaw mix ( I used about 3/4 of the bag)

Directions:

Bring all the ingredients to a simmer. Simmer for 30 minutes. Add the cabbage and simmer until tender.

Now, you if you live in Missouri, you don’t have to go all the way to Branson to enjoy some Shoney’s Cabbage Soup.

Enjoy!

Becky

Happy Fall…Roasted Cauliflower Soup

Have you noticed the chill in the air?

It is officially Fall!

Are you a soup eater?

I am!

I can eat soup year round, (and do).

This past summer school, the foods class (taught last summer by another teacher) made a whole selection of healthy food. My class was lucky enough to get to sample everything! One of the recipe they made was this delicious Roasted Cauliflower Soup. Everyone was so surprised how rich and so unlike cauliflower it tasted. I could have eaten the whole pot. I have been wanting to make this recipe since July and even bought the cauliflower to make it one time, but the stars did not align for me to get er done. So, two weeks ago I bought another cauliflower and it has been tucked in the back in my fridge (still looking great) until I finally got it to make soup.

I finally got it made today.

Anywho, I changed it up just a bit, nothing major. I just had to use what I had on hand, and it still tasted great. I am going to give you the original recipe and let you know what I used to make mine.

So, here we go!

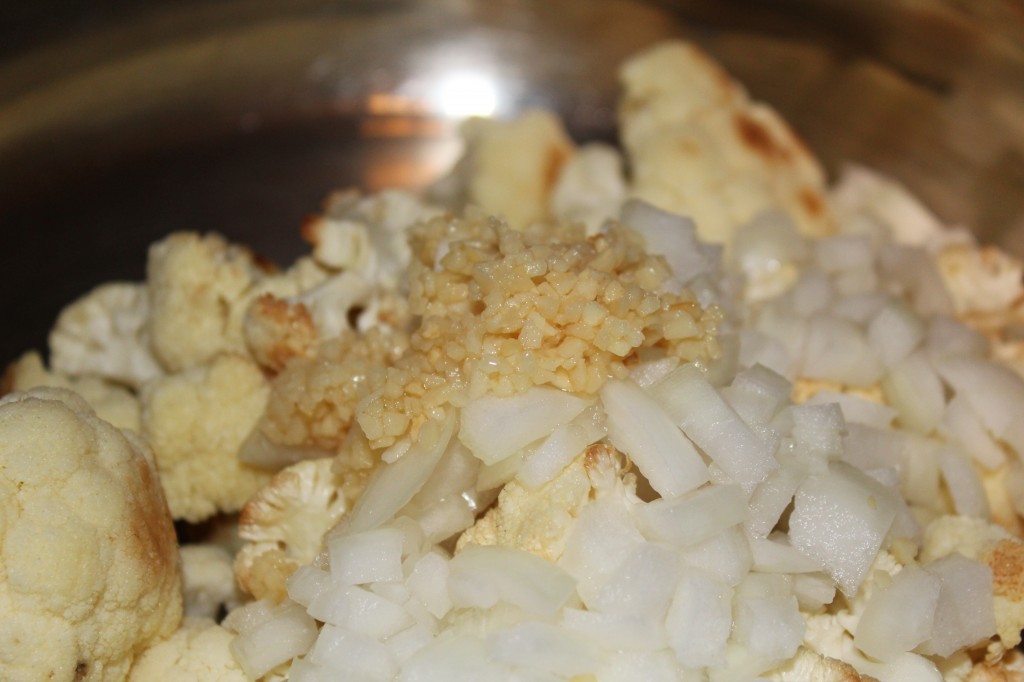
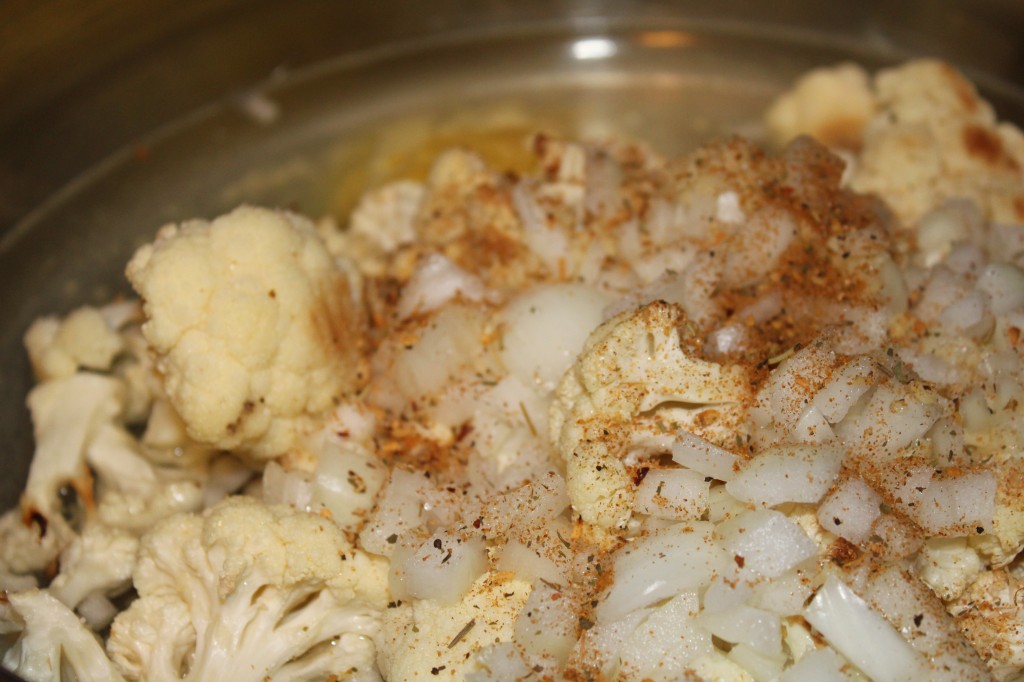
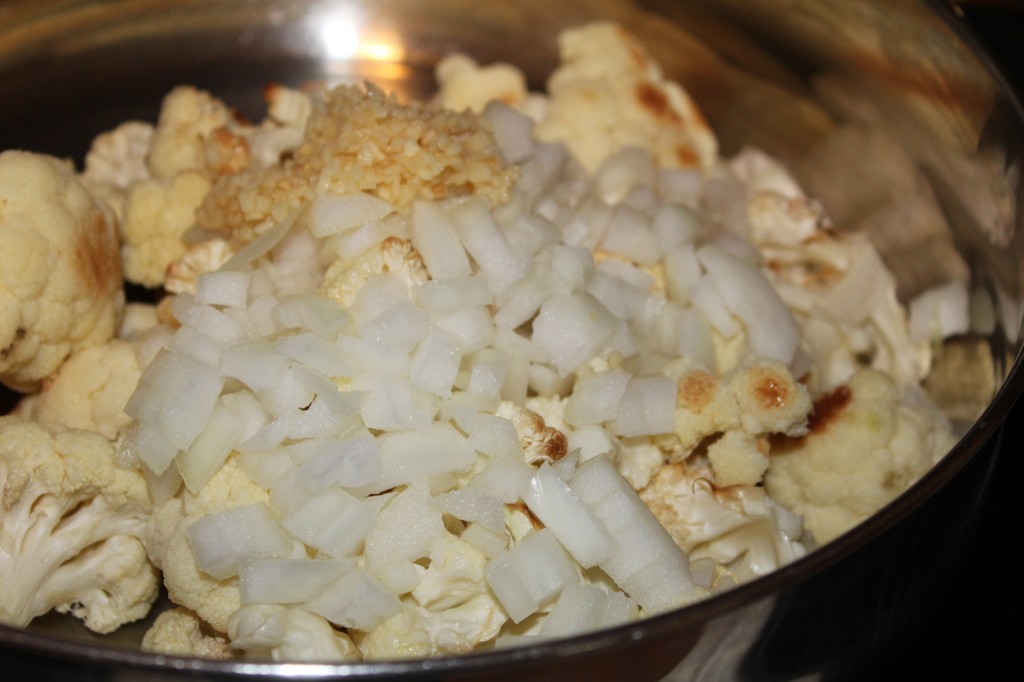
You need 10 cups of roasted cauliflower or one large cauliflower. To roast it you just cut the cauliflower up, drizzle with some olive oil and roast on 400 for 30 minutes. You were suppose to roast the dice onions and garlic too, but I forgot and it still tasted great.

Add in one large onion, diced.

Add in two garlic cloves, diced. I used a table spoon of dice garlic from a jar.

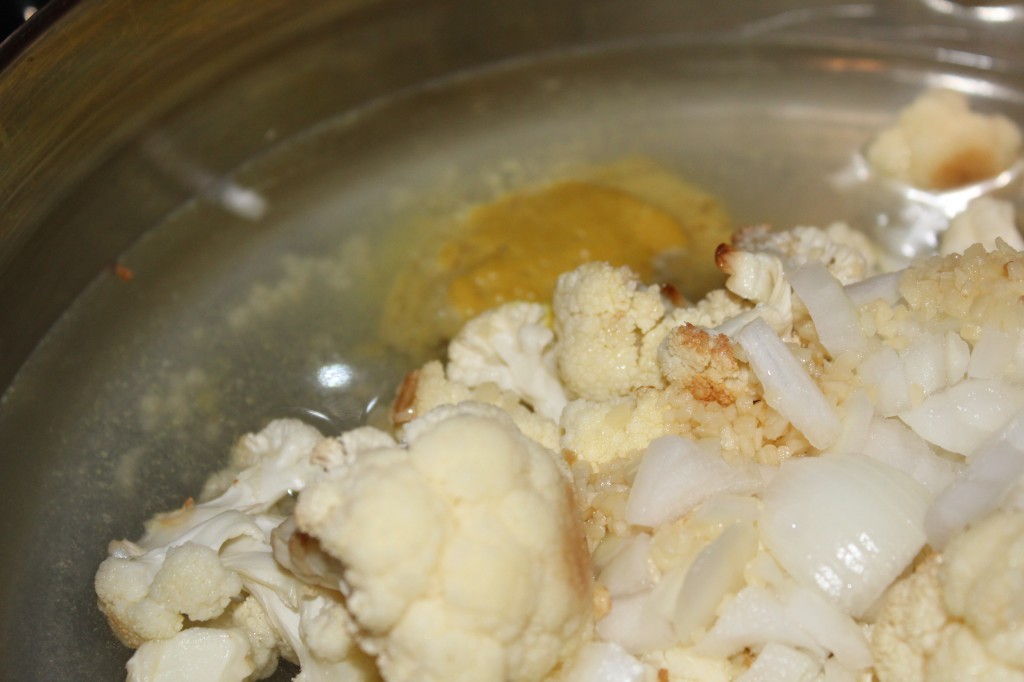
Now, you add in one cup of water and two can of chicken broth. I was out of chicken broth, so I used water and my chicken soup base. The base if very salty, so if you choose to use it instead of the chicken broth, be careful how much you add to the water. I used about 2 tablespoons.

Next, you add the seasoning. The recipe calls for thyme and a bay leaf. Well………..

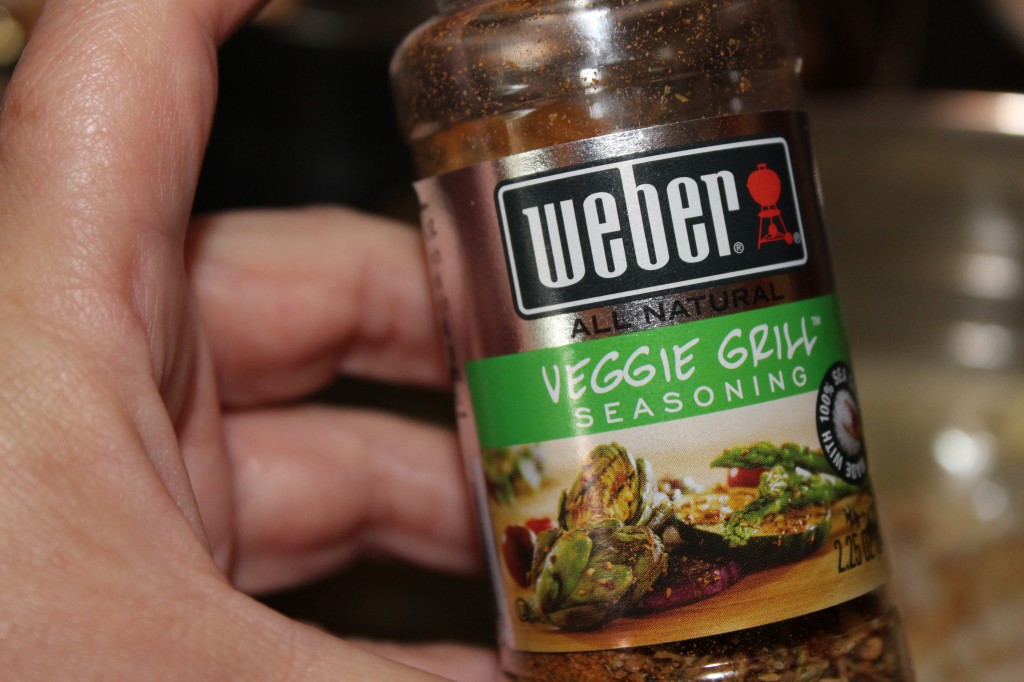
I decided to use my veggie grill seasoning instead. I like the color it adds and the flavor. The only thing to watch out for is that it has garlic in it too, so you could really taste the garlic in my soup. I love garlic, so I did not mind.

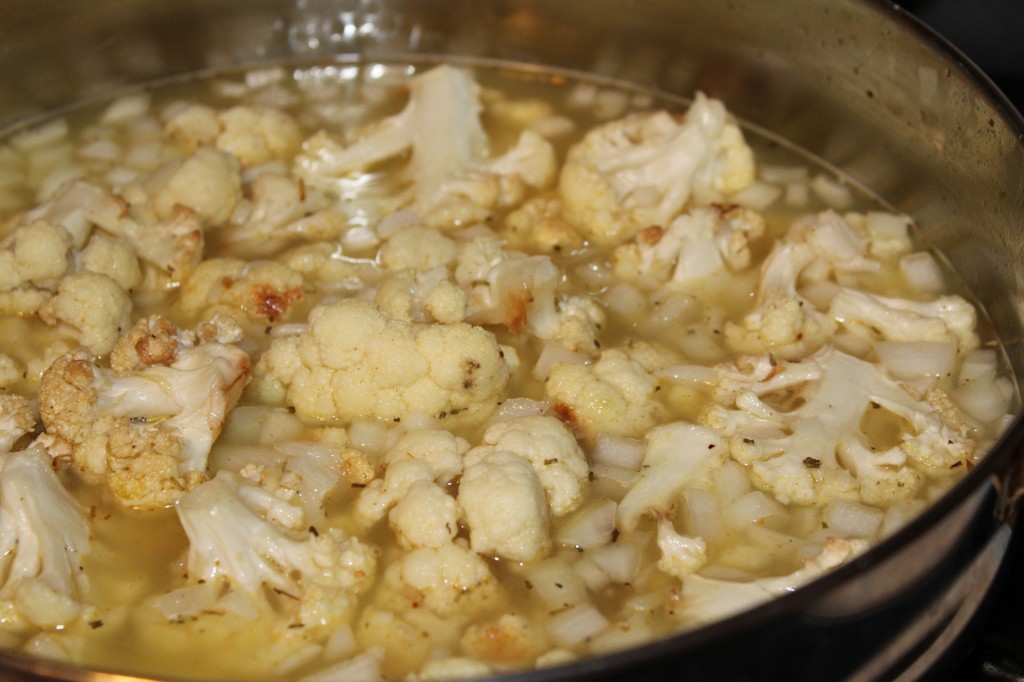
Now, you simmer for 30 minutes until the cauliflower is really tender.


This a smooth pureed soup. I first tried using my immersion blender but it was taking too long and I was hungry. So, I switched to my blender. You can use a food processor too, just used something to puree the soup until smooth.

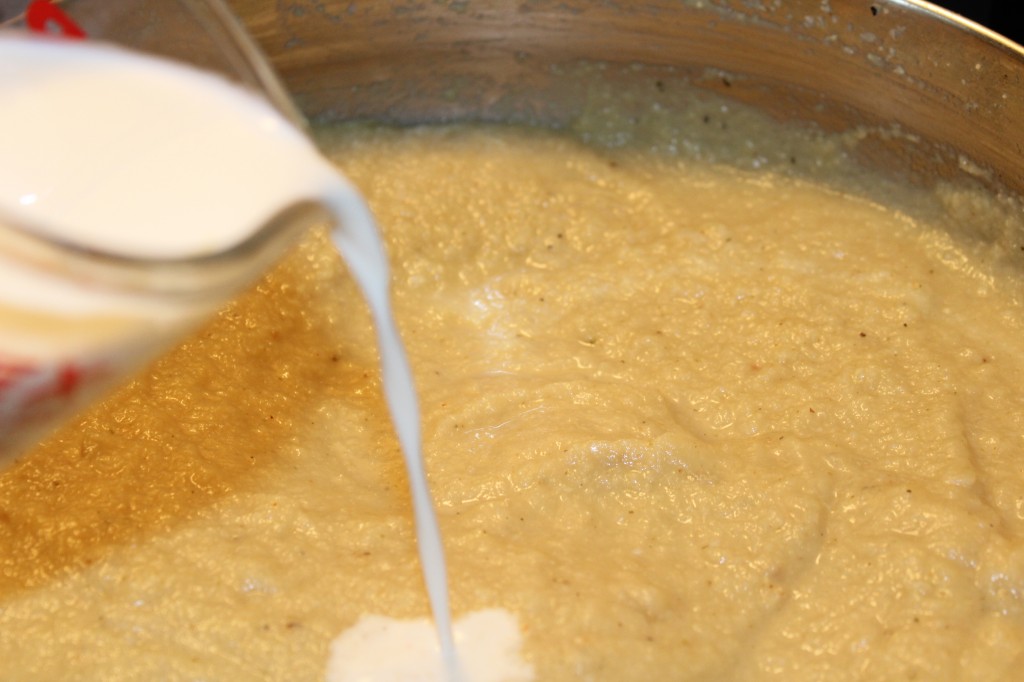
The only left to do before you can eat the whole of pot of this soup…cause you will want too….is pour in one cup of half and half. I think  you could use whipping cream or fat free half and half (if you want to save on some calories).

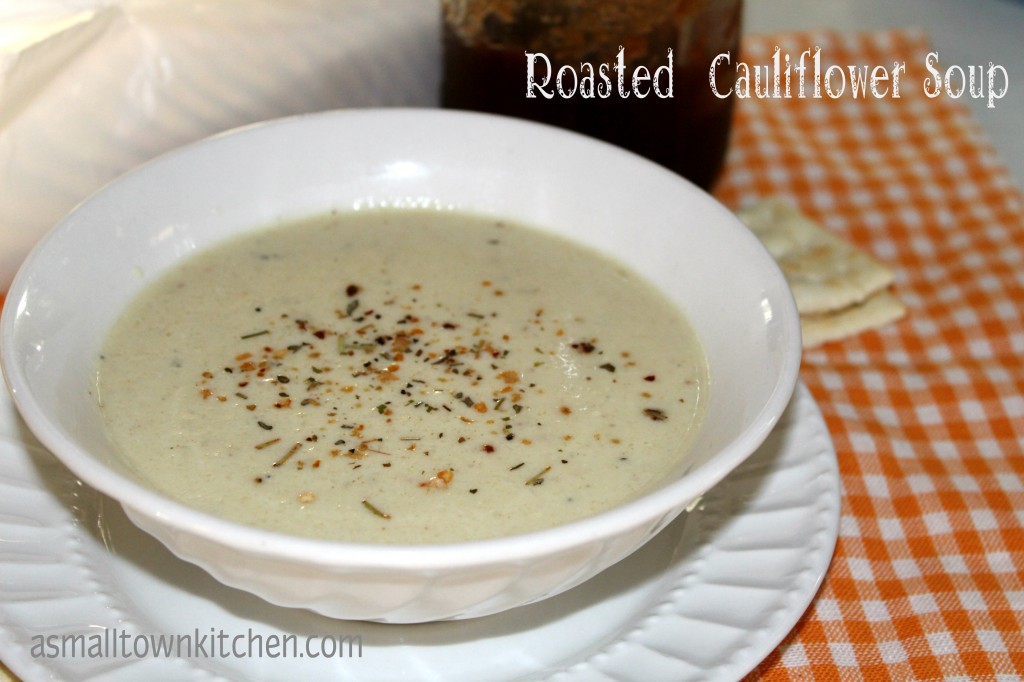
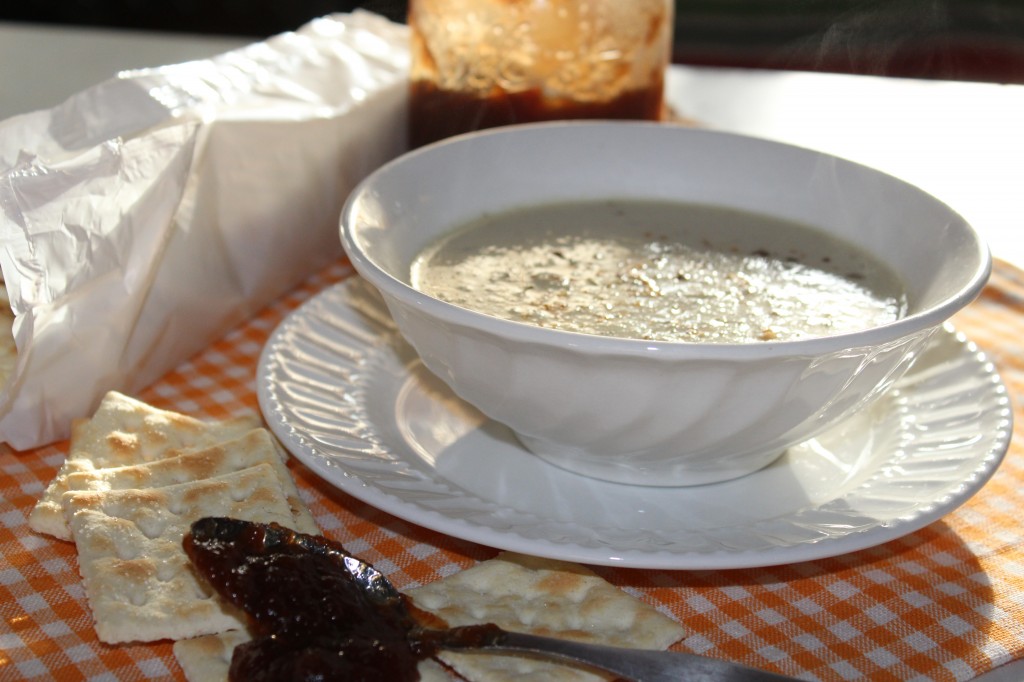
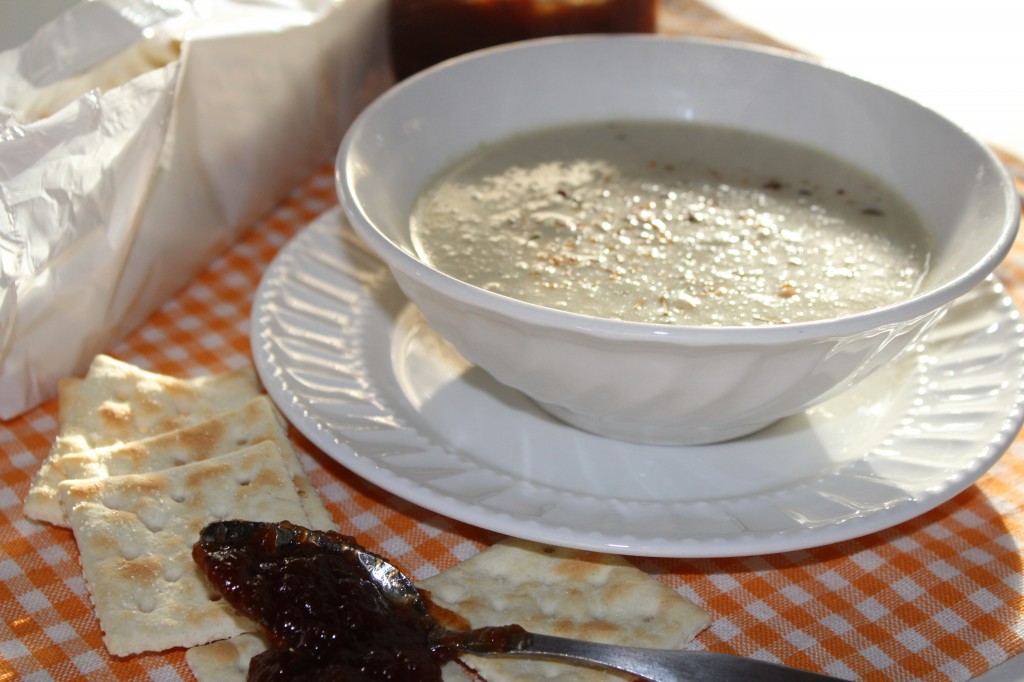
I just ladled some soup into a bowl and sprinkled a touch of veggie grill seasonings on top to add a little color.

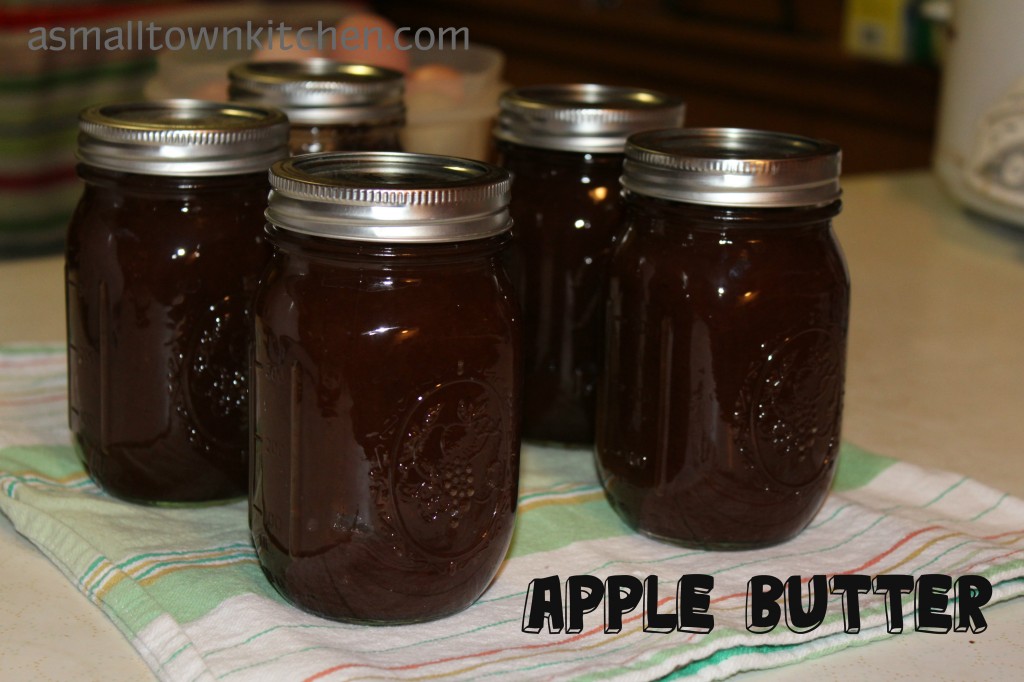
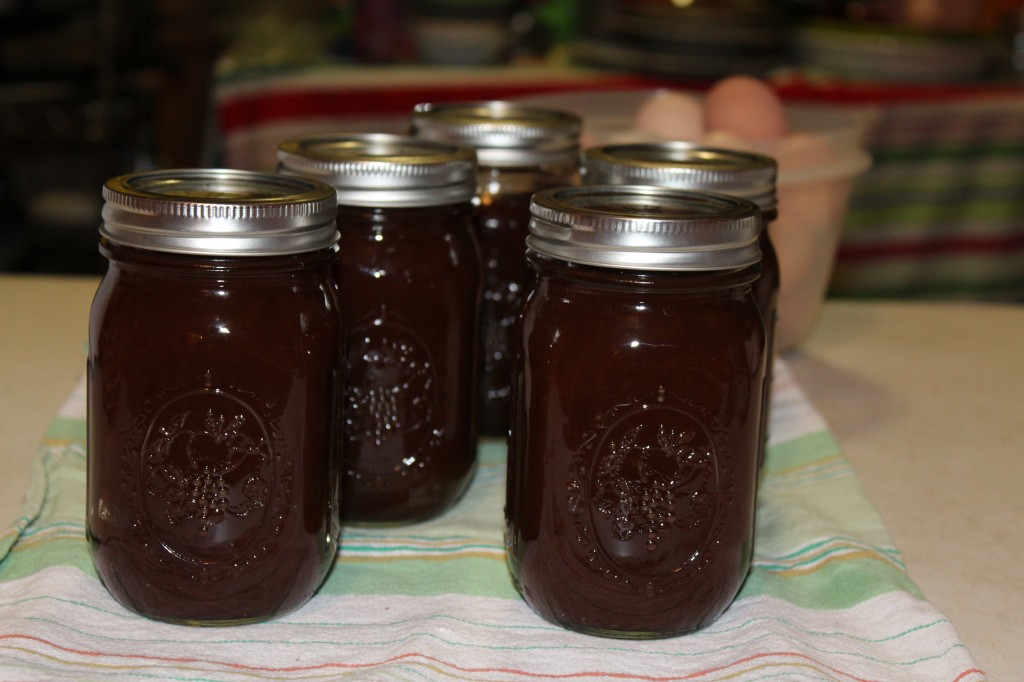
I found some crackers and got out some of my home made apple butter (the best batch I have ever made), to eat with my soup

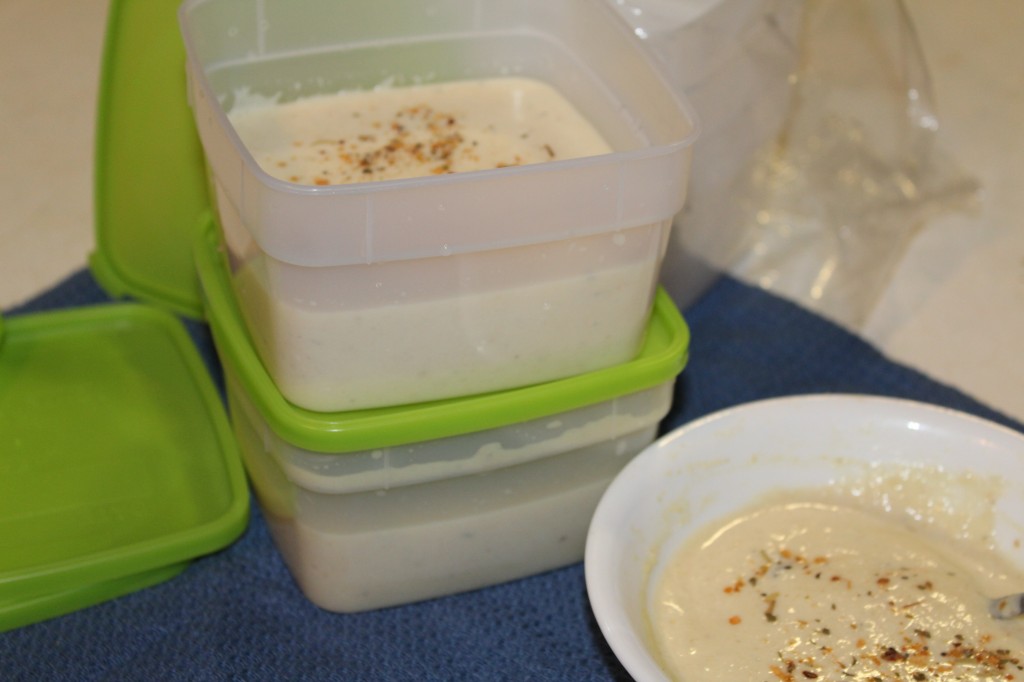
The rest of the soup went into freezer containers. I can take these to school for lunch.

The soup is in the freezer next to the Shoney’s Cabbage Soup I made a couple of weeks ago. I will get that terrific soup recipe posted later this week.

Here is the recipe:

Roasted Cauliflower Soup

Adapted from Better Homes and Garden

Ingredients:

1 large Cauliflower, cut into florets (10 cups)

1 large onion, sliced

2 cloves garlic, cut in half

2 tablespoons olive oil

2—14 1/2 ounce cans chicken broth

1 cup water

1 bay leaf

1 teaspoon snipped fresh thyme or 1/4 crushed dried thyme

1 cup half and half or light cream

1 teaspoon salt

1/8 teaspoon pepper

Directions:

Preheat oven to 400 degrees. In a large roasting pan combine cauliflower, onion and garlic. Drizzle with oil, toss gently to coat. Spread vegetables in an even layer. Roast,  uncovered for 30 minutes, stirring once.

In a 4 quart Dutch oven or stock pot, combine the roasted vegetables, broth, water, bay leaf and thyme. Bring to a boil and reduce heat. Simmer, covered, for 20 minutes. cool slightly. Remove and discard bay leaf. Transfer vegetable mixture in batches to a food processor or blender. Cover and process of blend until smooth. Returned pureed mixture to saucepan. Stir in half an half, salt and pepper. Heat through.

Happy Fall!

Becky

Other Post You May Enjoy:


The BEST Chicken Pot Pie             Coconut Cream Cake                    Southern 7up Biscuits


Apples plus Squeezo equals Apple Butter

Tomorrow is the first day of fall, and what better way to celebrate the leaves changing colors, the crisp cool nights and sweater weather…than with homemade apple butter.

I bought a box of apples during one of my Mennonite shopping trips. That poor box of apples sat in my kitchen the whole time while I was trying to recover (and still teach) from one bad sinus and ear infection. I finally started feeling like my usual self the end of last week. I know that everyone in my family are ecstatic that I am feeling better. I think I was a little complainy. Even the Princess (mom) told me I was a grouch….ouch!

Feeling better, I started sorting through the apples. They had sat in that box for over two weeks. Some were ready for the compost pile, some were ready for the chickens (and they loved them) and the rest were ready to meet THE SQUEEZO.

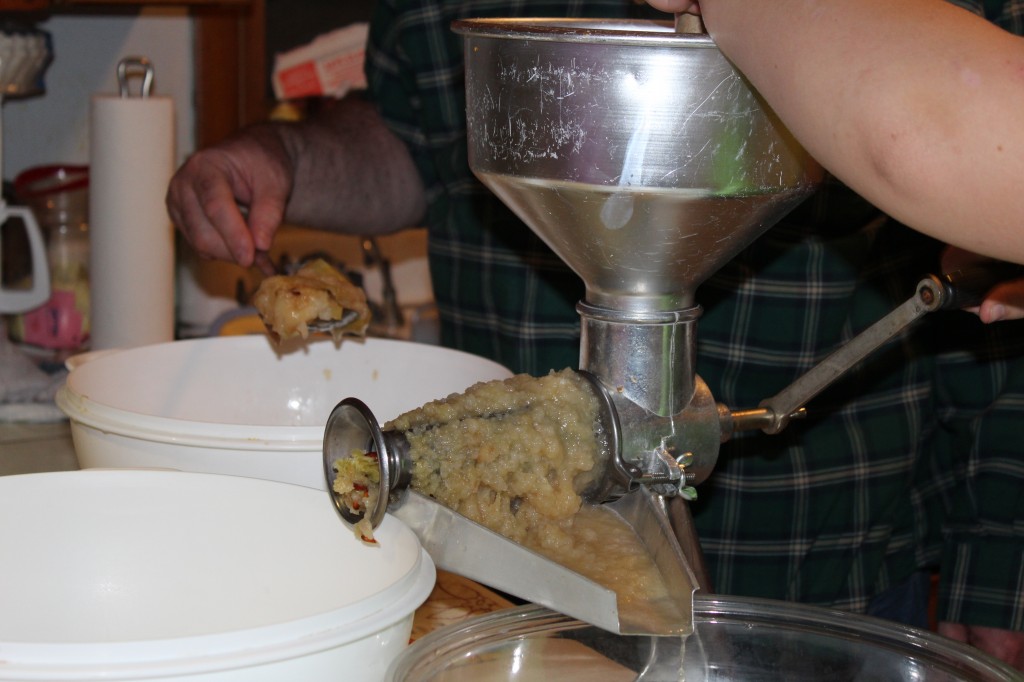
This is a picture of the squeeze doing some magic on the apples.

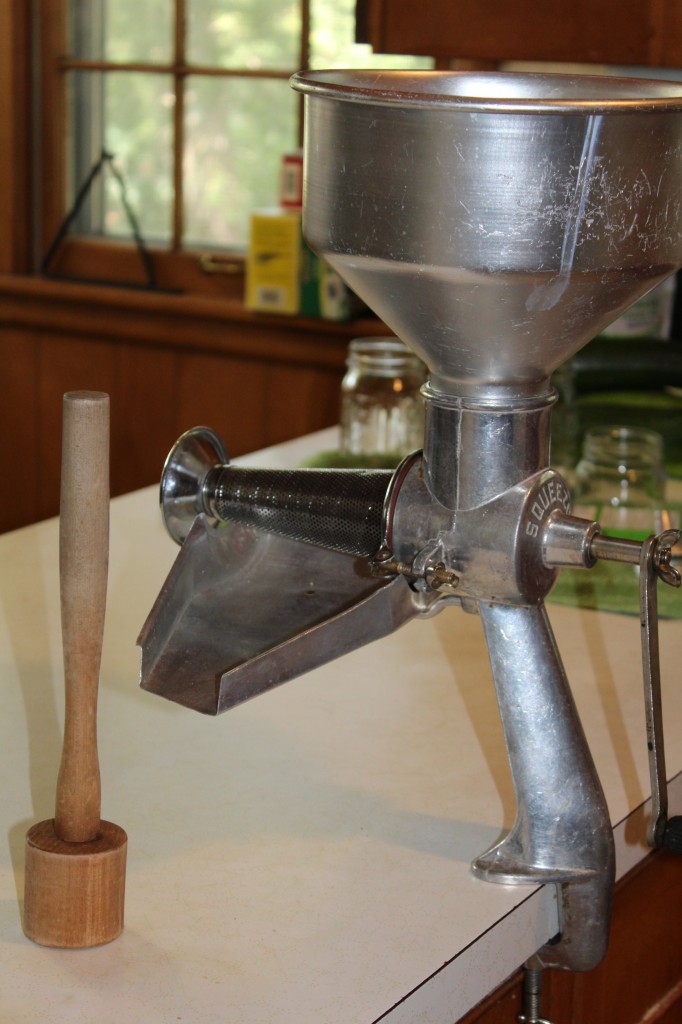
This is the what it looks like all put together.

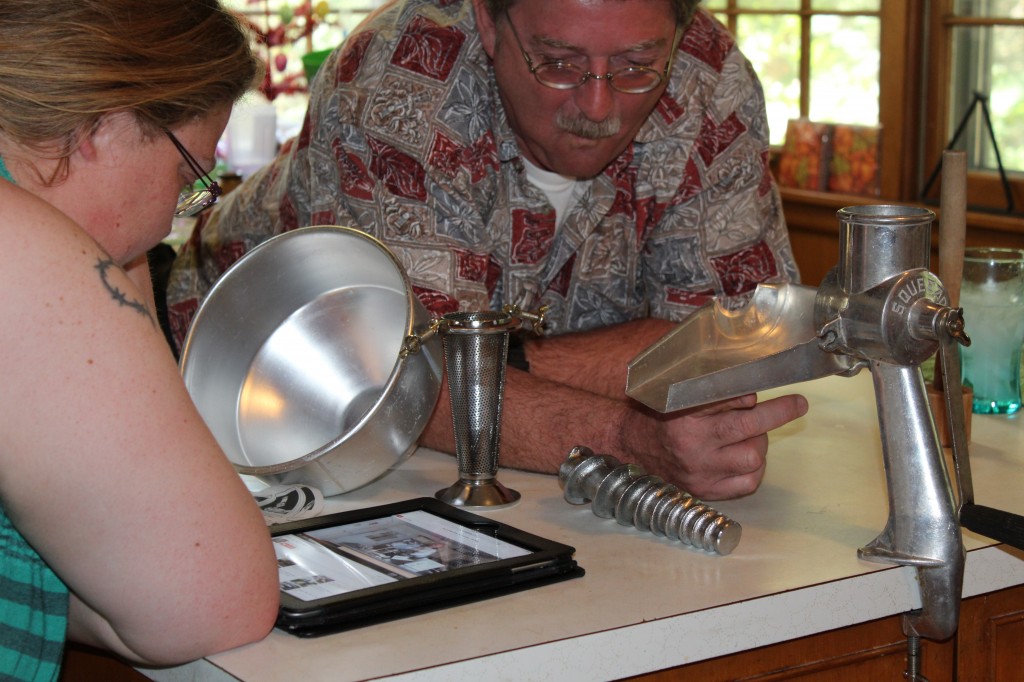
It took three college degrees and a you tube video to figure out how to put it together. Oldest Daughter who does not cook, watched the video and in about 5 minutes had it all put together. I pretend that I can’t figure it out, so she will keep putting it together for me. (please do not tell her) hehe.

Well anywho, let me tell you about this contraption they call The Squeezo. I guess it has been around for about 100 years. They are pretty pricey if  you buy one brand new (over $200). I was able to buy a used one from a retired teacher about a hour drive away for about $50. I had so much fun talking with that retire teacher, I bought a pressure cooker from her too. I need to have oldest daughter watch some you tube videos to teach me how to use it too. ; )

I love this squeezo (food mill). I do not have to peel or core my apples for apple sauce and for apple butter. I think I can do jam with the pureed apples too, but I have not tried that yet. I did use it for peach jam and it worked great. Though I used the smaller strainer and I got more juice than pulp. The peach jam will be on another post…promise!

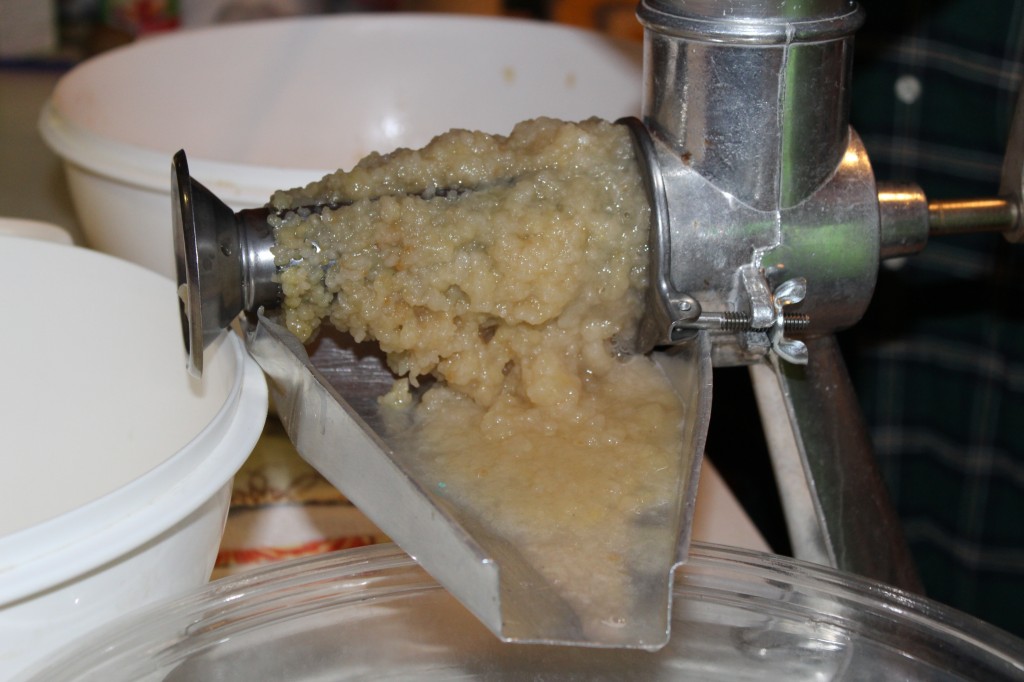
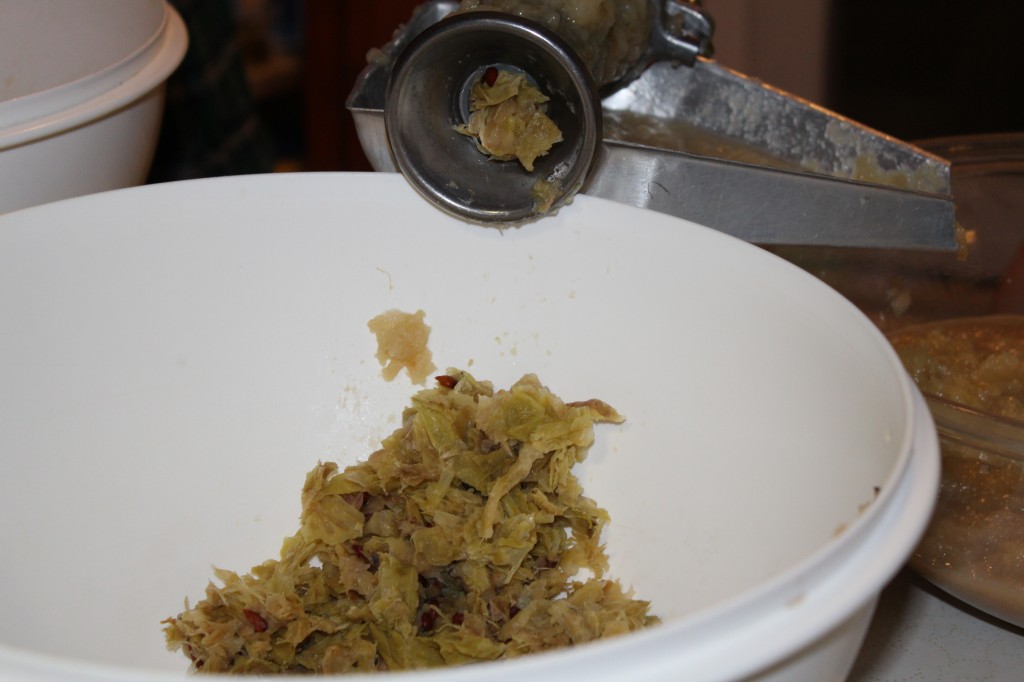
You load steamed apples that have cooled in the hopper at the top. Push the apples down into the mill with a wooden mallet and turn the handle. The apple puree comes out of the holes in the strainer and the peeling, core and seeds come out the middle.

Here is the picture of the peelings and stuff. We were able to get about 10 cups of puree done in less than 20 minutes. Woot Woot!

I found the most fabulous recipe for apple butter!!

It is from a website called Taste of Southern. Just click on the link and you will find step by step pictures and recipe.

I cooked the apple butter in the crock pot overnight. The original recipe cooks the apple butter on top of the stove and that is fine too.

After about 11 hours it cooked down to about half the original amount.

So, let me tell you a little about this recipe.

You will need some sort of food mill, or food sieve.

I took the stems off the apples.  I cut them in fourths and put them in a big pot.

I put in 3 cups of water and 1 cup of apple cider vinegar. I had read on many reviews that people prefer the taste of their apple butter if they use apple cider vinegar instead of using apple cider.

I cooked the apples until they got soft.

I scooped out the apples and drained. I let them cool and bit and then put them through the food mill.

For every ONE cup of apple puree you need 1/2 cup of sugar.

The FIRST cup of apple puree use 1/2 cup of brown sugar. Then after the first 1/2 cup of brown sugar, start using regular sugar.

ok….so now that you have that down, here is the recipe.

Apple Butter

Adapted from Taste of Southern Website

5 pounds of apples

3 cups water

1 cup apple cider vinegar

1/2 cup brown sugar

3 1/2 cups white granulated sugar

2 teaspoons cinnamon

1 teaspoon grown cloves

1 teaspoon ground allspice

1/2 teaspoon nutmeg

1 teaspoon vanilla

1 lemon, zest plus juice (I used 2 tablespoons lemon juice)

Pinch of salt

Directions:

Wash and slice apples into quarters and put them in large stock pot.

Add 3 cups of water and 1 cup apple cider vinegar.

Bring to a rolling boil and then reduce to simmer for about 30 minutes or until soft.

Scoop out apples and run them through a food mill or sieve.

Measure the amount of puree you now have.

Add 1/2 cup sugar to each cup of apple puree, adjusting amount as needed, starting with the brown sugar and the remainder as white sugar. You need 1/2 cup of sugar to each 1 cup of puree.

(Crock pot method)

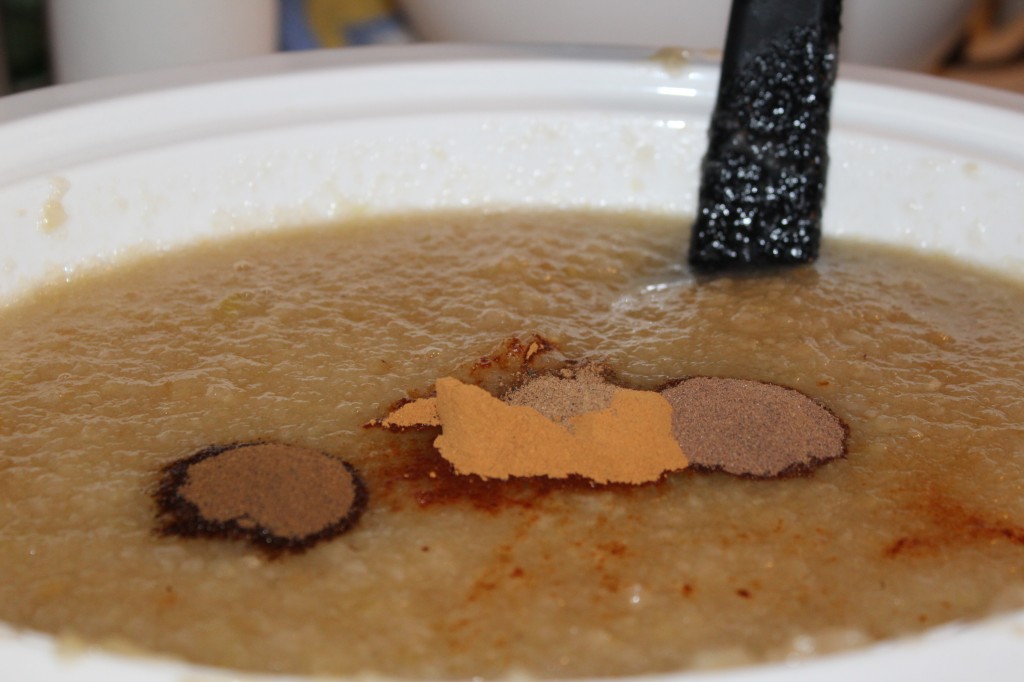
Put the apple puree and the sugar in the crock pot and stir until the sugar as dissolved. Add the cinnamon, allspice, nutmeg and cloves. Stir in. Add in the vanilla and lemon juice and zest (I used 2 tablespoons lemon juice instead). Add in a pinch of salt.

Stir well to incorporate.

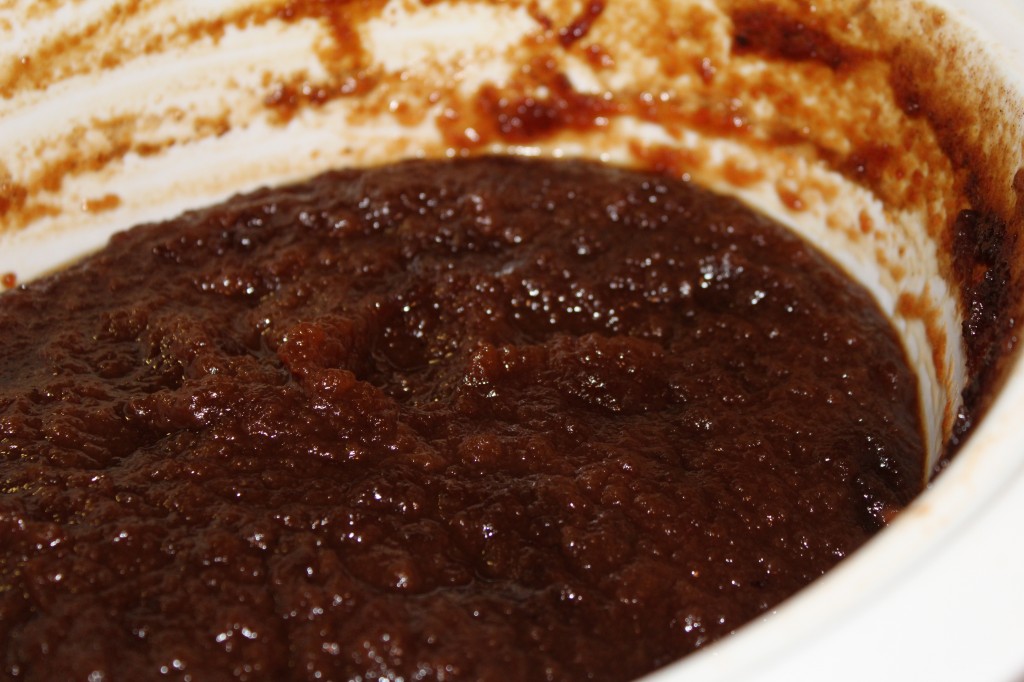
Put crock pot on low for 10 hours. I used a skewer to prop my lid up a bit so the steam could escape and let the apple butter cook down.

Cook until you get the desired thickness. (I like mine thick).

Now, when it is done you can freeze it or water bath process it.

I water bath processed mine for 10 minutes.

I put one jar in the fridge and the rest is still on the counter. I looked in the fridge tonight and half the jar is already eaten…..

I think that is a sign that is GOOD!

I was able to make 5 pints of apple butter when my crock pot is pretty full to start off with.

I know this was a LONG post and if you are still reading.

Congratulations!

Because now you know all the secrets to this recipe!

Enjoy!

Becky
Older Post You May Enjoy:


Baked Potato Soup                                Apple Crisp                                   Messy Marvins 


Bacon and Cheese Quiche

Hello All! I again apologize for the long delay in posting recipes. Long story short, I got pretty sick with a sinus infection. I knew I was feeling tired, head hurting, taking sinus medicine at all hours…thinking it was all due to school starting, allergies…you know regular “ya, I don’t feel good, but I have too much to do to give it much attention.” Well anywho, after much delay I finally went to the doc and yes I have a ear and sinus infection. I have been on antibiotics for a few days now, and I am starting to feel so good, I am almost excited to go back to school tomorrow….almost…haha.

The girls in the chicken coop, aka backyard chickens, are laying eggs like mad. They are popping out between 4 to 6 eggs a day. So, after months of feeding them and cleaning up the poopy chicken coop, I am finally rolling in eggs. Now, if they could lay me a golden egg. Yes, I am a dreamer! They have laid over 200 eggs in about 6 weeks time. I am having a blast sharing eggs with a couple of the Super Hero’s friends at work, Nierner Wiener and now I am saving up eggs for when Baby College Girl comes to visit in 3 weeks.

But, in the meantime, I needed to use a few eggs. Personally, I don’t eat many eggs. I will eat boiled eggs, occasionally. I will a deviled egg, occasionally. I love to make omelets, over easy eggs, scrambled and fried hard….you just won’t see me eat them.

Strange, I know!

Going back to my story…..I needed to use up some eggs, so last night I made two quiches. One with onions and one with out onions, cause some guy named Company does not like onions, (strange, I know) so I decided to be nice and make him happy.

I am going to show you how to make one with onions, but I was told the quiche tasted great without them….personally I think the onion one would taste better.

This recipe is super easy and it did not take long at all to make. Which means, I will be making more quiches around here.

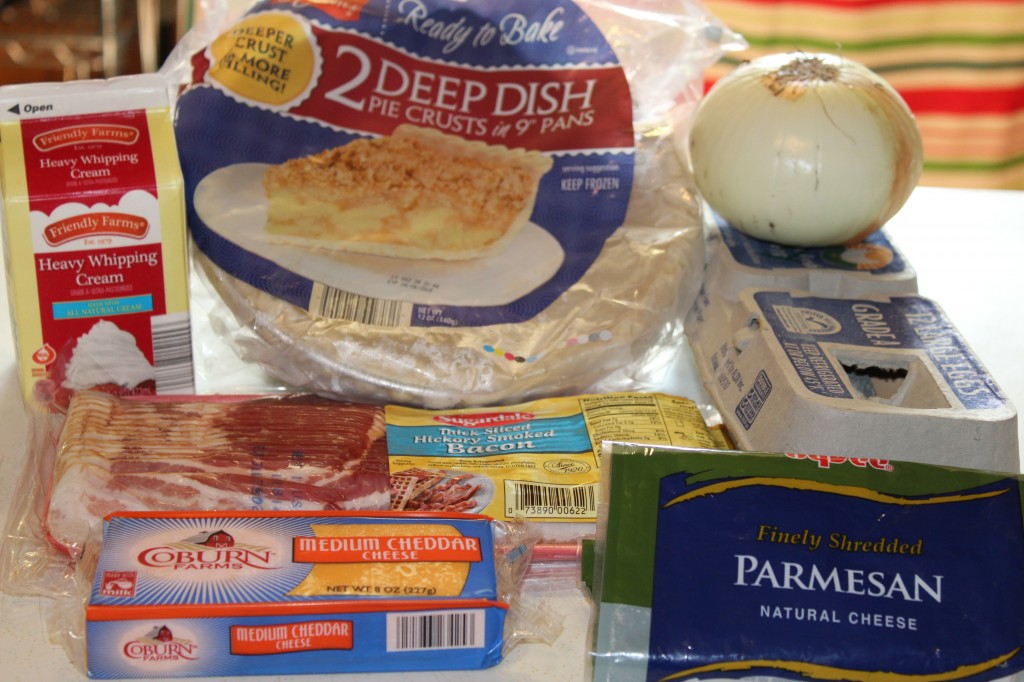
Here is what you need:

You will need a frozen 9 inch deep dish pie crust, (but by all means you can make your own crust) 5 slices of bacon fried and crumbled, some grated cheddar cheese, some parmesan cheese, whipping cream (you can also use half and half) and of course eggs.

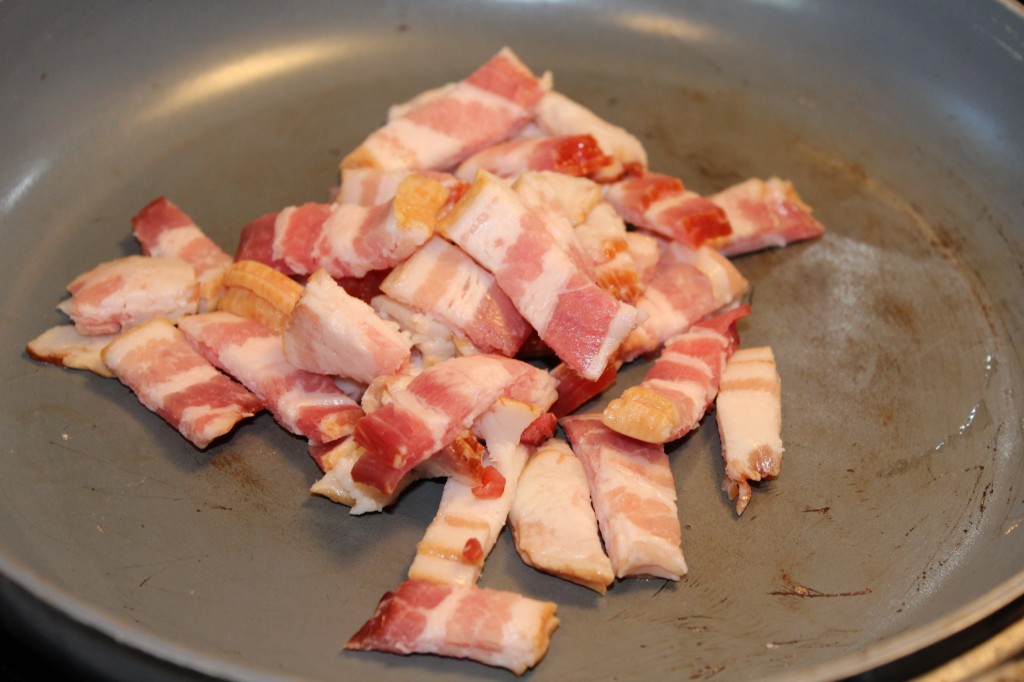
I cut up my bacon before I fry it because I think it fries better and gets crispier.

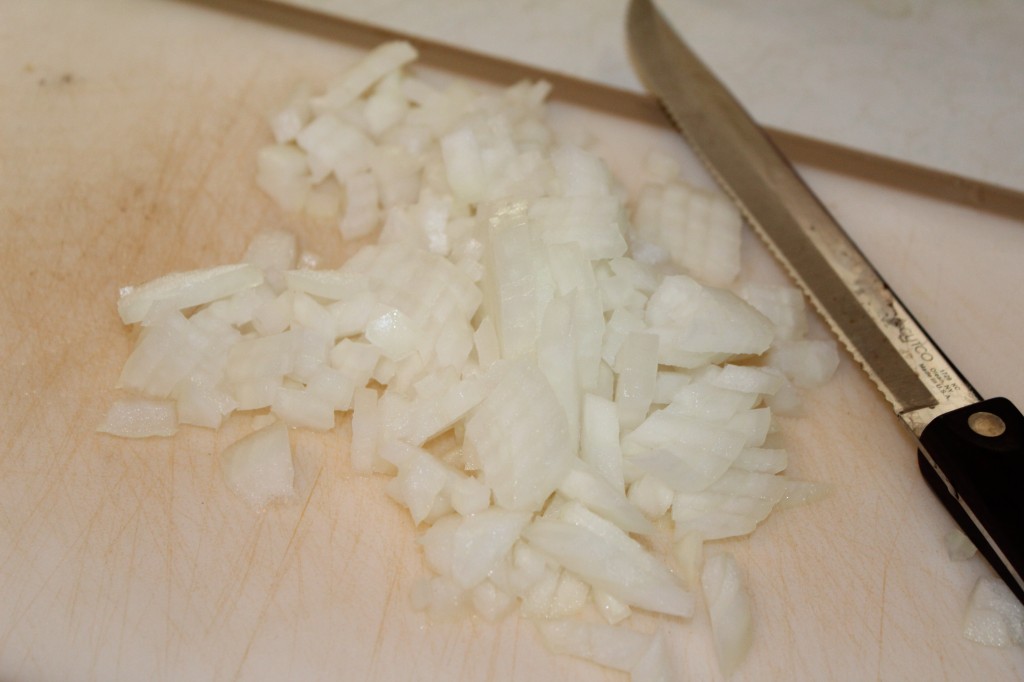
Dice up 1/2 cup onion.

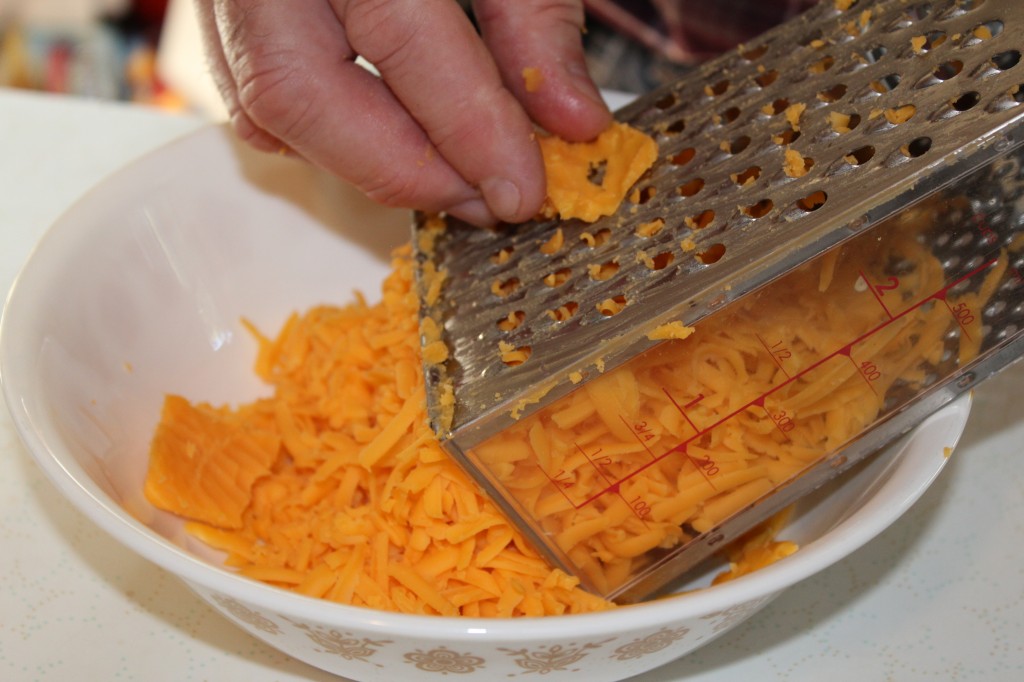
You will need 5 ounces of grated cheddar cheese. You can buy it already grated, but I talked Company into grated me some fresh cheddar cheese.


Now, it is time to start assembling your quiche. First put the grated cheese in the frozen pie crust first, then top with the diced onions.


After the cheese and the onion, add the parmesan cheese and the crispy bacon pieces.


I used a blender, but you can do this with a mixer or just with a fork, what ever method you choose to blend you eggs and whipping cream together till smooth.


Pour the egg and cream mixture into the pie crust. Some of the bacon bits will float to the top. Bake at 400 degrees for 13 minutes then turn the oven down to 350 degrees and bake an additional 25 to 30 minutes, or until crust is brown the quiche does not giggle with moved.

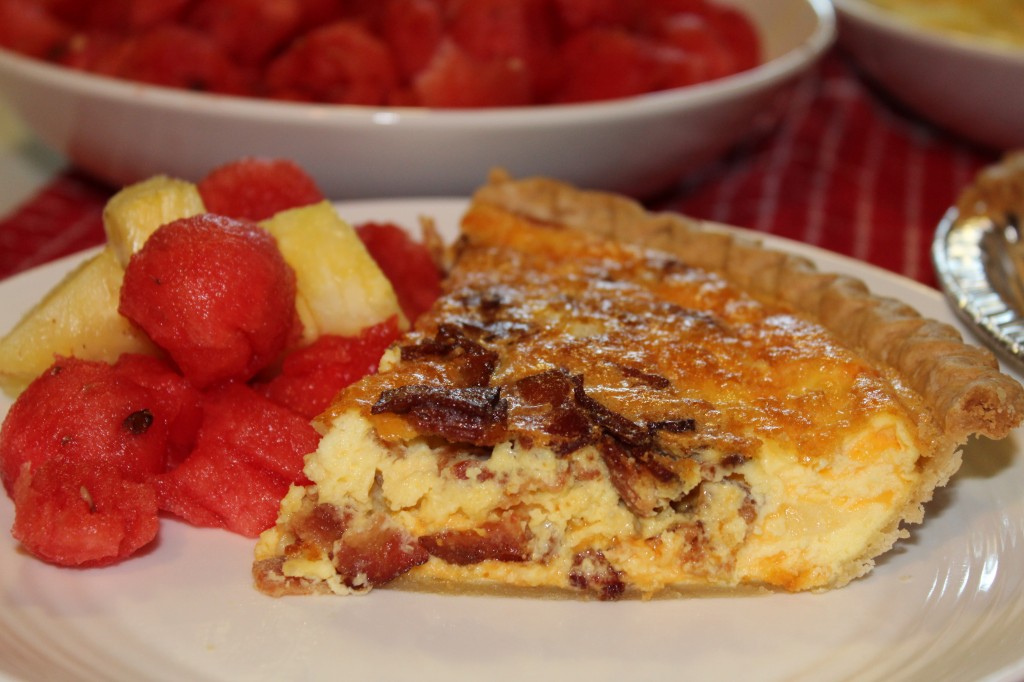
Here is the Bacon and Cheese Quiche right out of the oven. It will puff up real big then as it cools it will slowly go back down.

I cut up some fresh pineapple and seedless water melon, poured us some tea and everyone thought we had a feast. There was even enough left over for lunch today. Woot Woot!

Here is the recipe:

Bacon and Cheese Quiche

Adapted from Alrecipes

Ingredients:

5 slices of bacon (I used thick slab) fried and crumbled. (you can also use 3 ounces of REAL bacon bits not imitation)

1/2 cup  diced onions

5 ounces of shredded cheddar cheese

3 ounces of grated parmesan cheese

1 (9 inch) frozen deep dish pie crust

4 large eggs slightly beaten

1 cup cream or half and half

Directions:

Preheat oven to 400 degrees.

Layer the cheeses, onion and bacon in the unthawed pie crust. (you could also combine the cheeses, onion and bacon in a bowl first then put in the pie crust)

Mix the eggs and cream together until smooth. Pour over the cheese mixture.

Bake in a preheated 400 degree oven for around 13 minutes. Turn the oven down to 350 degrees and continue baking for another 25 to 30 minutes, or until top turns brown and center is cooked completely.

 Here is a little close up of all that bacon goodness!

Enjoy and eat eggs!

Becky
Other Post you may enjoy: (With fall close approaching, I added a couple of my FAVORITE squash recipes)
            Deviled Eggs                   Butternut Squash Soup       Sausage Stuffed Acorn Squash


Related Posts Plugin for WordPress, Blogger...