Vanilla Rhubarb Jam

I remember the first time I ever cooked/tasted rhubarb.

While I was in my junior year of  college,  my foods teacher, ( the one with whose shoes made scary clip clip sounds when she walked down the hall), brought in these long, skinny looking, green and red streaky stalks.

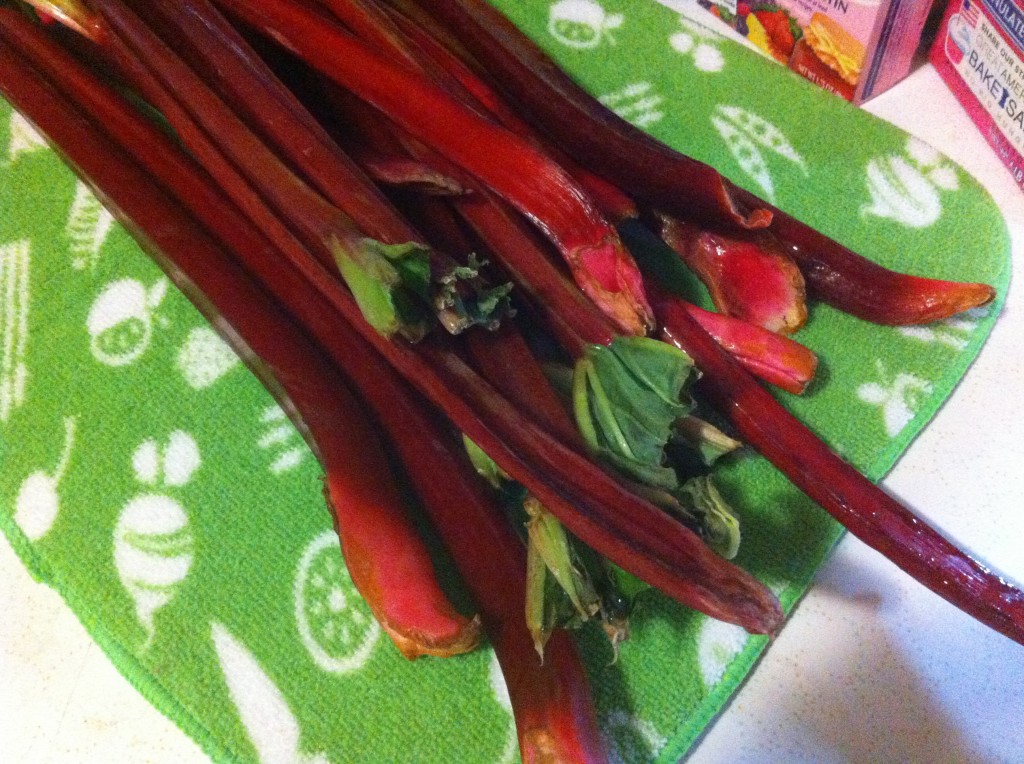
This is what rhubarb looks like.

They look delicious right?…pat the time I did not think so.

She walked (with her clip clip shoes) to the front of the classroom and told us…”today class, we will make a spread using rhubarb.”

Being raised around farms my whole life, and with all the church socials I attended growing up, I had never gotten brave enought to eat anything with rhubarb (or gooseberries….really…who would name a berry a goose).

My foods class in college was encouraged but never forced to try the recipes we made, just as long as we made them.

I am SO glad I tried this spread made out of rhubarb.

We cooked down the rhubarb with a little water until it got soft and added enough sugar to make a sweet/tart spread.

I went home and made it again and again…as long as I could find some rhubarb.

This summer I planted some rhubarb, because I love it so much!!!

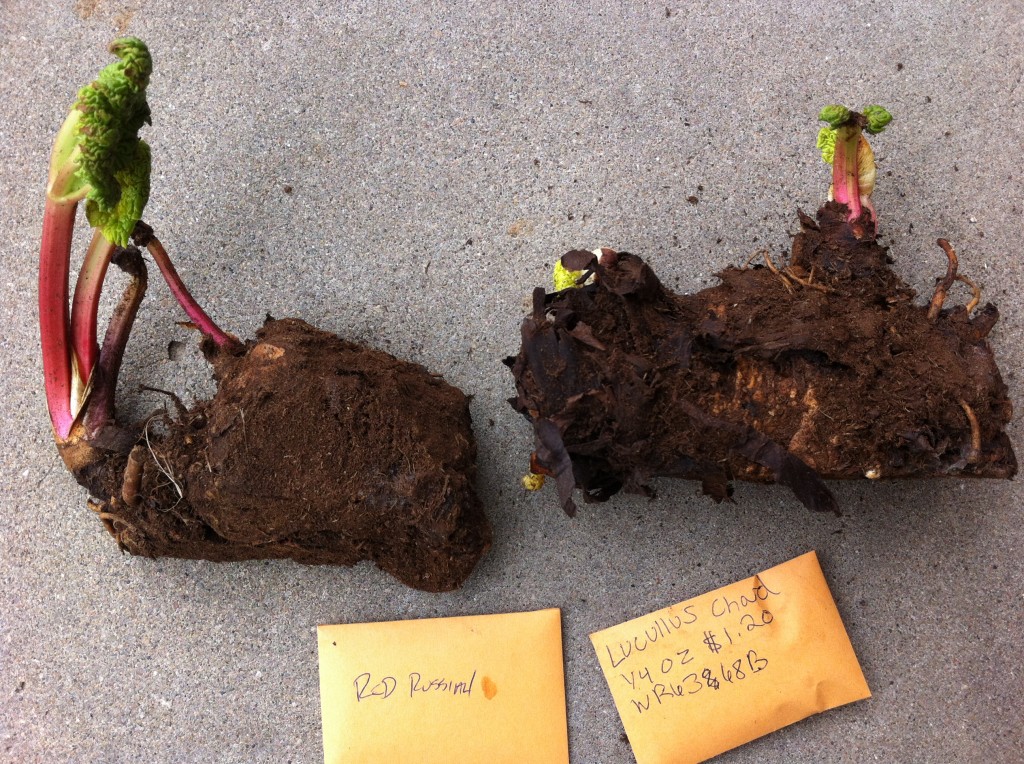
This is what my rhubarb looked like before I planted it. (one died or was eaten by some critter)

One of my favorites blogs that I read is called One Hundred Dollars a Month, and she posted this great sounding recipe for vanilla rhubarb jam. When I read the recipe and seen that it had earl grey tea in it, I knew I had to at least try it.

All I can say is….lick that spoon clean, it was so good.

Anywho, if you can find some rhubarb, I know it is a little late in the season, (but I did see some at Hyvee over the weekend) try making a little bit of jam. You can save it to eat during the winter months, and it will remind you that spring will come again…if you can wait that long to eat it!

Here are your step by step instructions on making vanilla rhubarb jam.

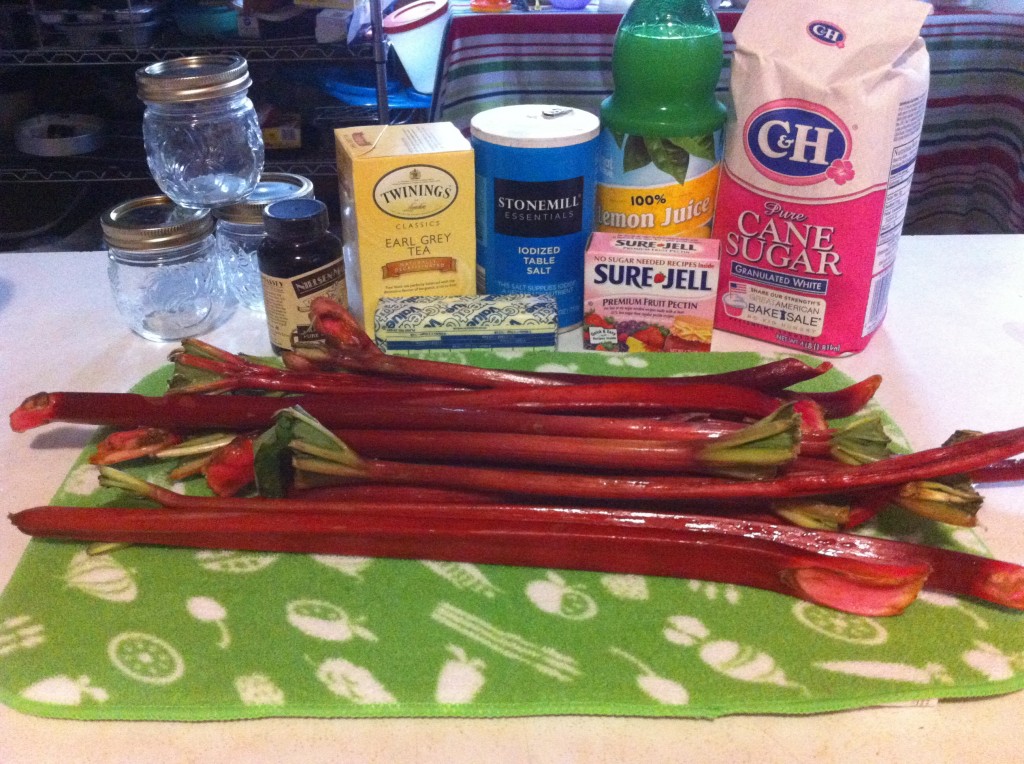
This is all you need to make your jam!

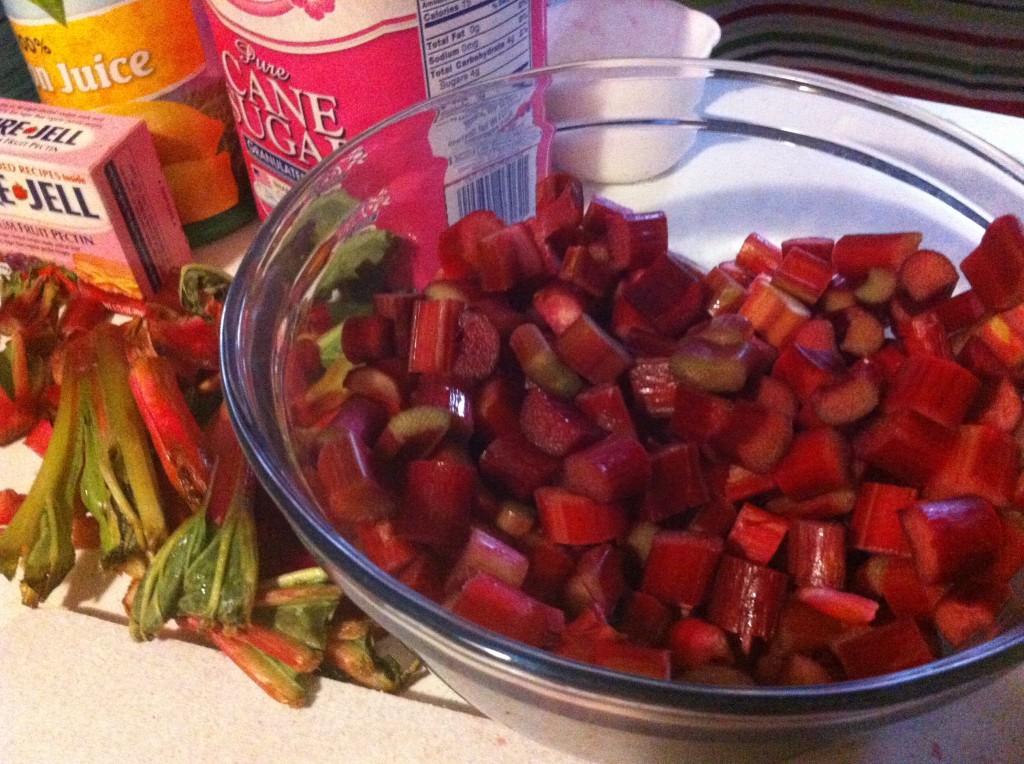
The first thing you need to do is slice the stalks into one inch pieces.

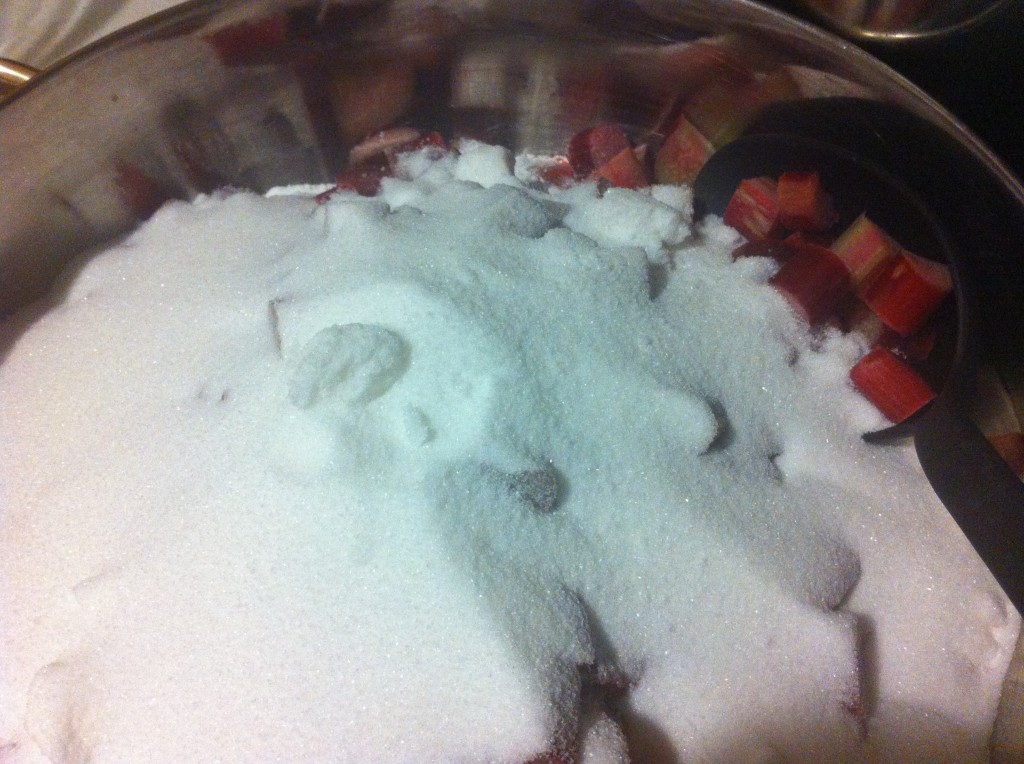
In a large sauce pan, combine the sliced rhubarb and sugar.

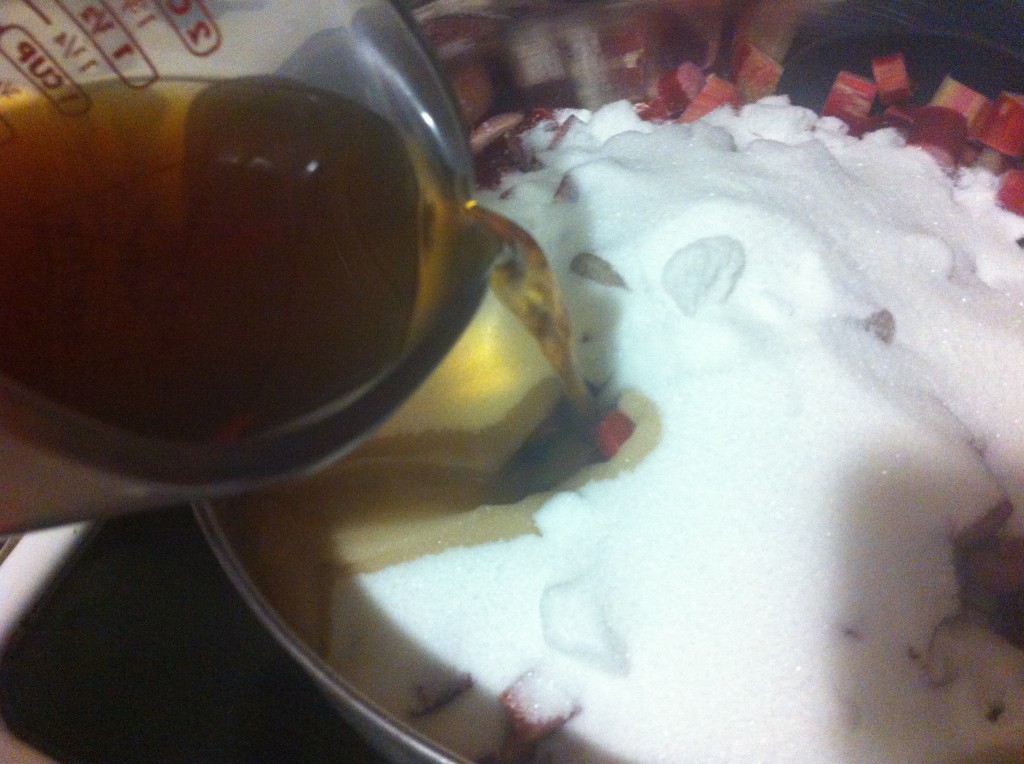
Pour in your earl grey tea to the sauce pan with the rhubarb and sugar.

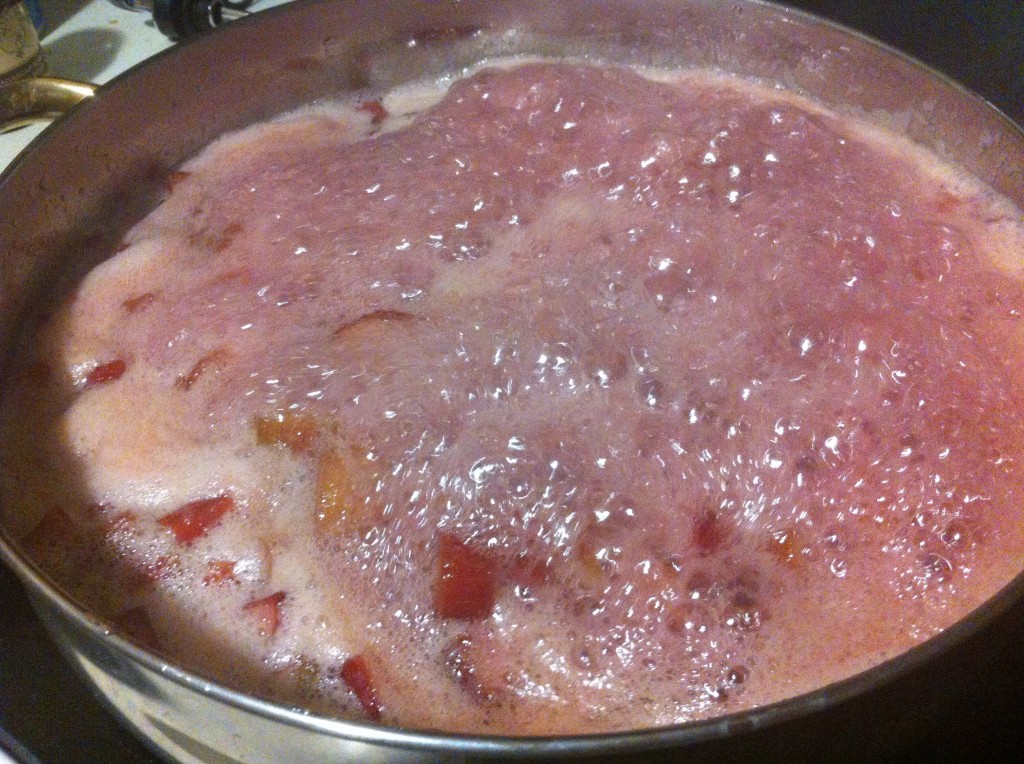
Bring to a boil.


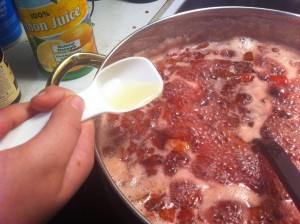
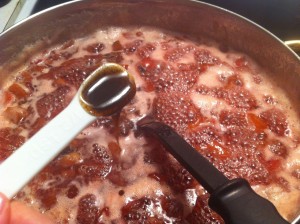
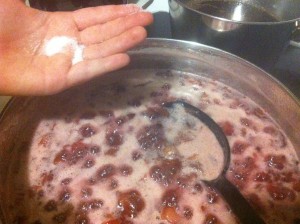
Add the lemon juice, vanila paste (or split vanilla bean) and salt to the jam. Simmer for 10 minutes until the rhubarb is tender.

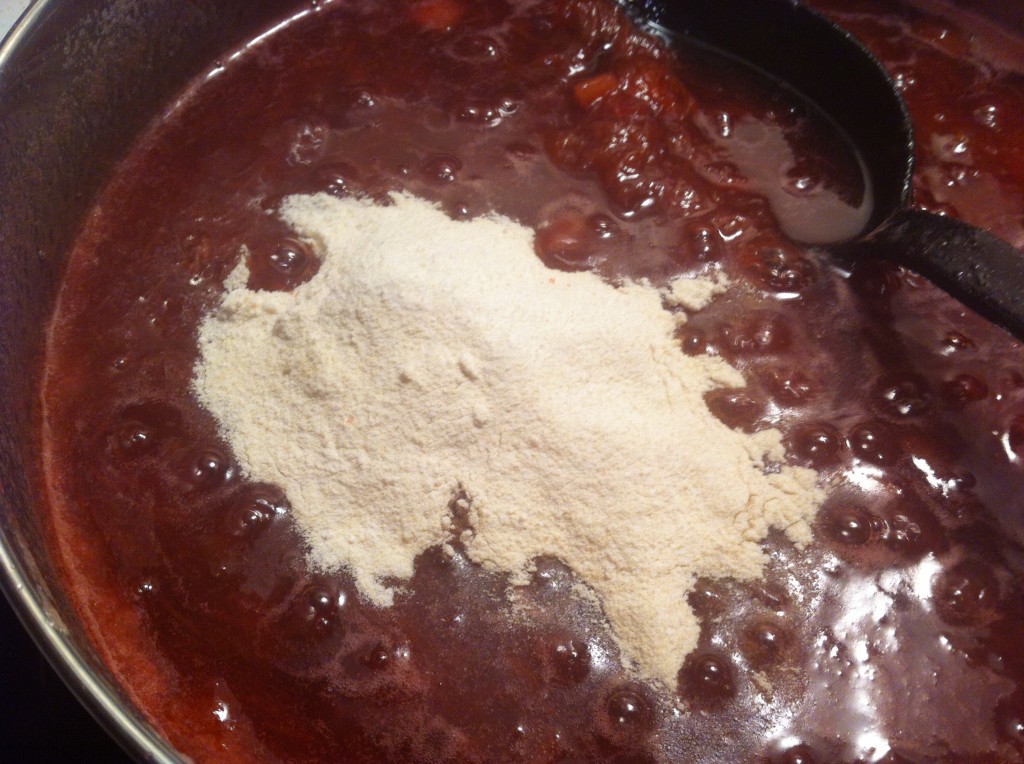
Add the pectin and cook until the jam thickens and coats  the back of a spoon.

Skim off any foam that forms on top of your jam.

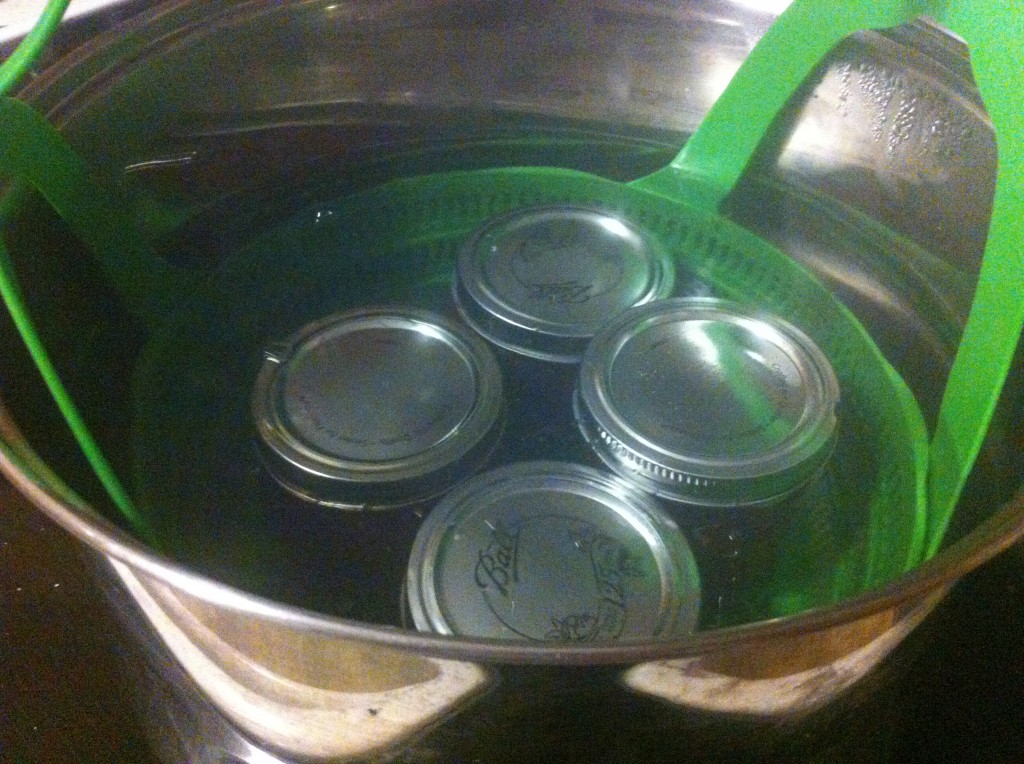
Fill hot sterlized jars with jam (leaving 1/4 inch of head space), screw on sterlized lids and rims. Process in a water bath for ten minutes. (make sure at least one inch of water covers the top of the jars).

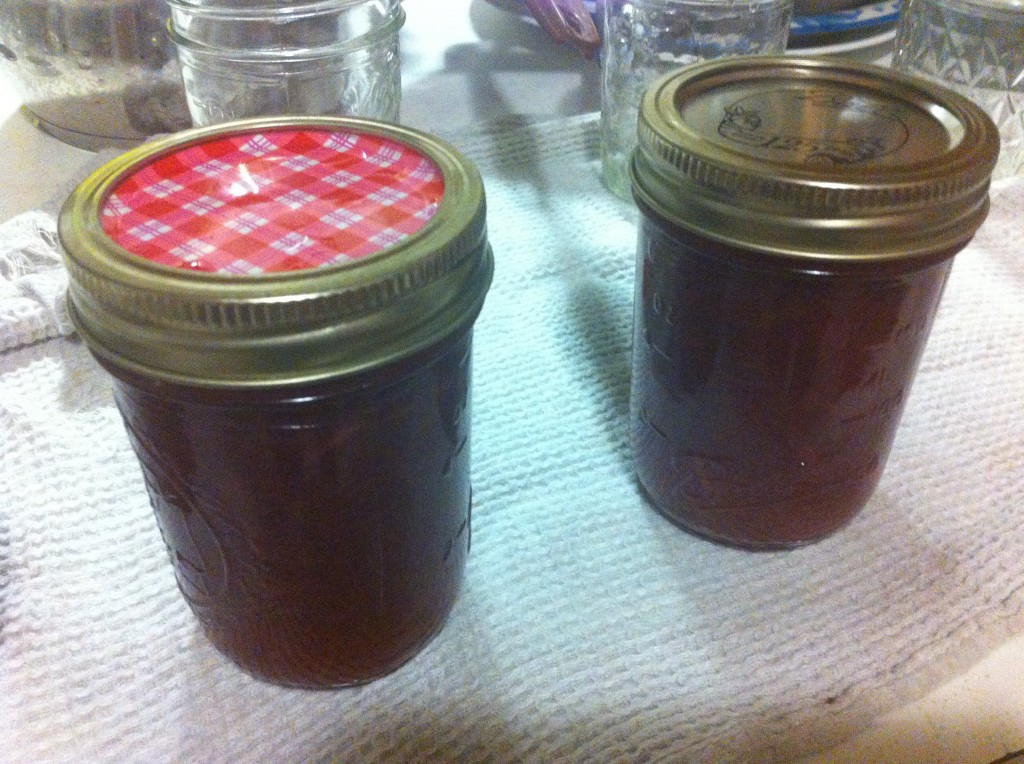
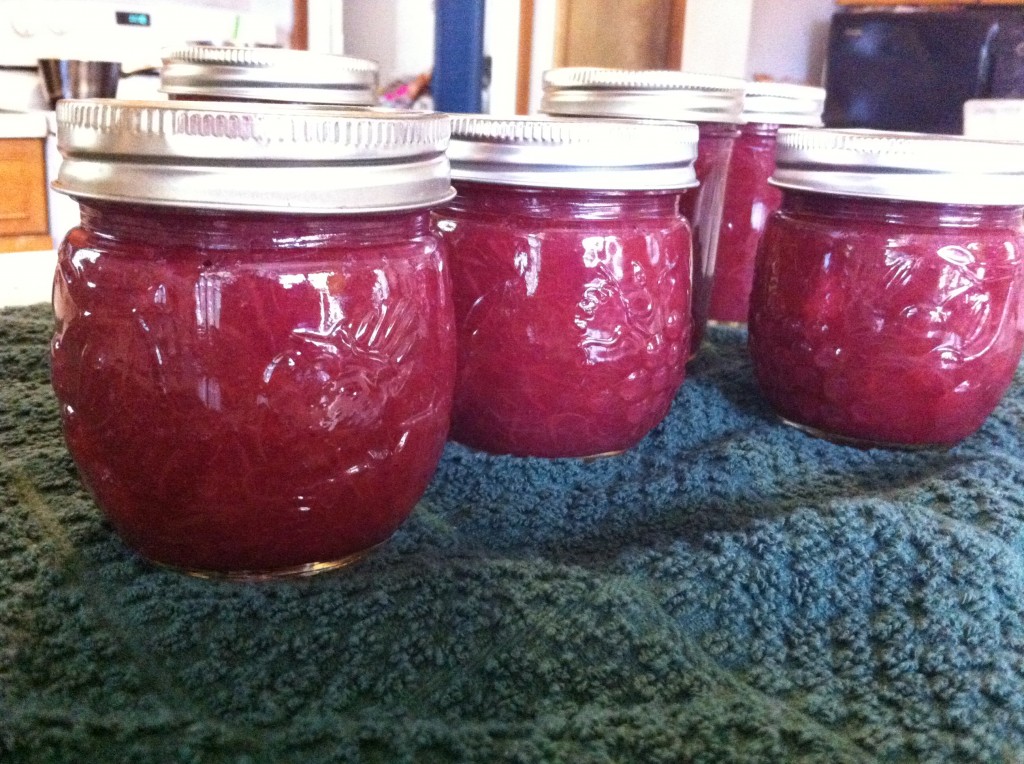
Take the hot jars out of the water, and let them cool on towels. You will hear the lids go, ” POP,” when they are sealed.

I have to say a thank you to my foods teacher, with the scary sounding clip clip shoes…..I would have never tried rhubarb if it wasn’t for her!

Here is the recipe!

Adapted from One Hundred Dollars a Month web site.

Vanilla Rhubarb Jam

Ingredients:

10 cups of sliced rhubard stalks, which is about 2 adn 1/2 pounds

5 cups of sugar

1 cup of brewed earl grey tea

1 teaspoons of vanilla paste, or one vanilla bean, split and scraped

1 tablespoon lemon juice

pinch of salt

1 box of pectin (1.75 ounce size)

Directions:

In a large saucepan, bring the rhubarb, sugar and tea to a boil. Add the lemon juice, salt and vanilla. Simmer for 10 minutes.

Add the pectin and cook for a couple of minutes or until the jam coats the back of a spoon.

Fill sterilized jars with the jam, and process in a water bath for 10 minutes.

Remove from the water bath and cool on the counter.

Have a try at making jam with this recipe. It does not take too long and it taste wonderful!

I have two more rhubarb recipes I will be posting this week.

I guess it is time for me to “jam” out!

Enjoy!

Becky
Strawberry Cake

One of the highlights (at least for me) teaching summer school, is that our school does a Fun Food Friday.

We come up with a theme and all the teachers bring food in to share.

This is a fun time for me to try new recipes and have the teachers try them out.

Teachers eat anything….you know that don’t you? : )

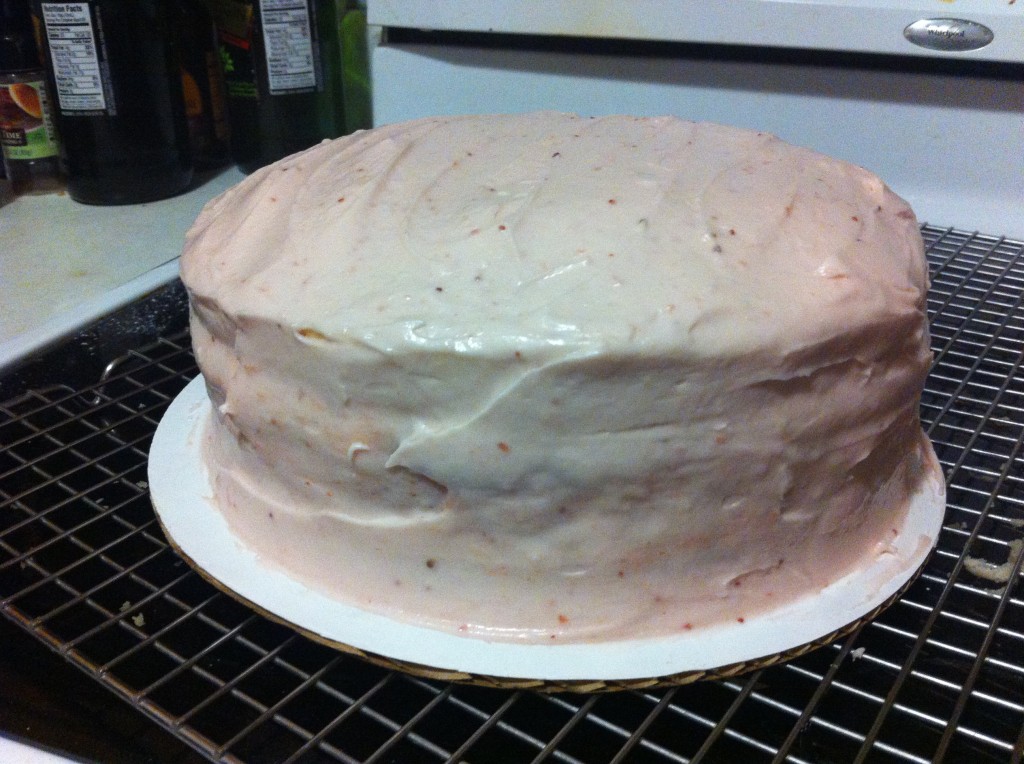
On the first fun food day, I brought in this Strawberry Cake. I found the recipe in a Southern Cake Magazine, and it looked way too good to pass up from trying it out.

There was not a crumb left over from this cake.

I have even been asked by a couple of teachers to make it for them and they will pay me.

Woohoo….money in the bank!

Anywho, before I left for vacation in Branson, I made this cake again for a teacher friend of mine. She is paying me to make it for her Aunt’s birthday party.

How cool is that?

I am always humbled when I get asked to cater something or make a cake. Cooking and baking is just something I love to do.

Now I wish I could say that about cleaning the kitchen.

Below, is a shorten, step by step instructions on how to make this cake.

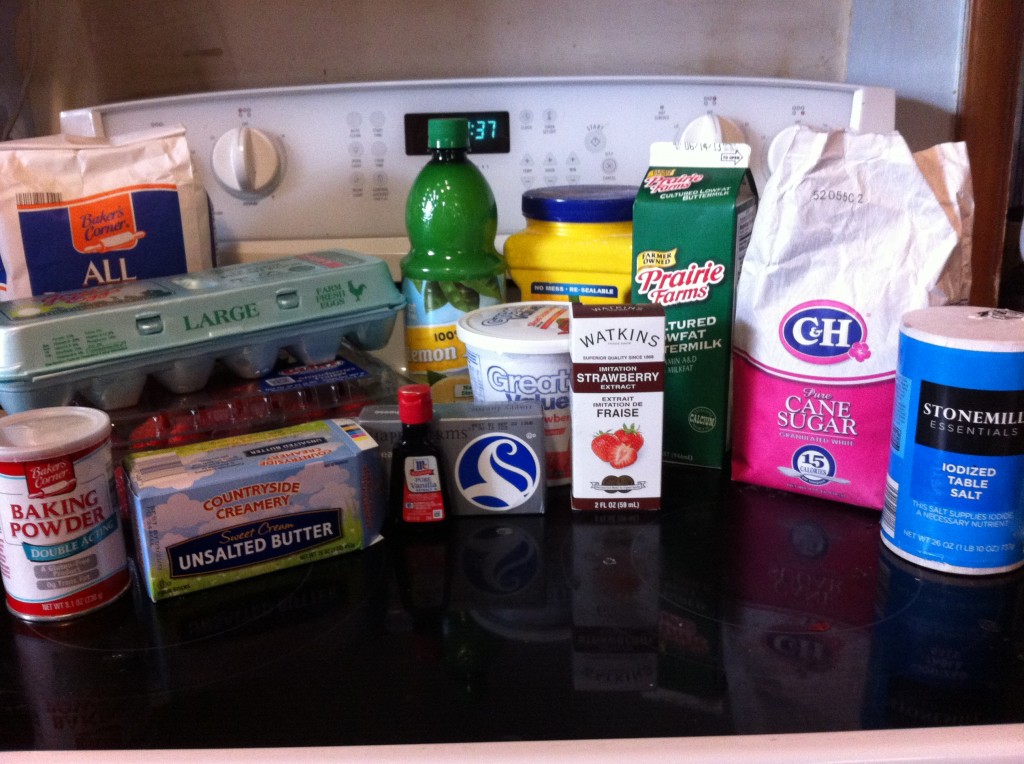
These are the ingredients you will need to make this show stopping cake.

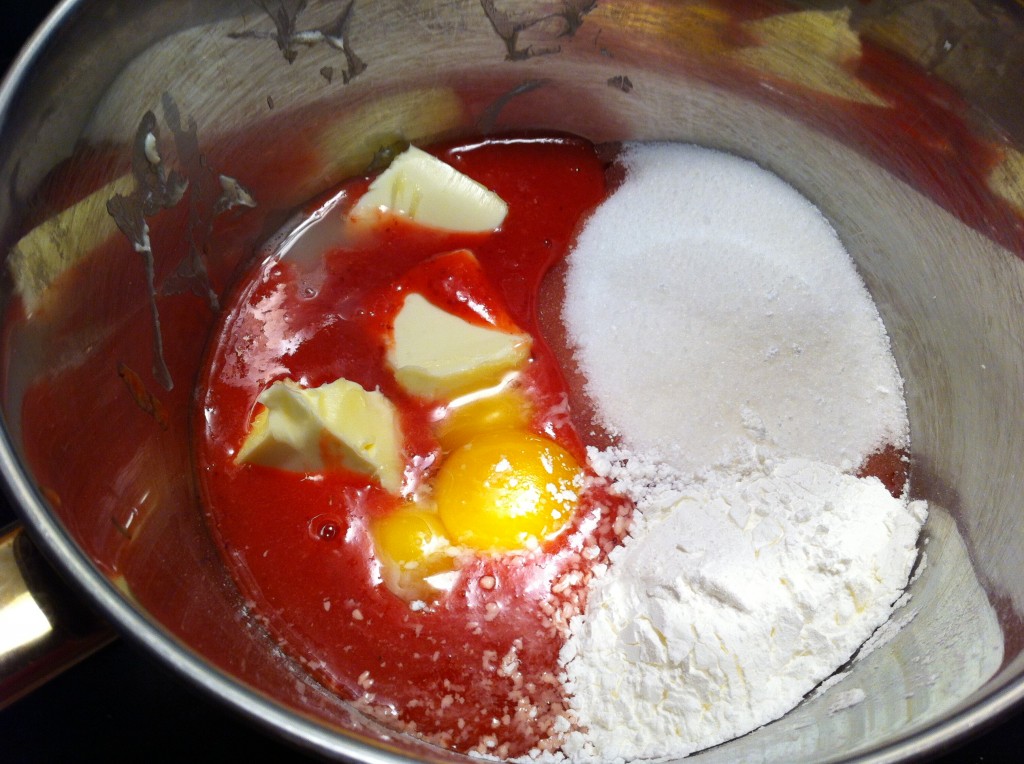
First thing you need to do is  make the strawberry curd filling. You will need to cook, egg yolks, sugar, corn starch and drained frozen strawberries, until thick. Then add in butter and strawberry extract.

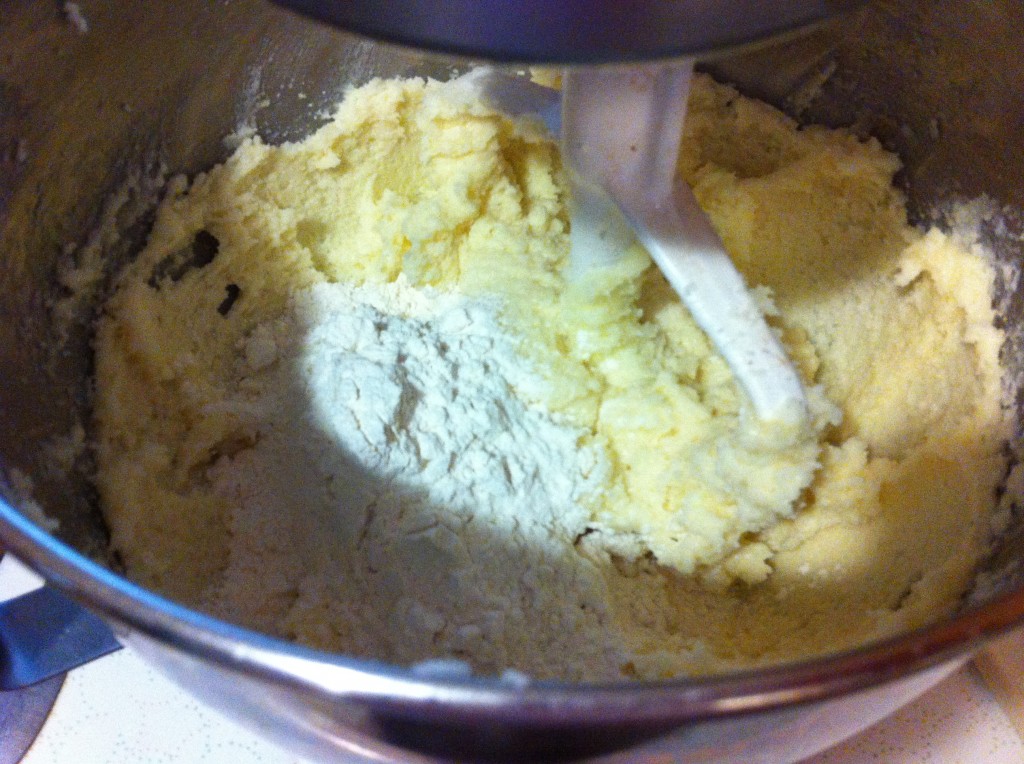
Next,  you need to make the cake batter. Take butter and sugar and cream together. Add vanilla. The alternate flour, baking powder and salt mixture with the buttermilk.

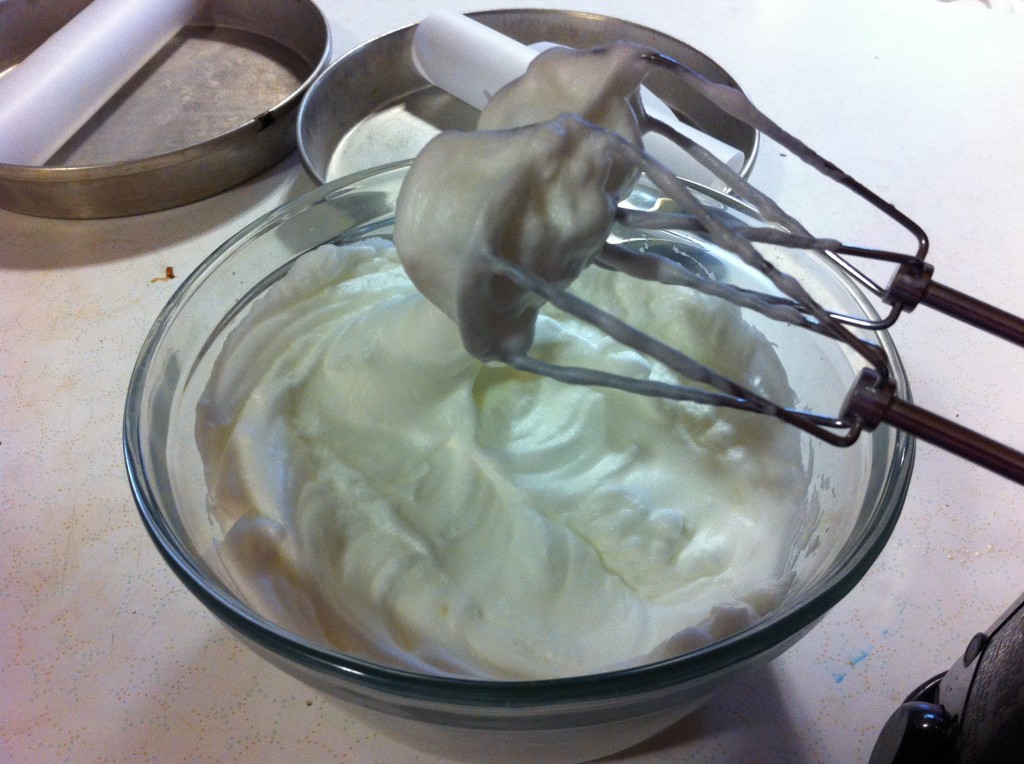
Next whip up 5 egg whites until stiff.

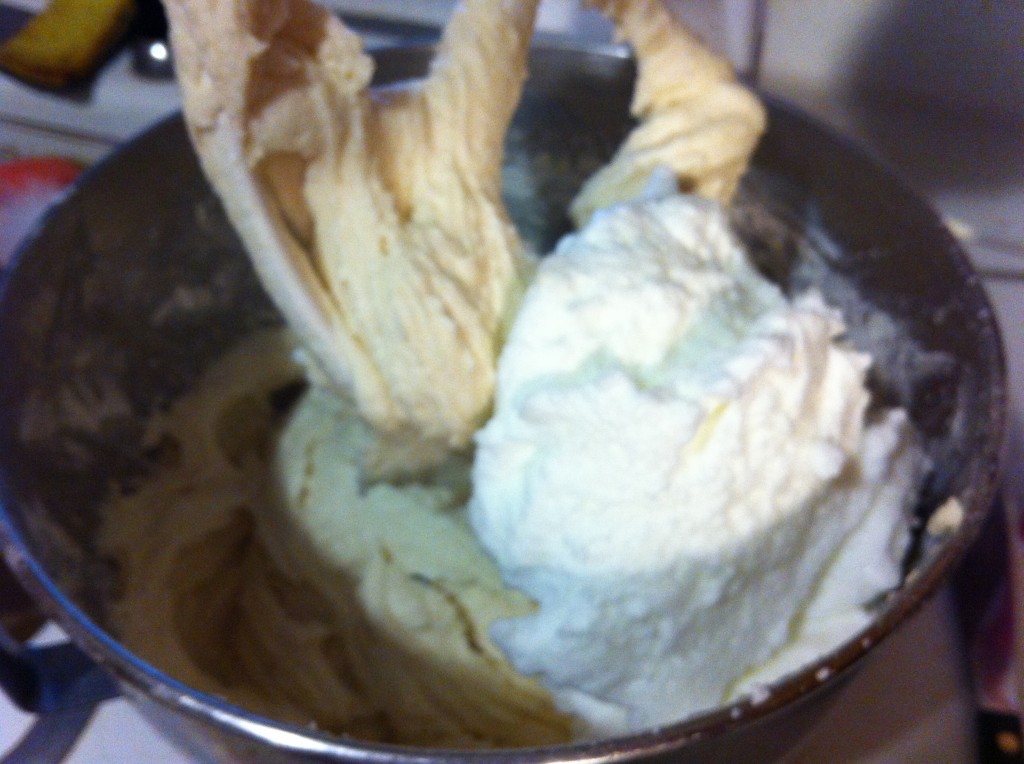
Fold in the egg whites with the cake batter.

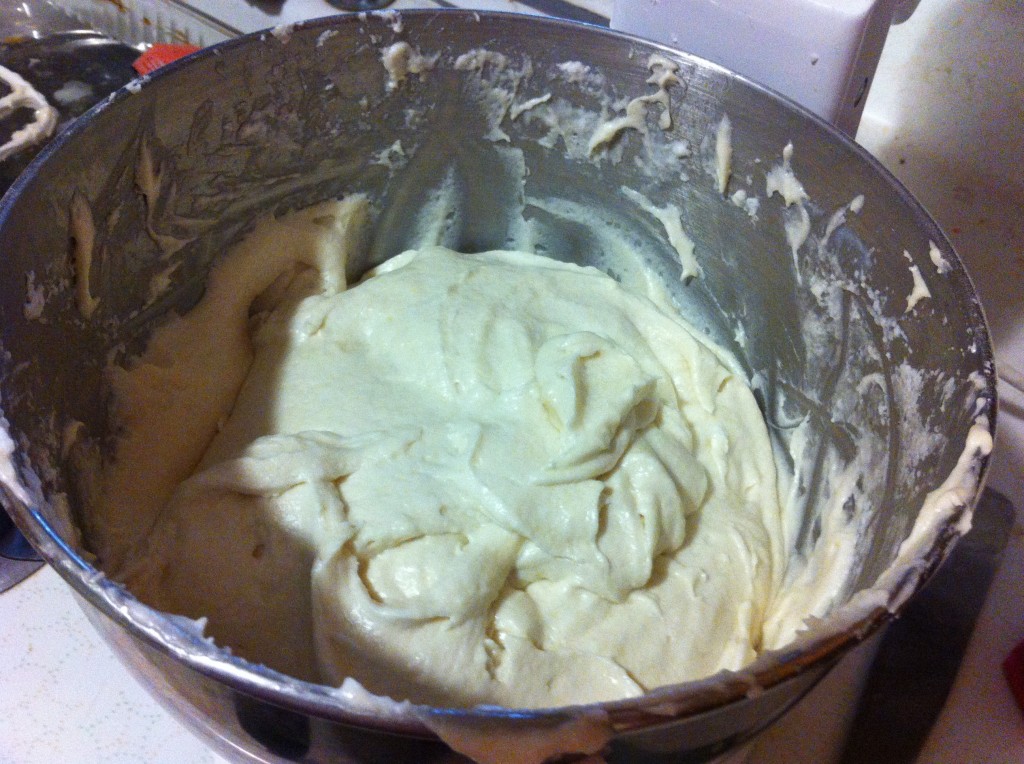
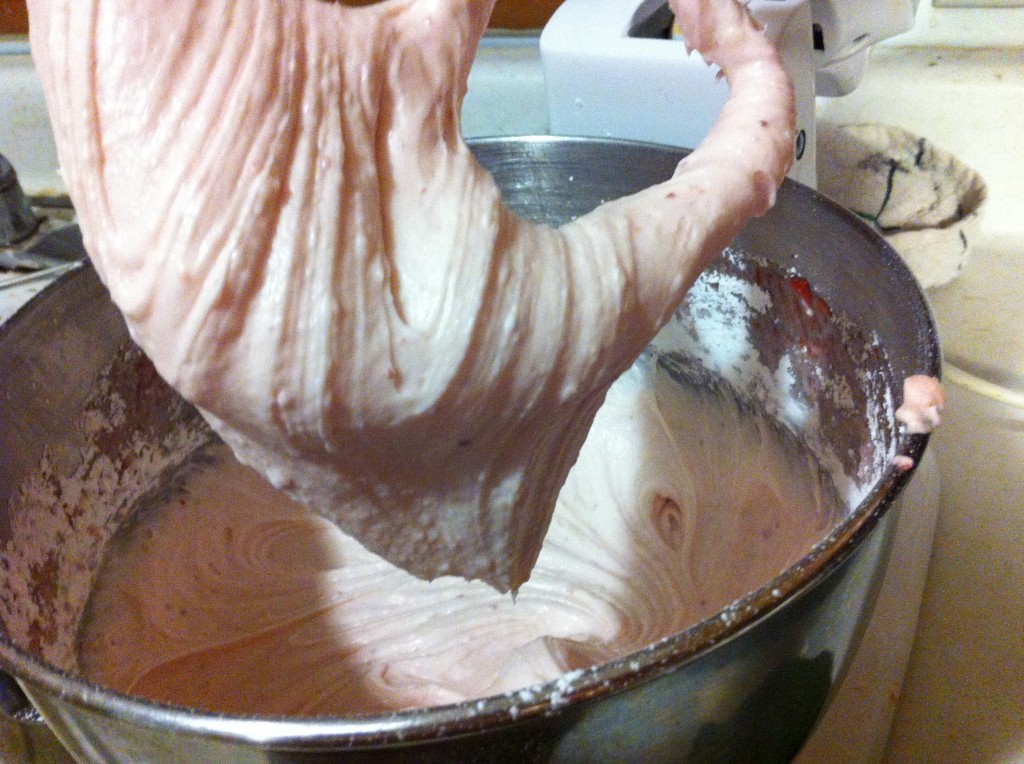
This what the cake batter looks like when you get all the egg whites and cake batter folded together.


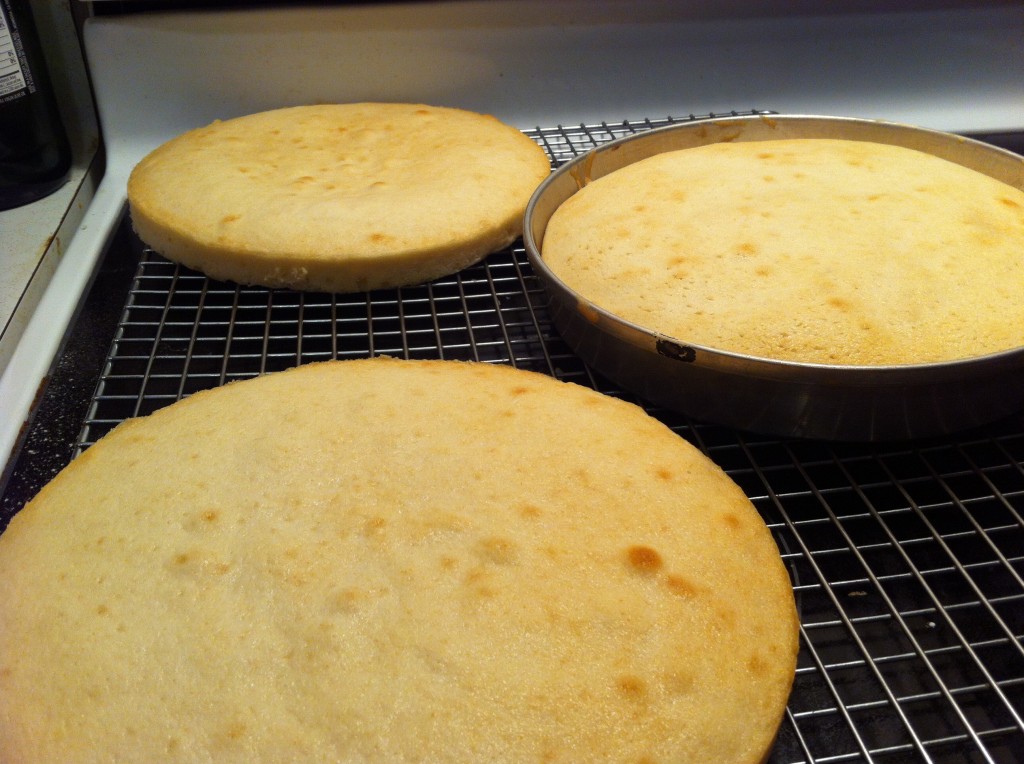
Spread batter evenly in three 9 inch round cake pans and bake till done.

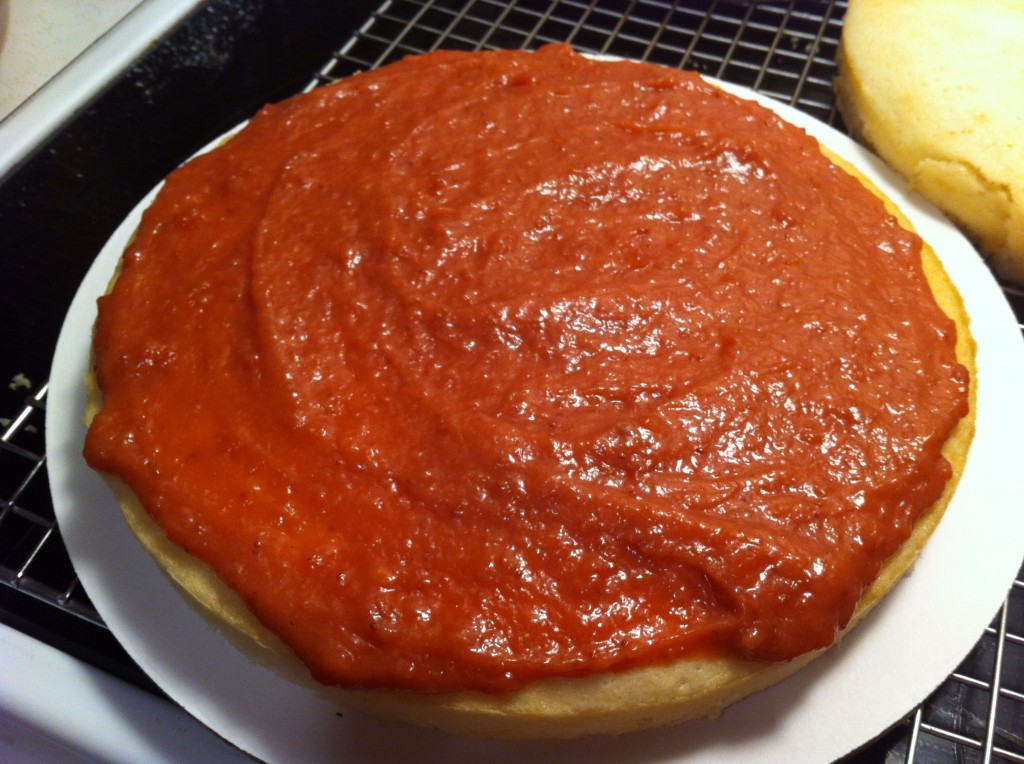
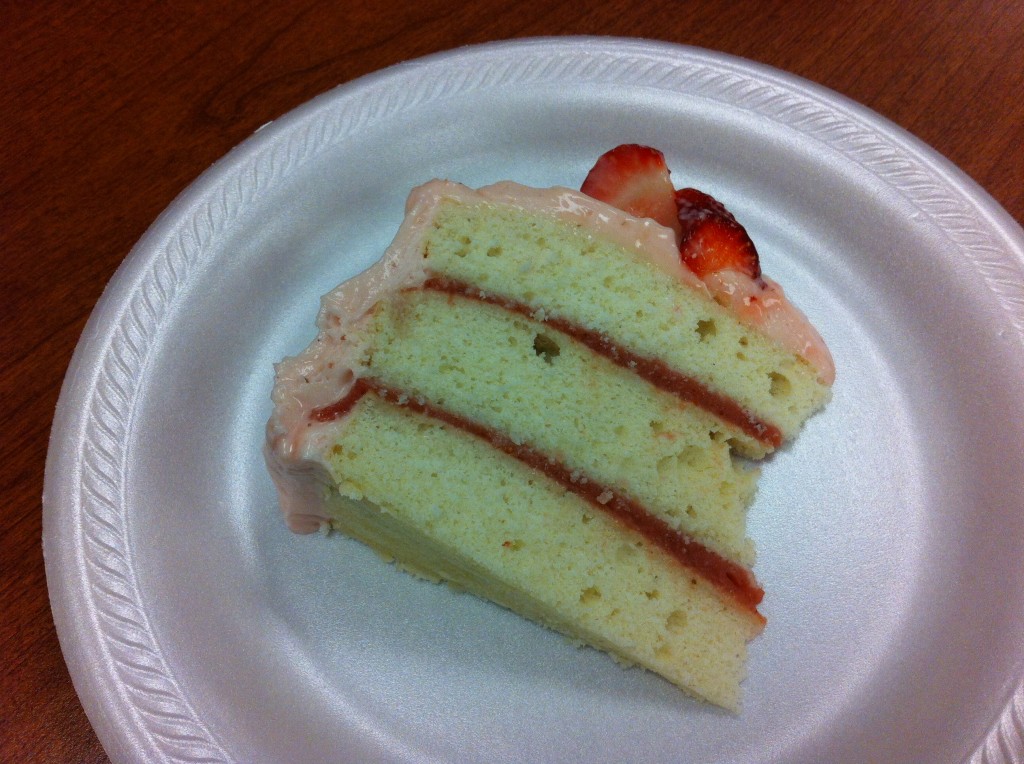
Remove cakes from pans, and cool completely. Then spread strawberry curd on top of the two of the cakes.

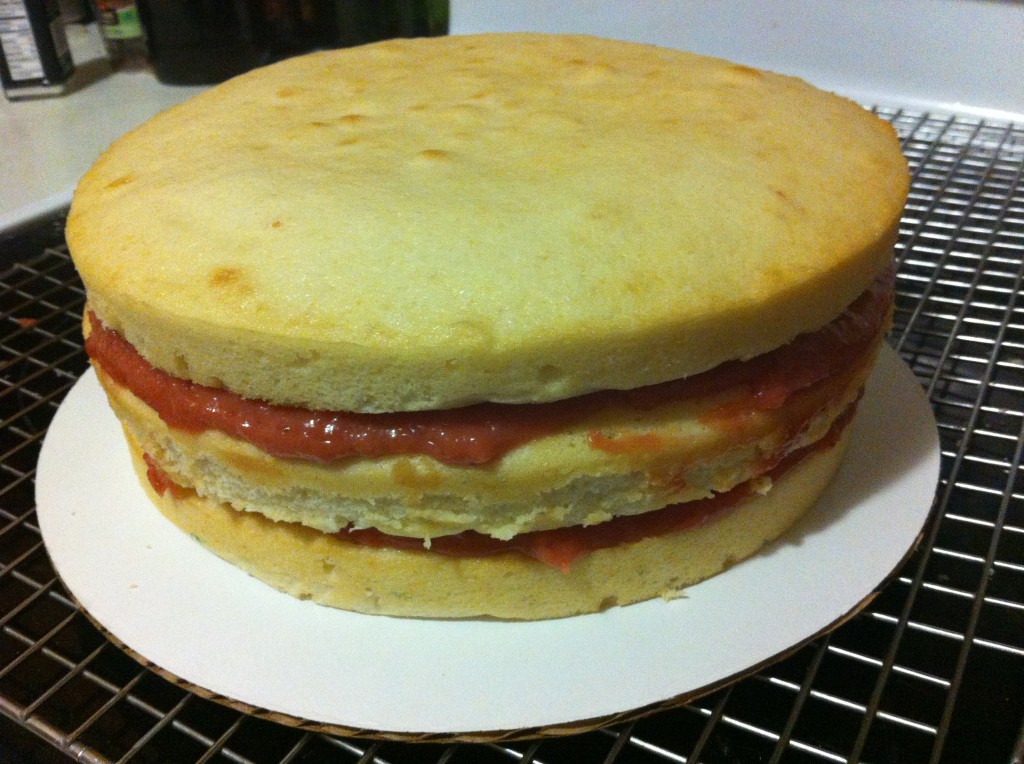
This is what it looks like all layered with the strawberry puree filling.

To make the yummy strawberry icing, cream together butter and cream cheese. Add some strawberry peree, extract and powdered sugar.

Now you can spread that yummy frosting

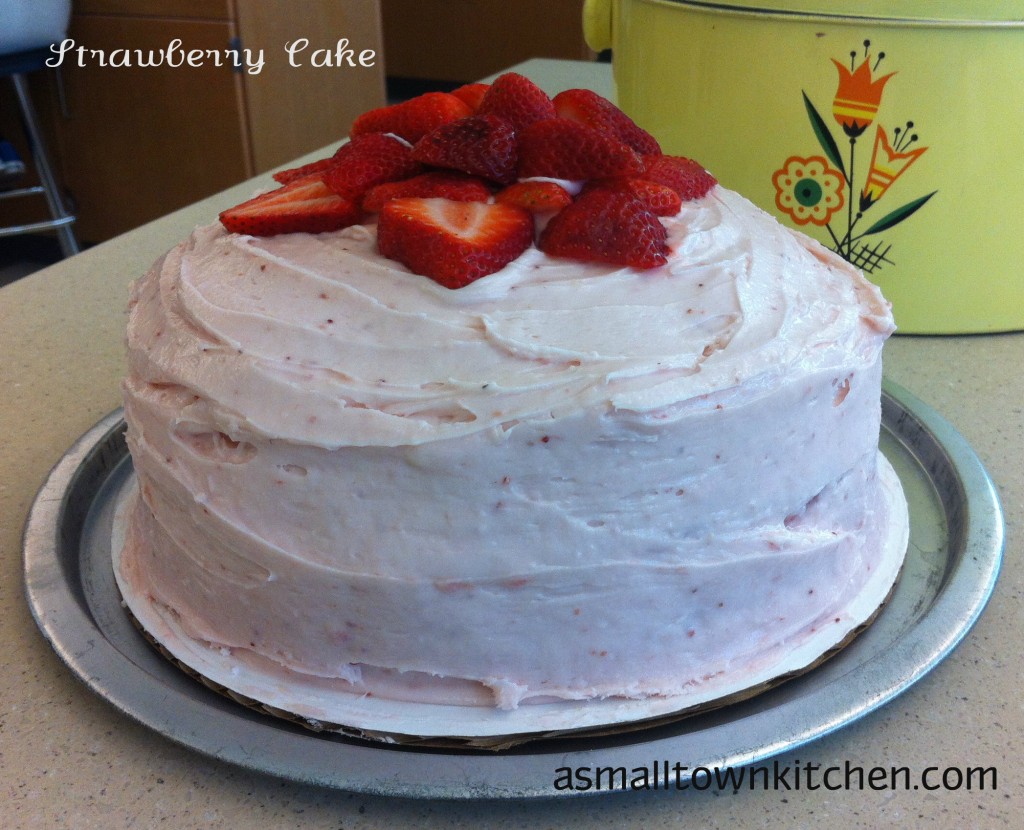
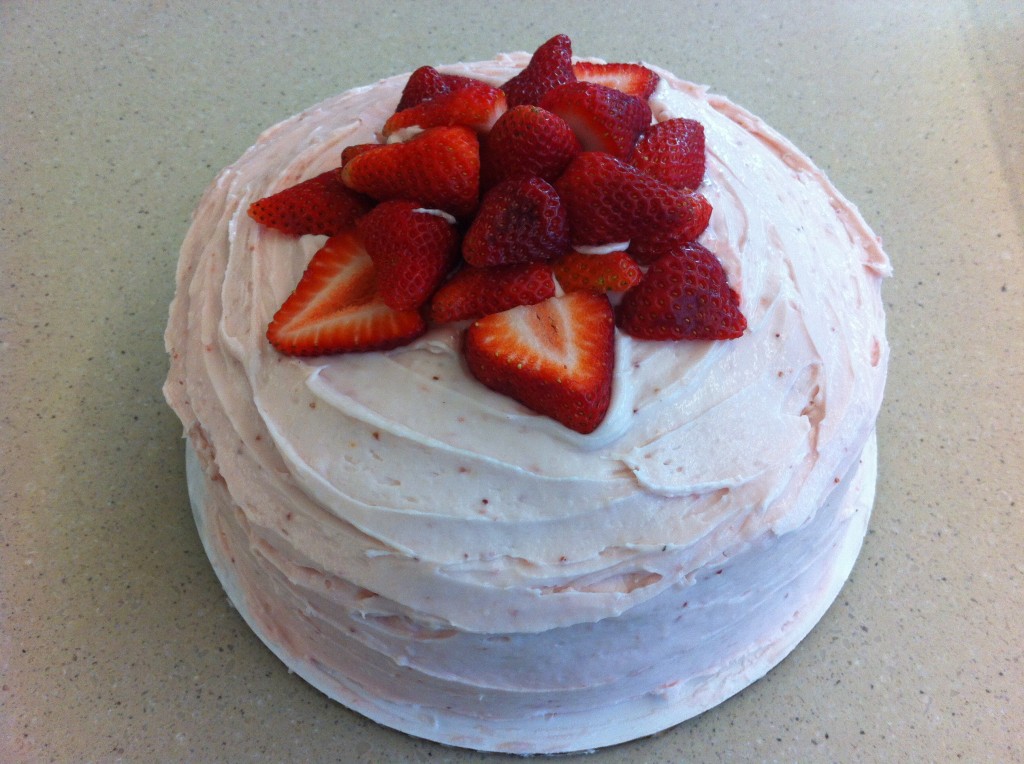
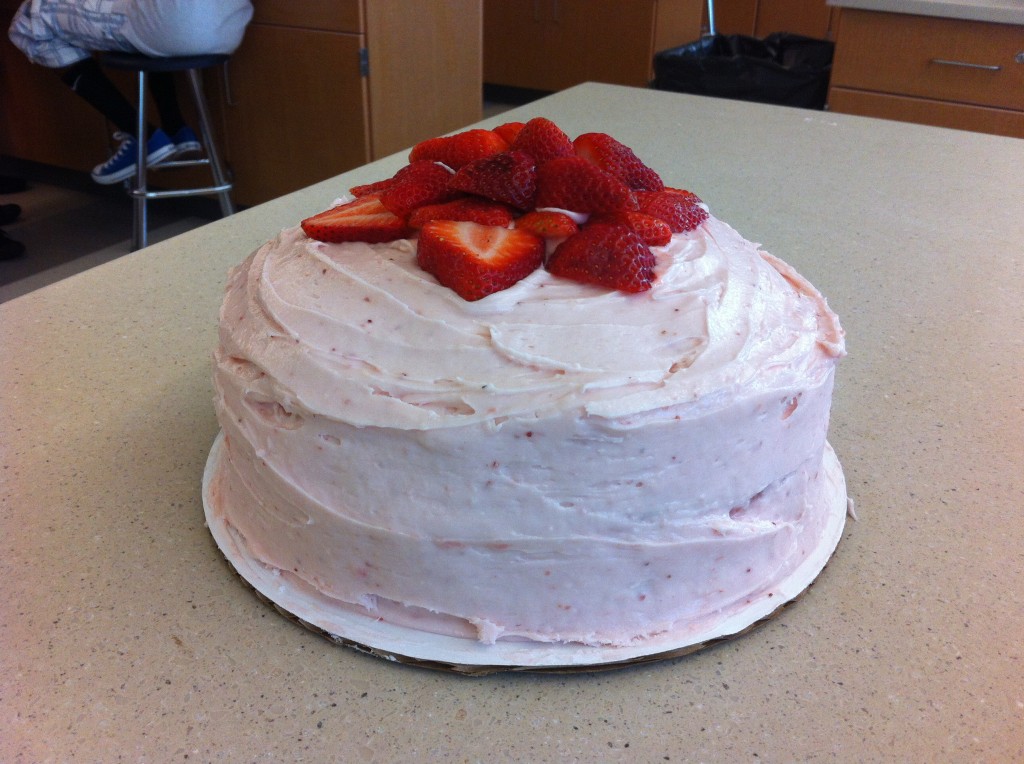
Now, decorate with some cut strawberries.

Then watch it dissapear.

How much would charge if you made this cake for hire?

I would love to know!

I never know how much to charge.

Here is the recipe for this beautiful and deliscious cake.

 Strawberry Cake

Adapted from Southern Cake Magazine

You will need to make a strawberry curd filling, three white cakes and a strawberry frosting.

First make the Strawberry Curd (so it can cool)

Ingredients

1–15.5 ounce package of frozen sliced strawberries in syrup. Please thaw and drain the juice.

1/2 cup sugar

2 tablespoons cornstarch

3 egg yolks

1 tablespoon lemon juice

1/4 cup butter

1 teaspoon strawberry extract

Directions:

In a food processor  or blender, process the drained frozen strawberries. Resever 1/2 cup for the frosting.

In a s heavy sauce mix together sugar and cornstarch. Add puree, egg yolks and lemon juice. Cook until very thick, whisking the mixture all the time. This should take around 8 minutes.

Remove from heat and whisk in butter and strawberry extract. Let mixture cool.

Cake Batter Ingredients:

1 cup butter sofened

2 cups of sugar

1 teaspoon vanill extract

2 and 3/4 cups all purpose flour

2 and 1/2 teaspoon baking powder

1/4 teaspoon salt

1 cup whole buttermilk

5 egg whites

Directions:

In a large bowl, beat butter and sugar together (I used my stand mixer) until they are fluffy. Add vanilla and mix together.

In a different bowl, sift together the flour, baking powder and alt. Add the flour mixure to the butter mixture, alternating it with the butter milk.

In another bowl, whip the egg whites until they form stiff peaks.

Fold in the egg whites, a third at a time with the cake batter.

Divide the batter between the three pans and bake until the centers are done. This took around 20 minutes in my oven.

When the cakes are baked, cool on a cooling rack  and remove from pans and cool completely.

Strawberry Frosting Ingredients:

1/2 cup butter, softened

1 (8 ounce) package of cream cheese, softened

1/2 cup of the reseved strawberry puree (it is what you saved from the strawberry curd recipe)

1 teaspoon strawberry extract

6 cups f confectioner’s sugar (I call this powdered sugar)

Directions:

In a large bowl, beat the butter and cream cheese together until it is very smooth. Add the strawberry puree and the strawberry extract, mixing them together with the butter and cream cheese mixture. Gradually add the confectioners’ sugar, beating until smooth and spreadable.

To Assemble the cake:


Spread the strawberry curd on top of one cake. Put a cake on top of it, and spread strawberry curd on the top of the cake. Place the third cake on top of that one. Frost the cake with strawberry frosting. Add a finishing touch of sliced strawberries to the top of the cake.

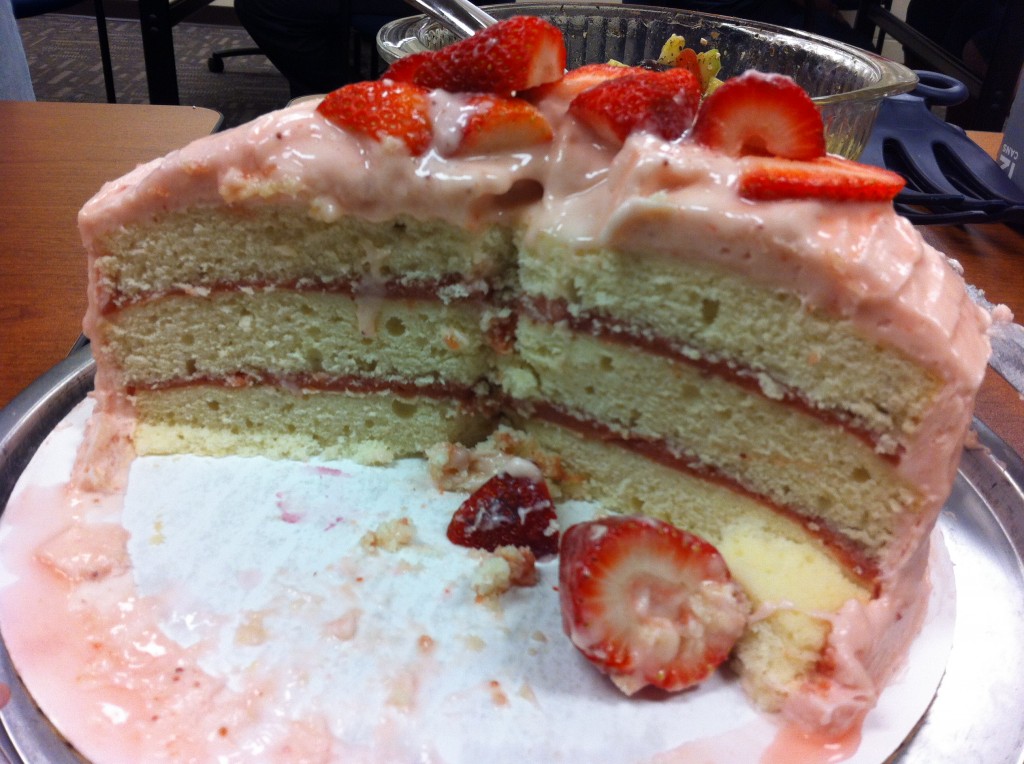
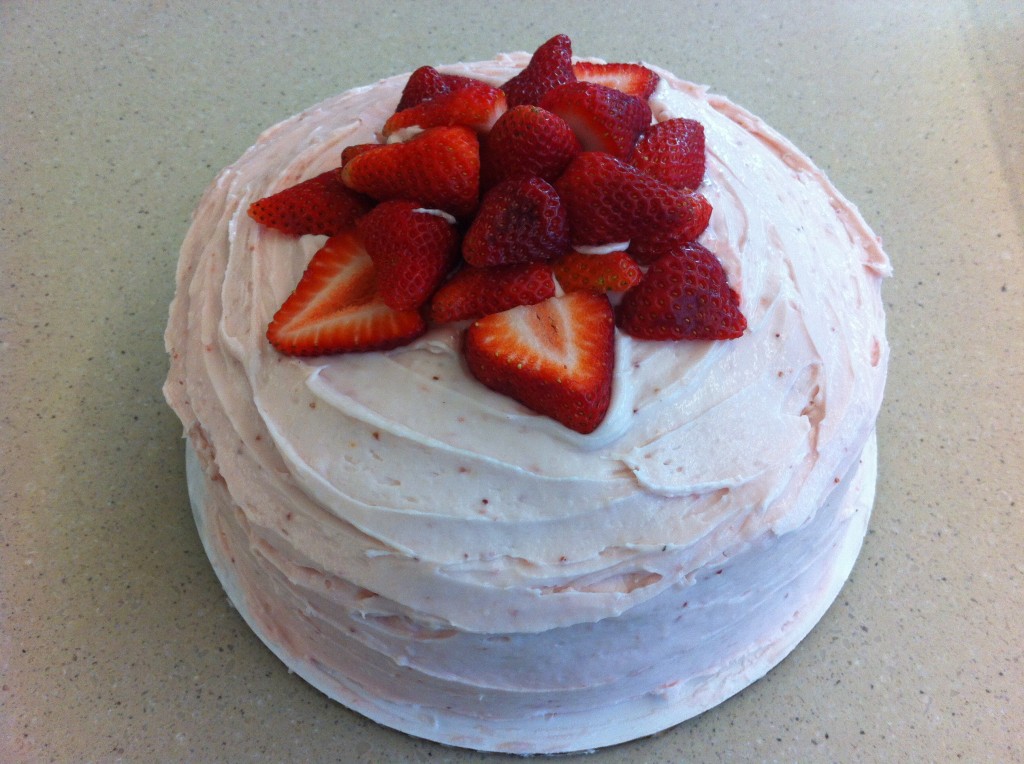
Here is what the cake looks like all finished.

Tell me how you like this cake!

Here are links to a few other cake recipe you might like to try.


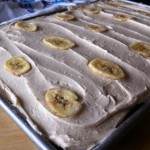
The Best Chocolate Cake                 Dad’s Key Lime Cake                                Banana Bars

Enjoy!

Becky


Throwed Rolls, Duck Rides and Wagon Races

Whew!

Have you wondered where I have been?

I just got back from a family vacation to Branson Missouri.

This was the first year (in about 10 years) ALL of my chidren and my grand children where able to go on vacation with me at the same time.

Was I a little nervous??????

YEPPER!

But, we all got a long great (even with 5 girls sleeping in one hotel room).

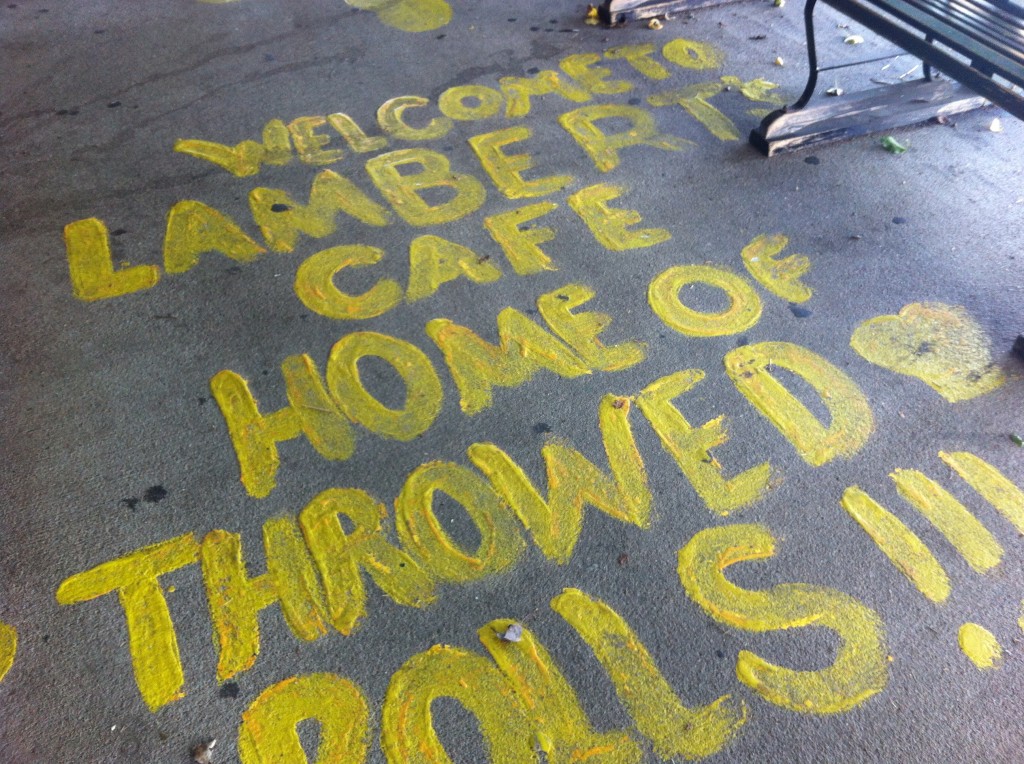
We went to Lamberts first and ate all their throwed rolls….well….we tried to eat them all

Then we rode The Ducks! Quack Quack. The ducks are boats that have wheels to drive on the roads and then go in the water.

Next we ate at McFarlands and had big pieces of their famous corn bread. (check out my version of their recipe here)

The rest of the week, we spent at Silver Dollar City, riding the Branson Belle, eating and watching the show at Dixie Stampede. (buffalos, wagon races, ostrich racing, lots of great food)

I even make a little time for shopping at my favorite fabric store and Christmas ornament store.

We all make it back home safe and sound and about 10 pounds heavier. (how does that work, when you walk all day long pushing a stroller????)

Anywho….

I am back now!

I have a three layered strawberry cake all ready to post for you!

So check back in the morning!

I need to go to bed, before I start eating more kettle corn, pork rinds, jelly beans, cheese and chocolate……

Whew….all that eating  walking can make you hungry!

Becky


Buying More Corn

Alas, I think I am going to have to buy more corn.

Am I kidding???

No!

Am I crazy??

Yes!!

Here is my dileimma….yes, same corn dilemma that I had yesterday.

I bought 120 ears of corn to process into, freezer corn, corn soup, corn relish and just plain old corn on the cob.

I bought the corn last week.

As of yesterday I only had about 55 ears of corn left.

(After freezing 10 bags, making corn soup, hiding ears in the Princess’s refrigerator and begging Rachel to take some off my hands)

I was planning on making corn relish with the rest of it.

This is when all the interesting things started happening.

Well……Daughter who does not cook’s car broke down, I had to take her to work. Then have her car towed. Then have meeting at school. Then got sent to price equipment for new classrooms. Then picked up Daughter. Then took her to get her car. Then had to go get car seat in drive way. Then met everyone at day care. Then went to eat at cheap pasta place becaue we were all too tired to care what we ate.

When I finally got home and got a good look at the corn, it looked a little old and shiveled up.

I decided I did not want to spend hours on it, if it was not in prime condition.

So…I learned my lesson.

Lesson Number One….Do not buy more corn than you can process in a couple of days.

Lesson Number Two…Buy more corn when you run out.

Anywho…I will be buying more corn, if I plan on making the corn relish.

I will leave you with this riddle….

What vegetable can you throw away the outside, cook the inside, eat the outside and throw away inside?

Take a guess…

Corn… : D

Becky

A Corny Dilemma

As you remember, last week I went to the Amish country with my friend Carol.

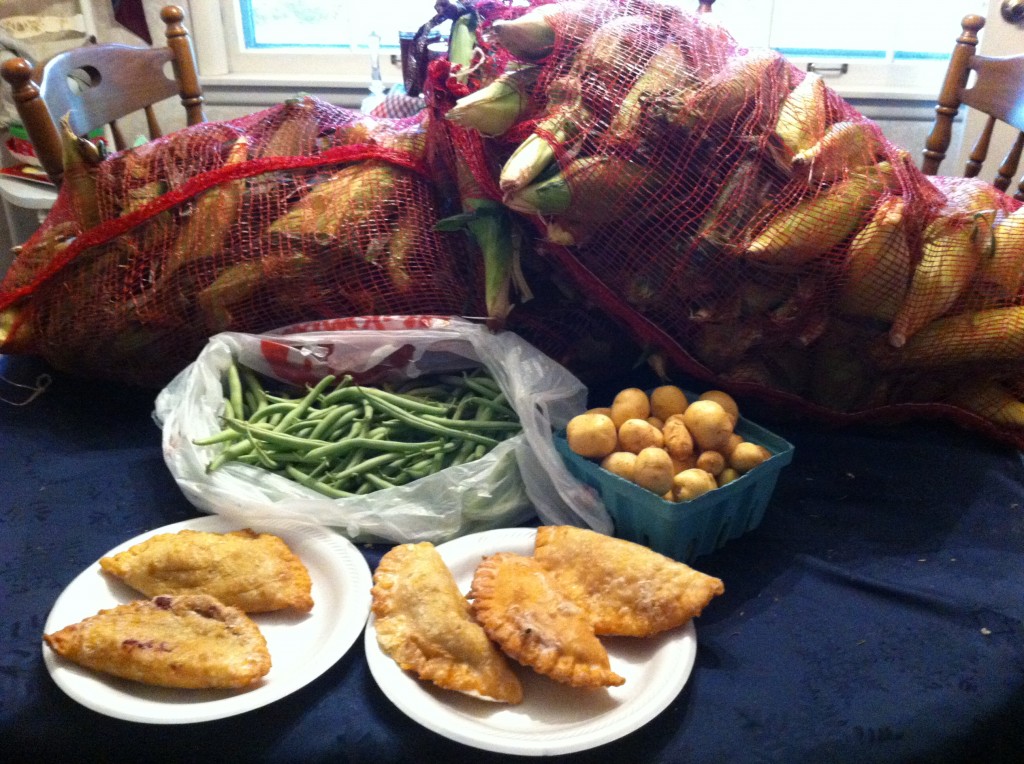
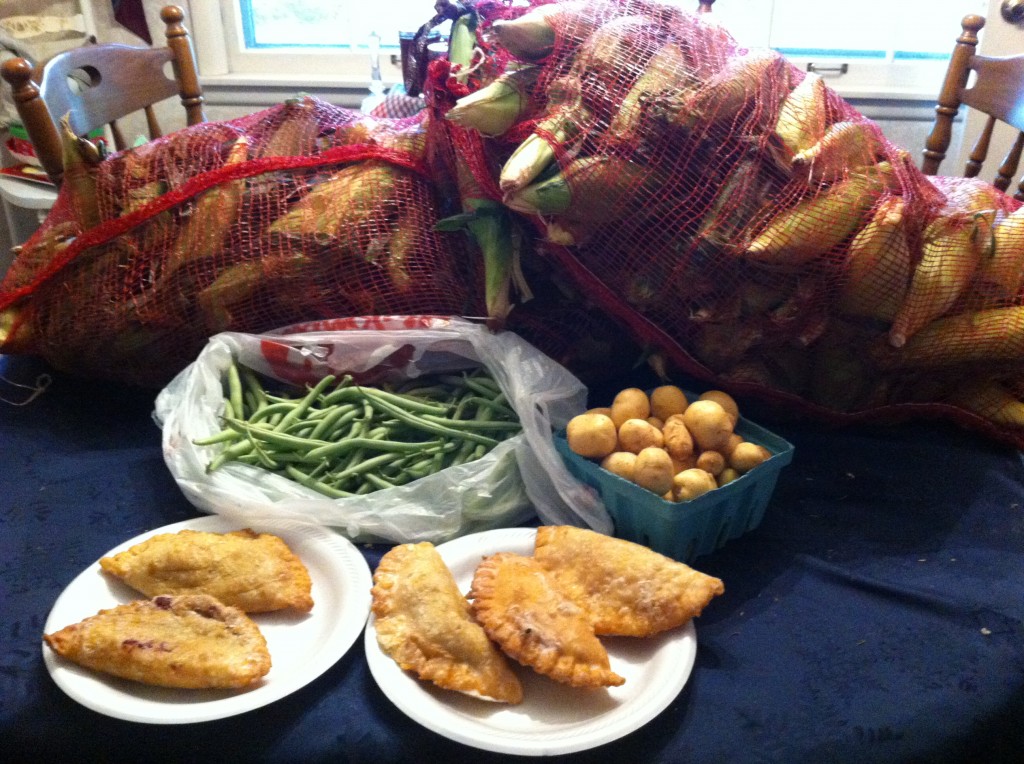
This is what I came home with.

The hand pies, lasted less than one day.

The green beans and new potatoes got cooked together in a crock pot over the weekend, seasoning with some crispy bacon and bacon drippings.

All I have left is CORN!

What was I thinking buying so much corn all at once.

In my last post, I told you how I made some super yummy corn soup. For the non corn soup believers out there….you really need to try it.

You can find the recipe here, Creamy Corn Soup.

I gave the Princess around 15 ears of corn. I actually hid them in her refrigerator after church before she came home..hehe.

I gave my good buddy Rachel around 15 ears of corn yesterday. I don’t think she wanted that many, but she could not tell my pleading eyes no, espcially since I had just sewn a patch on her daughters ball uniform..haha

I also froze 20 ears of corn, last week.

I am not officially down to 55 ears of corn.

I really wanted to freeze all the corn, but Daughter you does not cook, told me there was  no more room in the freezer. Let me ask you this…how does she know, if she does not cook???

Anywho, later today I am going to make blue ribbon corn relish with my left over corn instead.

So before I go into the kitchen and turn up a little country music and start taking the husk off the rest of corn, I thought I would give you the freezer corn recipe I used.

First, I need to tell you that I lost my favorite freezer corn recipe.

GRRRRR

So, in my desperation, I got on the internet and started looking for a recipe.

This recipe, keep popping up. I do not who to credit it too, since is was dead Aunt Mables recipe and Uncle Bob’s X wife sister in law…once removed recipe. Do you get my drift?

I changed it up just a bit.

But I still won’t call it my recipe.

I am sure it is in one of the those long used, tattered paged cookbook that has been passed down to family.

Now, I am passing it on to you.

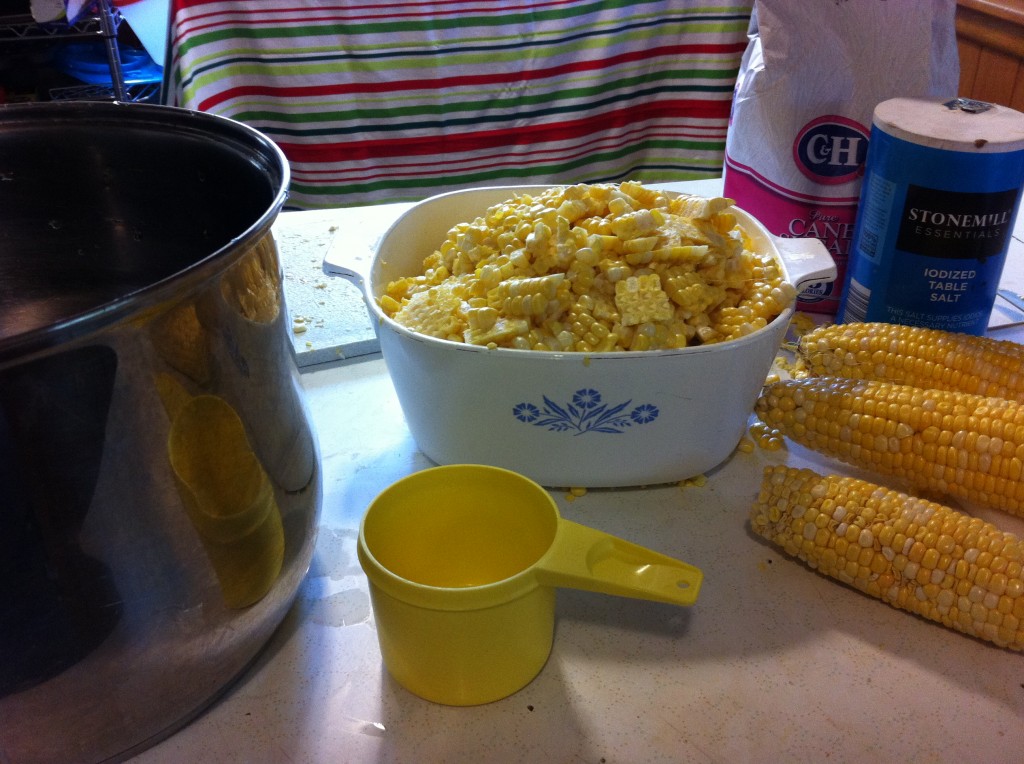
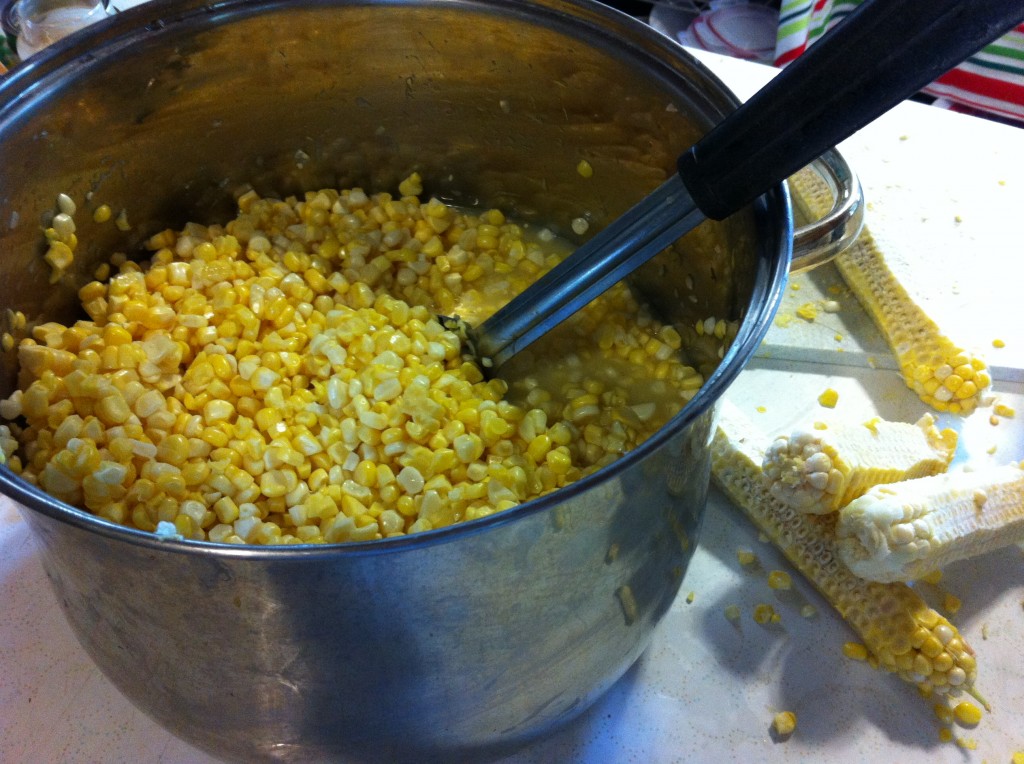
Here is what you will need. 20 cups of fresh cut corn, sugar, salt, water, freezer bags and a large pot.

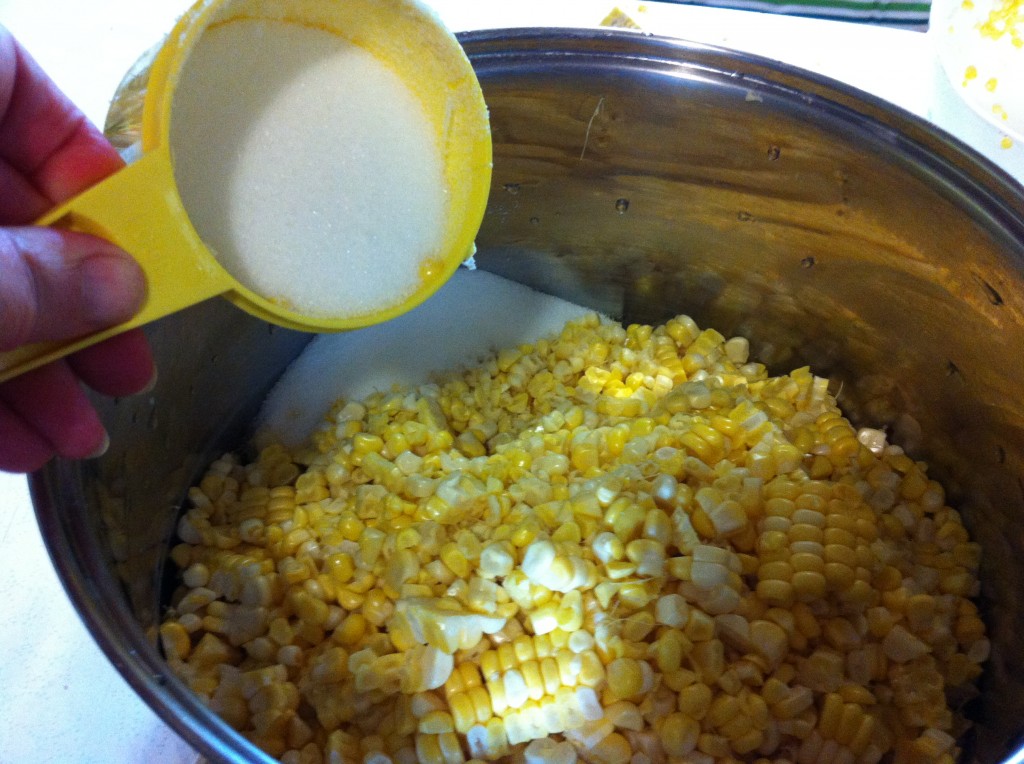
In a large pot, add the 20 cups of corn and add one cup of sugar.

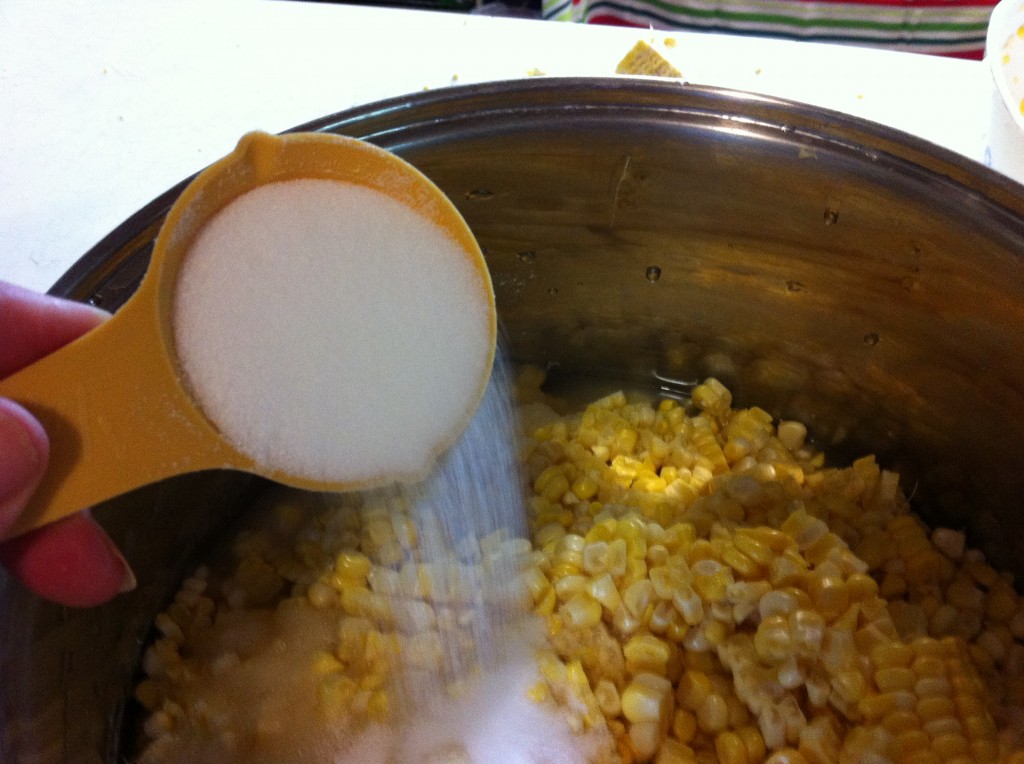
Next, add in 1/4 cup of salt.

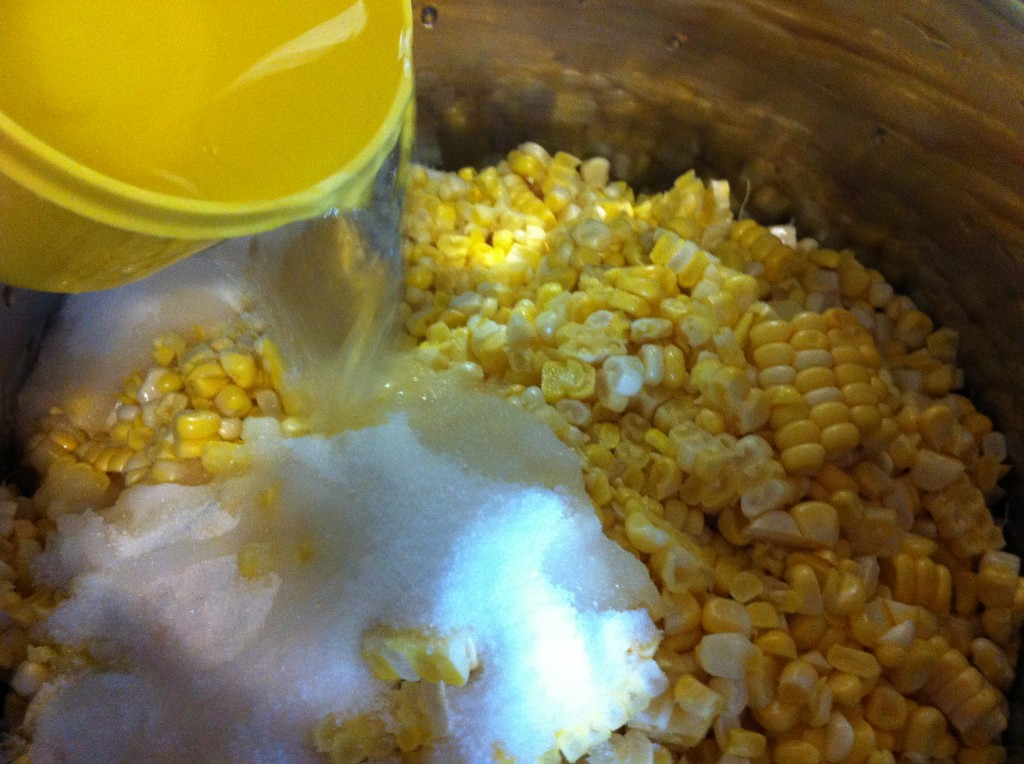
Now, add 5 cups of cold water to the corn, sugar and salt.

With a long handled spoon, stir everything together until the sugar and salt have dissolved.

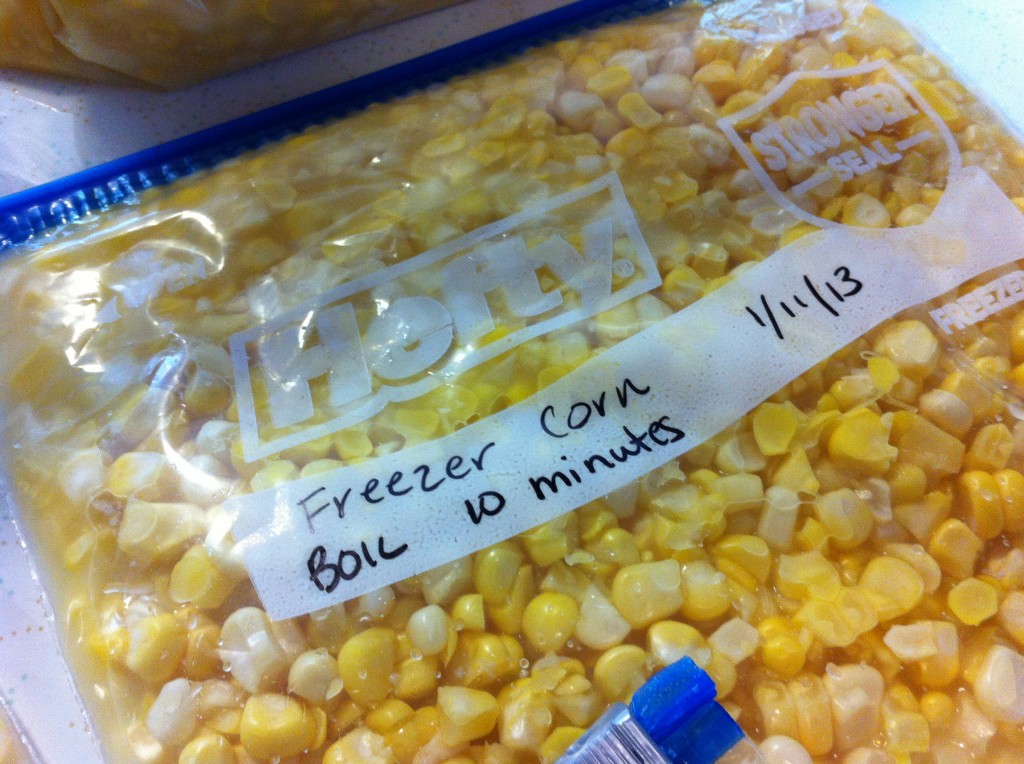
Put two cups of corn into freezer bags, making sure to get some of the liquid in each bag. I wrote the day I froze it and the cooking instructions on each bag.

Here is the 10 bags of corn that the recipe made.

Here is the recipe.

Sweet Freezer Corn

Ingredients:

20 cups of fresh cut corn off the cob

1 cup of sugar

1/4 cup of salt

5 cups of cold water.

Directions:

In a large pot, add the corn, sugar, salt and water. Stir until the sugar and salt have dissolved.

Put two cups into freezer bags and freeze.

When ready to use, take out of the freezer and boil for 10 minutes or until the corn is tender.

I need to peel out and peel husk off of the rest of that corn.

Enjoy your day!

Becky

Creamy Corn Soup

Step right up folks and take a look at corn soup.

I don’t know if you ever ate at Chili’s last year, or if you did, tried their corn soup.

Thier soup was amazing.

Then by jeepers, they took it off their menu.

Boo Hiss!

Oldest daughter who does not cook and I was so dissapointed. We loved it so much, we had gained at least 5 pounds eating their corn soup, with salad and chips. (you know, the all you eat menu item)

I have been looking around and checking out recipes for corn soup, until I finally kinda put two recipes together. It might not be quite as good as Chili’s (maybe because I had to clean the kitchen after I made it) but oldest daughter who does not cook told me tonight she thought it was amazing!

Anywho, with all that fresh corn on the cob I purchased yesterday, I need all the corn recipe I can get my hands on.

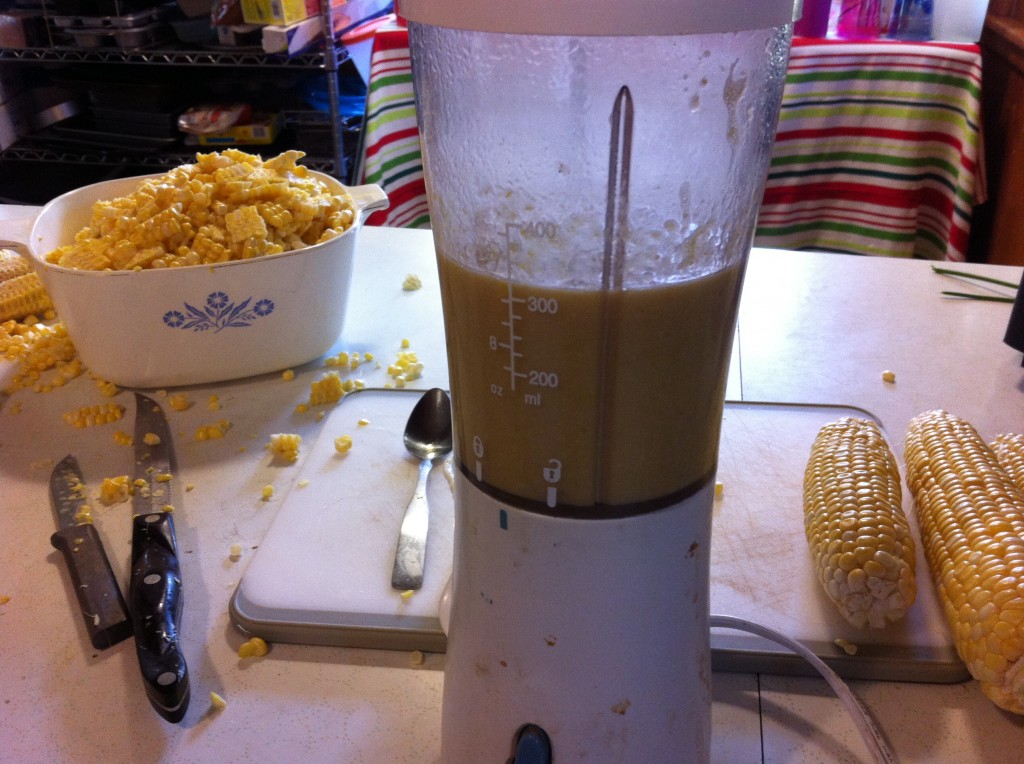
Seriously though, this is good soup. You will need a blender or food processor to process the corn to a smooth consistency. I had to use my little smoothie blender, and it worked just fine. (I had been borrowing my brothers food processor for a couple of years until he finally needed it back….so now I guess I need to ask for one for Christmas.)

Here is the recipe and the step by step instructions.

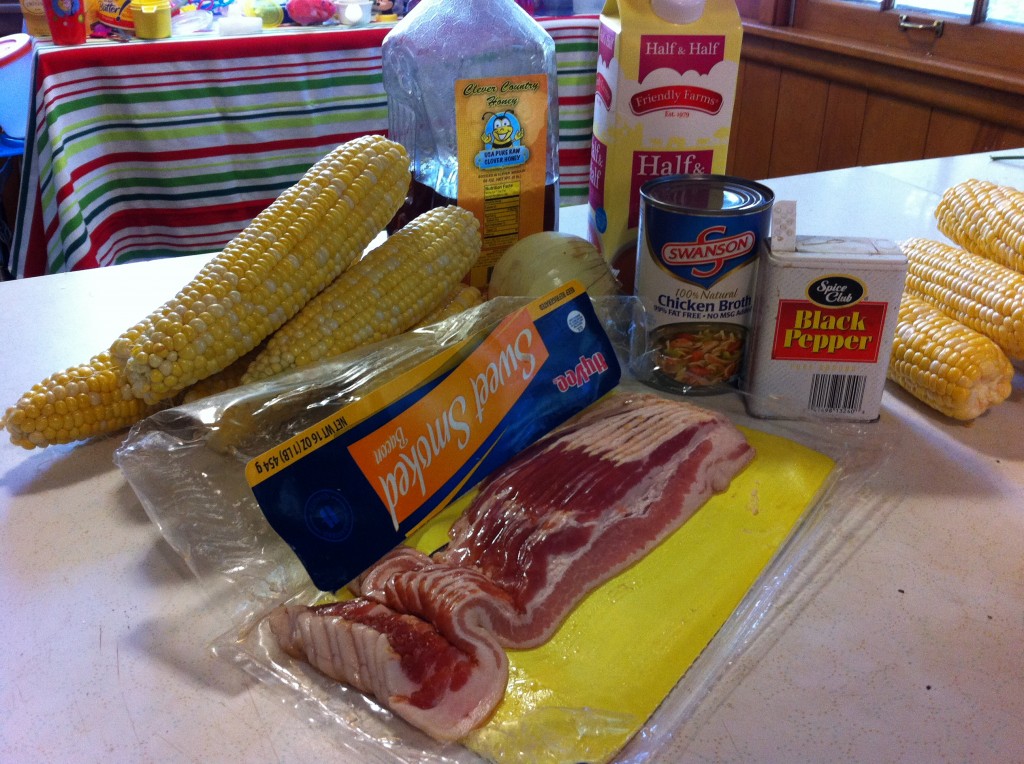
Here is all it takes to make some fresh off the cob, corn soup. If you do not have half and half, use whipping cream or whole milk. I like using the fat free half and half and it saves a million calories.

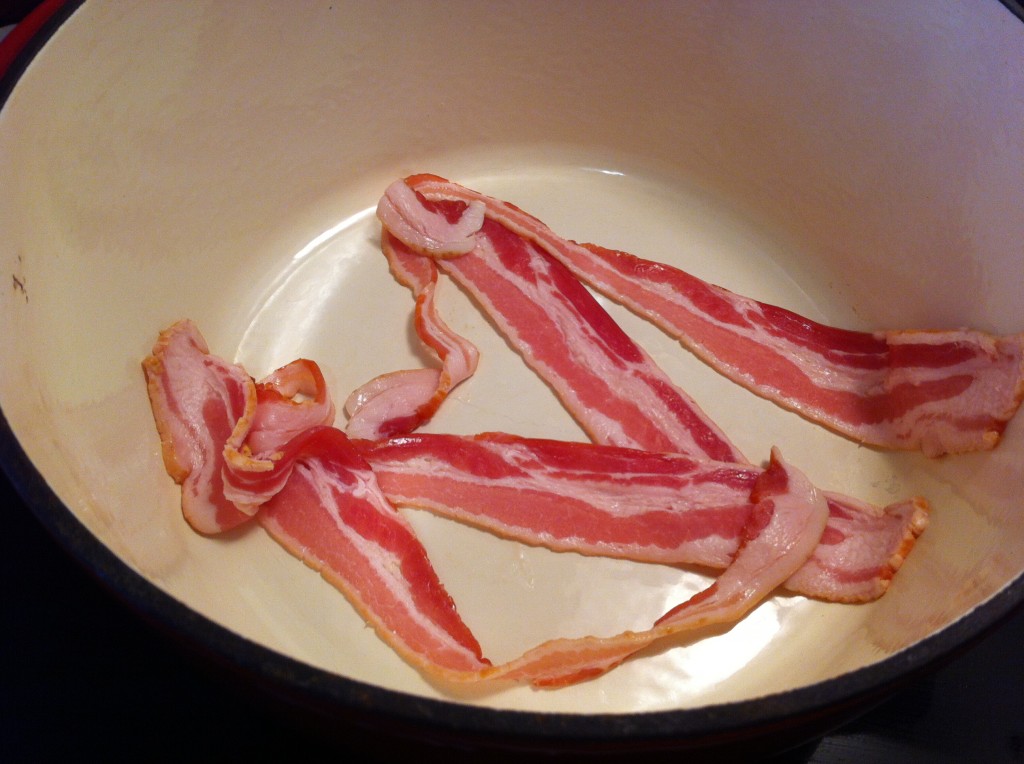
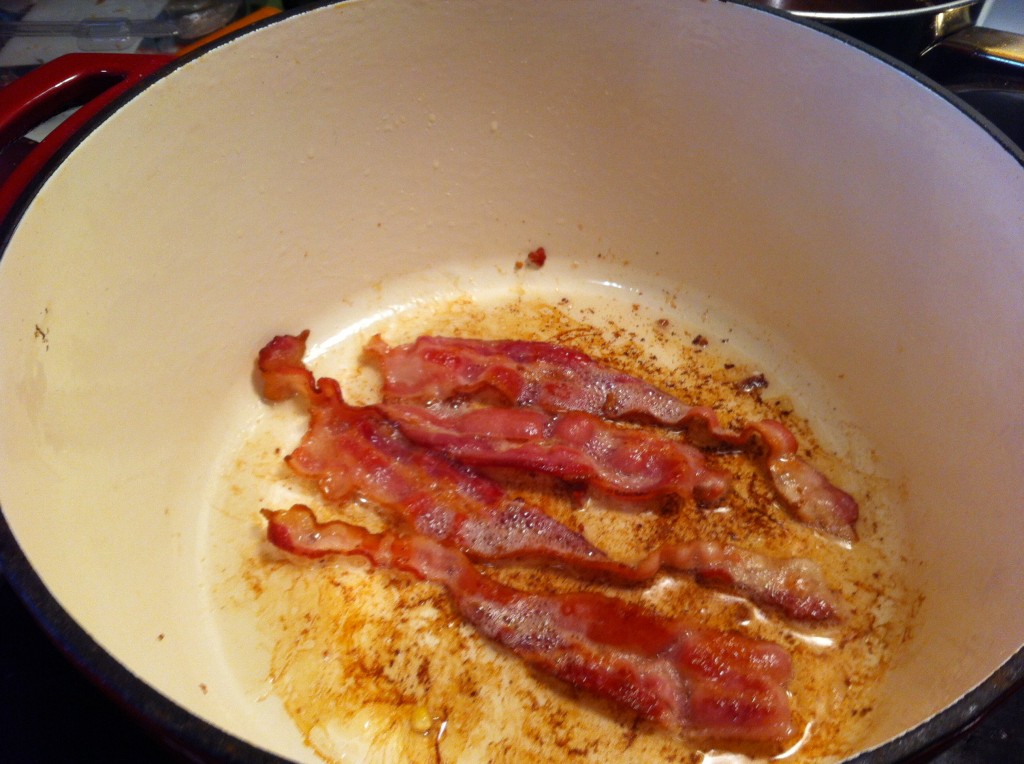
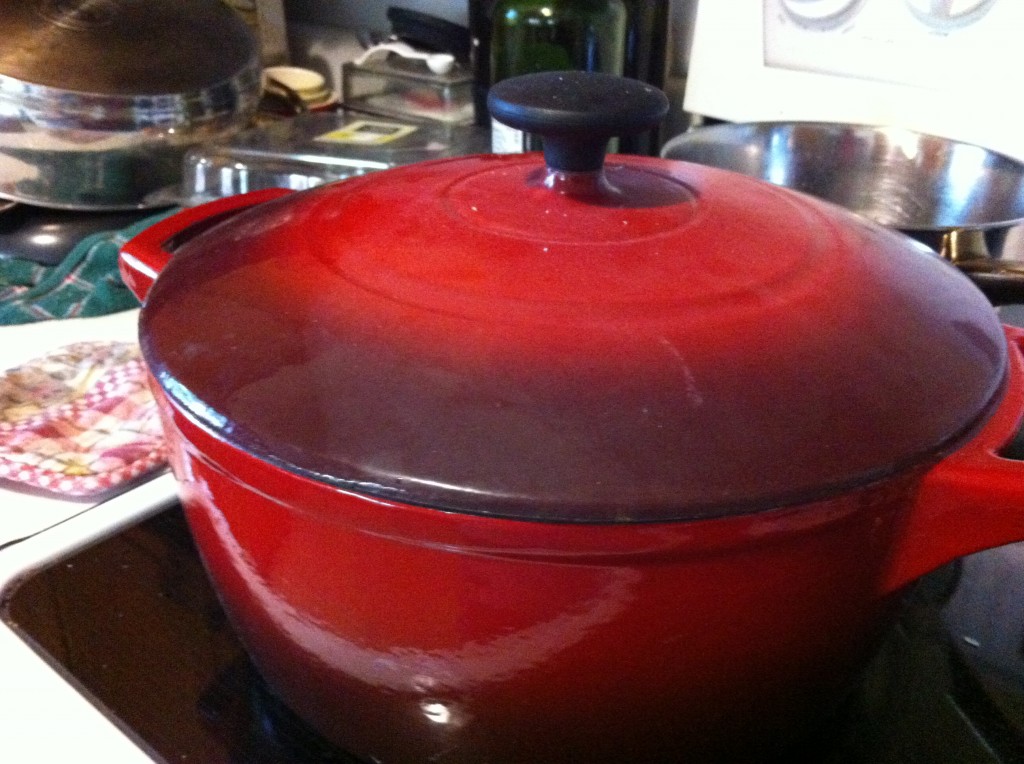
In a dutch oven or stock pot. Fry four pieces of bacon until crispy. I used my dutch oven that oldest daughter who does not cook bought me for Christmas, cause she is keeping a tally of how many times I have used it since she bough it for me. This is the third time haha.

Take the bacon out of the pan and drain on paper towells. You will use the bacon as a garnish for the soup.

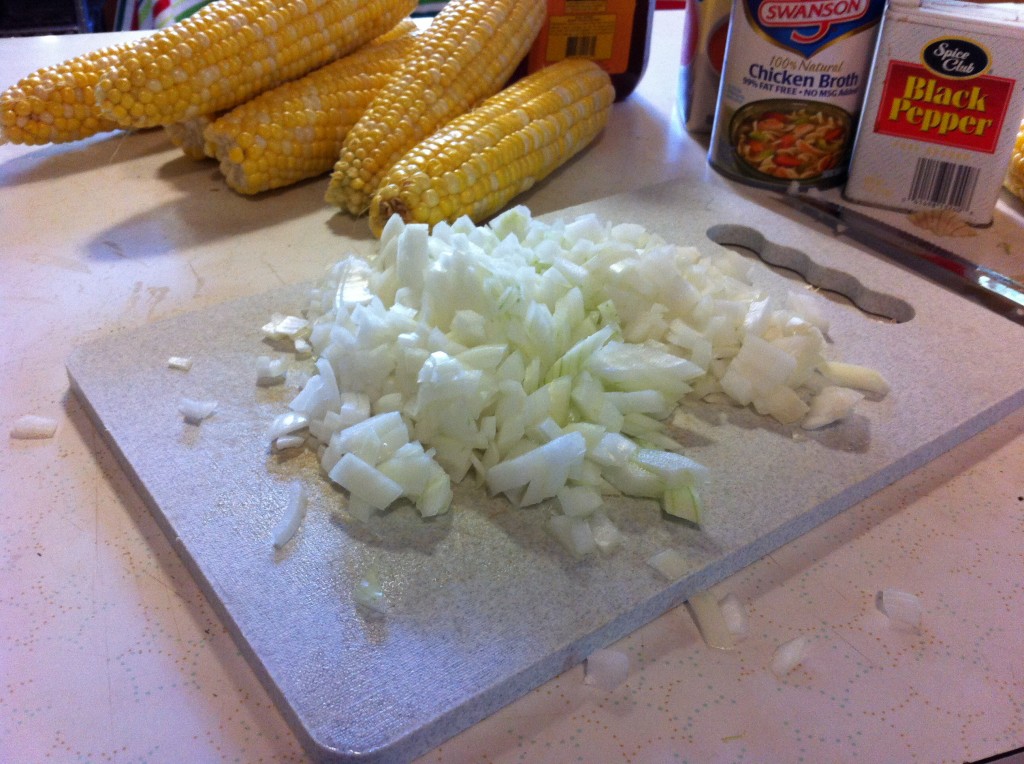
Now, get out your kleenex and chop up one medium size onion. I used a yellow onion.

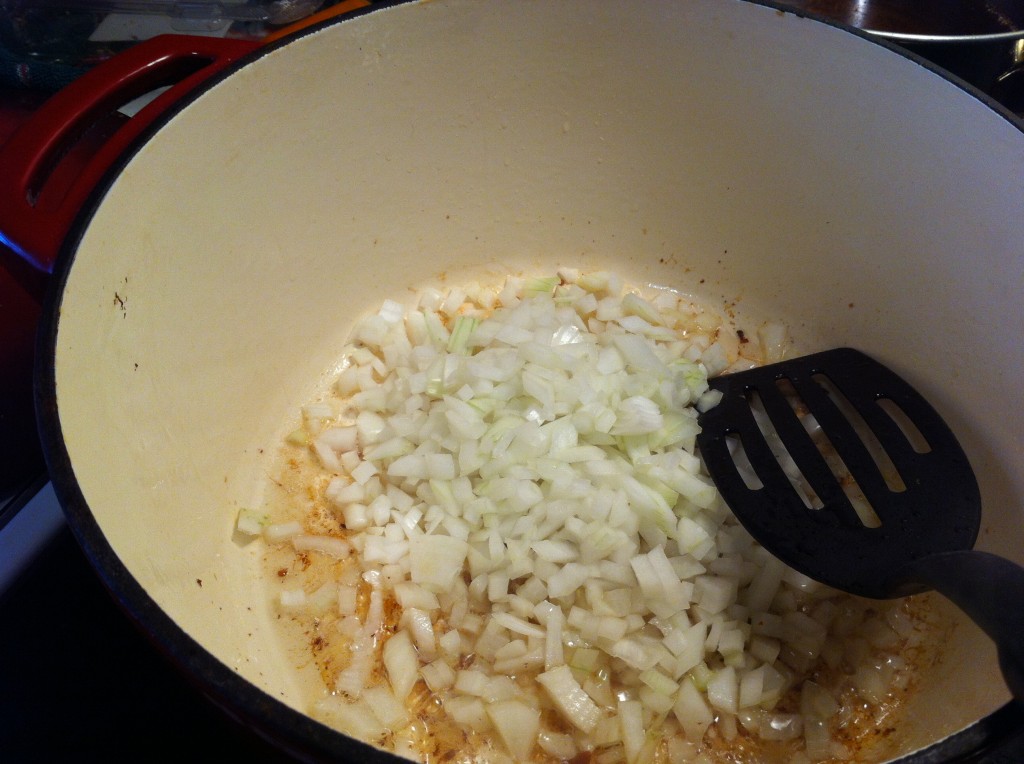
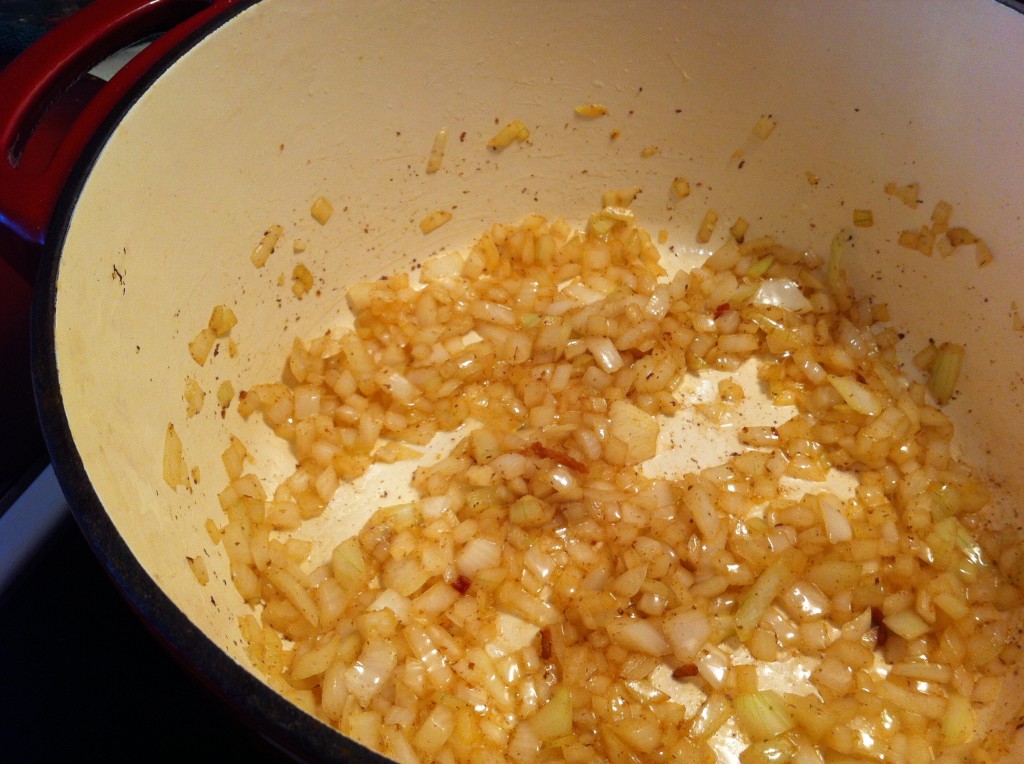
Toss the choppped onion into the bacon grease left from frying the bacon. Saute the onions for around 4 to 5 minutes until they are translucent.

That is what mine looked like after I sauted them.

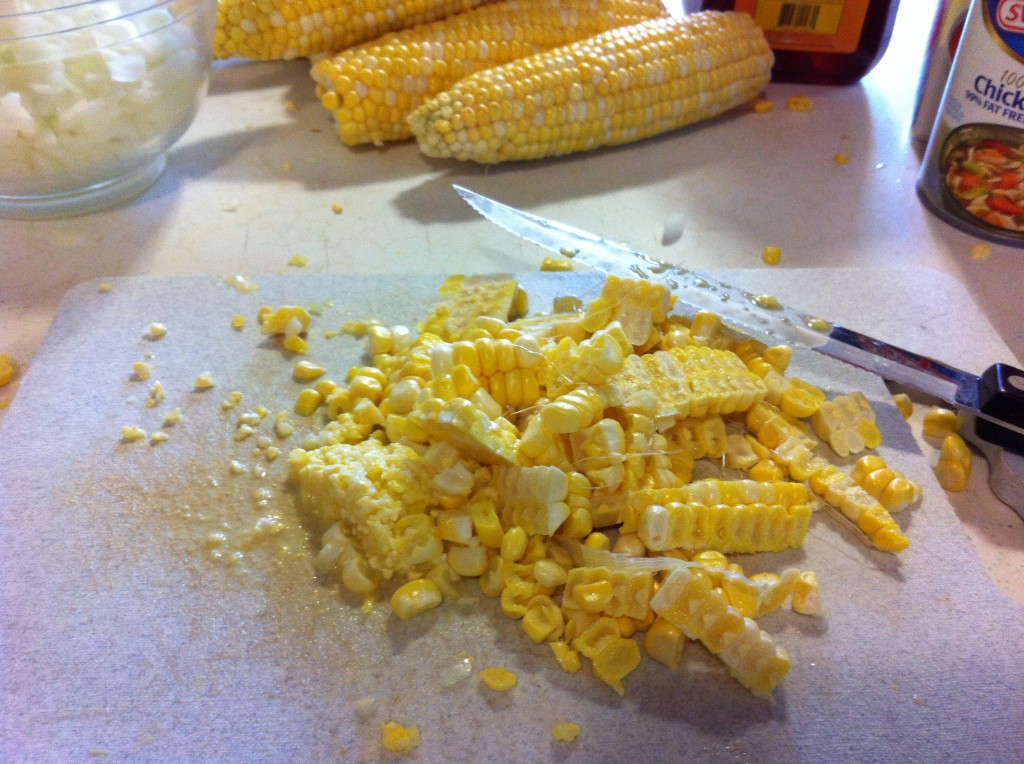
Cut the corn off of 6 medium size corn cobs to make around 3 cups of fresh corn.

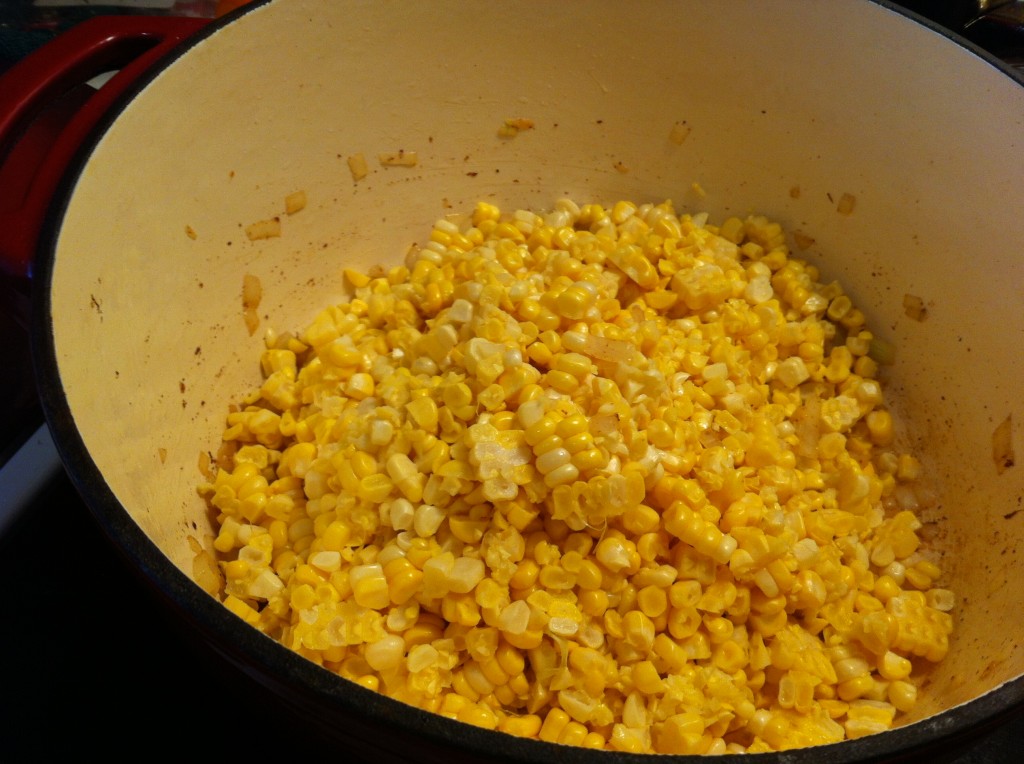
Add the corn to the onions and saute together for another 5 to 6 minutes. Be sure and stir occasionally to keep from sticking.

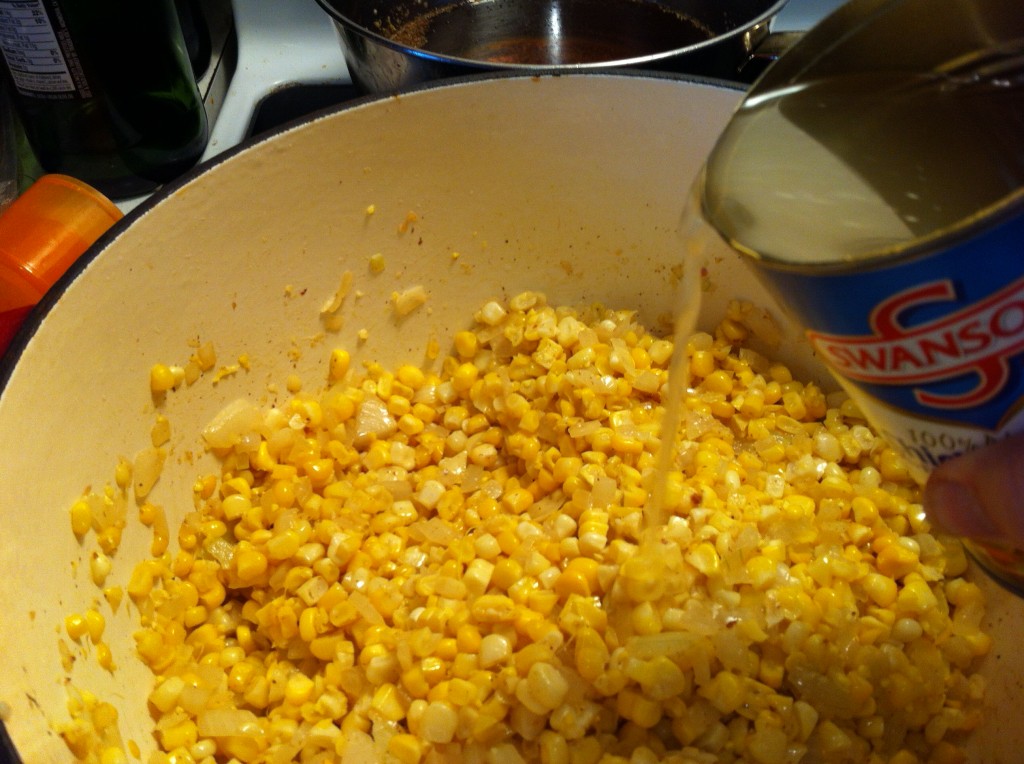
Pour in the chicken stock to the corn and onions.

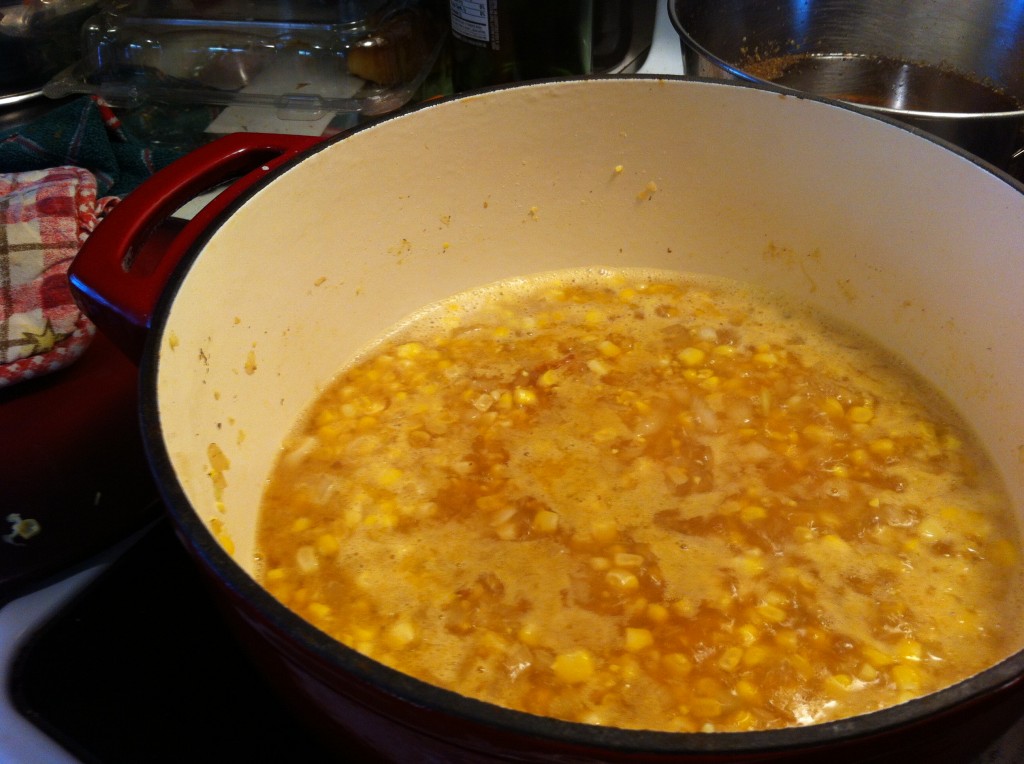
Put the lid on the pot and simmer for 20 minutes.

The corn and the onions should be super tender after simmering for 20 minutes.

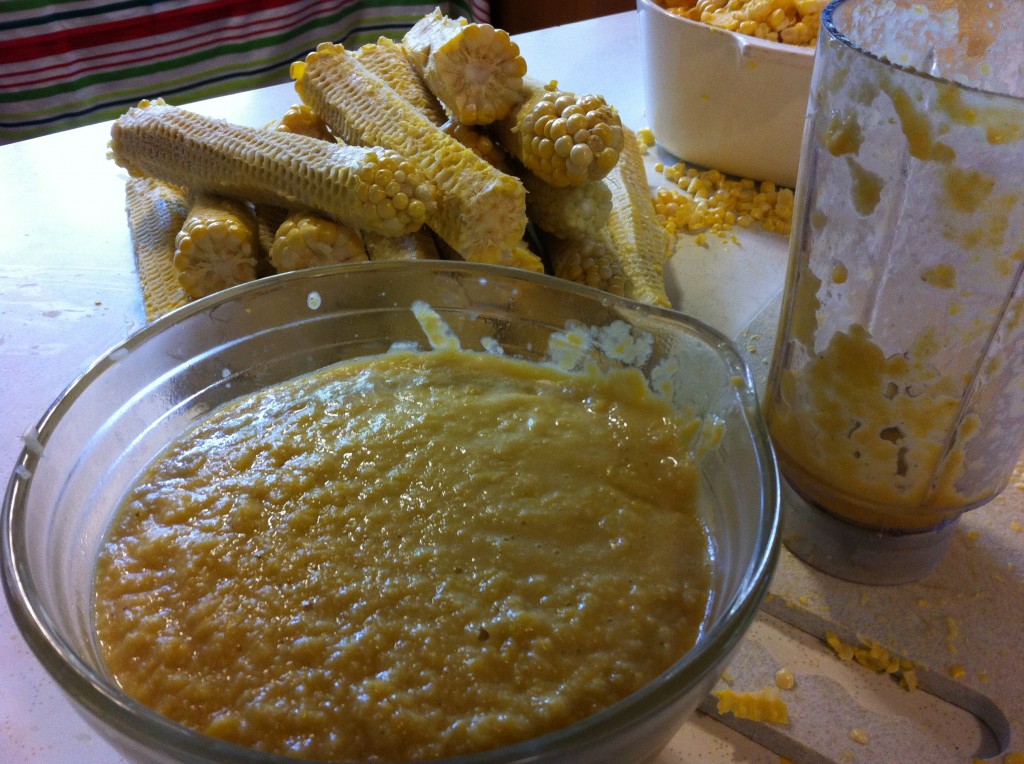
In a food processor, blender or in my case my smoothie blender, blend the corn soup to a pretty smooth consistency.

It should look like this when you puree it.

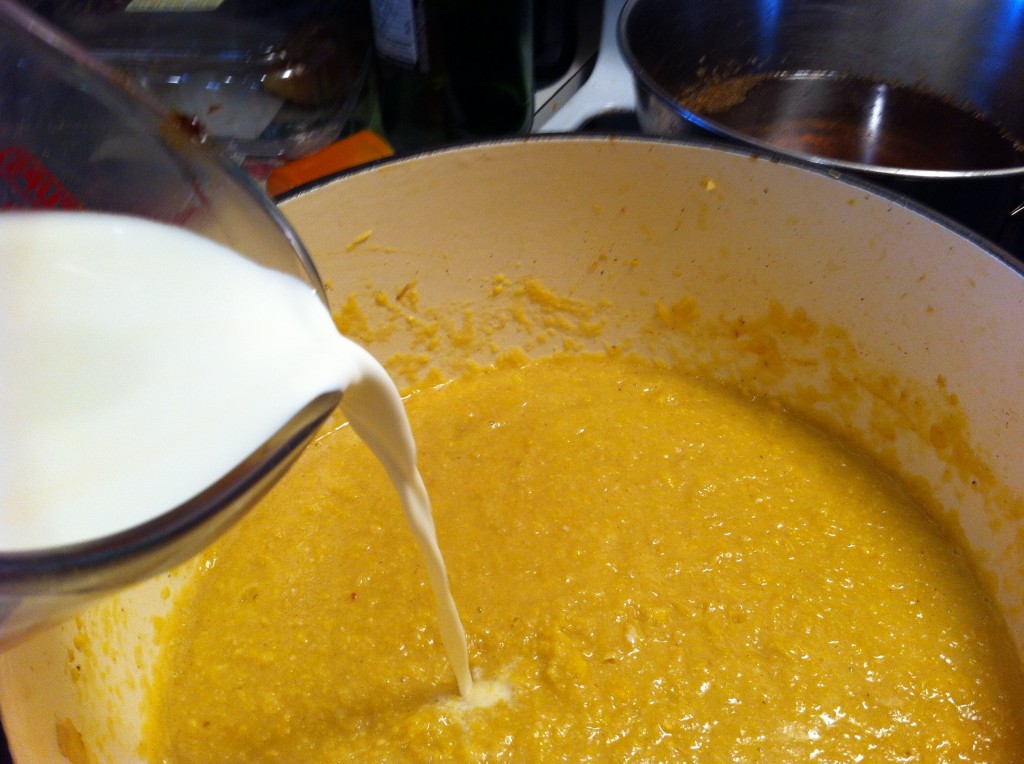
Put the soup back into the pot and add the half and half.

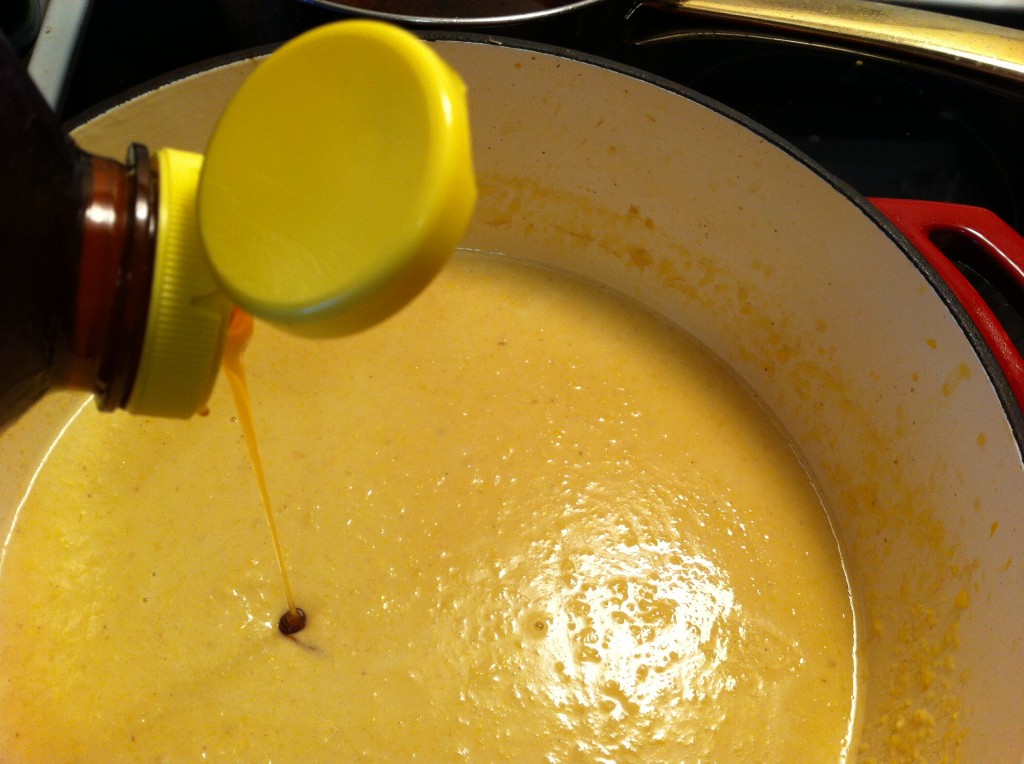
Add salt, pepper and a little cumin. I added a tablespoon of honey, but that is optional. Be sure and taste the soup to see how much to season.

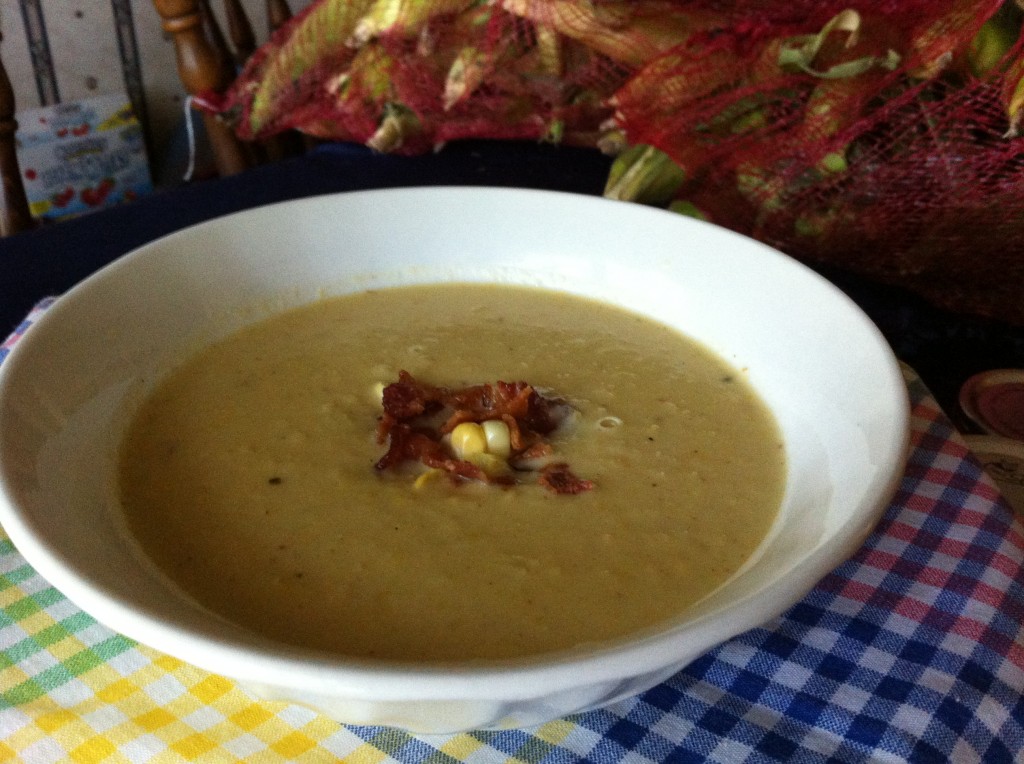
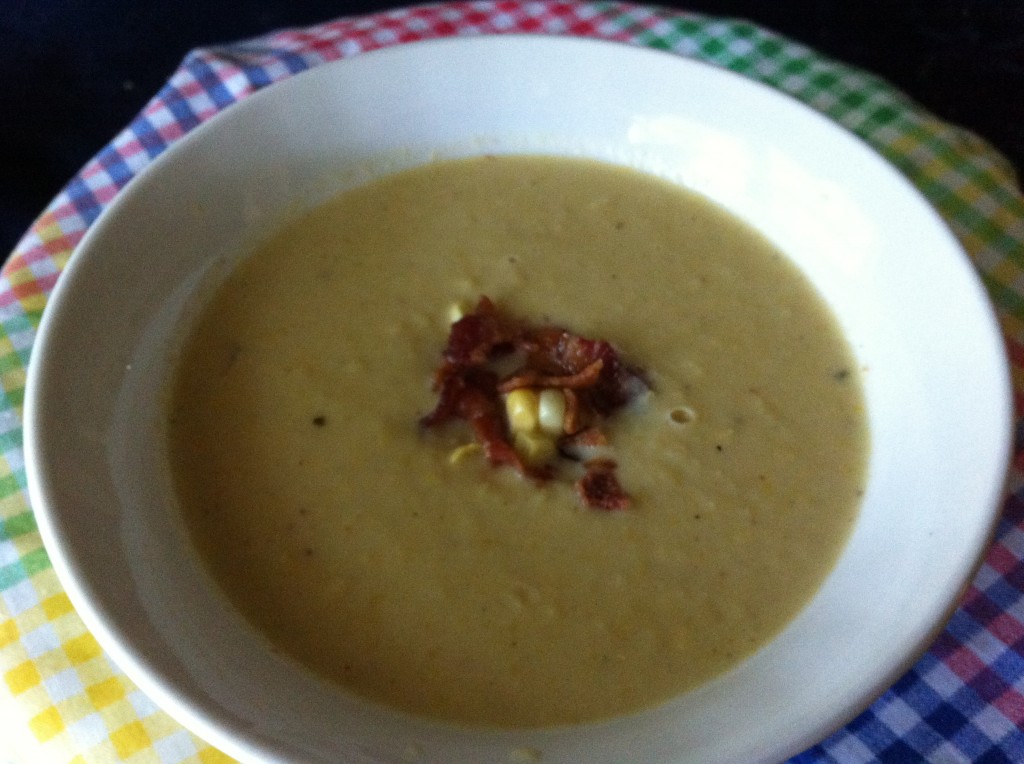
Serve the soup warm with a bacon crumble garnish. I even added a few raw cut kernals on top of mine. This soup can be served cold if you like too!

Here is the recipe!

Creamy Corn Soup

Ingredients:

4 slices of bacon

1 medium chopped yellow onion

6 ears of corn with the kernals cut off (about 3 cups)

3 cups of chicken broth

1 and 1/2 cup of half and half

Salt, pepper, cumin to taste

1 tablespoon honey (optional)

Directions:

In a dutch oven or stock pot, fry the bacon until crispy. Remove the bacon and reserve to crumble on top of soup as a garnish for later. Using the bacon grease, add the chopped onions and saute for around 5 minutes until they are transulcent.

Next, add the corn and saute together with the onions for another 5 minutes.

Add the chicken broth, cover with a lid and simmer for 20 minutes or until the corn and onions are tender.

Using a food processor or blender, puree the soup until smooth. Do this is small batches as the soup is hot.

Put the pureed soup back into the dutch oven and add the half and half.

Taset the soup first and then  season with salt, pepper, cumin and honey. Be careful not to over season.

Garnish with crumbled bacon and dices tomatoes if desired.

Enjoy!

Becky
Here is some other soup recipes you might enjoy making.

Creamy Butternut Sqaush Soup                                             Chicken Gnocchi Soup


Morning with the Amish, Peaches and Hand Pies.

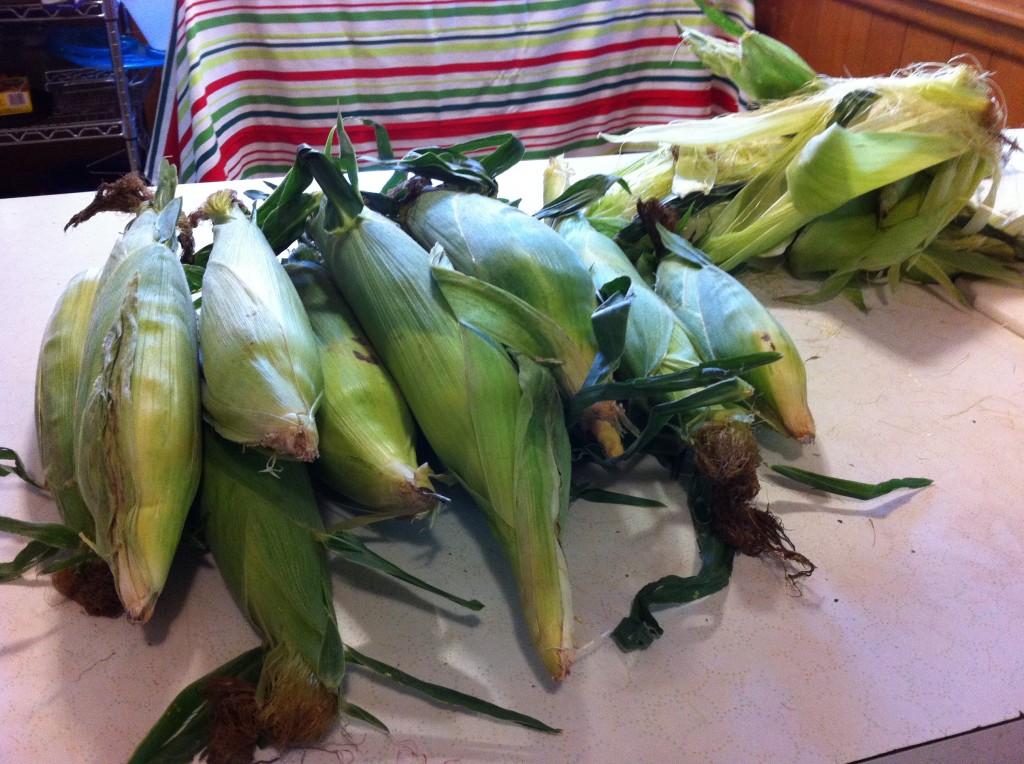
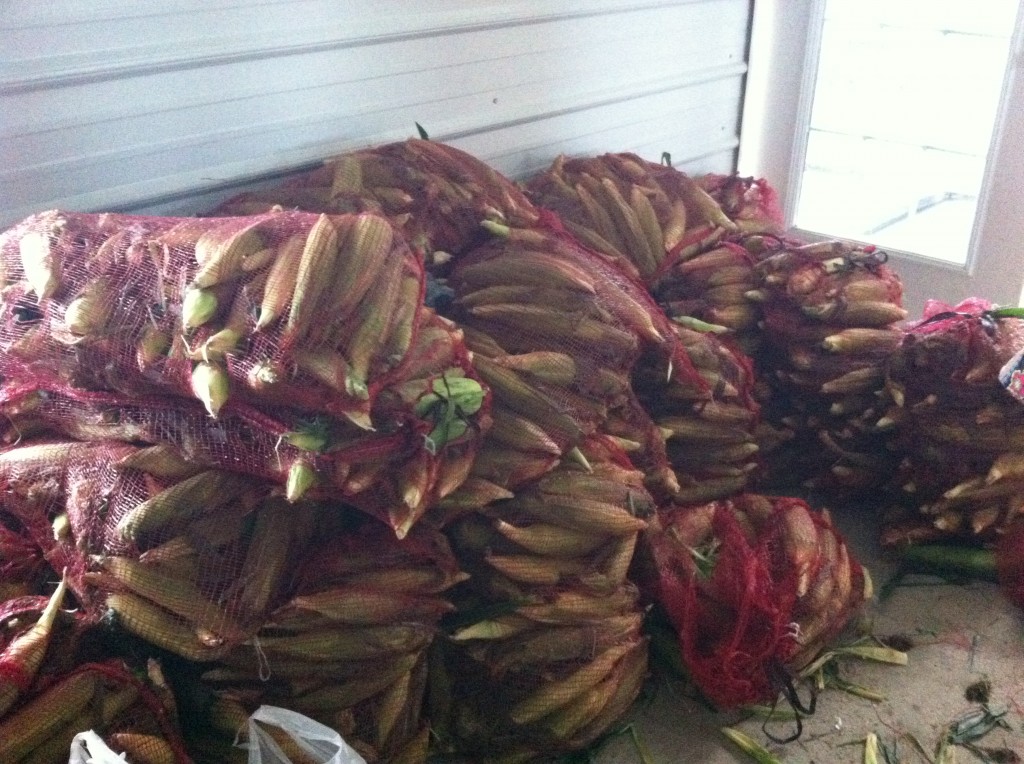
Don’t worry….I did not buy all this corn on the cob.

This morning I got up with the chickens and met my friend Carol to go to Amish country. Our mission was to purchase the best peaches in the world.

During the month of June a nearby Amish store sells peaches every Wednesday. I think they get their peaches brought on the train, but I am not totally sure on that.

Carol drove us down in her husbands BIG pickup. We had lots of room to buy as many boxes of peaches as our, eyes that are bigger than our practicallity, could buy.

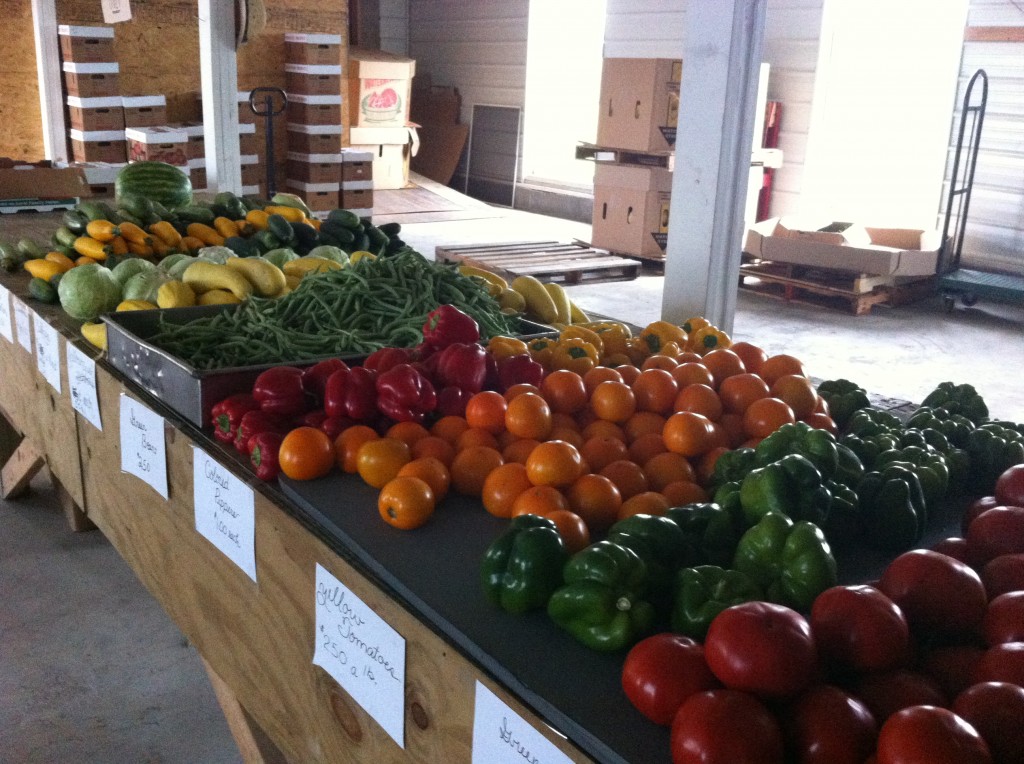
When we got there we quickly went to the produce side of the store.

The produce was laid out in nice neat rows. The vegetables looked amazing.

BUT….where are the peaches?

If you look in the picture above, the peaches should be in those boxes against the wall.

When I seen all those  boxes, I knew I was in peaches jam, cobblers and pie heaven.

I opened one of the boxes and all I saw was tomatoes.

Beautiful, red ripe tomatoes…

BUT…wait…..

Where are the peaches???

Alas, they had already sold all 196 boxes of peaches before we got there.

Really?

People were waiting in line for the Amish to open their doors at 6 a.m. this morning. (now you believe that these are the best peaches in the world)

Boo….Hiss…

So, Carol and I decided to buy corn instead.

120 ears of corn a piece.

Yes, we are known to be crazy at time.

Though…..our day was not totally a waste.

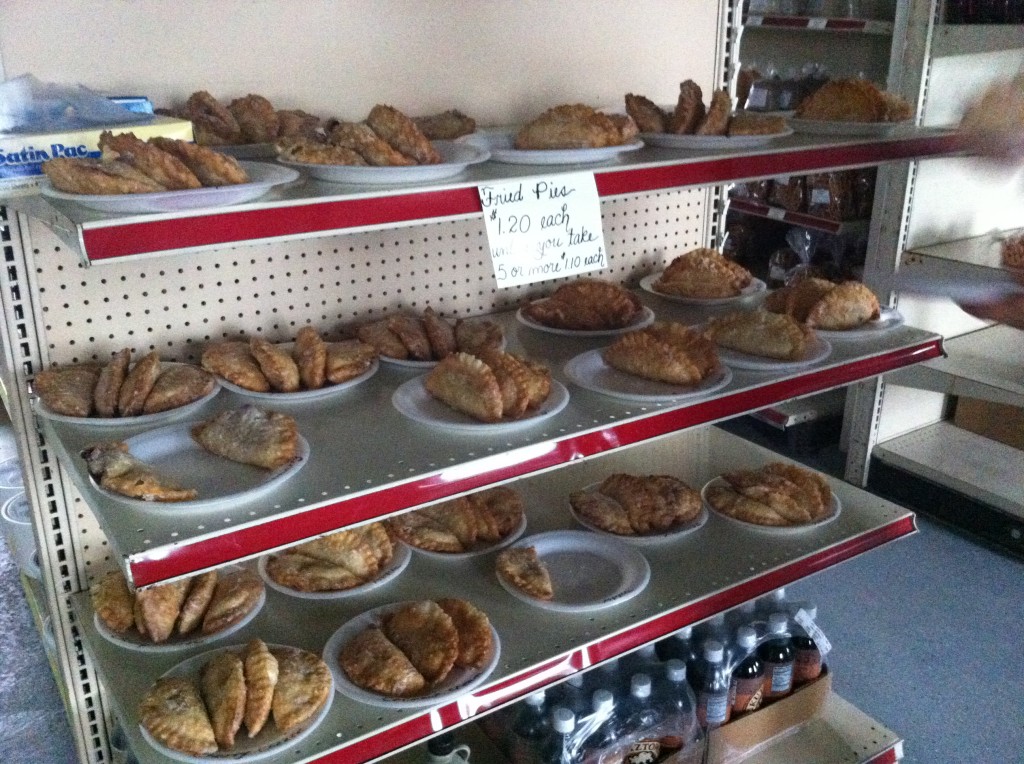
There was fresh hand pies sitting on the shelves to buy.

The famous hand pies!

Usually they only sell warm hand pies on Friday and Saturday, but since it was Peaches Wednesday, they decided to make them today.

We both bought 5 a piece.

I bought, blackberry, strawberry and cream, cherry and  cream, mixed berry and apple. They also had pecan and coconut cream.

This is what I came home with. 120 ears of corn, 2 pounds of green beans and 1 pound of new potatoes and  5 fresh Hand Pies.

Next Wednesday, if we want to get some peaches, we need to forget about getting up with the chickens.

We need to get up with the roosters!

Anywho, if they are sold out of peaches…I can always buy some more hand pies.

Mine are gone already!

If you have any good corn recipes, send them my way.

My crystal ball says I have corn in my future,

Aww…Shucks

Becky


Budget Update

I am calling this post, “Budget Update.”

I really should be calling it…..”Budget Disgrace.”

I know I had a budget around the first of May. I think I had a surplus of $300 or so in my grocery budget. I really don’t know how much money I have left in it or if I have spent it all, or worse…..I am in the negative.

But you know what….it is ok.

I will just start over.

I went to a dramatic and you might call it, a radical move.  But, I took all the money I had left in my checking account at the end of the June, and transfered it to my savings account. So when I got paid I started with a clean slate. The money is safe and sound, but this way I can get a handle on my budget, get back on track and hopefully start replenshing my stockpile.

Trust me….I still have 25 boxes of cereal, and I noticed a great sale starting tomorrow on Frosted Flakes, so I see me stocking up on my favorite cereal indulgence. (besides chocolate Special K ).

Anywho…..just in case you were wondering if I managed to squeeze in any couponing over the last two months, I did. It was not a lot, but I think I got some good bargains.

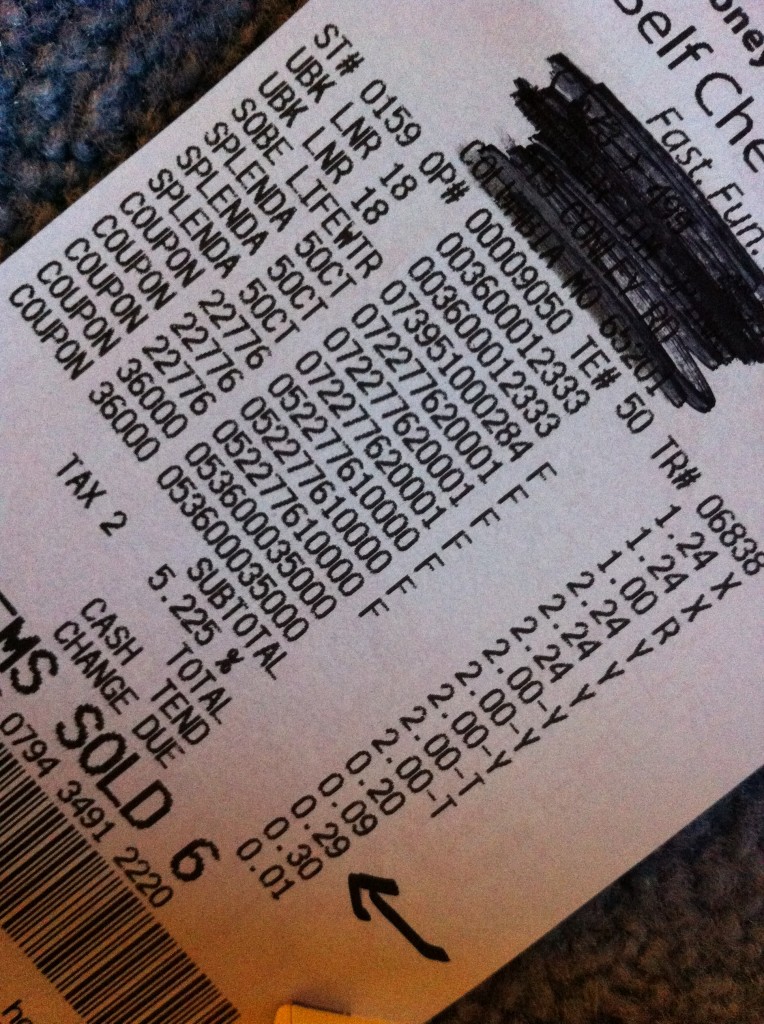
Here is a little Wlamart trip that only cost me .29 cents.

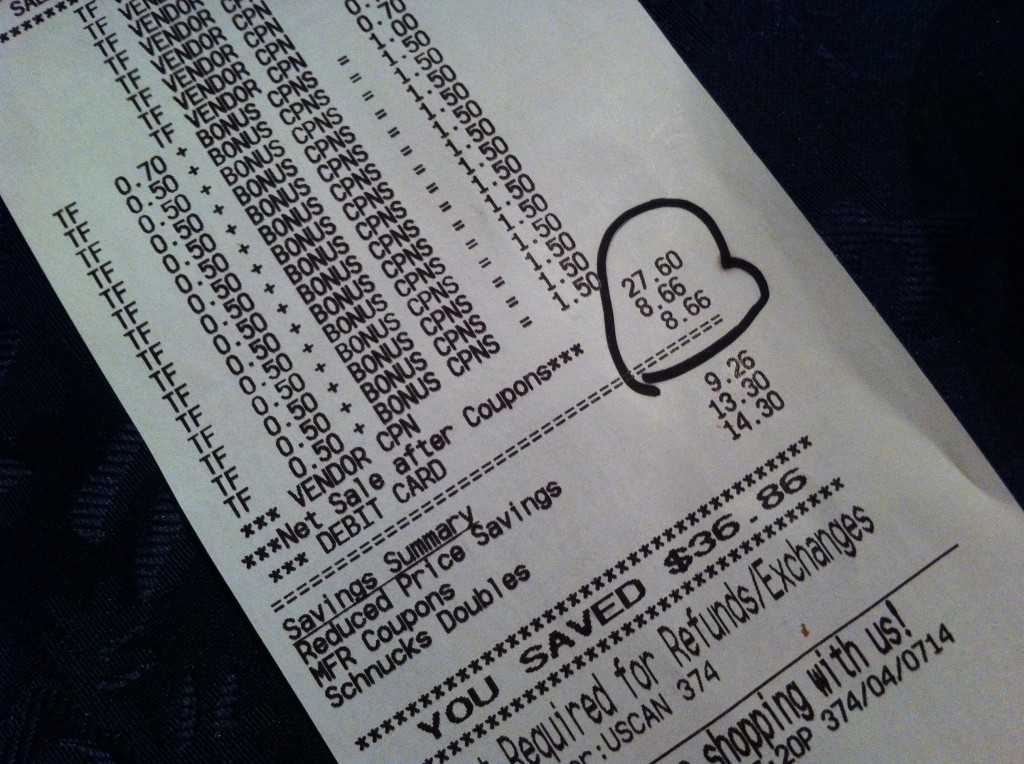
Here is a shopping trip to Schnucks. I got all of this for $8.66. This was a triple couple sale trip.

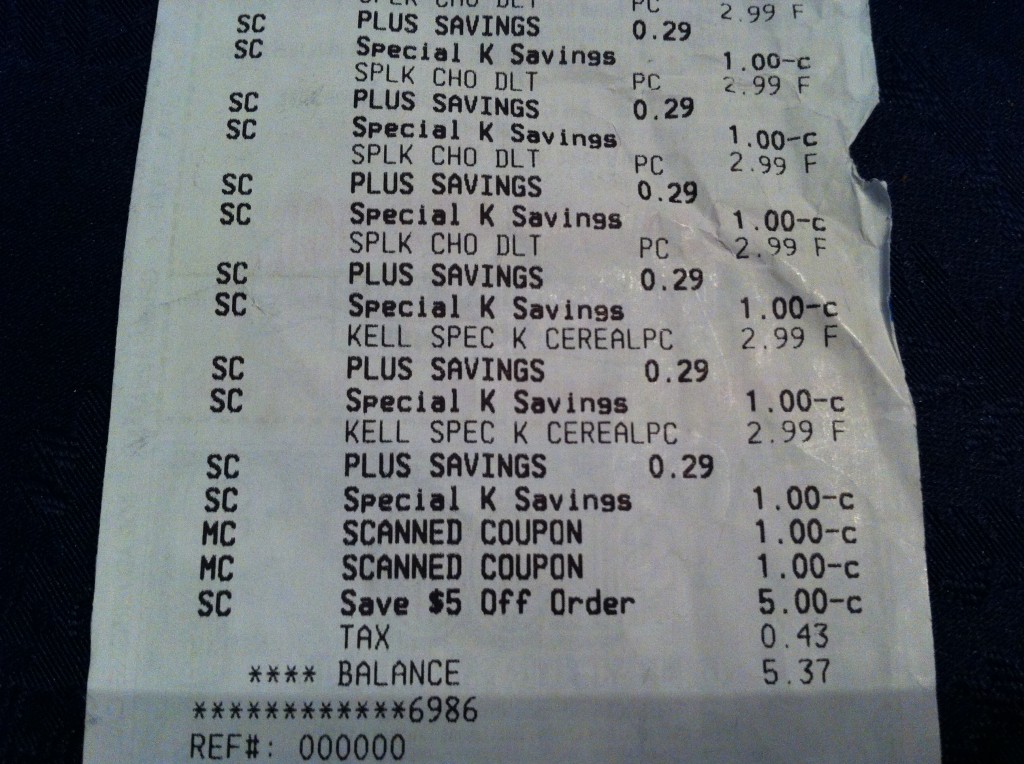
Here is a trip to Gerbes where I got 6 boxes of cereal for a total of $5.37.

This was the cereal I ate (almost) every morning during summer school.  I ate all 6 boxes…please do not tell anyone. I hid it from my kids so I did not have to share.

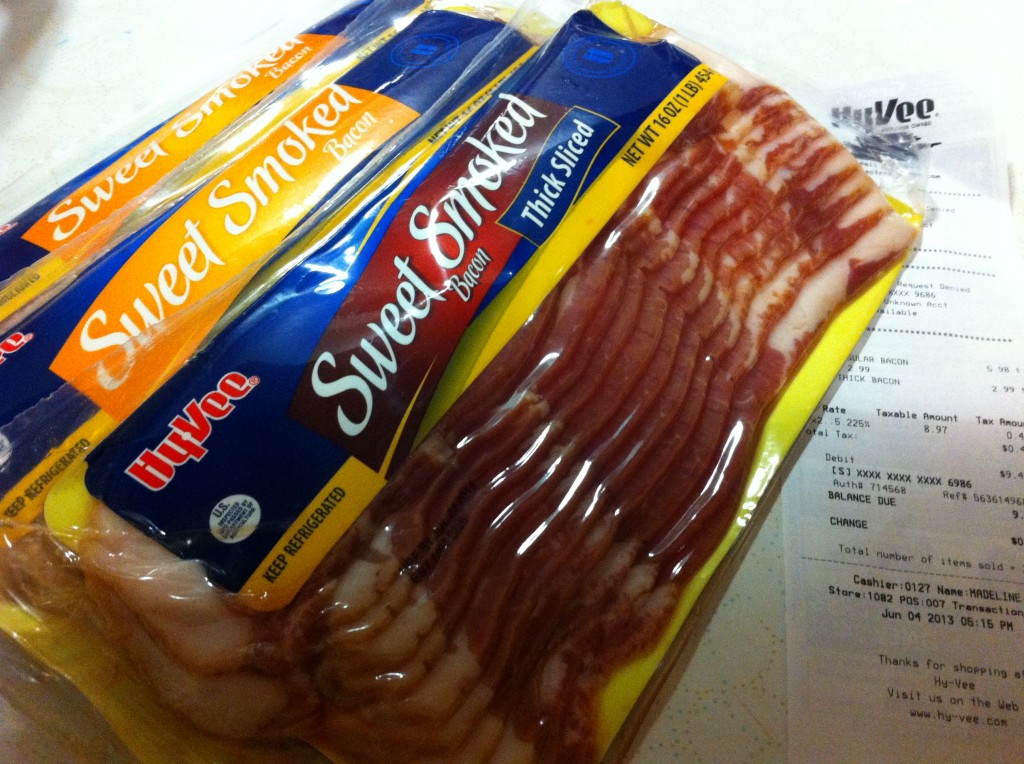
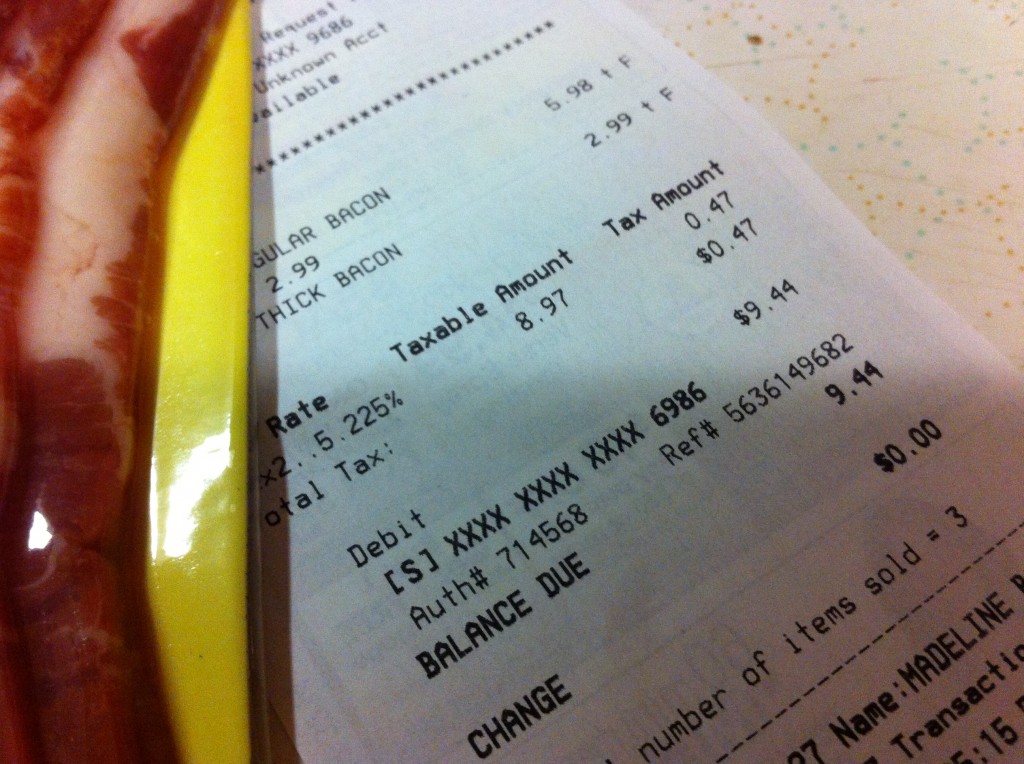
No coupon, the bacon was just on sale. I was beggin for some bacon. I got three packages for $9.44

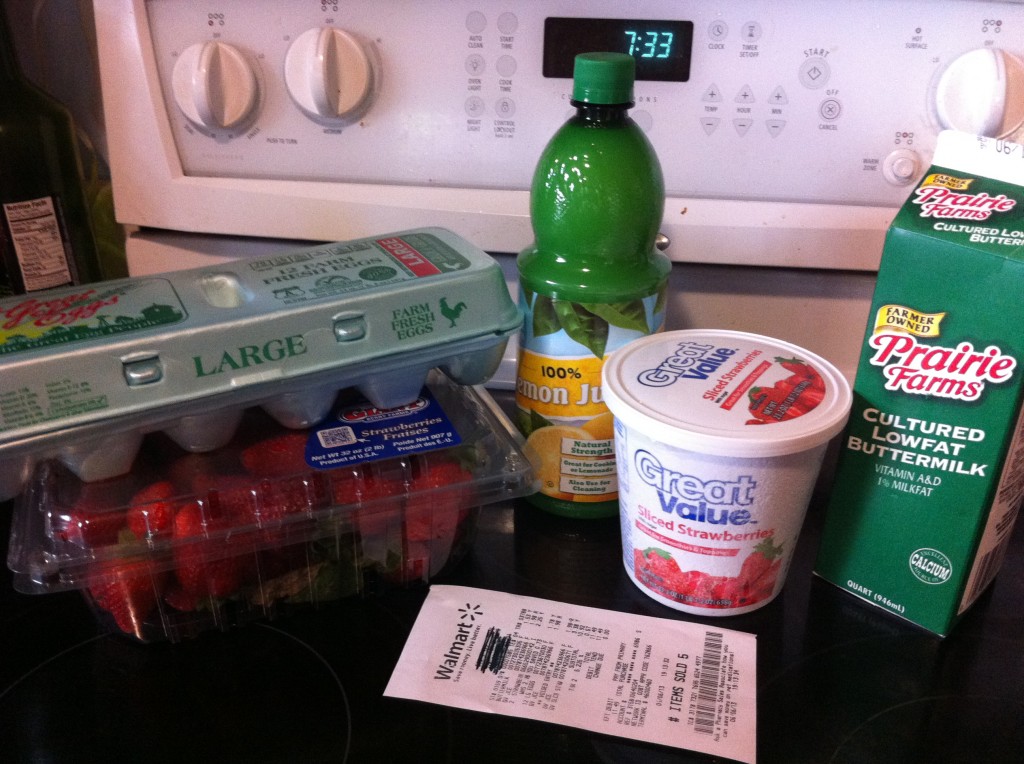
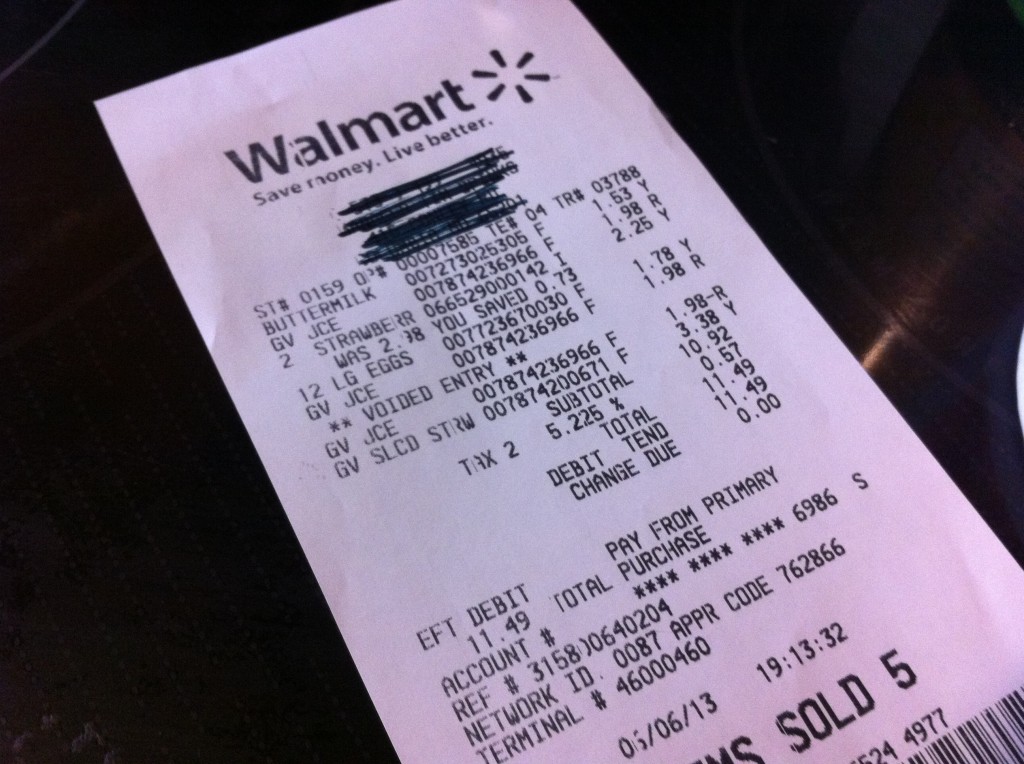
Another no coupon shopping trip. BUT…..I had to have these ingredients to make a three tired strawberry cake.

This is what it looked like. Am I forgiven? I will be posting this recipe soon….so don’t worry.

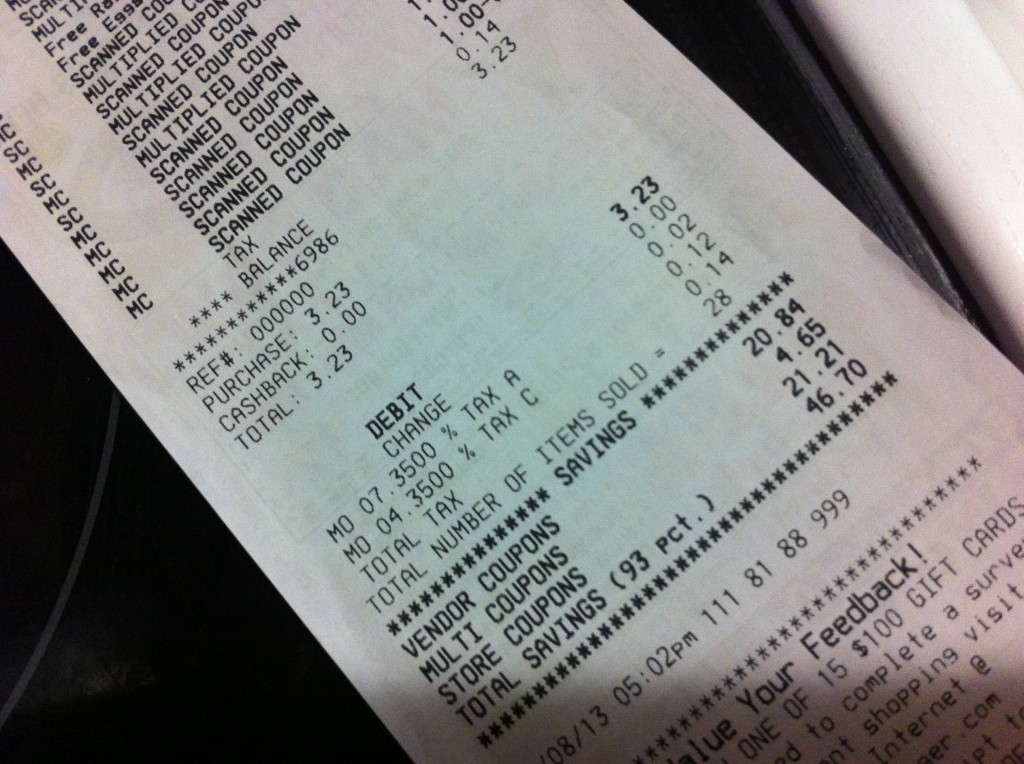
Here is a Gerbes trip. I bought all of these items for just $3.23.

Lastly………..

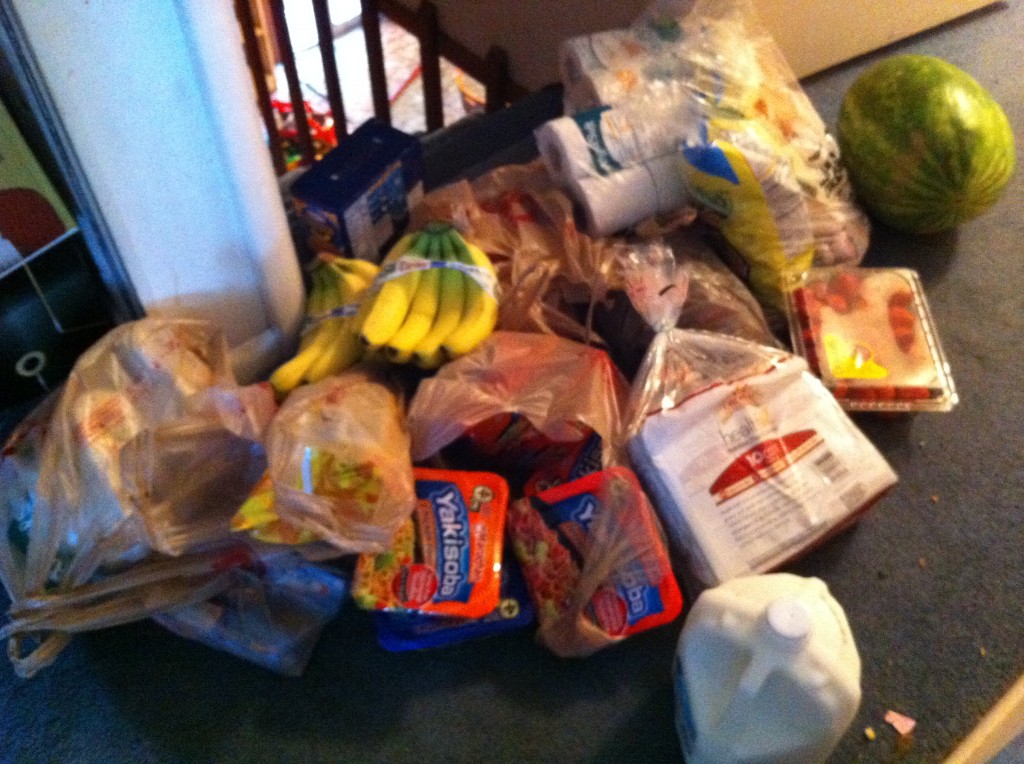
This is what the floor looks like when oldest grand girl brings up my and oldest daughter who does not cook,  groceries….

Good Grief…haha.

By the way that watermelon was so good!!!!

So, somehow I managed through the last two months and found a few deals and I did some baking too.

Right now I have a whopping $75 in my grocery budget, since I am starting over. BUT, I have the extra money in my savings account. Isn’t that what couponing is all about…..saving money. So what better place to put it, then in my savings account.

My grocery goal this week is to buy some frosted flake cereal at Gerbes. 

I think I am going to need it.

School starts again in 5 weeks!

Happy Couponing!

Becky


A Salad Fit for A Princess

This morning I had to leave bright and early and take the Princess to her mammogram appointment.

For those out there that do not know, my mom, the Princess had breast cancer  5 years ago.

The great news is that she is a cancer survivor.

She goes to get a mammogram every 6 months to make sure she stays that way.

Niener Wiener or Jeanie Beanie take the  Princess to a lot of her appointments, but since I am, “kinda off,” for the summer, I try to take a few turns.

Anywho, bright and early this morning, before I left town to take mom to appointment, I checked on my little garden.

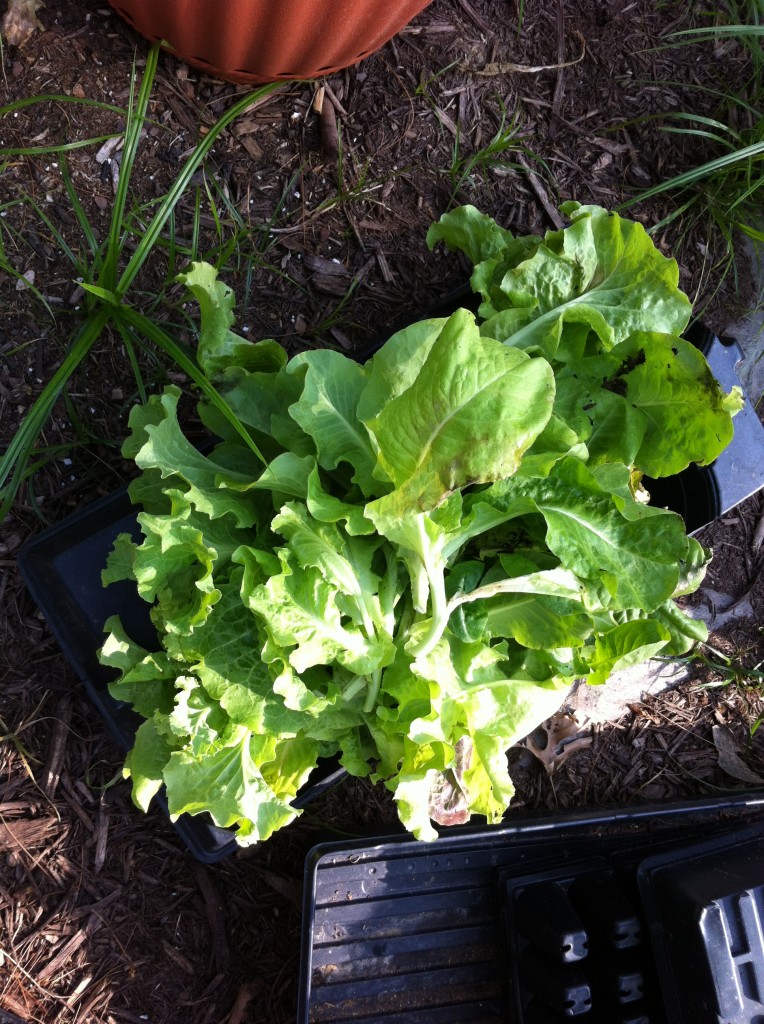
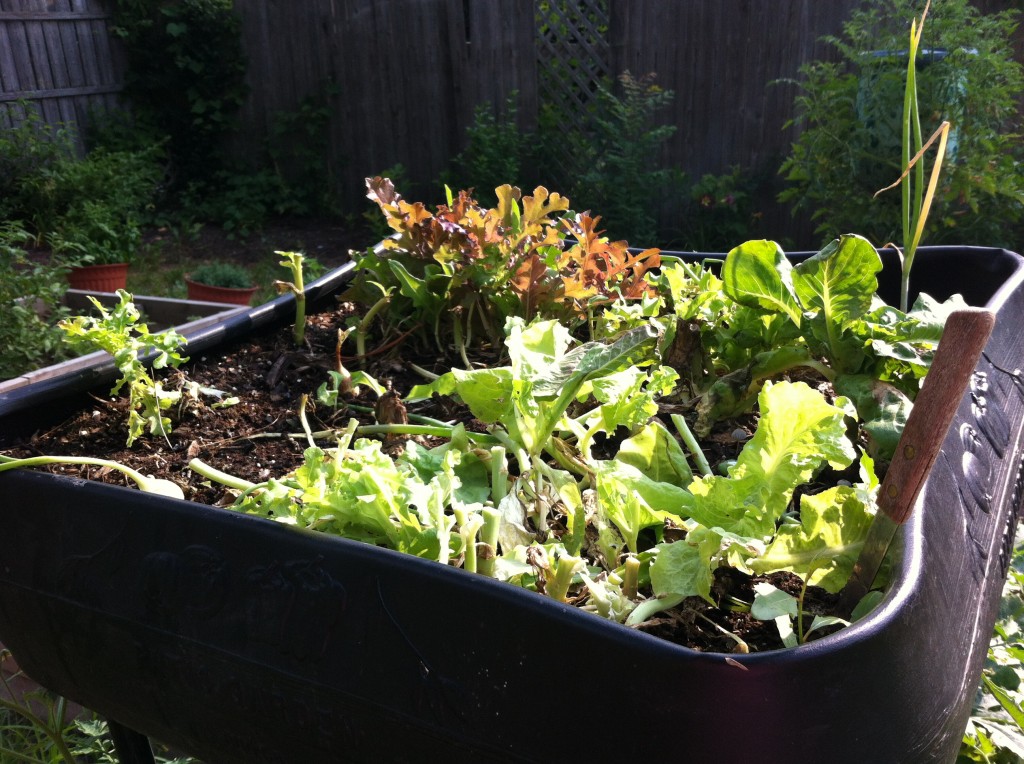
I noticed that I needed to harvest the rest of the lettuce.

 o

I had already taken her one bag of fresh lettuce, to her and dad a couple of weeks ago. Mom was telling me how much she enjoyed the lettuce and that she even put in a few of the kale leaves I took to her, in the salad too.

So I cut The Princess,  some fresh lettuce.

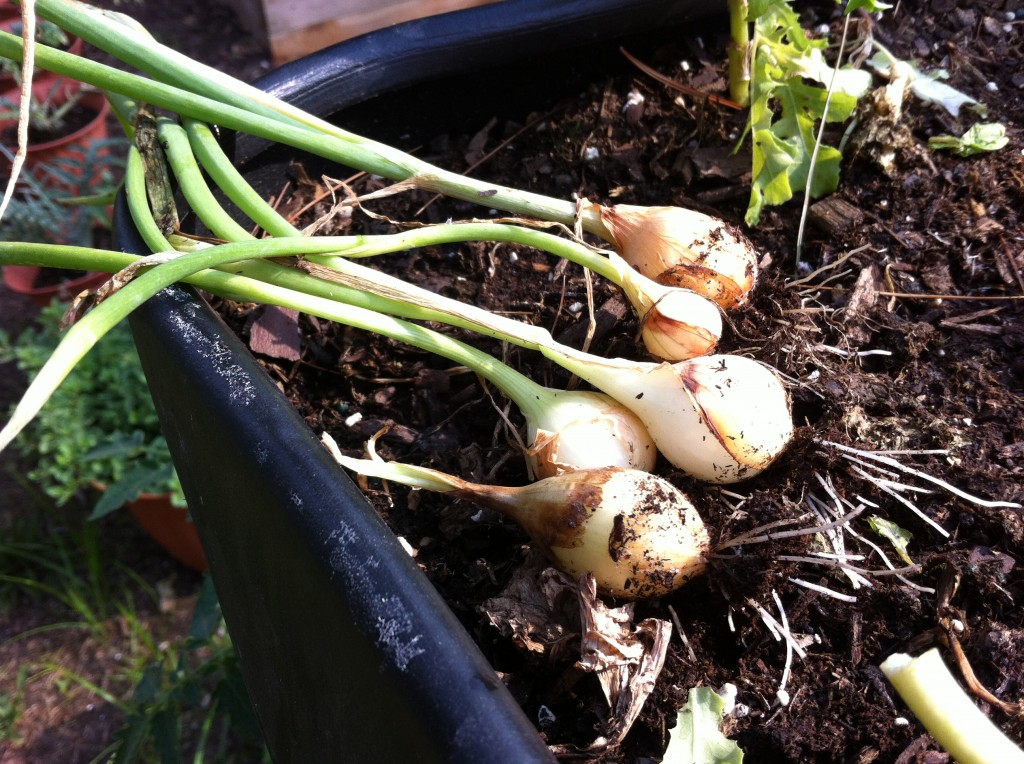
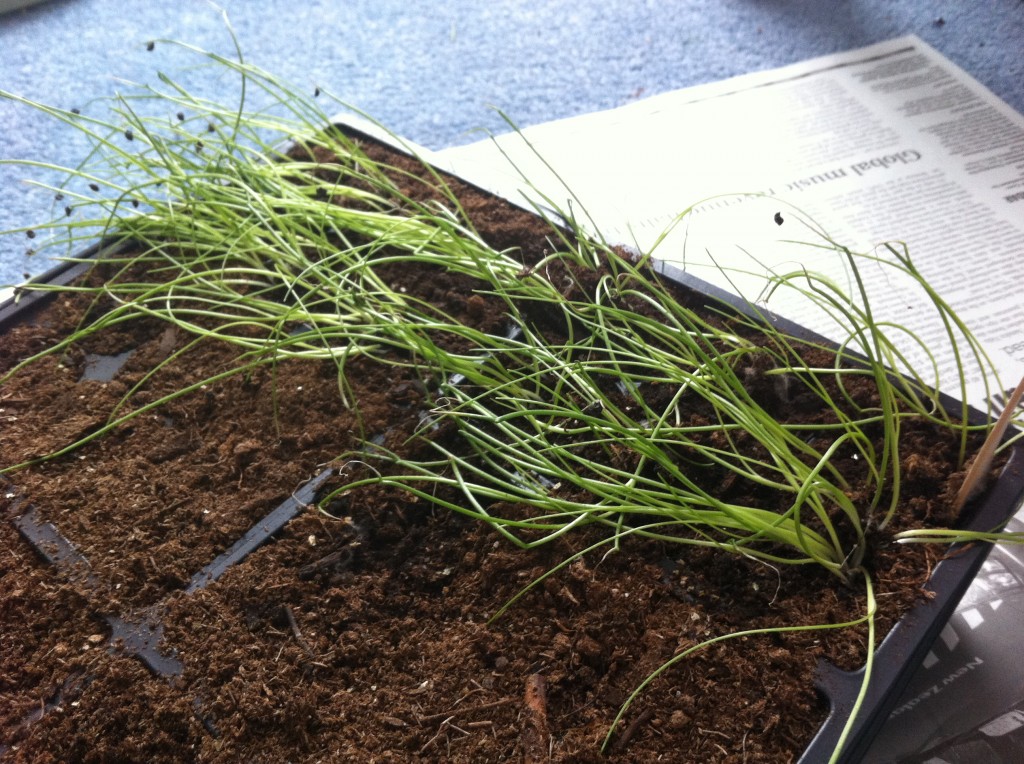
Remember those little onion seedlings I planted months ago?

Here is what they looked like a few months ago, when I started them from seed in the house.

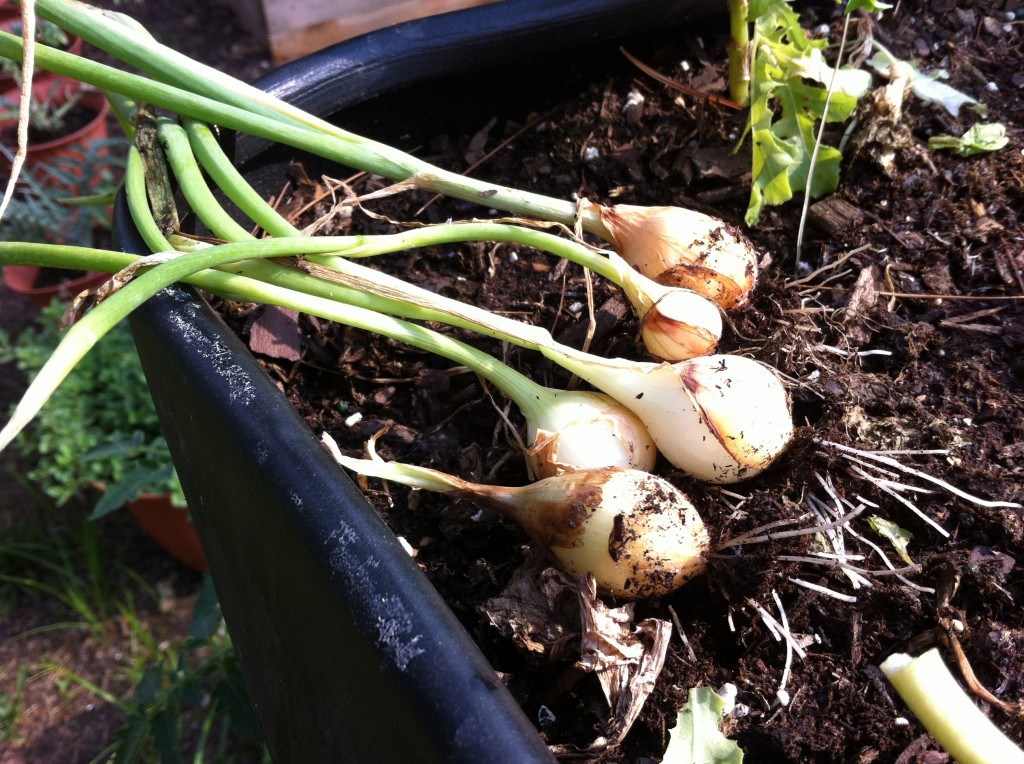
I thought The Princess would like a few green onions for her salad.

Here is what they look like now.

I am so happy that I did not kill all of them….I want to cry.

See what I few onions can do to me… : D.

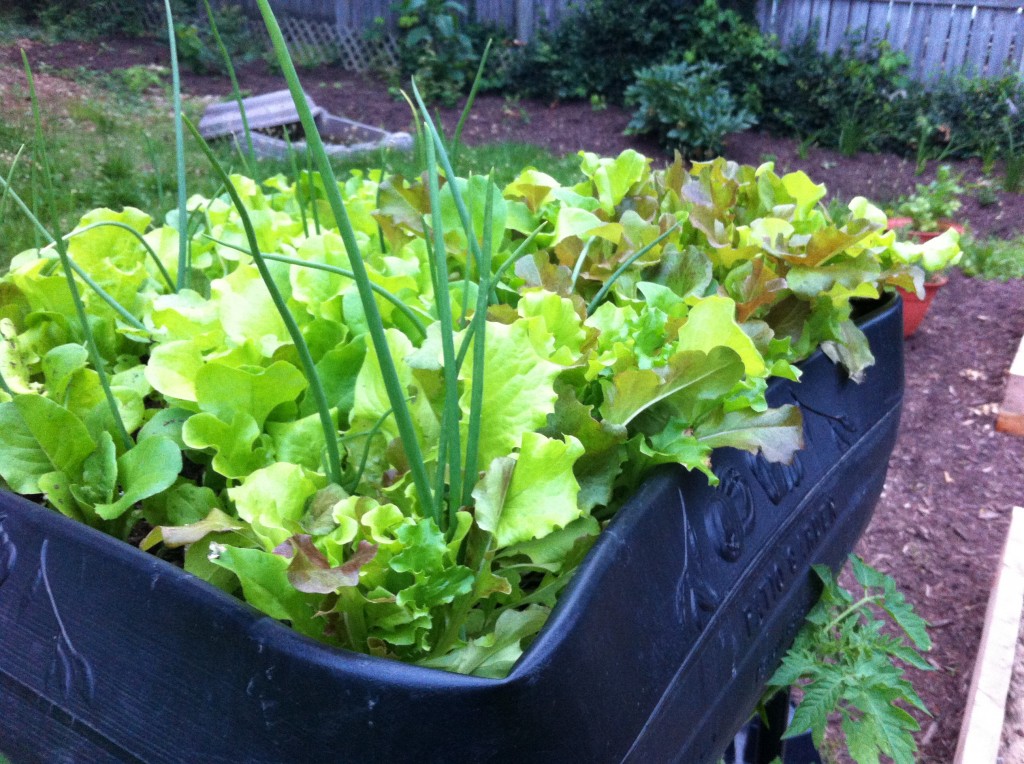
I grew the lettuce and the onions in a upside down planter, that I bought from Sam’s a few years ago.

I am really glad that the lettuce was up off the ground because I think I have a little rabbit nibbling on some of my little plants. Grrrr….

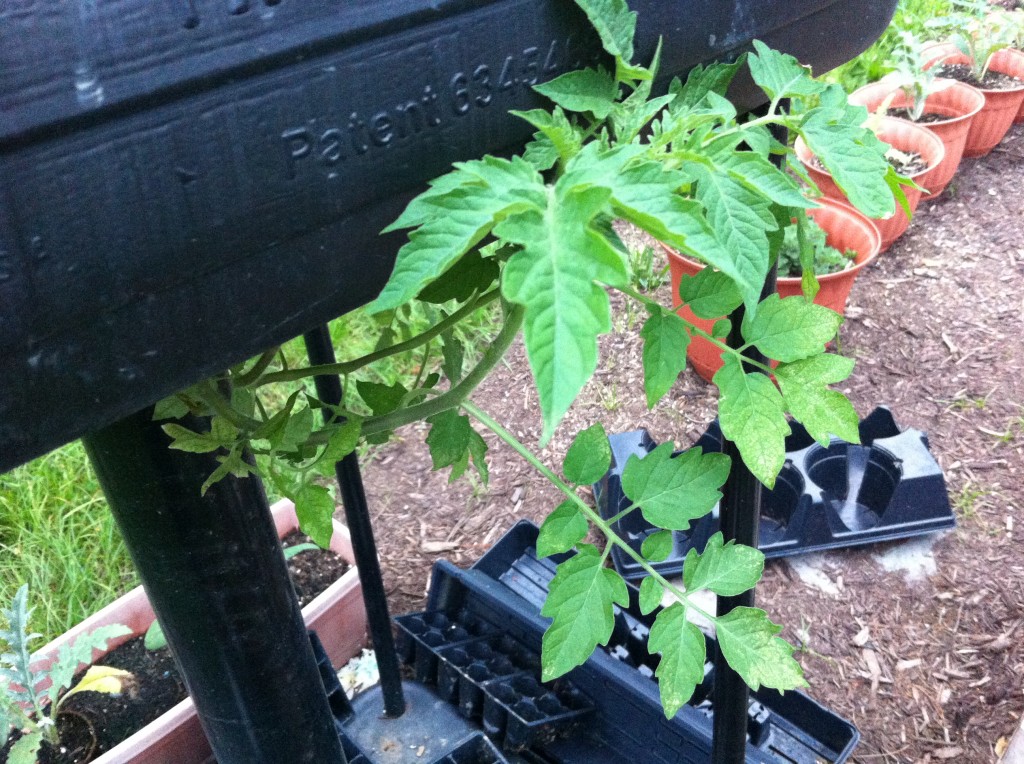
The planter is about 4 feet off the ground, and tomatoes plants hang down underneath the planter.

This is what it looked like a couple of weeks ago. Below is a picture of the tomato plants hanging down underneath it.

Can a rabbit jump 4 feet high?

I think I am going to pull up the rest of the lettuce, add more potting soil and plant bush beans in it now.

Is is too late to plant bush beans???

Should I wait till I do a fall garden?

Help!

I have missed everyone out there! I think my life is back to a normal rhythm so expect me to be back posting on a regular basis

Becky


Surviving Summer School

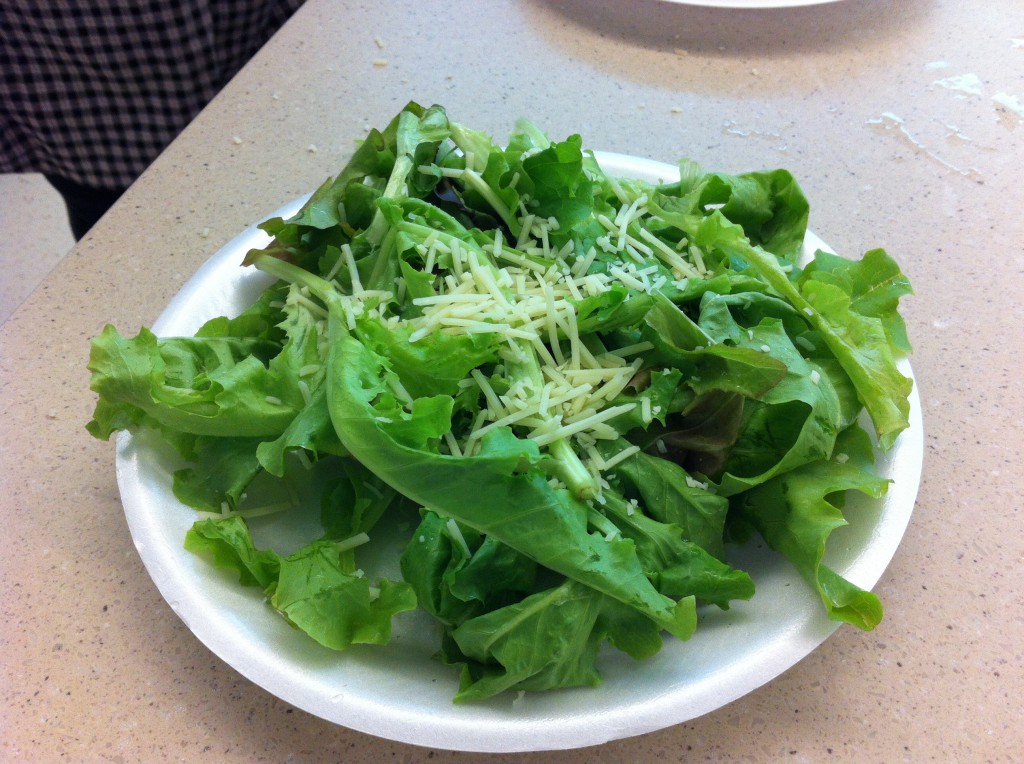
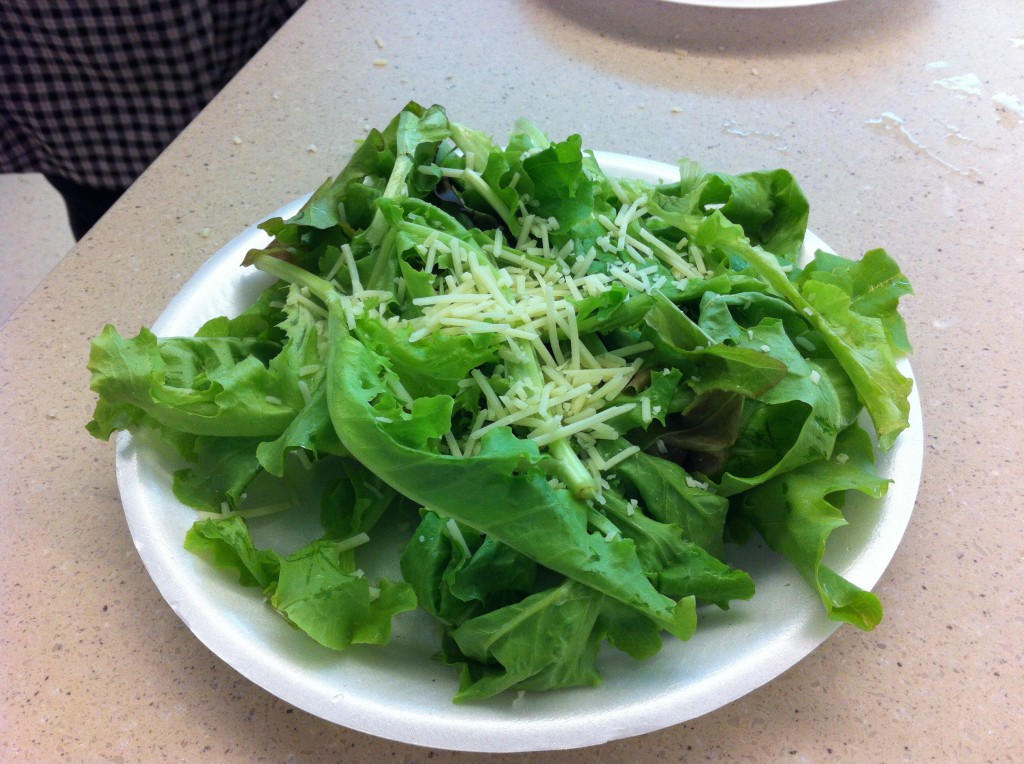
This is fresh cut lettuce from my little garden.

The last week of summer school, my kids in class made a spaghetti dinner. I went out at 6:30 in the morning and cut lettuce for them so they could have a fresh salad to have with their meal.

It really was a nice lesson in teaching. I brought in fresh cut herbs and lettuce for my class. It was amazing to have them crush the herbs and smell them; some of them taking a little nibble to see how the different herbs tasted.

I watched them wash the leaves of lettuce off and dry them; making themselves a salad and telling each other how fresh it tasted.

I have taught summer school for the last 12 summers, except one, when I had to take a summer long college class to finish up my teaching certificate.

Teaching summer school, was particularly hard this summer, for various reasons. All of which would be very boring to hear about….

School is out for summer…..so who wants boring….not me!

When I look back on this past summer school, one of my favorite days was sharing my little garden with my kids at school.

That is how I survived teaching summer school.

Remembering those favorite days.

And to think….it was all about a little salad.

I have missed everyone!

Becky


Related Posts Plugin for WordPress, Blogger...