Digging Out

I have missed you!

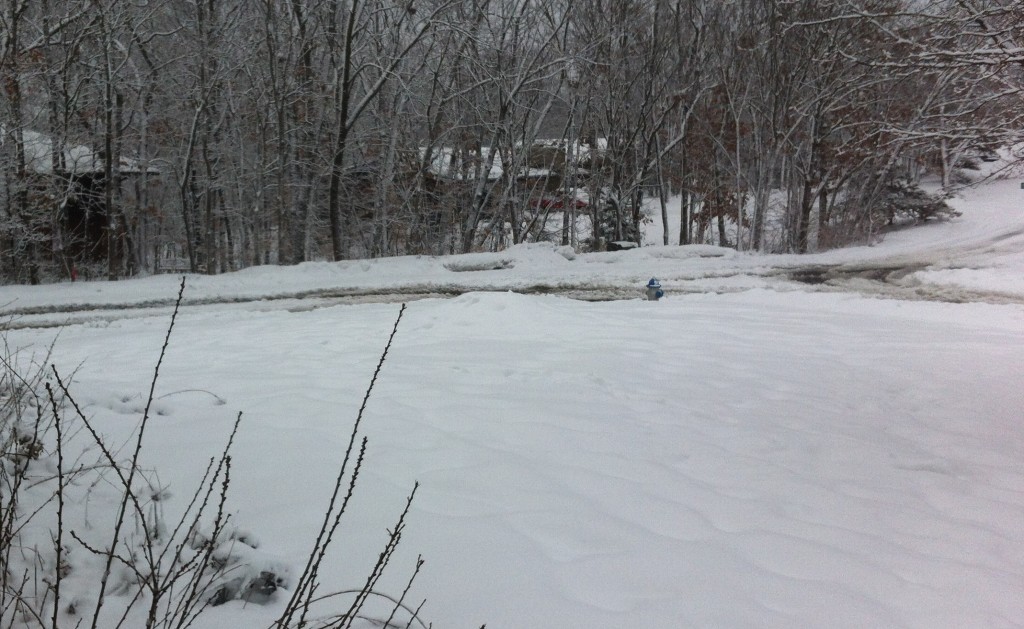
If you live in Mid Missouri, you know that we have been hammered with back to back snow storms.

We missed two days of school last week.

We have missed two days of school this week, so far. They are making a decision about whether to have school tomorrow,  later on today.

You probably are thinking that I am  jumping for joy, laughing through the roof tops and watching every old movie on Netflix while I drink heaping cups of hot chocolate with a ton of miniature marshmallows floating on top.

This in not entirely the case.

I have been shoveling snow, then coming in and drinking hot chocolate : ).

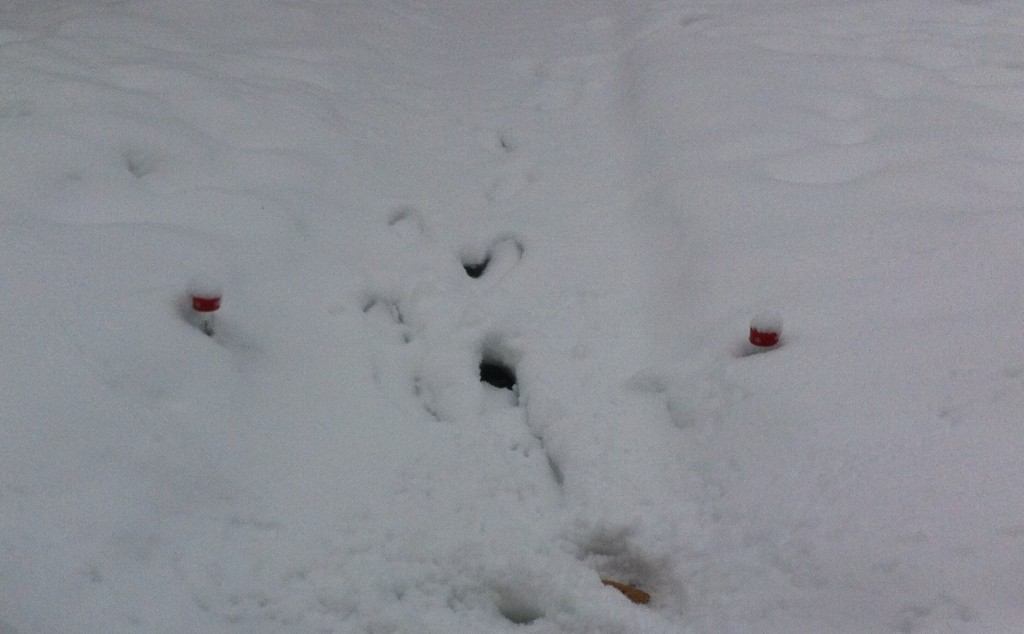
Can you barely see the tops of my solor lights?

Two days ago, I had all this shoveled out, all the way out to the street.

 All 11 1/2 inches of snow.

 I know how much snow, cause the oldest grand girl measured the snow every hour.

Now, I need to shovel, again.

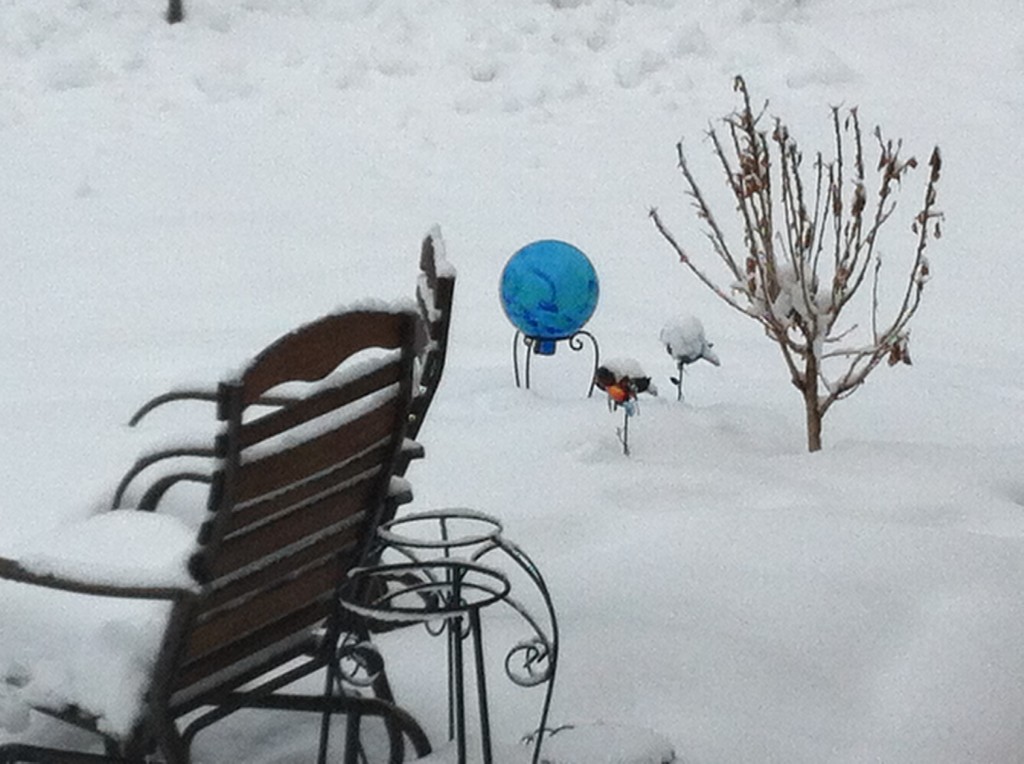
My poor gazing ball and little metal birdies look buried too.

Yesterday, we even lost electricity and the internet was down for over 24 hours. (that was why you have not heard from me).

My car is buired in the driveway, the front walk needs shoveled again, and I think I might be out of hot chocolate. : )

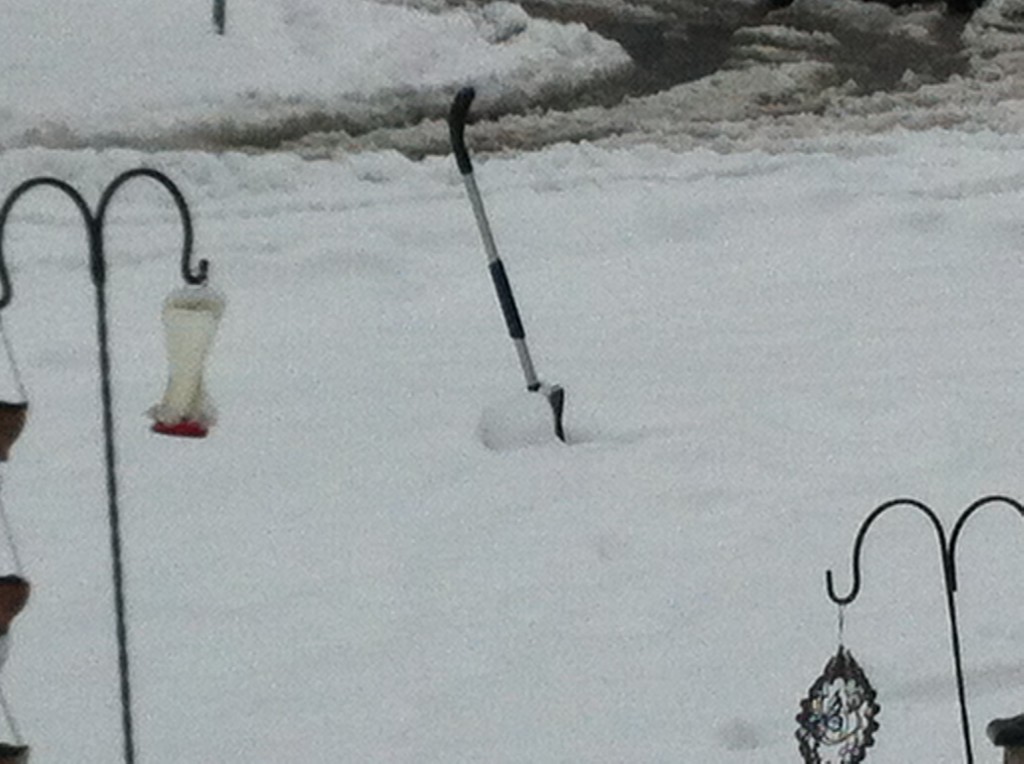
And oldest grand girl stuck the shovel in the middle of front yard.

Why?

I don’t know.

I hope everyone is safe and warm in thier houses!

That is where you will find me, until I decided to go rescue the shovel.

Becky

Snow Art


What do you do when you are stuck in a house with 10 inches of snow outside?

How do you entertain yourself?

Do you get out all the Harry Potter movies out and watch them all from start to finish? Or maybe Lonesome Dove. Better yet, all the Lord of the Rings extended play movies.

Do you read?

Maybe read a little Hunger Games, James Patterson, or read all the Harry Potter books from book one  to book seven? Can you tell I love HP?

I usually bake something or putter in the kitchen or my sewing room.

My oldest daughter who does not cook, shovel snows and plays word games on her phone.

My son, the super hero, goes and picks up his stranded friends and gives them rides home. See I told you he was a super hero.

Baby grand girl, watches her mommy, oldest daughter who does not cook, shovel snow from the window.

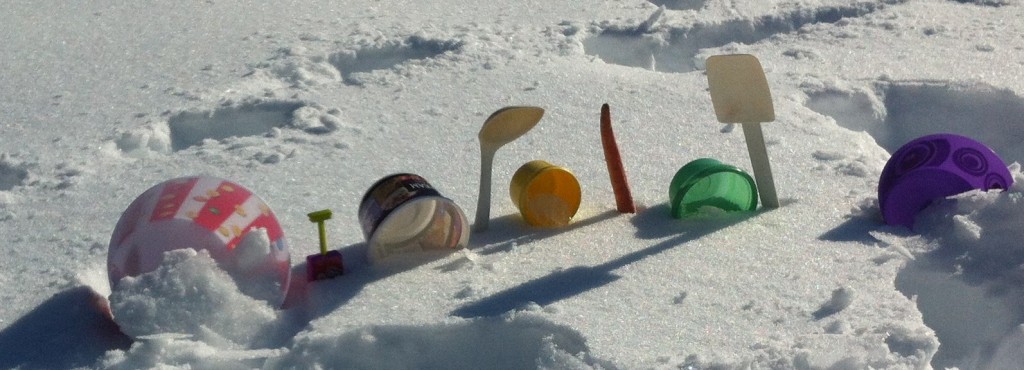
Oldest grand girl, well she stays busy making snow art.

Here is some of her masterpieces:

er

She calls this masterpiece, “My future Snowman.” See the carrot in the snow?

I think that is my pampered chef spatula. I paid a fortune for that thing. Good Grief, I was looking for it this morning!

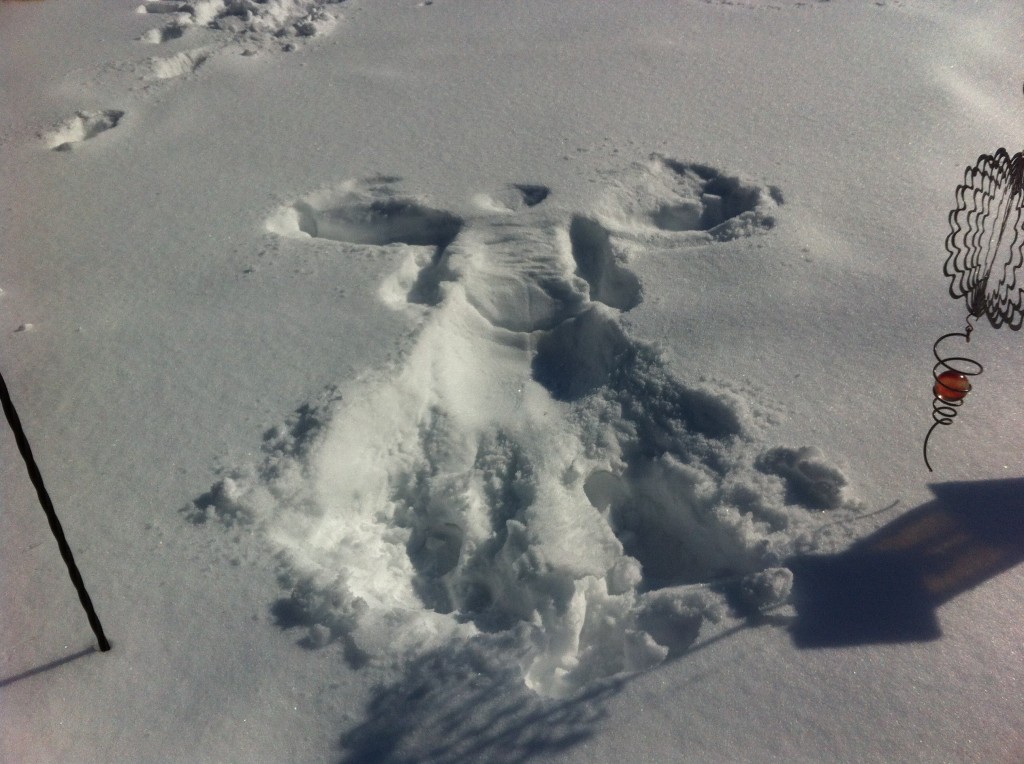
Her next masterpiece is a, “Snow Angel.”

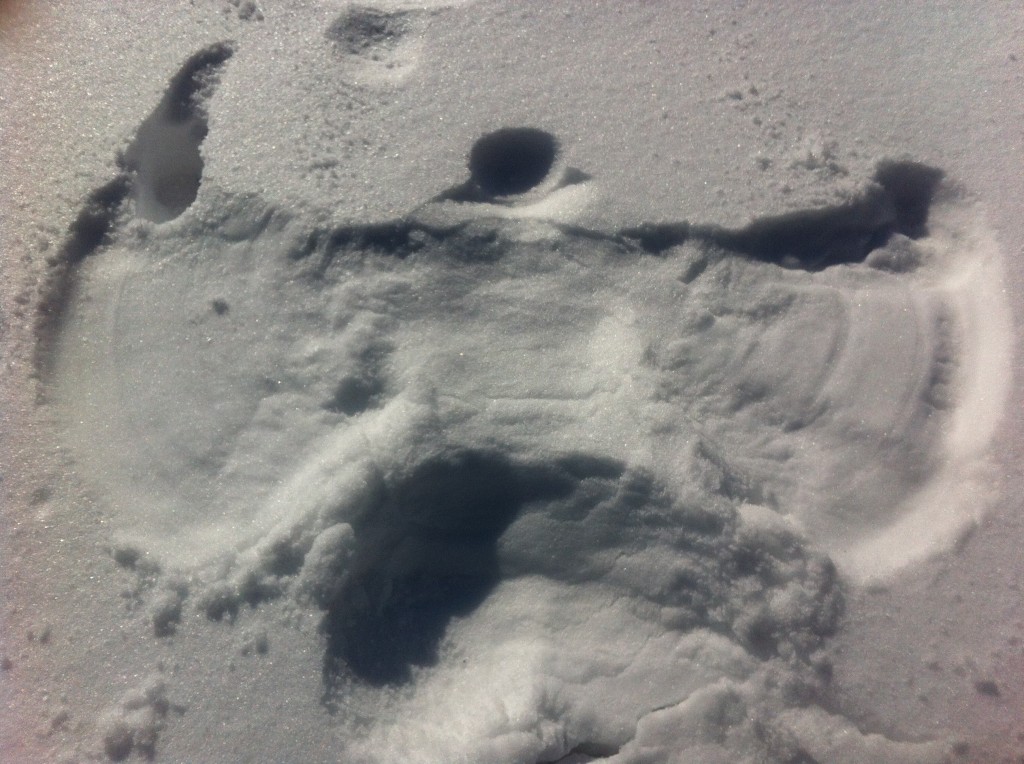
Next one, is her half snow angel.

Her Crystal Ornament is next.

And LAST……..

Here is her Snow Bathers.

I don’t know how those Barbis are keeping a smile on thier face?

Brrrrrr

Are you still snowed in? Are you out and about?

Happy Snow Day, and remember…

Beauty (snow art) is in the eyes of the beholder.

Becky


Chicken Gnocchi Soup


Last week we had a meeting for school at the board office. We were lucky enough to get lunch catered in. It is always such a treat to get real take out food when you are working at school. I hardly ever eat school lunch and frozen dinners and sandwiches get kinda old. So when I seen they had catered in Olive Garden for lunch, I wanted to run up the stairs in the front of the building and do the Rocky cheer!.

Don’t worry I didn’t.

I did something better.

I  managed to get first in line….almost.

There was a few other teachers that were as excited as I was and beat me to it.

But, not before I got a big steaming bowl of Olive Garden Chicken Gnocchi Soup.

I carefully carried my almost too full bowl back to my seat and I did not come up for air until I had eaten the whole bowl. Good thing I got it when I did because they ran out.

See, everyone loves Chicken Gnocchi soup.

What is not to love about it? It has chicken, potato gnocchi, half and half, onions, garlic, chicken broth and even some spinach.

I have been dreaming about this soup ever since and decided I would try to make it at home. What else can I do when there is 10 inches of snow outside. I could clean house, YIKES, but decided to look on the internet and compared some recipes.

I finally came up with one.

It is thick and rich and makes into a  spoonfuls of goodness.

I know you can make it too!

Now, that I can make my own soup, I will need another excuse to go to Olive garden.

Here is the step by step instructions:

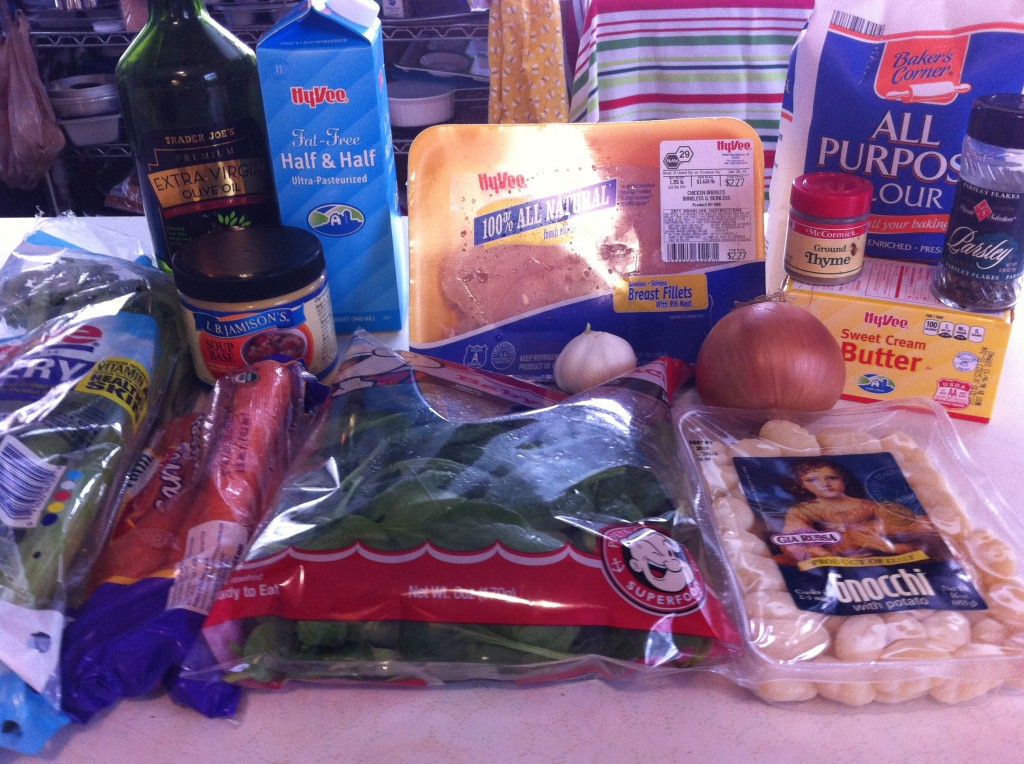
Here is what you will need. Notice how I bought fat free half and half. It was a hard decision at the grocery store until I compared the calories. Don’t worry you will not even taste that it is fat free!

I started with the chicken.


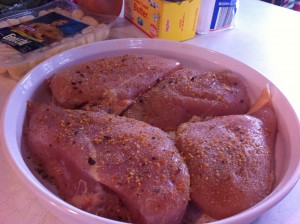
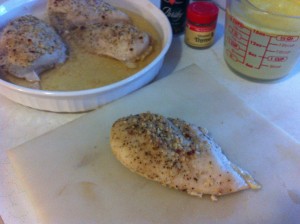
The first thing you need to do is come up with some cooked chicken. You could use canned chicken, or even left over rotisserie chicken. I had some boneless skinless chicken breast in the freezer and just seasoned and baked them in the oven. You will need two large chicken breast for this recipe, or 2 cups cooked chicken. After you have you chicken, dice it up in small bite size pieces.

While the chicken is baking in the oven, you can start diceing and chopping up all the vegetables.


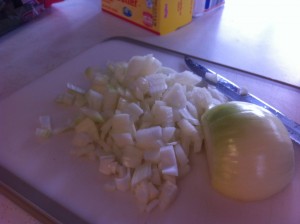
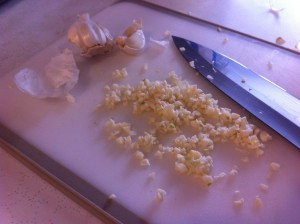
Chop up one small onion and mince 4 garlic cloves.


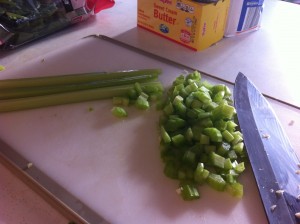
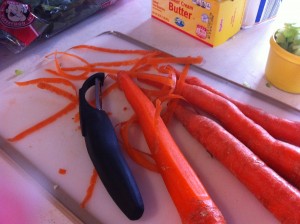
Chop up 1 cup of celery and get carrots ready to grate by peeling them first.


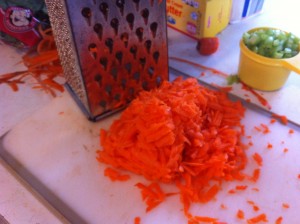
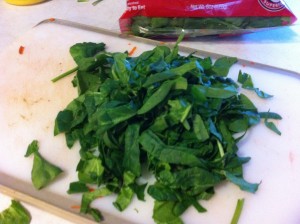
Grate 1 cup of carrots and chop 1 cup of spinach.

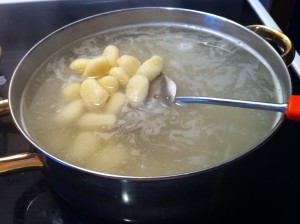
Cook the gnocchi by following the directions on the package. My package said to add the package of gnocchi to salted boiling water and boil for 2 to 3 minutes. Very Easy!  I love Easy!

Now lets start the soup. You are getting hungry right?


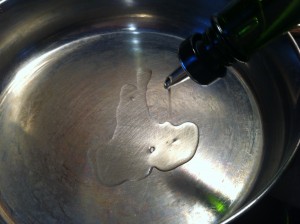
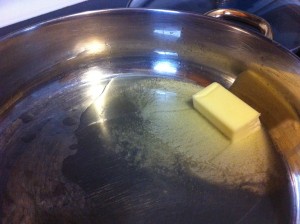
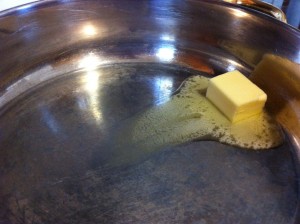
In a large sauce pan, add the oil and butter. Melt together over medium heat.


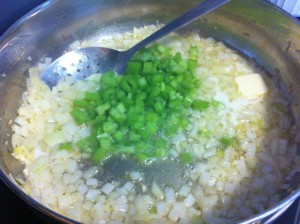
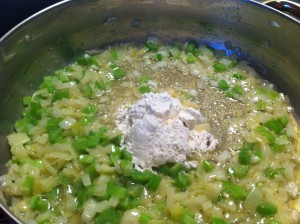
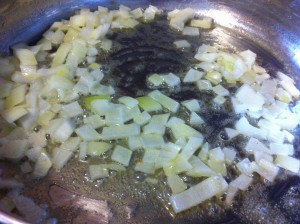
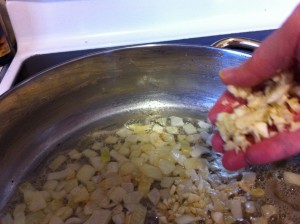
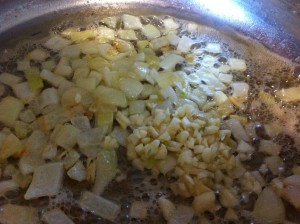
Add the onions, garlic and celery and saute until the onions are tender. Add the flour and stir to start making a roux.


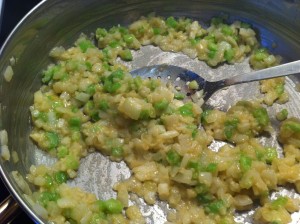
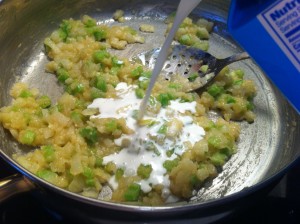
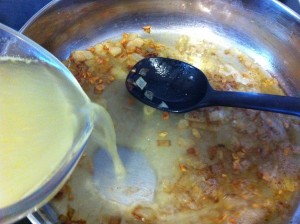
Stir the flour into the sauteed vegetables and cook for at least one minute. You want to cook the raw taste of the flour out. Now the fun starts. Slowly add the half and half in small amounts at a time and stir. Keep stirring until you add all the half and half.


Add the grated carrots and the diced chicken. Simmer until the soup starts to thicken.


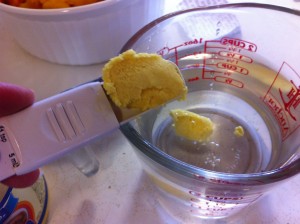
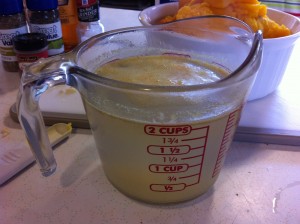
Pour in your chicken stock. I used water with soup base added (1 cup of water to 1 teaspoon of soup base). Next add in your cooked gnocchi.


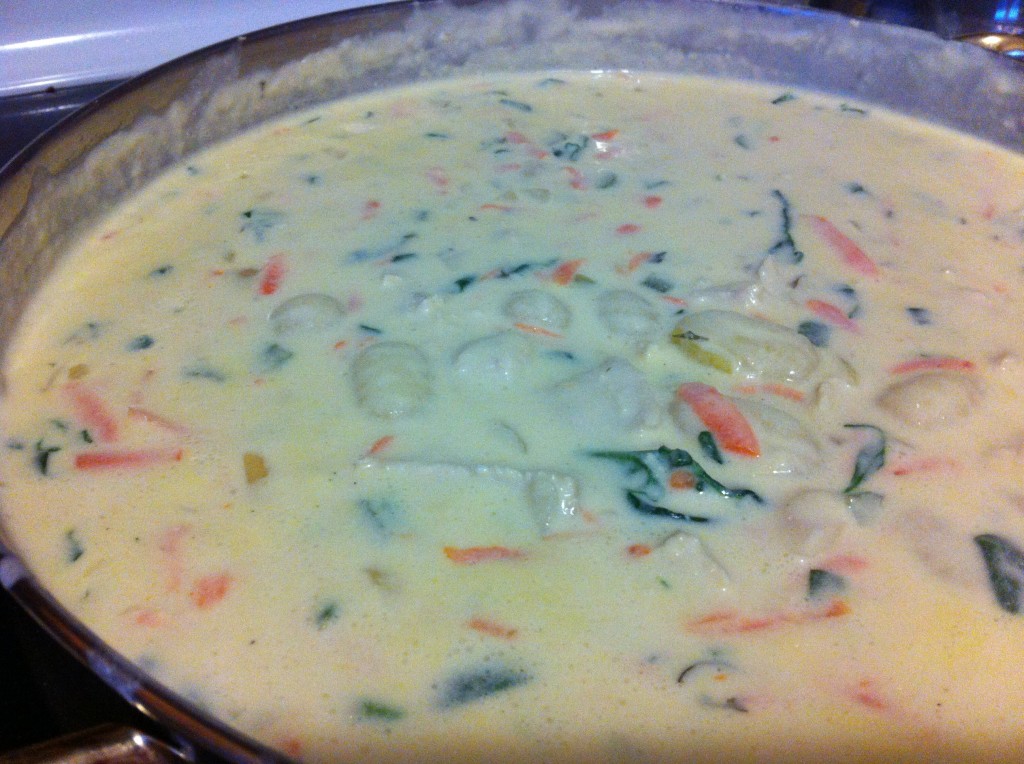
 Add the chopped spinach and stir in. Add the thyme and parsley. Simmer, until all the ingredients are heated through. Salt to taste.

Calling all spoons!

This soup is ready!

Enjoy!

Becky

Here is the recipe:

Chicken Gnocchi Soup

Ingredients:

2 cups of cooked and dice chicken or 2 large cooked chicken breast, cooked and diced

1-16 ounce package of potato gnocchi (usually found in the pasta aisle)

3 cups of chicken stock (I used soup base with a ratio of 1 cup of water to 1 teaspoon chicken soup base) Also, if you like you soup a little less thick add another cup of stock.

1 quart fat free half and half (if you want to buy regular half and half, that is fine)

4 tablespoons of butter

2 tablespoons of olive oil

1 onion, diced

4 garlic cloves, minced

1 cup celery, diced

1/3 cup of flour

1 cup carrots, grated

1 cup fresh spinach, chopped

Thyme and Parsley, 1/2 to 3/4 teaspoon of each 

Salt to taste

Directions:

In a large sauce pan, saute the onions, garlic and celery in the melted butter and olive oil. Saute until the onions are tender.

Add the flour to start making a roux. Cook the flour with the sauteed vegetables for at least one minute. This will ensure that the raw flour taste will be gone. Slowly pour in the half and half while stirring. The mixture will start to thicken.

Add the carrots and the chicken. Simmer for a few minutes while the soup continues to thicken.

Add in the chicken stock and stir.

Add the cooked gnocchi and the spinach.

Add the thyme and parsley.

Salt to taste.

Banana Bread

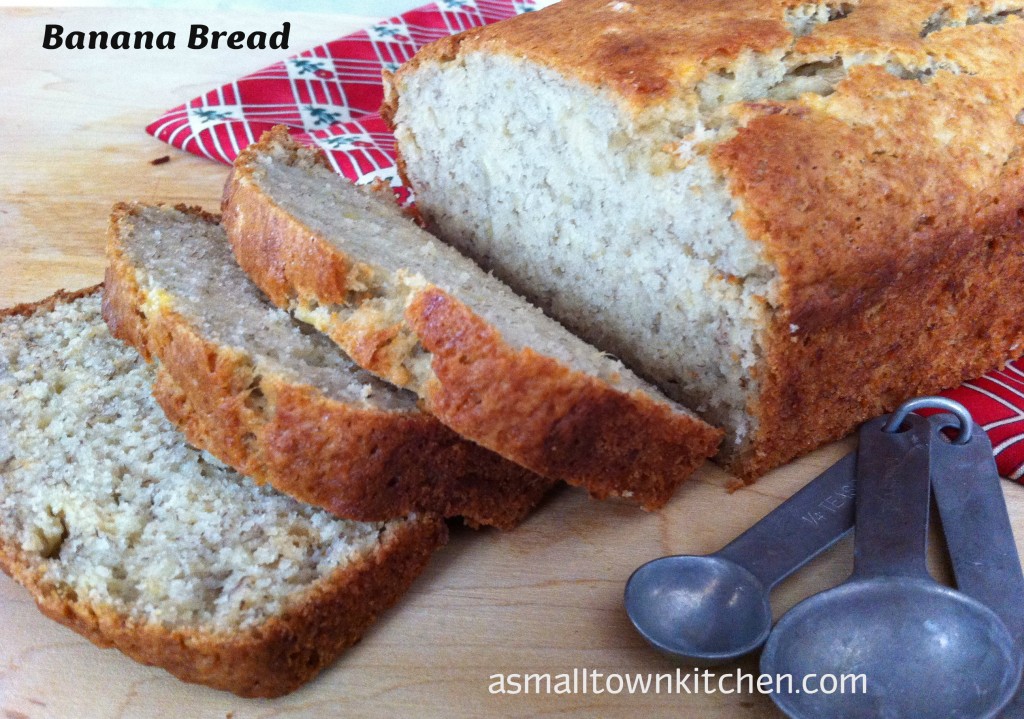
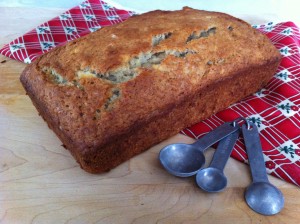
Well, the weather outside is frightful….but the fire is so delightful….now that I have banana bread…let it snow, let it snow, let it snow!

Today was a major snow day here in central Missouri.

A major snow day means that I have the day off…..wooohooo, school is not in session!

I have a surprise to tell you too…..school is not in session tomorrow either. Hot digigity dog!!!

There is good and bad about having a snow day. The good is that I can stay home, watch it snow,  make banana bread and eat banana bread. The bad, is that I can stay home, watch it snow, make banana bread and eat the whole loaf of banana bread.

Which means I have to pay the treadmill a visit.

This banana bread is worth it.

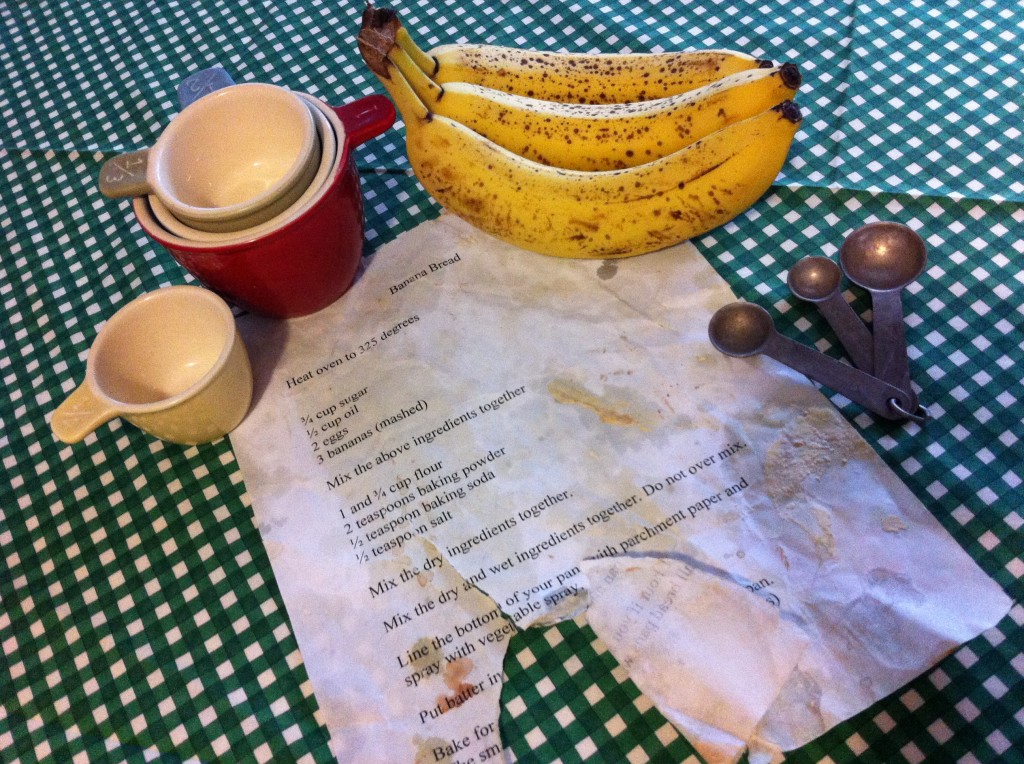
I got this recipe from my friend Roberta. I just happen to go over to her house when she had finished baking some. Of course, I had to ask for a slice, well maybe two slices. Then I had to ask for the recipe.

This is a much loved recipe, can you tell?

Also, this recipe does not have a bunch of doodads.

You know what doodads are right?

Doodads, are all those extra ingredients, like chocolate chips, nuts, cinnamon chips and maybe a crumb topping. All of these doodads are great. But, when you just want to make a good, basic, moist and bananalicious banana bread, this recipe delivers.

I am sure that you have all the ingredients in your kitchen to make your own banana bread right now.

You can be like me,  stay home from work, make banana bread and eat banana bread.

The only thing you might be missing is the 10 inches of snow outside!

Tomorrow, I might have to make friends with the snow shovel.

Does that mean I can eat another piece of banana bread today?

I need to peel out right now, and head to the kitchen.

Enjoy!

Becky

Here is your step by step directions.

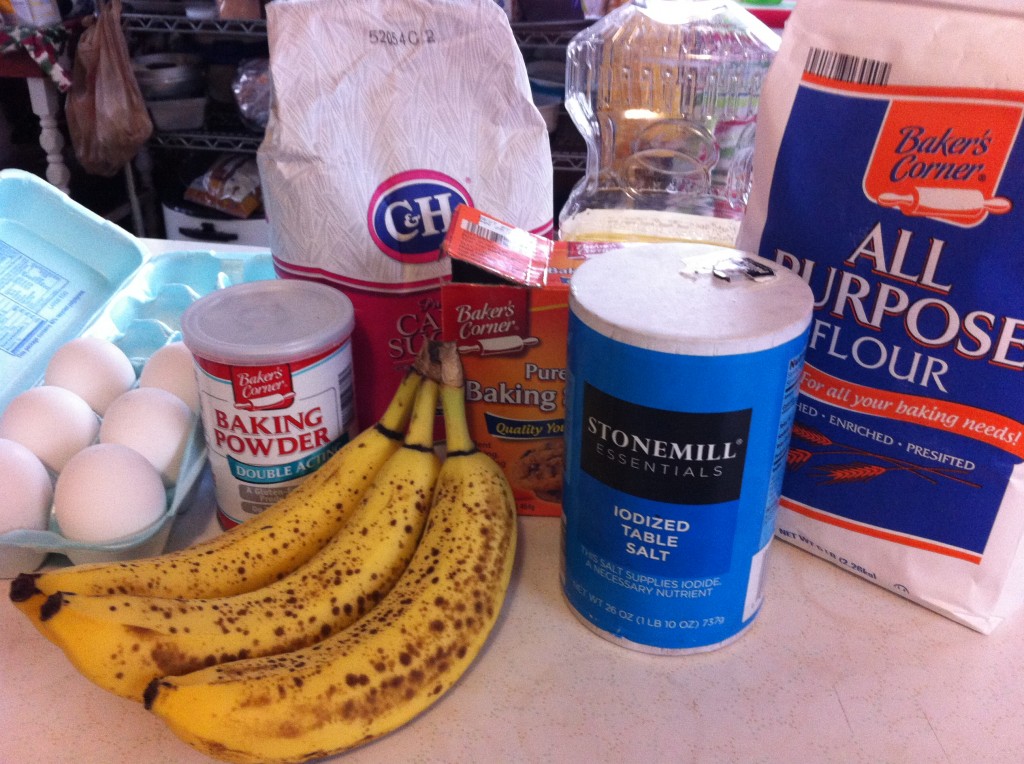
This is all you need to make this bread. Amazing right?


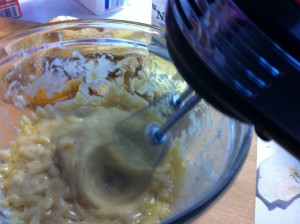
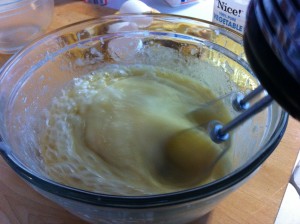
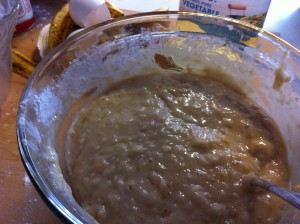
Take three ripe bananas and mash them up. I just use a mixer to mash them.


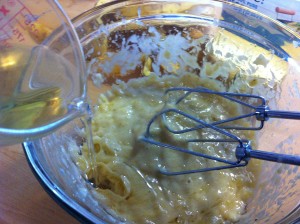
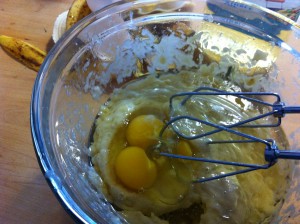
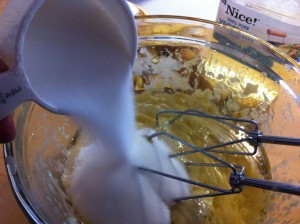
Add the oil, eggs and sugar. Mix together.


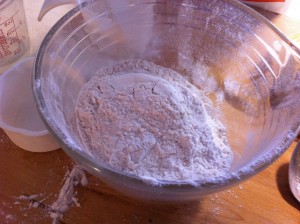
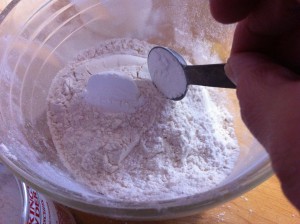
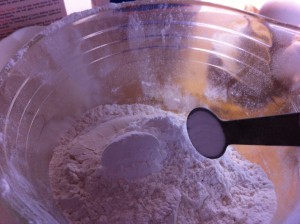
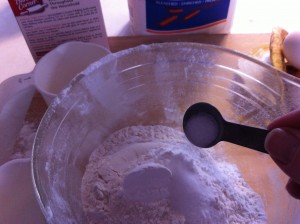
In a separate bowl, add the flour, baking powder, baking soda and salt. Stir together.


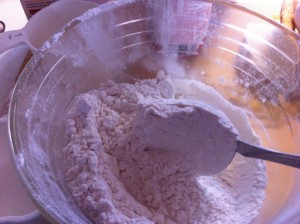
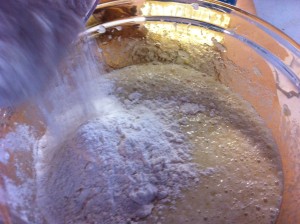
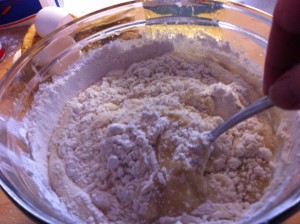
Add the flour mixture to the banana mixture and gently stir together.


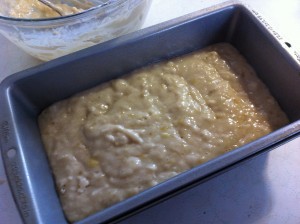
Do not over mix the batter or will become tough. When mixed pour into a prepared baking pan lined with parchment paper.


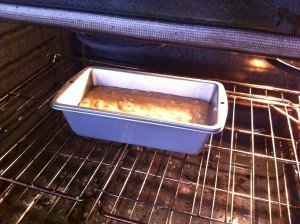
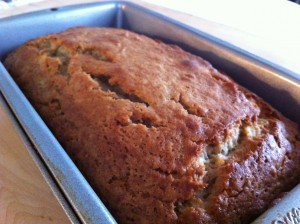
Place in the oven and bake at 325 degrees for 40 to 45 minutes. Or until toothpick comes out clean when put in the middle. Let bread cool in the baking pan for about 5 to 10 minutes. Run a knife around the outside edge and remove bread to cool completely.


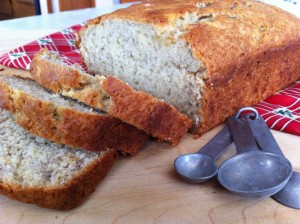
Cool and slice with a serrated knife. Or if you are really dying to try a piece, just break one off. Tell everyone it got stuck in the pan and that is why that piece broke off. I have never done that. Well, I did not do that today at least.

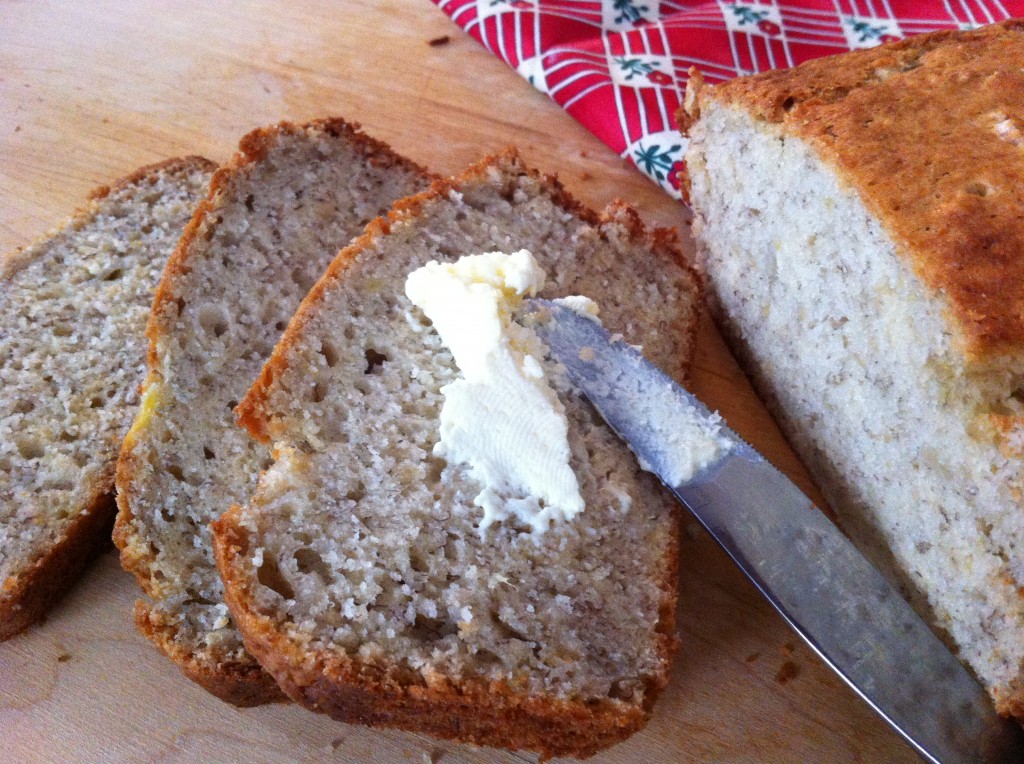
There is one doodad that I love to eat with banana bread……Butter. : )

Here is the recipe:

Banana Bread

Given to me from Roberta

Preheat oven to 325 degrees

Ingredient:

3/4 cup sugar (sometimes if I feel like the bananas are not sweet enough I use 1 cup of sugar)

1/2 cup oil

2 eggs

3  ripe bananas, mashed

In a large bowl, mix the above ingredients together.

1 3/4 cups flour

2 teaspoon baking powder

1/2 teaspoon baking soda

1/2 teaspoon slat

In a smaller separate bowl, combine the dry ingredients together.

Add the dry ingredients to the banana mixture and gentle stir together. Do not over mix as it will make your batter tough.

Pour the batter into a prepared baking pan lined with parchment paper.

Bake in the preheated 325 degree oven and bake until center is done by taking a tooth pick and sticking it in the middle to see if comes out clean. Around 40 minutes.

You will go bananas over this recipe.

Enjoy Becky

Steamed Asparagus

I don’t remember the first time I ate asparagus.

I am thinking it was at a picnic and someone brought some blanched asparagus and put it on a vegetable tray and I tried them.

I was in love.

Over the years I have blanched them, roasted them, wrapped bacon around and grilled them, but the simplest of all, is just to simply steam them.

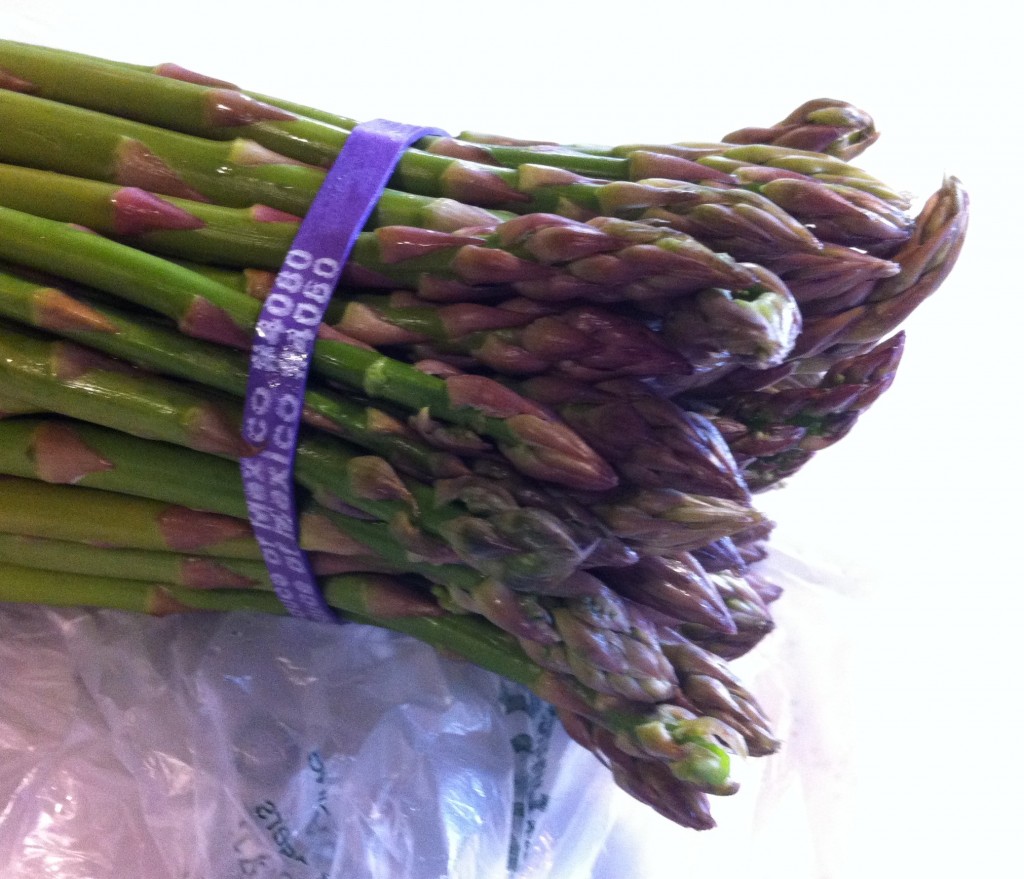
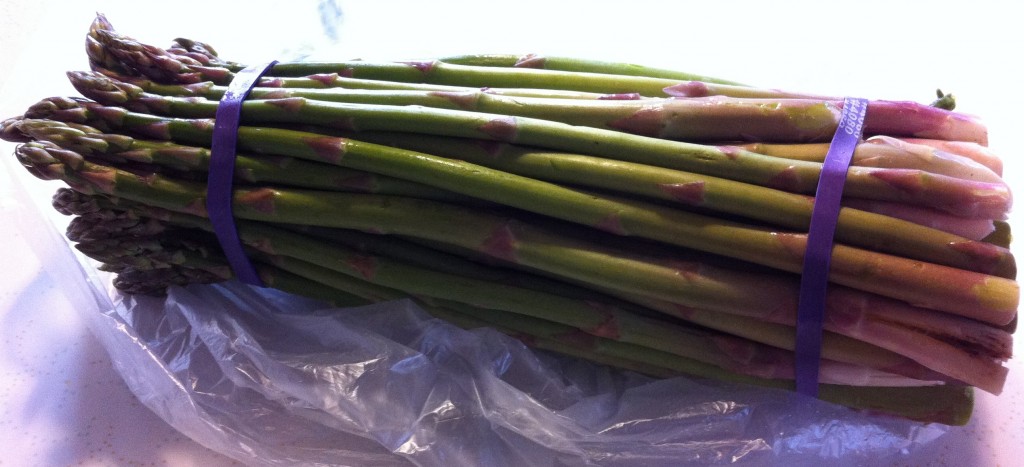
Over the weekend I purchased a nice little bunch of asparagus to use as my vegetable to go with my grilled chicken. I decided to just simply steam the asparagus and show you how I do it. 

First you need to buy some aparagus of course ; )

When buying asparagus, one of the most important things to look at is the end of the stems. You want the flower part to be closed and not to be slimey. When an asparagus is getting old the stem flower will start to open and start to fall off.  Double yuck!

Also the stalk of the asparagus can be different sizes. You may find stalk about as round as a pencil or some as round as dime. The larger ones are great wrapped with bacon on the grill. It just depends on your preference and the availability as to which ones you want to buy.

The ones I purchased  were rather on the slim side.

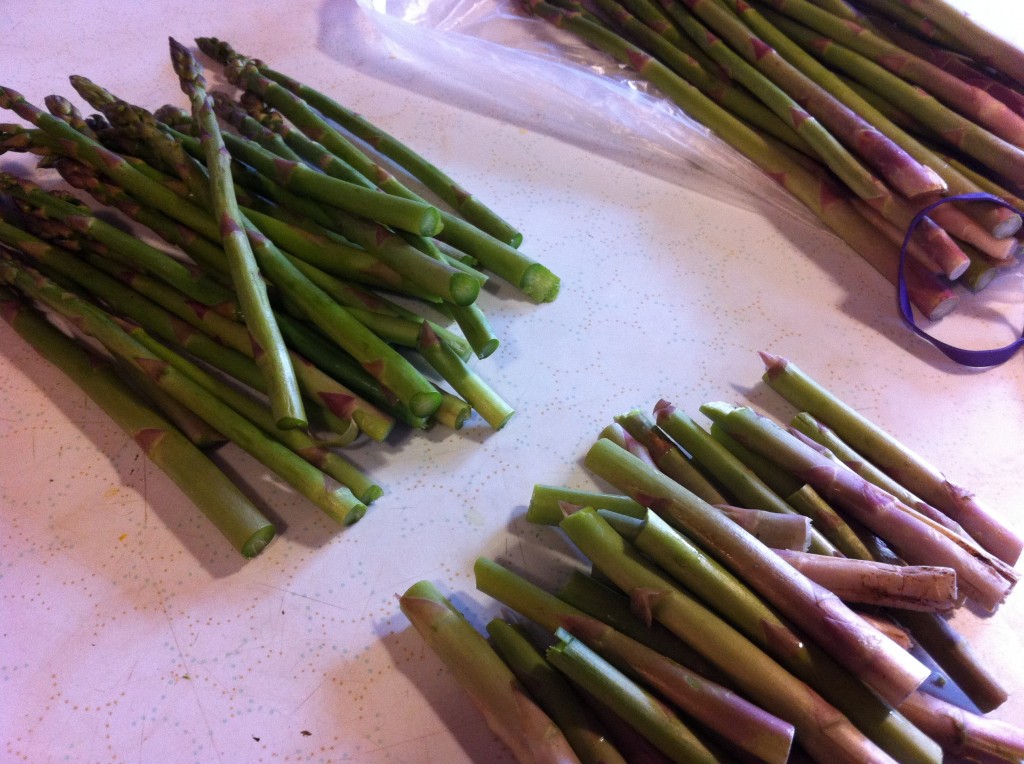
To prepare the asparagus to be cooked you first must take off the bottom woody stalk. The best and easiest way to do this, is to just take the asparagus and snap off the end. It will break off right were the stalk end is too tough to eat. I just snapped the bottom off of these and did not even get a knife out.

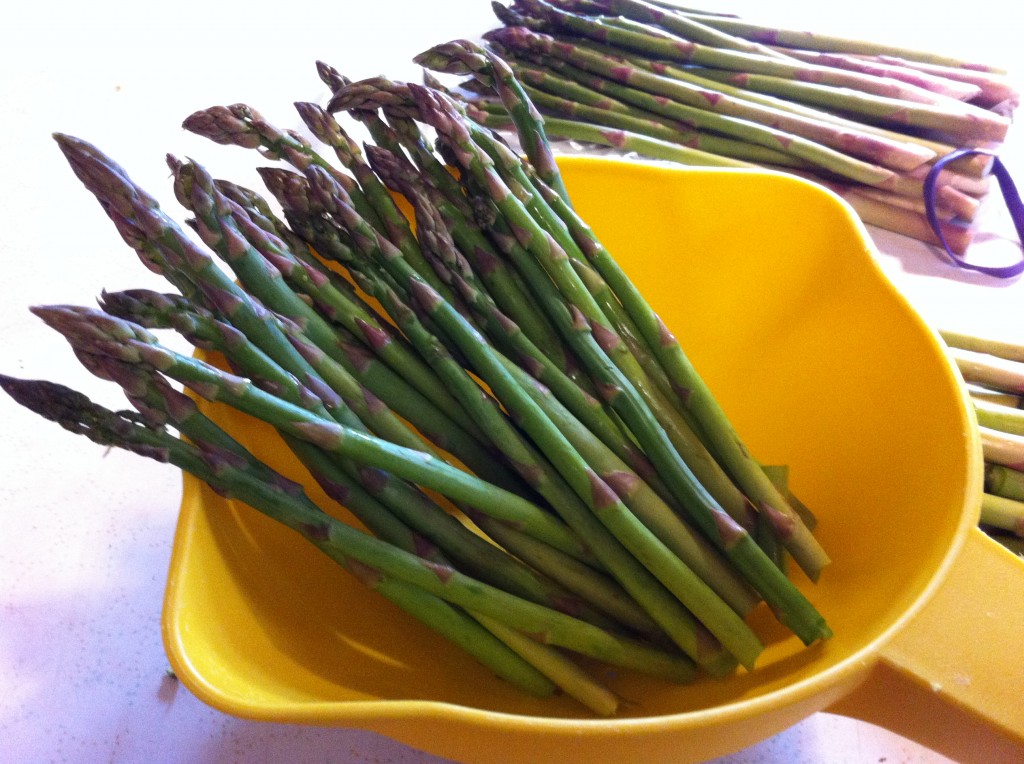
I then took the asparagus and rinsed them off.

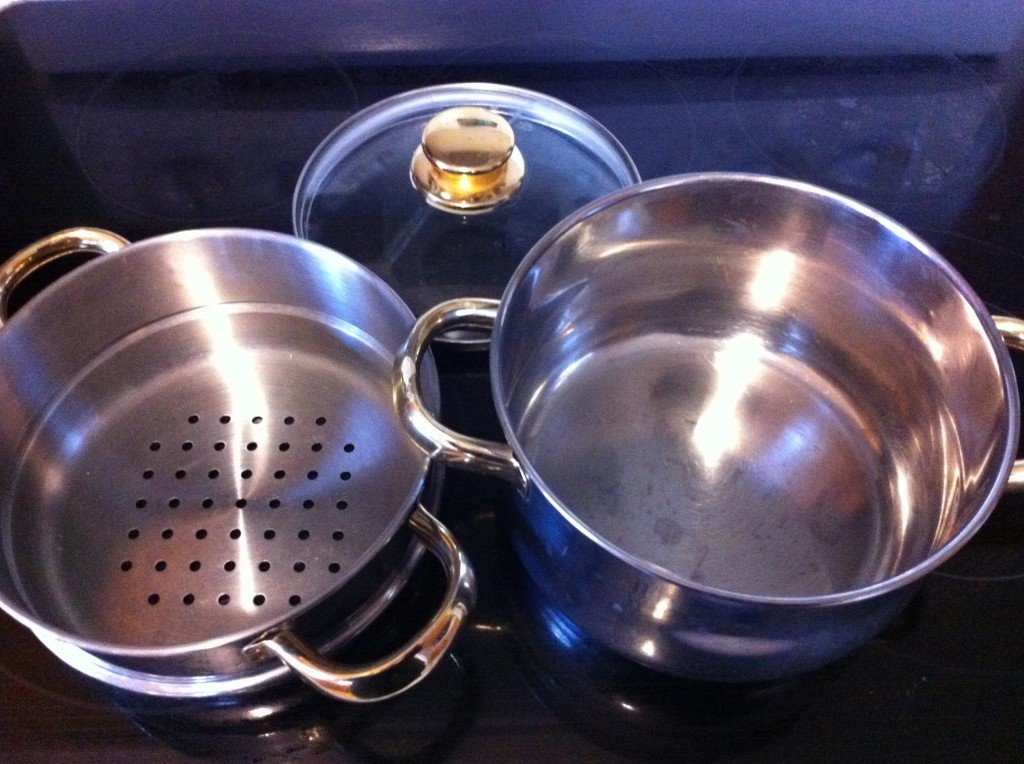
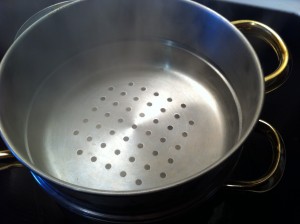
The equipment you will need, is a sauce pan, a steamer insert or basket and a lid.


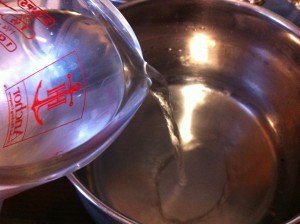
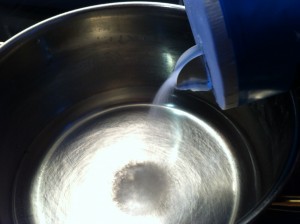
In your sauce pan, put approximately 2 cups of water in the bottom. Add a little salt. You may wonder why. Well, because my foods teacher in college told us that water comes to boil faster if you add salt to it because the molecules have something to vibrate against. Yea, I don’t know what the means either. My teacher was scary, very smart, but scary, so I always add salt. See after all these years, I am still scared of her : ).

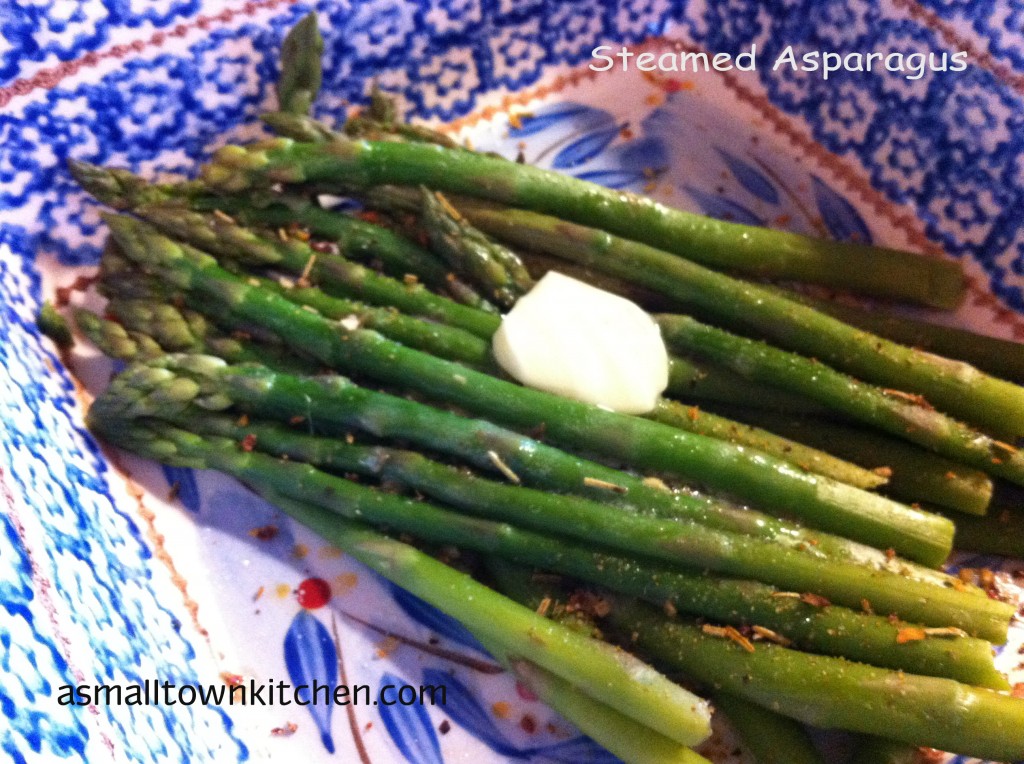
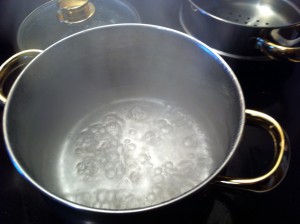
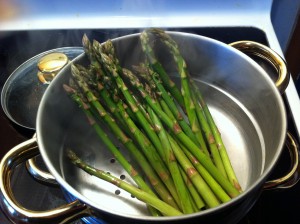
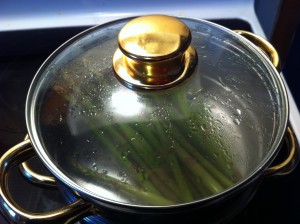
Bring the water to a boil, put the steamer insert in the pan, add the asparagus and cover with a lid. Steam the asparagus until it is still slightly crisp (about 4 to 5 minutes)

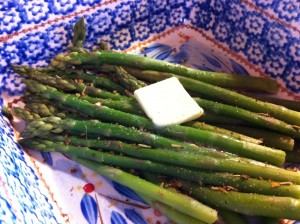
Take the asparagus out of the steamer insert and season it. I used roasted garlic and herb seasoning, a pat of butter and a sprinkle of salt.

Yum!

Sometimes simple is best.

These are super easy, super tasty and sure to please!

Enjoy!

Becky

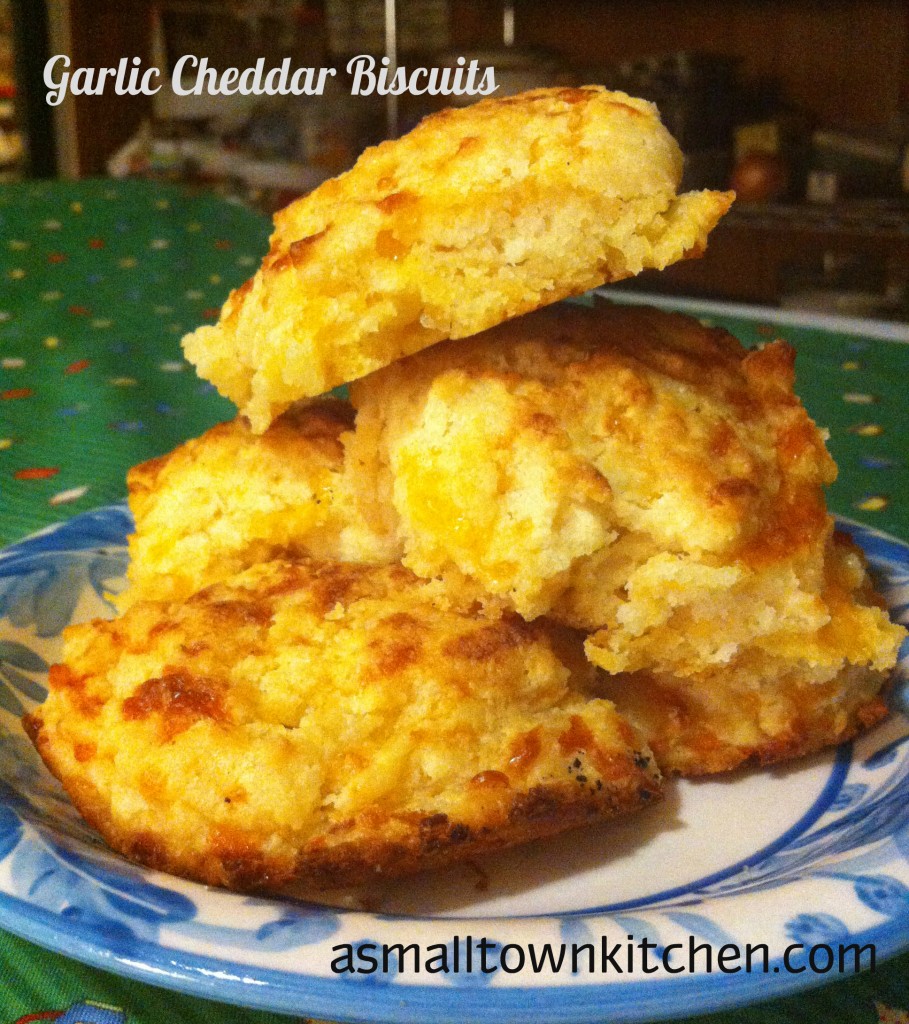
Garlic Cheddar Biscuits

Have you ever gone to Red Lobster just so you could eat all those delicious, warm and buttery cheddar biscuits?

You don’t want to say?

OK, I will go first.

YES, I have.

Have you ever asked for more biscuts, just about the  time you are about to leave, so you can put them in your to go box?

REALLY, you don’t want to say….again?

OK, I will admit I have.

There, does that make it better? : D

Anywho, I have been making several versions of the recipe for a few years now. Most of them call for baking mix and milk and of course butter. Those recipes were fine, but I wanted something a little more…..well….buttery.

I follow this blog called Chickens in the Road. She posted her version of THE RECIPE.

It looked more like what I wanted mine to look like.

So I made them.

So I ate them.

So my kids ate them.

So my kids wanted me to make them again.

So I did.

If you don’t want to go to Red Lobster and walk out with those biscuits hiding in your coat, or your purse, or a diaper bag. (come on, I know you have done it). Try this recipe.

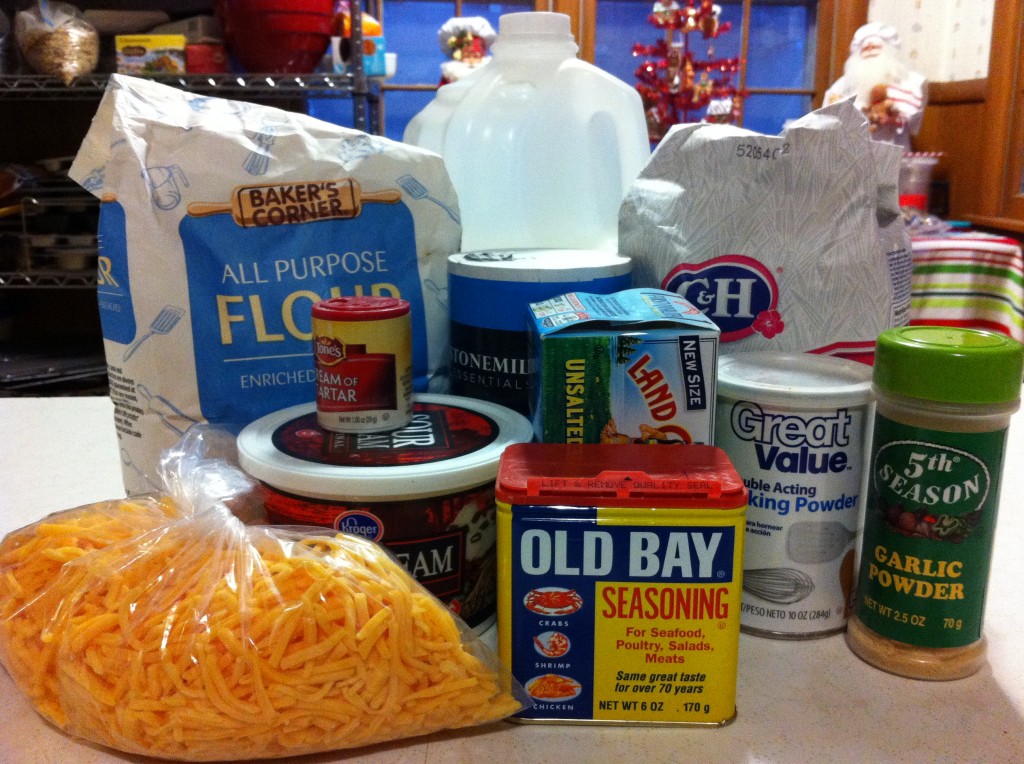
Here is what you will need.

It is ok to throw your scales out the window for a few days after you make these biscuits.


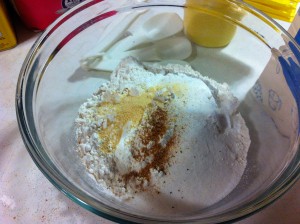
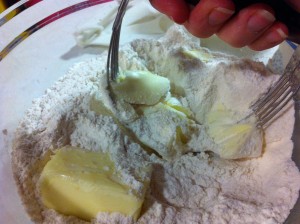
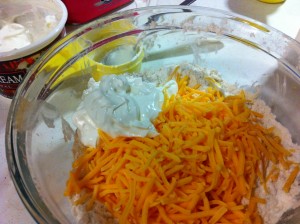
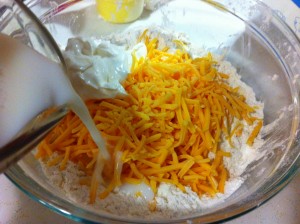
In a bowl, add your flour, baking powder, sugar, cream of tartar, salt and Old Bay Seasoning. If you do not have Old Bay Seasoning you can substitute cayenne pepper. Stir the dry ingredients together. Add the butter and with a pasty cutter, cut the butter in.


Add the cheddar cheese, sour cream and the milk. Stir together until it is mix together, but do not over mix.


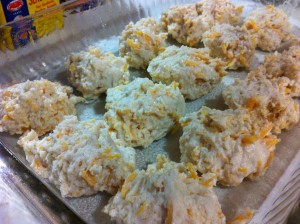
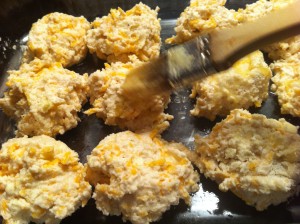
Scoop out big spoonfuls of the dough and place it into a 9 x 13 pan. In another bowl combine, melted butter, garlic powder, parsley and a dash of salt. Brush half the butter mixture on top of the biscuits.


Bake in a 450 degree oven for around 25 minutes. When they come out of the oven, brush the rest of the garlic butter over the biscuits.

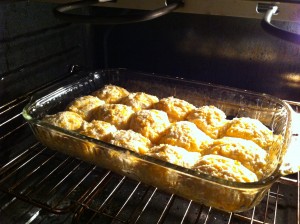
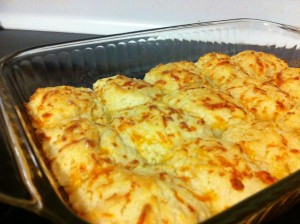
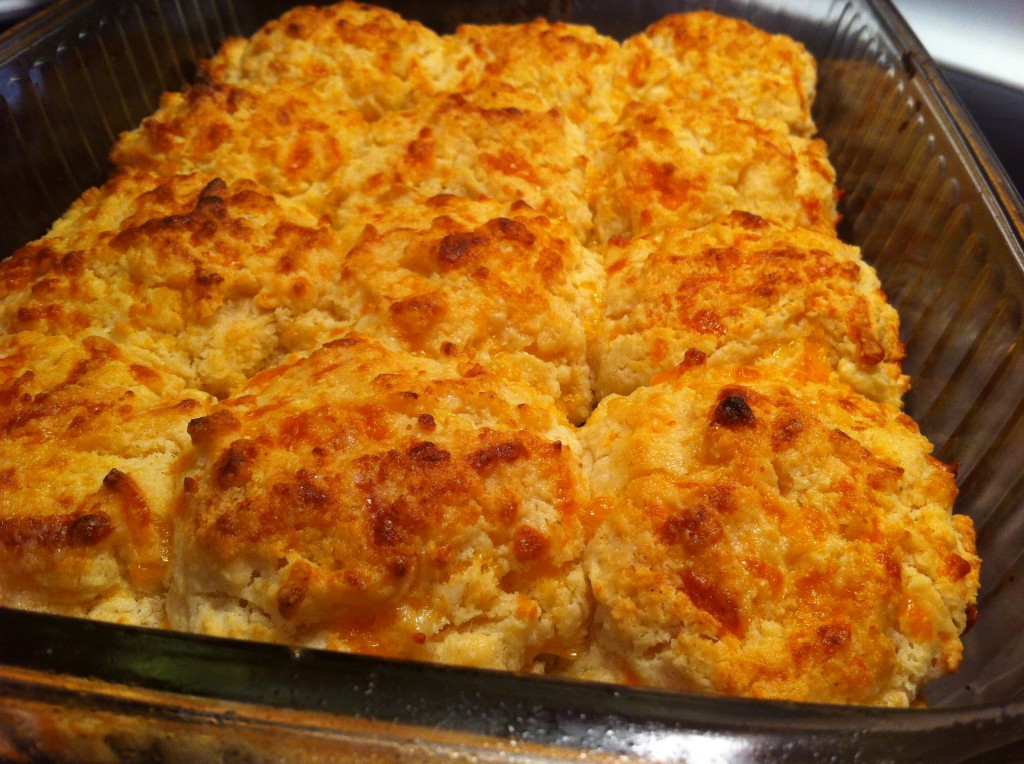
Don’t you just want to take a fork and grab one.

These are super easy to make!

It is the closest version I have tried to the Red Lobster biscuits.

These are perfect with soup or with a meal or with a snack or with a glass of milk or with a…….gee I got to stop.

Try these and let me know what you think?

Enjoy Mateys,

Becky

Here is the recipe:

Cheddar Garlic Biscuits

Adapted from Chickens in the Road blog

Ingredients for the biscuits:

2 1/2 cups all purpose flour

1 tablespoon baking powder

2 teaspoons sugar

1/2 teaspoon cream of tartar

1/4 taspoon salt

1/2 teaspoon Old Bay Seasoning (you can substitute cayenne pepper)

1/2 teaspoon garlic powder

1/2 cup salted butter softened

1 1/4 cup grated cheddar cheese

1/2 cup sour cream

1 1/4 cup milk

Ingredients for the topping:

6 tablespoons salted butter, melted

1 teaspoon garlic powder

1 teaspoon parsley

dash of salt

Directions:

Place flour, baking powder, sugar, cream of tartar, salt, garlic powder and old bay seasoning in a bowl and combine. With a pastry cutter, cut in the butter. Stir in the cheese then add the sour cream and the milk. Stir.

Scoop out large spoonfuls of dough and place them on a greased 9 x 13 pan casserole pan.

For the topping: Melt the butter and stir in the garlic powder, parsley, and a dash of slat. Spoon or brush half the topping over the unbaked biscuits. bake at 450 degrees for around 25 minutes.

When the biscuits are baked, brush the rest of the butter topping over the warm biscuits.

It makes approximately 20 biscuits.

Creamy Butternut Squash Soup

I have never eaten or made butternut squash soup until today.

Was I crazy or something?

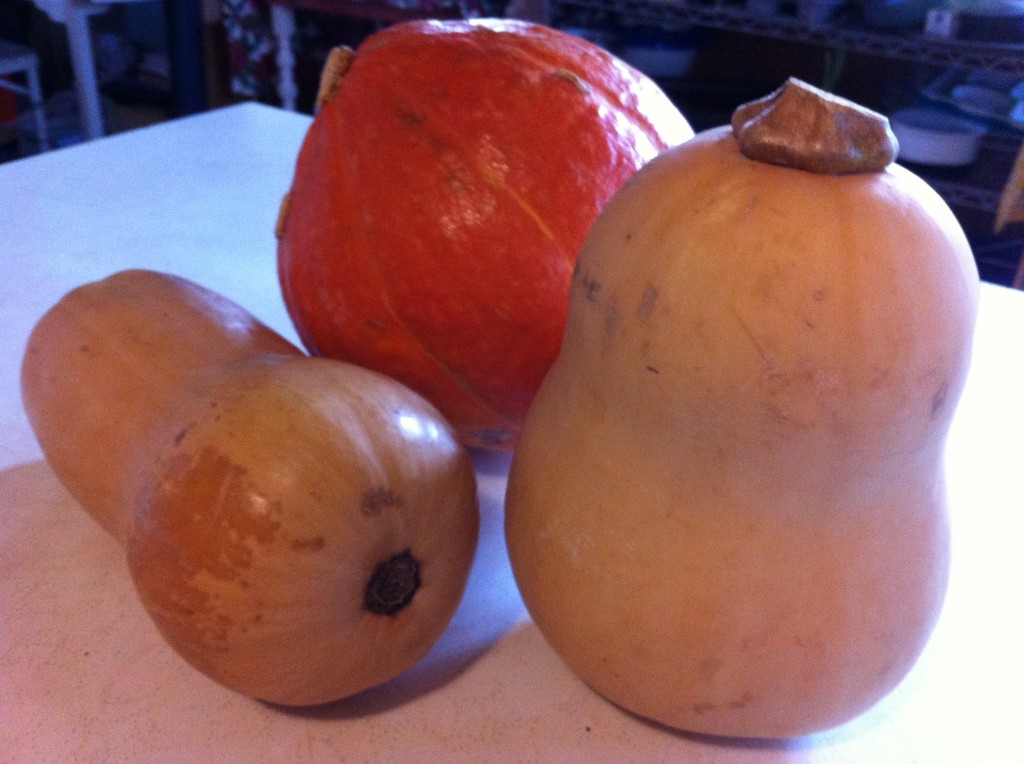
Who is their right mind would think that you could take this:

and turn it into a creamy luscious soup?

I didn’t.

It all started when my friend Angie from work had too many squashes than her family could use. Her family orders a bounty box each week from local farmers. In the box is an assortment of various home grown goodness. This could be honey, jam, roast and seasonal fruits and vegetables. Right now, they are getting a abundance of squash. When she asked if I wanted her extra squash, I took her right up on the offer.


Two of the squashes are butternut squash.

 The red/orange color one is a red kuri squash. I am saving that one to cook later this week.

You will have to wait to see what I do with that one.

I brought my squash home and started looking for recipes that I might make out of them. I had already made a stuffed acorn squash a couple of weeks ago, so I did not want to make a stuffed squash again.

I kept coming across butternut squash soup recipes.

I love soup, so this was the ticket!

After some searching, and tweeking, I finally put together a recipe that I thought sounded like one that I would like.

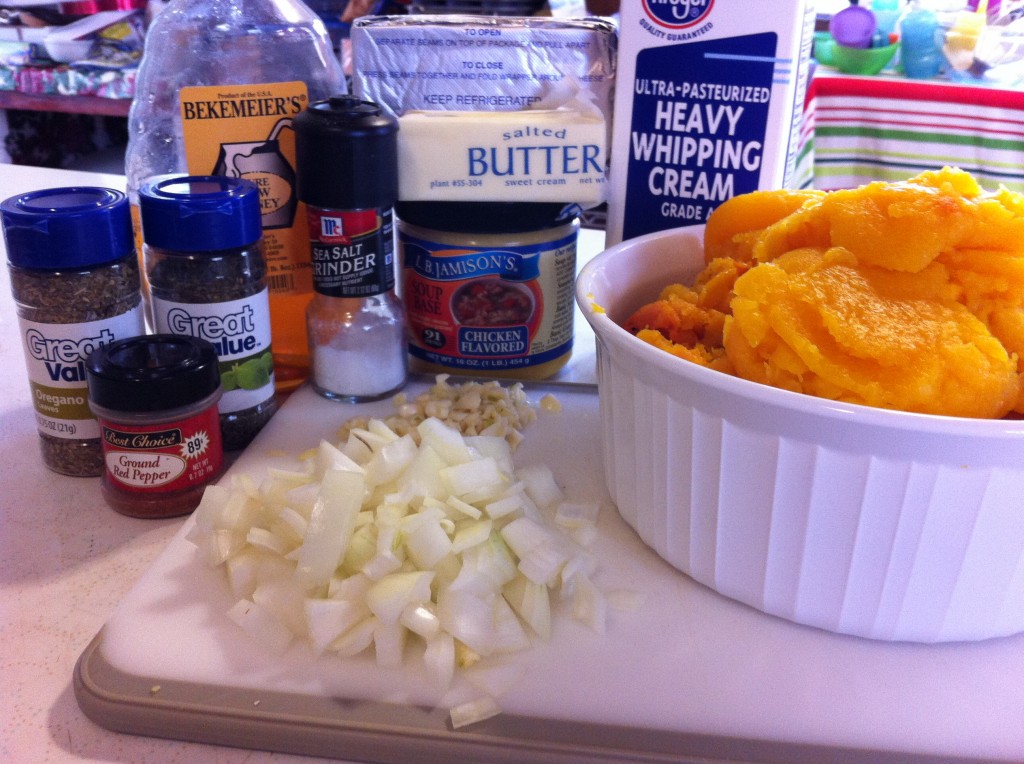
This is what you will need. I did not include the sour cream and shredded cheese that I used for a garnish.

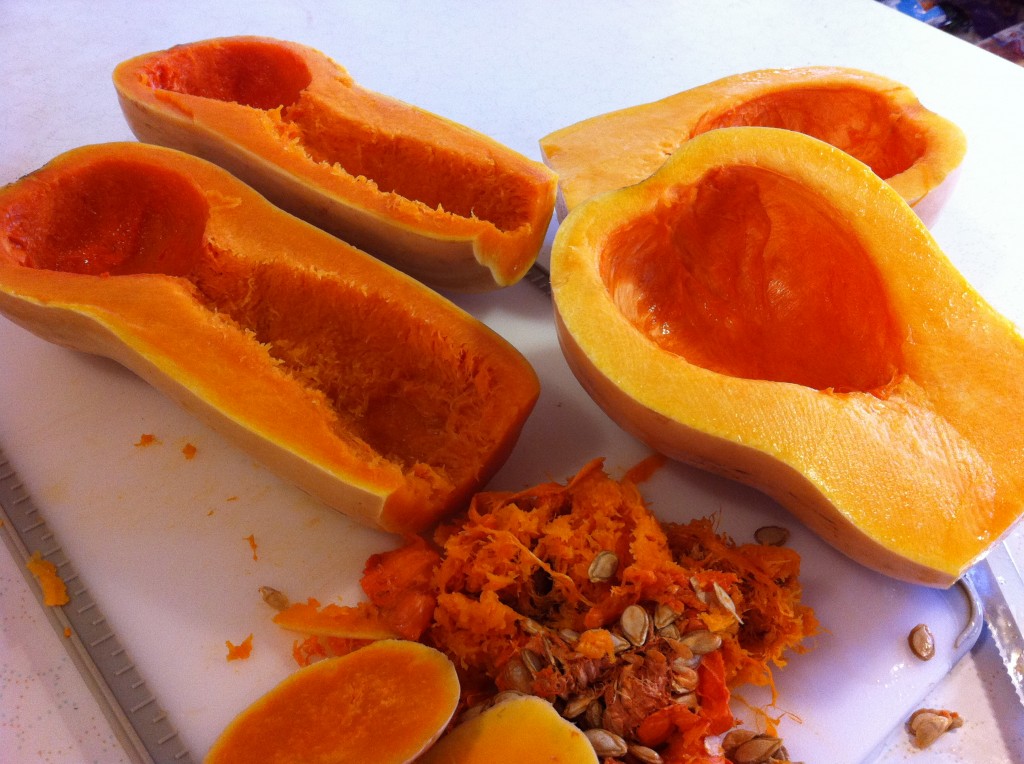
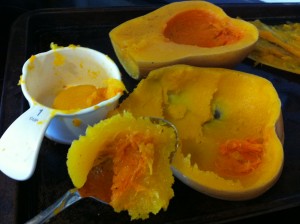
First thing you need to do is cut the butternut squash in half and scoop out the seeds.


Rinse off the squash and salt and pepper each one. Turn them over and place them on a baking sheet. Add about a cup of water into the pan. Bake at 350 degrees for around 50 minutes.


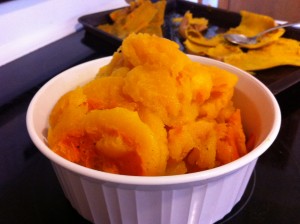
When the squash has cooled off slightly, scoop out the flesh. You will need around 6 cups of cooked squash for this recipe.


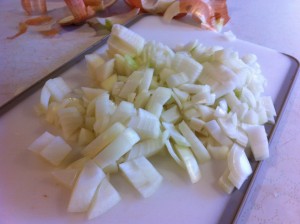
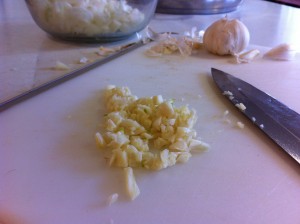
While the squash is in the oven you can dice up the onion (1/2 cup) and mince 3 cloves of garlic.


To get the soup started, melt the butter in the bottom of a large sauce pan. When the butter is melted add the onions and saute.


When the onions are cooked thru, add the garlic and continue sauteing.


Place 3 teaspoons of chicken soup base into hot water to dissolve.


Pour in the hot water with the soup base, stir in. Add the 6 cups of squash.


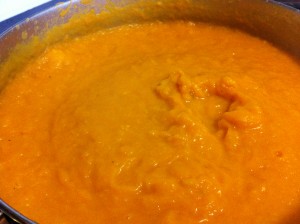
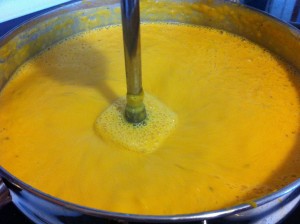
Simmer the soup making sure all the squash is cooked until tender. With an immersion blender, regular blender or food processor, puree the soup until smooth.


After you puree the soup it will start to become thick and smooth.


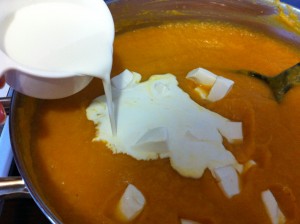
Cut the cream cheese into small cubes and add to the soup. Pour in the whipping cream.


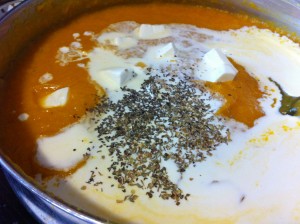
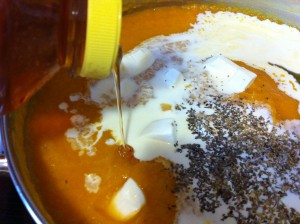
Add the basil and oregano. Pour in the honey and stir.


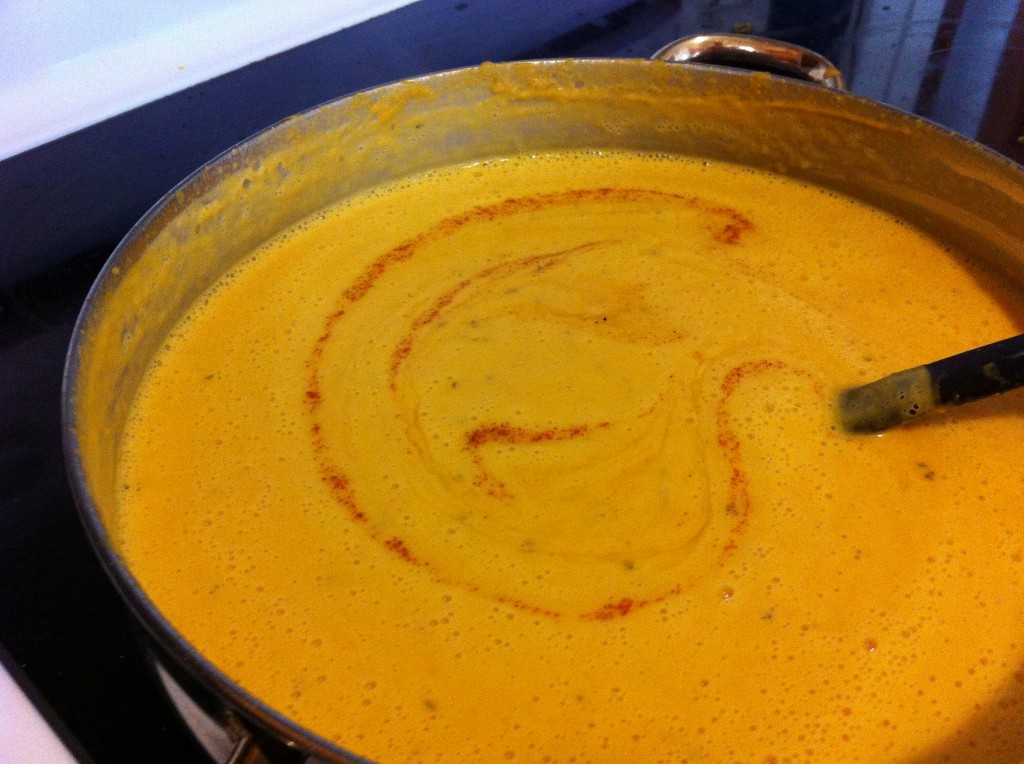
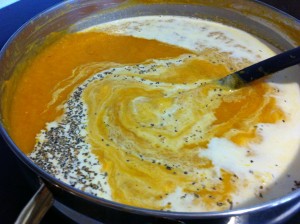
Stir all the cream cheese, cream and seasonings together until the cream cheese melts. Puree one more time if you feel you want it to be a little more smooth.

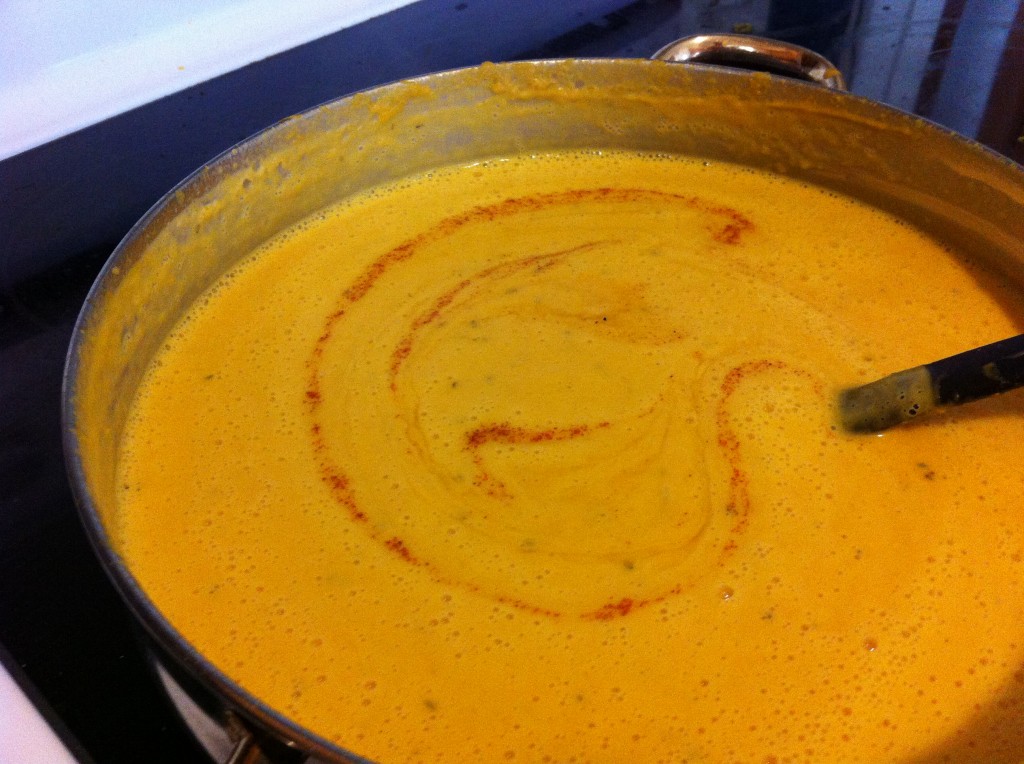
Stir in chili powder to taste.

This soup is beter than I hoped it would be. My oldest daughter who does not cook, kept coming up stairs to get another bowl.

If you have some extra squash or want to go buy a couple of try this recipe, go for it. It really is pretty simple to make!

It even taste better the day after you make it.

Squash out girl friends!

Becky

Here is the recipe

Creamy Butternut Squash Soup

Ingredients:

6 cups of cooked butternut squash (oven roasted with salt and pepper)

4 tablespoons butter

3 cloves of fresh garlic, minced

1/2 cup of onion, chopped

3 cups of water

3 teaspoons of chicken soup base

4 ounces of cream cheese

3/4 cup of heavy cream

3 to 4 tablespoons of honey

1/2 teaspoon Basil

1/2 teaspoon Oregano

Salt to taste

Chili Powder to taste

Sour cream and shredded cheese for garnish

Directions:

Cut butternut squash in half and scoop out the seeds. Rinse off. Salt and pepper the squash and put them face down on a cookie sheet with a small amount of water. Bake at 350 degrees for 50 minutes or until squash is tender. When the squash is cooked, remove from the oven and scoop out the tender flesh of the squash. You will need at least 6 cups of cooked squash.

In a large sauce pan melt the butter. Add the onions and saute onions until tender. Add the garlic and saute for 2 minutes.

Pour in the hot water and chicken soup base.

Add the roasted squash. Stir. Bring mixture to a simmer and cook until all the squash is tender.

With a blender, blend the soup until it is smooth. Be careful to do in small batches because the soup will be hot. If you are using an immersion blender, blend soup until smooth. Put the soup back into the pan if you a blender.

Cut up the cream cheese and add it to the soup. Pour in the heavy cream. Stir together until the cream cheese melts.

Stir in the basil, oregano and honey.

Add in the chili powder (to taste).

Heat on low.

Serve with a dollop of sour cream and shredded cheese on top.

To save on calories you can always use fat free cream cheese, and half and half, or maybe whole milk.

Enjoy!

Becky


Budget update 2-17

I really did not buy too much at the grocery store this week.

I hope you don’t think that I go out to eat all the time either :  ).

I have been couponing for a year now, and I seem to have built up a nice little stockpile of groceries.

Though, I did go out to eat twice this week….hehe…my bad

My oldest daughter who does not cook, will usually buy the milk, bread and the occasional fruit for all of us. Just, so you know, that I do have milk to go with those 40 boxes of cereal in my stockpile. : D

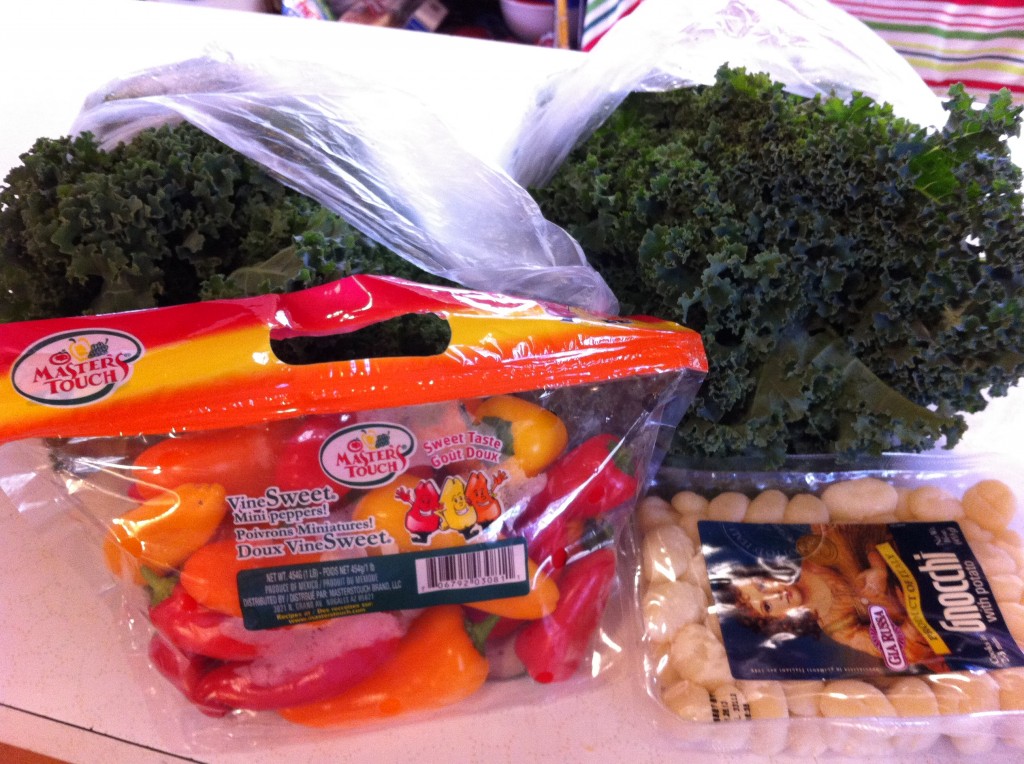
I went to Walmart yesterday. I found a great deal on fresh bunches of kale. I don’t know if you have ever made kale chips, but you just bake them in the oven with a little olive oil and sea salt and Walla….you have these great crispy chips, that are full of vitamins.

Anywho…I bought two bunches of kale and Walmart had them for just .98 cents a bunch.

I also bought a bag of mini peppers. These are great on a vegetable tray and roasted in the oven. I bought this bag for just $1.96.

I am thinking I might be making some chicken gnocchi soup later this week and needed some potato gnocchis. I was able to get a bag of $2.50.

Earlier this week, I bought 2 bags of peanut butter cups for that Chocolate Peanut Butter Mousse Cake, I made for Valentine’s Day. I spent $7.00 for the two bags.

I spent a total of $14.83 this week.

I had a balance of $202.64.

When I subtract what I spent this week, I have a left over balance of $187.83.

Also, today is Sunday and it is time to add my weekly  $75.00.

So starting for this week 2-17-13, I have $262.83.

Do I see steaks, shrimp and ribs in my future??

Only if they are on sale : ).

How is you budget going? Have you added to your stockpile, started a stockpile or trying to use up your stockpile (this is what I am doing)?

Becky


You Got Chocolate On My Peanut Butter!

Don’t you love those old commercials?

This cake reminded me of the old Reeces Peanut Butter Cup commercial, “You got chocolate on my peanut butter”.

If you are too young to remember or if you are young at heart, go here to watch it.

I don’t know if there is more chocolate than peanut butter in this cake, or if there is more peanut butter than chocolate.

It is a peanutty question.

I only know it has the PMMF factor. That’s right, the PMMF factor, “Pass Me My Fork.” I really should say the PMMFN factor. “Pass Me My Fork Now,” factor.

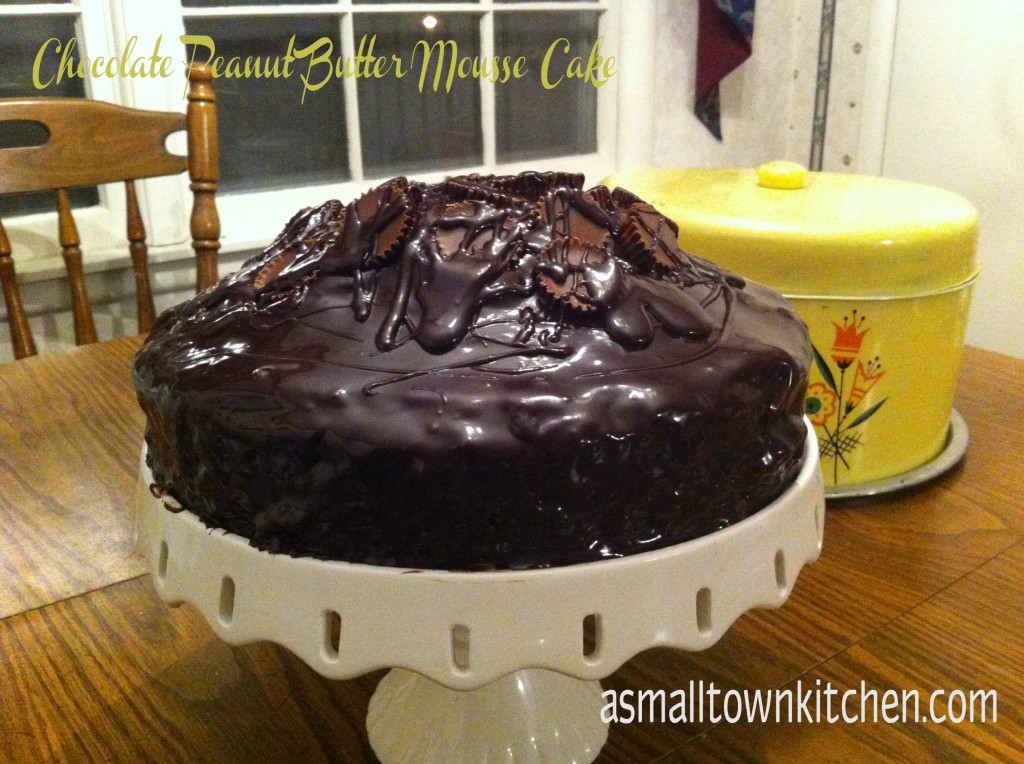
It has a rich cake like brownie, baked with peanut butter cups, bottom, filled with a light peanut butter and whipped cream mousse, covered in a decadent ganache and topped with more peanut butter cups, then drizzled with more ganache.

See I told you…..the PMMFN factor.
Allow yourself plenty of time to make this cake. I made the mistake of not starting this cake until 8:30 pm. Also, make sure your dishwasher is empty and ready to fill with all the bowls you will use for this cake.

It will be worth it.

Remember is has the PMMFN factor.

Chocolate and Peanut Butter….together….the perfect romance.

Happy Valentine’s Day!

Becky
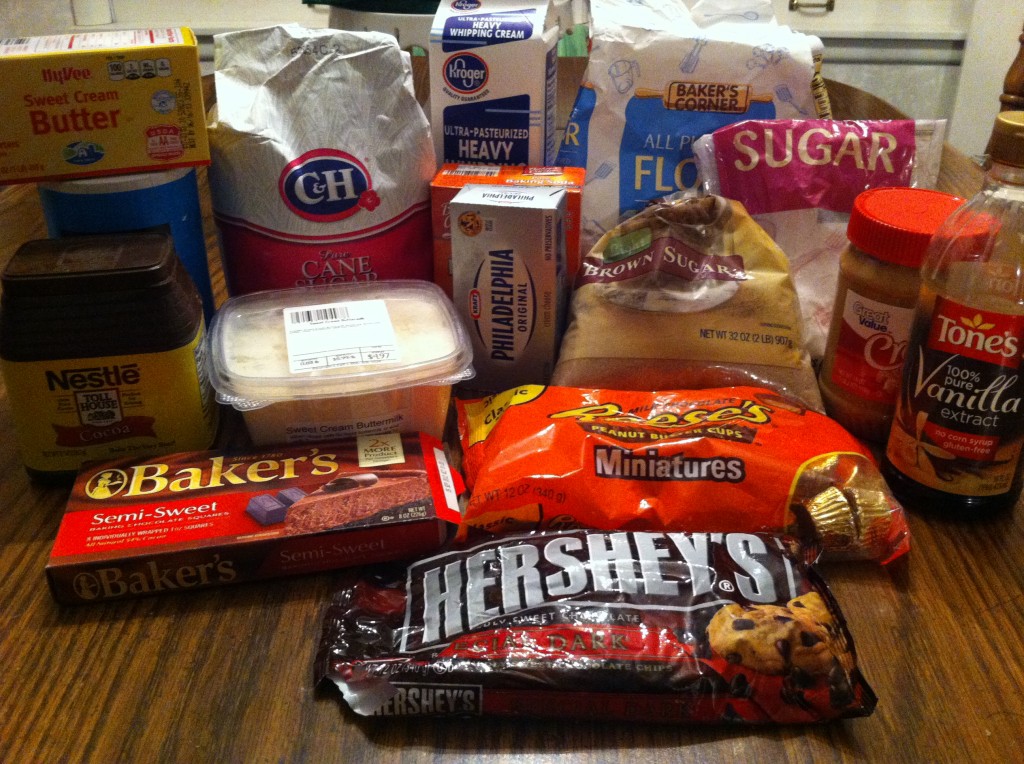
Here is what you will need, except I forgot to get the eggs in the picture. I was too busy drooling over the peanut butter cups. OOPS
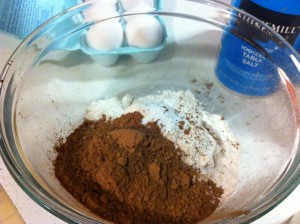
Place the chocolate in a microwave safe dish and very carefully melt the chocolate. In a bowl stir together the flour, salt, baking soda and cocoa.
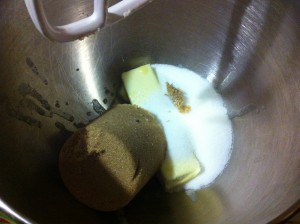
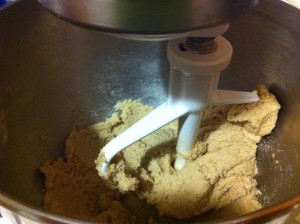
     

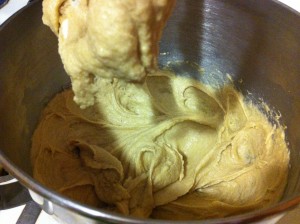
In a mixing bowl, mix together the sugars and butter together until fluffy.
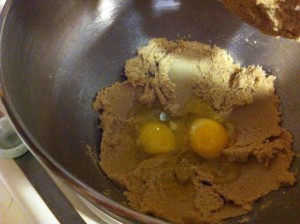
     

Add the eggs and mix in.
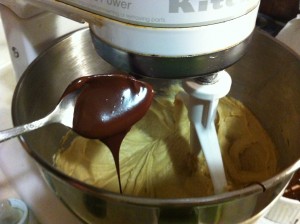
     

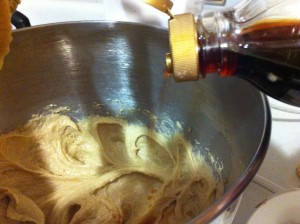
Add the melted chocolate and the vanilla.
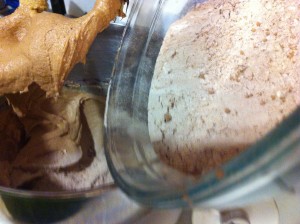
     

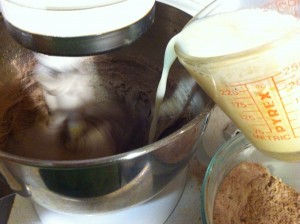
Alternate adding the milk and flour cocoa mixture.
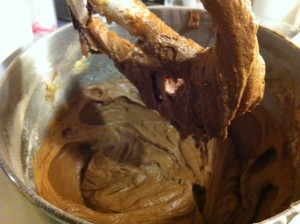
     

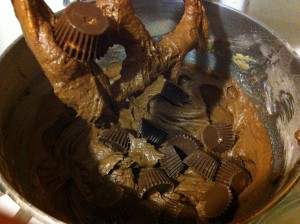
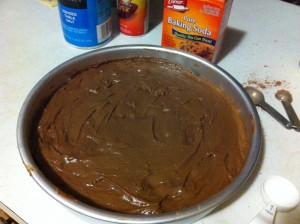
You end up with this rich beautiful batter. Stir in the peanut butter cups.
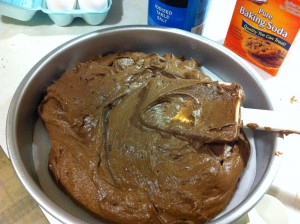
    

Spread batter evenly in a parchment lined 10 round baking pan. Place in preheated oven and bake.

Now it is time to make the ganache.
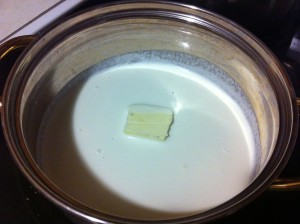
    

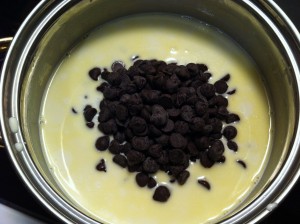
Heat up whipping cream and butter. Do not boil. When the whipping cream is very hot and the butter has melted, add the chocolate chips.
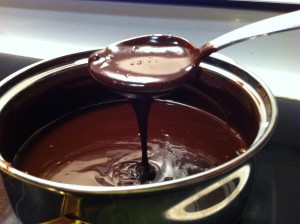
Stir the ganache until all the chocolate chips have melted. Set aside to cool. The ganache will thicken when it cools.

Time to make the mousse.
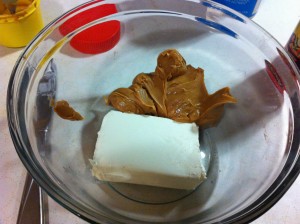
    

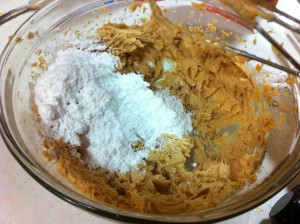
In a mixing bowl, mix together the cream cheese and the peanut butter. When smooth, add the powdered sugar and mix together until it is smooth, light and fluffy.
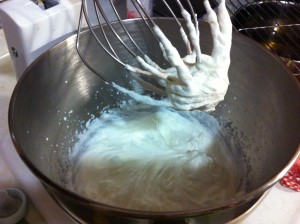
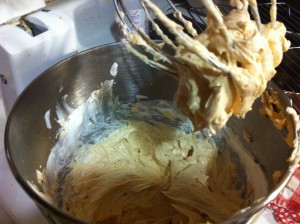
    

In another mixing bowl, with a whisk attachment, whip the whipping cream. Fold in the peanut butter mixture into the whipped cream. Be careful not to deflate the whipping cream in the process.

Now it is time to assemble the cake. YIPPEE!
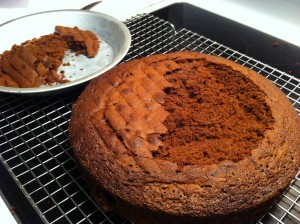
    

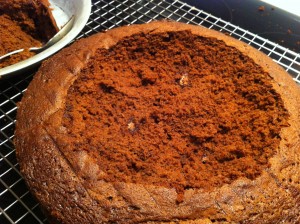
When the cake has cooled completely, run a sharp knife around the inside of the cake and scoop out the middle of the cake. Do not go all the way to the bottom. Save the cake pieces.
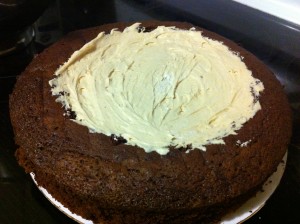
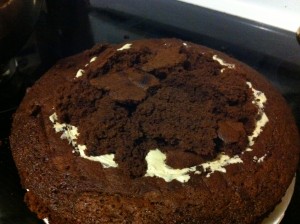
    

Fill the inside of the cake with half of the peanut butter mousse. Top the mousse witht the broken cake pieces.
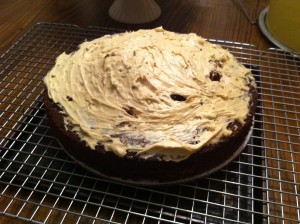
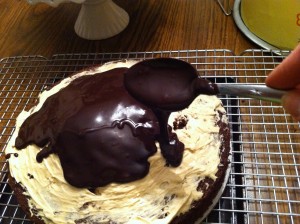
    

Spread the rest of the peanut butter mousse over the cake top, covering the cake pieces. Now, pour the cooled and thicken ganache over the cake. I put my cake on a cooling rack with a cookie sheet under it to catch the drips of ganache. Make sure to cover all the edges of the cake with ganache. Save some ganache for a drizzle.
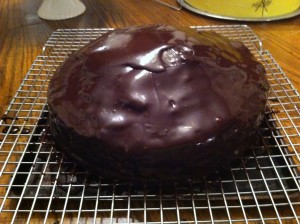
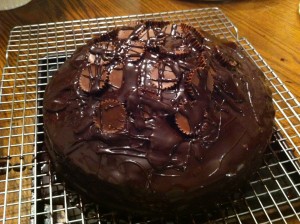
     

While the ganache is still soft place the rest of the peanut butter cups on top of the cake. Drizzle the rest of the ganache over the peanut butter cups.
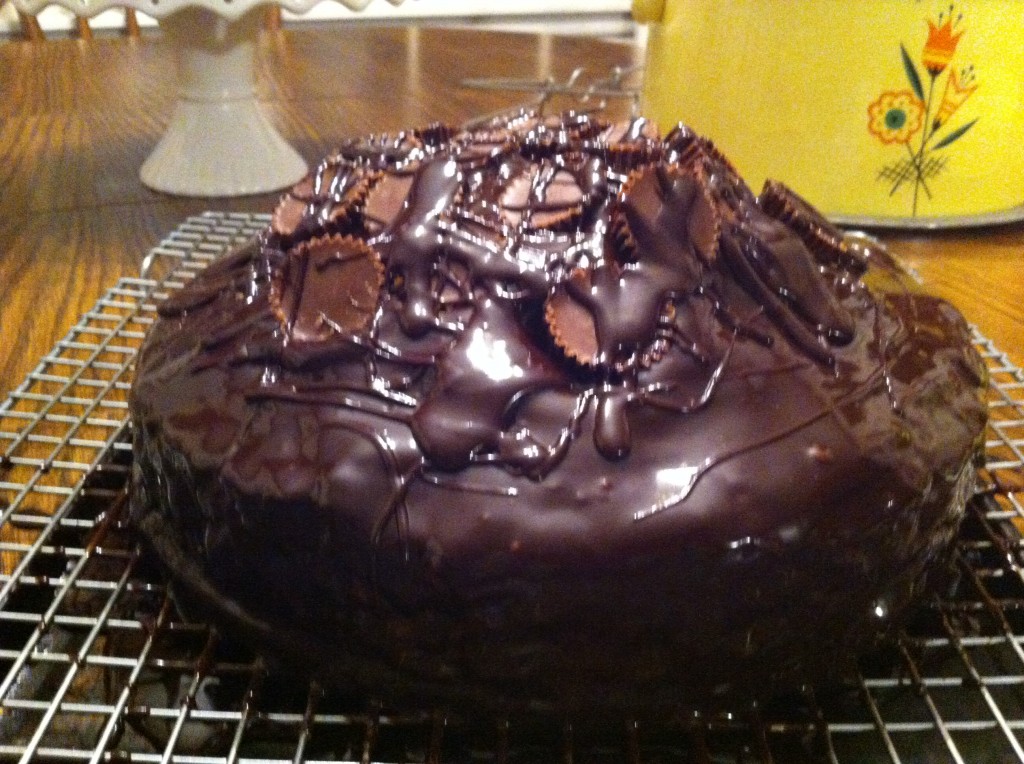
Here is the finished cake. Sorry about the light glare. It is 11 pm at night and I had to have the light on. : )
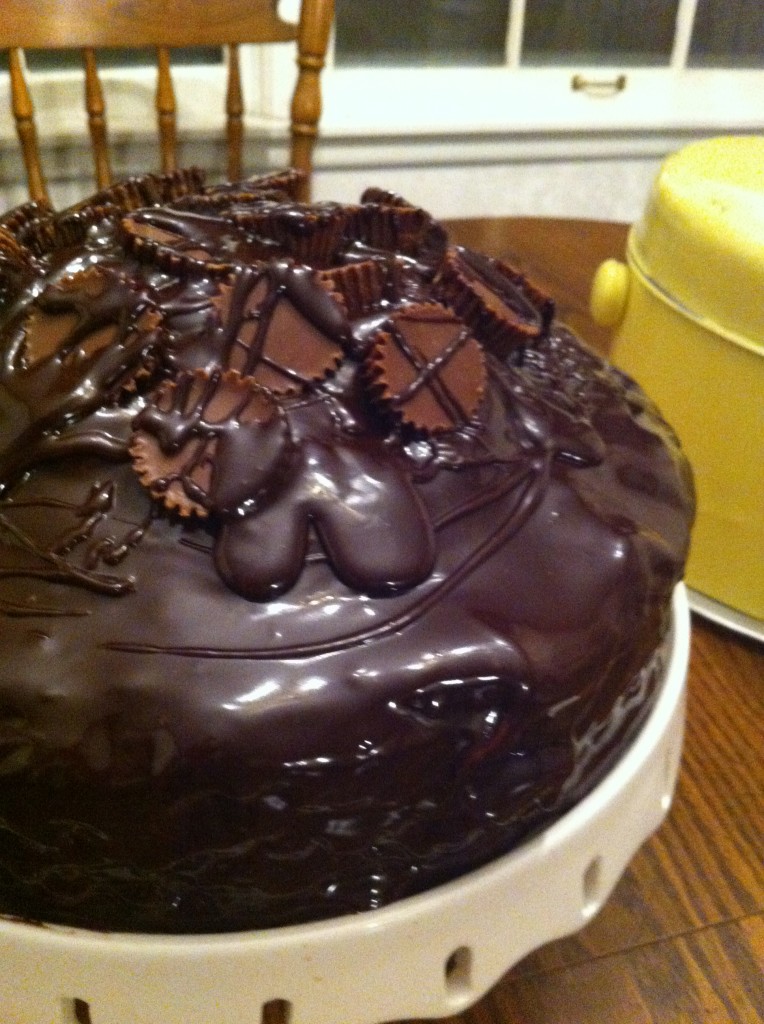
This is truly a beautiful cake.

Don’t be afraid to make this cake! It does take a bit of time. But the oohs and ahhs you will get will be worth every minute.

Here is the recipe!

Chocolate Peanut Butter Mousse Cake

Serves 12

Adapted from Blue Eyed Bakers Web Page

Ingredients for the cake:

1 1/2 ounce unsweetened chocolate, chopped. (I used semi sweet)

1 1/2 cup cake flour (I used regular flour and it was fine)

1/2 cup unsweetened cocoa

3/4 teaspoon baking powder

1/4 teaspoon salt

9 tablespoons unsalted butter, at room temperature

1 cup light brown sugar

1/2 cup granulated sugar

2 large eggs, at room temperature

1 teaspoon vanilla

1 cup buttermilk (I used powdered buttermilk with water)

30 minuture peanut butter cups (15 goes in the cake batter, the other 15 for the topping)

Ingredients for the Ganache:

1 cup cold whipping cream

1 tablespoon unsalted butter

1 to 10 bittersweet chocolate chips (I used dark chocolate chips)

1 teaspoon vanilla

Ingredients for the Peanut Butter Mousse:

6 ounces cream cheese at room temperature

3/4 cup cream peanut butter

3/4 cup powdered sugar (confectioners)

1 cup cold whipping cream ( the colder it is the more it will whip up)

1 teaspoon vanilla.

Directions for the cake:

Preheat teh oven to 350 degrees. Butter the bottom and sides of a 10 inch round cake pan. Line the bottom with parchment paper. Butter the parchment paper too.

Melt the unsweetened chocolate in the microwave in a microwave safe container. This will only take 30 seconds or so. Be careful not to burn it. Set the melted chocolate aside for later.

In a mixing bowl, mix together the four, cocoa powder, baking soda and salt. Set this aside for later.

With an electric mixer, beat the butter and sugars together until smooth and creamy. this will take about 3 to 5 minutes. Add the eggs and thoroughly mix in, scraping the bowl as needed. Add the vanilla. On low speed, slowly add in the melted chocolate.

Add the flour mixture, alternating with the buttermilk, to the butter and sugar mixture. be careful not to over mix.

Stir in 15 miniature peanut butter cups.

Bake the cake until the top feels firm about 40 to 45 minutes. I would check it at 35 minutes to be on the safe side.

Cool the cake on a wire rack until cool enough to invert onto a a wire rack to cool completely.

Now to prepare the ganache. In a medium sauce pan, heat the cream and butter over low heat until hot but not boiling. Add the chocolate chips. Let stand for 30 seconds and then stir to fully melt the chocolate chips and blen the cream together. Add the vanilla. Set aside to cool and thicken.

To make the mousse, mix together the cream cheese and the peanut butter until smooth. Slowly add the powdered sugar until light and fluffy. In another bowl, using the whisk attachment on the electric mixer, whip the whipping cream and vanilla until stiff peaks form. Add 1/3 of the whipped cream to the peanut butter mixture to lighten it up. Gently fold the the lighted peanut butter mixture to the rest of the whipped cream. Do not over mix to deflate the mousse.

To assemble the cake, put the cake, top side up onto a serving plate. Leaving a 1 inch edge all the way the cake, use a sharp knife to cup out the center of the cake to create a cavity. Scoop out the middle of the cake but do not go all the way to the bottom of the cake.

Spread half of the mousse in to the cavity. Take the broken cake pieces and place them on top of the mousse. Spread the remaing mousse over the entire top of the cake. Refrigerate the cake until the mousse is firm, about 30 minutes.

Using a spatula, spread the thickened ganache over the entire cake and sides. Top with the remaining 15 miniature peanut butter cups. Drizzle the top with left over ganache.

Keep refrigerated for up to two days.

Related Posts Plugin for WordPress, Blogger...