Creamy Cherry Salad

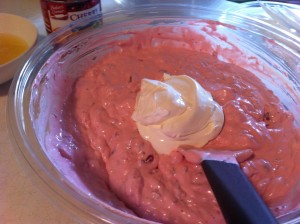
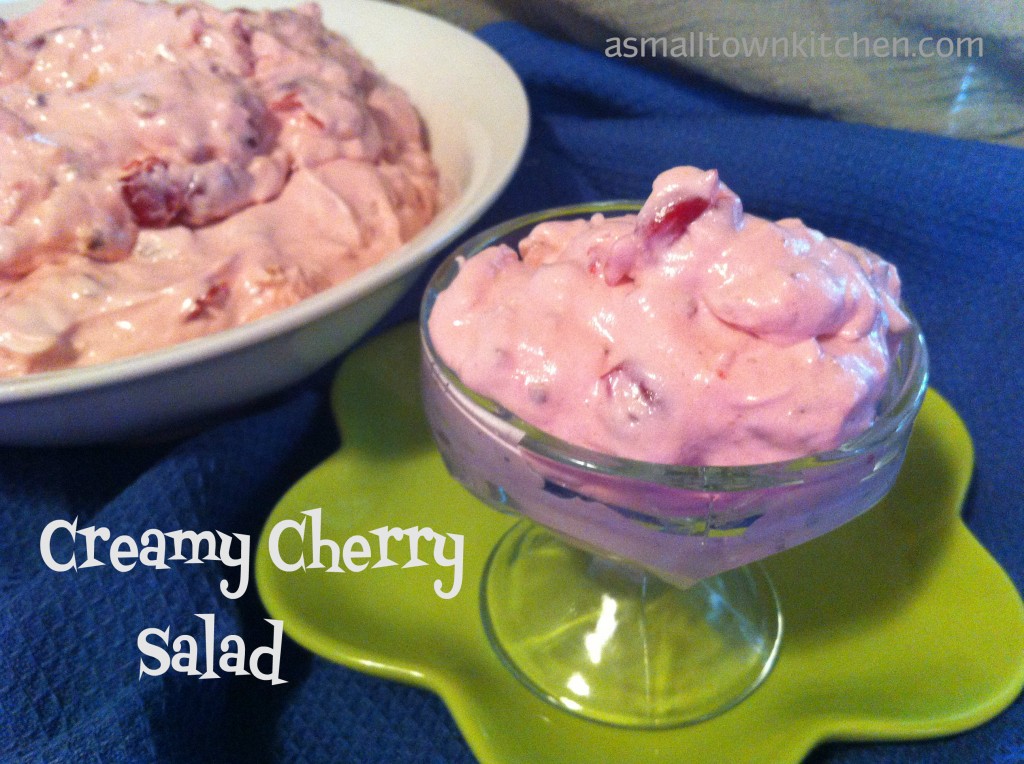
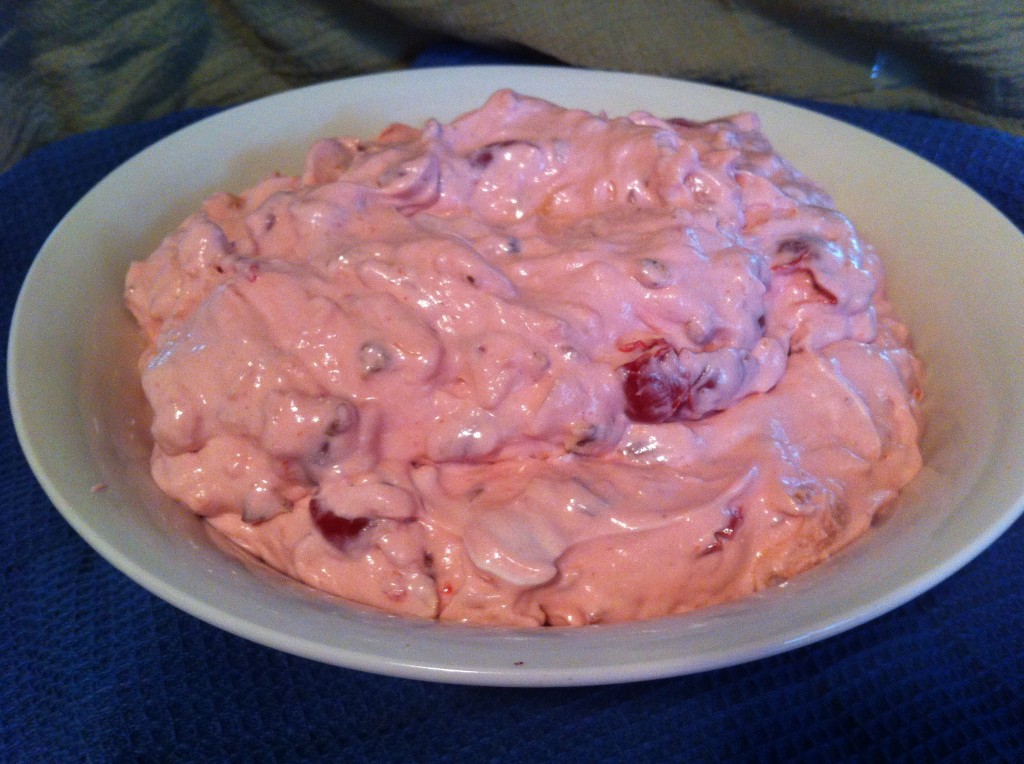
Does this picture want to make you run to the kitchen and get a spoon and take a big bite?

I hope it does!

We celebrated my Dad’s 96th birthday last Saturday. (His real birthday was on Memorial Day) I was making a bunch of things to go with the Tickle Your Ribs BBQ that my Little Brother is famous for. (well…famous in our family anyway!) Saturday, he fought the rain all day to grill pork steaks and pulled pork, drenched in his home made bbq sauce. YUMMY! I was looking for extra special recipes to make to compliment all his hard work on his grill.

I had been eyeing this Creamy Cherry Salad recipe for a long time. I have been saving the recipe for months waiting for a special dinner to make it. Dad’s birthday seemed like the perfect time! I had all the ingredients to make it too, except the sour cream (the one container I found had expired, poo). Super Hero son came to my rescue and went to the store to pick up the sour cream. In no time at all I had this beautiful salad made! You just open some containers, chop up some pecans, throw it all in a bowl and stir.

Easy Peasy Nice and Easy! (and delicious)

With the beautiful pink color and the pop of red from the cherries, it would be a perfect for Memorial Day, 4th of July or a Christmas dinner. (and any other time you want to indulge yourself)

Anywho, I took this dish and Niener Wiener wanted the recipe right away. (her DAR group theme is cherries this year and she wants to make it for their next carry in dinner, woohoo success!). I also made home style fresh green beans, that the grand girls helped me snap, Smokestack Baked Beans (recipe coming soon, Deviled Eggs and Strawberry Spinach Salad.

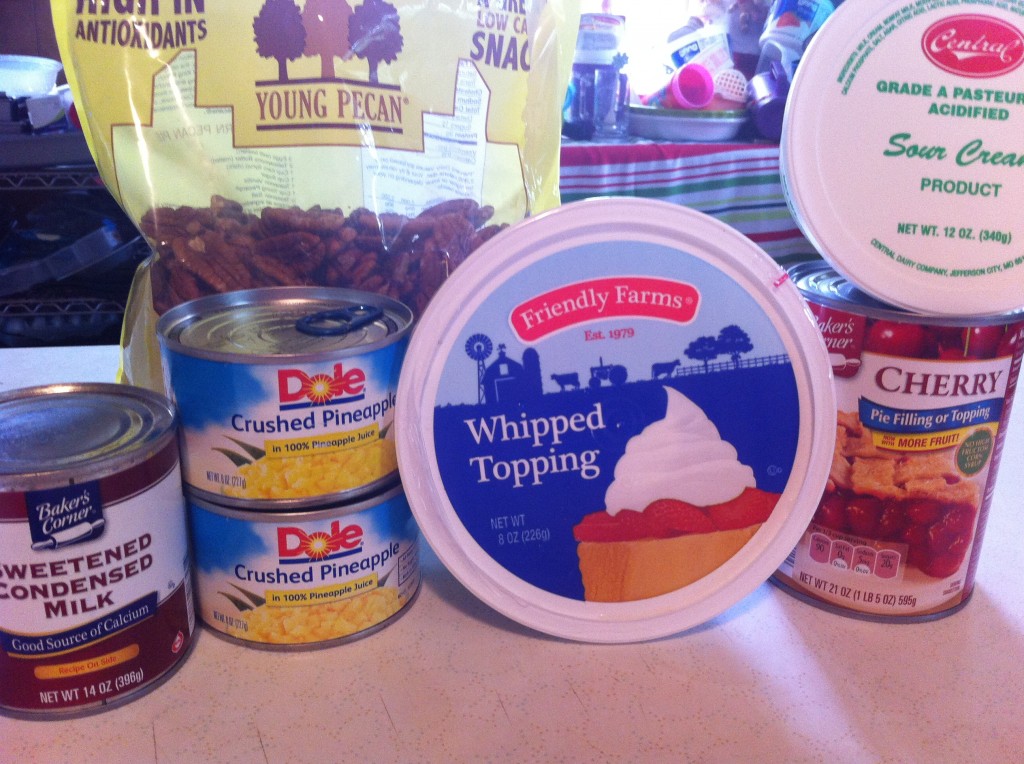
Here is all you need to make this quick and yummy recipe:

You will need one can of sweetened condensed milk, chopped pecans, 1 regular size can crushed pineapple, drained, (I  had to use to small cans because that is what I had on hand) some sour cream, 1 container cool whip and one can of cherry pie filling.


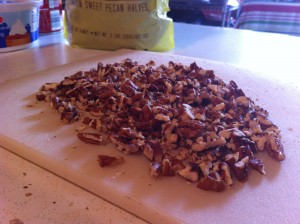
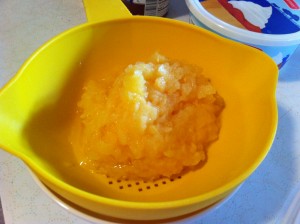
First thing I did was chop my pecans and drained the pineapple. (I saved the juice for the grand girls)


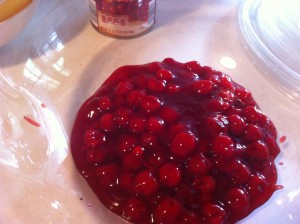
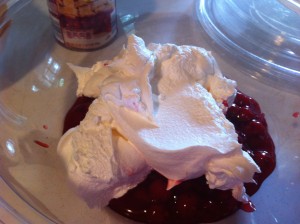
In a large bowl, (I was taking this to my dad’s birthday party, so I was using a clear plastic bowl that had a snap on lid for travel) add the can of cherry pie filling and the cool whip.


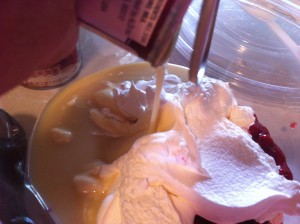
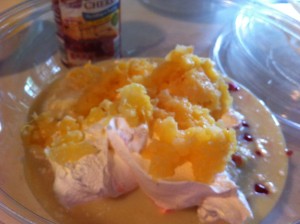
Pour in the whole can of sweetened condensed milk. Add the drained crushed pineapple.


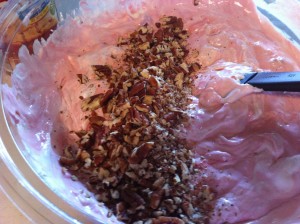
Add in the chopped pecans. Finally stir in the sour cream.

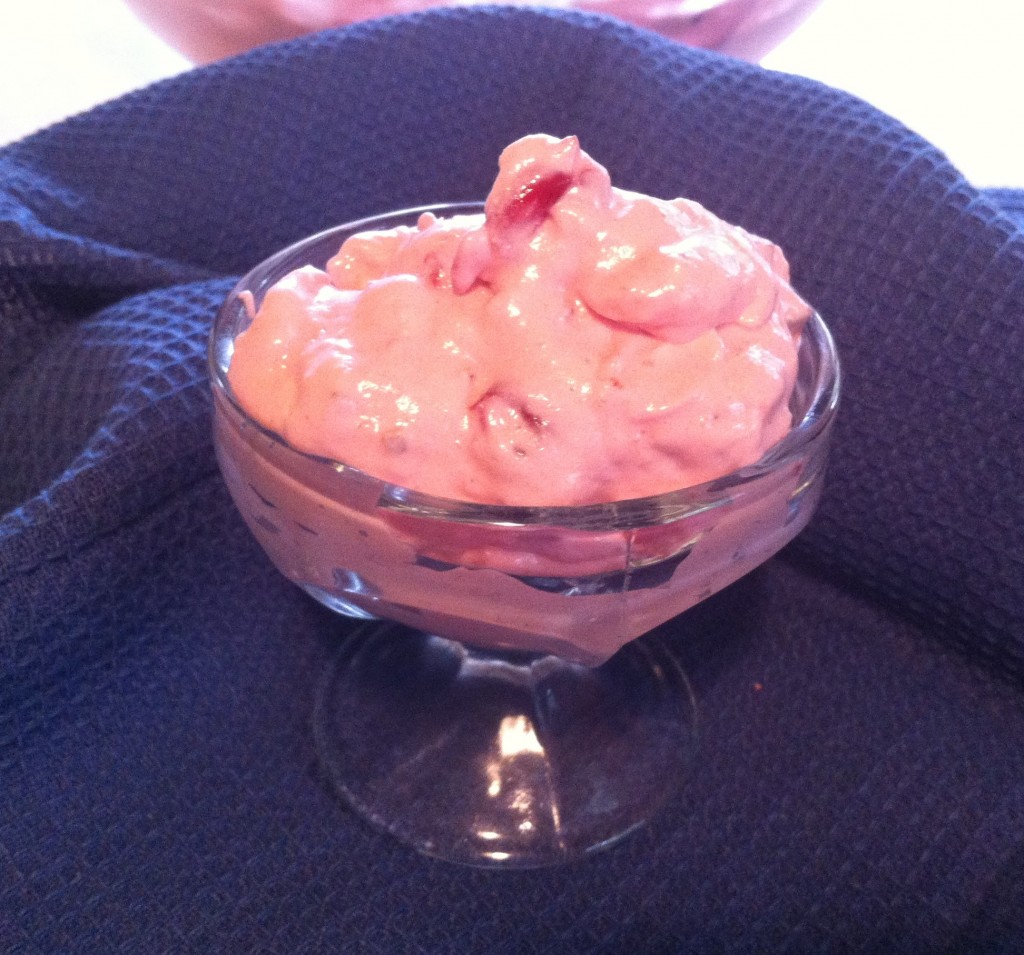
And then LOW and BEHOLD….you have a beautiful and deliciously creamy and yummy salad that looks like this….

Are you ready to grab a spoon now?

Here is your recipe:

Creamy Cherry Salad

Adapted from old Silver Dollar City Recipe Cookbook

Ingredients:

1 (20 ounce) can cherry pie filling 1 cup chopped pecans

1 (9 ounce) container of cool whip

1 (20 ounce) can crushed pineapple, drained well

1 cup sour cream

1 can sweetened condensed milk

Directions:

In a large serving bowl, blend all ingredients together. Chill until firm. Serves 10 to 15.

Enjoy!

Becky

Other post you may enjoy!


Vanilla Rhubarb Jam     Strawberry Pretzel Salad (coming soon)    Frozen Fluffy Strawberry Pie
 

Frozen Fluffy Strawberry Pie
Who is their right mind would make a frozen dessert on a brrrrry cooooold day.

I never said I was in my right mind.

It all started with some strawberries I needed to use up. I was looking for something out of the ordinary when I came across this old recipe. I found it in a old tattered newspaper that was tucked away in a drawer. The recipe looked simple enough and I thought the ingredients would make a yummy combination. So, I decided to give it a try.

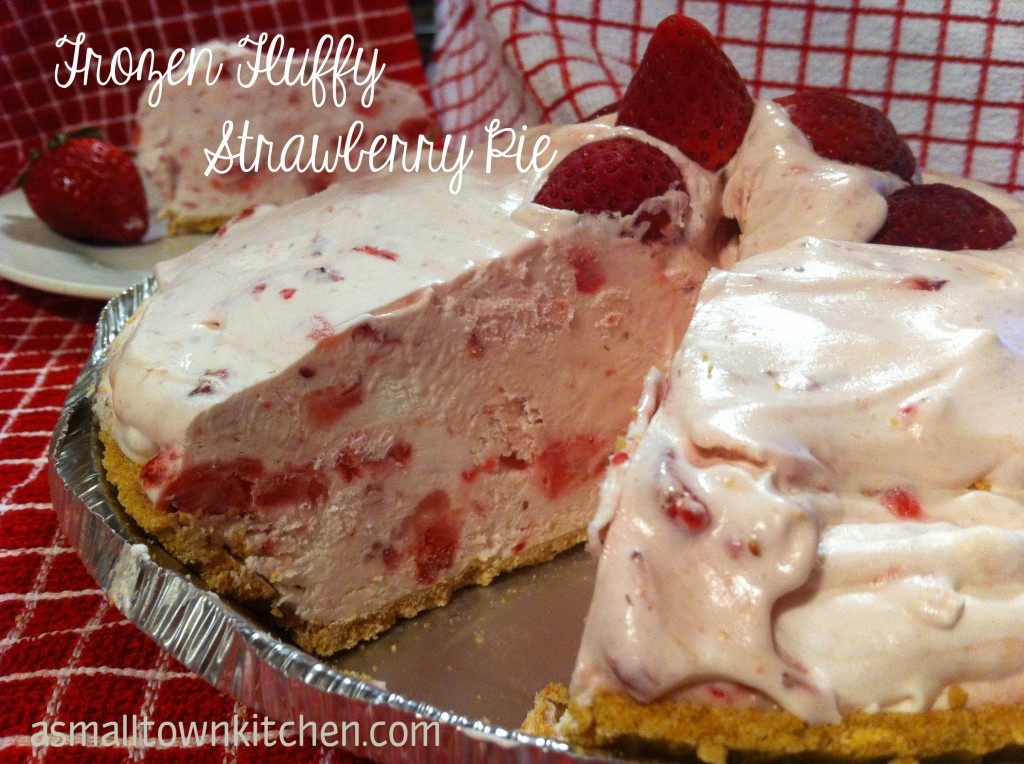
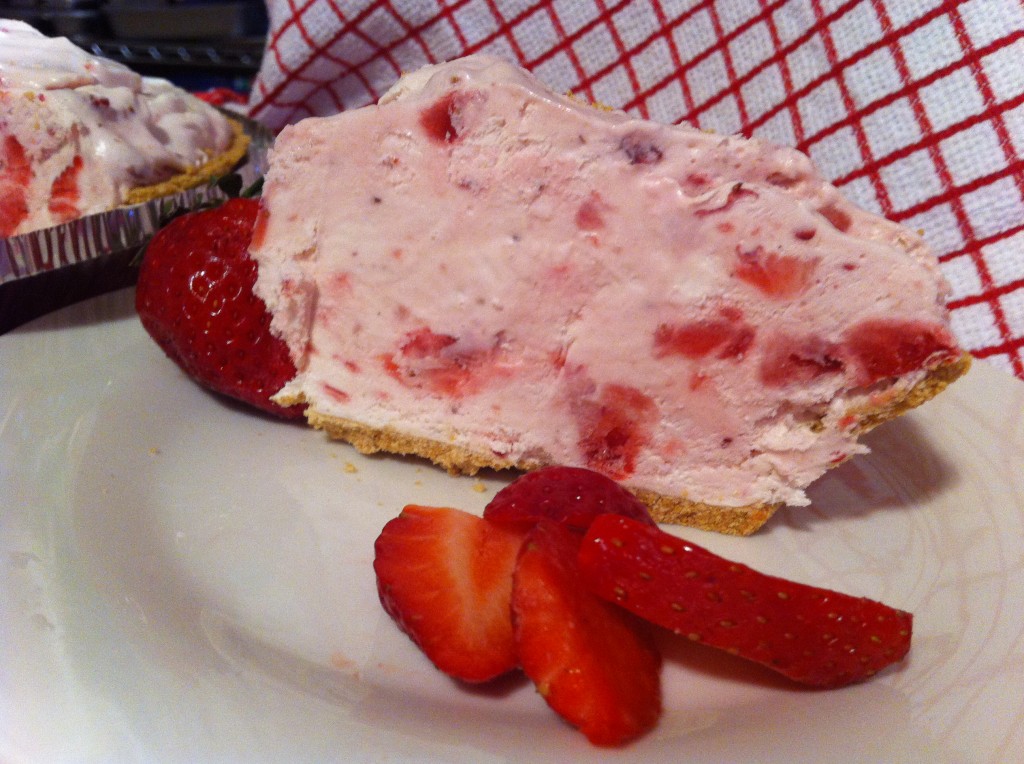
It turned out to be a smooth and creamy dessert. I loved the flavor of the pie with the smashed strawberries. I also loved that you could substitute another fruit like blueberries instead of the strawberries.

The Oldest Daughter who does not cook and I are going to have another piece tonight with some hot tea. This proves that you can enjoy this dessert all the year around.

Anywho, if you are looking for a little something to cool you off while you watch the super bowl this weekend, why not try a piece of Frozen Fluffy Strawberry Pie.

Here is what you need to make this cool dessert treat.

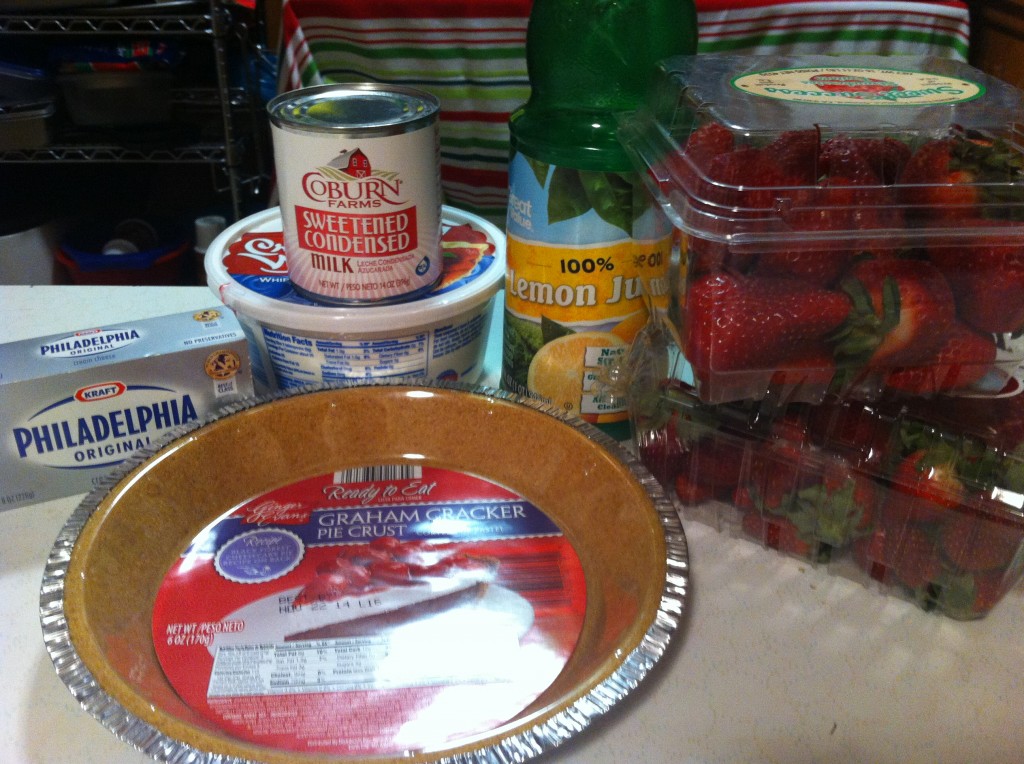
You will need a graham cracker crust. You can make your own but since I made this on a school night, I just stopped at the store and bought one. You also need strawberries, cream cheese, lemon juice, sweetened condensed milk and a carton of cool whip or a store brand of whipped topping.


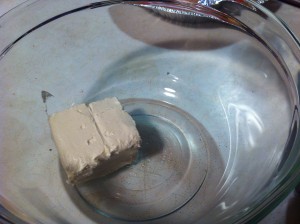
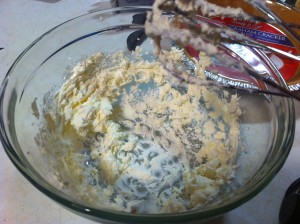
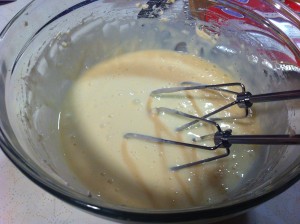
The first thing you will do is take the cream cheese and put in a large bowl and beat until fluffy.


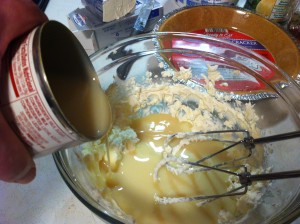
Next, pour in the sweetened condensed  milk in with the cream cheese. With a mixer, combine the two together.


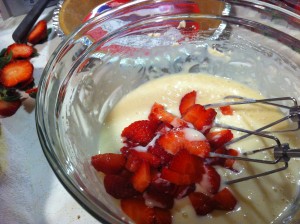
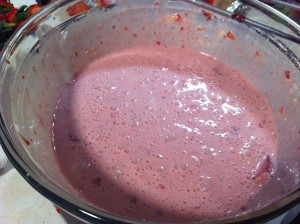
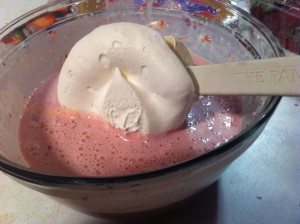
Ad in the smashed strawberries. I let my mixer do most of the work smashing the berries and mixing them in with the pie mixture.


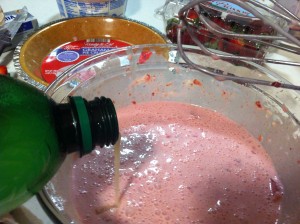
Add in the lemon juice and stir in. Now, it is time to fold in the whipped topping.

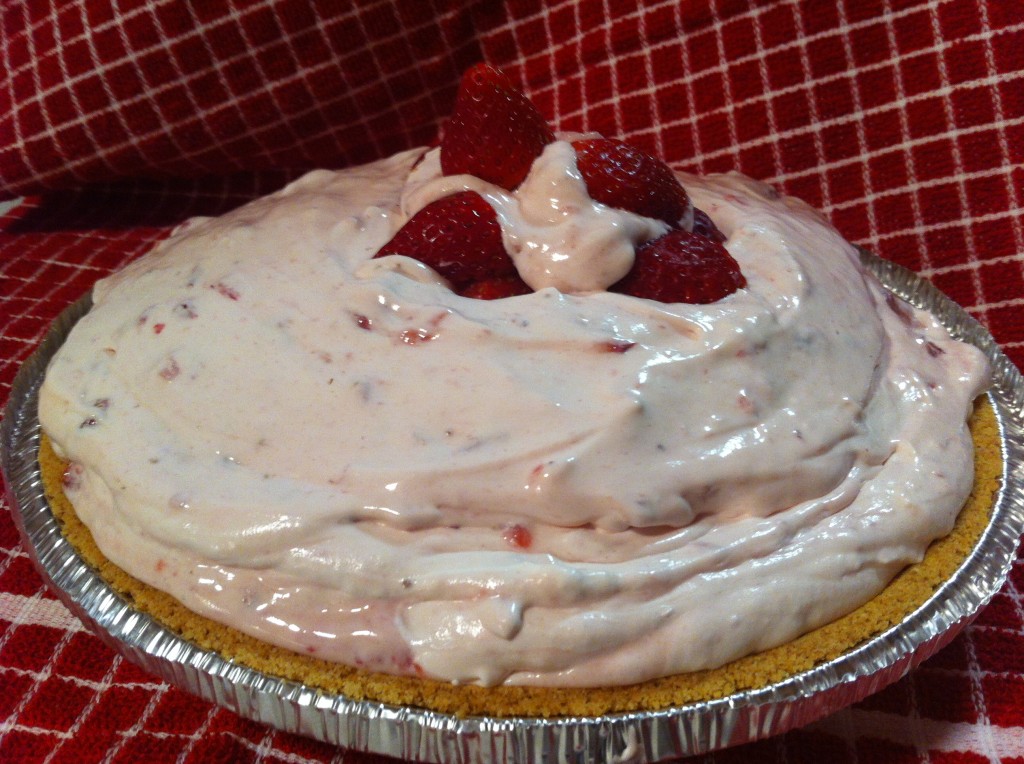
Lastly, you can load up the pie. I did not think all the filling would fit into the pie shell. I kept loading it up and guess what? It did all fit.

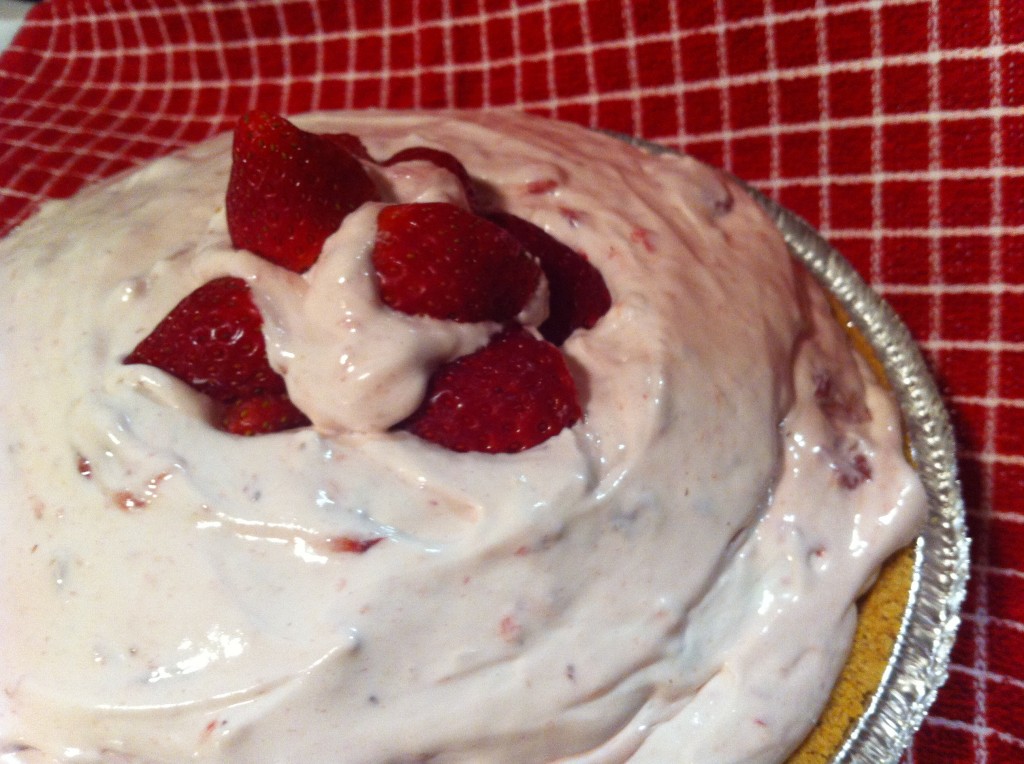
I even put some strawberries on top. Now, all you have to do is freeze it for at least four hours. When  you are ready to have a slice, take the pie out of the freezer for 15 minutes before you slice a piece.

Are you ready for the recipe?

Here it is.

Frozen Fluffy Strawberry Pie
Ingredients:

3 ounces of cream cheese
14 ounce can of sweetened condensed milk

1 1/2 cups of mashed strawberries (have a few extra for garnish)

3 tablespoons of lemon juice

8 ounce container of whipped topping

Graham Cracker Crust

Directions:

In a large bowl, beat the cream cheese until it is light and fluffy. Pour in the sweetened condensed milk and beat in. Stir in the mashed strawberries and lemon juice. Fold in the whipped topping. Pour the filling into the graham cracker crust. Garnish with strawberries on top. Freeze for four hours or until firm. Allow to warm up for 15 minutes before cutting into slices.

MMMMM good.

Stay Warm and eat Frozen Pie.

That does not sound right….: )

Becky

Other post you may enjoy:


Oatcake with Blackberries and Blueberries       Praline Snickerdoodles                     Chocolate Buttermilk Cookies


Strawberries in Winter Candy

WooHoo…..holiday break is finally here! I have postponed my holiday baking until the last minute (as usual) and spent the better part of the day in the kitchen making home made goodies for my Christmas Trays I give out as gifts on Christmas Day.

Last week, I happen to run across this recipe for, strawberries in winter candy,  from an old cookbook one of my students brought to school. She was making no bake cookies and was using the recipe for them from the  old cookbook. I asked to borrow the book for the day to look through it on my spare time. She informed me the book belonged to her mom and she needed it back. (I guess her mom made it clear that she was not to lose the cookbook at school.) After I spent, more time than I could spare, looking through the cookbook and making copies of interesting recipes, this recipe caught my eye.  I remembered eating these strawberry candies at a church fellowship dinner way back when I was in college. I don’t know about you, but some recipes just put a smile on  your face when you see find it. I knew I just had to add these to my Christmas trays.

I mean…who does not like Strawberries in Winter? The name alone sounds yummy!

This recipe does not require any baking or boiling. All you have to do is stir the ingredients together, chill, form into a strawberry shape and chill again.

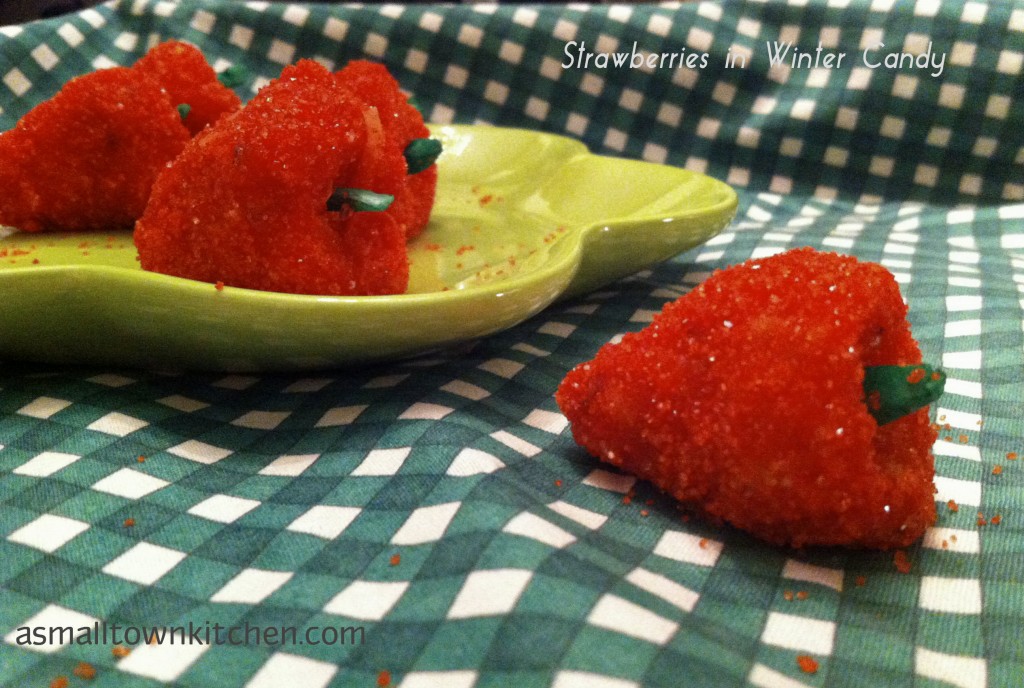
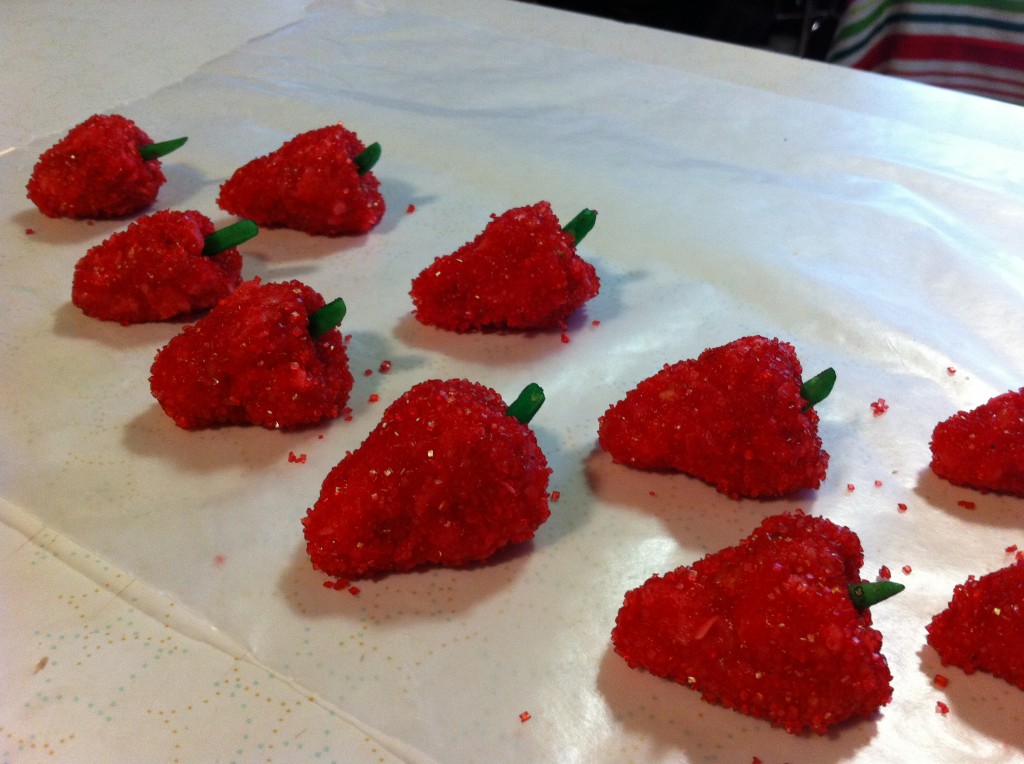
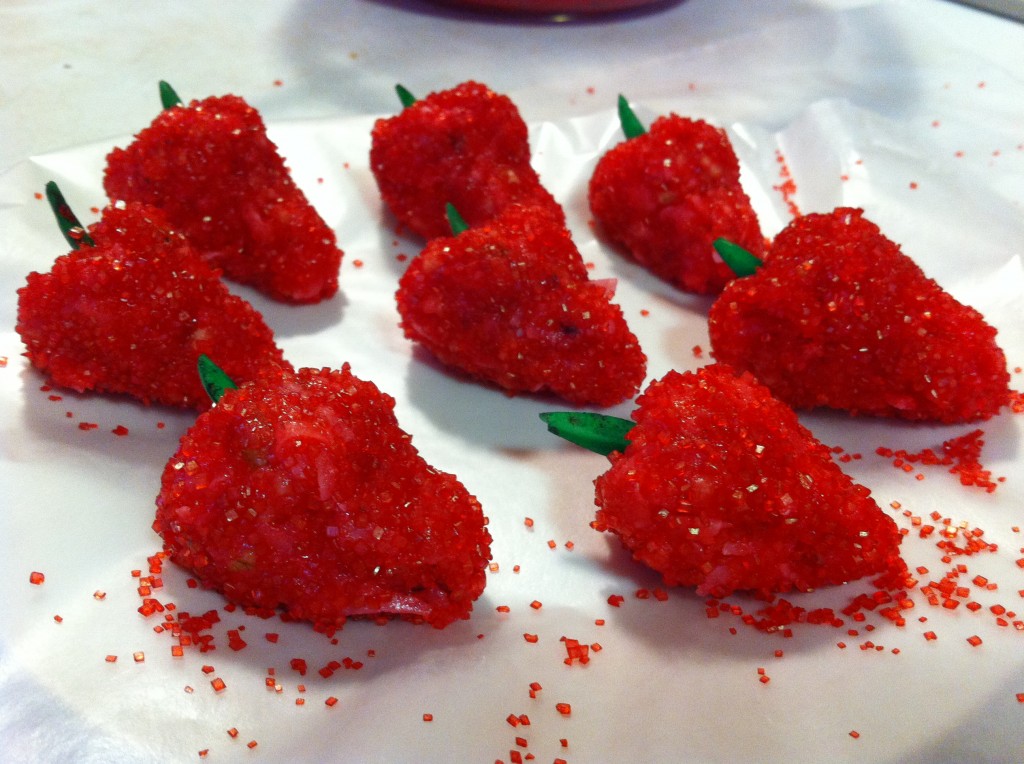
They look so pretty when they are made. The bright red color of the sanding sugar will add a splash of color to your holiday table.

On these cold and icy days here in mid Missouri, some strawberries in winter sure sound good!

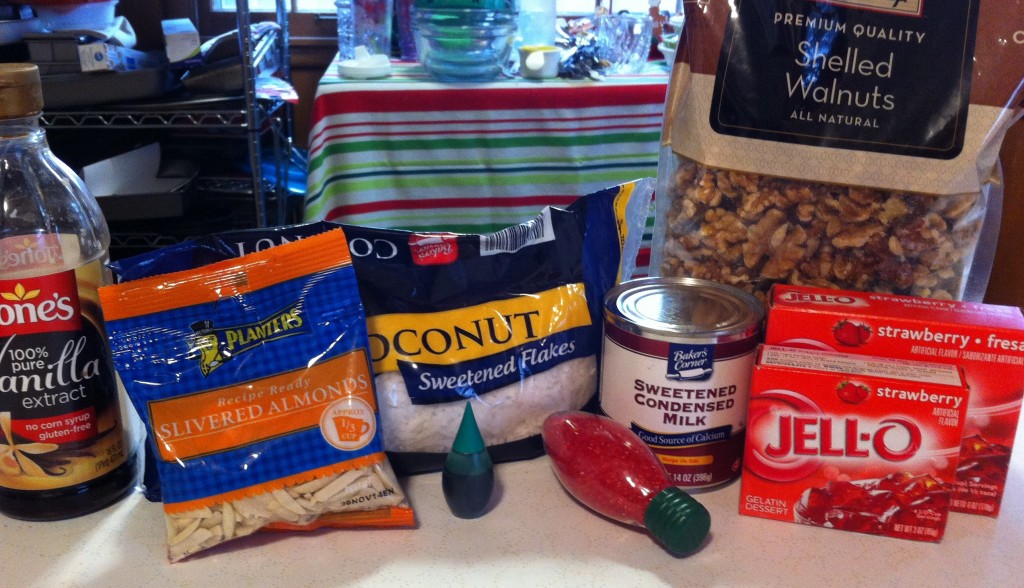
Here is all you need to make these delightful candy strawberries.

The candy is made from sweetened condensed milk, coconuts, chopped walnuts, vanilla and jello. The outside is rolled in red sanding sugar and the stem is made from greed dyed almonds.

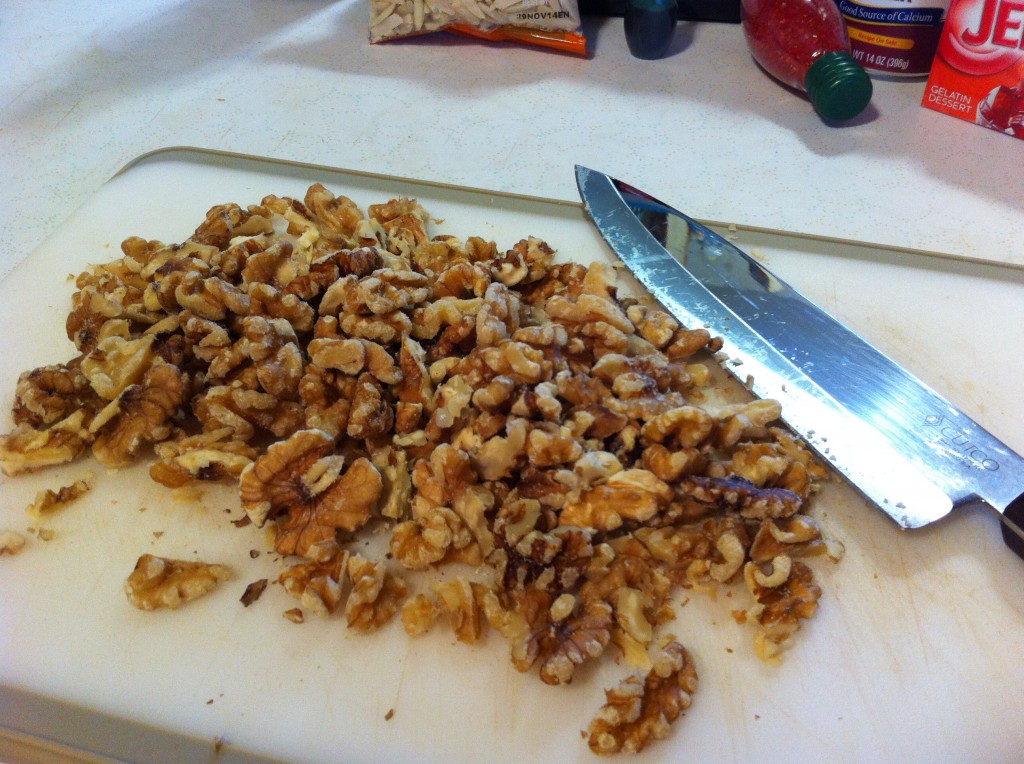
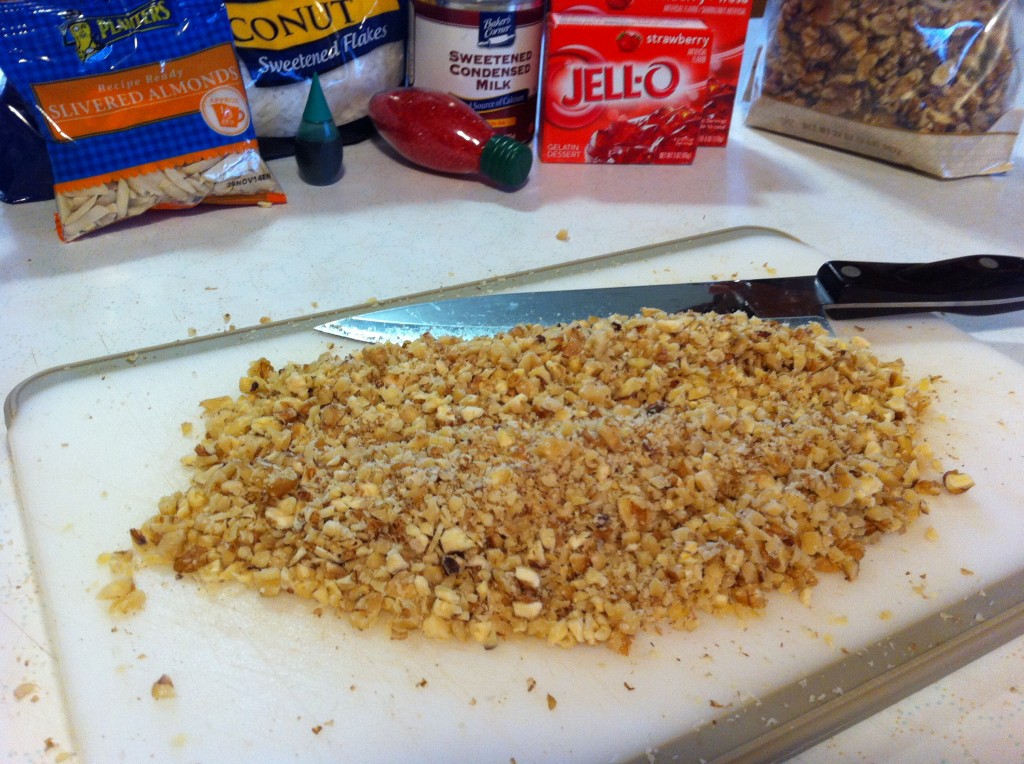
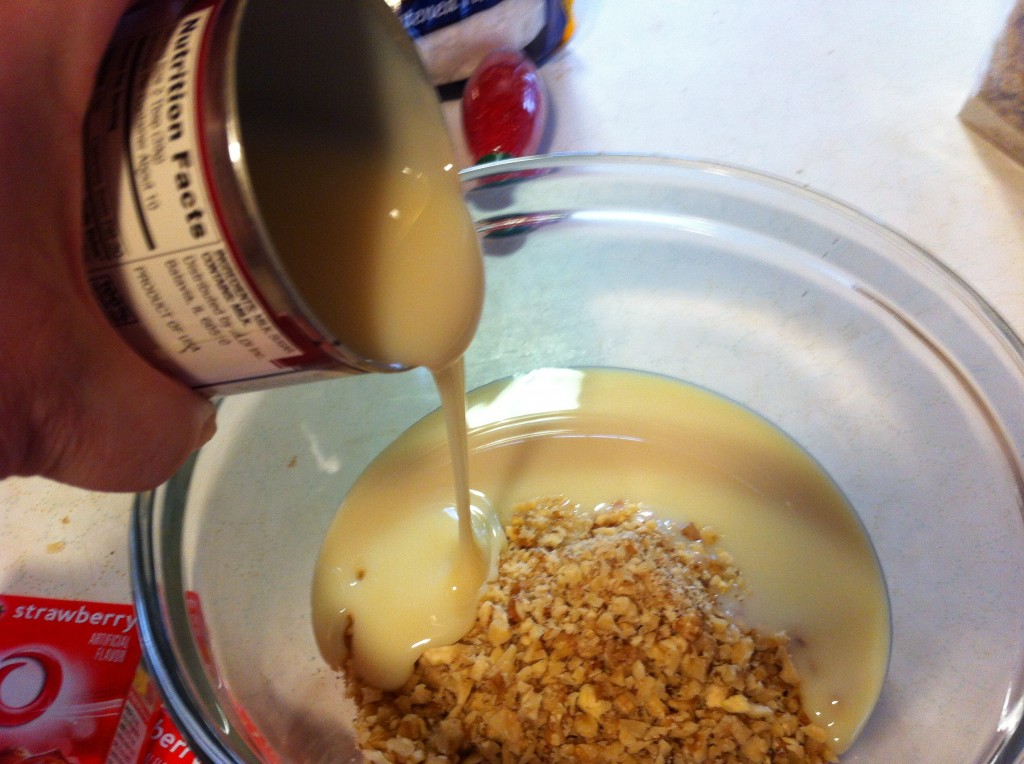
The first thing you need to do is chop the walnuts. I chopped them in pretty small pieces.

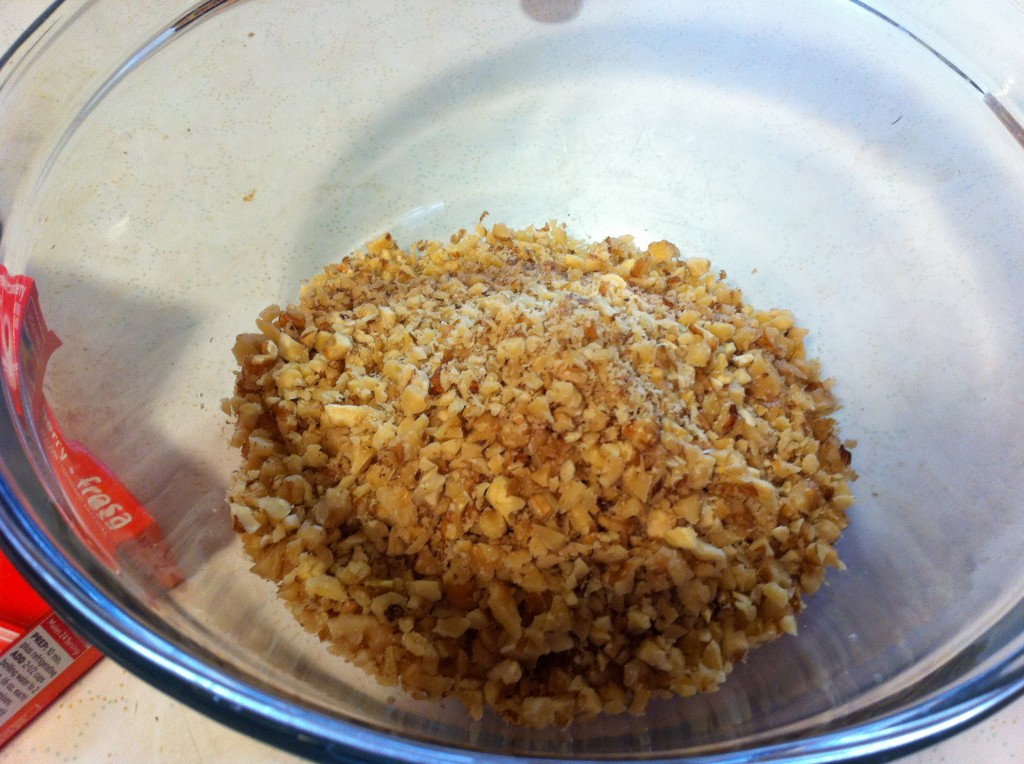
Place the chopped walnuts in a medium size bowl.

Next, pour in one can of sweetened condensed milk.


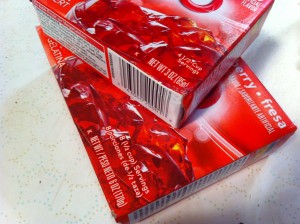
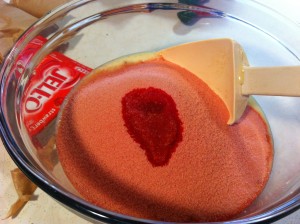
You will need 3–3 ounce packages of strawberry jello. I just used a 6 ounce size and a 3 ounce box. Pour the jello to the bowl with the sweetened condensed milk and chopped walnuts.


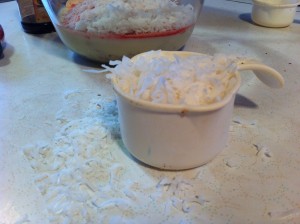
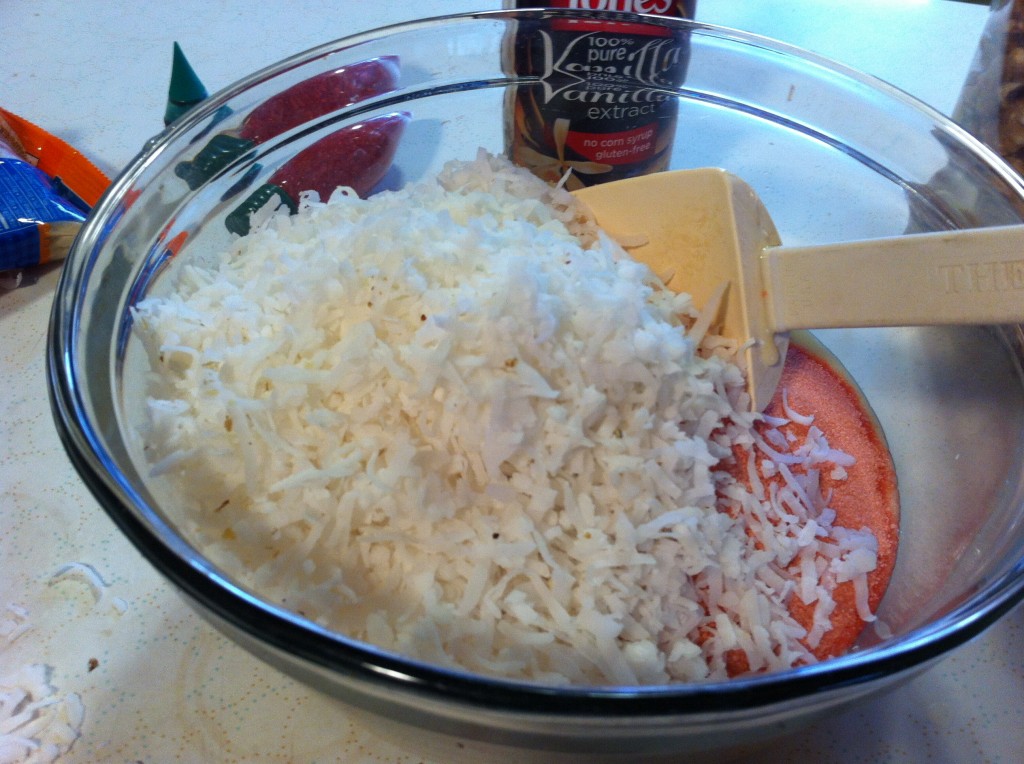
Add the vanilla to the bowl and measure out the coconut.

Add the coconut to the strawberry jello mixture.

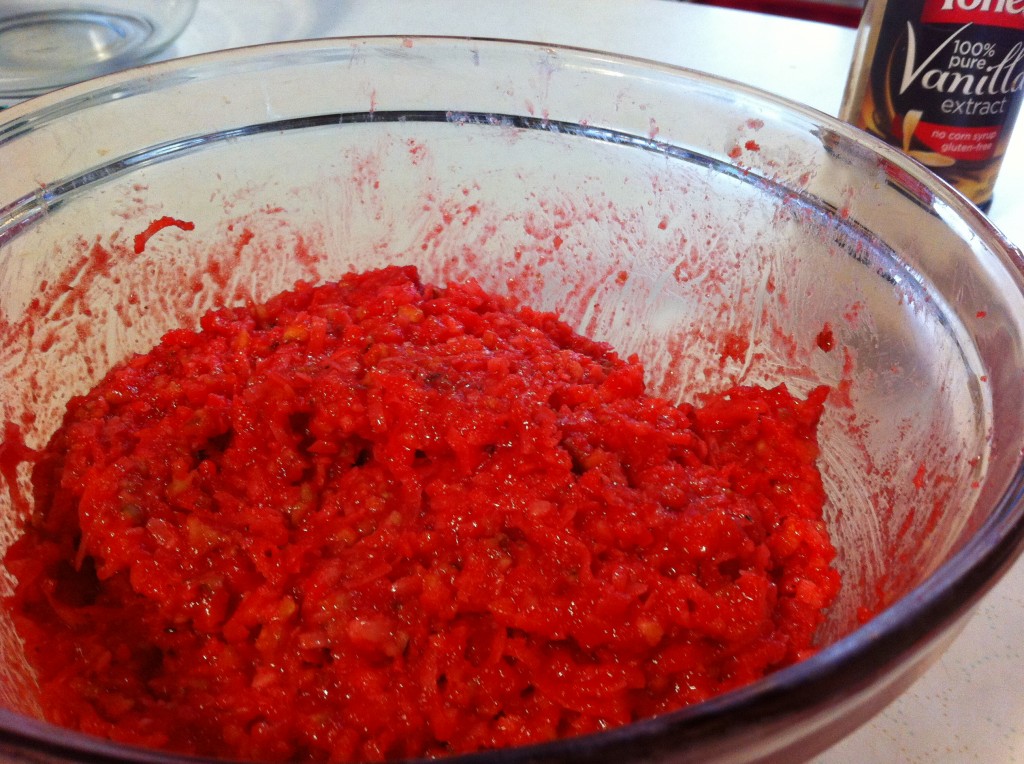
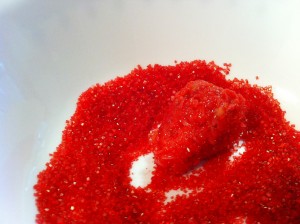
Stir everything together until all the ingredients are coated and you cannot see the white of the coconut. Now it is time to refrigerate the candy mixture for one hour to firm it up.

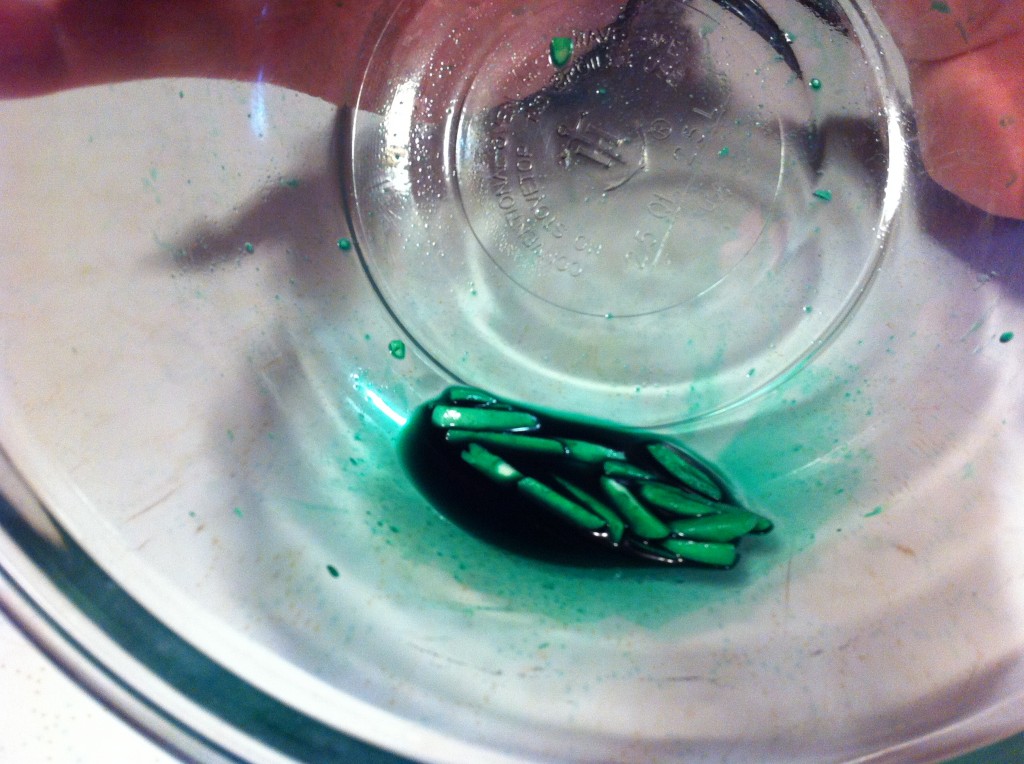
While the candy mixture is firming up in the refrigerator, you can dye some slivered almonds green for the strawberry stems. To do this just squeeze some food coloring into a bowl, add a bit of water, and then just stir you almonds around until they are coated in green food coloring.

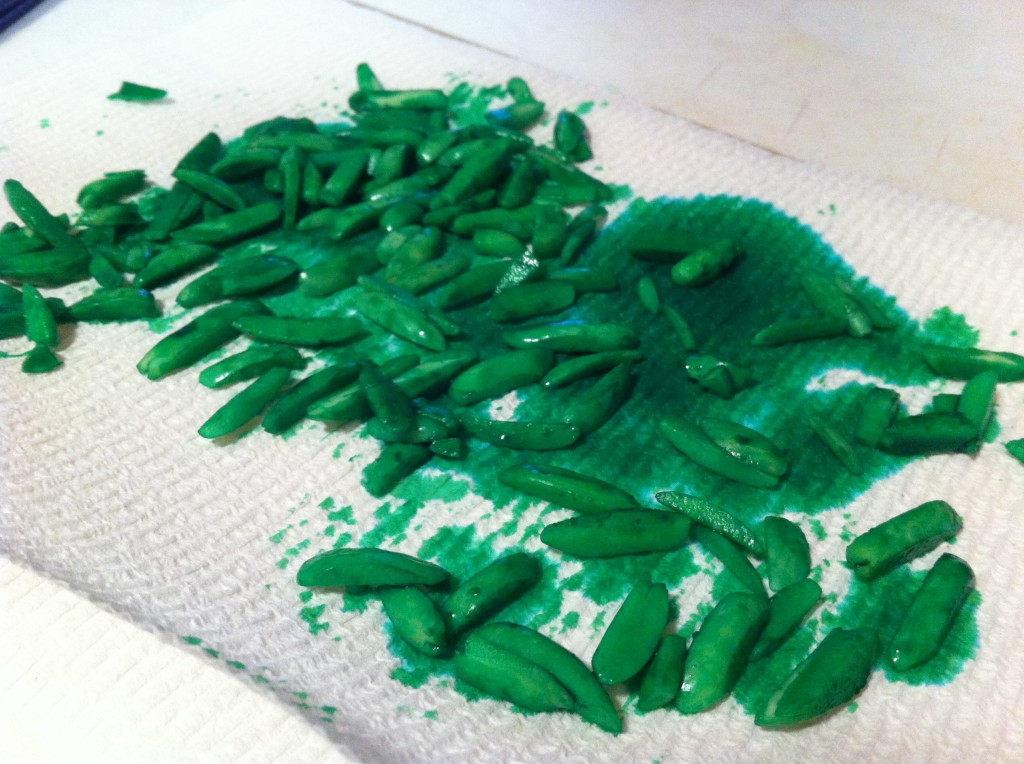
After, I got the almonds all dyed, I just scooped them up and put them on a paper towel to dry.


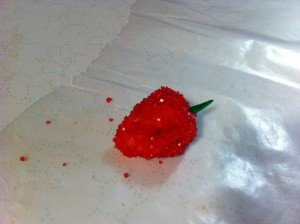
Here is the first one I made. I took the jello mixture and formed it into a strawberry shape. I then took it and rolled it in red sanding sugar. After that I put it on wax paper and inserted the dyed almond in the end for the stem.

I was really surprised that forming the strawberries did not turn my hands red.

You can have these made in no time.

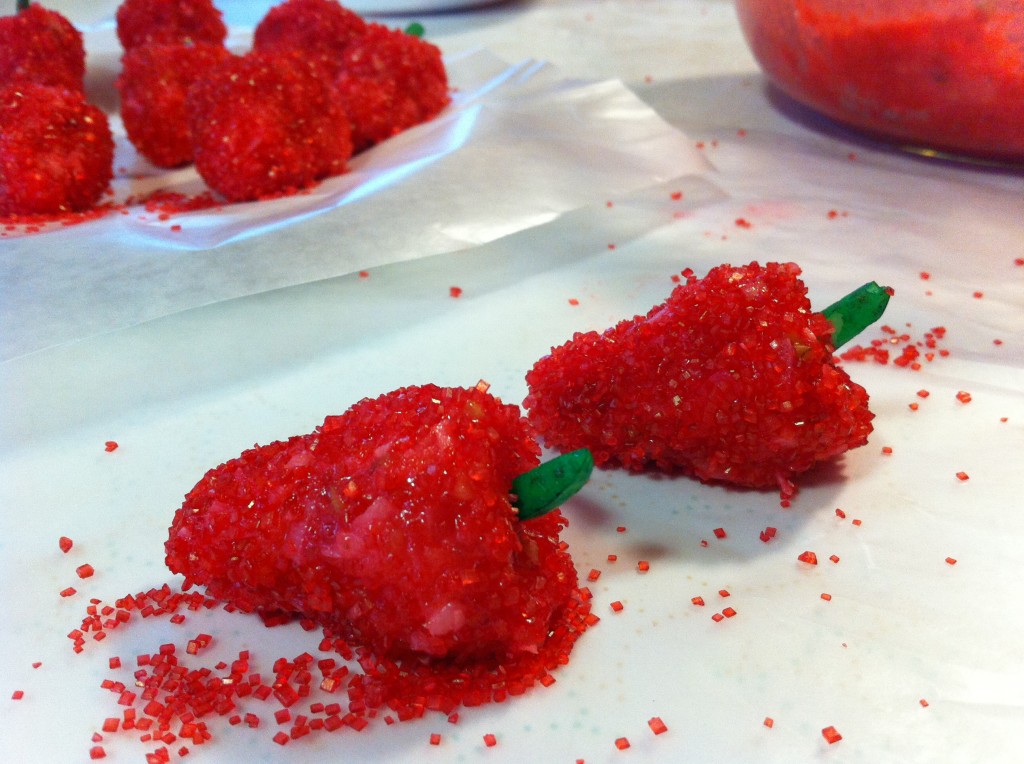
After you get done, just put them in the refrigerator to firm up. The sugar coated hardens up slightly to add a nice coating. Keep them in the fridge until you are ready to bring them out to your guest. They will be amazed that you were able to make them strawberries in winter.

Just in case you were wondering, I did return the old cookbook to my student, but not before I copied a few more recipes “gems.” All of which I will share of course. : )

Here is the recipe:

Adapted from Old Silver Dollar City Cookbook

Ingredients:

1 1/2 cup chopped nuts (I used walnuts)

1 1/2 cup flaked coconut

3 (3 ounce) packages of strawberry flavored gelatin

1 (14 ounce) can sweetened condensed milk

1 teaspoon vanilla

1/2 cup red colored sanding sugar (I think I used a little more than that)

1 small package of slivered almonds

Green food coloring

Directions:

In a medium mixing bowl, combined the nuts, sweetened condensed milk, gelatin, coconut and vanilla. Combined until all the ingredients are well blended. Set in refrigerator for one hour.

Meanwhile, dye your slivered almonds in a small bowl with green food coloring and a little bit of water. Place the almonds a paper towel to dry.

When the strawberry mixture is chilled, shape the mixture into strawberry shapes and roll in the red colored sugar.

Place a green dyed almond in the end for a stem.

Place in the refrigerator until you are ready to serve.

These strawberries makes winter a little less cold.

Here are a couple recipes links, I thought you might like also.


Cracker Toffee                           Buttermilk Chocolate Cookies   

Happy Holiday Baking,

Becky

Related Posts Plugin for WordPress, Blogger...