A few weeks ago, there was a sale on strawberries at my local organic grocery store. They had reduced the price of their strawberries down to .99 cents for 16 ounces.
Woo…hoo!
It was a great time to offer a preserving cooking lab for my advanced foods class using fresh strawberries. So, I showed my classes how to make freezer jam. I try not to get on my soap box too often here on the webpage. In saying that, I promise I won’t stand on it for too long. but, I feel that preserving food is an essential lesson for students.
The preserving foods lab lesson offers the students the opportunity to; cut, chop, follow a recipe, measure, and participating in, start to finish, the techniques in taking a fresh food item and turning it into preserved food, such as jam. Last semester, we took pie pumpkins and made; pumpkin seeds, pumpkin puree and lastly pumpkin pies (with home made crust). You can read about the pie pumpkins here.
This semester, my beginning foods class took the remaining pumpkin puree and made these astonishing delicious pumpkin pancakes with home made caramel sauce. (I promise I will post those recipes soon.) It was refreshing to see how many different food items we could make from the pumpkin puree. Now, my classes were making freezer jam.
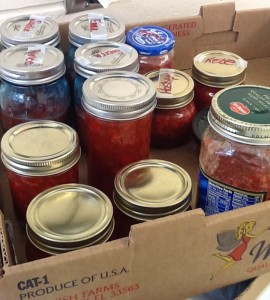
Here is one box of freezer jam, about to go into the fridge. You can refrigerate freezer jam for up to 3 weeks if you want to use it right away. Since the students were going to make Southern 7 UP biscuits to eat the jam on, we just put the jam in the refrigerator. Students brought their own containers from home to put their jam in. When we were done with the biscuit lab, the students were able to take their left over jam home….that is if there was any left over to take home.
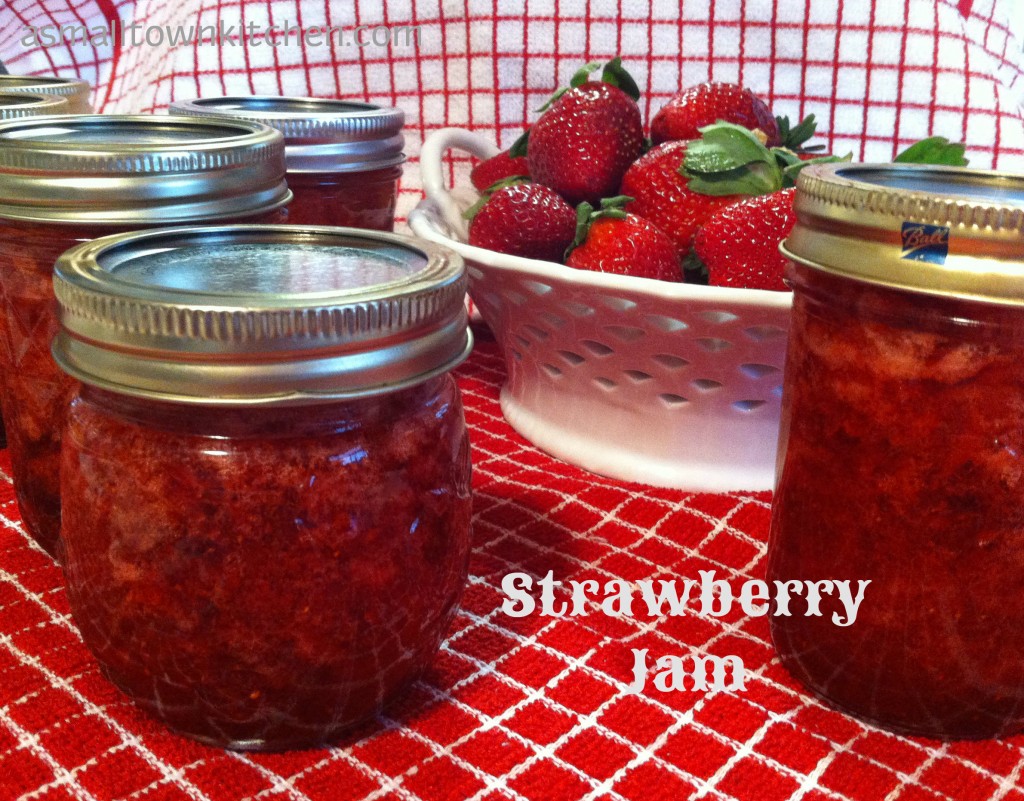
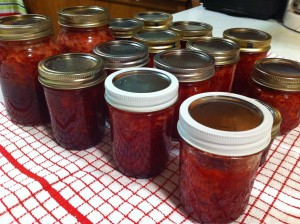
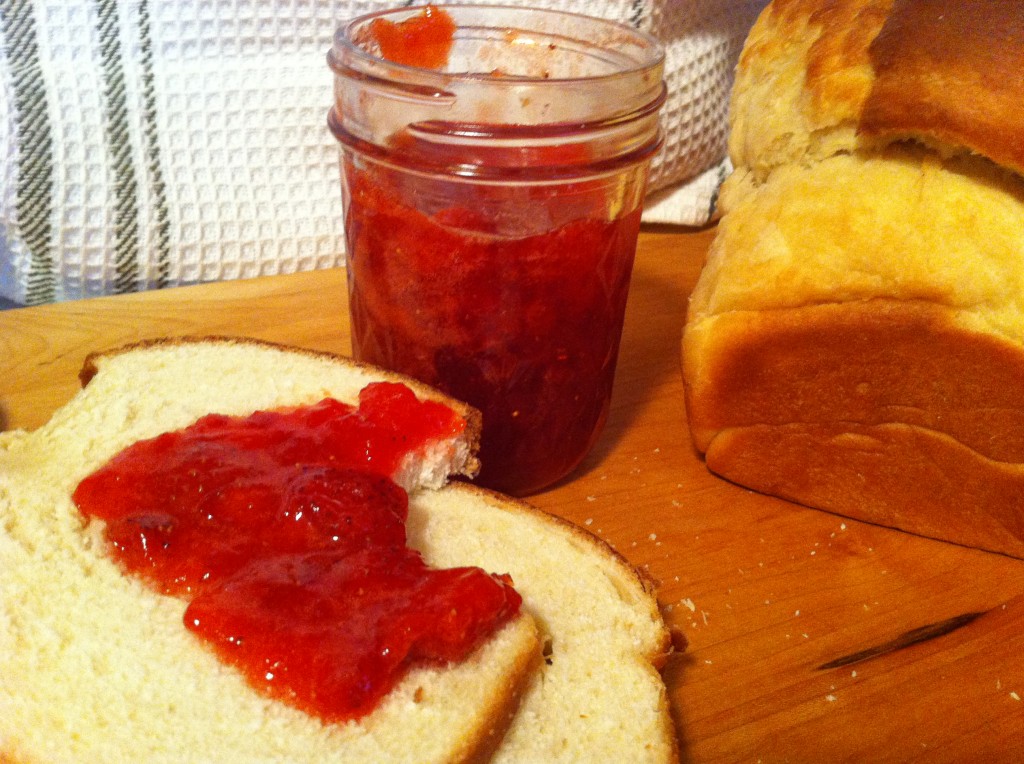
Well anywho, since I was out of freezer room at home, I decided to take my strawberries and make cooked strawberry jam. I could process the jam in jars and then be able to store the jam in my pantry. In the three weeks or so since I made the jam, I am not sure how many I have left. It is funny how many pieces of toast you can eat when you have fresh jam to slather on top. Not that I know anything about that. : )
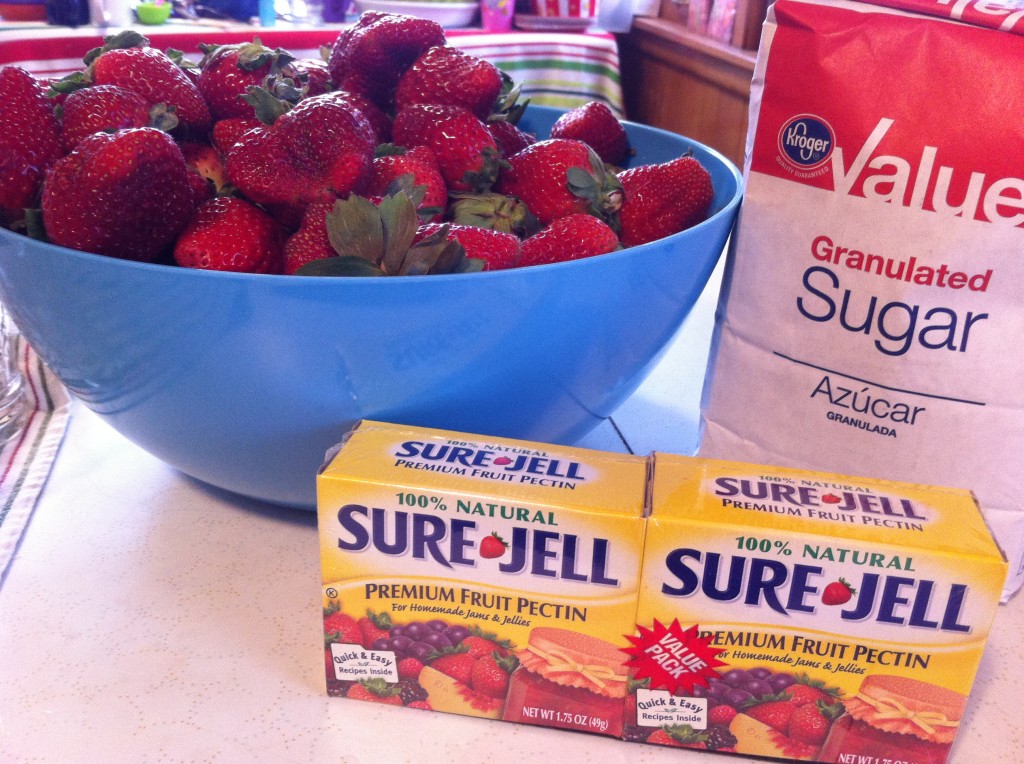
Don’t feel you have to wait until it is strawberry season in your area to make some jam. If you are able to find some strawberries that are on sale during the off season, give this basic, simple and delicious strawberry jam recipe a try. Here is what you need.
You will need strawberries (of course), sugar, and sure jell fruit pectin
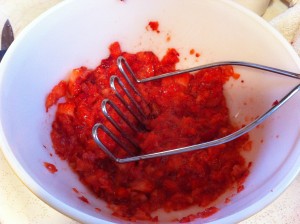
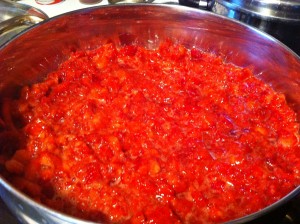
The first thing you do is, cut the green stem off the top of the strawberries and slice up. Take a potato masher and mash the strawberries. Put the strawberries in a large sauce pan.
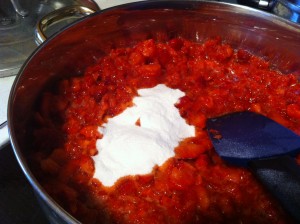
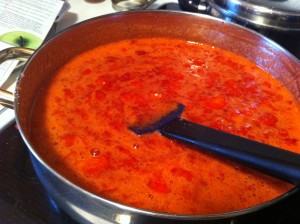
Add in the contents of the box of pectin and cook the strawberries and pectin together until the mixture comes to a FULL boil.
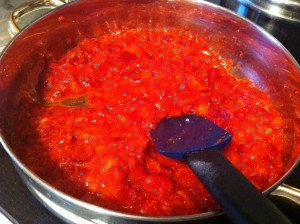
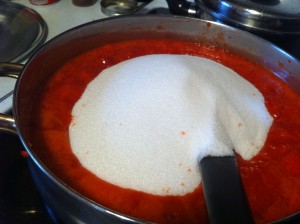
When it comes to a full boil, quickly add in the sugar and stir. Return the mixture to a full boil.
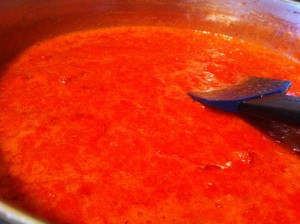
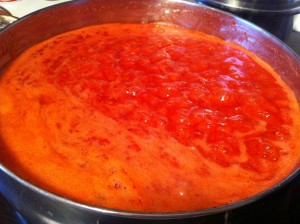
When the mixture comes to a full boil, boil for ONE minute, stirring constantly.
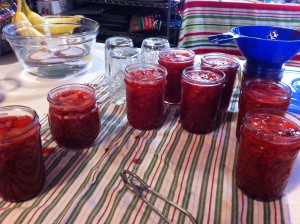
Ladle the jam into sterilized jars to within 1/8 inch from the top. (you want less air in the jar as possible). Wipe the jar rims and threads. Cover with two piece lids. (screw bands and the flat lids that have the little rubber circle edge).
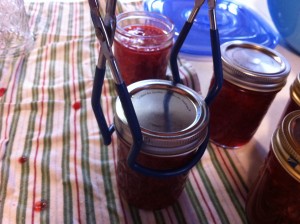
Screw the bands tightly. Place jars on elevated rack in canner.
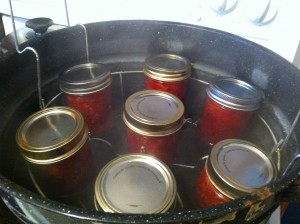
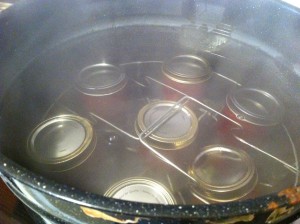
Lower rack into the canner. Water must cover jars by 1 to 2 inches. Cover, and bring water to gentle boil. Process for 10 minutes.
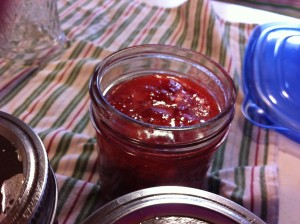
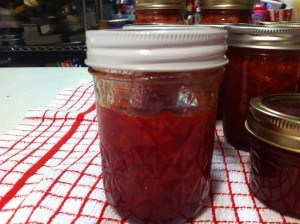
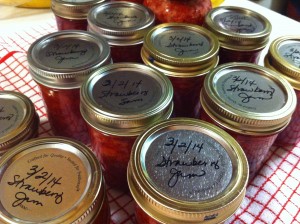
I did not process this jar, as I did not have enough jam to go to the top, so I put it in the refrigerator for us to enjoy now. Let the processed jam stand at room temperature for 24 hours. Store processed jam for up to one year. Be fure to lable the jam with what kind of jam and the date you made it. Refrigerated jam for up to 3 weeks. Note: that jar of jam that went into the refrigerator did not last one week ; )
See, that is all there is to making strawberry jam.
Here is the recipe:
Recipe Adapted from the Sure Jell directions located inside the box of pectin.
Ingredients:
5 cups crushed strawberries
7 cups sugar
1 –1.75 ounce box of Sure Jell
Directions:
1 Bring boiling-water canner, half full with water to a simmer.
2. Sterilize and wash jars and screw bands with soapy water and rinse with warm water.
3. Pour boiling water over the lids and let stand until you are ready to use them.
4. Measure exact amount of crushed strawberries into a 6 to 8 quart sauce pan.
5. PRE MEASURE the sugar into a seperate bowl, so you will have it ready to add to the strawberries when the time comes.
6. Add the contents of the box of pectin into the crushed strawberries and stir.
7. Bring the strawberry and pectin mixture to a FULL rolling boil, stirring constantly.
8. Quickly add in the premeasured sugar.
9. Return the strawberry, pectin and sugar mixture to a FULL roiling boil. Boil for exactly ONE minute.
10. Ladle the hot jam into the jars. Fill the jars, 1/8 inch from the top. Wipe the rim and threads of jar clean of any spilled jam.
11. Put a lid on the top of the jar and then screw on the band, tightly.
12. Put the jars of jam in a elevated rack in the canner. Lower the jars into the canner.
13. Boil,the jars (making sure there is 1 to 2 inches of water over the top of the jars) for 10 minutes.
14. Take the jars out of the canner and let sit at room temperature for 24 hours. You should start hearing the lids pop as the jam cools, forming a airtight seal.
Now all you have to do is find an excuse to try some.
Enjoy!
Becky
Other post you may enjoy:
Brown Sugar Meatloaf Molasses Cookies Poppy Seed Bread with Glaze
