How did you spend last weekend? Shopping for Christmas? Staying inside where it was warm?
I wish I could have joined you! I am not quite sure how to worked out that Company and I installed the floating row covers over the strawberry plugs right when those Canada freezing winds made it all the way down to Missouri!
BRRRRRR…….
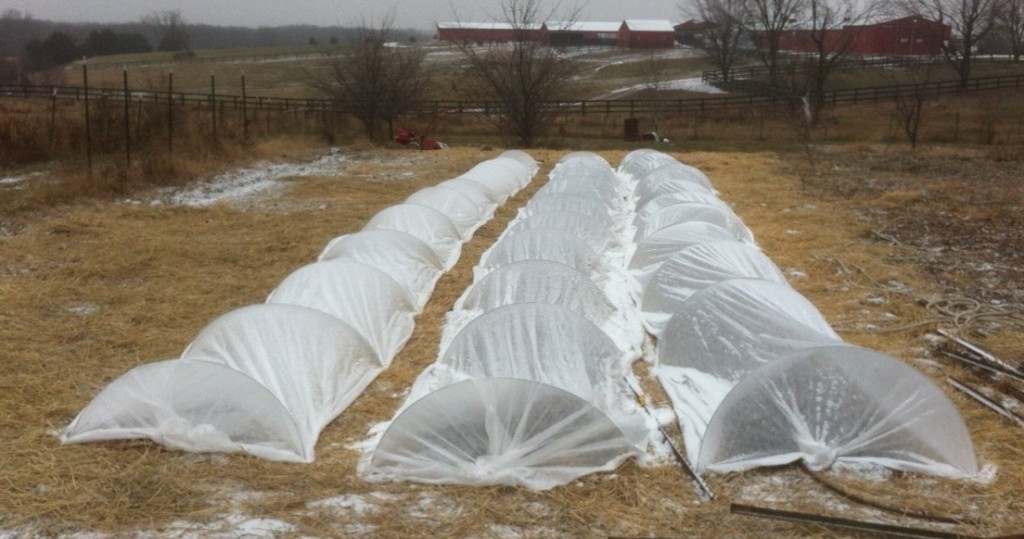
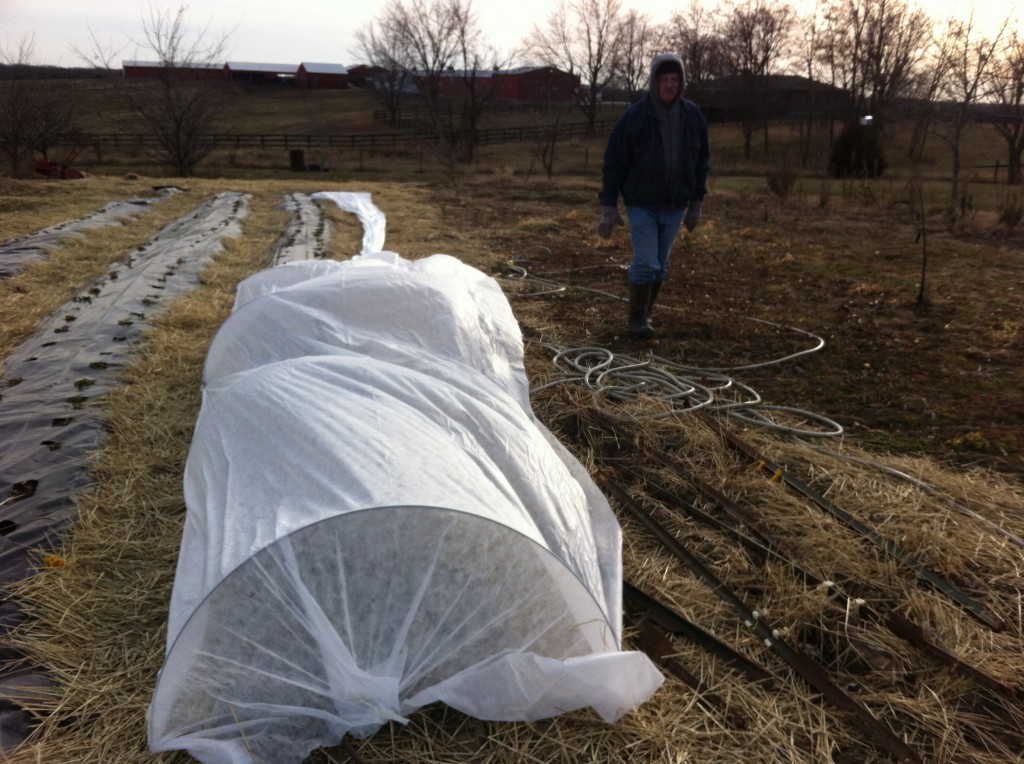
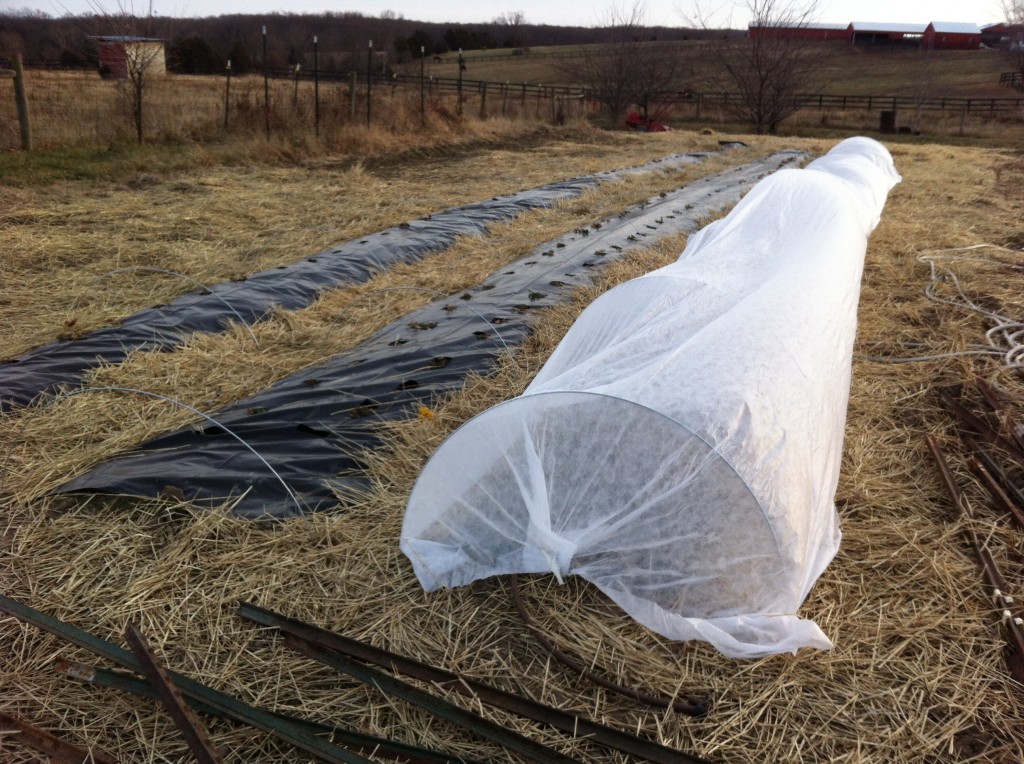
Underneath those ghostly looking fabric covered hoops, are the strawberry plugs (all 250 of them) that we planted back in October. The trick about installing the row covers, from what I have read, (cause you know that I have not done this before) is that you have to let the strawberries have a few cold nights so they will go dormant. If you install the row covers too early, the strawberries will not go to sleep for the winter, so we decided to wait and watch the weather. Thanksgiving weekend the weather was in the 60’s, we decided to wait one more week. Little did I know, waiting one more week, we would be installing these things in 20 degree weather with a wicked wind blowing on us.
I kept making excuses to go to the house to warm up. Company, on the other hand stayed out there working away in the cold. The biggest snag we hit was that we ran out of landscape staples to put in the ground to hold the row covers down over the hoops. We wasted a lot of time running to several stores trying to find them. It had something to do with them being out of season. Go figure!
Anywho, if you want to extend your garden a little longer into the winter, you can install a floating row cover over your garden rows. If you decide to do that, I would put the fabric down with staples on one side of the hoops and use small sand bags on the other, so you can take the sand bags off the fabric easily to get to the veggie goodies you are growing under them. For us, we covered the strawberries for the winter to hibernate and to keep the frost, sleet and snow off of them until we peek at them in February.
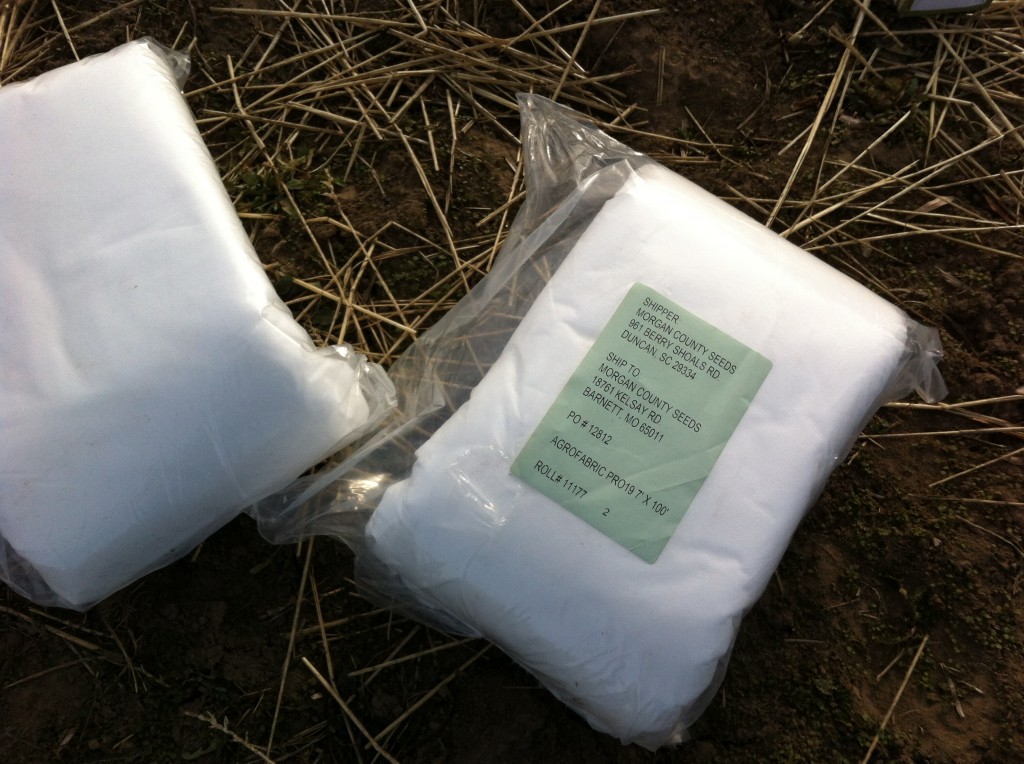
To install row covers you will need some kind of agrofabric. We use the 19 weight, but if are wanting to continue growing longer into the fall you can get heavier fabric. I ordered ours from our locally owned garden center. We had 3-sixty foot long rows, so I ordered two packages of 7 foot wide 100 feet long.
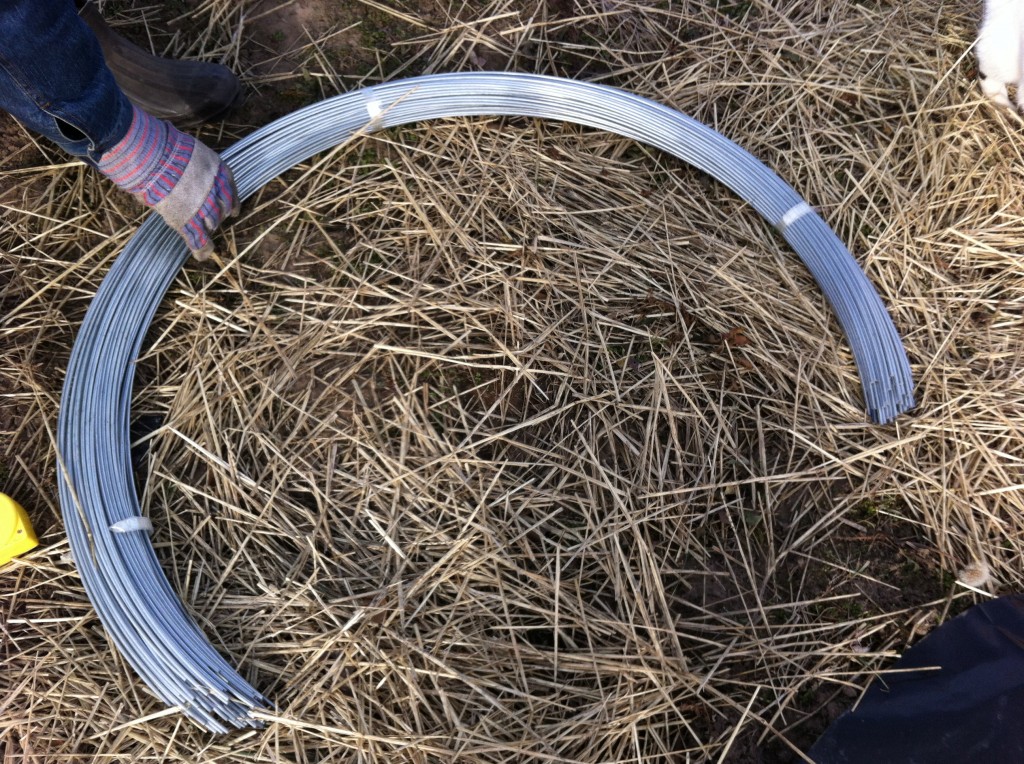
You will also need wire hoops to go into the ground. I ordered a package of 100 and we used 13 for each row. So…we have plenty left over for other projects, I can dream up.
You also need landscape staples. We ended up finding them at Menards for $2 for a pack of 50. We bought a bunch of packs so we would not run out.
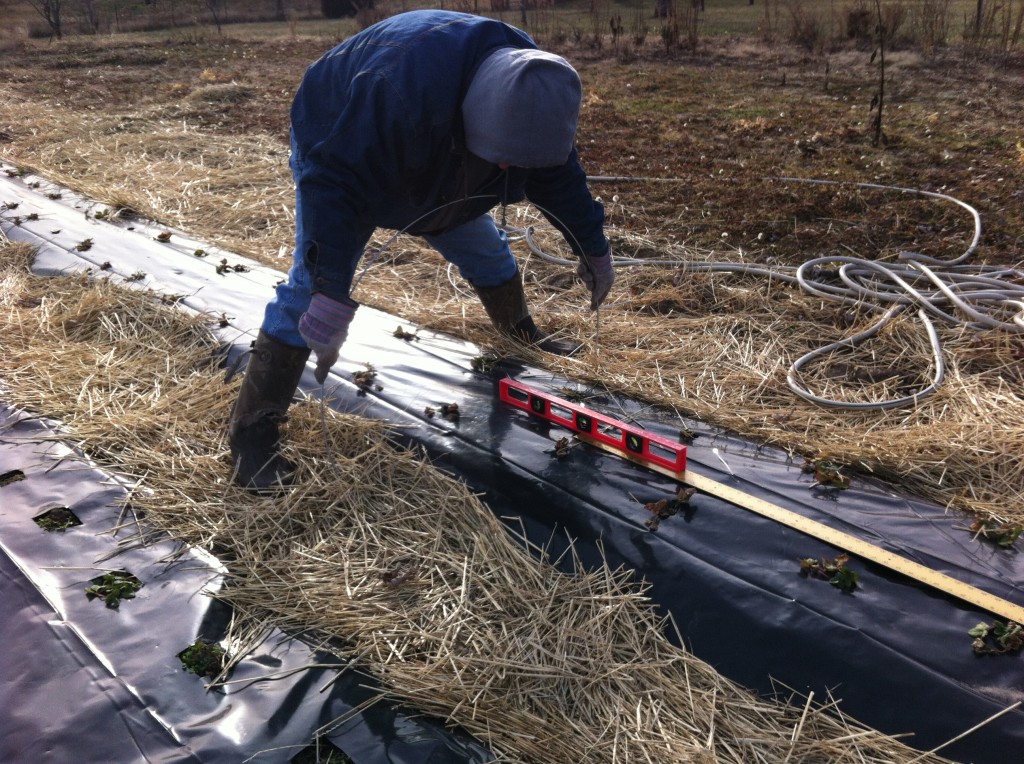
The first thing you do is put the wire hoops about 5 feet apart. Company had to measure each time to make sure they were 5 feet a part…it must be a guy thing. We were lucky that they went pretty easily into the ground.
The next thing we did was start covering the hoops with the fabric. The wind was blowing like crazy, so this took longer than I thought it would.
Here is our first row all covered up.
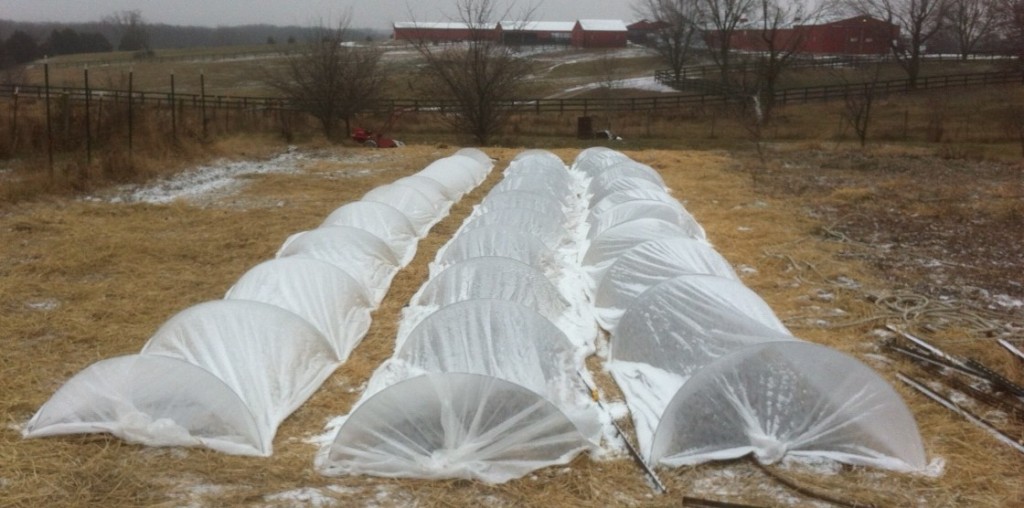
Here is a picture of the rest of strawberries all tucked in for winter. Yippee!
If you missed the earlier post and complete start to finish photos of our strawberry plug project here are the links.
The Strawberry Project Part One.
The Strawberry Project Part Two
The Strawberry Project Part Three
Please keep your fingers crossed for us that come spring, we will have fresh strawberries to pick and share!
It might take until spring for us to thaw out!
Becky
