Here chicky, chicky, chicky…..
Tomorrow (Tuesday) is the big day I get my 6 chicks. I will be picking them up after I get off work. Oldest grandgirl is so excited. She helped me carry all the necessary equipment from my car and into the garage, where we will be setting up the brooder.
I have never done this before, and I asked a lot of questions and got a ton of answers from my friends who already have chickens. They are just about as excited as grandgirl and I are.
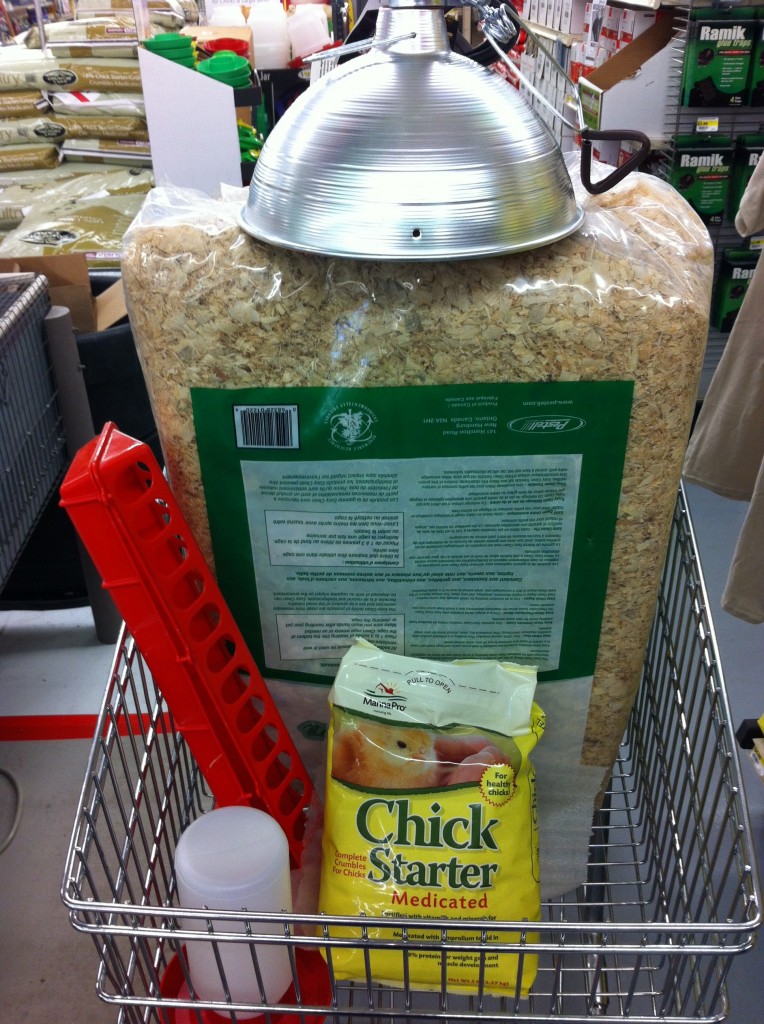
Here is a picture of my cart at the feed store yesterday. I also purchased a red heat bulb and some bedding.
My friends and the feed store, told me I needed a container to put the little chicks in.
I could not decide what to get. The feed store sold these washable cardboard fence things that went in a circle and it had a stand for the heat lamp. I could also use a little kids swimming pool, or, I could talk Company into building some kind of wooden box for me. Yesterday, when I went to his house, he had two very large rubber maid containers he was not using. “Can I pretty please borrow (never return) one of your containers?” So, it about a minute, the rubber maid container was loaded in the car.
Now, what do I need next?
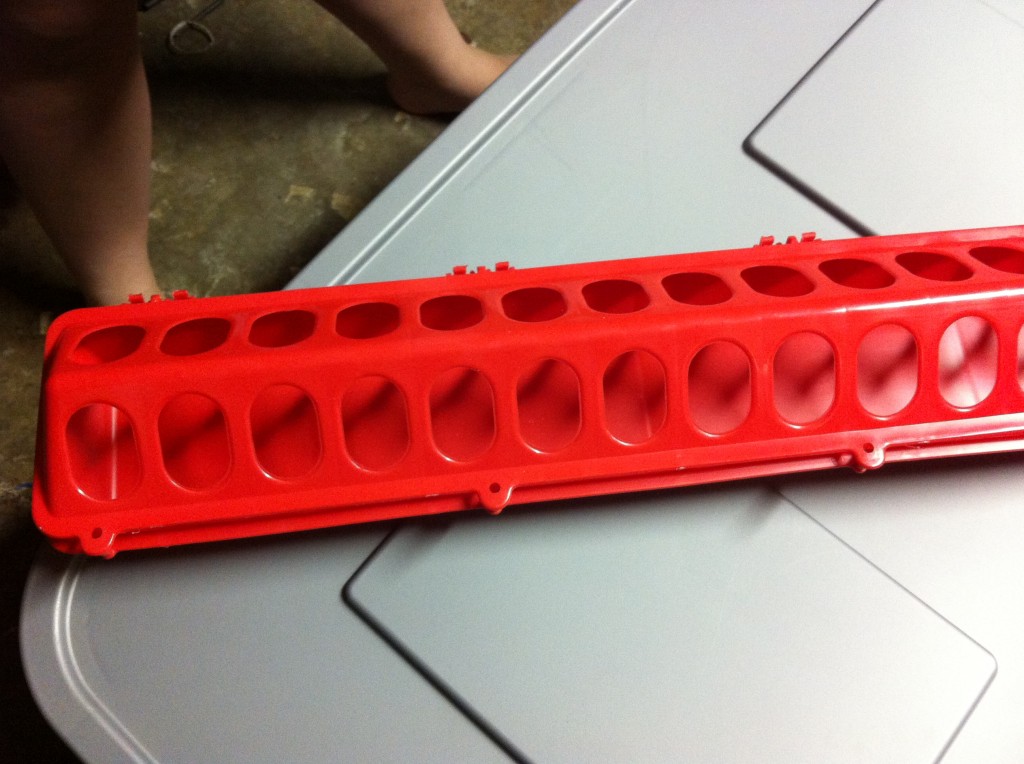
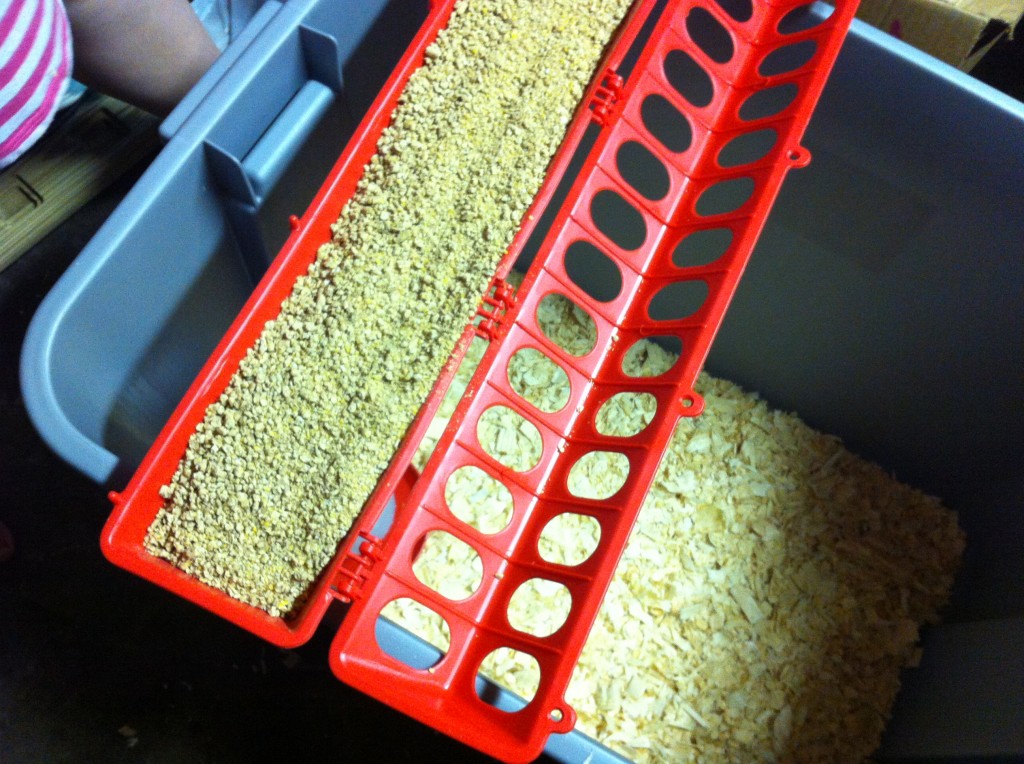
I need a feeder. The feed store recommended this one, because the little chicks cannot roost on it of it and poop in the food, sound tasty…NOT! It is also too large for the little chicks to knock over.
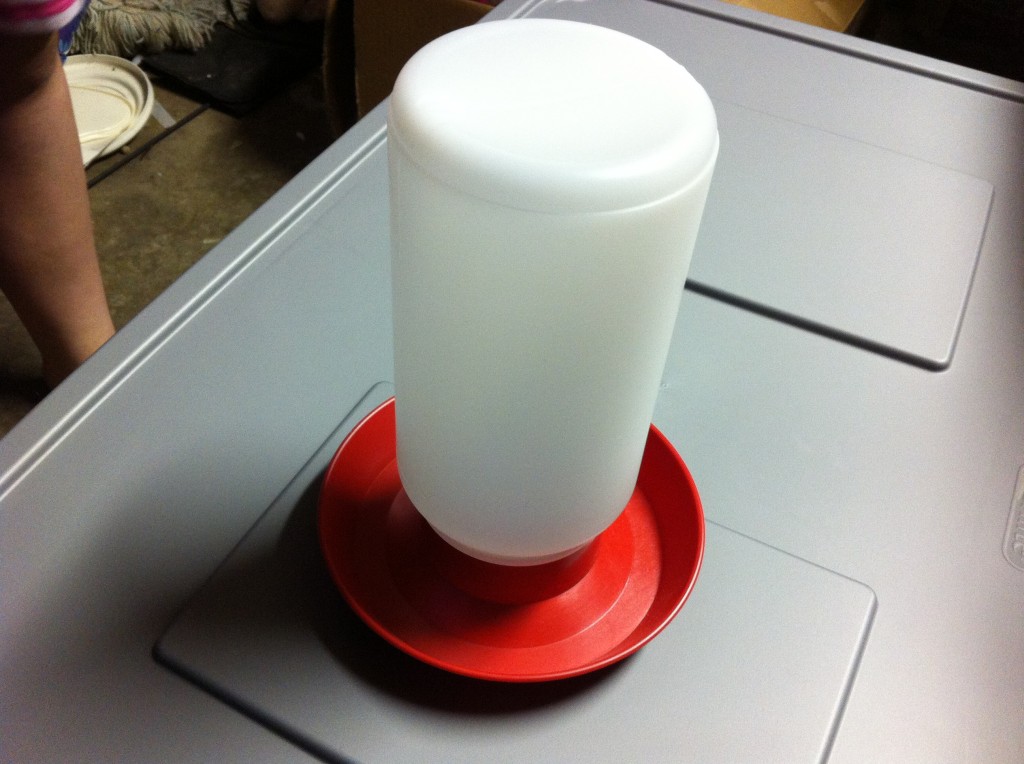
Little chicks need lots of water. I decided on this water container, because this is what the feed store was using to water their chicks. It is also a little smaller and would not take up so much room in the bottom of the container.
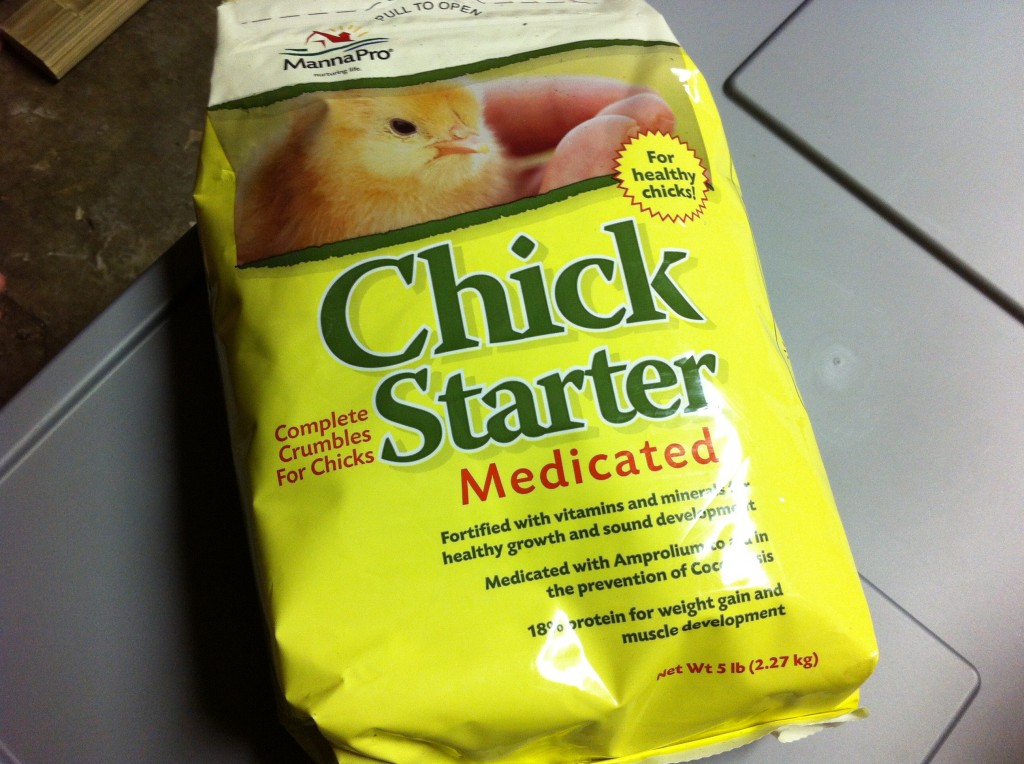
You need some chick food. This is what was recommended to me. It is medicated to prevent disease and help with growth.
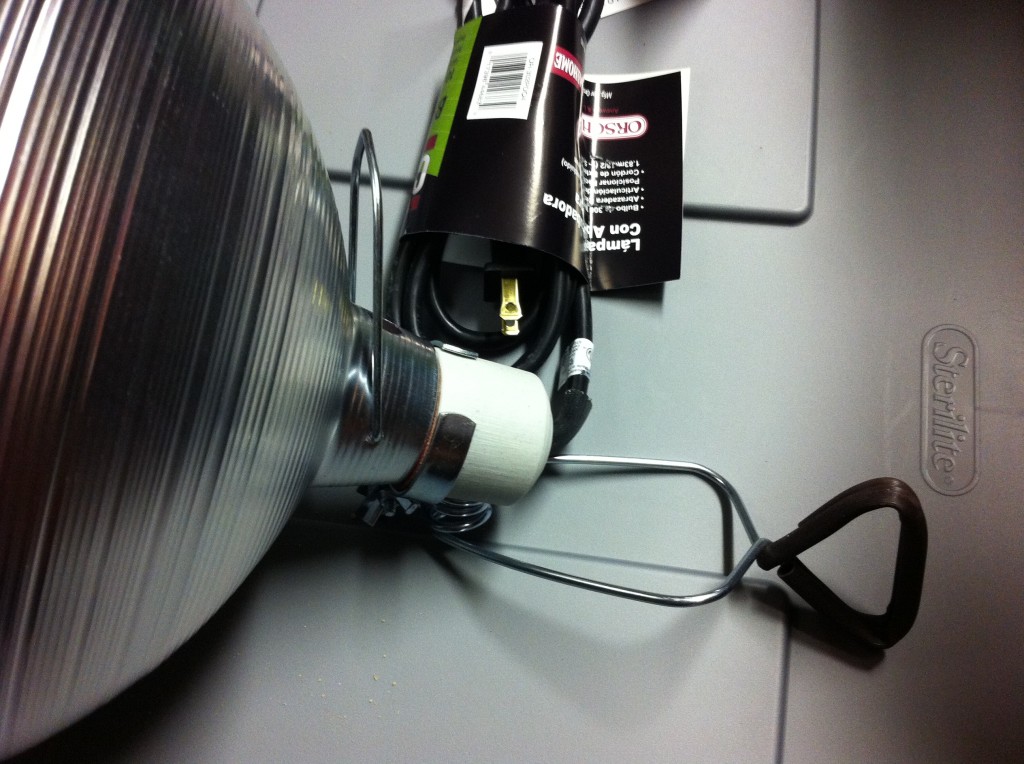
You need a heat lamp. This one has a guard that goes in those little holes on the edges.
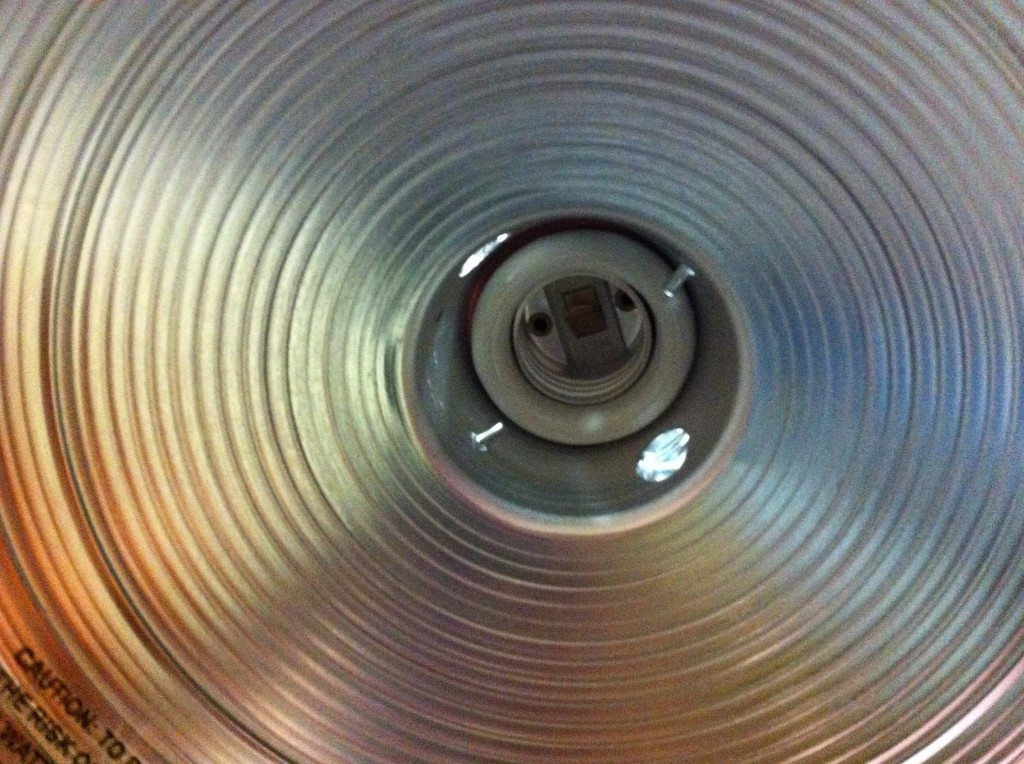
The feed store also wanted to point out that I should buy a heat lamp that had a ceramic bulb fitting for safety.
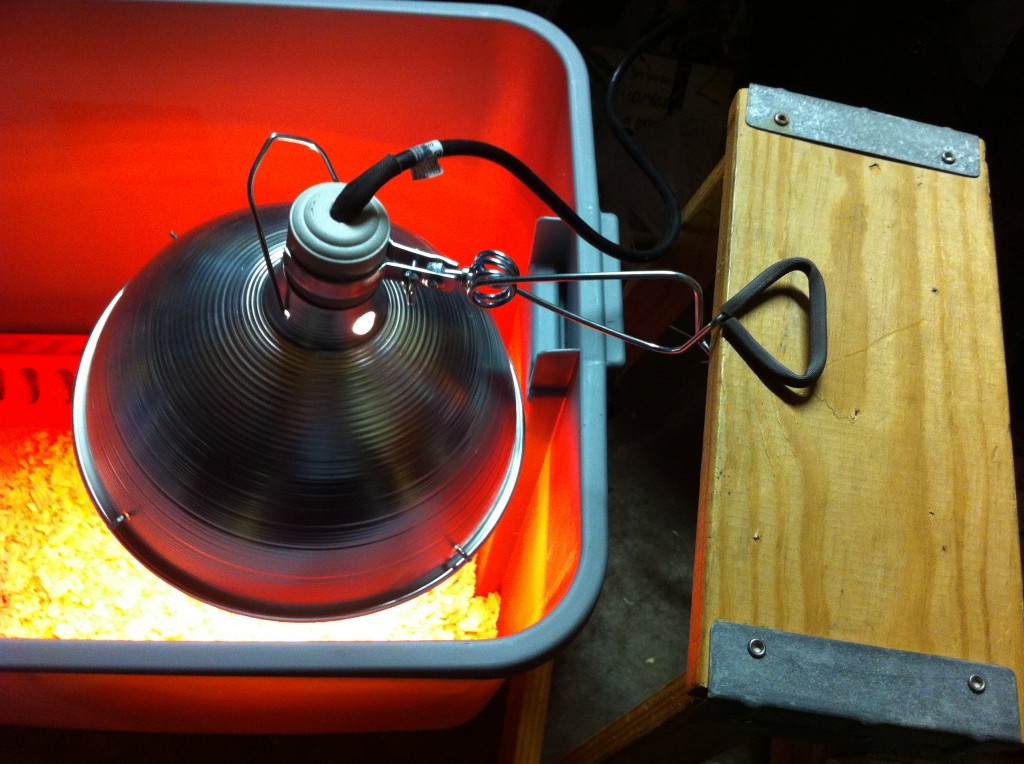
The heat lamp, has a clamp in the back to clamp on something to hold it up, it also has a hanger to hang it up. Whatever works best for you.
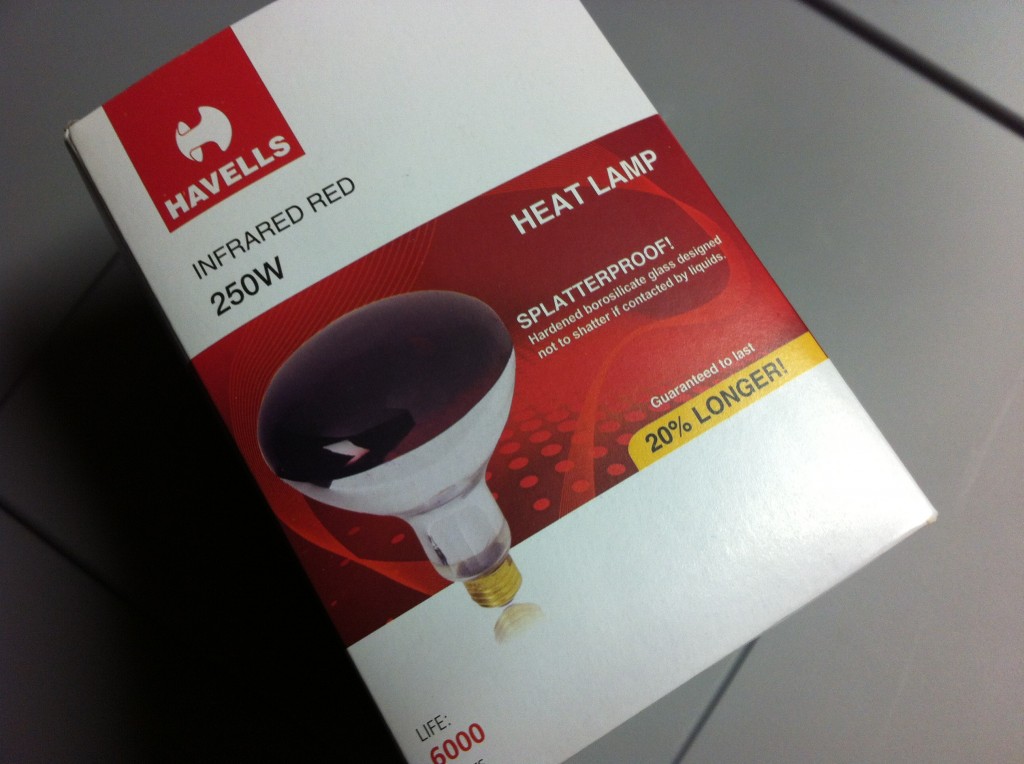
My friends and also the feed store recommended the red heat bulb. It is like three times more expensive, but with the bulb being red, the little chicks are less likely to peck on one another.
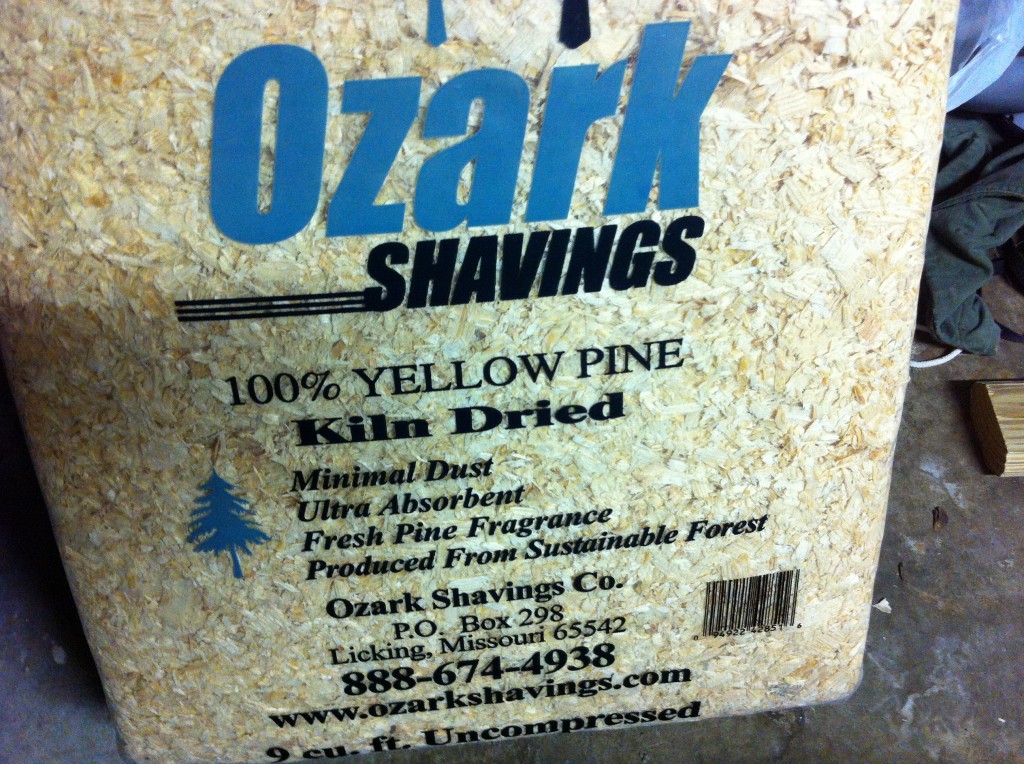
Since the little chicks are pooping machines, I needed some pine shavings to line the bottom of the container. This was the kind the feed store recommended and it was on sale…wooohooo! Do not use cedar shavings, as those are harmful to little chicks.
Now I need to set up the brooder.
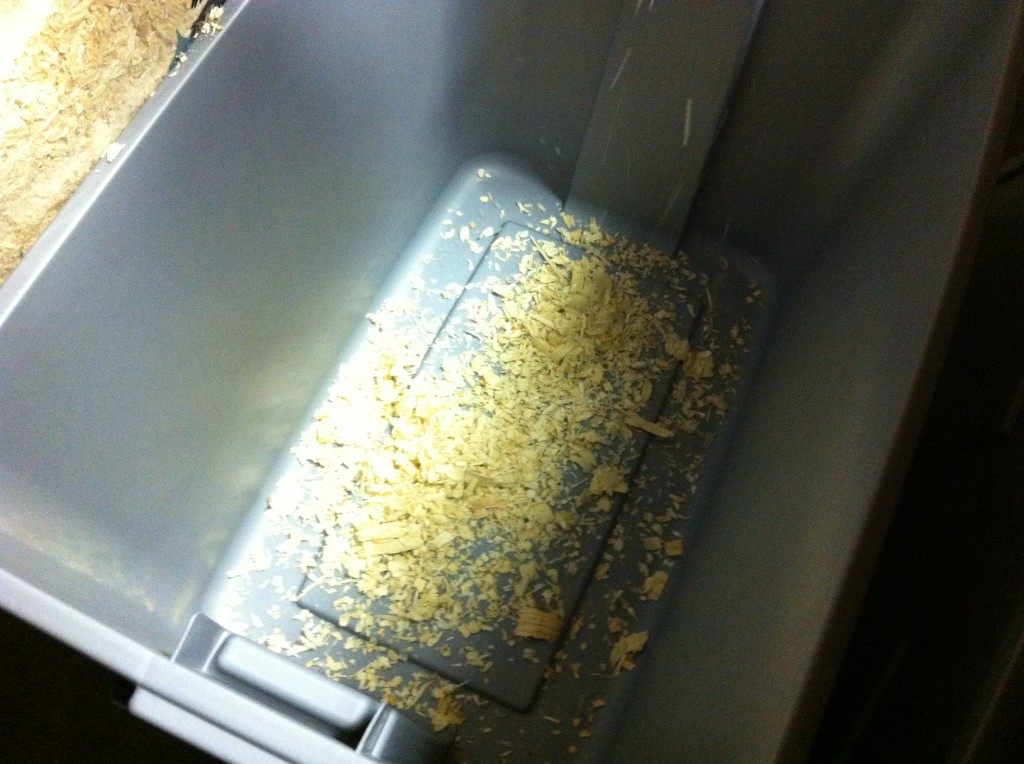
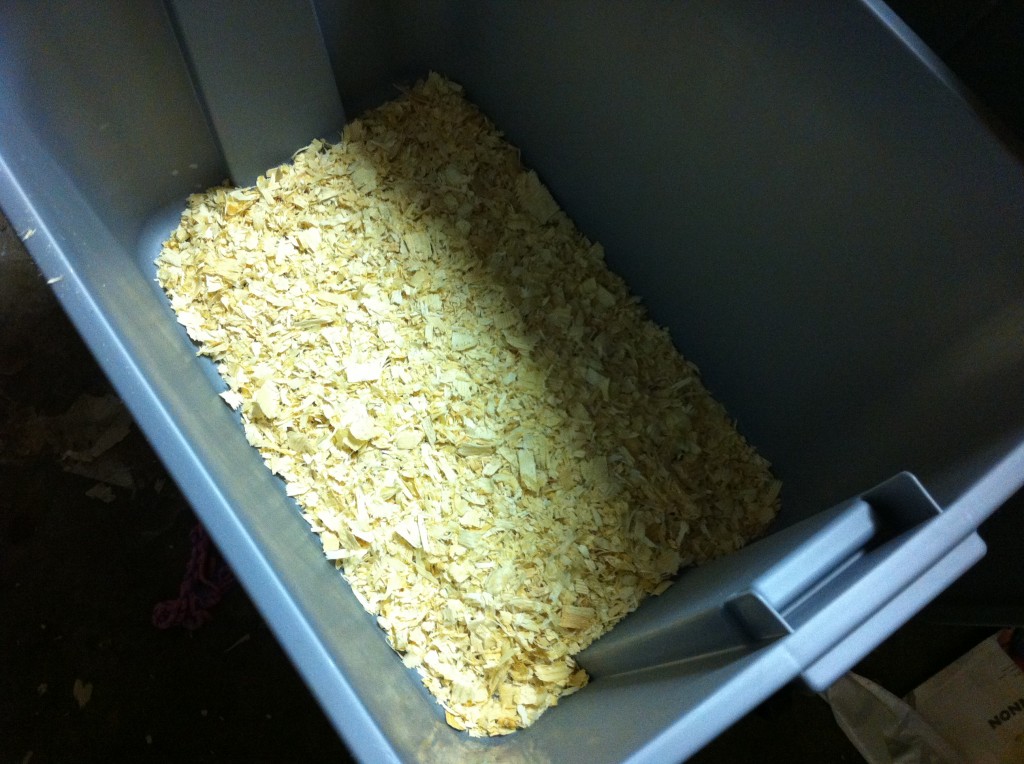
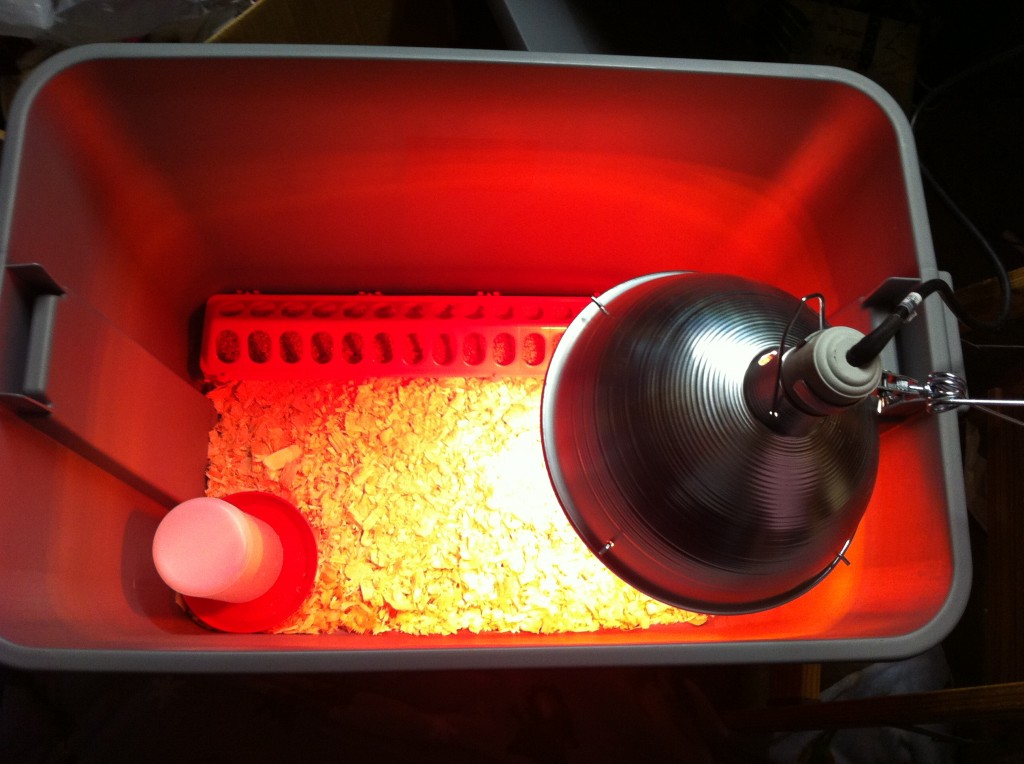
Oldest grandgirl filled the bottom of the Rubbermaid container with pine shavings. I had her do about 2 inches deep. I am going to check tomorrow if I need newspapers on the bottom underneath, or maybe paper towels. But, I don’t think I need them.
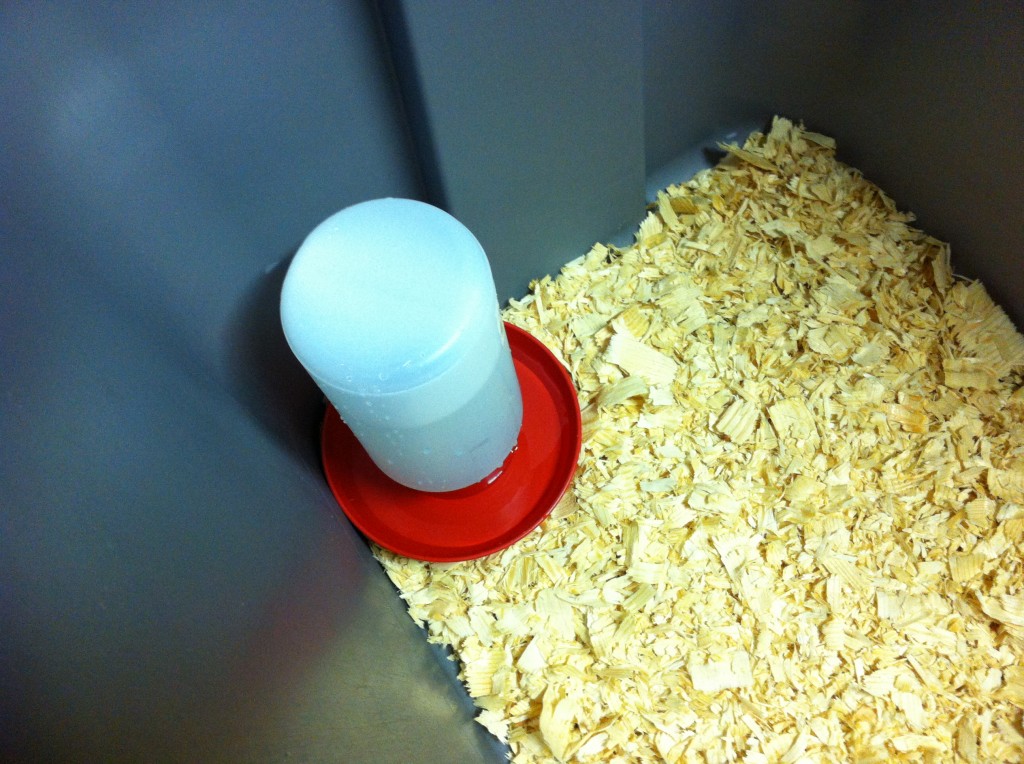
We filled the water container up and put it in the corner. We wanted the water to be at room temperature when the little chicks get a drink so they do not get chilled from drinking cold water.
Grandgril filled the feeder with the chick crumbles, and we set it down against one side of the container.
Now, we had to figure out how to set up the heat lamp. The heat lamp needs to be in one corner of the brooder. The chicks can go to the corner to warm up, but can go play around and chase each other in the rest of the container. The heat lamp is low enough to get the temperature up to 90 to 95 degrees for the first week. Then you can raise the lamp, thus lowering the temperature by 5 degrees every week until the temperature gets down to 70 degrees. (at least that is what my book says.)
Anywho, this lamp kept causing me problems. I put the brooder next to a built in work bench and I thought I could just clamp the lamp to it. The thickness was a little to big, and even though I got the lamp clamped on, it was lose and I was afraid it would fall in the brooder. I contemplated nailing the clamp down, which would work temporarily, but if I needed to adjust the height of the lamp, I would have to figure something else out later.
I finally settled on this little wood step stool that was just the right height (for now) and the board was the right thickness to easily clamp the heat lamp to. I think when I need to raise the lamp, I can just put bricks or wood on the floor and put the step stool on it to raise the height.
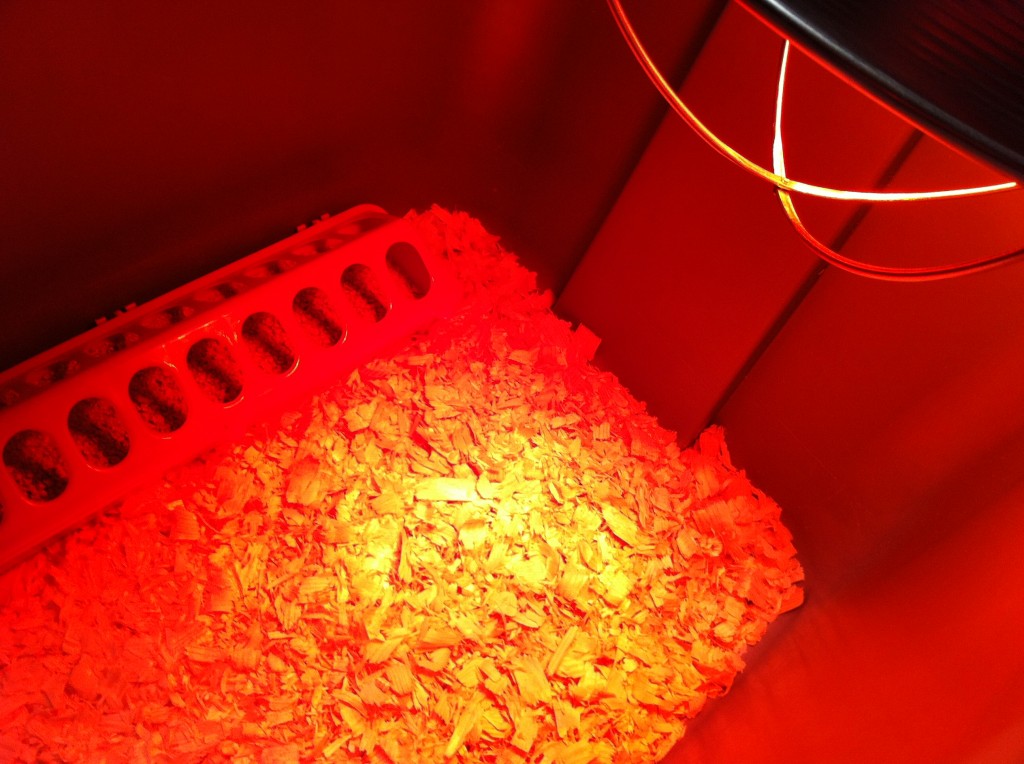
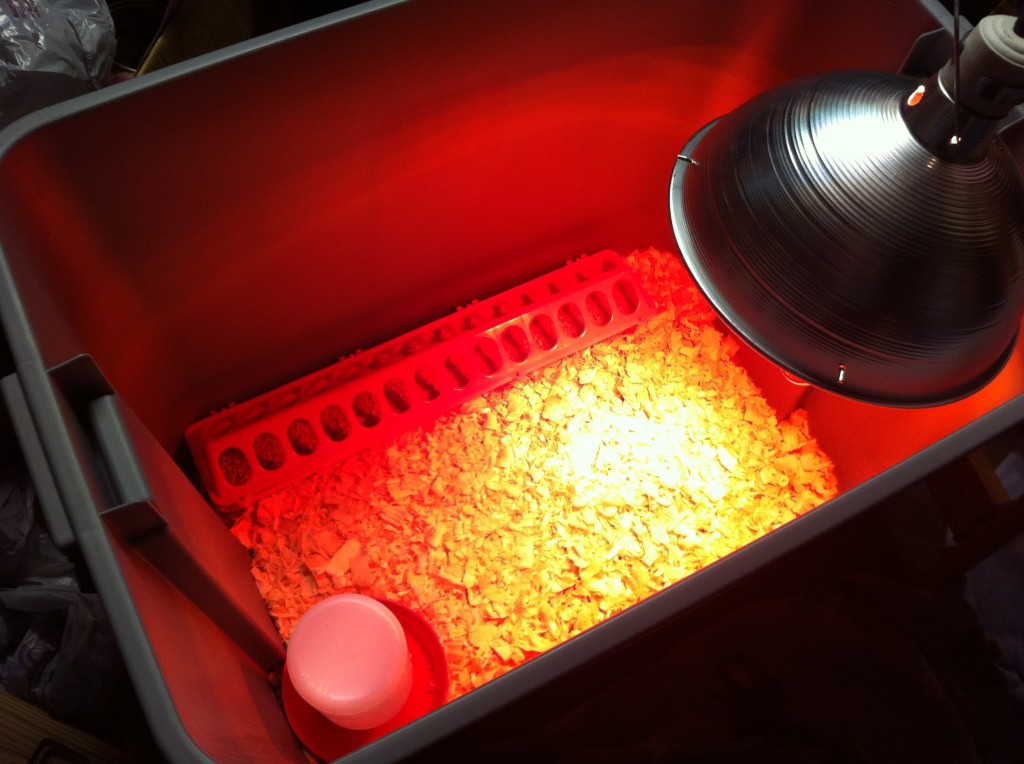
Here is a peek inside the brooder with the red light on. You can see that the wire guards are on now.
Waaalaaaa….here is my brooder! All ready to go. Now, if the chicks get too big for this container….well….I will worry about that tomorrow ; )
Now, all I need is some chicks.
I hope I know what I have gotten myself in to.
Becky

I will be interested in cost per egg. Are you sure you are not my neighbor?
Minerva!!!! Hello!!! Well, it will be a long while, if ever, I break even on the chickens. But, we are all out in the garage watching those little chicks jump and play and poop. It has been a fun evening! I plan on having a “nice looking” chicken area so if ever the neighbors peek over my privacy fence, it will look good!