Apple Crisp

It took me a while to get the hint.

Over the course of the last several weeks, Oldest daughter who does not cook, suggested that apple crisp sure sounded good.

She said in once.

Then twice.

Then suggested that, when I had time, she’d love to have some homemade apple crisp.

Is that a hint?

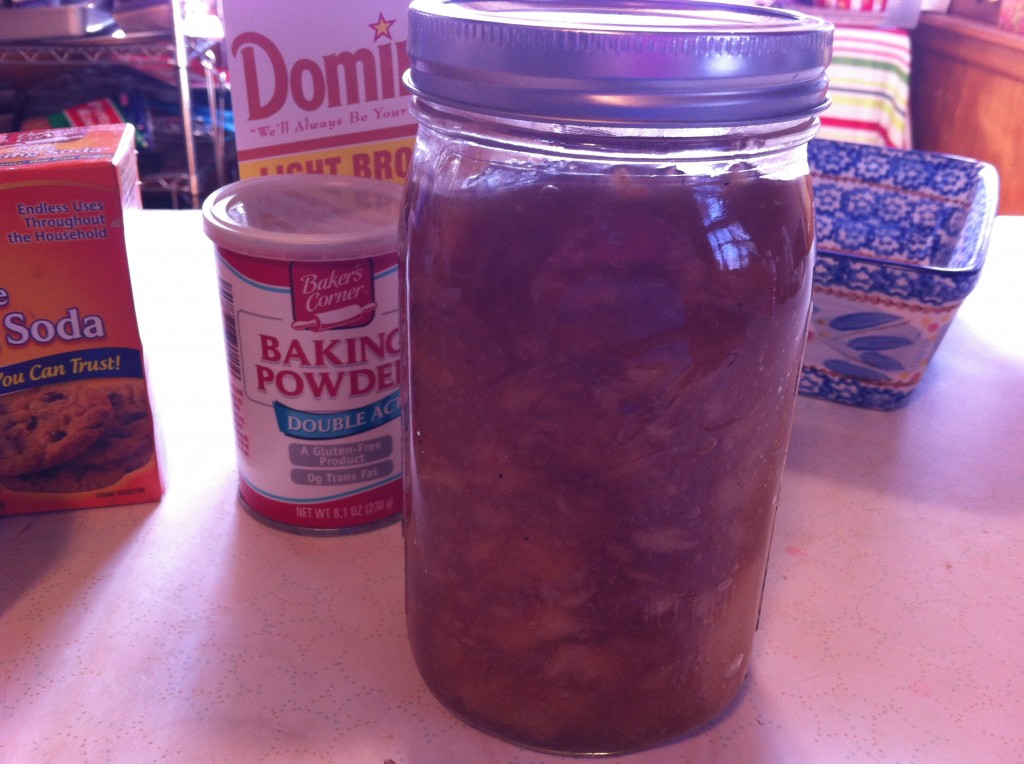
Anywho, last summer I tried my hand at canning some apple pie filling. I used a special thickening agent called. clear jell, that I purchased at a Amish Store. The clear jell does not break down when you process the apple pie filling, like corn starch or flour. The pie filling turned out wonderful, except that I used a variety of apples that were a little soft, and the apples broke down when they were processed in the canner. What I ended up was this delightful tasty, chunky apple pie filling that would be perfect for apple crisp.

Here is a picture of my first try at making canned apple pie filling.

I decided to surprise the girl who hates to step into a kitchen (but some how dirty a ton of dishes) with warm apple crisp for dessert.

This recipe only takes a few minutes to throw together. You can use store bought apple pie filling or you can use fresh apples for this apple crisp. I will give you recipes for both, no worries.

If someone in you family gives you a HINT, try making this simple delicious and tummy pleasing apple crisp that has lots of crunchy crisp goodness on top.

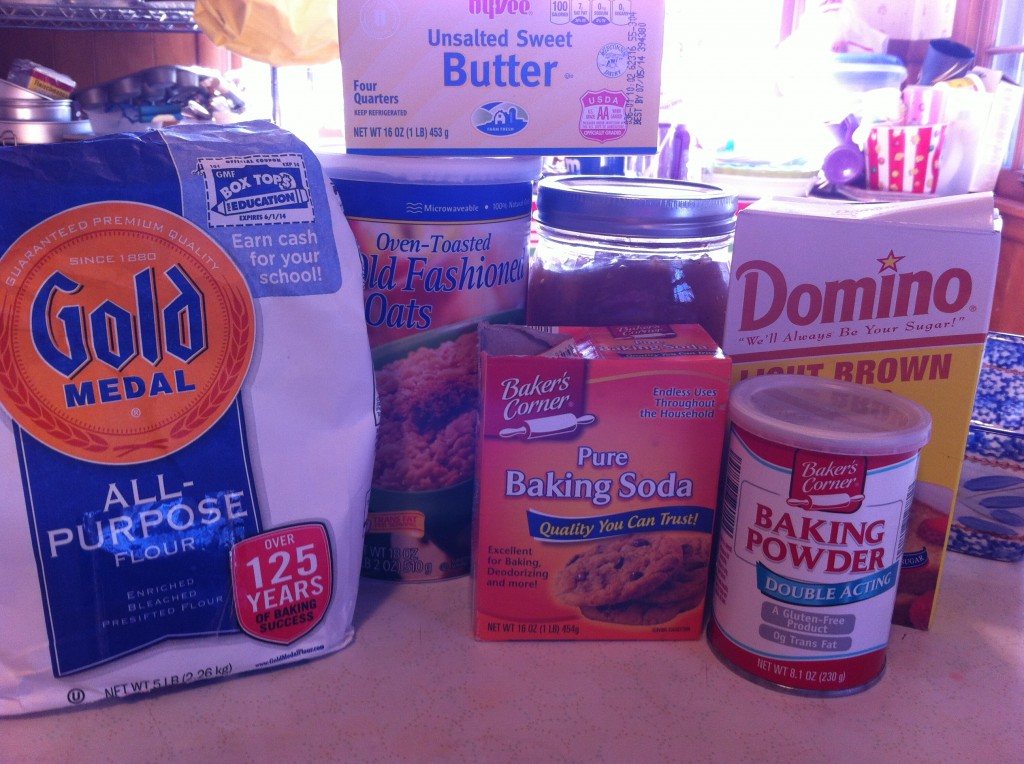
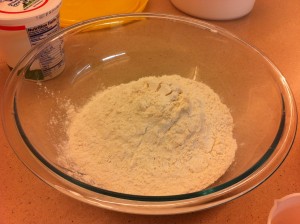
Here is what  you need:

I am showing the picture of how to make this recipe with apple pie filling. (I will put the recipe for a fresh apple filling in the recipe section at the bottom. You will need one quart of apple pie filling, butter, flour, oats, brown sugar, baking powder and baking soda.

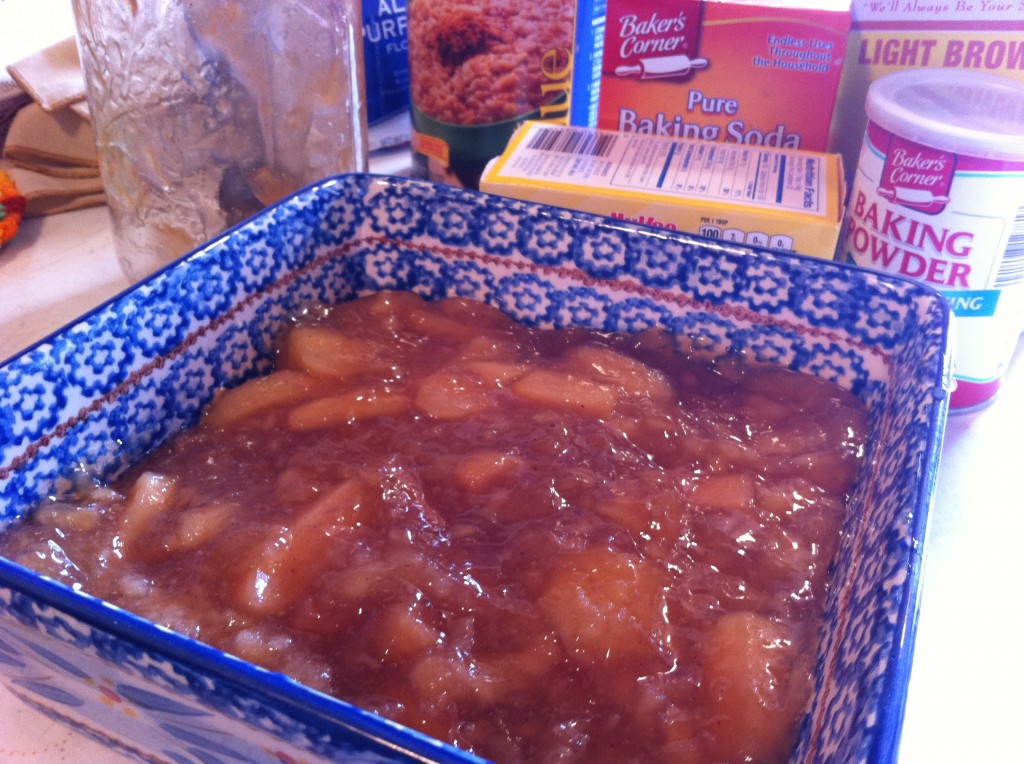
The first thing I did was pour my apple pie filling in the bottom of a 9 by 9 baking dish.


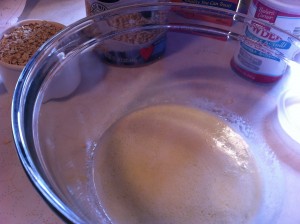
In a medium size bowl, melt one stick of butter or margarine.


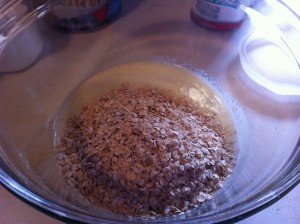
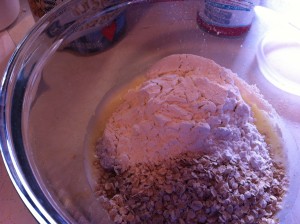
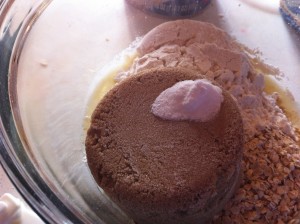
Add one cup of oats and one cup of flour to the melted butter.


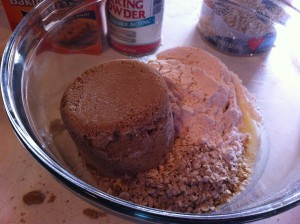
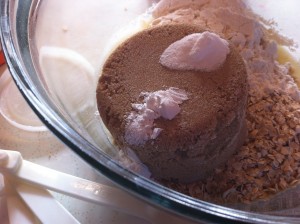
Now add one cup of brown sugar and 1/3 teaspoon of baking powder.


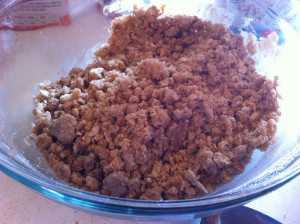
Now add the baking soda. With a large spoon, mix the topping all together, making sure all the ingredients are moisten with the melted butter.

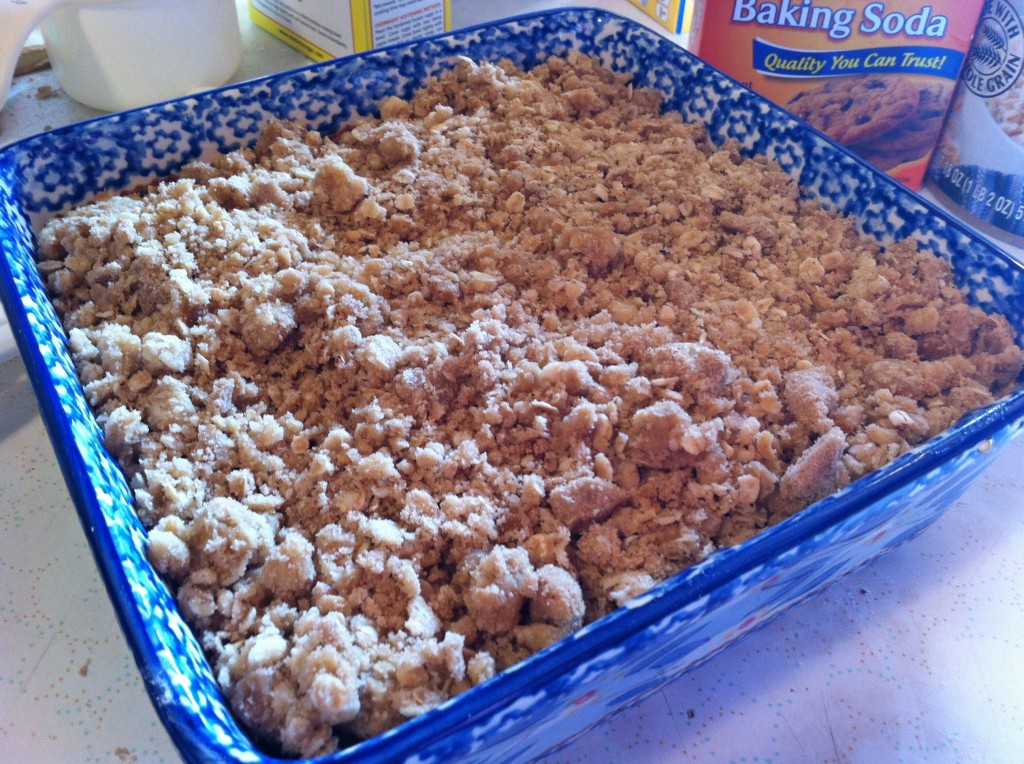
Sprinkle the top evenly on top of the pie filling and bake for 45 minutes or until bubbly.

Here is the recipe.

Apple Crisp adapted from Alrecipes

Ingredients:

1 quart of apple pie filling (or you could use another fruit pie filling)

1 cup quick oats

1 cup flour

1 cup brown sugar

1 stick (1/2) cup butter

1/4 teaspoon baking soda

1/4 teaspoon baking powder

If you are using fresh apples for the filling:

5 cups thinly sliced apples

1/2 cup white sugar

2 teaspoon flour

1/2 teaspoon cinnamon

1/4 cup water

Directions:

Pour the pie filling in the bottom of a 9 by 9 baking dish. If you are using fresh apples, mix the apples, sugar, flour, cinnamon and water in a medium bowl and pour into the bottom of a 9 by 9 inch baking dish.

In a medium bowl, melt the butter. Add in the brown sugar, flour, brown sugar, oats, baking soda and baking powder. Mix thoroughly.

Spread the topping on top of the filling.

Bake in a 350 degree oven for 45 minutes or until bubbly.

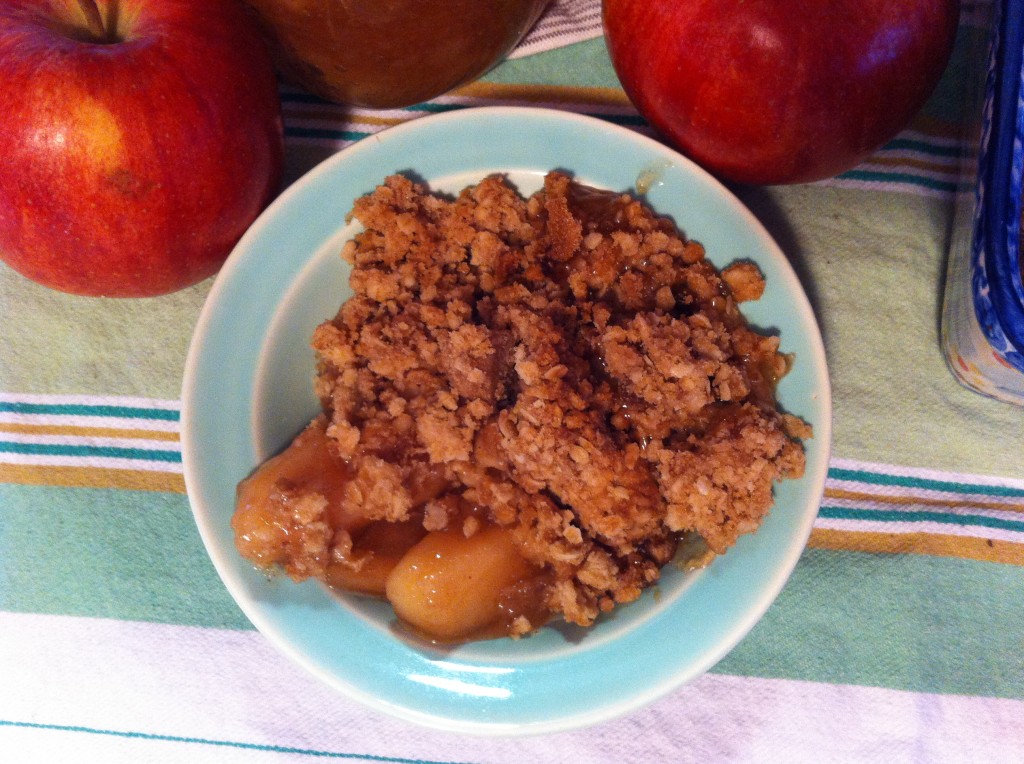
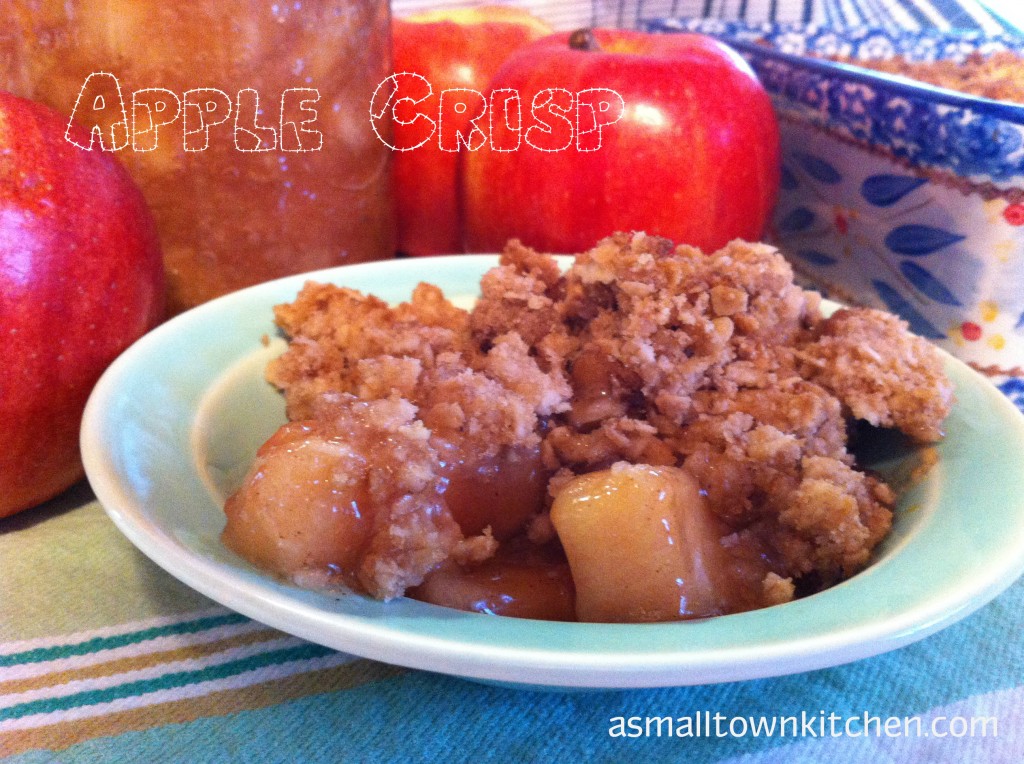
Warm apple crisp.

I am so glad, that I finally figured out what Oldest daughter was hinting at.

Enjoy,

Becky

Other post you may enjoy:


Mint Layered Brownies                      Coconut Cream Cake                          Farmers Oatmeal Cake 
 

Corn Beef and Irish Soda Bread

Happy Saint Patrick’s Day!

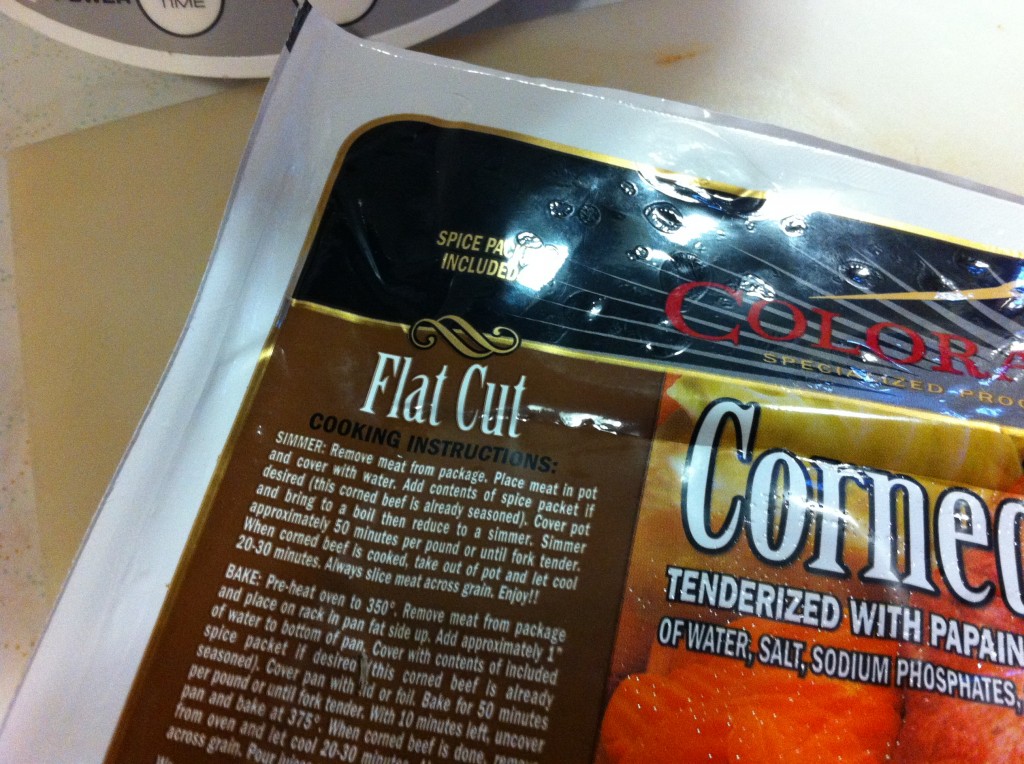
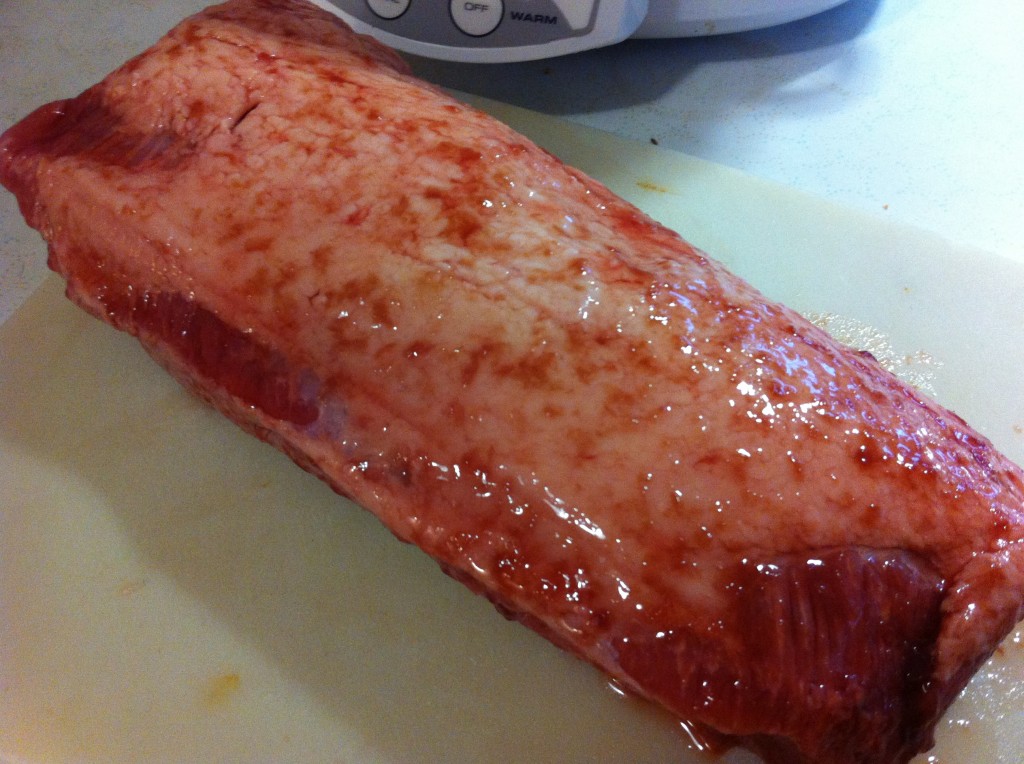
This is a repost of my favorite Corn Beef recipe. Right now, they have corn beef on sale every where for Saint Patrick’s Day.

You will have two choices of corn beef cuts to choose from.

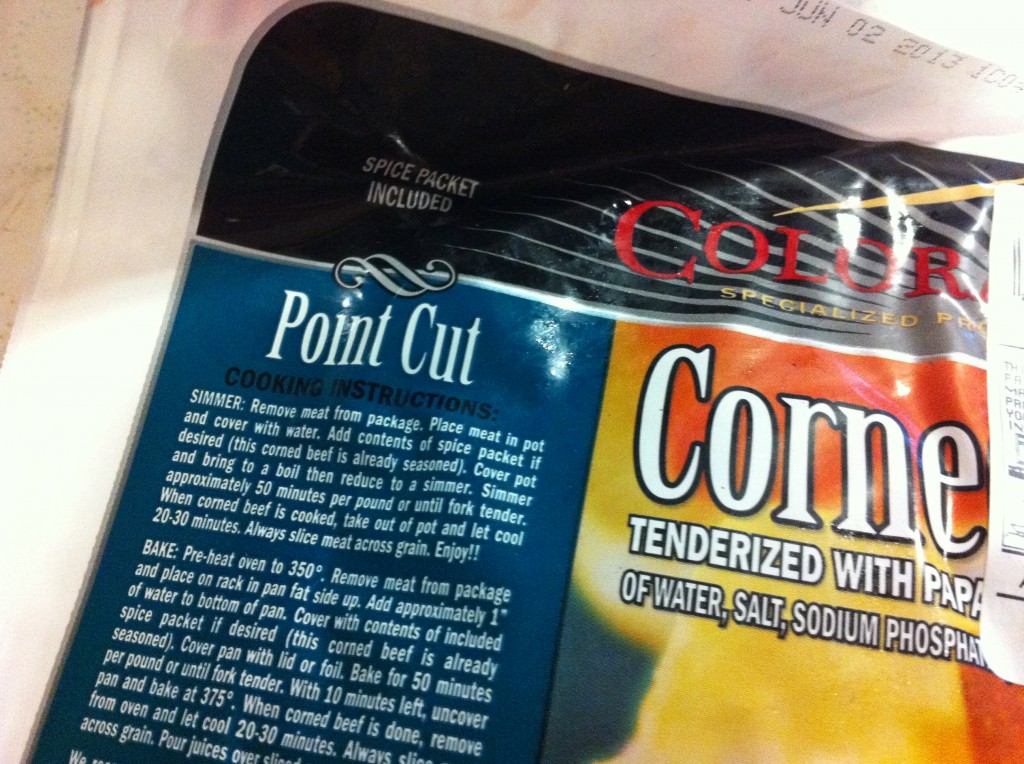
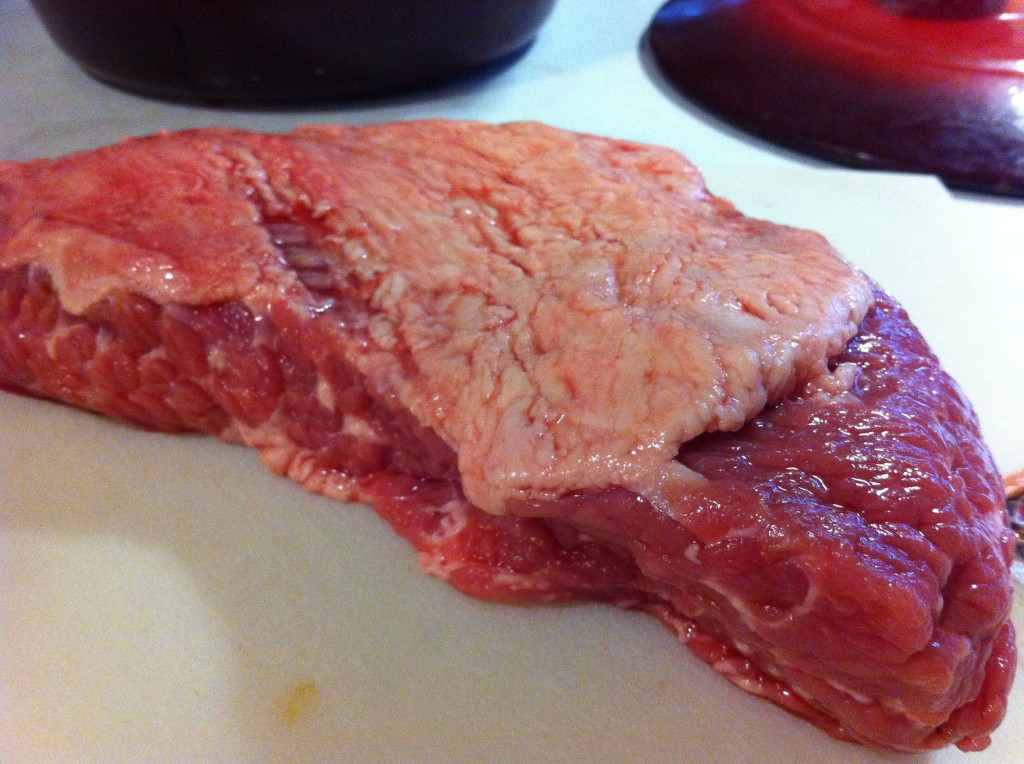
You can choose a Point Cut Corn Beef.

You can also choose a flat cut.

Are you confused?

Basically a Corn Beef is a beef brisket cut in two. The point cut has less fat than the flat cut. Some say the flat cut is more tender because it has more fat. And, truthfully, I thought the flat cut was tastier too.

The final choice is up to you : )

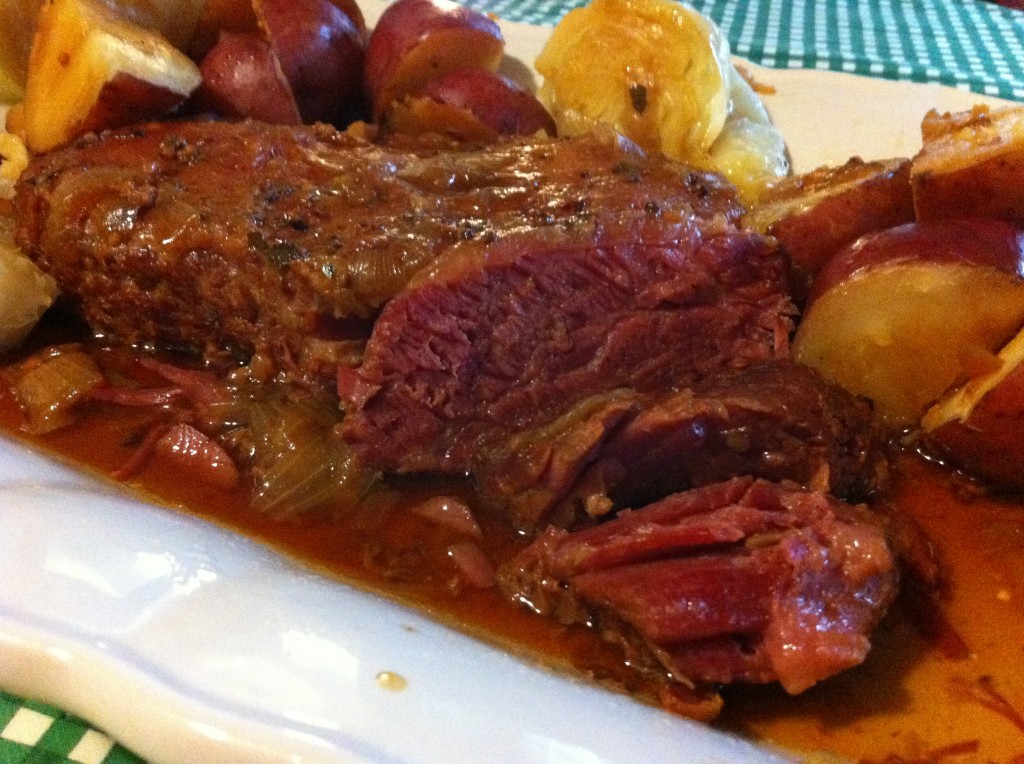
The point cut Corn Beef was so tender it sliced like butter.

Here is the link to my Corn Beef Recipe Post:  https://asmalltownkitchen.com/?p=2204

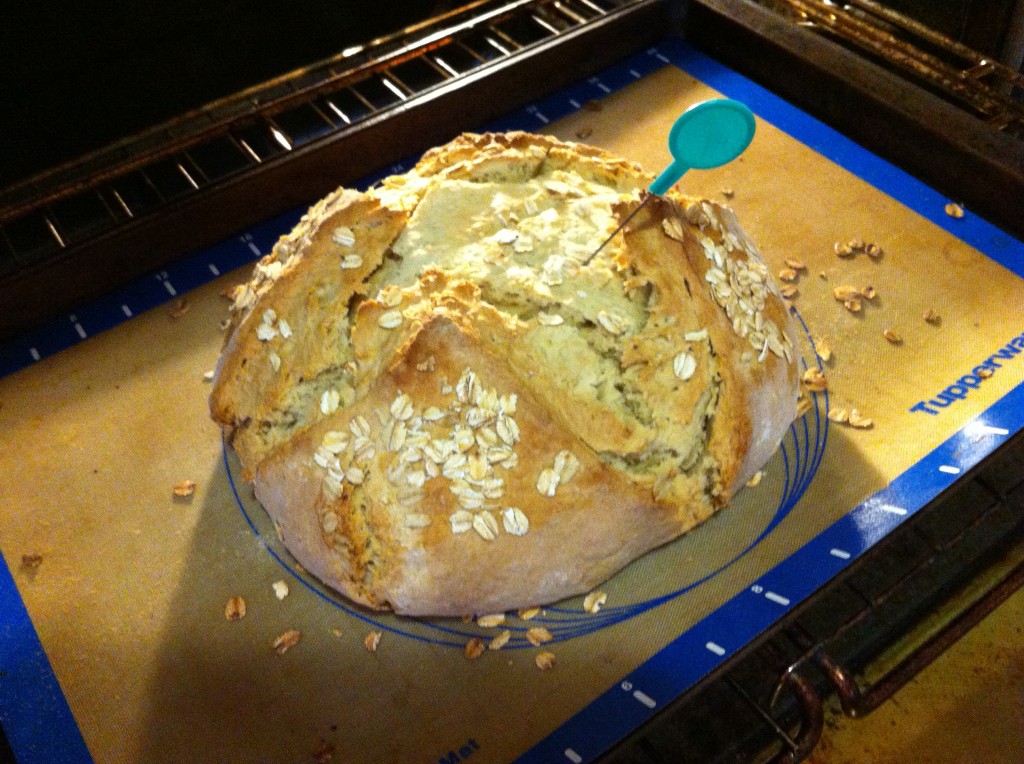
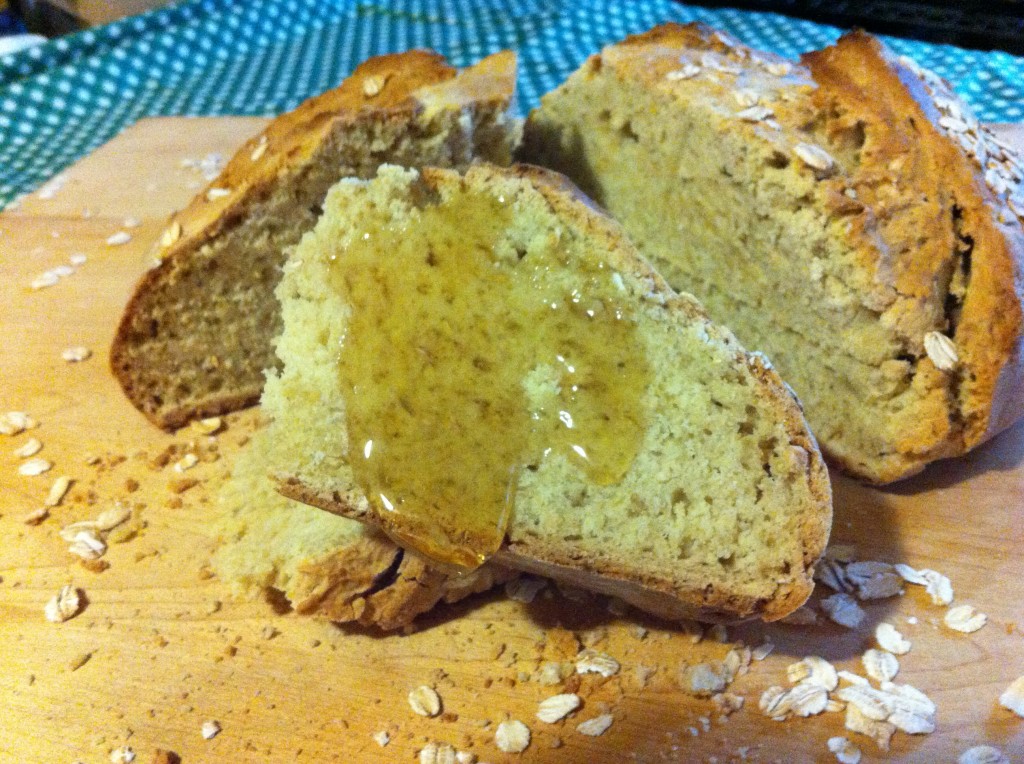
If you want to make a hearty bread to eat with your corn beef, you may want to try my Irish Soda Bread.
This is a simple, slightly sweet bread. You form the dough in a circle, score the top with a knife and sprinkle a few oats on top, then bake.

I loved it with honey, or better yet sorghum molasses.

Here is the link to my step by step instructions on how to make this yummy and hearty bread:   https://asmalltownkitchen.com/?p=2237

Have a great day and be sure to wear green….not unless you enjoy getting pinched : )
Becky

Other post  you may enjoy:


Honey Cornbread                             Brown Sugar Meatloaf                       Italian Wedding Soup 


Southern 7 up Biscuits

Have you ever noticed how many recipes have 7 up in them?

Biscuits are no exceptions.

I first got a glimpse of this recipe from Miss Kay’s Cookbook from Duck Dynasty. My sister Niener Wiener, recieved the cookbook for Christmas and I took a gander through the cookbook looking for any recipes that caught my eye. When I read about Miss Kay’s famous biscuits and that 7 up was one of the ingredients, I knew I had to try it. I did not have time to write the recipe down and I was too cheap to buy the cookbook, (cause I own more cookbooks than I want to count), but I did want to try this recipe. So, I called Niener up and got the recipe from her. Niener also mentioned she had her own recipe for 7 up biscuits. I got Niener’s recipe also, cause sometimes I am smart like that. It was a good thing I got the recipe from Niener too, cause I think that Miss Kay’s recipe has a typo in the amount of sour cream or 7 up because the dough was more of a batter. I retried the recipe using Niener’s recipe and they turn out  perfect.

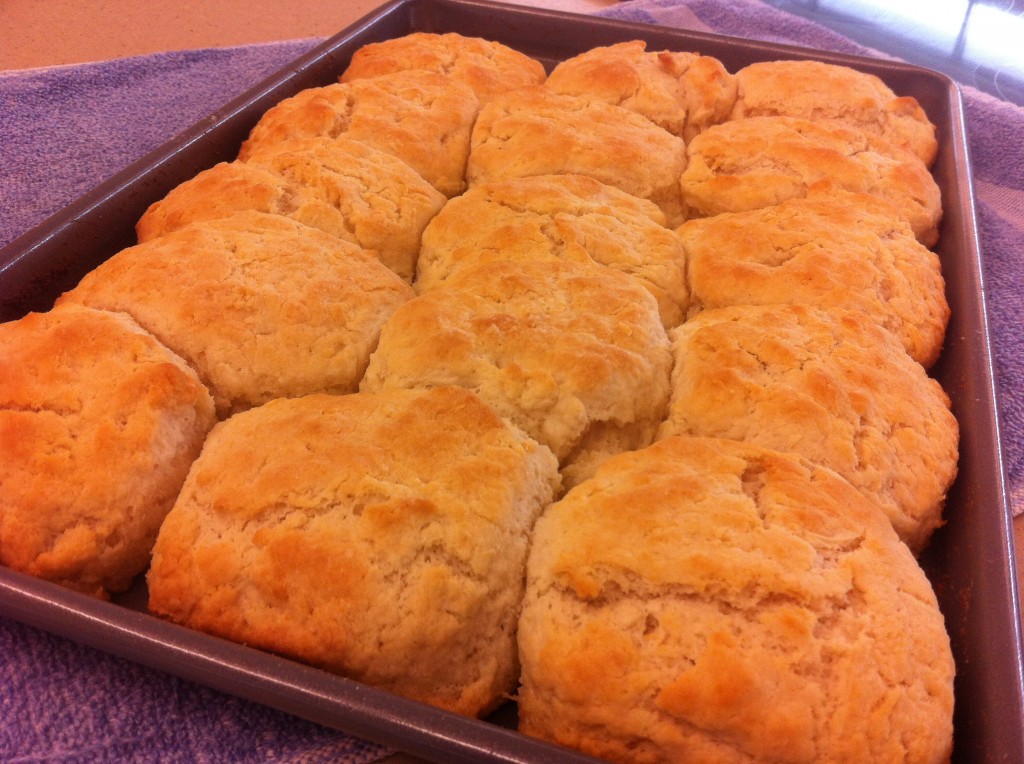
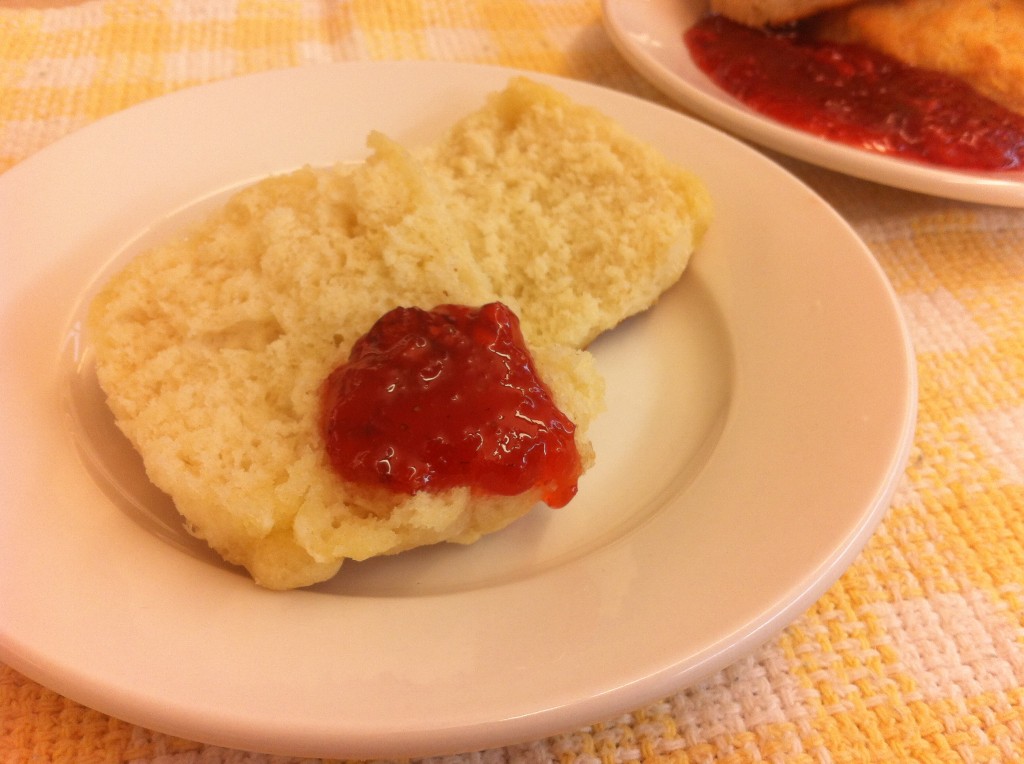
These biscuits are light and airy and very moist. I love the crisp buttery crust from dipping the biscuits in melted butter before baking. They went perfect with the homemade strawberry jam I had made just a few days earlier. (I will post that recipe in the next couple of days).

I will be adding this recipe to my collection of biscuit recipes. I hope you will too ; ).

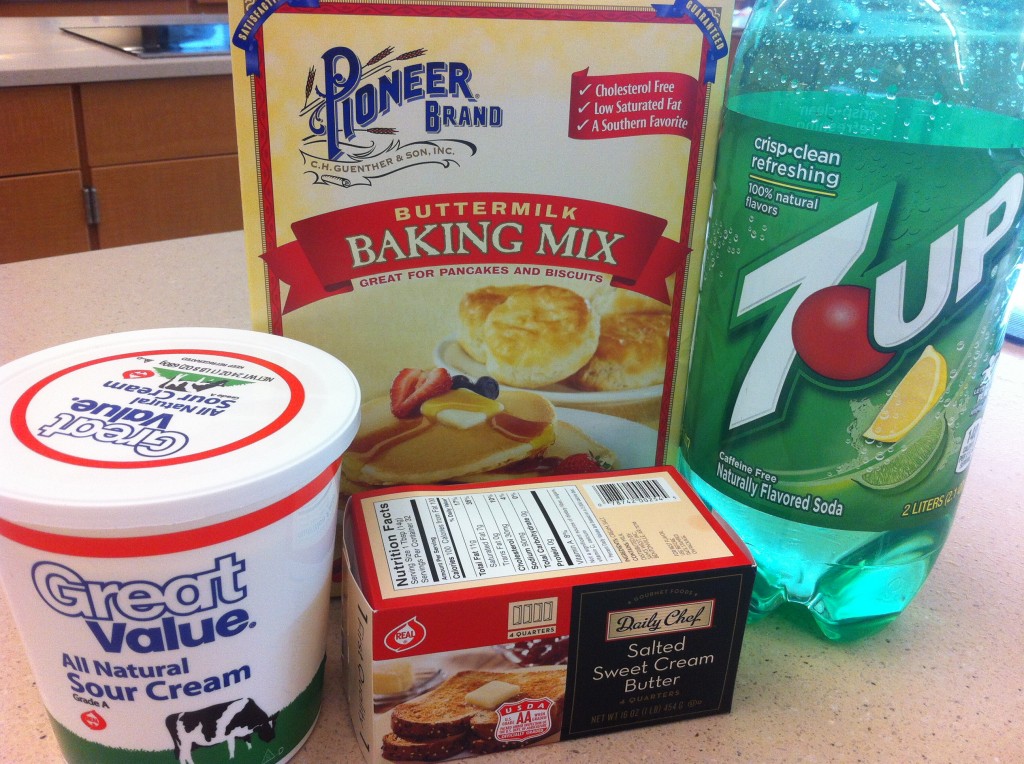
Here is what you need to make these biscuit.
You will need Pioneer Baking Mix. It is different from Bisquick. Pioneer Baking Mix has a lighter texture. I bought my Pioneer Baking Mix from Walmart. You will also need sour cream, butter and of course 7 up.


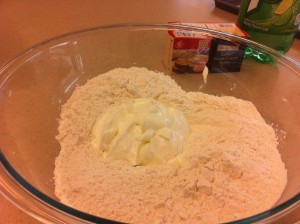
The first thing  you do is measure out the baking mix in a large bowl. Add in the sour cream.


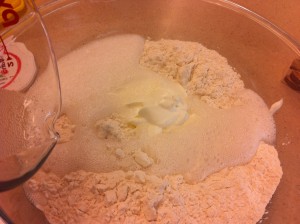
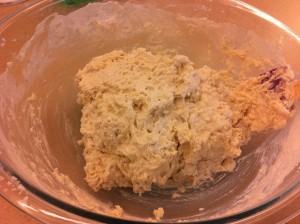
Pour in the 7 up. Now, you gently stir to combine all the ingredients. The dough will be slightly sticky.


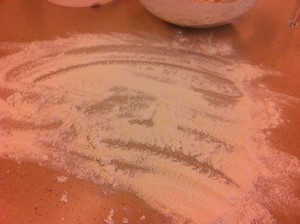
On a lightly floured surface, roll the dough out to about a 1/2 inch thickness. Do not add too much extra flour to the dough when you roll them out.


Cut out the biscuits with a biscuit cutter or the top of a glass. Melt the butter in the microwave and pour the butter into the bottom of a cookie sheet.


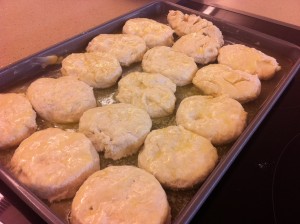
Dip the top and bottom of each biscuit in the melted butter and fill the buttered pan up with biscuits.

Bake the biscuits in a 375 degree oven for about 20 minutes or until the biscuits are a nice golden brown.
Now here is the hardest part.

Trying not to eat them all at once!

Here is the recipe:

Southern 7 up Biscuits

Adapted from Neiner Weiner’s recipe

Ingredients:

4 cups Pioneer Baking Mix

1 cup sour cream

1 cup 7 up

For the pan:

1/2 cup butter

Directions:

Preheat the oven to 375 degrees.

In a large bowl stir together the baking mix, 7 up and the sour cream. You made need to add a tad more 7 up if the dough seems a little dry. The dough should be soft and slightly sticky. On a lightly floured counter or pastry board, roll out the dough to 1/2 thickness. Cut the dough out in circles with a biscuit cutter.

Place 1/2 cup butter into a large baking pans or jelly roll pan (make sure the pan has sides). Place the pan in the oven to melt the butter.

Dip both sides of each biscuit into the melted butter in the baking sheet. Place the biscuits into the baking sheet and bake approximately 17 minutes or until the biscuits start to brown.

These are a crisp butter, moist and airy biscuits that I hope you will give a try.

Enjoy!

Becky

Other post you may enjoy:


Baking Powder Biscuits                  Garlic Cheddar Biscuits                     Crusty White Bread


Pistachio Bread

Top of the morning to  you!

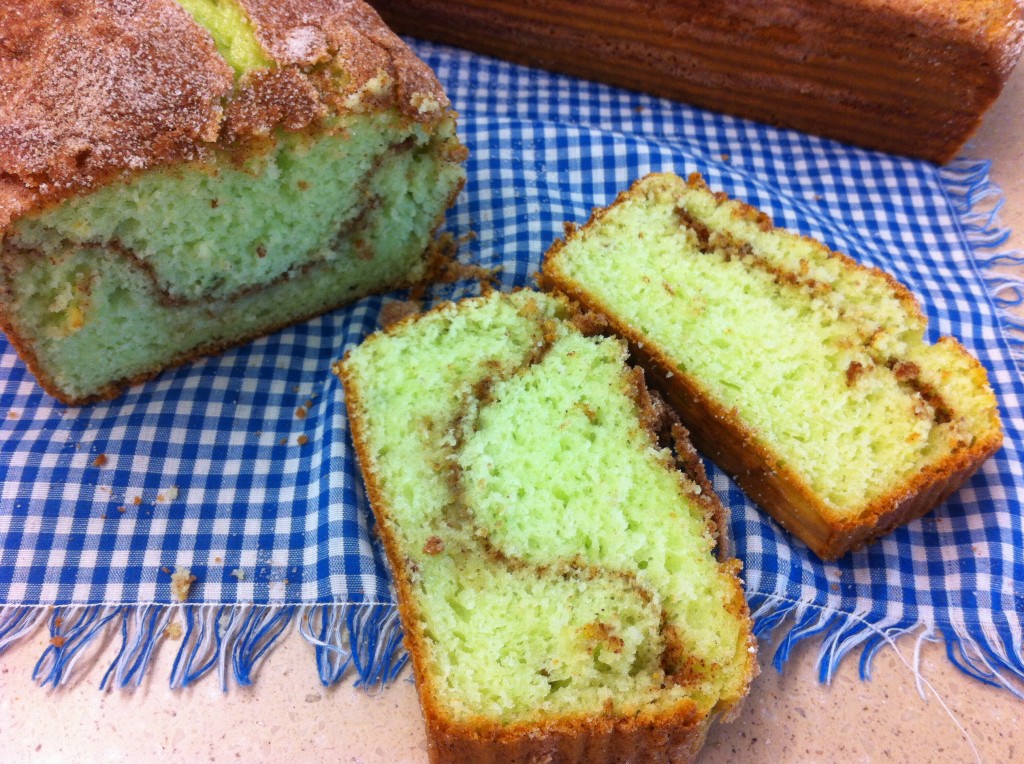
Your eyes are not deceiving you….you are seeing green bread!

When I spied this recipe from an old newspaper clipping, I thought it would be a great bread to make to get ready for Saint Patrick’s Day.  It is simple to make, taste great, and it is GREEN. How cool is that? My foods class at school even made some on Friday. The students (picky eaters) loved this bread so much, they packed all their bread off and scooted out of the Foods Lab as soon as the bell rang. I think they must have seen an leprechaun who wanted a piece.

Anywho, if you are looking for something fun, easy to make, moist and tasty and most importantly GREEN to make on St. Patty’s Day, I hope you give this recipe a try.

Who knows, you might be able to bribe a leprechaun into telling you where the end of the rainbow is with a large slice of this bread.

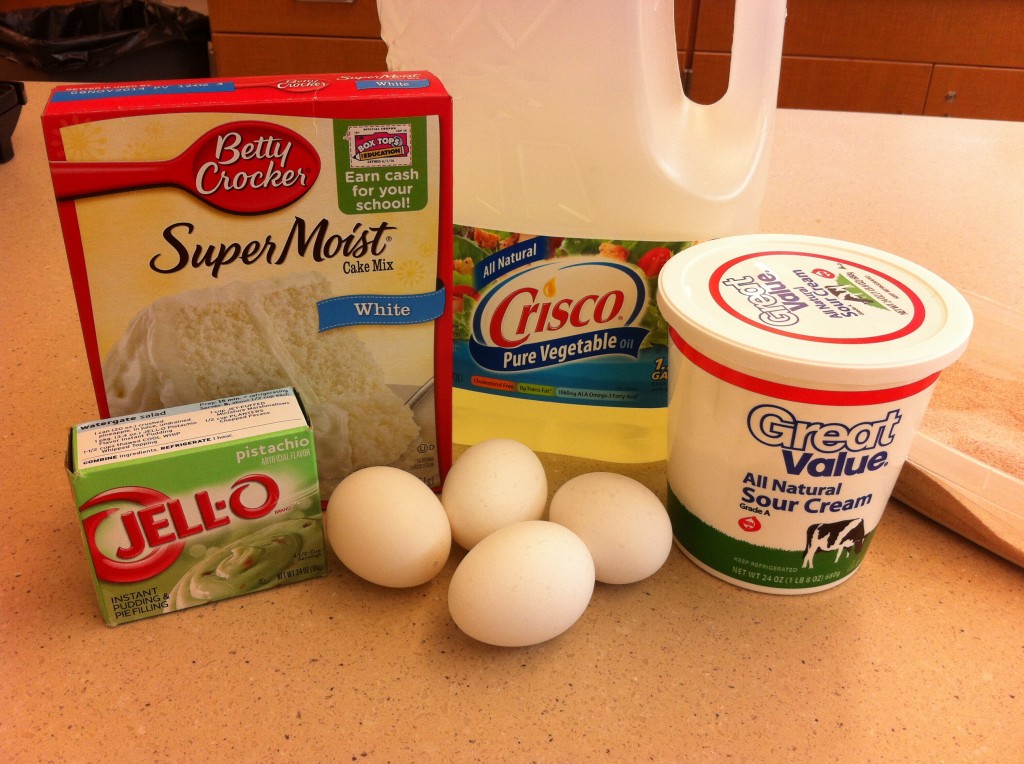
You can make this bread with just a few ingredients:

You will need a yellow or white cake mix, sour cream, water, oil, cinnamon and sugar mixture and a box of pistachio pudding.


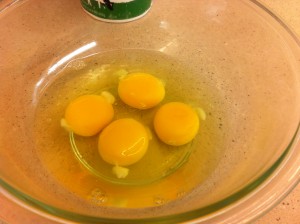
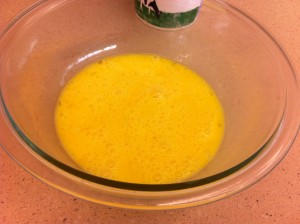
The first thing you need to do is crack the four eggs and beat them in a small bowl.


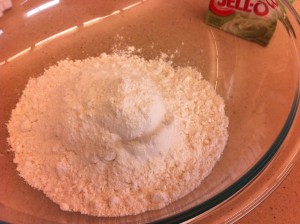
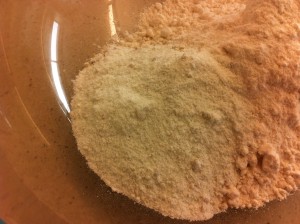
In a large bowl, put in the cake mix and pudding mix.


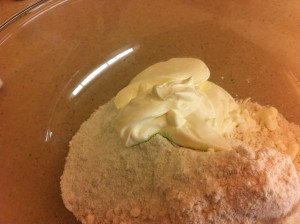
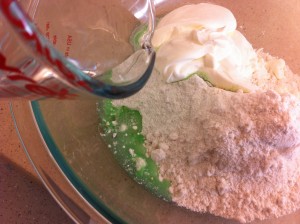
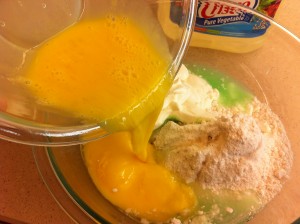
Add in the sour cream and the water. (see the pudding mix turn green)


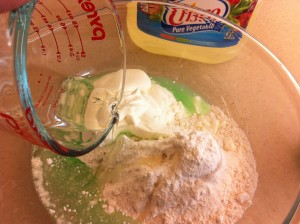
Add the oil and the beaten eggs.


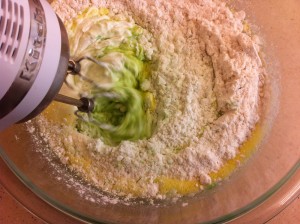
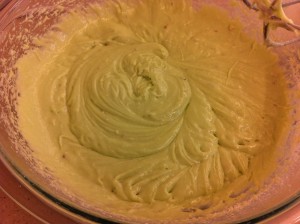
With an electric mixture, mix the bread batter together till smooth and fluffy.


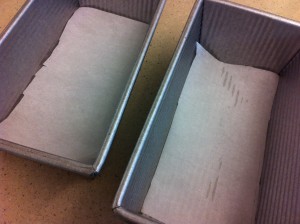
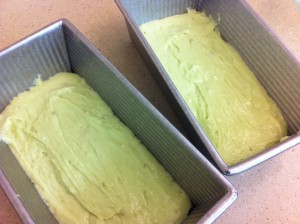
In prepared pans (I spray lightly with vegetable oil and line the bottom with parchment paper) Put in 1/4 of the batter into the bottom of each of the pans.


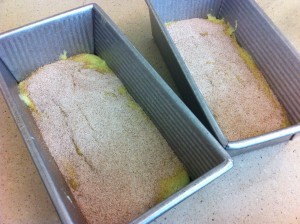
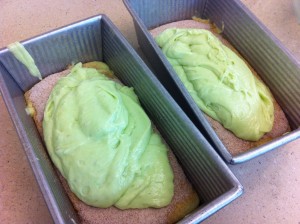
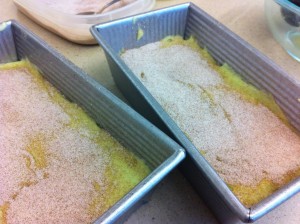
Sprinkle half of the cinnamon sugar mixture on top of the batter in each pan. Save the other half of the cinnamon sugar mixture for the top. Spoon the remaining batter, in equal amounts on top of the cinnamon sugar layer.


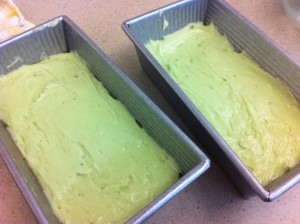
Spread the batter evenly over the cinnamon sugar. Sprinkle the rest of the cinnamon sugar on the top layer of the bread.

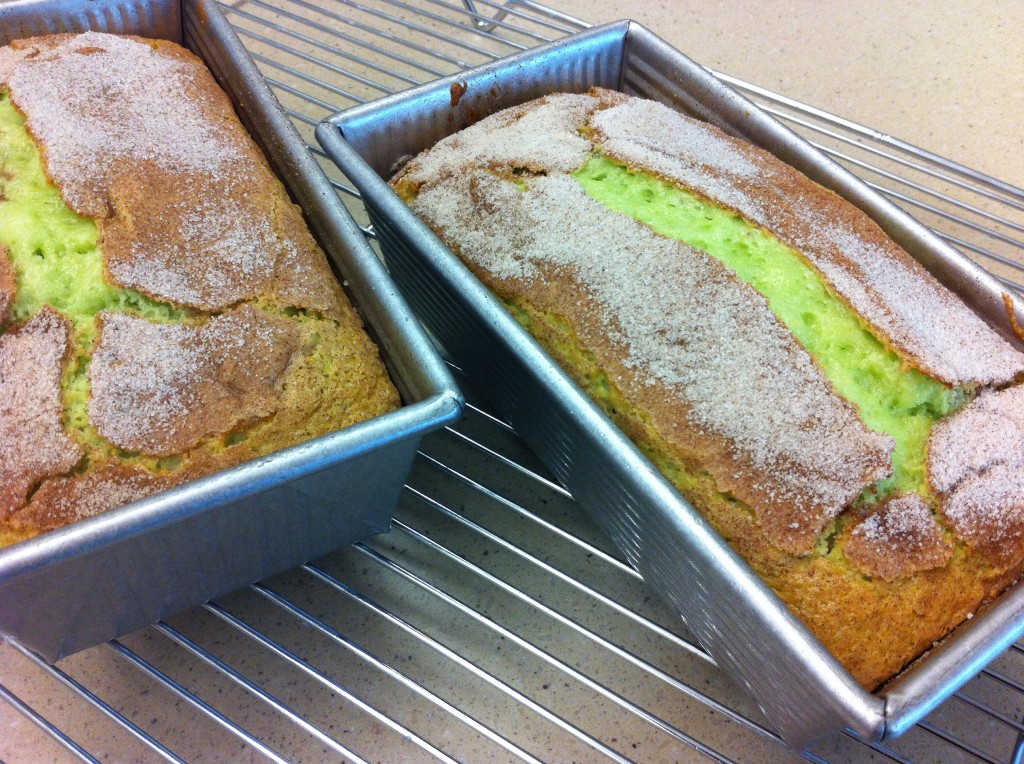
Bale in a preheat 350 degree oven for around 40 minutes.

I just love that cinnamon sugary crusty top!

Here is the recipe

Pistachio Bread

Adapted from old newspaper clipping

Ingredients:

1 white or yellow box cake mix

1 box (3 1/2 ounce size) instant pistachio pudding

4 eggs beaten

1 cup sour cream

1/4 cup water

1/4 cup oil

Topping Ingredients:

6 tablespoon sugar

1 1/2 teaspoon cinnamon

Directions:

Preheat oven to 350 degrees. Prepare your loaf pans (you will need two) by lightly spraying with vegetable spray and covering the bottom with parchment paper.

In a small bowl, mix together the cinnamon and sugar for the topping and inside layer of bread.

In a small bowl, beat the four eggs.

In a large bowl, add the cake mix, pistachio pudding, sour cream, beaten eggs, water and oil. With an electric mixture, mix together until the batter is light and fluffy.

Put 1/4 of the batter into each of the loaf pans and spread evenly. Sprinkle 1/4 of the cinnamon sugar on evenly on top of the batter layer in both pans. Spoon the remaining batter on top of the cinnamon sugar layer, in both pans. Spread the batter evenly. Sprinkle the remaining cinnamon sugar mixture evenly on top of batter, in both pans.

Bake for 40 minutes. Remove, and leave in pan for 5 minutes. Run a knife around the edge and take the bread out of the pans and cool completely on a cooling rack.

Makes two loafs.

You will be glad it makes two loafs.

One for you and one for your little leprechauns.

Enjoy!

Becky

Other St. Pat’s Day recipes you may enjoy making:


Corn Beef                                                         Irish Soda Bread 

Cleaning Poopy Bottoms

Did I think I would be cleaning poop off of the baby chicks bottoms?

I think not : )

But, if a baby chicks has dried poop on their bottoms they can get clogged up and it could cause big problems.

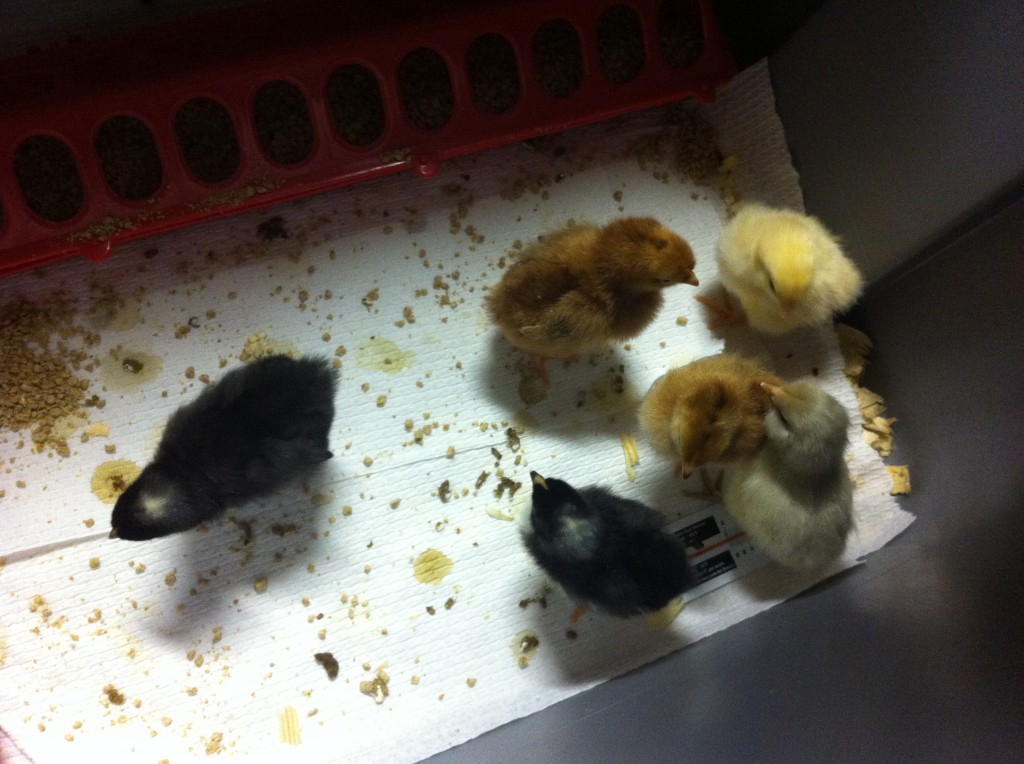
So, Oldest Daughter (who was home sick today) checked all the baby chicks bottoms for poopy feathers.

All the chicks got a clean bill (butt) of health. Relief.

What she did not know is that I  already had to clean one bottom this morning before I left for work. The easter egger chick had some poopy droppings on her behind. A little warm water on some toilet paper and some soft rubbing took it right off.

All the babies are doing fine.

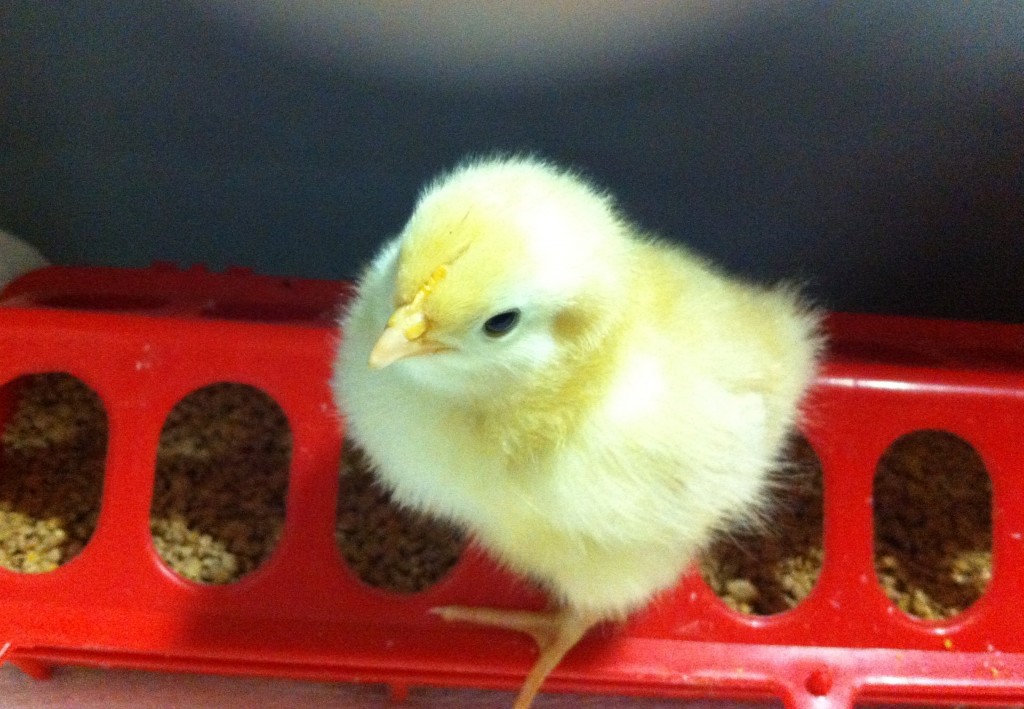
I have been told a couple of the chicks names. Oldest grandgirl named the Easter Egger, “Bunny,” and the yellow Buff Orpinton, “Sunshine.”

They sound like perfect names for me!

I have been a Mother Hen for officially 30 hours.

Whew, I am tired. : )

Becky


Call Me Mother Hen

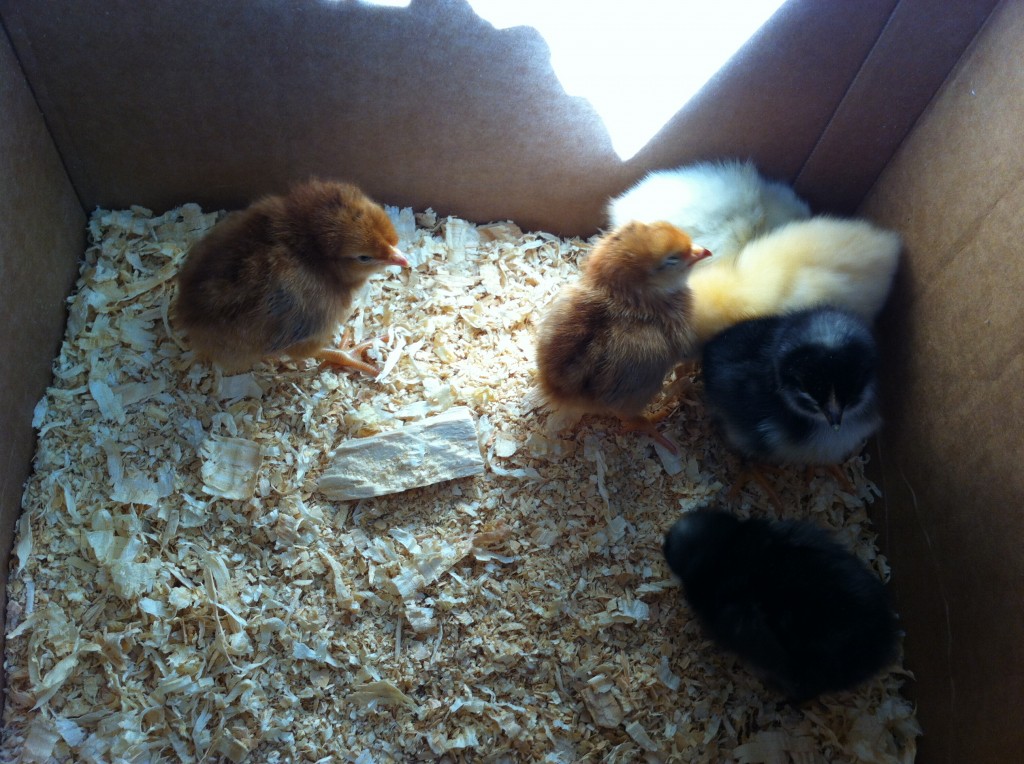
Here is the newest additions to the family!

I was so excited to get off work today and go pick up the baby chicks. They came in this morning around 11am from a nursery in Lebanon MO. I had my list of what kind of chickens I wanted to buy. I was afraid that they would be out of the ones I wanted. The feed store told me last week that they would have a 100 of each one coming in and they still would have what I wanted by the time I got off.

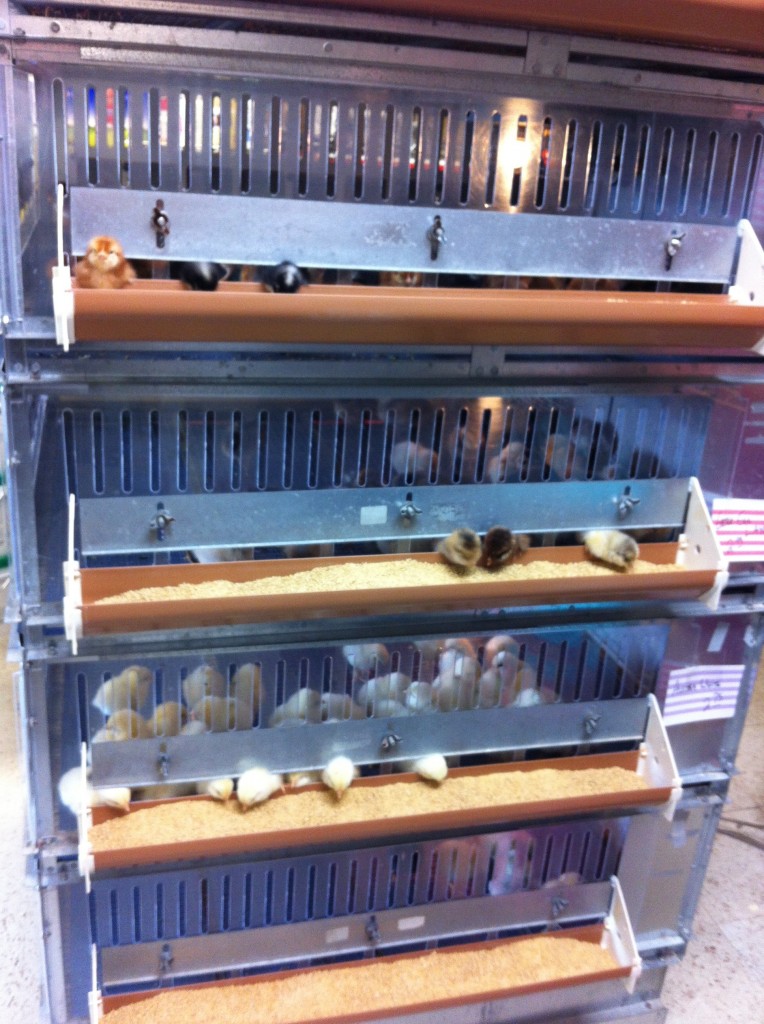
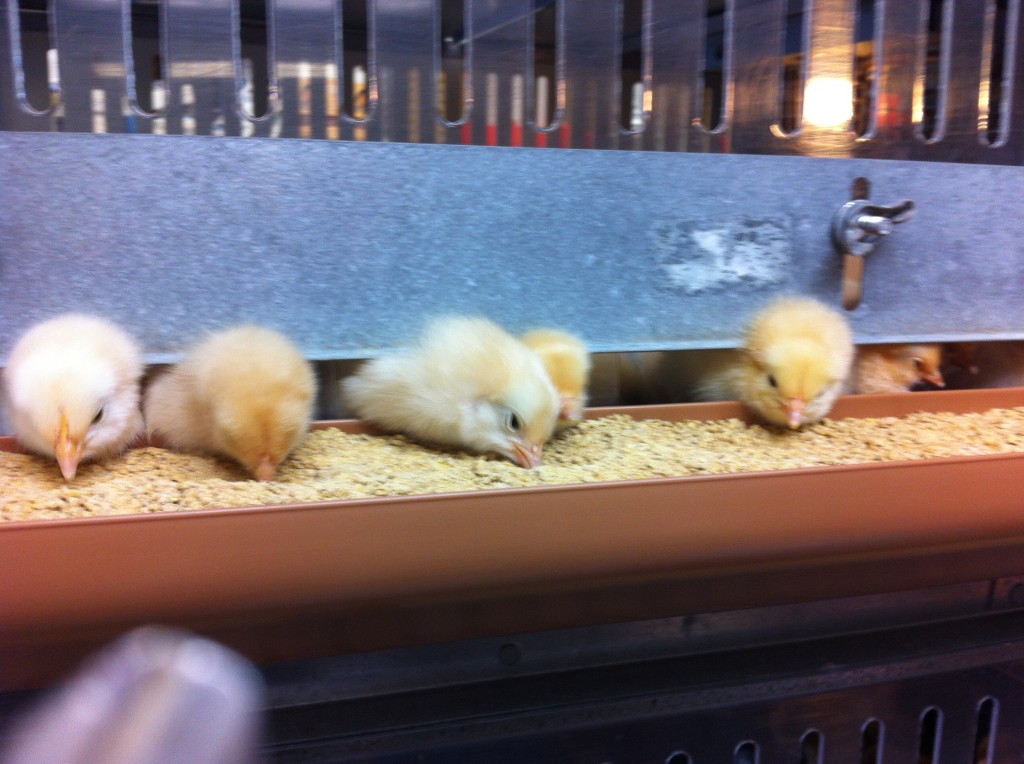
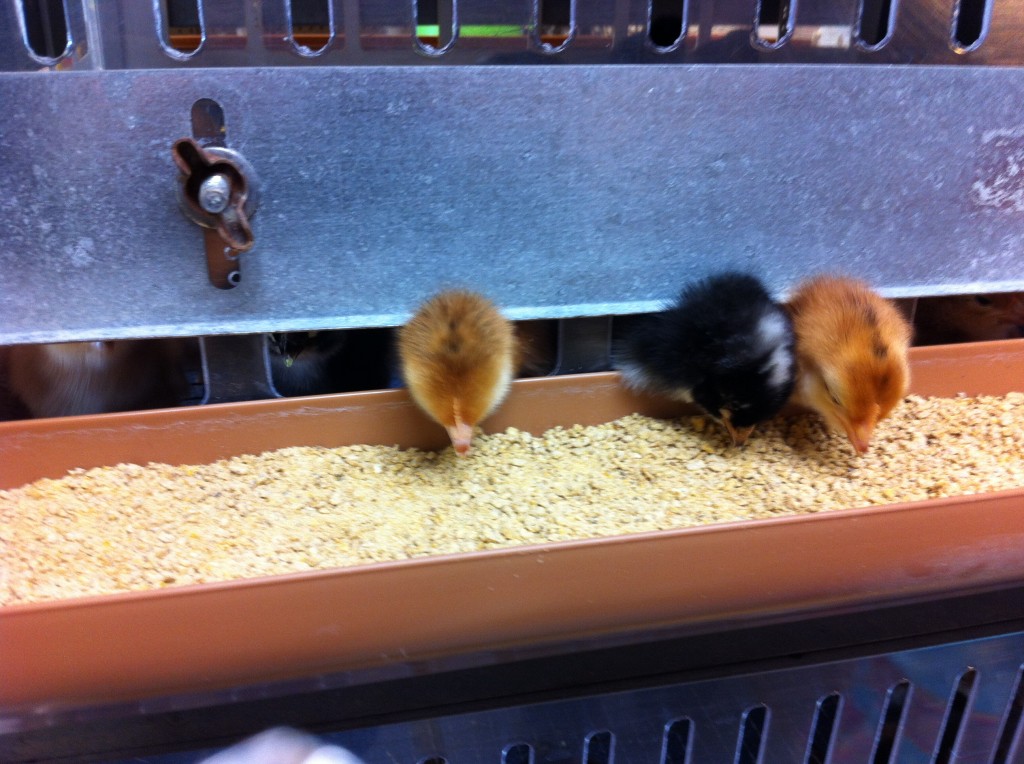
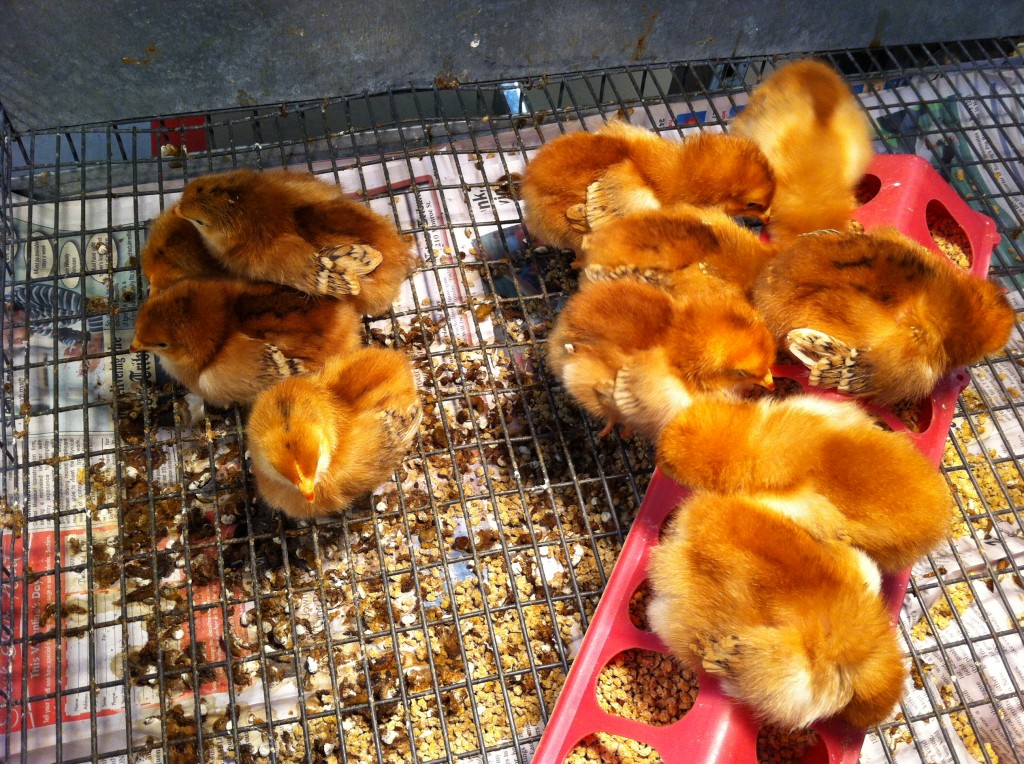
The feed store I went to, to buy my chicks had a different brooder set up than the other feed stores. Their brooder was like a apartment complex for little chicks. They had feed stalls set up in the front and the little chicks would poke their heads through the opening to get the feed.

It was so comical to watch them with all their little heads out. There were two other families there buying chicks. It was certainly a family affair! They brought their children and as soon as the little chicks were placed in a box, the children and the chicks started getting acquainted.

I would have loved to stay and enjoy the moment, but Oldest daughter who does not cook, was sick and having car trouble. So I just told the lady at the feed store what kinds of chicks I wanted to buy.

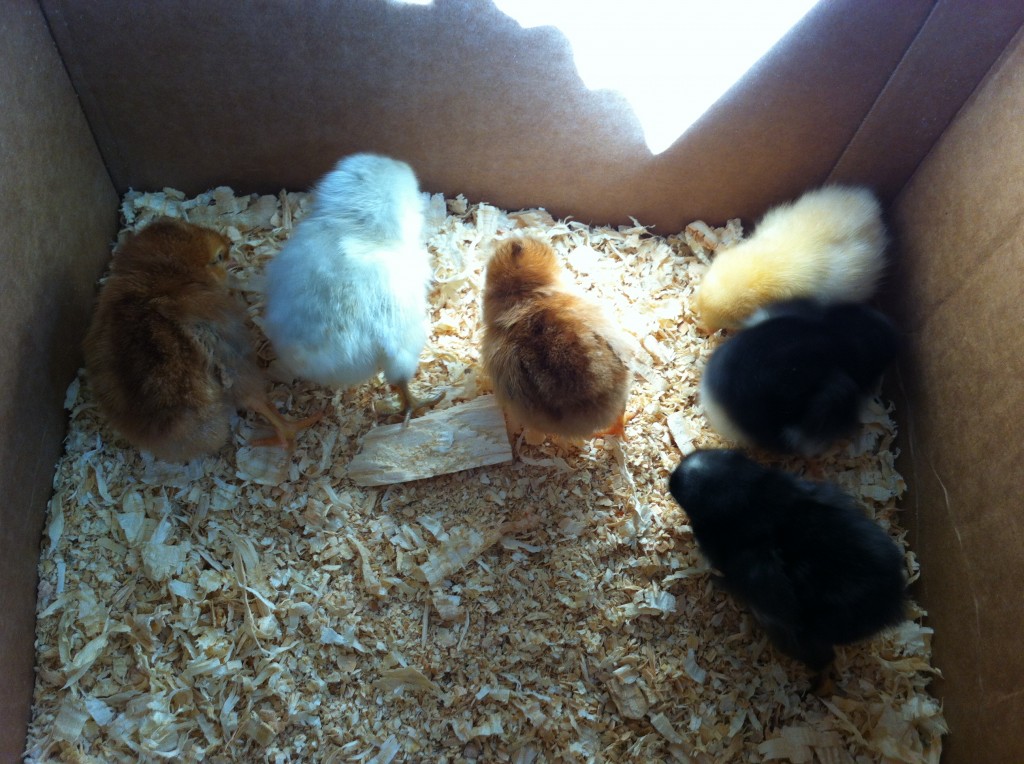
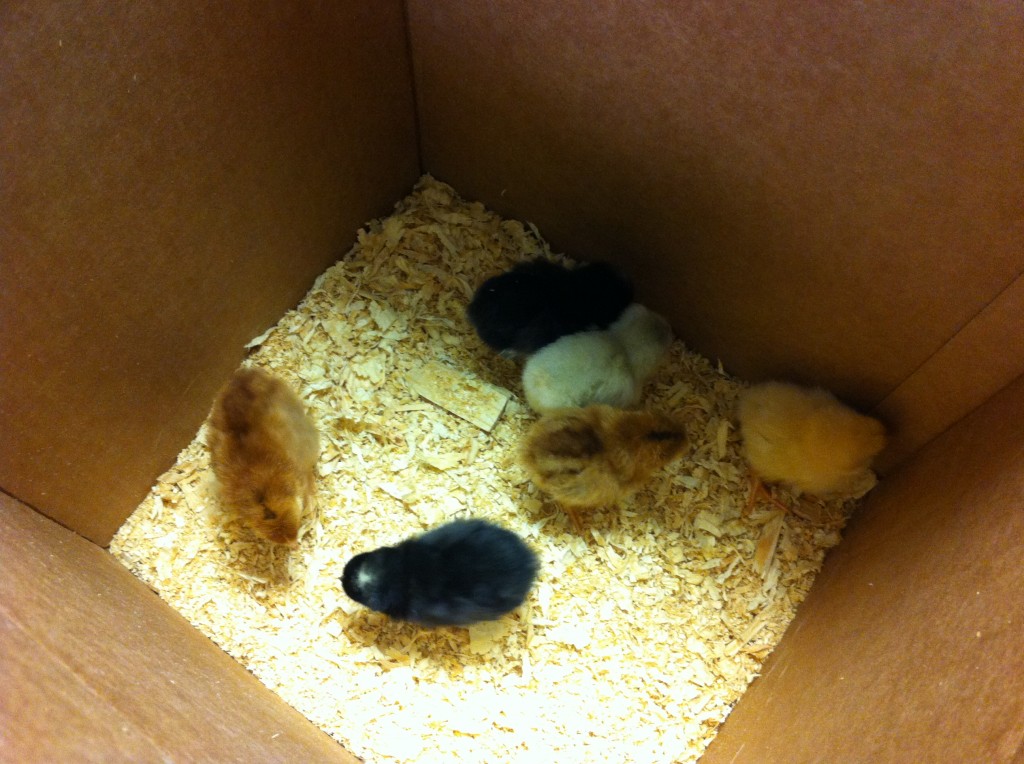
The lady at the feed store, found a nice size box for me and filled the bottom with wood shavings. She sure was fast grabbing those little chicks up and putting them in the box.

Another lady from the feed store carried my little cargo to my car and I buckled them in the front seat. Since Oldest Daughter was having car trouble, I went to school to pick up Oldest Grandgirl.

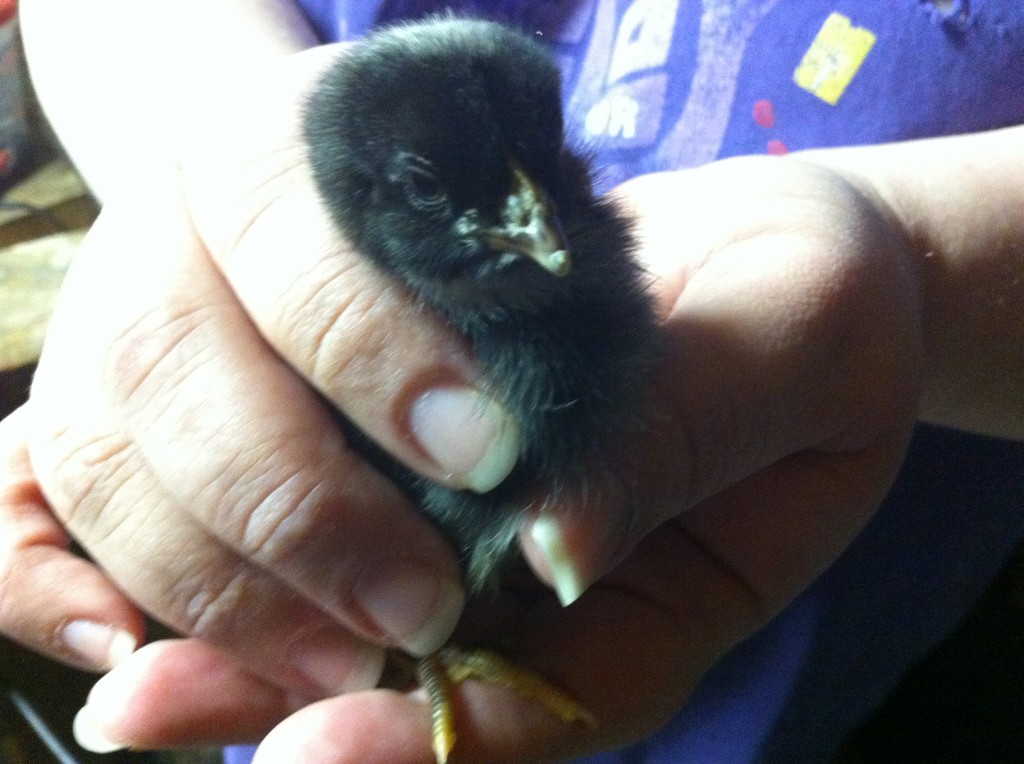
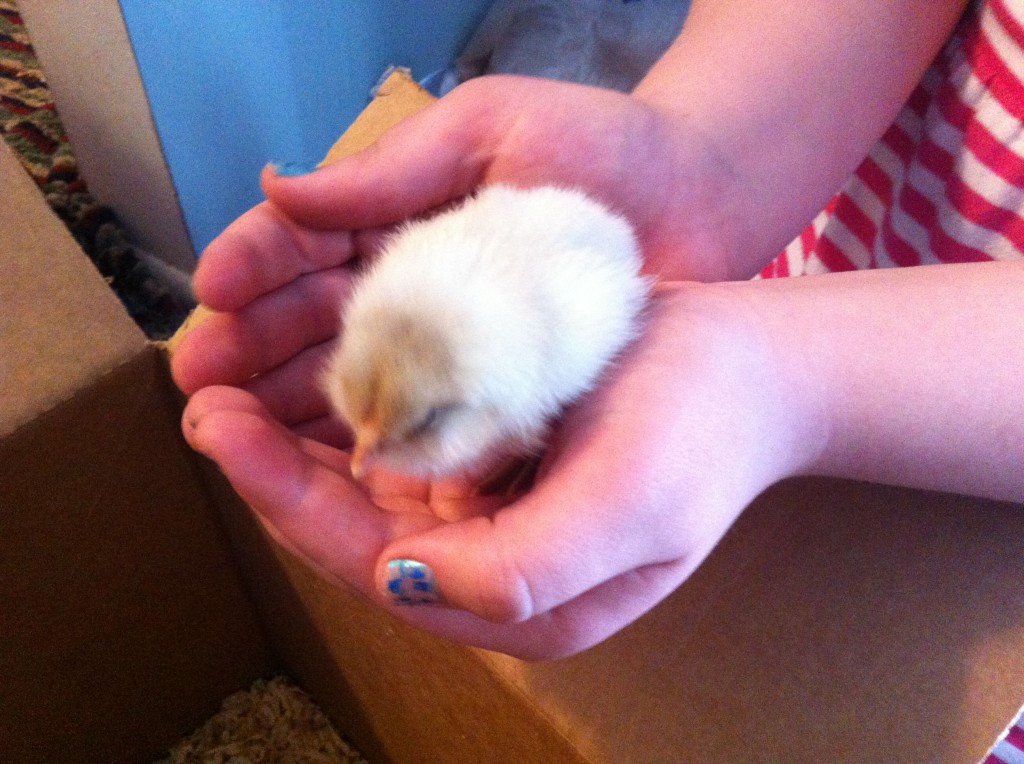
She could not wait to hold one! She even has names for some of them already.

These are the kinds of chicks I purchased:

2–Rhode Island Reds

2–Barrel Plymouth Rocks

1–Buff Orpington

1– Easter Egger

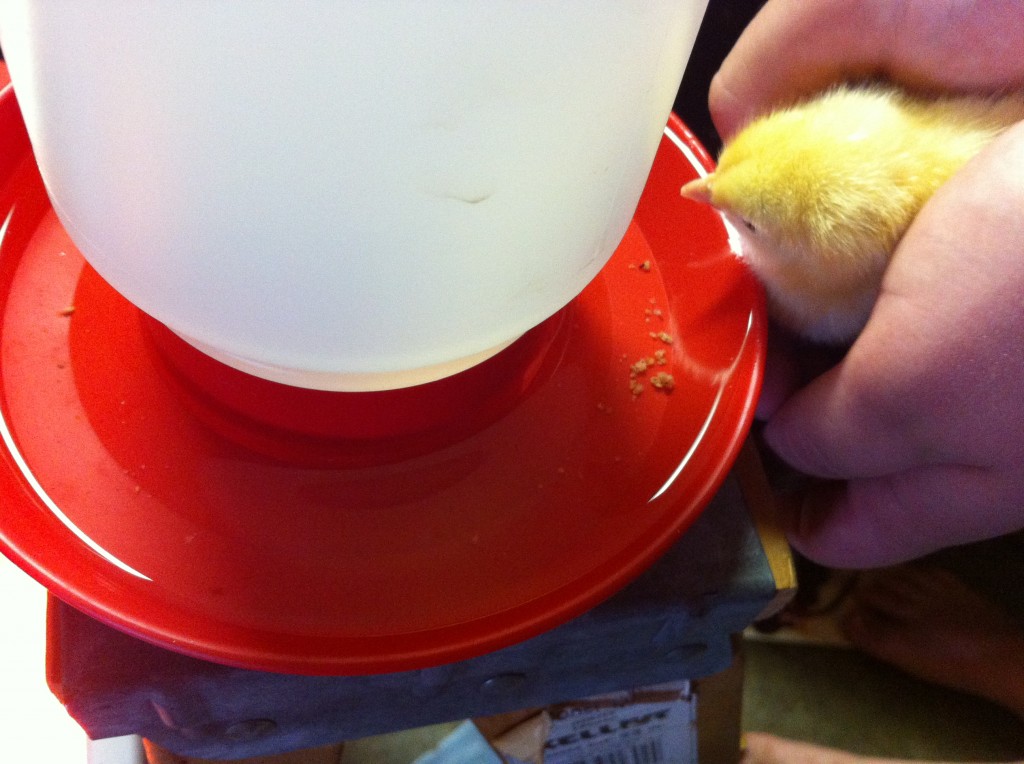
The first thing we did when we got the chickens in the brooder was put their heads in the water so they could get a drink of water.

I also put paper towels down over the pine shavings to help keep the dust down, from the pine shavings, for a couple of days.

Then we put the little chicks in the brooder. They went right for the water.

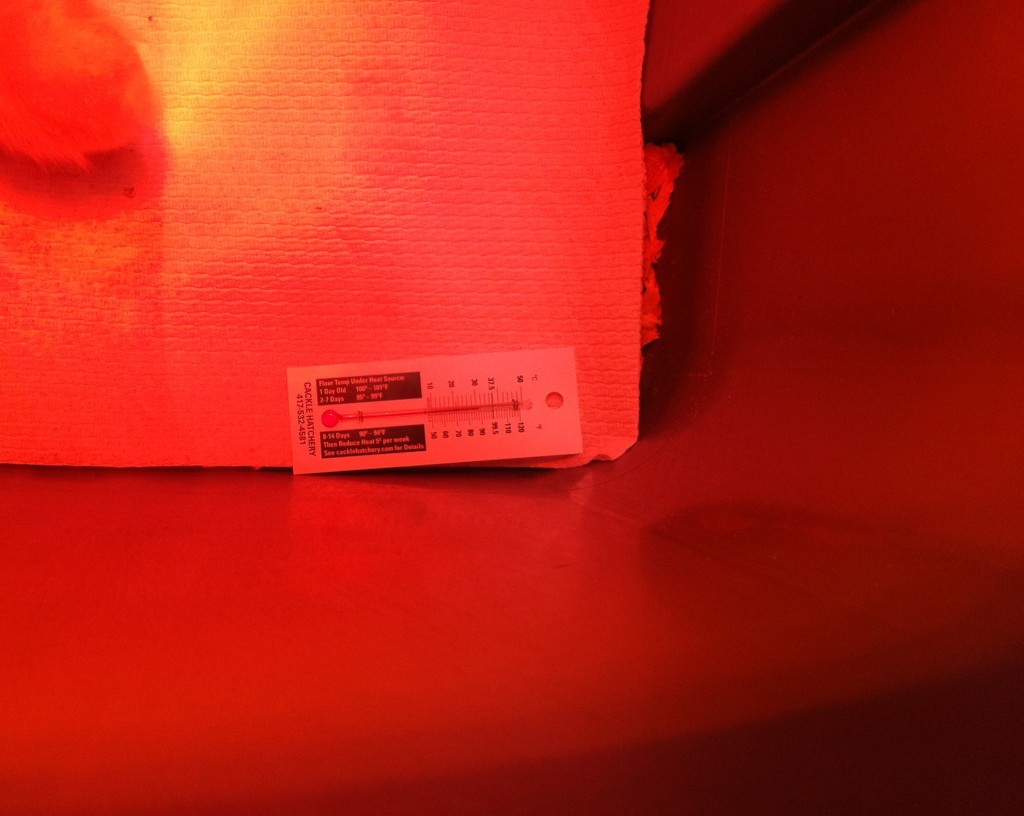
I put a little floor thermometer on the floor of the brooder. I need to keep the temperatures around 95 degrees for the first week.

It is suppose to get cold tonight and snow.

My garage can get a little nippy when it is cold.

Maybe I should bring them into the house for the night….

I have room in my bathroom.

Then I can peek at them all night.

See….I really am a Mother Hen.

Becky


Setting up a Brooder

Here chicky, chicky, chicky…..

Tomorrow (Tuesday) is the big day I get my 6 chicks. I will be picking them up after I get off work. Oldest grandgirl is so excited. She helped me carry all the necessary equipment from my car and into the garage, where we will be setting up the brooder.

I have never done this before, and I asked a lot of questions and got a ton of answers from my friends who already have chickens.  They are just about as excited as grandgirl and I are.

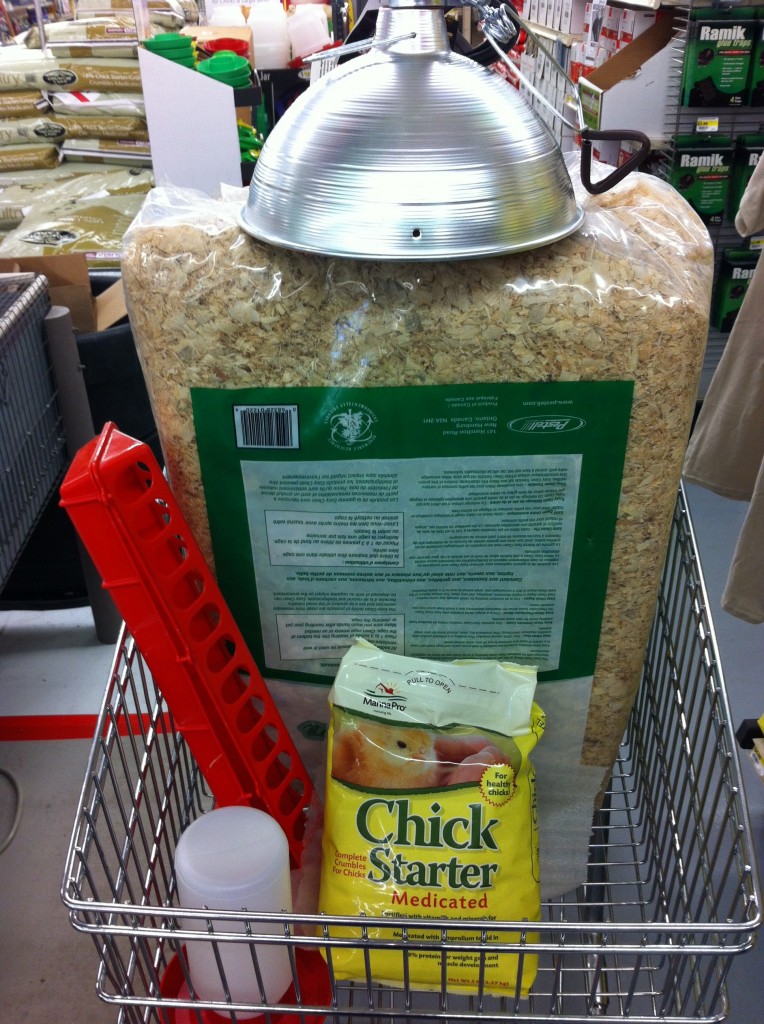
Here is a picture of my cart at the feed store yesterday. I also purchased a red heat bulb and some bedding.

My friends and the feed store, told me I needed a container to put the little chicks in.

I could not decide what to get. The feed store sold these washable cardboard fence things that went in a circle and it had a stand for the heat lamp. I could also use a little kids swimming pool, or, I could talk Company into building some kind of wooden box for me. Yesterday, when I went to his house, he had two very large rubber maid containers he was not using. “Can I pretty please borrow (never return) one of your containers?” So, it about a minute, the rubber maid container was loaded in the car.

Now, what do I need next?

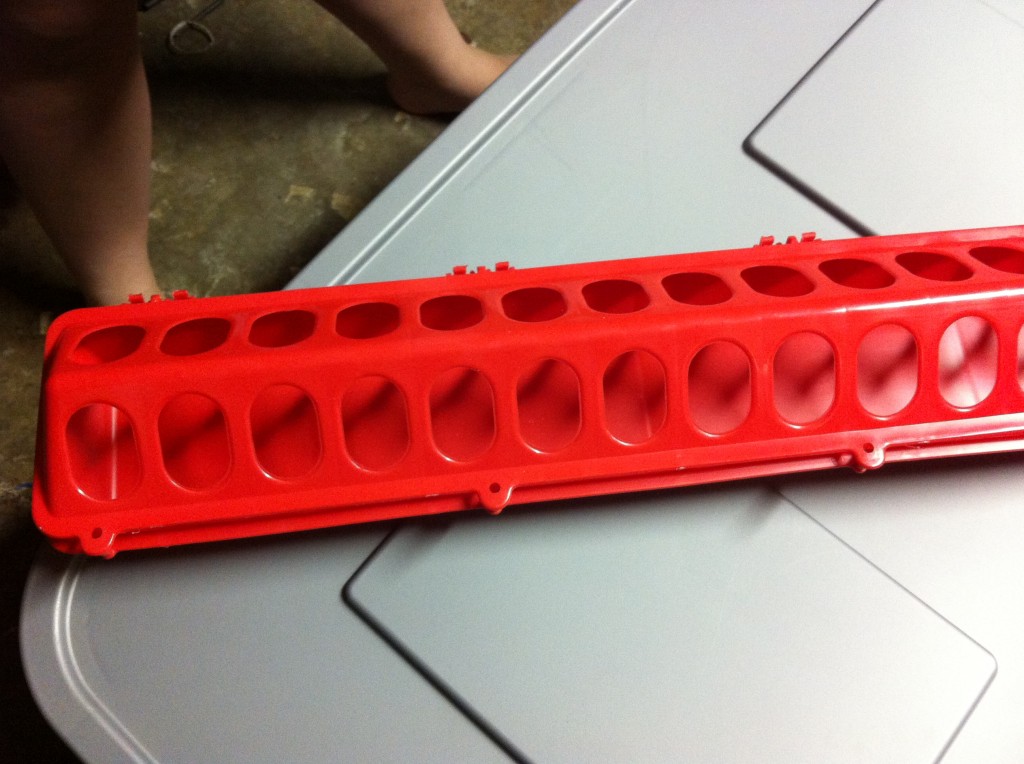
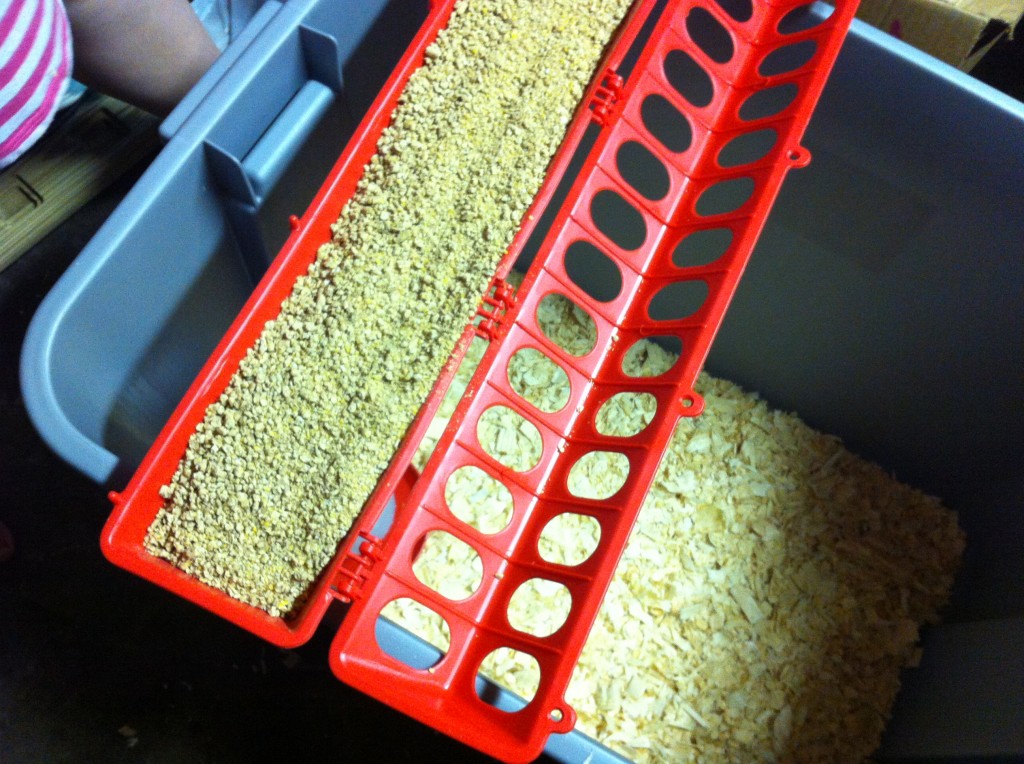
I need a feeder. The feed store recommended this one, because the little chicks cannot roost on it of it and poop in the food, sound tasty…NOT!  It is also too large for the little chicks to knock over.

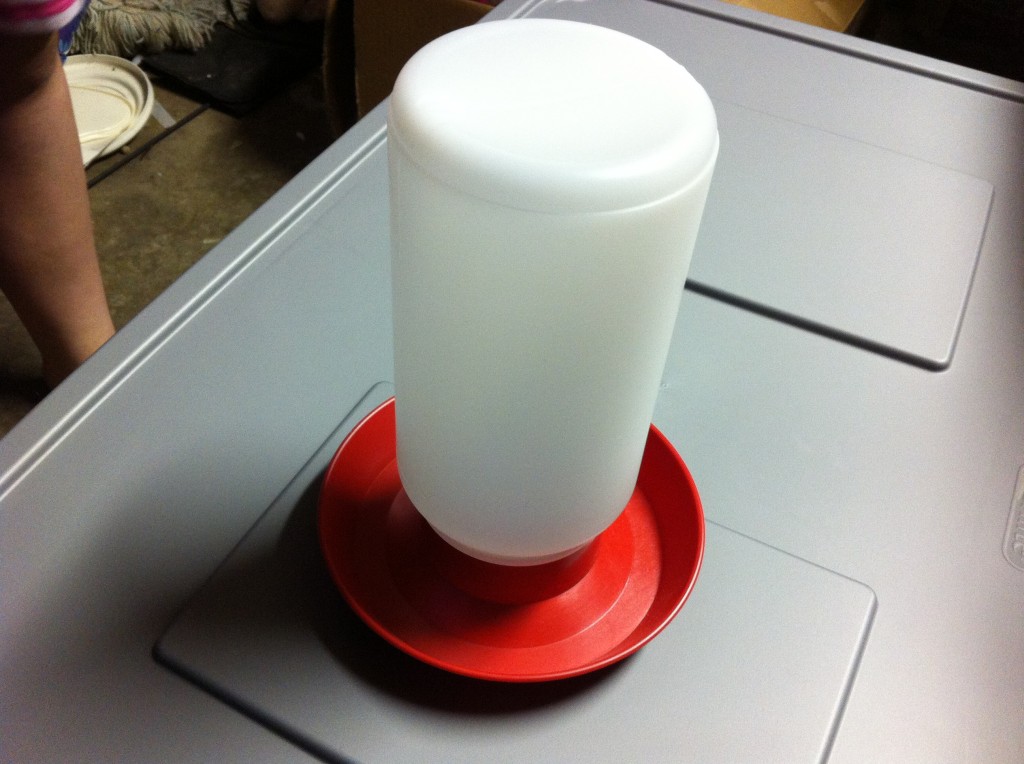
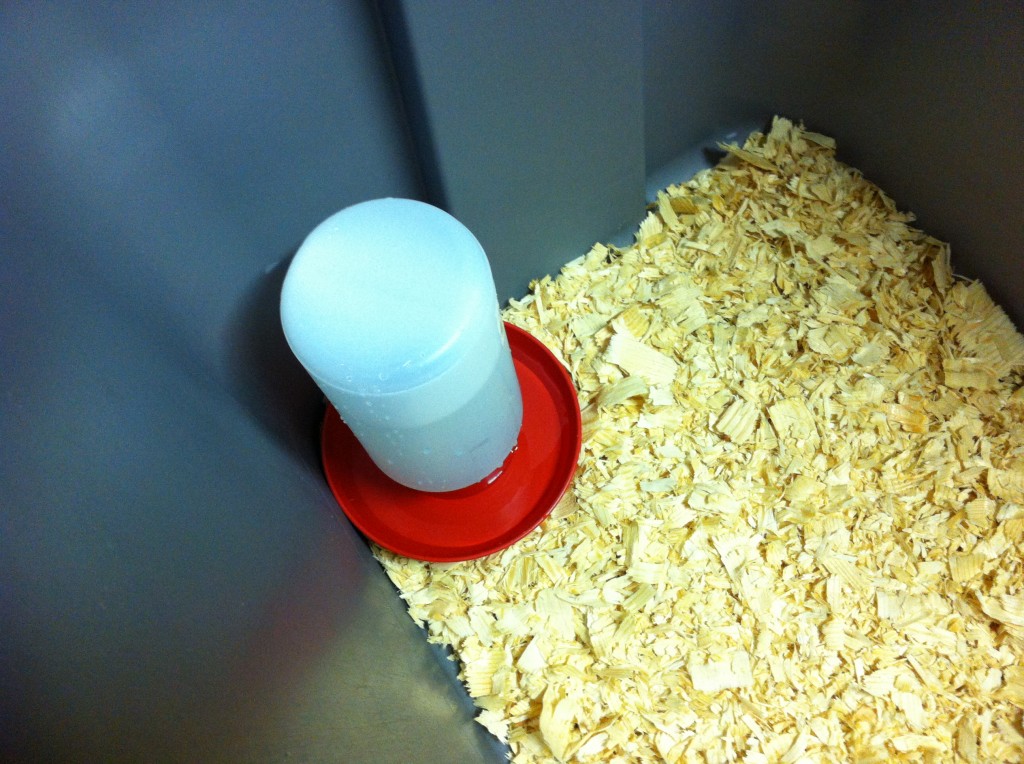
Little chicks need lots of water. I decided on this water container, because this is what the feed store was using to water their chicks. It is also a little smaller and would not take up so much room in the bottom of the container.

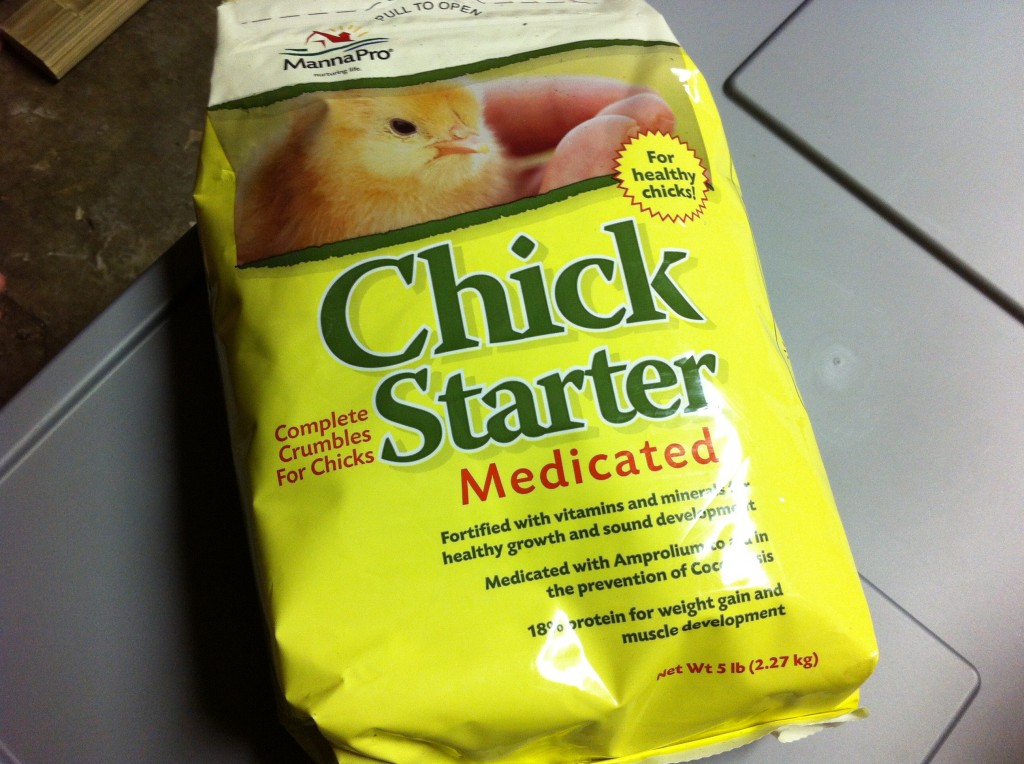
You need some chick food. This is what was recommended to me. It is medicated to prevent disease and help with growth.

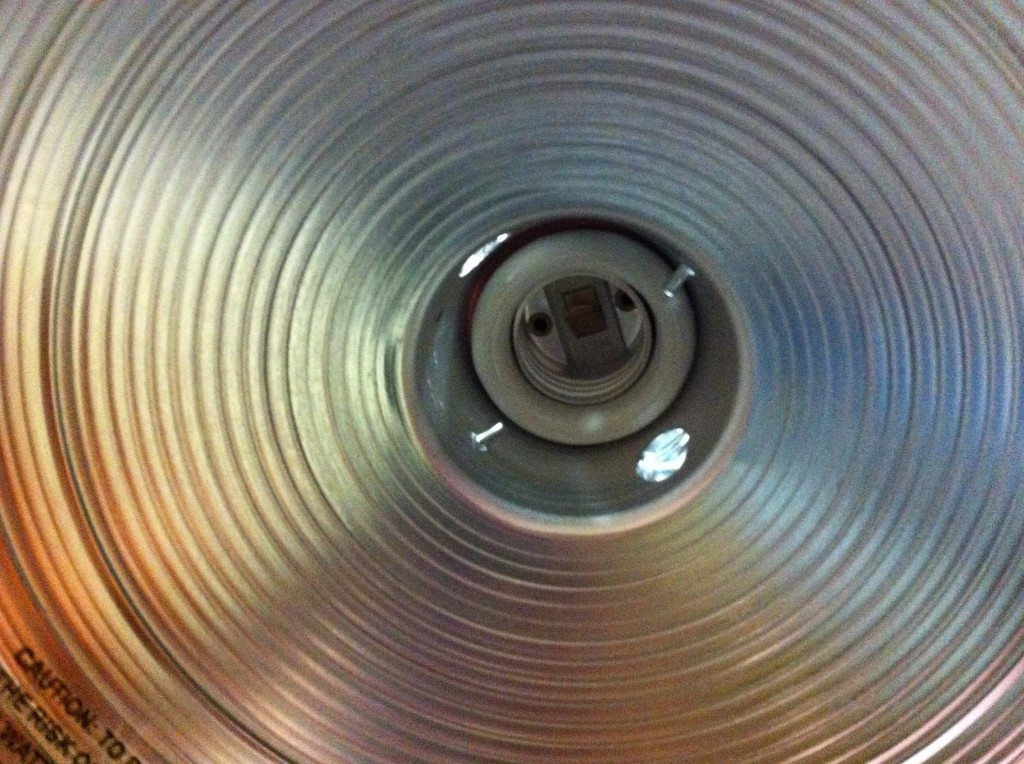
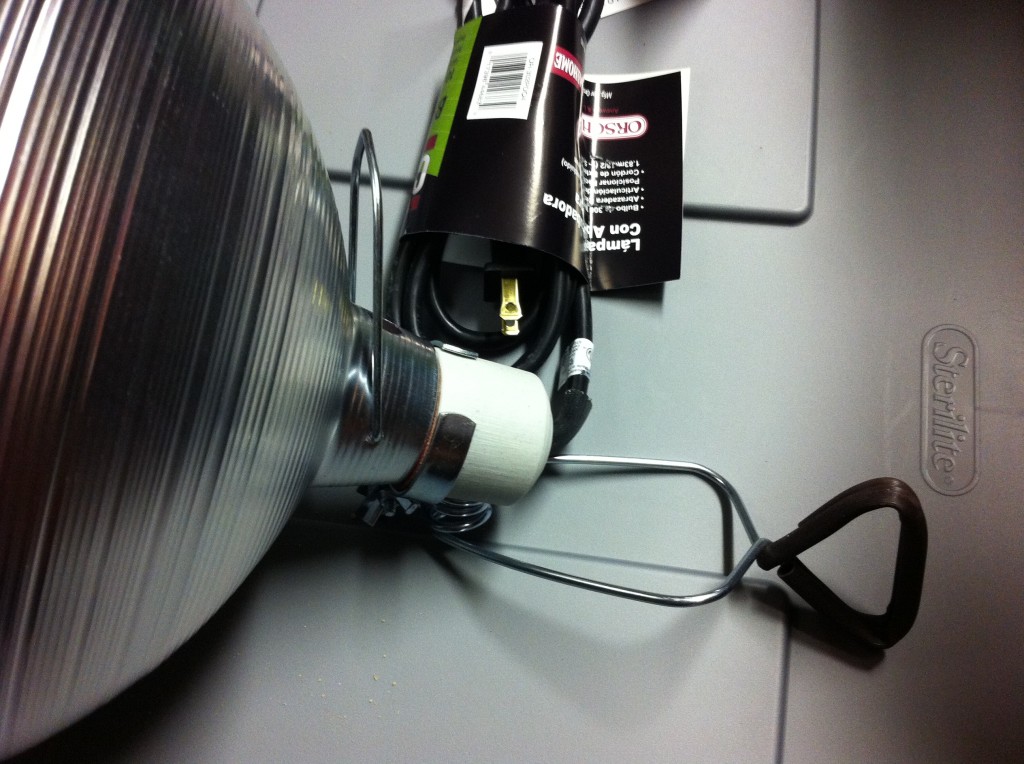
You need a heat lamp. This one has a guard that goes in those little holes on the edges.

The feed store also wanted to point out that I should buy a heat lamp that had a ceramic bulb fitting for safety.

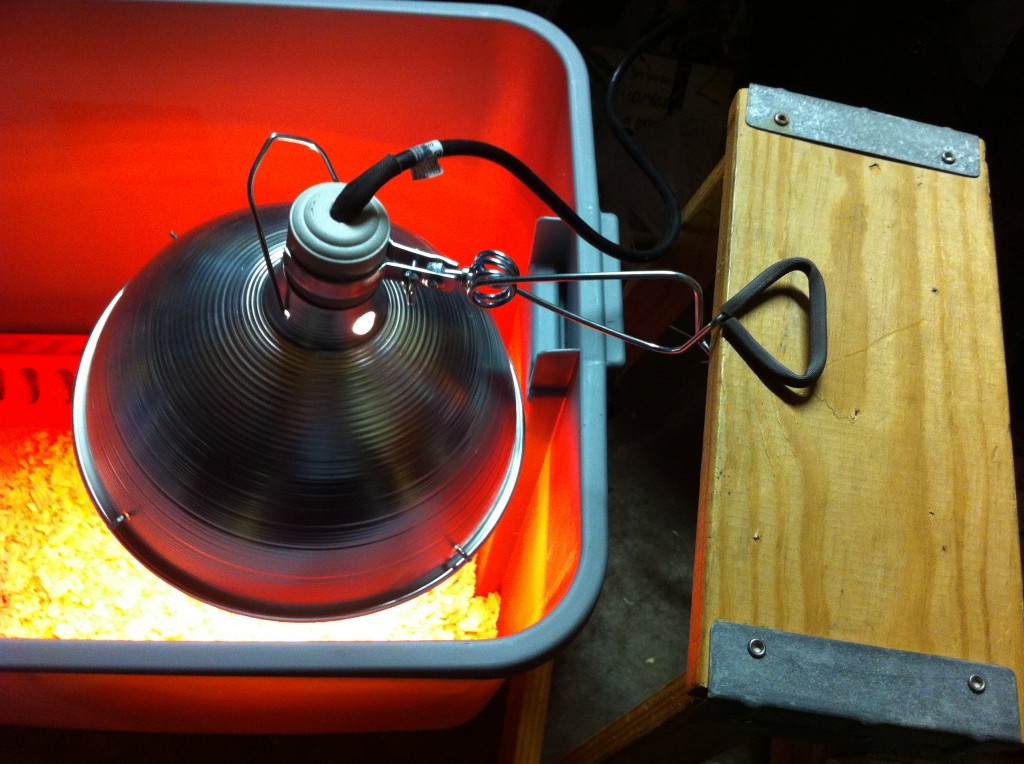
The heat lamp, has a clamp in the back to clamp on something to hold it up, it also has a hanger to hang it up. Whatever works best for  you.

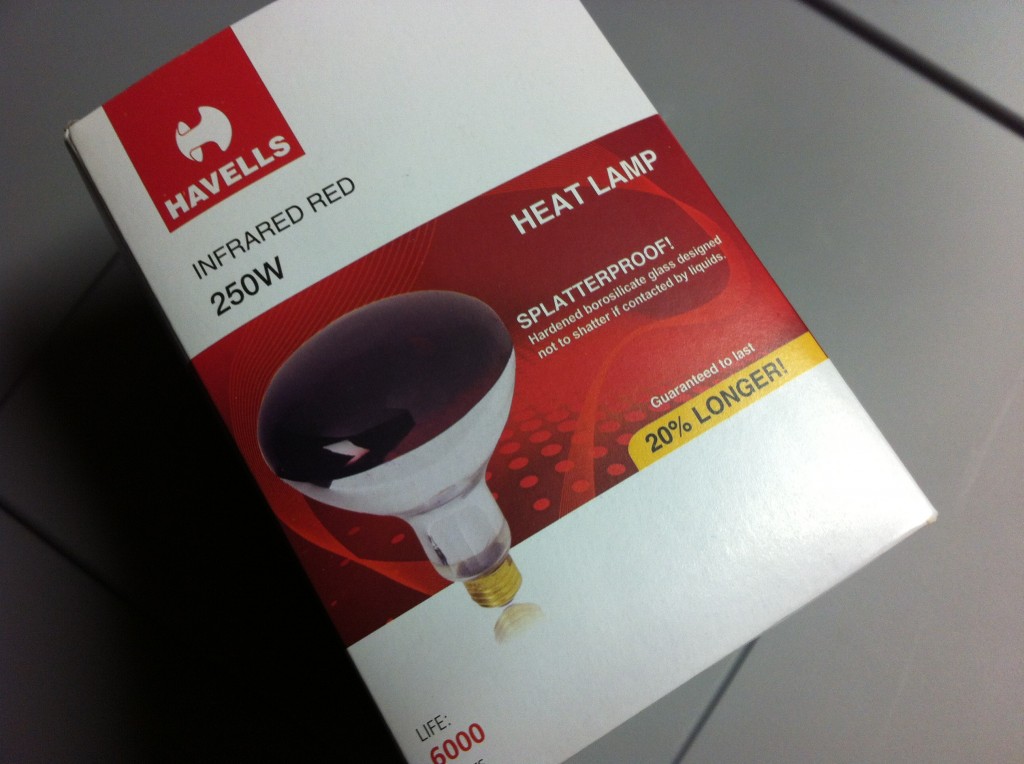
My friends and also the feed store recommended the red heat bulb. It is like three times more expensive, but with the bulb being red, the little chicks are less likely to peck on one another.

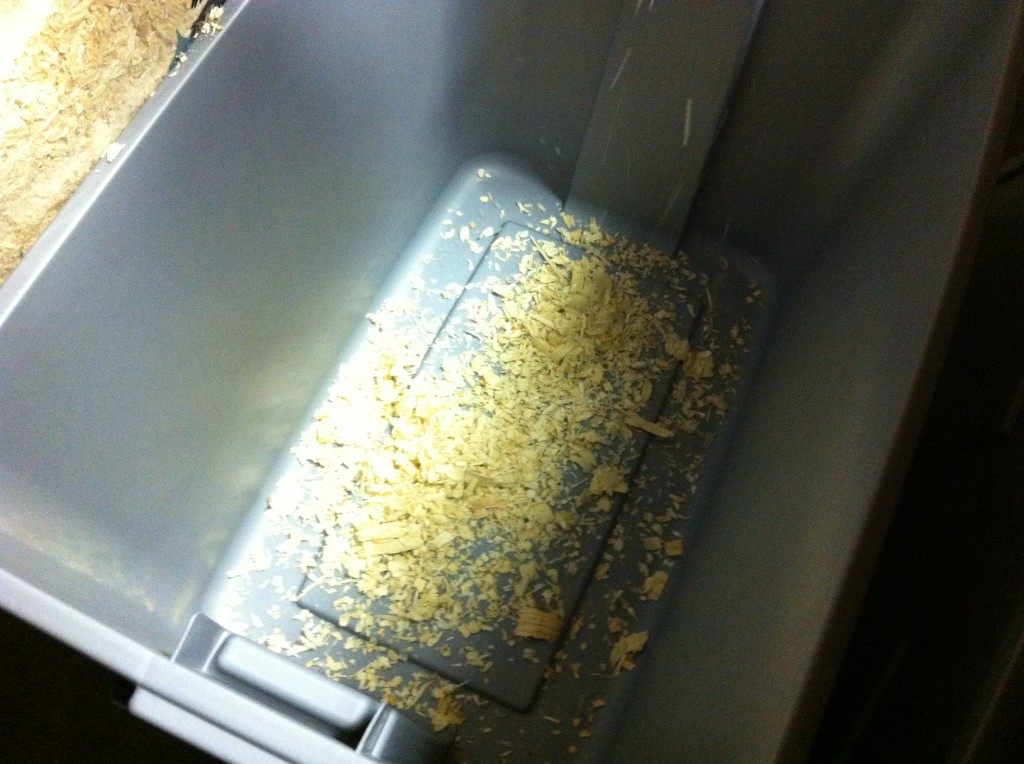
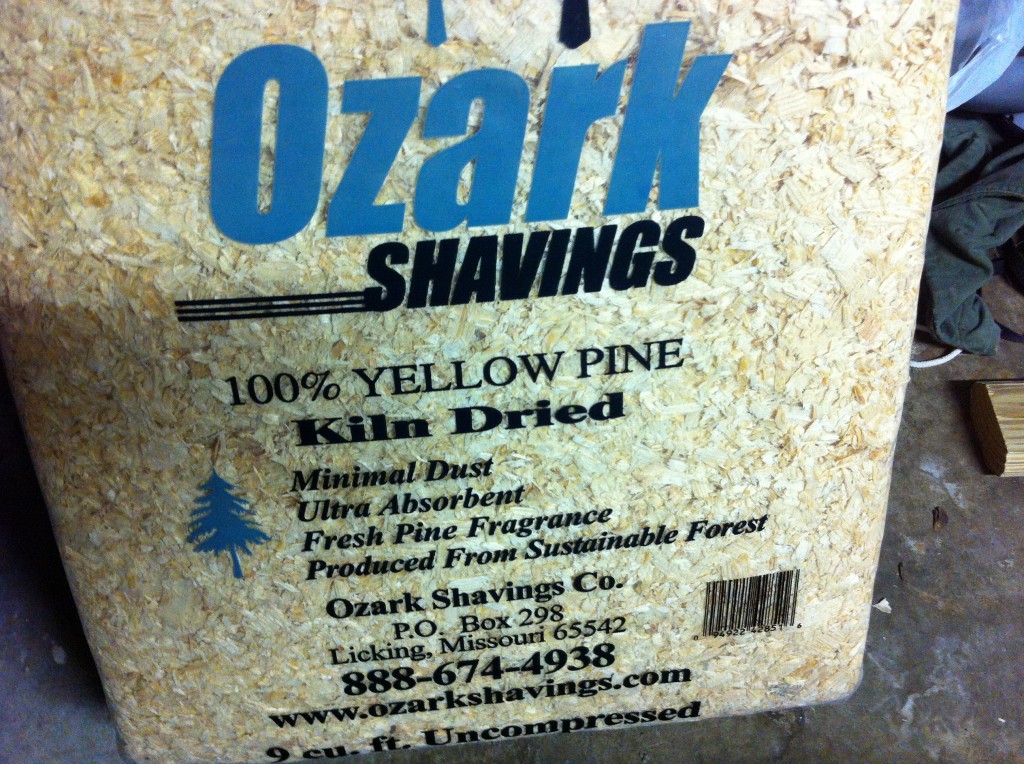
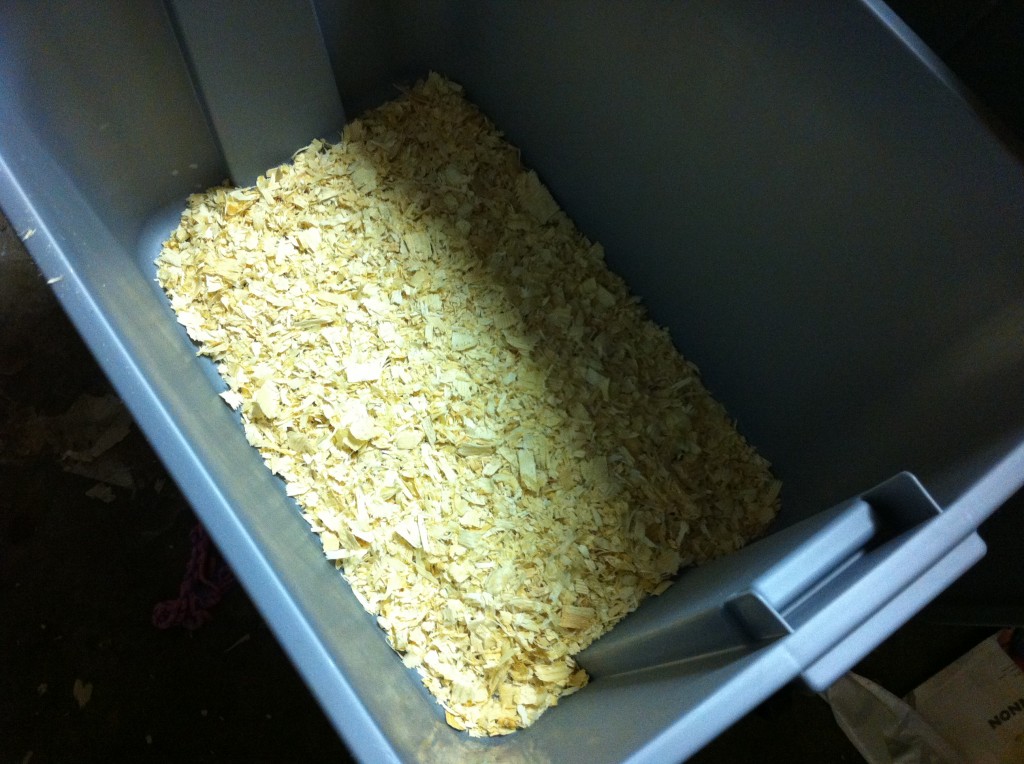
Since the little chicks are pooping machines, I needed some pine shavings to line the bottom of the container. This was the kind the feed store recommended and it was on sale…wooohooo! Do not use cedar shavings, as those are harmful to little chicks.

Now I need to set up the brooder.

Oldest grandgirl filled the bottom of the Rubbermaid container with pine shavings. I had her do about 2 inches deep. I am going to check tomorrow if I need newspapers on the bottom underneath, or maybe paper towels. But, I don’t think I  need them.

We filled the water container up and put it in the corner. We wanted the water to be at room temperature when the little chicks get a drink so they do not get chilled from drinking cold water.

Grandgril filled the feeder with the chick crumbles, and we set it down against one side of the container.

Now, we had to figure out how to set up the heat lamp. The heat lamp needs to be in one corner of the brooder. The chicks can go to the corner to warm up, but can go play around and chase each other in the rest of the container. The heat lamp is low enough to get the temperature up to 90 to 95 degrees for the first week. Then you can raise the lamp, thus lowering the temperature by 5 degrees every week until the temperature gets down to 70 degrees. (at least that is what my book says.)

Anywho, this lamp kept causing me problems. I put the brooder next to a built in work bench and I thought I could just clamp the lamp to it. The thickness was a little to big, and even though I got the lamp clamped on, it was lose and I was afraid it would fall in the brooder. I contemplated nailing the clamp down, which would work temporarily, but if I needed to adjust the height of the lamp, I would have to figure something else out later.

I finally settled on this little wood step stool that was just the right height (for now) and the board was the right thickness to easily clamp the heat lamp to. I think when I need to raise the lamp, I can just put bricks or wood on the floor and put the step stool on it to raise the height.

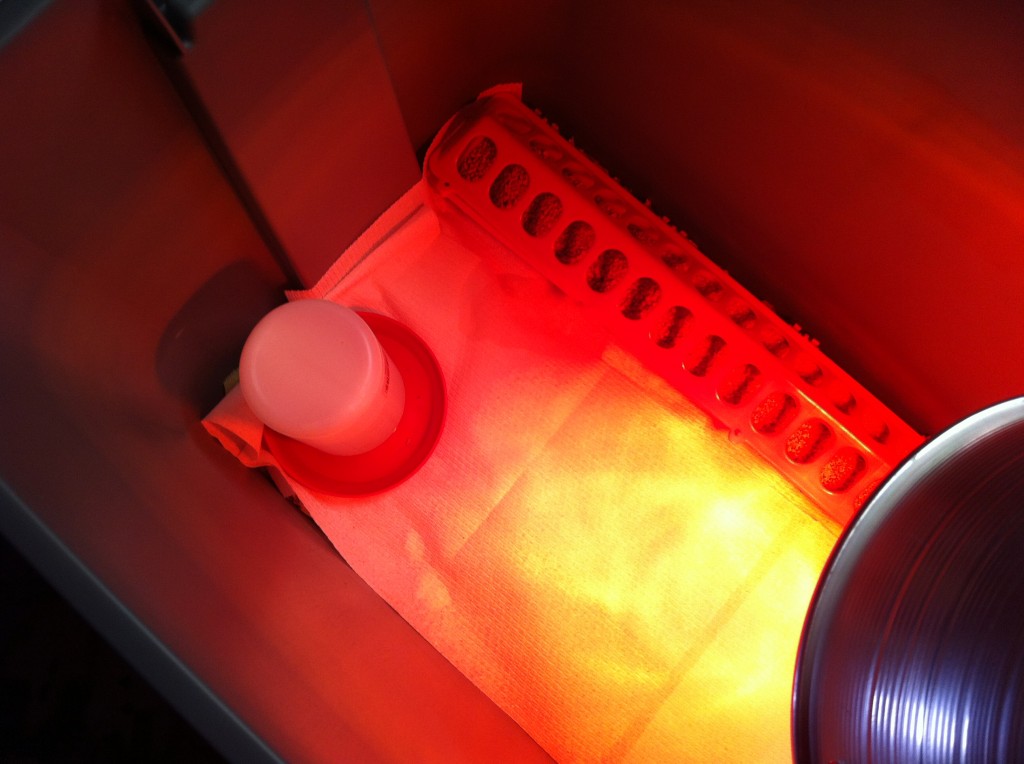
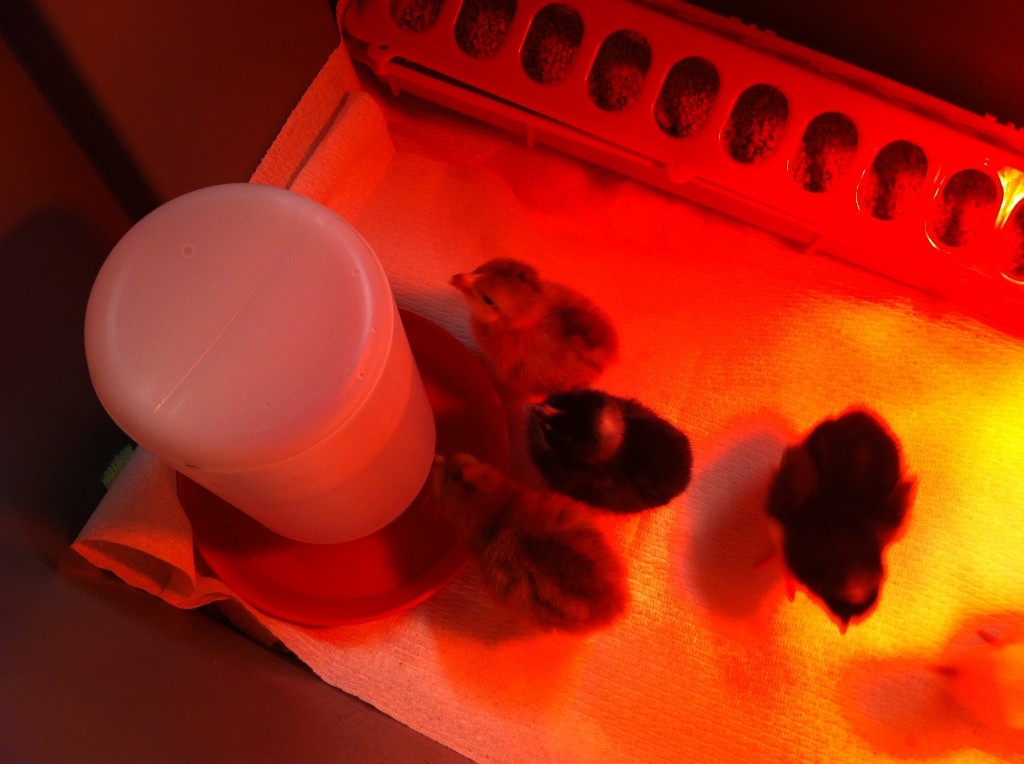
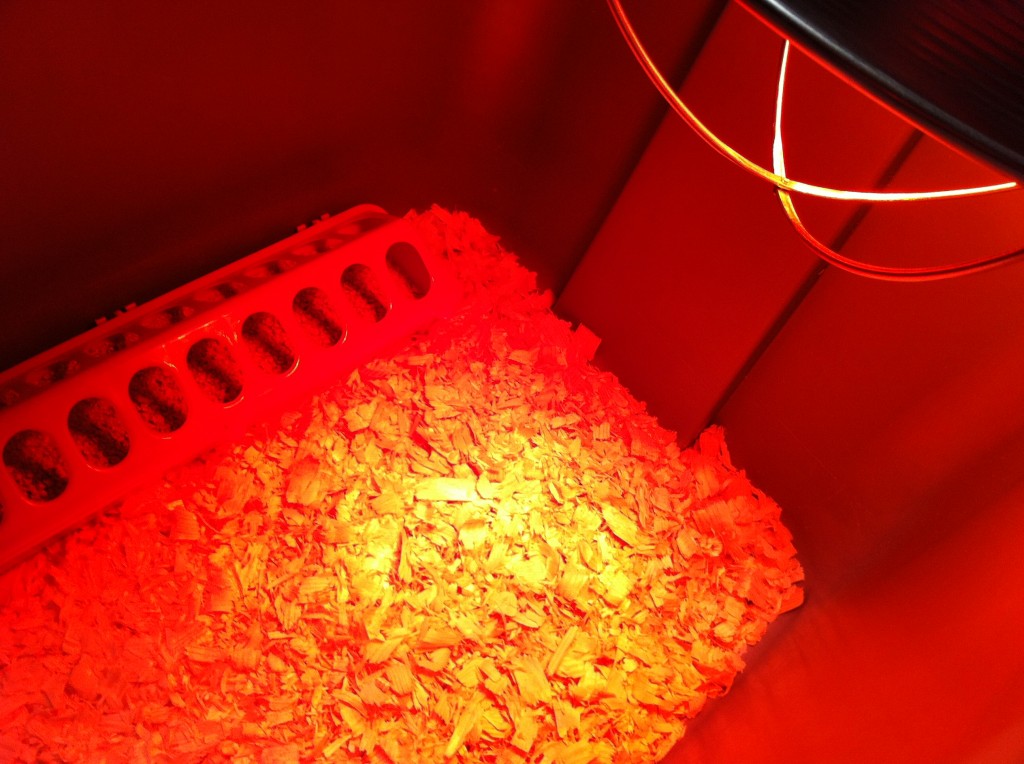
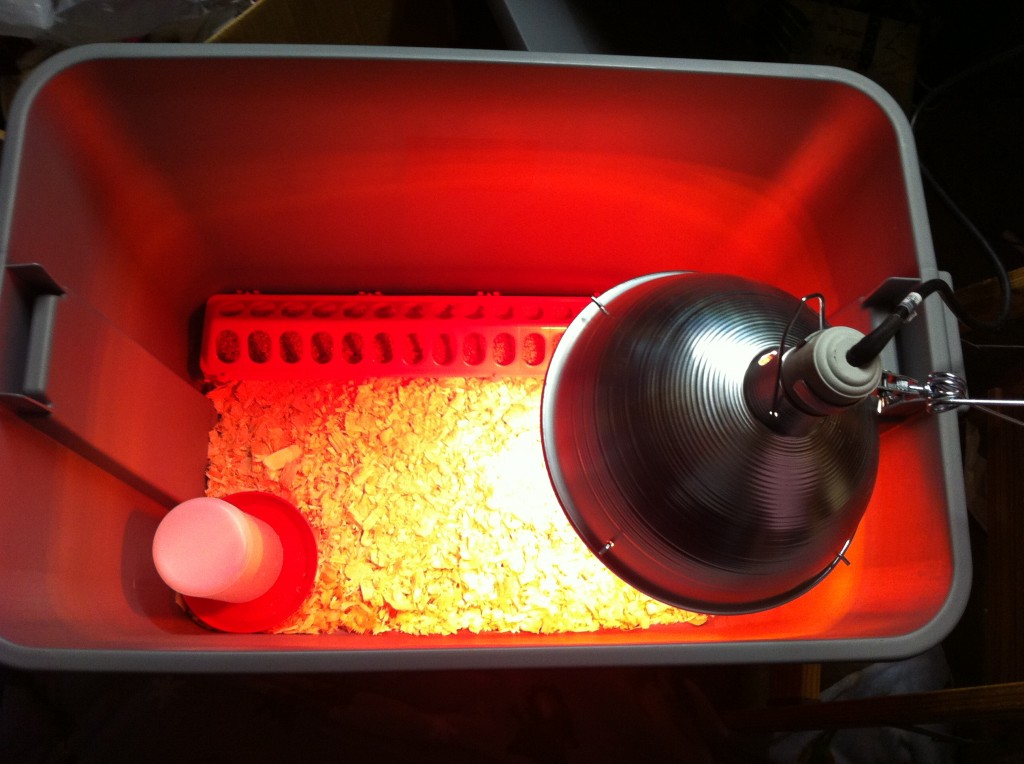
Here is a peek inside the brooder with the red light on. You can see that the wire guards are on now.

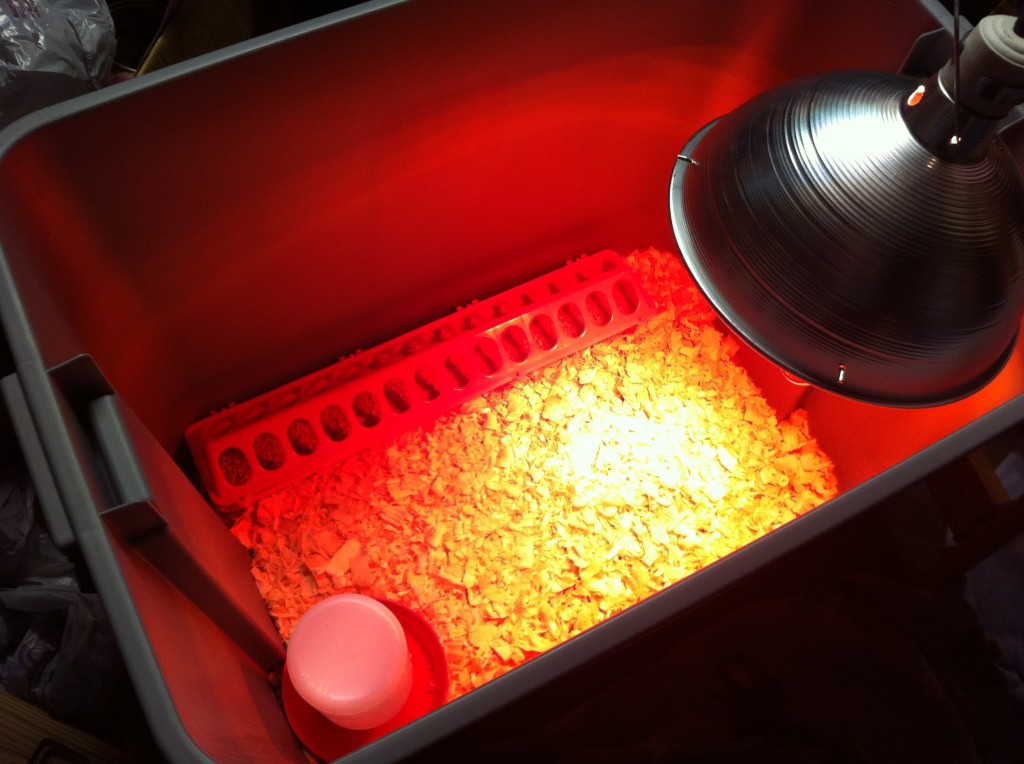
Waaalaaaa….here is my brooder! All ready to go. Now, if the chicks get too big for this container….well….I will worry about that tomorrow ; )

Now, all I need is some chicks.

I hope I know what I have gotten myself in to.

Becky


Onion and Garlic Update

It’s alive……..

Last October or November, Grandgirls and I planted garlic and onion sets at the end of Company’s garden spot.

when I checked on them in December, they were doing great. See all the green tops popping out of the ground.

When I checked on them a couple of weeks ago. I could not see any life. Even though we put straw down to protect the new sets, the negative degree winds took their toil on the green tops. I was afraid we had lost them all due to all the snow, sleet and zero temperatures.

But…..

A couple of days ago, I was able to actually get into the garden in the place the grandgirls and I planted the sets and moved back some of the straw.

Look what I found!

It is either onions or garlic that is coming up.

Company hopes that it is garlic….he hates onions.

The girls and I are rooting for the onions….: )

Hopefully, we will be harvesting garlic in July and onions in May.

Breath mints anyone?

Becky

Half A Coop

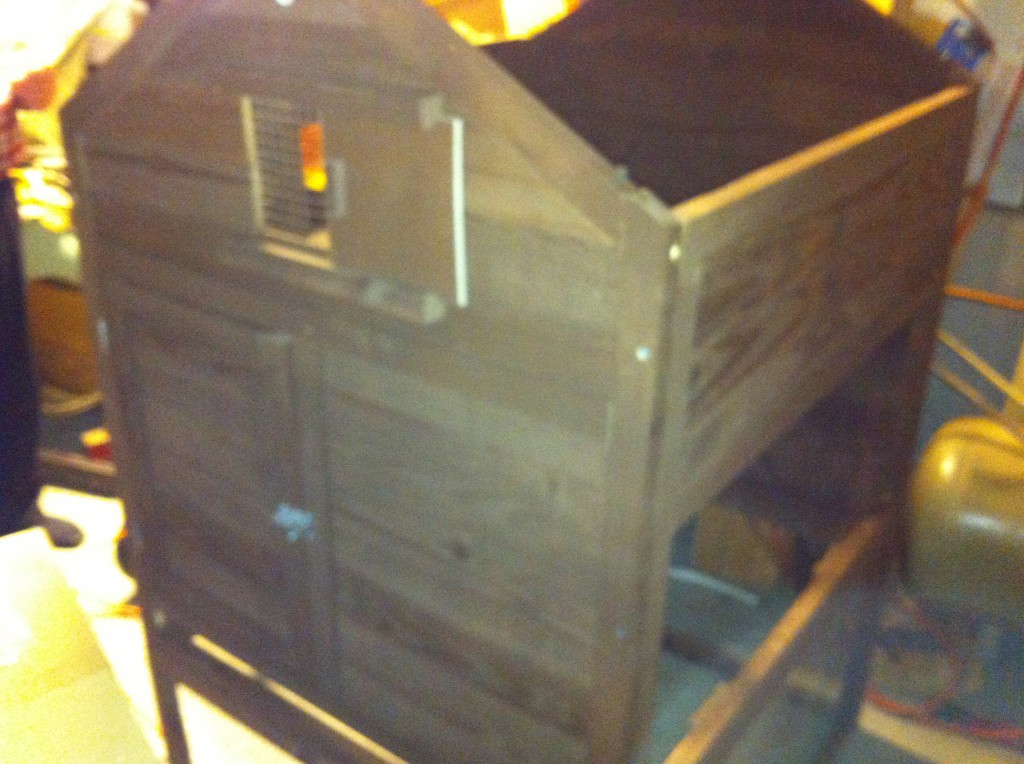
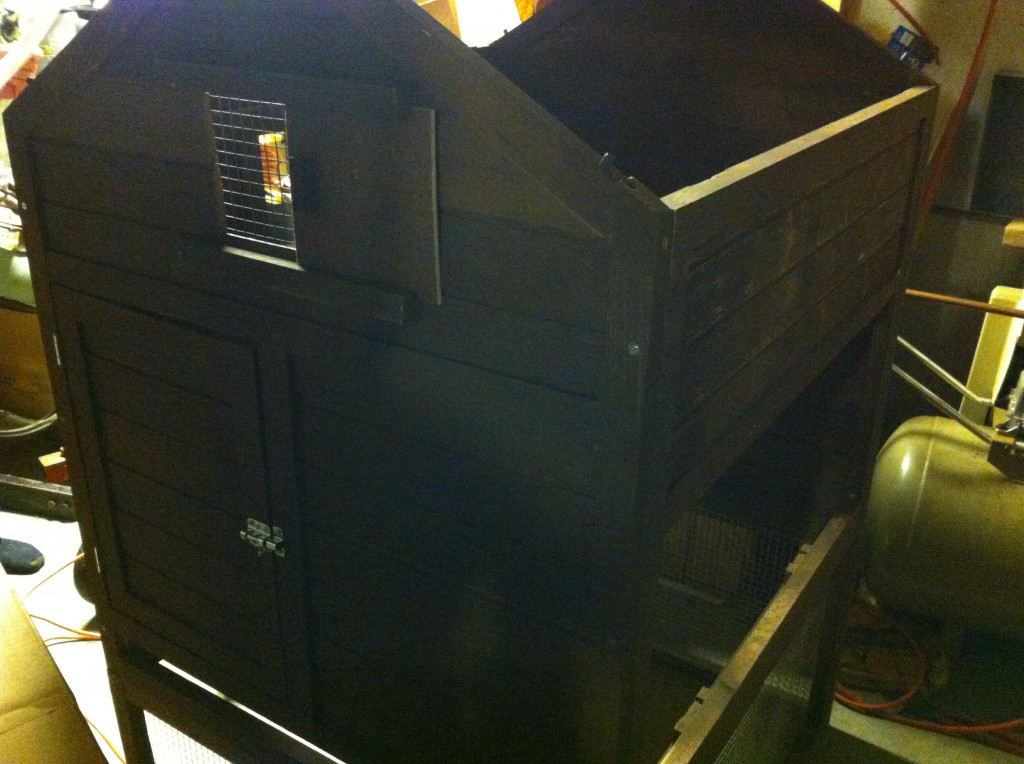
Company took the coop home with him to put together.

He was having a little problem with putting the coop together.

I took one look at it and told him what was wrong.

I told him he had one side upside down.

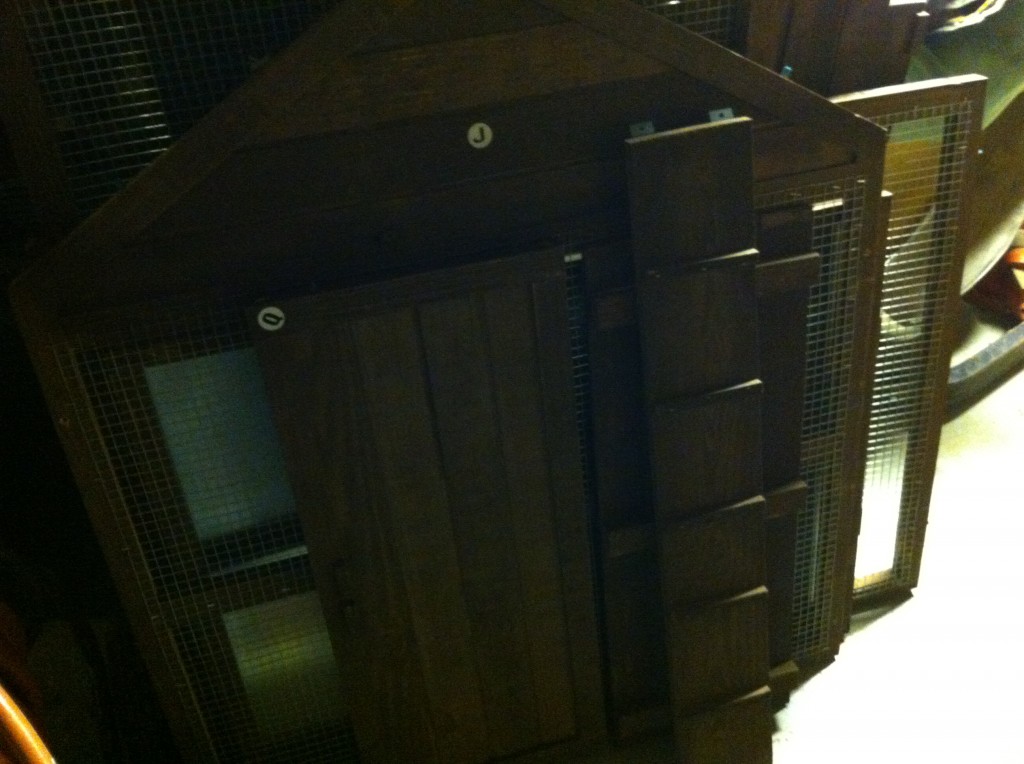
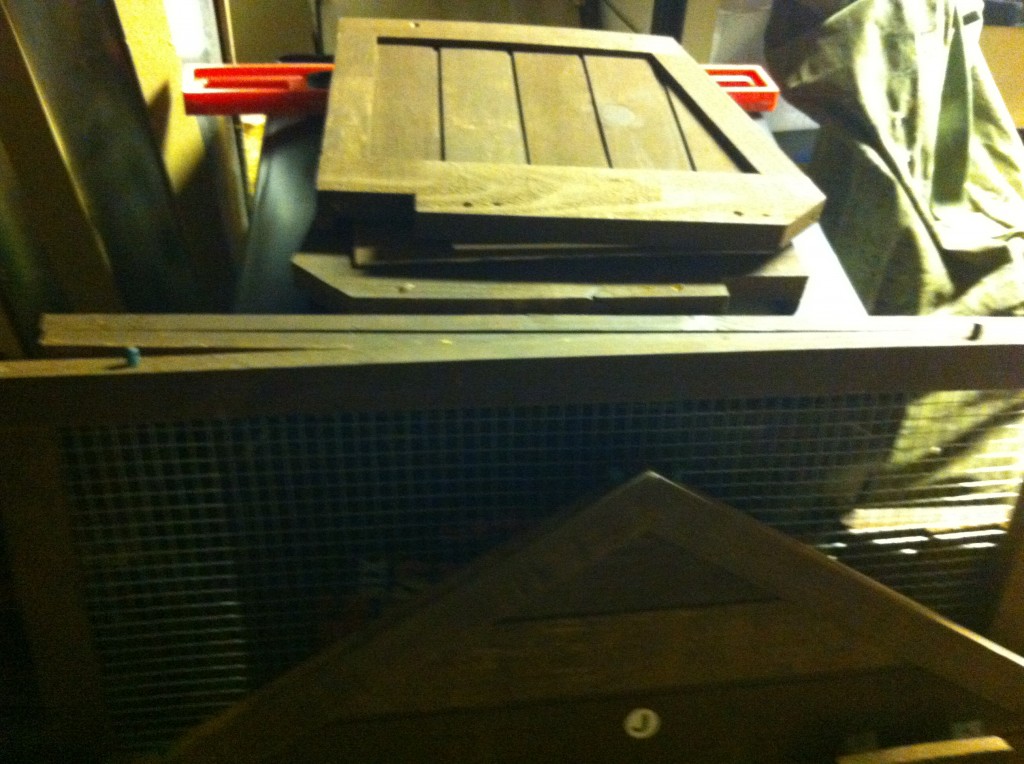
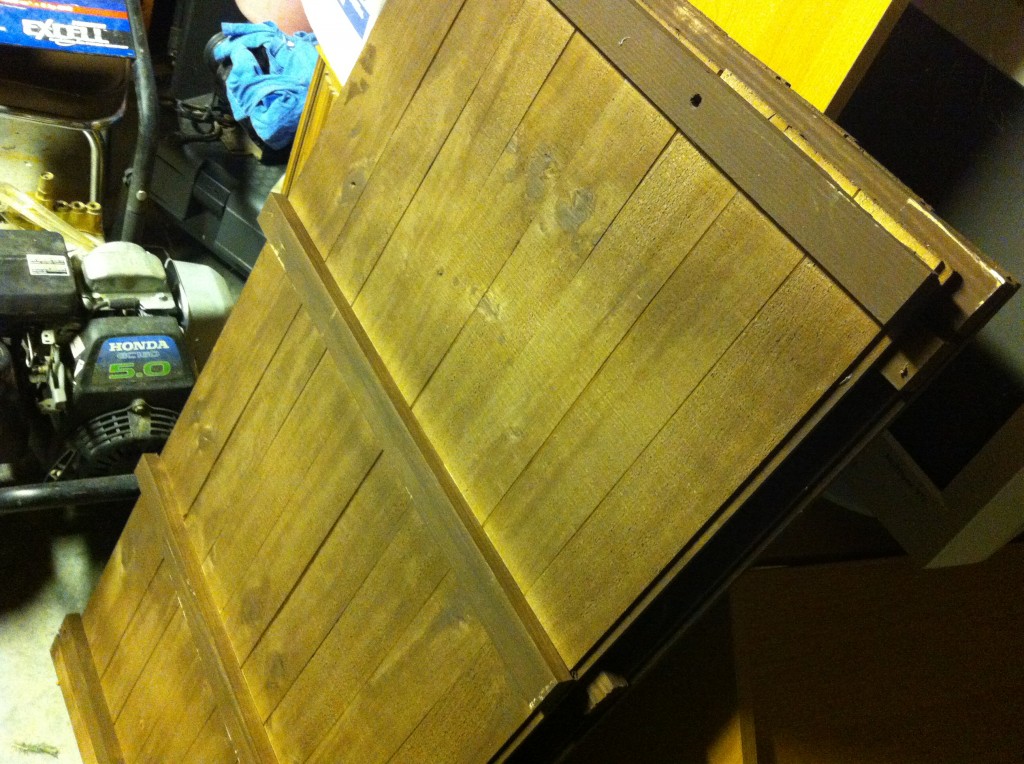
Here is a picture of the roof pieces of the chicken run. He had the piece that connects to the chicken house and run upside down and inside out.

How is that possible?

He still did not quite believe me and wanted to look at the instructions (with pictures) to double check.

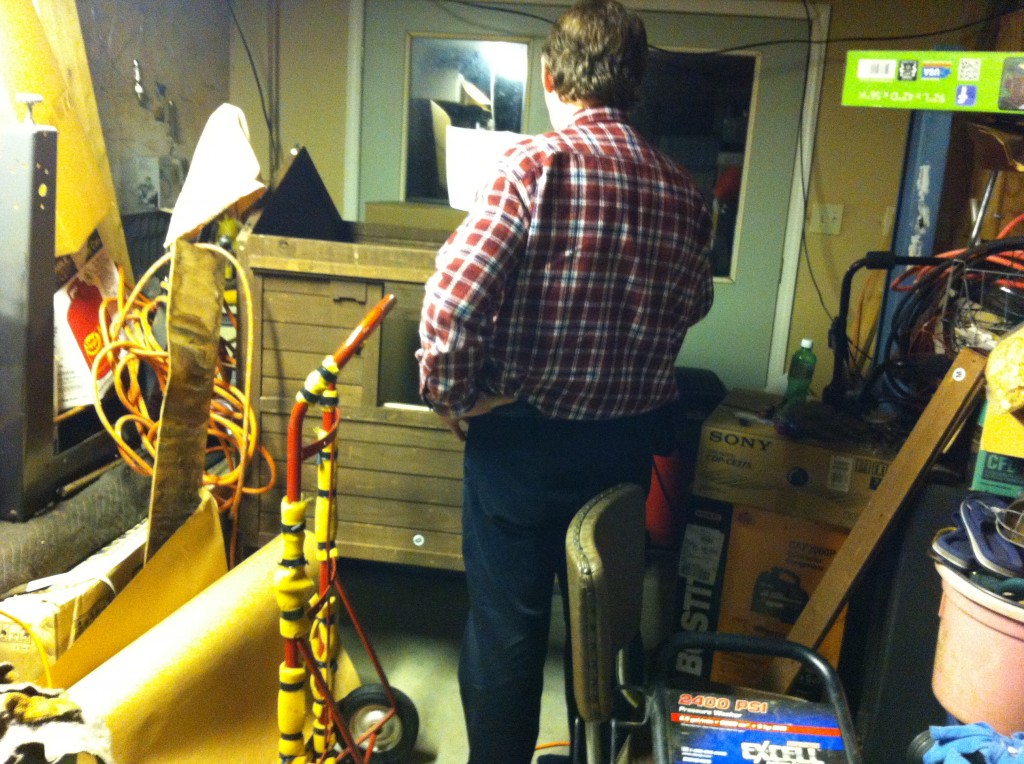
This is what he looks like when he is thinking……

and thinking….

and thinking….

Company finally said, “it will only take 6 screws to fix it.”

So….is that his way of saying I was right?

Becky

Related Posts Plugin for WordPress, Blogger...