Mom’s Light Bread

My Mom, the Princess, grew up calling this bread, “Light Bread.”

I think she got the term from my grandma.

I call this bread, “homemade memories of childhood goodness.”

“Us Kids,” Niener Wiener, Me, Jeanie Beanie and Brother, would wait in mouth watering anticipation, until the first hot loaf would finally come out of the oven.

Warm, lathered with butter, crusty and tender.

We were hungry little tow heads, that could (and did) devour as much bread as we could until Mom would finally shoo us from the kitchen.

Us kids, loved and still do love, Mom’s Light Bread. It magically switches our middle age brains into believing we are young, tow headed (not gray) and very hungry kids again.

MMMM…..Mom’s Light Bread.

Jeanie Beanie and I, just happened to have our spring break out of school, at the same time this year. Jeanie Beanie started planning a couple of months ago that she wanted Mom to teach her how to make homemade bread over break. I just invited myself to join in on the fun. So a week or so ago, over spring break, us two girls, went to Mom’s and made bread. We. Had. A. Blast. Not only did we hang out with Mom all day, my Aunt Pat and cousins Myra and Connie came for a visit too. We had our own little family reunion. We ate warm light bread with homemade strawberry jam and (real) butter.

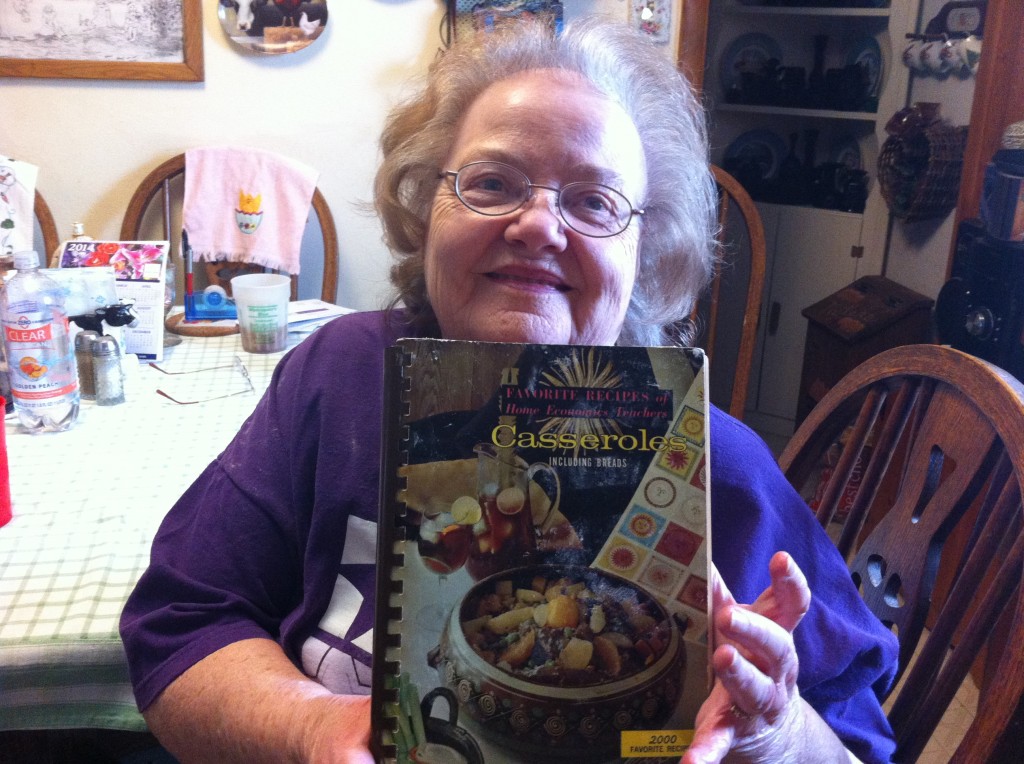
Here is a picture of the beautiful Princess holding her cookbook with her bread recipe in it.

There is a story about this cookbook, that I will have to tell you all about another time. Don’t worry I won’t forget to tell you all about how my mom lost her prized recipe.

Promise.

Anywho, back to making bread. My Mom is a serious bread maker. She has not made her bread in years (cause she lost her recipe) and of course she had hip replacements, breast cancer and a mastectomy.
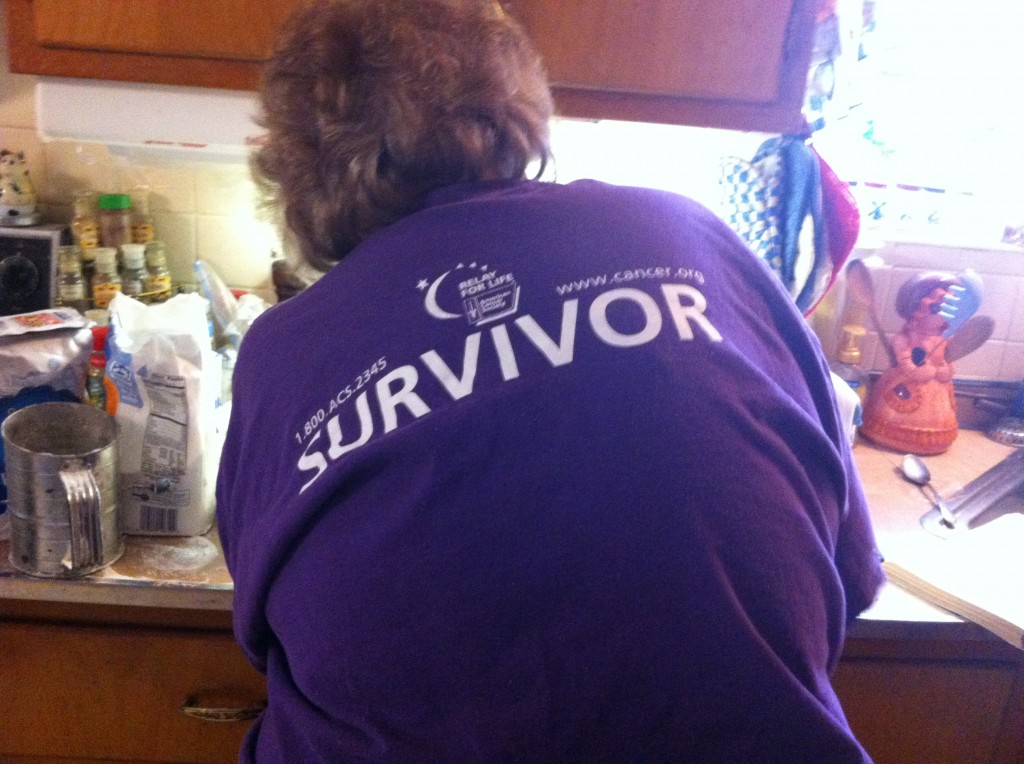
But, my Mom is a survivor and she just keeps moving forward. She got busy making her bread so fast, I hardly had time to take pictures. I had to keep telling her to slow down. I think I  managed to get all the step by step pictures on how to make Mom’s bread. Whew….she wore me out : ).

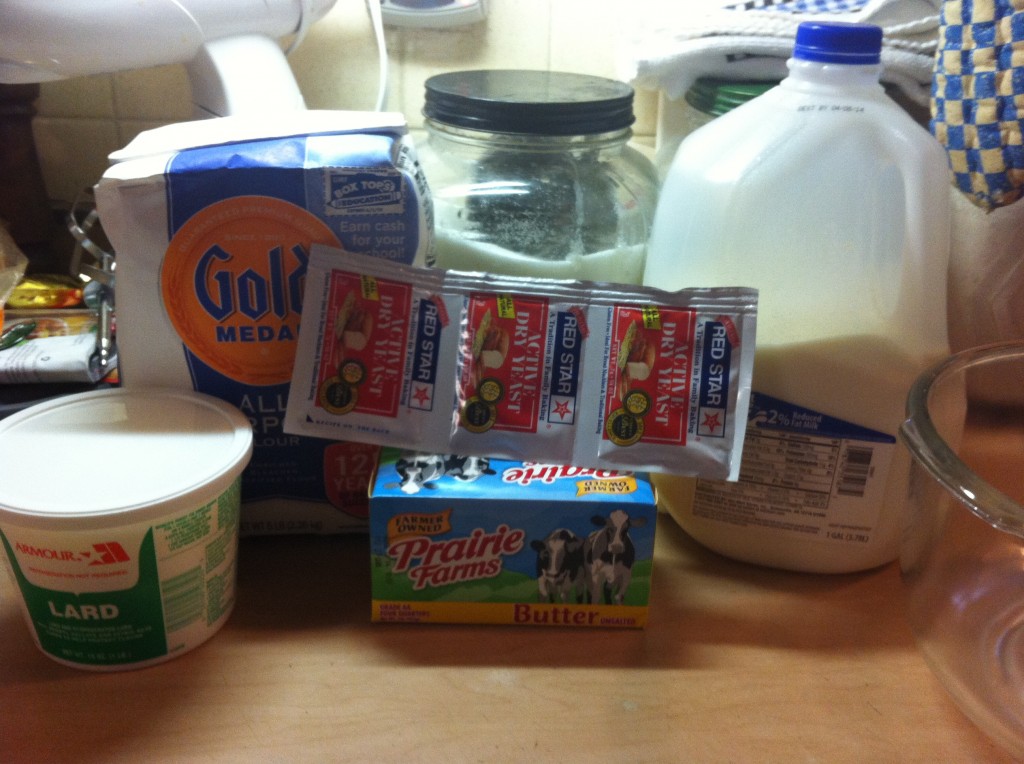
Here is what you need, some butter, milk, yeast, flour, salt and lard to rub on top of the rising dough and to grease your pans with. Mom says lard makes all the difference.  Criso or lard….the choice is up to you. : ) I can just tell you I bought a small container of lard cause Mom said so.


First thing you need to do is dissolve the yeast in some warm water and stir it up to get all the lumps out.


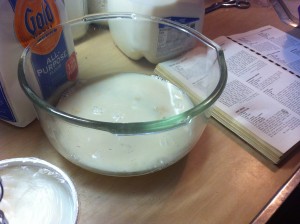
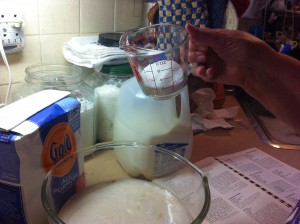
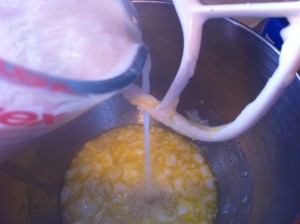
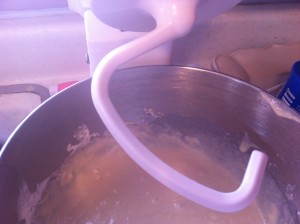
In a large mixing bowl, add together the lard and  warm milk.


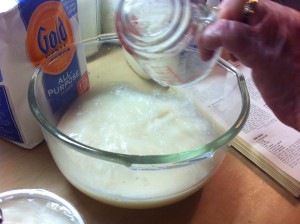
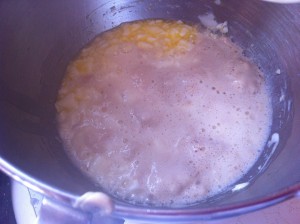
Add the dissolved yeast to the warm milk and lard mixture. Now add in your sugar and salt.


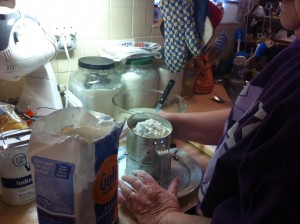
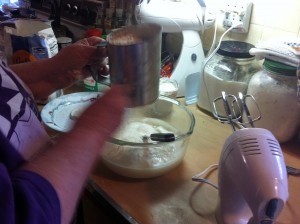
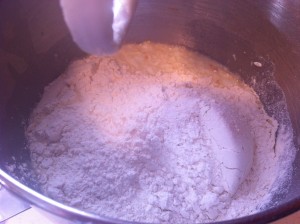
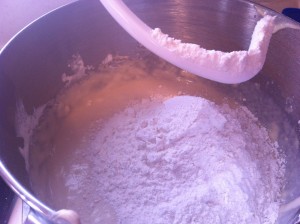
Now, here is secret number one to my Mom’s bread. Mom firmly believes in sifting the flour into the milk mixture.


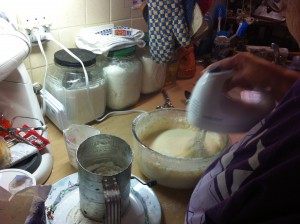
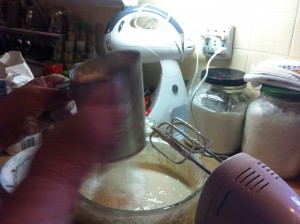
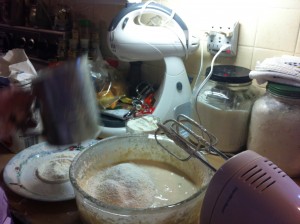
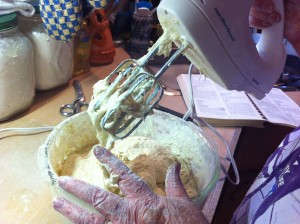
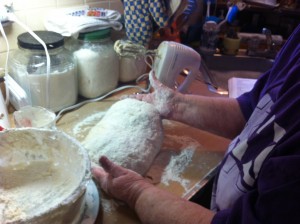
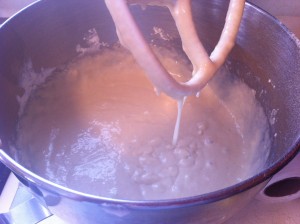
She sifts a little flour and then mixes it up with her mixer. Then she sifts in some more flour.


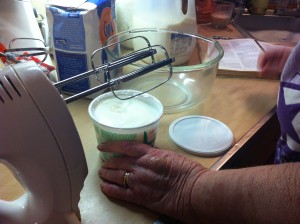
She sifts in as much flour as she can mix with her hand mixer. (the mixer got a work out that day).


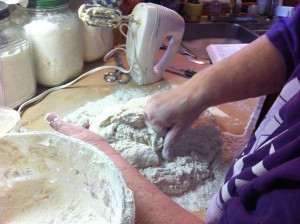
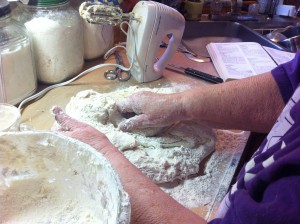
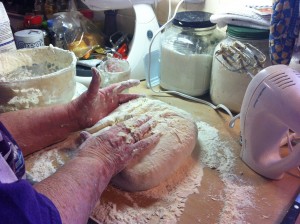
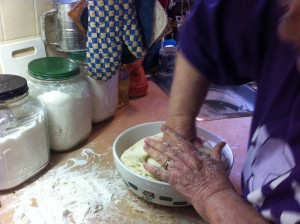
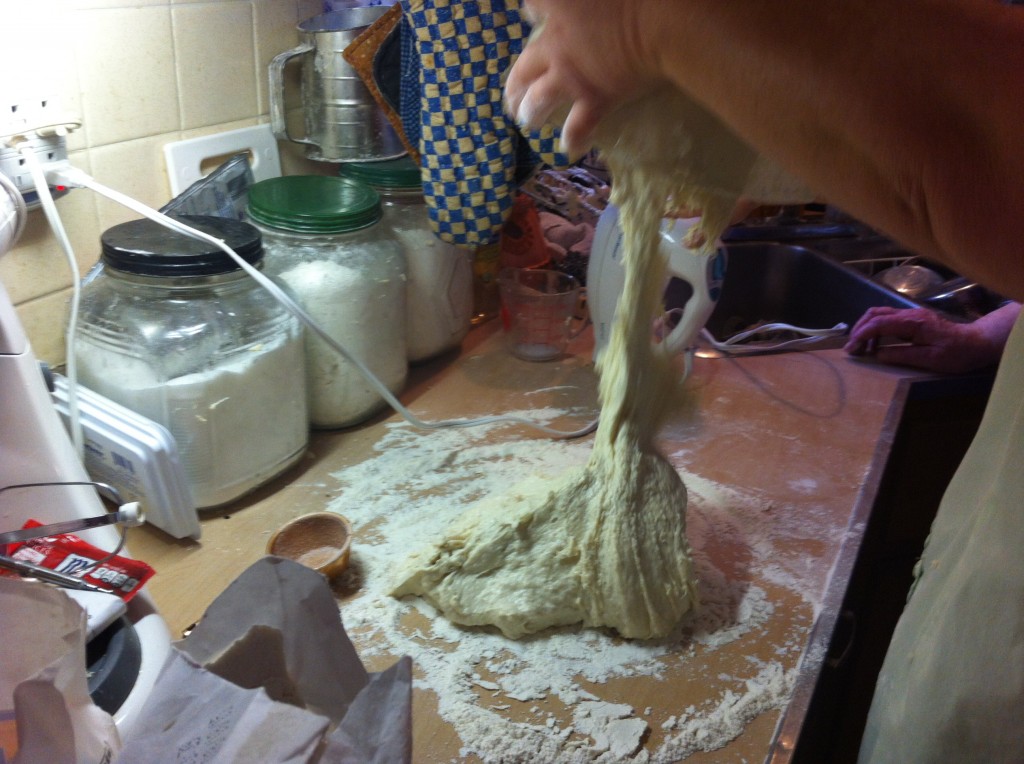
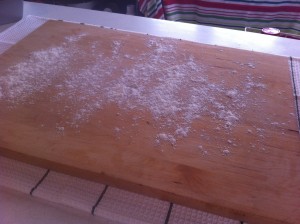
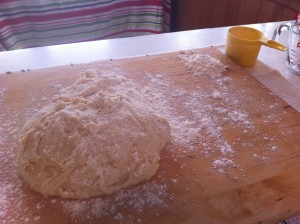
Next, Mom dumps the sticky dough on a flour covered counter and kneads in more flour.


She kneads in enough flour to make a soft dough. She makes sure she kneads the dough at least 10 minutes to help make the dough tender.


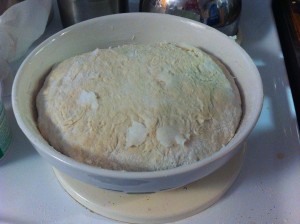
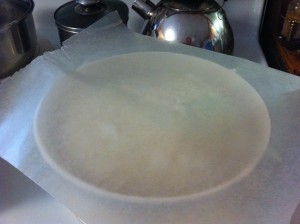
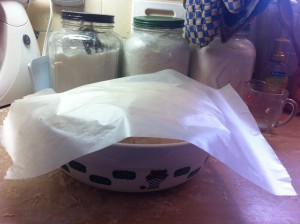
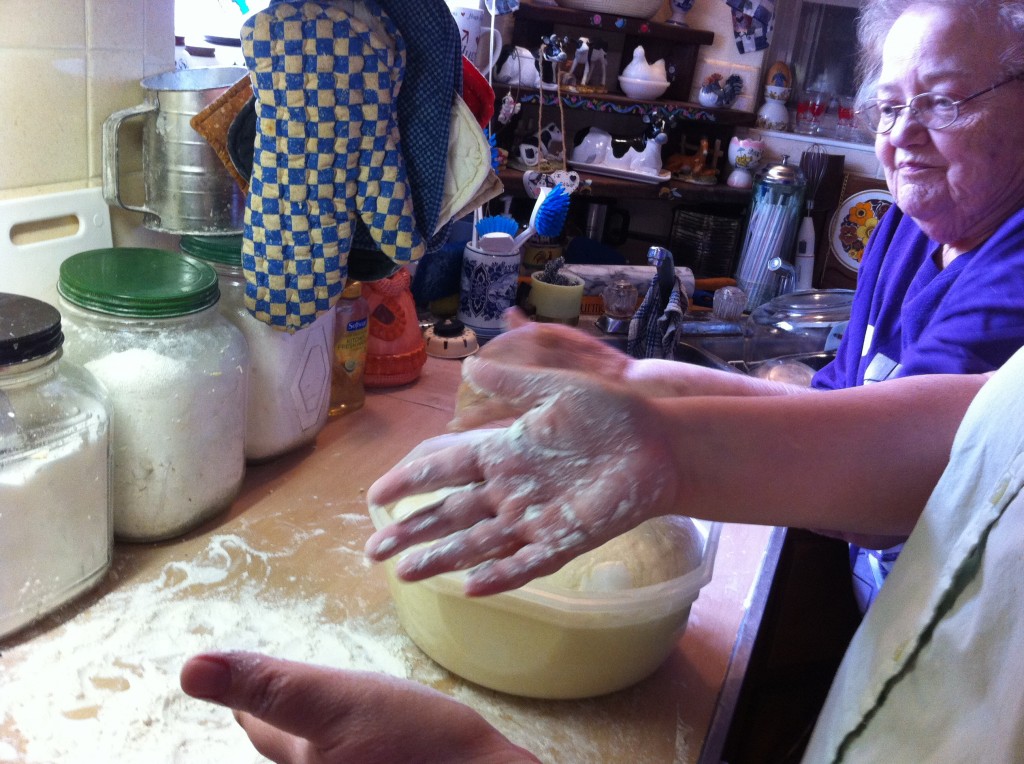
When the dough is ready. She put the dough in a bowl greased with lard. She also gently spreads lard on top of the dough. She covers the dough with wax paper to rise in a warm place.


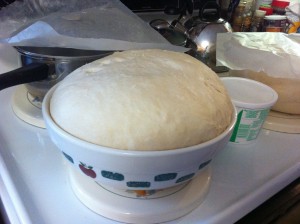
When the dough rises, Mom takes the dough and punches it down. Then, puts the wax paper on top and lets it rise again, for a double rising.


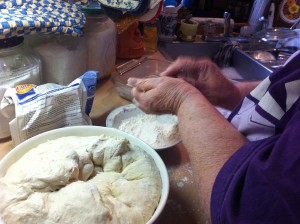
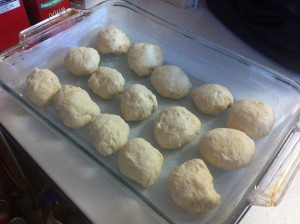
After the dough has risen for the second time, Mom takes the dough and pinches off circles of dough and forms them into rolls.


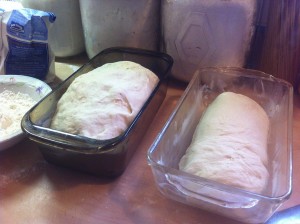
She puts the rolls in a pan greased with lard (again). She took the rest of the dough and formed two loaves of bread. Yes, the pans were greased with lard. Let the dough rise until doubled in the pans. until at 400 degrees until browned.

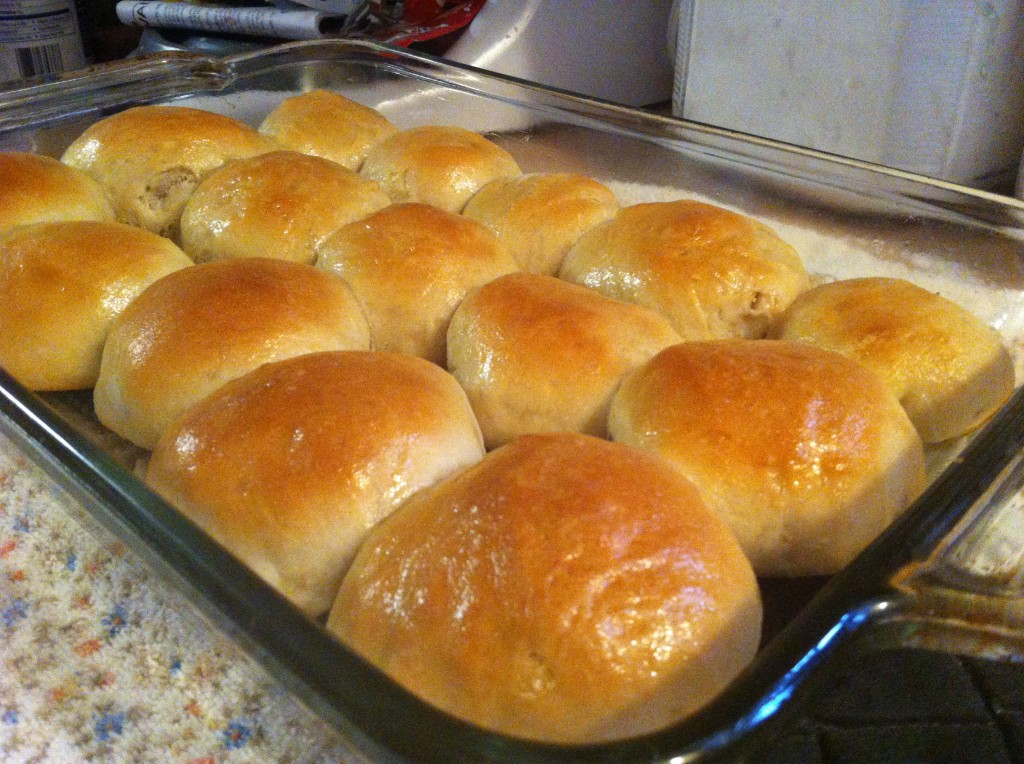
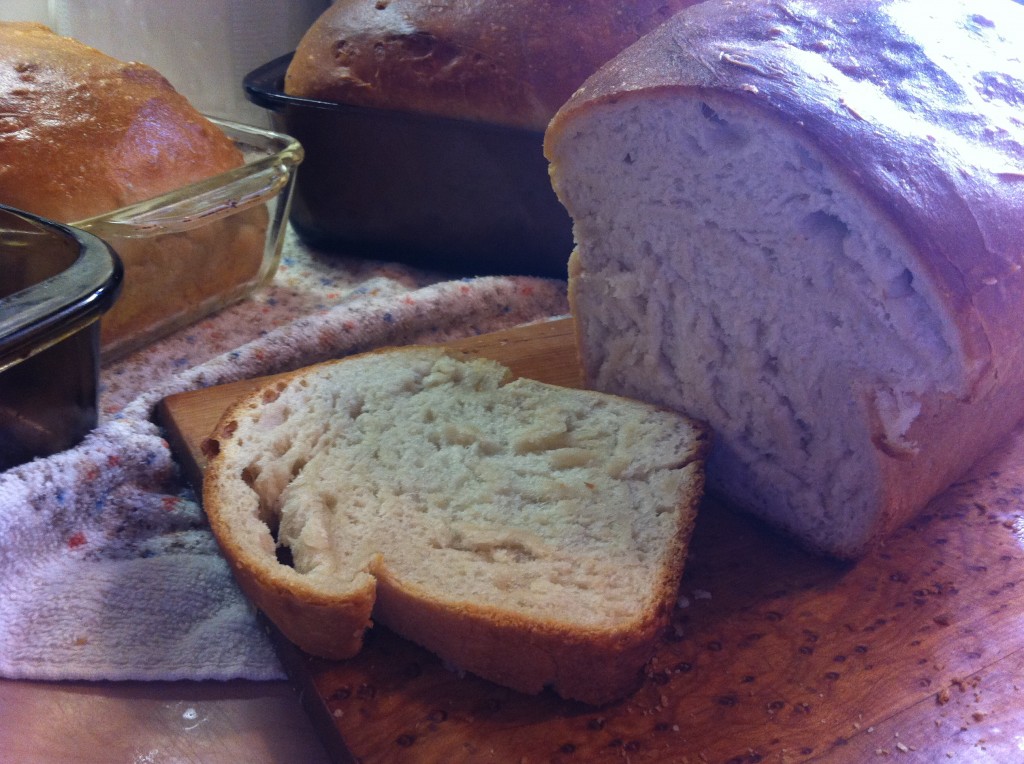
As soon as they come out of the oven, Mom brushes the rolls with melted butter.

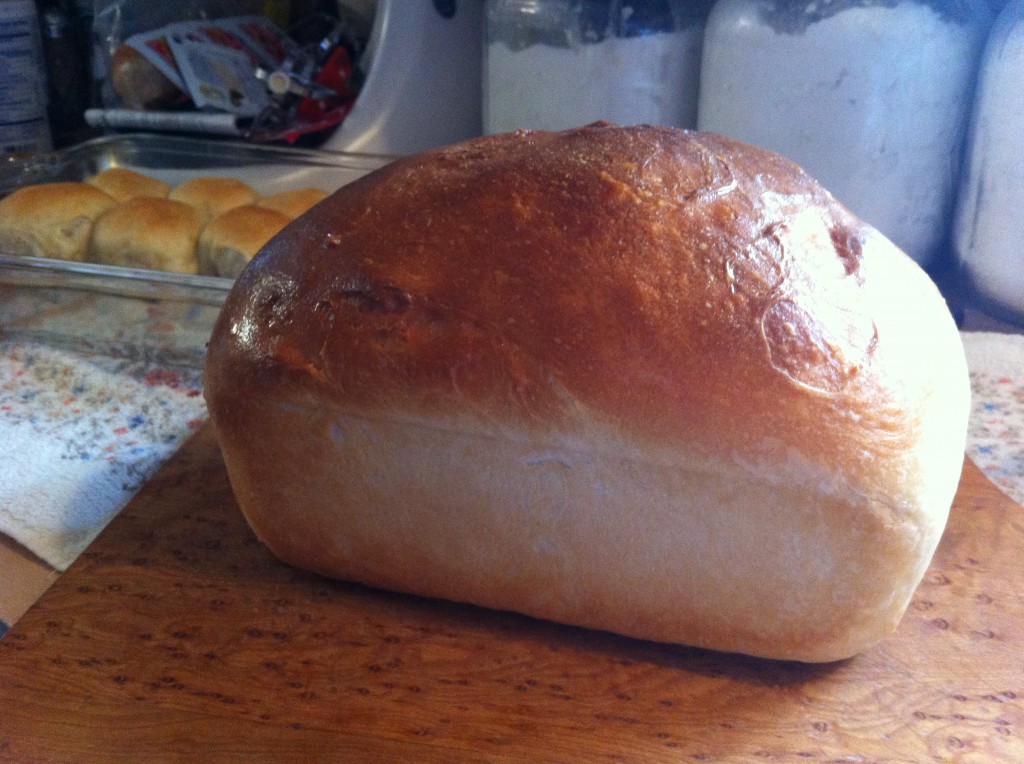
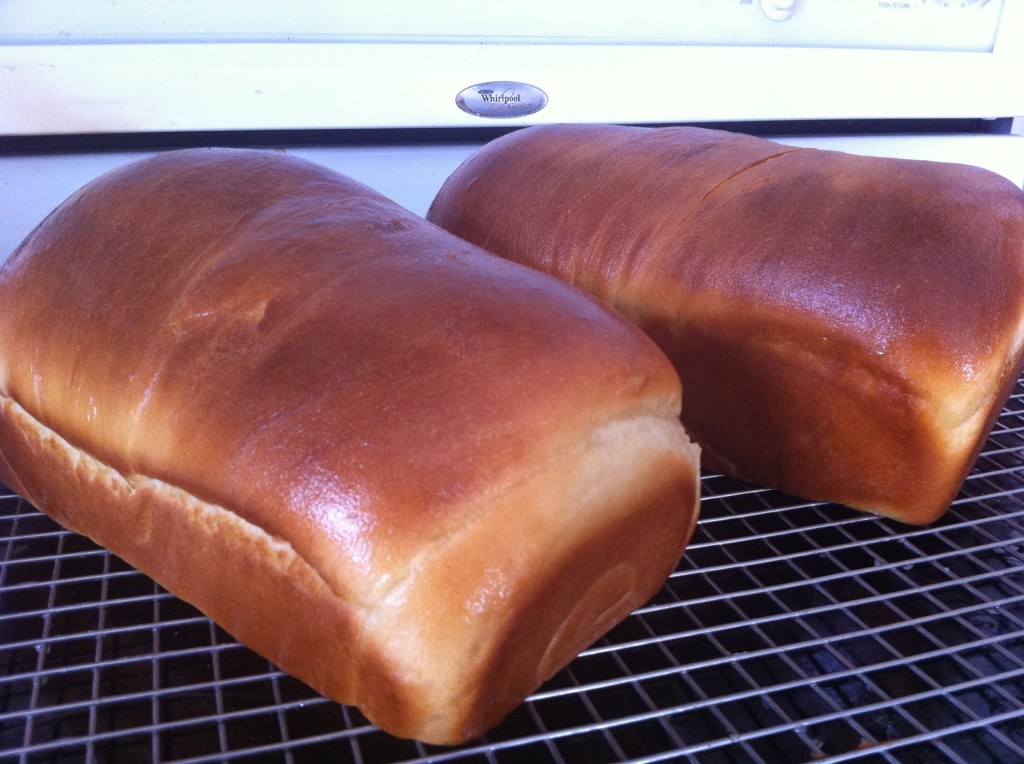
She brushes melted butter on the loaves of bread too. Doesn’t this bread look good enough to tear off a big piece?

Jeanie Beanie got to make some bread too. Mom keep a close watch as sis made her bread. She should get first place on her technique for kneading bread. Go Sis!

Jeanie Beanie managed to get her dough in her (lard greased) bowl just in time to rise before Aunt Pat and cousins Myra and Connie came to visit. I just wish I would have gotten a picture of all of eating bread. Boo!

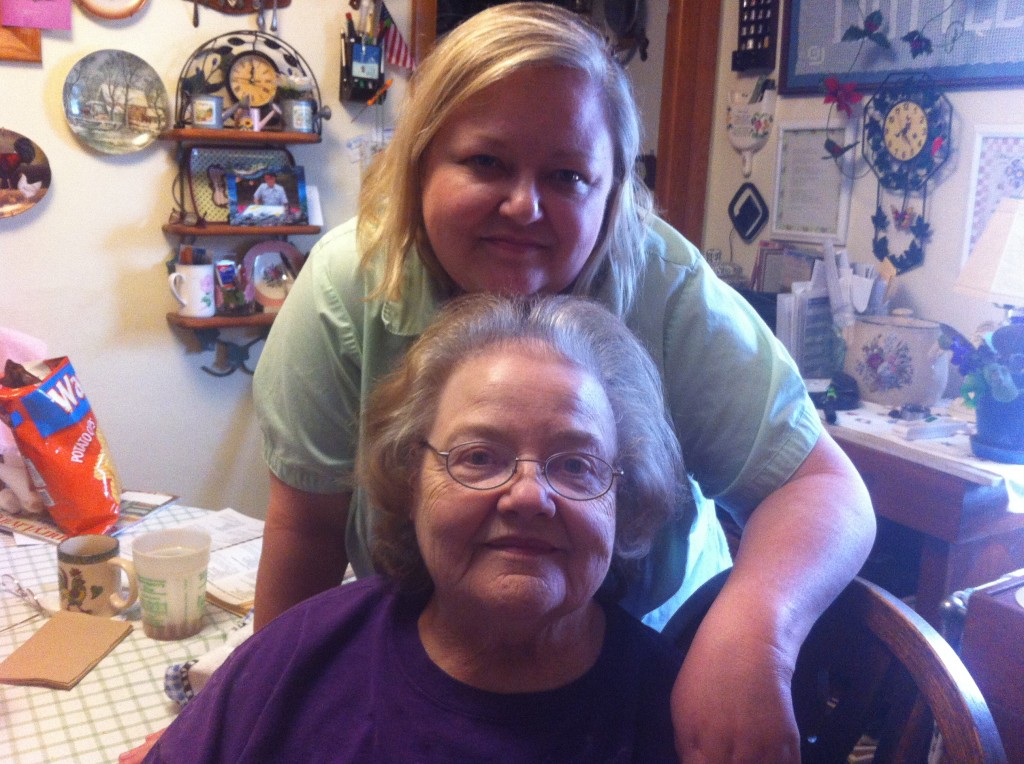
I did get a lovely picture of The Princess and Jeanie Beanie, though…: )

Thank you for hanging in there and reading my long post about such a special day I had with my sister and mom!

Family.

Family and warm bread.

The perfect combination!

Here is the recipe.

Mom’s Light Bread

Adapted from Favorite Recipe from Home Economic Teachers.

Ingredients:

1/2 cup warm water

2 packages of dry yeast

3 1/2 cup warm milk or water

1/4 cup sugar

2 tablespoons salt

10 1/2 to 11 1/2 cup flour

1/4 cup lard or shortening. (more for greasing the bowls, top of bread and pans)

Directions:

Soak your yeast in warm water for 5 minutes. Combine yeast mixture and warm milk or water with sugar and salt in a large mixing bowl. Beat in 3 to 4 cups of sifted flour and lard into the liquid until smooth. Add remaining flour, mixing until the dough leaves the sides of the bowl. Turn your dough out onto a floured surface and knead  the dough for 6 to 10 minutes. Adding additional flour if necessary. Knead dough until it is elastic and smooth. Place the dough in a lightly greased bowl. Grease top of bowl and cover with waxed paper. Let rise in warm place about one hour or until double. Punch down and let rise again until nearly doubled. Dived the dough in four equal parts and shape into loaves or rolls. Bake at 400 degrees until brown, about 45 minutes for loaves of bread and 20 for rolls.

Yield 4 loaves.

Now, all you have to do is slice it and eat it till it is all gone!

Enjoy!

Becky

Other Post you may enjoy reading:


Easter Bird Nest                                  Smashed Roasted Potatoes            Frozen Fluffy Strawberry Pie
Crusty White Bread
Are you craving bread?

In like, warm, soft, crusty bread that is perfect with that homemade jam and butter.

I sure am.

I think, it is because of  the below freezing temperatures and the 8 inches of snow outside.

Instead of apple a day, doesn’t the doctor suggest a slice of homemade crusty bread, will keep the doctors away.

Ok…fine….the doc did not…but the doc should have. : )

Oldest Daughter who does not cook, ate ALL (well, almost all) the Molasses Oatmeal Bread I made the other day.

So,….now that the roads are clear enough for her to go back to work (I still have another snow day from school), I thought I would make some bread, and eat all I wanted before she came home.

Great Plan…right? (Devilish smile)

Don’t worry about the girl who cannot cook….I made two loaves. One for me…and one for everyone else.

See, I know how to share.

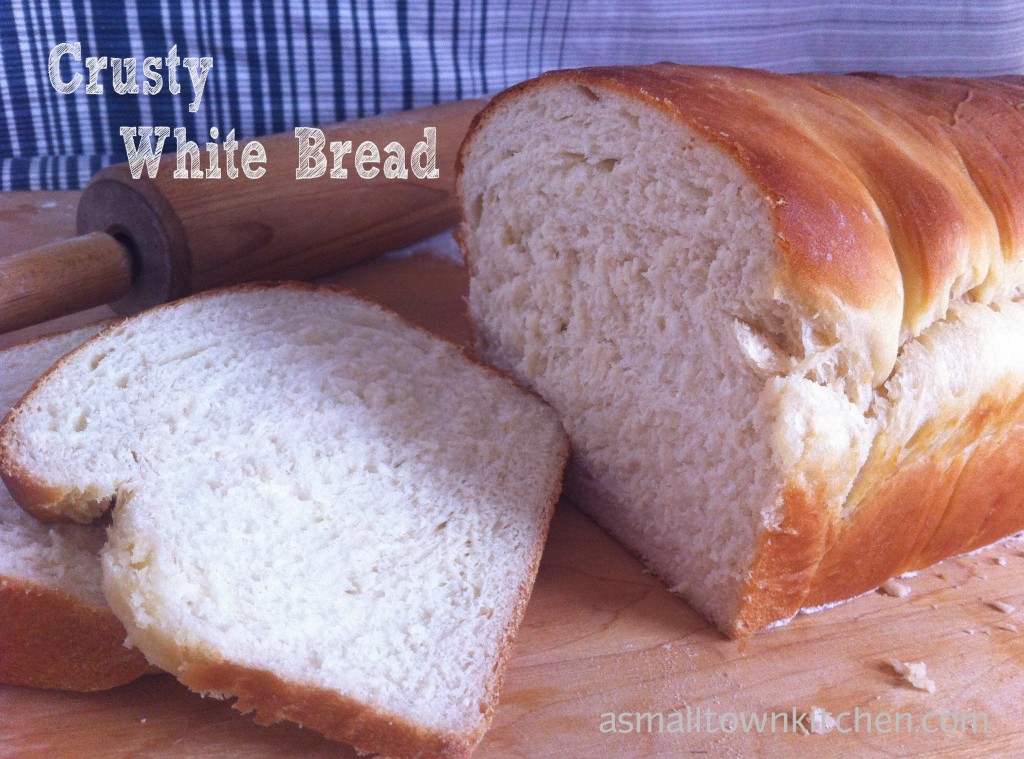
Why, don’t you try this, melt in your mouth crusty white bread, and see if you feel like sharing.

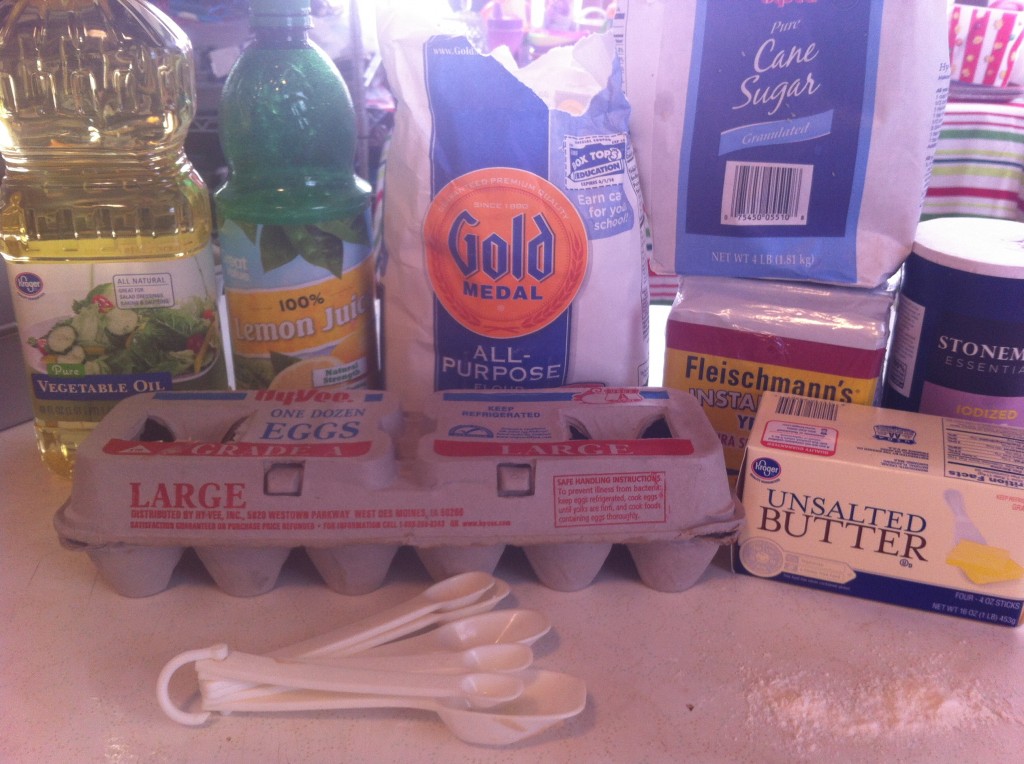
Here is what you need to make the perfect Crusty White Bread.

You will need, flour, yeast, sugar, vegetable shortening, butter, salt, eggs, lemon juice and oil.


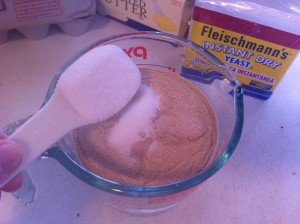
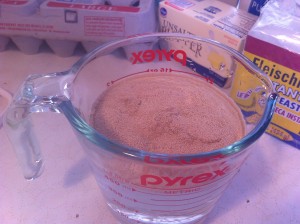
In a measuring cup, put in your lukewarm water, yeast and 2 tablespoons of sugar. The sugar feeds the yeast and helps it to activate.

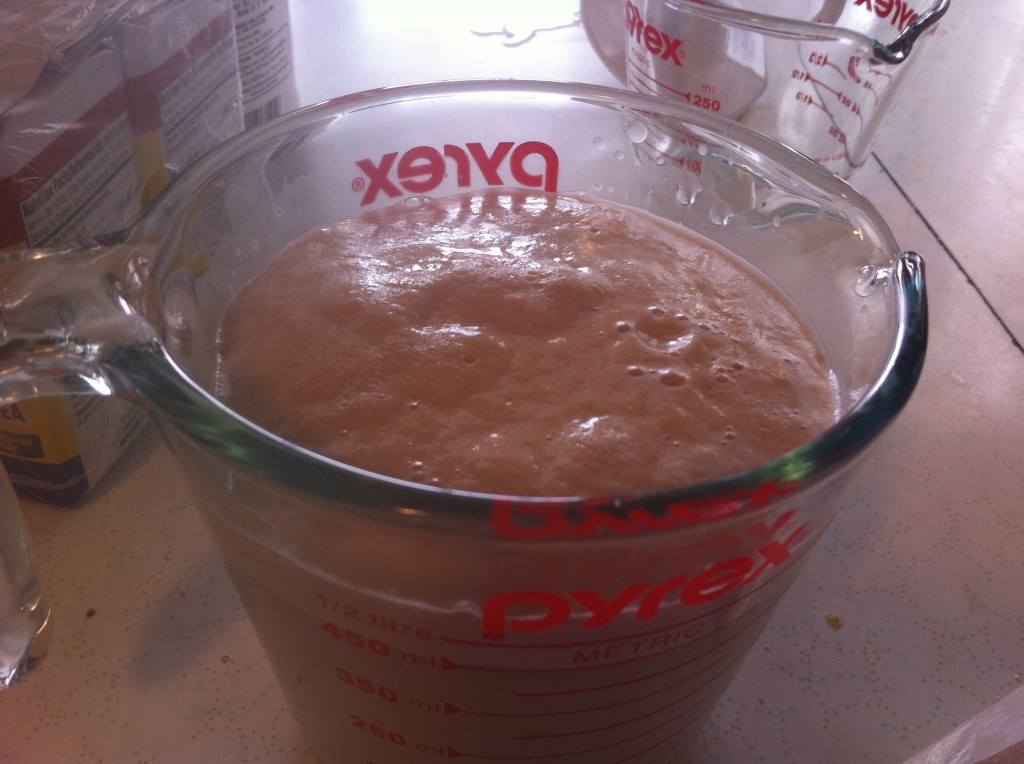
After about five minutes your yeast should look like this. The bubbles on top tell you that the yeast is activated.


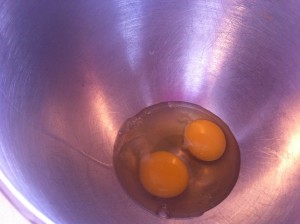
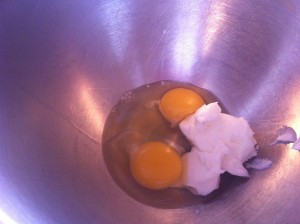
Now, switch to a stand mixer and add in the eggs and vegetable shortening.


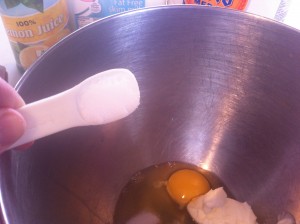
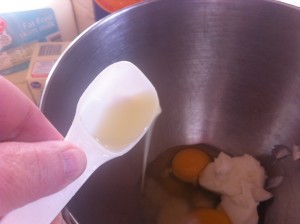
Now, add on the salt and the lemon juice.


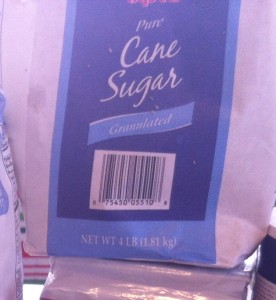
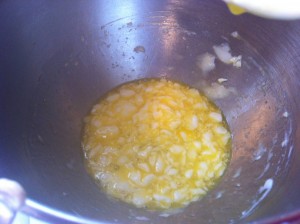
Add in the sugar (I forgot to take a picture of me adding the sugar). Mix everything together with the beater attachment on your stand mixer.


Add in the activated yeast and mix in with the egg mixture.


Add in three cups of flour and beat in with the mixer. It will look like a thick paste mixture.


Now, switch to you dough hook and add another 3 cups of flour. If you do not have a dough hook, use your beater to add more flour, then just knead the dough by hand to add in the rest of the flour.


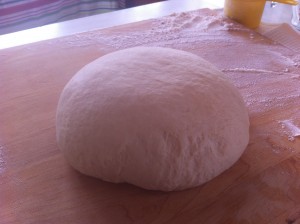
After I used my dough hook on the dough for five minutes. I took it out and put the dough on a lightly floured pastry board.


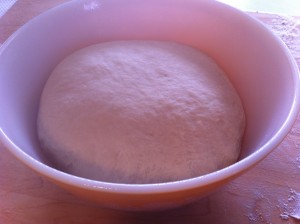
I kneaded the dough, adding just enough flour to make a soft dough. I placed the dough in a large bowl.


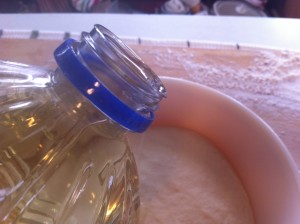
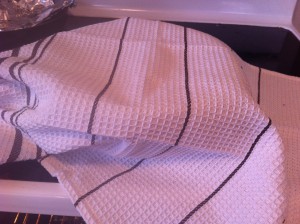
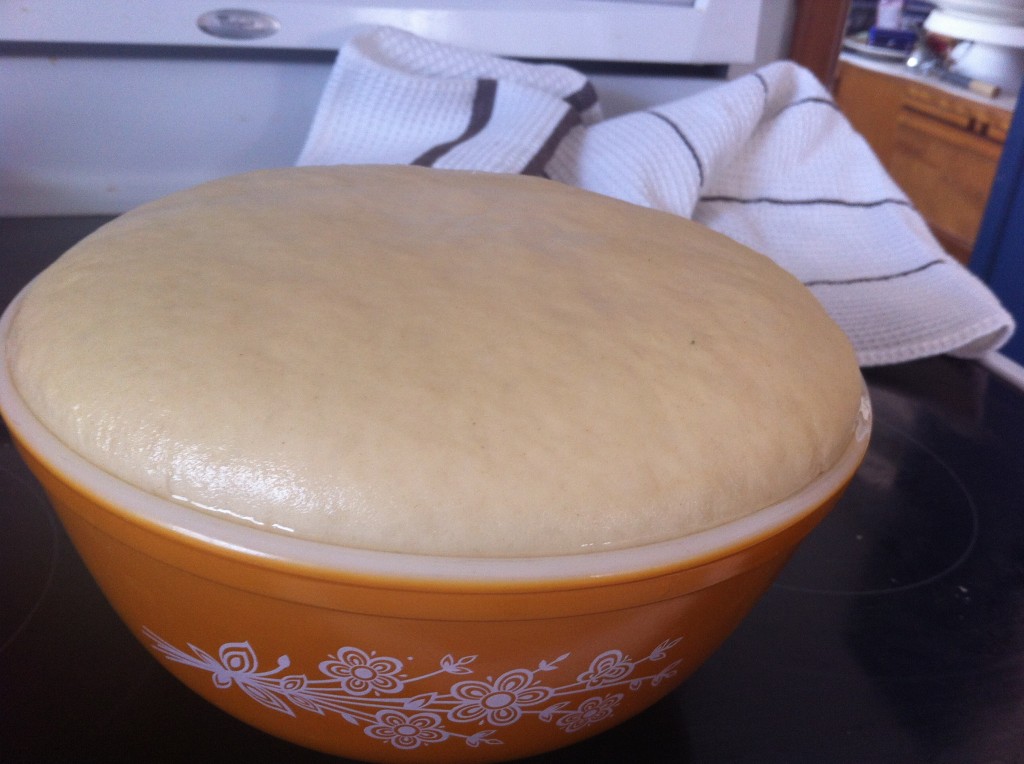
Brush a little oil on top of the bread, Put a towel on top of the bowl and place the bowl in a warm place for the dough to rise.

After about an hour the dough will rise to double it’s size.

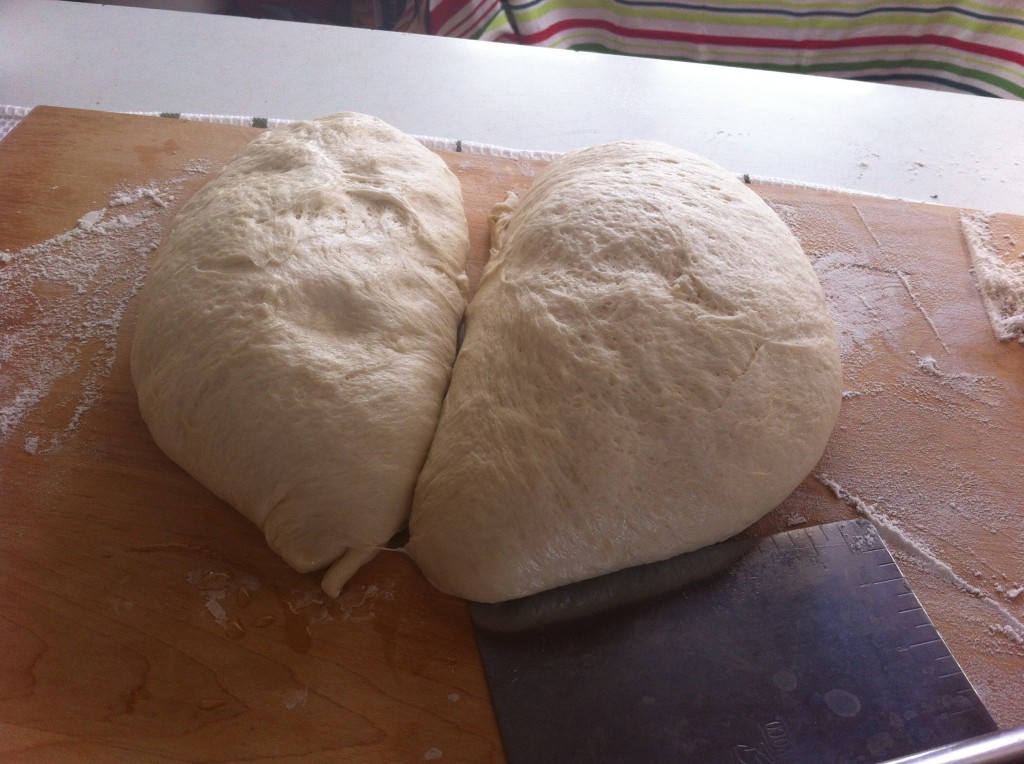
Place the dough back on the lightly floured pastry board and cut the dough in half. (if you do not have a pastry board just use the kitchen counter)

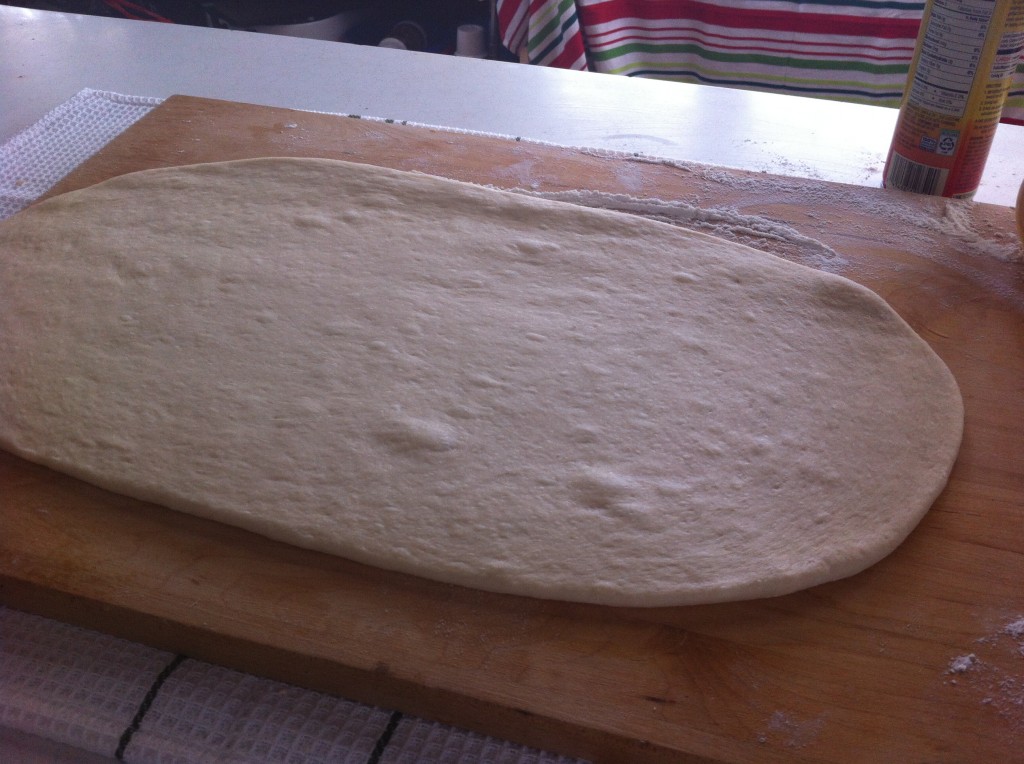
Roll the dough out to a 9 inch by 18 inch rectangle.

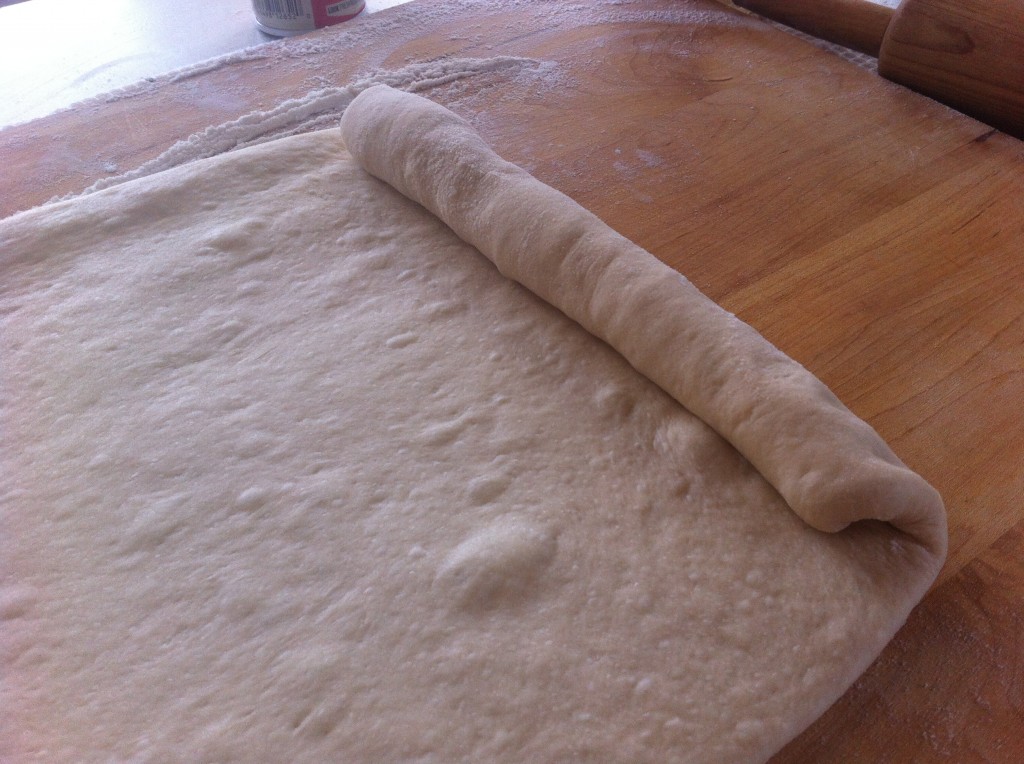
Roll the dough up from the short end.

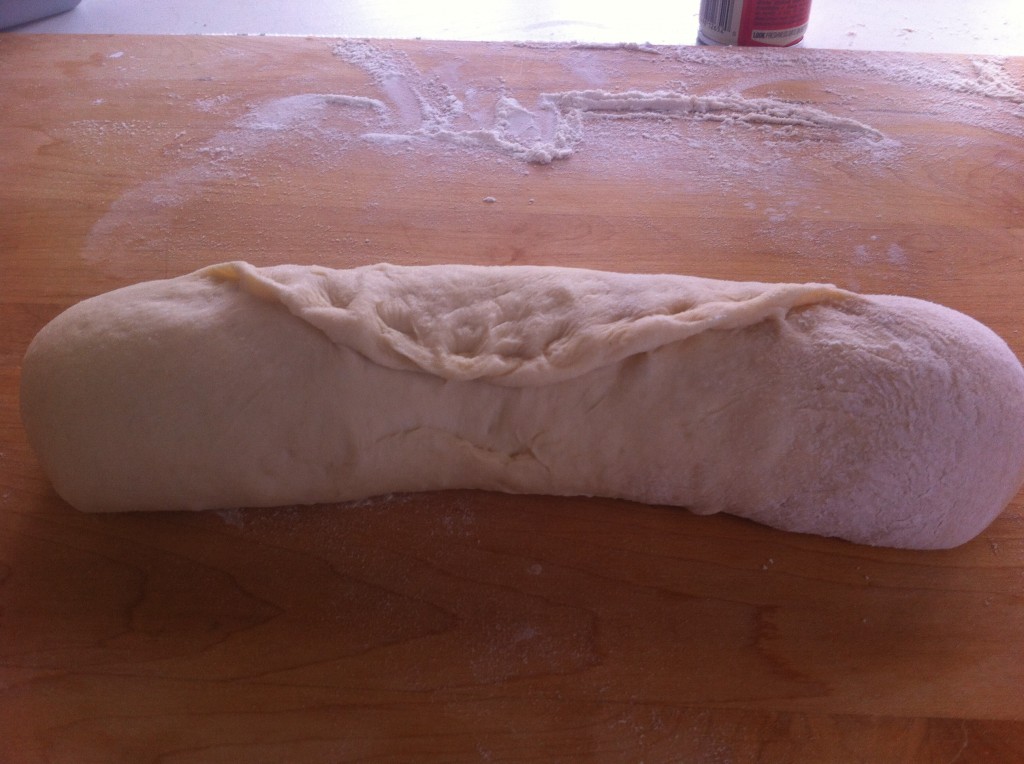
Seal the edge of the dough to the loaf by pinching it together.

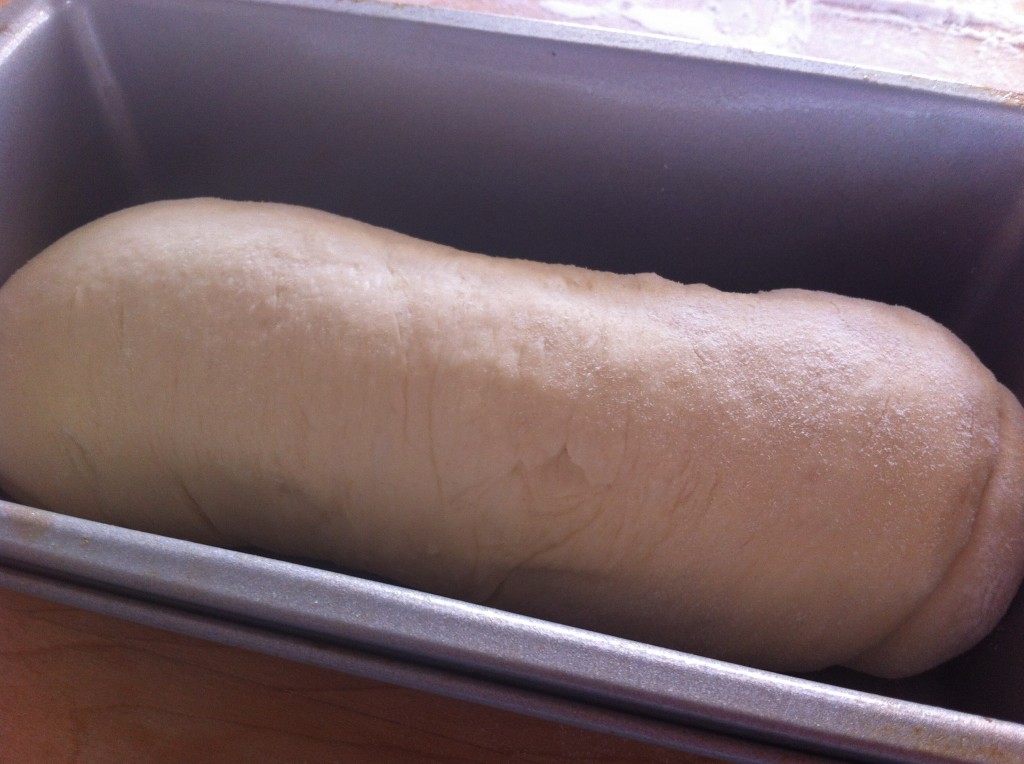
Place the dough into a greased 9 inch by 5 inch bread pan.

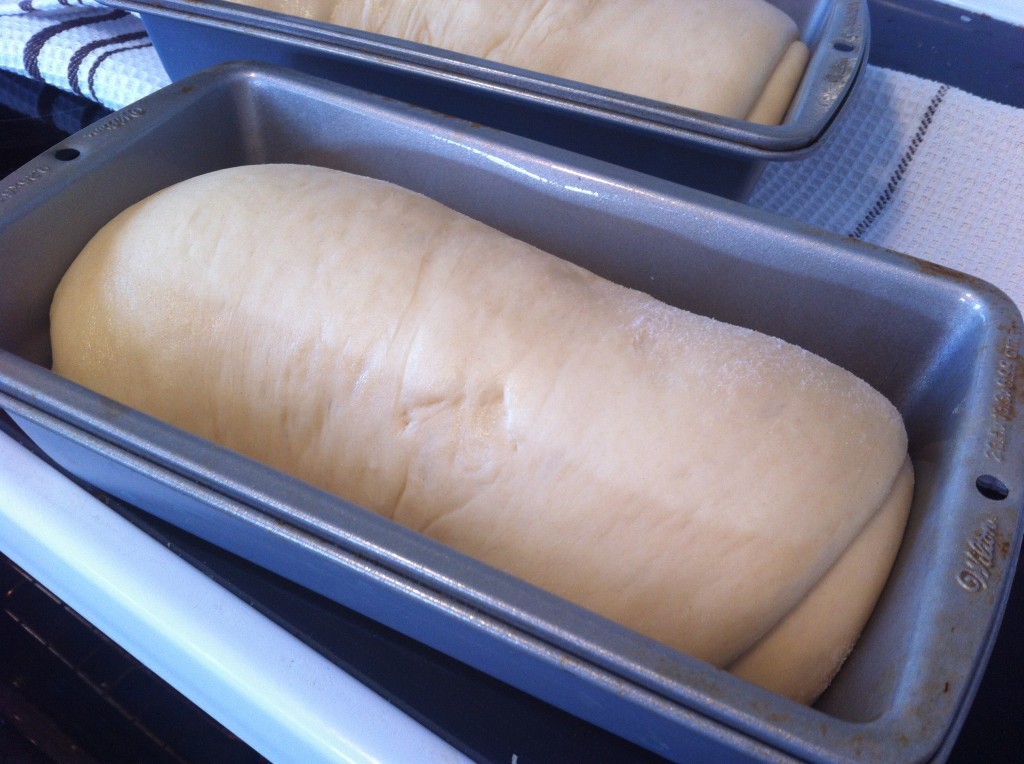
Cover the pans with a towel and let the loaves rise till they double in size. Now, it is time to bake the bread. I lowered my rack in the over to one notch lower. I preheated my oven to 370. Bake the bread for 25 to 30 minutes or until the bread sounds hollow inside and is nicely browned.

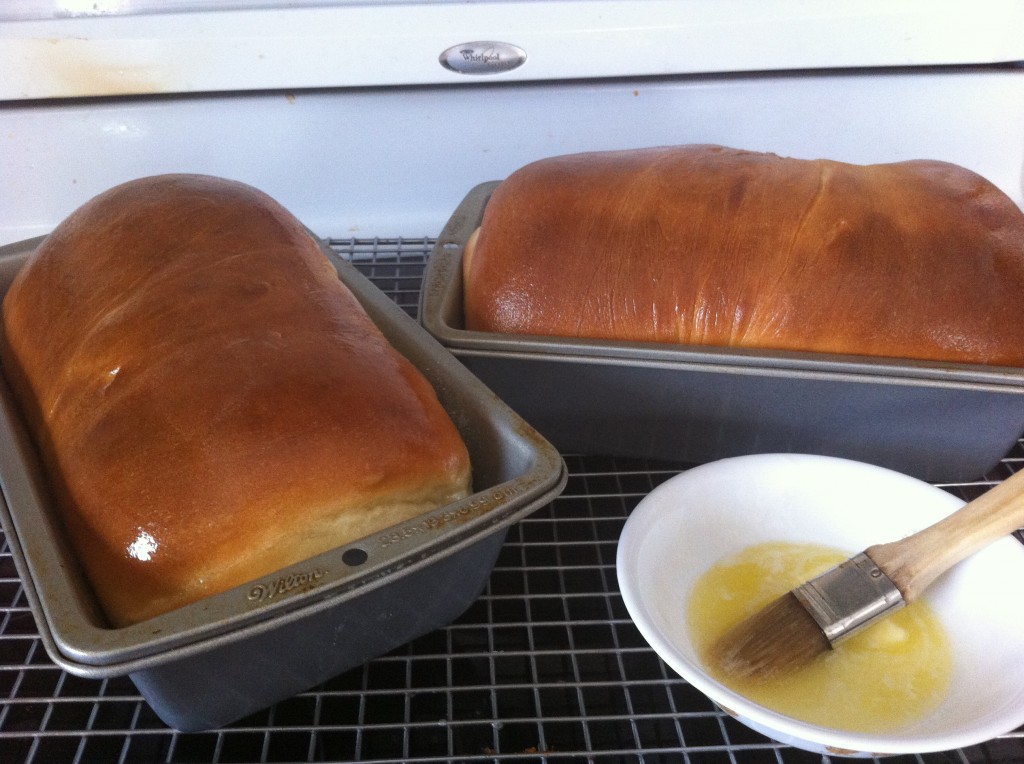
When they come out of the oven, brush the loaves with melted butter.

Take the bread out of the pans and cool completely. I know it is hard not to cut into them now. : )

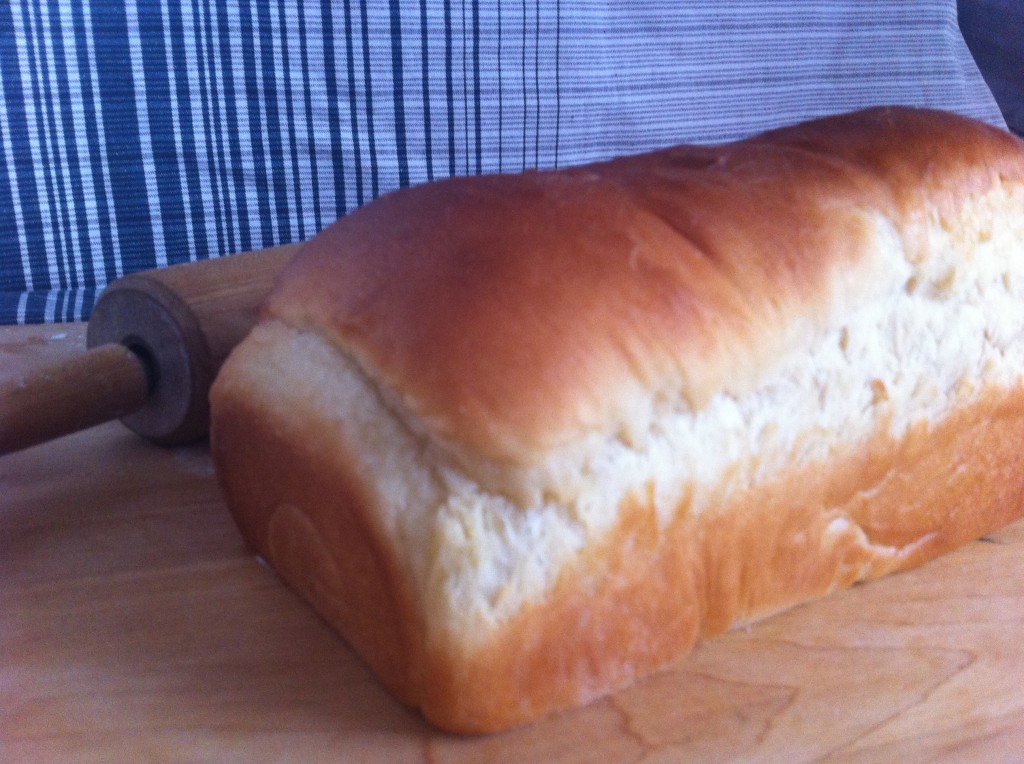
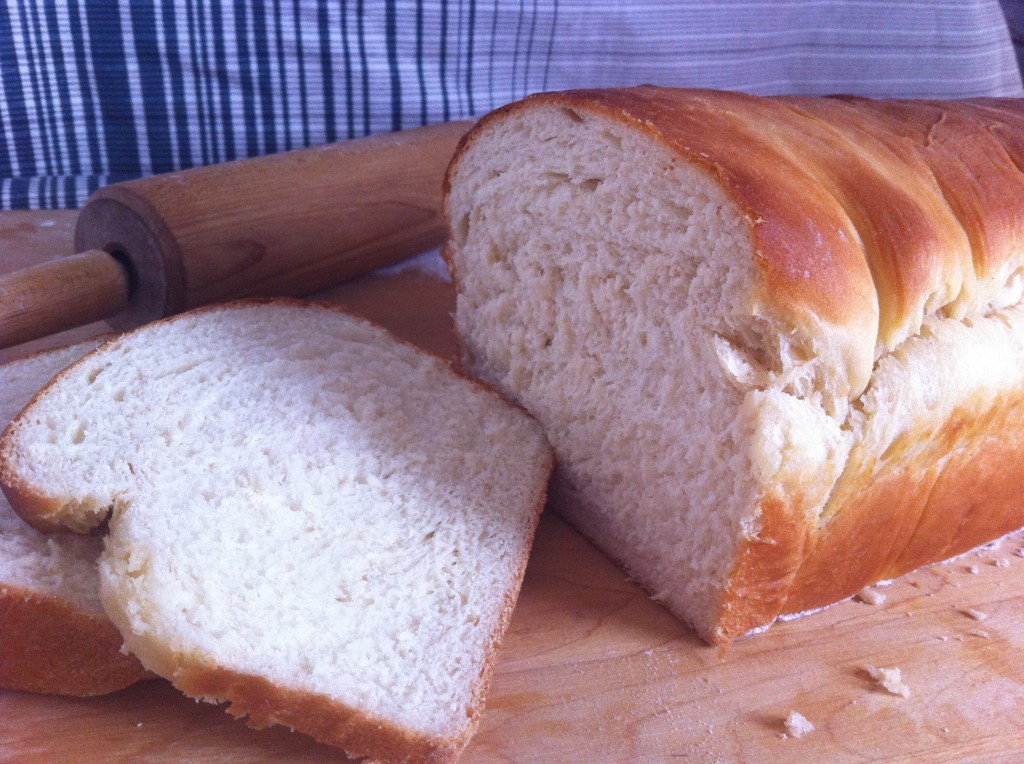
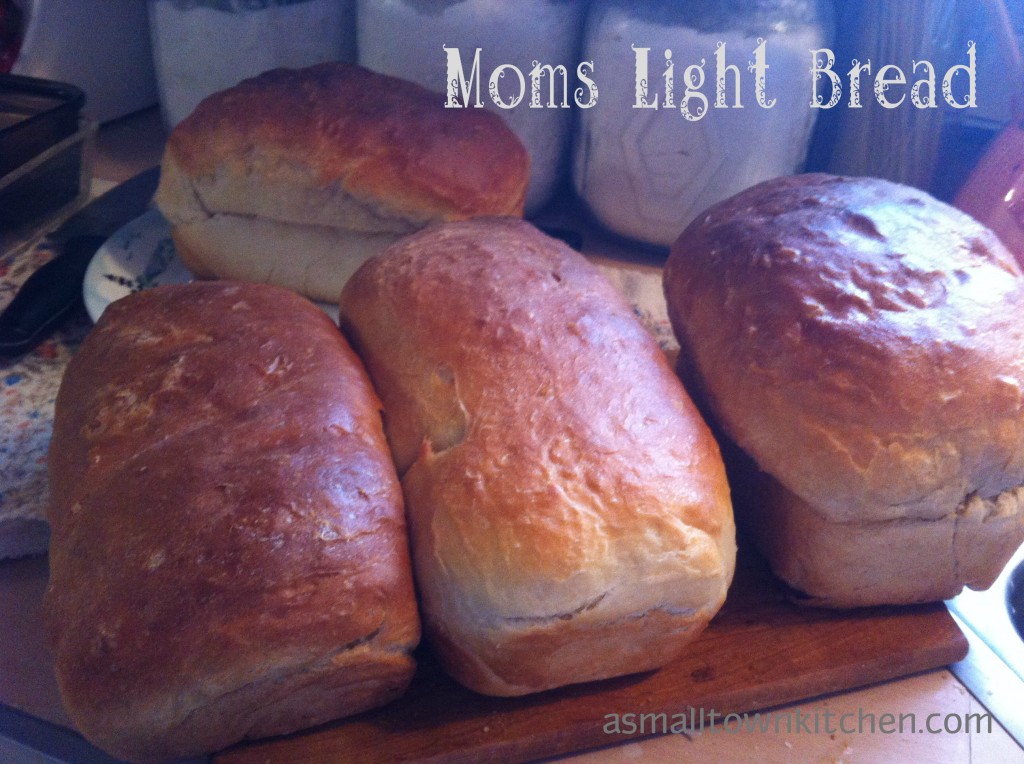
See what a beautiful loaf of bread this recipe makes?

I think you have waited long enough for the recipe : )

Here is the recipe.

Crusty White Bread

Ingredients:

2 envelopes of active dry yeast

2 cups of lukewarm water (105 to 110 degrees)

2 tablespoons sugar to add to the yeast and water

1/2 cup sugar to add to the dough

2 large eggs

1/4 cup vegetable shortening

1 tablespoon salt

1 tablespoon lemon juice

6 to 6 1/2 cup flour. I used all purpose flour, but you can use bread flour if you have it.

1 tablespoon oil to put on top of the dough while rising

2 tablespoons butter, melted to put on top of the loaves when they come out of the oven.

Directions:

In a large liquid measuring cup, measure out the warm water. Add the yeast and the sugar. Stir to dissolve. Wait 5 minutes for the yeast to activate.

In the bowl of stand mixer. Add the eggs, vegetable shortening, sugar, salt and lemon juice. With the beater attachment, mix together.

Add the yeast mixture to the egg mixture in the mixing bowl. Mix in.

Add in 3 cups of flour and beat in with the mixer until it is mixed in completely.

Switch to your dough hook attachment. Add in 3 more cups of flour. Knead in the flour with the dough hook for five minutes.

Take the dough out of the bowl and put on a floured surface. Knead in enough flour to make a nice soft dough.

Put the dough into a grease bowl. Brush oil on top of the dough. Cover the dough with a towel, put in a nice warm place (85 degrees if you can). Let the dough double in size.

Take the risen dough and place it on a floured surface and cut in half.

Roll each half into a rectangle that is 9 inches by 18. Roll the dough up by the short end. Seal the ends and the edge of the dough by pinching it together.

Put the loaves into lightly greased bread pans.

Cover the dough and let them rise, till doubled.

Preheat oven to 370 degrees. Lower the oven rack by one notch. (So the top of the bread does not too brown when baking)

Bake 25 to 30 minutes or until loaves are a golden brown and should sound hollow when tapped.

Remove loaves from pans and put on a wire cooling rack. Brush the loaves with melted butter.

Cool completely before slicing.

Nothing is better than homemade crusty white bread!

Hope you will try to make some for yourself!

Stay warm and eat food….really good food!

Becky

You may also enjoy:


Irish Soda Bread                          Garlic Cheddar Biscuits               Baking Powdered Biscuits 

Related Posts Plugin for WordPress, Blogger...