Strawberries in Winter Candy

WooHoo…..holiday break is finally here! I have postponed my holiday baking until the last minute (as usual) and spent the better part of the day in the kitchen making home made goodies for my Christmas Trays I give out as gifts on Christmas Day.

Last week, I happen to run across this recipe for, strawberries in winter candy,  from an old cookbook one of my students brought to school. She was making no bake cookies and was using the recipe for them from the  old cookbook. I asked to borrow the book for the day to look through it on my spare time. She informed me the book belonged to her mom and she needed it back. (I guess her mom made it clear that she was not to lose the cookbook at school.) After I spent, more time than I could spare, looking through the cookbook and making copies of interesting recipes, this recipe caught my eye.  I remembered eating these strawberry candies at a church fellowship dinner way back when I was in college. I don’t know about you, but some recipes just put a smile on  your face when you see find it. I knew I just had to add these to my Christmas trays.

I mean…who does not like Strawberries in Winter? The name alone sounds yummy!

This recipe does not require any baking or boiling. All you have to do is stir the ingredients together, chill, form into a strawberry shape and chill again.

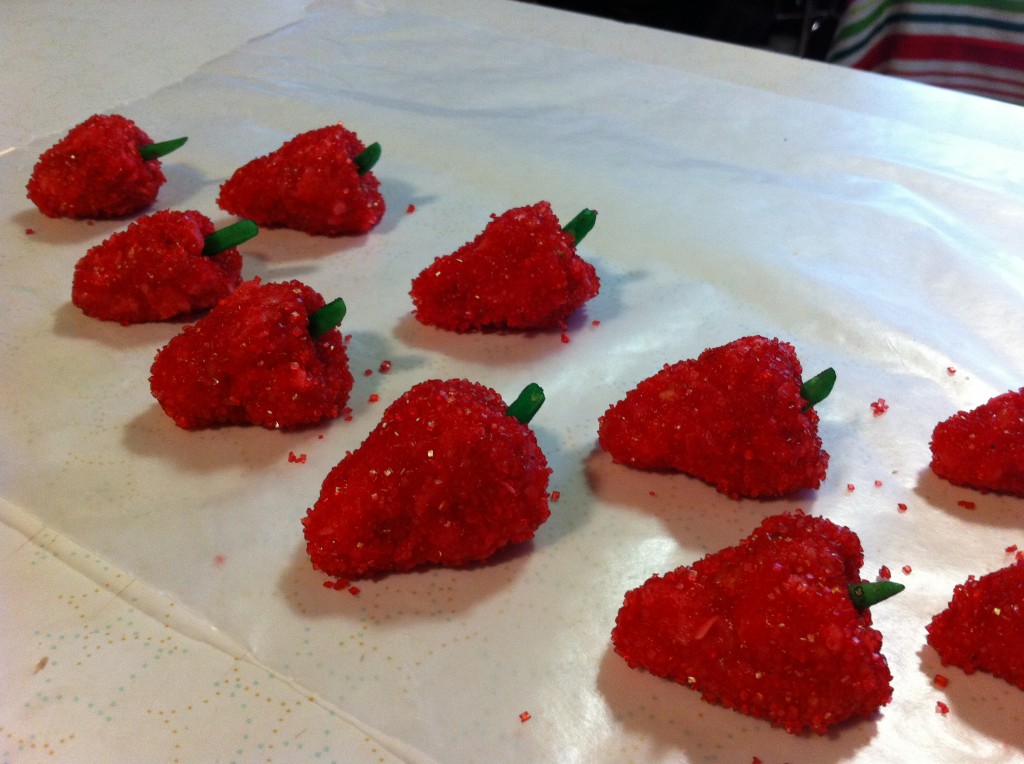
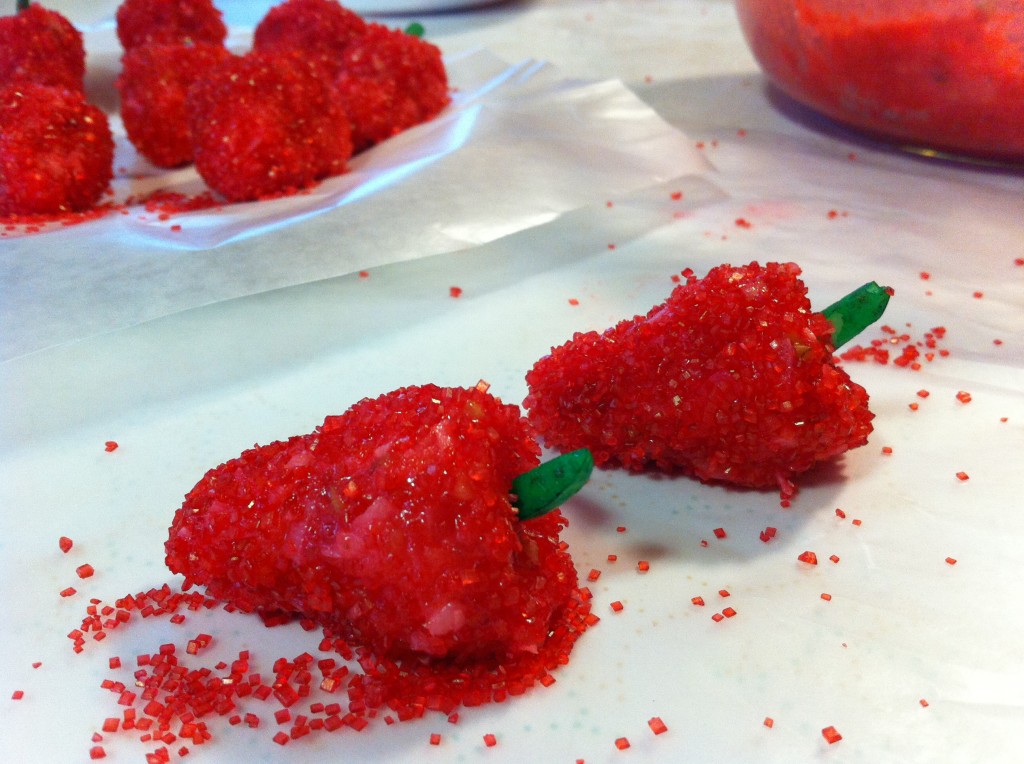
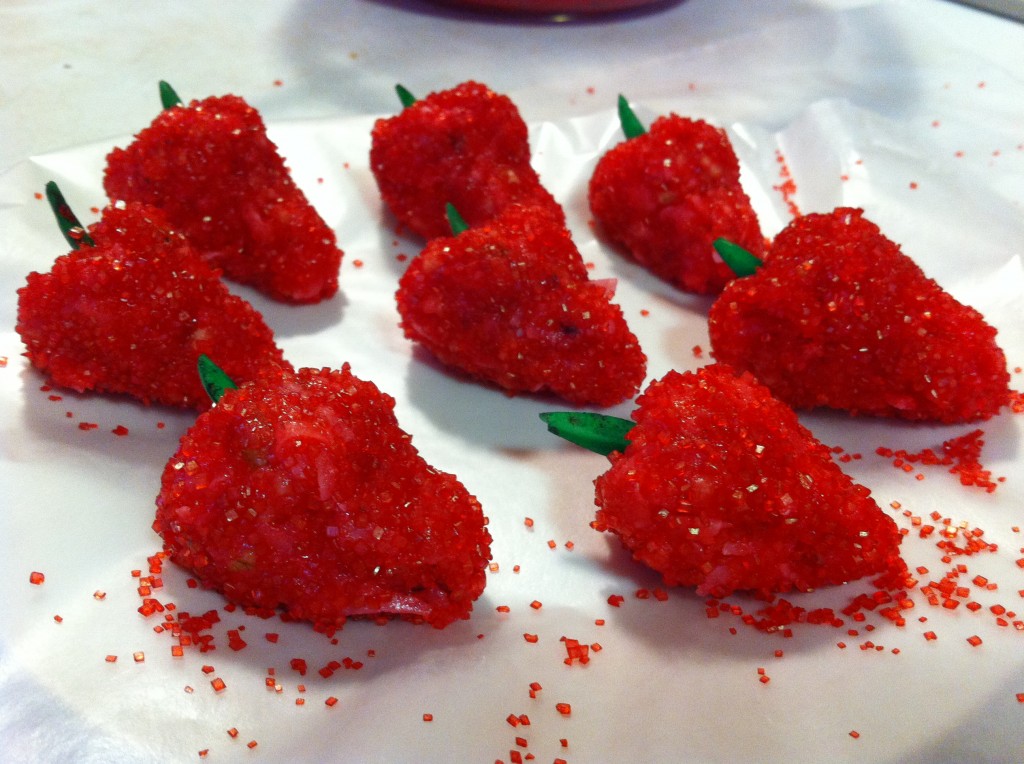
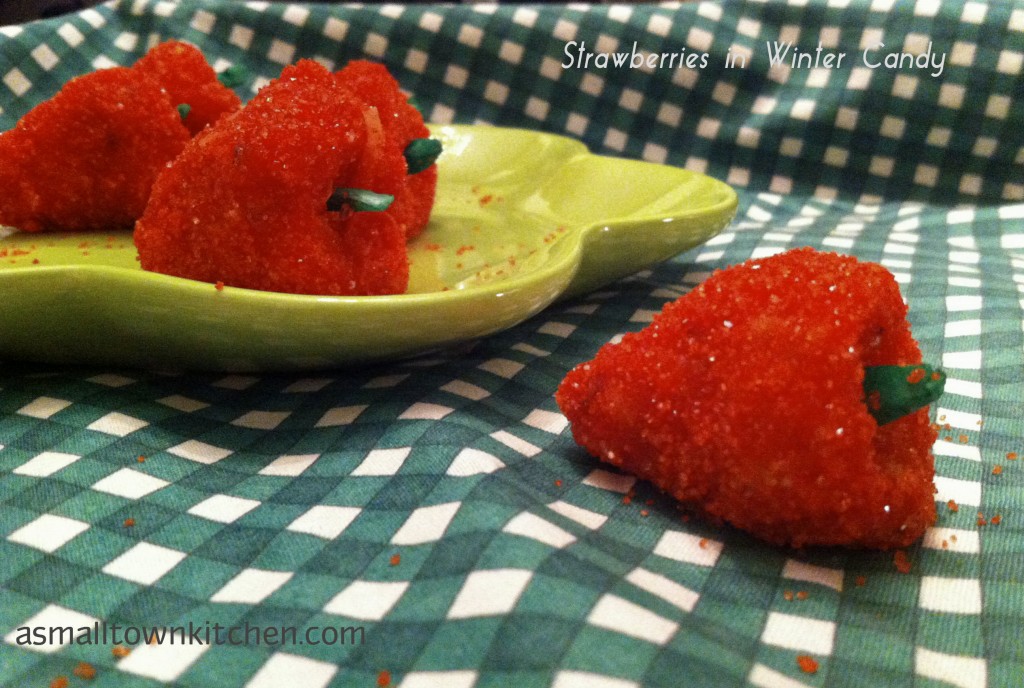
They look so pretty when they are made. The bright red color of the sanding sugar will add a splash of color to your holiday table.

On these cold and icy days here in mid Missouri, some strawberries in winter sure sound good!

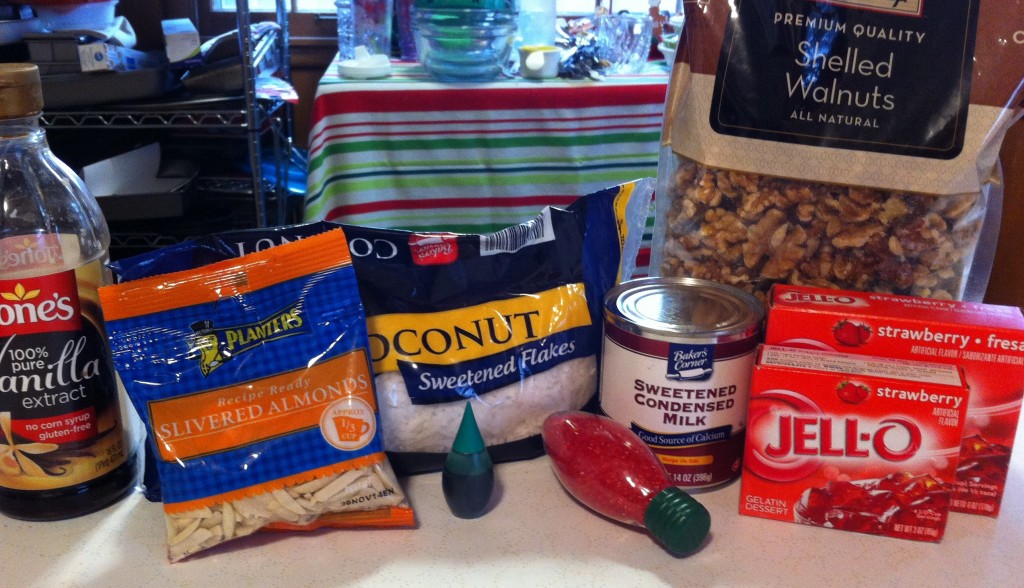
Here is all you need to make these delightful candy strawberries.

The candy is made from sweetened condensed milk, coconuts, chopped walnuts, vanilla and jello. The outside is rolled in red sanding sugar and the stem is made from greed dyed almonds.

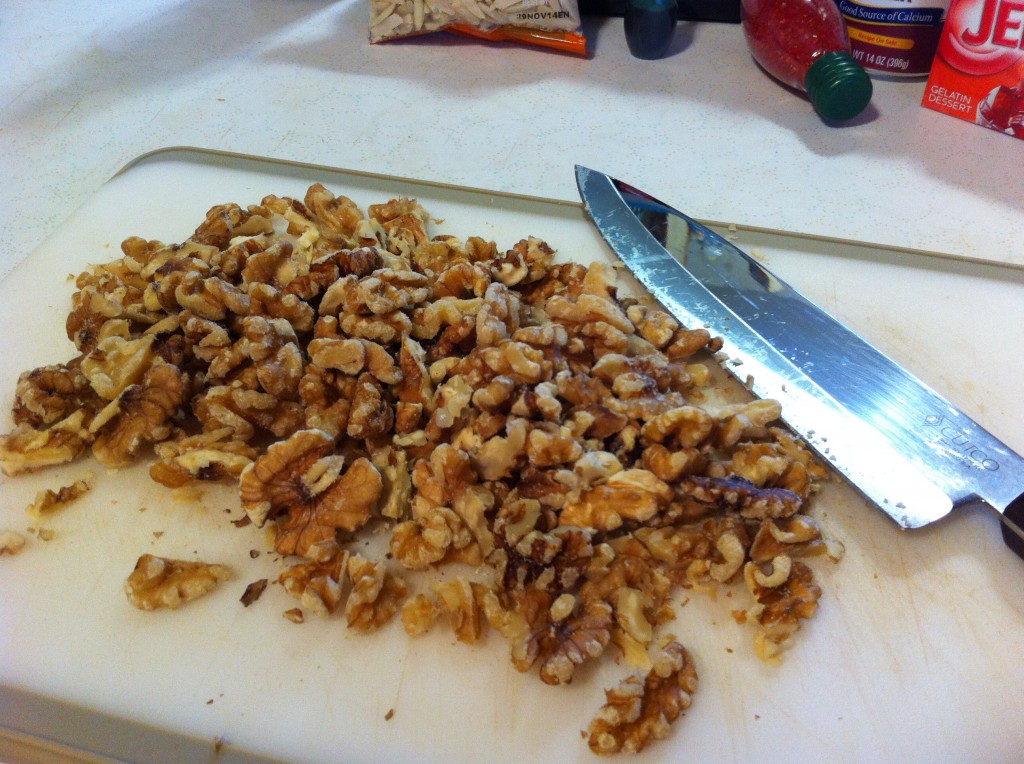
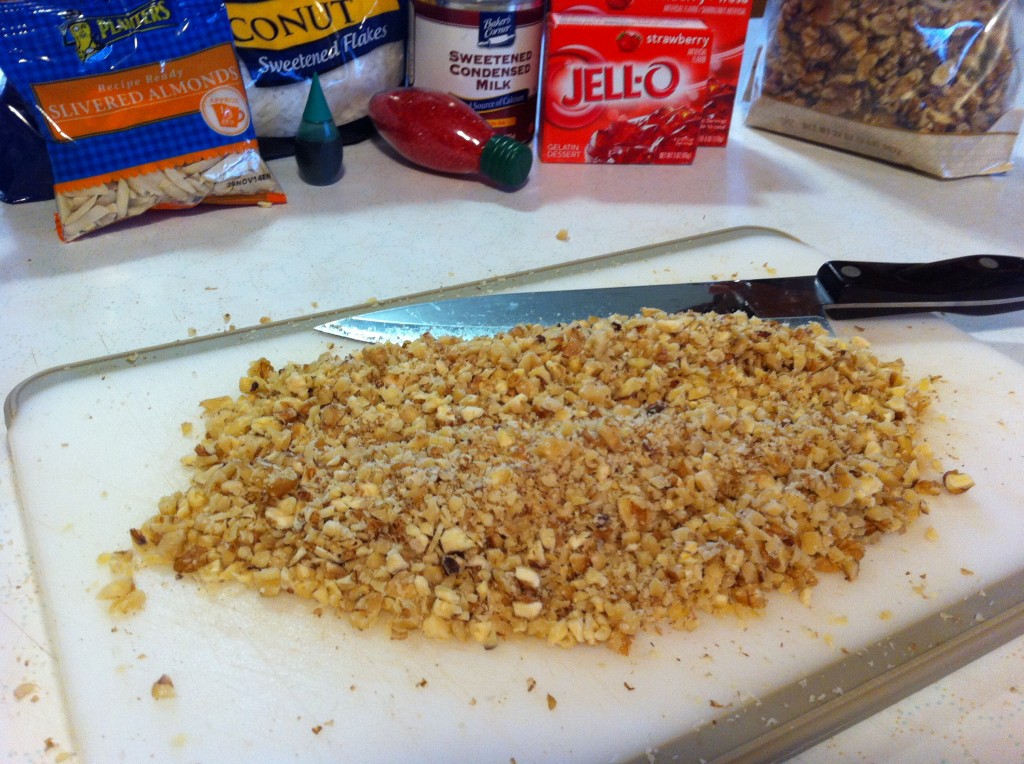
The first thing you need to do is chop the walnuts. I chopped them in pretty small pieces.

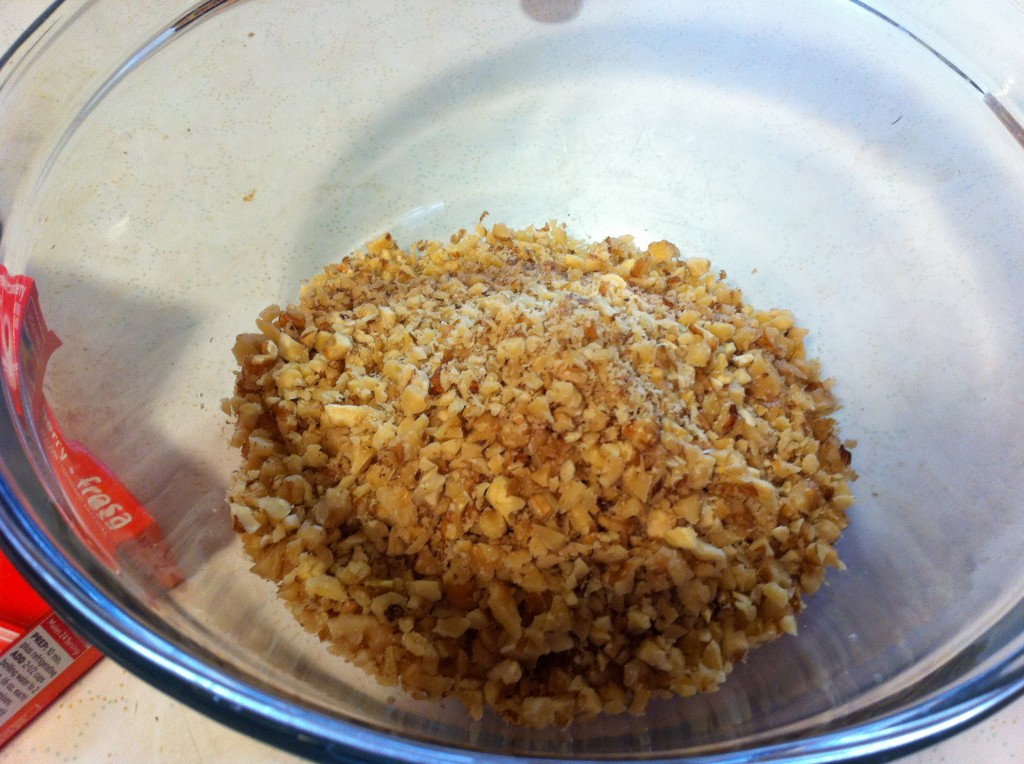
Place the chopped walnuts in a medium size bowl.

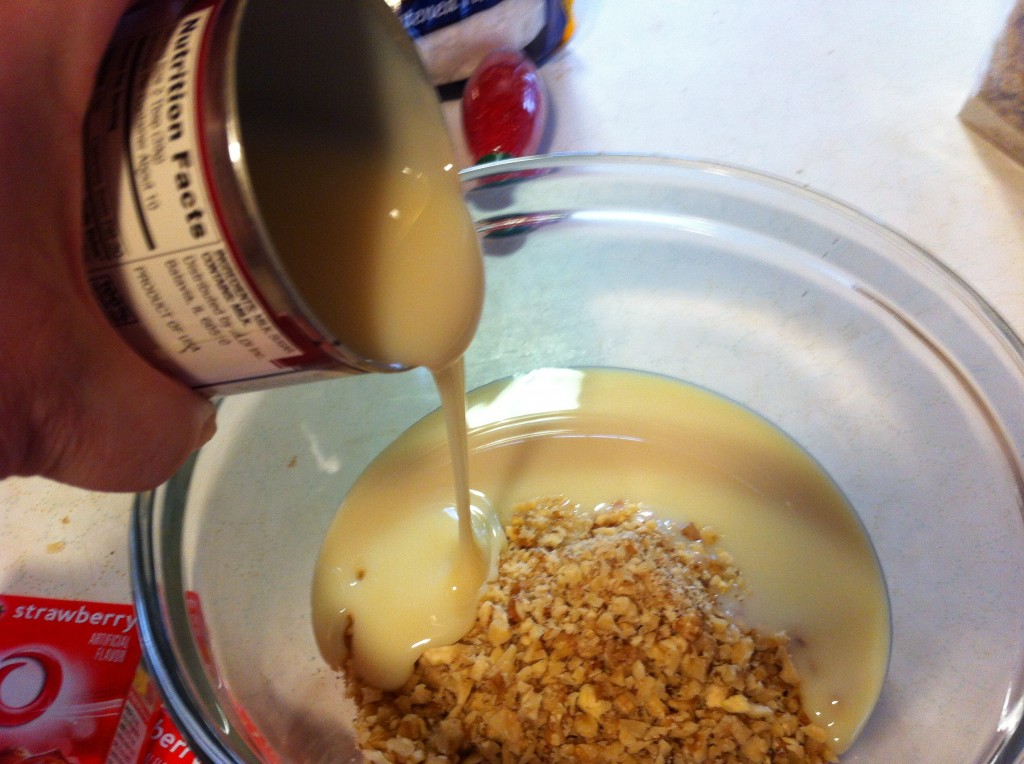
Next, pour in one can of sweetened condensed milk.


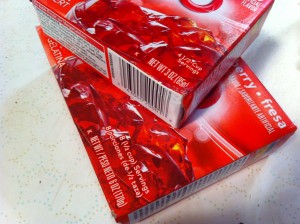
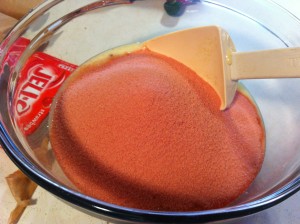
You will need 3–3 ounce packages of strawberry jello. I just used a 6 ounce size and a 3 ounce box. Pour the jello to the bowl with the sweetened condensed milk and chopped walnuts.


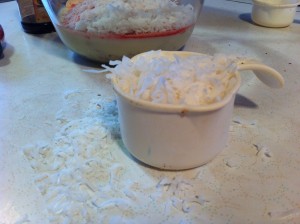
Add the vanilla to the bowl and measure out the coconut.

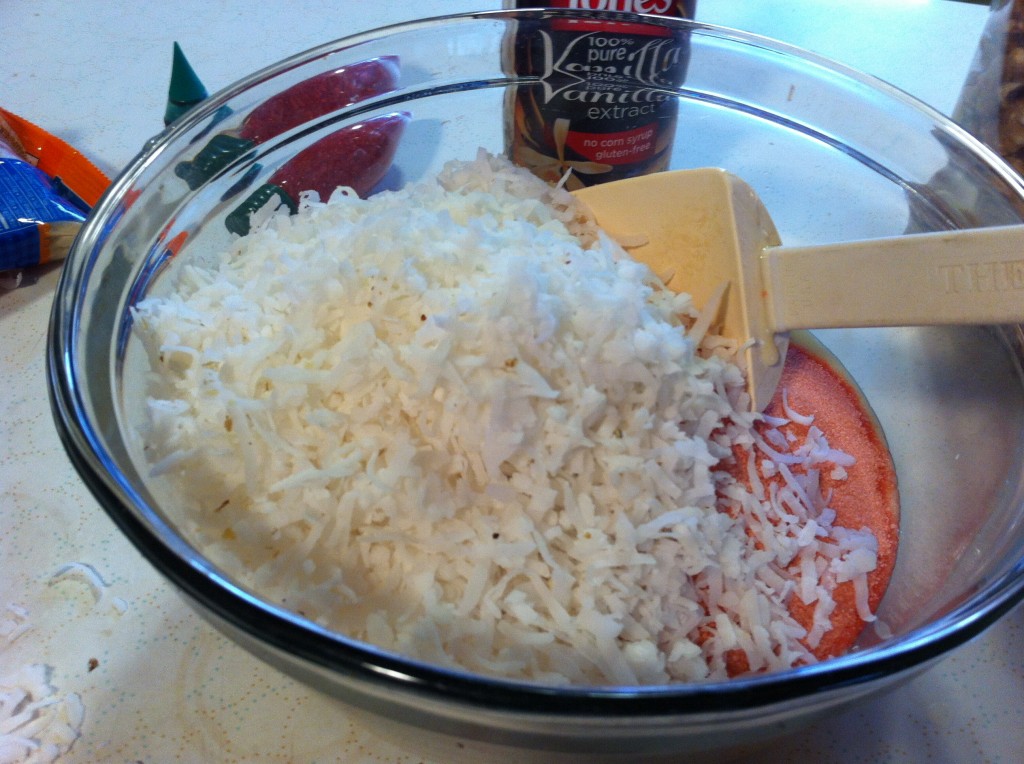
Add the coconut to the strawberry jello mixture.

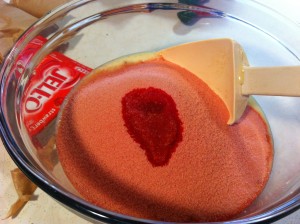
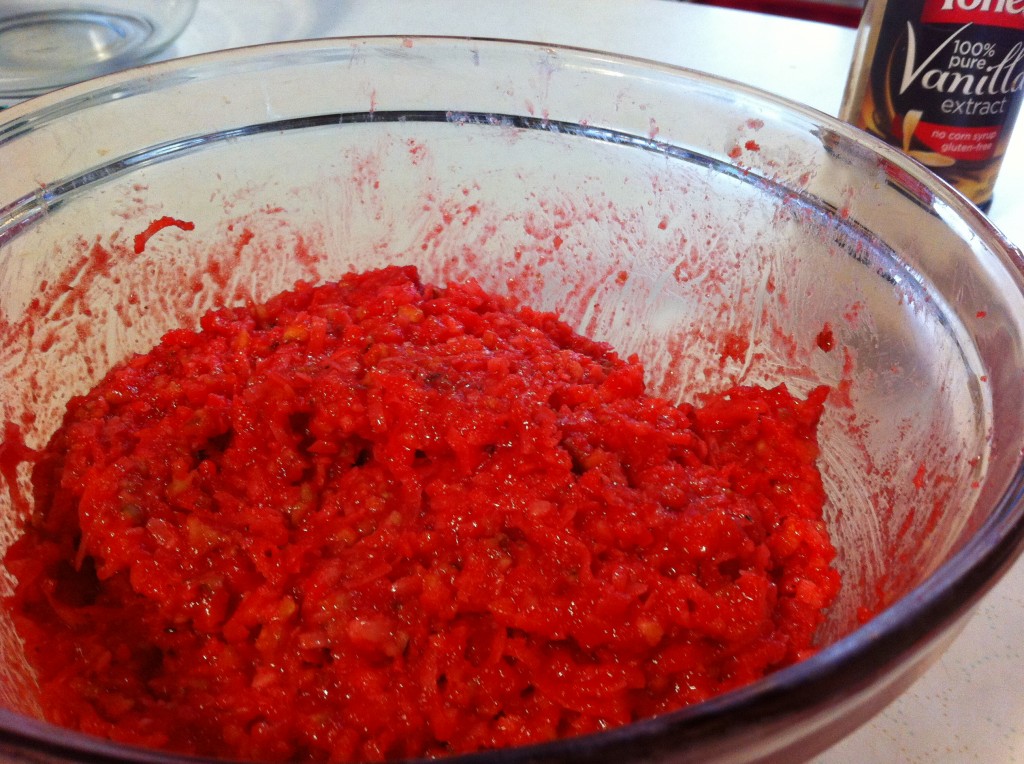
Stir everything together until all the ingredients are coated and you cannot see the white of the coconut. Now it is time to refrigerate the candy mixture for one hour to firm it up.

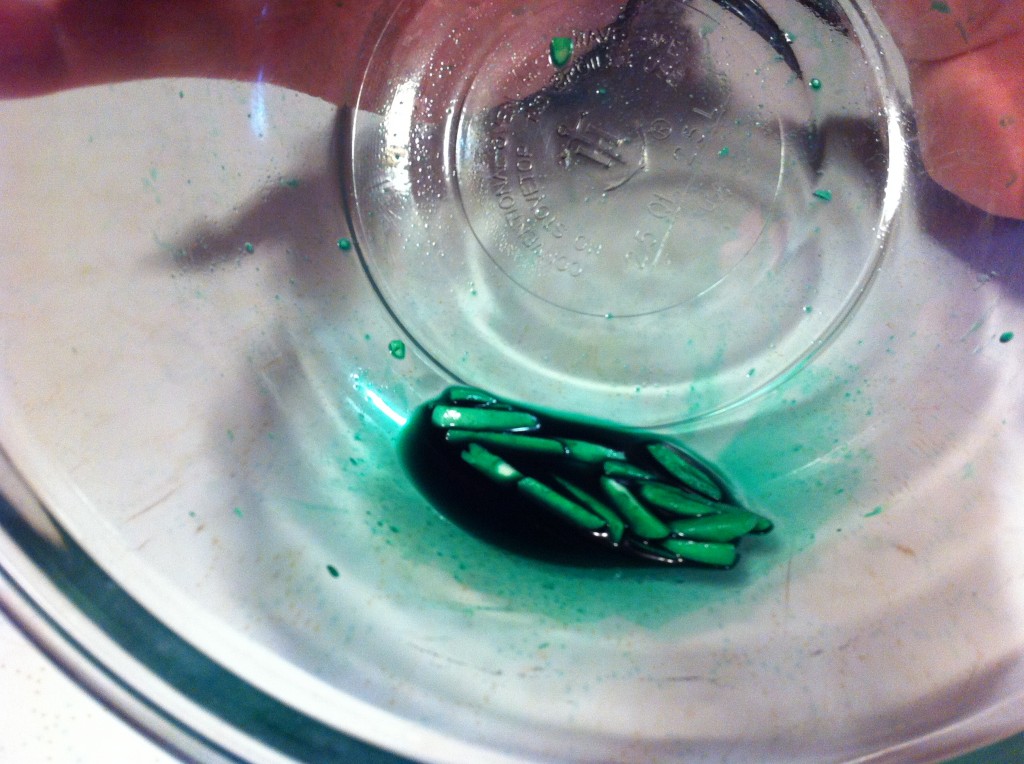
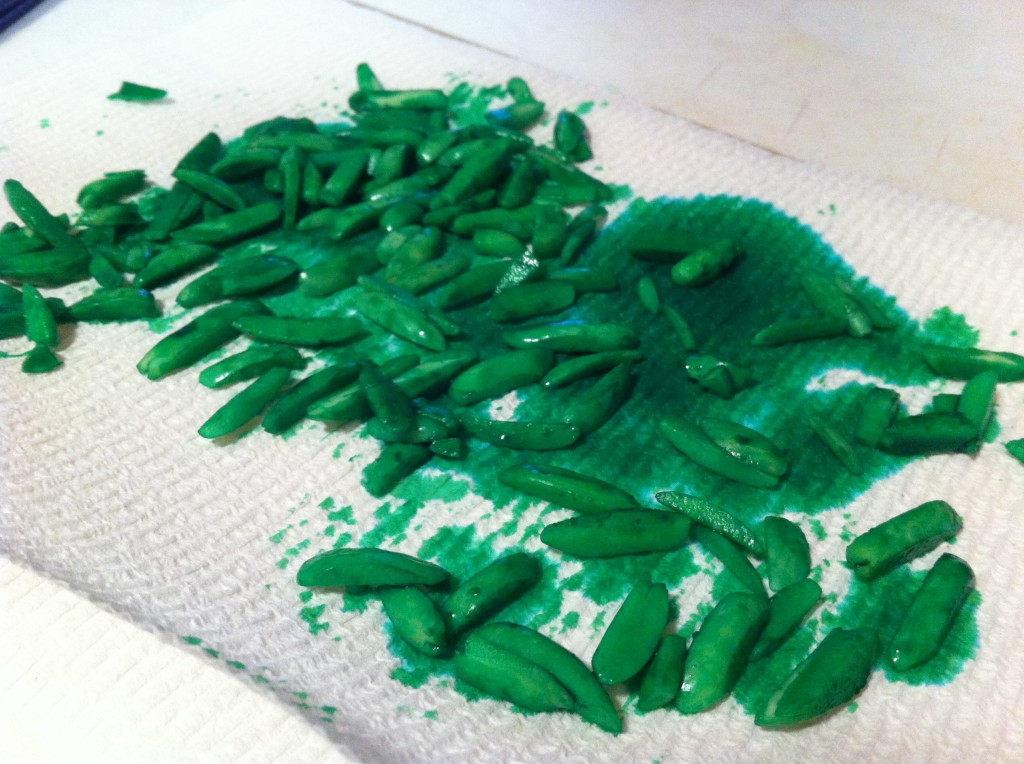
While the candy mixture is firming up in the refrigerator, you can dye some slivered almonds green for the strawberry stems. To do this just squeeze some food coloring into a bowl, add a bit of water, and then just stir you almonds around until they are coated in green food coloring.

After, I got the almonds all dyed, I just scooped them up and put them on a paper towel to dry.


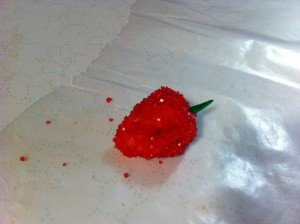
Here is the first one I made. I took the jello mixture and formed it into a strawberry shape. I then took it and rolled it in red sanding sugar. After that I put it on wax paper and inserted the dyed almond in the end for the stem.

I was really surprised that forming the strawberries did not turn my hands red.

You can have these made in no time.

After you get done, just put them in the refrigerator to firm up. The sugar coated hardens up slightly to add a nice coating. Keep them in the fridge until you are ready to bring them out to your guest. They will be amazed that you were able to make them strawberries in winter.

Just in case you were wondering, I did return the old cookbook to my student, but not before I copied a few more recipes “gems.” All of which I will share of course. : )

Here is the recipe:

Adapted from Old Silver Dollar City Cookbook

Ingredients:

1 1/2 cup chopped nuts (I used walnuts)

1 1/2 cup flaked coconut

3 (3 ounce) packages of strawberry flavored gelatin

1 (14 ounce) can sweetened condensed milk

1 teaspoon vanilla

1/2 cup red colored sanding sugar (I think I used a little more than that)

1 small package of slivered almonds

Green food coloring

Directions:

In a medium mixing bowl, combined the nuts, sweetened condensed milk, gelatin, coconut and vanilla. Combined until all the ingredients are well blended. Set in refrigerator for one hour.

Meanwhile, dye your slivered almonds in a small bowl with green food coloring and a little bit of water. Place the almonds a paper towel to dry.

When the strawberry mixture is chilled, shape the mixture into strawberry shapes and roll in the red colored sugar.

Place a green dyed almond in the end for a stem.

Place in the refrigerator until you are ready to serve.

These strawberries makes winter a little less cold.

Here are a couple recipes links, I thought you might like also.


Cracker Toffee                           Buttermilk Chocolate Cookies   

Happy Holiday Baking,

Becky
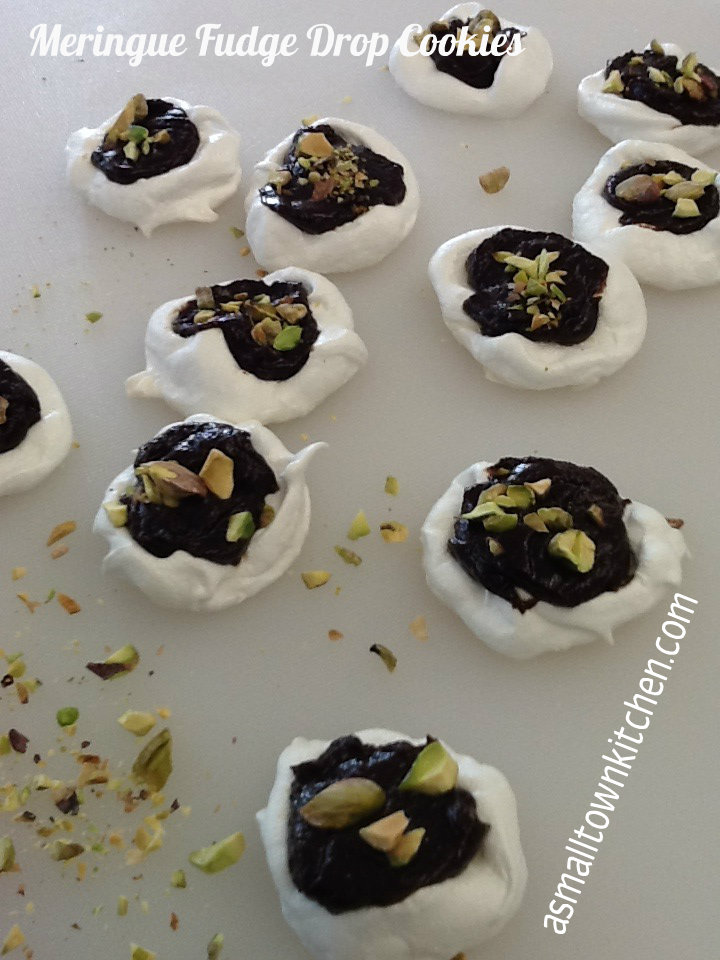
Meringue Fudge Drop Cookies

Every year about this time, I try to make a few unusual cookies to take to a local business that is our departments partner in education. So, today while I had a break from teaching I thought I would try my  hand at making these pretty holiday cookies.

During Thanksgiving break from school, I was able to go to some flea markets, Salvation Army and Goodwill stores to see if I could find any treasures that I could use. Among some sweaters and cool dishes, I found some old recipe magazines. I figured at a quarter a piece, if I could find two or three recipes I would like to try, I would buy a few (ended up buying 7). This recipe was in one of the magazines. I thought it was a fun and different take on regular meringue cookies and putting the pistachios on top, added a finishing holiday color to them.

I was able to make these in about a hour and half, and that includes cooking and cooling time. There were much easier than I thought they would be to make. After sampling one of them (ok a few of them) I was impressed by the crunch and slight chew to the cookie and when you add that to the creamy fudge topping, it sent these cookies to holiday heaven. One thing I would have suggest that I did not do, is waiting to fill the cookie until you are ready to plate them up. You can make the cookies and the fudge filling a head of time  and when you are ready to eat them, pass them around or take them to a party, fill the cookies real quick, top them with some nuts and you are good to go. Do not store the cookies in the refrigerator (I learned the hard way) as the cookies absorbed some moisture. But, if  you are making the filling ahead of time, put the filling in the fridge because it has two eggs cooked in the filling. Now, the recipe did not say to do this, but just cause I like to do things on the safe side.

If you are searching for a gorgeous cookie to add to your cookie recipe arsenal, then give this one a try. It is even gluten free!

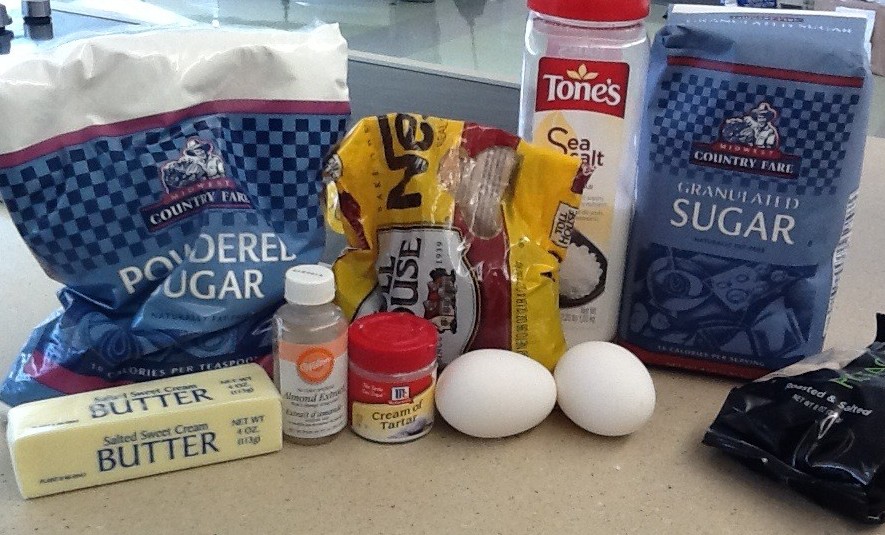
Here is all you need to make these cookies.

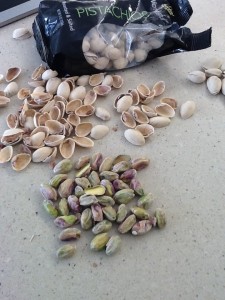
For the cookie you will need two egg whites, salt, almond flavoring and cream of tartar. For the fudge you will need two egg yolks, some butter, chocolate chips and powdered sugar, You garnish the cookies with chopped pistachios.


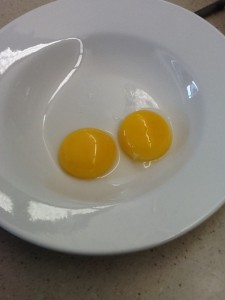
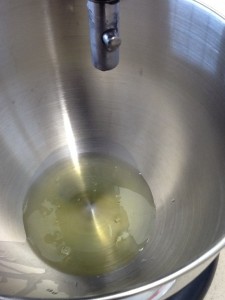
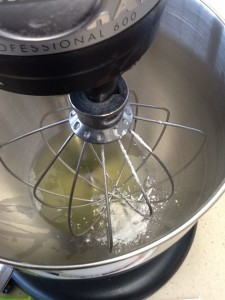
Separate the eggs whites from the yolks. Put the whites into a mixing bowl and save the yolks for the fudge filling.


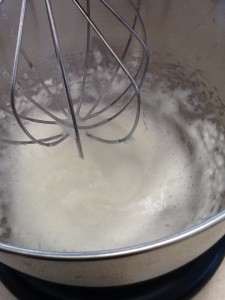
With you whisk attachment, whisk the egg whites until they are foamy.


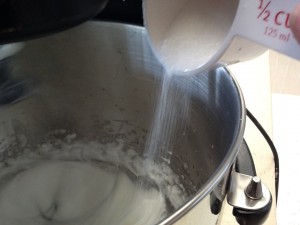
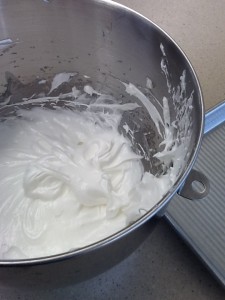
Add the sugar one tablespoon at a time to the foamy eggs. Whisk on high until you add all the sugar and the eggs whites form a stiff peak.

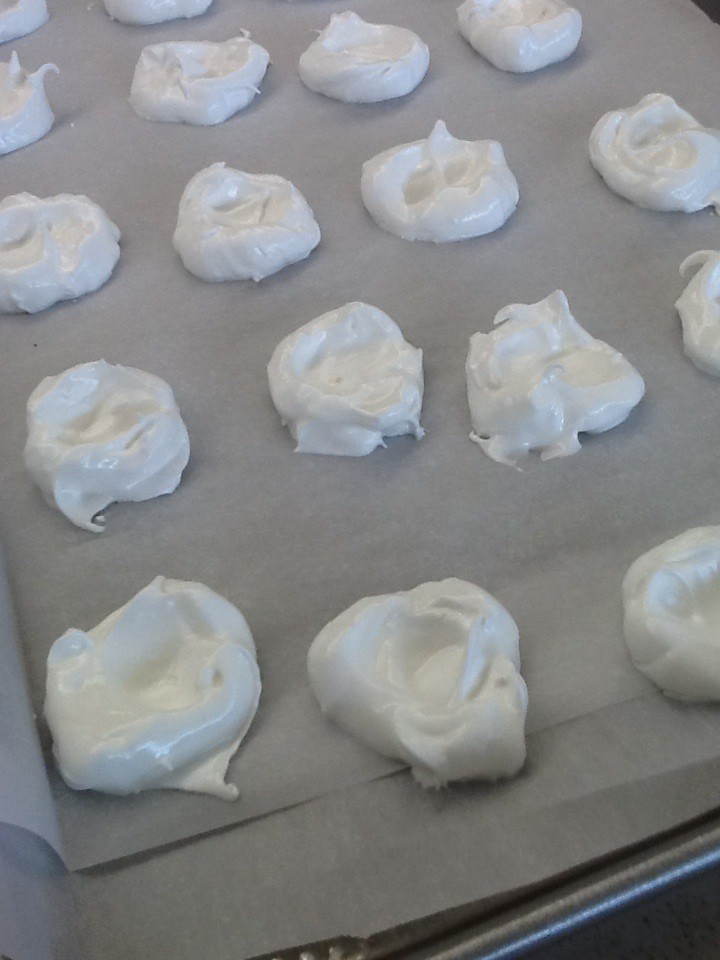
With a teaspoon, spoon out the meringue onto a parchment covered cookie sheet. After you get the meringue scooped out on the cookie sheet, take a small spoon and form a little hole in the center of each cookie. After the cookie are baked this little hole is where you will put the fudge filling. Bake the cookies for 30 to 40 minutes in a 250 degree oven. Make sure the cookies sound hollow and are dry. I rotated my pan half way through the cooking process to make sure all the cookies got an equal amount of heat to dry them out.

While the cookies are baking, you can start on the filling.


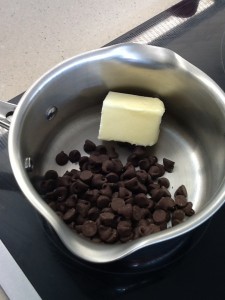
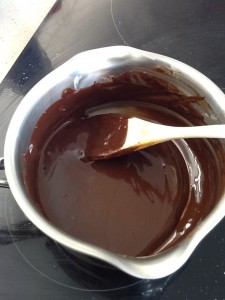
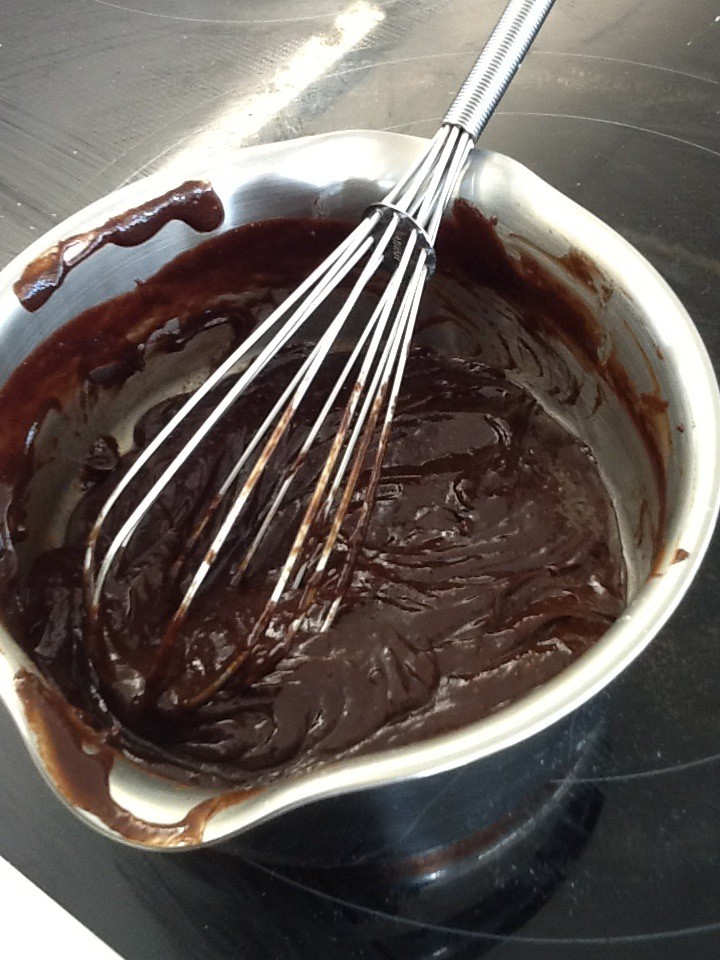
In a small sauce pan, melt the chocolate chips and the butter together.


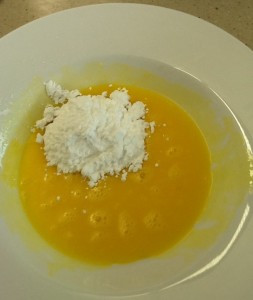
In a small bowl, beat the egg yolks till creamy and stir in the powdered sugar. Add the egg mixture to the melted chocolate.

Whisk the eggs and melted chocolate mixture on the range on low heat until it thickens making sure it reaches a temperature of 160 degrees. Take the fudge filling off of the heat and let it cool.


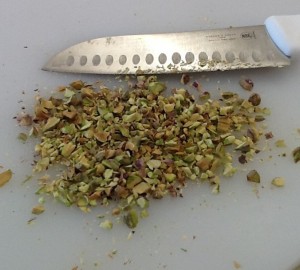
As the filling cools, chop up some pistachios.  You only need a couple of tablespoons but I always like to add more nuts.

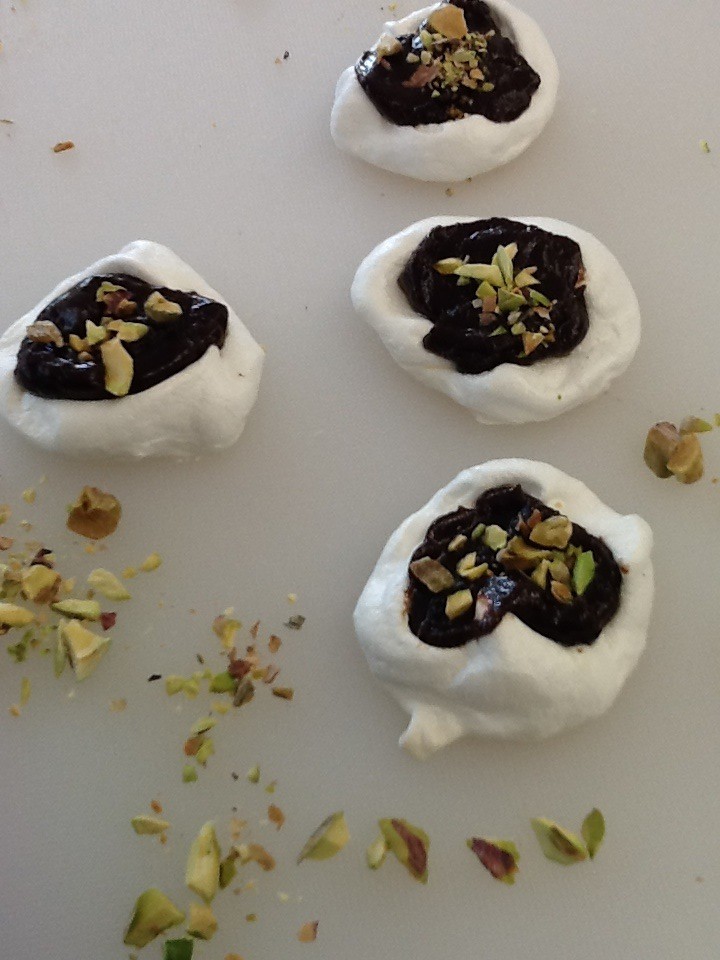
With the cooled cookies and the cooled fudge filling. You can fill each cookie with the fudge. I used a small spoon. After you fill them, top them with some pistachios and press them into the filling to secure. If you do no plan to serve the cookies right away, just store the meringue cookies in a air tight container in a dry spot. Put the filling in a sealed container in the refrigerator. When you are ready to serve, then fill and decorate with nuts.

These cookies are so pretty on a plate!

Here are your directions:

Meringue Fudge Drops

Adapted from Taste of Home

Ingredients for the cookie:

2 egg whites

1/4 teaspoon almond extract

1/8 teaspoon cream of tartar

1/8 teaspoon of salt

1/2 cup sugar

Ingredients for the filling:

1/c cup semisweet chocolate chips

3 tablespoons butter

2 egg yolks (slightly beaten)

2 tablespoon confectionery sugar

2 tablespoons chopped pistachios

Directions for the cookie.

In a mixing bowl, beat the egg whites, almond extract, cream of tartar and salt on medium speed until it forms soft peaks. Keep beating, and add the sugar one tablespoon at a time until the egg whites form stiff peaks. Line a baking sheet with parchment paper and spoon out meringue, forming little circles. Take a small spoon and make an indentation in each of the cookies. Bake in a 250 degree oven for 35 to 40 minutes or until the all the cookies are dry to the touch. Let cool.

Directions for the filling: 

In a small sauce pan, on medium heat, melt the butter and the chocolate chips together. With a whisk, add in the beaten egg and powdered sugar and mix together completely. Turn the heat to low and continue to cook and stir the filling until it becomes thick and the filling reaches 160 degrees. Cool to room temperature.

To finish the cookie, spoon the filling into the indentation in the cookies and top with the chopped pistachios.

Happy Baking!

Becky
If you like this post, you might like to check out these other cookie recipes.


   Molasses Cookies                      PIC”s Creamy Peanut Clusters


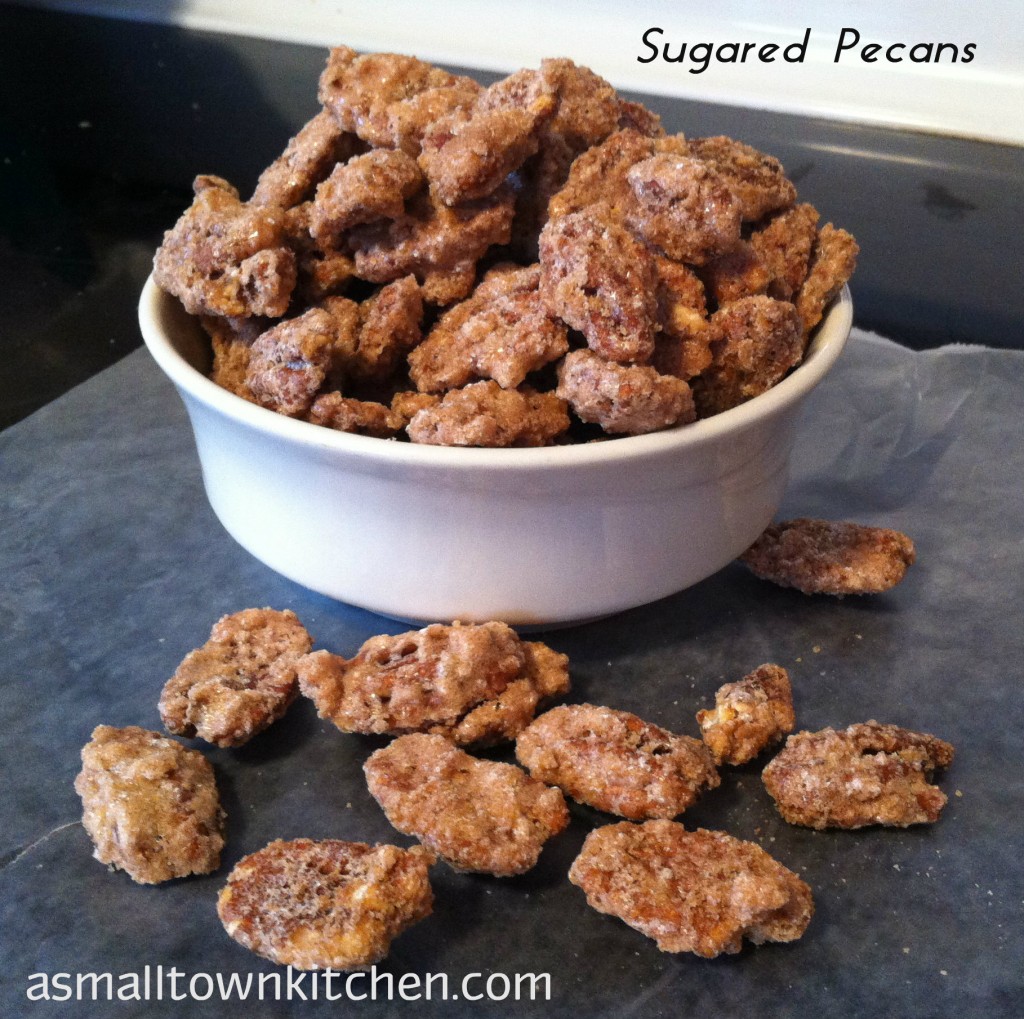
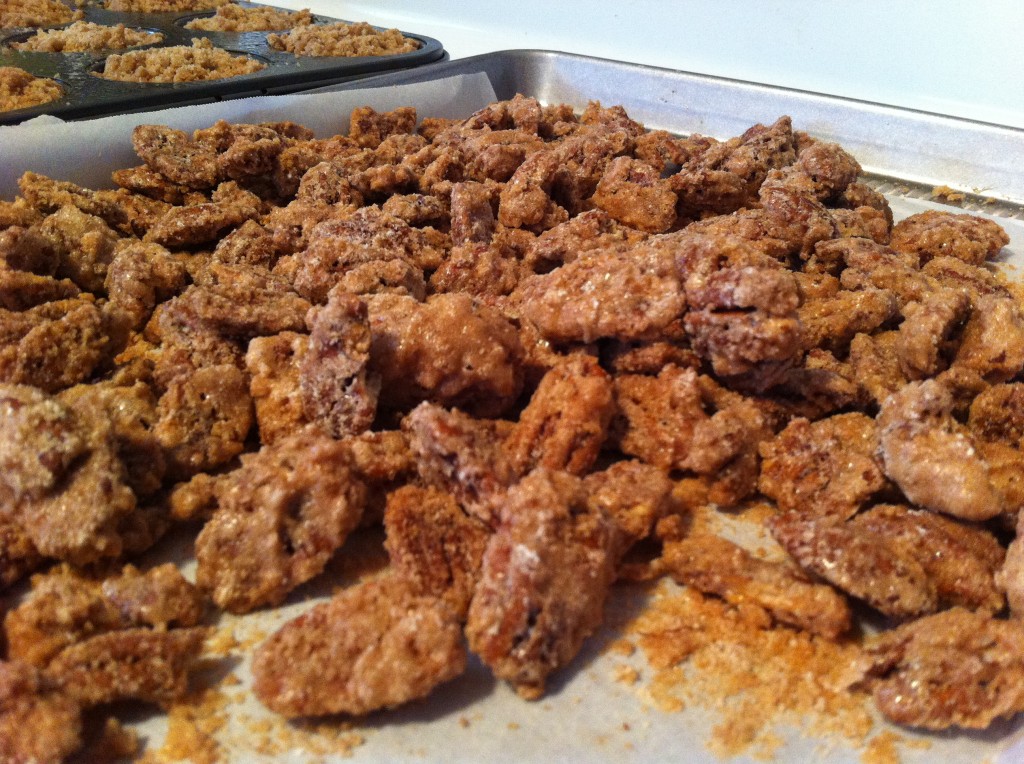
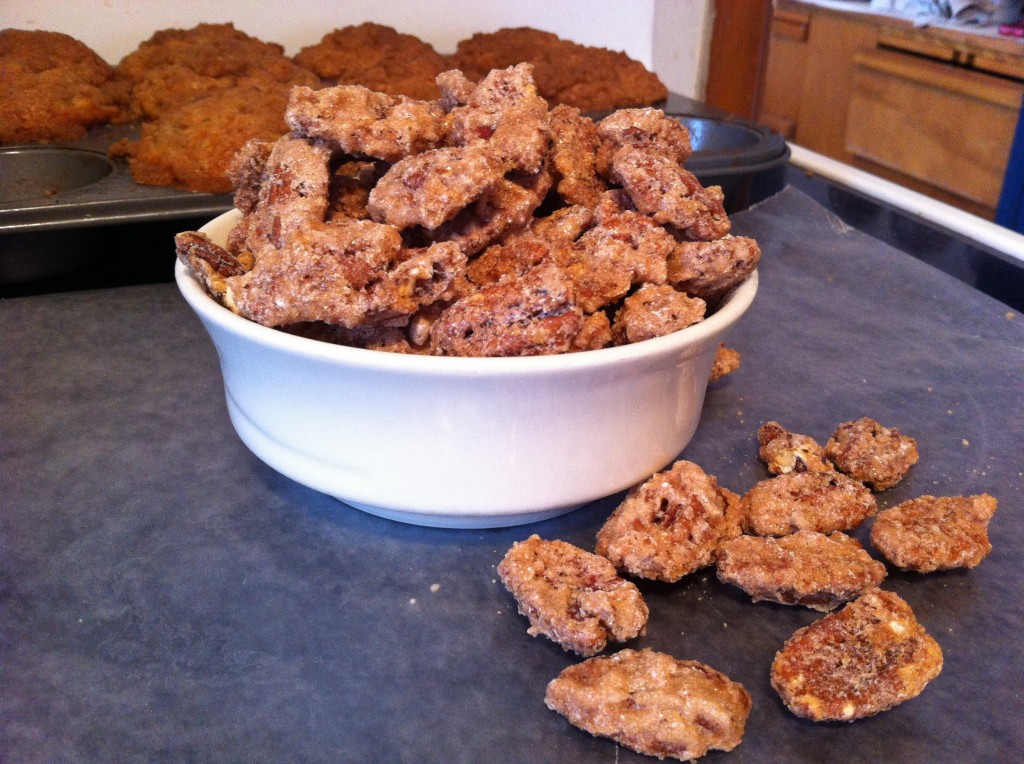
Sugared Pecans

Warning! After  you finish making these scrumptious pecans you will need to hide them in a really SAFE place or  you will eat all of them!

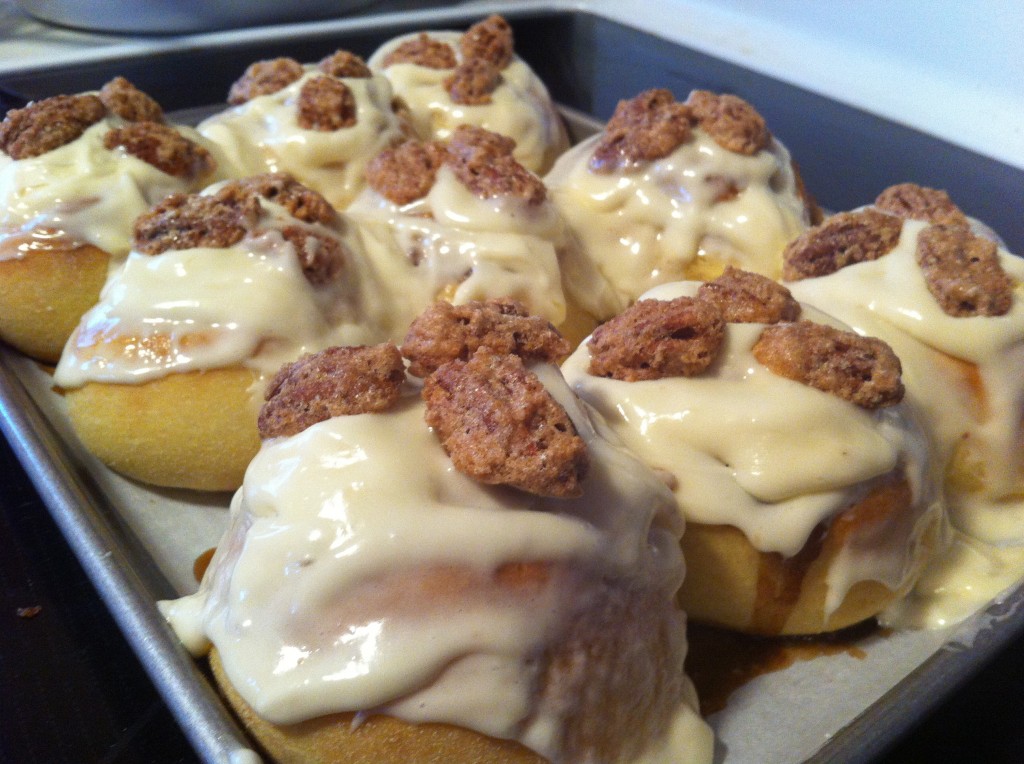
This past week I made 117 cinnamon rolls for the staff at my high school for our December staff meeting. I really wanted to make the rolls extra special, so I decided to try my hand at making sugared pecans to sprinkle on top of the rolls. If I had know how deliciously easy they were to make, I would have tried making them a long time ago! You can bag the pecans up to give as a gift or use them as a garnish in salads or in my case on top of my cinnamon rolls. You just need a few everyday ingredients and in a hour your house will smell almost as good as these pecans taste.

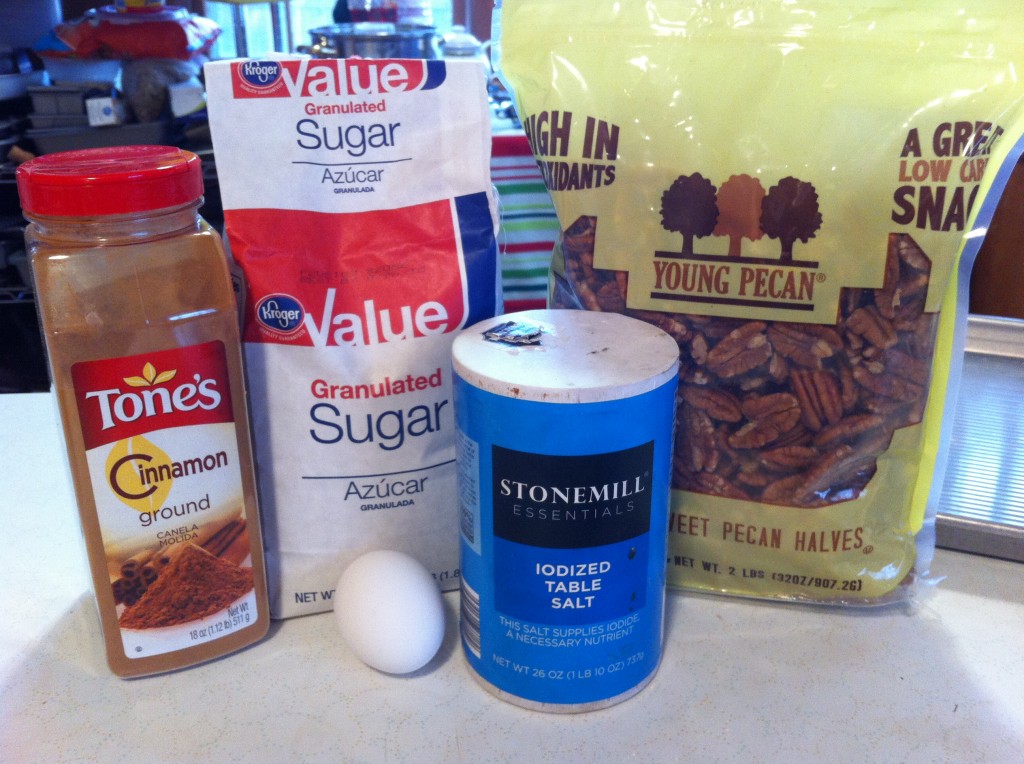
All  you need is a egg white, pecans, sugar, cinnamon and a touch of salt.


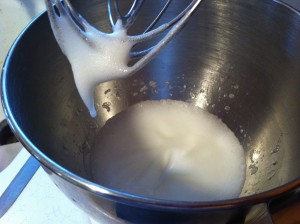
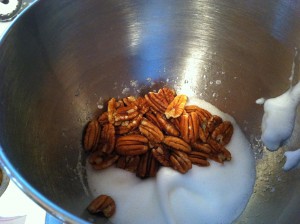
The first thing  you need to do is separate the egg and put the egg white into a mixing bowl. Add one tablespoon of water. With the whisk attachment, whisk the egg white until the mixture is foamy.


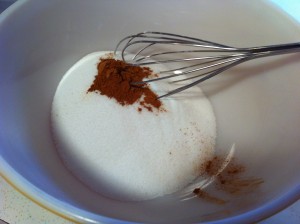
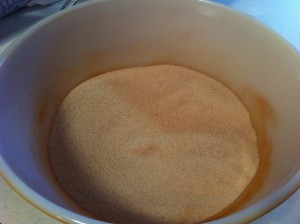
In another bowl, put in the sugar and the cinnamon and whisk together.


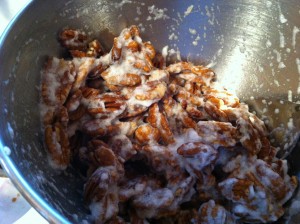
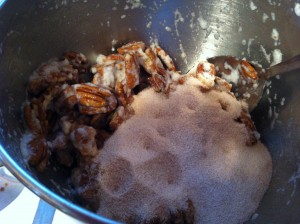
Add the pecans and stir to cover the pecans with the egg white.


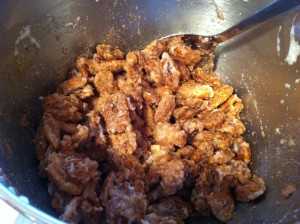
Pour in the cinnamon sugar onto the pecans and stir to coat each pecan with the sugar.

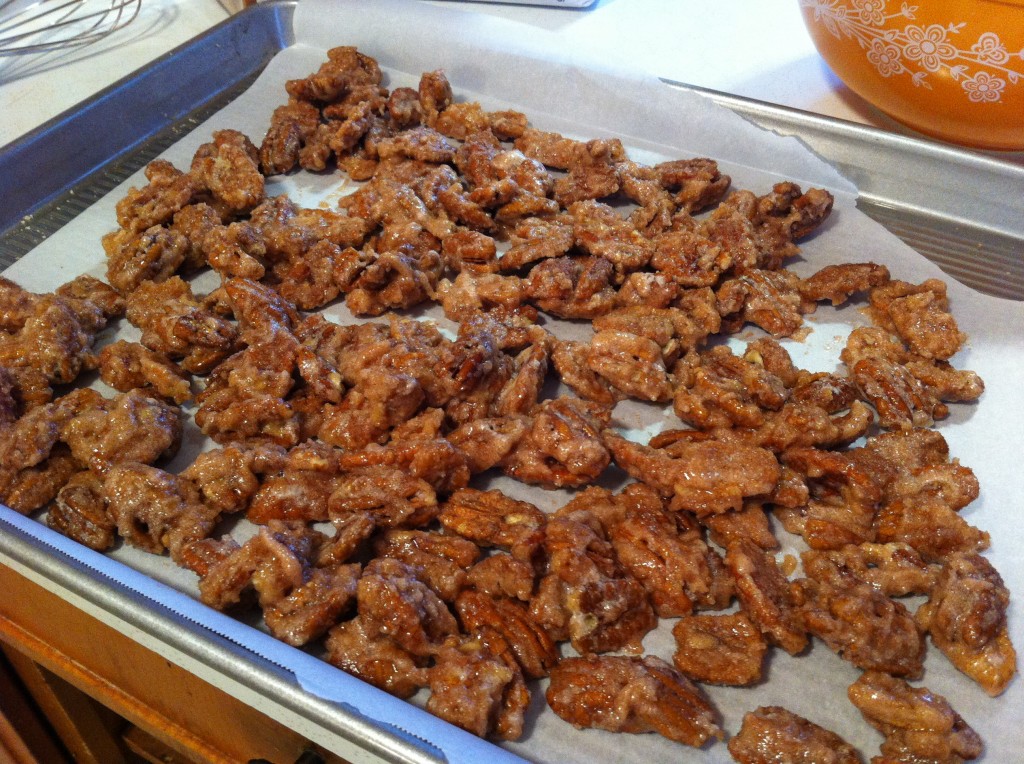
Pour the sugar coated pecans onto a cookie sheet that is lined by parchment paper or a silicone baking mat to keep the sugar from sticking to the bottom of the pan.

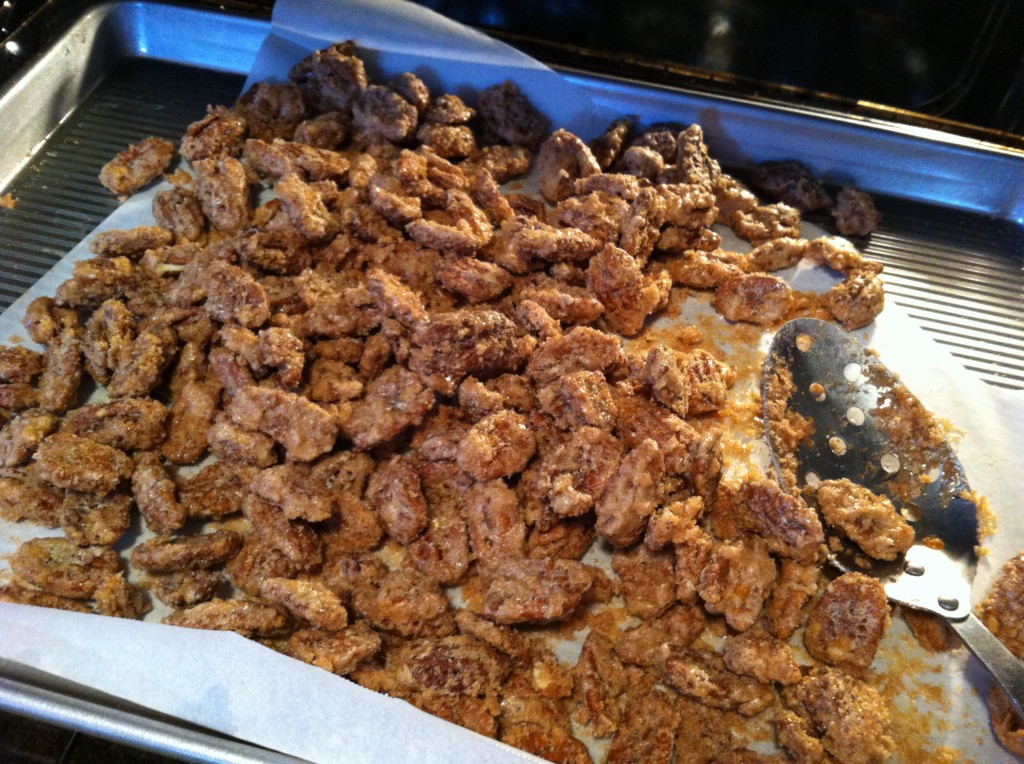
Put the pecans in a 250 degree oven for one hour. Be sure and stir the pecans every 15 minutes.

Take the pecans out of the oven and let cool. They will crisp up after they cool.

Now, the only problem you will have will be not eating them all!

Give these a try! I was pleasantly surprised how easy they are to make!

Here is the recipe:

Sugared Pecans

Ingredients:

4 cups of pecans (one pound)

1 egg white

1 tablespoon water

1 cup of sugar

1 teaspoon cinnamon

Directions:

Whisk the egg white and water with an electric mixer until the egg white reaches a soft peak. In a different bowl mix together the sugar and the cinnamon. Add the pecans to the foamy egg white and stir to coat each pecan. Pour the sugar over the egg white coated pecans and stir the pecans and sugar together until all the pecans are covered in sugar. Preheat your oven to 250. Pour the pecans on a parchment paper lined cookie sheet and bake for one hour, making sure to stir every 15 minutes. Take out of the oven and cool. Store in air tight container.


I put some sugar pecans on top of warm cinnamon rolls.  You can also chop and put them in a salad.

OR….you can just eat them…which is my favorite way.

Christmas is just around the corner! How is  your holiday baking going?

Me….I am going nuts….: )

Becky


The Strawberry Project, part four, Floating Row Covers

How did you spend last weekend? Shopping for Christmas? Staying inside where it was warm?

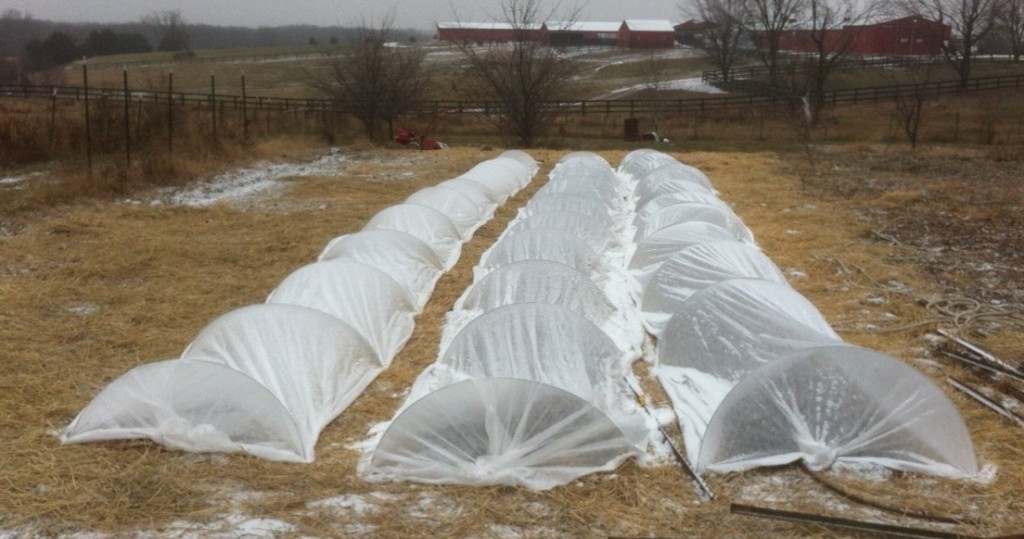
I wish I could have joined you! I am not quite sure how to worked out that Company and I installed the floating row covers over the strawberry plugs right when those Canada freezing winds made it all the way down to Missouri!

BRRRRRR…….

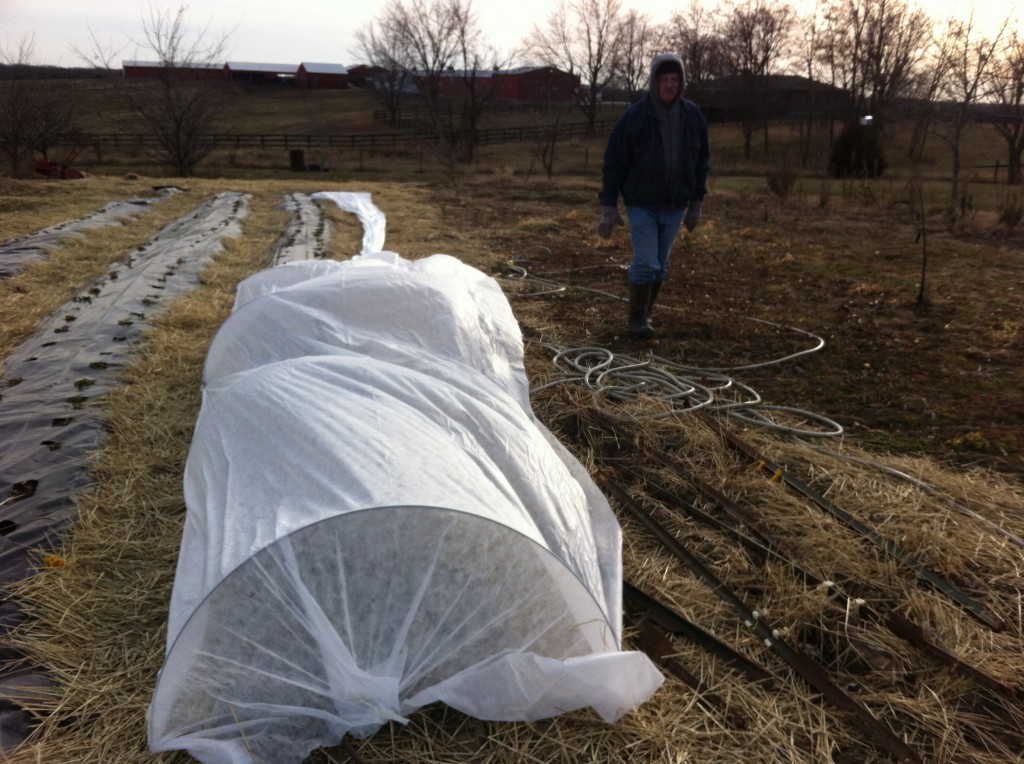
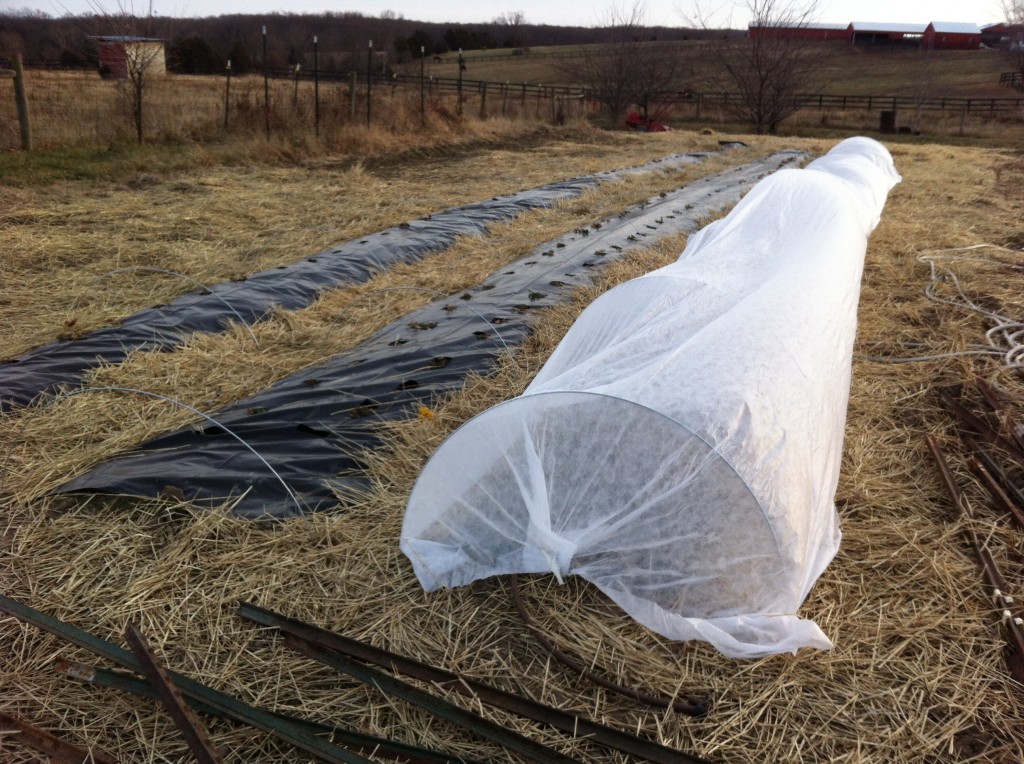
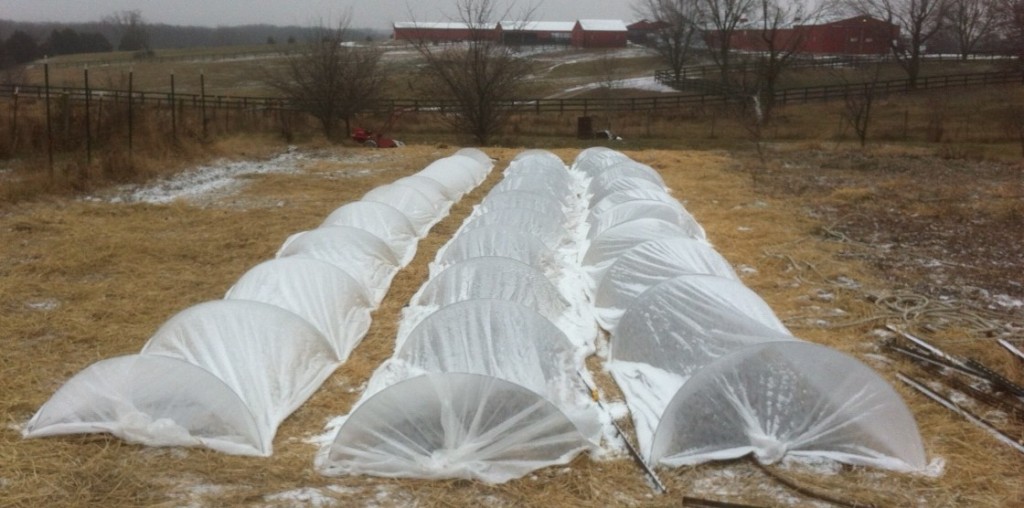
Underneath those ghostly looking fabric covered hoops, are the strawberry plugs (all 250 of them) that we planted back in October. The trick about installing the row covers, from what I have read, (cause  you know that I have not done this before) is that  you have to let the strawberries have a few cold nights so they will go dormant. If you install the row covers too early, the strawberries will not go to sleep for the winter, so we decided to wait and watch the weather. Thanksgiving weekend the weather was in the 60’s, we decided to wait one more week. Little did I know, waiting one more week, we would be installing these things in 20 degree weather with a wicked wind blowing on us.

I kept making excuses to go to the house to warm up. Company, on the other hand stayed out there working away in the cold. The biggest snag we hit was that we ran out of landscape staples to put in the ground to hold the row covers down over the hoops. We wasted a lot of time running to several stores trying to find them. It had something to do with them being out of season. Go figure!

Anywho, if you want to extend your garden a little longer into the winter, you can install a floating row cover over your garden rows. If you decide to do that, I would put the fabric down with staples on one side of the hoops and use small sand bags on the other, so you can take the sand bags off the fabric easily to get to the veggie goodies you are growing under them. For us, we covered the strawberries for the winter to hibernate and to keep the frost, sleet and snow off of them until we peek at them in February.

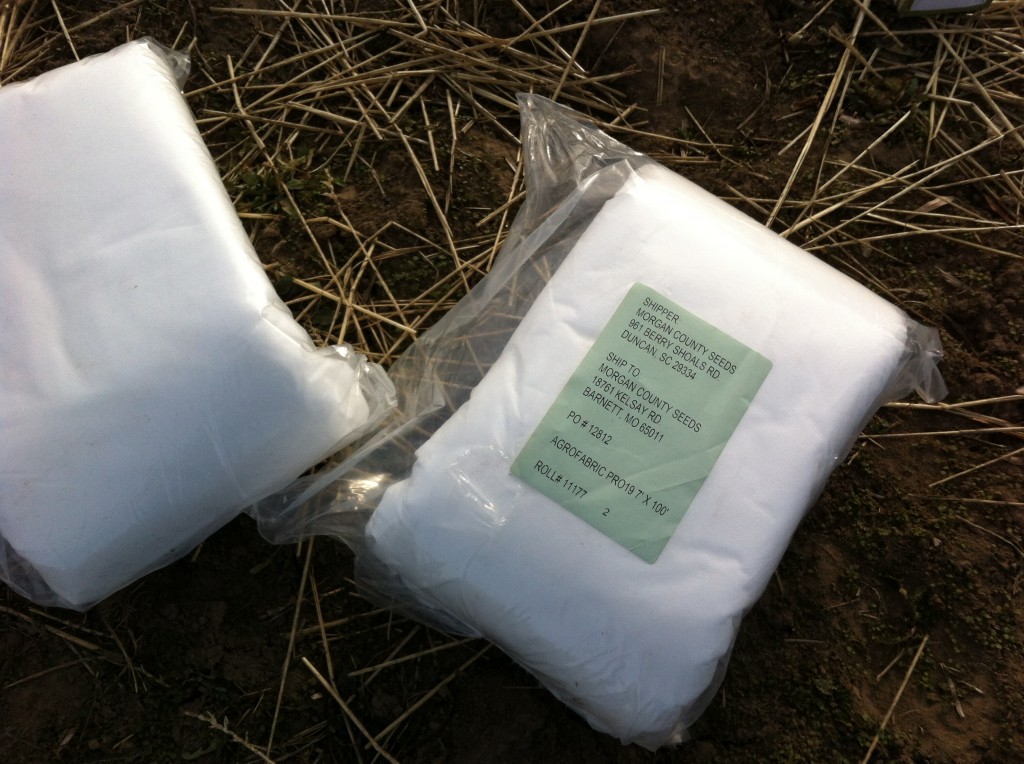
To install row covers you will need some kind of agrofabric. We use the 19 weight, but if are wanting to continue growing  longer into the fall you can get heavier fabric. I ordered ours from our locally owned garden center. We had 3-sixty foot long rows, so I ordered two packages of 7 foot wide 100 feet long.

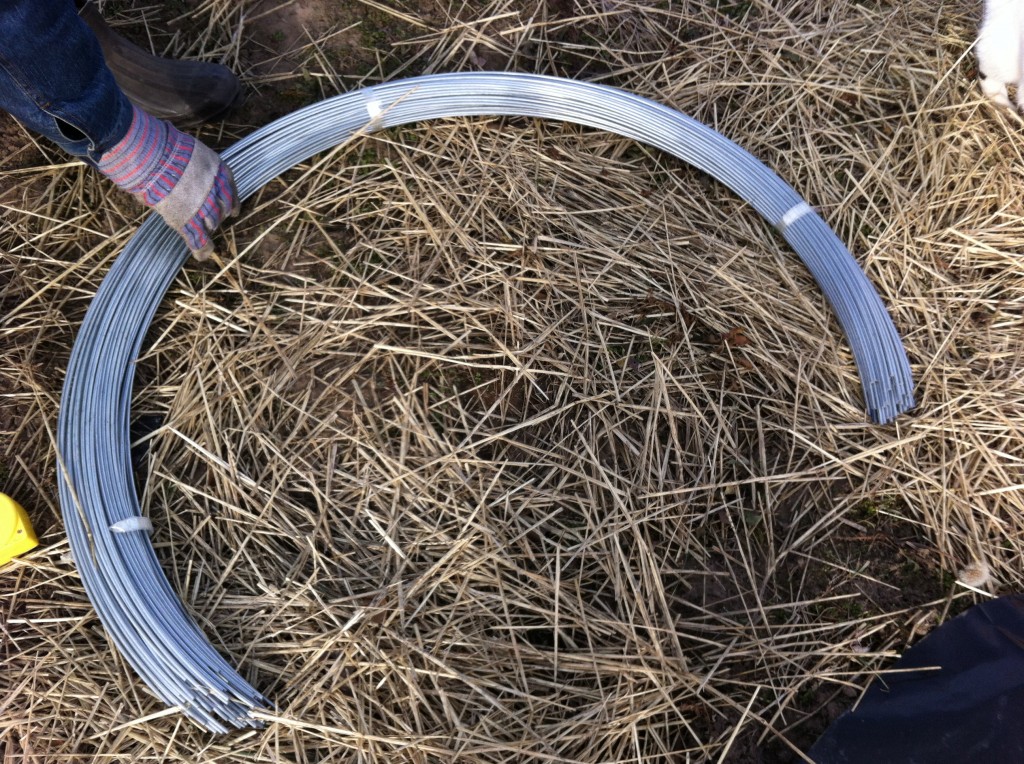
You will also need wire hoops to go into the ground. I ordered a package of 100 and we used 13 for each row. So…we have plenty left over for other projects, I can dream up.

You also need landscape staples. We ended up finding them at Menards for $2 for a pack of 50. We bought a bunch of packs so we would not run out.

The first thing you do is put the wire hoops about 5 feet apart. Company had to measure each time to make sure they were 5 feet a part…it must be a guy thing. We were lucky that they went pretty easily into the ground.

The next thing we did was start covering the hoops with the fabric. The wind was blowing like crazy, so this took longer than I thought it would.

Here is our first row all covered up.

Here is a picture of the rest of strawberries all tucked in for winter.  Yippee!

If you missed the earlier post and complete start to finish photos of our strawberry plug project here are the links.

The Strawberry Project Part One.

The Strawberry Project Part Two

The Strawberry Project Part Three

Please keep your fingers crossed for us that come spring, we will have fresh strawberries to pick and share!

It might take until spring for us to thaw out!

Becky
 

Going Bananas!

Is anyone else out there going bananas trying to get your house cleaned, menu made, grocery shopping, cooking, baking and then keeping the house clean for your Thanksgiving Dinner????

Don’t get me wrong, I love Thanksgiving! I even volunteer to have my whole family come to my house for Thanksgiving.  Come one, come all….but, this year it is taking me longer to get everything done. I am blaming it on having Company over. It is hard to get a lot done when you have Company over. Don’t you agree? : )

So, I decided to quit worrying so much about it and just,”go bananas,” and make banana bread with a twist of lime.

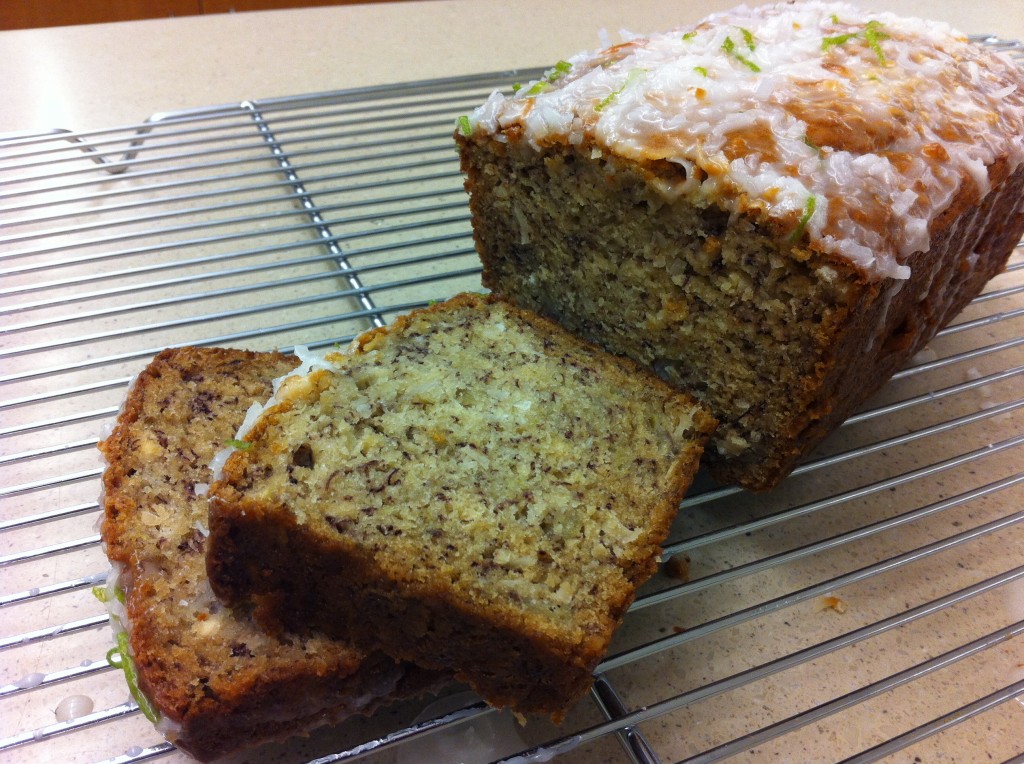
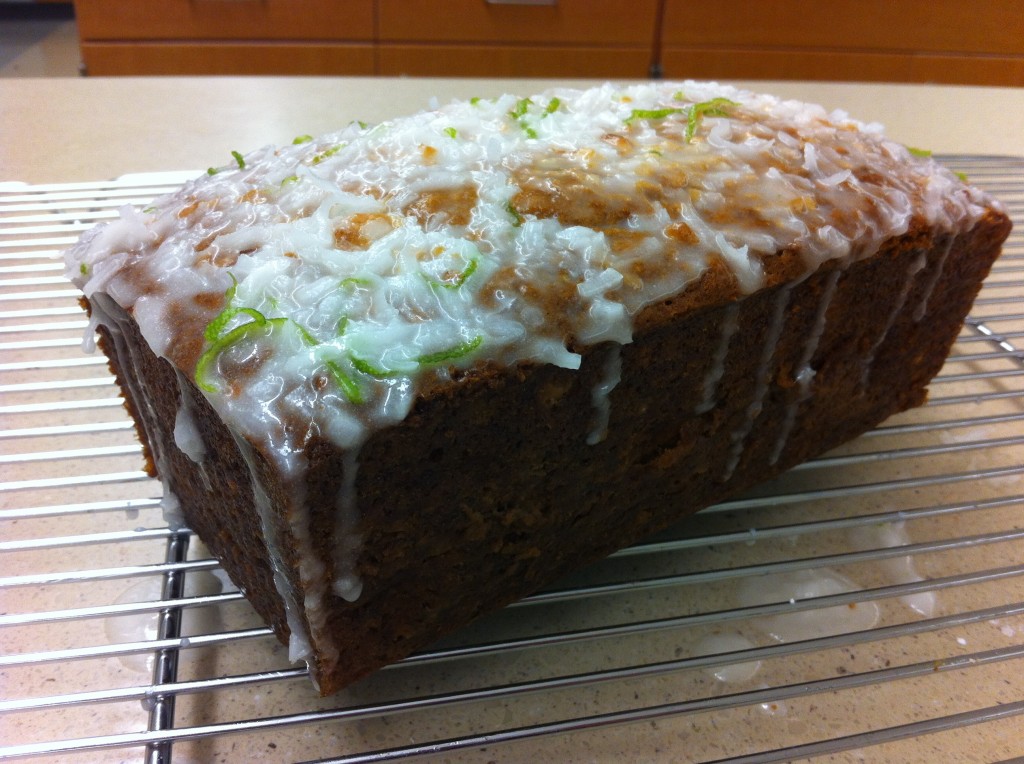
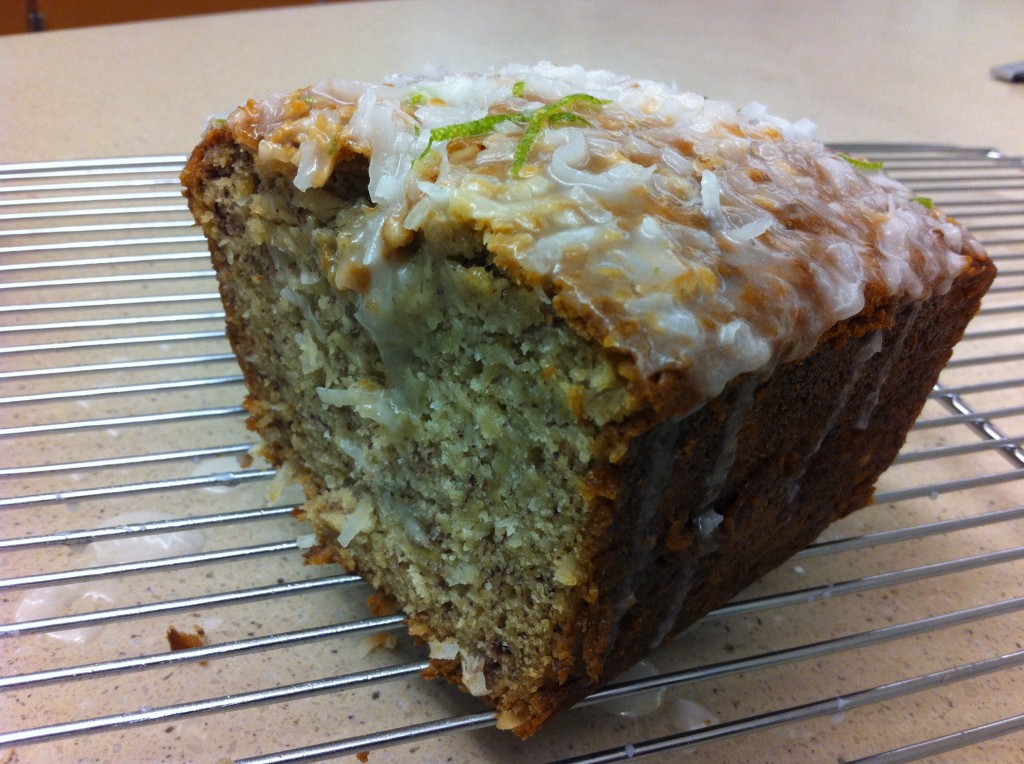
This recipe for, Coconut Banana Bread with Lime Glaze, is super moist, has a great flavor and the lime glaze adds a refreshing tart taste. If I could have gotten away with it, I would have just eaten the top off the whole loaf of  bread, because it was that good!

Anywho, if you need a distraction from figuring out your Thanksgiving plans and don’t mind getting the kitchen just a little bit dirty, give this recipe a try.

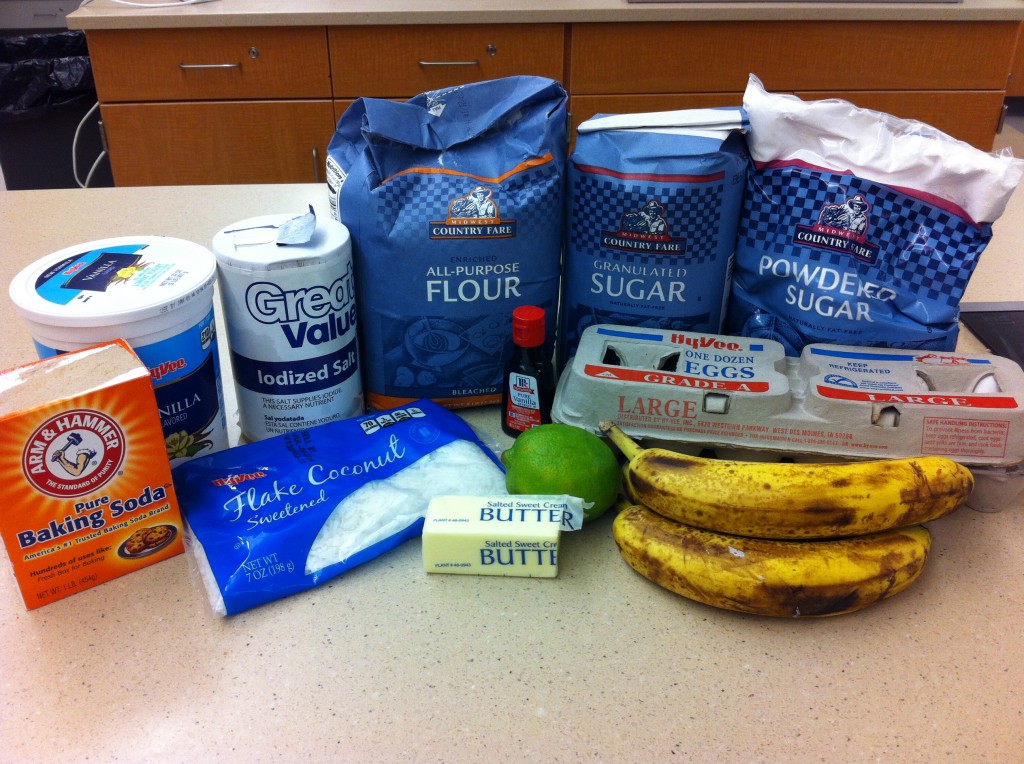
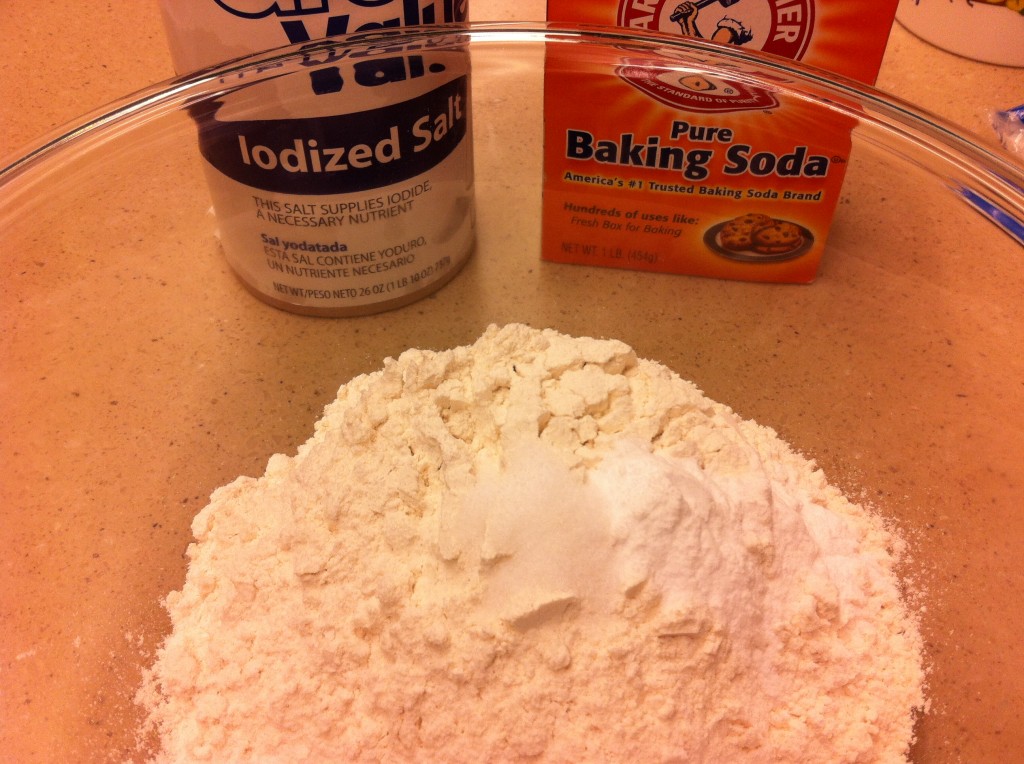
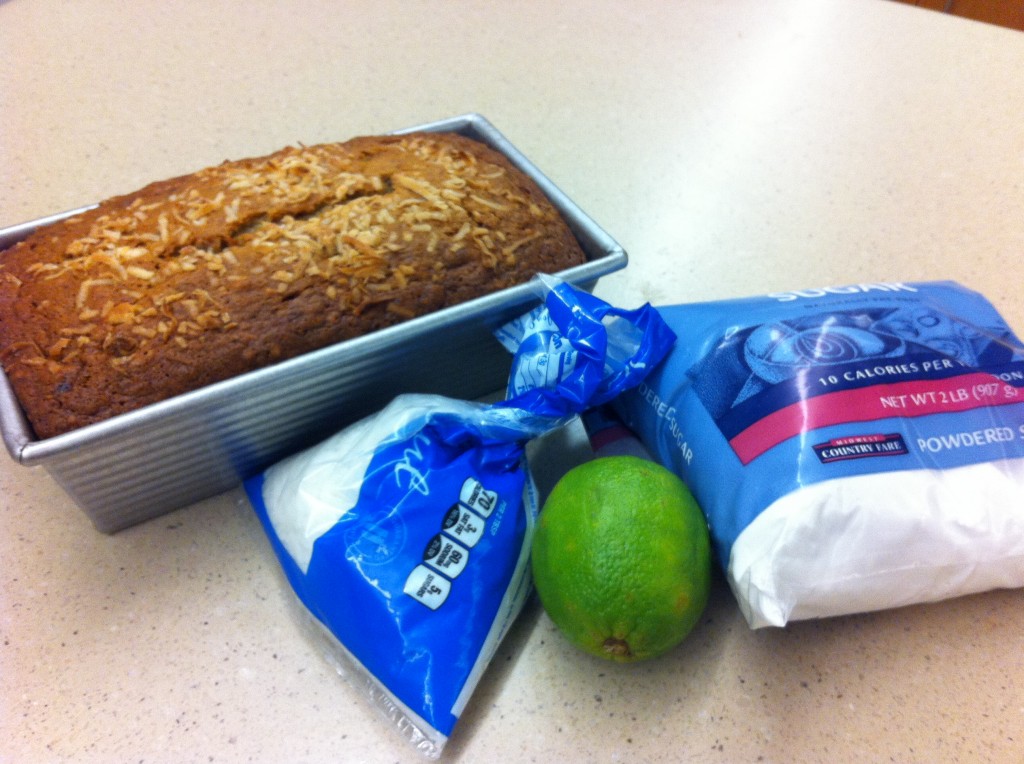
Here is what you will need to make this delightful bread.

First think you need to do is mix the flour, baking soda and salt together.

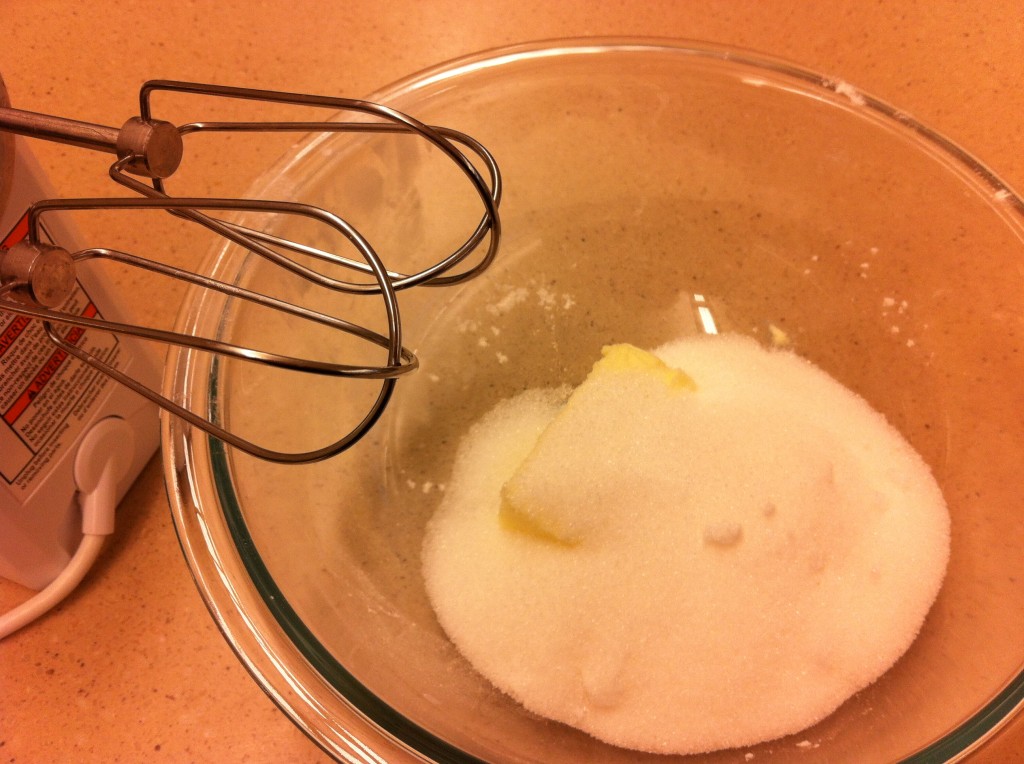
Next, in a separate bowl, you need to cream the butter and sugar together.

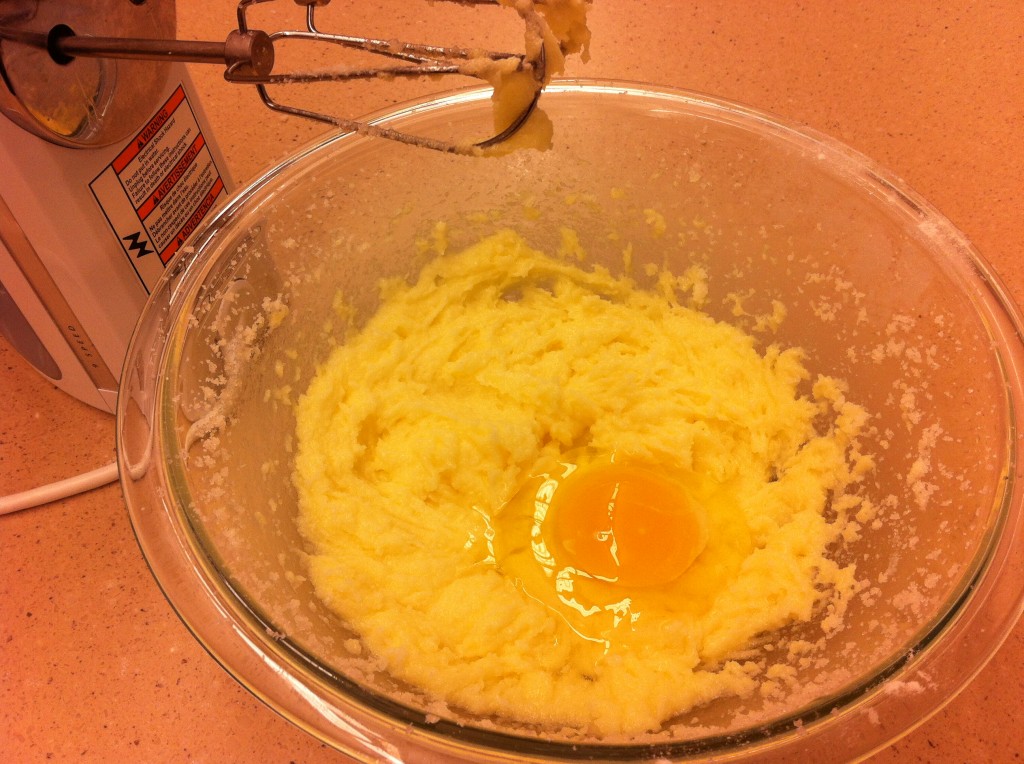
In the same bowl you creamed the butter and sugar in, add the eggs and mix together.

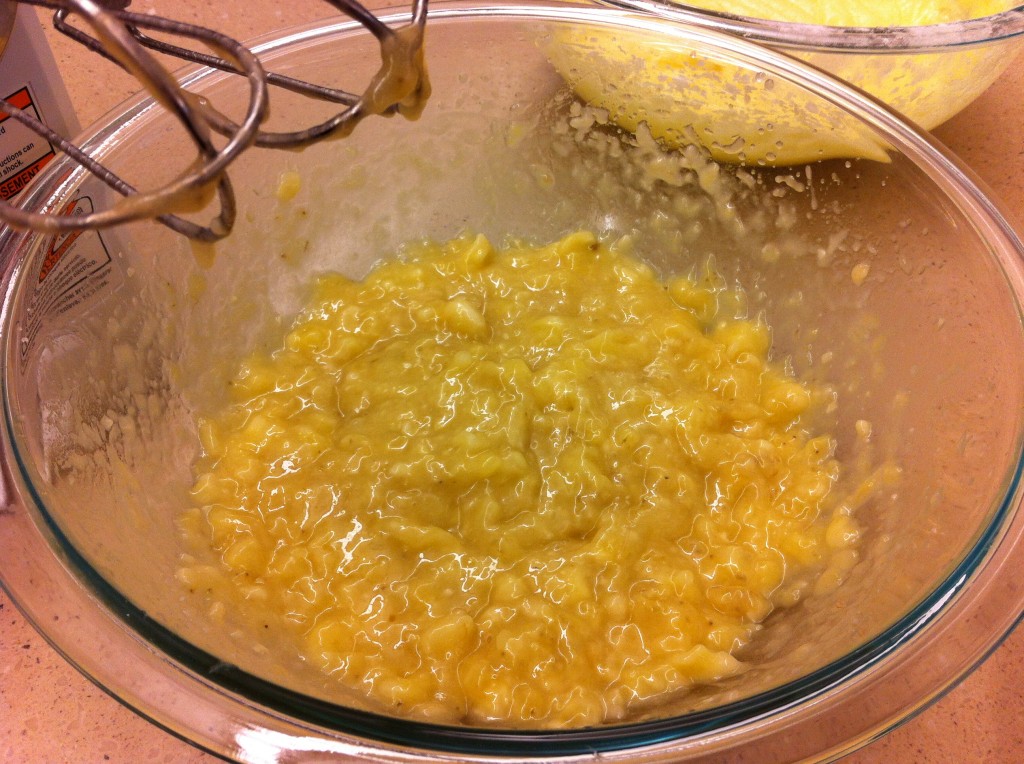
In another bowl, mash or beat up your bananas with a mixer.

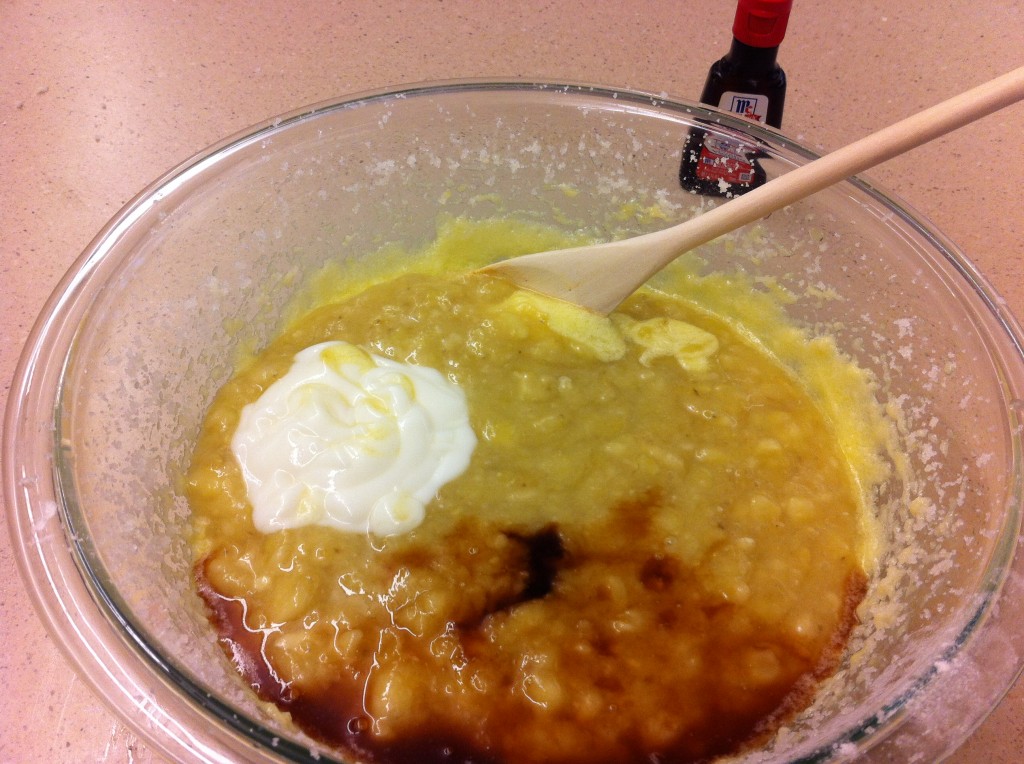
Add the mashed bananas, yogurt and vanilla to the creamed mixture.

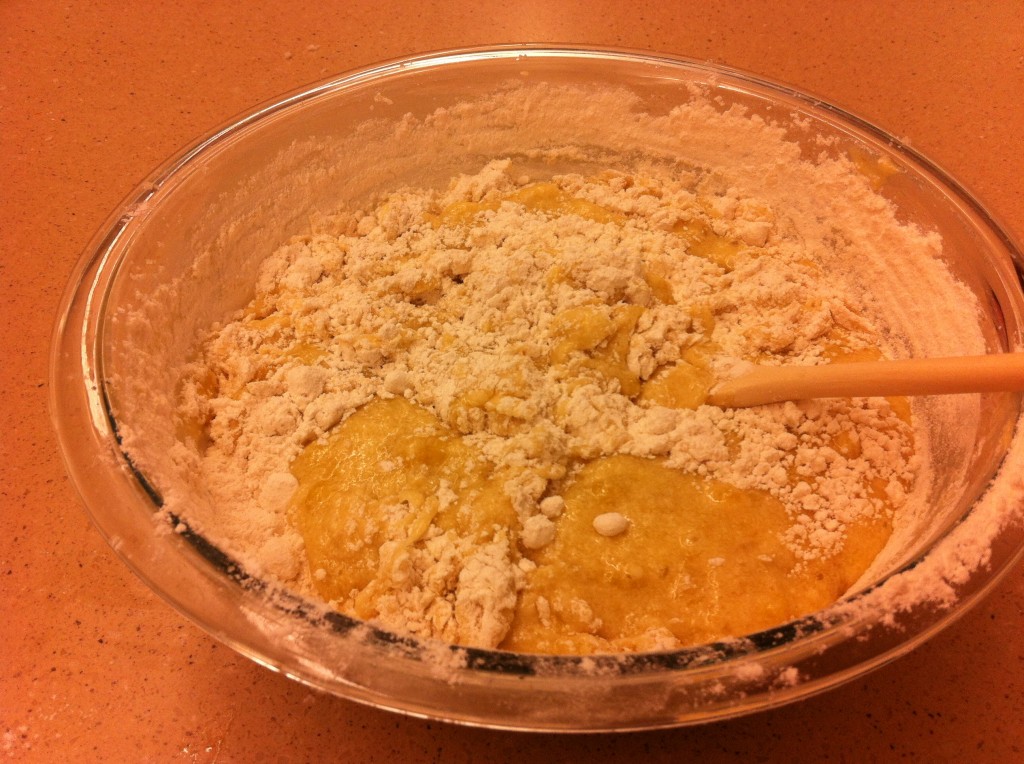
With a mixer, add in the dry flour mixture in with the wet banana mixture.

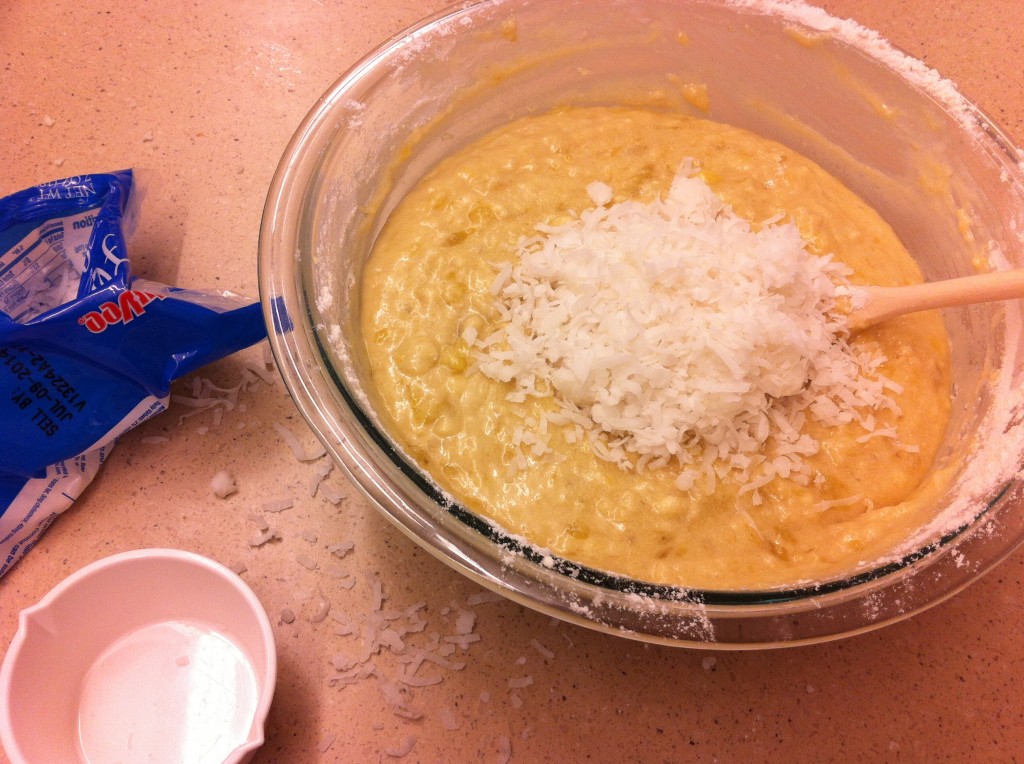
Lastly, stir in the coconut.


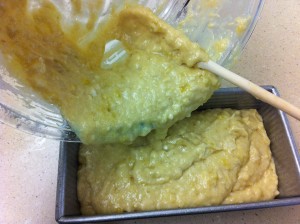
Pour batter in to a prepared loaf pan. I get my pan ready by lining the bottom with parchment paper and giving the inside of the pan a little spray of vegetable spray.

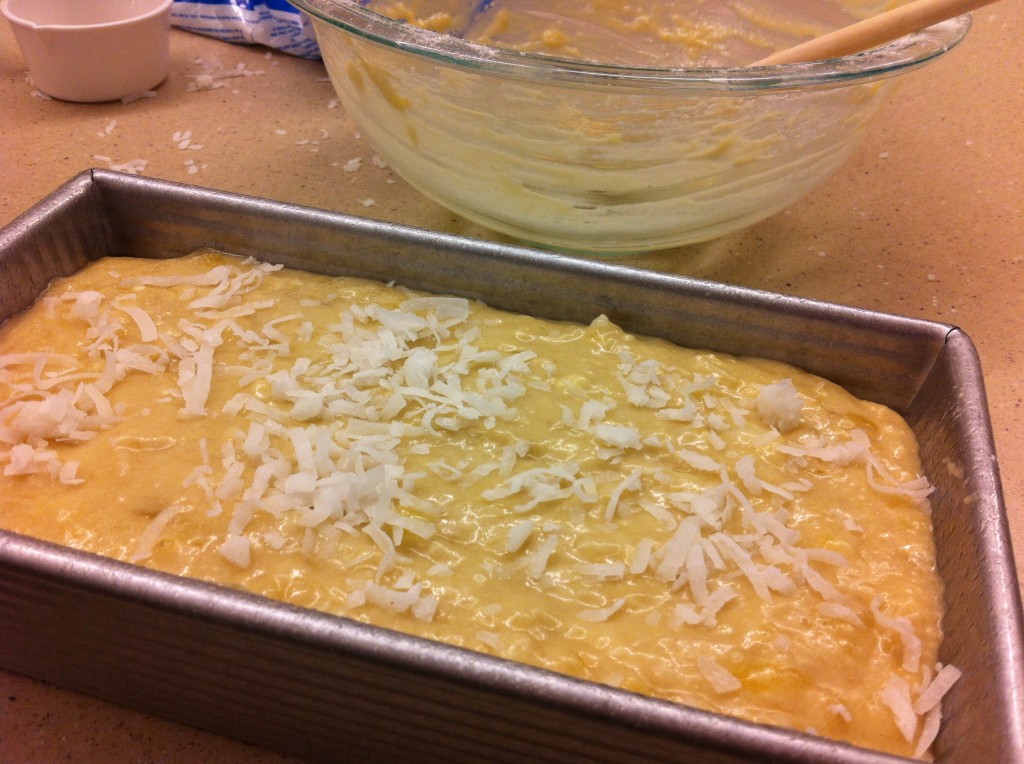
Once the batter is poured into the loaf pan, top the batter with some coconut.

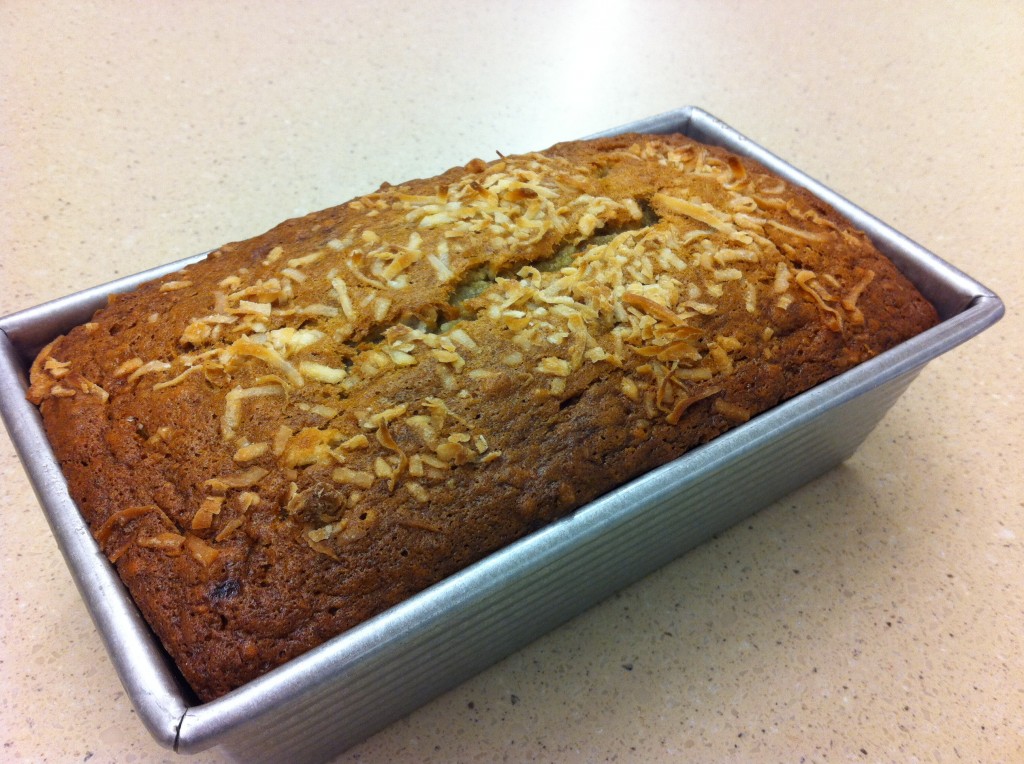
Bake in a preheated 350 degree oven for one hour or until a wooden pick inserted comes out clean.

Cool bread in pan for 10 minutes and remove.

While the bread is cooling you can make the glaze.

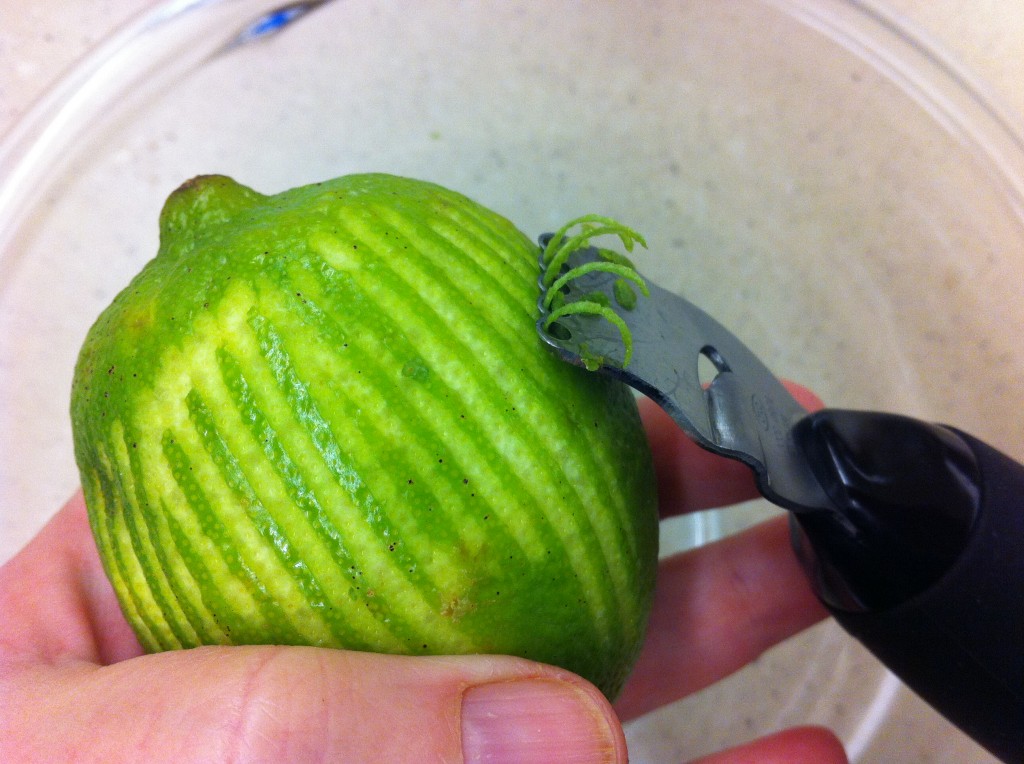
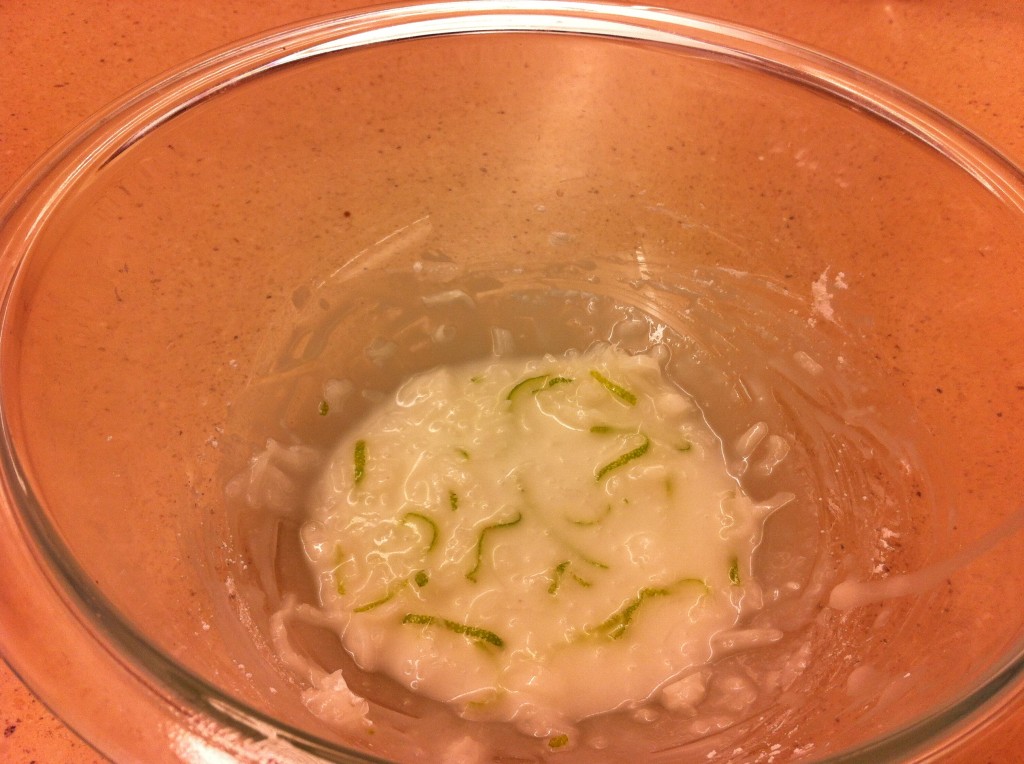
First thing to do is take a little zest from the lime using a zesting tool.


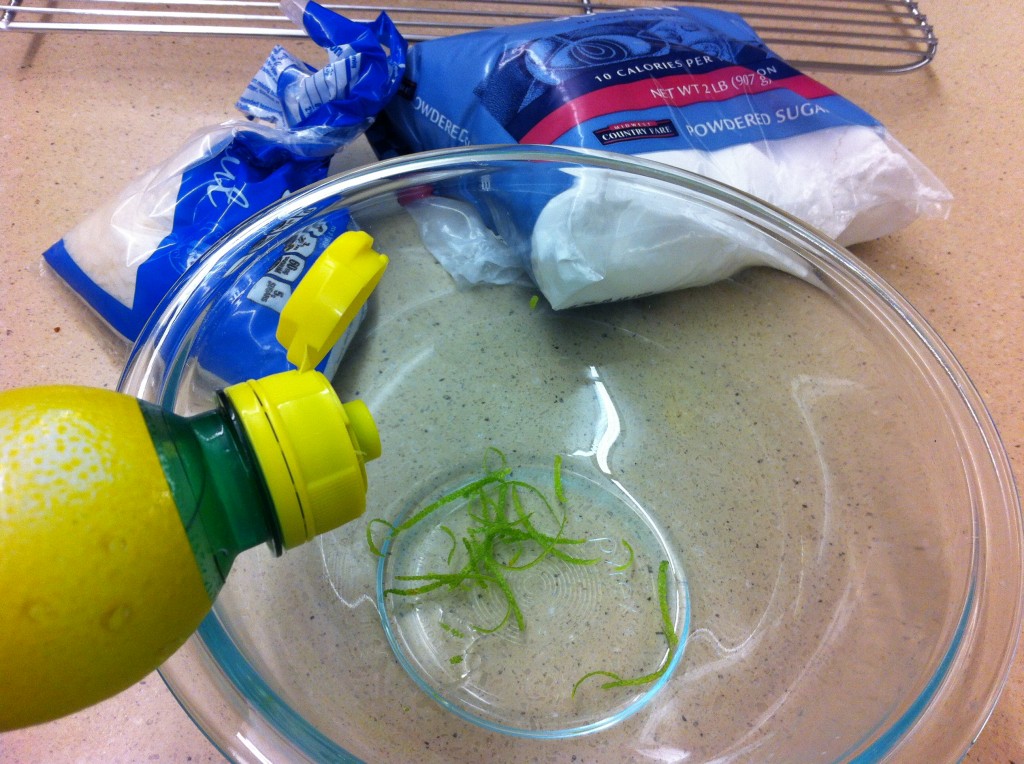
Add  the lime juice (you can substitute lemon) juice to the lime zest.

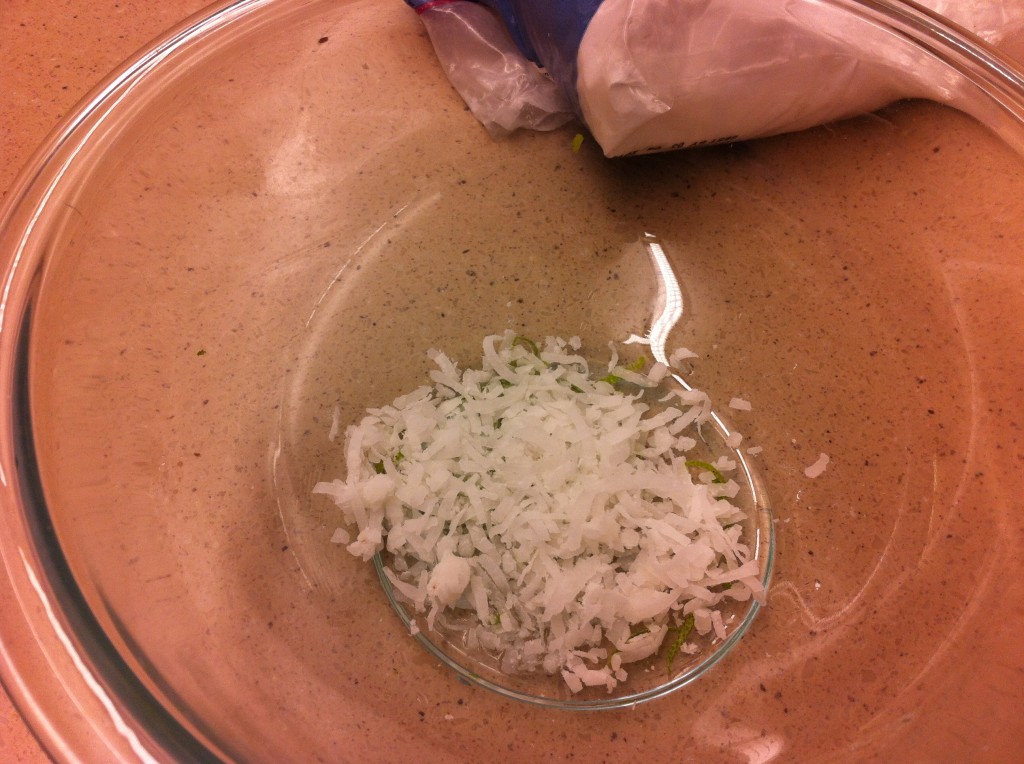
Add in some coconut.

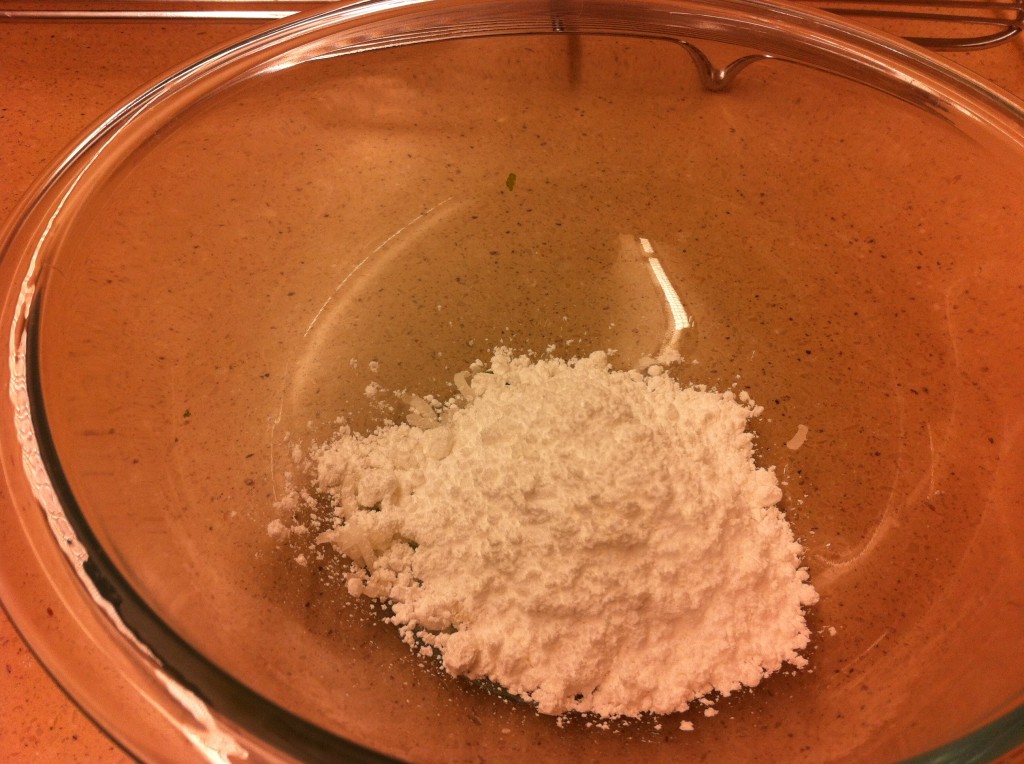
Then add 1/2 cup of powdered sugar.

Stir together.

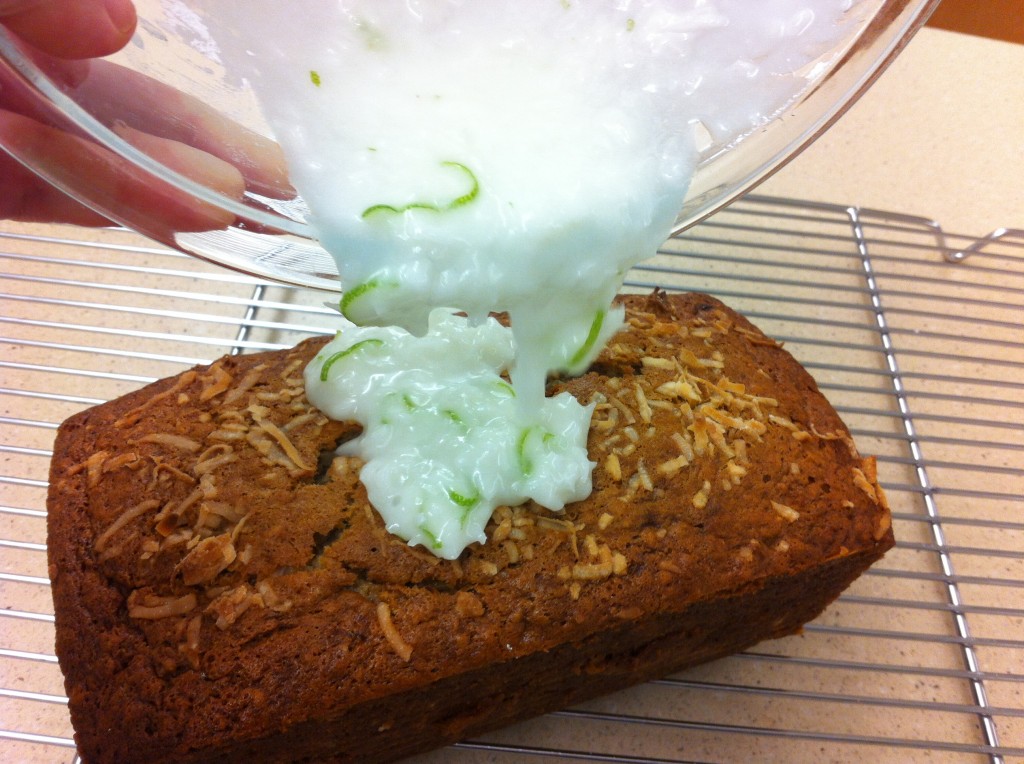
Once the banana bread has cooled off, pour the glaze over the top  of the warm bread.

Spread it evenly over the top of the loaf.

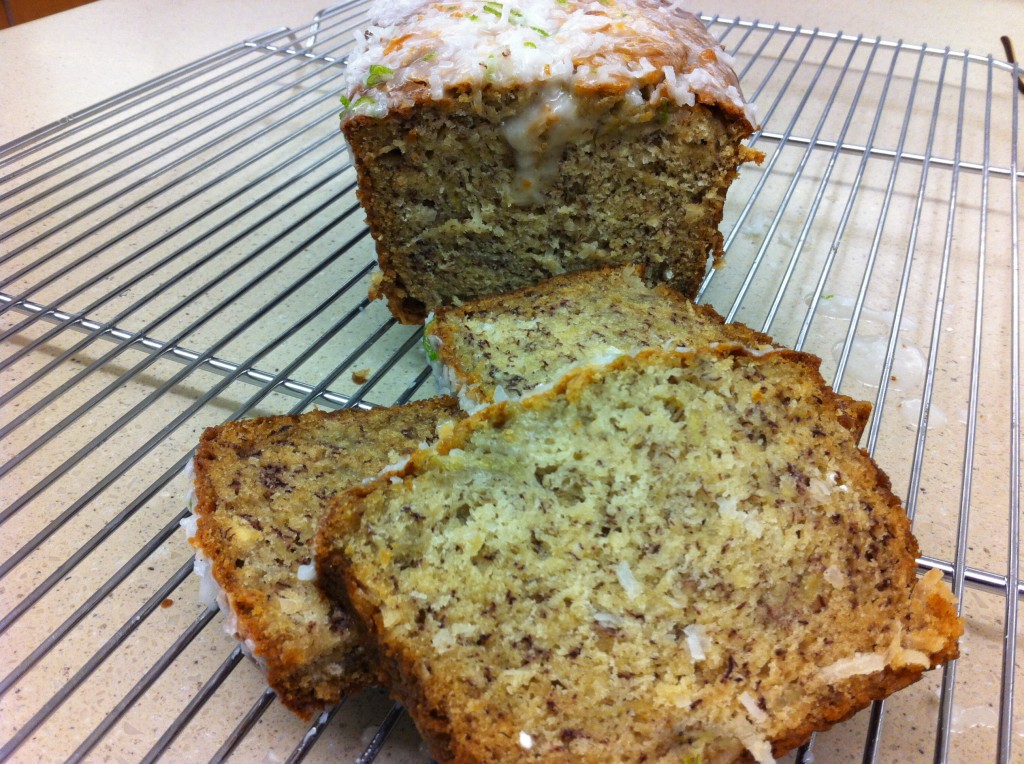
Now all you have to do is slice and eat (gobble) up the bread.

So the motto of today’s recipe with the holidays fast approaching, if you feel like you are going bananas, make banana bread!!

Here is the recipe!

Adapted from Cooking Light

Ingredients:

2 cups of all purpose flour

3/4 teaspoon baking soda

1/2 teaspoon salt

1 cup sugar

1/4 cup butter, softened

2 large eggs

1 1/2 cup mashed bananas (about 3 bananas)

1/4 cup plain low fat yogurt ( I used vanilla flavored and it worked out great)

3 tablespoons vanilla

1/2 cup flaked sweetened coconut

Lime Glaze

1 tablespoon flaked sweetened coconut

1/2 cup powdered sugr

1 1/2 tablespoons fresh lime or lemon juice

zest from half of a lime

Directions:

Preheat oven to 350 degrees.

In a small bowl, combine the flour, baking powder and the salt. In a large bowl, with a mixer, cream together the softened butter and the sugar. Add the eggs one at a time. Add the mashed bananas, yogurt, and the vanilla. With the mixer set at low beat in the flour mixture until moist. Stir in the coconut. Spoon batter in a prepared 9 by 5 loaf pan. Sprinkle the top of the batter with coconut. Bake for one hour or until a wooden pick comes out clean. Let the bread cool for 10 minutes then take out of pan and cool slightly. Prepare the glaze but zesting a half of a lime, and mixing with the lime juice, coconut and powdered sugar. Pour the glaze over warm bread spreading evenly.

Next time you have some extra bananas, give this recipe a try. Before you know it, your loaf will be half gone just like mine!

Tonight I am going to eat banana bread…tomorrow I will worry about Thanksgiving!!!

Enjoy!

Becky
Caramel Apple Blondie Pie

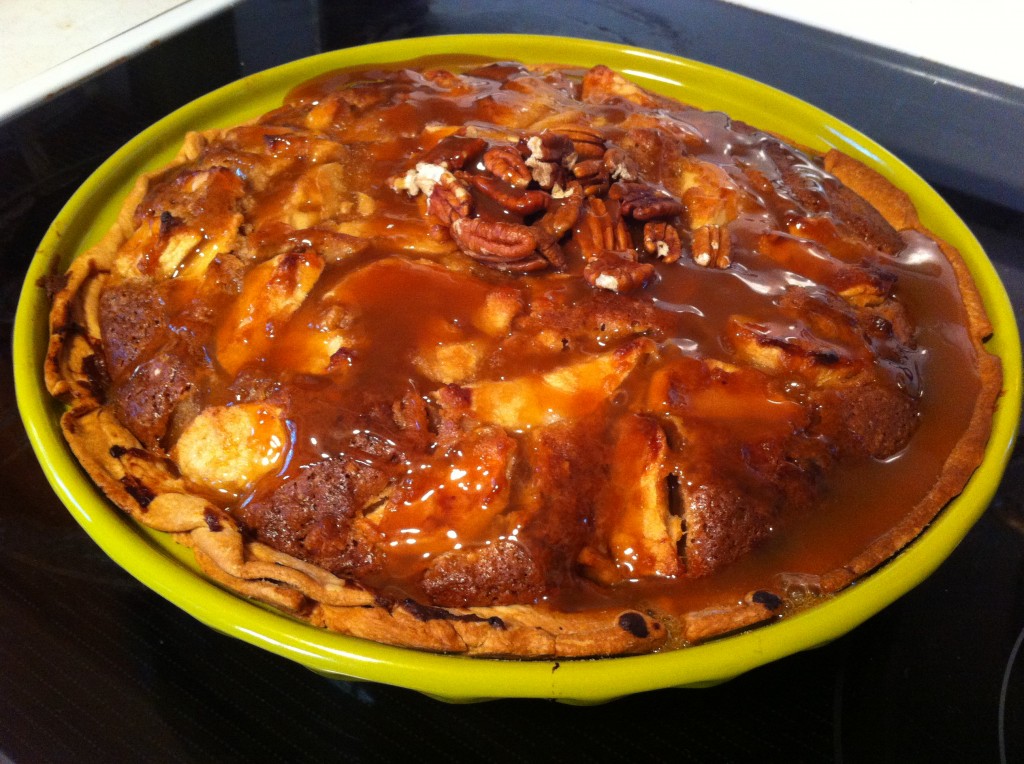
A few weeks back, I made this dessert for a ladies day at my church. It was my emergency back up dessert I had ready in case I could not save the apple bundt cake I had made the night before. You can read all about that adventure here.

I was able to take both my bundt cake and this apple blondie. Both desserts, to my delighted suprise, was snatched up pretty fast by those hungry ladies at church. Some ,even wanted the recipe. Woo hoo!!!

BUT……after making the bundt cake a couple of more times, I lost the recipe!

I looked and looked for that recipe, feeling pretty bad that I could not post and send the recipe to the ladies who wanted it.

Then….I was saved! I met my good friend Minerva for breakfast and she gave me a bag full of magazines and coupons and other fun stuff, but the greatest thing I found was the recipe in a magazine I based my recipe after.

Relief!

So…before I lose the recipe again and forget what I changed and added, I thought I better post this great take on putting a blondie, apples and caramel together and sticking it all in a pie crust. AND…with Thanksgiving right around the corner, this would be a perfect fall dessert to add to your dessert menu!

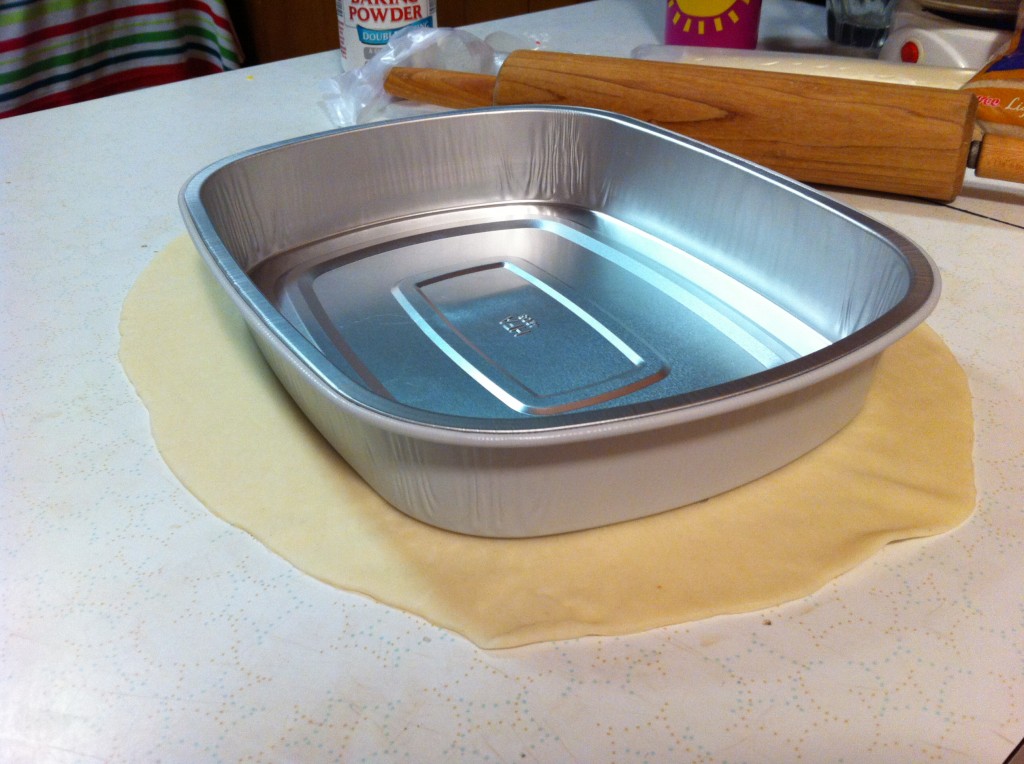
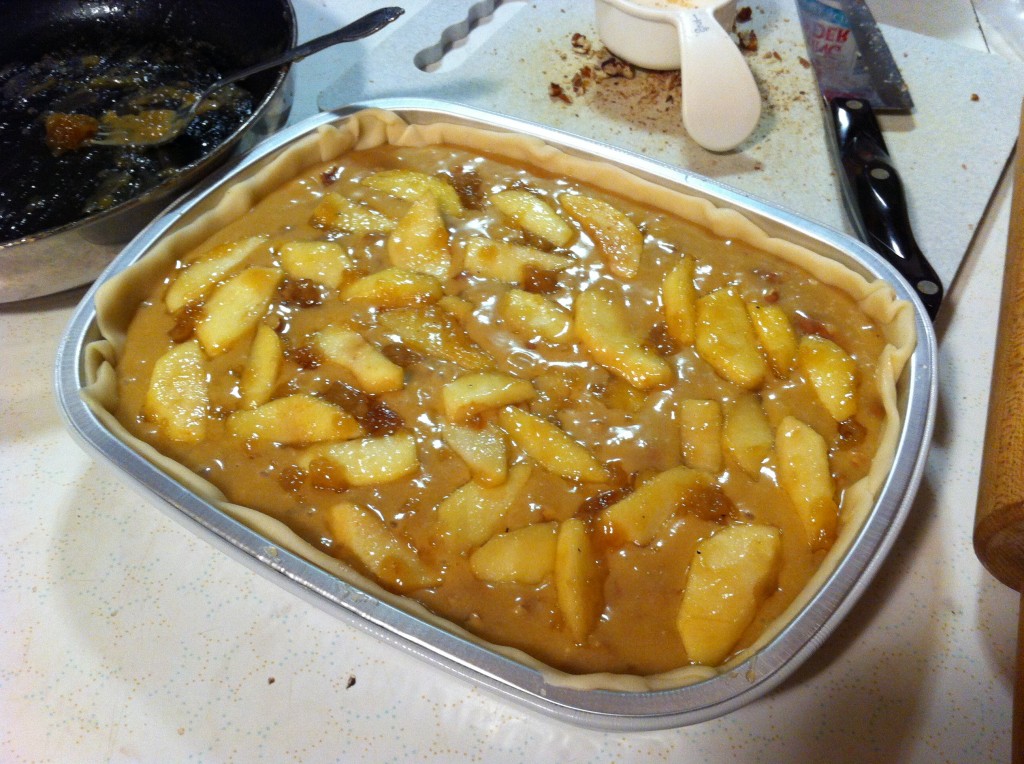
The pictures I took for this recipe was when I was making it for a dinner where I was sending two of these pies. I used oval disposable baking pans to bake this blondie in and it worked great.


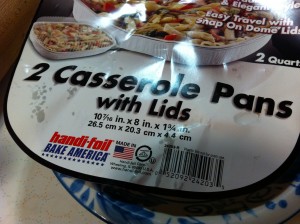
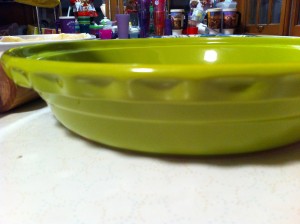
These are the two different dishes I baked this in. I used a 10 7/10 by 8 by 1 3/4 inch disposable pan and I used a deep dish 9 1/2 inch ceramic pie plate (baby college girl bought me for my birthday). Both of these sizes held this dessert nicely.  If you are using a smaller baking dish, you might not use all the batter. 

Here are your step by step directions:

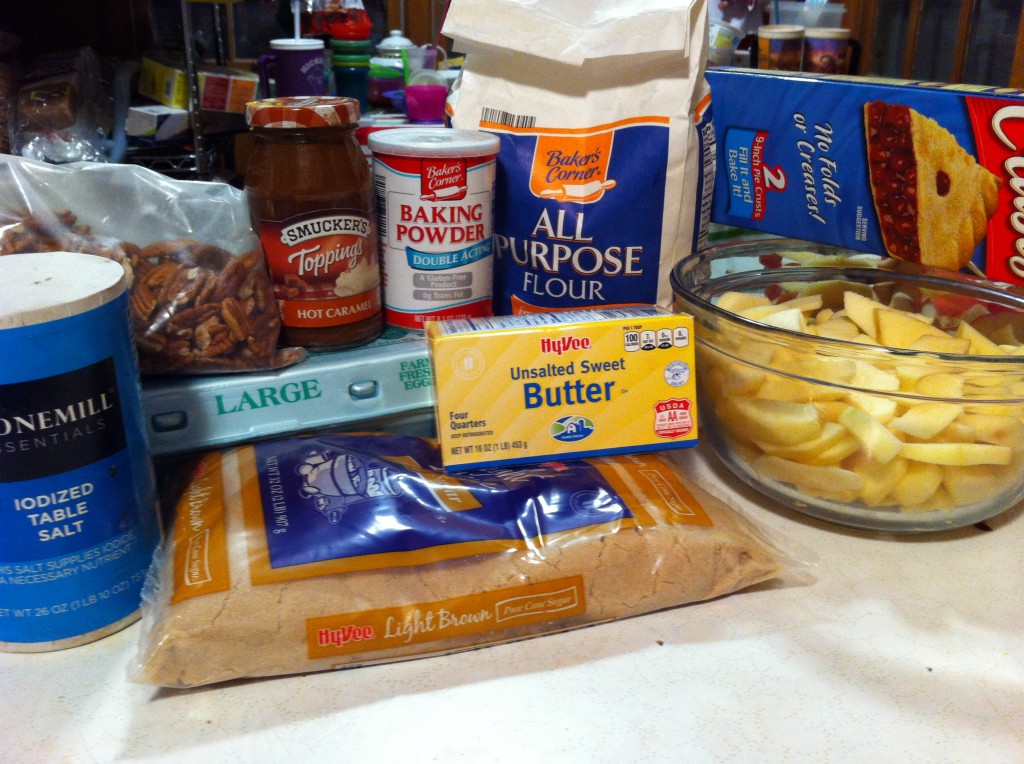
Here is what you will need to make this apple yummy dessert.

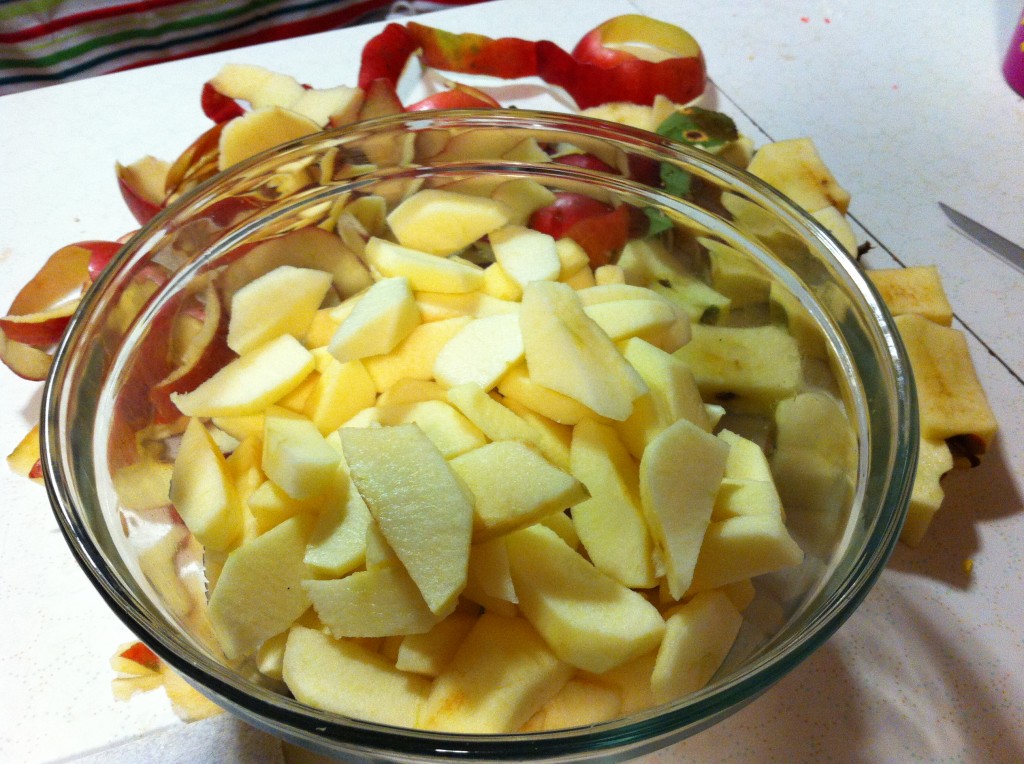
Peel and slice 6 apples.

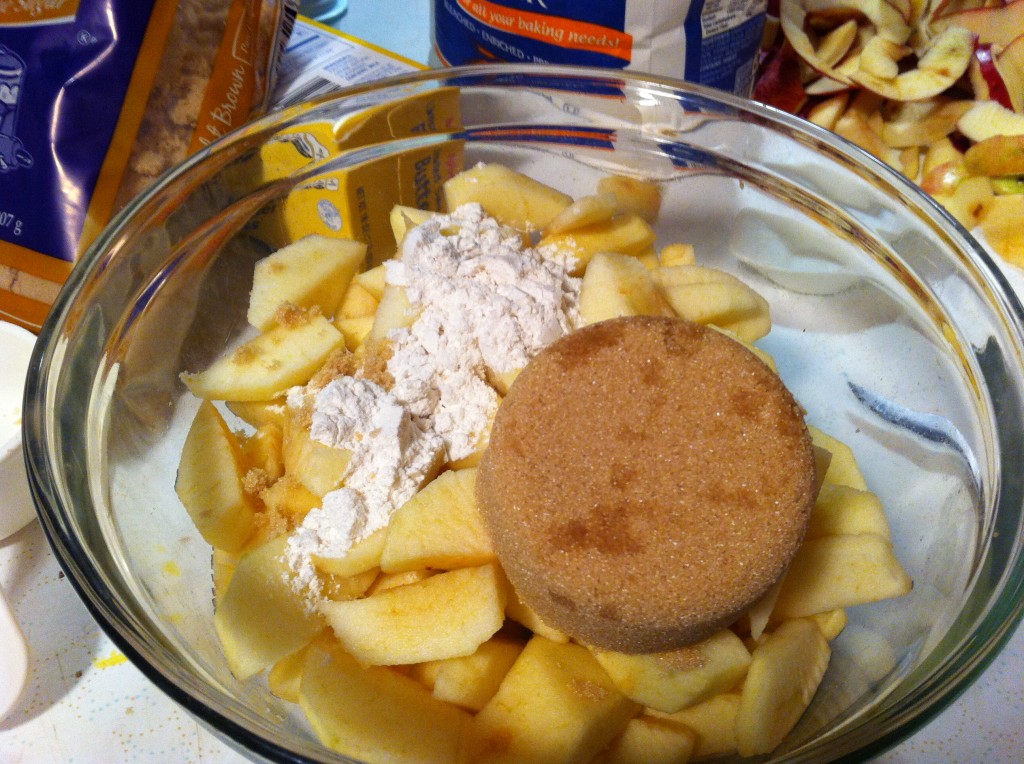
Coat the apples with flour and brown sugar. (check with the recipe to see the amounts, because some of the ingredients are divided between the apples and the blondie)

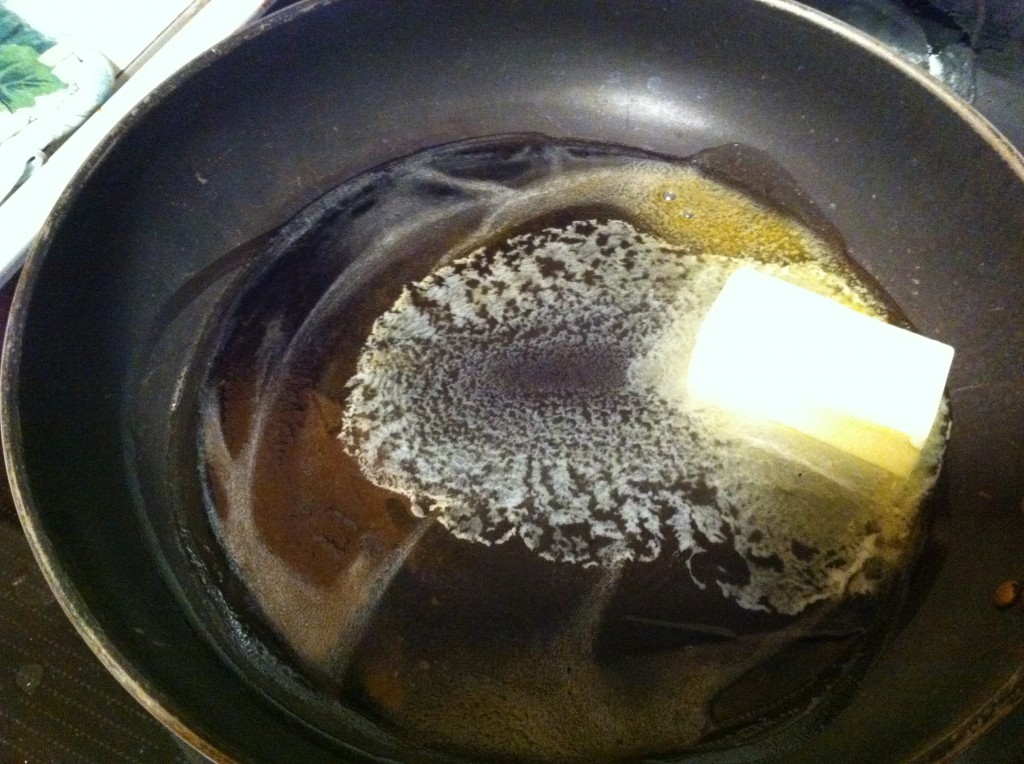
Melt butter in a pan. (check the butter amount in the recipe because the amount is divided between the apples and the blondie)

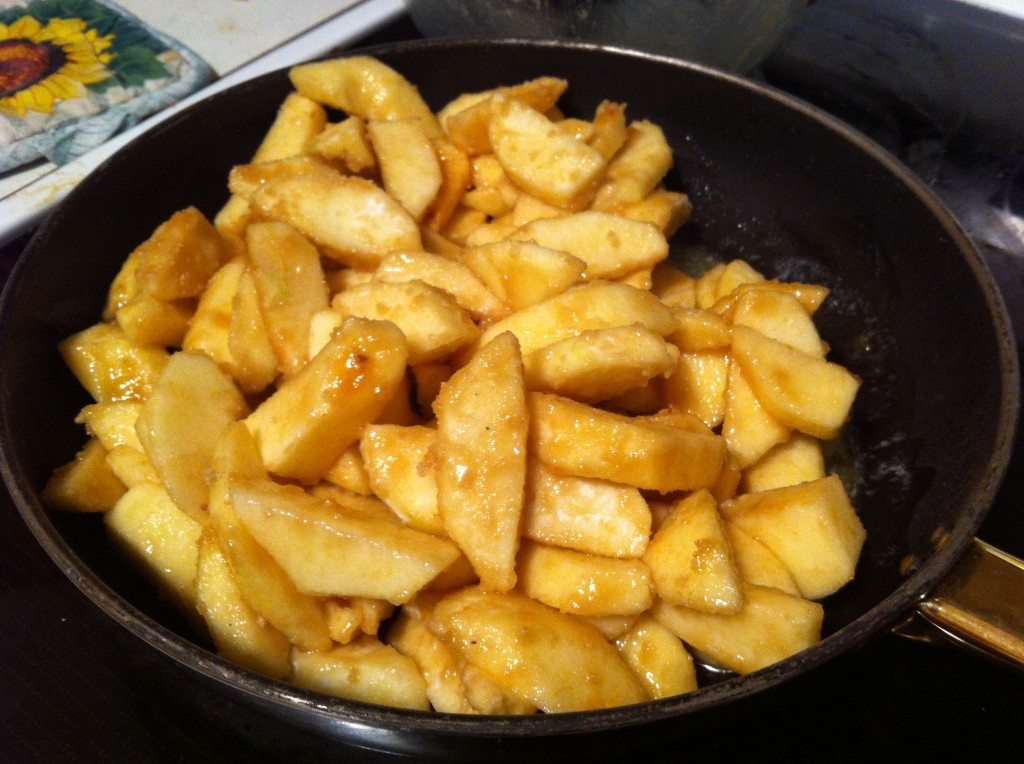
Saute’ the apples in butter until they are tender. Set aside to cool.


Melt the rest of the butter.

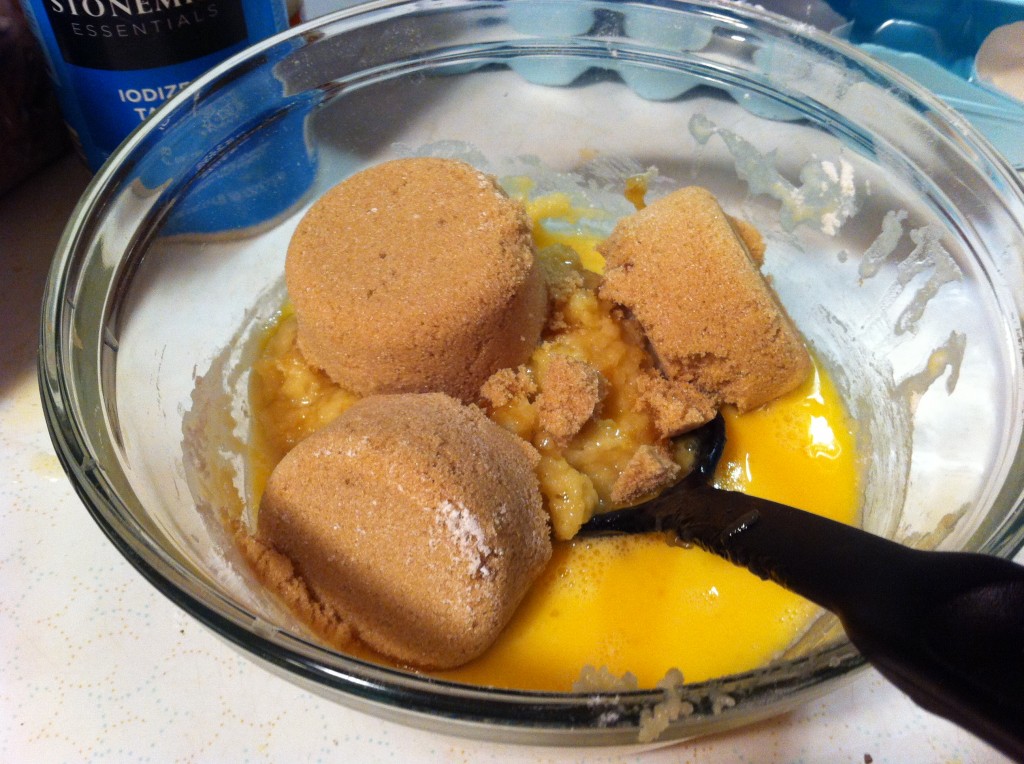
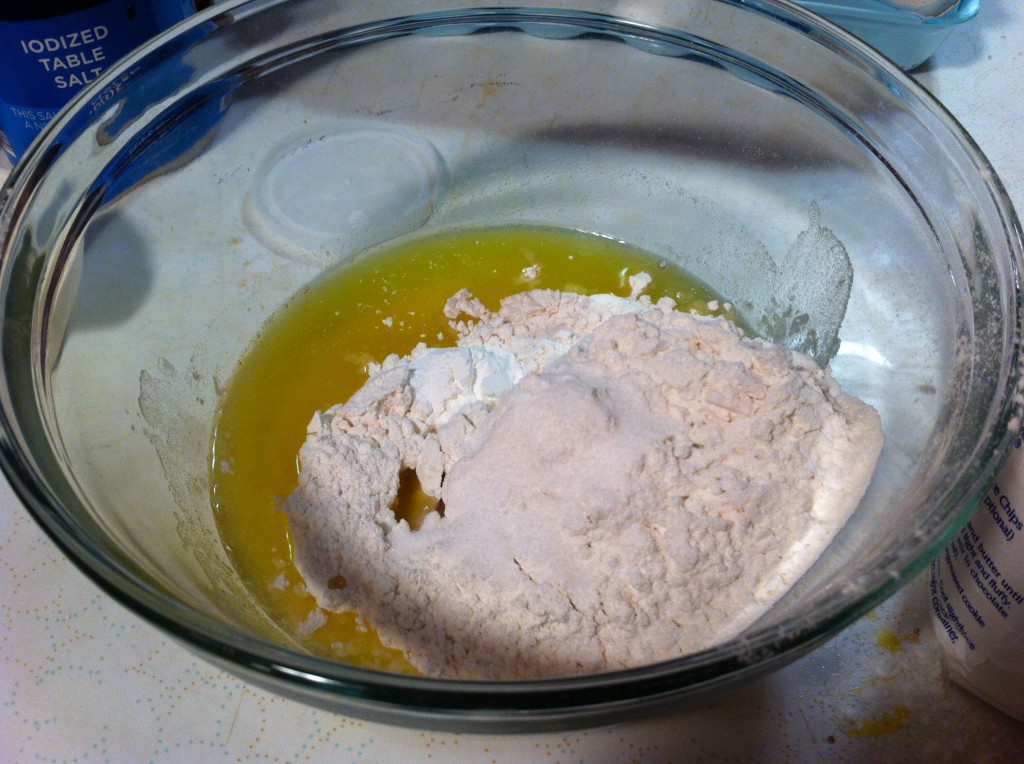
I was in a hurry and just added all the ingredients to the melted butter and it turned out fine. In actuality you are suppose to do this in steps like the recipe says to….sometimes I have a hard time following directions. oops… so in this picture I am adding my flour, baking powder and salt to the butter.

Add the rest of the brown sugar, beaten eggs and the vanilla to the butter and flour mixture.

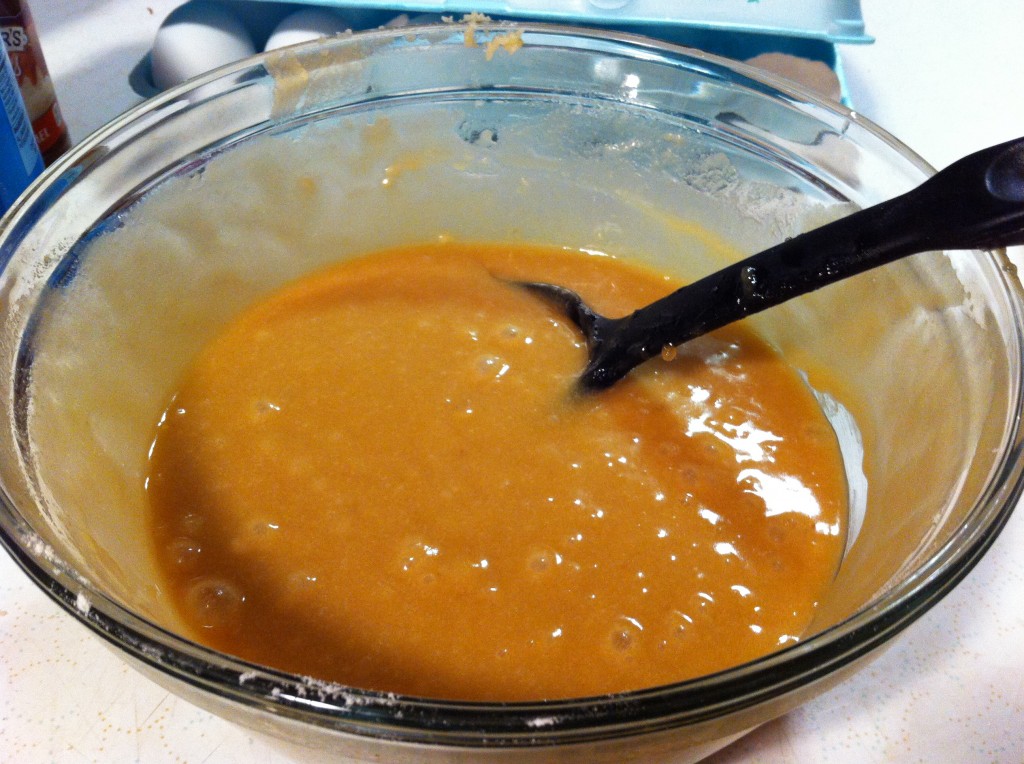
Mix all the ingredients together to make the blondie batter.

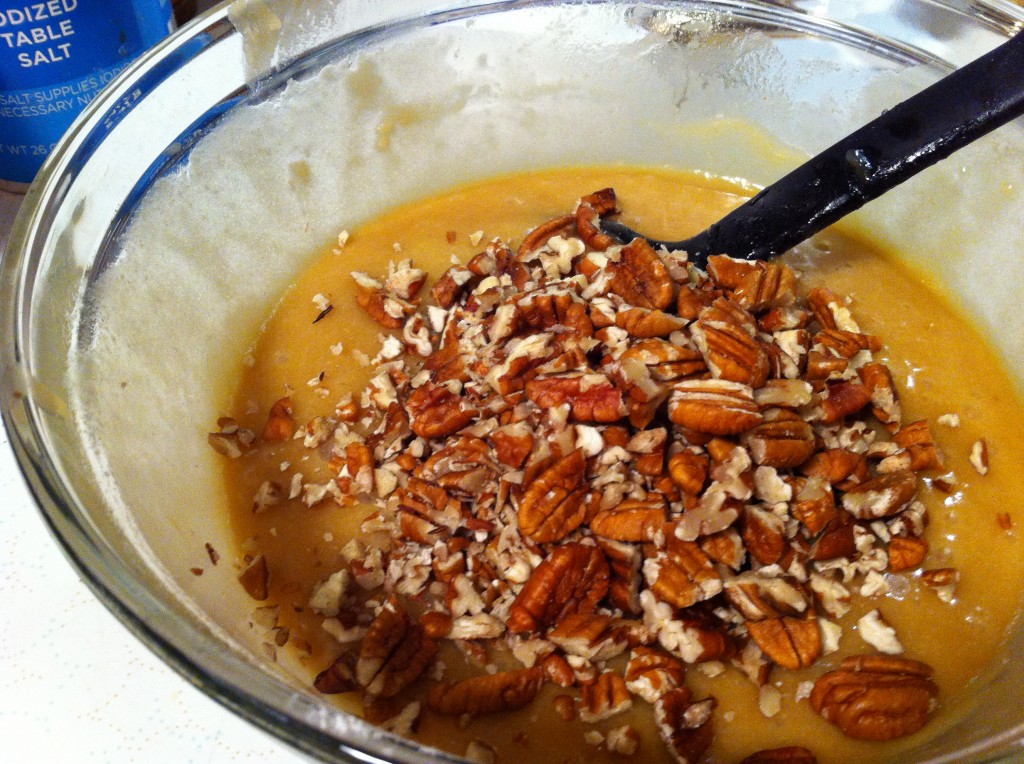
Stir in the chopped pecans. I save a few pecans to decorate the top after it was baked.

I used store bought pie crust and used a rolling pin to roll the dough into a shape that would fit the disposable baking dish I was using.

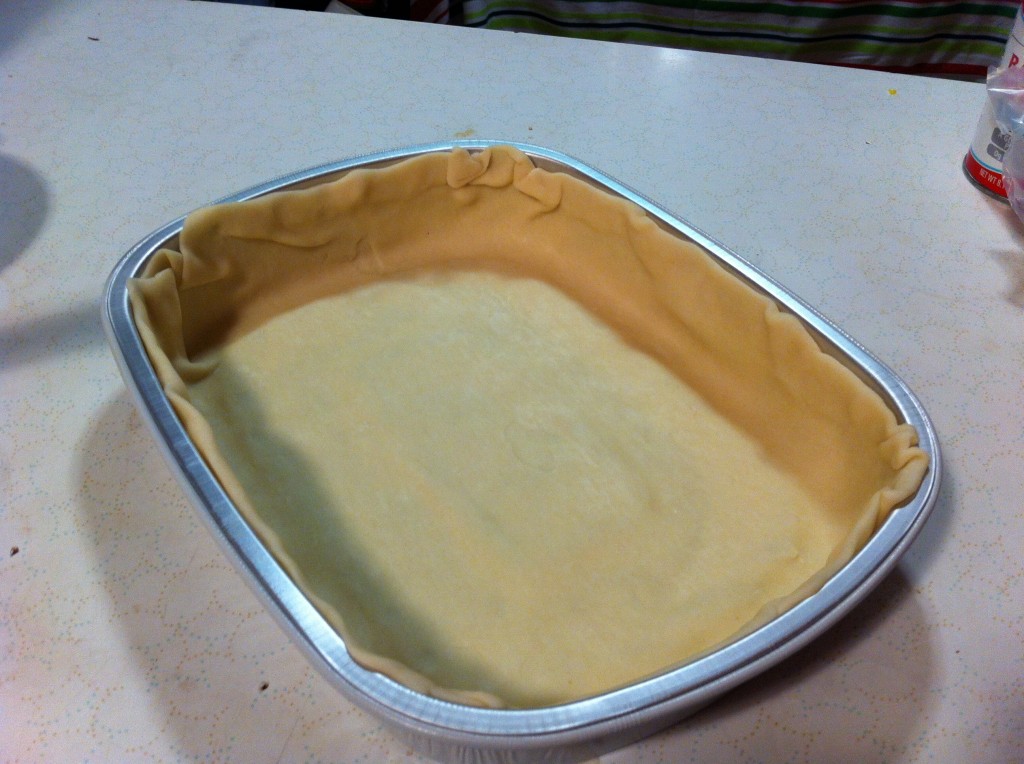
In what ever baking dish you use, cover the bottom and the sides with pie crust.

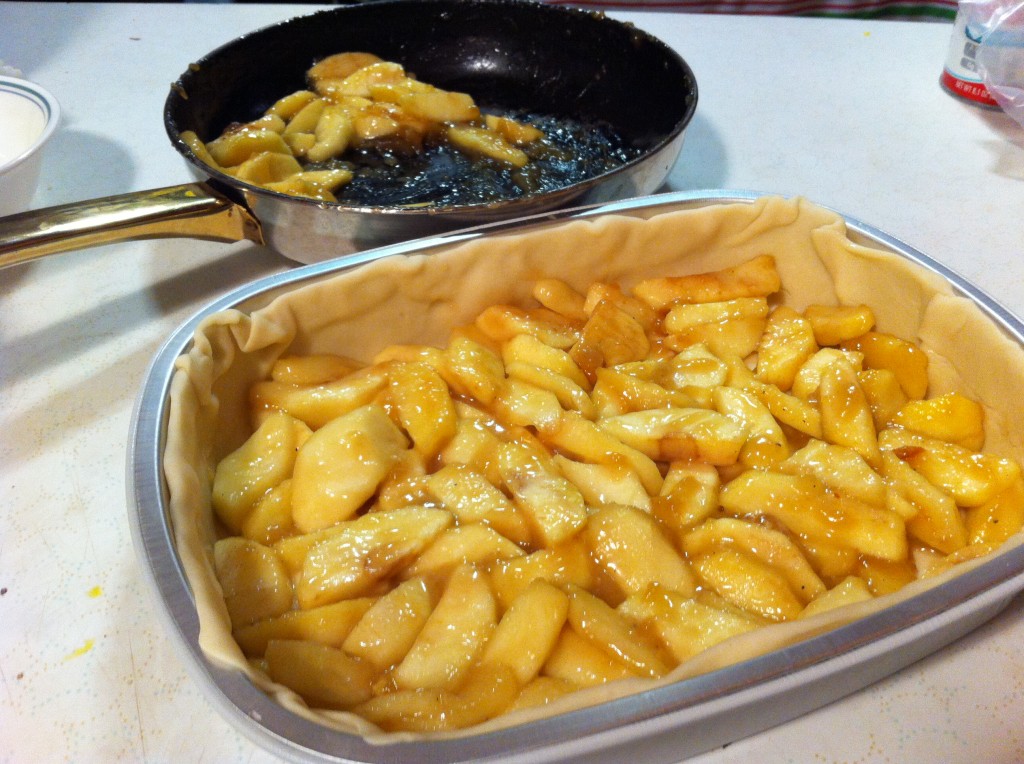
Press 2/3 of the sauted apples into the bottom on the pan, on top of the crust. Spread evenly.

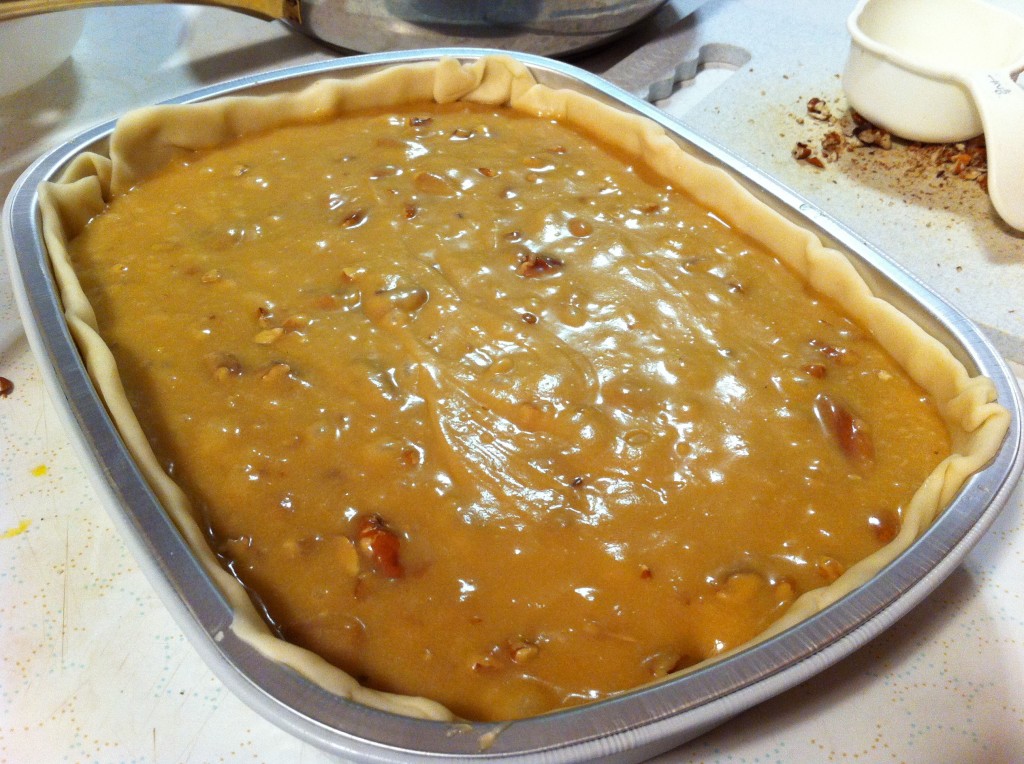
Pour the batter over the sauted apples.

Spread the rest of the sautéed apples over the top of the blondie batter.

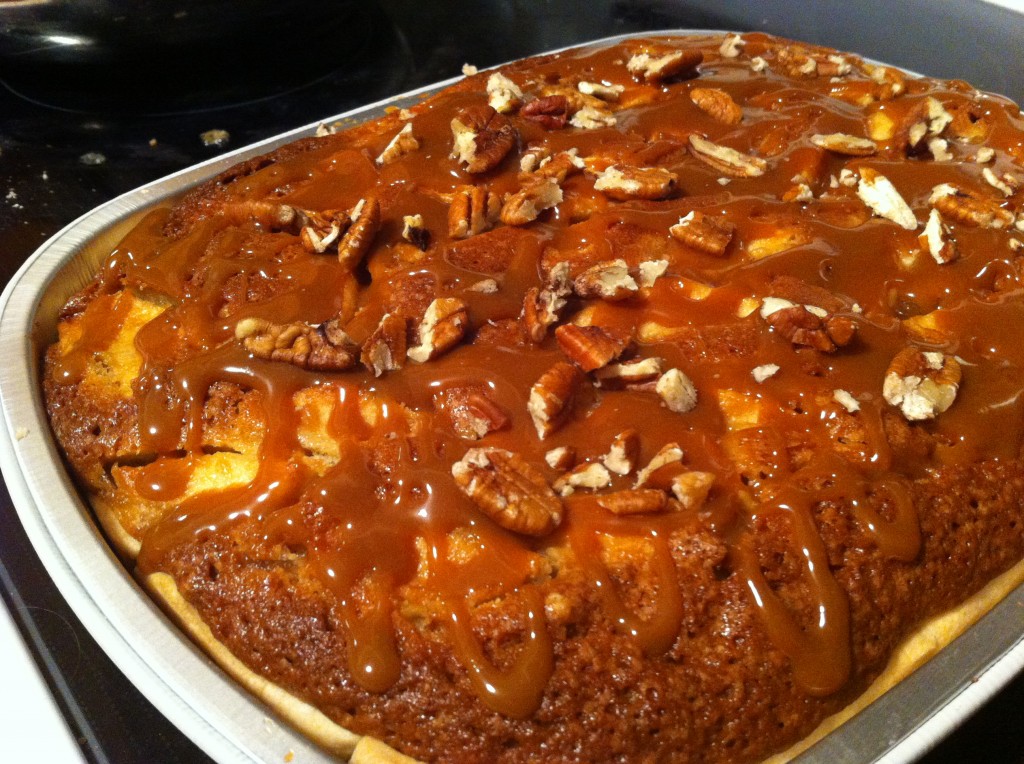
After it is baked, drizzle with caramel sauce and garnish with a few pecans.

The only thing I might have changed in this recipe is making sure I was using large apples or more small ones.

Caramel Apple Blondie Pie

Adapted from Southern Living Magazine

Ingredients:

6 large apples (Granny Smiths or any other firm apple)

2 tablespoons flour

2 cups brown sugar (divided)

1 cup butter (divided)

1 and 1/2 cup four

1 and 1/2 teaspoon baking powder

1/2 teaspoon salt

3 large eggs, slightly beaten

2 tablespoon vanilla

3/4 cup of coarsely chopped pecans (toasted)

1/2 package of refrigerated piecrust. (you only use on pie crust and not two)

Caramel Ice Cream topping


Directions:

Peel and slice apples into 1/4 inch think slices. In a large bowl toss the apple slices with 2 tablespoons of flour and 1/2 cup of brown sugar. Melt 1/4 cup of butter in a large skillet and saute for 15 minutes or until the apples are tender. Remove from heat and cool.

Preheat your oven to 350.

Melt the remaining 3/4 cup butter. In  a large bowl, stir together 1 1/2 cups of four with the baking powder and salt. Add in the eggs and vanilla, melted butter and the remaining 1 1/2 cups brown sugar. Stir until blended. Add the pecans and stir until all the ingredients are blended together. Fit a pie crust in a large 9 to 10 in pie pan. I used a large 9 1/2 inch pie plate. I just used a rolling pin and rolled the pie crust to make the crust big enough to fit.

Spoon 2/3 of the sauted apples over the bottom of the piecrust. Spread and press the apples evenly over the pie crust. Spoon the batter over the apples. Top the batter with the remaining apples.

Bake in the oven for 70 minutes or until the center comes out clean with a wooden pick. Cool completely. Drizzle the cooled pie with 1/3 of caramel ice cream topping and top with chopped pecans.

This is a perfect fall or holiday dessert. I love the mixture of the blondie with the sauted apples and we can’t forget that caramel topping. It travel greats too, if you need to take a dessert for a dinner away from home.

Enjoy!

Becky
 

Pumpkin Puree Three Ways

Remember when I posted this picture a week or two ago?

Well….my kiddos at school took the 50 pie pumpkins and made fresh pumpkin puree. With the fresh puree, they made pumpkin pie filling and baked pumpkins pies in their “from scratch” pie crust.

My kiddos did Gooooood!

One of my goals for my classes this year is to show the kiddos that they do not have to rely on using a can to make food. I just felt that my kids needed to experience how to take a pumpkin and turn it into a pie without opening a can (except for the can of Crisco for the crust).

On day one the students, peeled, cleaned, cubed and boiled pumpkins. Then they took the boiled pumpkin and put it into blender and pureed it into pumpkin puree. They also roasted the pumpkin seeds and while the seeds were roasting they made their pie crust in a food processor.

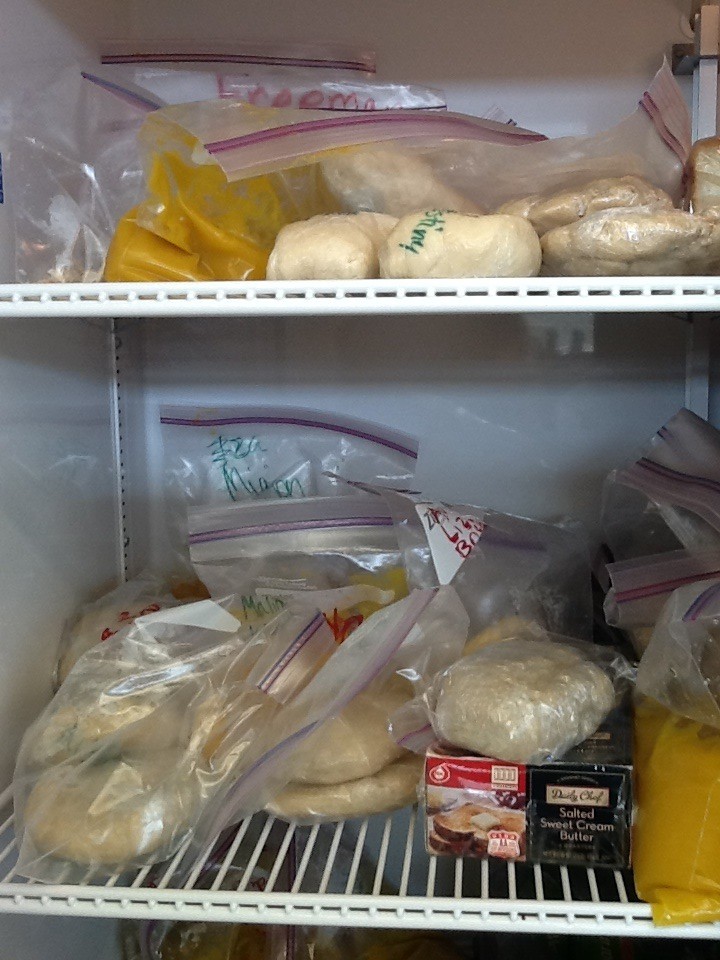
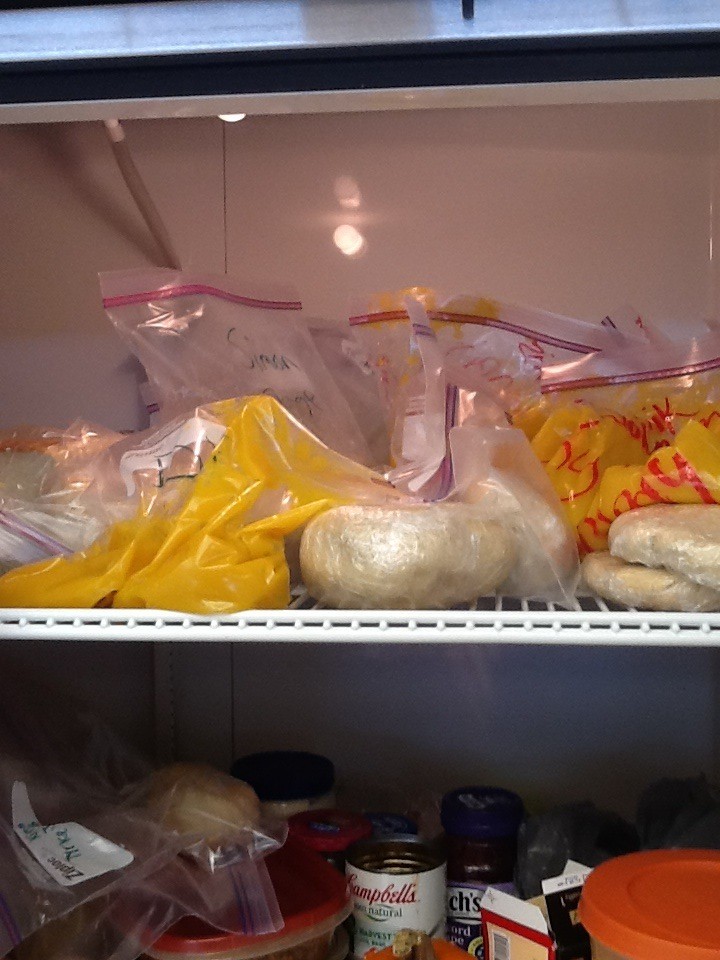
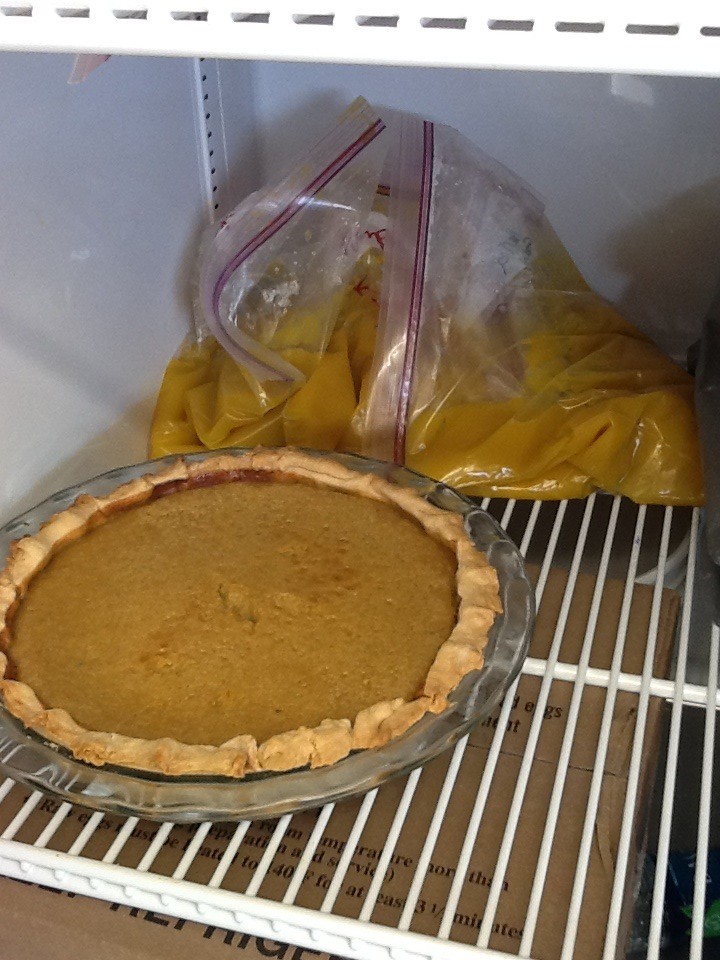
You can see the big refrigerator at school is full of pie crust and pumpkin puree.

Here is just one of the 24 pies that we made in two days.

The only complaints I had was that I forgot to buy the whipped cream…..

Oh well….

Anywho, I thought I would show you three ways you can take a pumpkin and make it into puree.

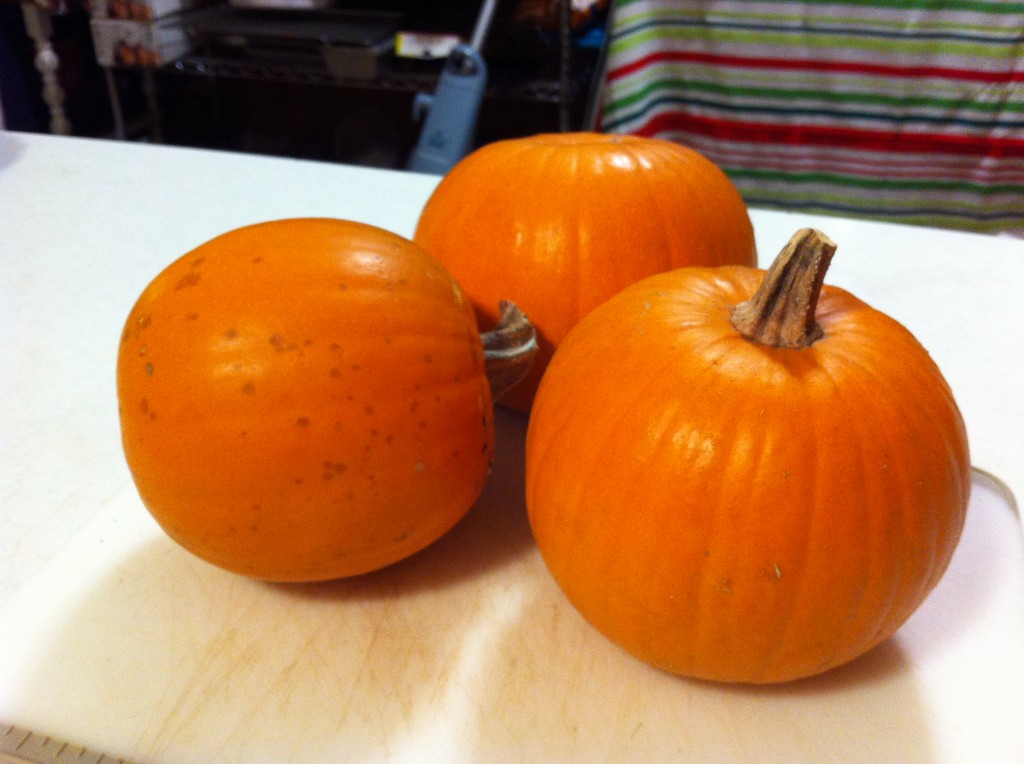
These are the three pie pumpkins I started with. Pie pumpkins are raised to be used in pumpkin pies. I was told that they were sweeter than the bigger pumpkins. You can use bigger pumpkins to make pumpkin puree also.


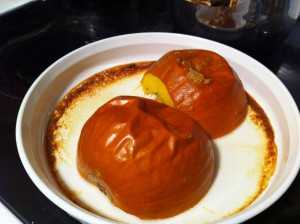
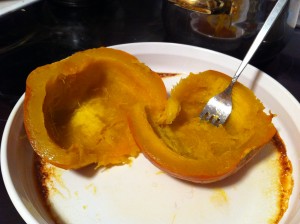
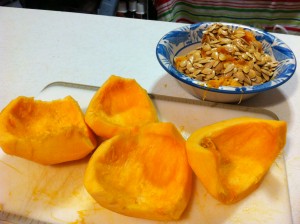
One way to make pumpkin puree is to roast the pumpkins. First you cut the top off of the pumpkin. Then cut the pumpkin in half and clean out all of the insides (save the seeds to roast later). Place the pumpkin face down in a baking dish and add about 1/2 cup of water. Roast in a 350 degree oven until the pumpkin is fork tender.


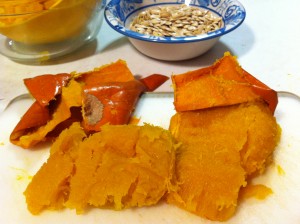
See how the fork goes right in to the pumpkin.  I then took the pumpkin halves and put them on a cutting board. The peeling of the pumpkin just pulled away leaving me mounds of roasted pumpkins.

Another way you can make pumpkin puree is to either boil or steam them.


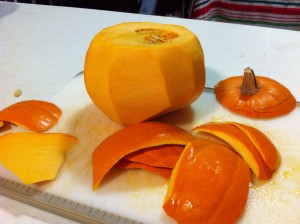
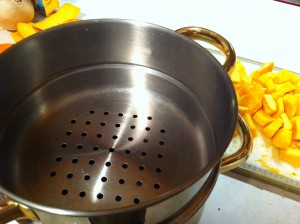
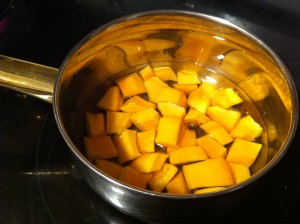
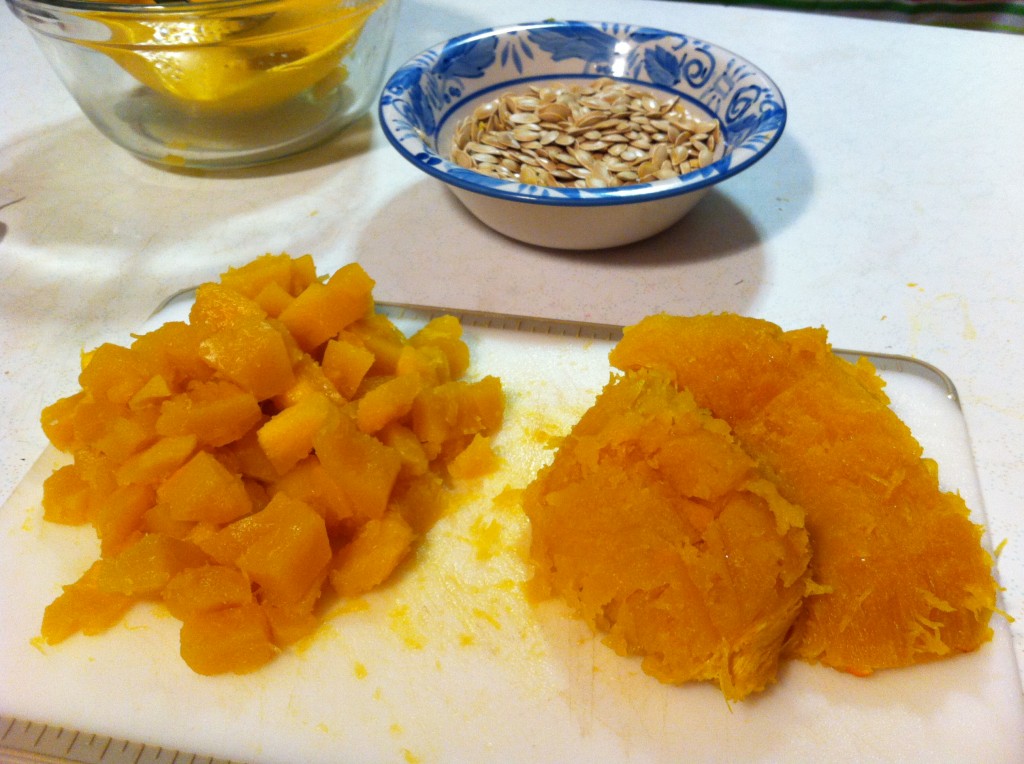
Here is how I steamed the pumpkin. I first peeled the pumpkin. I then quartered it and scraped out the seeds. After that I cubed the pumpkin (you can see them on the cutting board behind my steamer pan). I used my steamer pan, which is like a double boiler, the only difference is that it has holes in the bottom to let the steam rise up from the boiling water.


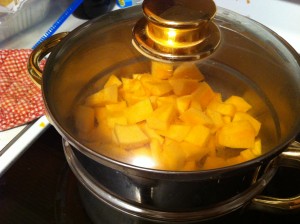
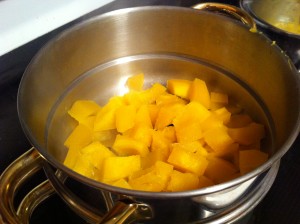
I put the steamer on the range and started to boil the water, letting the steam cook the pumpkin till it is tender. (the tender pumpkin is pictured on the right)


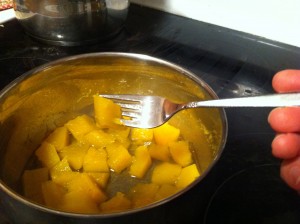
The last way I made the pumpkin puree was by simmer the cubed pumpkin. You simmer the pumpkin until it is fork tender, then drain off the water.


Here is the pumpkin!  I had to put the steamed and boiled pumpkin together, cause I ran out of room on my little cutting board. (I need to ask for a new one from Santa), The steamed and boiled pumpkin is on the left and the roasted pumpkin is on the right. After this step, you put the cooked pumpkin in a blender or food processor to puree.

The roasted pumpkin was  more dense than the boiled or steamed pumpkin, but took longer to cook. The boiled and steamed pumpkin took more time to cook, but longer to peel and cube.

At school, we boiled ort pumpkin because overall it took less time and the pumpkin puree turned out great.

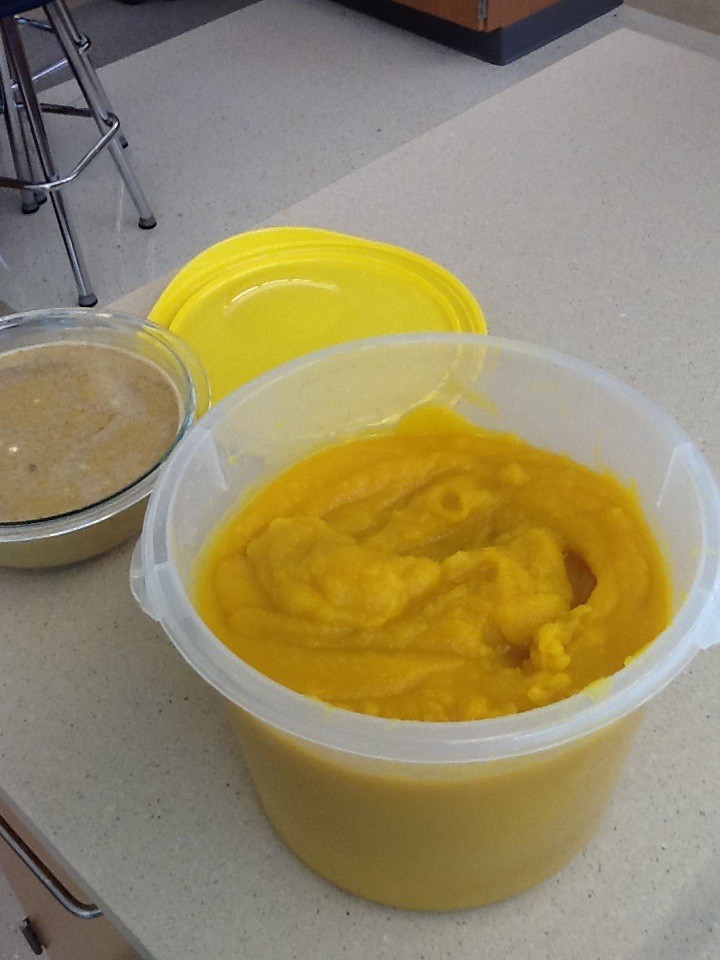
Here is a picture of the fresh pumpkin puree. To the left is some of the left over pumpkin pie filling we made from the pumpkin puree.

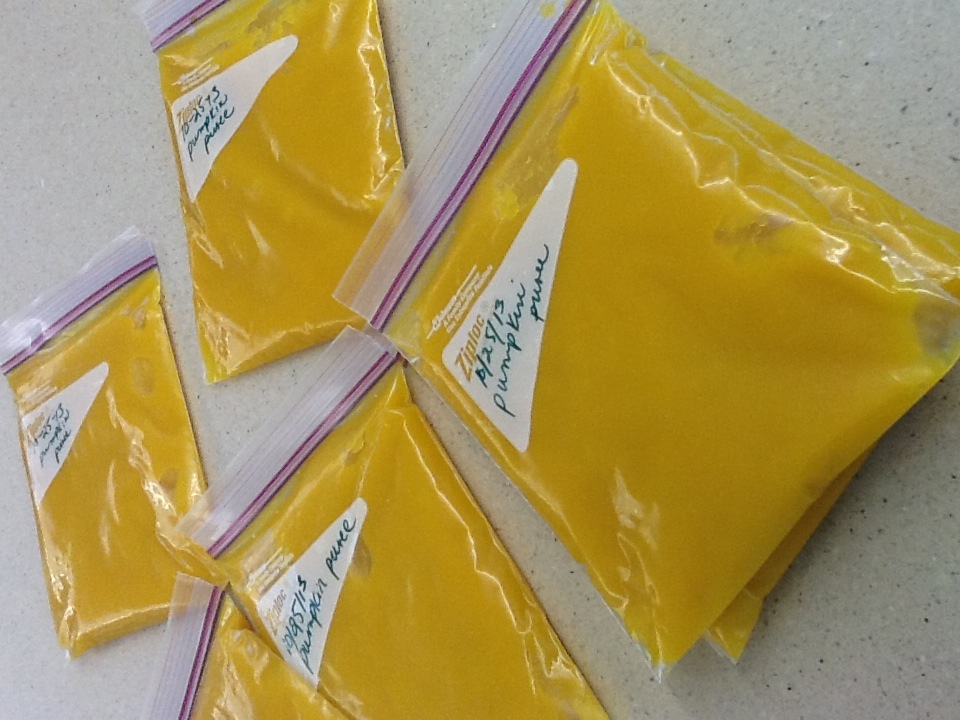
All the left over pumpkin puree, I put in freezer bags and put in the freezer. I measured out 2 cups of pumpkin puree for each bag, as that is what most recipes using pumpkin call for.

Anywho, if  you decide to do, “the crazy” and buy 50 pie pumpkins, I have given you three ways to easily prepare pumpkin puree, fresh from a pumpkin.

Don’t forget you can roast all those pumpkin seeds too.

Here is a link to a post on how to roast pumpkin seeds.

I am all “pumpkined” out!

Have a GREAT DAY!

Becky
 

The Strawberry Plug Project, part three.

I apologize for being “off line” so to speak for over a week.

Whew, it has been a busy week for me at school and at home. My Dad left yester day for his Honor Flight for veterans and I had grades due last week….ect ect….you know how it is, life just happens.

Anywho, I wanted to tell you about part three of the big strawberry plug project.

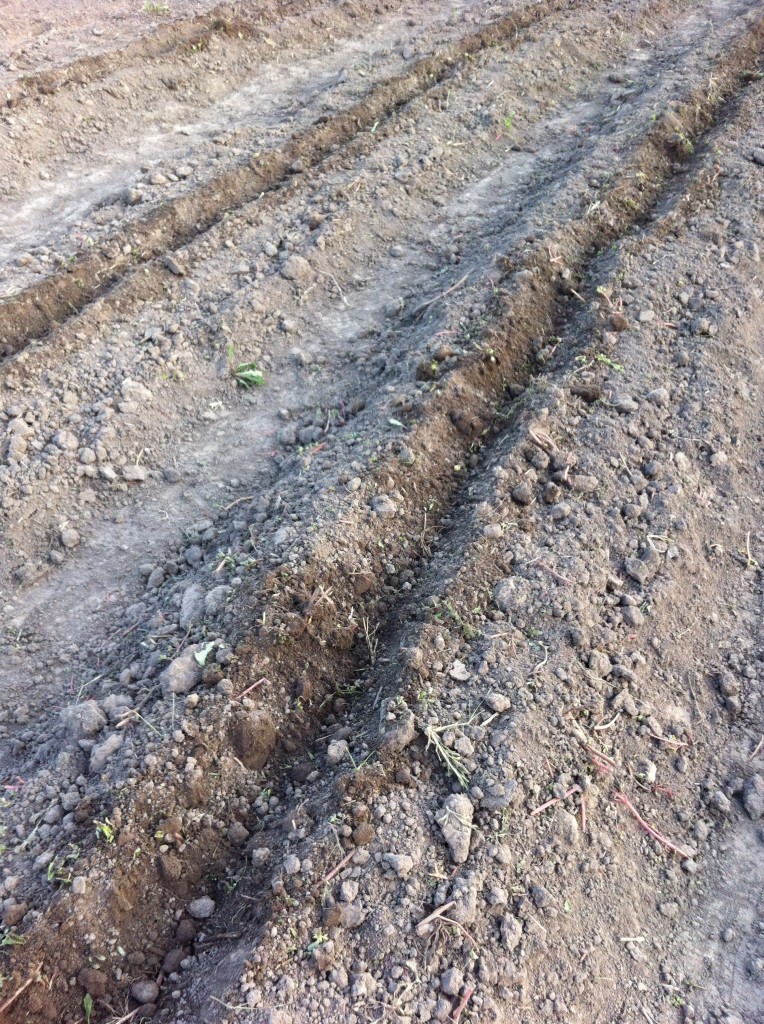
If you have been following along, you know that we (I) had this great (crazy) idea to plant strawberry plugs in October. In my earlier two post, I explain how Company and I made three 60 foot long rows by digging the sides down.

We leveled off each row with a piece of wood.

Next, we added drip lines on top and buried them about 3 inches under the ground.

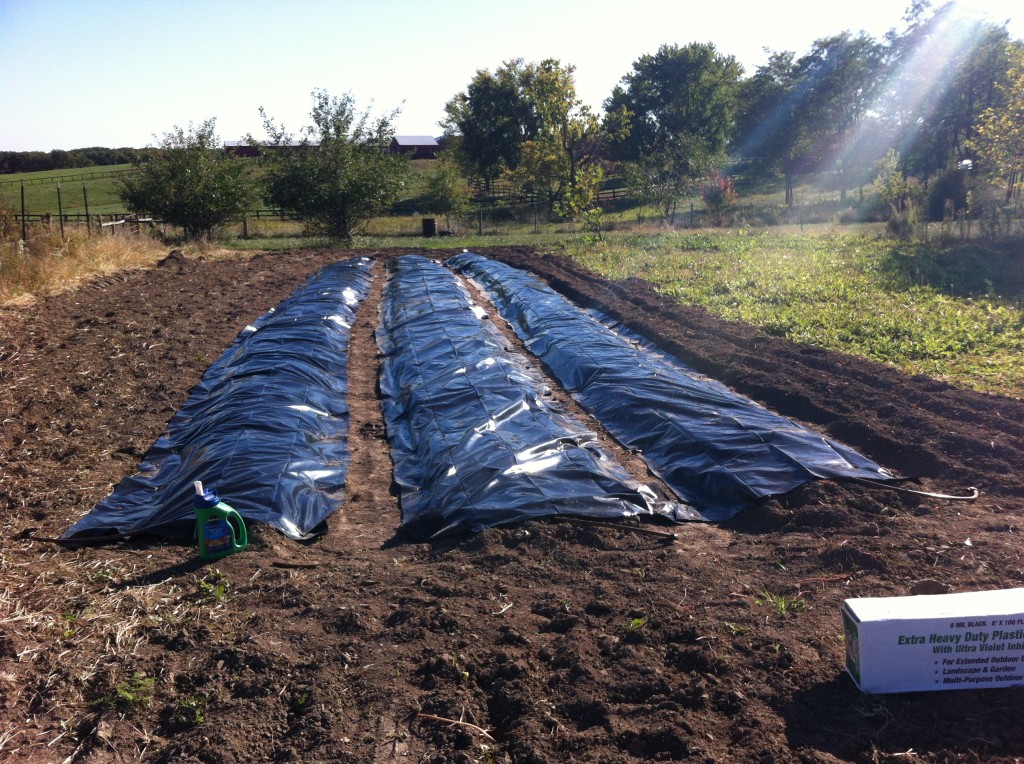
Then we covered each row with a heavy duty plastic.

Now, the fun begins.

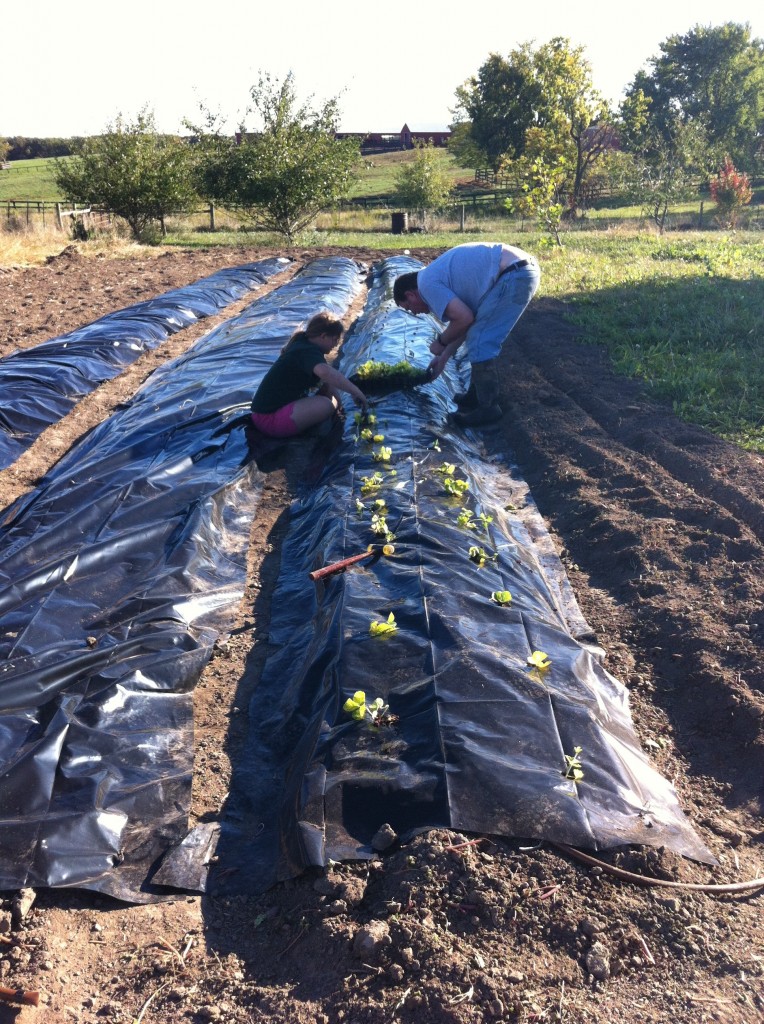
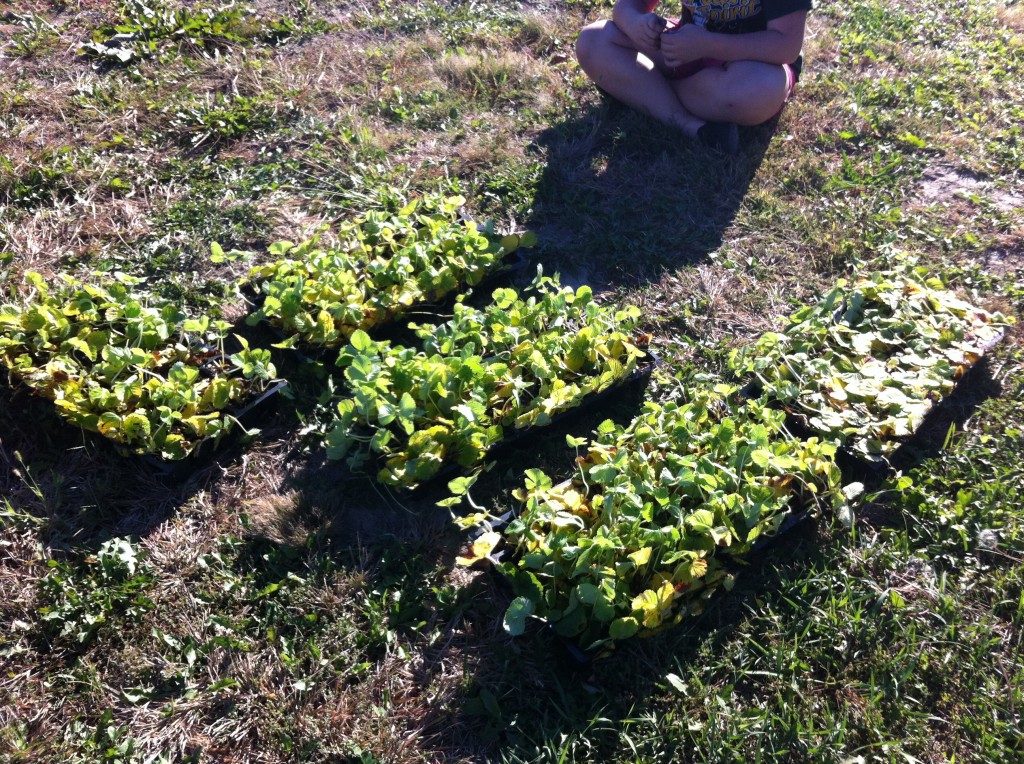
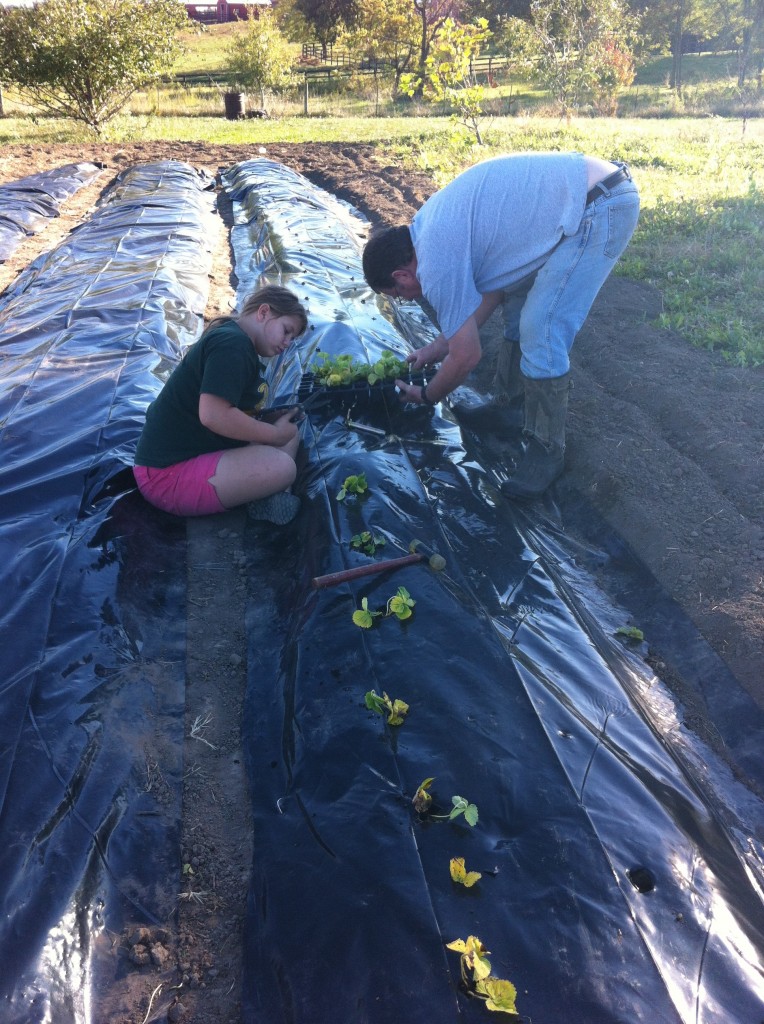
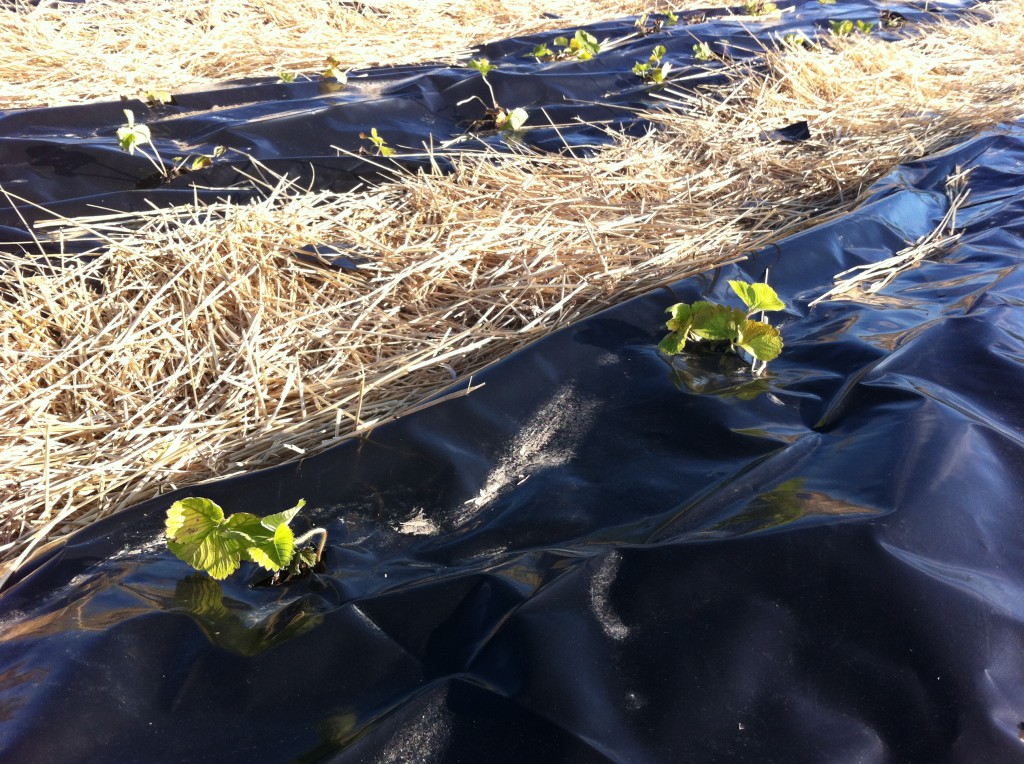
Here is the 250 strawberry plugs that have to be planted. To plant this little boogers, we have to cut a hole in the plastic and dig a hole and then plop the plants in and plant them.

Sounds easy right?

Well….it was a lot easier when we got oldest grand daughter in to help.

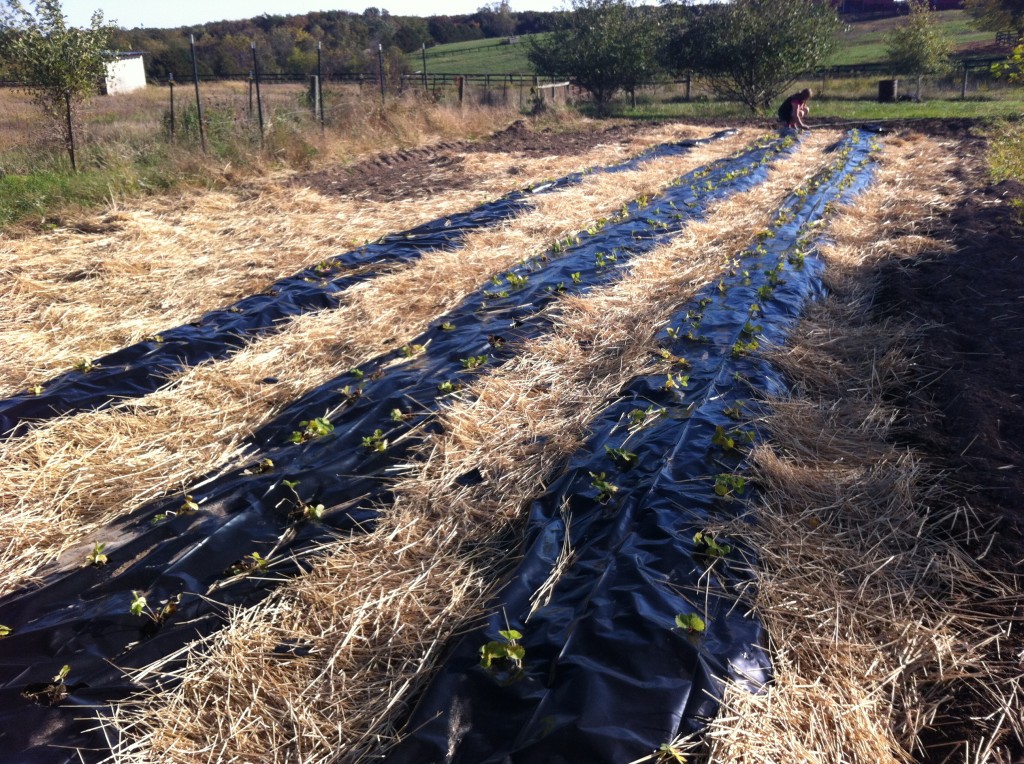
After, we (finally) got them all planted, we put straw down between the rows.

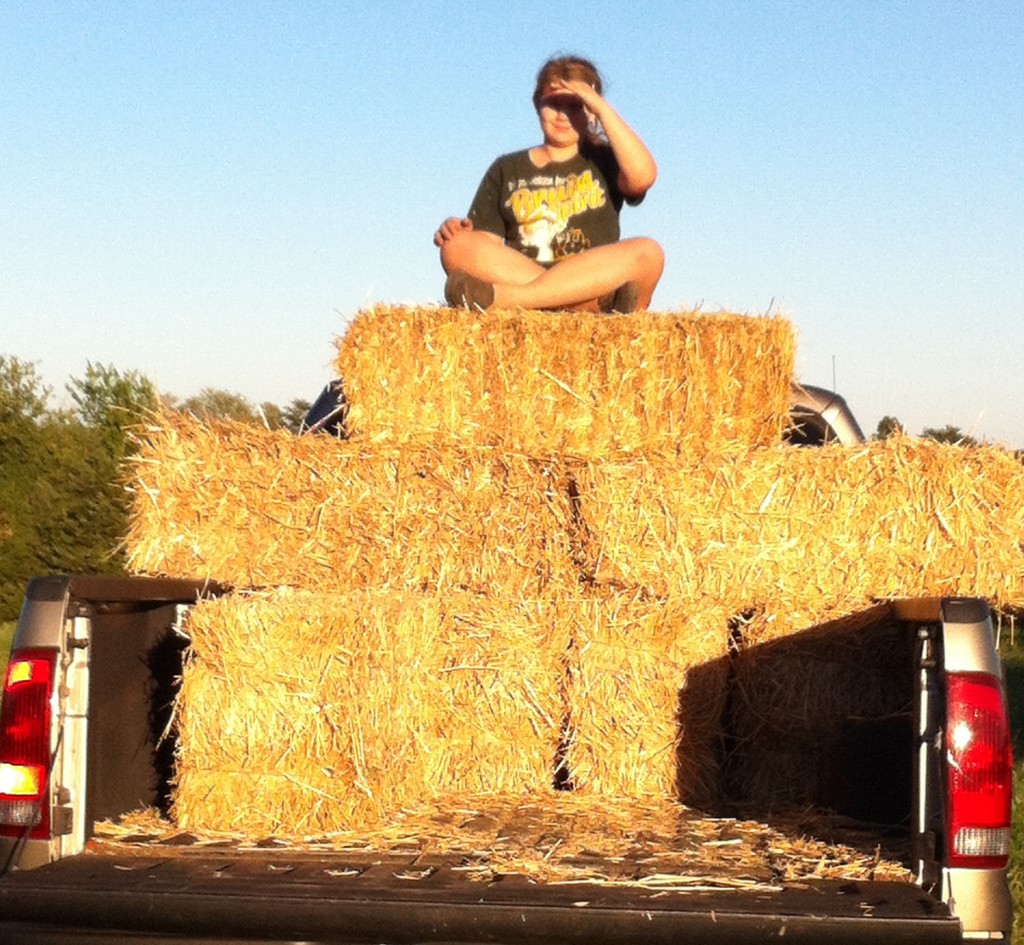
Oldest grand daughter loved the mountain of straw.

Part three is all done. Company has covered the plugs with sheets on two of the nights it had a chance of frost. The goal is to let the plugs get in two months of root growth, then let them go to sleep  for the winter. When it starts getting around 20 degrees or below we will do “Part Four.” Part four is covering the plugs with hoops of plastic to keep the snow and freezing temps from killing the crowns off during the coldest months.

BUT, I can’t wait for, “Part Five!”

That is the part when we get to pick and eat the strawberries!!!

Keep you fingers crossed!

Becky


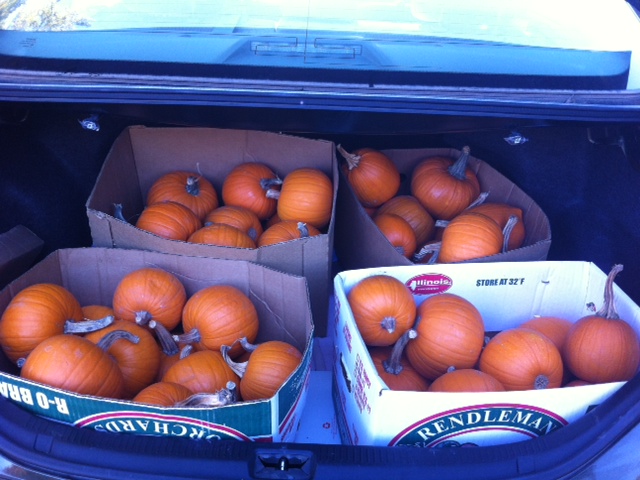
Pie Pumpkins in the Trunk

This is what 50 hand picked pie pumpkins look like in the truck of my car…..well Company’s car….Oldest daughter who does not cook is having car trouble and is driving my car. Hope she drives my car for a while, I kinda like this car better haha!

I am taking these pie pumpkins to school tomorrow to start a two day lab on making pumpkin pies from scratch using fresh pumpkins.

I will keep you updated if this all works out. If it doesn’t then I still will update you : ).

I might be knee deep in pumpkin puree before it is all over.

Good thing the custodians are great where I work!!!

Becky
“The Project, Part Two”

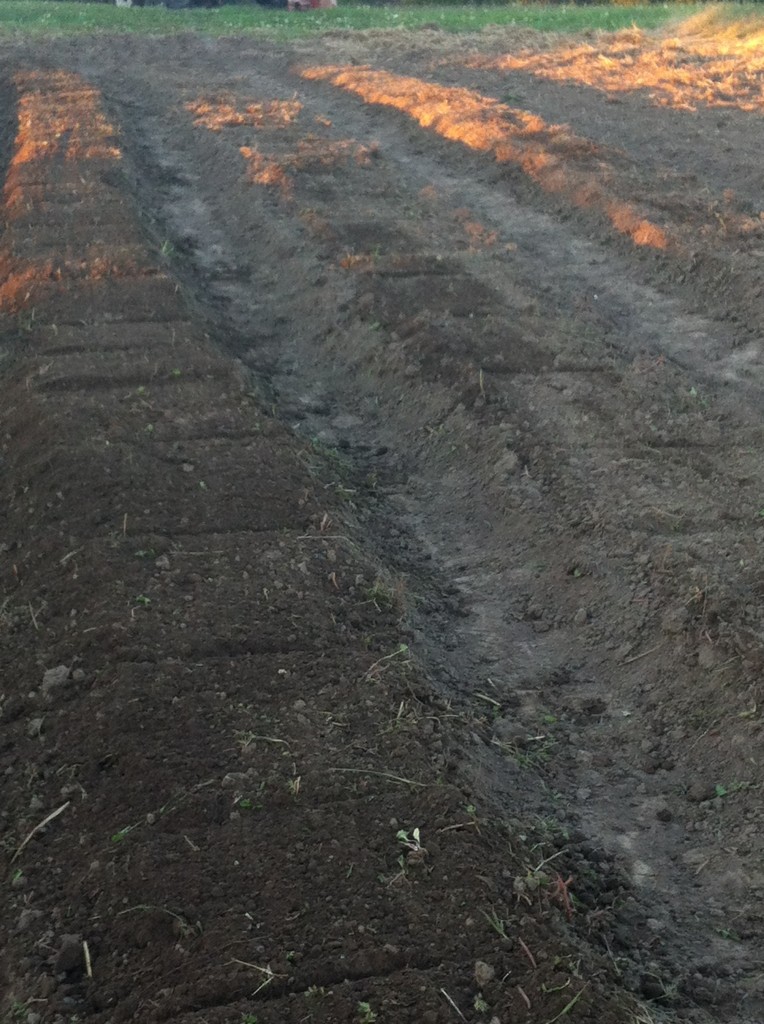
You eyes are not deceiving  you, we put a long groove in each of our future rows of strawberries.

Have we lost our minds?

At this point in the project, I thought maybe we had : ).

If  you read my last post, you know that the big project was starting a strawberry patch with a plastic mulch system. This works by, making a 2 foot wide mound of dirt and as long as you want to make your row. You cover the row with plastic, cause the plastic keeps the dirt warm and then you cut holes in the plastic and plant your strawberry plugs. When I did my research it did not sound too bad…..that is yet to be seen haha…

The one thing you have to think about is, that if you put plastic over the rows, you have to water the strawberry plugs somehow.

That is where drip lines come into play.

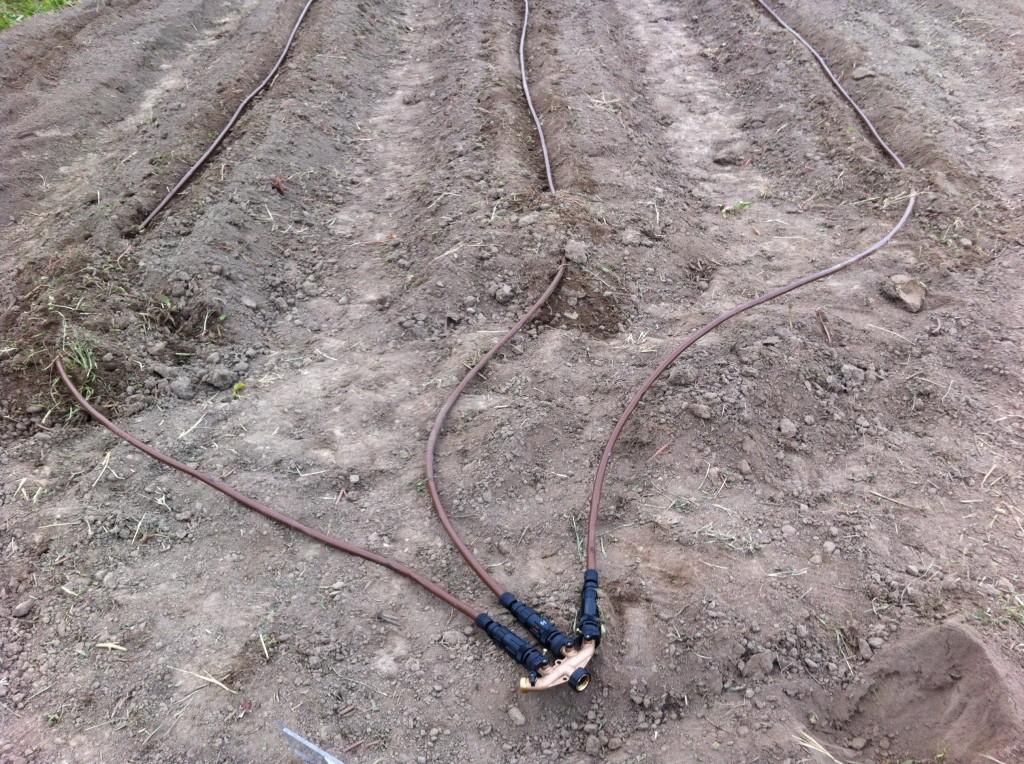
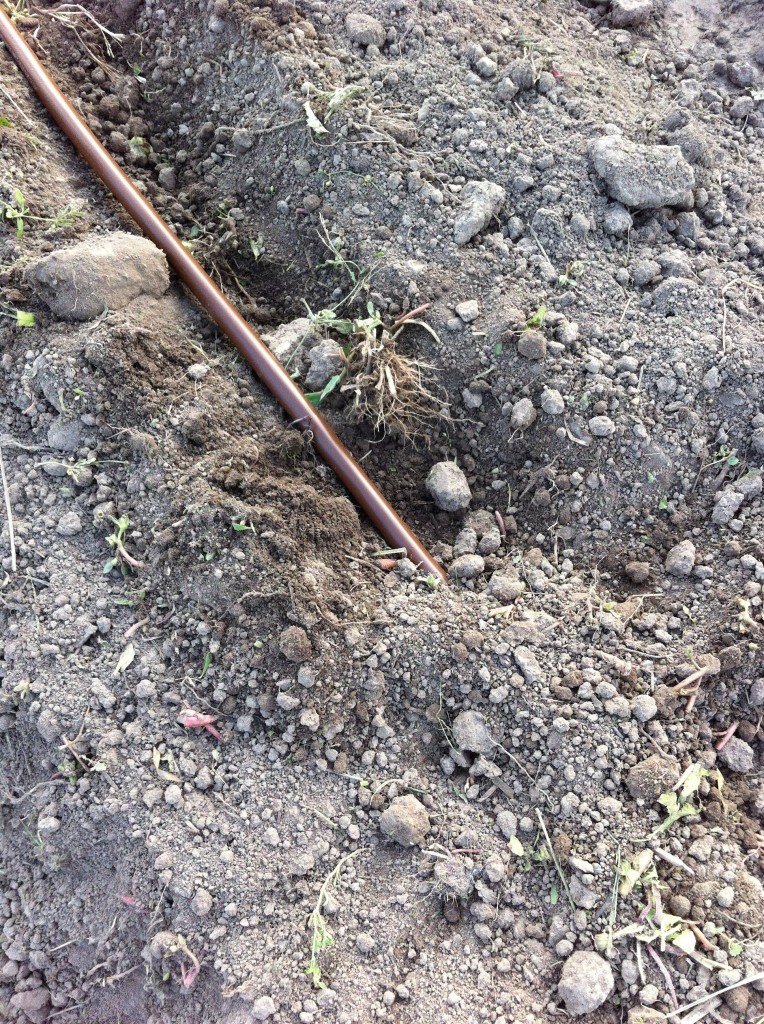
We installed a drip line that was 60 feet long and bury them a little below ground so we could water the strawberries.

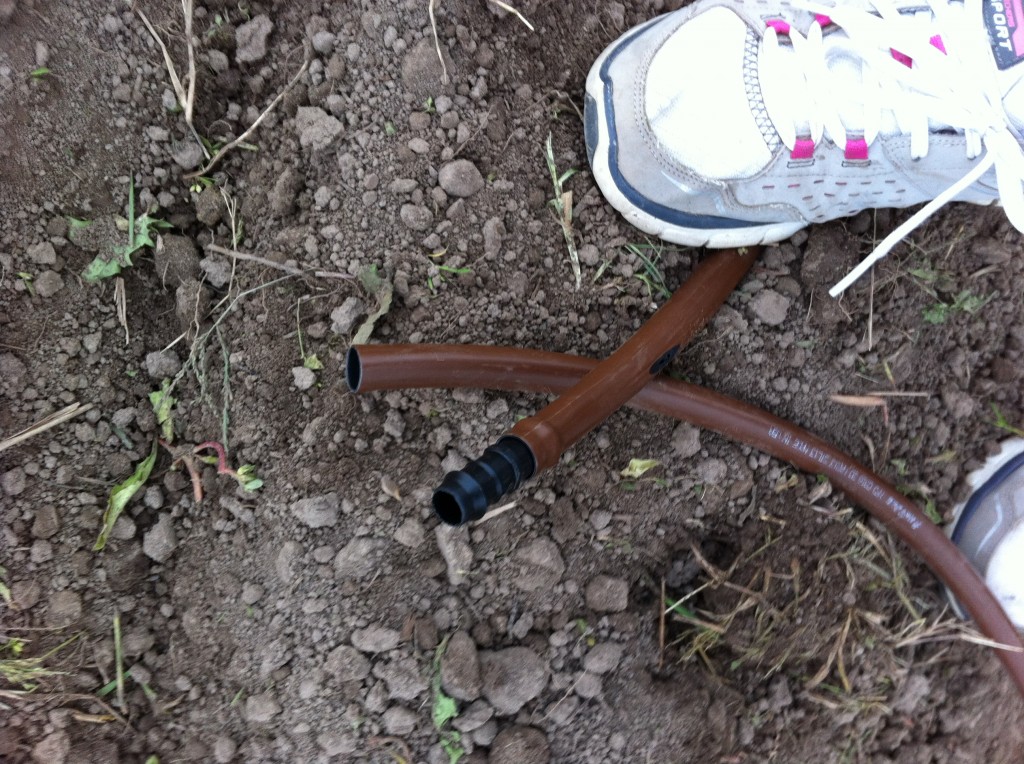
The drip lines come in 50 foot lengths, so we had to add several feet on to each line. You use this barb looking plastic inserts that connect the two lines.

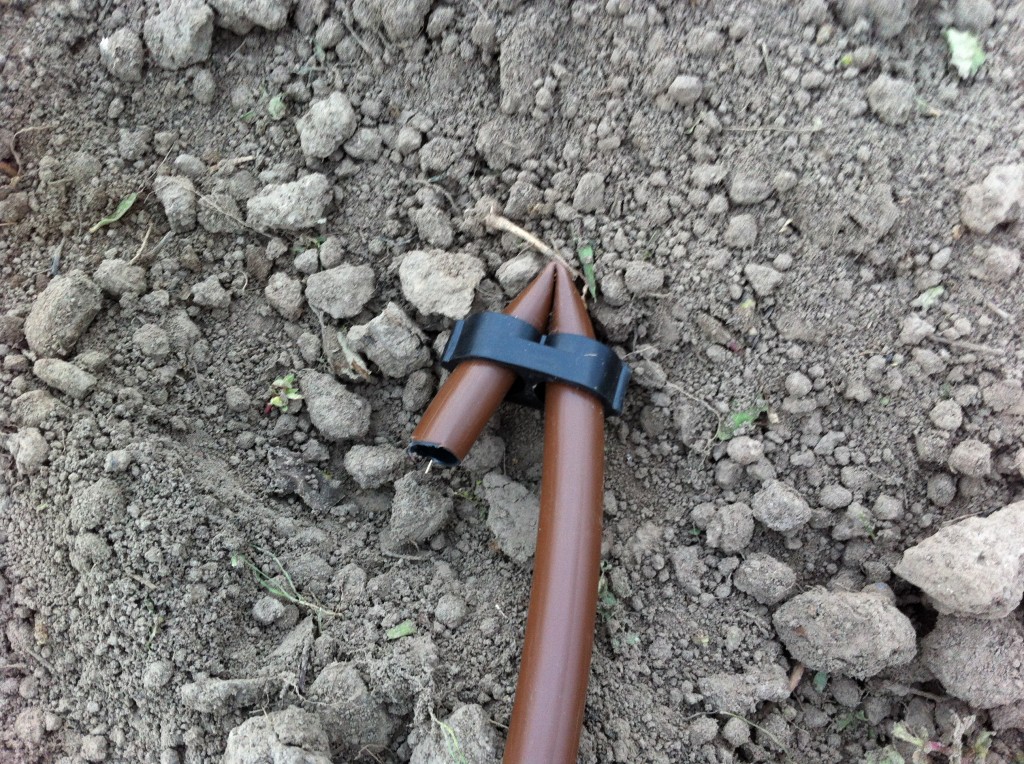
One end of the drip line is connected to a water hose and the other end is tied off using this doodad. Forgot the name of it, but it bends the drip line prevented the water from going out that end.

On the other end that connects to the water hose, you have to connect each drip line to this faucet set up. This one has enough hooks up for four drip lines. We also put these faucet connects on the end of the drip line to connect it to the faucet set up. Then you just connect your water hose from your hose and turn it on to water the strawberries. Cool uh? : )

Here is a picture of all the installed drip lines before we buried them in. After we buried the drip lines, we started on the plastic.

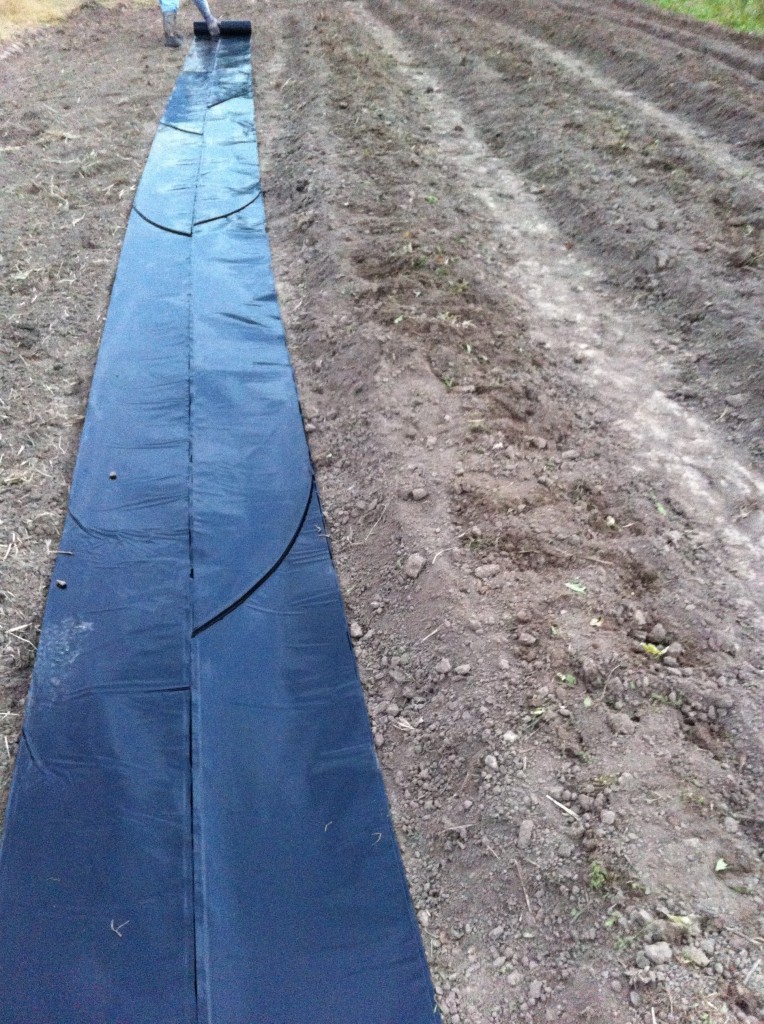
Now we unrolled the plastic and cut it to length. Then we unfolded it and cut  it into the width we needed.

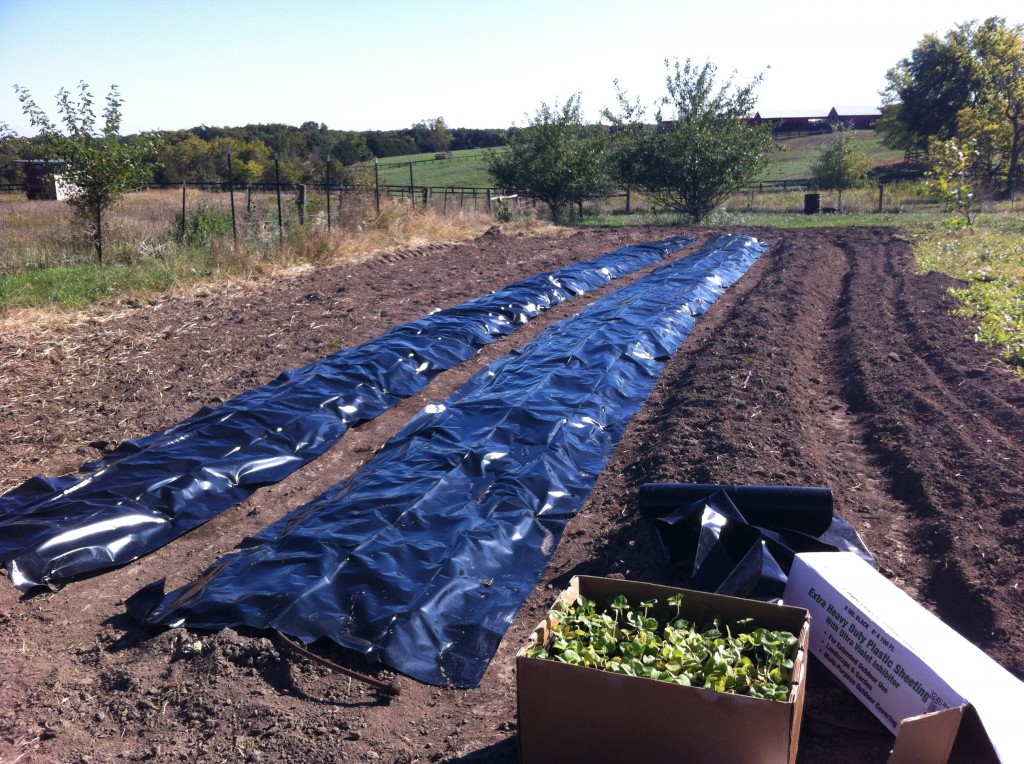
Here is what two of the rows looked like. You take landscape hooks and hook the plastic into the ground so it does not blow off. This is as far as we got one night. When I came the next day, I brought oldest grand girl to help plant the strawberries. It was then I realized we did not put our fertilizer on top of the dirt rows before we put the plastic down. So, before we could go any further, we had to take the plastic up on one side and sprinkle the fertilizer down and then re-stake the plastic. ugh!!!

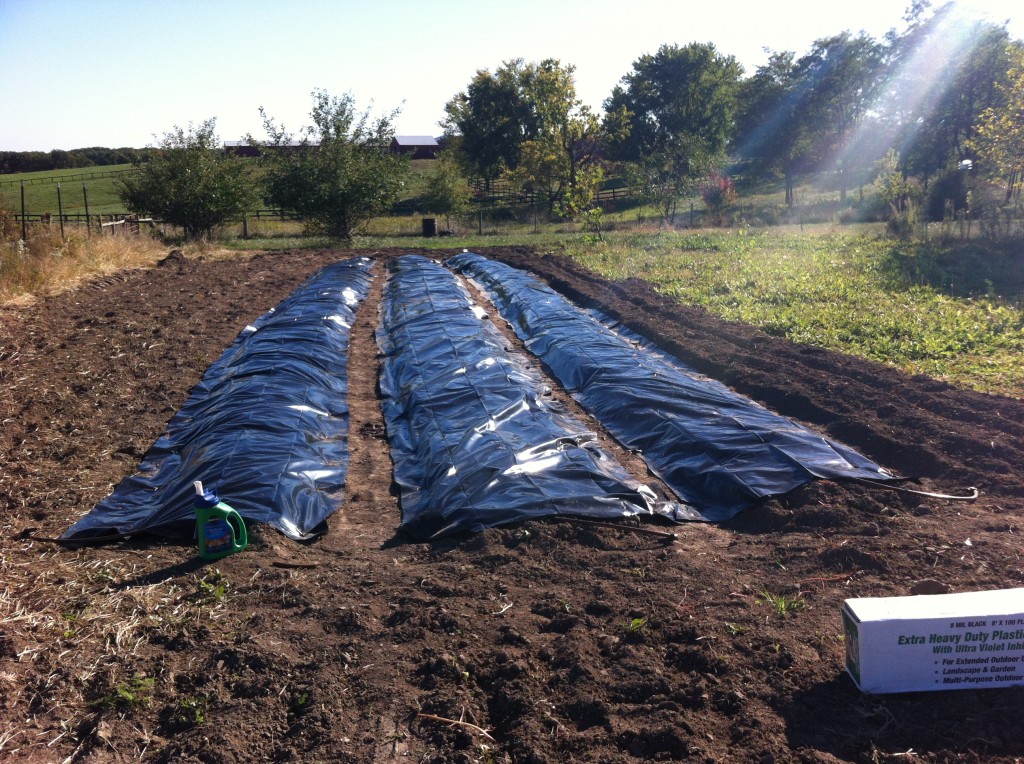
Here is what the rows looked like after we covered each row with plastic.

Step two is done with our strawberry project.

Tomorrow, I will tell you how we managed to get all those strawberry plugs planted. Let’s just say, we had to cut 250 round little holes in the plastic to be able to plant to the plugs in the ground.

Oh my…what have I got ourselves into….

That is the question of the day : ).

Becky
 

Related Posts Plugin for WordPress, Blogger...