Remember when I posted this picture a week or two ago?
Well….my kiddos at school took the 50 pie pumpkins and made fresh pumpkin puree. With the fresh puree, they made pumpkin pie filling and baked pumpkins pies in their “from scratch” pie crust.
My kiddos did Gooooood!
One of my goals for my classes this year is to show the kiddos that they do not have to rely on using a can to make food. I just felt that my kids needed to experience how to take a pumpkin and turn it into a pie without opening a can (except for the can of Crisco for the crust).
On day one the students, peeled, cleaned, cubed and boiled pumpkins. Then they took the boiled pumpkin and put it into blender and pureed it into pumpkin puree. They also roasted the pumpkin seeds and while the seeds were roasting they made their pie crust in a food processor.
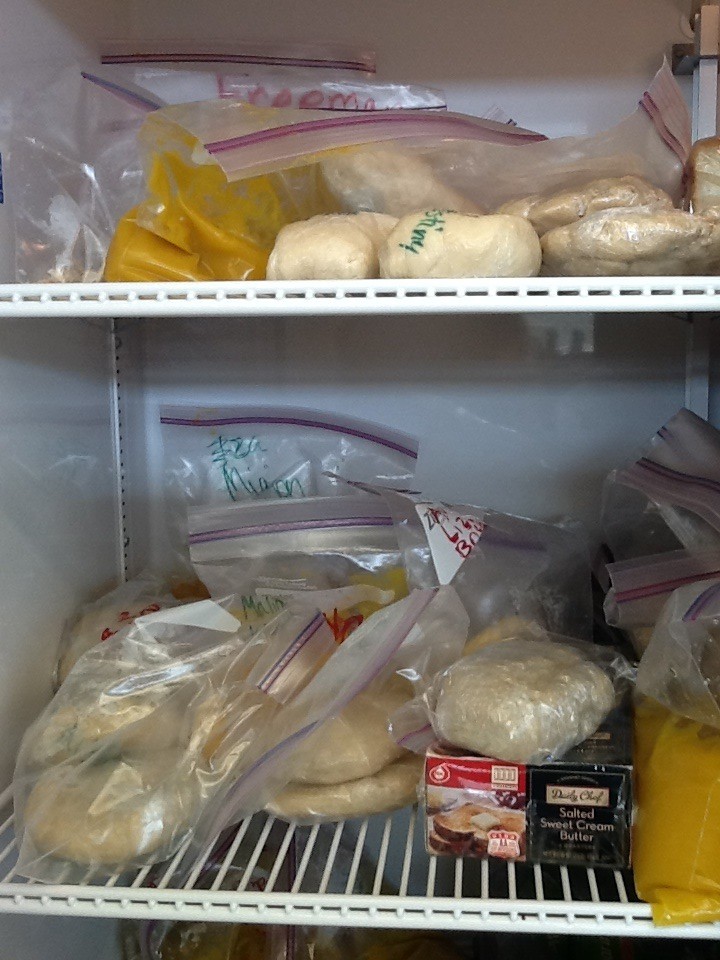
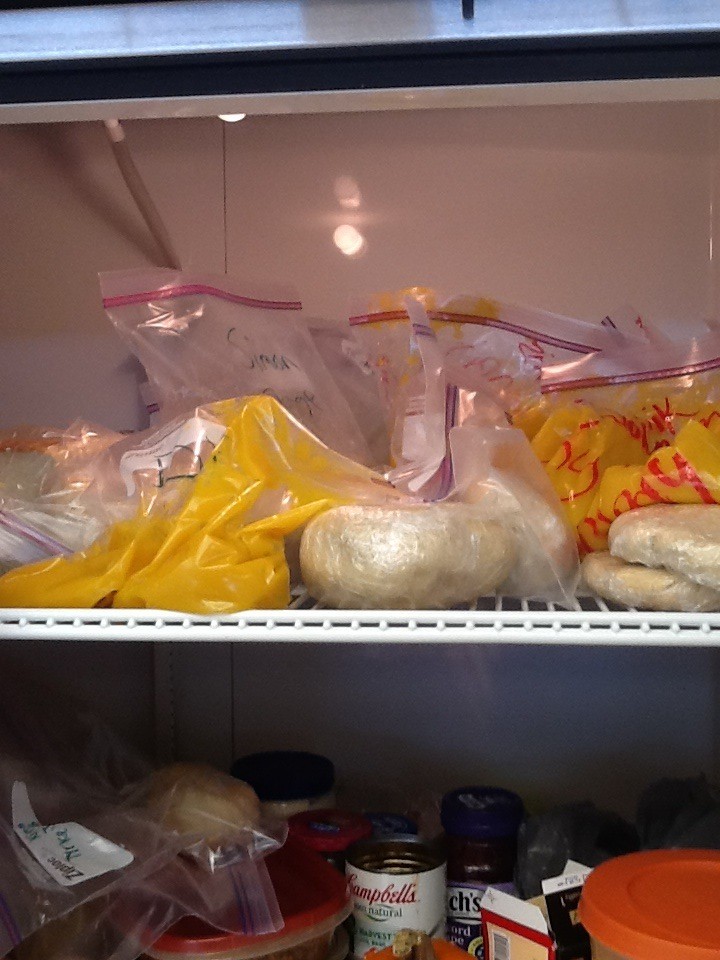
You can see the big refrigerator at school is full of pie crust and pumpkin puree.
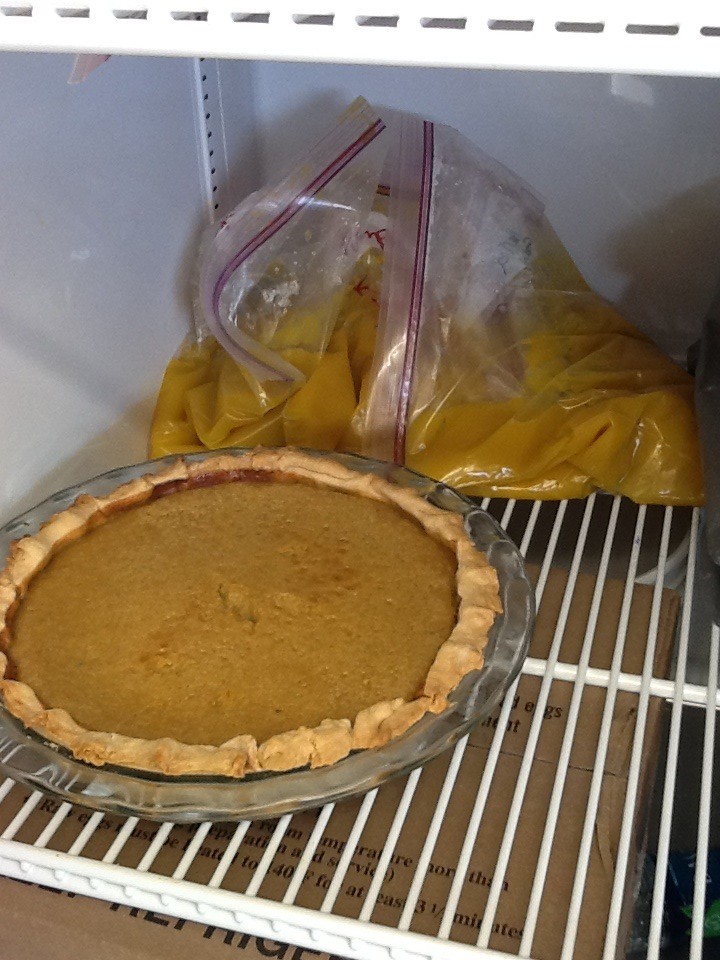
Here is just one of the 24 pies that we made in two days.
The only complaints I had was that I forgot to buy the whipped cream…..
Oh well….
Anywho, I thought I would show you three ways you can take a pumpkin and make it into puree.
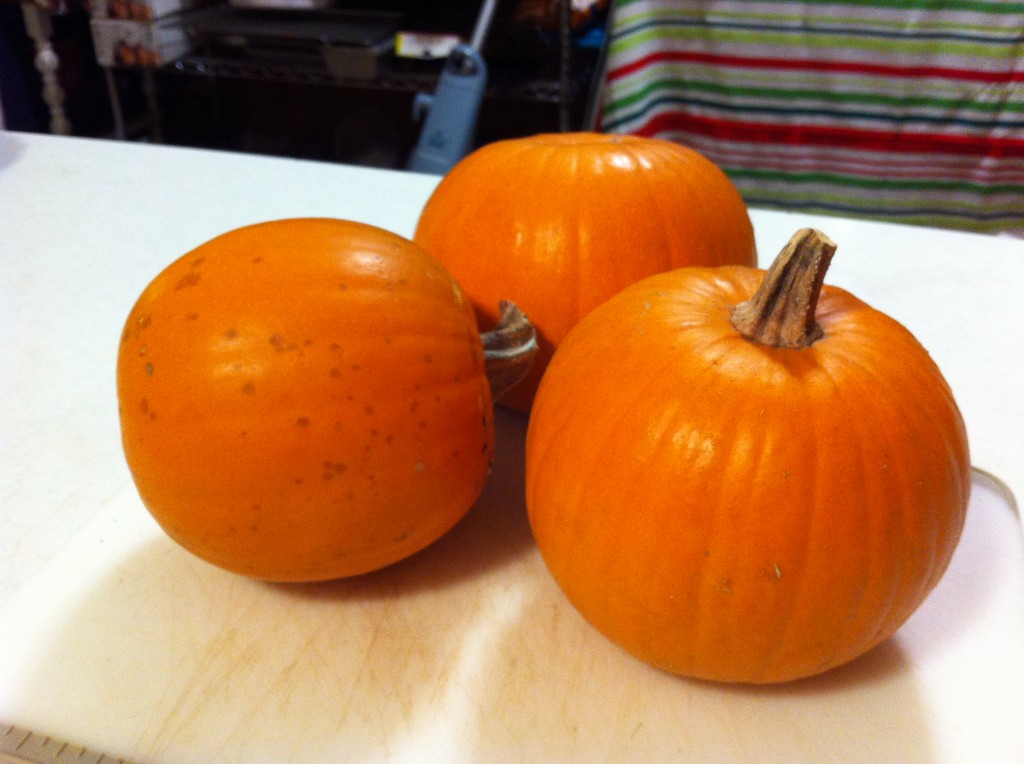
These are the three pie pumpkins I started with. Pie pumpkins are raised to be used in pumpkin pies. I was told that they were sweeter than the bigger pumpkins. You can use bigger pumpkins to make pumpkin puree also.
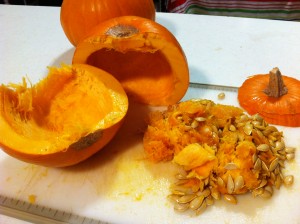
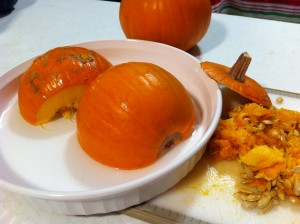
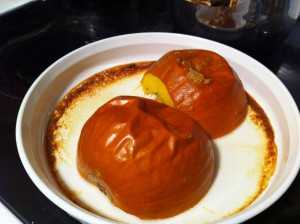
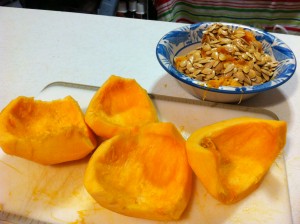
One way to make pumpkin puree is to roast the pumpkins. First you cut the top off of the pumpkin. Then cut the pumpkin in half and clean out all of the insides (save the seeds to roast later). Place the pumpkin face down in a baking dish and add about 1/2 cup of water. Roast in a 350 degree oven until the pumpkin is fork tender.
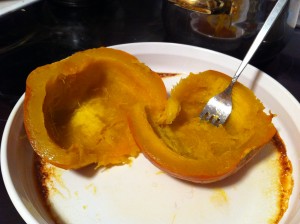
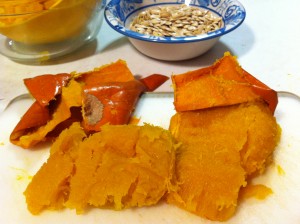
See how the fork goes right in to the pumpkin. I then took the pumpkin halves and put them on a cutting board. The peeling of the pumpkin just pulled away leaving me mounds of roasted pumpkins.
Another way you can make pumpkin puree is to either boil or steam them.
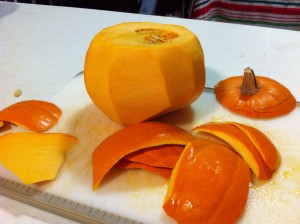
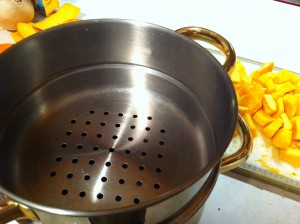
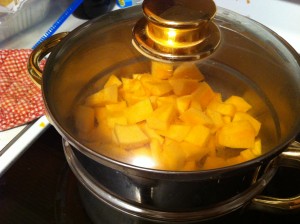
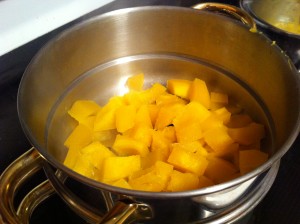
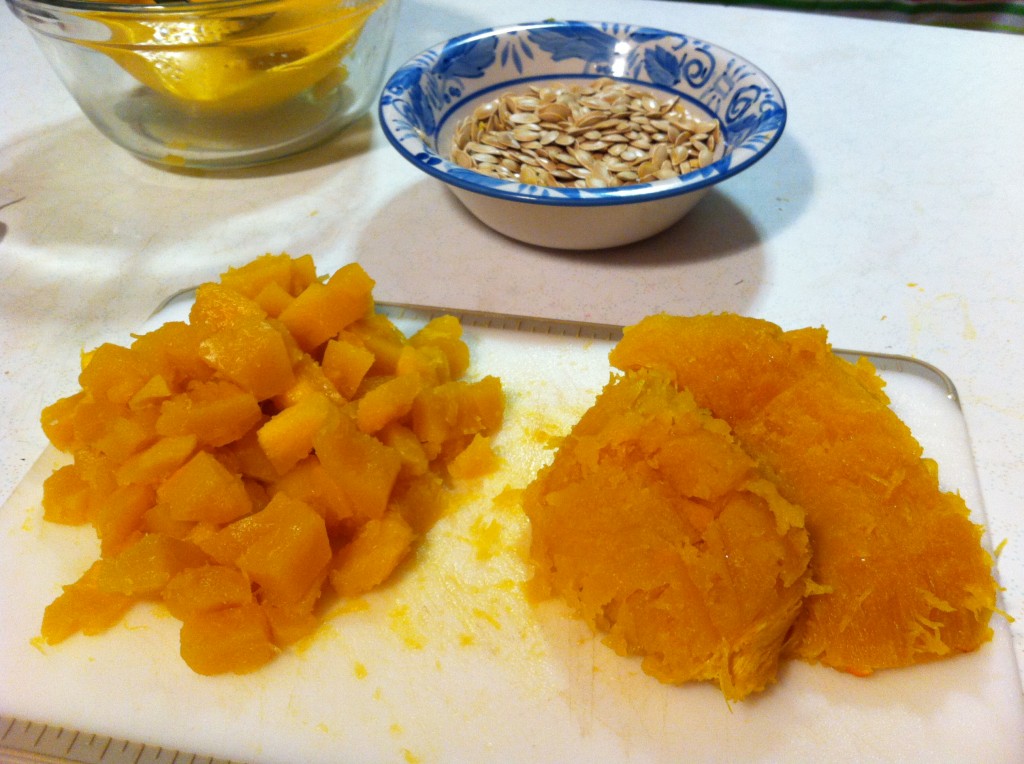
Here is how I steamed the pumpkin. I first peeled the pumpkin. I then quartered it and scraped out the seeds. After that I cubed the pumpkin (you can see them on the cutting board behind my steamer pan). I used my steamer pan, which is like a double boiler, the only difference is that it has holes in the bottom to let the steam rise up from the boiling water.
I put the steamer on the range and started to boil the water, letting the steam cook the pumpkin till it is tender. (the tender pumpkin is pictured on the right)
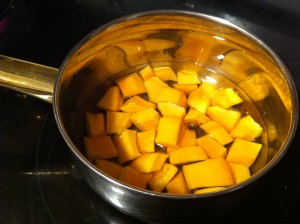
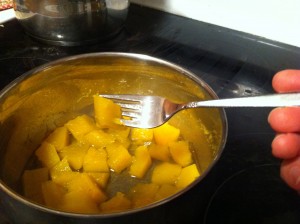
The last way I made the pumpkin puree was by simmer the cubed pumpkin. You simmer the pumpkin until it is fork tender, then drain off the water.
Here is the pumpkin! I had to put the steamed and boiled pumpkin together, cause I ran out of room on my little cutting board. (I need to ask for a new one from Santa), The steamed and boiled pumpkin is on the left and the roasted pumpkin is on the right. After this step, you put the cooked pumpkin in a blender or food processor to puree.
The roasted pumpkin was more dense than the boiled or steamed pumpkin, but took longer to cook. The boiled and steamed pumpkin took more time to cook, but longer to peel and cube.
At school, we boiled ort pumpkin because overall it took less time and the pumpkin puree turned out great.
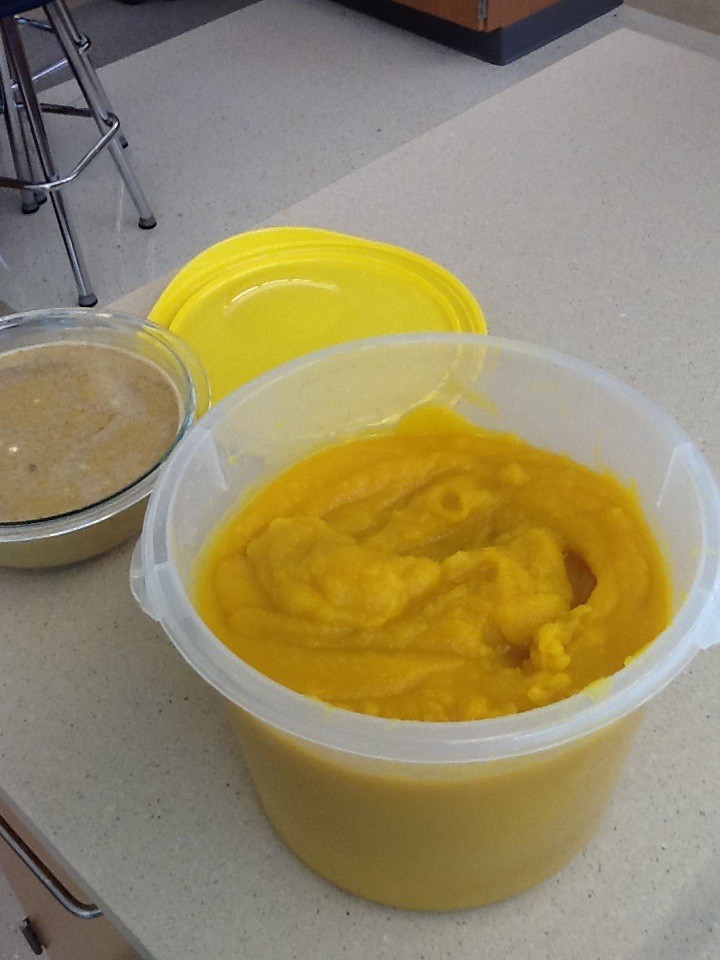
Here is a picture of the fresh pumpkin puree. To the left is some of the left over pumpkin pie filling we made from the pumpkin puree.
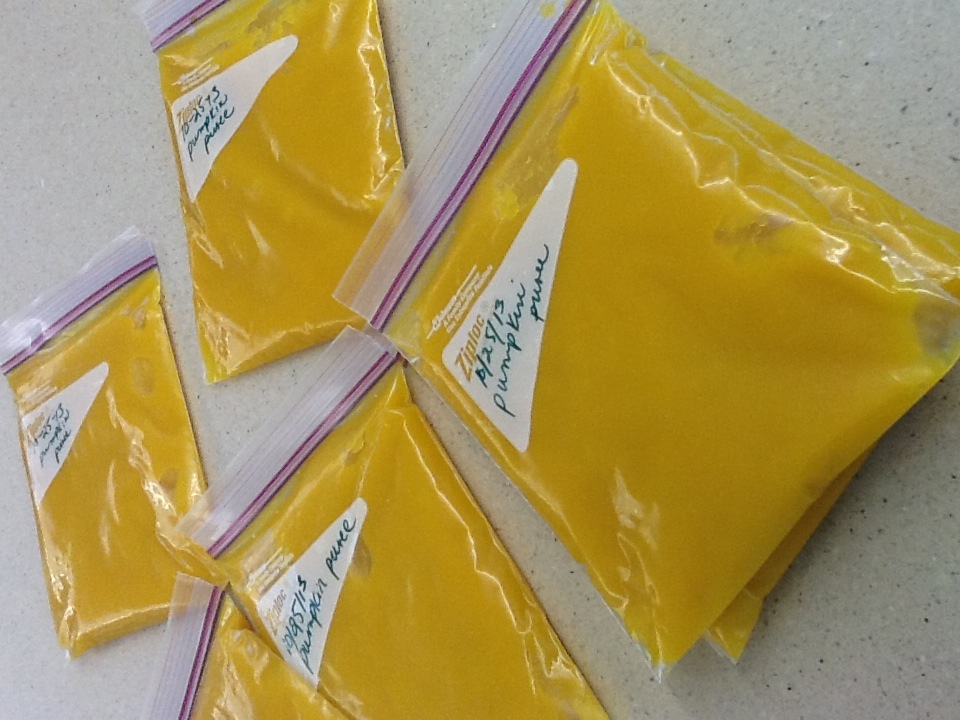
All the left over pumpkin puree, I put in freezer bags and put in the freezer. I measured out 2 cups of pumpkin puree for each bag, as that is what most recipes using pumpkin call for.
Anywho, if you decide to do, “the crazy” and buy 50 pie pumpkins, I have given you three ways to easily prepare pumpkin puree, fresh from a pumpkin.
Don’t forget you can roast all those pumpkin seeds too.
Here is a link to a post on how to roast pumpkin seeds.
I am all “pumpkined” out!
Have a GREAT DAY!
Becky

