Setting up a Brooder

Here chicky, chicky, chicky…..

Tomorrow (Tuesday) is the big day I get my 6 chicks. I will be picking them up after I get off work. Oldest grandgirl is so excited. She helped me carry all the necessary equipment from my car and into the garage, where we will be setting up the brooder.

I have never done this before, and I asked a lot of questions and got a ton of answers from my friends who already have chickens.  They are just about as excited as grandgirl and I are.

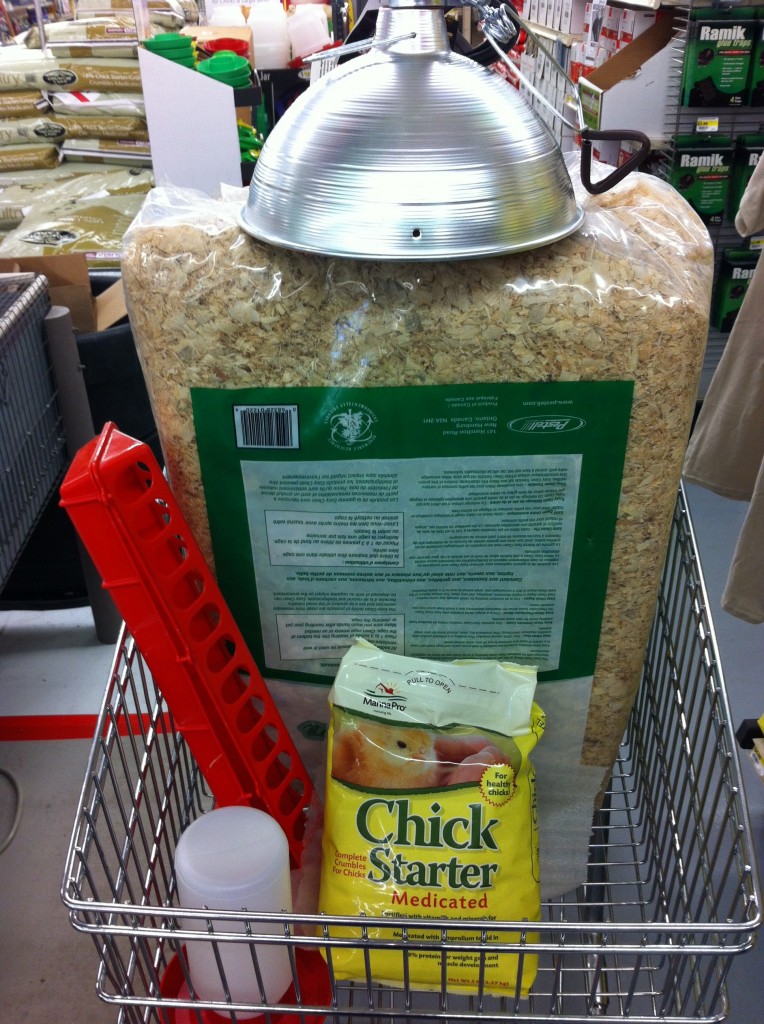
Here is a picture of my cart at the feed store yesterday. I also purchased a red heat bulb and some bedding.

My friends and the feed store, told me I needed a container to put the little chicks in.

I could not decide what to get. The feed store sold these washable cardboard fence things that went in a circle and it had a stand for the heat lamp. I could also use a little kids swimming pool, or, I could talk Company into building some kind of wooden box for me. Yesterday, when I went to his house, he had two very large rubber maid containers he was not using. “Can I pretty please borrow (never return) one of your containers?” So, it about a minute, the rubber maid container was loaded in the car.

Now, what do I need next?

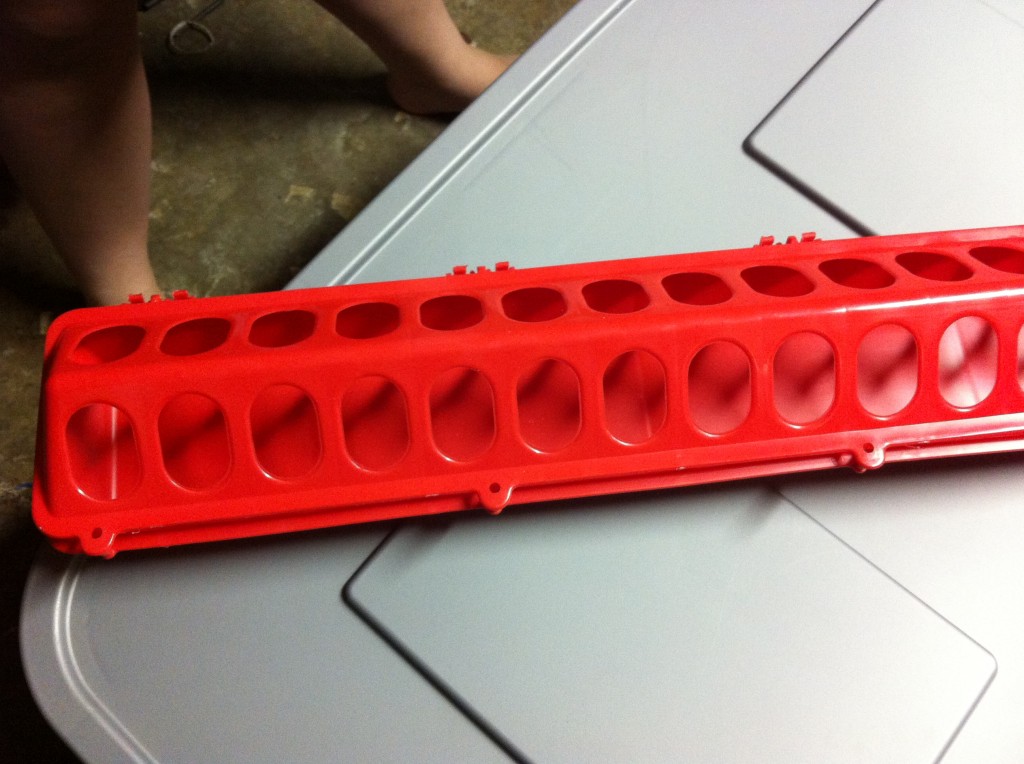
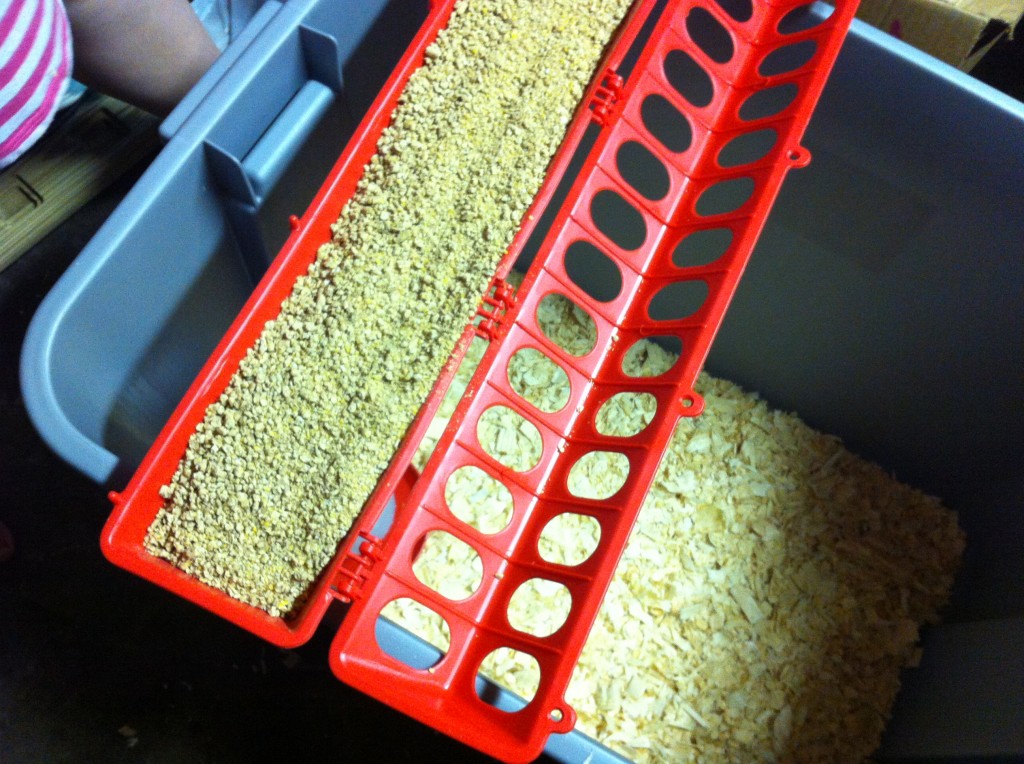
I need a feeder. The feed store recommended this one, because the little chicks cannot roost on it of it and poop in the food, sound tasty…NOT!  It is also too large for the little chicks to knock over.

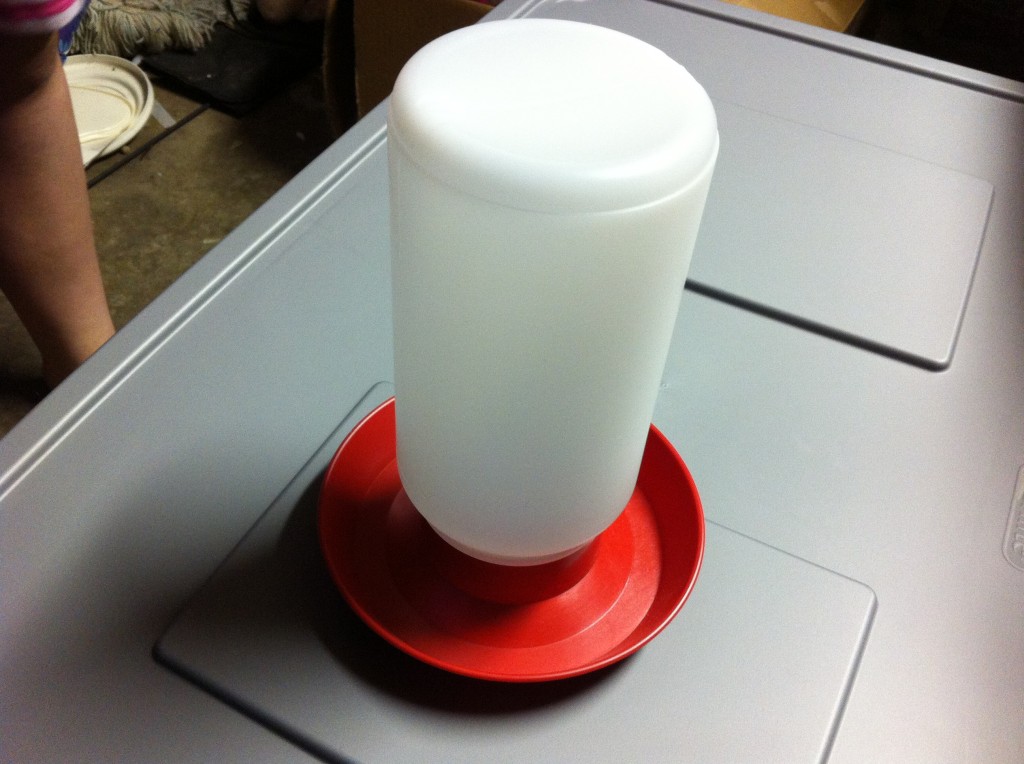
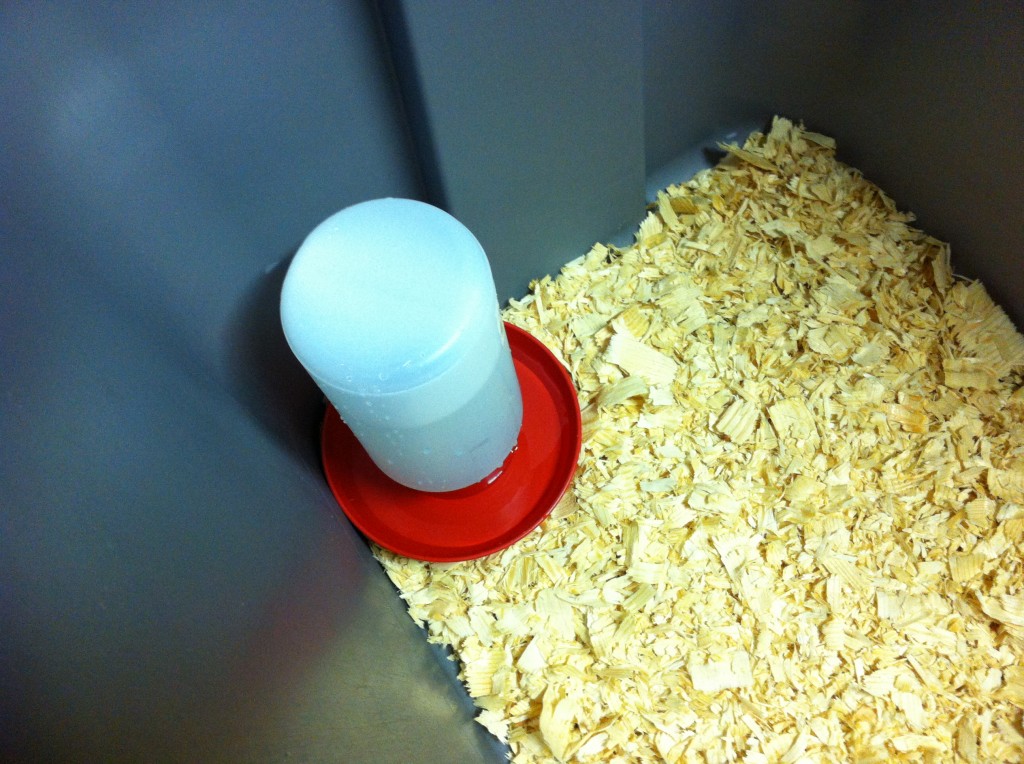
Little chicks need lots of water. I decided on this water container, because this is what the feed store was using to water their chicks. It is also a little smaller and would not take up so much room in the bottom of the container.

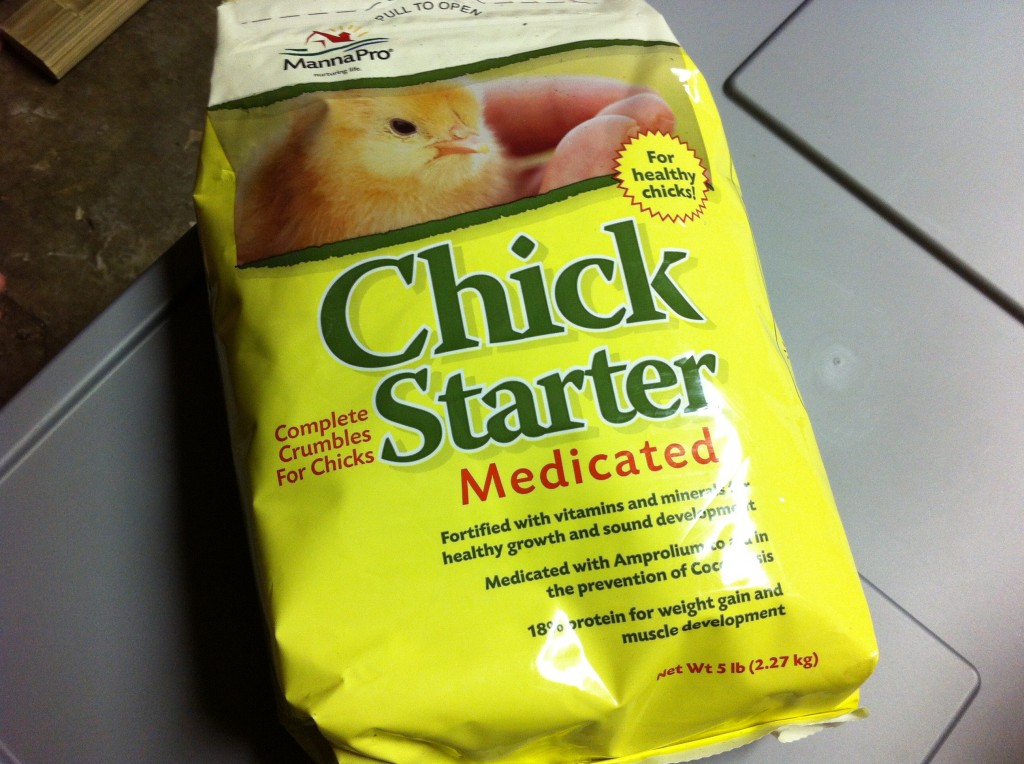
You need some chick food. This is what was recommended to me. It is medicated to prevent disease and help with growth.

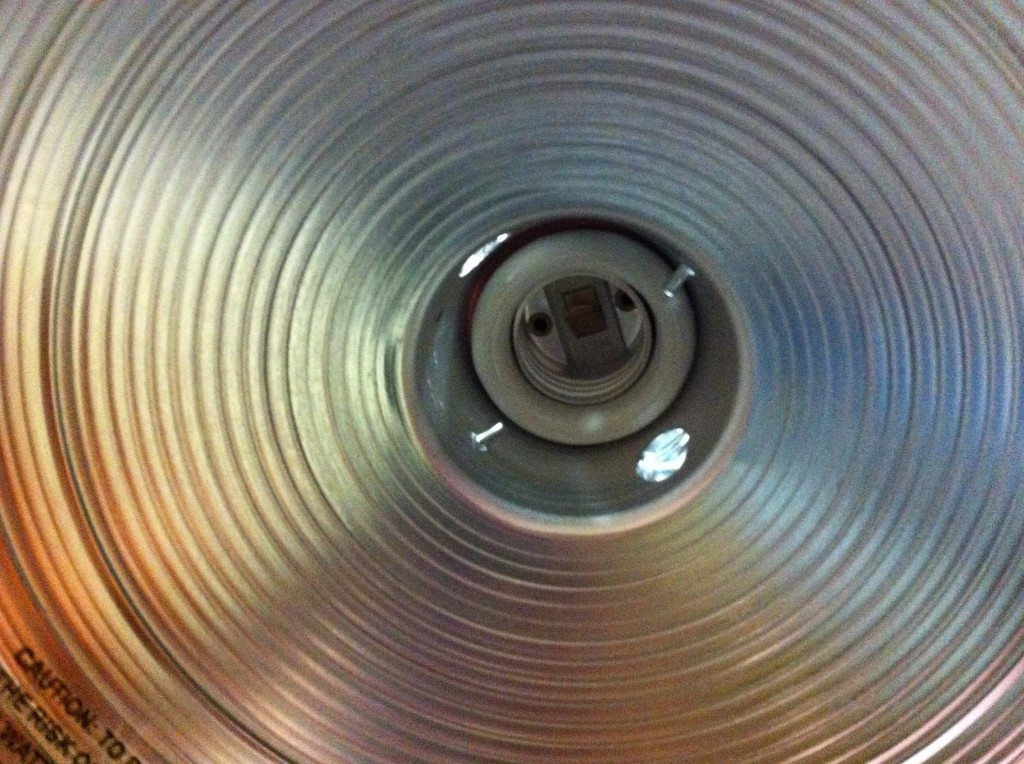
You need a heat lamp. This one has a guard that goes in those little holes on the edges.

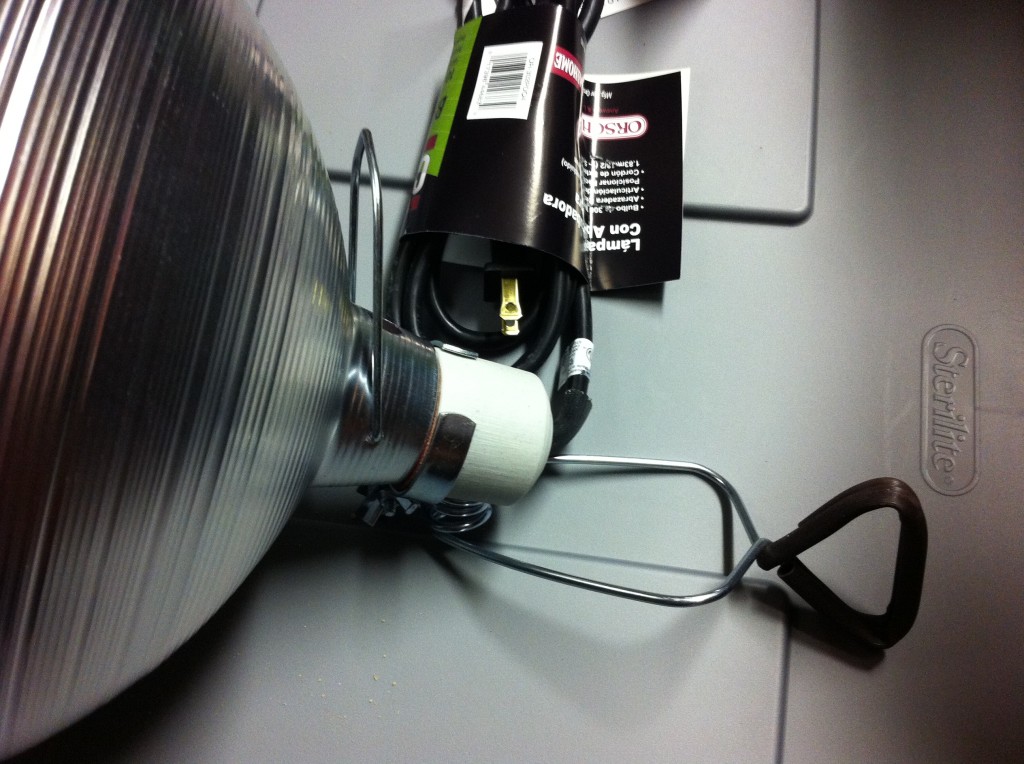
The feed store also wanted to point out that I should buy a heat lamp that had a ceramic bulb fitting for safety.

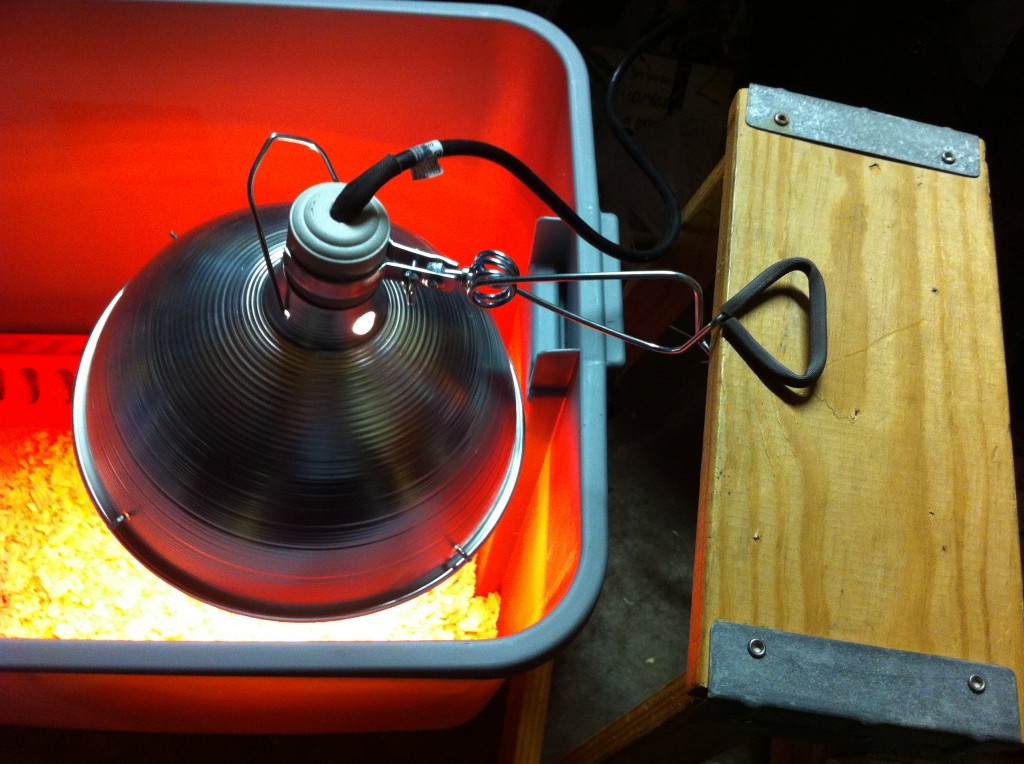
The heat lamp, has a clamp in the back to clamp on something to hold it up, it also has a hanger to hang it up. Whatever works best for  you.

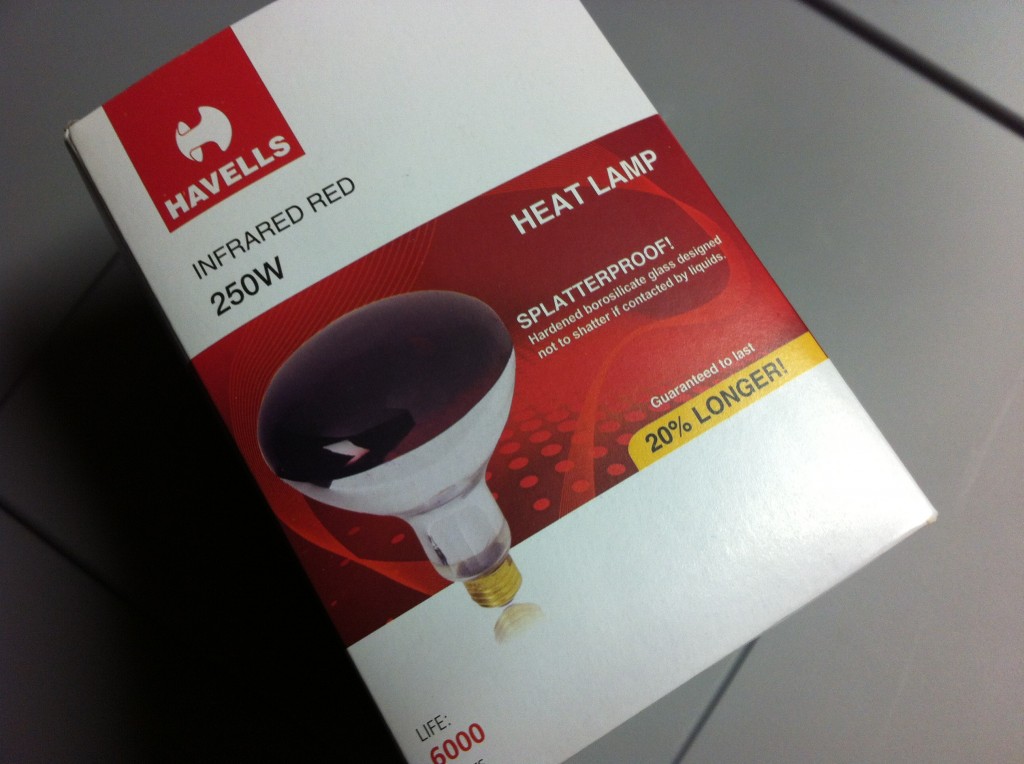
My friends and also the feed store recommended the red heat bulb. It is like three times more expensive, but with the bulb being red, the little chicks are less likely to peck on one another.

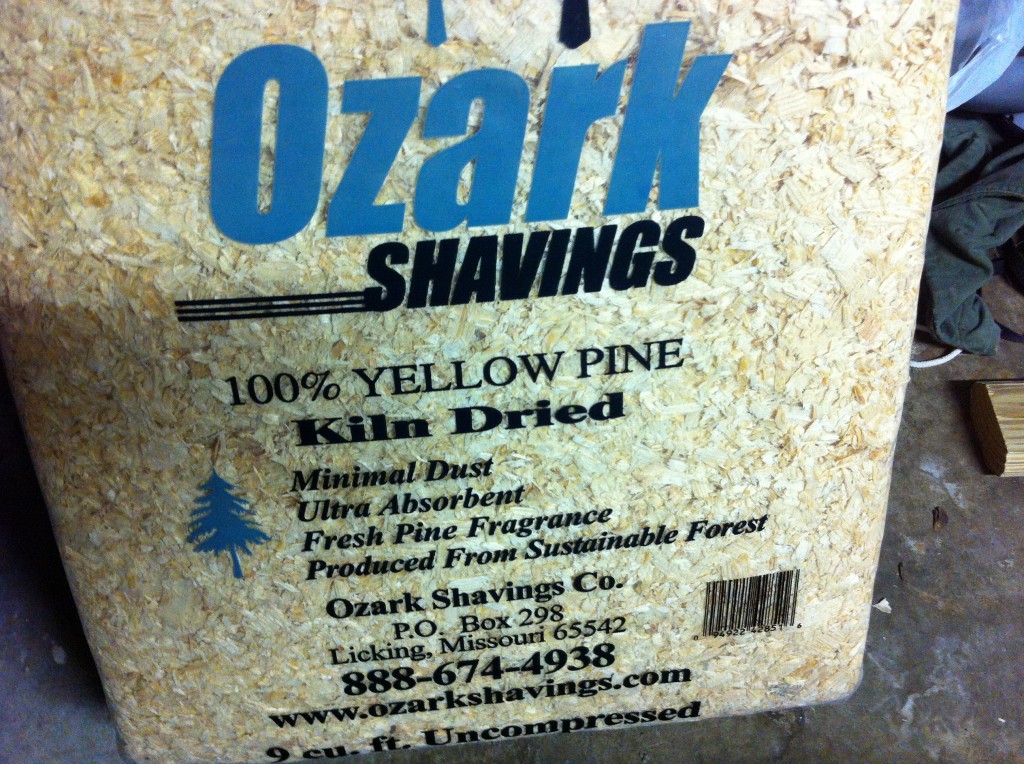
Since the little chicks are pooping machines, I needed some pine shavings to line the bottom of the container. This was the kind the feed store recommended and it was on sale…wooohooo! Do not use cedar shavings, as those are harmful to little chicks.

Now I need to set up the brooder.

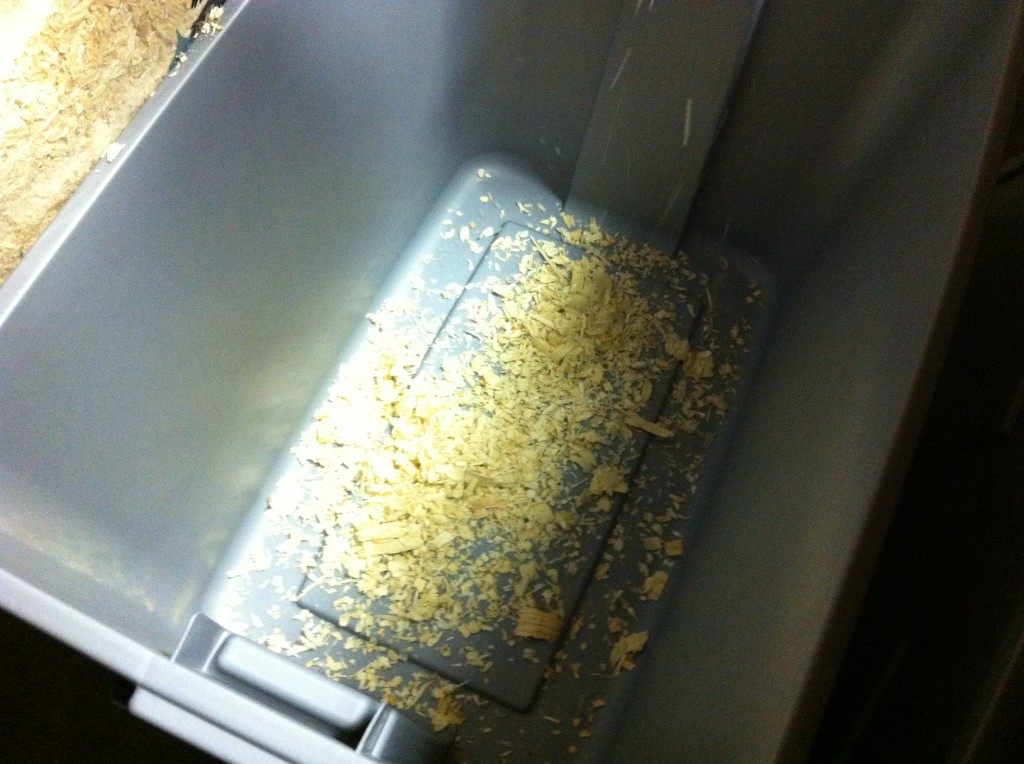
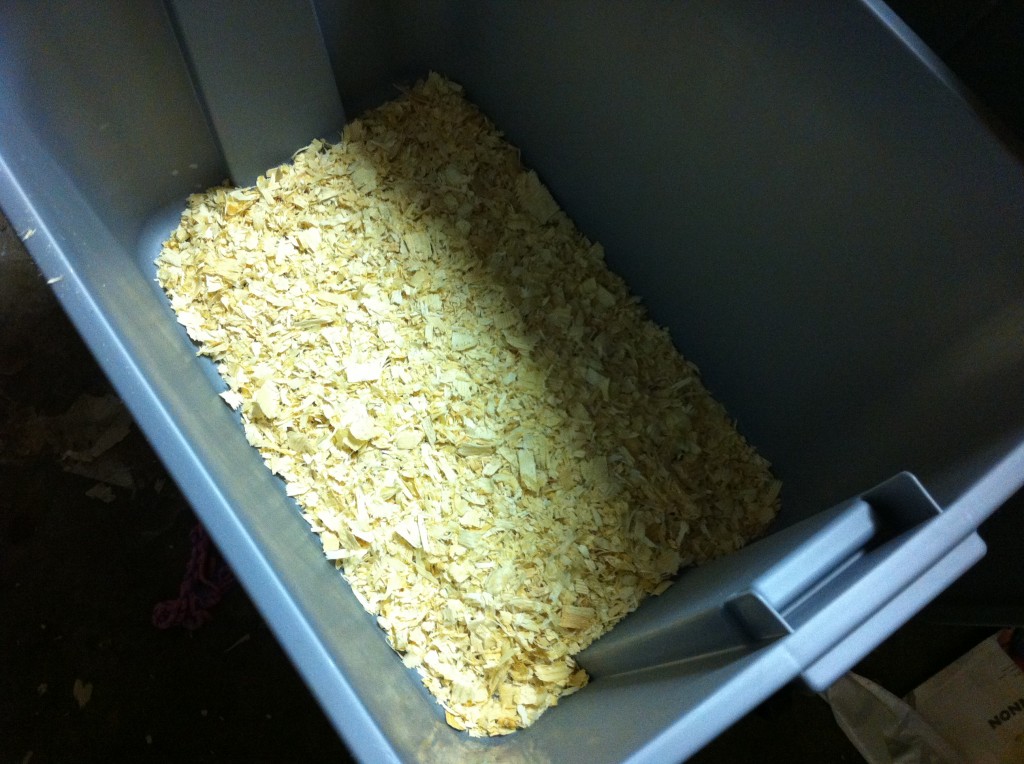
Oldest grandgirl filled the bottom of the Rubbermaid container with pine shavings. I had her do about 2 inches deep. I am going to check tomorrow if I need newspapers on the bottom underneath, or maybe paper towels. But, I don’t think I  need them.

We filled the water container up and put it in the corner. We wanted the water to be at room temperature when the little chicks get a drink so they do not get chilled from drinking cold water.

Grandgril filled the feeder with the chick crumbles, and we set it down against one side of the container.

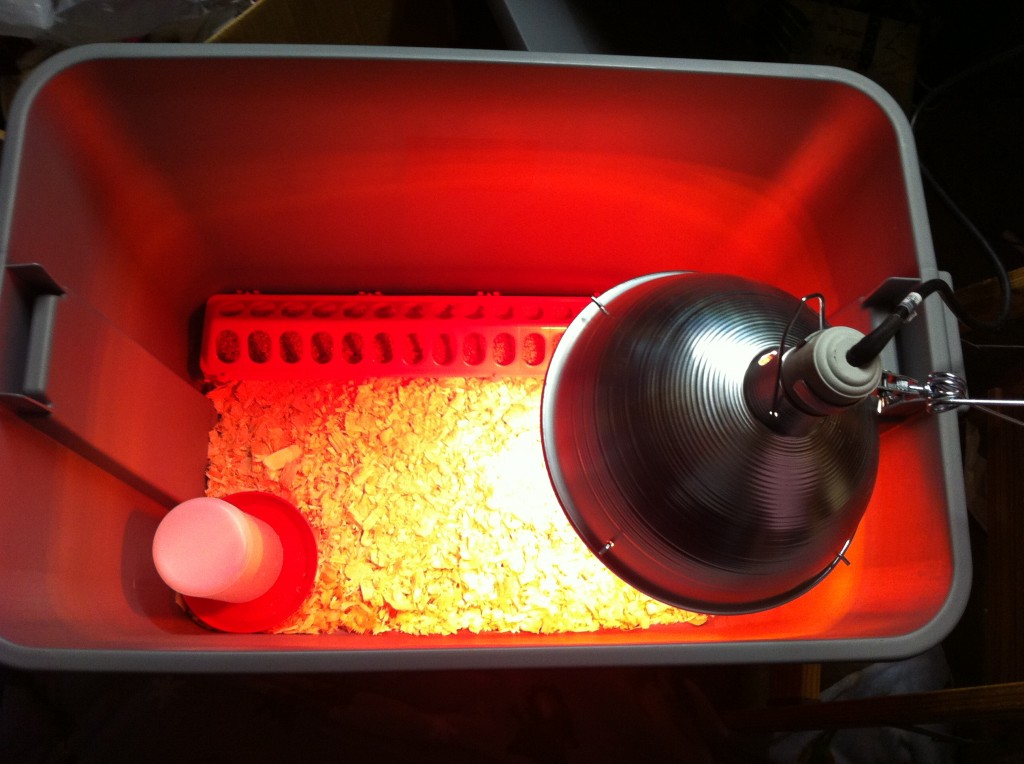
Now, we had to figure out how to set up the heat lamp. The heat lamp needs to be in one corner of the brooder. The chicks can go to the corner to warm up, but can go play around and chase each other in the rest of the container. The heat lamp is low enough to get the temperature up to 90 to 95 degrees for the first week. Then you can raise the lamp, thus lowering the temperature by 5 degrees every week until the temperature gets down to 70 degrees. (at least that is what my book says.)

Anywho, this lamp kept causing me problems. I put the brooder next to a built in work bench and I thought I could just clamp the lamp to it. The thickness was a little to big, and even though I got the lamp clamped on, it was lose and I was afraid it would fall in the brooder. I contemplated nailing the clamp down, which would work temporarily, but if I needed to adjust the height of the lamp, I would have to figure something else out later.

I finally settled on this little wood step stool that was just the right height (for now) and the board was the right thickness to easily clamp the heat lamp to. I think when I need to raise the lamp, I can just put bricks or wood on the floor and put the step stool on it to raise the height.

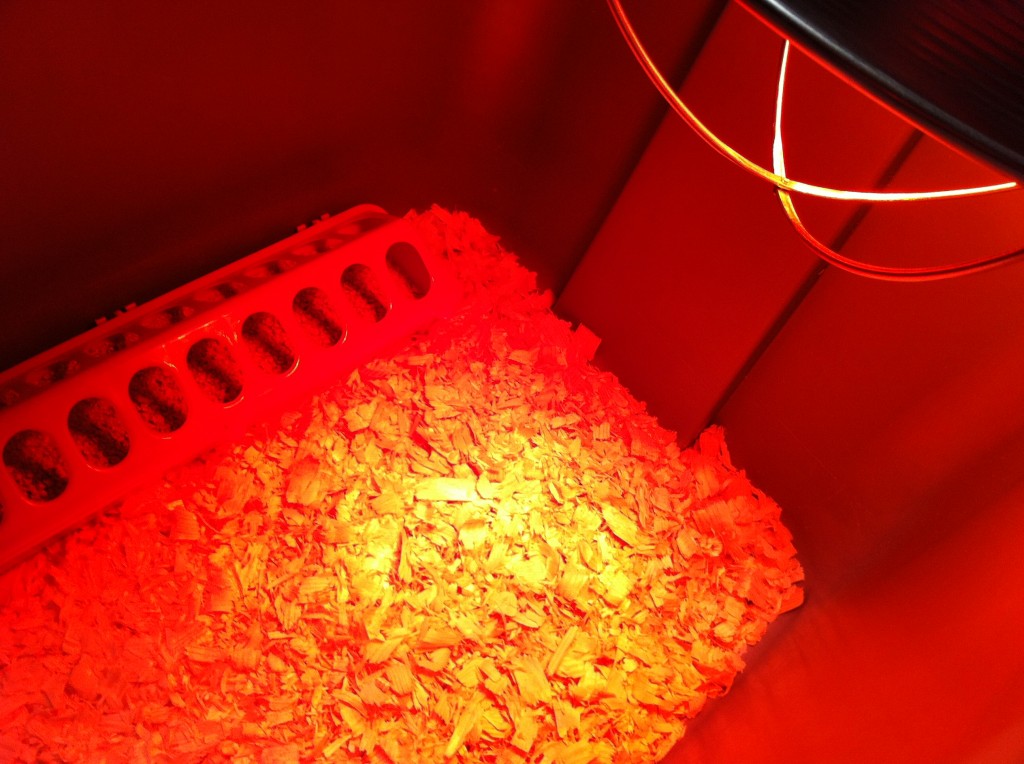
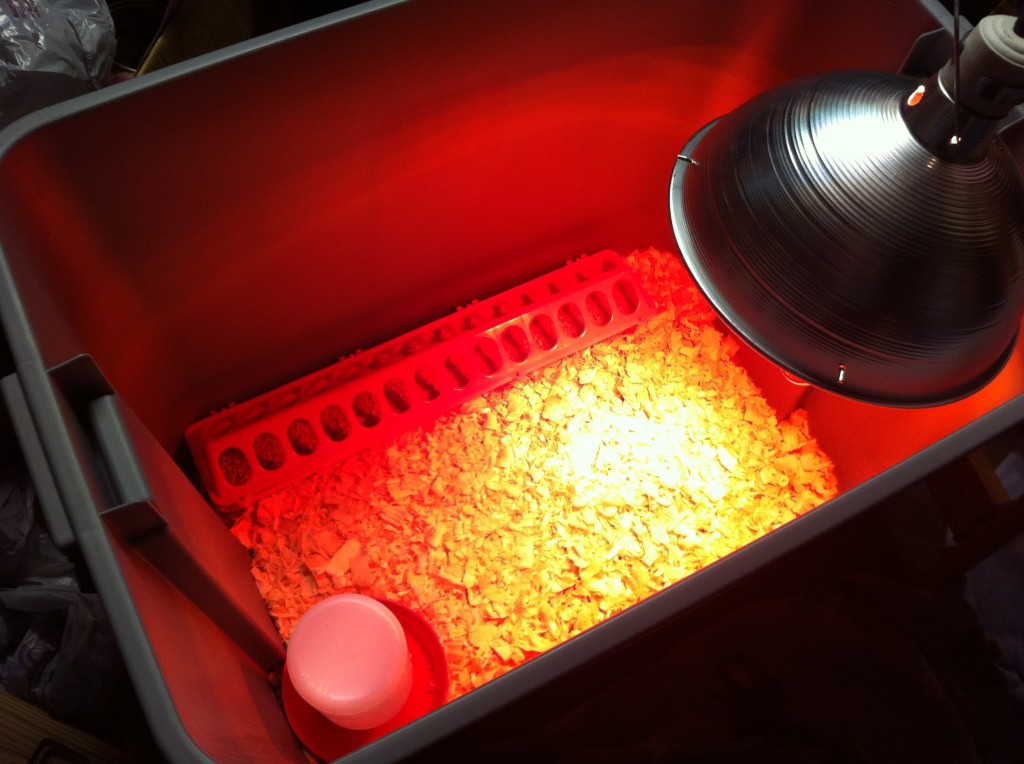
Here is a peek inside the brooder with the red light on. You can see that the wire guards are on now.

Waaalaaaa….here is my brooder! All ready to go. Now, if the chicks get too big for this container….well….I will worry about that tomorrow ; )

Now, all I need is some chicks.

I hope I know what I have gotten myself in to.

Becky


Onion and Garlic Update

It’s alive……..

Last October or November, Grandgirls and I planted garlic and onion sets at the end of Company’s garden spot.

when I checked on them in December, they were doing great. See all the green tops popping out of the ground.

When I checked on them a couple of weeks ago. I could not see any life. Even though we put straw down to protect the new sets, the negative degree winds took their toil on the green tops. I was afraid we had lost them all due to all the snow, sleet and zero temperatures.

But…..

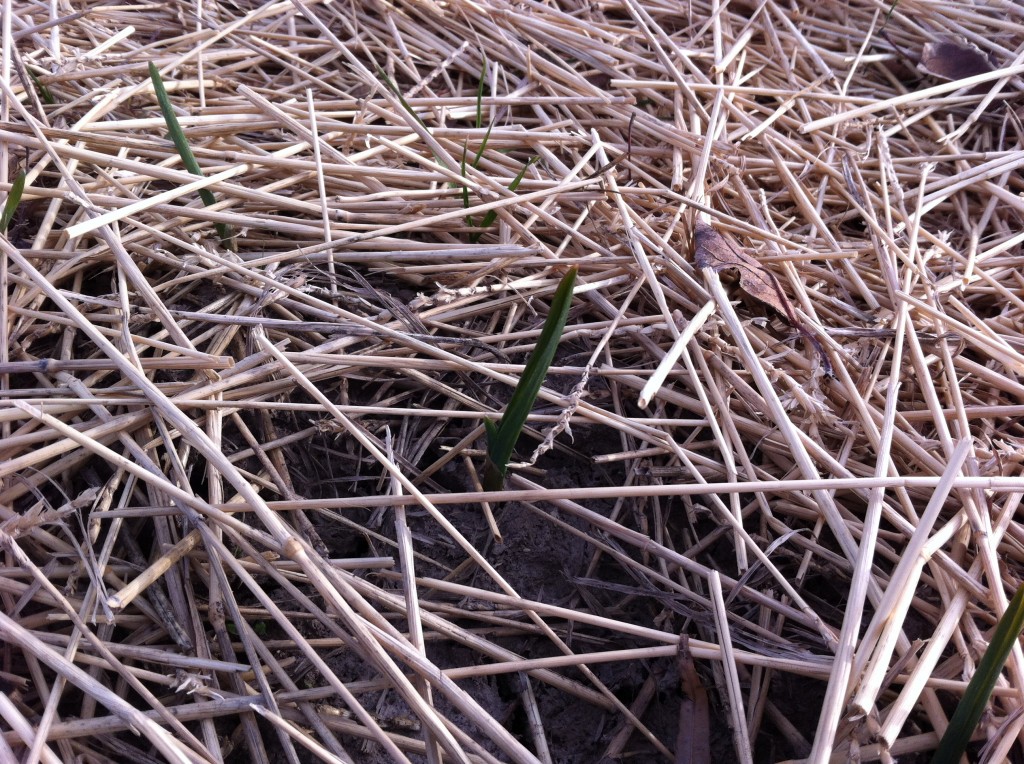
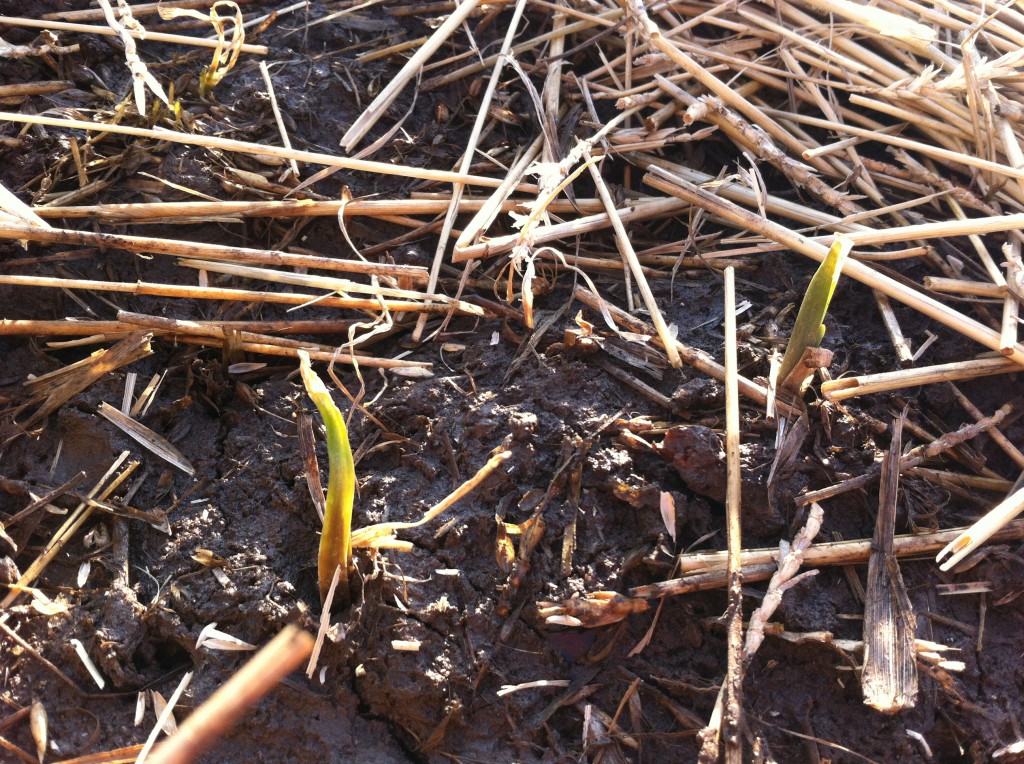
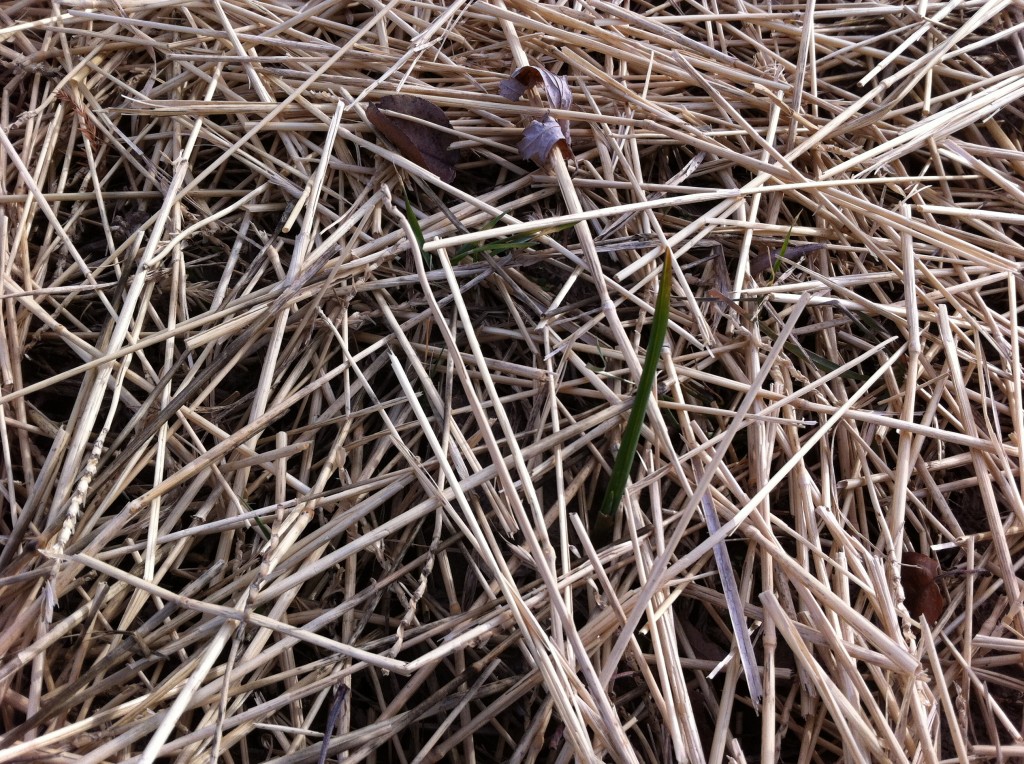
A couple of days ago, I was able to actually get into the garden in the place the grandgirls and I planted the sets and moved back some of the straw.

Look what I found!

It is either onions or garlic that is coming up.

Company hopes that it is garlic….he hates onions.

The girls and I are rooting for the onions….: )

Hopefully, we will be harvesting garlic in July and onions in May.

Breath mints anyone?

Becky

Half A Coop

Company took the coop home with him to put together.

He was having a little problem with putting the coop together.

I took one look at it and told him what was wrong.

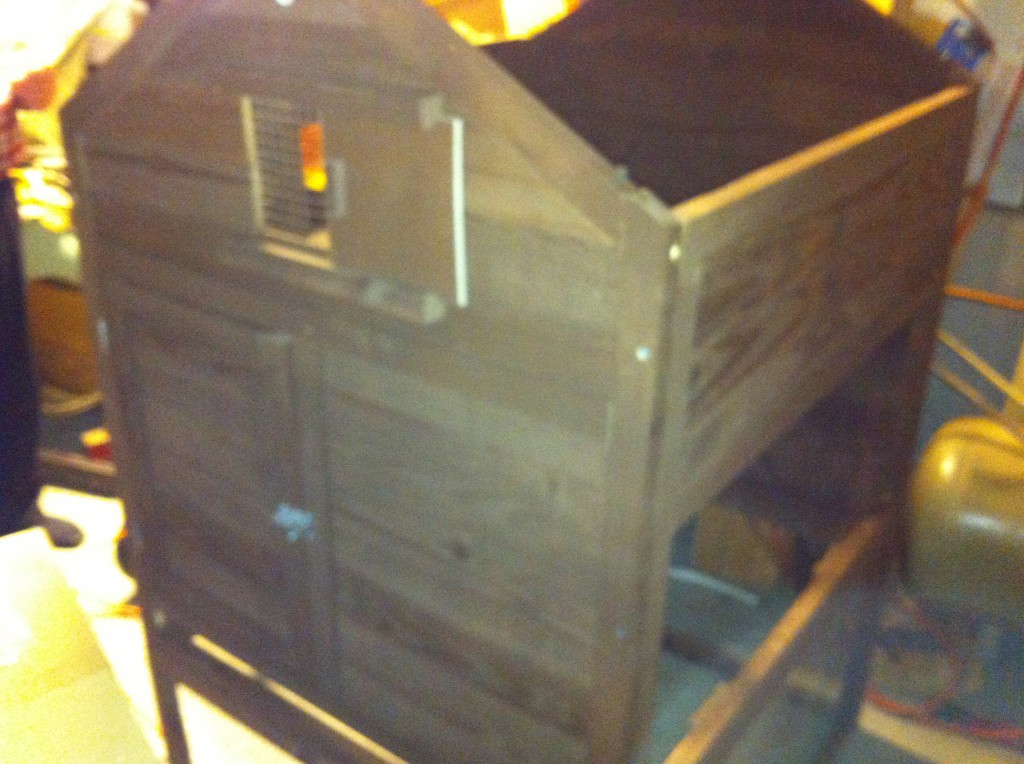
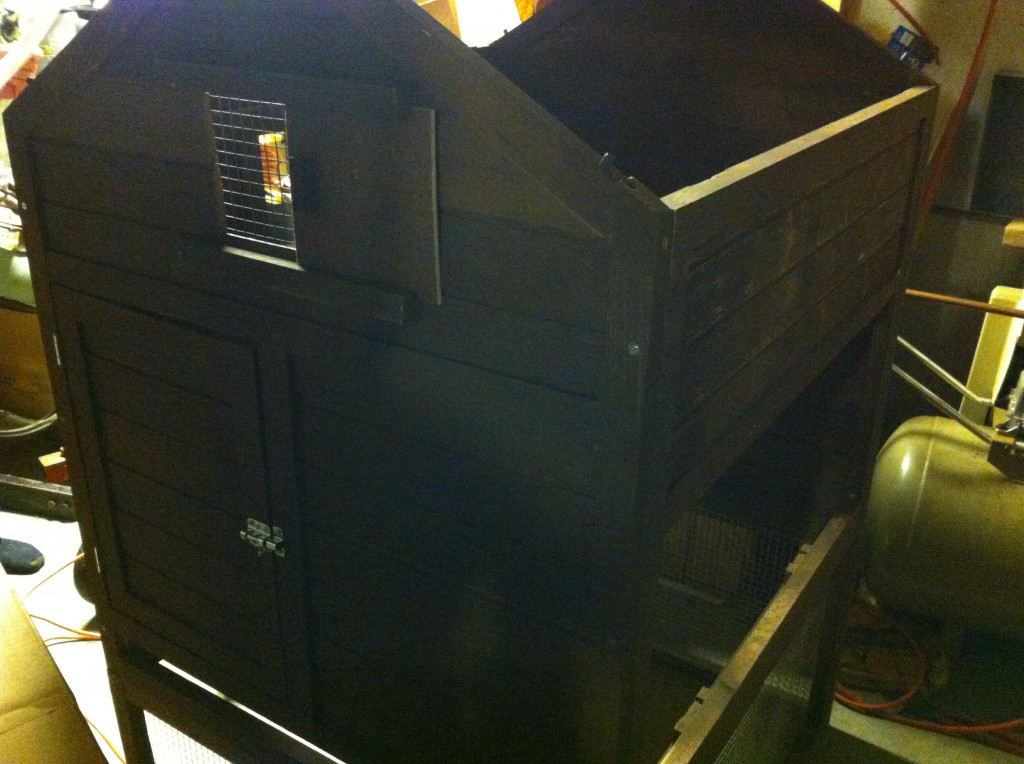
I told him he had one side upside down.

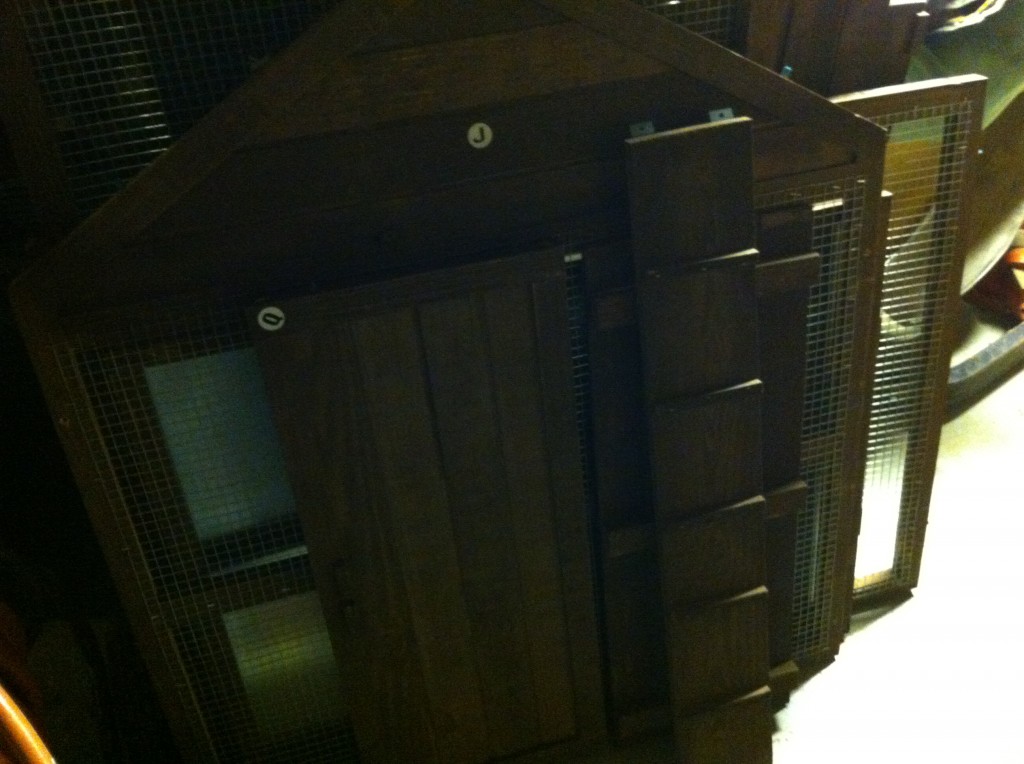
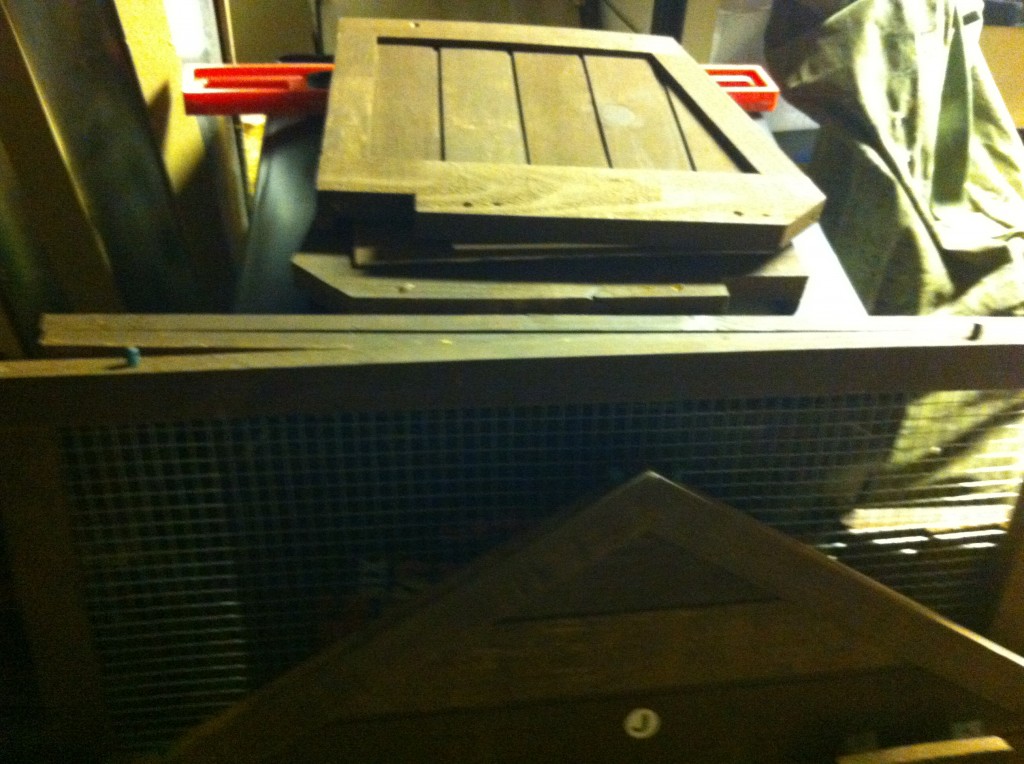
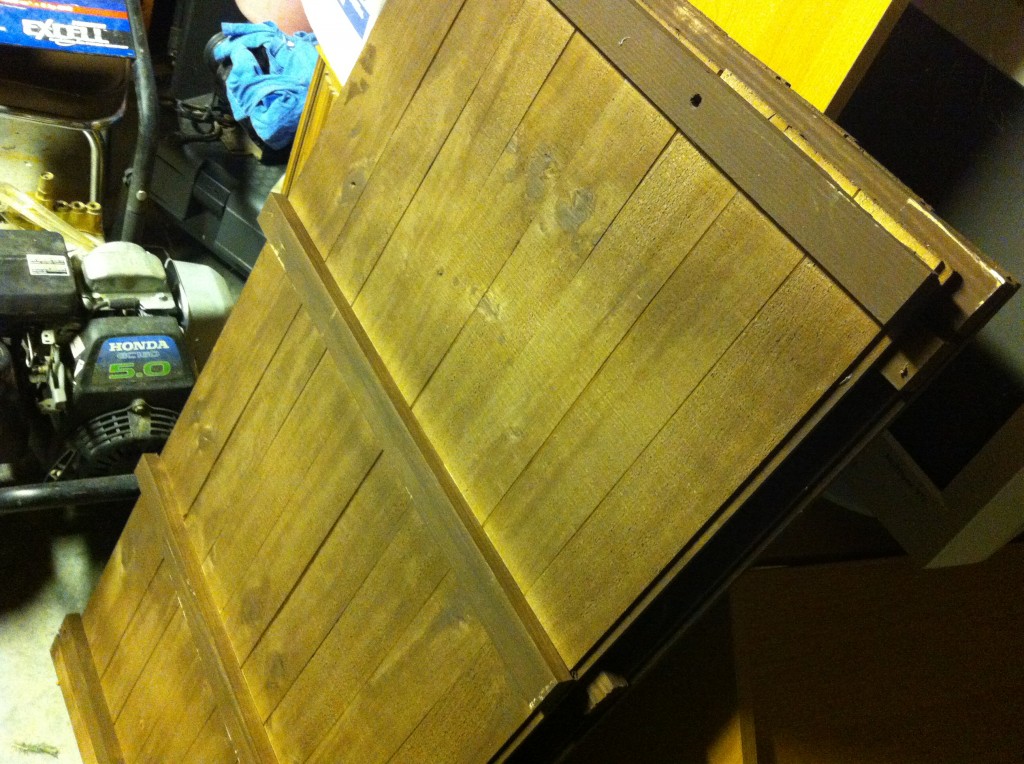
Here is a picture of the roof pieces of the chicken run. He had the piece that connects to the chicken house and run upside down and inside out.

How is that possible?

He still did not quite believe me and wanted to look at the instructions (with pictures) to double check.

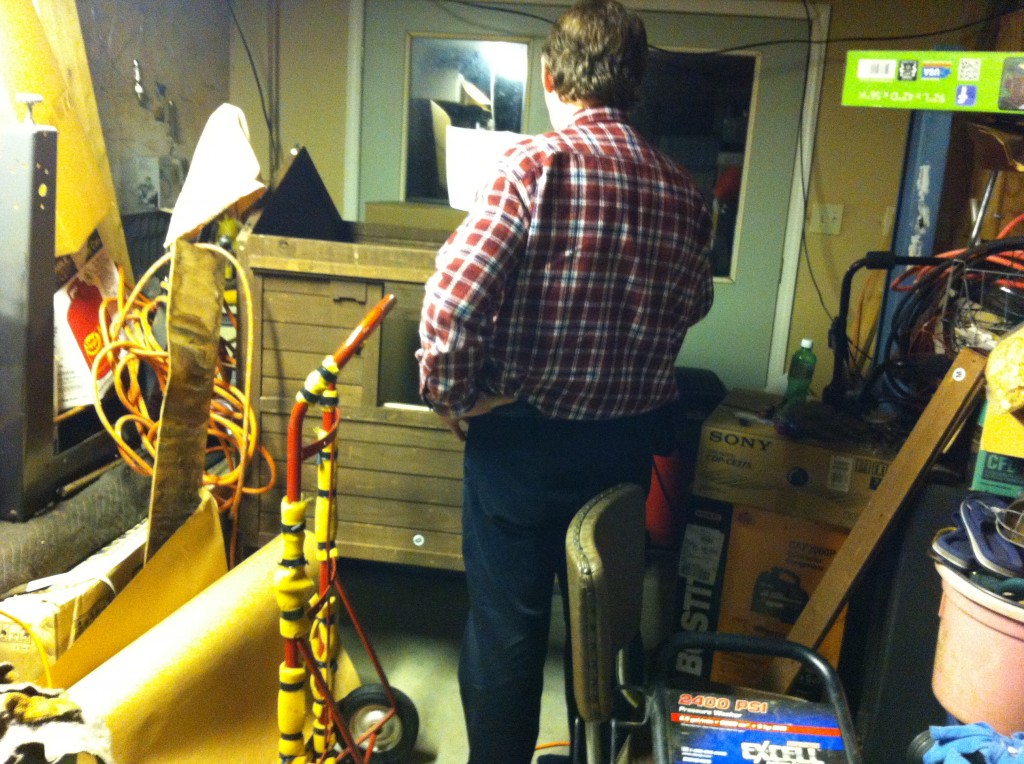
This is what he looks like when he is thinking……

and thinking….

and thinking….

Company finally said, “it will only take 6 screws to fix it.”

So….is that his way of saying I was right?

Becky

Just What I Always Wanted

Did you know that Sam’s sold chicken coops?

Oldest daughter who does not cook was the one that told me.

I had to chirp on over to Sam’s Club and take a look.

I have been talking about getting backyard chickens for about 6 months. I am hoping it will be a fun family adventure that will reward us with eggs.

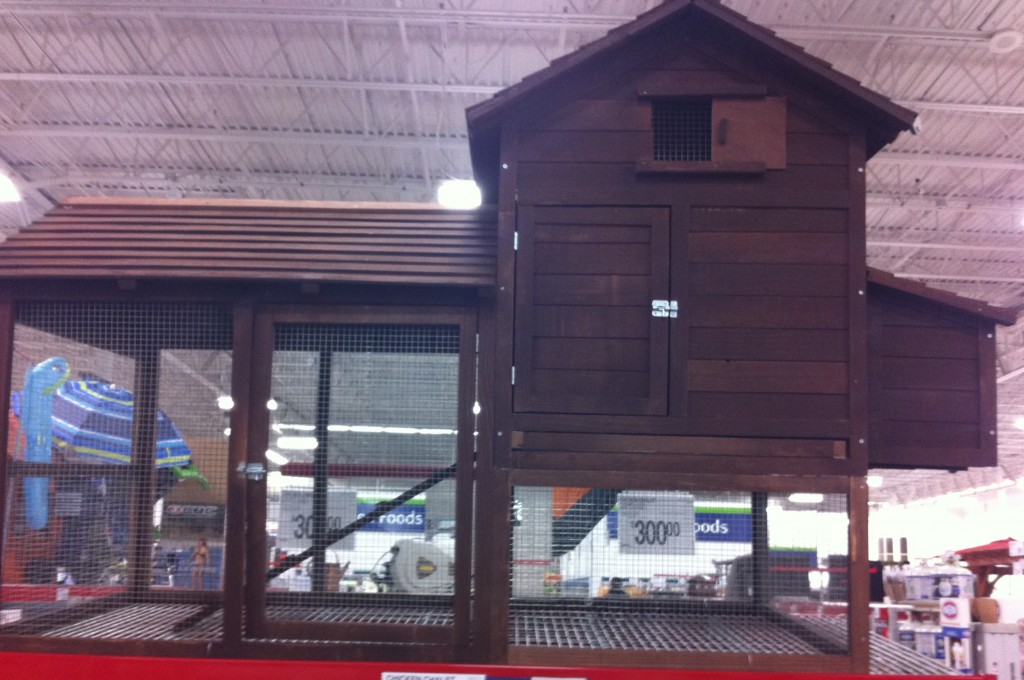
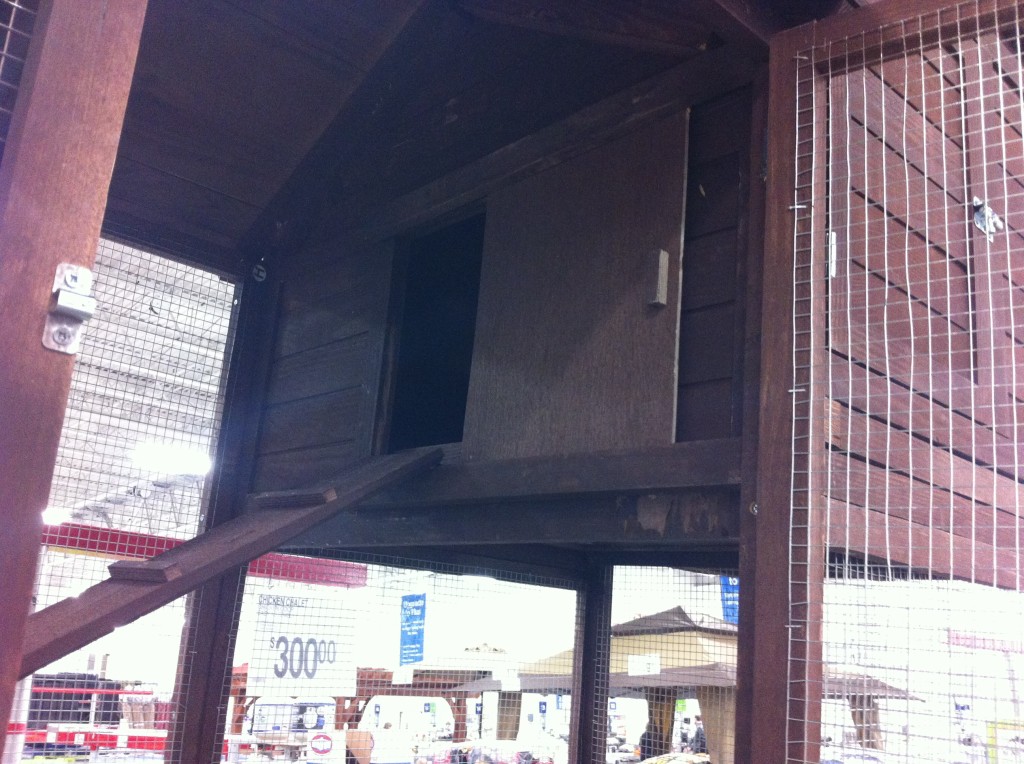
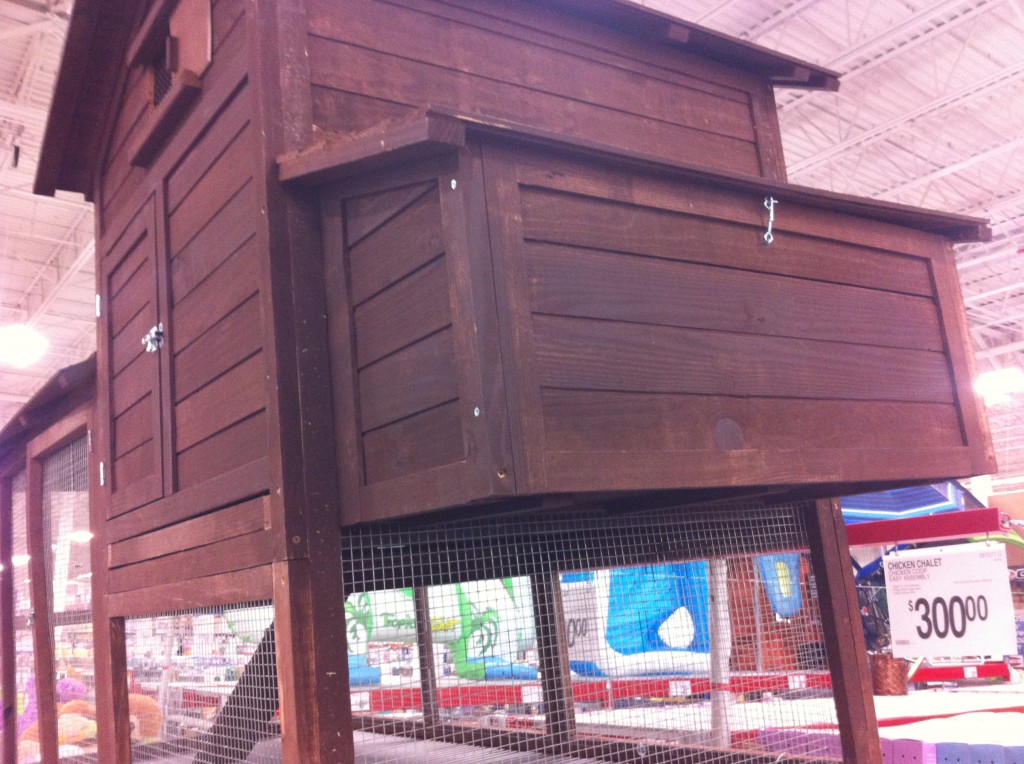
The coop at Sam’s looks like a little doll house on top, if you don’t count the nesting boxes. It has a little stairway and a door way into their little house.

You can reach in and pluck (steal) eggs right out of the nesting boxes from the outside. Cool…ugh?

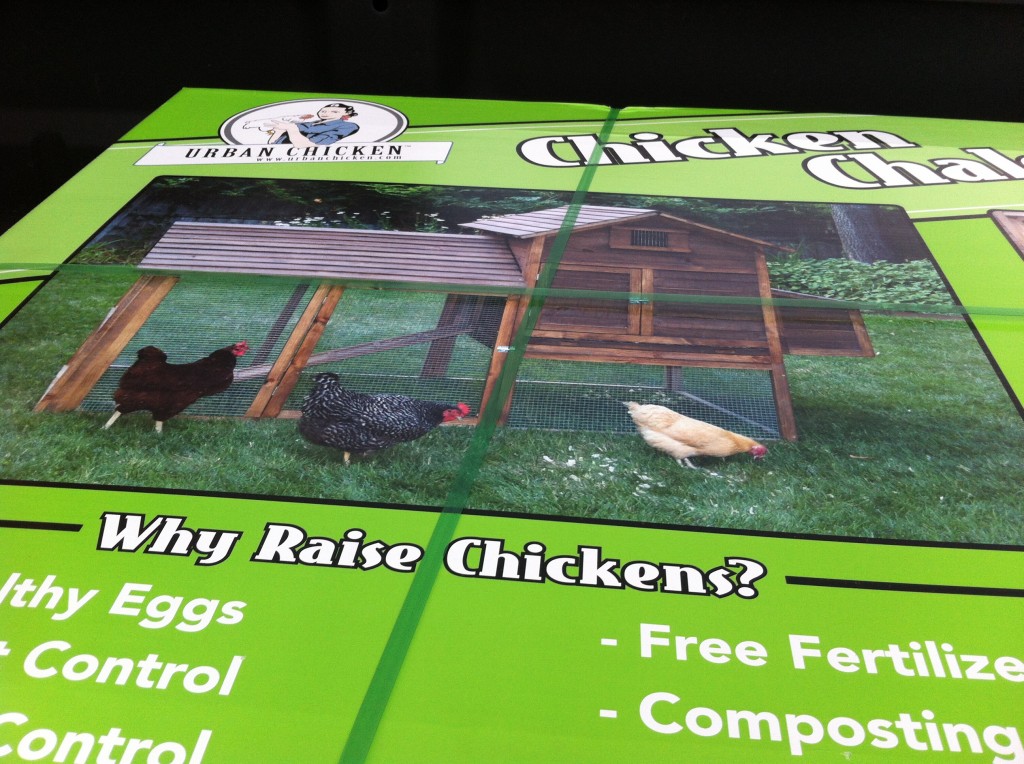
Why raise chickens?

They forgot to list, “cause you want to show your neighbors how crazy you are,” on the box

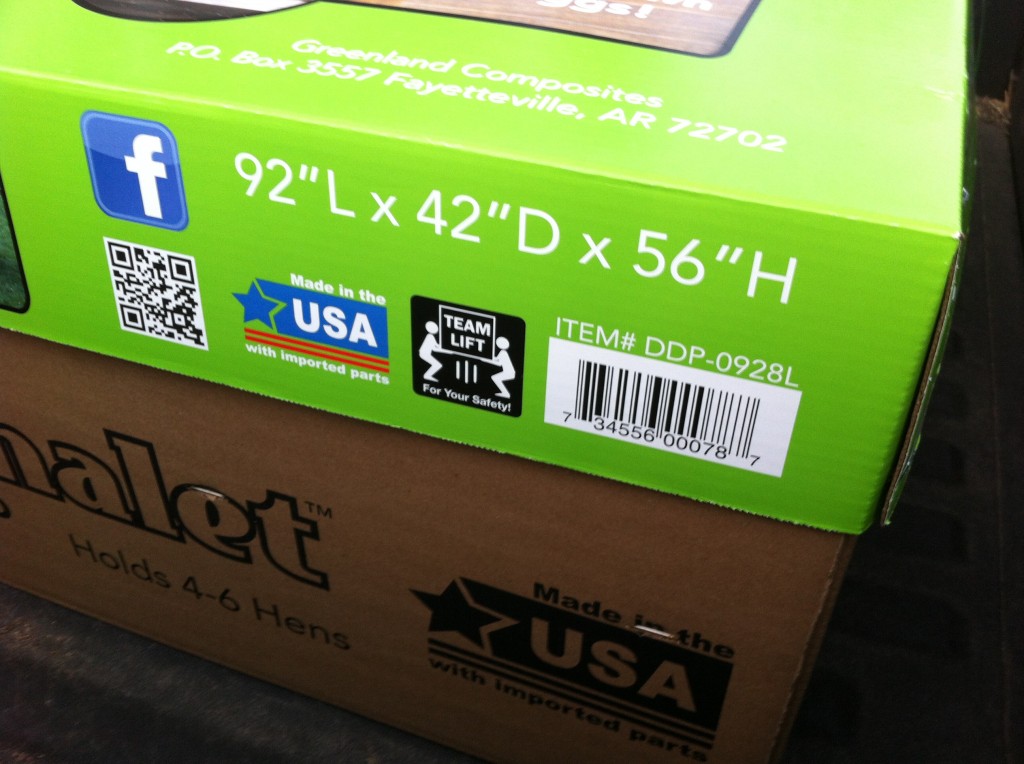
Here are the dimensions of the chicken coop.

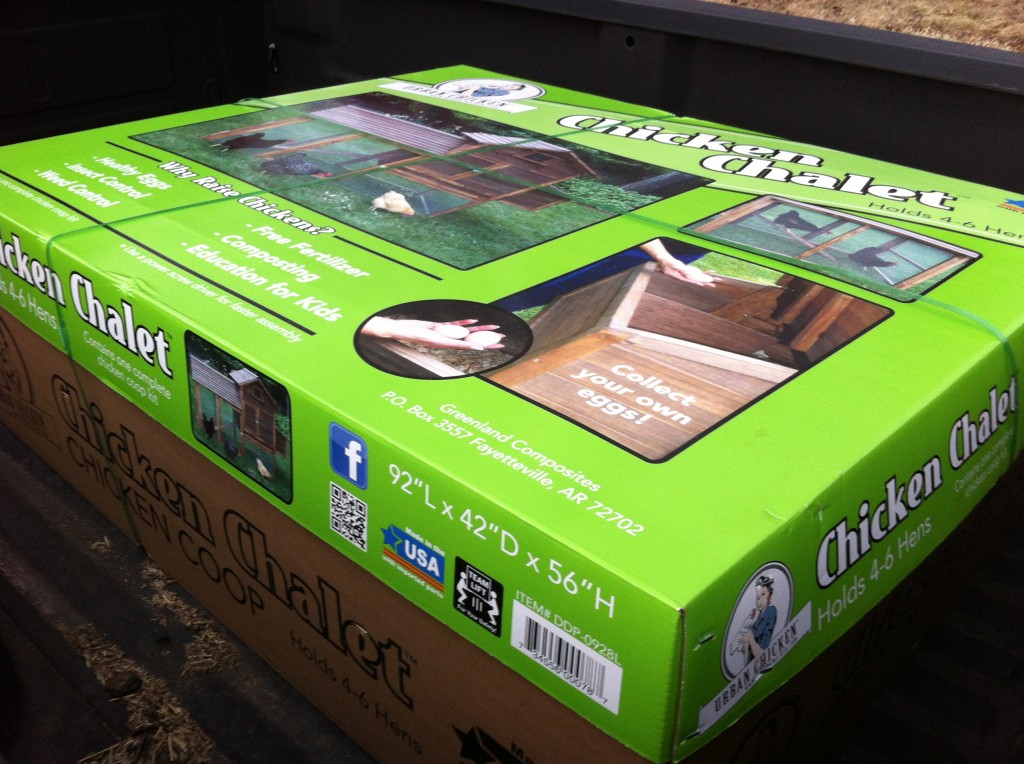
Here is the box in back of Company’s truck.

Yes, I bought a chicken coop!

Shhh….don’t tell my neighbors. (though I can have up to 6 chickens in my back yard, but no roosters)

My neighbors might BAAAKKK at the idea.

Fresh Eggs in 4 months.

Woot Woot!

Becky


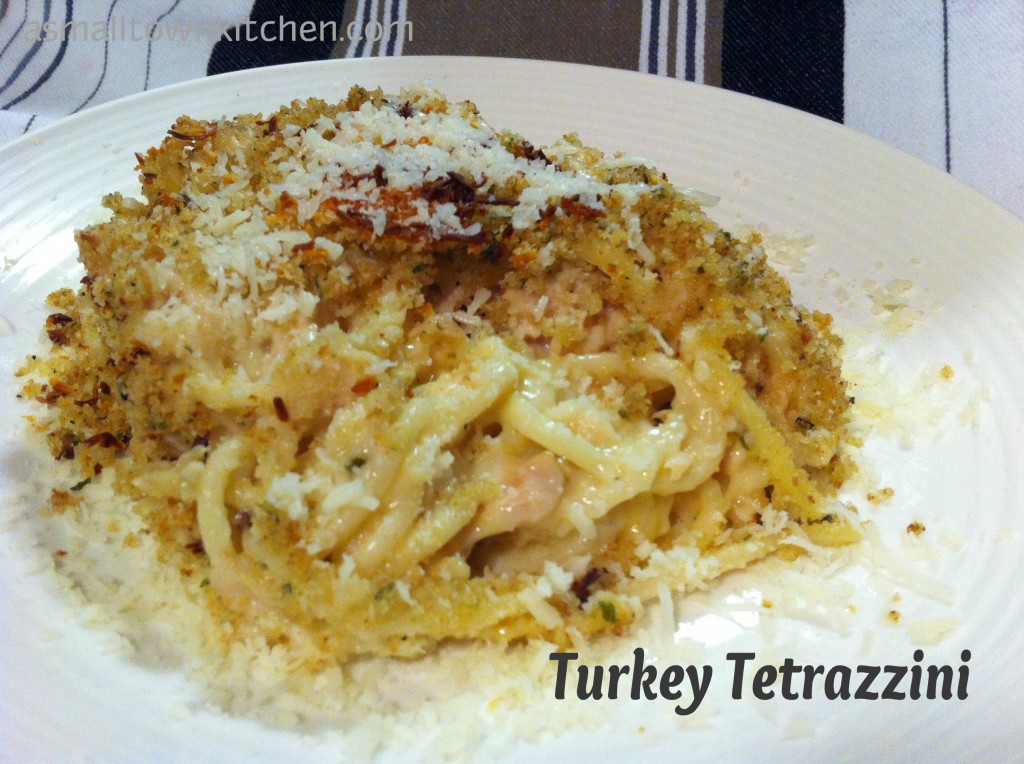
Turkey Tetrazzini

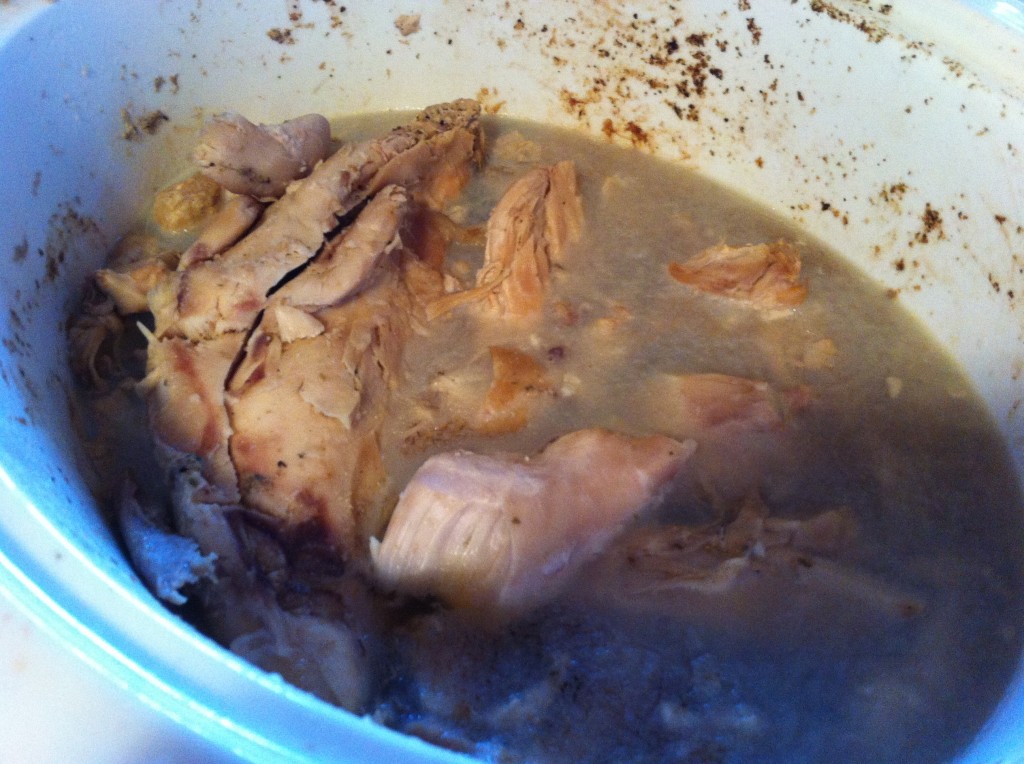
Left over slow cooked turkey breast.

That is how this all got started

Or maybe it was the 8 to 10 inches of snow we were suppose to get last week.

It does not matter.

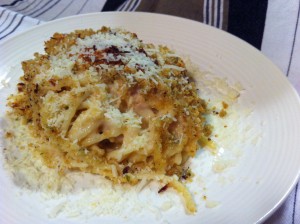
What does matter, is that I got to make this terrifically tasty Turkey Tetrazzini.

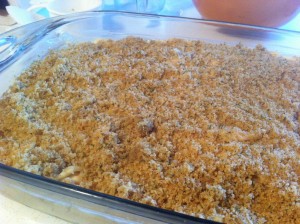
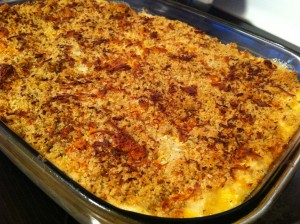
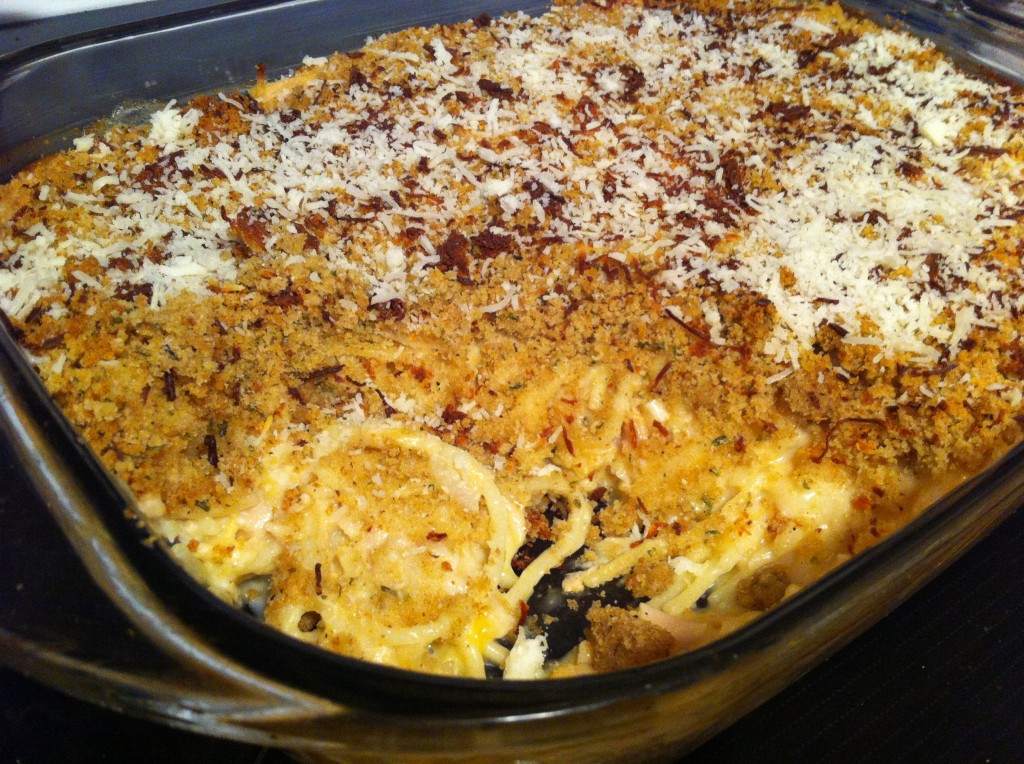
The pictures I used to post this recipe, is a double batch of the recipe.

When it was suppose to snow, I had the  Girl who does not cook, get a turkey breast out of the freezer. I thawed it out and put it in the crock pot all day to slow cook. Company came over that evening, and with all the kids, we had a great meal of turkey, mashed potatoes, corn and broccoli.

Even with all of us, we still had left overs. (which was fine by me)

The left overs gave me a chance to try this awesome Turkey Tetrazzini recipe. So, Tuesday morning, before school, I was able to put this recipe together and put it in the fridge. It was all wrapped up with plastic wrap until I came home from school to pop it in the oven.

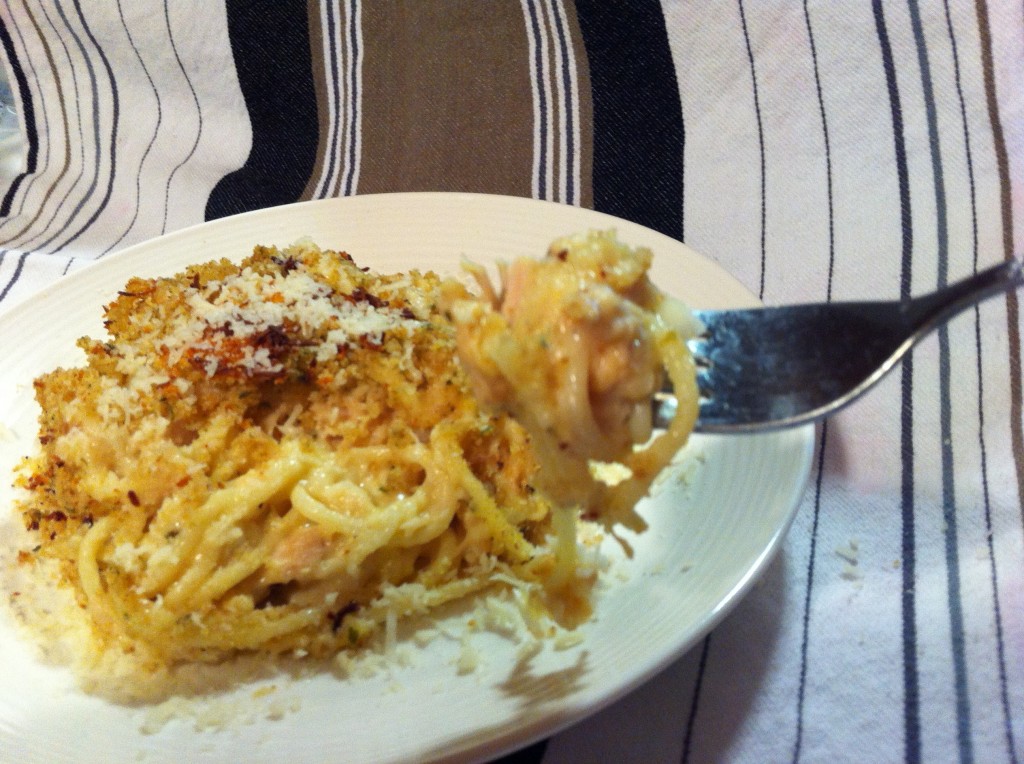
It was great to have something I could just put right in the oven and sit on the couch and let the oven did the baking. In no time at all, we had this warm, creamy and comfy casserole ready to fill our plates. Everyone dug in and kept saying that this noodle thang sure does taste good.

Noodle thang?

Anywho, I put two noodles together and thought you would like a happy, tummy pleasing, easy to make casserole recipe. You can use canned chicken in place of left over turkey too. The noodles will not mind at all.

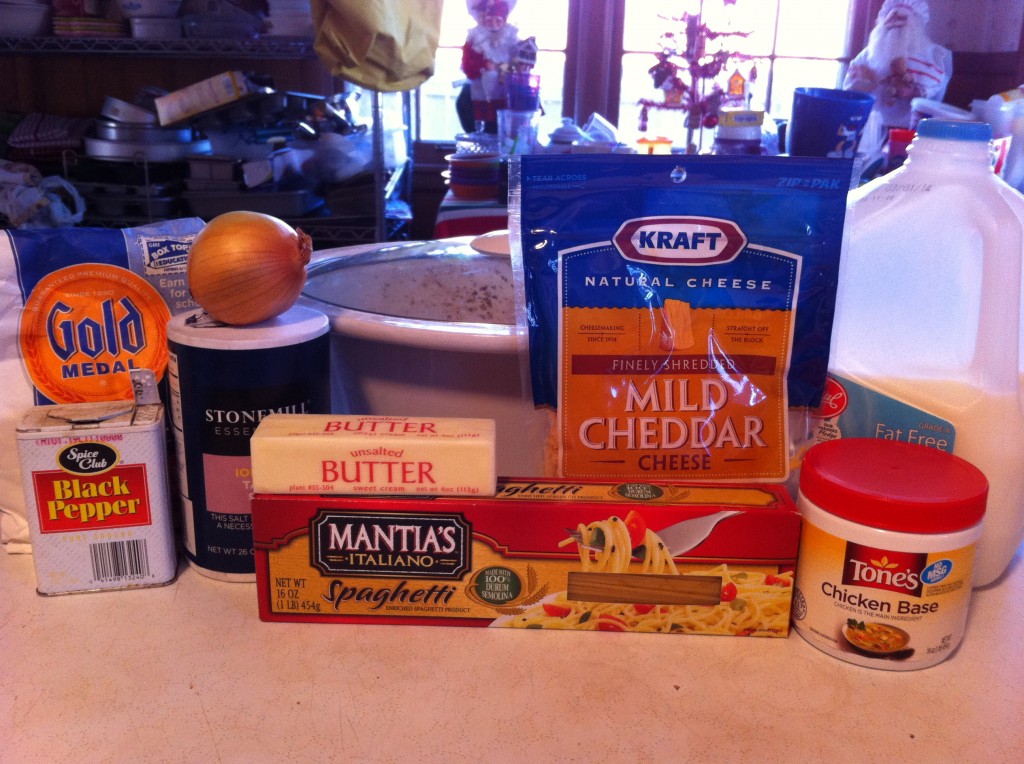
Here is what you will need:

You will need diced turkey, spaghetti, chicken base (or chicken bouillon) milk, flour, salt, pepper, cheddar cheese, onion and butter or margarine.

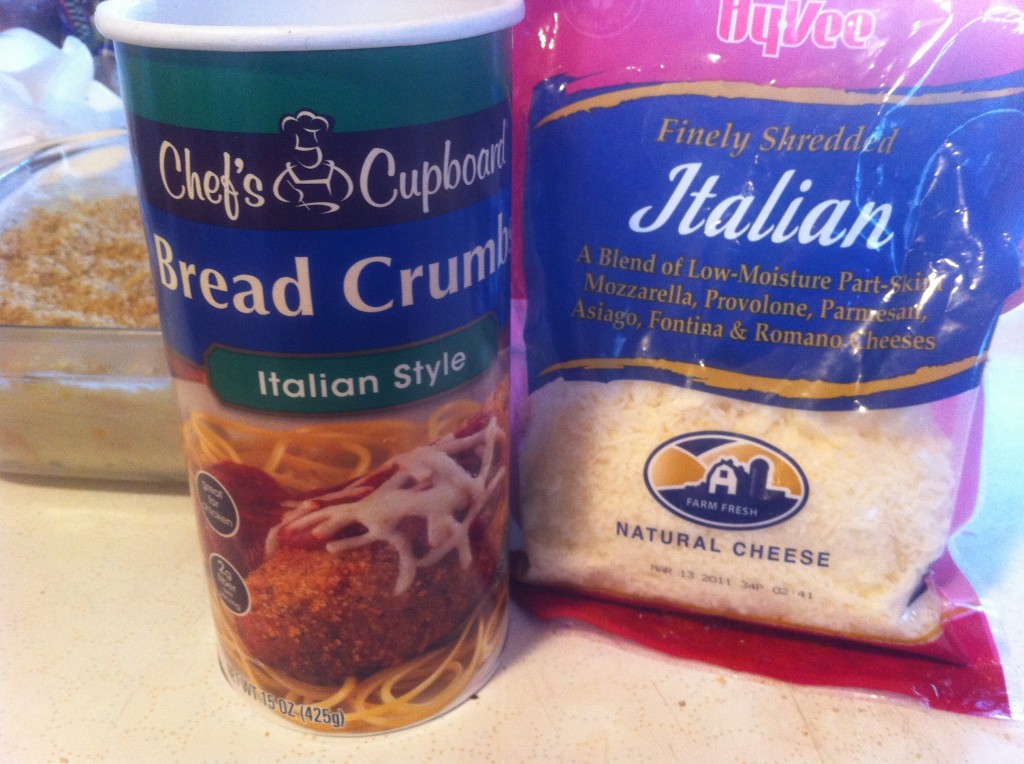
Can you tell I forgot to put the bread crumbs and the Italian cheese in the first picture? You will need these for the topping along with a little bit of butter.


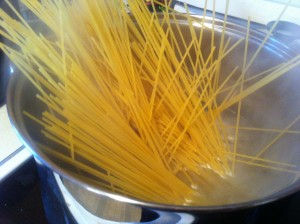
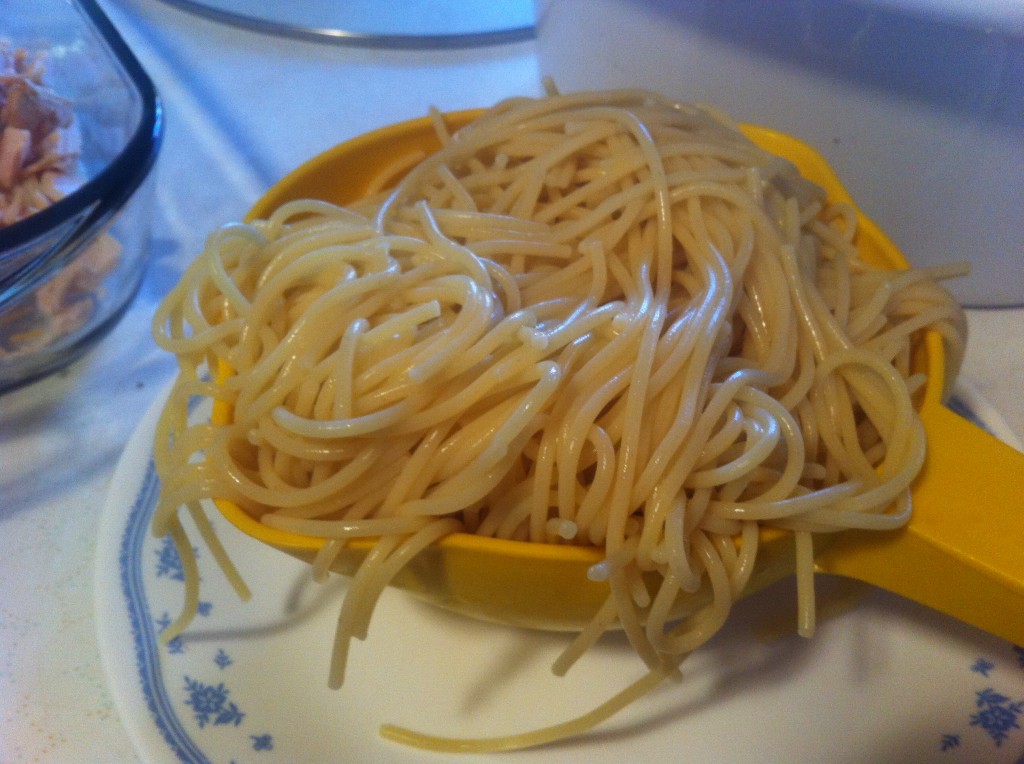
First thing you need to do is cook the spaghetti, following the directions on the box.

Rinse spaghetti with cold water and drain off all the liquid.


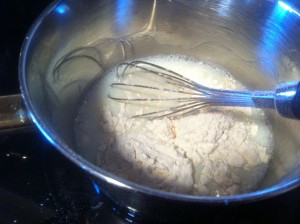
To make the sauce, pour milk in a medium size sauce pan. Add the flour and whisk in. After you have the flour whisked in you can heat the milk mixture on medium heat.


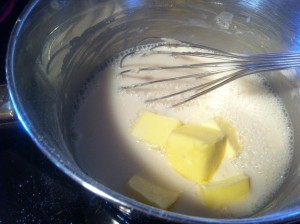
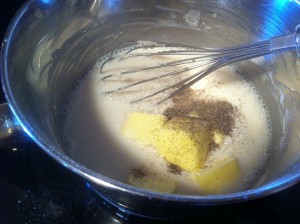
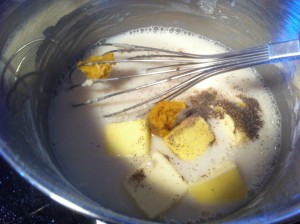
Add in the butter, and the pepper.


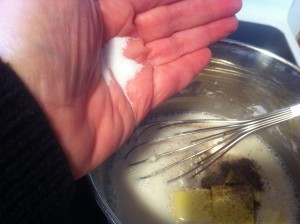
Add the salt and the chicken soup base. (or a chicken bullion cube)


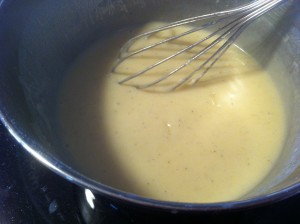
Continue to heat the milk mixture, making sure to whisked. Heat to boiling, stirring continuously so it does not form lumps. After it boils, remove from heat.


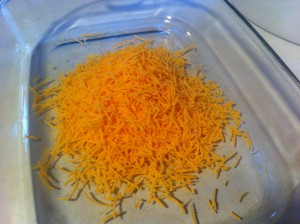
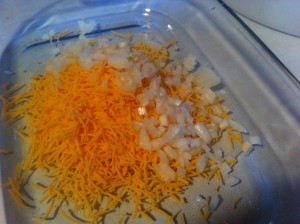
In the bottom of a lightly greased casserole dish, pour in your cheddar cheese. Then, your diced onion.


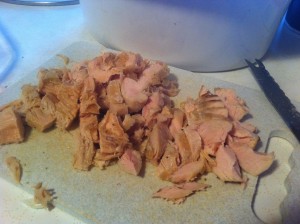
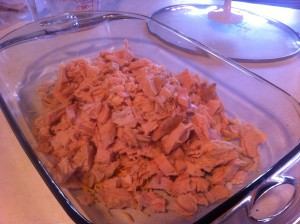
Dice up your turkey, and add the diced turkey to the cheese and onion.


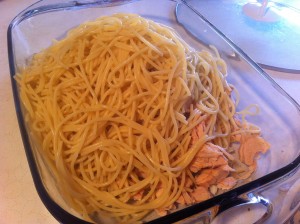
Add your cooked spaghetti and combine all the ingredients.


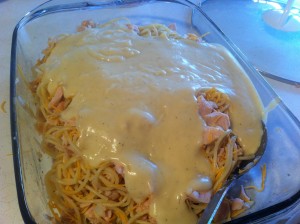
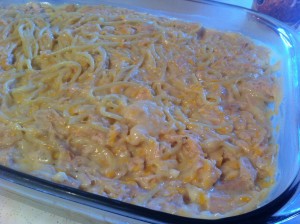
Pour your white sauce  over the spaghetti mixture. Stir until all the ingredients are thoroughly combined.


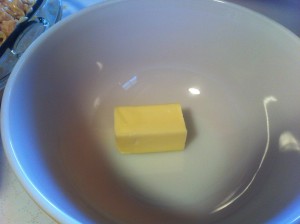
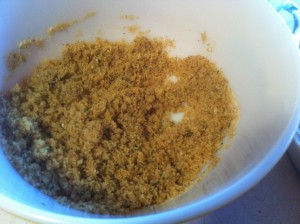
Melt a little butter in a microwave bowl. Add the bread crumbs to the melted butter and stir.

Sprinkle the casserole with the bread crumbs. Sprinkle Italian cheese on top of the bread crumbs. Bake until bubbly in a preheated 350 degree oven.

Garnish with more Italian cheese.

Grab a fork and dig in!

Here is the recipe:

Turkey Tetrazzini

Ingredients for the white sauce:

1/3 cup flour

1/3 cup butter

1 1/2 cup milk

2 chicken bouillon cubes (I used 1 1/2 teaspoon of chicken soup base)

1/4 teaspoon pepper

1/2 teaspoon salt

Directions for white sauce:

Combine in a saucepan and stir over medium heat. Stir continuously until it boils and thickens. Set Aside.

In a casserole dish, place:

3/4 cup grated cheddar cheese

3 cups coked spaghetti

2 cups cooked and cubed turkey

1/4 cup finely chopped onion or green pepper and or canned mushrooms (most of my family hates mushrooms, so I had to leave the mushrooms out)

Combine the casserole ingredients. Pour the white sauce over the ingredients and stir till the sauce in fully mixed in.

Topping:

3/4 cup bread crumbs

2 tablespoons melted butter

Combine together and sprinkle on top casserole ingredients.

Top with a 1/4 cup of Italian Cheese (I sprinkle more on later for a garnish)

Bake in a preheat 350 degree oven for 25 minutes or until crispy and bubbly

I hope this recipe tickles your noodle and you give it a try!

Enjoy!

Becky

Other post you may enjoy:


Chicken and Spinach Enchiladas      Layered Mint Brownies                             Thanksgiving Dressing


Country Garden, Update, Update, and Update

If you have been following along, you will already know about the 250 strawberry plugs that Company and I planted way back in Oct. and Nov. and finished up in Dec.

If you are curious you can read all about how we put them in, here, here, here and finally, here.

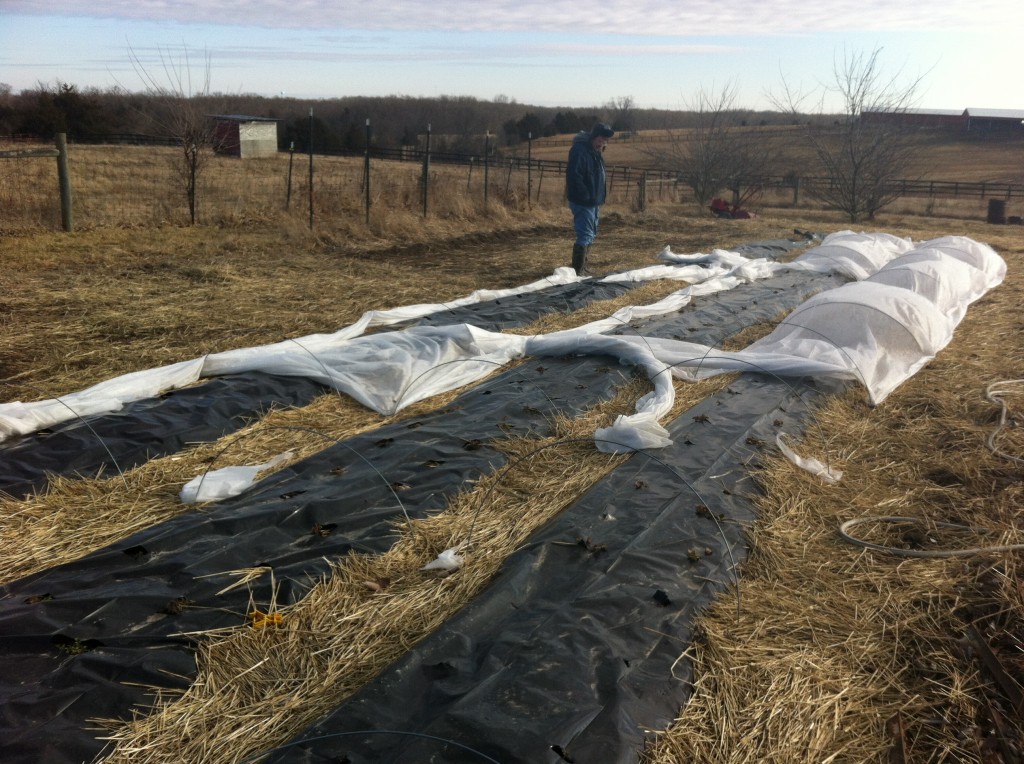
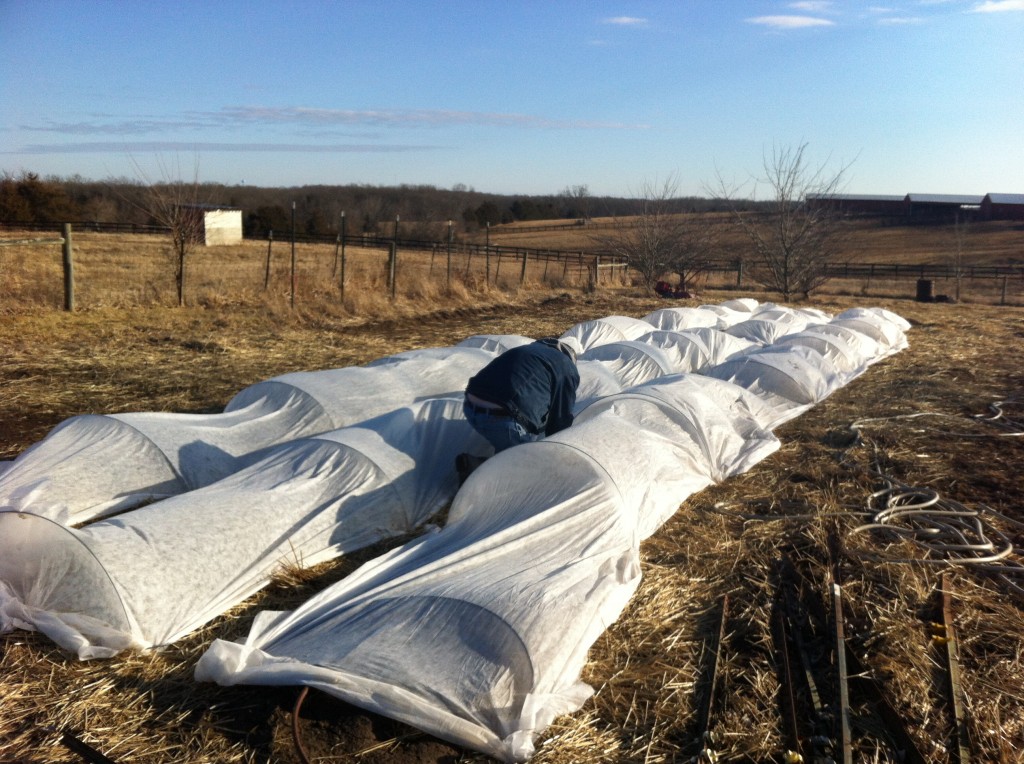
A week ago Sunday, I went to Company’s house after church and we found that the fabric we installed for the floating row covers were blown off and some were torn in half.

YIKES!

Winter is not over yet.

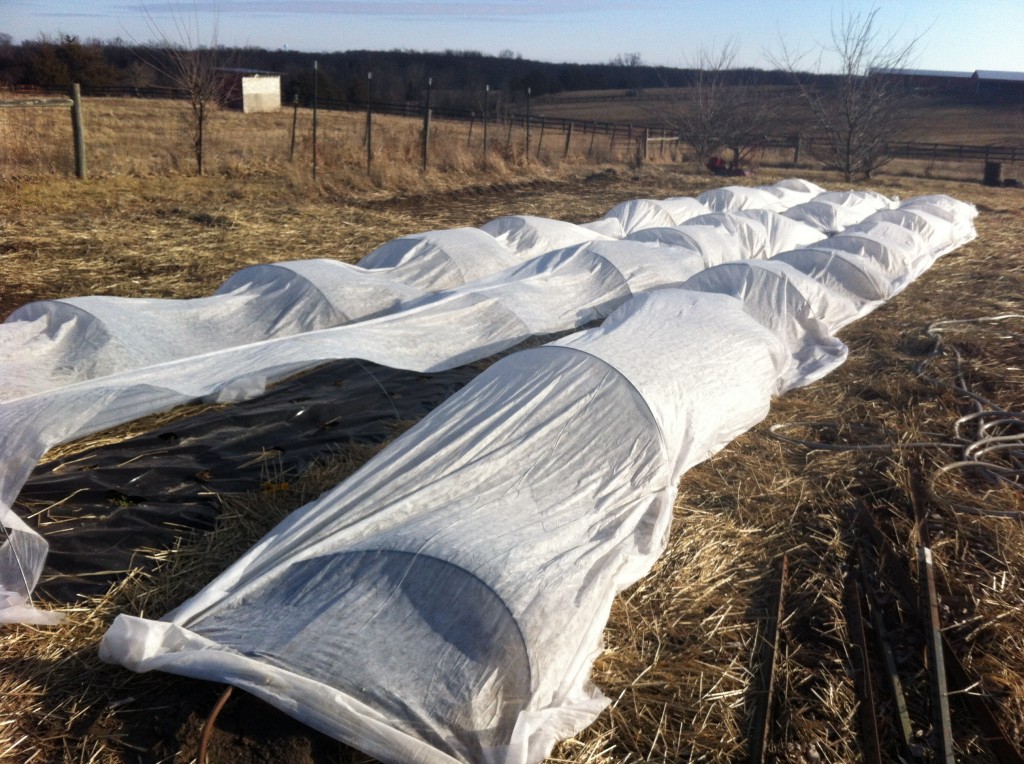
We will not be pulling the covers off (at this rate) until later this month, we when feel confidant that the temperatures will not get below 20 degrees.

So, we got busy and tried our best to get the rows all covered up again.

It took about a little over an hour but we finally got them all tucked in tight again, until it starts to get warm and stay warm.

Here is Company finishing up the last row.

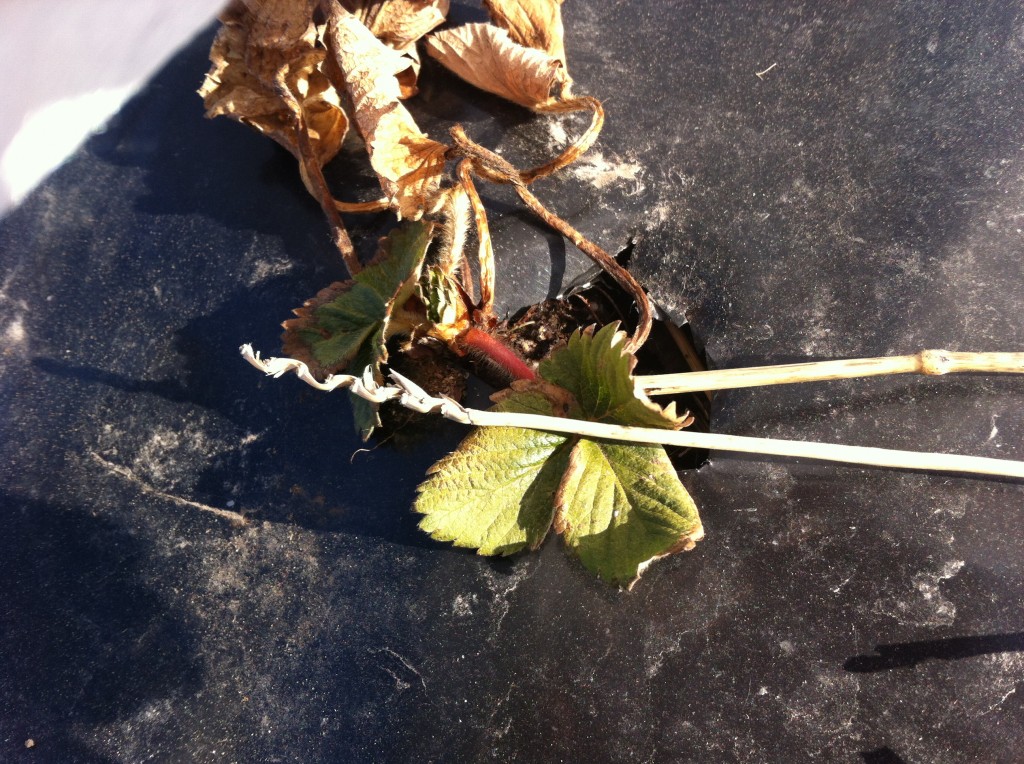
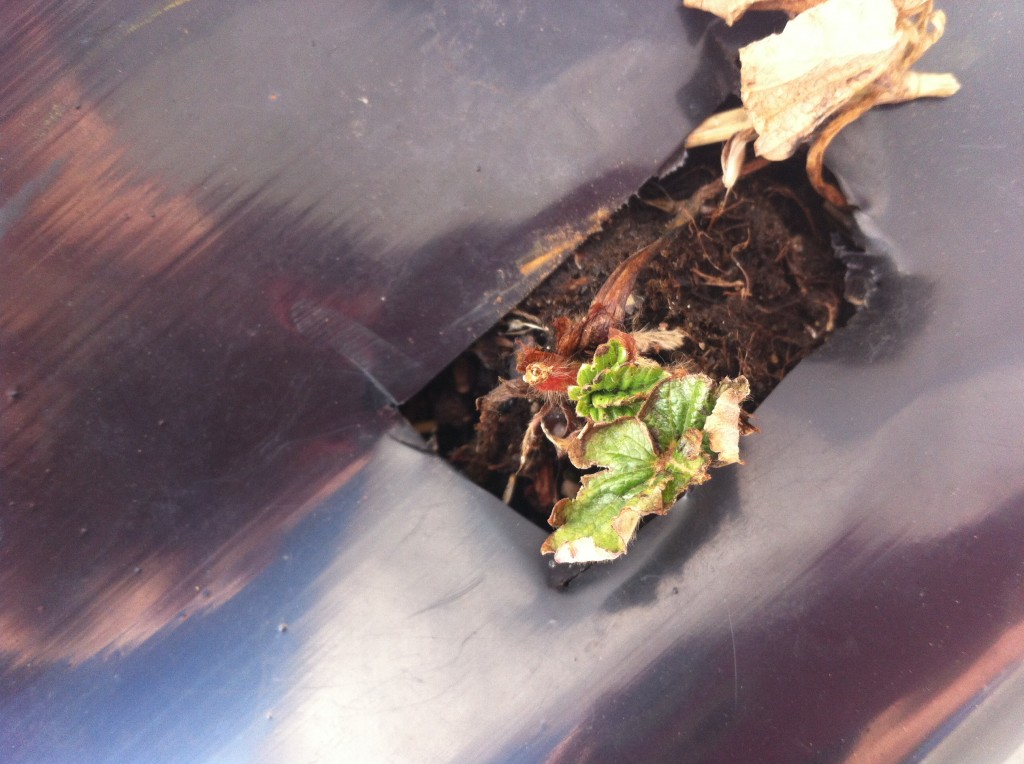
Whew, I still see a little life in the strawberry plugs. With the winter we had, we were not for sure how many of the 250 plants would make it through. I am thinking we may have lost 50 of them. But, only time or rather spring weather, will tell how many spring back to life. Regardless, we should have enough strawberries to share with family and friends.

Ok….now we will move on to the fruit trees.

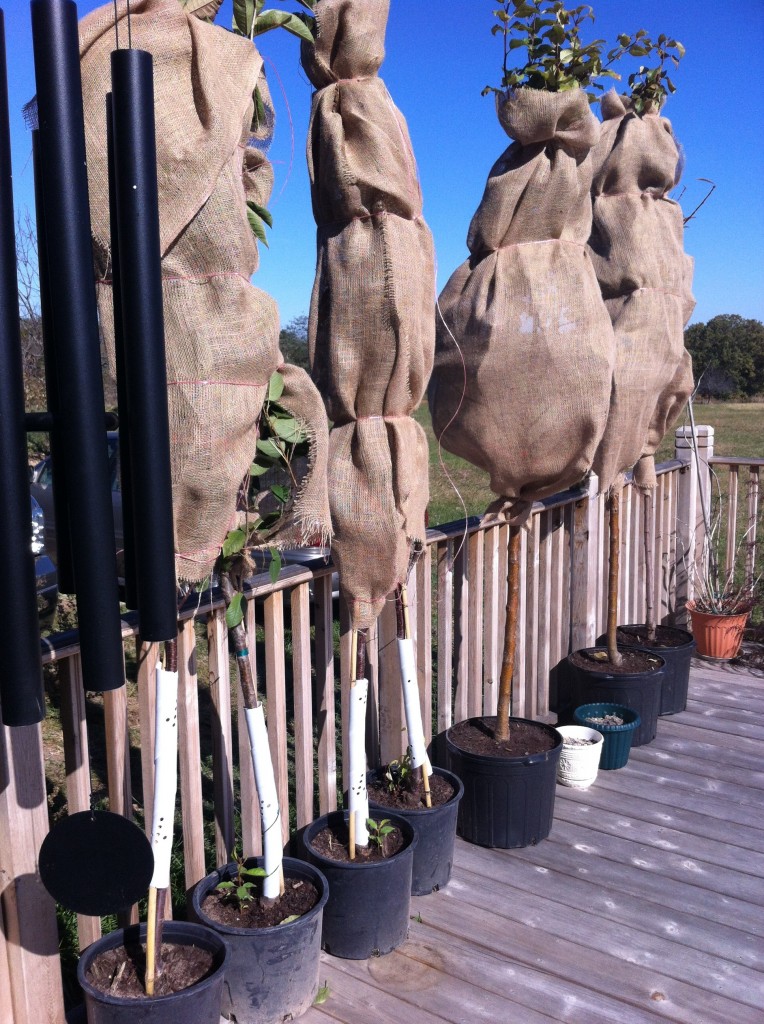
I think back in October or November we planted an additional 6 fruit trees to the apples trees that Company already had.

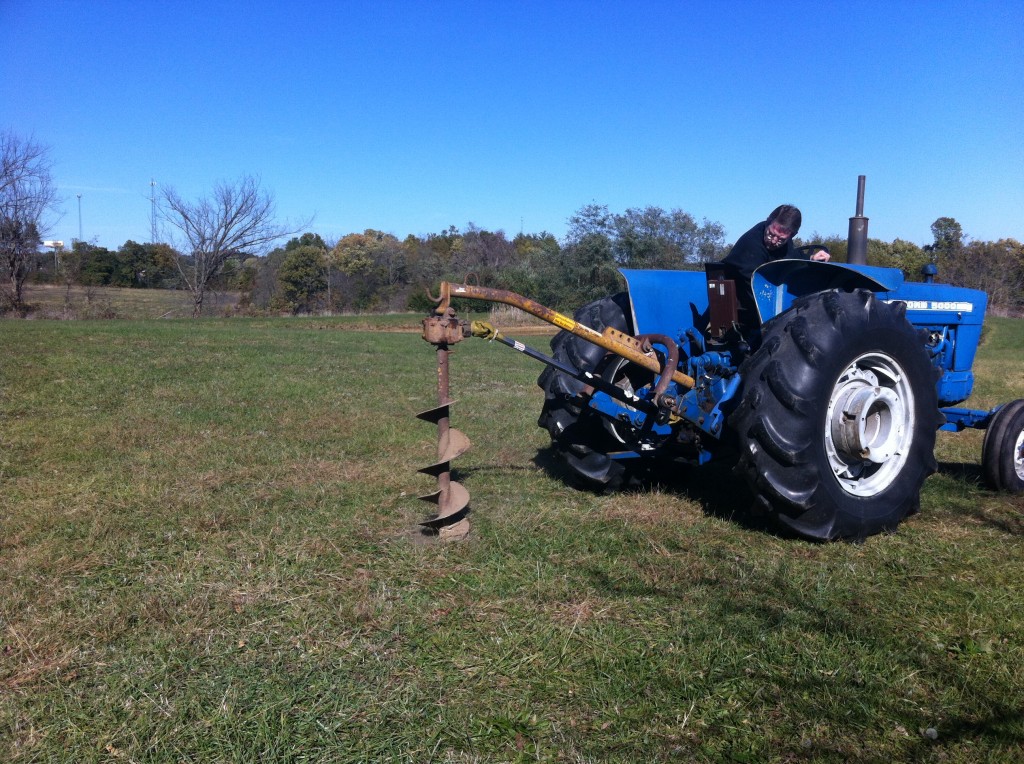
Of course, he cheats and uses this fancy hole digger to dig the hole that he can attach to his tractor.

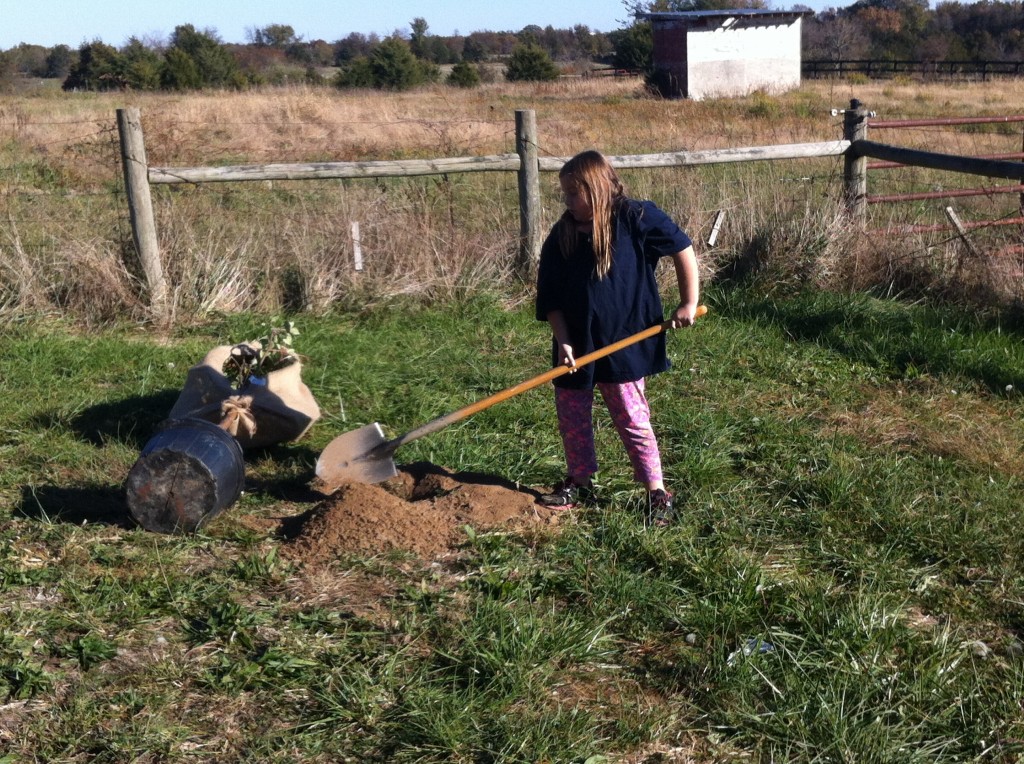
Here is middle Grandgirl, helping plant the apple trees.

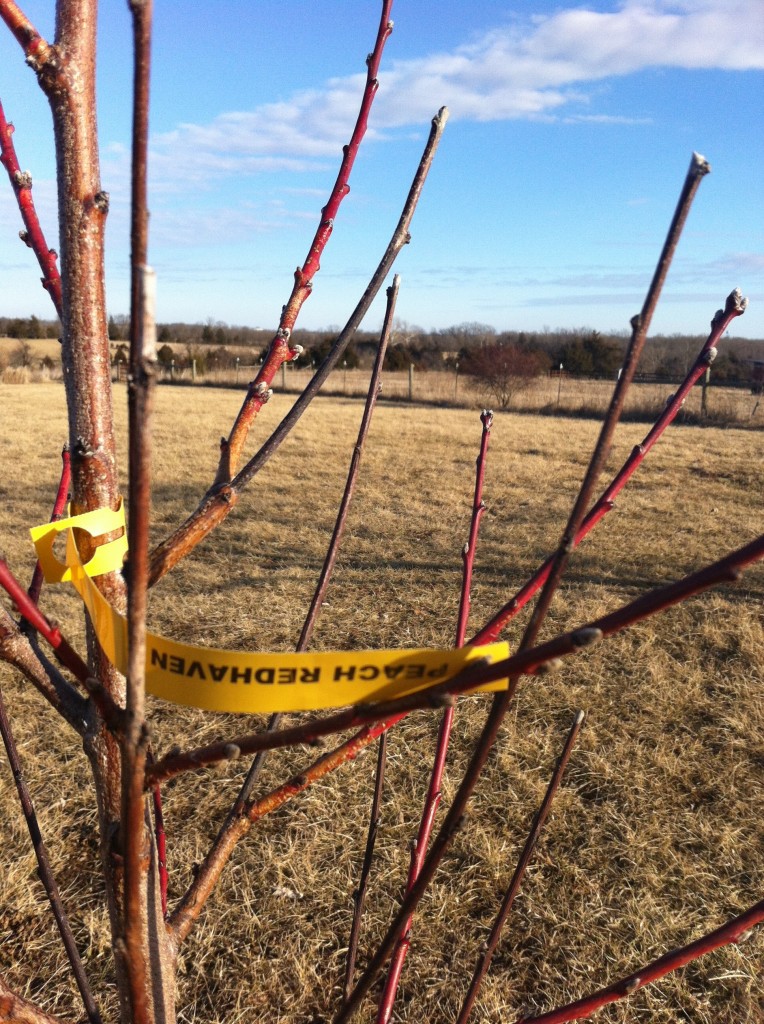
I am glad to report, as of a week ago, the fruit trees are doing great. This is the peach tree, and there is little buds on the branches.

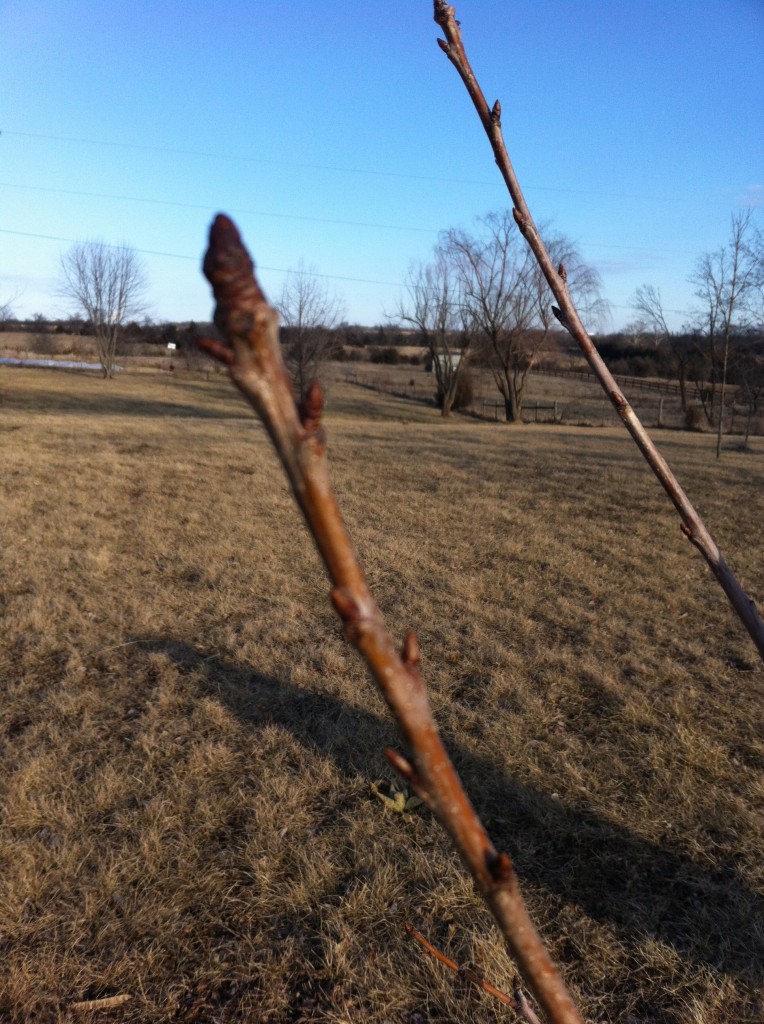
All the apples trees have buds on them too. Sorry, the picture is blurry, but the cold air was blowing hard in farm country that afternoon.

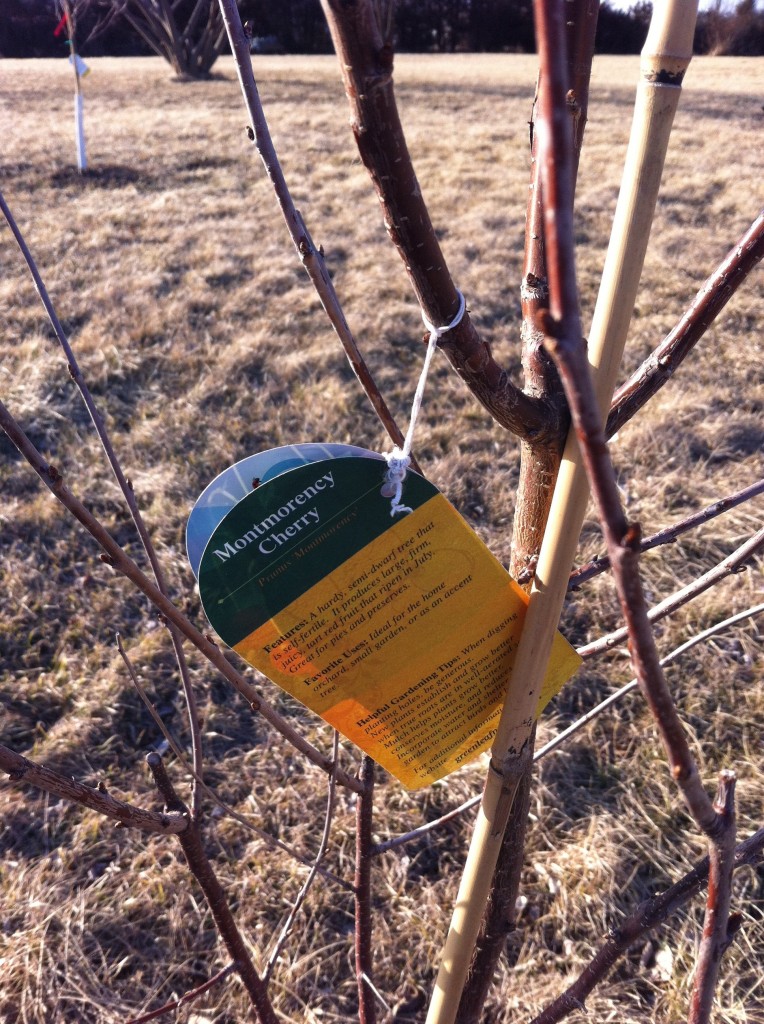
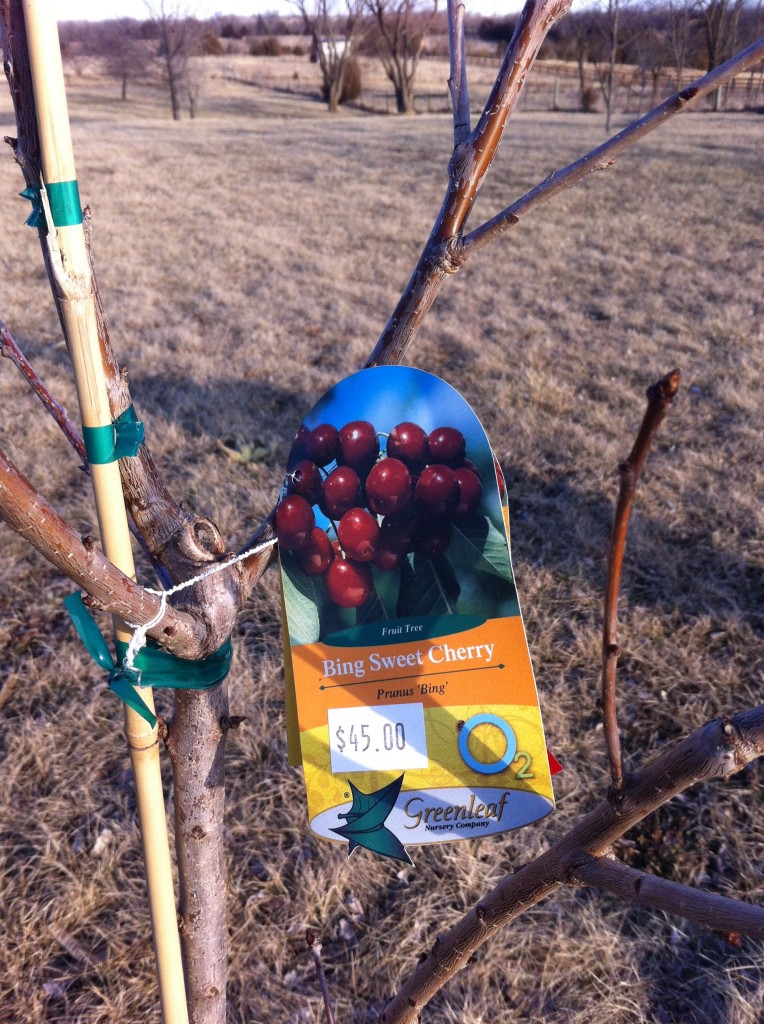
Here are a couple of the cherry trees we planted in the front yard.

I am glad to report that the cherry trees have buds on them too.

Now, I know we will not get fruit from the trees for a few more years, but you have to start somewhere right,

I wish I was feeling that confidant about our garlic and onion sets we planted in the fall.

This is a picture of the tops coming up taken the end of December.

This is what I found a week ago. It was cold, and I had already spent over an hour (in my church clothes) fixing the floating row covers, so I could not get down and look over the whole patch. Anywho, we will have to wait to see what spring brings with the garlic and onions. Maybe, it was just so cold the tops froze. Maybe, it is too wet at the end of the garden and the bottoms rotted. Maybe, they will be just fine when it warms up, which I hope will be the case.

So, those are my three updates with the garden in the country.

I hope this inspires you to dig a hole and plant something : ).

You never know what will sprout up.

Becky


Gooey Gorilla Bread

Normally, one of the first things I have my students make in a foods lab is Monkey Bread. I have this simple and yummy, microwave Monkey Bread, that works perfect to give my kiddos at school a little experience in the kitchen. Well, I have a new class this semester and half of my kiddos have already made that Monkey Bread recipe. So, I had to find something new to make.

I came across this Gorilla Monkey Bread recipe, and thought it would be perfect for the first kitchen lab. It is simple to make, but has a few more steps, more ingredients to measure and you use the oven instead of the microwave. Plus, it is rich and delicious. So delicious, that NONE of my kiddos even offered me a bite when they made theirs.

That was fine by me, it gave me an excuse to come home and make my own. I thought this morning would be the perfect morning to make it for my family. I was thinking, I would make them a piece of ooey gooey Gorilla Monkey Bread, and they would be ready to shovel the driveway with that 8 to 10 inches of snow we were suppose to get.

Although we did not get the snow, (and that is ok with me), my kiddos inhaled these warm cinnamon nuggets of cream cheesiness.

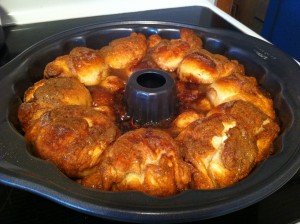
By the time I finally got a decent picture of the finished bread, it was already half gone. (I hid a couple of nuggets for me for later..shhhhh)

Anywho, if  you are looking for a special breakfast or brunch treat, you should give this one a try.

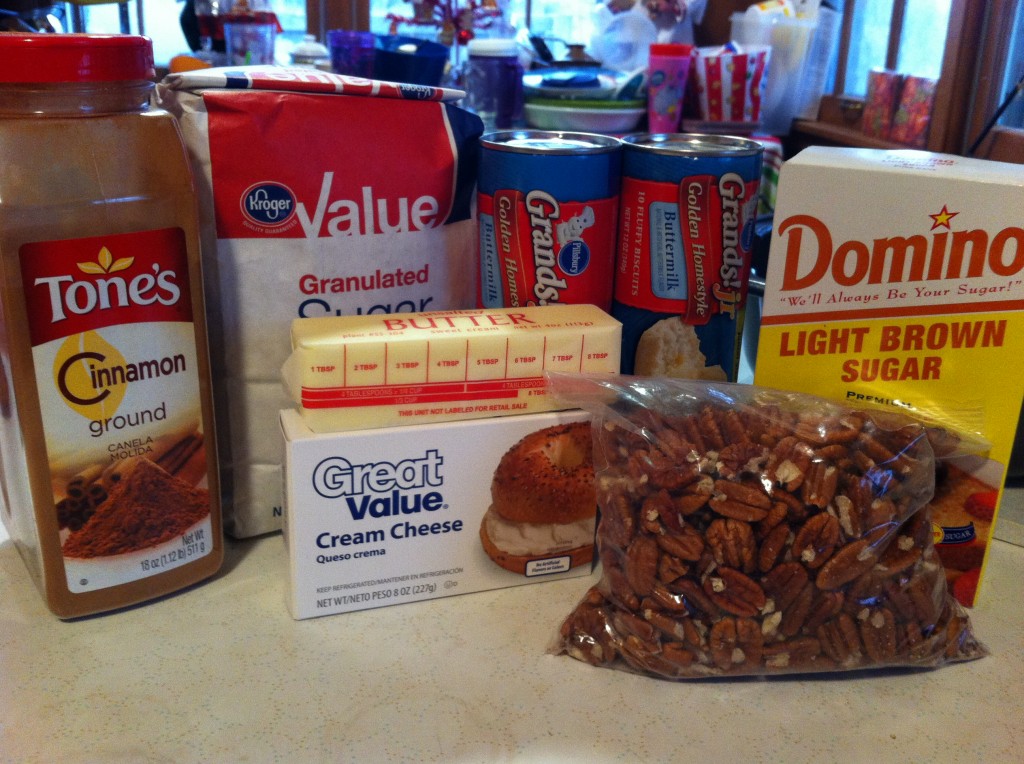
Here is what you need to make this recipe:

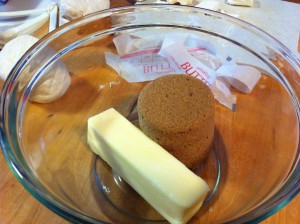
You will need two cans of biscuits, some cream cheese, butter, sugar, brown sugar, cinnamon and pecans or walnuts if you want.


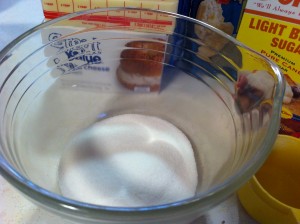
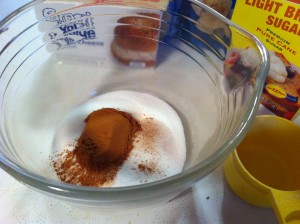
The first thing to do is mix the sugar and the cinnamon together in a medium bowl.


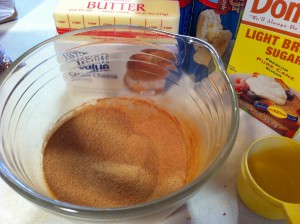
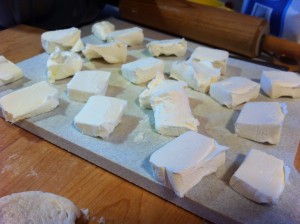
Here is the cinnamon and sugar all mixed up. Now, take the cream cheese and cut the block into 20 equal squares.


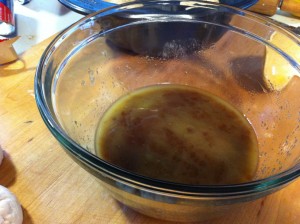
In a microwave safe bowl, melt the butter and brown sugar together until melted. (you can do this on the stove top too in a sauce pan)


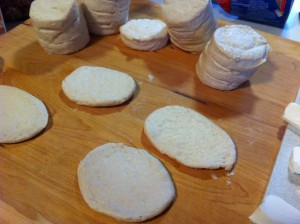
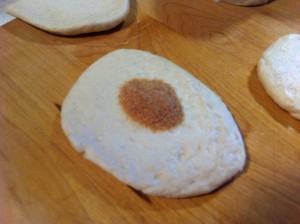
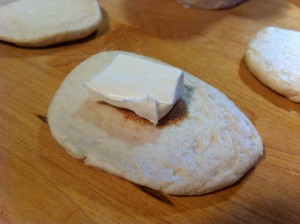
With a rolling pin or with you hands, flatten out and make each biscuit larger. Spoon 1/2 teaspoon cinnamon sugar in the middle of each flatten biscuits.


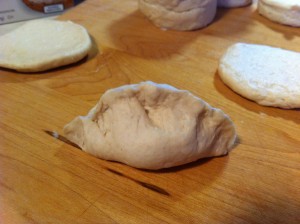
Put a square of cream cheese on top of the cinnamon sugar. Take the biscuits and seal up the edges, making sure the cream cheese is in the middle.


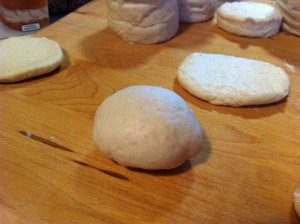
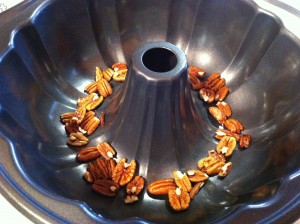
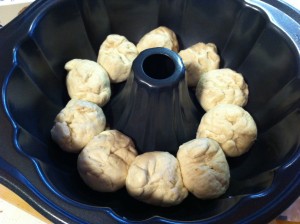
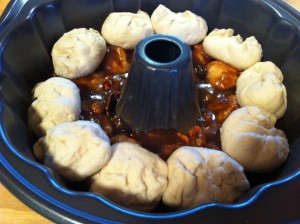
I rolled the biscuits into a somewhat ball after I sealed the edges. Take your bundt cake pan and spray it with vegetable spray. Sprinkle some nuts in the bottom of the pan.


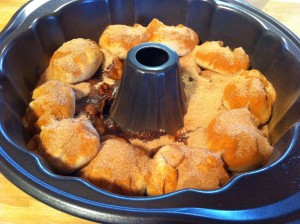
Layer 10 cream cheese filled biscuits on top of the nuts. Sprinkle half of the left over cinnamon sugar on top of the biscuits.


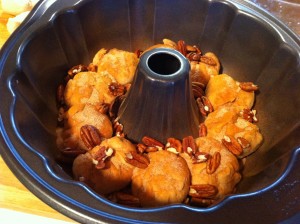
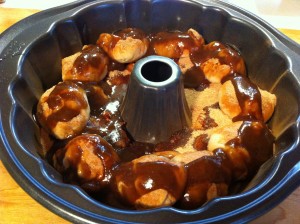
Sprinkle a few nuts on top of the biscuits in the pan. Drizzle half of the melted butter and brown sugar mixture over the top of the biscuits.


Place the rest of the cream cheese filled biscuits on top of the ones already in the pan. Sprinkle the rest of the cinnamon sugar on top of the biscuits.


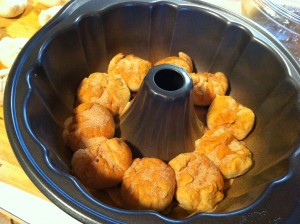
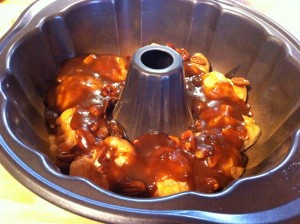
Drizzle the rest of the butter brown sugar mixture on top of the biscuits. Bake in a preheated 350 degree oven for 30 minutes or until completely done.

 Here is the recipe:

Adapted from Paula Deen

Ingredients:

2 cans of 12 ounce refrigerator biscuits (10 count)

1/2 cup sugar

3 teaspoons cinnamon

1 cup brown sugar

1- 8 ounce package of cream cheese

1/2 cup butter

1 cup chopped pecans or walnuts (optional)

Directions:

Preheat oven to 350. Spray a bundt cake pan with vegetable spray. Set aside.

Mix the cinnamon and sugar together. Cut the cream cheese into 20 pieces. In a microwave safe bowl, melt the butter and the brown sugar together to make a sauce. (you can also melt the butter and brown sugar together in a sauce pan on the stove top).

With your hands or with a rolling pin, press out the biscuits to make them larger. Put in 1/2 teaspoon cinnamon sugar mixture in the center of each  biscuits.  Place a piece of cream cheese on top of the cinnamon. Seal the cream cheese and cinnamon inside the biscuits, by pressing the edges of the biscuit together. Sprinkle half of the nuts in the bottom of the bundt pan. Place 10 of the cream cheese filled biscuits in the bottom of the bundt pan on top of the nuts. Sprinkle half of the remaining cinnamon sugar on top of the biscuits.  Pour half of the brown sugar butter mixture on top of the biscuits. Sprinkle the rest of the nuts on top. Layer the next 10 cream cheese filled biscuits on top of brown sugar covered biscuits. Sprinkle the rest of the cinnamon sugar on top of the biscuits. Pour the rest of the brown sugar butter mixture on top. Bake in the oven for 30 minutes or until the biscuits are cooked through. Let the gorilla bread cool for 5 minutes before turning the pan upside down to release from pan.


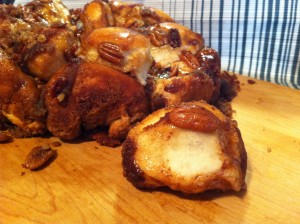
Here is one of those nuggets of goodness. The next pictures is one cut in half so you can see the creamy filling.

Hope you love this recipe!

Stay Warm!

Becky
You may also like:


Creamy Potato Soup                        Chicken and Spinach Enchiladas                        Chicken Pot Pie 


No Snow Equals No School

This is the frozen fountain in front of my school.

I took this picture at the last time we had sub zero temperatures.

We did get a sprinkling of snow and we had sleet this morning.

One thing we do have it frigid cold air outside.

I am glad to be staying home tomorrow.

BRRRR it is cold outside

Becky
 

Waiting for the Snow….

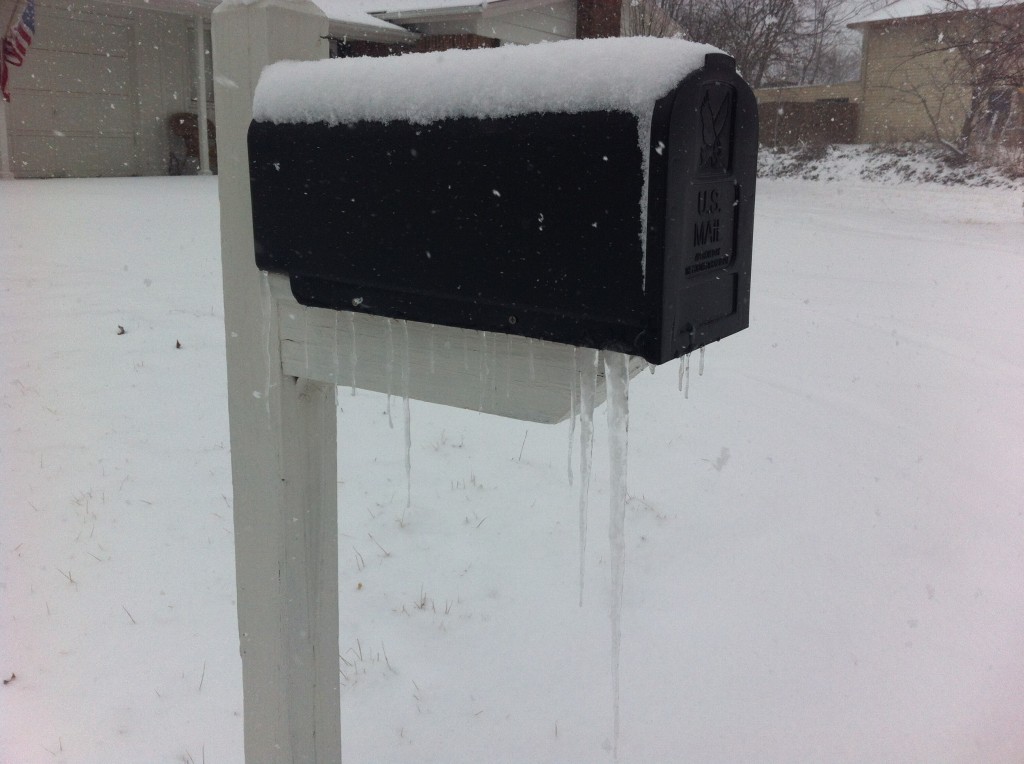
This is what my neighbors mailbox looked like when it started snowing the first of February, one month ago.

That was when school was canceled for one whole week.

Now, it is the second of March and we are waiting for another snow storm. But, at 9:30 this morning, there is still not a hint of any snow.

Road advisories were given out.

Church was cancelled.

I have bought enough groceries to feed my family (army) for a month.

Oldest daughter who does not cook has a large (mammoth) size bag of ice melt down by the driveway.

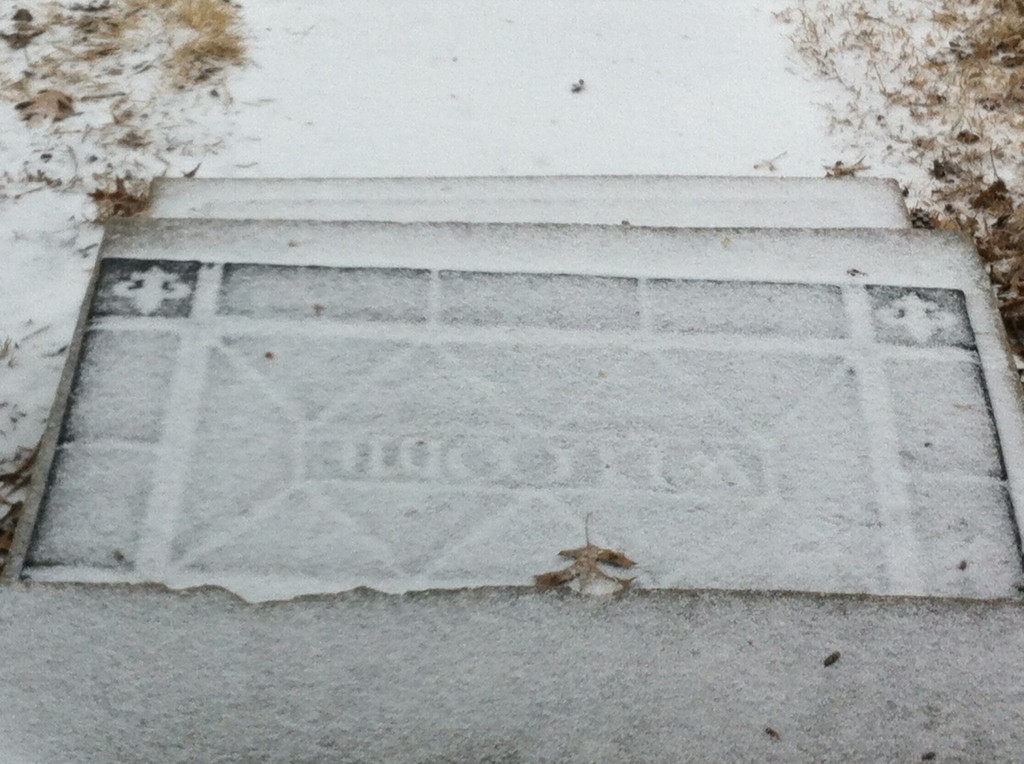
I have one upstairs for the front walk.

We took one car to the country to Company’s house so we could get all the cars in the driveway, so the cars would not be buried on the street by the snow plows.

We are organized, ready to be snowed in, my favorite old movies are all ready to be dusted off and watched.

Still no snow…..

I will keep you updated.

I think I better go ahead and do my laundry for school tomorrow….just in case.

Becky
Related Posts Plugin for WordPress, Blogger...