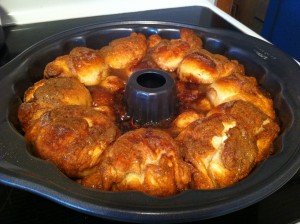
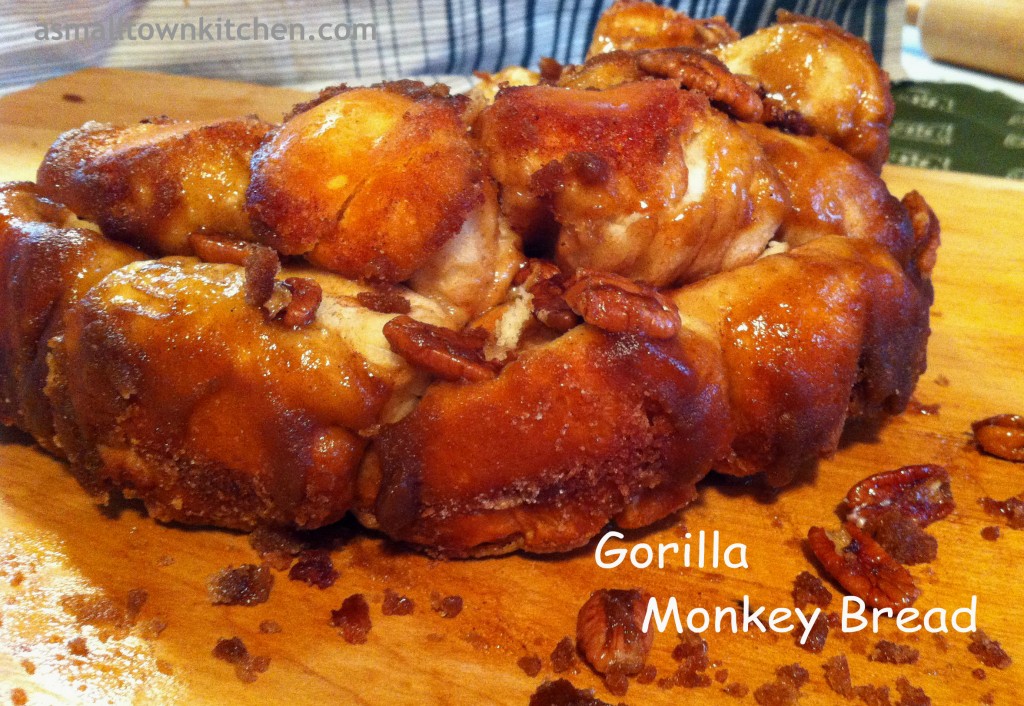
Gooey Gorilla Bread

Normally, one of the first things I have my students make in a foods lab is Monkey Bread. I have this simple and yummy, microwave Monkey Bread, that works perfect to give my kiddos at school a little experience in the kitchen. Well, I have a new class this semester and half of my kiddos have already made that Monkey Bread recipe. So, I had to find something new to make.

I came across this Gorilla Monkey Bread recipe, and thought it would be perfect for the first kitchen lab. It is simple to make, but has a few more steps, more ingredients to measure and you use the oven instead of the microwave. Plus, it is rich and delicious. So delicious, that NONE of my kiddos even offered me a bite when they made theirs.

That was fine by me, it gave me an excuse to come home and make my own. I thought this morning would be the perfect morning to make it for my family. I was thinking, I would make them a piece of ooey gooey Gorilla Monkey Bread, and they would be ready to shovel the driveway with that 8 to 10 inches of snow we were suppose to get.

Although we did not get the snow, (and that is ok with me), my kiddos inhaled these warm cinnamon nuggets of cream cheesiness.

By the time I finally got a decent picture of the finished bread, it was already half gone. (I hid a couple of nuggets for me for later..shhhhh)

Anywho, if  you are looking for a special breakfast or brunch treat, you should give this one a try.

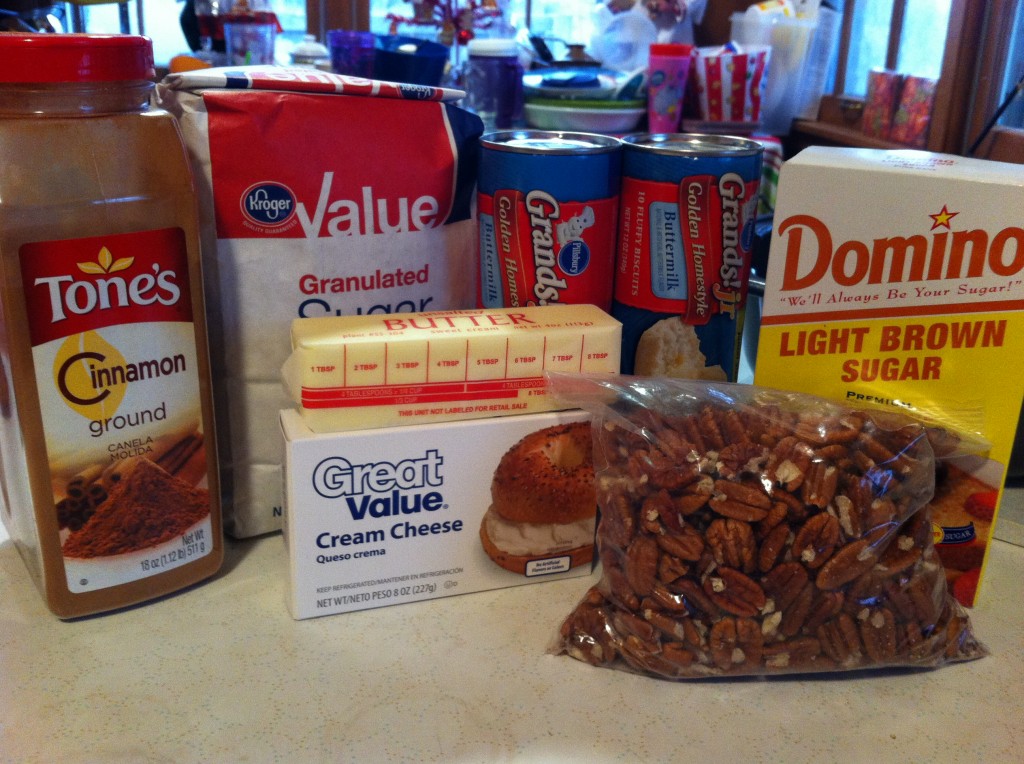
Here is what you need to make this recipe:

You will need two cans of biscuits, some cream cheese, butter, sugar, brown sugar, cinnamon and pecans or walnuts if you want.


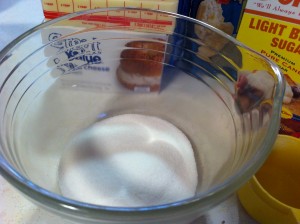
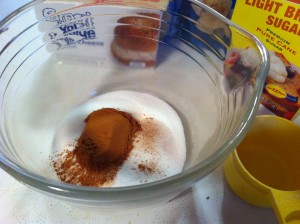
The first thing to do is mix the sugar and the cinnamon together in a medium bowl.


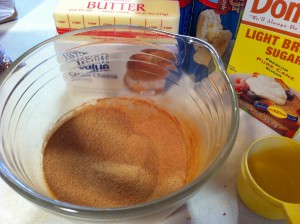
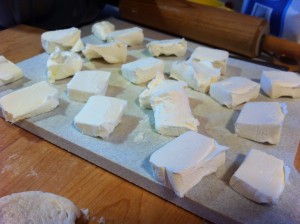
Here is the cinnamon and sugar all mixed up. Now, take the cream cheese and cut the block into 20 equal squares.


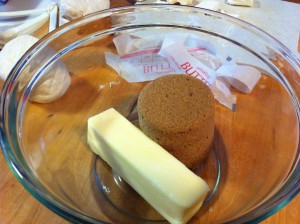
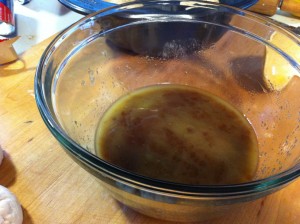
In a microwave safe bowl, melt the butter and brown sugar together until melted. (you can do this on the stove top too in a sauce pan)


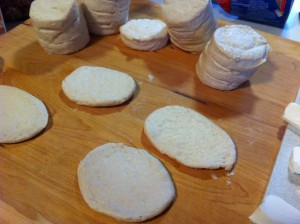
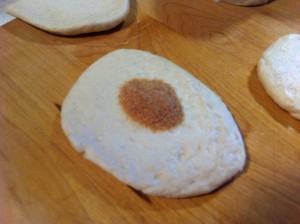
With a rolling pin or with you hands, flatten out and make each biscuit larger. Spoon 1/2 teaspoon cinnamon sugar in the middle of each flatten biscuits.


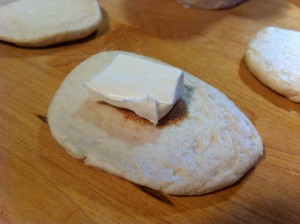
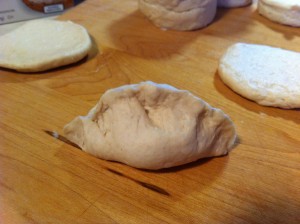
Put a square of cream cheese on top of the cinnamon sugar. Take the biscuits and seal up the edges, making sure the cream cheese is in the middle.


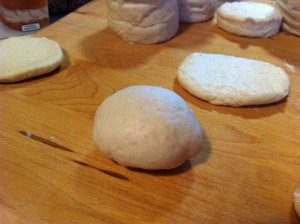
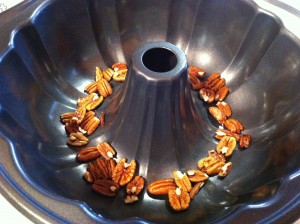
I rolled the biscuits into a somewhat ball after I sealed the edges. Take your bundt cake pan and spray it with vegetable spray. Sprinkle some nuts in the bottom of the pan.


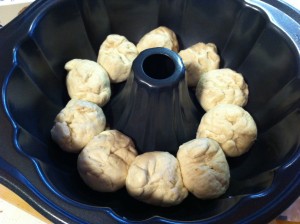
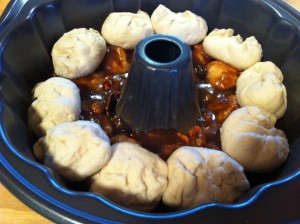
Layer 10 cream cheese filled biscuits on top of the nuts. Sprinkle half of the left over cinnamon sugar on top of the biscuits.


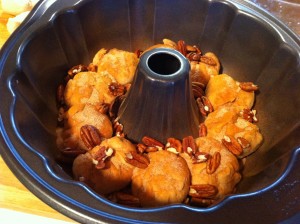
Sprinkle a few nuts on top of the biscuits in the pan. Drizzle half of the melted butter and brown sugar mixture over the top of the biscuits.


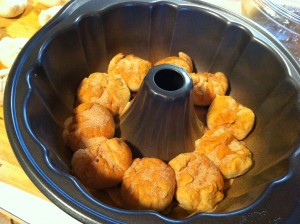
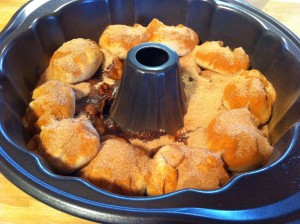
Place the rest of the cream cheese filled biscuits on top of the ones already in the pan. Sprinkle the rest of the cinnamon sugar on top of the biscuits.


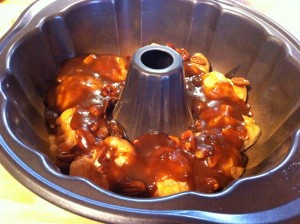
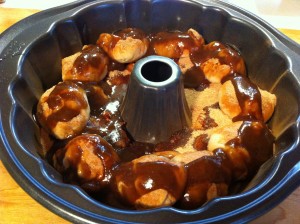
Drizzle the rest of the butter brown sugar mixture on top of the biscuits. Bake in a preheated 350 degree oven for 30 minutes or until completely done.

 Here is the recipe:

Adapted from Paula Deen

Ingredients:

2 cans of 12 ounce refrigerator biscuits (10 count)

1/2 cup sugar

3 teaspoons cinnamon

1 cup brown sugar

1- 8 ounce package of cream cheese

1/2 cup butter

1 cup chopped pecans or walnuts (optional)

Directions:

Preheat oven to 350. Spray a bundt cake pan with vegetable spray. Set aside.

Mix the cinnamon and sugar together. Cut the cream cheese into 20 pieces. In a microwave safe bowl, melt the butter and the brown sugar together to make a sauce. (you can also melt the butter and brown sugar together in a sauce pan on the stove top).

With your hands or with a rolling pin, press out the biscuits to make them larger. Put in 1/2 teaspoon cinnamon sugar mixture in the center of each  biscuits.  Place a piece of cream cheese on top of the cinnamon. Seal the cream cheese and cinnamon inside the biscuits, by pressing the edges of the biscuit together. Sprinkle half of the nuts in the bottom of the bundt pan. Place 10 of the cream cheese filled biscuits in the bottom of the bundt pan on top of the nuts. Sprinkle half of the remaining cinnamon sugar on top of the biscuits.  Pour half of the brown sugar butter mixture on top of the biscuits. Sprinkle the rest of the nuts on top. Layer the next 10 cream cheese filled biscuits on top of brown sugar covered biscuits. Sprinkle the rest of the cinnamon sugar on top of the biscuits. Pour the rest of the brown sugar butter mixture on top. Bake in the oven for 30 minutes or until the biscuits are cooked through. Let the gorilla bread cool for 5 minutes before turning the pan upside down to release from pan.


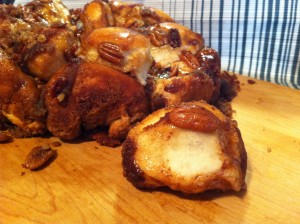
Here is one of those nuggets of goodness. The next pictures is one cut in half so you can see the creamy filling.

Hope you love this recipe!

Stay Warm!

Becky

You may also like:


Creamy Potato Soup                        Chicken and Spinach Enchiladas                        Chicken Pot Pie 


No Snow Equals No School

This is the frozen fountain in front of my school.

I took this picture at the last time we had sub zero temperatures.

We did get a sprinkling of snow and we had sleet this morning.

One thing we do have it frigid cold air outside.

I am glad to be staying home tomorrow.

BRRRR it is cold outside

Becky


Waiting for the Snow….

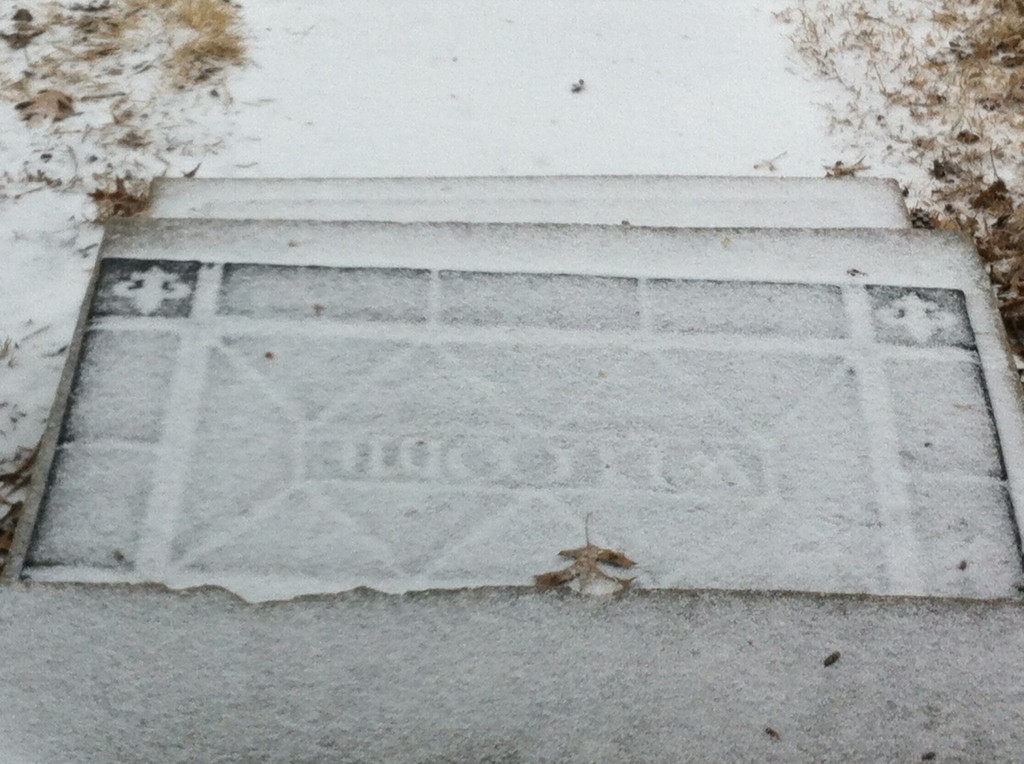
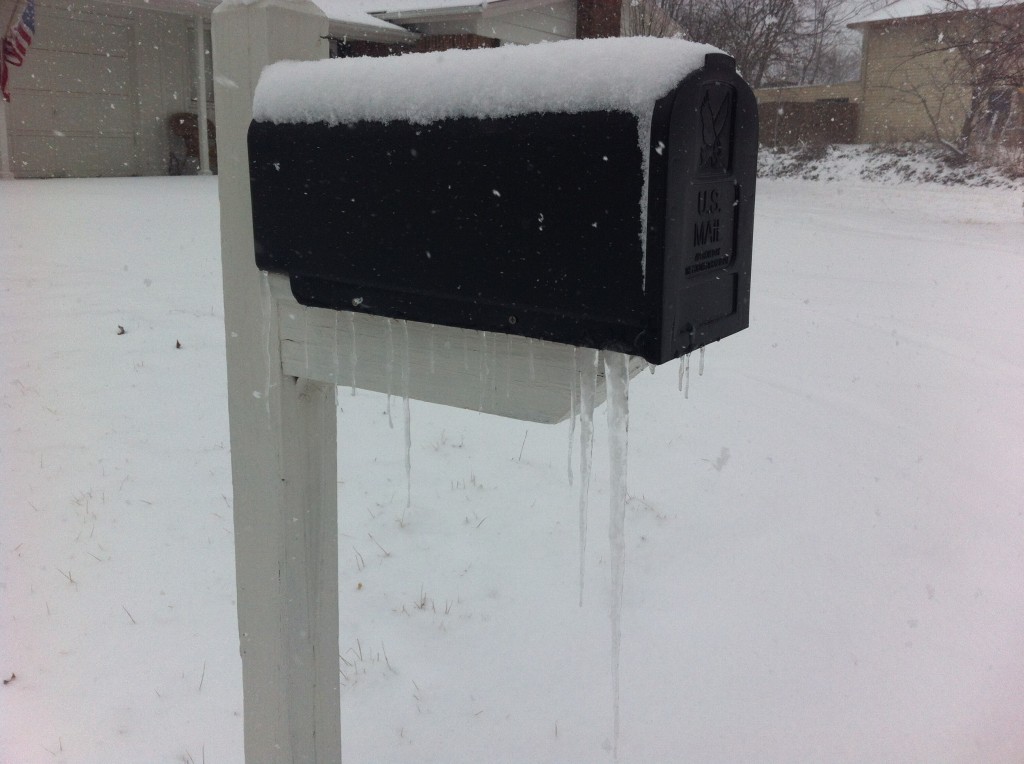
This is what my neighbors mailbox looked like when it started snowing the first of February, one month ago.

That was when school was canceled for one whole week.

Now, it is the second of March and we are waiting for another snow storm. But, at 9:30 this morning, there is still not a hint of any snow.

Road advisories were given out.

Church was cancelled.

I have bought enough groceries to feed my family (army) for a month.

Oldest daughter who does not cook has a large (mammoth) size bag of ice melt down by the driveway.

I have one upstairs for the front walk.

We took one car to the country to Company’s house so we could get all the cars in the driveway, so the cars would not be buried on the street by the snow plows.

We are organized, ready to be snowed in, my favorite old movies are all ready to be dusted off and watched.

Still no snow…..

I will keep you updated.

I think I better go ahead and do my laundry for school tomorrow….just in case.

Becky

Peanut Butter Sheet Cake

My girls love peanut butter.

They eat it with crackers, on toast, on celery, on pancakes and their favorite way to eat it, is  right out of the jar with a spoon.

I have raised a bunch of nutty girls in my house.

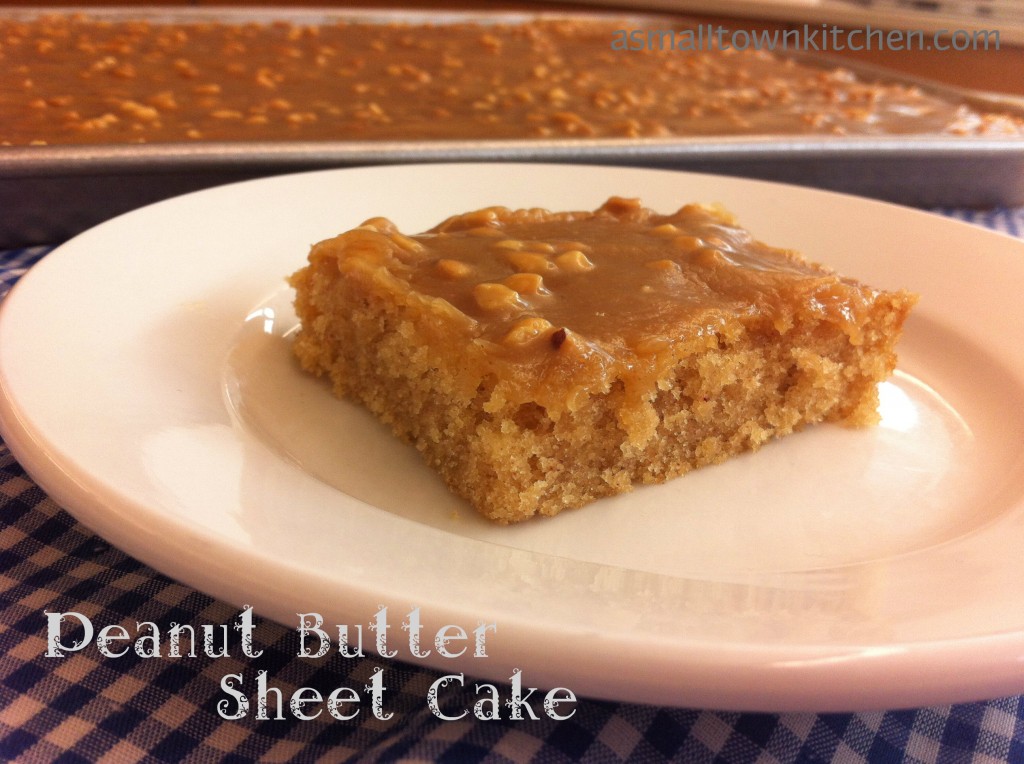
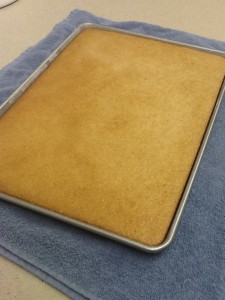
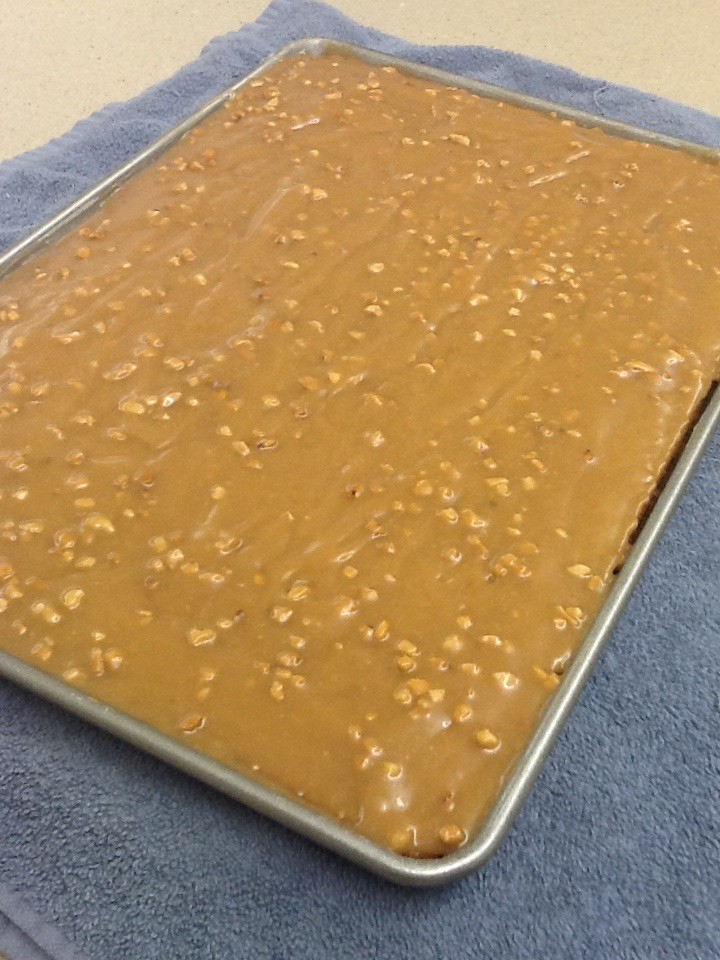
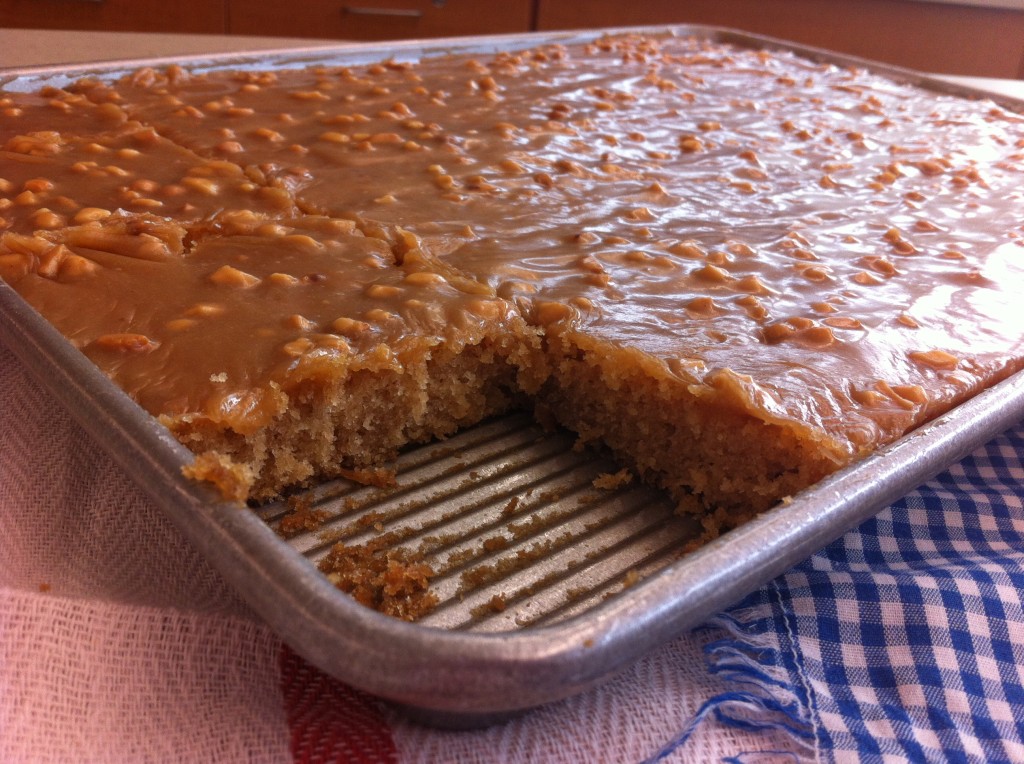
Anywho, I was looking through old community cookbook recipes (again), and found this Peanut Butter Sheet Cake recipe. When I read through the recipe and looked at all the ingredients, I thought it was so interesting that the icing had melted marshmallows in it. I was so intrigued by this idea, thinking it would taste so gooey good, I had to copy down the recipe. I knew my girls at home and the Baby College Girl would love this cake. I decided I would try it out last week during the treat day that I volunteered to make some goodies for. The cake is moist and pea nutty tasting. The icing is made with crunchy peanut butter, so the top is a sheet of crunchy goodness. It is a great cake to feed a crowd, cause you get to make it in a jelly roll pan which allows you get lots of servings. Which is great, cause you will want two servings.

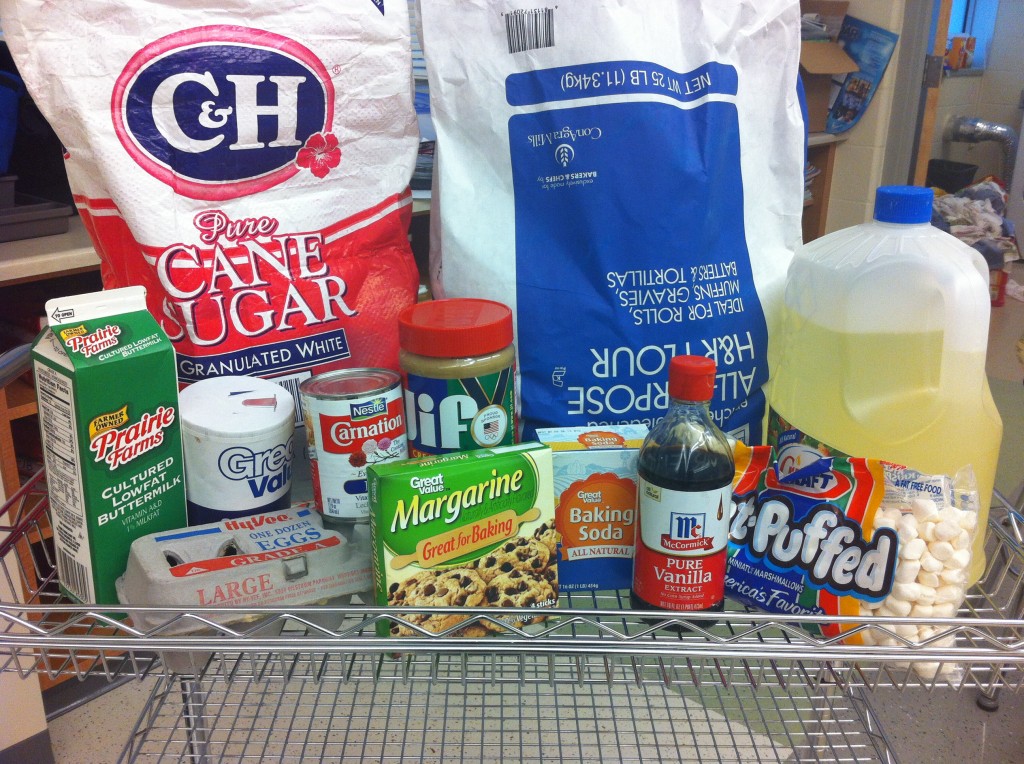
Here is what you need to make this terrifically pea nutty cake.

I brought all the ingredients from home to make this cake, but I thought it would look funny to take a picture of the big bags of sugar and flour that I purchase for my classroom.


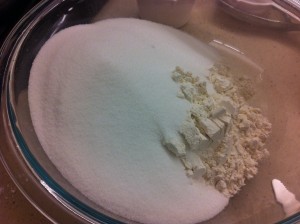
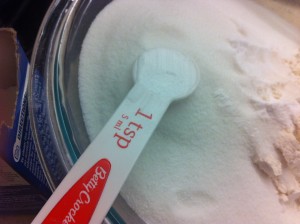
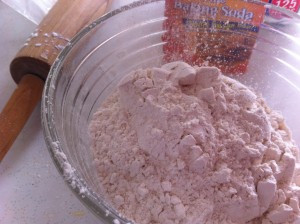
The first thing you need to do is measure out the flour and sugar and put it in a medium bowl.


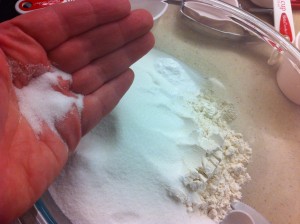
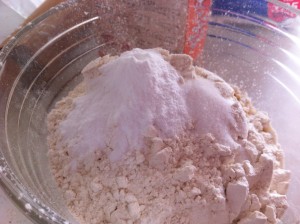
Add in the baking soda and the salt. Stir all the ingredients together.


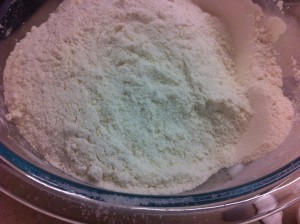
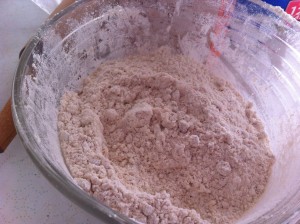
The dry ingredients should look like this. I then put all my dry ingredients in my stand mixing bowl.


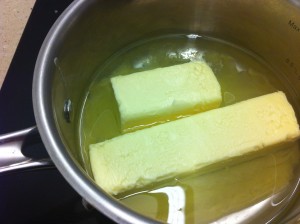
In a sauce pan melt the butter and the oil together.


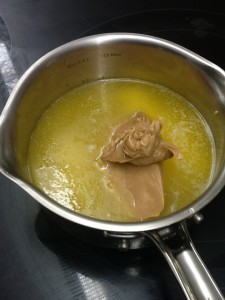
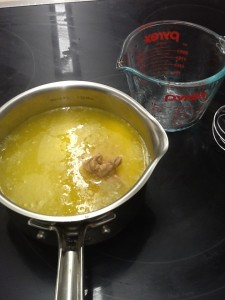
Add the peanut butter and the water and bring to a boil.


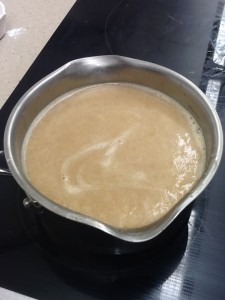
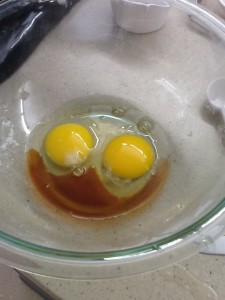
When the peanut butter mixture comes to a boil, remove from heat. In another medium boil, whisk the eggs and the vanilla together.


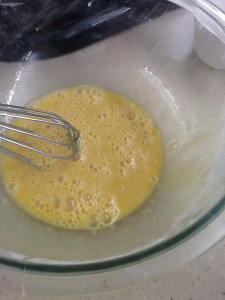
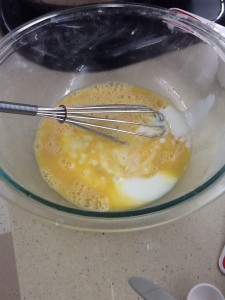
This is what it looks like whisked up. Now whisk in the buttermilk.


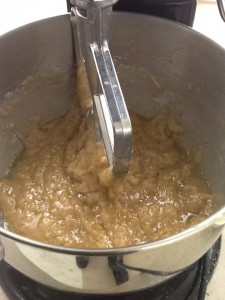
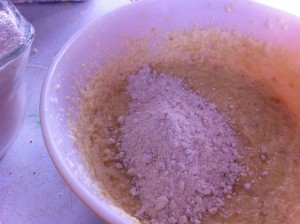
Now, it is time to pour the hot peanut mixture into the dry ingredients. Using a stand mixer (or hand held) blend the dry ingredients and peanut mixture together.


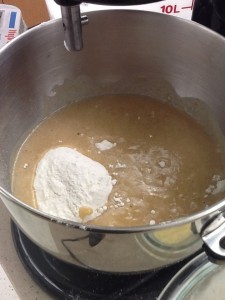
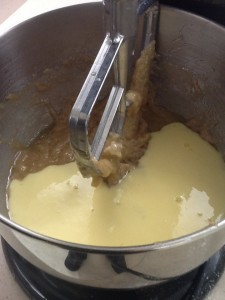
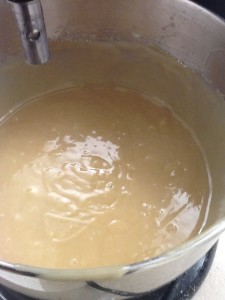
Now, you can add in the buttermilk and egg mixture to the batter. With the mixer, mix until all the ingredients are smooth and incorporated together.


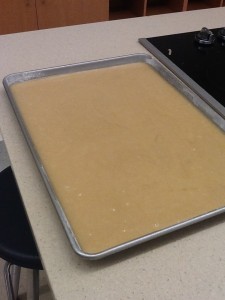
Pour the batter into a greased jelly roll pan and bake for about 18 minutes or until done.


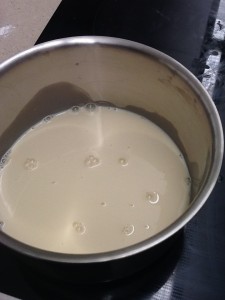
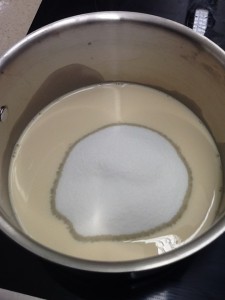
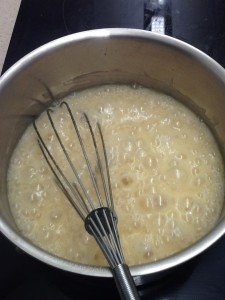
While the cake is baking, take this time to make  you icing. In a sauce pan, heat together the evaporated milk and the sugar.


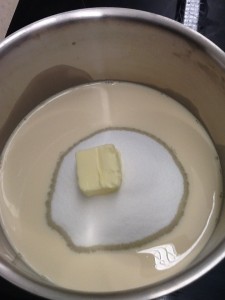
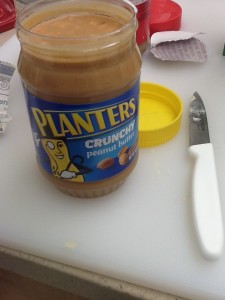
Add in one tablespoon of butter. You will use crunchy peanut butter for the icing.


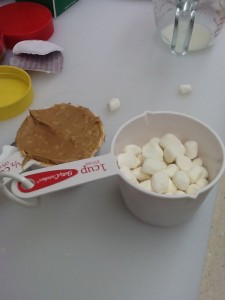
Measure out the crunchy peanut butter and the marshmallows. When the milk and sugar comes to boil. Boil for 2 minutes.


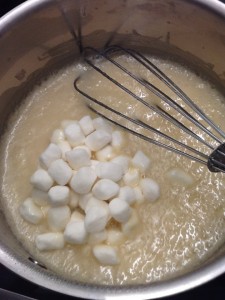
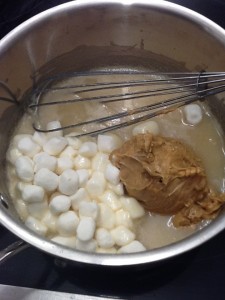
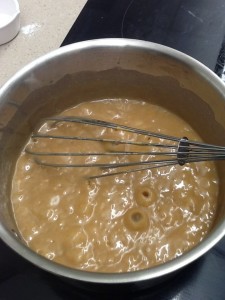
When you have boil the icing for 2 minutes, turn off the burner, and stir in the marshmallows and the crunchy peanut butter.


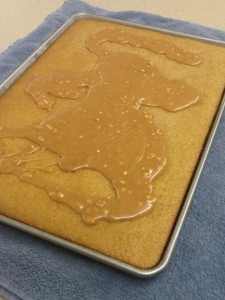
I cooked mine just a minute or two to get all the marshmallows to melt.  Now, stir in the vanilla. Pour the icing over the warm cake.

Spread the icing evenly over the cake, making sure to get the edges.

Here is the recipe:

Peanut Butter Sheet Cake

Ingredients for the cake:

2 cups flour

1 teaspoon baking soda

2 cups sugar

1/2 teaspoon salt

1/2 cup vegetable oil

3/4 cup margarine or butter (I used butter)

1/2 cup peanut butter

1 cup water

2 eggs, beaten

1/2 cup buttermilk

Ingredients for the icing:

1/2 cup evaporated milk

1 cup sugar

1 tablespoon margarine or butter

1//2 crunchy peanut butter

1/2 cup miniature marshmallows

1 teaspoon vanilla

Directions for the cake:

Mix together flour, soda, sugar and alt in a large mixing bowl. (I put my mixture in a large stand mixer bowl). Set aside. In a saucepan, bring oil, margarine, peanut butter and water to a boil. Pour over the dry ingredients and mix. (I mixed it with a stand mixer). In a small bowl, beat eggs, vanilla and buttermilk together. Add the egg mixture to the batter in the mixing bowl. Blend well. Pour batter into a greased and floured 11 by 15 by 1 inch sheet cake pan. (jelly roll pan) Bake for 15 to 18 minute in a preheated 350 degree oven.

Directions for the icing:

While the cake is baking make the icing. In a saucepan, combine evaporated milk sugar and margarine. Bring to a boil, cooking for 2 minutes. Remove from heat and add peanut butter and marshmallows. Stir until melted. Stir in the vanilla. Pour the warm icing over the warm cake and spread to cover.


Who wants to first piece????

Enjoy!

Becky

Other post you may enjoy reading:


Butternut Squash Soup                             Rhubarb Crisp  (recipe soon)                 Blackberry Cobbler


The Thaw….finally.

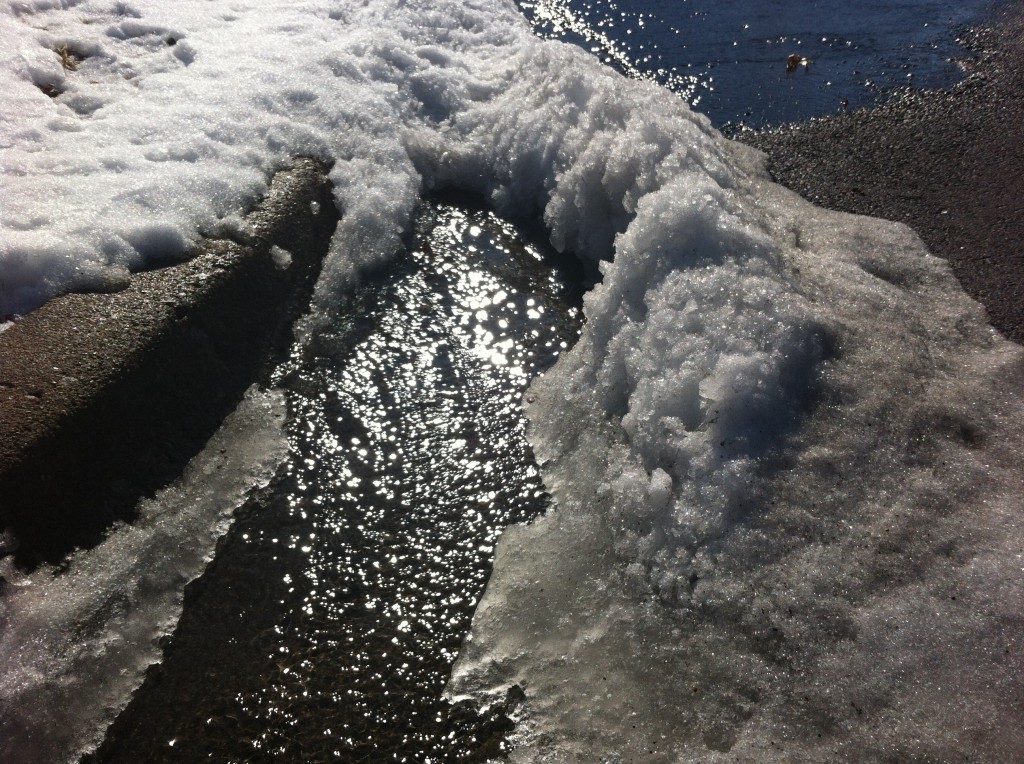
Mid Missouri had freezing rain this morning, but by afternoon, the sun came out and the melting started. It was like a river running down the street in front of my house.

This is what the little garden looked like last week.

Now, with the melted snow,  I am growing mud.

Lots of mud.

Anyone know of a good mud pie recipe?
Becky

Nilla Wafer Banana Bread

With two year old youngest grandgirl in the house, one thing I almost always have in the kitchen, is bananas.
She is banana crazy!

So, when I am out of bananas, I know I need to peel out and buy another bunch…pronto.

What generally happens, is that oldest daughter goes and buys bananas, too.

Now, I have two bunches of bananas in the kitchen. Grandgirl is in banana heaven, but she can only eat so many bananas.

Anywho, when I found this new version of banana bread, and extra bananas in the house, I thought I would give this recipe a try.

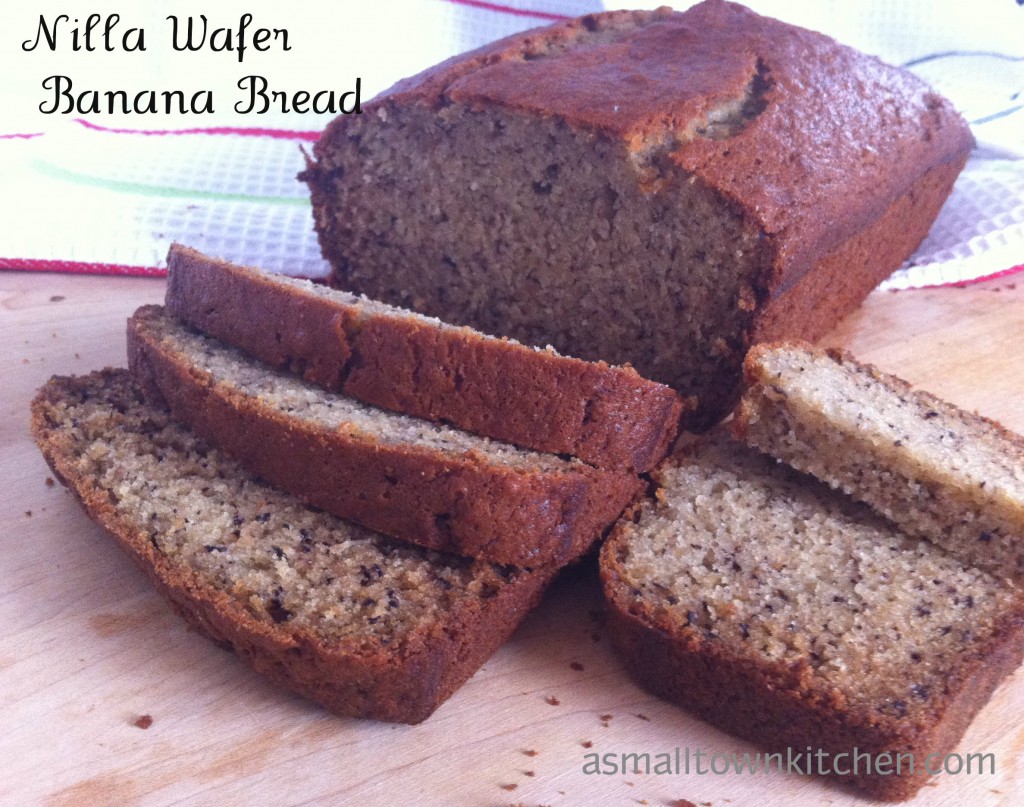
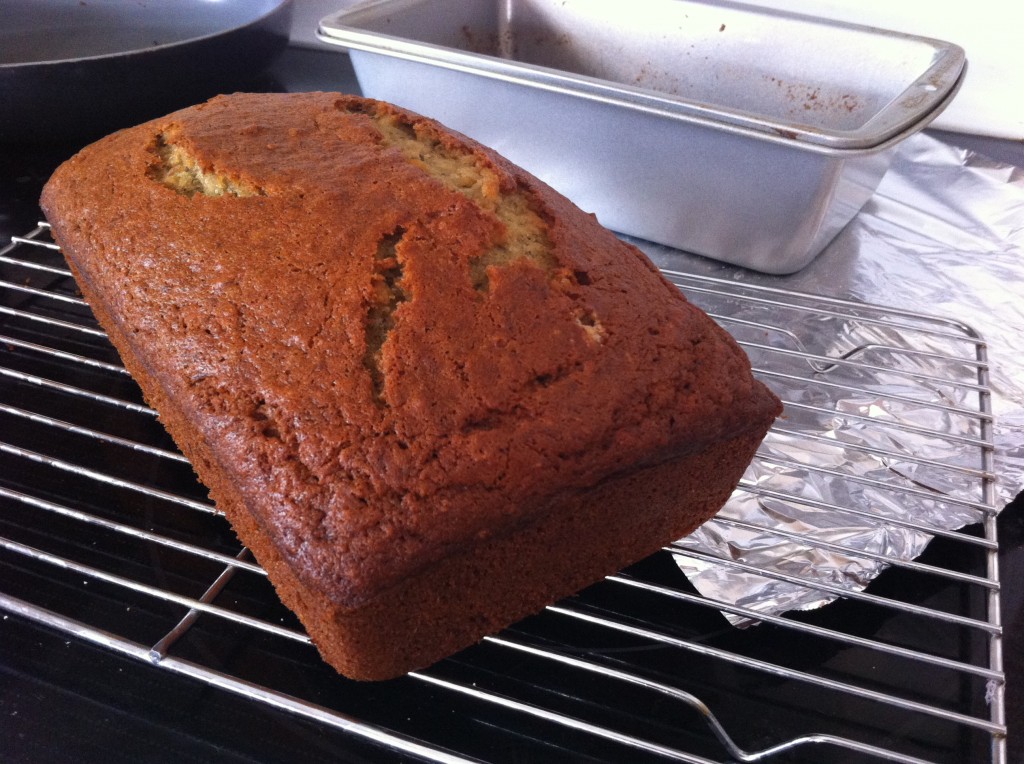
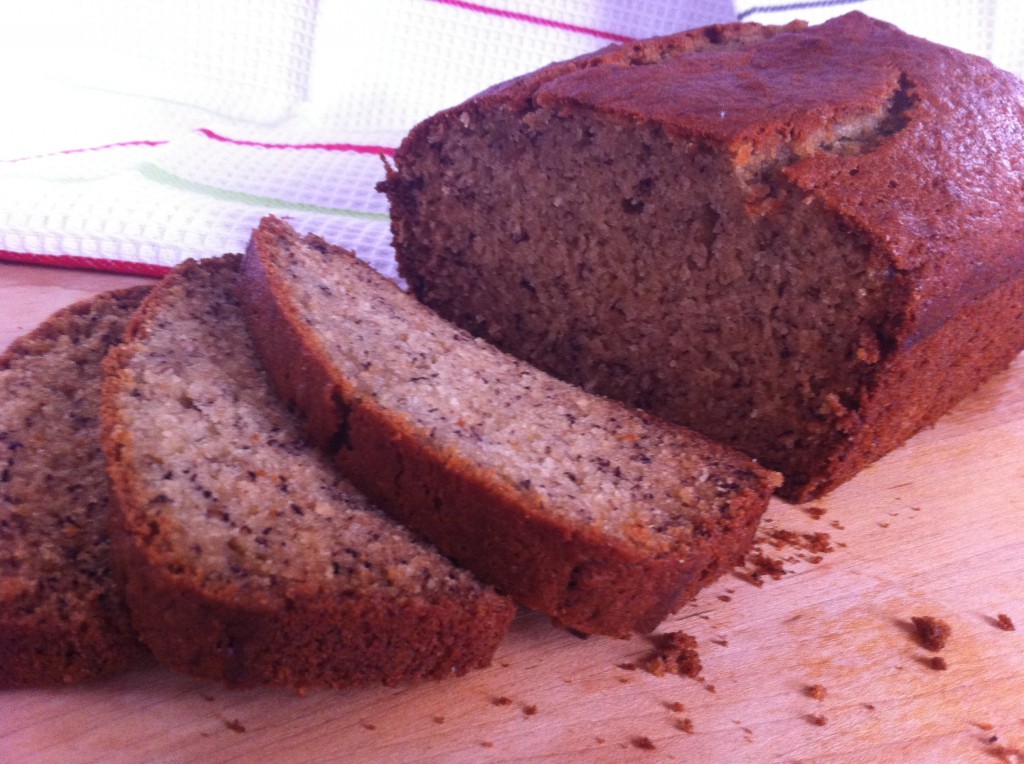
The nilla wafer banana bread lasted maybe, 24 hours, before it was all gobbled up. It is a sweet banana bread. The added vanilla wafers gives this recipe a banana pudding taste, but in a bread.

If you are looking for an interesting and different banana bread recipe, this one is sure to please both old and young alike.

Here are your step by step instructions:

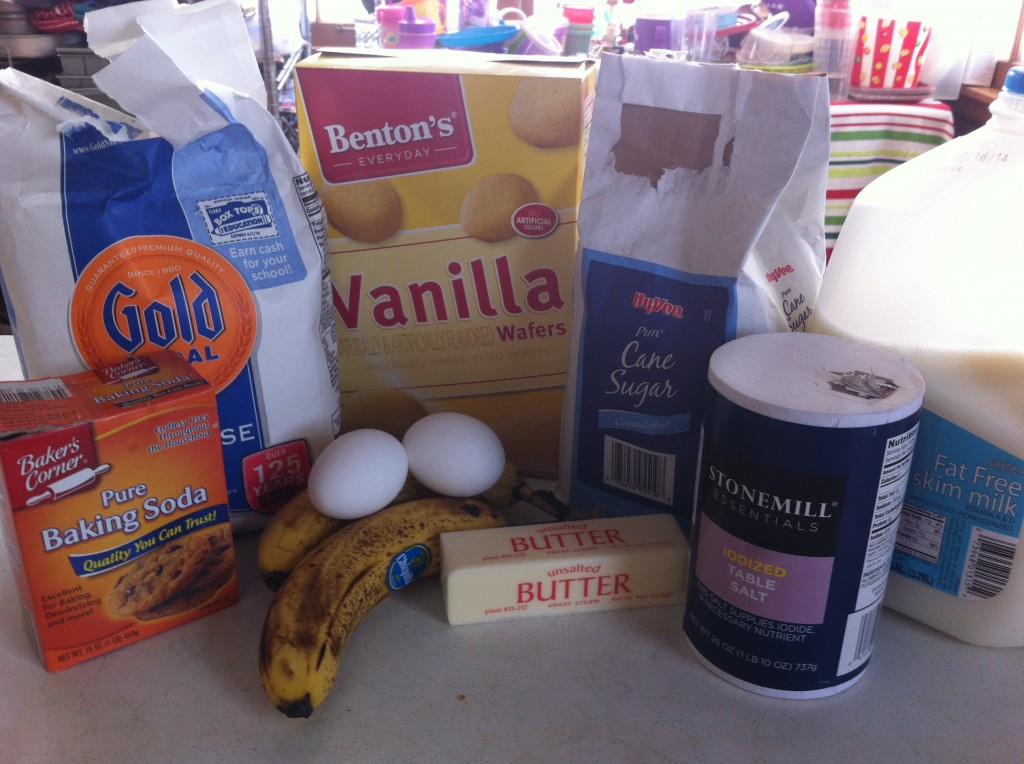
This is what you need to make this truly different banana bread.


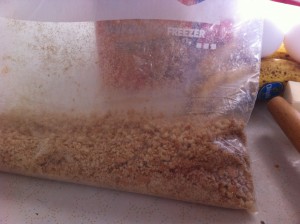
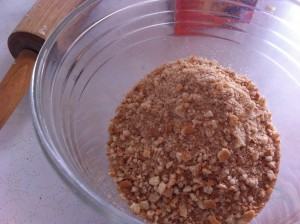
The first thing you need to do is count out the vanilla wafers, put them in a plastic bag and mash them up with a rolling pin.


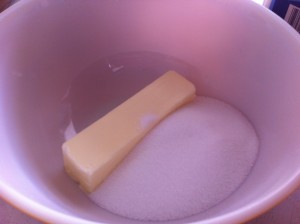
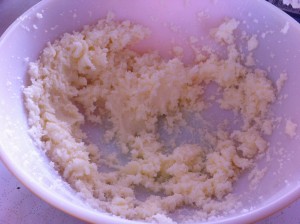
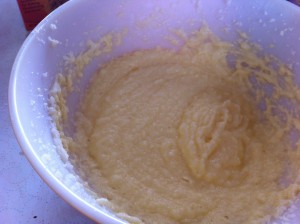
In a large bowl, cream together the butter and the sugar.


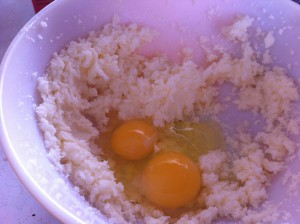
Add the two eggs to the creamed butter and sugar. With a mixer, mix in the eggs.


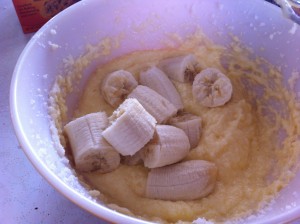
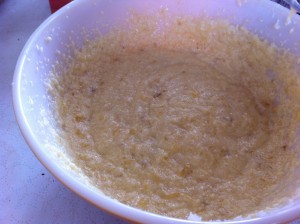
Add in chopped bananas and with the mixer, mix the bananas in.


In a different bowl, stir together the crushed vanilla wafers and the flour.


Add the baking powder and salt to the flour mixture. Stir all the dry ingredients together.


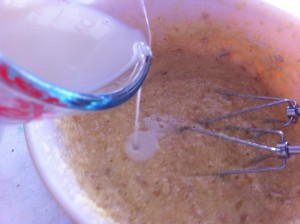
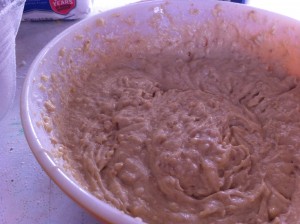
Alternately stir in the flour mixture and the milk, until you have mixed both the flour mixture and milk in. If you are adding nuts, this is where you would stir in the walnuts or pecans.


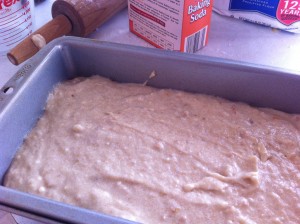
Once the batter is all mixed up, pour the batter into a 9 by 6 greased loaf pan.

Bake the bread for about an hour in a 350 degree oven.

Here is the recipe:

Nilla Wafer Bread

Adapted from Taste of Home Magazine (I think, cause I just copied the recipe and forgot where it came from…my bad)

Ingredients:

1 1/2 cup flour

35 crushed Nilla Wafers (using the name brand adds more nilla wafer flavor, I found that out after I made one batch using a off brand)

2 1/4 teaspoon baking powder

1/2 cup softened butter

3/4 cup sugar

2 eggs

2 ripe bananas, cut up or mashed (you need about 1 1/4 cup banana)

1/2 cup milk

3/4 cup walnuts or pecans (I did not use nuts, cause the Super Hero does not like nuts)

Directions:

Preheat your oven to 350 degrees.

In a large mixing bowl, cream together the butter and sugar. Mix in the eggs. Beat in the mashed bananas until the bananas are mixed thoroughly in.

In a separate large bowl, stir together the flour, wafers, baking powder and salt.

Stir in the milk alternately with the milk.

Stir in the walnuts or pecans.

Spread the batter into a greased 9 by 5 inch loaf pan

Bake for about one hour or until the a toothpick inserted into the center comes out clean.

Cool on a cooling rack.

One thing I would do different is, use name brand vanilla wafers (nilla wafers) and add 1 teaspoon vanilla.

Hope you enjoy this recipe!

Becky

Other post you may enjoy!


Corn Beef                                                    Steamed Asparagus

My Little Garden Update

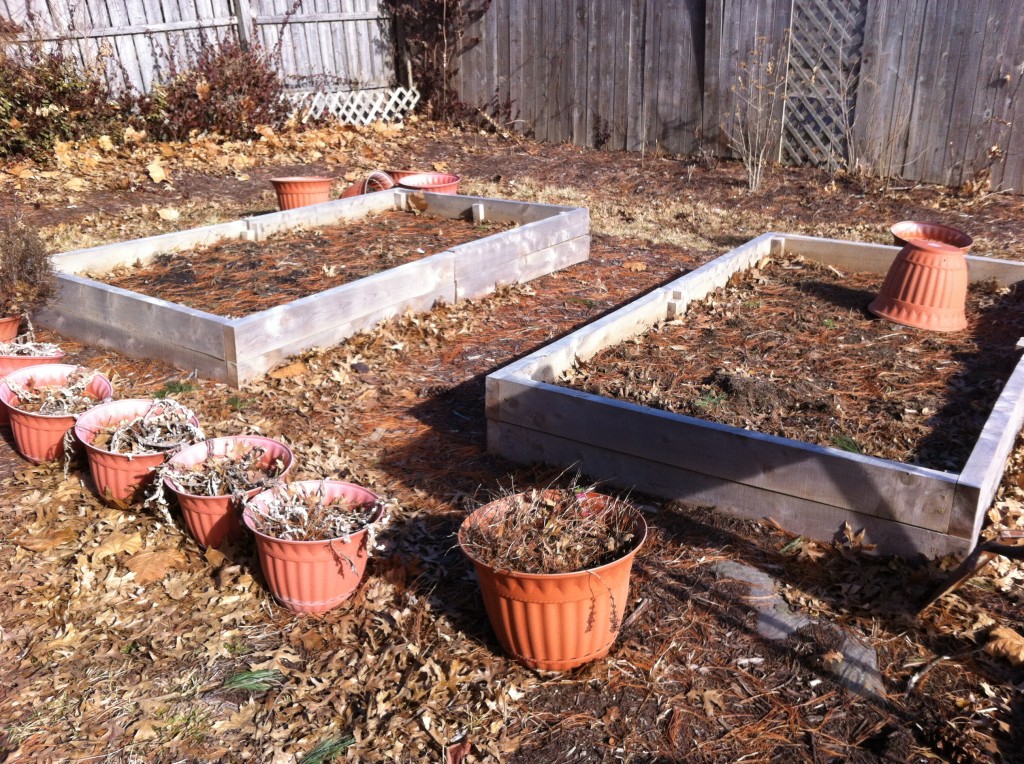
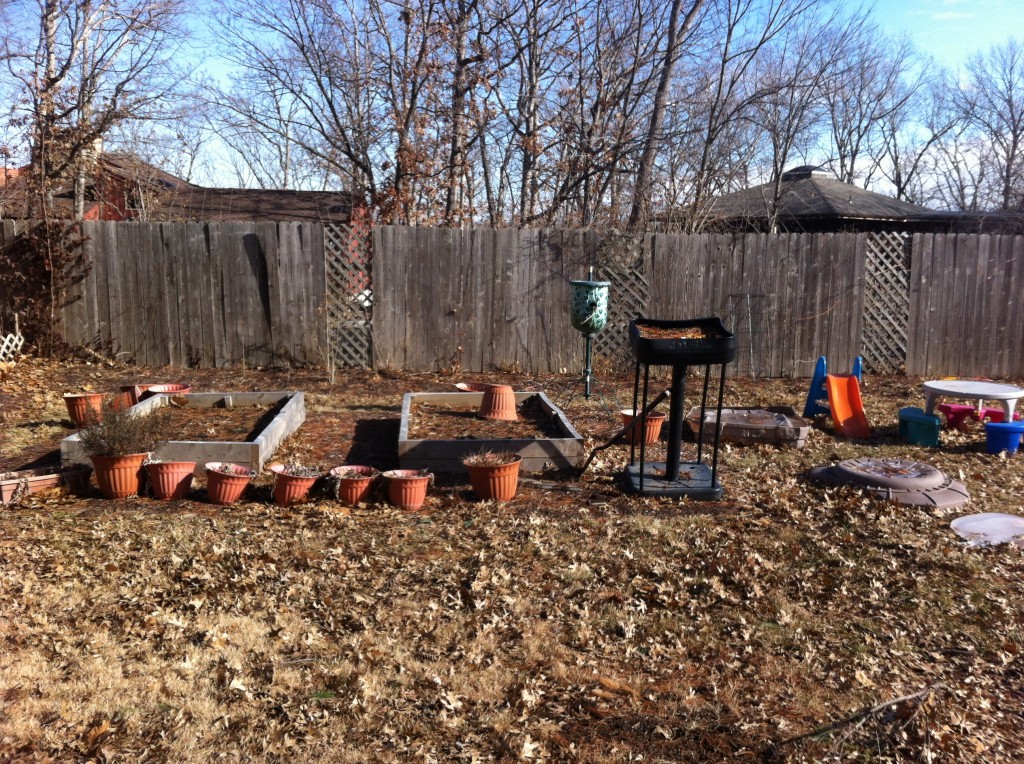
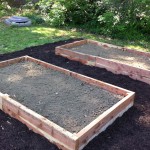
Here is a picture of My Little Backyard Garden.

I took this picture a couple of weeks ago. Now, imagine it with 8 inches of snow over it with another 1/4 in of ice underneath.

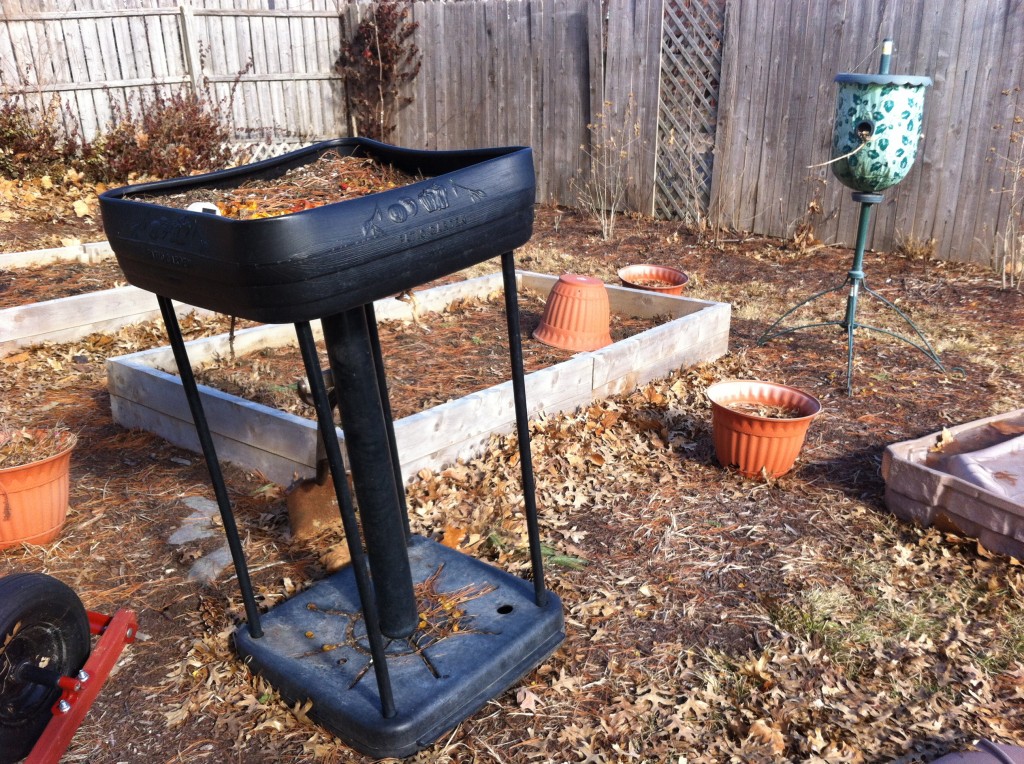
The raised garden beds are littered with pine needles that I will need to remove. The orange pots are full of those artichoke plants I had such high hopes for. The artichokes were suppose to be ones that you could harvest artichokes in one season. I think they sent me the wrong seeds.  Boo…hoo….I babied those artichokes for 10 months.

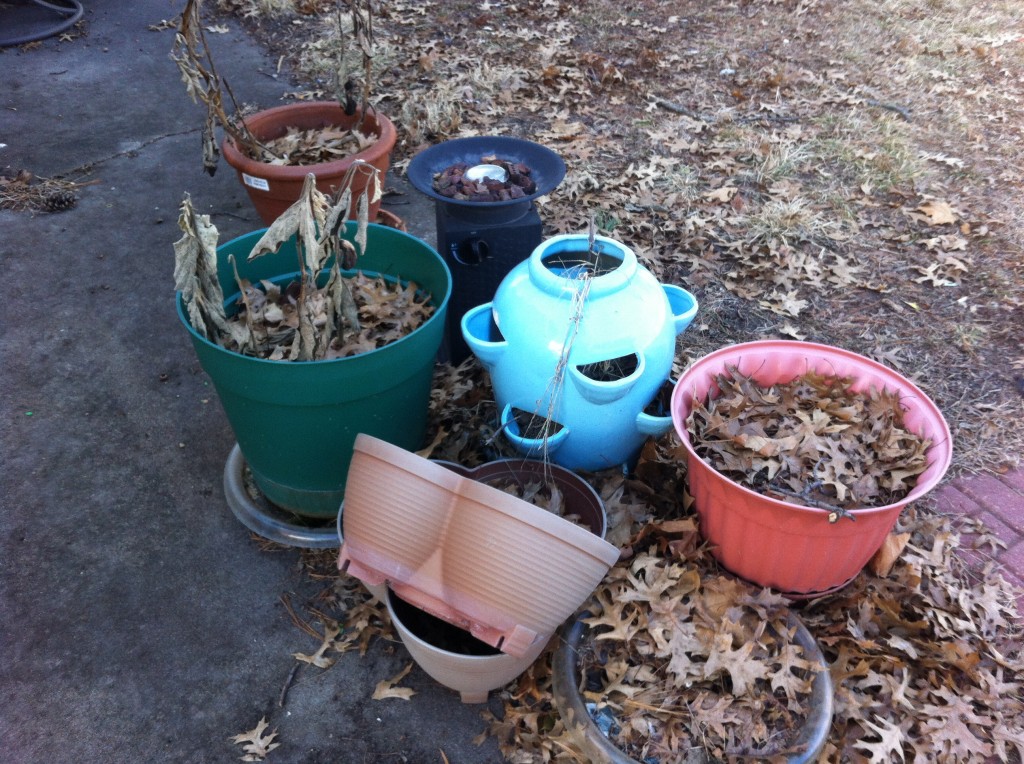
Here are a few of the planters I used on the patio. I planted egg plant and  sweet peppers on the patio. The good news is that they did great!

The Little Garden is just waiting for warmer weather.

You are probably wondering why I am showing you pictures of a dormant garden.

Well, it is just a reminder that is just about time to start planting your seedlings indoors.

I will be starting my onions, peas and a few other seeds in the next few weeks.

I plan on having a early spring garden and install a floating row covers over the raised garden beds to protect the new plants from the potential cold weather.

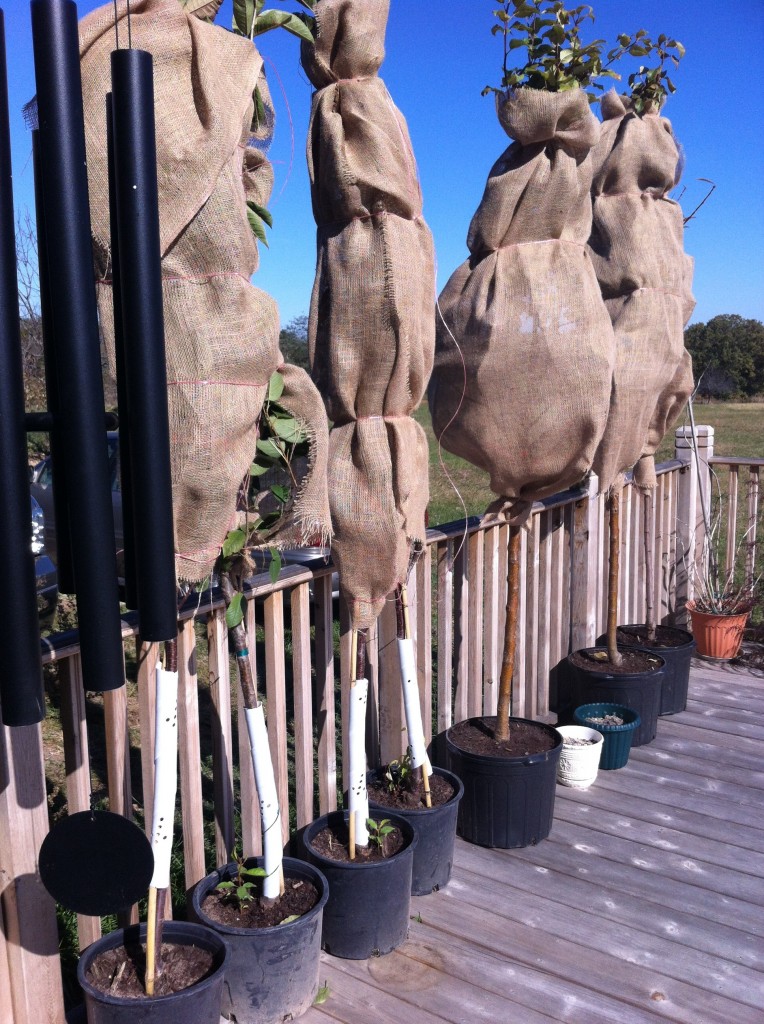
Company and I are planning on having a large garden at his country home. We planted several fruit trees to add on to what he already had, back in the fall.

With the help of the grand girls, we planted 2 more apple trees, a peach tree and four cherry trees.

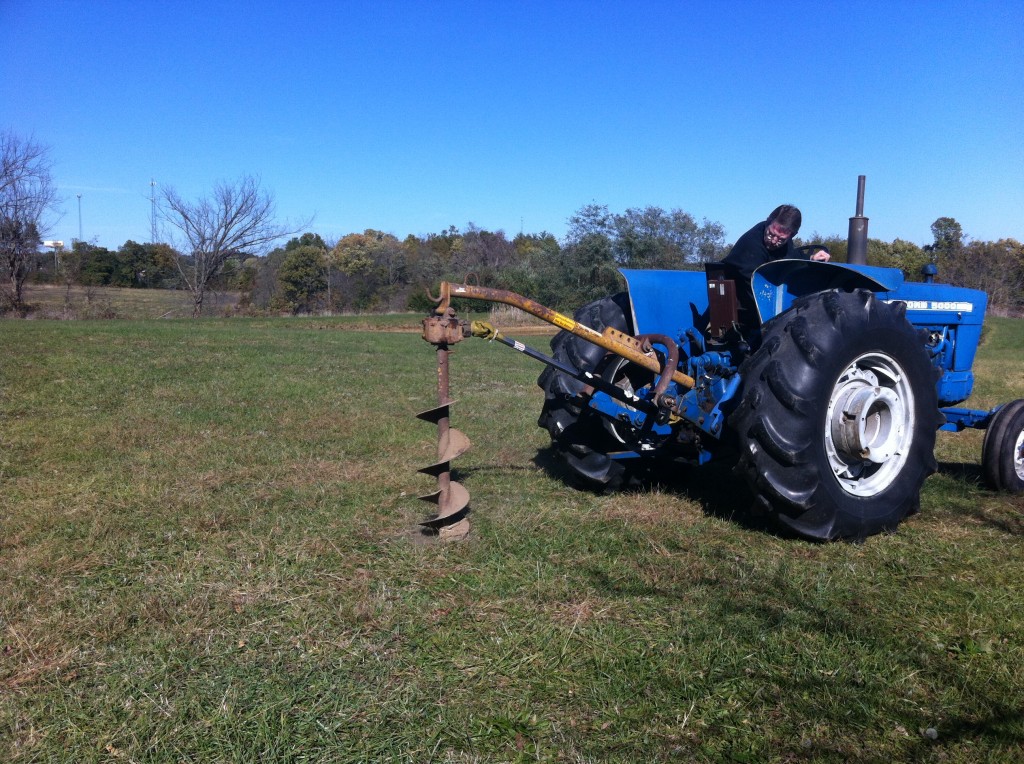
Company had this great hole digger on his tractor. It makes planting trees pretty easy.

We planted another peach tree next to the one he had, to see if it would help produce bigger peaches.

We also planted 2 different varieties of apple trees and planted those near the 4 he already has.

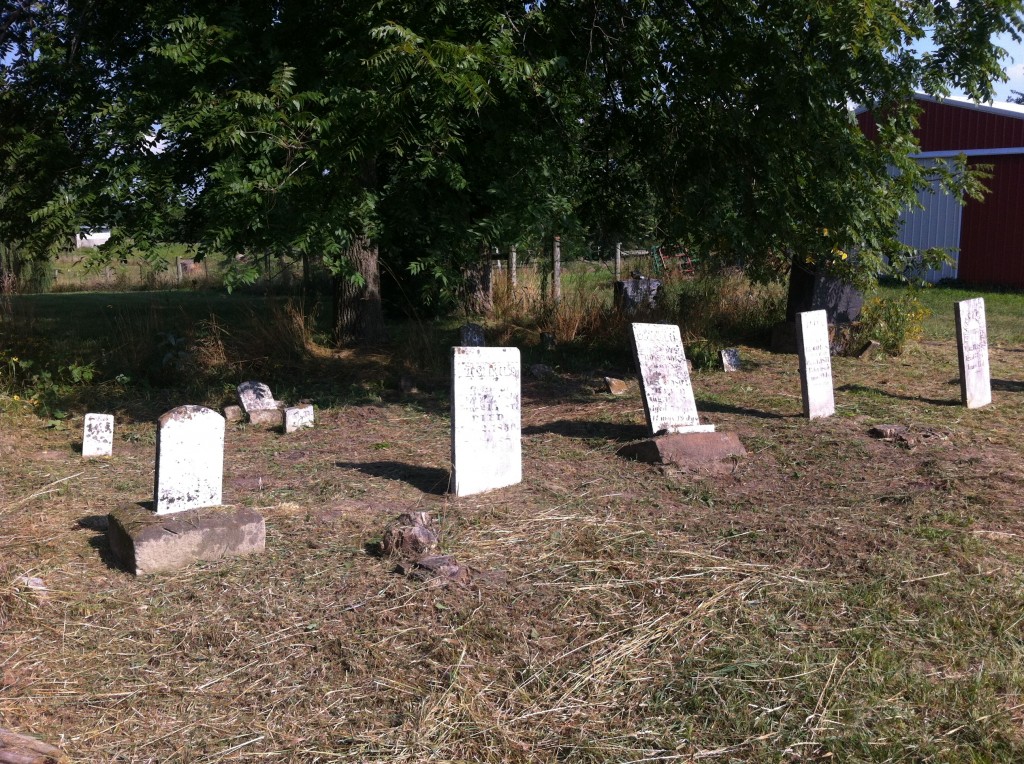
Lastly, we planted 4 cherry trees in his front yard. We thought they would be pretty there next to the old civil war cemetery.

Did I ever mention he has a civil war cemetery on the edge of his front yard?

How fun (creepy) is that? : )

Hope they like cherry trees.

Just wanted to give you an update on my latest garden report.

What  are you planning on planting this spring/summer/fall?

Becky

Other post  you might enjoy.


My First Harvest                                   The Seed Fairy                 Grand girl picking veggies with Mickey


Crusty White Bread

Are you craving bread?

In like, warm, soft, crusty bread that is perfect with that homemade jam and butter.

I sure am.

I think, it is because of  the below freezing temperatures and the 8 inches of snow outside.

Instead of apple a day, doesn’t the doctor suggest a slice of homemade crusty bread, will keep the doctors away.

Ok…fine….the doc did not…but the doc should have. : )

Oldest Daughter who does not cook, ate ALL (well, almost all) the Molasses Oatmeal Bread I made the other day.

So,….now that the roads are clear enough for her to go back to work (I still have another snow day from school), I thought I would make some bread, and eat all I wanted before she came home.

Great Plan…right? (Devilish smile)

Don’t worry about the girl who cannot cook….I made two loaves. One for me…and one for everyone else.

See, I know how to share.

Why, don’t you try this, melt in your mouth crusty white bread, and see if you feel like sharing.

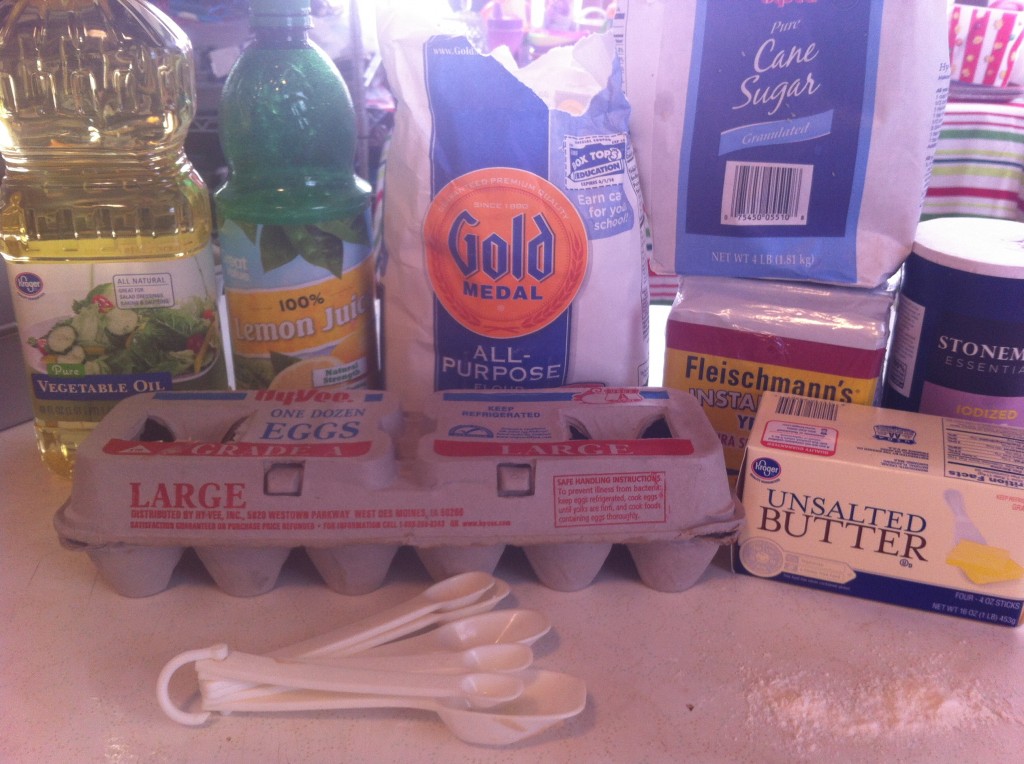
Here is what you need to make the perfect Crusty White Bread.

You will need, flour, yeast, sugar, vegetable shortening, butter, salt, eggs, lemon juice and oil.


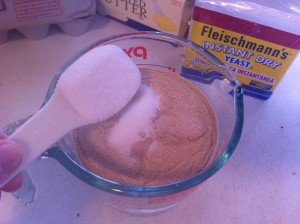
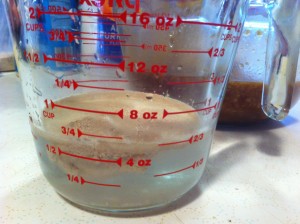
In a measuring cup, put in your lukewarm water, yeast and 2 tablespoons of sugar. The sugar feeds the yeast and helps it to activate.

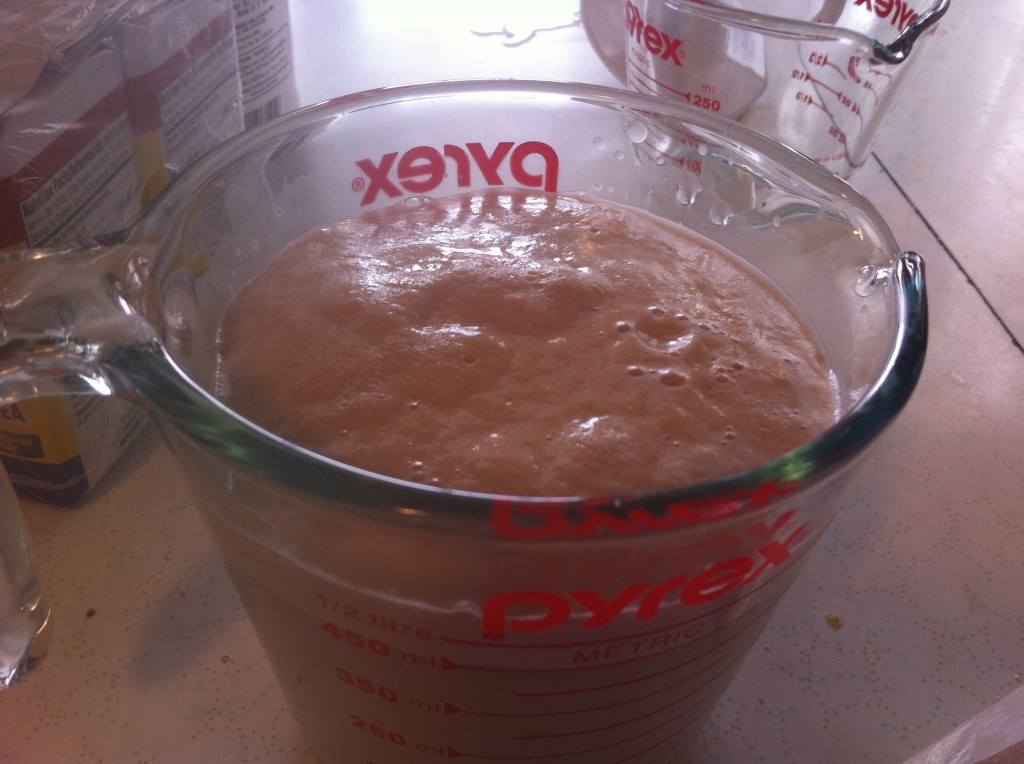
After about five minutes your yeast should look like this. The bubbles on top tell you that the yeast is activated.


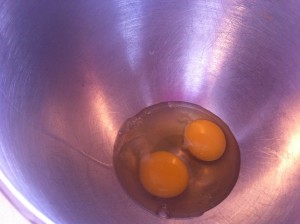
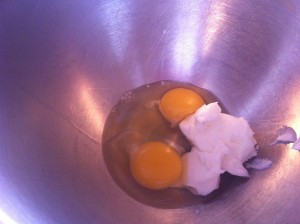
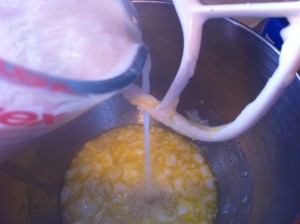
Now, switch to a stand mixer and add in the eggs and vegetable shortening.


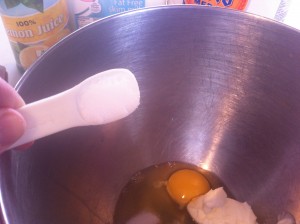
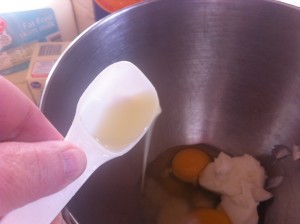
Now, add on the salt and the lemon juice.


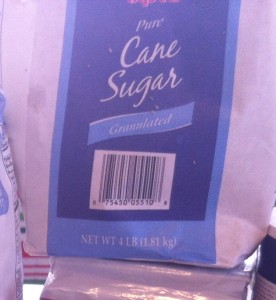
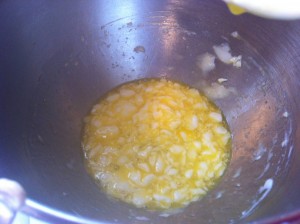
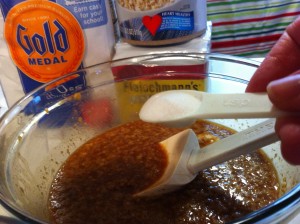
Add in the sugar (I forgot to take a picture of me adding the sugar). Mix everything together with the beater attachment on your stand mixer.


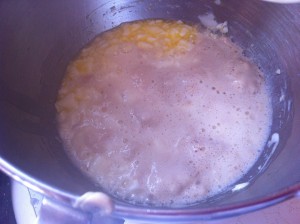
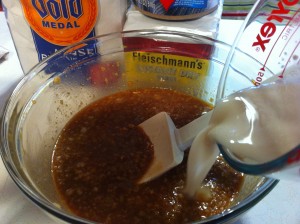
Add in the activated yeast and mix in with the egg mixture.


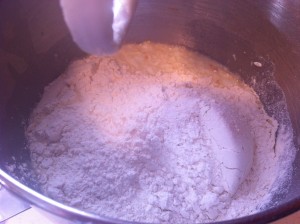
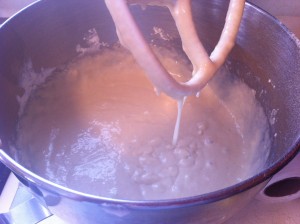
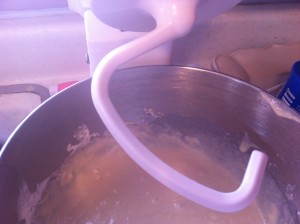
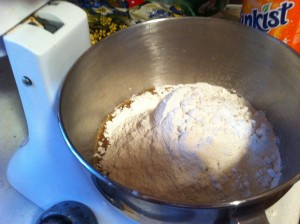
Add in three cups of flour and beat in with the mixer. It will look like a thick paste mixture.


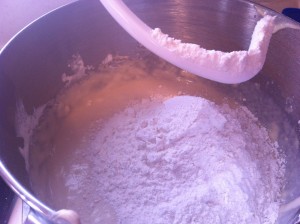
Now, switch to you dough hook and add another 3 cups of flour. If you do not have a dough hook, use your beater to add more flour, then just knead the dough by hand to add in the rest of the flour.


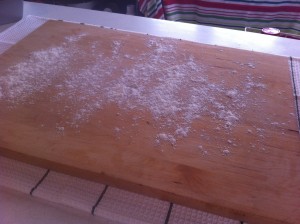
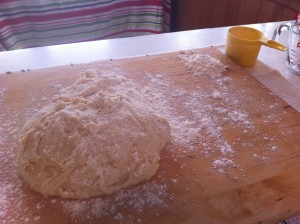
After I used my dough hook on the dough for five minutes. I took it out and put the dough on a lightly floured pastry board.


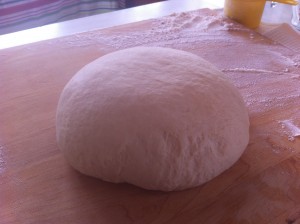
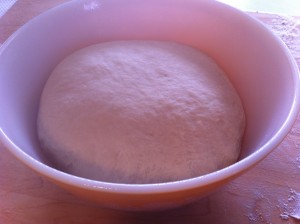
I kneaded the dough, adding just enough flour to make a soft dough. I placed the dough in a large bowl.


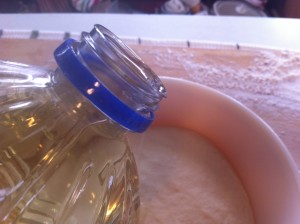
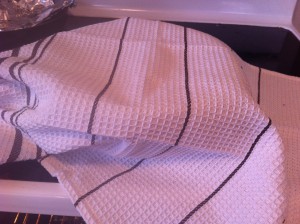
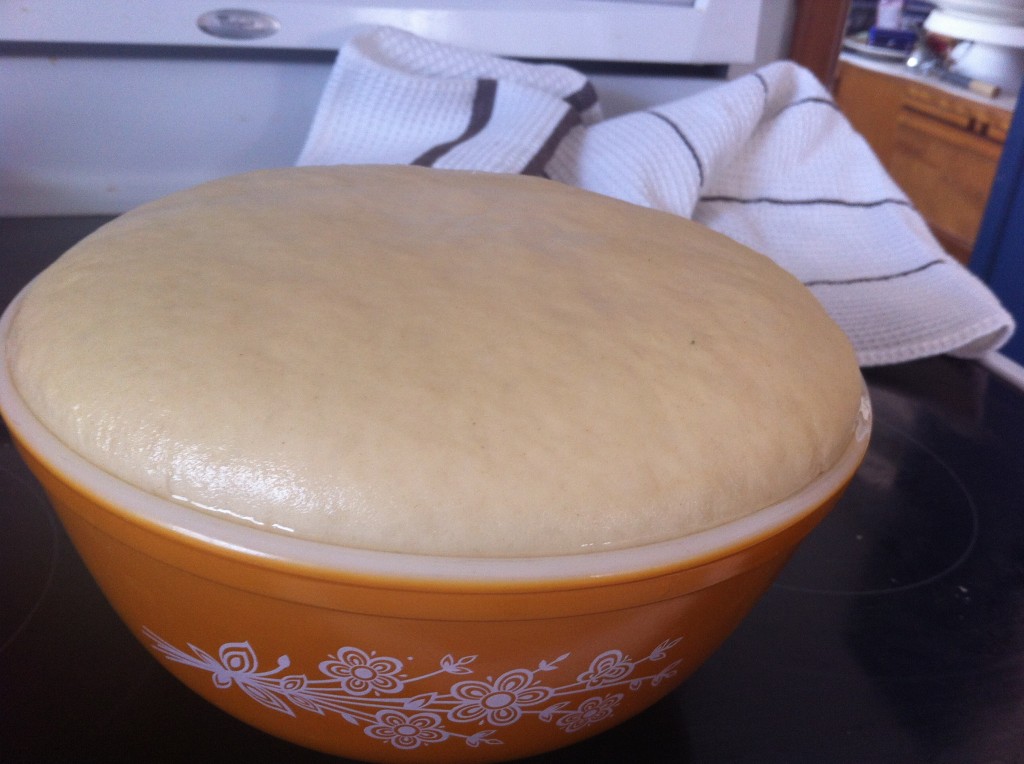
Brush a little oil on top of the bread, Put a towel on top of the bowl and place the bowl in a warm place for the dough to rise.

After about an hour the dough will rise to double it’s size.

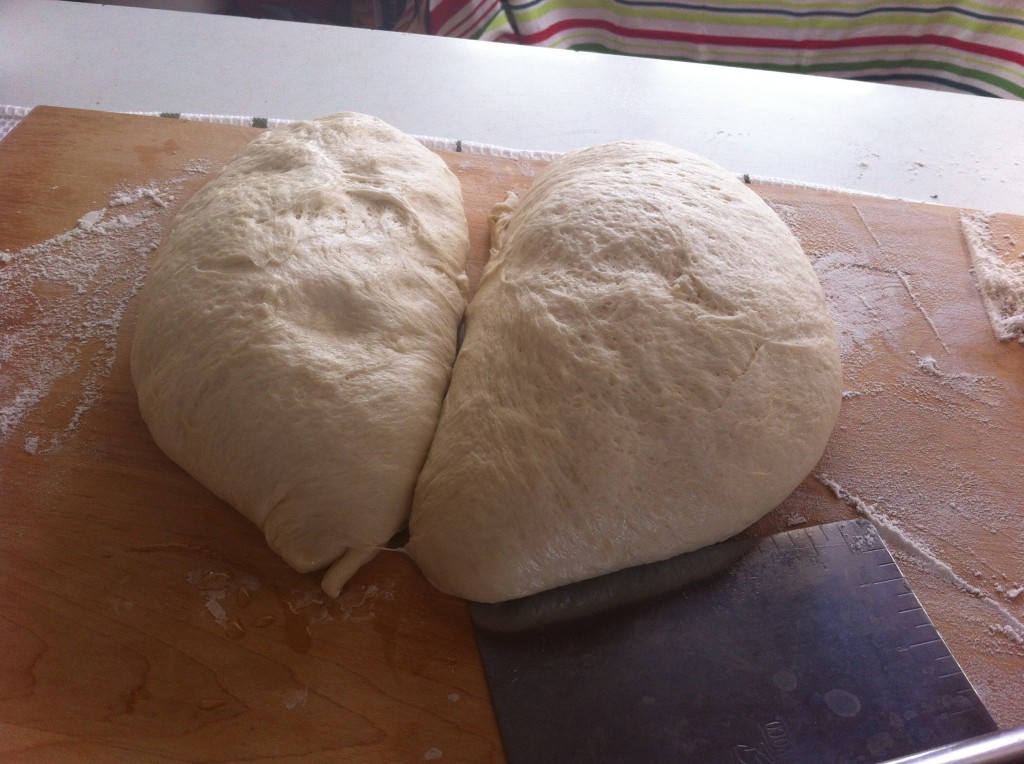
Place the dough back on the lightly floured pastry board and cut the dough in half. (if you do not have a pastry board just use the kitchen counter)

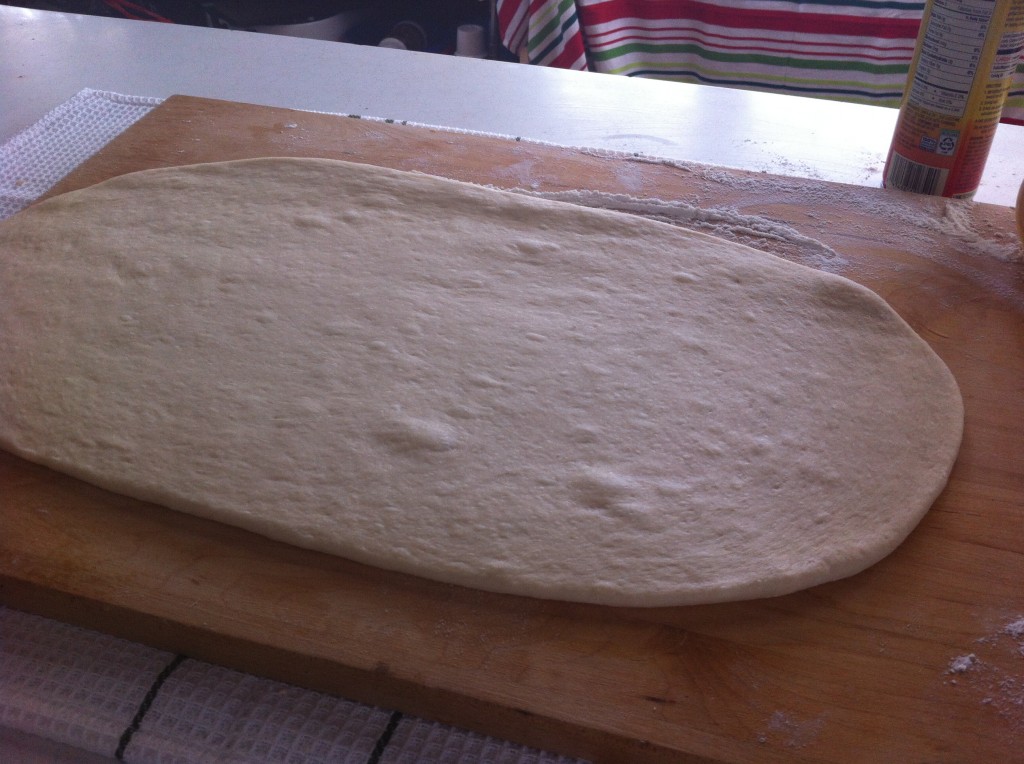
Roll the dough out to a 9 inch by 18 inch rectangle.

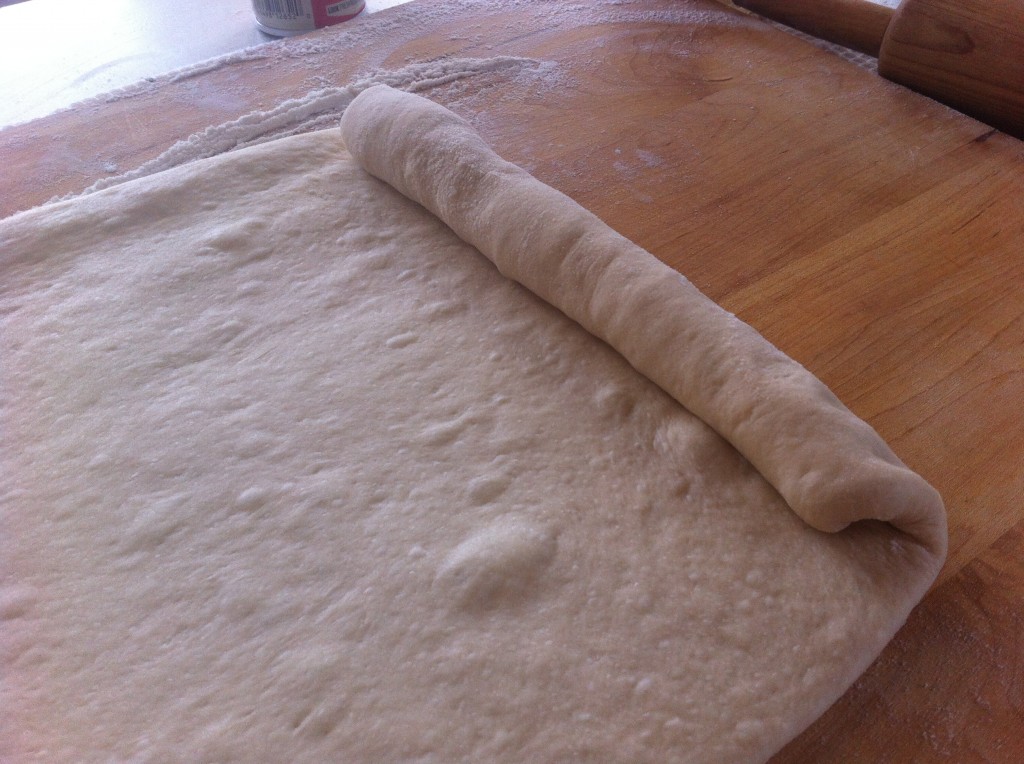
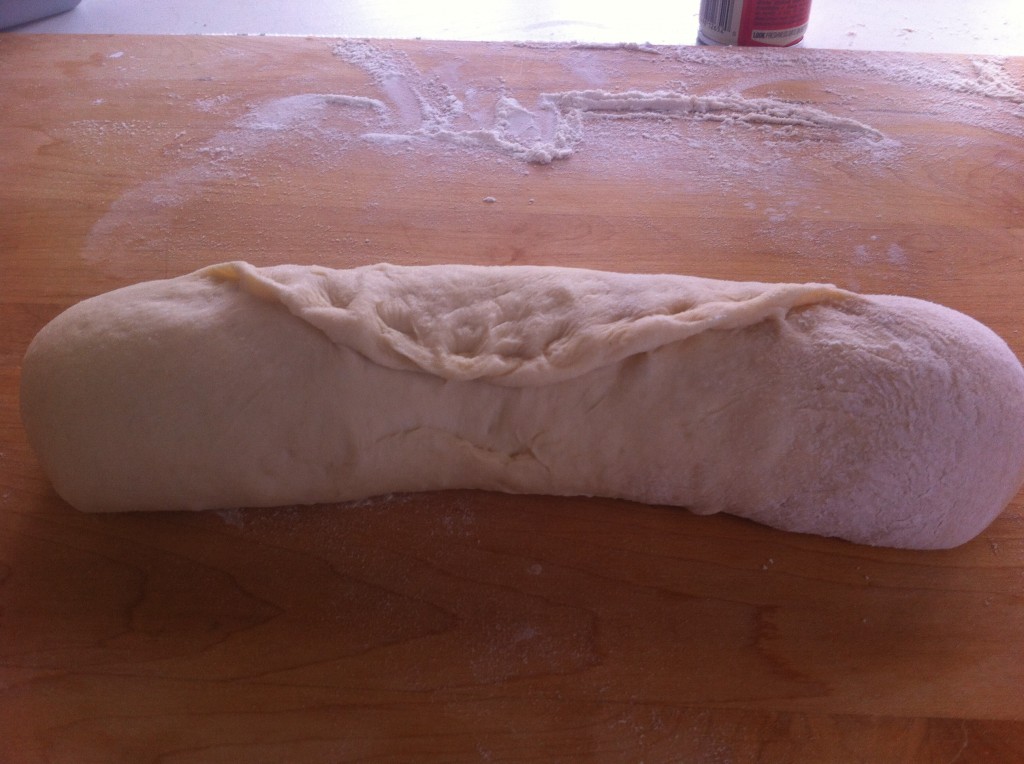
Roll the dough up from the short end.

Seal the edge of the dough to the loaf by pinching it together.

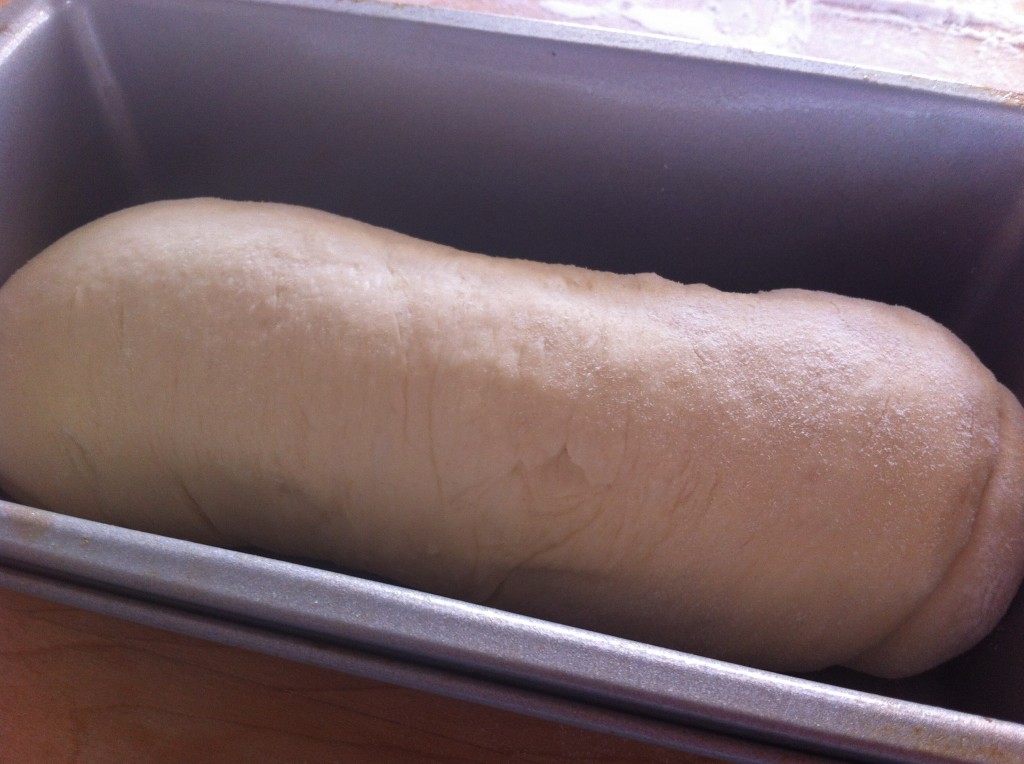
Place the dough into a greased 9 inch by 5 inch bread pan.

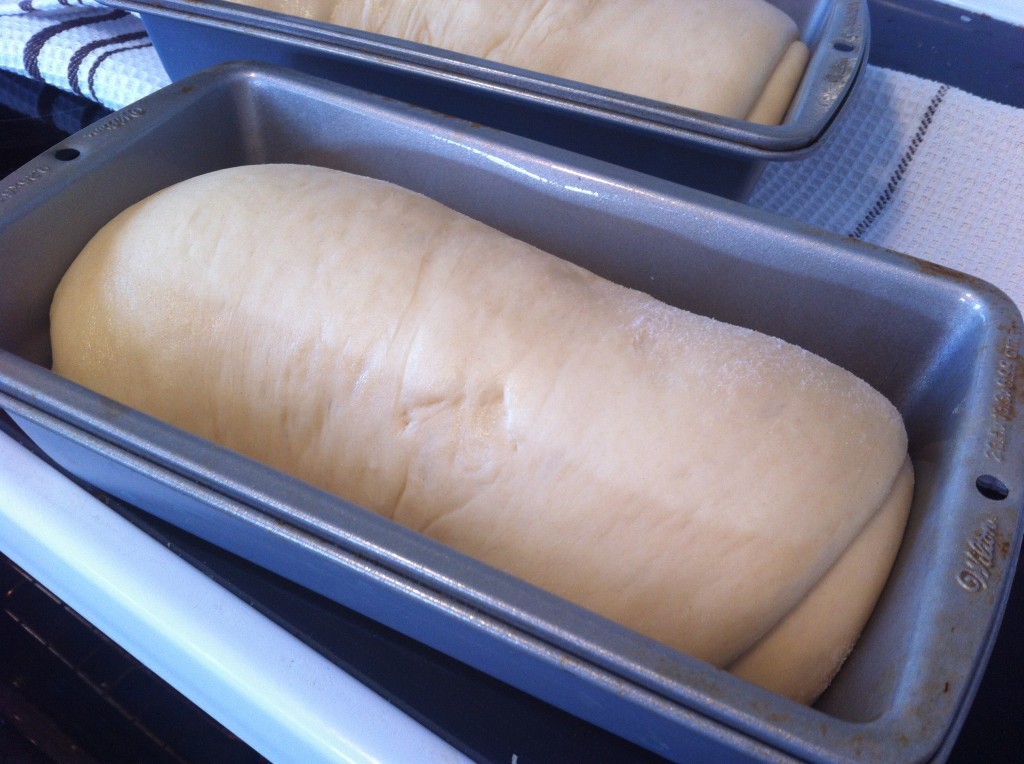
Cover the pans with a towel and let the loaves rise till they double in size. Now, it is time to bake the bread. I lowered my rack in the over to one notch lower. I preheated my oven to 370. Bake the bread for 25 to 30 minutes or until the bread sounds hollow inside and is nicely browned.

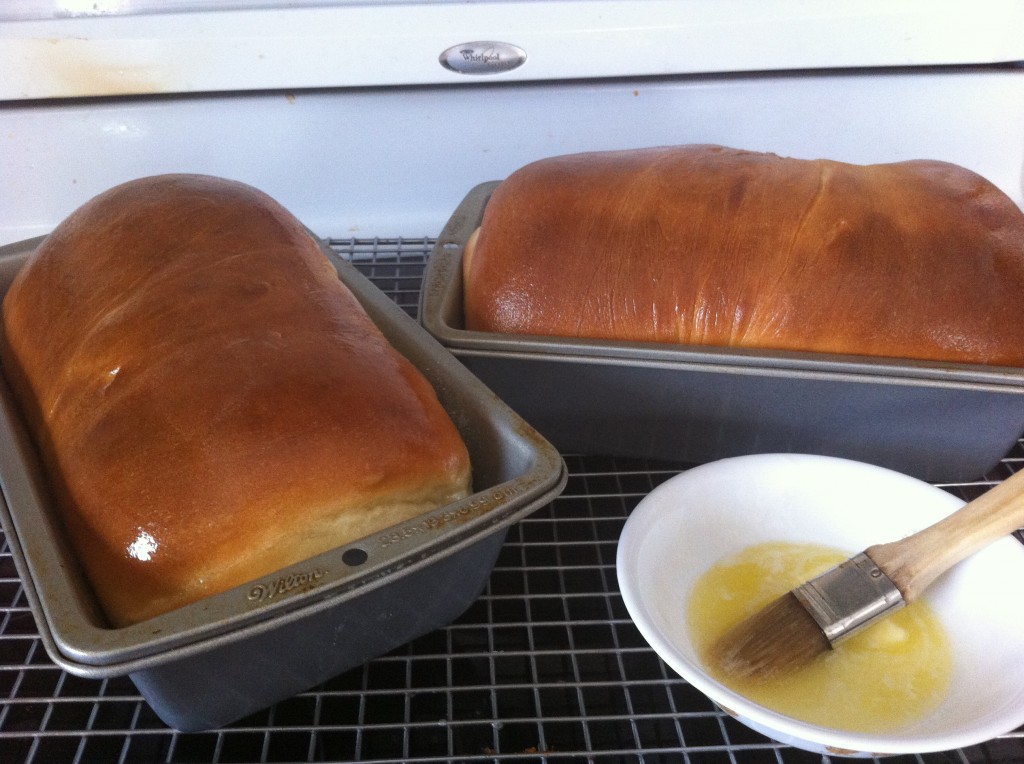
When they come out of the oven, brush the loaves with melted butter.

Take the bread out of the pans and cool completely. I know it is hard not to cut into them now. : )

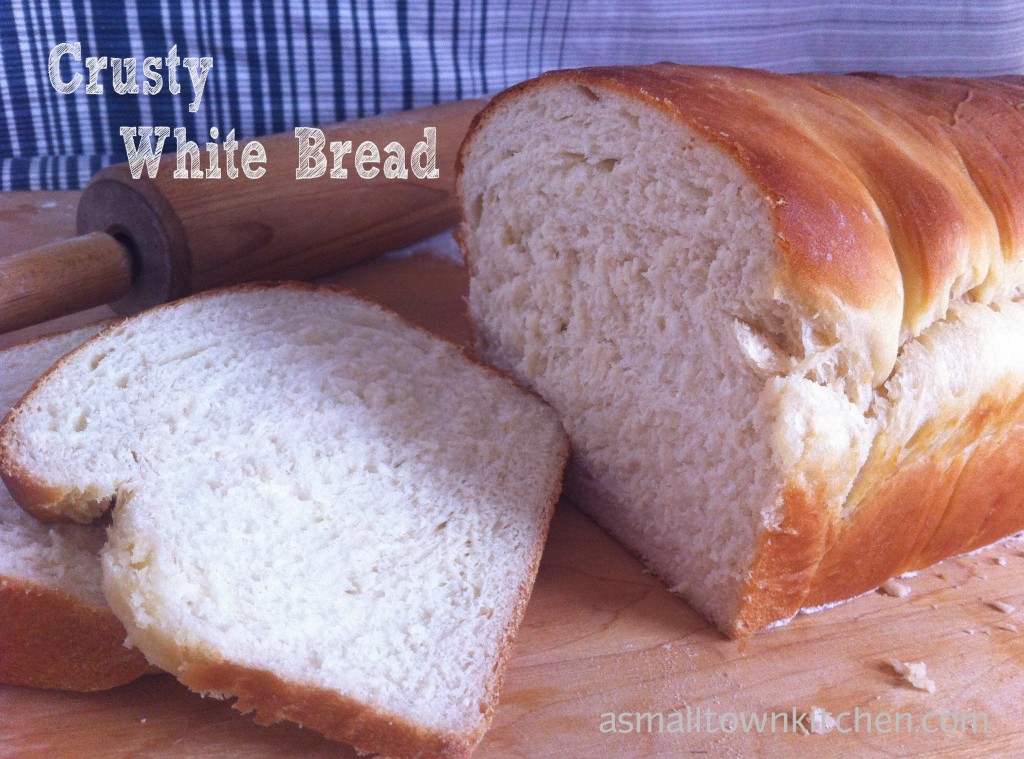
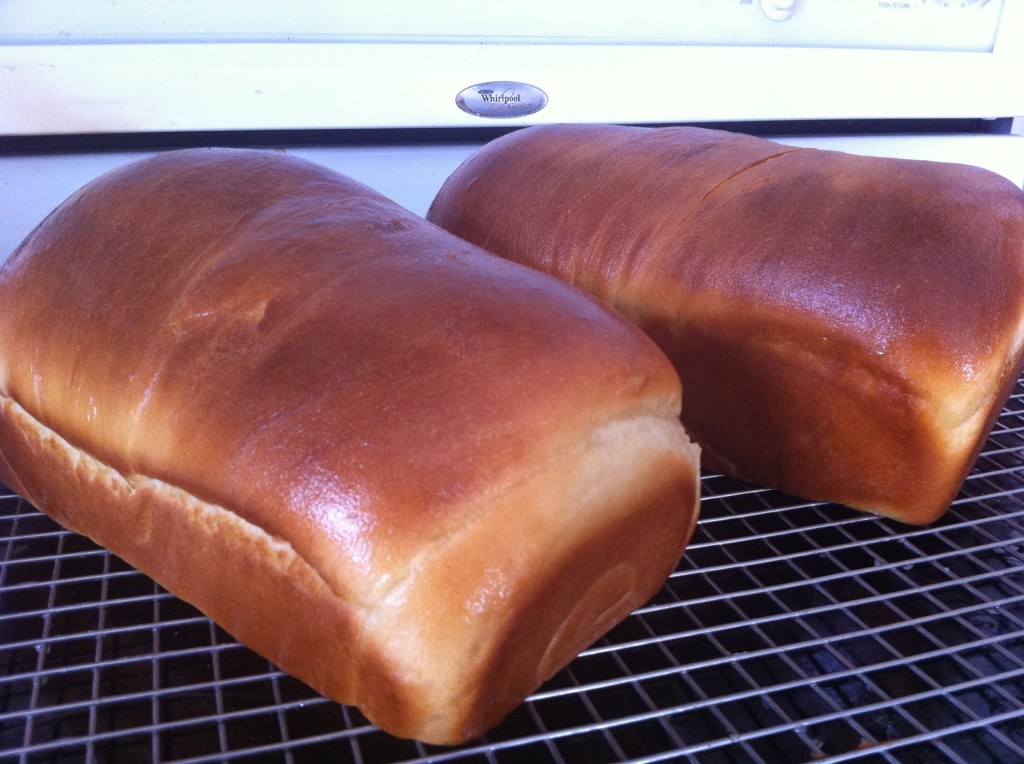
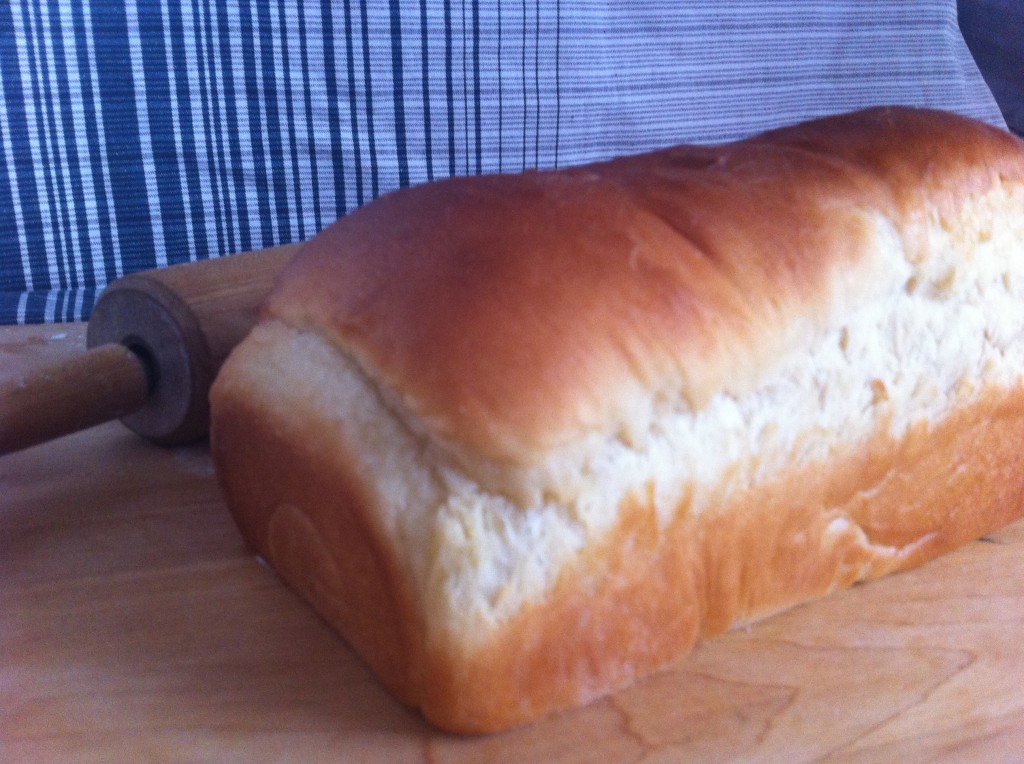
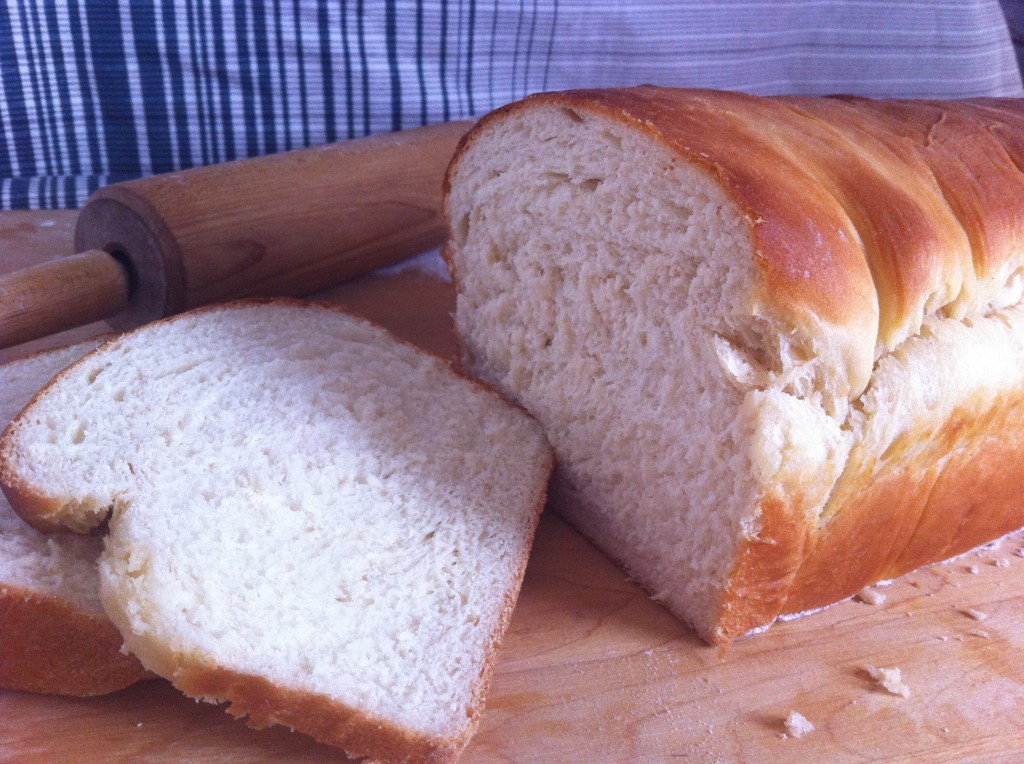
See what a beautiful loaf of bread this recipe makes?

I think you have waited long enough for the recipe : )

Here is the recipe.

Crusty White Bread

Ingredients:

2 envelopes of active dry yeast

2 cups of lukewarm water (105 to 110 degrees)

2 tablespoons sugar to add to the yeast and water

1/2 cup sugar to add to the dough

2 large eggs

1/4 cup vegetable shortening

1 tablespoon salt

1 tablespoon lemon juice

6 to 6 1/2 cup flour. I used all purpose flour, but you can use bread flour if you have it.

1 tablespoon oil to put on top of the dough while rising

2 tablespoons butter, melted to put on top of the loaves when they come out of the oven.

Directions:

In a large liquid measuring cup, measure out the warm water. Add the yeast and the sugar. Stir to dissolve. Wait 5 minutes for the yeast to activate.

In the bowl of stand mixer. Add the eggs, vegetable shortening, sugar, salt and lemon juice. With the beater attachment, mix together.

Add the yeast mixture to the egg mixture in the mixing bowl. Mix in.

Add in 3 cups of flour and beat in with the mixer until it is mixed in completely.

Switch to your dough hook attachment. Add in 3 more cups of flour. Knead in the flour with the dough hook for five minutes.

Take the dough out of the bowl and put on a floured surface. Knead in enough flour to make a nice soft dough.

Put the dough into a grease bowl. Brush oil on top of the dough. Cover the dough with a towel, put in a nice warm place (85 degrees if you can). Let the dough double in size.

Take the risen dough and place it on a floured surface and cut in half.

Roll each half into a rectangle that is 9 inches by 18. Roll the dough up by the short end. Seal the ends and the edge of the dough by pinching it together.

Put the loaves into lightly greased bread pans.

Cover the dough and let them rise, till doubled.

Preheat oven to 370 degrees. Lower the oven rack by one notch. (So the top of the bread does not too brown when baking)

Bake 25 to 30 minutes or until loaves are a golden brown and should sound hollow when tapped.

Remove loaves from pans and put on a wire cooling rack. Brush the loaves with melted butter.

Cool completely before slicing.

Nothing is better than homemade crusty white bread!

Hope you will try to make some for yourself!

Stay warm and eat food….really good food!

Becky

You may also enjoy:


Irish Soda Bread                          Garlic Cheddar Biscuits               Baking Powdered Biscuits 

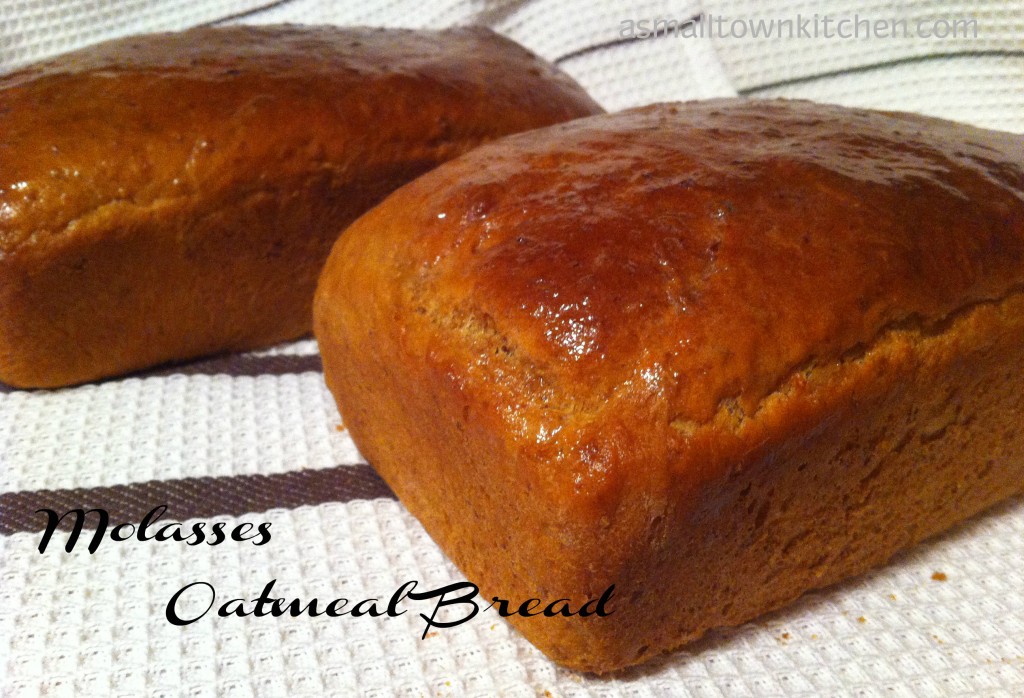
Molasses Oatmeal Bread

I love Molasses.

There I have said it.

I am a molasses snob too.

I want my molasses (sorghum) to taste just like I used to eat on hot biscuits at my grandma’s house.

I was so excited that I  found a farmers market in Springfield (Baby College Girl lives there) where a Mennonite family sells the exact tasting molasses I am looking for.

I pretty much bought them out, the last time I was in Springfield,

Anywho, when I can across this old bread recipe and it had molasses in it, I knew I would have to give it a try.

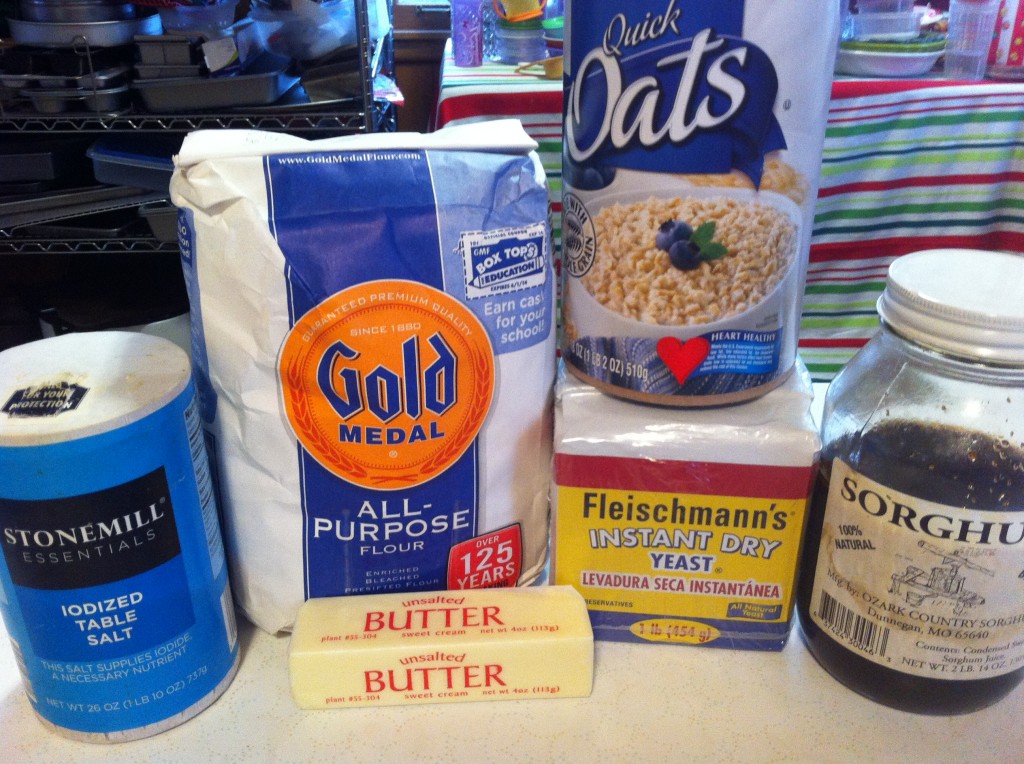
Here is what you need to make this bread.

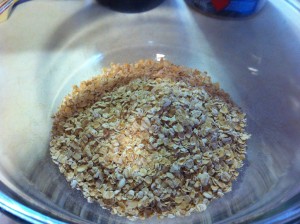
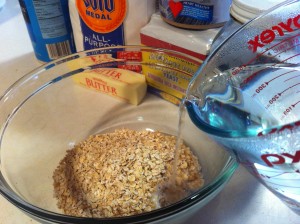
You will need oatmeal, butter, flour, yeast and molasses or sorghum.


First thing you do is put the oatmeal in a bowl and pour hot water over it. Let it set for about 45 minutes or until it thickens up.


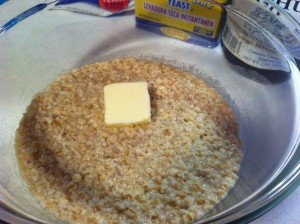
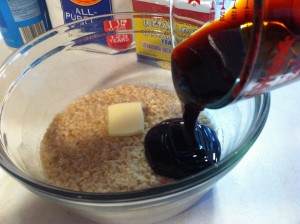
Now, you add the softened butter and the molasses. Stir to combine.


Add the yeast to lukewarm water to dissolve . Add the salt to the oatmeal and molasses mixture.


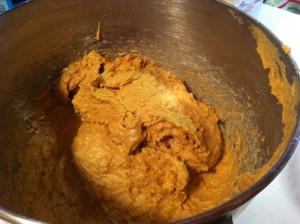
Once the yeast has dissolved you can add it to the molasses and oatmeal mixtures. Now, I switched to my stand mixer. I poured in the oatmeal mixture and added the flour.

I put on my dough hook and kneaded in the flour. The dough is very soft and sticky and that is ok for now.

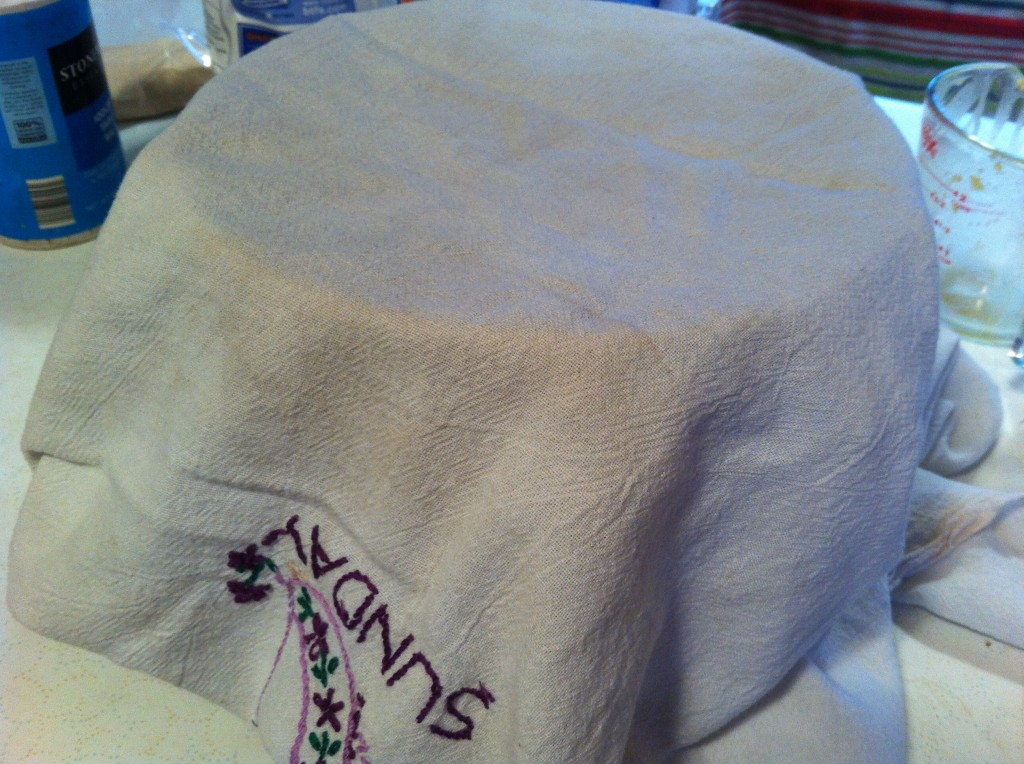
I covered the dough with plastic wrap and put a towel over the bowl. I set the bowl in a warm place in my kitchen until it doubled in size.

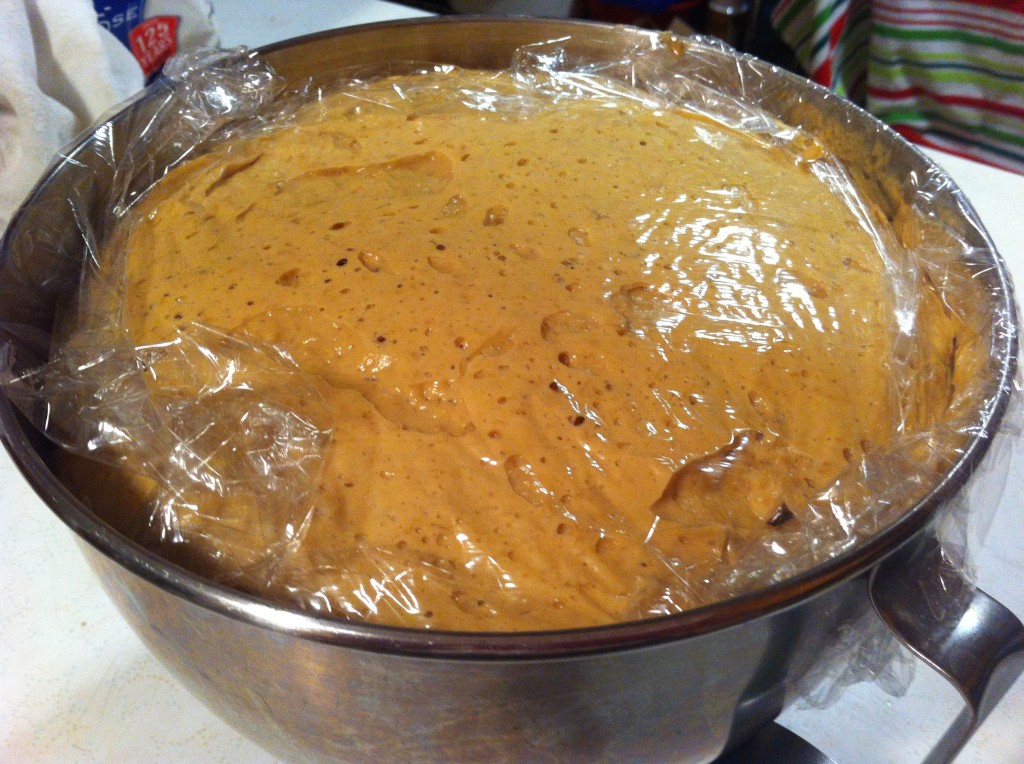
In about a hour or so, the dough has risen to double it’s size.

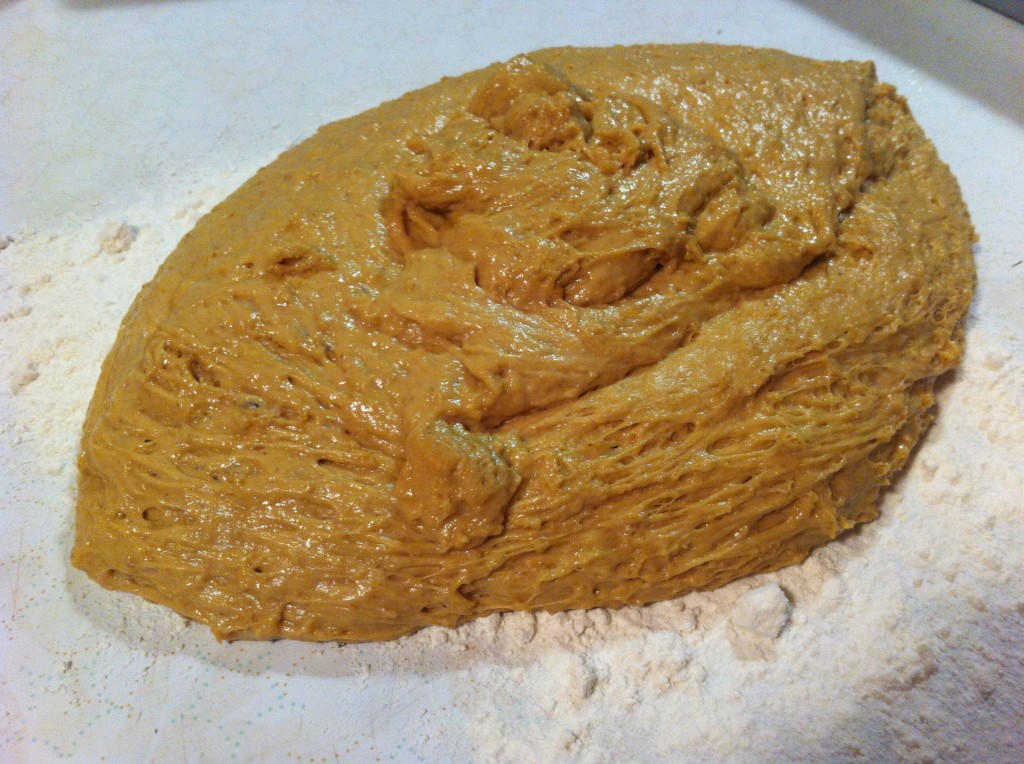
Take the dough out of the bowl and put in on a well floured surface.

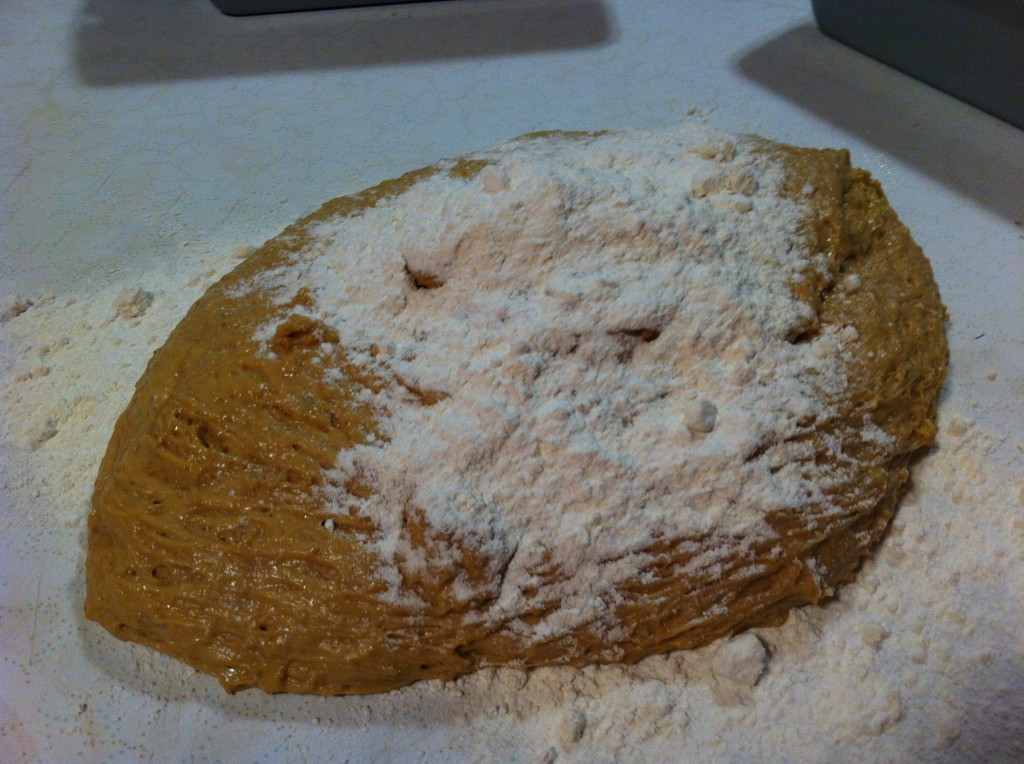
I sprinkled some more flour on top. I then kneaded the dough by hand, adding more flour as needed until I got a soft dough.


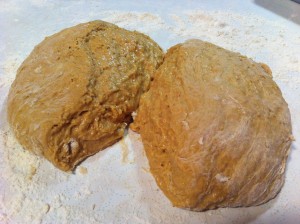
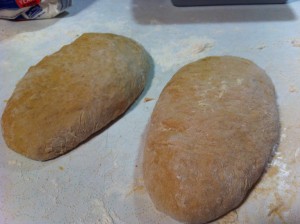
I cut the dough in half. I then formed the dough into loaves.


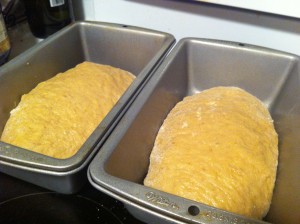
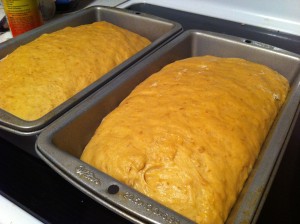
I put the loaves into little greased loaf pans. I covered them with a towel until they doubled in size.

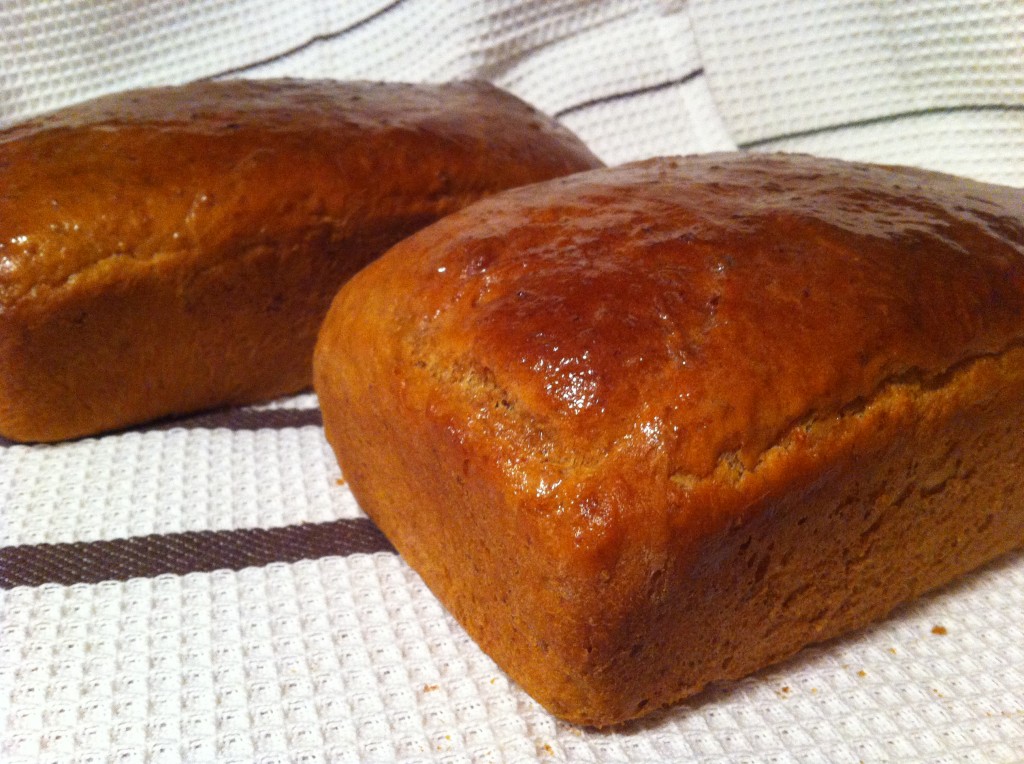
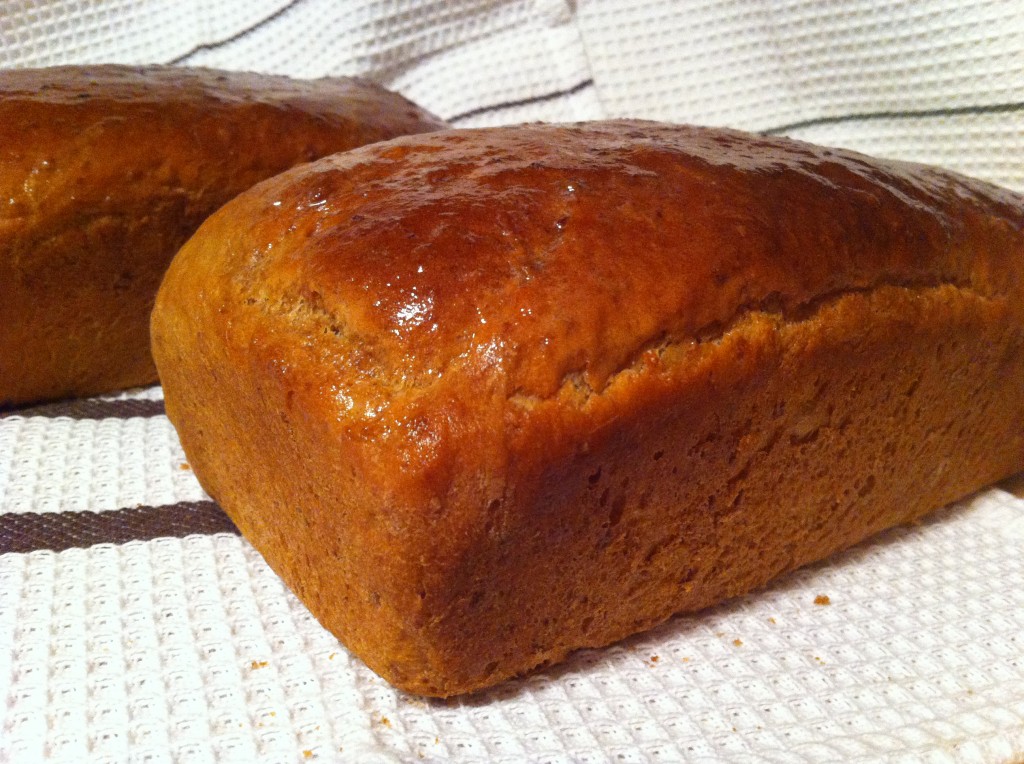
Bake in a preheated 350 degree oven for about 50 minutes. Let cool in the pans for 10 minutes then remove.

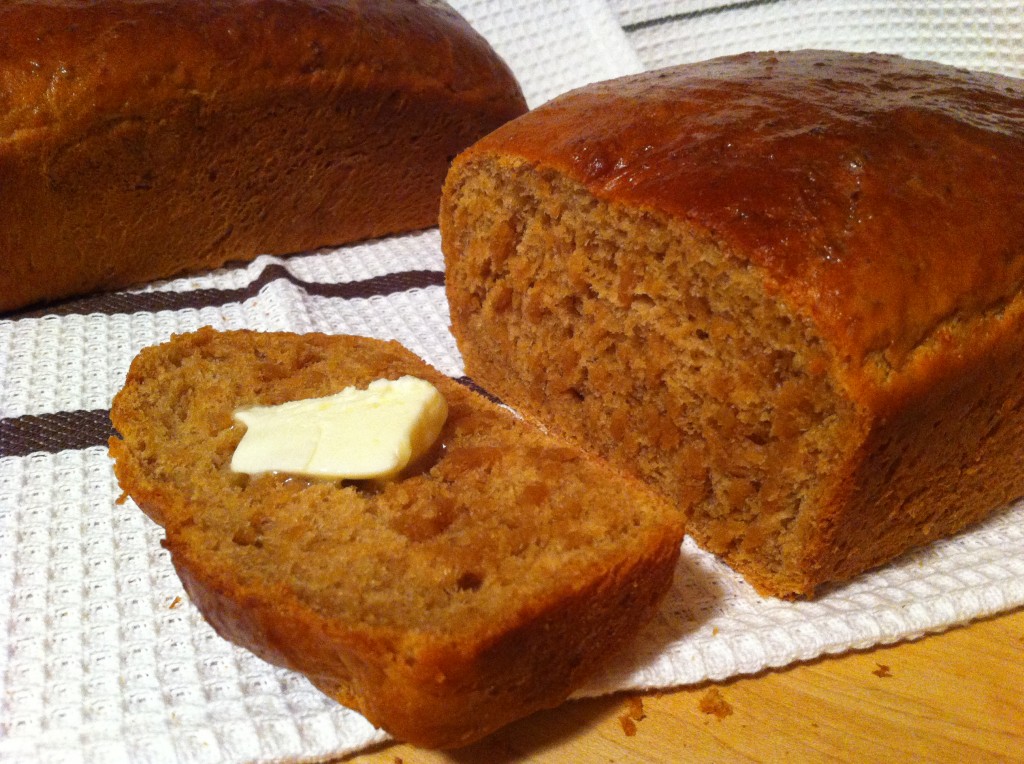
Try to wait until the bread cools before slicing. I have a hard time with this!

I took one of these loaves to my sister Jeanie Beanie’s house for her dinner after church on Sunday. My other loaf is almost gone. Yikes! It went great with the beef stew I made for dinner.
Hope you give it a try.

Here is the recipe:

Molasses Oatmeal Bread

Ingredients:

2 cups boiling water

1 cup quick or regular oats

1/2 cup molasses or sorghum (do not use blackstrap molasses, it is too bitter for this recipe)

1 tablespoon butter

1 1/2 teaspoon salt

1/2 cup lukewarm water

1 package yeast

4 1/2 cups to 5 cups of flour (you will use an additional 1/2 to 3/4 cups for kneading later)

Directions:

Mix boiling water and the oats together in a large bowl. Let it sit for up to one hour or until the oatmeal thickens. Now, add the molasses, slat and butter. Stir to combine. In a small bowl, put the lukewarm water and yeast, stir to dissolve the yeast. Add the yeast mixture to the oatmeal mixture and stir together. Pour the oatmeal mixture into a stand mixer with an attached dough hook. Add the flour. Knead the flour and oatmeal mixture together for about 5 to 6 minutes. The dough will be sticky. If you do not have a stand mixer,  you can beat the flour in by hand as the dough is pretty soft.  Cover the dough with plastic wrap to prevent from drying out and then cover with a towel. Let the dough rise until it has double in size. Punch the dough down and put on a floured surface. Add enough flour to make the dough firm enough to knead. Shape the dough into two loaves. Put the loaves in greased loaf pans. Cover the pans with a towel and let rise till double. Bake the loaves in a preheated 350 degree oven for about 50 minutes. Let the loaves cool in the pans for about 10 minutes. Then take out of the pans and cool on a cooling rack.

Enjoy!

Becky

Other post you may want to check out:


Overnight Cinnamon Rolls                        Molasses Cookies                             Sausage Gravy and Biscuits


Related Posts Plugin for WordPress, Blogger...