Pistachio Salad better know as “Green Stuff”

This is what my Oldest Grandgirl and her Aunt T calls the “Green Stuff.”

Green Stuff is a staple at  all our Thanksgiving and Christmas dinners. It is one of those dishes that you know your relative will always make, bring and share. Usually my PIC (other wise known as my sister in law) makes the Green Stuff. Because, being the awesome daughter that she is, she has been spending most of her free time with her dad in long term care after some major health issues, PIC was unable to make the Green Stuff!

It was so sweet that my Oldest Grandgirl came to the rescue! She volunteered to make the Green Stuff. Which just happens to be her favorite!!!

Anywho, this is the first, of I hope many, cooking post where my Grandgirls steal the show and make edible goodness in the kitchen. (as long as they wash their own dishes).

Here is what Oldest Grandgirls tells me she needs to make the legendary Green Stuff.

Two regular size cool whips, one regular size instant pistachio pudding, large can of crushed pineapple and  fruit flavored miniature marshmallows and if you like you can add some chopped pistachios or walnuts.

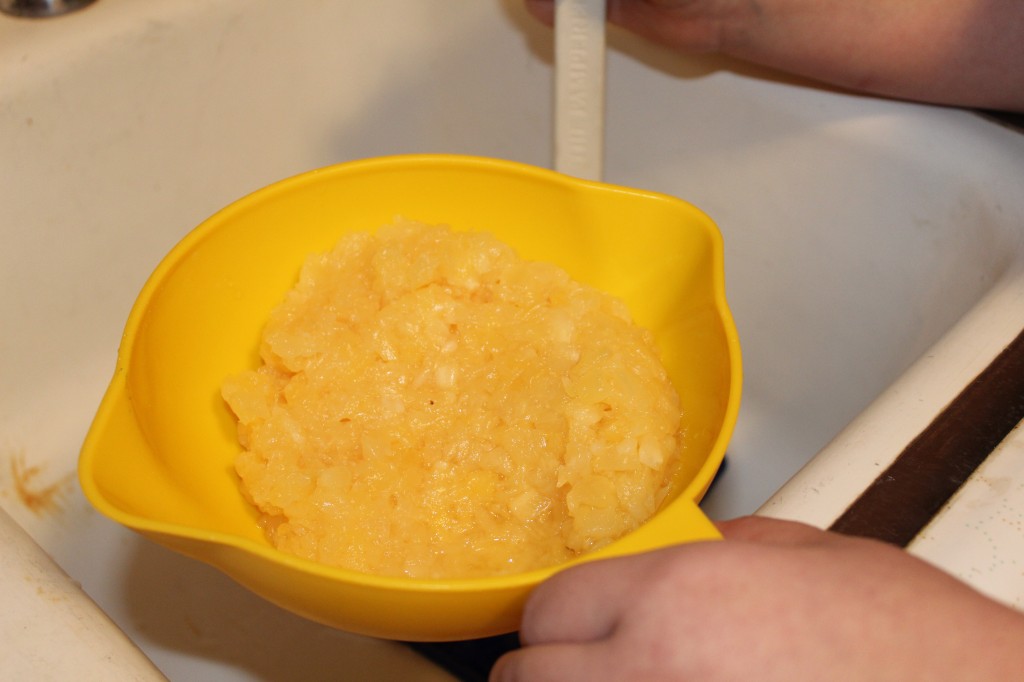
Drain the liquid from the pineapple.

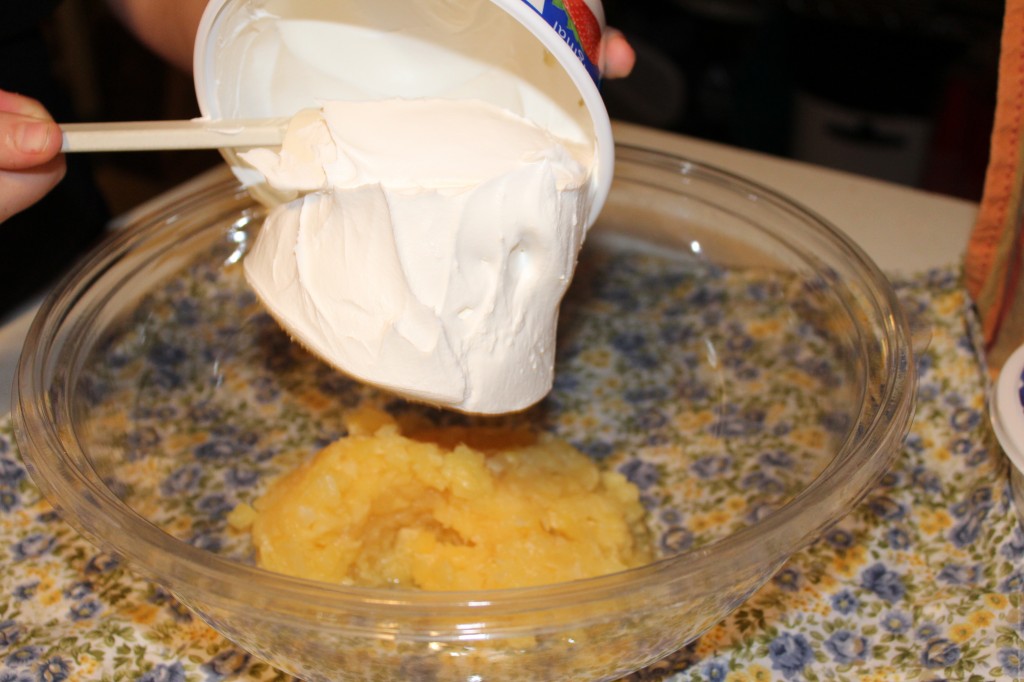
Put the drained crushed pineapple in a bowl and add the cool whip.

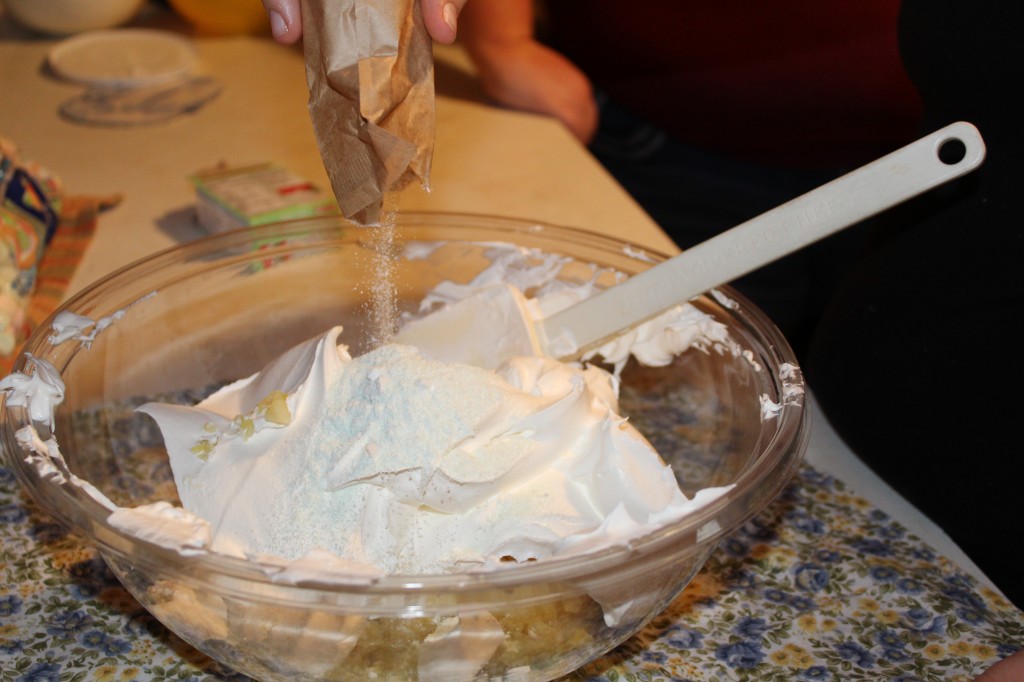
Add in the pistachio pudding.

Add in the fruit flavored mini marshmallows.

Stir together!

That is all there is to making, “The Green Stuff!”

Enjoy!

Oldest Grandgirl

Pistachio Salad

Recipe from PIC or Aunt T.

Ingredients:

1 – 20 ounces can crushed pineapple, drained

2 – 8 ounce containers of cool whip

1 – 3 ounce box of instant pistachio pudding mix

3 cups of fruit flavored miniature marshmallows

1 cup of chopped pistachios or walnuts  (optional) We did not add extra nuts because we have some family who do not like a lot of nuts in their food. I think they are nuts…LOL

Directions:

In a large bowl, add the drained pineapple, cool whip, pudding mix and the marshmallows. Stir until all the ingredients are combined. Cover and refrigerate until ready to serve. 


Other post you may enjoy:


Layered Mint Brownies     Chocolate Shortbread Brownies w/macaroon     Cracker Toffee


A Bucketful of Muffins

Have you ever had to cook for a crowd? Or just wanted to bake something that you could enjoy today and for later?

That is why I love to make these muffins.

When I had to start going to meetings before school, several of us teachers brought in enough goodies to feed all the teachers a nice breakfast. It is great to just hop in your car, drive to school, knowing that breakfast was there waiting for you. Yummy breakfast food to celebrate the start of school and to get you ready to go to all those FABULOUS meetings….. : ). One of the things that I made to share were these terrific muffins. They are full of raisin bran cereal and extra raisins. I love them so much, I made a batch for home and shared with Niener Wiener and Jeanie Beanie. I froze the rest in the freezer. All I had to do was pull a muffin out and microwave it for breakfast. It was like eating a fresh baked muffin. If you would rather bake a few of the muffins at a time, you can do that too. Just put the batter in the refrigerator and bake a few at a time. The only trick is that you do not stir the muffin batter after it goes into the fridge because it breaks down the cereal.

See, it really does make a bucket full of muffins!

Lets get started!

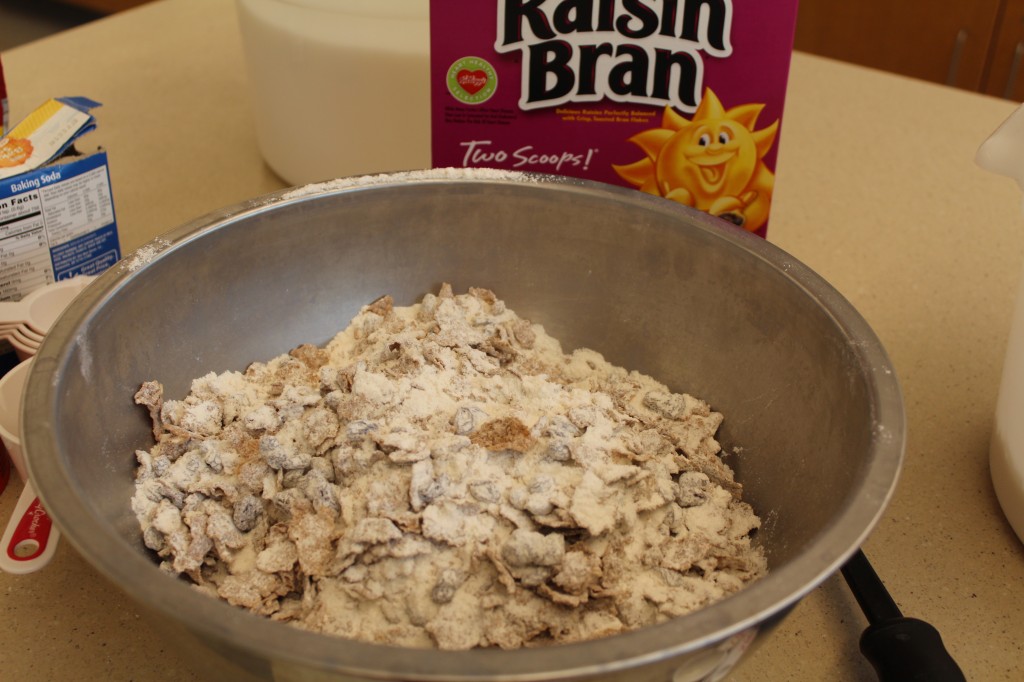
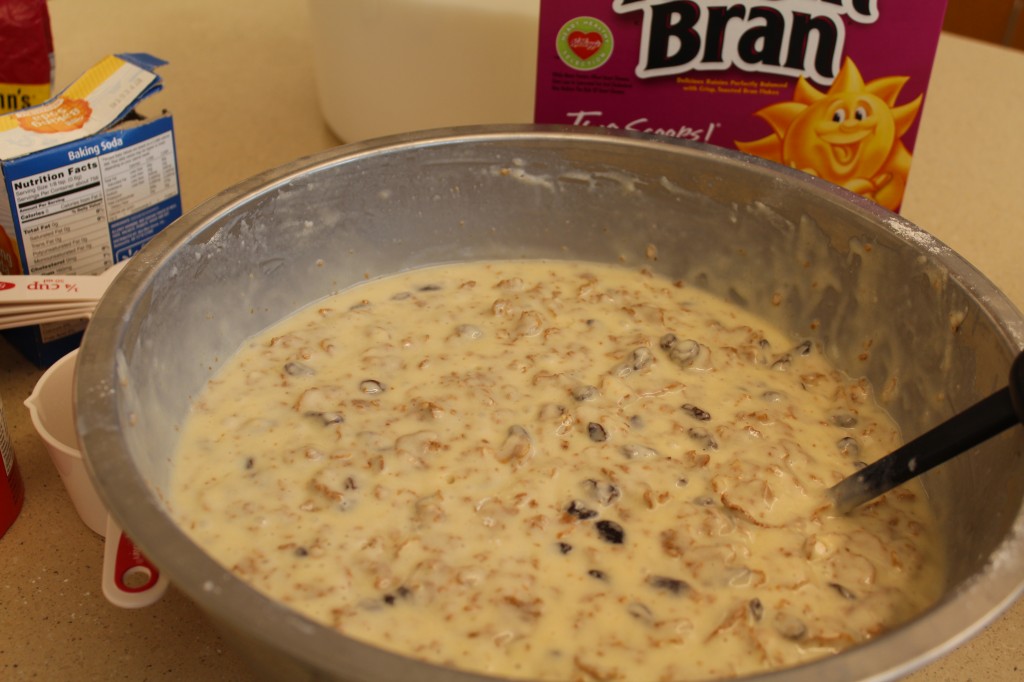
Can you tell I am making these at school? First thing you do is put all the dry ingredients together. This includes the flour, raisin bran cereal, sugar, more raisins, baking soda and salt.

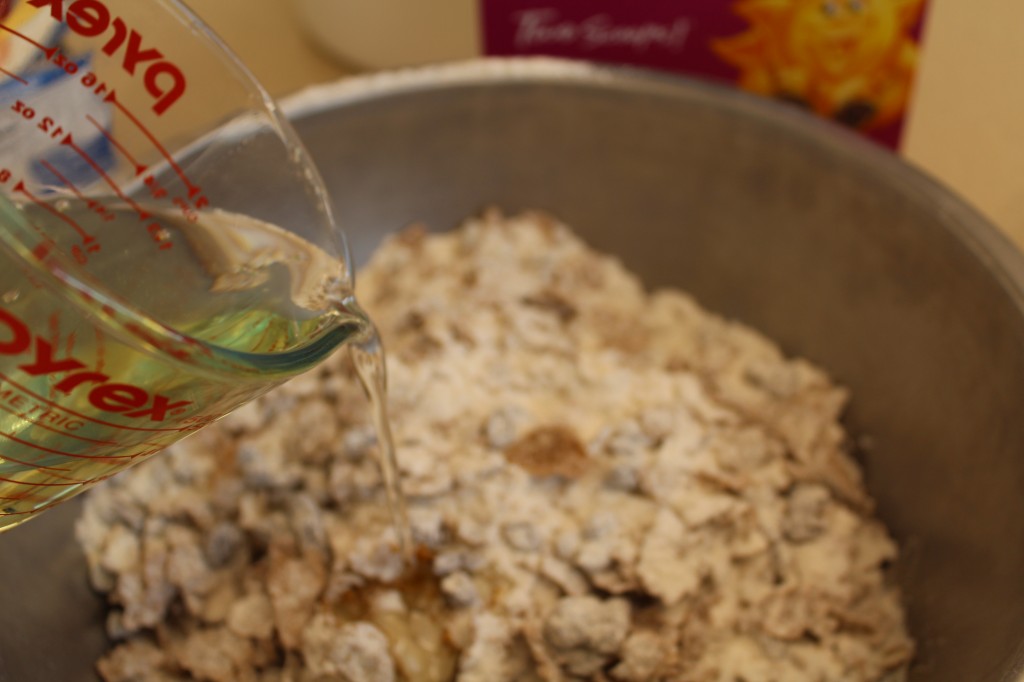
Add the oil.

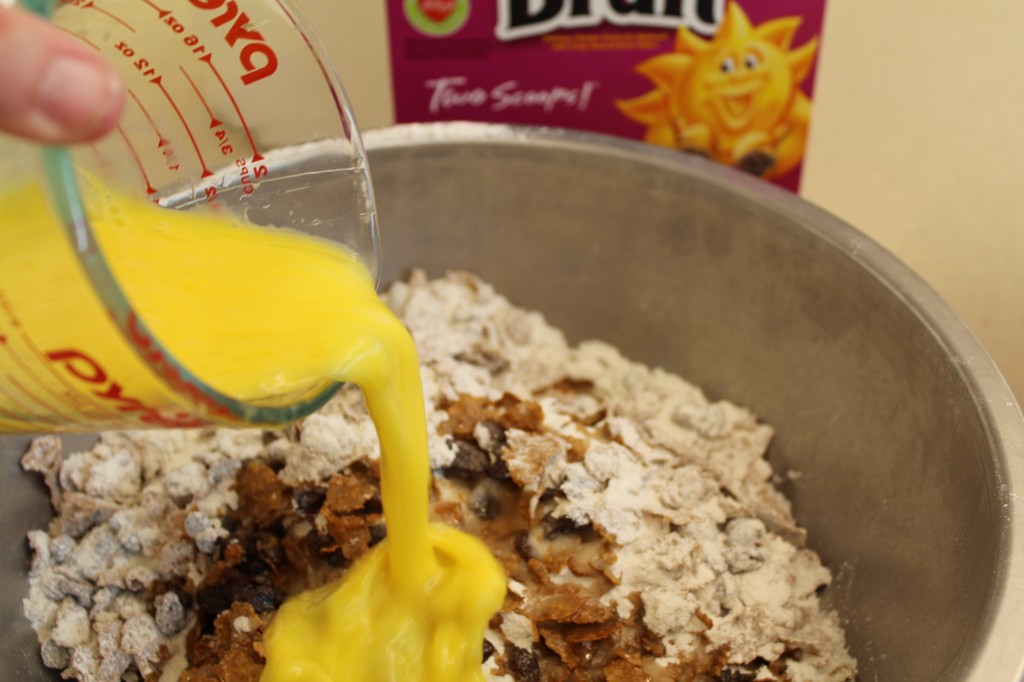
Add four beaten eggs.

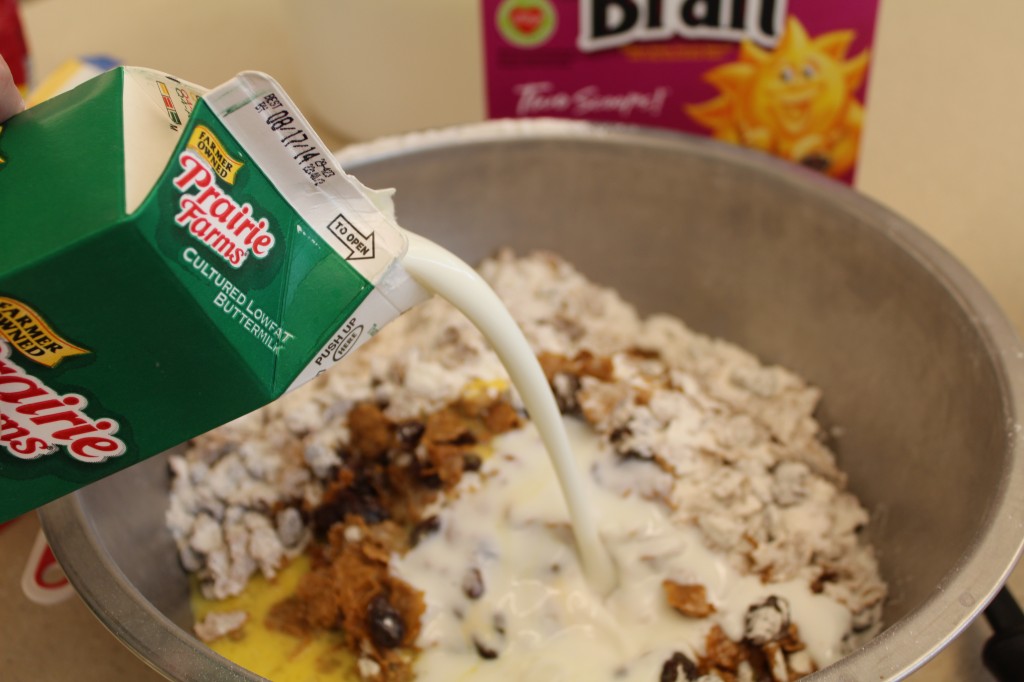
Add a whole quart of buttermilk.

Mix together, but do not over mix because it will break down the raising bran cereal.

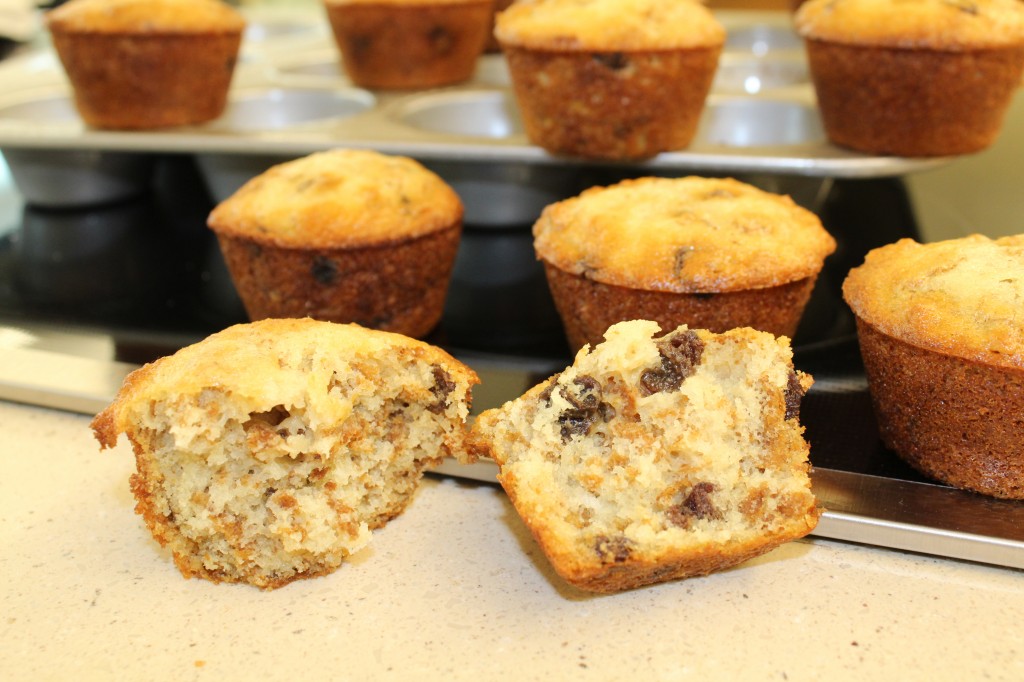
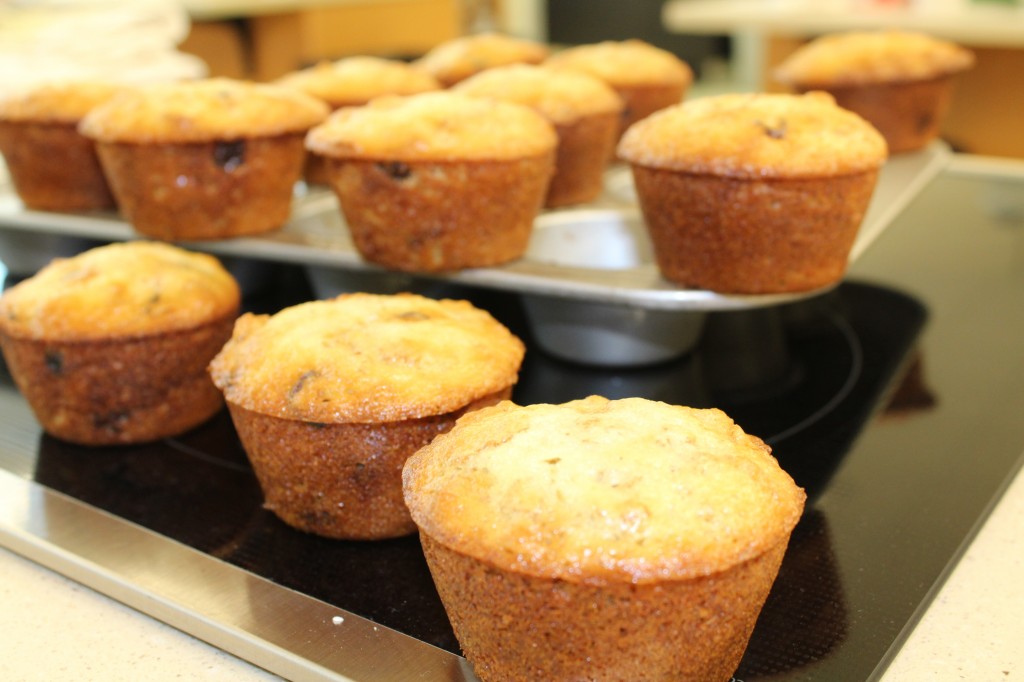
Bake muffins for 15 to 20 minutes in a 400 degree oven. I love the bits of cereal through the muffin.

The recipe says that the batter will last in the fridge for 4 weeks. If you can make yourself wait that long before eating all of them.

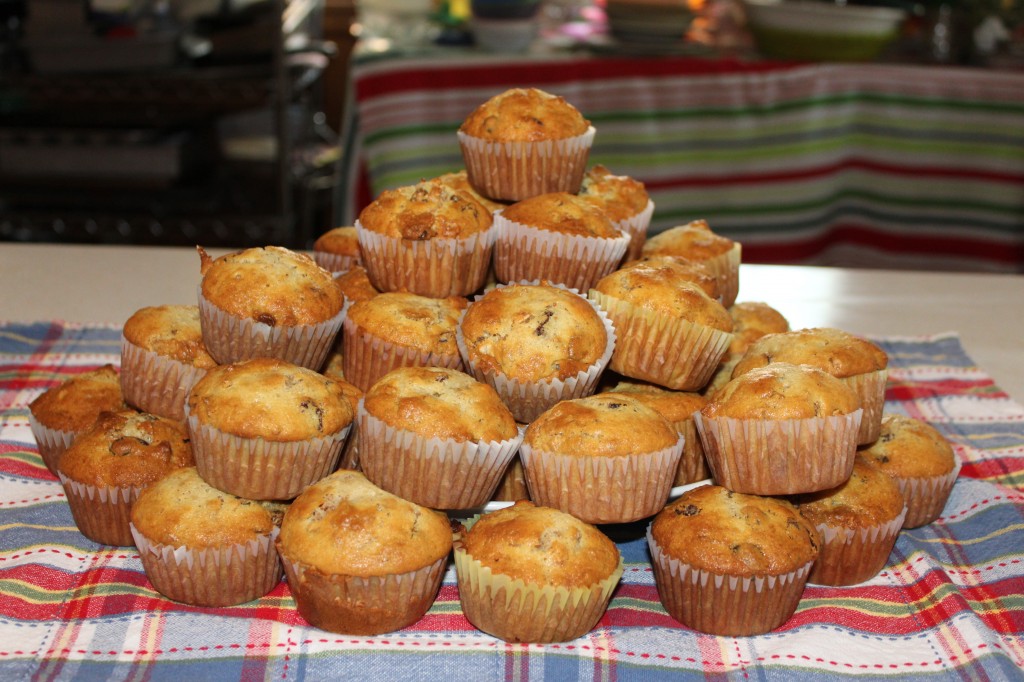
As you can tell I made the whole batch!

These muffins are moist and dense at the same time. I love all the raisins!

Hope you do too!

Becky

Here is the recipe:

Bucketful of Muffins

Adapted from a old church cookbook I found at Salvation Army

Ingredients:

Dry Ingredients:

1–15 ounce box Raisin Bran Cereal

5 teaspoons of baking soda

5 cup of all purpose flour

2 teaspoons salt

2 cups of raisins

3 cups of sugar

Wet Ingredients:

4 beaten eggs

1 cup of vegetable oil

1 quart buttermilk

Directions:

Mix all the dry ingredients in a very large bowl. Mix well. Add in the eggs, oil and buttermilk. Stir together but do not over mix and break down the cereal. If you are not baking all the muffins you can store in a covered container in the refrigerator. Do not stir any time after mixing the batter together.

Bake muffins as needed (or all of the batter like I did) in a 400 degree oven for 15 to 20 minutes.

Other post you may enjoy reading:


Taco Soup                                            Strawberry Bread                        Brown Sugar Meatloaf

Brunswick Stew

You will have to forgive me for posting, yet another soup/stew recipe.

I just could not help myself.

Soup is (almost) like a steak…well…maybe that is taking it a little too far…..soup is like a great grilled piece of chicken breast for me.

I have been wanting to make a Brunswick stew ever since I went to Destin Fl and tried some at a Hogs Breath restaurant. It was not spicy (though you can make this recipe spicy if want), it had the perfect combination of meat and veggies. And…it was very filling.

With the world series going on, homecomings and play offs at school, you just might have some left over pork and chicken or beef you need to use up. This stew is perfect for that! I had some left over chicken in the freezer, and some left  over pork butt I cooked in the crock pot (to make BBQ pork sandwiches) that I used to make this recipe. You could use left over roast too. OR a combination of all three meats. Since the meat is already cooked, it does not take long to prepare this stew and get it on the table. My home made  Crusty White Bread recipe would go perfect with this stew.

As the temperature dips down later this week, dip your spoon into some hearty Brunswick Stew.

Here is what you need.

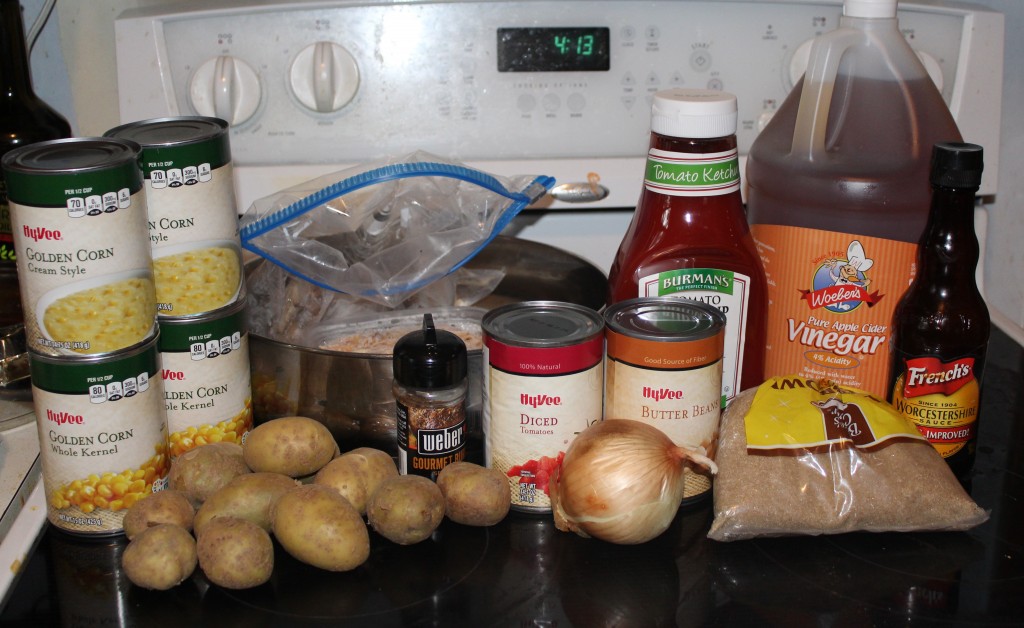
You will need 7 to 8 cups of shredded meat (I used a combination of chicken and pork), some potatoes, onion, canned corn, butter beans, diced tomatoes, vinegar, Worcestershire sauce, vinegar,  brown sugar, ketchup and some steak seasonings. You will also need 2 cups of beef broth which I forgot to put in the picture.

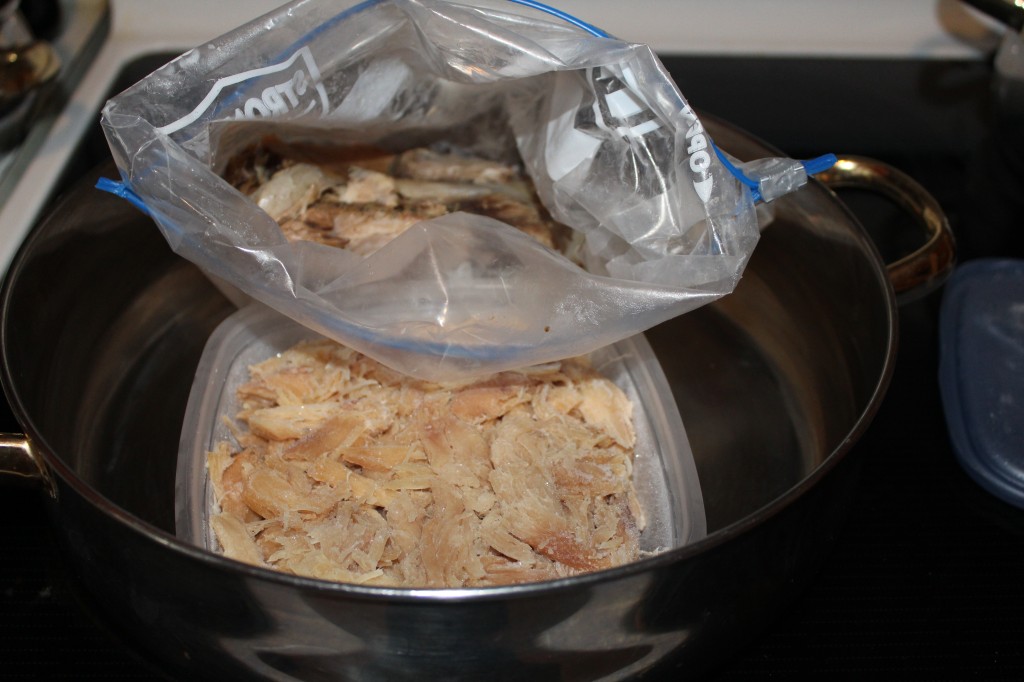
Here is my frozen chicken and pork butt. You could also use a pork loin or left over roast.

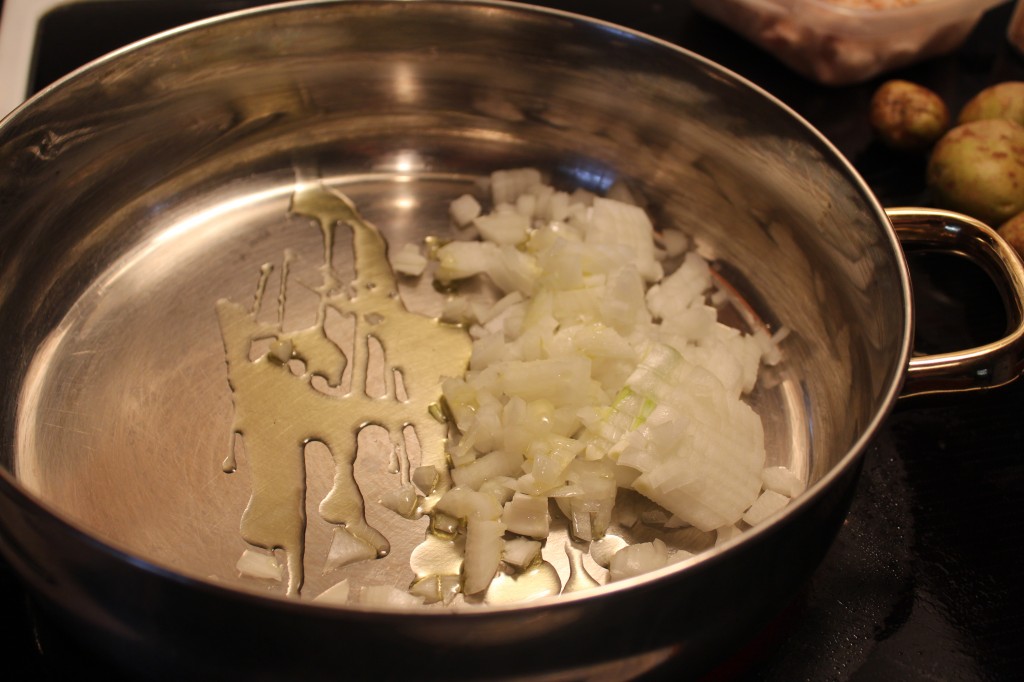
First thing you do is saute the onions in some olive oil until they are translucent.

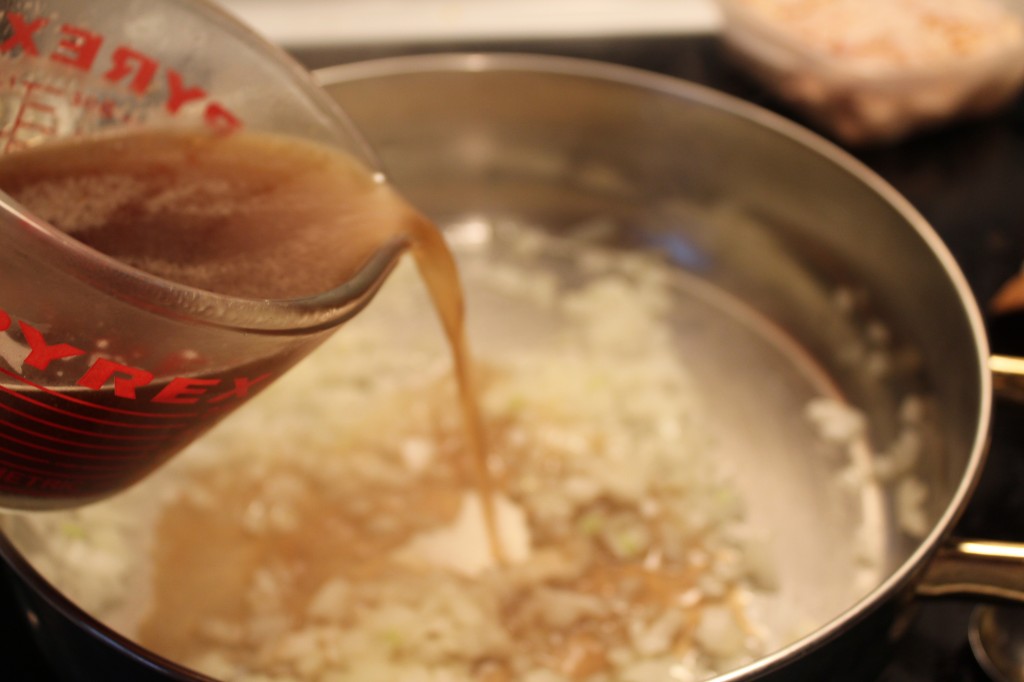
Add in the beef broth

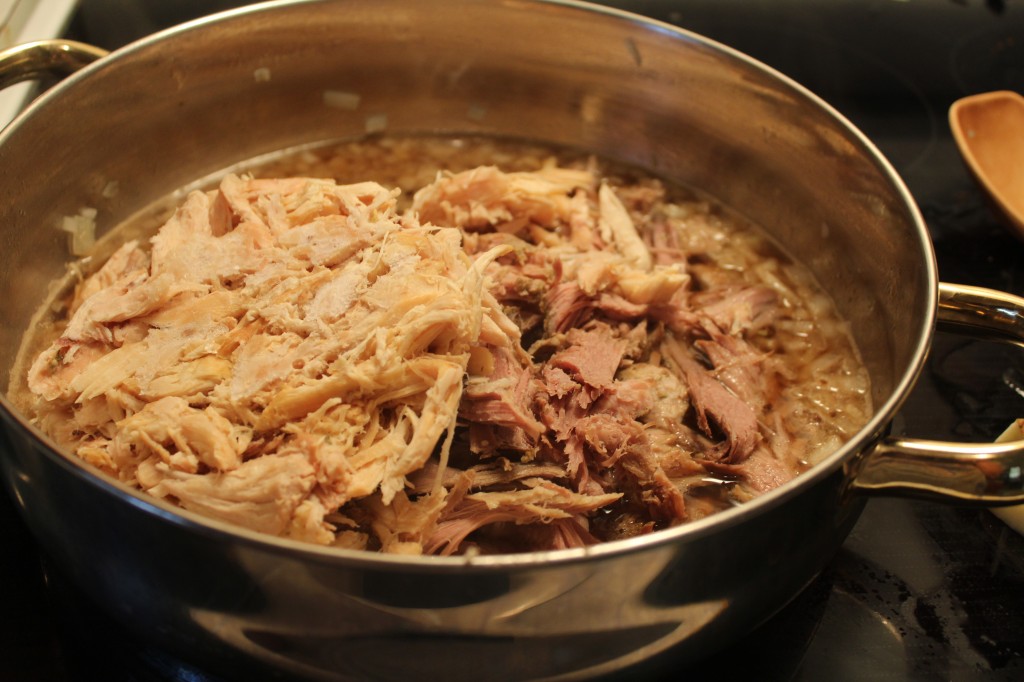
Add the cooked combination of meat that you choose.

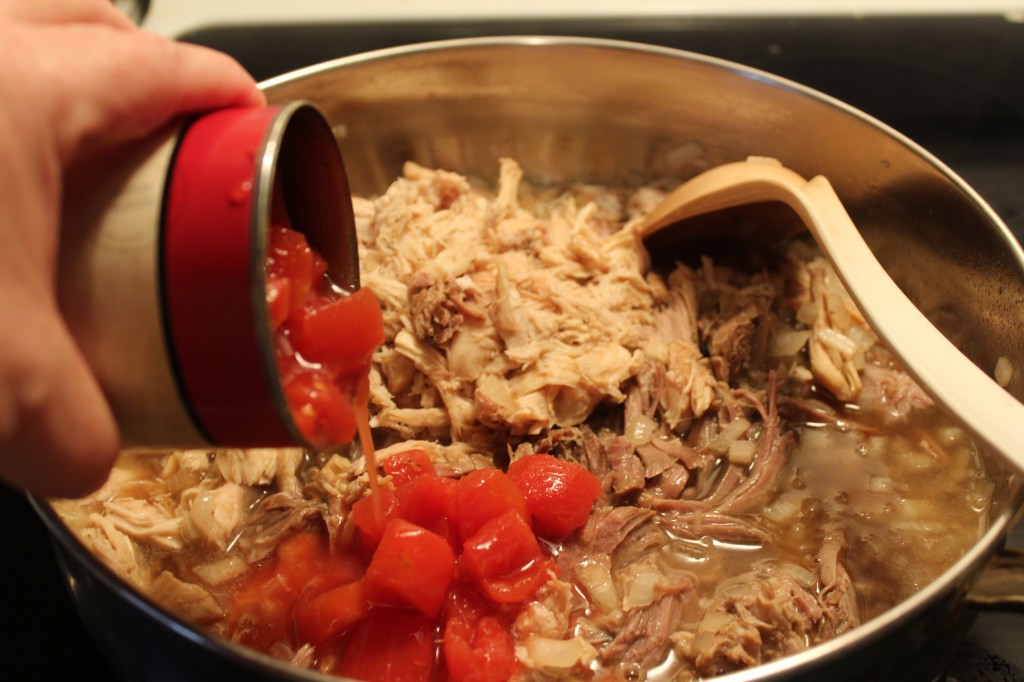
Pour in the diced tomatoes.

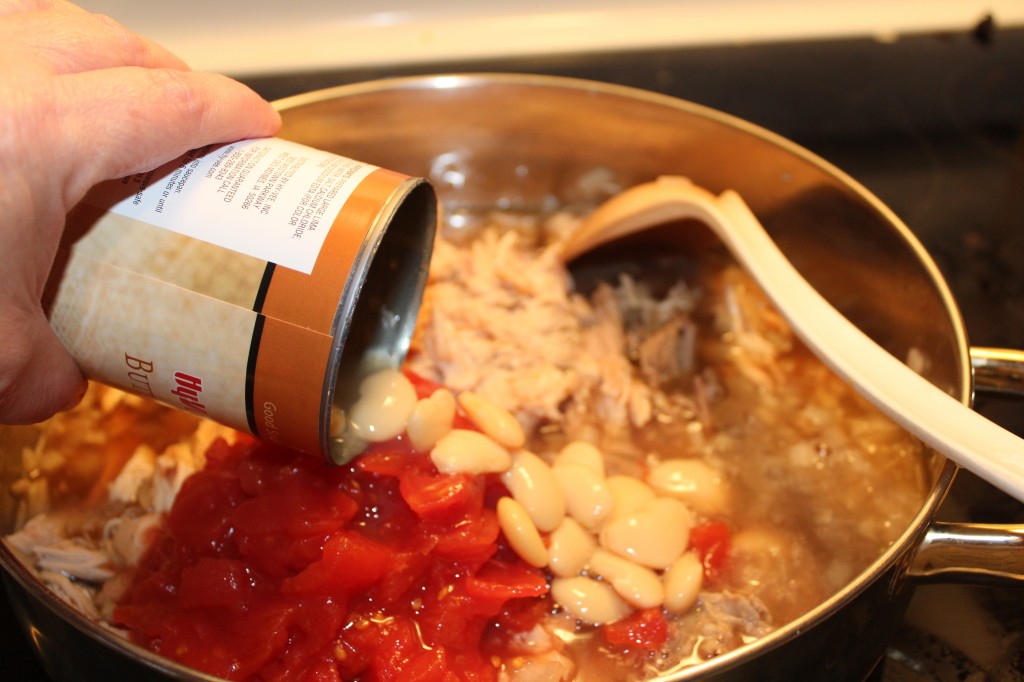
Add in the can of drained butter beans. These might also be called lima beans.

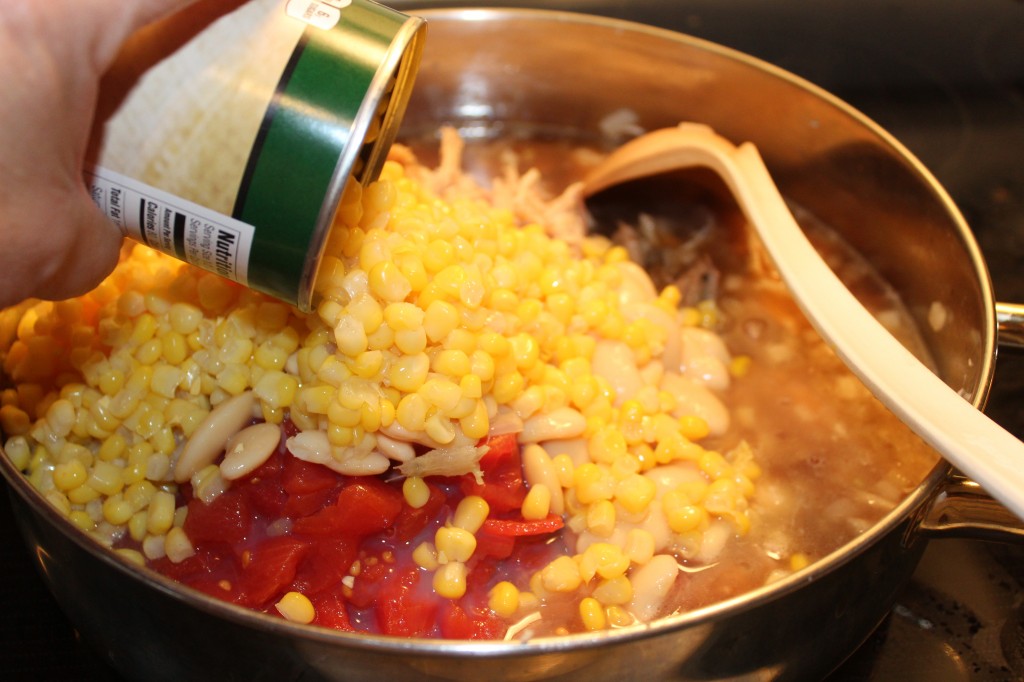
Add in two cans of drained corn.

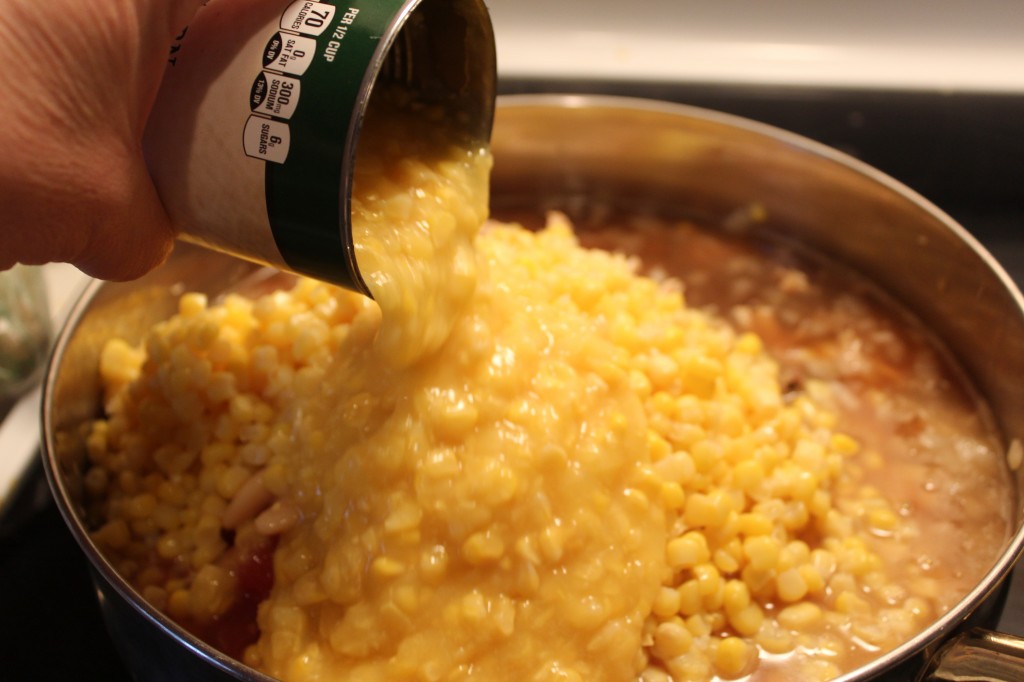
Add in two cans of creamed corn.

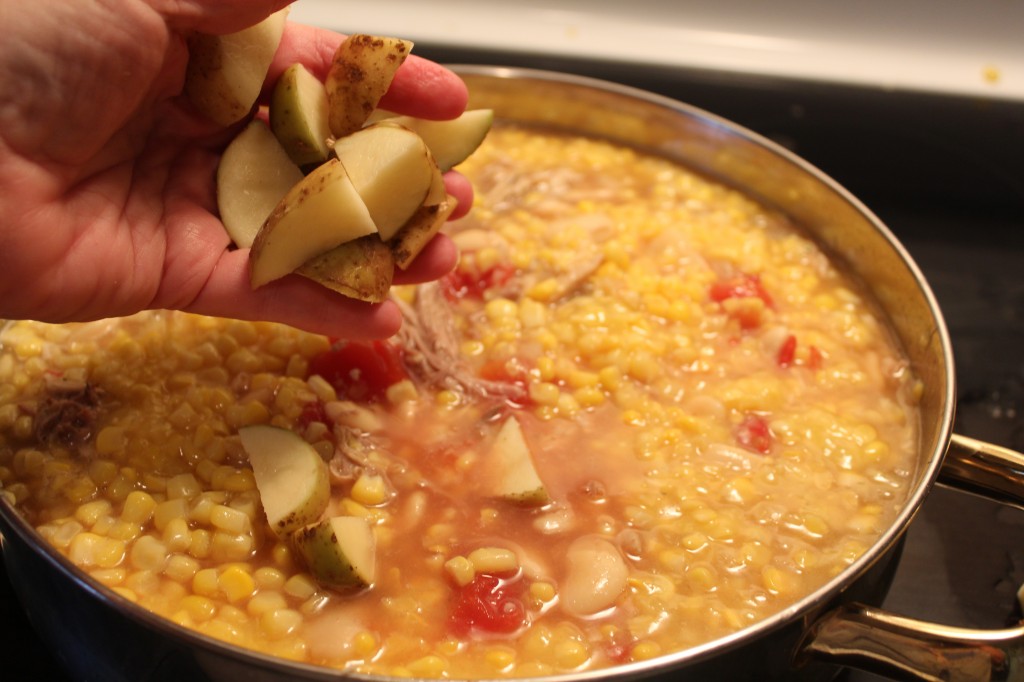
Now, add in the diced potatoes.

Lets get this stew seasoned. Add in the Worcestershire sauce.

Add in the apple cider vinegar.

Add in the ketchup.

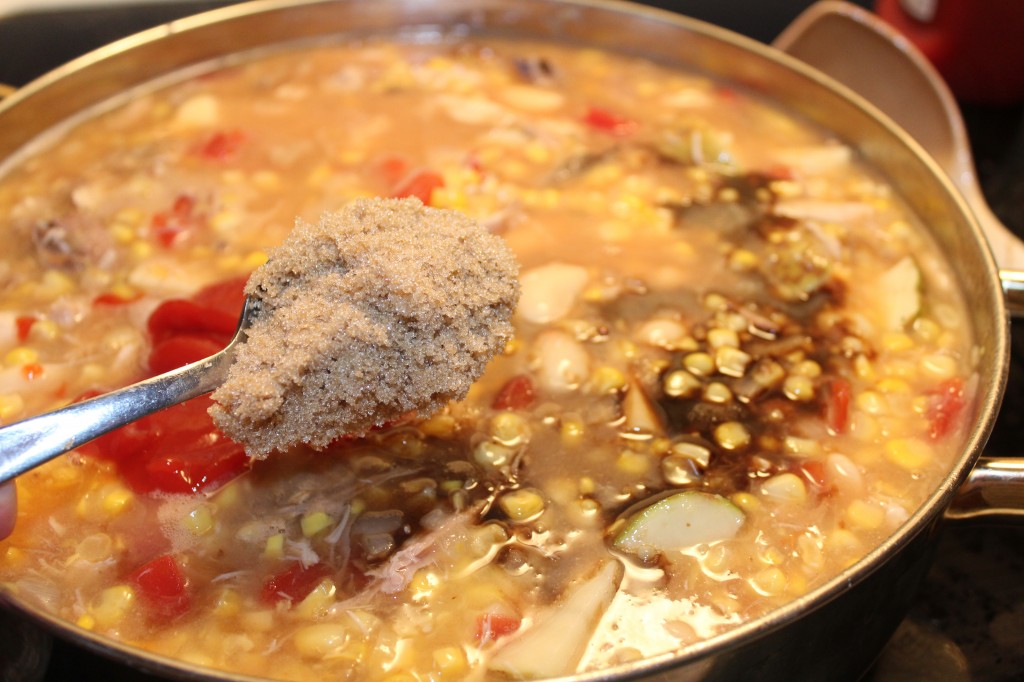
Spoon in the brown sugar.

Add in the steak seasoning. Stir it all together.

Cook on low until the potatoes are cooked through. Stir often as this is a thick stew and you do not want the bottom to scorch.

When the potatoes are tender, it is time to ladle the stew up in bowls.

Hope you are hungry!

Enjoy,

Becky

Brunswick Stew

Adapted From Add a Pinch.com

Ingredients:

7 to 8 cups of shredded meat. (combination of chicken, pork or beef) Feel free to use just one meat or all three

2 cups of beef stock

1 medium onion, diced

5 medium red potatoes, cubed into bite size pieces ( I used small yukon gold potatoes and it worked great)

1 (15 ounce) can of butter beans, drained

2 cans corn (drained)

2 cans cream corn

1 (24 ounce) can of diced tomatoes

1/4 cup ketchup

3 to 4 tablespoons brown sugar

2 tablespoons apple cidar vinegar

2 tablespoons Worcestershire sauce

1 tablespoon steak seasoning

Cayenne pepper (optional)

Directions:

Dice up the onions. Cut the potatoes into bite size cubes.

Over medium heat, saute the onions in about 2 to 3 table spoons of olive oil. Saute until translucent. Add in the cooked shredded meat (combination of chicken, pork and beef).

Pour in the beef stock. Add in rest of the ingredients. Simmer on low until the potatoes are tender.

This picture makes me want to make some more even though I already have some in the freezer!

Other post you may enjoy reading:


Roasted Pumpkin Seeds                  Oven BBQ Brisket                                Taco Soup


Homestyle Green Beans seasoned with Bacon

This  past summer, at Company’s house, I tried my best to grow green beans. They would pop out of the ground and make some blooms and then either the geese, deer or some green bean hungry animal would steal them all. GRRRRR……

Last year it was my back yard varmit that ate my green beans and tomatoes.

I finally gave up growing my own green beans  (until next spring) and just decided to buy some fresh green beans. I found a great deal on green beans for .99 cents a pound and bought three pounds. My favorite way to cook them is with some bacon and onion AND if I have some small new potatoes I like to throw some potatoes in too.

This Homestyle Green Recipe is not a exact science. It all depends on how many green beans you have. So this recipe is for making a full pot of green beans. But don’t worry, just add less of everything if you only have one pound of green beans. I like to cook my green beans for a couple of hours, until they get soft and, I know this sounds crazy, but it kinda makes a green bean gravy. In other words the green beans cook down as the water evaporates and all this great flavor makes into the broth/gravy.

YUM!

Anywho, it is time to get started!

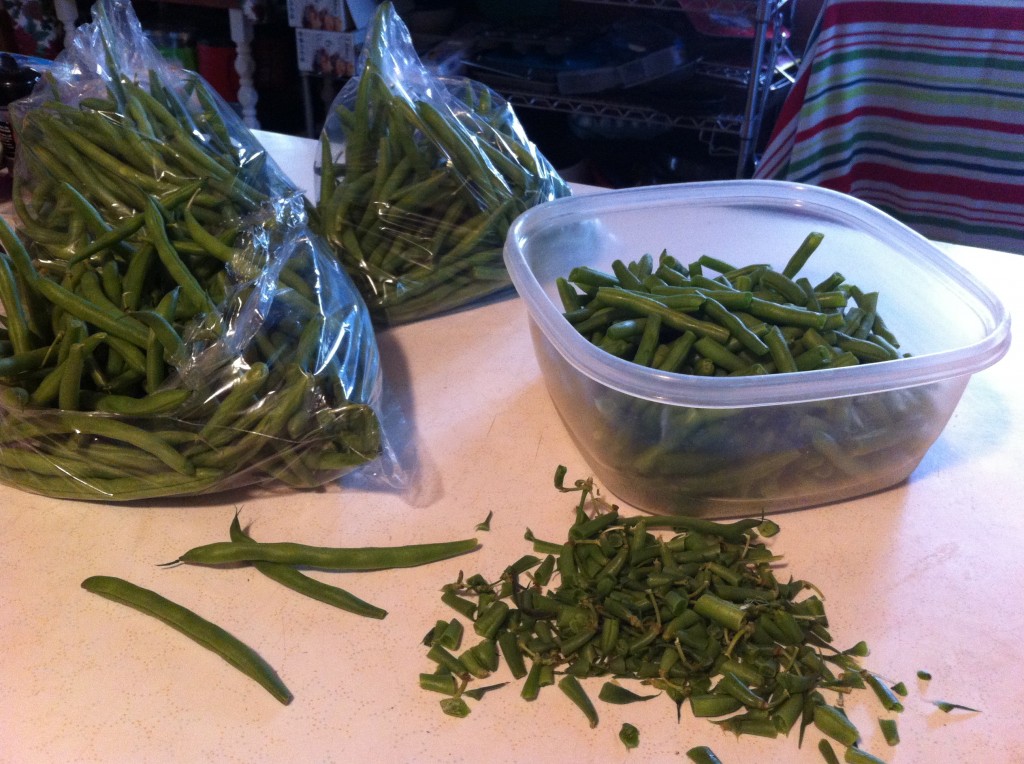
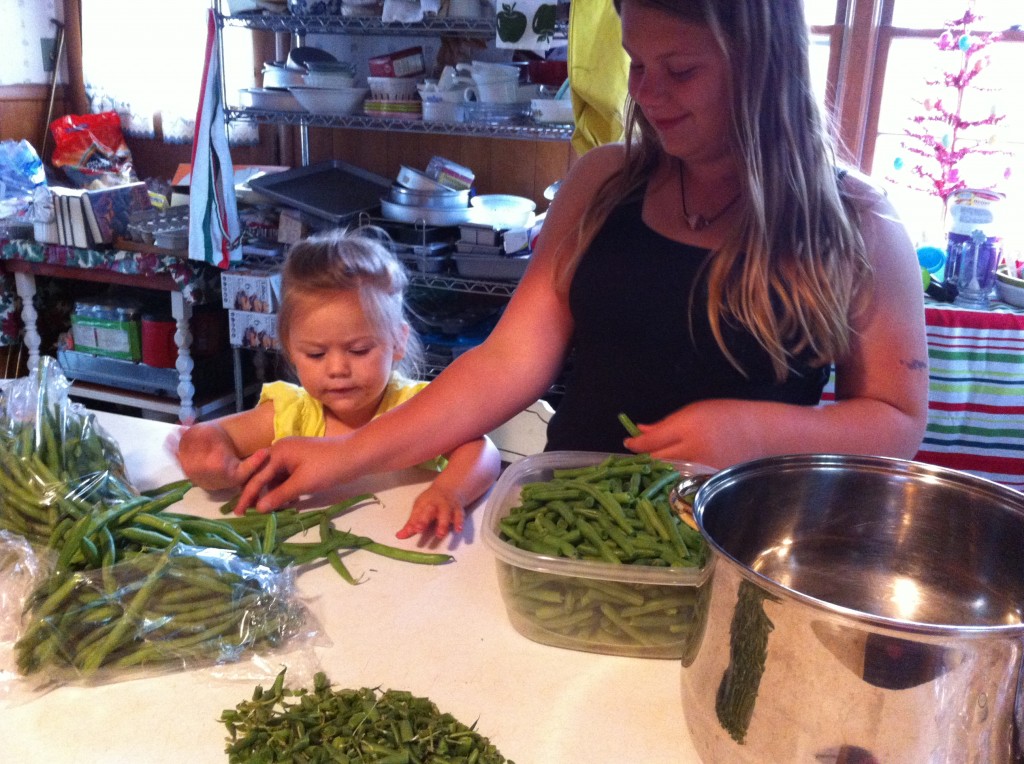
First thing you need to do is snap the ends off the green beans and snap them in half.

It is more fun if you can recruit some help for this. (please don’t look at my very untidy shelf with my extra pans on it) : )

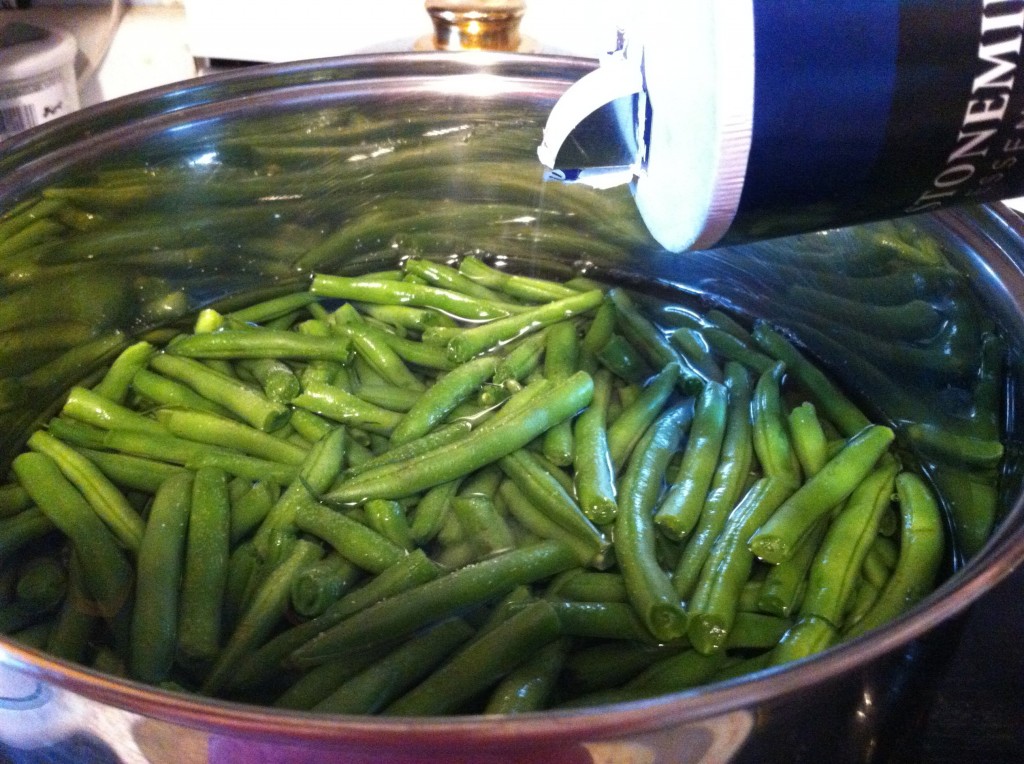
Rinse the green beans and then put them in a stock pot and fill  with just enough water to cover with them.

Add teaspoon of salt. (I do not add much salt right now. I let them cook down before I really season them to taste).

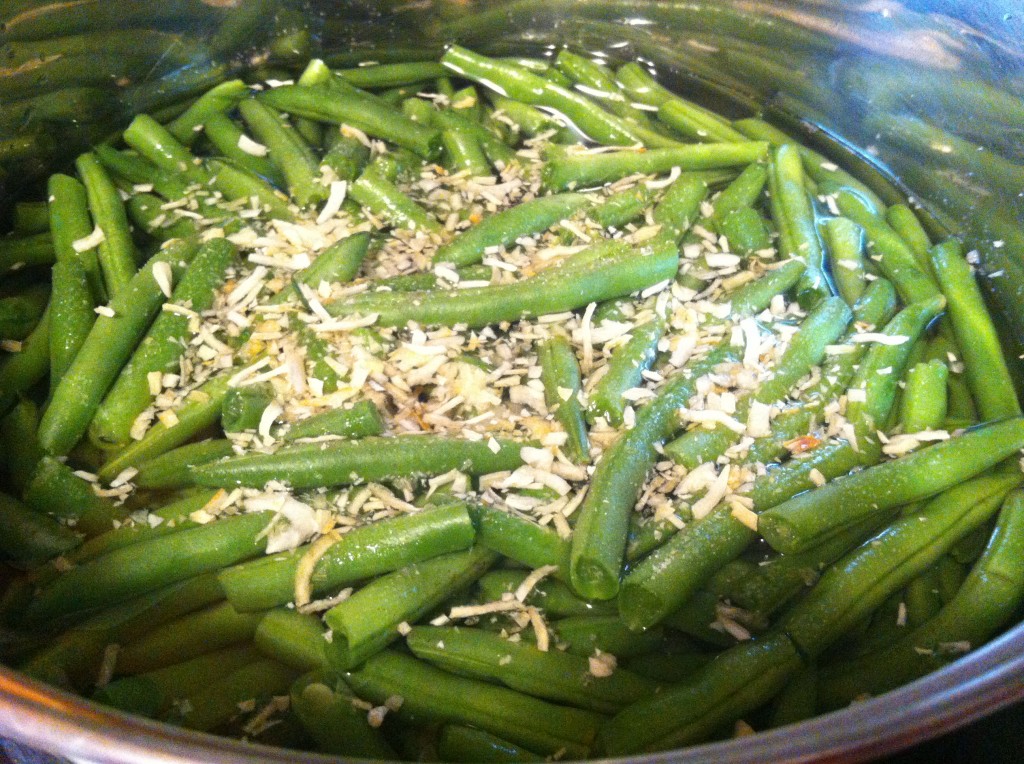
Add in some  dried mince onions or a large onion diced up. I am using diced minced onions because Company does not like onions and I can hid them (sorta) in the green beans if I used the dried dice onions. You can certainly use a fresh diced onion.

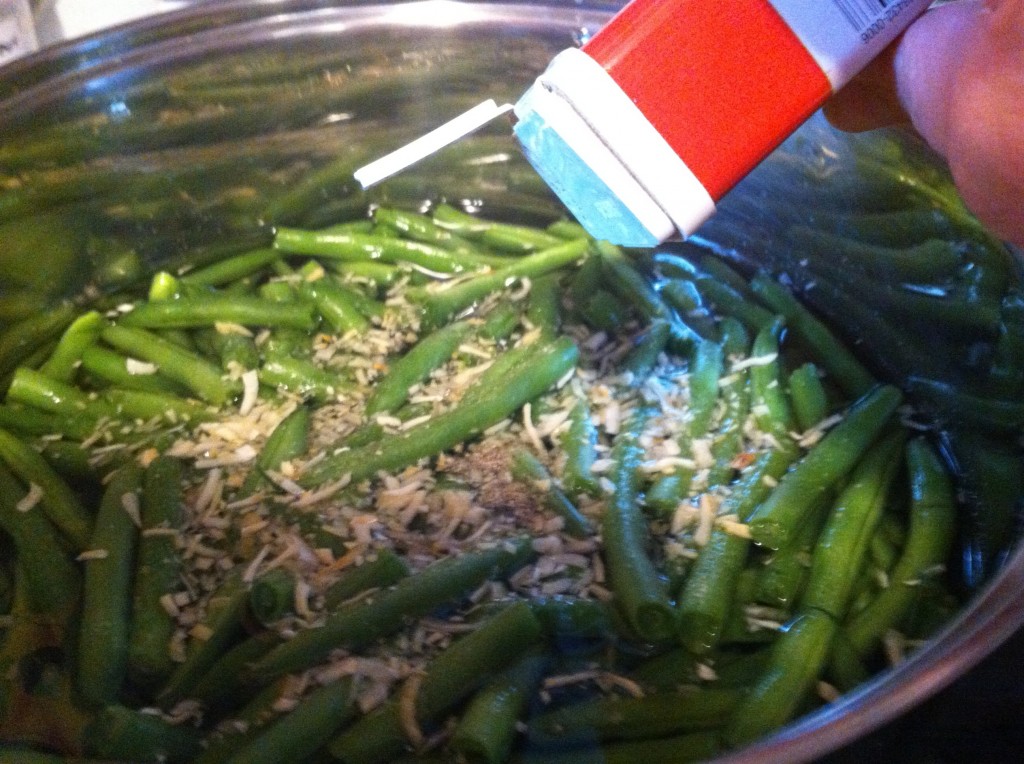
Add a teaspoon of pepper.

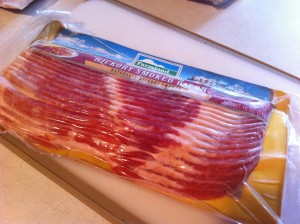
Turn on the heat to simmer and start cooking the bacon. I go a head and start the beans to start cooking the beans while I fry the bacon because it takes a bit to heat up the water and beans.


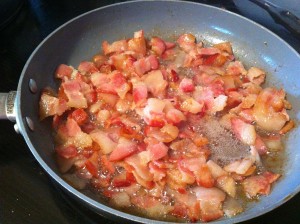
While I have my beans started I cut up the bacon in small pieces and fry until crispy. I used about 8 slices of bacon. I like to fry my bacon first because I like the bacon texture better than just putting in raw bacon in the green beans.

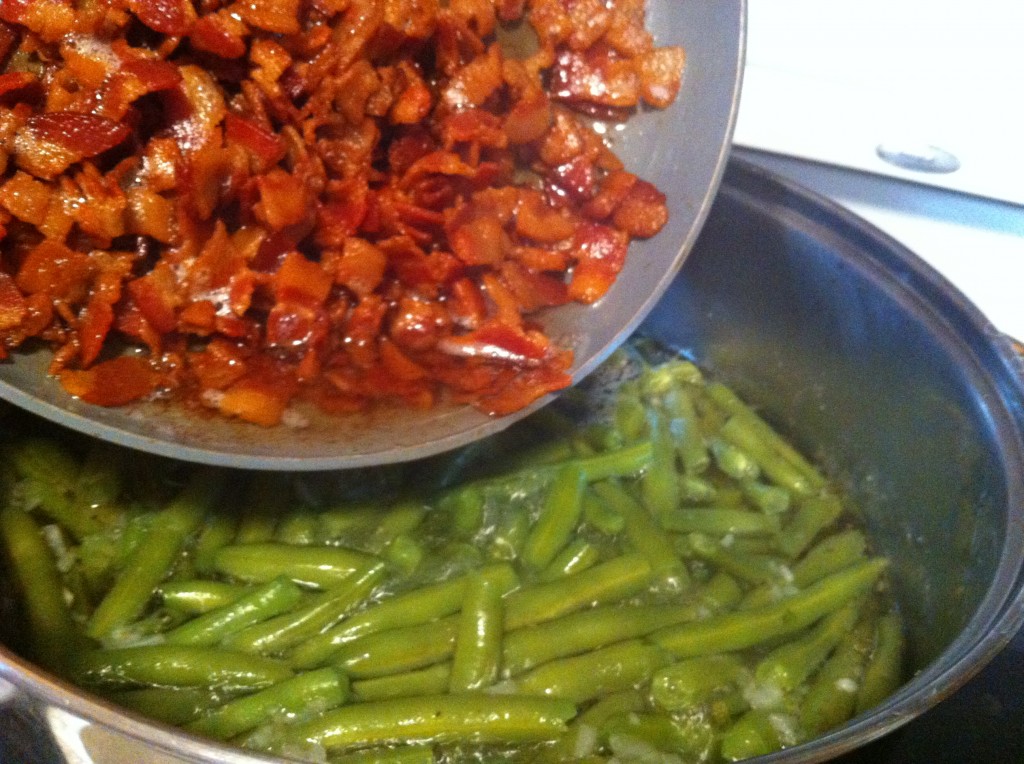
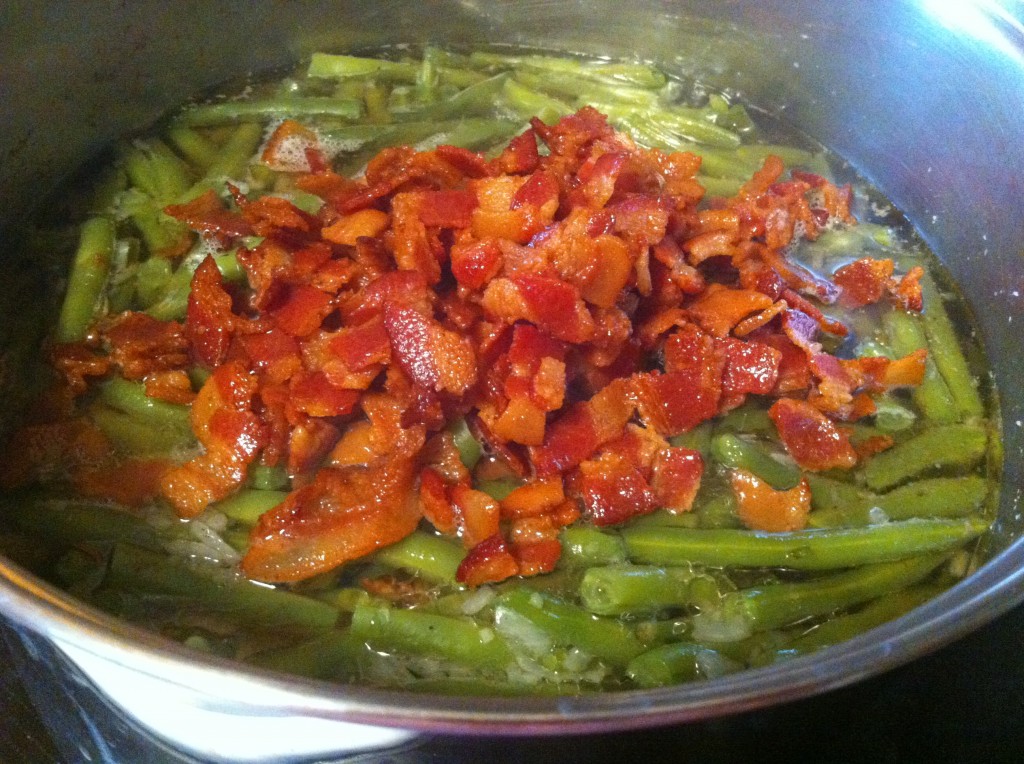
When the bacon is crispy, add the bacon and some of the bacon drippings. I used almost all of my bacon drippings.

Stir the bacon and drippings in the green beans. Let the beans simmer until tender. I cook mine about 2 hours on low for three pounds. Make sure that all you water does not simmer away and scorch your beans, add more water, a little at a time if you need to. It will take less time if you have fewer green beans. When the green beans get to the texture I like, I taste them and then add more salt and pepper until I get them to taste.

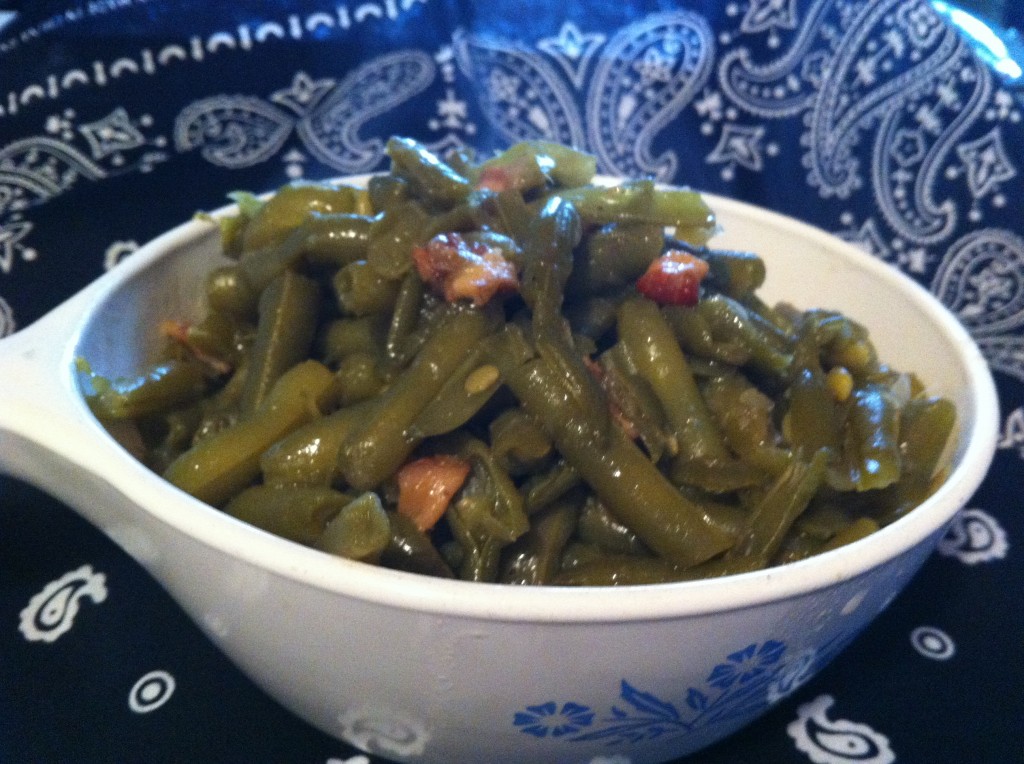
Here they are!

See how easy they are to make!

I can eat a whole plate of these green beans!

Here is the recipe (sorta)

Homestyle Green Beans seasoned with bacon and onion

Ingredients:

3 pounds of fresh green beans, snapped and rinsed

1 large onion diced or 1/2 cup dried minced onion

8 slices of bacon, diced and fried saving drippings for seasoning

Directions:

Put green beans in a large stock pot. Barely cover with water. Add in the onion and bacon. Add bacon drippings, (I used almost of my drippings) Salt and Pepper. Simmer for 2 hours approximately being careful not to let all the water simmer out and scorch your beans. When the green beans get to the texture you like, then season to taste with more salt and pepper if you like.

Enjoy!

Becky

Here is some other post you may enjoy reading:


Brown Sugar Meatloaf                  Sour Cream Apple Pie            Sausage Stuffed Acorn Squash

Shoney’s Cabbage Soup

Have you ever heard of a Shoney’s Restaurant?

Shoney’s used to be in several towns/cities in Missouri. Way back when my kids were just sprouts, me and their dad would take them to Shoney’s and we would pig out on their all you could eat breakfast bar. It is embarrassing to think how many pieces of their crispy bacon I would eat at one sitting. If you timed it just right, you could eat breakfast, but they would start putting out the all you could eat salad and soup bar.

And….if you know anything about me by now, you know that I am love’n me some soup.

One of my favorite soups was their Cabbage Soup.

Now….hang on there….there is more to this soup than cabbage.

Let’s just say the cabbage is the finishing touch. AND you can add as little or as much as you want.

BUT, don’t be afraid to add some.

When I came back from Savannah GA on vacation. I was ready for just some soup. (Even though I went to the Pirate House three times just to eat their Crab Bisque, corn muffins and orange marmalade). I had eaten at a Irish Pub, a local BBQ, At Robert Irvine’s restaurant Nosh and a couple of more restaurants on River Street.

I just needed some homemade soup.

So….I made a big batch of Shoney’s Cabbage Soup, took it to Mom’s after church for lunch. Niener Wiener and her hubby, Jeanie Beanie, Company, The Princess and Prince (Mom and Dad) and me. We slurped on this soup and smacked out lips and Nieners hubby Gary ate a few bowls. There was just enough soup to send home Jeanie Beanie and Nierner a container for dinner.

Anywho, it is officially fall. You can eat soup everyday (like me) or make a batch, have it for dinner, then freeze the rest in containers to take to work for lunch (like me also).

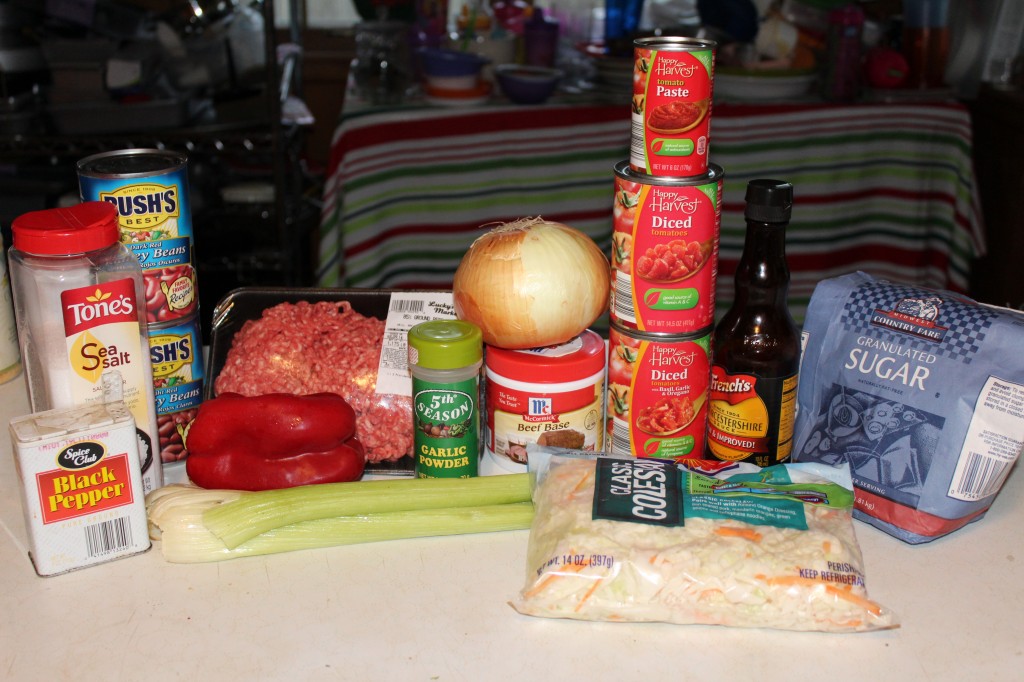
Here is what you need to make this recipe.

Yes…CABBAGE…some celery, red pepper (you could use green) diced tomatoes, hamburger, tomato paste, beef soup base, Worcestershire  sauce, kidney beans, sugar, onion, garlic powder, pepper and salt.


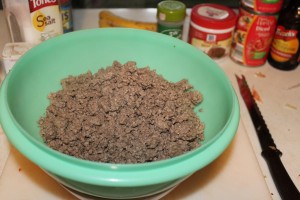
First brown  you hamburger and drain well. (sometimes I rinse mine with water after I fry it to get all the grease off).


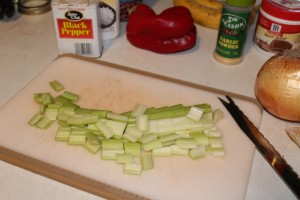
Chop up the celery in bite size pieces.                                              Chop up the red pepper into bite size pieces.


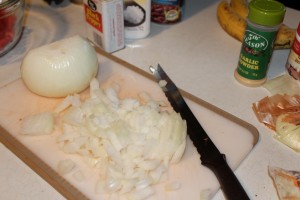
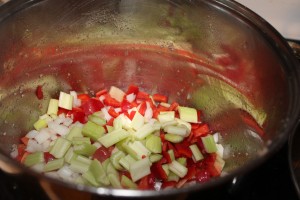
Now, saving the best for last, chop up the onion. Add all the chopped vegetables to the brown and drained hamburger meat.


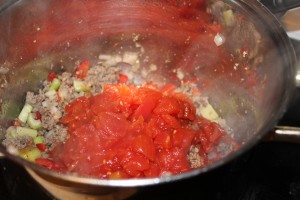
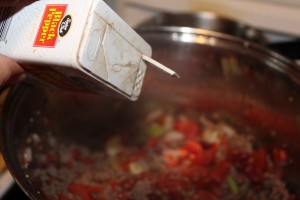
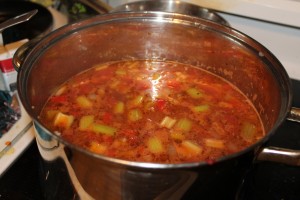
Add in the dice tomatoes and season with a little bit of pepper (to taste).


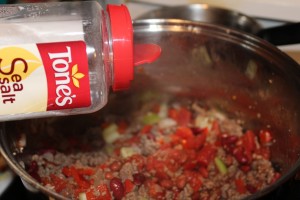
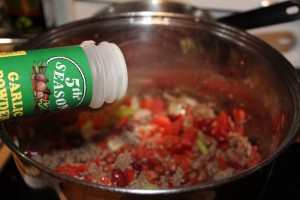
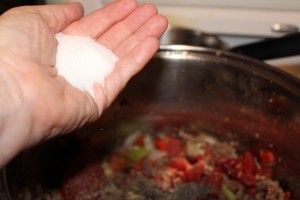
Add some salt (I used sea salt) and some garlic powder. You could probably sneak in a diced garlic clove if you wanted to. Also, you are using a beef soup base which can be salty, so you may want to wait to salt the soup after all the ingredients are in and you taste it first.


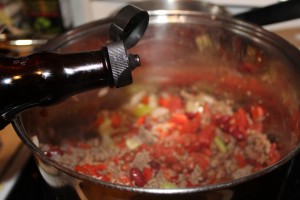
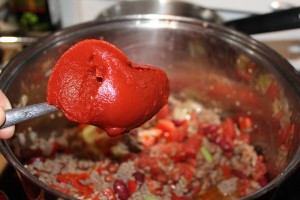
Add the Worcestershire Sauce and the tomato paste.


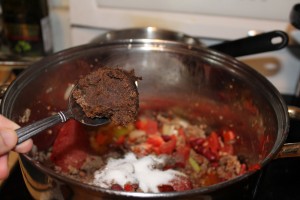
Add the sugar and the beef soup base. The beef soup base can be salty so be careful how much salt you use.


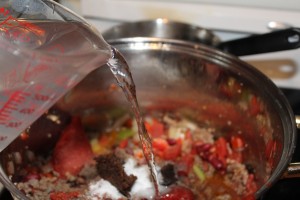
Add in the water and bring the soup to a simmer.


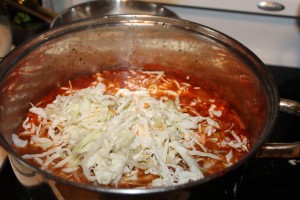
Add in the shredded cabbage. (I used already shredded cole slaw cabbage)

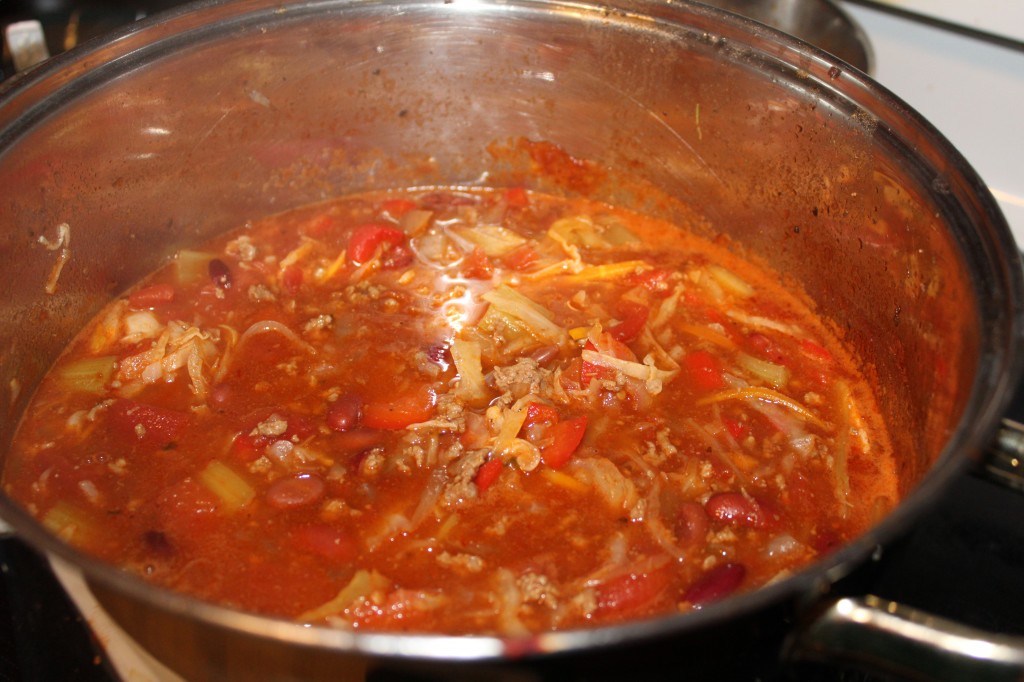
Simmer until the cabbage is tender.

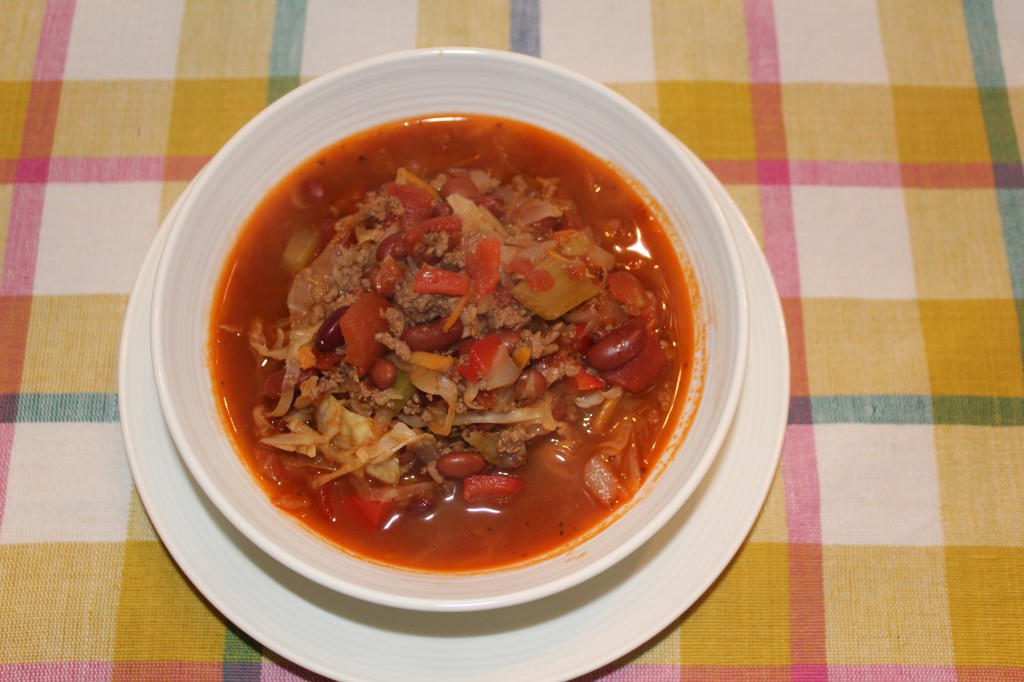
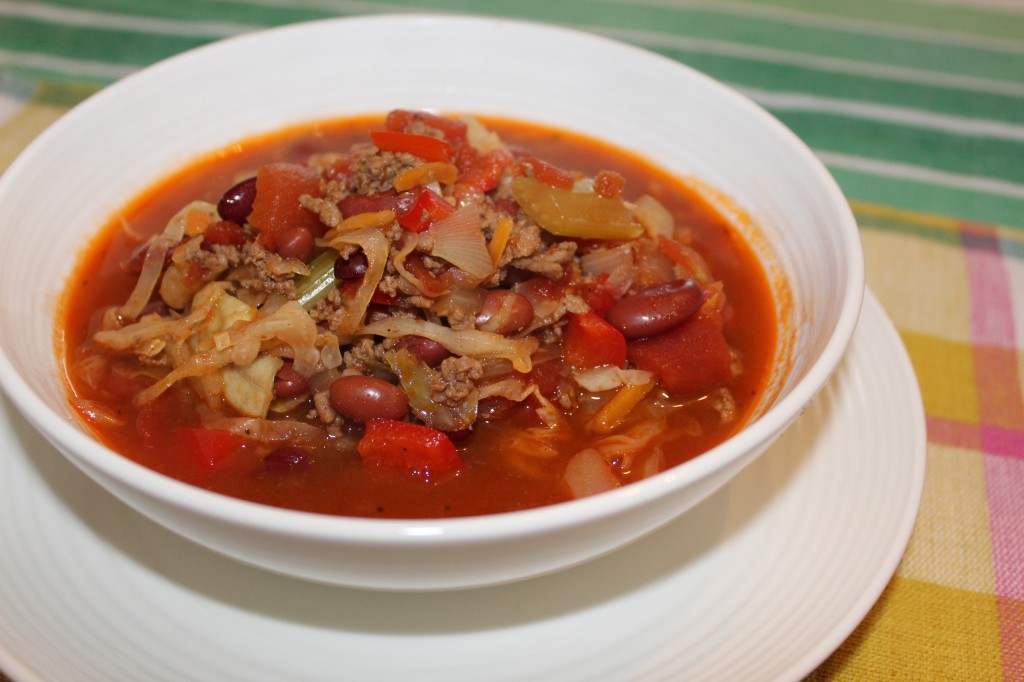
There you go…Shoney’s Cabbage Soup.

MMMM….I wish I could eat some now….OH I CAN….I have some in the freezer.

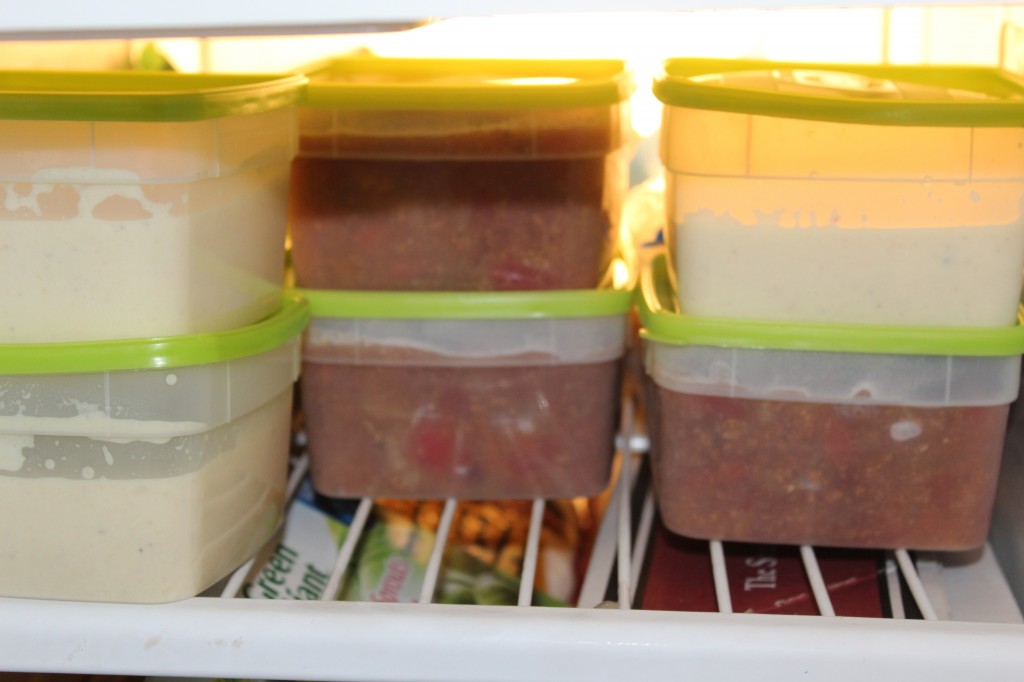
See, there is the cabbage soup right next to the Roasted Cauliflower Soup  in the freezer.

Here is the recipe:

Shoney’s Cabbage Soup

Adapted from church cookbook I bought at Goodwill

Ingredients:

3 pounds of ground beef, browned and drained

1 medium onion, chopped

2 stalks of celery, chopped

1 green or red sweet pepper, chopped

4 to 6 cups of water (depending on how thick you want the soup)

2 large cans diced tomatoes and juice

2 large cans kidney beans and juice

2 to 3 tablespoon beef soup base (be careful here, this can be salty…good but salty)

1 tablespoon pepper

Salt to taste (taste after adding beef soup base and then salt)

3 tablespoons sugar

4 ounces tomato paste

2 tablespoons Worcestershire sauce

I package of pre shredded cole slaw mix ( I used about 3/4 of the bag)

Directions:

Bring all the ingredients to a simmer. Simmer for 30 minutes. Add the cabbage and simmer until tender.

Now, you if you live in Missouri, you don’t have to go all the way to Branson to enjoy some Shoney’s Cabbage Soup.

Enjoy!

Becky

Apples plus Squeezo equals Apple Butter

Tomorrow is the first day of fall, and what better way to celebrate the leaves changing colors, the crisp cool nights and sweater weather…than with homemade apple butter.

I bought a box of apples during one of my Mennonite shopping trips. That poor box of apples sat in my kitchen the whole time while I was trying to recover (and still teach) from one bad sinus and ear infection. I finally started feeling like my usual self the end of last week. I know that everyone in my family are ecstatic that I am feeling better. I think I was a little complainy. Even the Princess (mom) told me I was a grouch….ouch!

Feeling better, I started sorting through the apples. They had sat in that box for over two weeks. Some were ready for the compost pile, some were ready for the chickens (and they loved them) and the rest were ready to meet THE SQUEEZO.
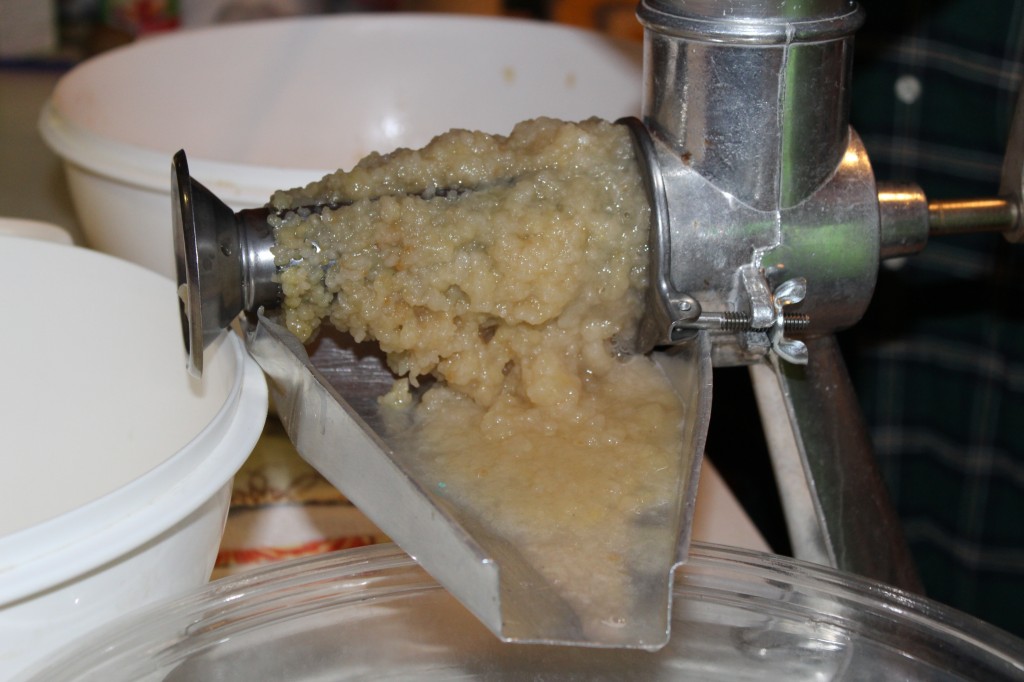
This is a picture of the squeeze doing some magic on the apples.
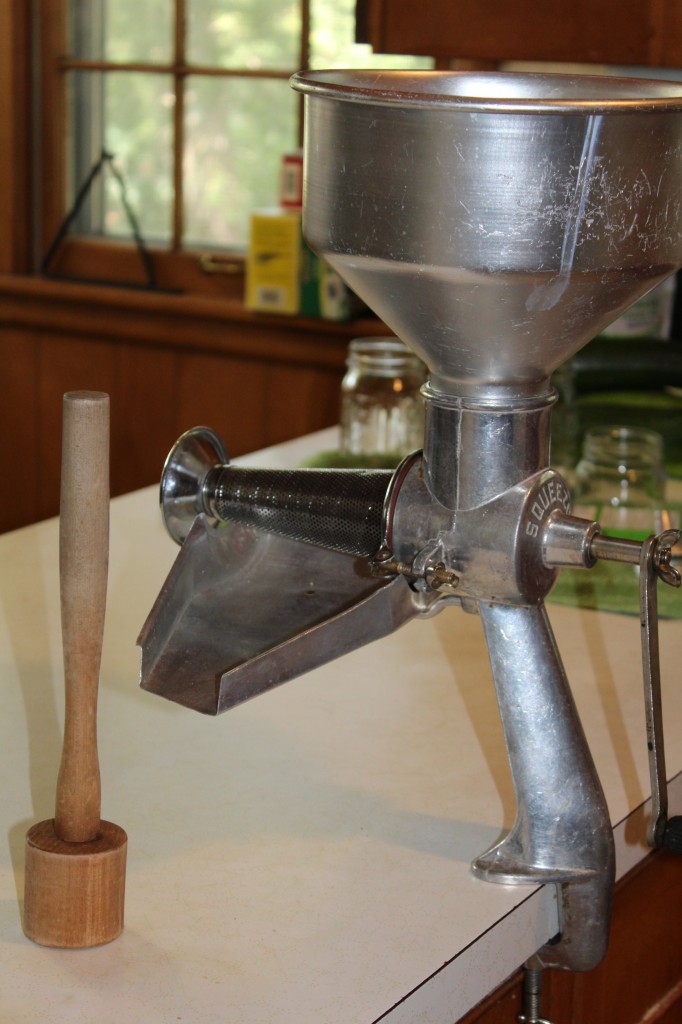
This is the what it looks like all put together.
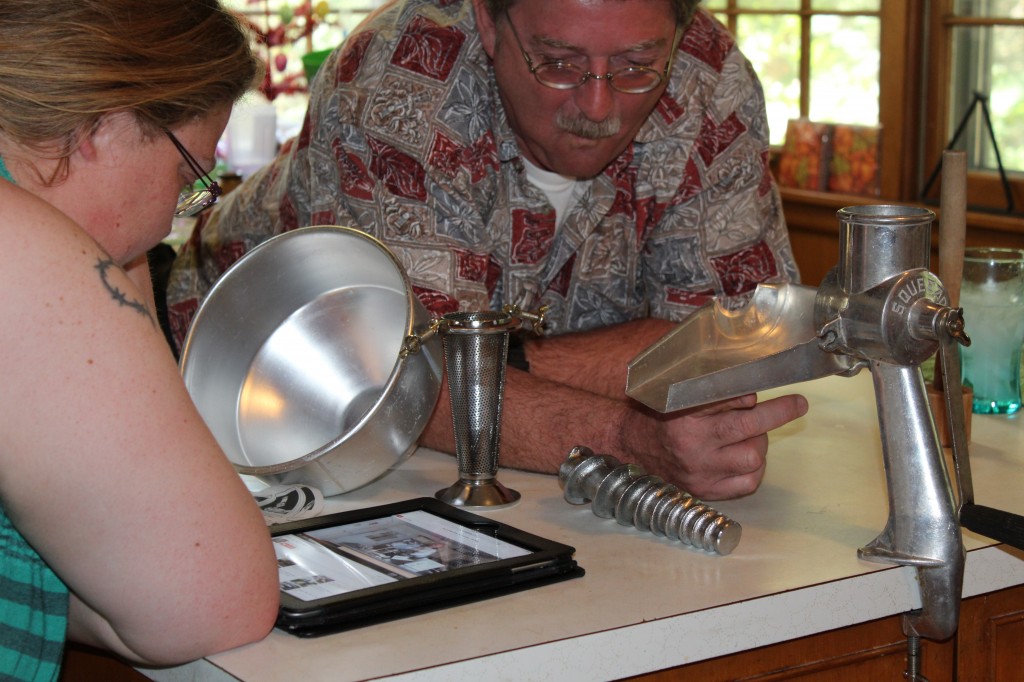
It took three college degrees and a you tube video to figure out how to put it together. Oldest Daughter who does not cook, watched the video and in about 5 minutes had it all put together. I pretend that I can’t figure it out, so she will keep putting it together for me. (please do not tell her) hehe.

Well anywho, let me tell you about this contraption they call The Squeezo. I guess it has been around for about 100 years. They are pretty pricey if  you buy one brand new (over $200). I was able to buy a used one from a retired teacher about a hour drive away for about $50. I had so much fun talking with that retire teacher, I bought a pressure cooker from her too. I need to have oldest daughter watch some you tube videos to teach me how to use it too. ; )

I love this squeezo (food mill). I do not have to peel or core my apples for apple sauce and for apple butter. I think I can do jam with the pureed apples too, but I have not tried that yet. I did use it for peach jam and it worked great. Though I used the smaller strainer and I got more juice than pulp. The peach jam will be on another post…promise!
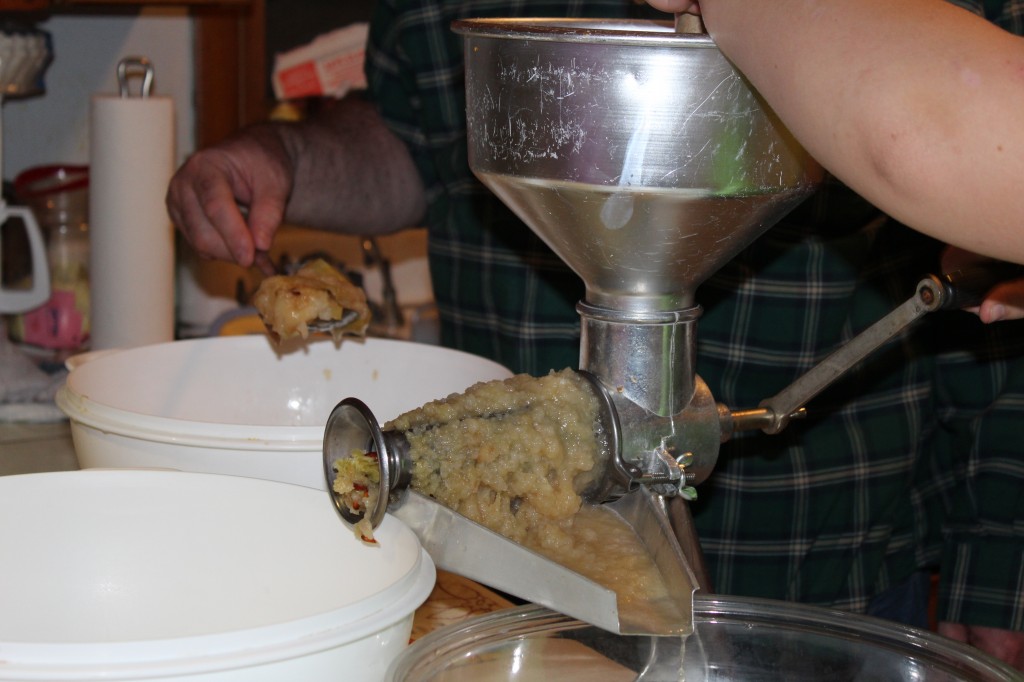
You load steamed apples that have cooled in the hopper at the top. Push the apples down into the mill with a wooden mallet and turn the handle. The apple puree comes out of the holes in the strainer and the peeling, core and seeds come out the middle.
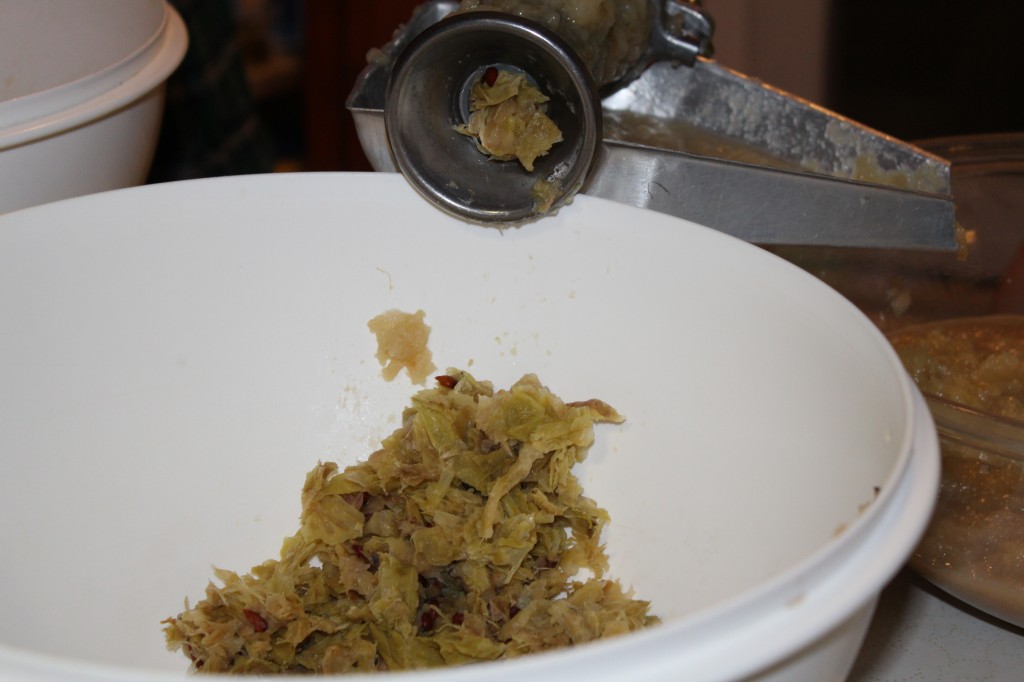
Here is the picture of the peelings and stuff. We were able to get about 10 cups of puree done in less than 20 minutes. Woot Woot!

I found the most fabulous recipe for apple butter!!

It is from a website called Taste of Southern. Just click on the link and you will find step by step pictures and recipe.
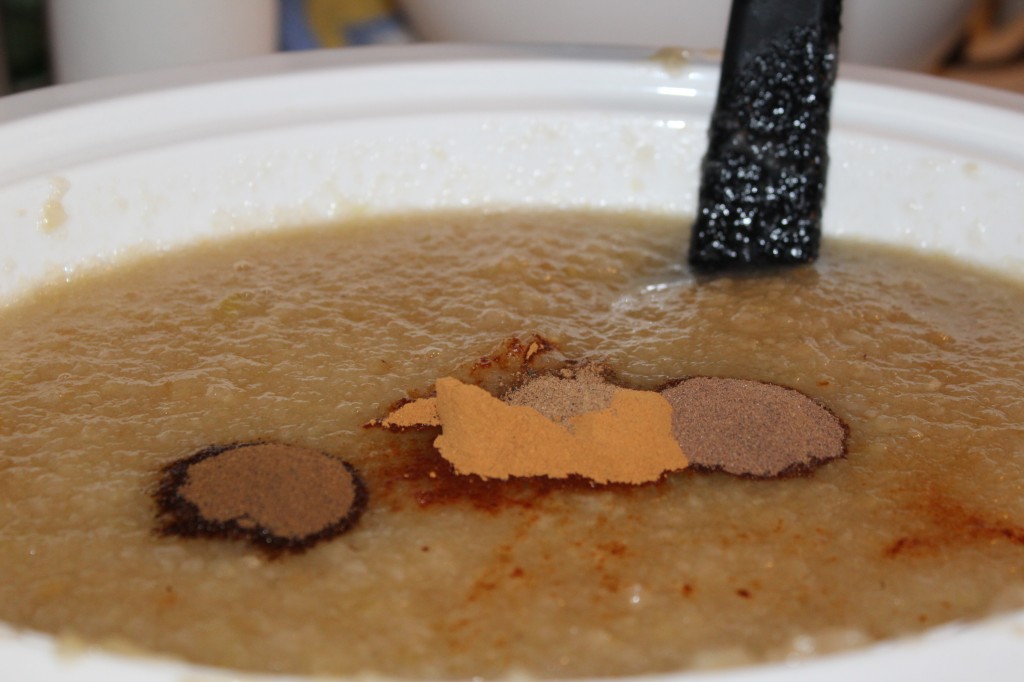
I cooked the apple butter in the crock pot overnight. The original recipe cooks the apple butter on top of the stove and that is fine too.
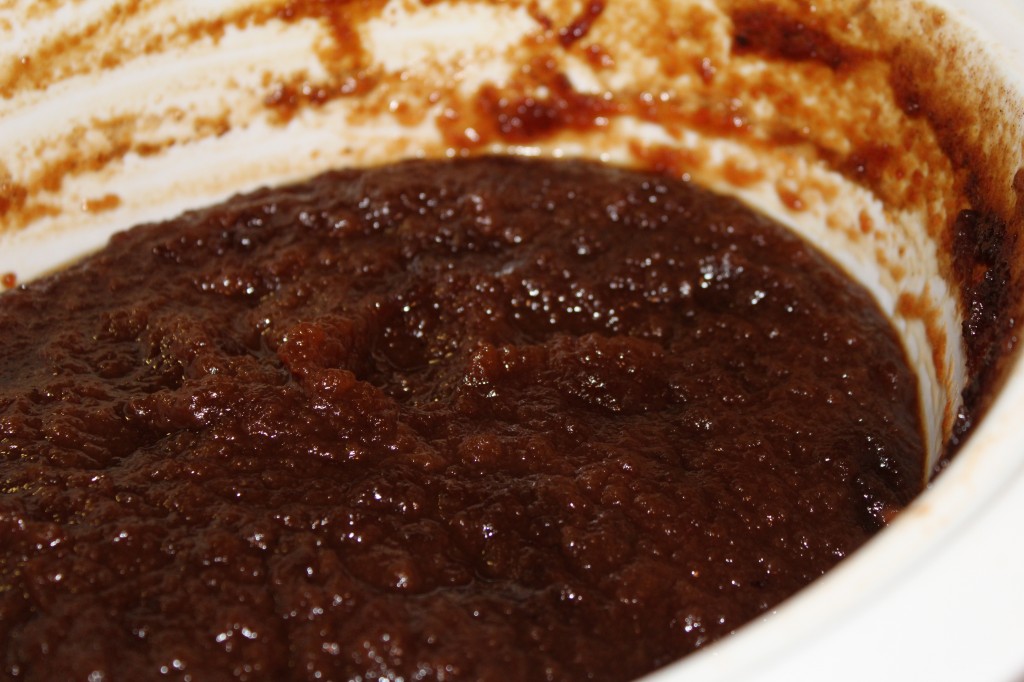
After about 11 hours it cooked down to about half the original amount.

So, let me tell you a little about this recipe.

You will need some sort of food mill, or food sieve.

I took the stems off the apples.  I cut them in fourths and put them in a big pot.

I put in 3 cups of water and 1 cup of apple cider vinegar. I had read on many reviews that people prefer the taste of their apple butter if they use apple cider vinegar instead of using apple cider.

I cooked the apples until they got soft.

I scooped out the apples and drained. I let them cool and bit and then put them through the food mill.

For every ONE cup of apple puree you need 1/2 cup of sugar.

The FIRST cup of apple puree use 1/2 cup of brown sugar. Then after the first 1/2 cup of brown sugar, start using regular sugar.

ok….so now that you have that down, here is the recipe.

Apple Butter

Adapted from Taste of Southern Website

5 pounds of apples

3 cups water

1 cup apple cider vinegar

1/2 cup brown sugar

3 1/2 cups white granulated sugar

2 teaspoons cinnamon

1 teaspoon grown cloves

1 teaspoon ground allspice

1/2 teaspoon nutmeg

1 teaspoon vanilla

1 lemon, zest plus juice (I used 2 tablespoons lemon juice)

Pinch of salt

Directions:

Wash and slice apples into quarters and put them in large stock pot.

Add 3 cups of water and 1 cup apple cider vinegar.

Bring to a rolling boil and then reduce to simmer for about 30 minutes or until soft.

Scoop out apples and run them through a food mill or sieve.

Measure the amount of puree you now have.

Add 1/2 cup sugar to each cup of apple puree, adjusting amount as needed, starting with the brown sugar and the remainder as white sugar. You need 1/2 cup of sugar to each 1 cup of puree.

(Crock pot method)

Put the apple puree and the sugar in the crock pot and stir until the sugar as dissolved. Add the cinnamon, allspice, nutmeg and cloves. Stir in. Add in the vanilla and lemon juice and zest (I used 2 tablespoons lemon juice instead). Add in a pinch of salt.

Stir well to incorporate.

Put crock pot on low for 10 hours. I used a skewer to prop my lid up a bit so the steam could escape and let the apple butter cook down.

Cook until you get the desired thickness. (I like mine thick).

Now, when it is done you can freeze it or water bath process it.

I water bath processed mine for 10 minutes.

I put one jar in the fridge and the rest is still on the counter. I looked in the fridge tonight and half the jar is already eaten…..

I think that is a sign that is GOOD!
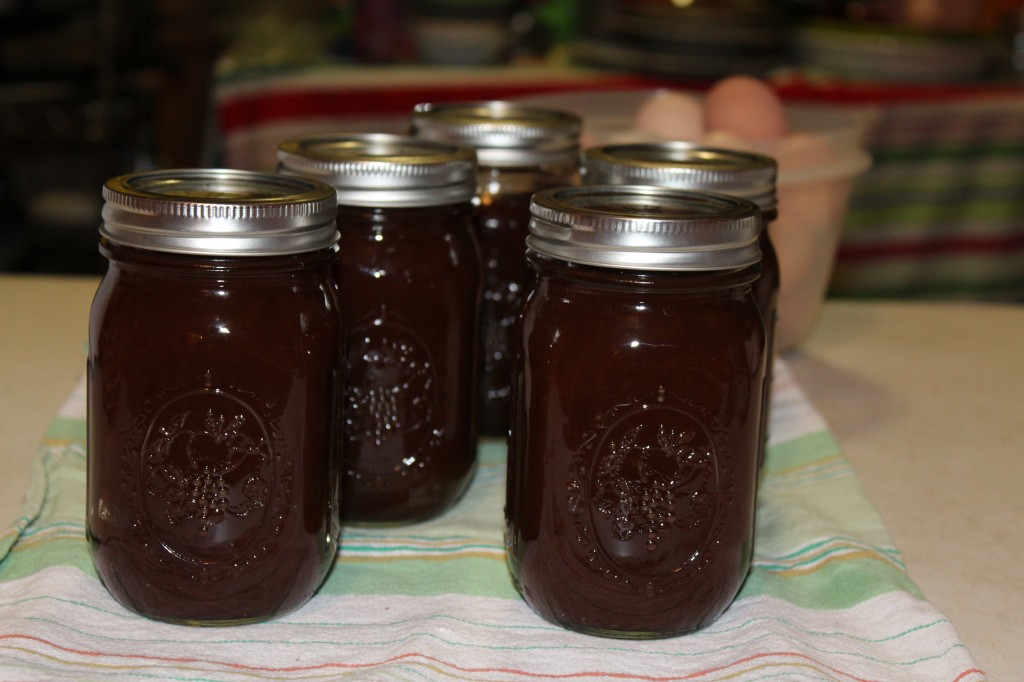
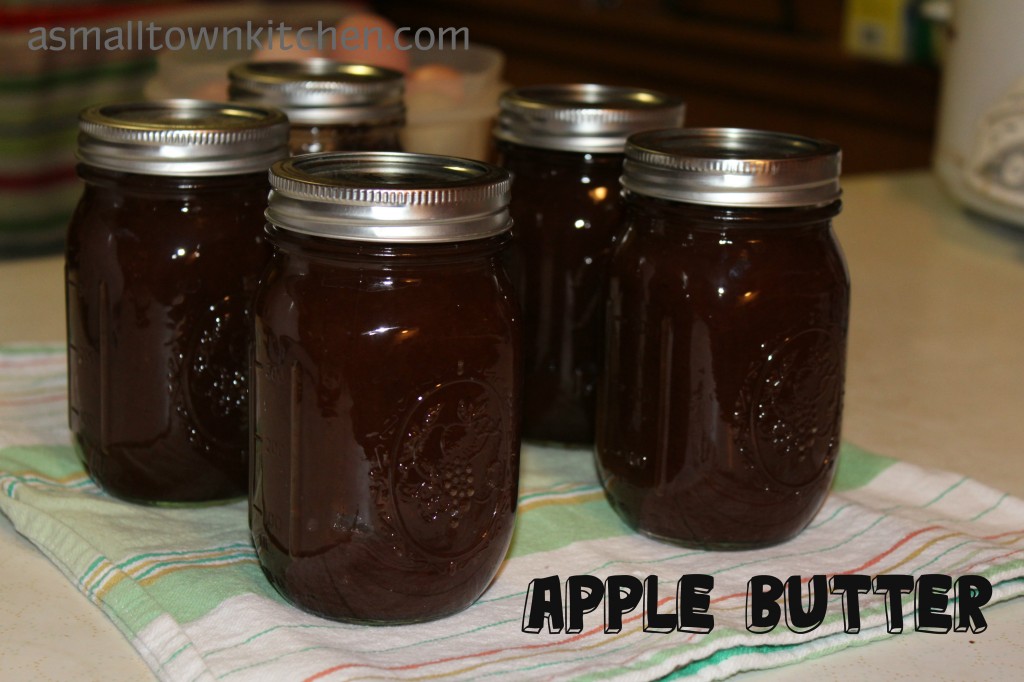
I was able to make 5 pints of apple butter when my crock pot is pretty full to start off with.

I know this was a LONG post and if you are still reading.

Congratulations!

Because now you know all the secrets to this recipe!

Enjoy!

Becky

Older Post You May Enjoy:


Baked Potato Soup                                Apple Crisp                                   Messy Marvins 



Bacon and Cheese Quiche

Hello All! I again apologize for the long delay in posting recipes. Long story short, I got pretty sick with a sinus infection. I knew I was feeling tired, head hurting, taking sinus medicine at all hours…thinking it was all due to school starting, allergies…you know regular “ya, I don’t feel good, but I have too much to do to give it much attention.” Well anywho, after much delay I finally went to the doc and yes I have a ear and sinus infection. I have been on antibiotics for a few days now, and I am starting to feel so good, I am almost excited to go back to school tomorrow….almost…haha.

The girls in the chicken coop, aka backyard chickens, are laying eggs like mad. They are popping out between 4 to 6 eggs a day. So, after months of feeding them and cleaning up the poopy chicken coop, I am finally rolling in eggs. Now, if they could lay me a golden egg. Yes, I am a dreamer! They have laid over 200 eggs in about 6 weeks time. I am having a blast sharing eggs with a couple of the Super Hero’s friends at work, Nierner Wiener and now I am saving up eggs for when Baby College Girl comes to visit in 3 weeks.

But, in the meantime, I needed to use a few eggs. Personally, I don’t eat many eggs. I will eat boiled eggs, occasionally. I will a deviled egg, occasionally. I love to make omelets, over easy eggs, scrambled and fried hard….you just won’t see me eat them.

Strange, I know!

Going back to my story…..I needed to use up some eggs, so last night I made two quiches. One with onions and one with out onions, cause some guy named Company does not like onions, (strange, I know) so I decided to be nice and make him happy.
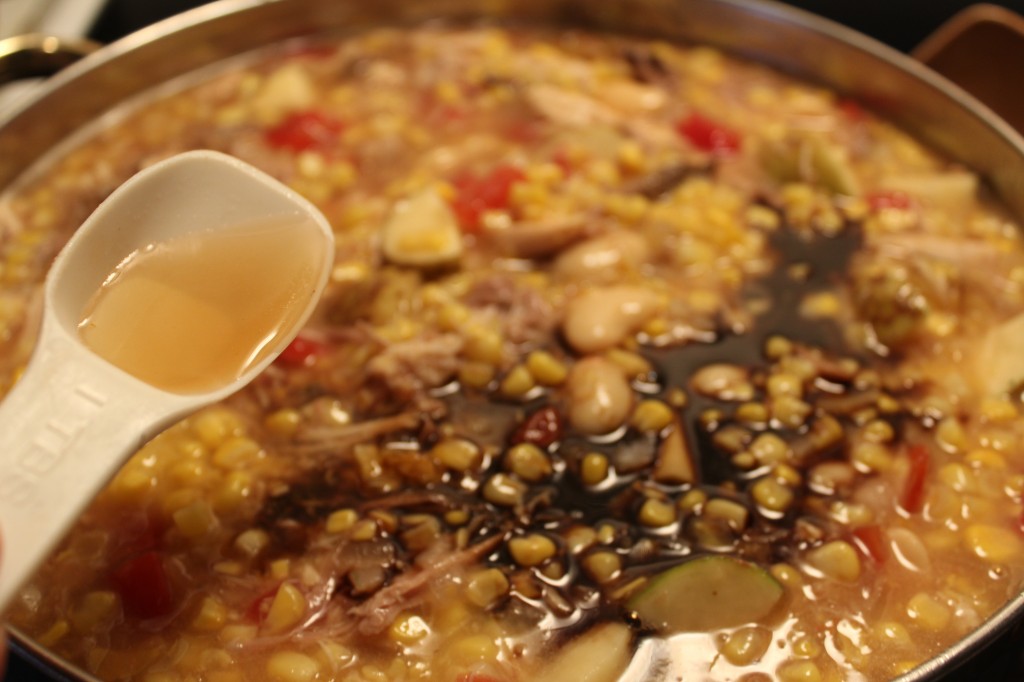

I am going to show you how to make one with onions, but I was told the quiche tasted great without them….personally I think the onion one would taste better.

This recipe is super easy and it did not take long at all to make. Which means, I will be making more quiches around here.

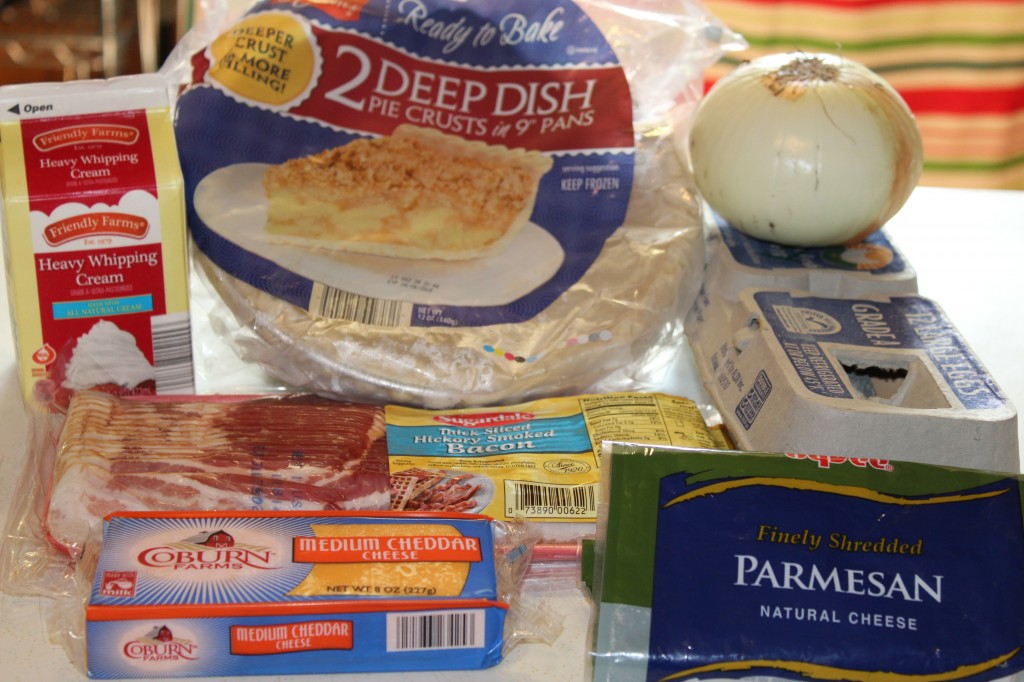
Here is what you need:

You will need a frozen 9 inch deep dish pie crust, (but by all means you can make your own crust) 5 slices of bacon fried and crumbled, some grated cheddar cheese, some parmesan cheese, whipping cream (you can also use half and half) and of course eggs.

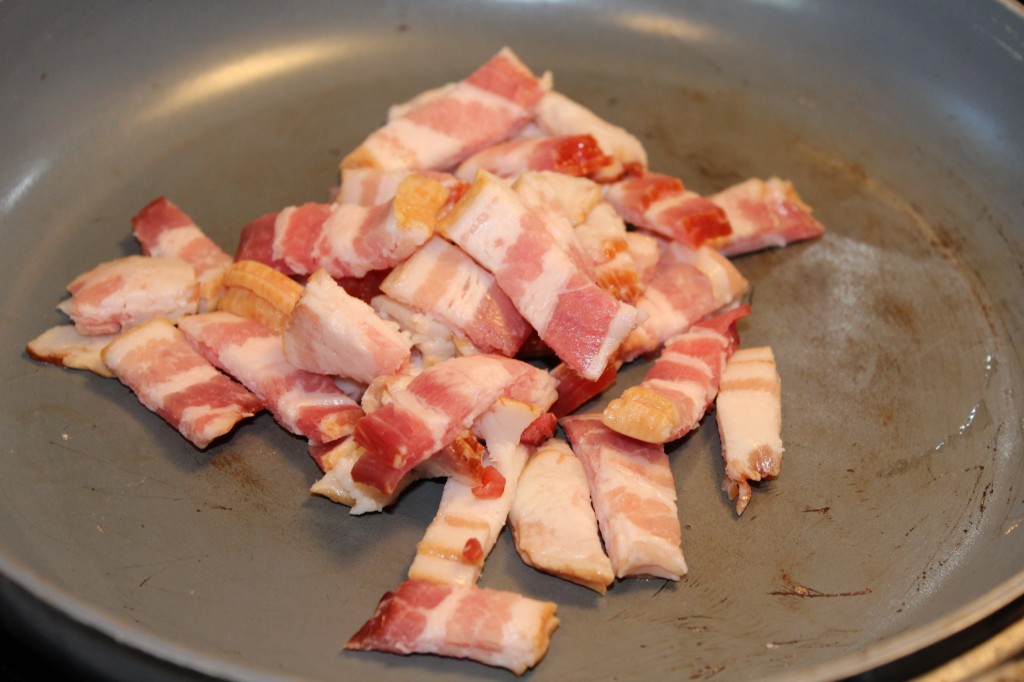
I cut up my bacon before I fry it because I think it fries better and gets crispier.

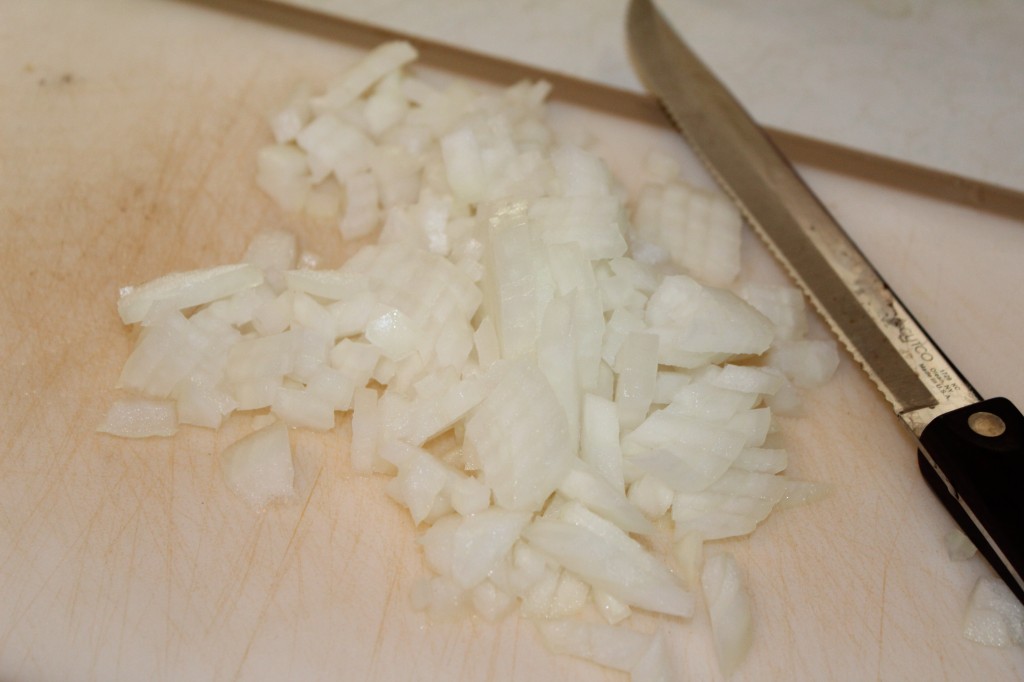
Dice up 1/2 cup onion.

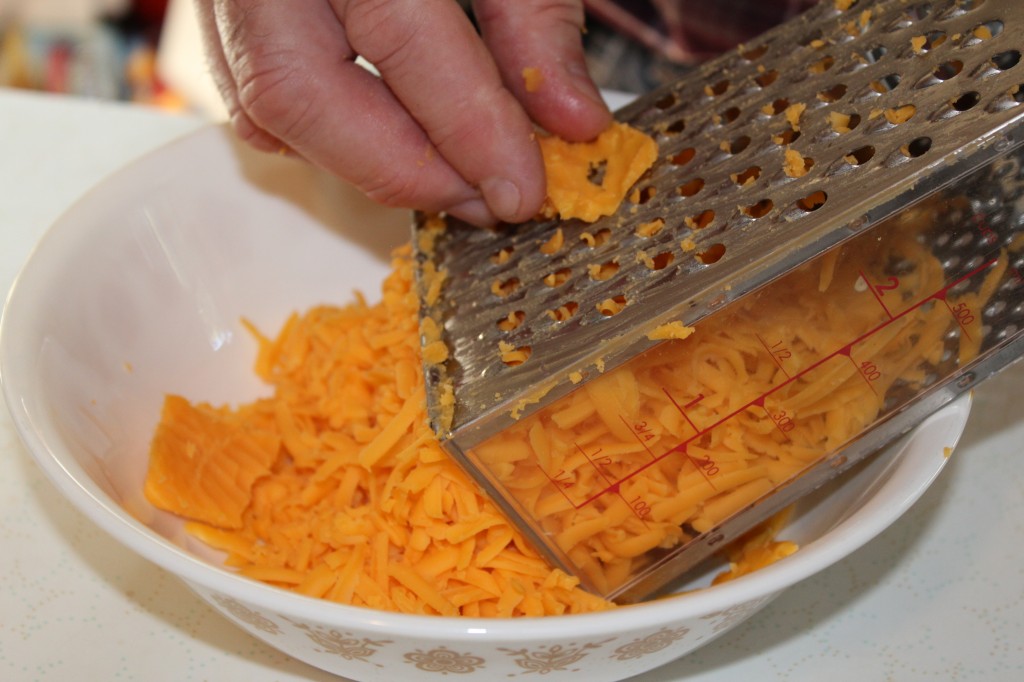
You will need 5 ounces of grated cheddar cheese. You can buy it already grated, but I talked Company into grated me some fresh cheddar cheese.


Now, it is time to start assembling your quiche. First put the grated cheese in the frozen pie crust first, then top with the diced onions.


After the cheese and the onion, add the parmesan cheese and the crispy bacon pieces.


I used a blender, but you can do this with a mixer or just with a fork, what ever method you choose to blend you eggs and whipping cream together till smooth.


Pour the egg and cream mixture into the pie crust. Some of the bacon bits will float to the top. Bake at 400 degrees for 13 minutes then turn the oven down to 350 degrees and bake an additional 25 to 30 minutes, or until crust is brown the quiche does not giggle with moved.

Here is the Bacon and Cheese Quiche right out of the oven. It will puff up real big then as it cools it will slowly go back down.

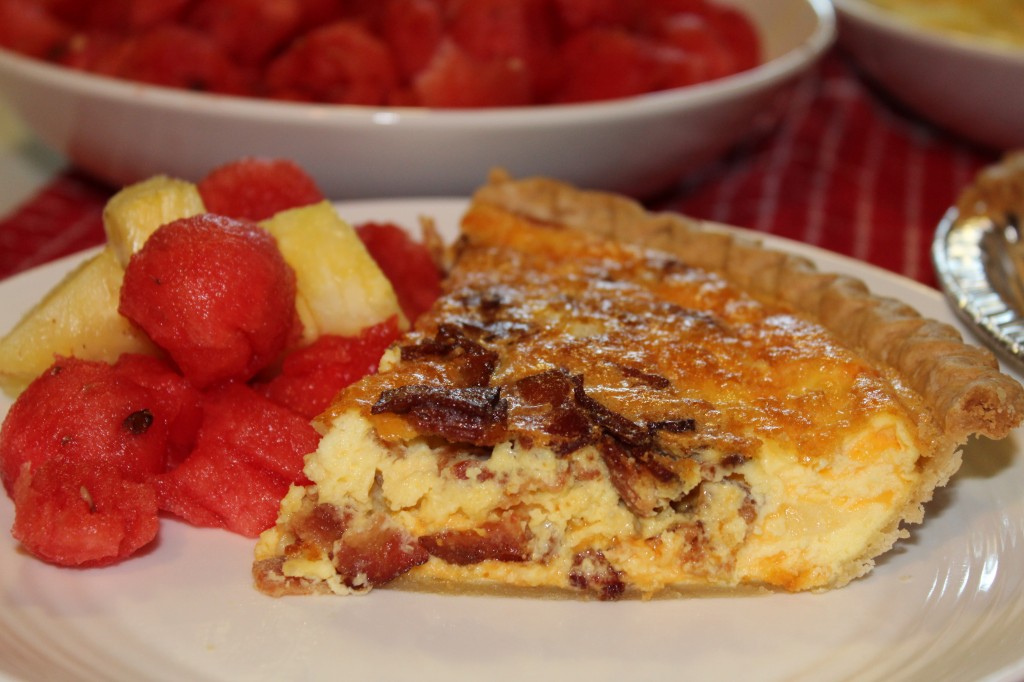
I cut up some fresh pineapple and seedless water melon, poured us some tea and everyone thought we had a feast. There was even enough left over for lunch today. Woot Woot!

Here is the recipe:

Bacon and Cheese Quiche

Adapted from Alrecipes

Ingredients:

5 slices of bacon (I used thick slab) fried and crumbled. (you can also use 3 ounces of REAL bacon bits not imitation)

1/2 cup  diced onions

5 ounces of shredded cheddar cheese

3 ounces of grated parmesan cheese

1 (9 inch) frozen deep dish pie crust

4 large eggs slightly beaten

1 cup cream or half and half

Directions:

Preheat oven to 400 degrees.

Layer the cheeses, onion and bacon in the unthawed pie crust. (you could also combine the cheeses, onion and bacon in a bowl first then put in the pie crust)

Mix the eggs and cream together until smooth. Pour over the cheese mixture.

Bake in a preheated 400 degree oven for around 13 minutes. Turn the oven down to 350 degrees and continue baking for another 25 to 30 minutes, or until top turns brown and center is cooked completely.

 Here is a little close up of all that bacon goodness!

Enjoy and eat eggs!

Becky

Other Post you may enjoy: (With fall close approaching, I added a couple of my FAVORITE squash recipes)

            Deviled Eggs                   Butternut Squash Soup       Sausage Stuffed Acorn Squash


Spice Plum Jam

I am back!

I am so sorry that it has taken me a whole month to finally find the time to post a proper post!

A lot has been going on.

The biggest news is that my Baby College Girl got engage! I will do a whole post on it with adorable pictures and all fun we have had picking out her wedding dress and brides maids dresses, shoes, ect ect ect….exciting times!

I also went on vacation for 10 days to Savannah GA., been canning and freezing and dehydrating yummy food, and then before I knew it, it was time for school to start again…and did I mention taking care of chickens….: )

Anywho, do not worry. I took a ton of pictures of everything and I promise to get you all caught on up recipes and fun small town news.

I will start with this Spice Plum Jam recipe.

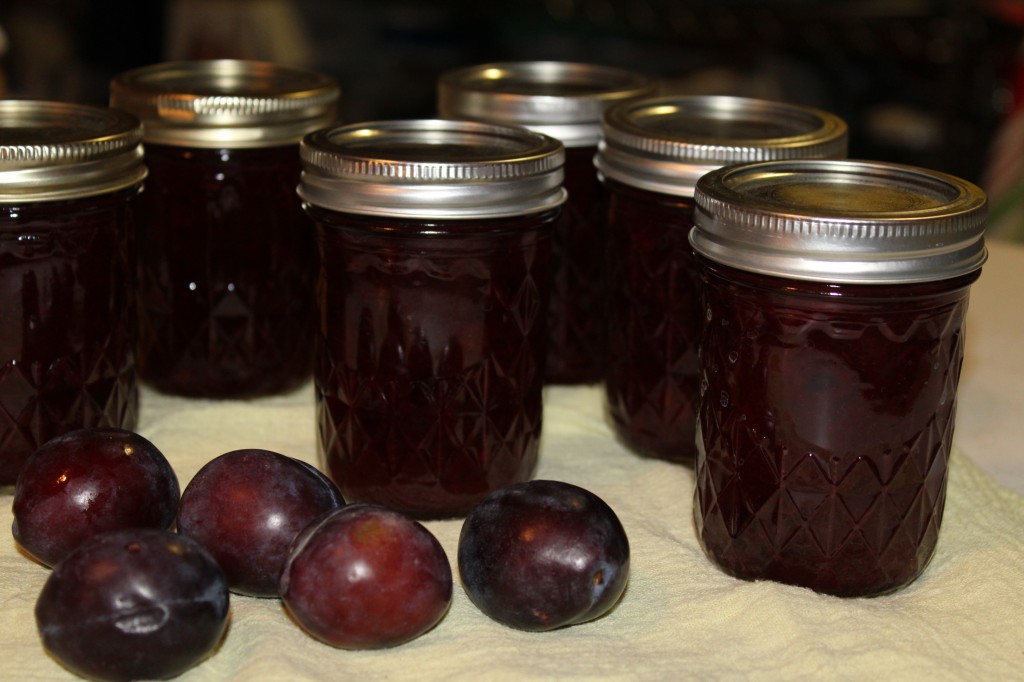
I love love love plum jam. I love the tangy sweetness and the dark red color. Oldest daughter does too. She tried some tonight and told me that it was amazing. It took about a hour and a half to make and I have 6 beautiful jars of jam. I just hope I remember to share. : )

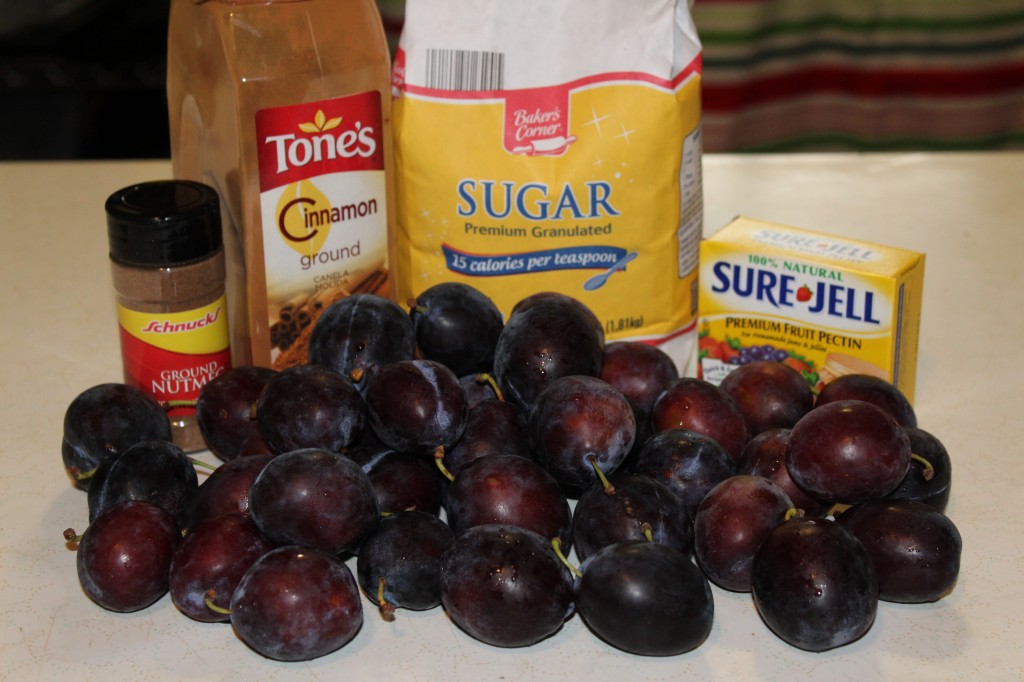
Here is what you need:

You will need plums, about 2 quarts, nutmeg, cinnamon, sugar and a box of sure jell.


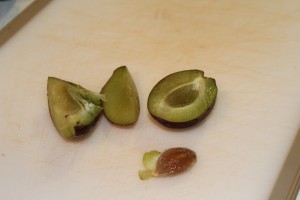
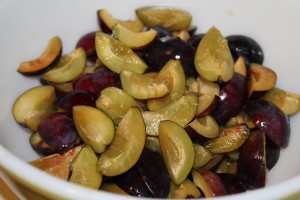
The first thing you need to do is get the fruit ready. There is a small pit in the middle that you will need to cut out.


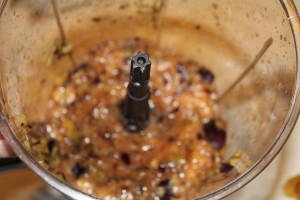
I put the fruit in a blender and pulsed it a few times to chop the plums into smaller pieces. I added 1/2 cup of water to the chopped up plums and boiled the plums for 5 minutes to cook the fruit. AFTER, you cook the fruit you measure out 6 1/2 cup of cooked fruit to make the jam.


Measure out 6 1/2 cup of cooked plums. Add one box of sure jell.


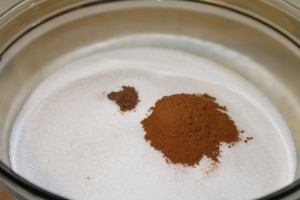
Measure out the sugar, cinnamon and nutmeg into a bowl. Bring the pectin and plums to a boil and boil for one minute. (I always time this.)


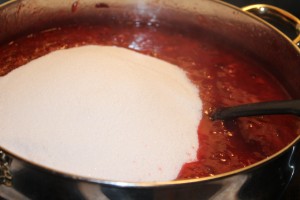
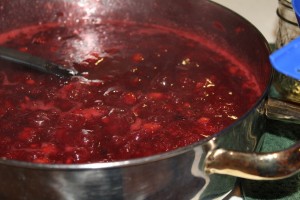
Add in the sugar, cinnamon and nutmeg mixture and stir in. Bring to a full rolling boil. Boil for one minute, stirring constantly. Remove from heat.


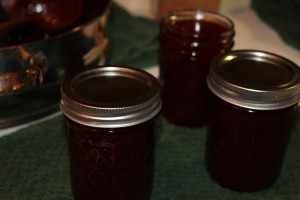
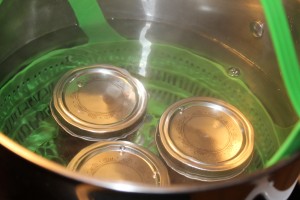
Skim off any foam with a metal spoon. Ladle jam into prepared jars and water bath process for 10 minutes.

Take the jars out of the canner and place upright on a towel to cool.

Whalla….that is all there is to making “Awesome” Spice Plum Jam.

Here is the recipe:

Spice Plum Jam

Adapted from Sure Jell Plum Jam Recipe

Ingredients:

6 1/2 cup cooked plums

4 1/2 sugar

1 1/2 teaspoon of cinnamon

1/2 teaspoon of nutmeg

Directions:

Using a dry measuring up, measure out the exact amount of fruit.

Stir in 1 package of Sure Jell fruit pectin into prepared fruit.

Bring mixture to a full rolling boil and boil for one minute.

Add sugar, cinnamon and nutmeg to the fruit. Return to a full rolling boil and boil for exactly one minute.

Remove from heat and skim off any foam.

Ladle into prepared jars, filling each to within 1/4 inch of top. Wipe jar rims and threads. Cover with two piece lids.

Place jars in a water bath canner.

Cover and bring water to boil.

Boil for 10 minutes.

Remove jars and place upright on a towel to cool completely.

I think it is time to make some biscuits so I can open up the first jar.

Happy Canning!

Becky

Here is a few more post you might be interesting in reading:


Strawberry Jam                           Vanilla Rhubarb Jam              Cheesy Corn Chowder


Mark Your Calendars! Some Chick laid an Egg!

I have been on “egg alert” for a few weeks now. I know that all the books said that chickens do not start laying eggs until they are 5 months old.

But My little chicks, are over achievers.

I just knew that I would get an egg before they were 20 weeks old.

And guess what?

I did!

One of them laid a egg at 19 weeks and 5 days old. : )

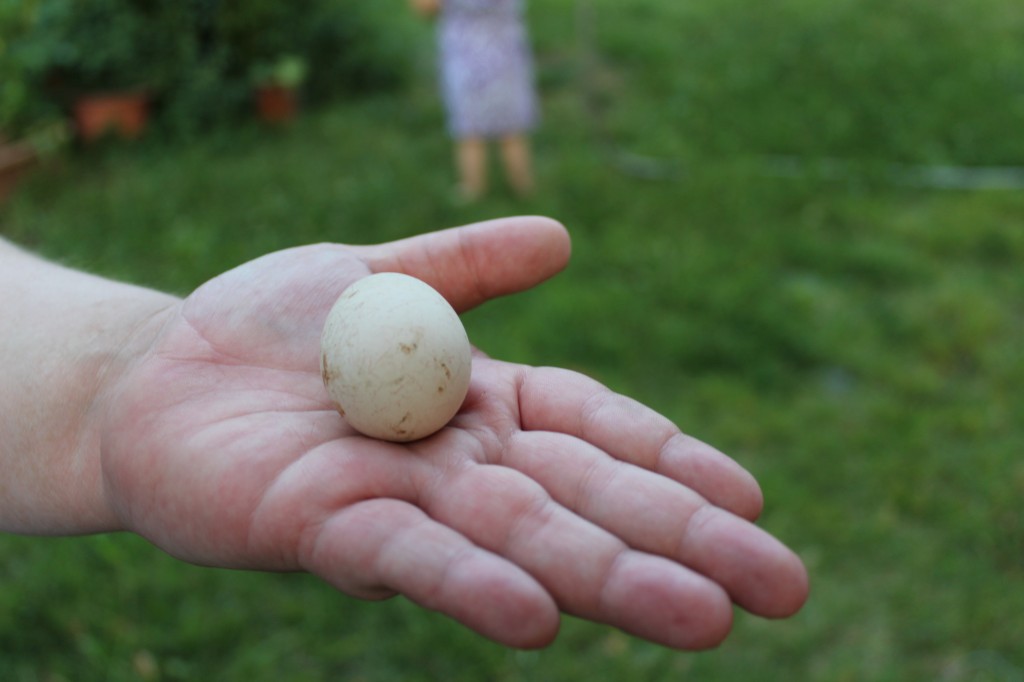
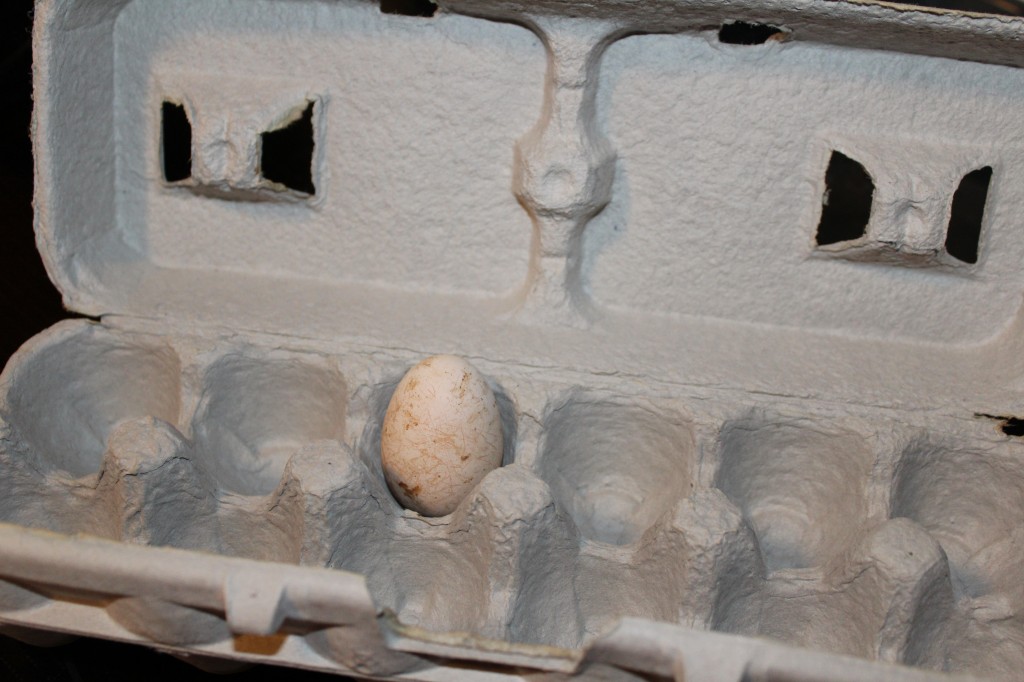
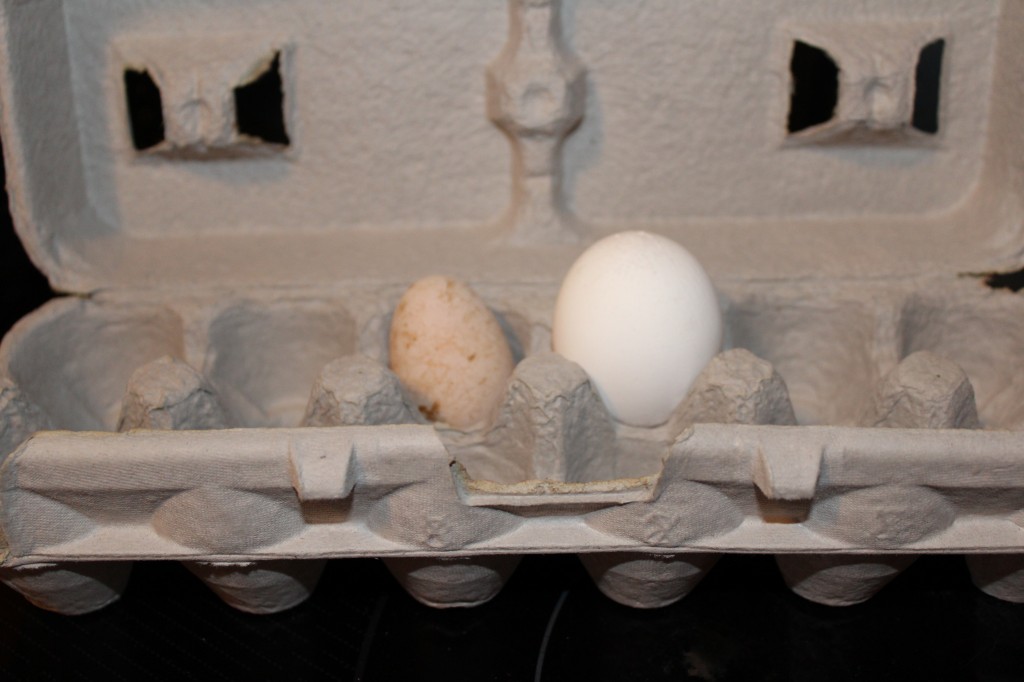
My very first, urban chicken egg! (you would think I laid it myself, I am so proud)!

I would not have seen it if Oldest Daughter Who Does Not Cook  was not in, “Urban Chicken Keeping” training.

I will tell you the whole story!

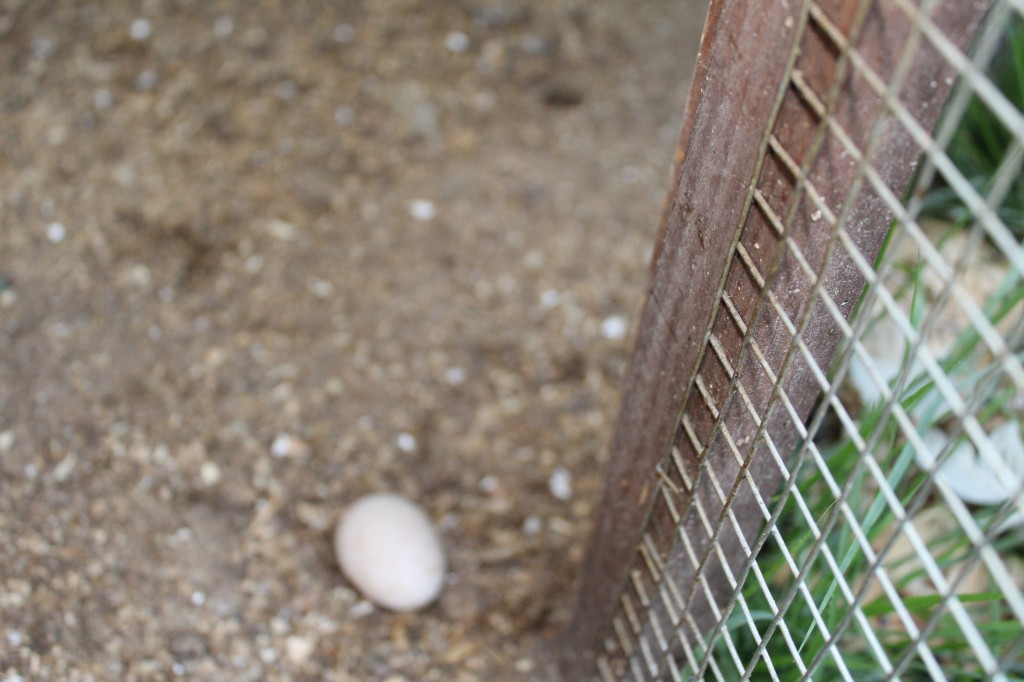
I am getting ready to leave on vacation. (yep, heading out of town (state) with PIC and baby brother, Sparkle (their daughter) PIC’s Mom and Company). So, Oldest Daughter will be on chicken duty for a week. She is SO excited! (cough cough). I was showing her how to change their (poopy) water, fill their crumble (food) feeder and throw in fresh pine shavings. Oldest Daughter was looking in the coop and she spotted something. She asked me if that was an egg. I told her there was not a egg in the nesting boxes, and she said, NO…down there on the ground, in the coop.

I looked closer and there is was…..a egg!

I start cackling (yelling) for the camera. One of the Rhode Island Red chickens peck at the egg. I quickly took my little rack I use to clean the coop out with and cover the little egg with it.

In the mist of all the eggciting news, youngest grandgirl got a hold of the hose.

After she drenches herself and the rest of us, she takes a good look at the little egg.

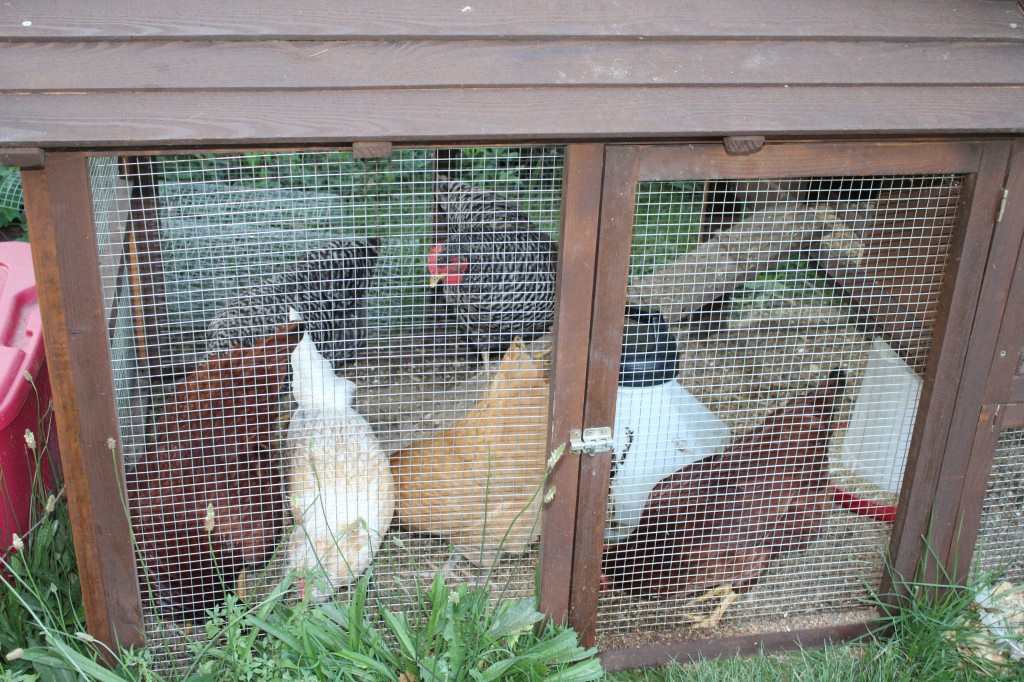
Which chicken do you think laid the egg?

The Rhode Island Reds?

The Barred Rocks?

The Buff Orpinton? (her name is Sunshine)

or…

The Easter Egger named Bunny?

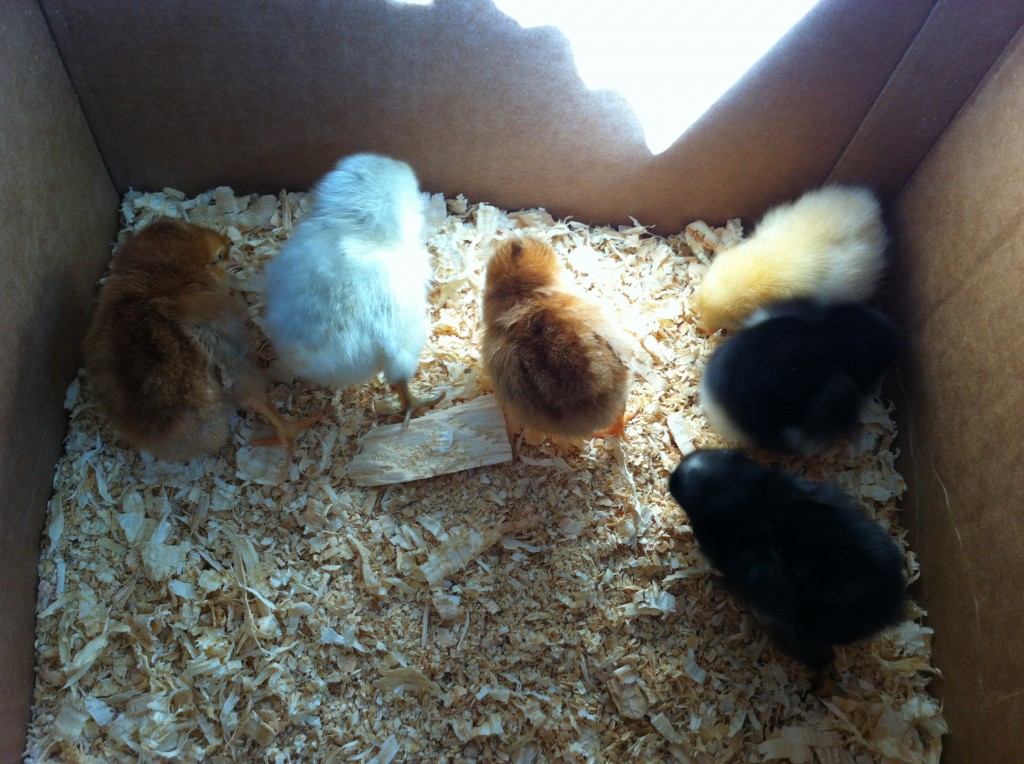
Here is a picture of the chicks in the box I brought them home in when they were one day old.

My how time flies!

There is the little beauty, but she looks a little lonely.

Are you my big sister?????

Another fun day in urban garden/chicken-ville.

Becky

Other post you may enjoy reading.


Call Me Mother Hen                     Checking Poopy Bottoms            Setting Up a Brooder


Fresh Strawberry Pie

Whew, I am so sorry it has taken me a couple of weeks to finally post a new recipe!

These last two weeks have been packed with all kinds of teaching summer school fun, that finally, just ended last week.

So, now I can officially say that I am on summer school break.

I can finally sing the song, “Schools Out for Summer!”

I am SO behind in posting so many amazing recipes that I have made over the last couple of months, that it will take me several days to get them posted.

Anywho, I wanted to start off with this super easy Fresh Strawberry Pie.

At the end of the regular school year, I wanted to make treats for all the secretaries, guidance department, media center, custodians and the principals. This school year has been great, but a bit of a challenge opening up a brand new school. The end of the  school year was a great time to send treats and to celebrate that we survived ; ). There were just too many staff that I wanted to make treats for individually, that I just did not have enough time in the day to make it happen. So, I decided to make a pie or two for each department.

Am I a genius or what?

Even though Company and I did not have any strawberries to speak of this year because of the un-cooperating weather, a local store had strawberries on sale at a great price. I found a simple but delicious fresh strawberry pie recipe out of a old cookbook that I bought at a flea market and I went to work (at school) making strawberry pies.

Seven pies altogether.

I know it is a tad past strawberry seasons, but I still see great prices at the stores on strawberries. If you are looking for a easy, fresh, delicious summer pie, try a go at this recipe.

Here is the step by step directions with photos:

You will just need a few ingredients to make this simple but scrumptious pie.


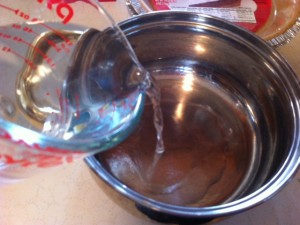
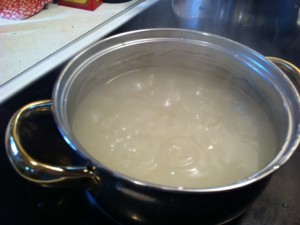
In a sauce pan measure in the water and the corn starch.


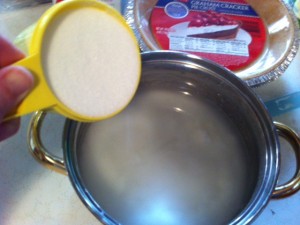
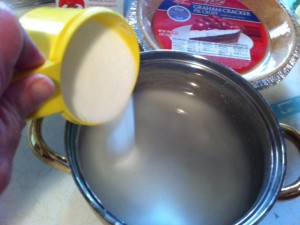
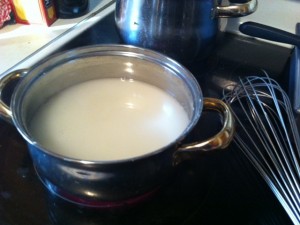
Add the sugar and stir. Cook over medium, stirring to prevent lumps.


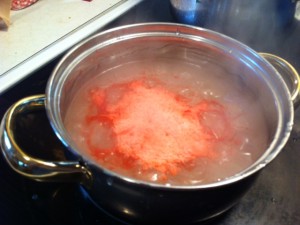
Bring the sugar and cornstarch mixture to a boil. Turn off the heat and the add the jello.


Add the lemon juice. Stir the jello and lemon juice in.


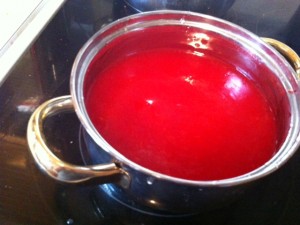
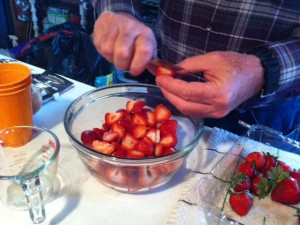
To speed up cooling the jello filling, I poured it into a bowl to cool. Find a volunteer to slice the strawberries. (this was Company’s job haha)


Stir the jello mixture (just in case a film formed on top while cooling). Fill the pie plates with strawberries. (I have also used a BIG bowl and mixed the filling and strawberries together first and then put in the crust. Either way works.)


Pour equal amounts of the filling over the strawberries. Place the pies in the fridge for a least 4 hours to set up.

When it sets up, it slices up beautifully. Garnish with cool whip and sliced strawberries.

Before I give you the recipe, I just want to tell you a couple of details about the recipe changes I made to suit me. I used store bought graham cracker crust. The recipe will make enough filling for two small pies. I will be giving you the original recipe that will make one large 9 inch pie using a store bought pie crust. There you go! You can decide which size better fits your needs : ) or pie cravings.

Here is the recipe:

Fresh Strawberry Pie

Adapted from Old Cookbook

Ingredients:

1 quart (4 cups) washed, stemmed and sliced strawberries

1 and 1/2 cup sugar

1 (3 ounce) pkg. strawberry gelatin

1 and 1/2 cup water

1 tablespoon lemon juice

1/4 cup cornstarch

1 baked 9 in pie shell (or 2 small store bought graham cracker crust)

Cool Whip for topping

Directions:

In a medium sauce pan, combine the water, sugar and cornstarch. Heat and stir until thick and clear. Remove from the heat and stir in the gelatin and the lemon juice. Let the gelatin cool.

In a large bowl, place the sliced strawberries. When the gelatin cools, pour the gelatin over the strawberries and combine. Make sure the gelatin is evenly combined with the strawberries.

Pour the strawberry filling into the prebaked pie shell, or into the graham cracker crust.

Put the pie/pies into the refrigerator to firm. This will take about 4 hours.

Decorate the top of the pie with cool whip and sliced strawberries if you want.

Enjoy the flavors of summer!

Becky

Other post you may enjoy reading:


Blackberry Cobbler                       Strawberry Rhubarb Crisp           Broccoli Rice Casserole


Related Posts Plugin for WordPress, Blogger...