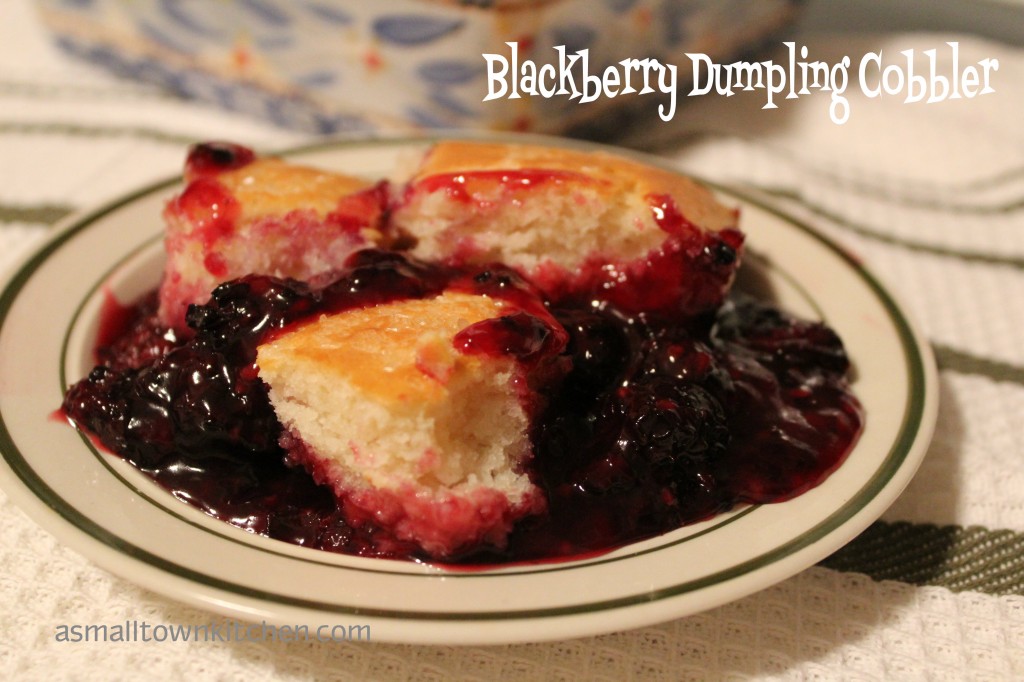
Blackberry Dumpling Cobbler

Do you like to go and pick berries?

You do??

I do too!!

I love to pick berries. Blueberries, strawberries, raspberries, gooseberries and of course blackberries.

One of my favorite memories of picking berries was way back when Oldest Daughter was about 2 years old. My older sis Niener Wiener and I, went to my Aunt Pat and Uncle Larry’s house way out in the country to pick wild blackberries. Aunt Pat gave us careful directions of where to park the car and the best place to climb over the barb wire fence. Bet you all did not think I could climb over a barb wire fence. Well, actually you don’t climb over a barb wire fence, not unless you are like 7 feet tall…..if you think about it, you will understand why. To get over the fence, you actually pick a place in the barb wire fence that is kinda loose and stretched out and you put your foot on the one string of barb wire fence, while you hold the other string way above your head and you climb through. It helps to have someone hold the top string so you can concentrate on not getting your bottom caught on a barb. Worse comes to worse. I have even shimmied under a barb wire fence if you can find a good place were the ground sinks down.

Anywho…I was talking about picking berries not climbing fences. I get off track so easily… : )

Niener Wiener and I made it through the barb wire fence and walked across a long field until we spied our beloved wild blackberries. We have already crossed a one lane bridge over a creek, parked the car on a gravel road, climbed a barb wire fence…now we just have to watch out for thorns. Wild blackberries are full of thorns. It helps to wear long sleeves and to take your time. Niener and I picked until we pretty much picked all the branches clean and headed back to Aunt Pat’s with our haul of juicy berries. We were hungry, bleeding and hot.  Aunt Pat had bowls of Campbell’s tomato soup waiting for us for lunch. We had picked so long, she about gave up on us stopping for lunch.  We had so much fun. I remember making my first batch of blackberry jelly from those berries.

It was a great day.

So many precious memories.

I want more of those days!

So, because I love blackberries, and Company loves blackberries, and it is one berry that Oldest Daughter does not particularly like of because of the seeds….please…..really……I am always looking for new recipes for blackberries. I seen this Blackberry Dumpling Cobbler recipes and I could NOT pass up giving it a try.

Well not just one try….I made it three times to get it just right.

Just for you!

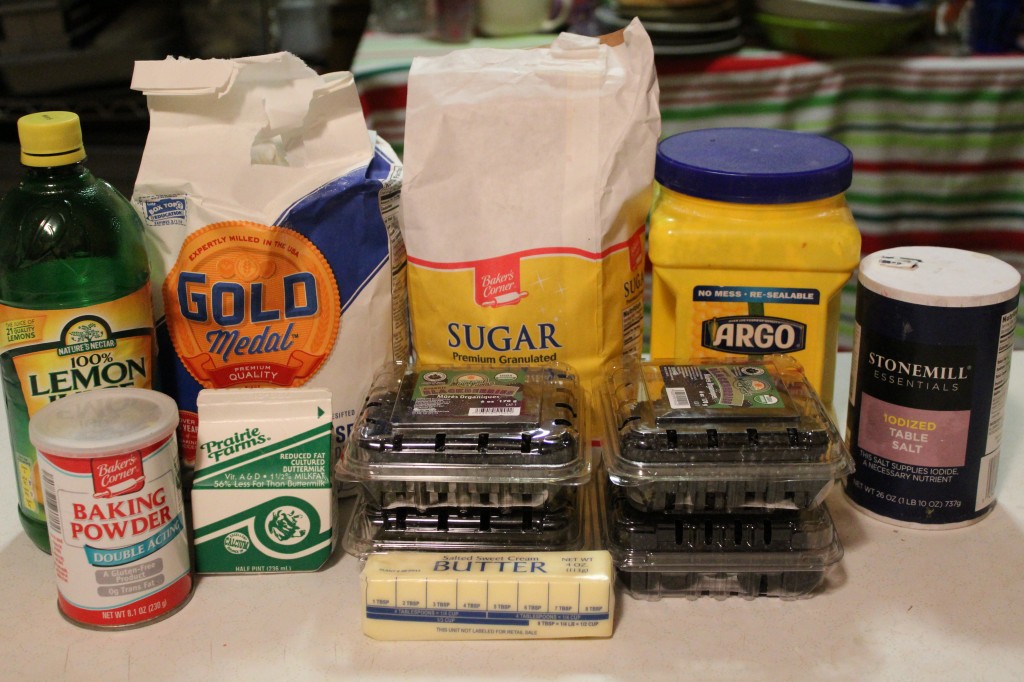
Here is what you need to make this simple cobbler.

You will need about 4 cup of blackberries, sugar, butter, almond flavoring (sorry I forgot to put it in the picture) salt, buttermilk, baking powder, flour, cornstarch and lemon juice.

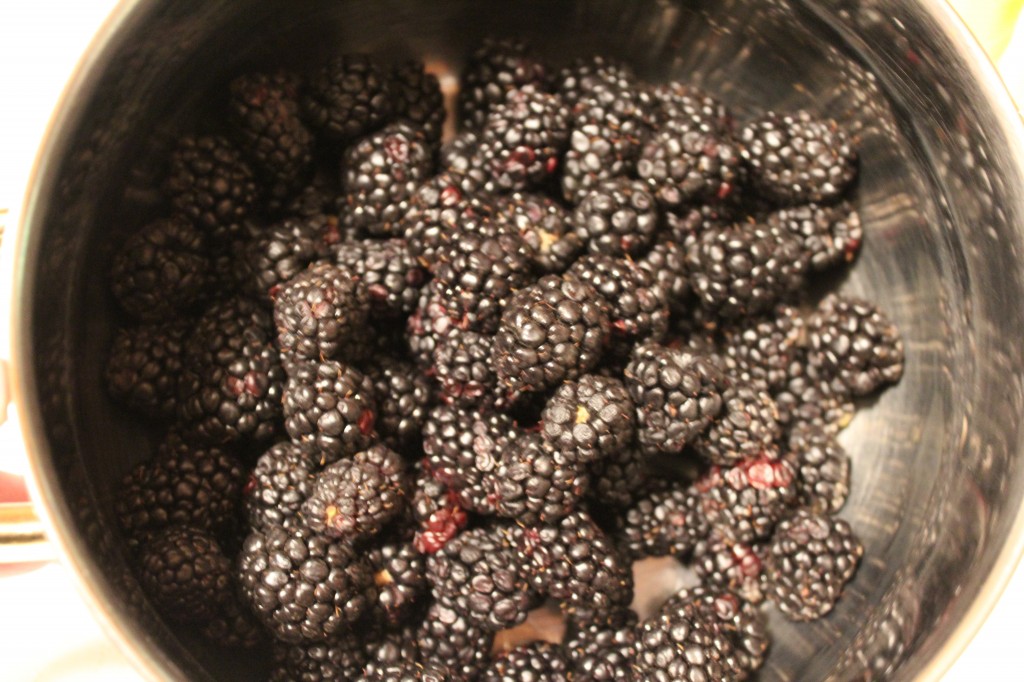
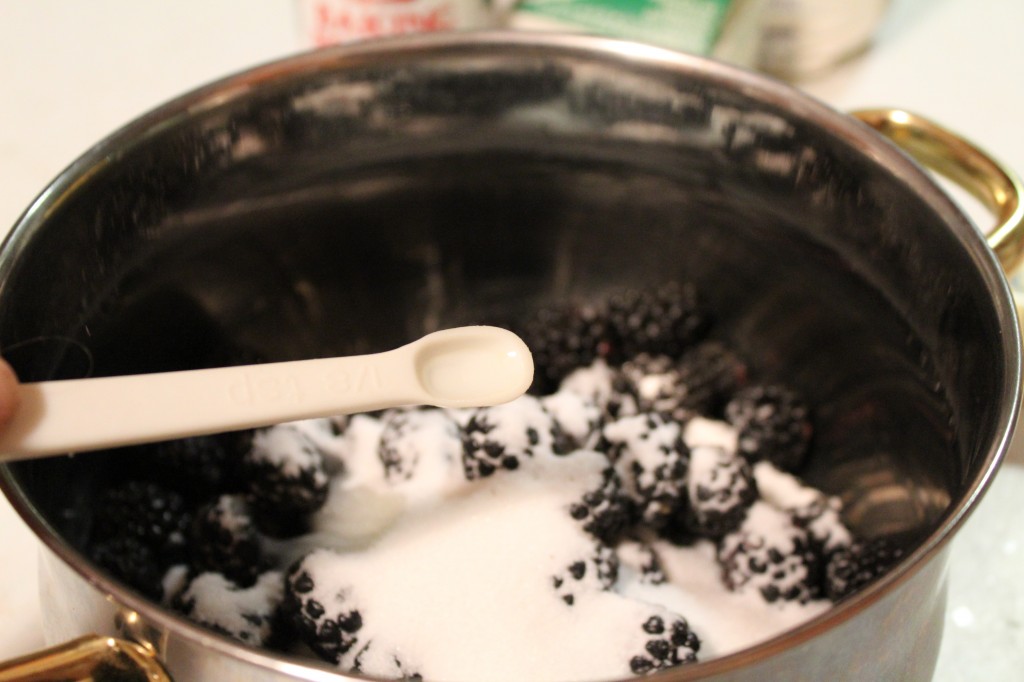
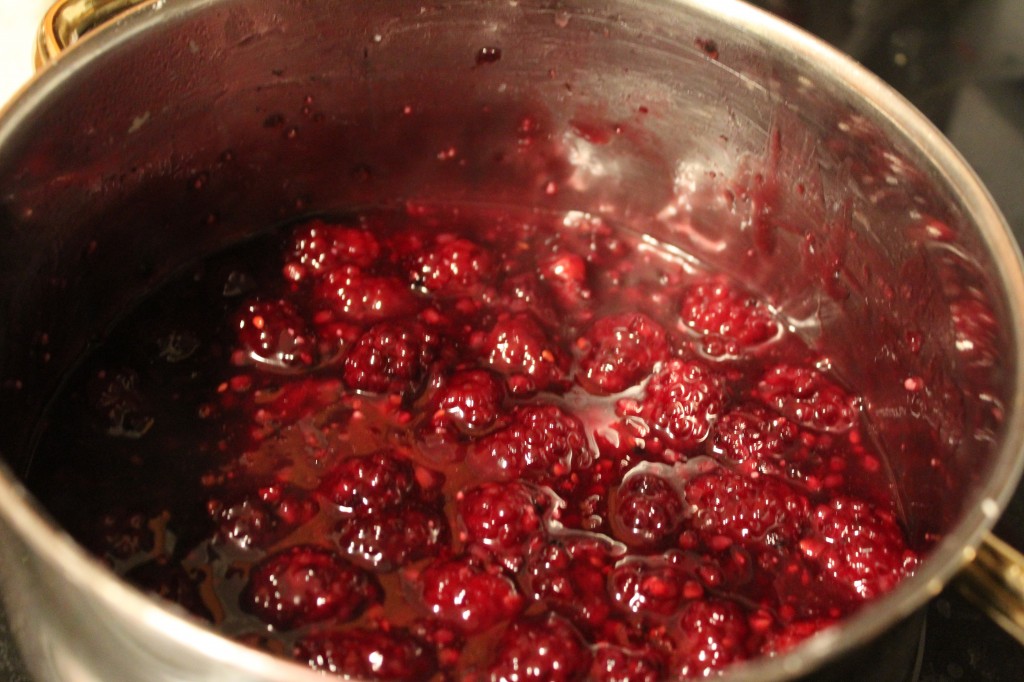
First thing you do is put the blackberries in a medium size sauce pan.

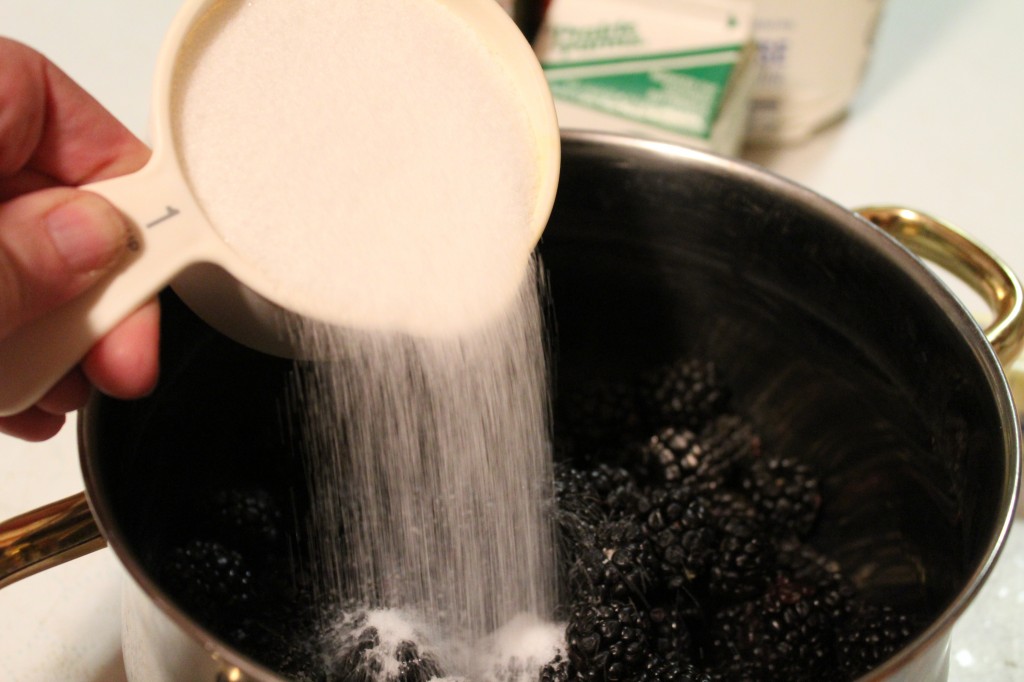
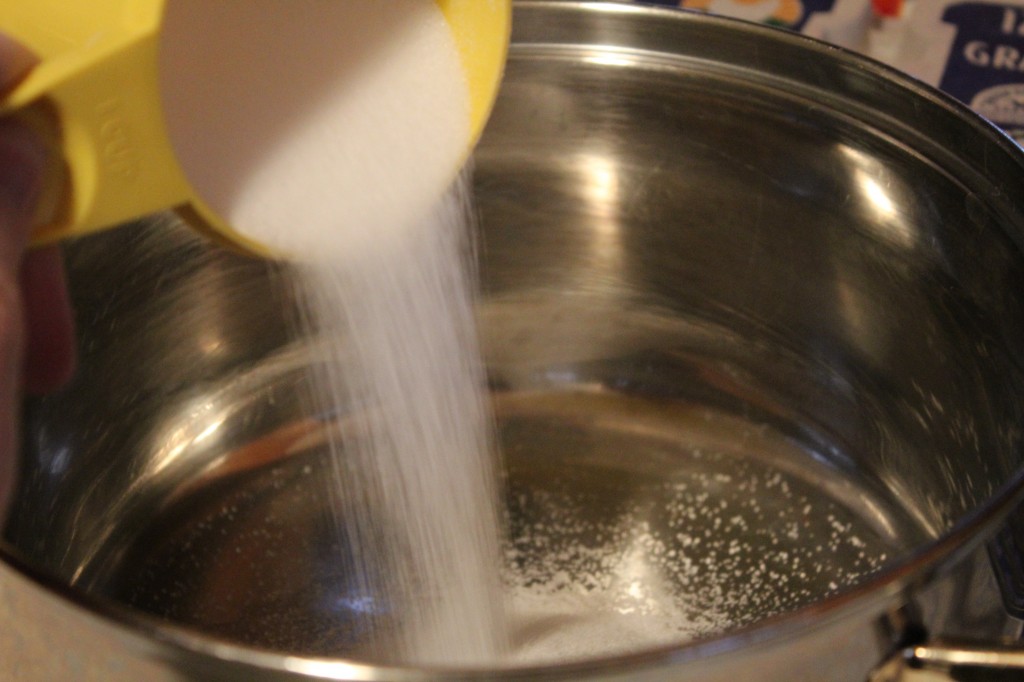
Pour in your sugar.

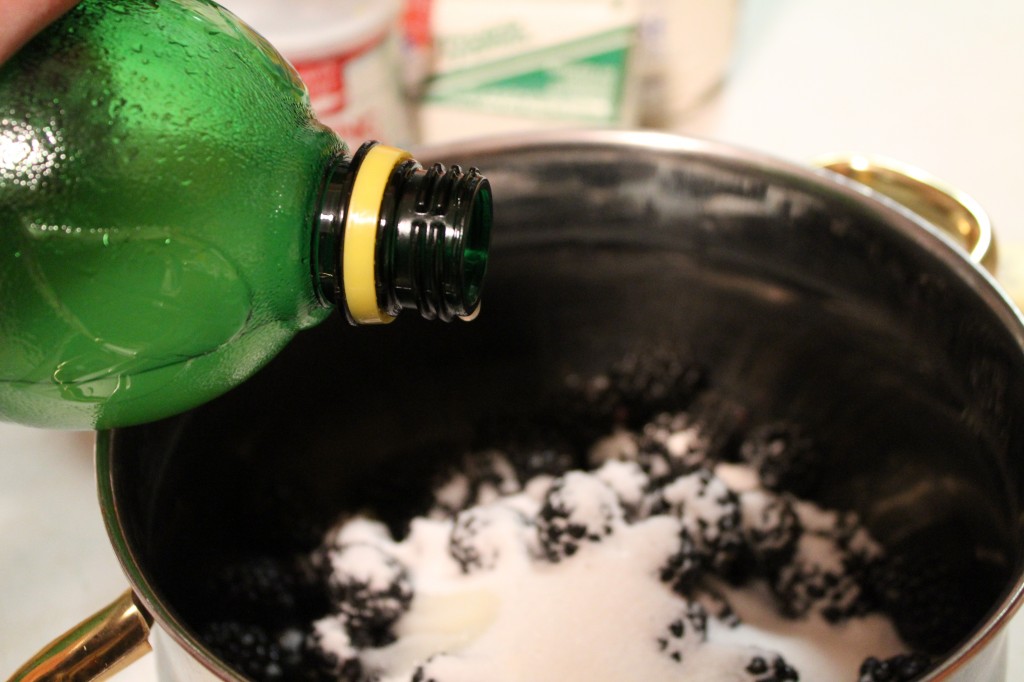
Add in  your lemon juice.

A small amount of almond flavoring.

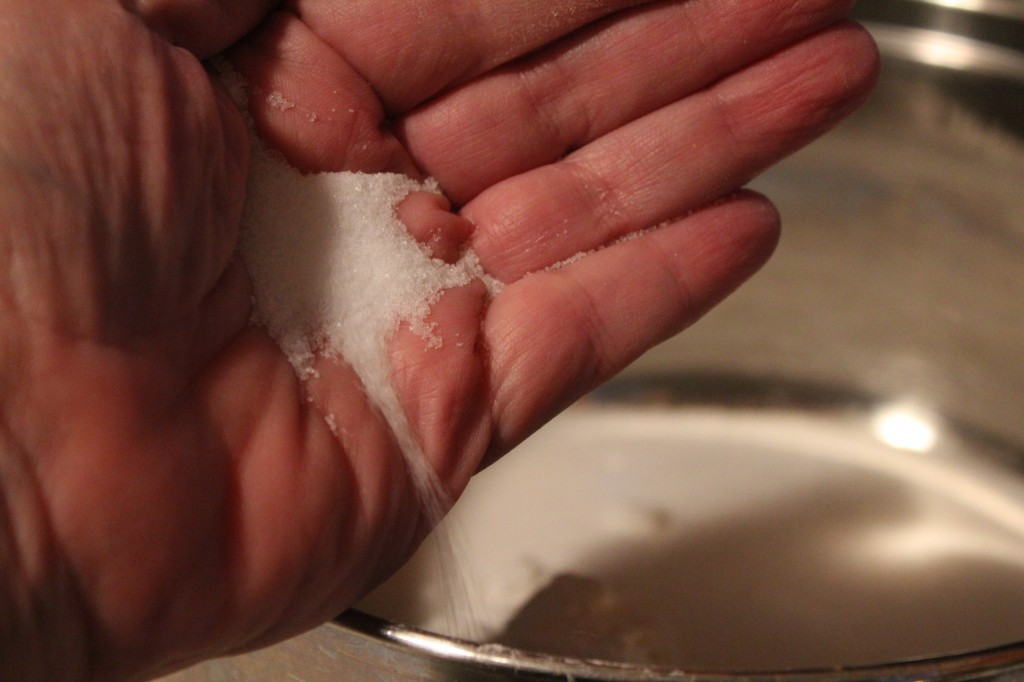
A dash of salt.

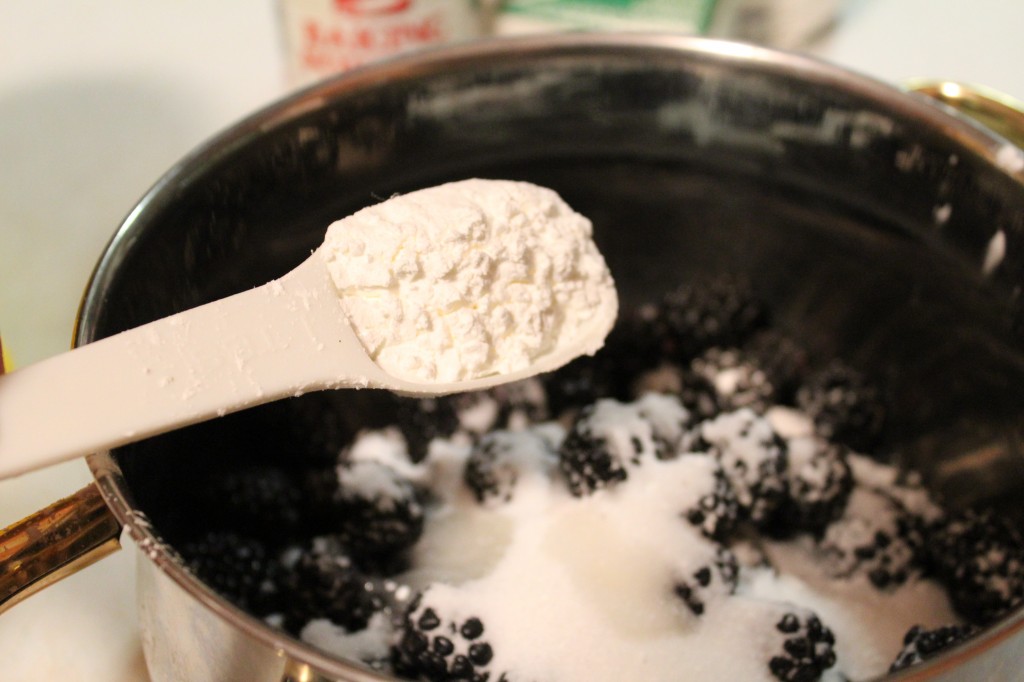
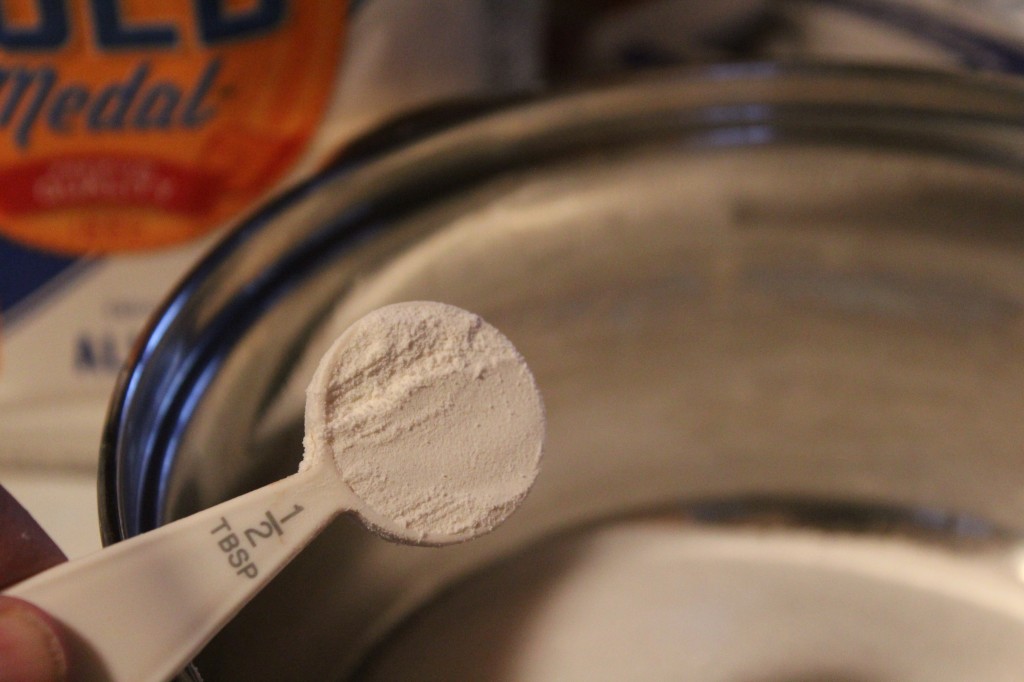
Time for the cornstarch for thickening.

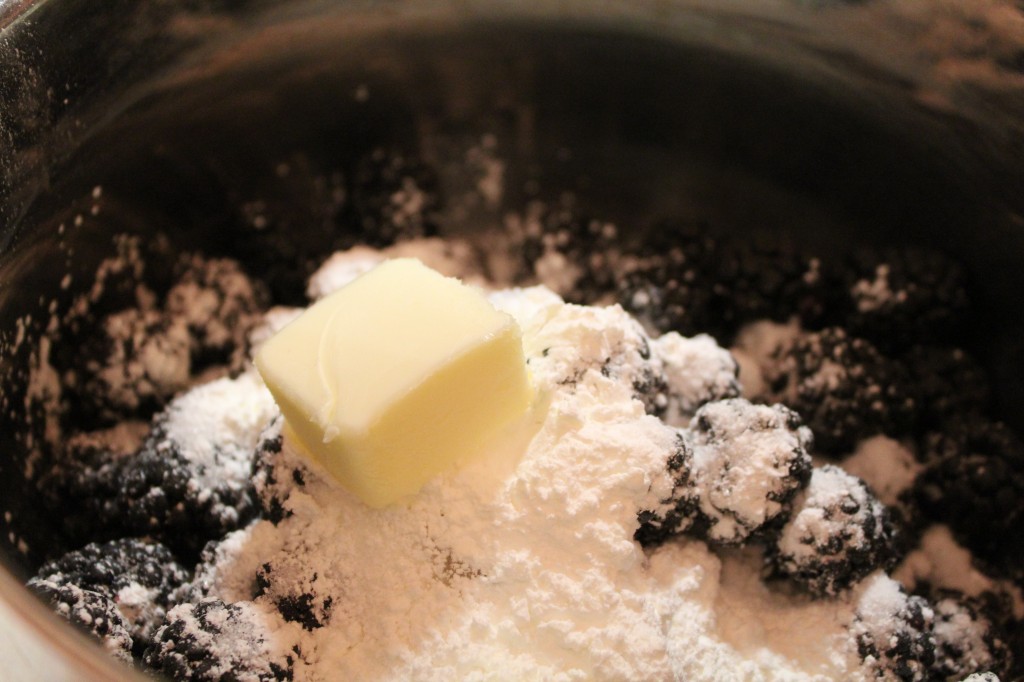
Some yummy butter.

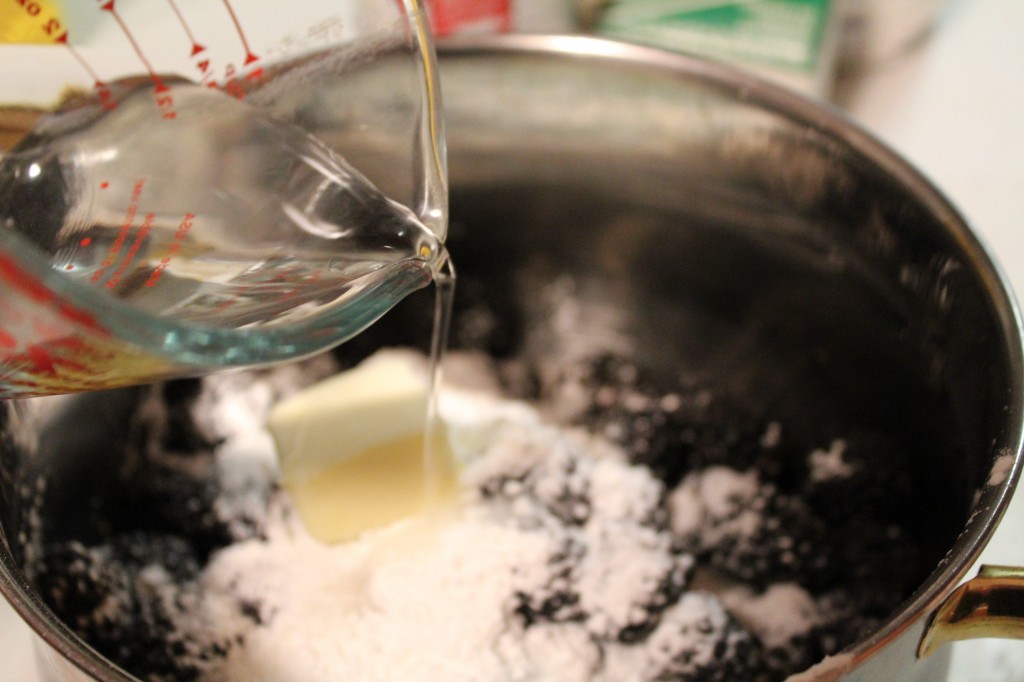
Last but not least, pour in the water.

Over medium heat, cook the blackberry filling mixture until it bubbles and becomes thick.

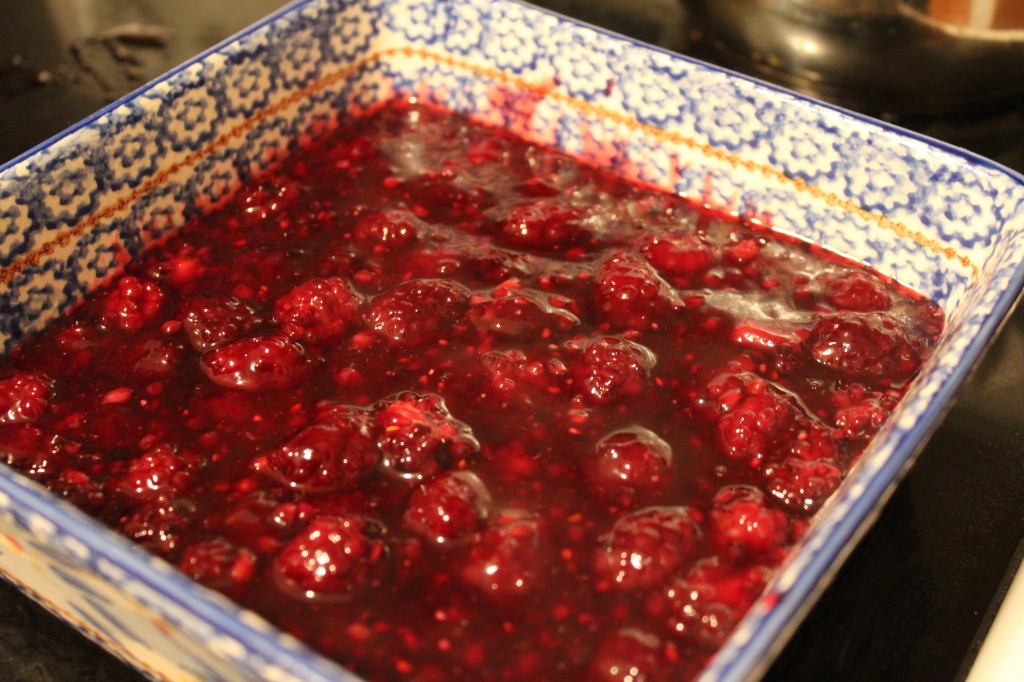
Pour the filling into a 9 by 9 baking dish.

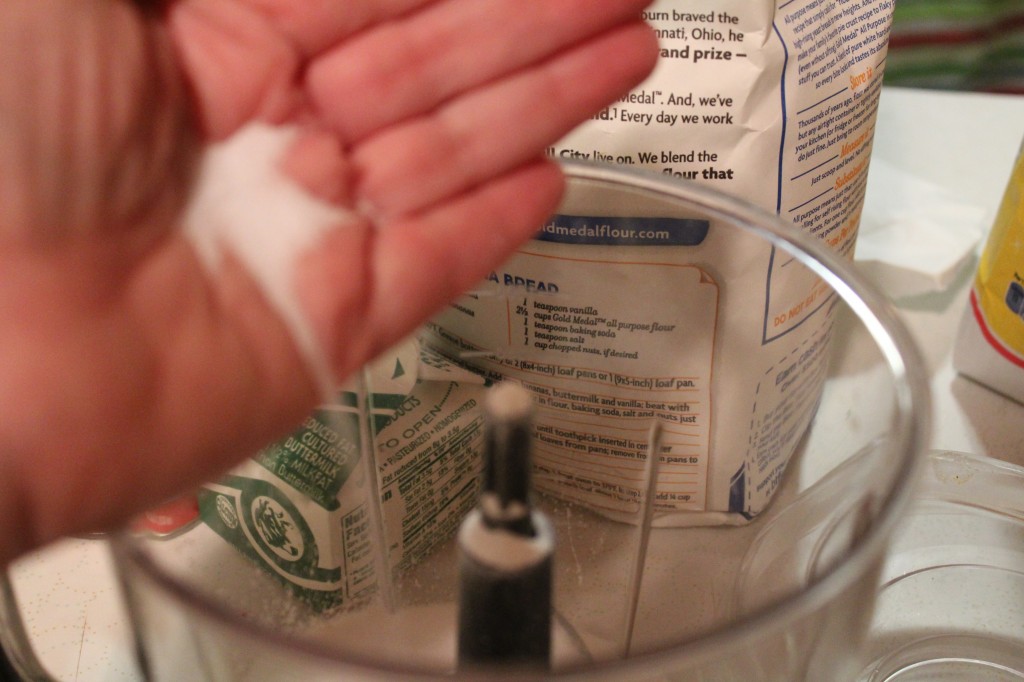
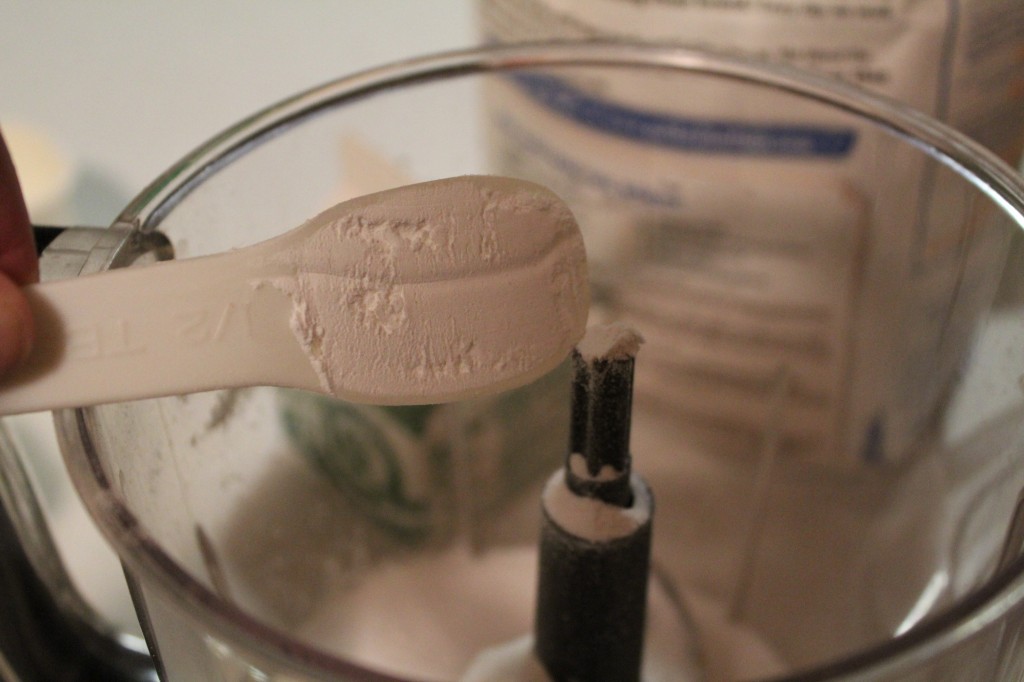
Now it is time to make the dumplings. I used my little pulse blender to make my dumplings, but you can you your pastry cutter to add in the butter.

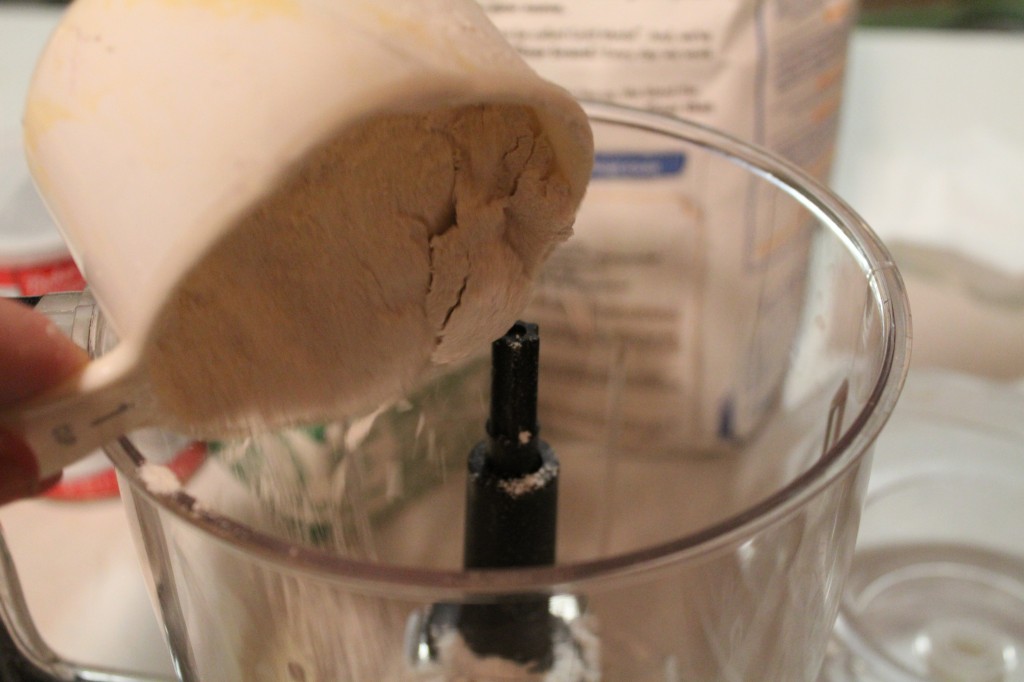
First thing I did was measure out the flour and add it into my little blender. You can do this in a bowl.

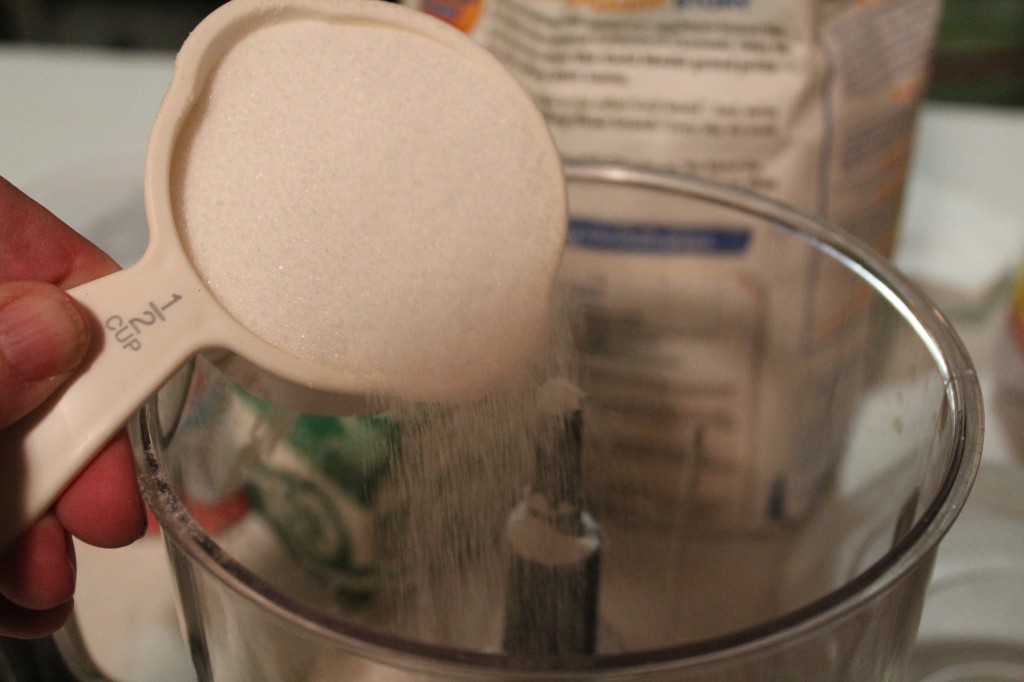
I added in the sugar next.

Added in some salt.

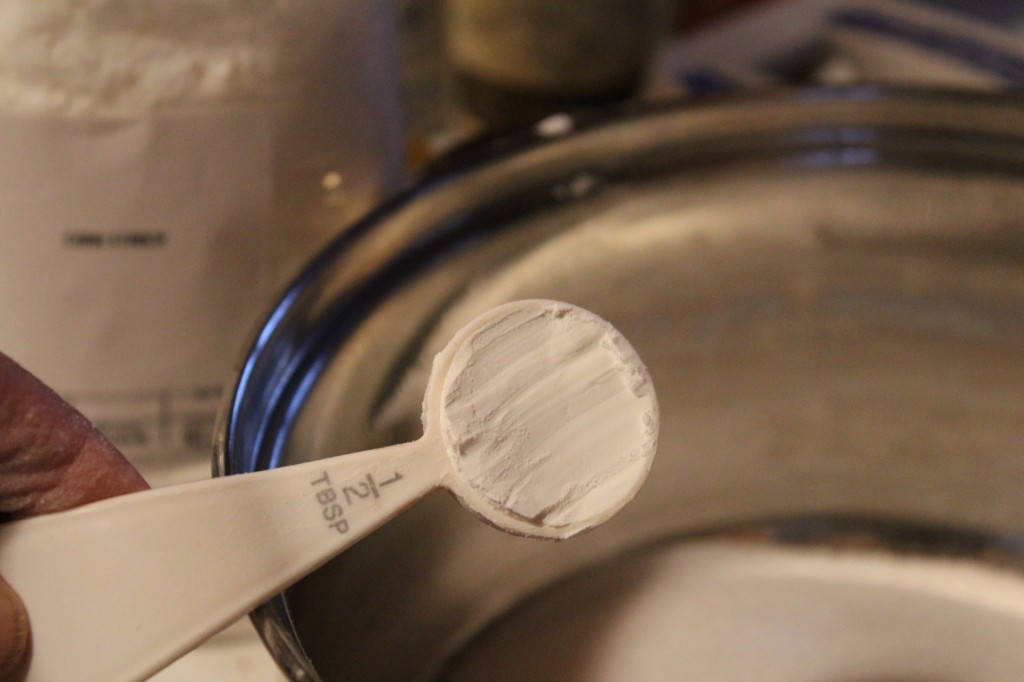
Next, I added in my baking soda.

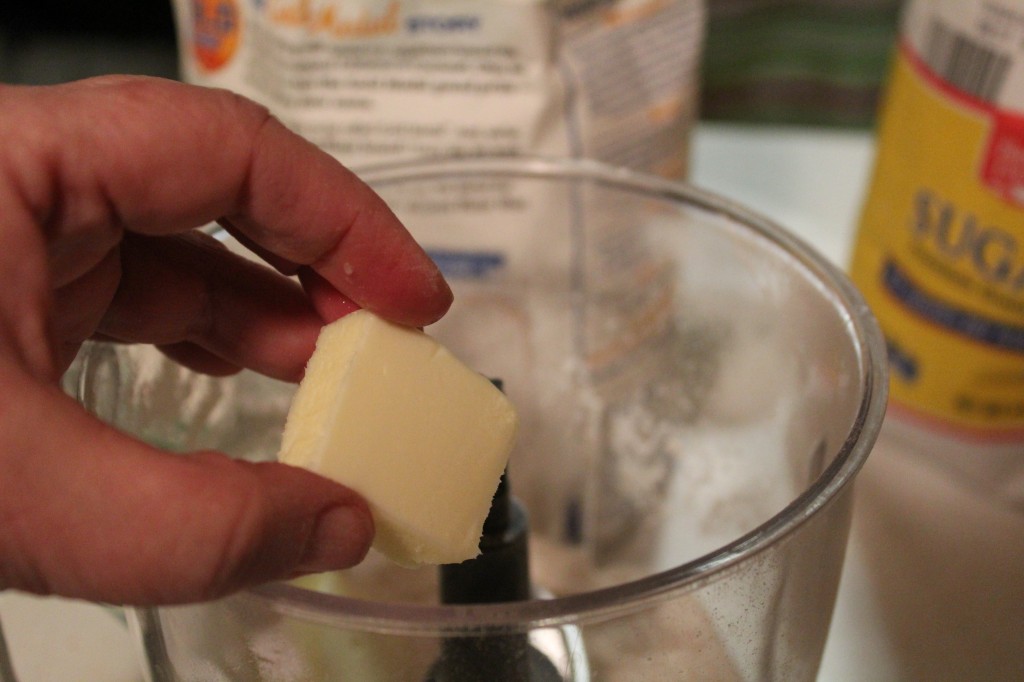
I mixed the dry ingredients together for a couple of pulses to mix the dry ingredients together. You can do this in your bowl with a spoon. Then I started adding in my butter.

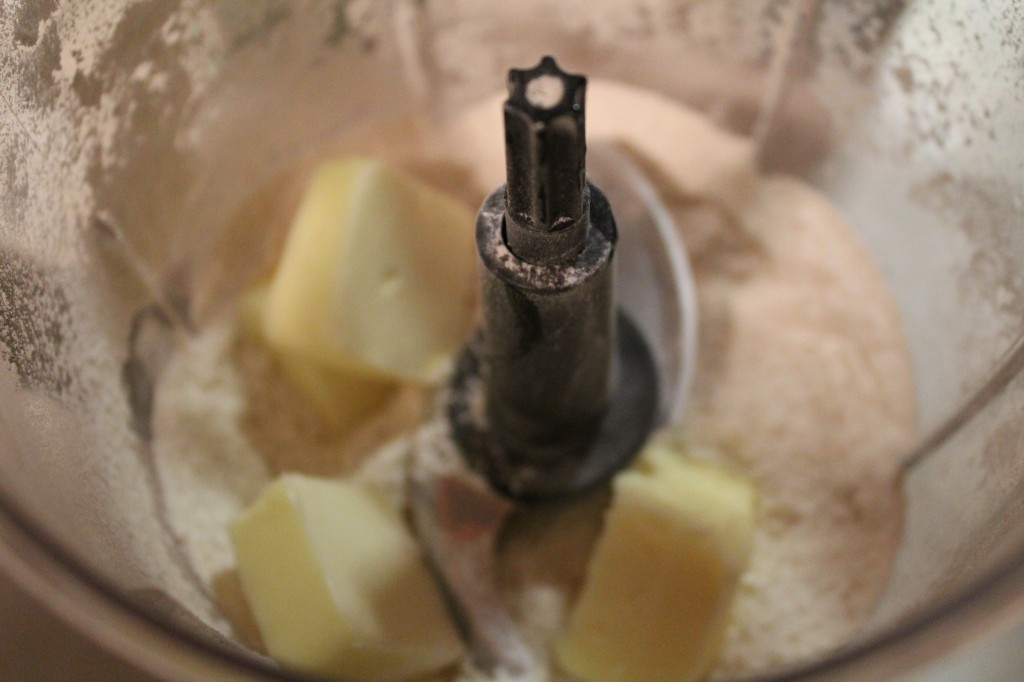
I pulsed the cold butter a few times to get the dumpling mixture to look grainy. You can cut in your butter with a pastry blender if you are not using a little blender.

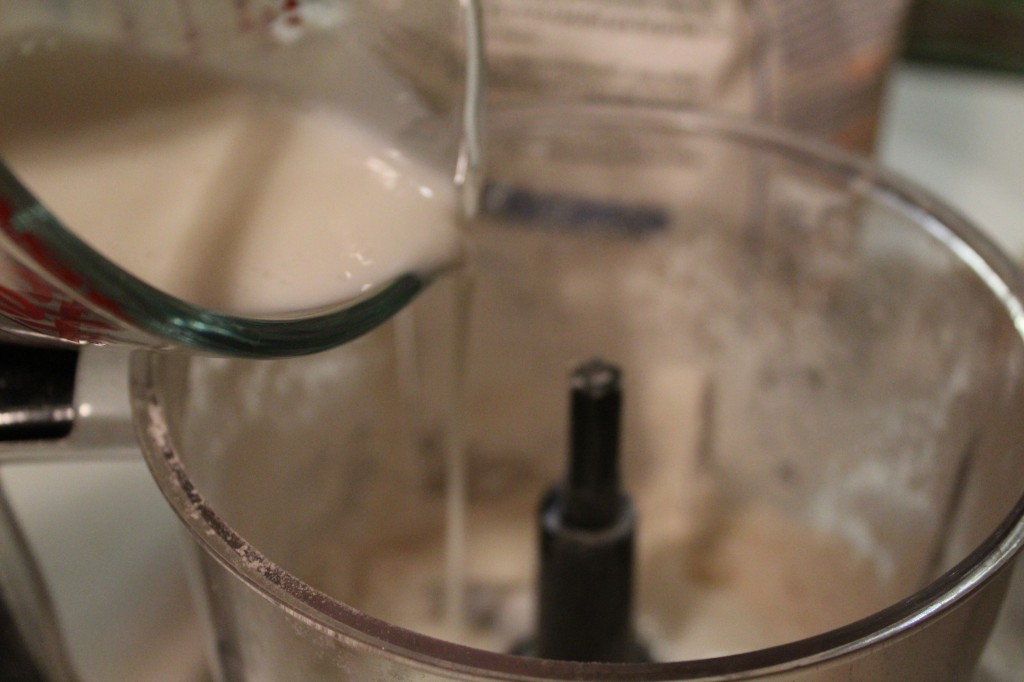
Add in your buttermilk. Only add in enough buttermilk to make a soft dough that you can spoon out.

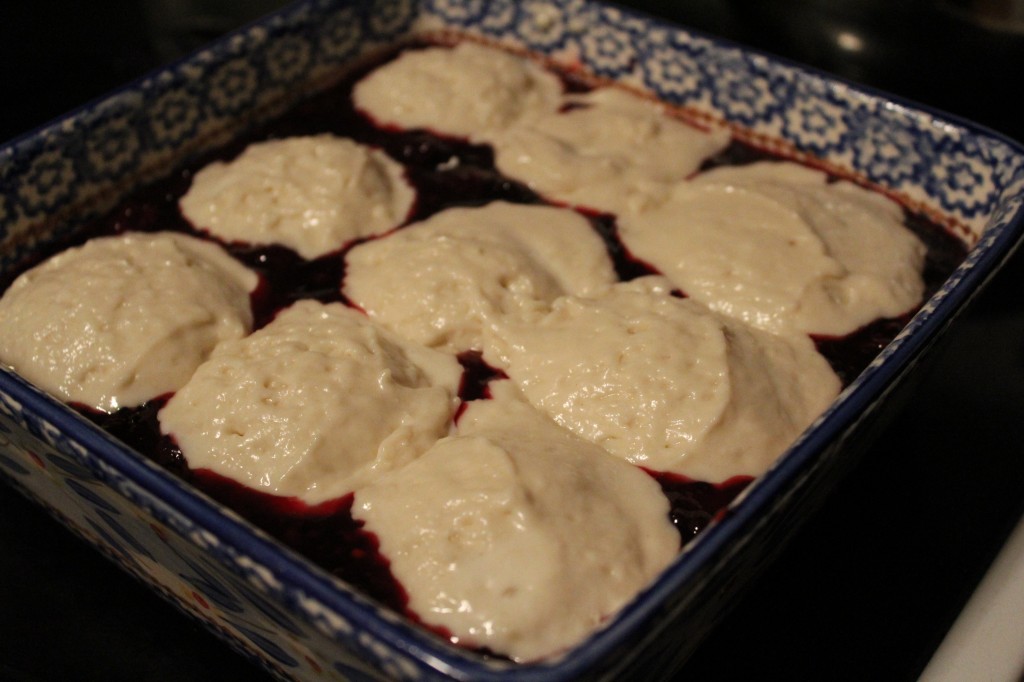
Dollop  your dumplings on top of the blackberry filling.

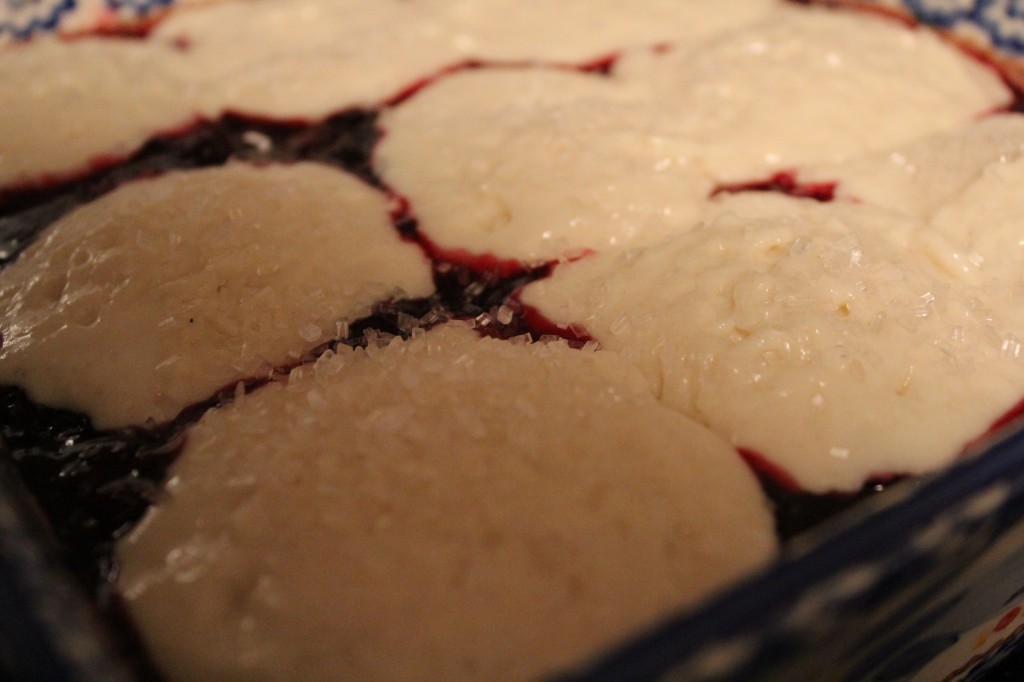
I sprinkled sanding sugar on top of the dumplings to give them a sweet top and to add a little crunch. Put the cobbler in the oven, preheated to 350 and bake for 25 minutes, or until the filling is bubbly and the dumplings are cooked through.

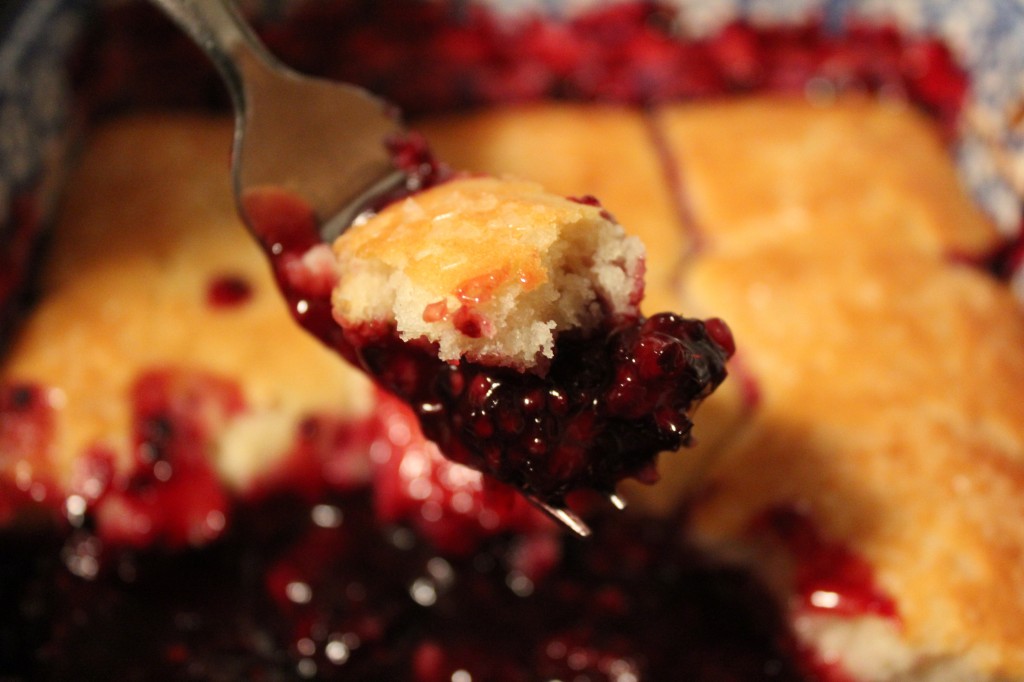
Don’t you want to take a bite?

You have to pick some blackberries first.

Or….buy some at the store. : )

Enjoy!

Becky

Blackberry Dumpling Cobbler

Recipe Adapted from Old Church Cookbook

Ingredients:

Blackberry Filling:

1 tablespoon cornstarch

1 tablespoon flour

1 cup sugar

1 tablespoon butter or margarine

1/3 cup water

4 cups blackberries

1/4 teaspoon salt

1/4 teaspoon almond flavoring

Dumplings:

1 cup flour

1/2 cup sugar

1/2 cup milk or buttermilk

1 1/2 teaspoon baking powder

1/2 teaspoon salt

1/4 cup butter cut into squares

Sanding Sugar optional

Directions:

In a medium saucepan, cook all of the blackberry filling ingredients, on medium heat, until the filling becomes thick. Pour the filling in a 9 by 9 baking dish.

In a medium size bowl, whisk together the flour, sugar, baking powder and salt. With a pastry blender, cut in the butter until they are small pea size pieces. Stir in the milk or buttermilk until the mixture comes together. If you feel that dumplings are a little dry, add in some milk a tablespoon at a time.

Spoon the dumpling on top of the filling. Sprinkle with sanding sugar.

Bake in a preheated 350 degree oven for about 25 minutes or until the filling is bubbly and the crust is light brown. (make sure the center dumplings are cooked all the way through).

Serve warm with some ice cream or by itself.

Enjoy!

Becky

Here are a few other blackberries recipes you may want to try.

Oatcake with Blackberries and Blueberries

Blackberry Jam

Regular Blackberry Cobbler


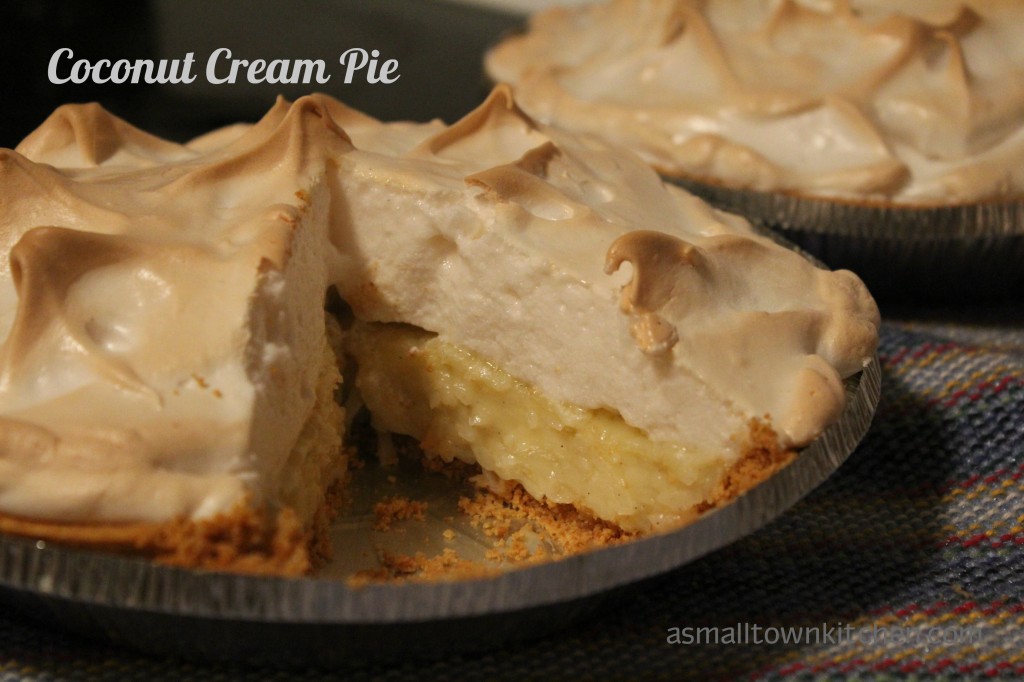
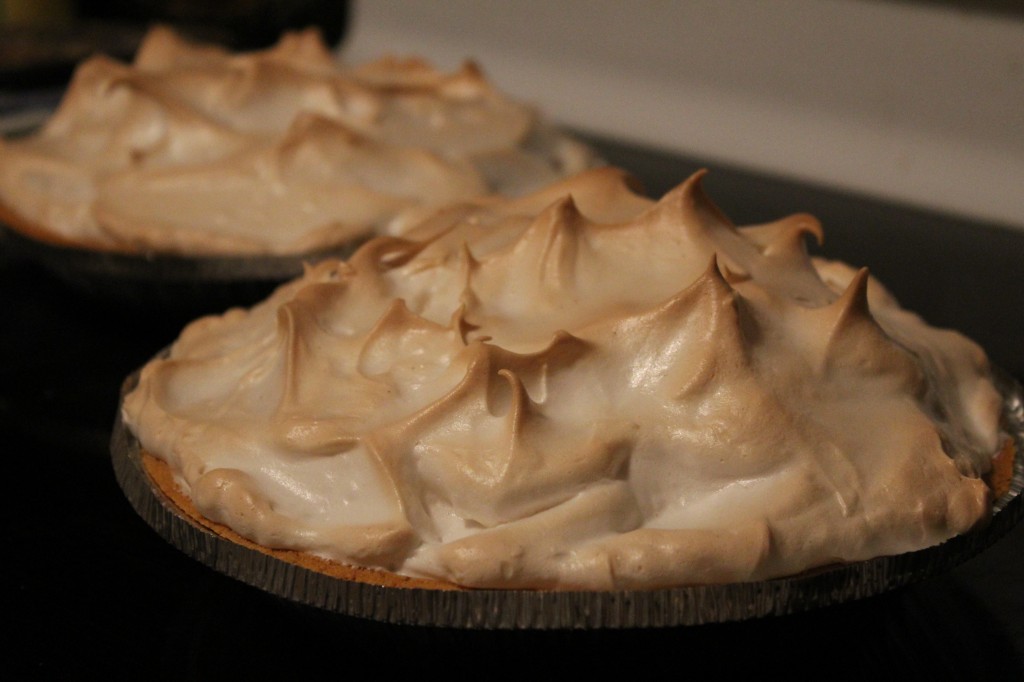
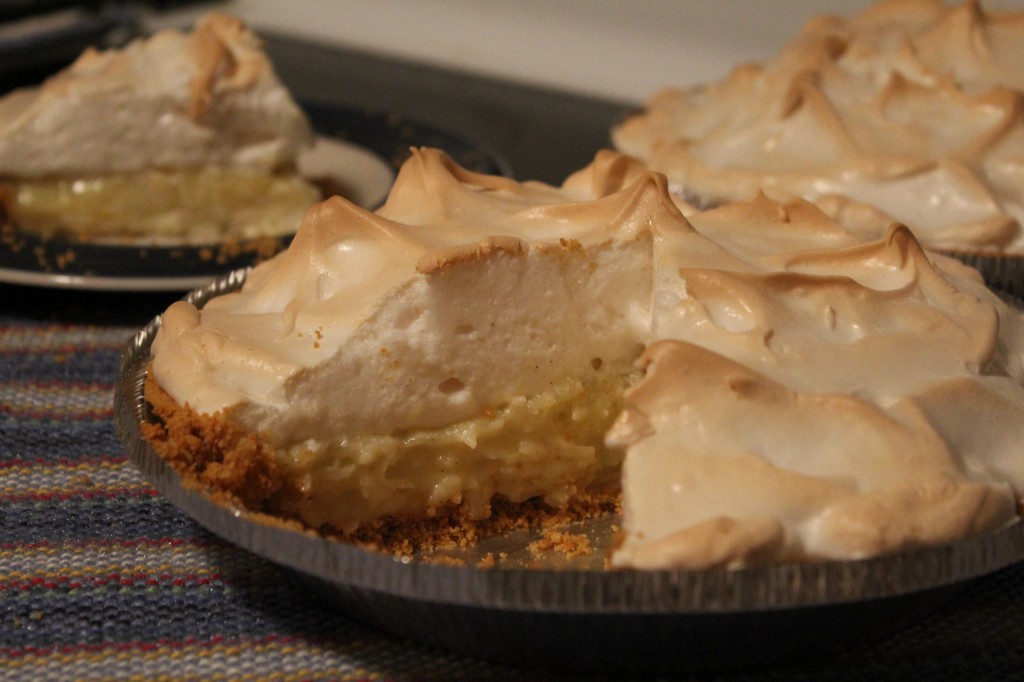
Coconut Cream Pie

What is your favorite pie?

Pumpkin, Pecan, Apple, Peach……..?

If you asked me that question I think it would have to be Coconut Cream Pie.

I am just NUTS over CocoNUT Cream Pie.

While I was attending college, there was this truck stop down by the interstate that made the most fabulous pies. My college friends and I would get a car load of girls together and drive, whose ever car had gas in it, to the truck stop just to get a slice of pie. Their pies were homemade by some pie angel in the kitchen who knew just how to make a meringue stand up, sweet and perfect on top of all those glorious pies. The selection of pies would tempt you to try every one. I think during the four years I was at college I finally managed to try each one, at least once, or twice…or three or more times. : )

Over the years, I have made several different recipes of a Coconut Cream Pie. I am always looking for “THE ONE” recipe that taste like the pies me and my college friends, sampled, drooled and laughed over. I am not sure how we ate that much pie and still fit in our jeans. But, we did! Those were good times!

In a cookbook, I just happen to buy at a flea market, (one of my favorite places to buy cookbooks) I found a recipe for Coconut Cream Pie. It was pretty basic, had all the ingredients that you would have in your kitchen and the recipe was mentioned as being delicious in the forward of the cookbook. The cookbook was a fundraiser that moms at a church submitted as their favorite recipe. Who can pass up a recipe that said it was a delicious pie….and a coconut one at that.

NOT ME!

So………….I have made it 4 or 5 times now in the last couple of weeks.

Don’t fall in a faint….I did not eat that many pies. I made them for my family, friends and for super bowl.

My dad, who knows his pie, (he should as he is 96 and has eaten millions of pies, well close to a million hehe) said it was the best Coconut Cream Pie he has eaten.

Well, let’s just say , I am no longer looking for a Coconut Cream Pie recipe.

I have found “THE ONE” that taste like  the pies that I remember eating and loving so much!

I hope you love it as much!

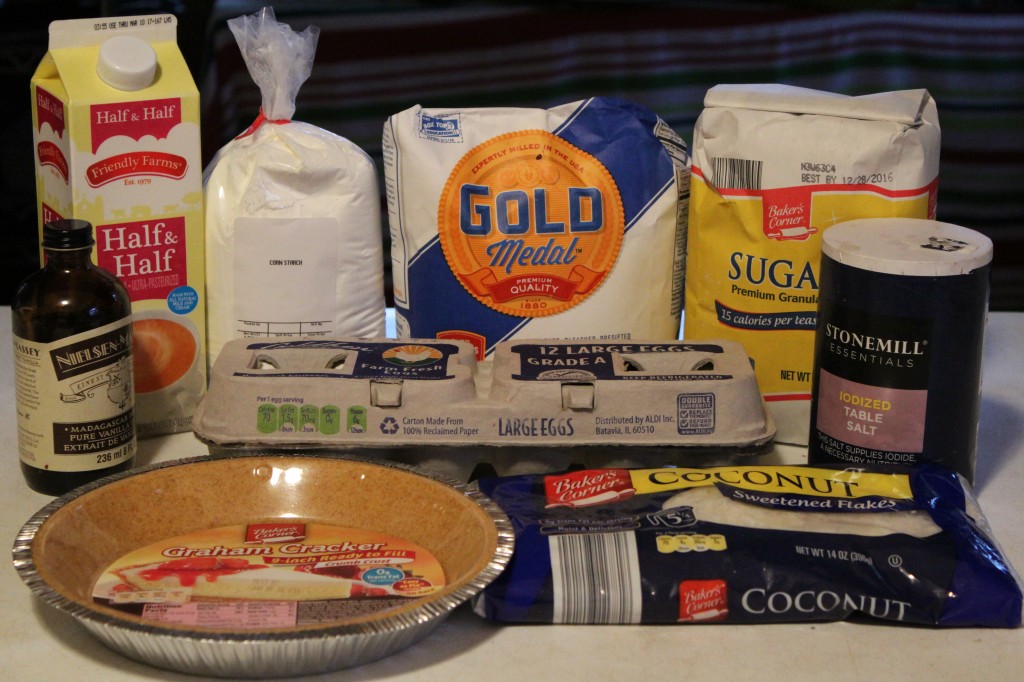
Here is what you need.

You will need half and half or whole milk, corn starch, flour, sugar, salt, vanilla, (I used real vanilla paste) eggs, graham cracker crust or a regular pie crust pre-baked and of course coconut.

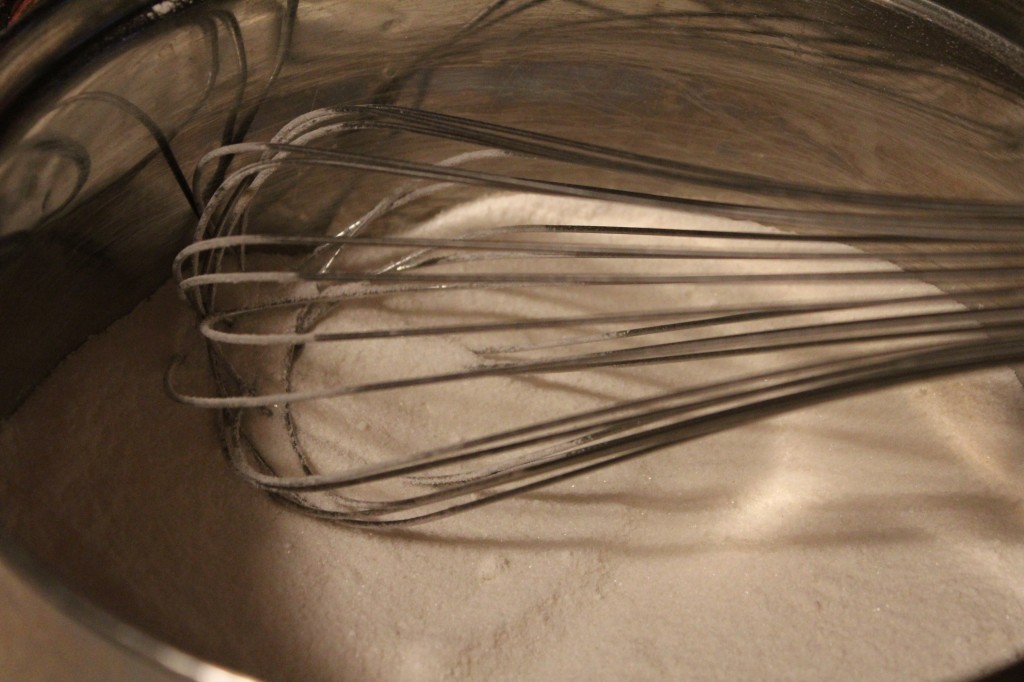
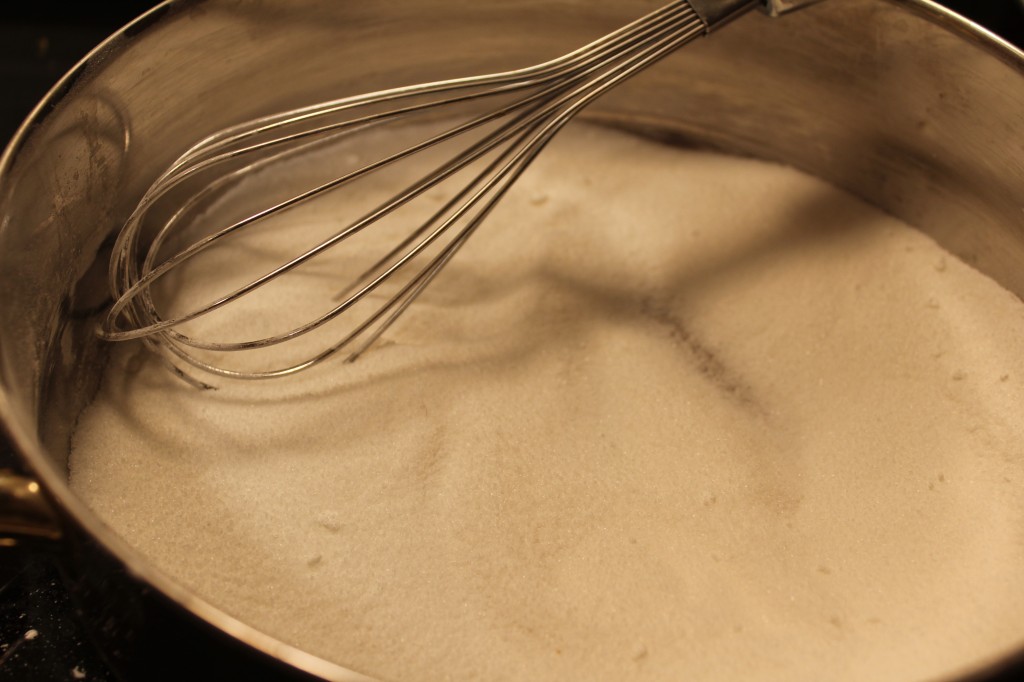
In a medium sauce pan add in the sugar.

Now, add in the flour.

Next the corn starch.

Now, the salt.

Whisk the dry ingredients together.

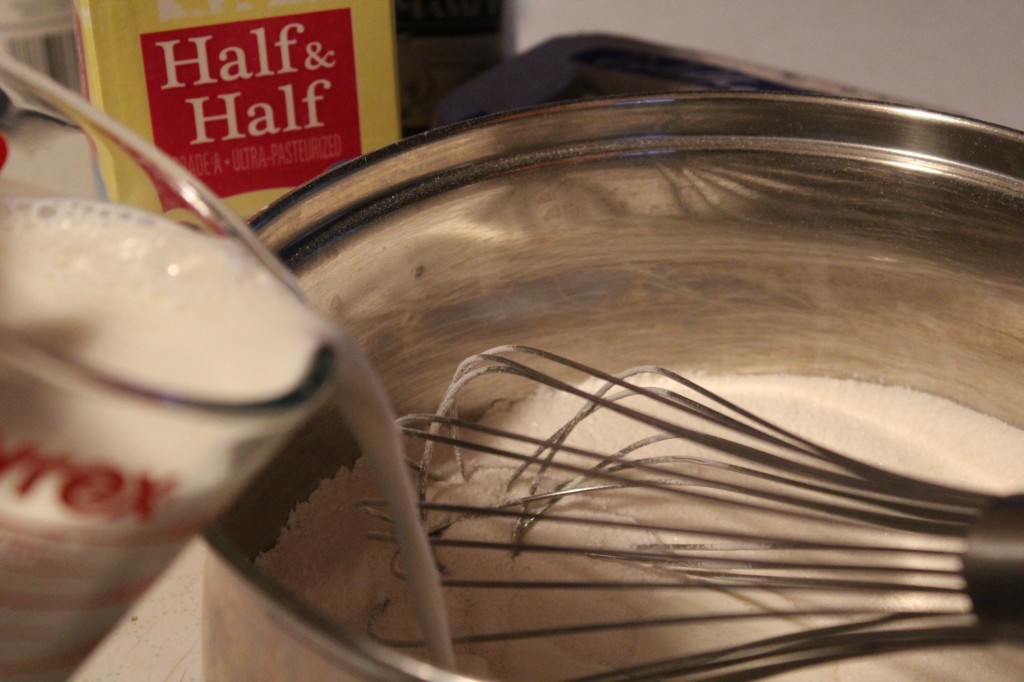
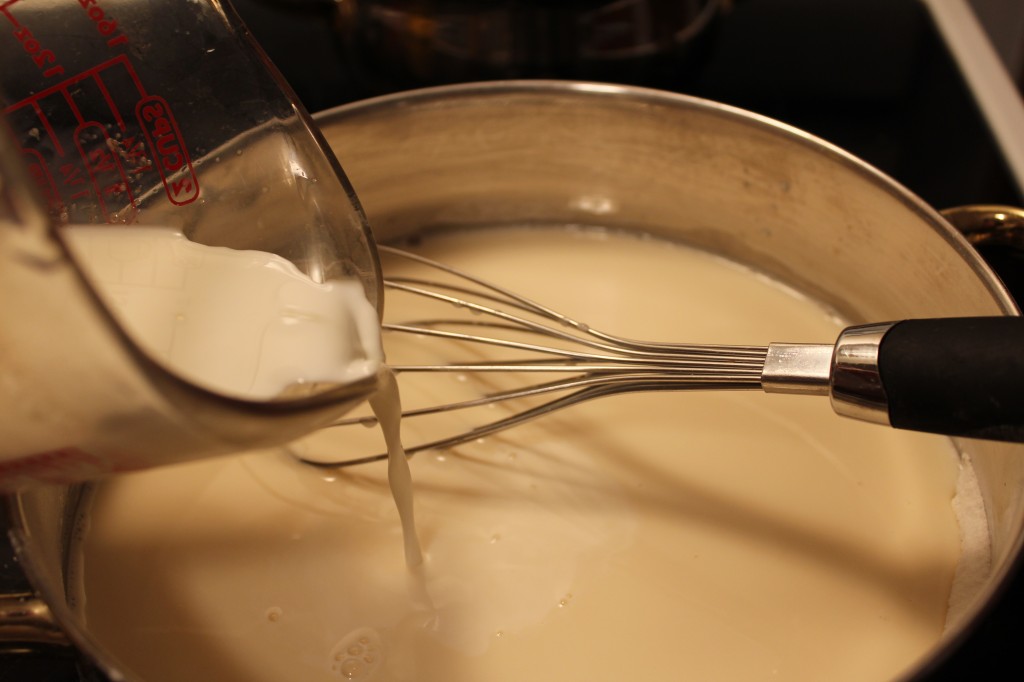
Now pour in the half and half.

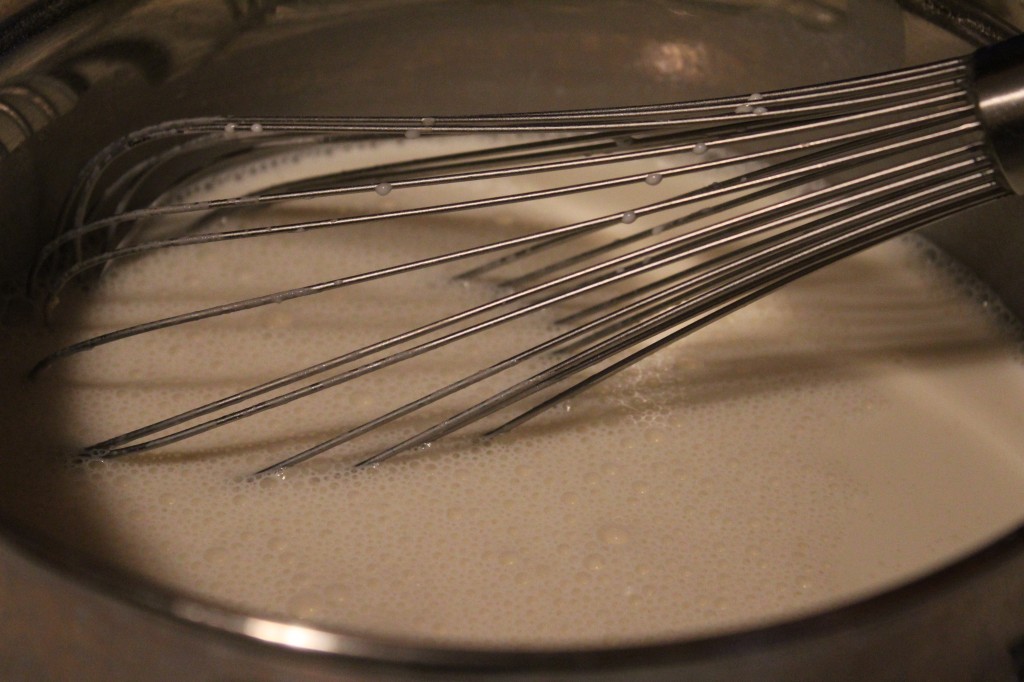
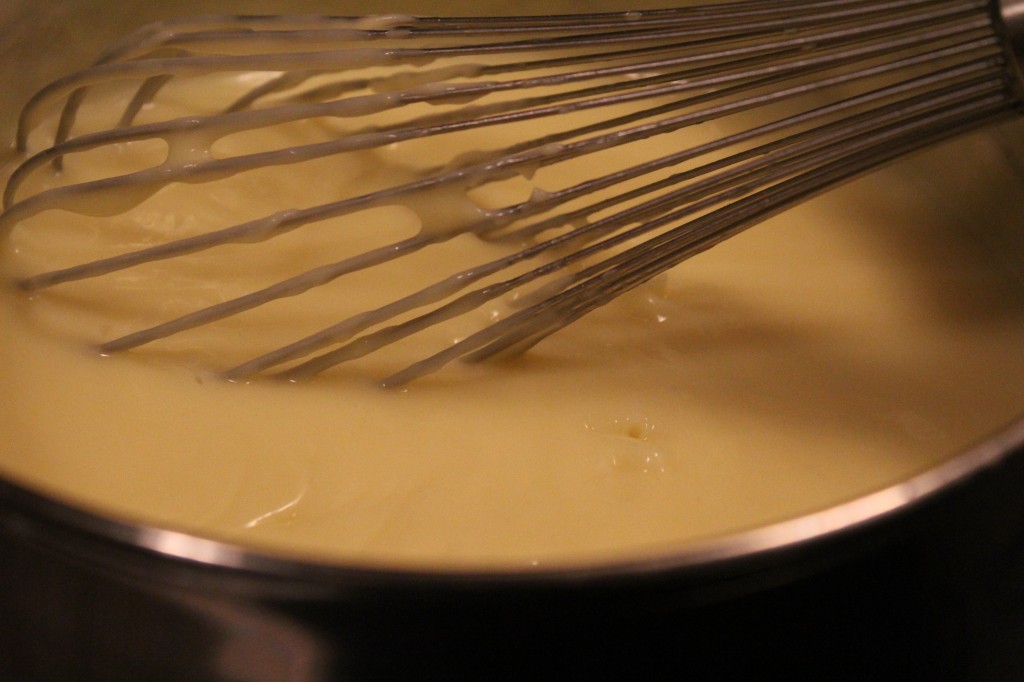
Whisk until smooth. Now turn on the heat to medium and continue stirring until the filling gets thick.

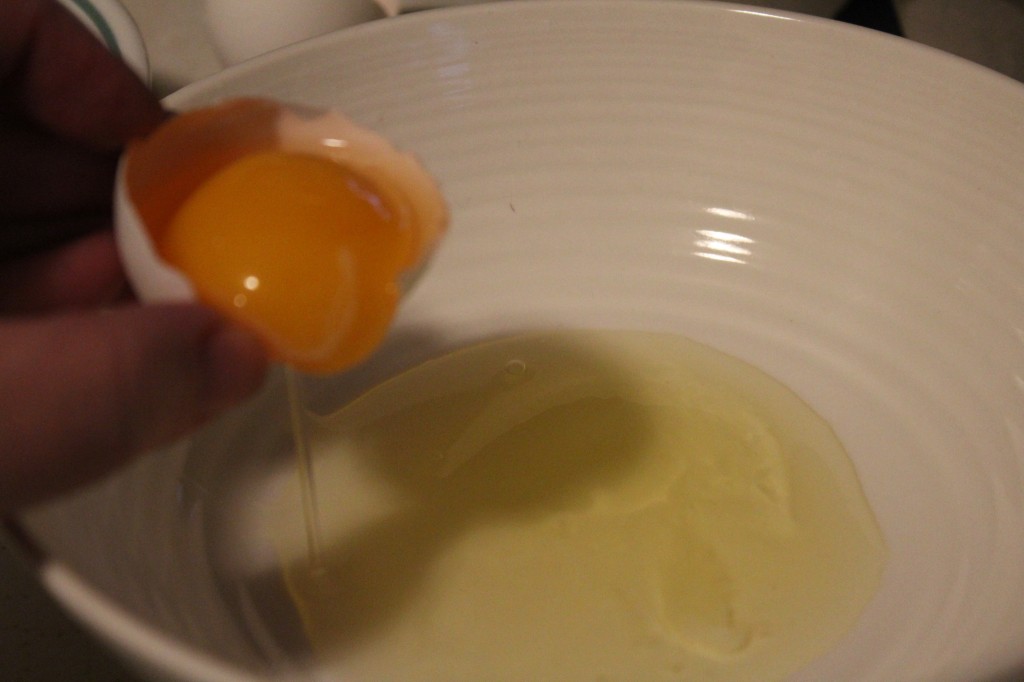
Separate your eggs. Save  your egg whites for your meringue.

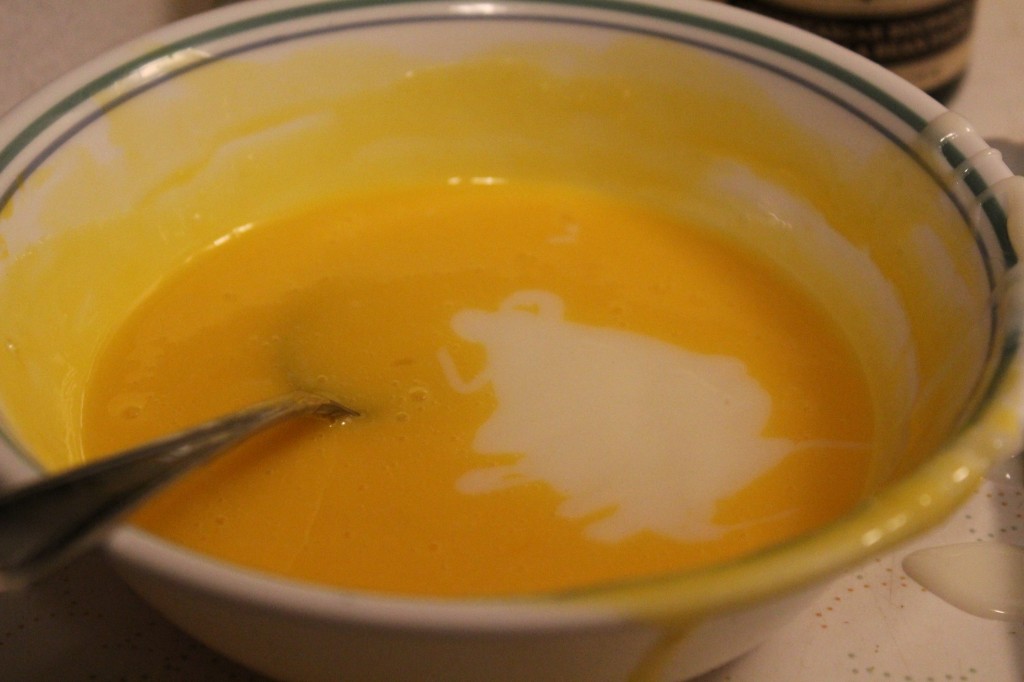
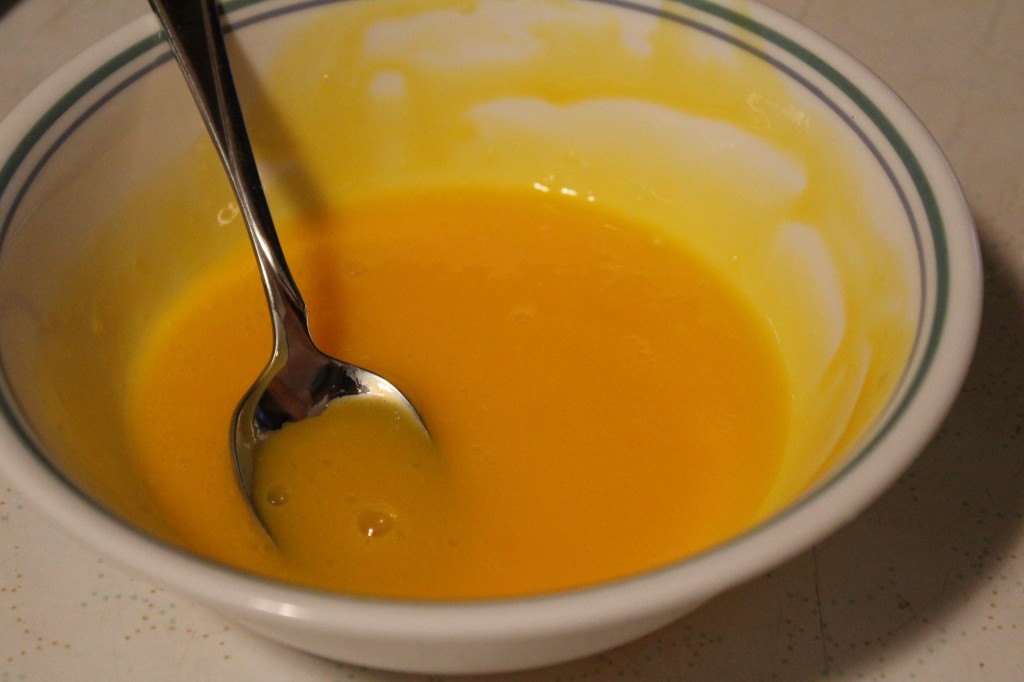
In a bowl put the egg yolks. Mix with a smooth to make smooth.

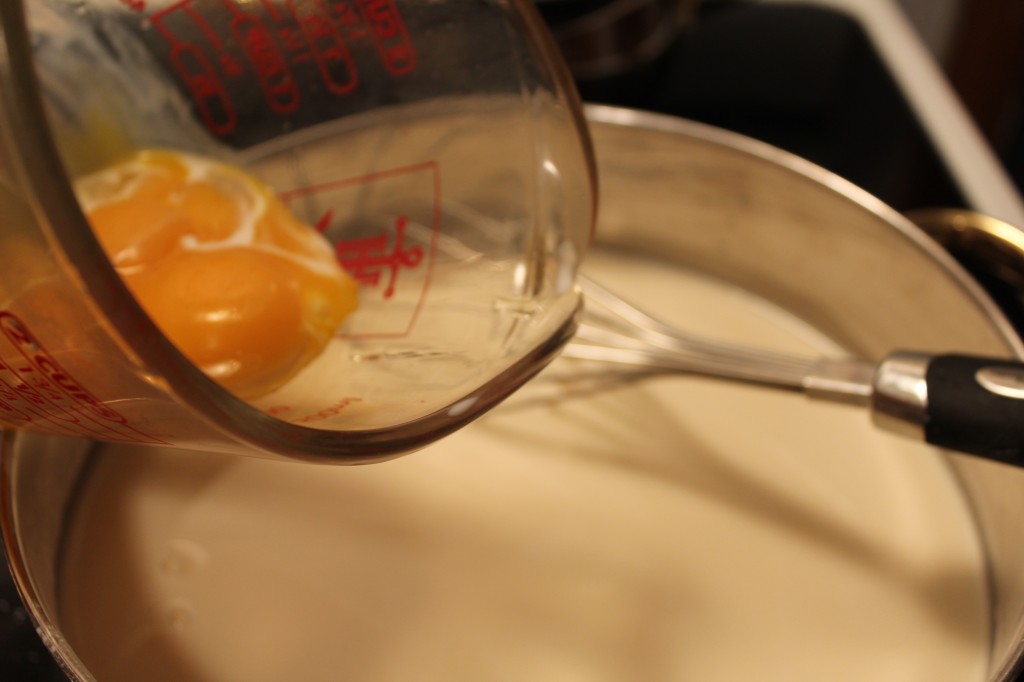
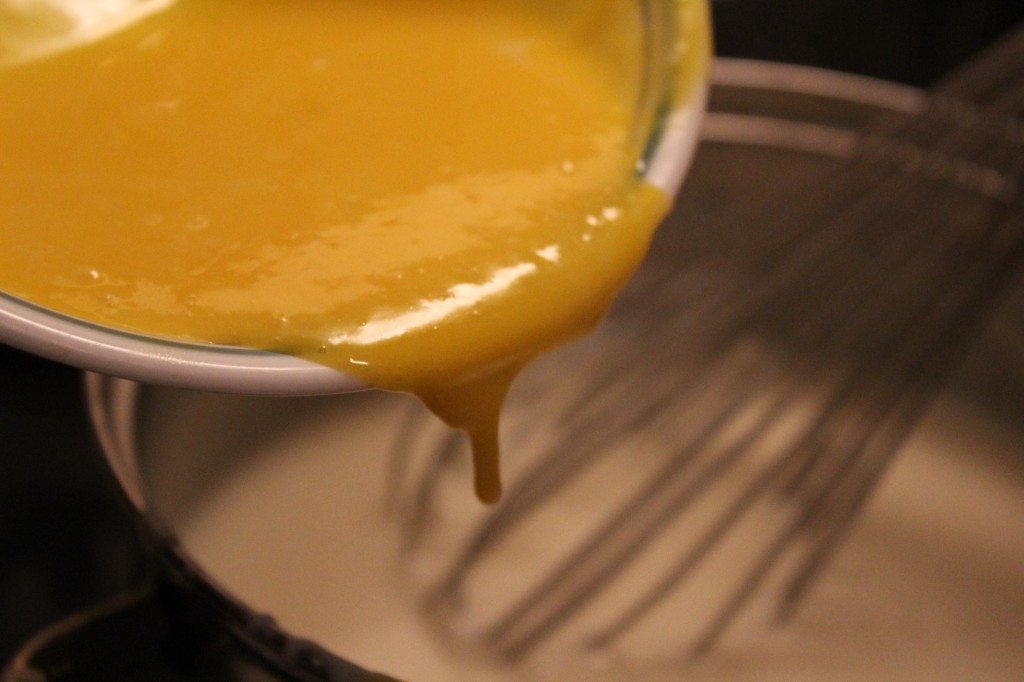
When the custard gets thick, add a couple of tablespoons of the custard to the eggs yolks and mix in. This is tempering the eggs which brings the temperature up so when you add the eggs they do not cook immediately into scrambled eggs in your custard.

After tempering your egg yolks, add them to the custard. Whisk the egg yolks in as you add them.

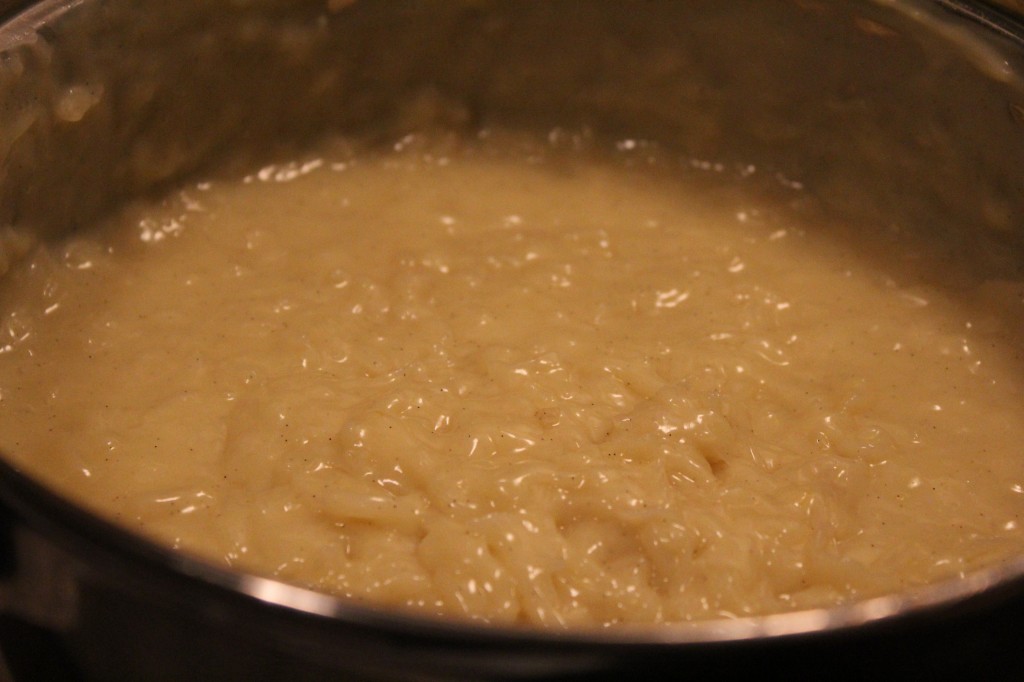
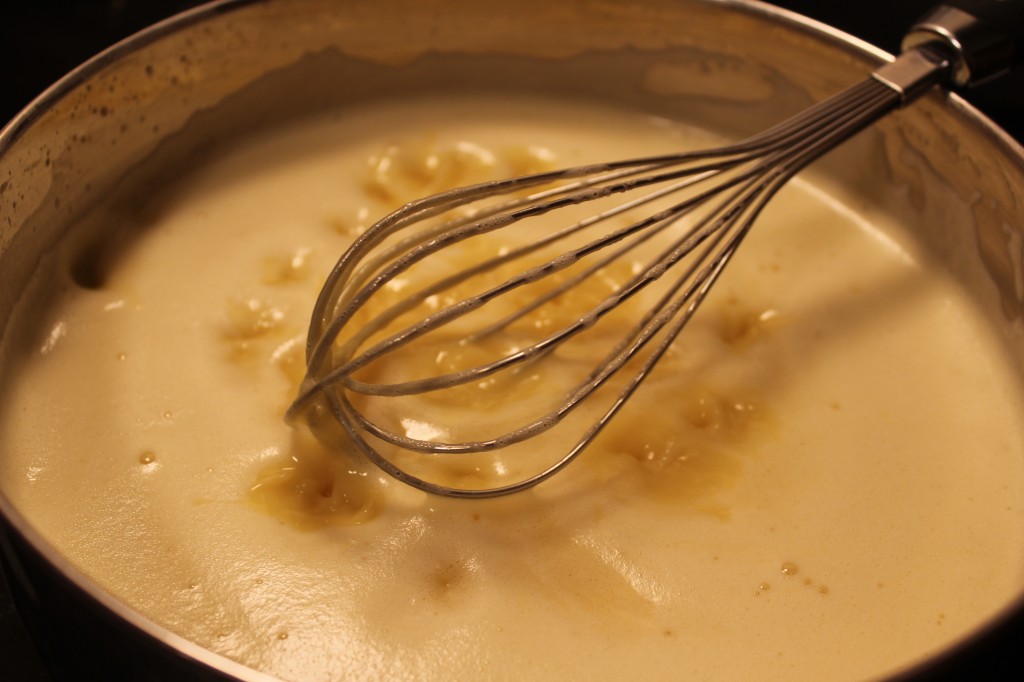
Continue cooking for 4 to 5 minutes or until the custard becomes very thick and bubbles. Be sure and still the whole time.

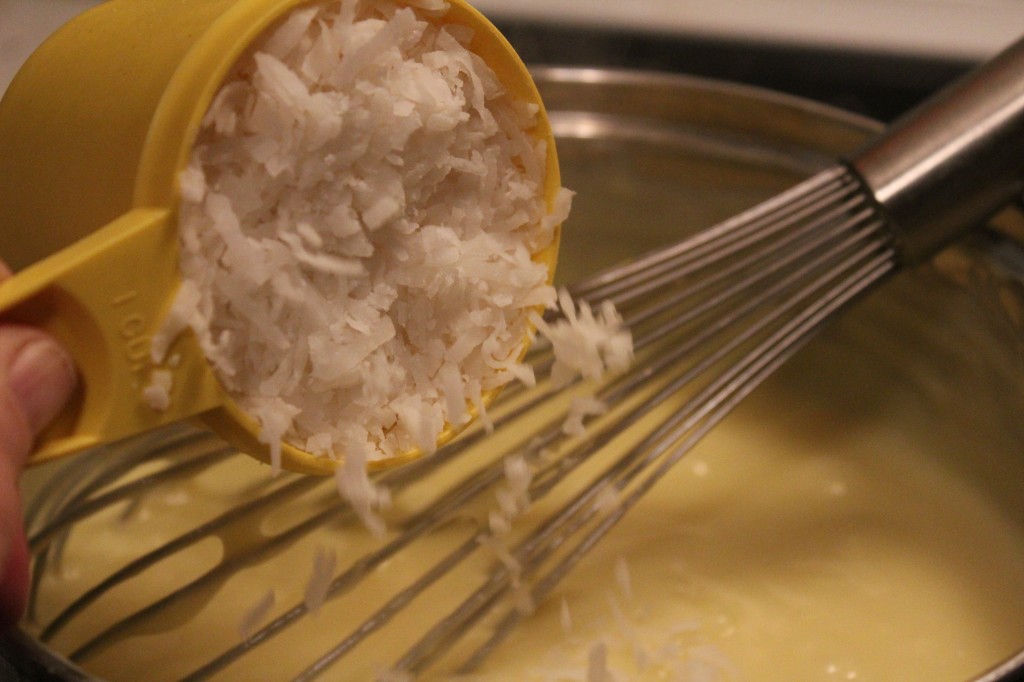
Take the custard off the heat and add in the coconut.

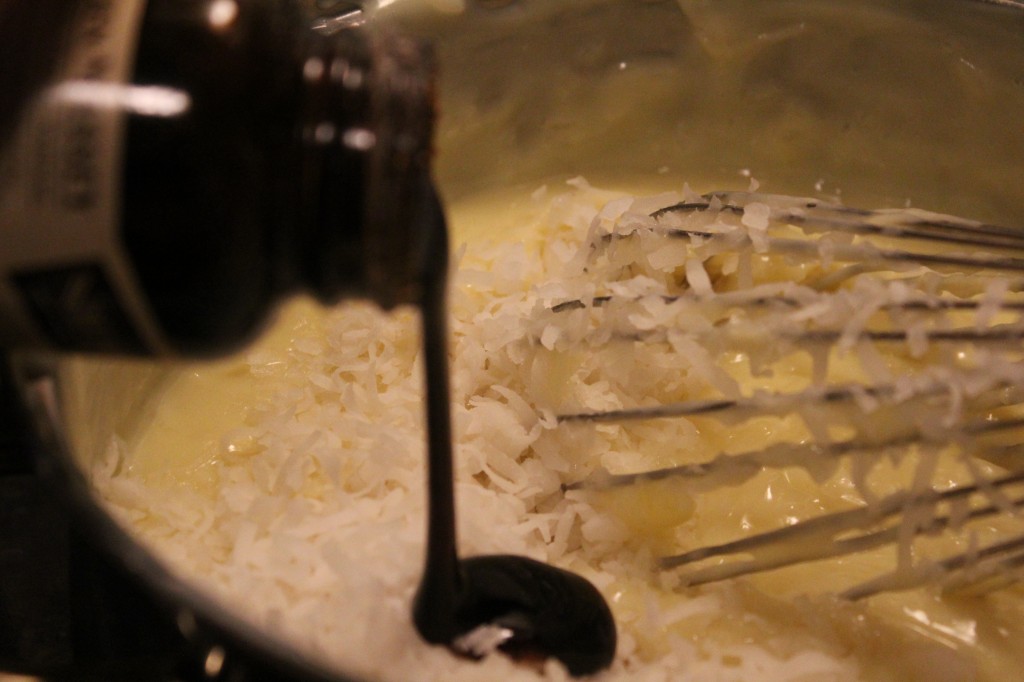
Now add in the vanilla. I used real vanilla paste, because I love the flavor and the specks of vanilla bean in the custard.

Pour the filling into a 9 inch graham cracker crust or a pre-baked regular crust.

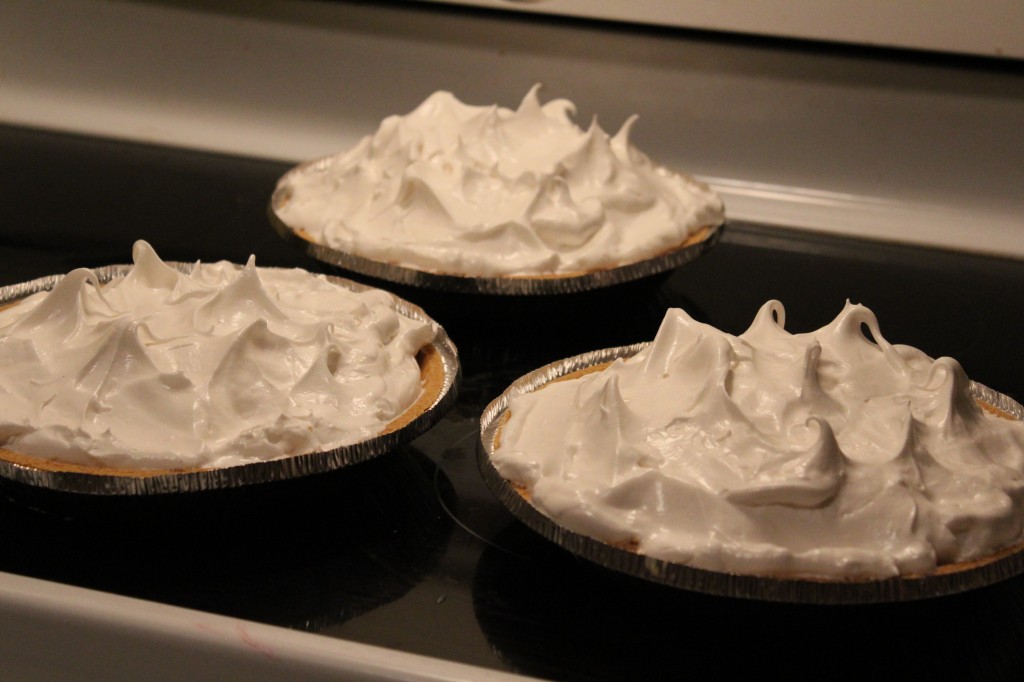
Using the left over egg whites, make a meringue. I will post the one I made that did not weep later this week.

Bake the pie in a 325 degree oven for 15 to 20 minutes or until the meringue gets all toasty and pretty.

Now, all you have to do is wait for the pie to cool before you can cut you a big slice.

If you like pie, as much as I do, I hope  you give this pie a try!

Becky

Coconut Cream Pie

Adapted from Old Church Cookbook

Ingredients:

1 cup sugar

3 tablespoons flour

1/4 teaspoon salt

3 tablespoons cornstarch

2 cups half and half or whole milk

2 egg yolks

1 teaspoon vanilla

1 1/3 cup shredded coconut

Graham Cracker Crust or a Baked Pie Crust

Meringue or Cool Whip for the top of the pie.

Directions:

In a medium sauce pan, whisk together the sugar, flour, salt and cornstarch. Add in the half and half and whisk until smooth. Cook over medium heat, stirring continuously until the custard is very thick. In a separate bowl beat the egg yolks. Add a  couple of tablespoons of the cook custard to the egg yolk  and stir. This will temper the egg yolks and bring the temperature up before you add the yolks to the hot custard. Quickly add the tempered yolks to the custard and whisk in. Continue to cook the custard until bubbles and the custard is very thick. Remove from heat and add in the vanilla and coconut. Stir in. Pour the custard into a graham cracker crust or a cooled pie crust and top with a meringue or cool whip.

Does this make you want a piece? It makes me want to go back into the kitchen and make some now.

Yes,  I am a little NUTS over CocoNUT Cream Pie!

Here are some other recipes you might like:


White Chicken Chili               Farmers Favorite Oatmeal Cake         Garlic Cheddar Biscuits


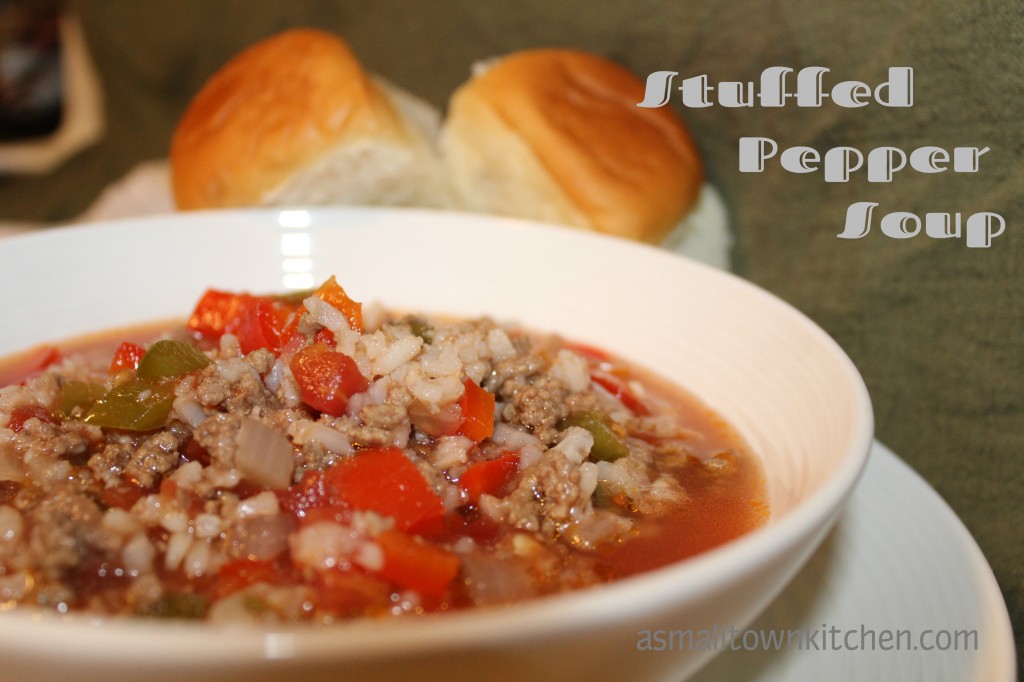
Stuffed Pepper Soup

Soup….glorious soup….awwww so delicious!

I just want to break out into a song when I find a new soup recipe that is easy to make, taste great and will go into my freezer for school lunches.

Seriously….why buy soup in a can, when you can make some pretty awesome soup at home.

What I love most about soup it that is a meal on spoon. Every spoonful is brimming with deliciousness…..you can use a big spoon or a little spoon…but I suggest a BIG spoon.

I know that I have posted several….or maybe more than several….(Minerva how many equals several?) soup recipes in the last few weeks.

But I have NO willpower. I could not resist making this recipe last night for my baby college girl. Baby College Girl came home yesterday for a quick 8 hours to do some wedding planning….yes this is big news I have not told you about yet…and to go to her dentist for a filling and cleaning. Oh…and most importantly to spend a whole three hours with me! We were trying to decide to either just go out to dinner or make something quick at home. After a bit, we decided we could visit better and have more quality time together if we just stayed home and make a quick dinner.

That is what eating at home is all about right? Eating at home at the table, sharing funny stories, getting our feet tickled by a three year old who was hanging out under the table, laughing and gobbling down soup and rolls.

It was a perfect visit with my baby girl!

Anywho, I caught my eye on this recipe when I was shopping at a flea market looking at cookbooks. Since I have an addiction to cookbooks, I have a rule that I have to find ONE recipe in a cookbook that I promise myself I will make, before I can buy it. When I seen this recipe for Stuffed Pepper Soup, it looked interesting, had simple ingredients and would not take long to make.

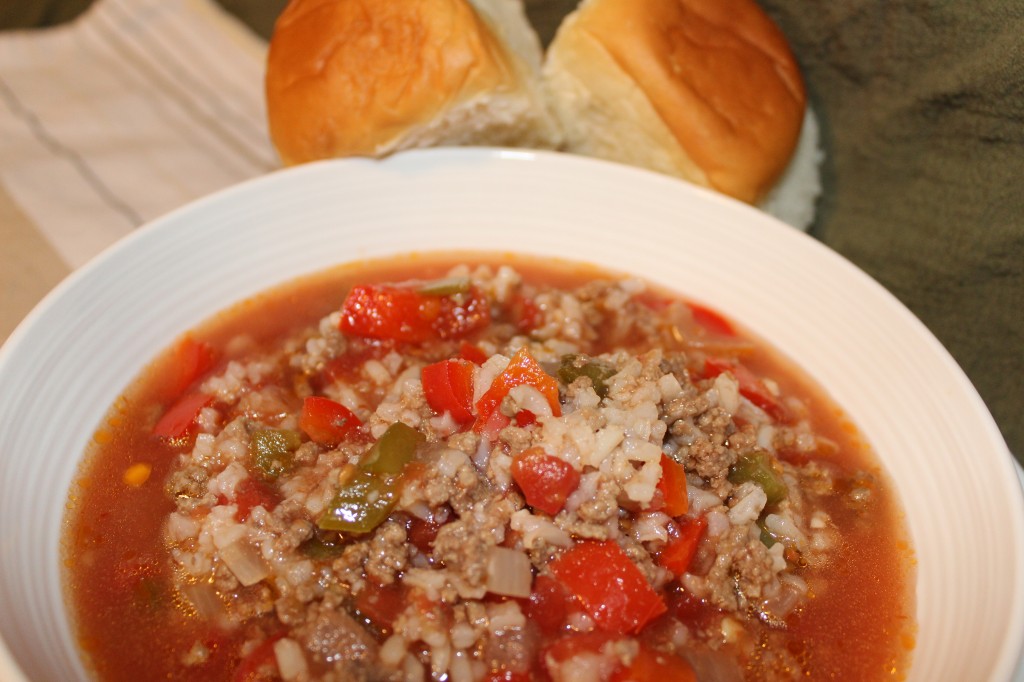
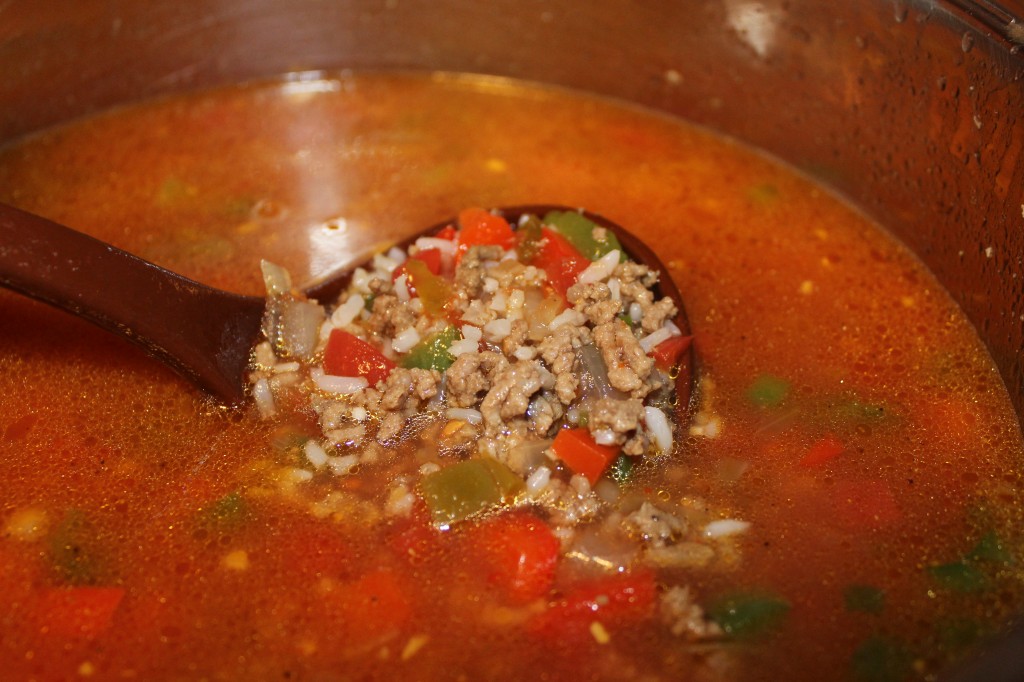
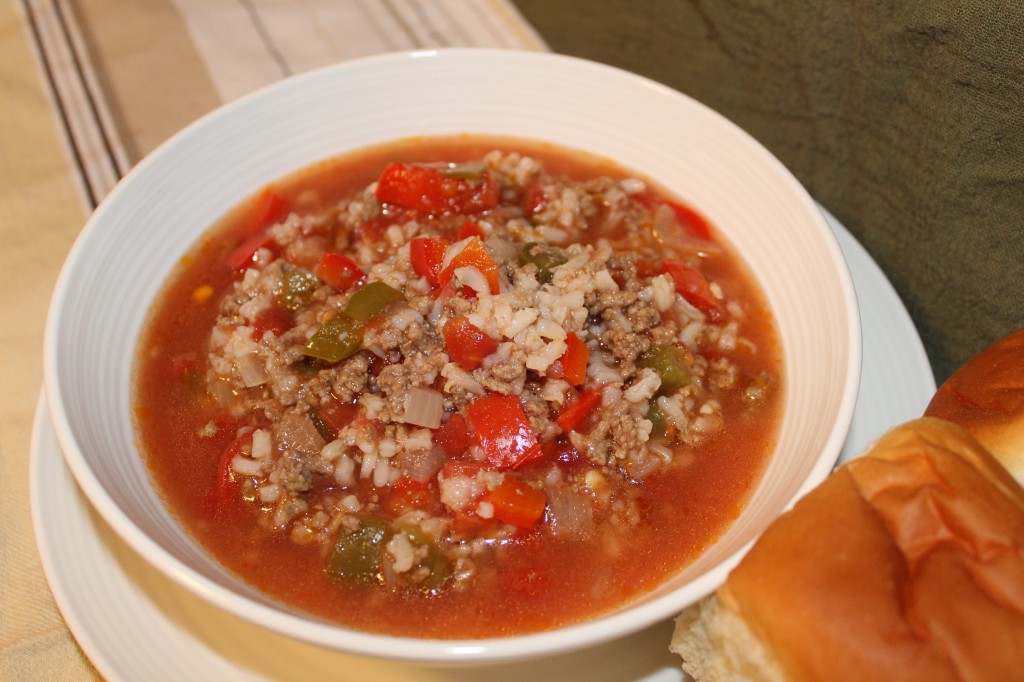
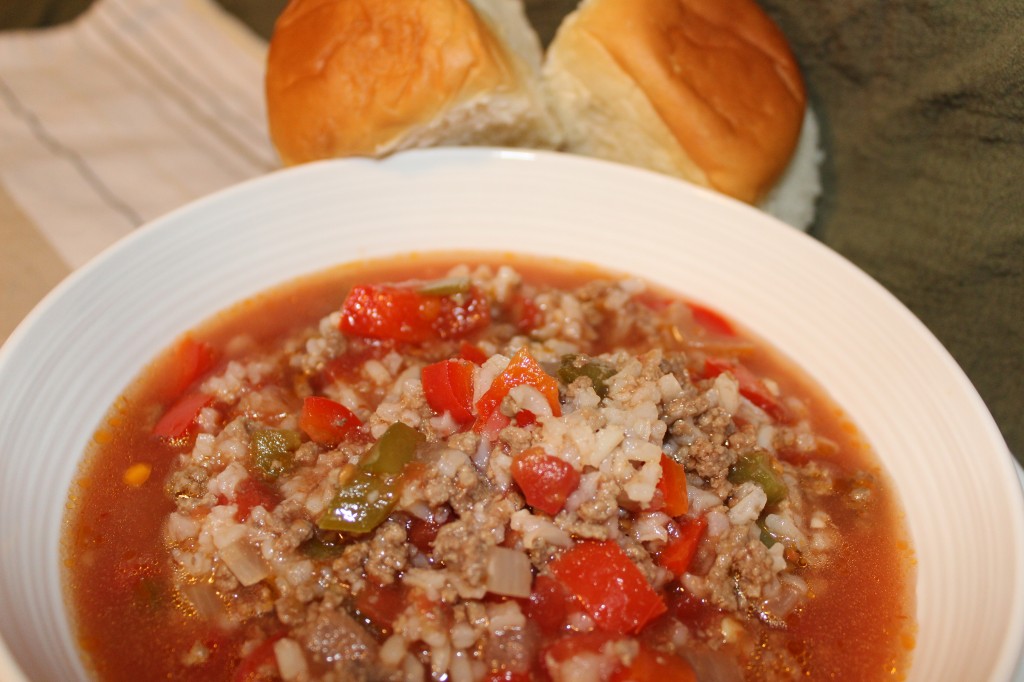
Looks Delicious doesn’t it?

So glad I bought that cookbook. I hope you are too!

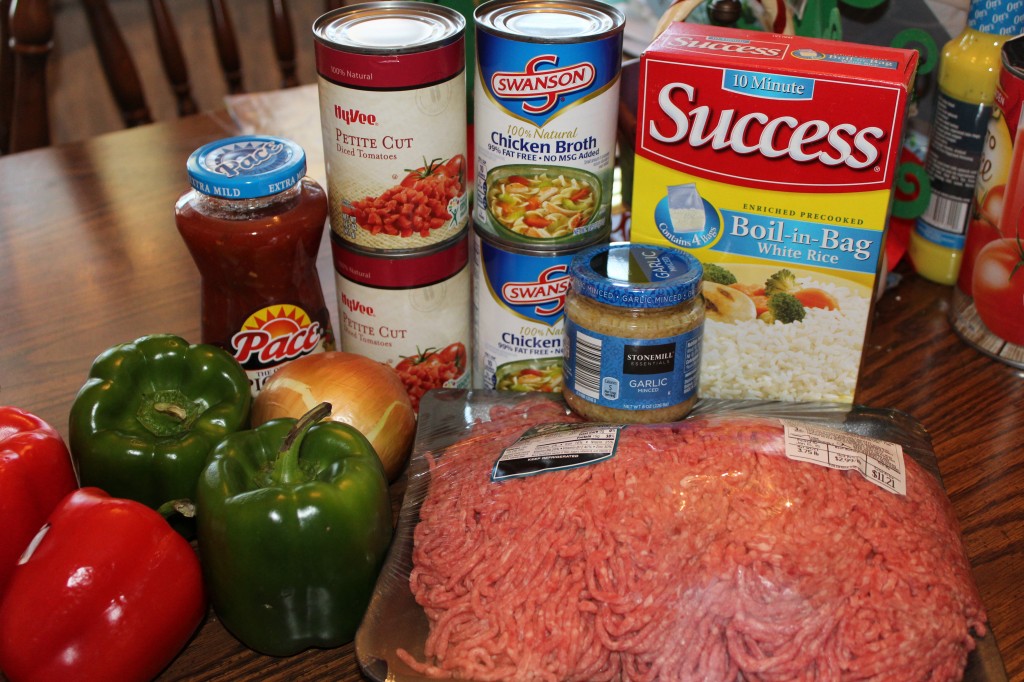
Here is what you need to make this recipe.

Now, before we go any farther, you will need MORE chicken stock than 2 cans. You will need 5 to 6 cans depending on how much liquid you want in your soup. When I took the picture, Oldest Daughter was not home yet from the store. You need red and green peppers, onion, salsa, diced tomatoes, garlic, hamburger and cooked rice. After you make the soup you season it with salt and pepper.

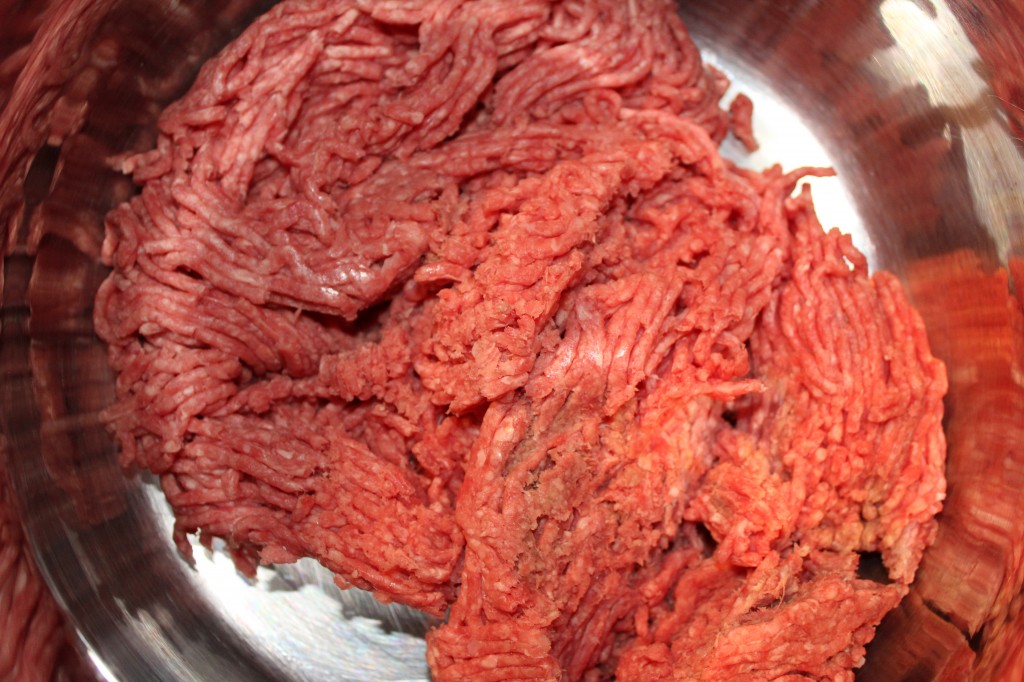
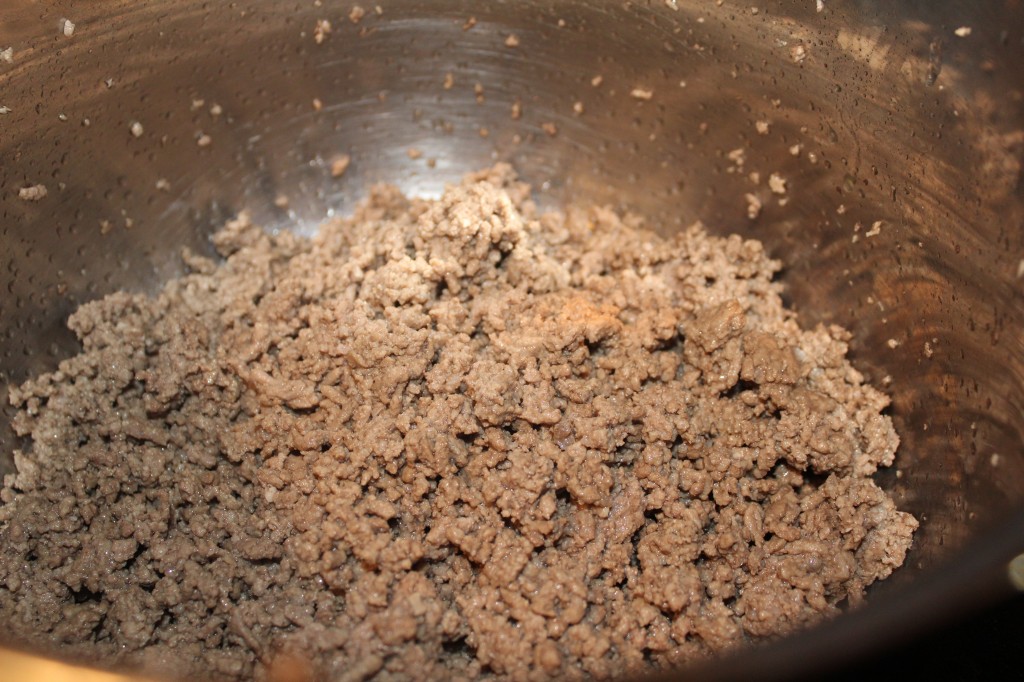
First thing you do is start browning two pounds of hamburger.


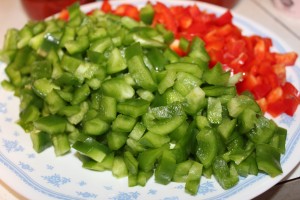
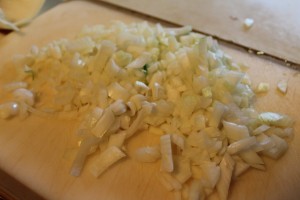
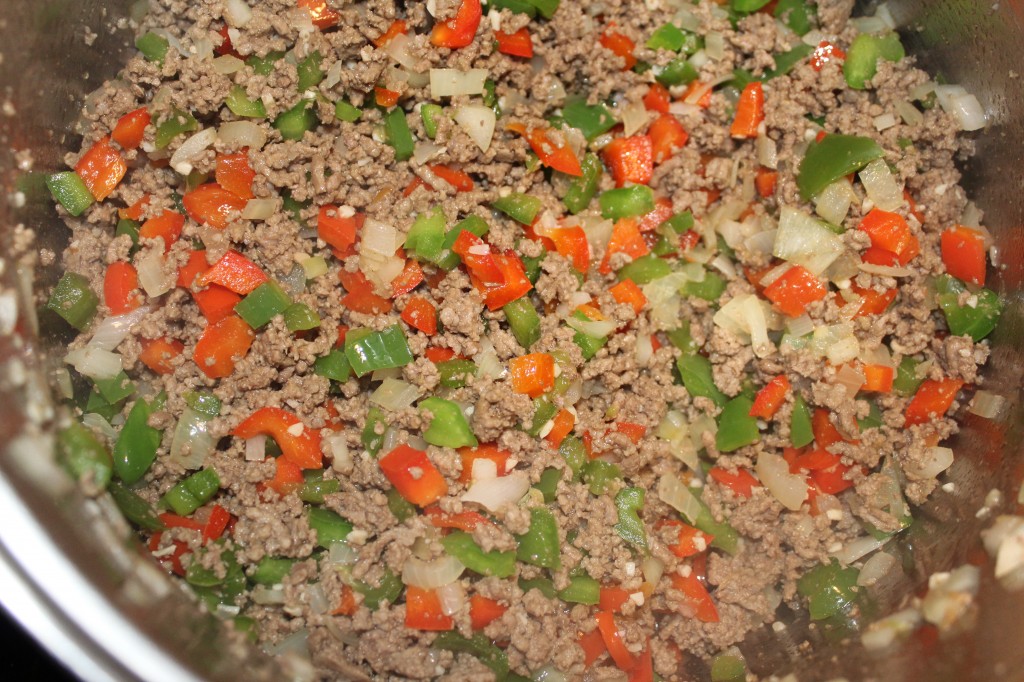
While the hamburger is browning, dice up the green and red peppers and the onion. (yes, Company picked out all the onions out of the soup…so I should have diced them up smaller…hehe)

Brown and drain the grease from the hamburger.

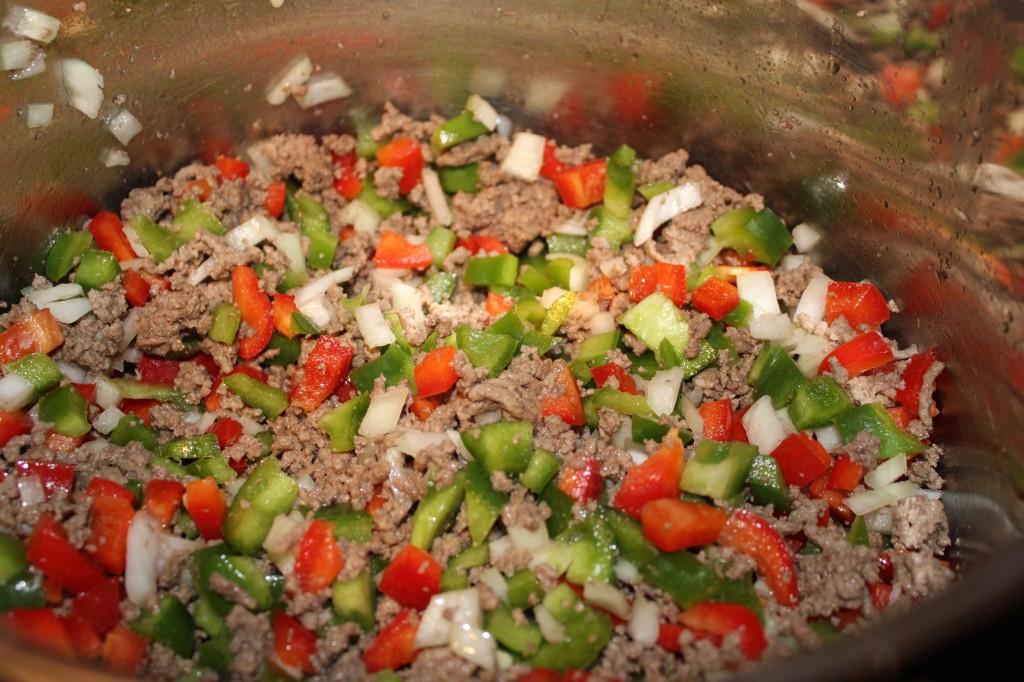
Add the chopped veggies to the hamburger.

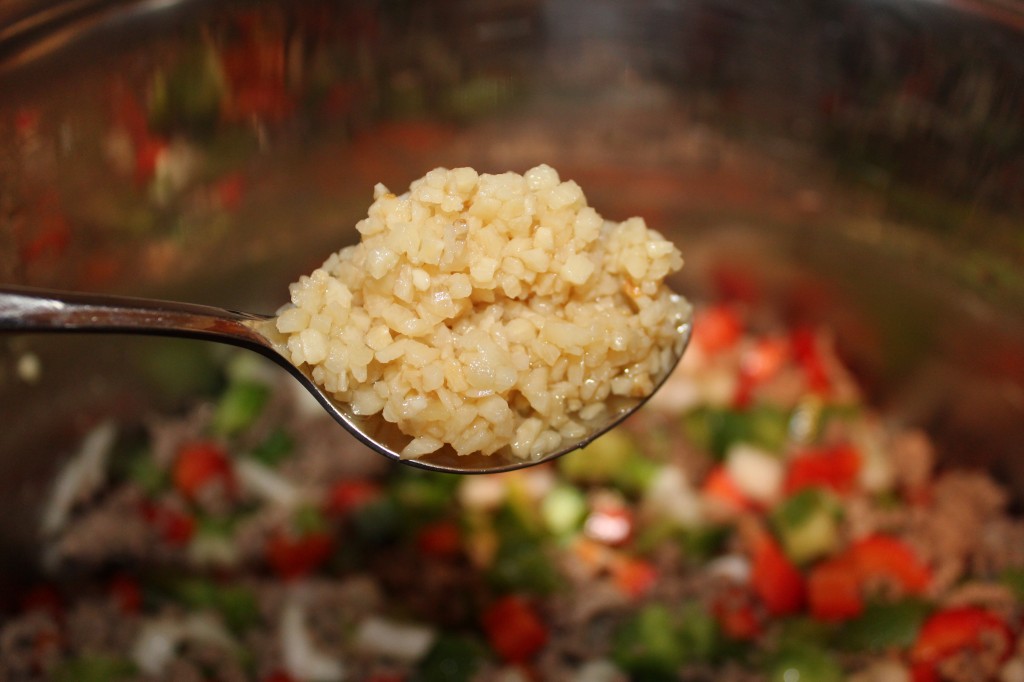
Don’t forget the minced garlic.

Cook the veggies with the hamburger for a few moments, until the veggies begin to get soft. Make sure and stir while you are doing this.

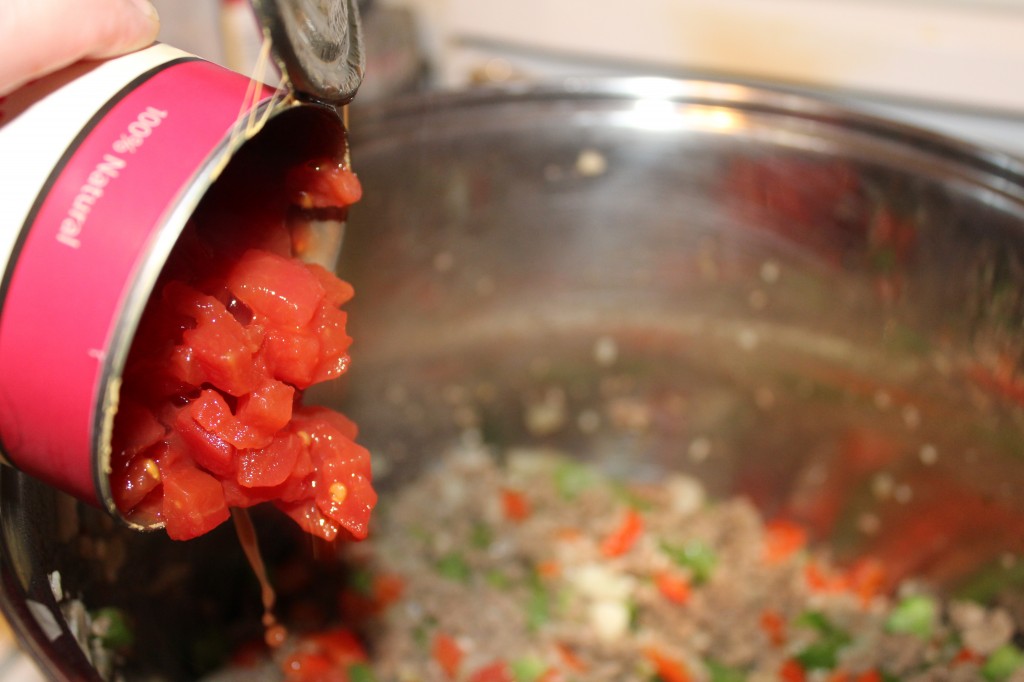
Time to add is some diced tomatoes.

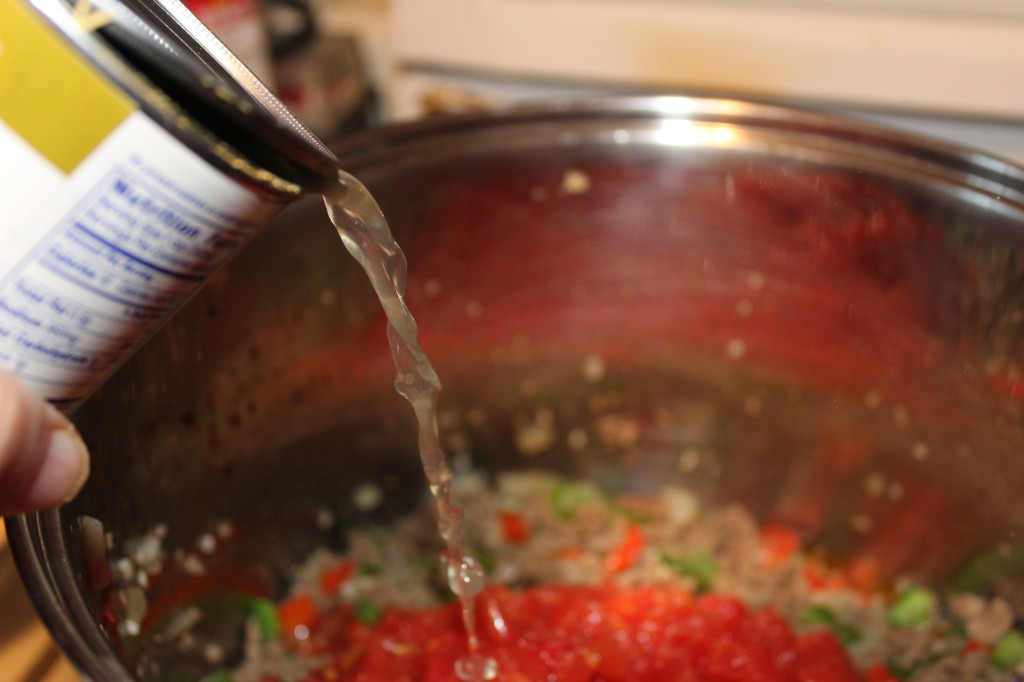
And some chicken broth/stock.

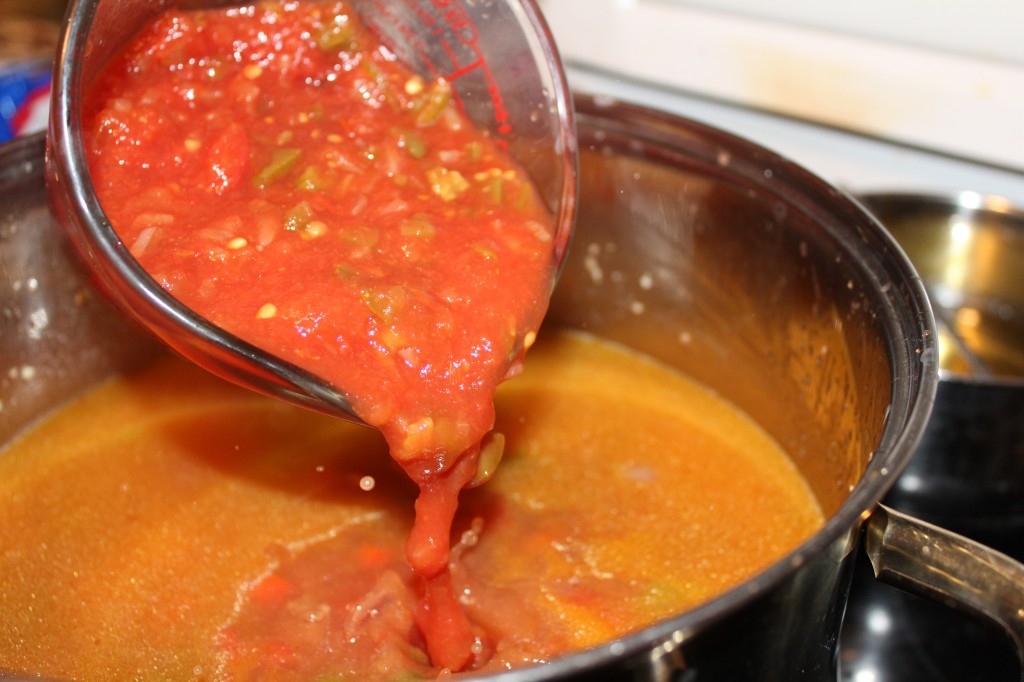
Pour in 2 cups of salsa. I used mild because I am allergic to jalapenos and I also cook for a three year old. But, if you like spicier salsa, go for it!

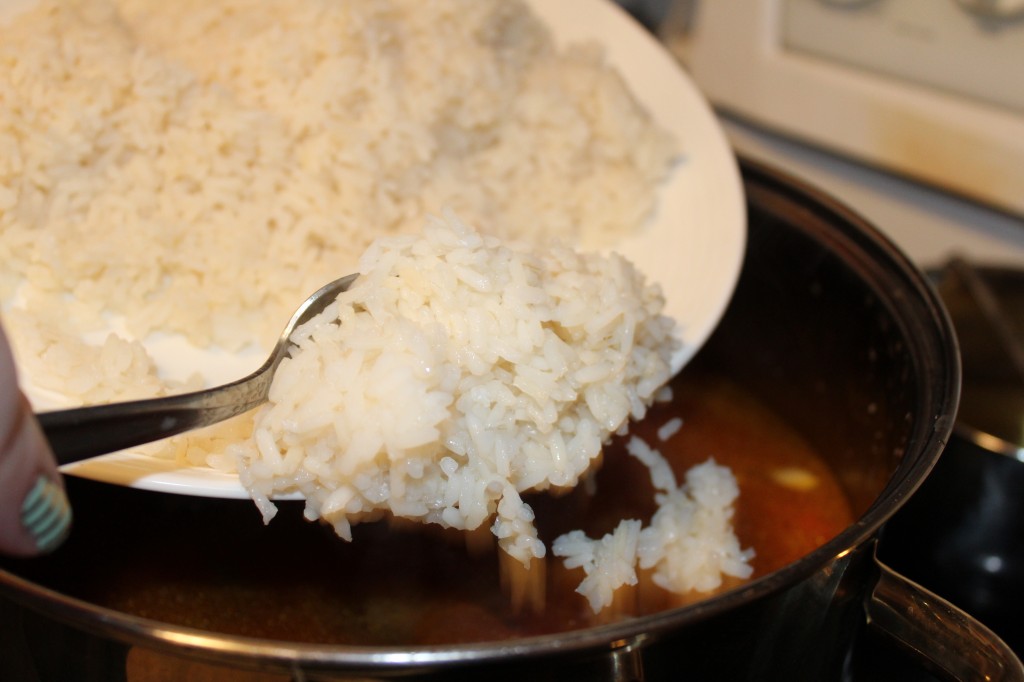
Add in four cups of cooked rice.


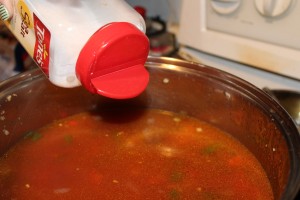
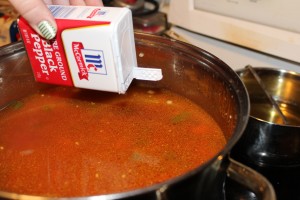
Season to taste with salt and pepper.

Heat through.

Now, it is time to make a big bowl and get a BIG spoon and dig in.

Here is the recipe:

Stuffed Pepper Soup

Recipe from a semi old church cookbook called, “Please Pass the Salt and Pepper.”

Ingredients:

2 pounds of hamburger

2 red peppers diced

2 green peppers diced

1 yellow onion dice

1 tablespoon mined garlic

5 to 6 cans of chicken stock (about 2 1/2 quarts to 3 quarts)

2 cups of salsa (pick the amount of heat you want, I used mild)

2 regular cans of diced tomatoes

4 cups of cooked rice

salt and pepper to taste

Directions:

In a large stock pot, brown the hamburger and drain all the grease off. Add in the diced onion, red and green peppers and garlic. Saute all together for several minutes or until the veggies turn somewhat soft. Add in the tomatoes, chicken stock, salsa and the cooked rice. Season to taste with salt and pepper. Heat on medium until the soup is heated through.

Enjoy!

Becky

Other Posts You May Enjoy:


Strawberry Bread                      Buttermilk Chocolate Cookies      Stuffed Acorn Squash


Vermont Cheese Soup

Yes…..it is yet another soup recipe….

Alas, I really do eat other things than soup, but I just can’t help but love a big bowl of hot soup on a wintery cold day!

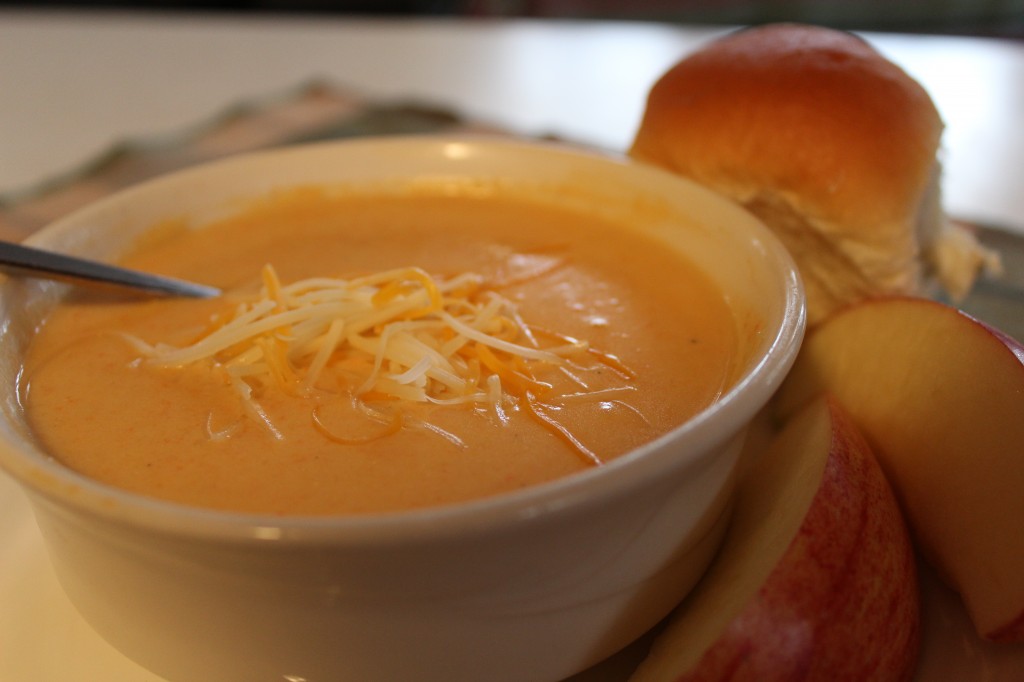
It is minus 15 or so wind chill outside and they have delayed my start time at school by 2 hours. So, I thought I would take a minute and post a cheese soup recipe one of my students gave me last year. It has bits of carrots, onions and celery in it (that is why you see those tiny bits of orange in the soup) along with chicken stock and half and half. You season the soup with some dry mustard, Worcestershire sauce, salt and pepper and because I could not stop myself, I added a touch of garlic powdered.

YUM!!!

The Oldest Daughter Who Does NOT cook, had actually made sloppy joes one night then brought home a rotisserie chicken another night, this past week to feed us all for dinner. She told me she was ready for me to cook something from scratch and since I really wanted to share this recipe, I decided to make us Vermont Cheese Soup. I made a double batch so I would have enough left over to take to lunch at work for a couple of days.

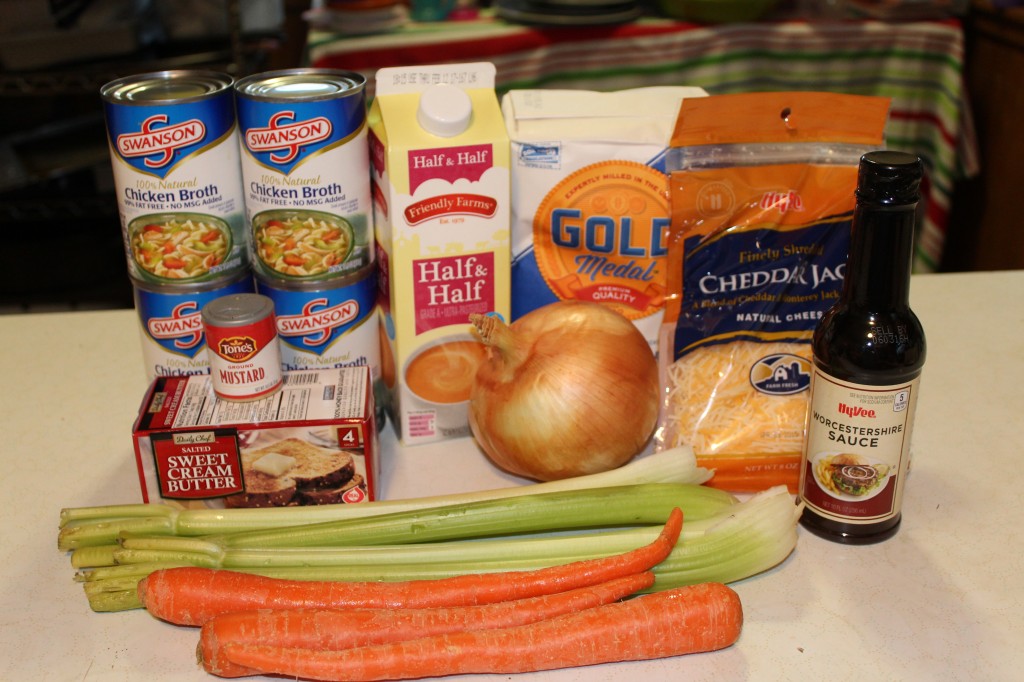
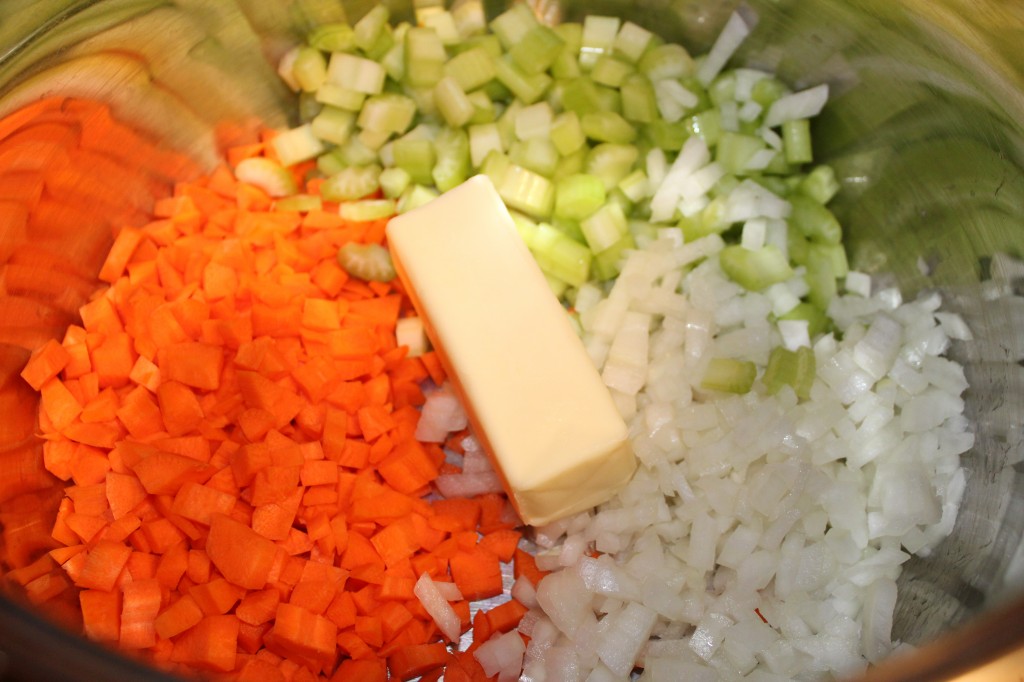
Here is what you need. Some carrots, celery, onion, flour, chicken stock, half and half, dry mustard, butter, worcestershire sauce and some seasonings, like pepper and salt. 

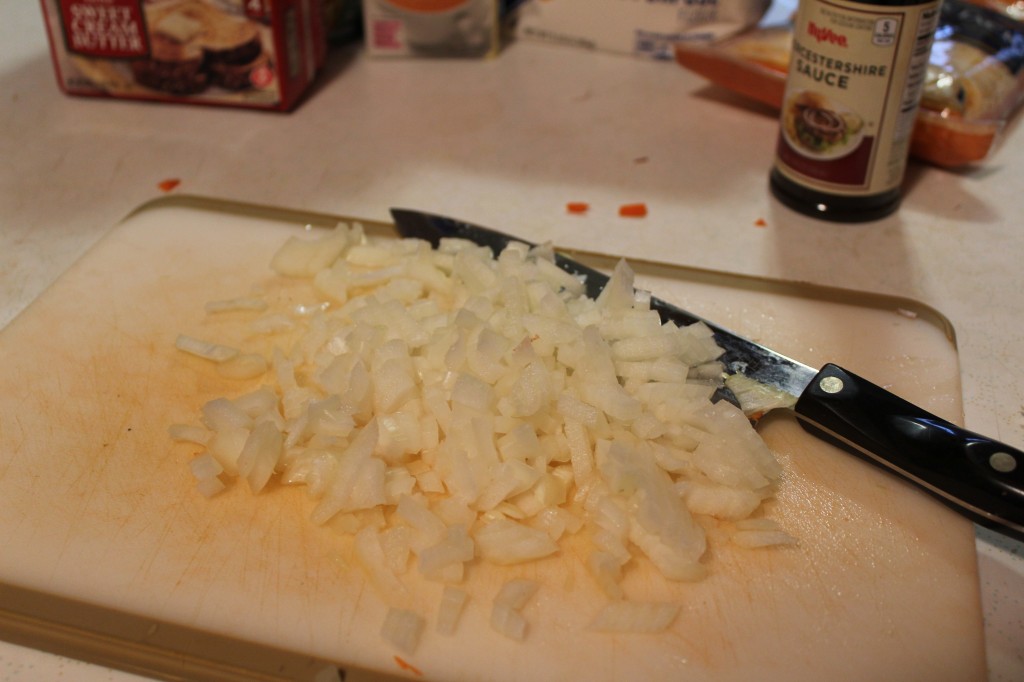
First thing I did was do a lot of chopping. I chopped up the carrots, celery and the onion. (yes, I know that Company does not like onions, but I love them and I have help but sneak them in when I can).

In a large stock pot and in the diced vegetables and the butter.

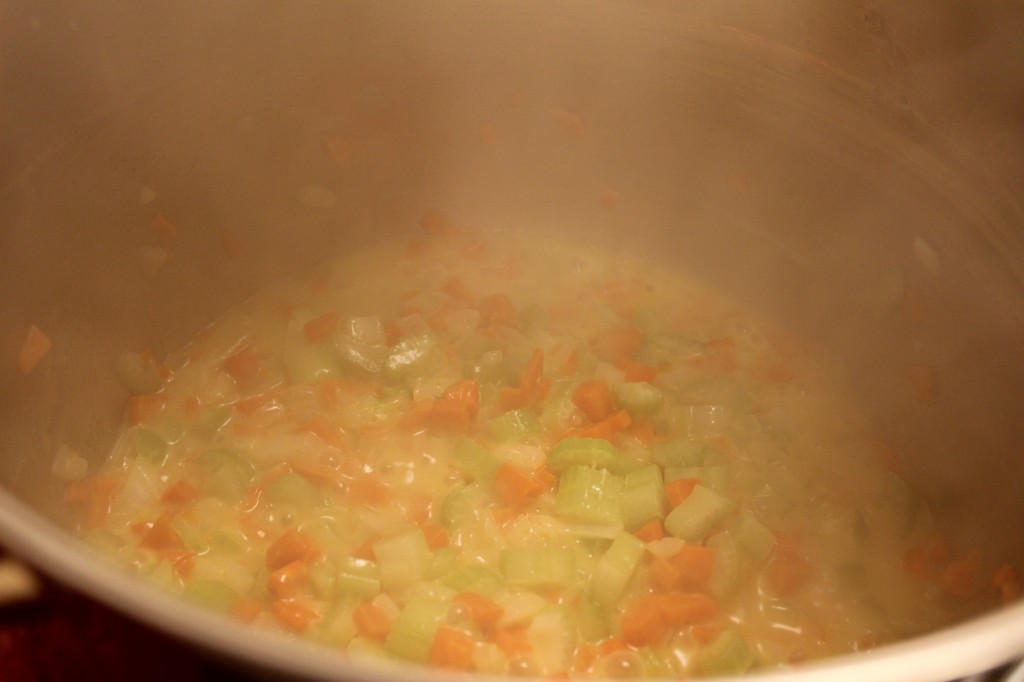
Saute’ down until the vegetables are tender.

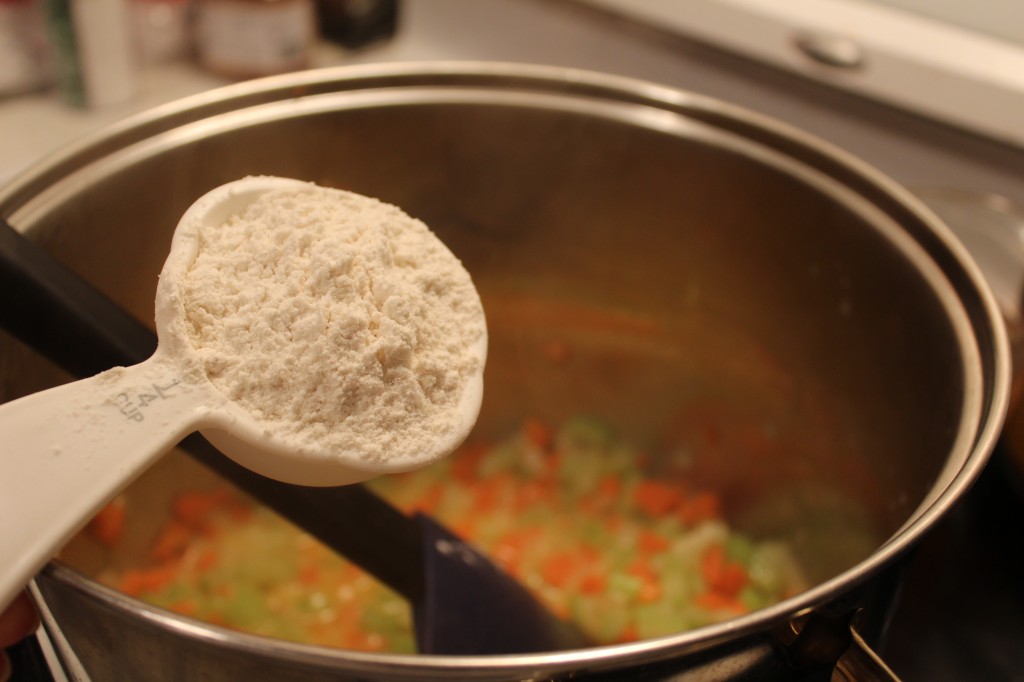
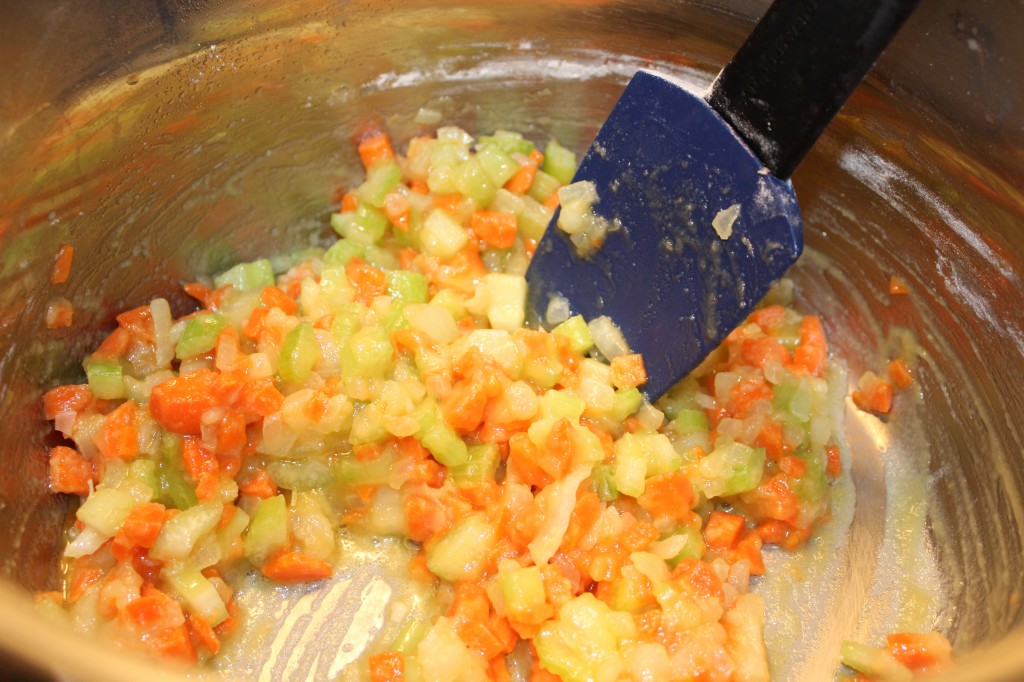
Sprinkle the flour over the sauted vegetables. Stir and cook the flour for about 3 minutes, or until you think the raw flour taste has been cooked out of the flour.

It will start to thicken as you cook the flour.

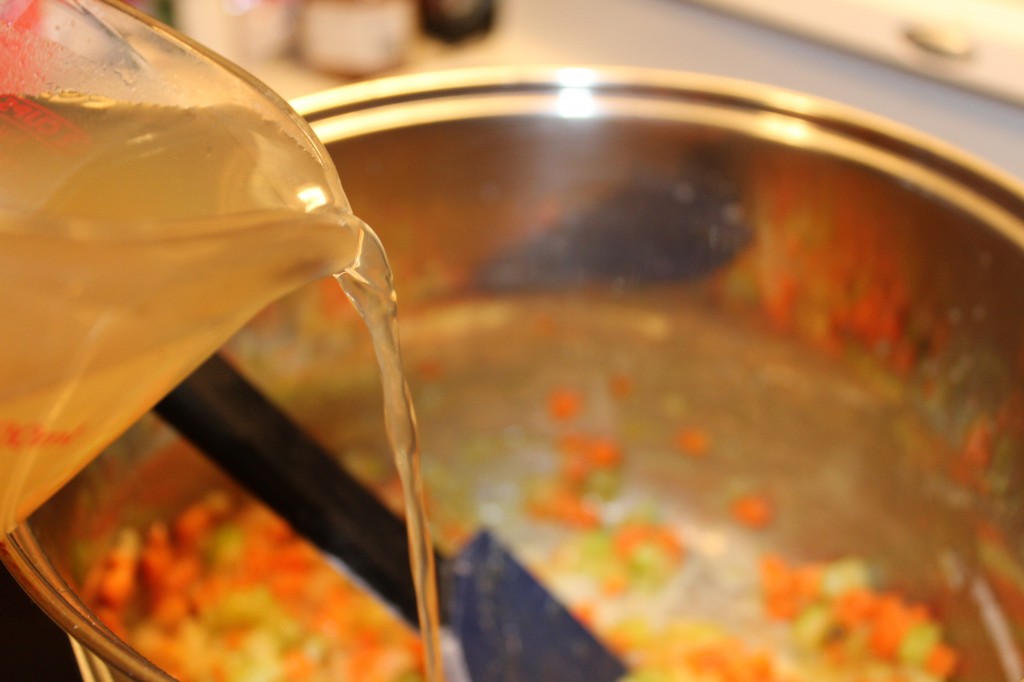
Add in the chicken broth or stock.

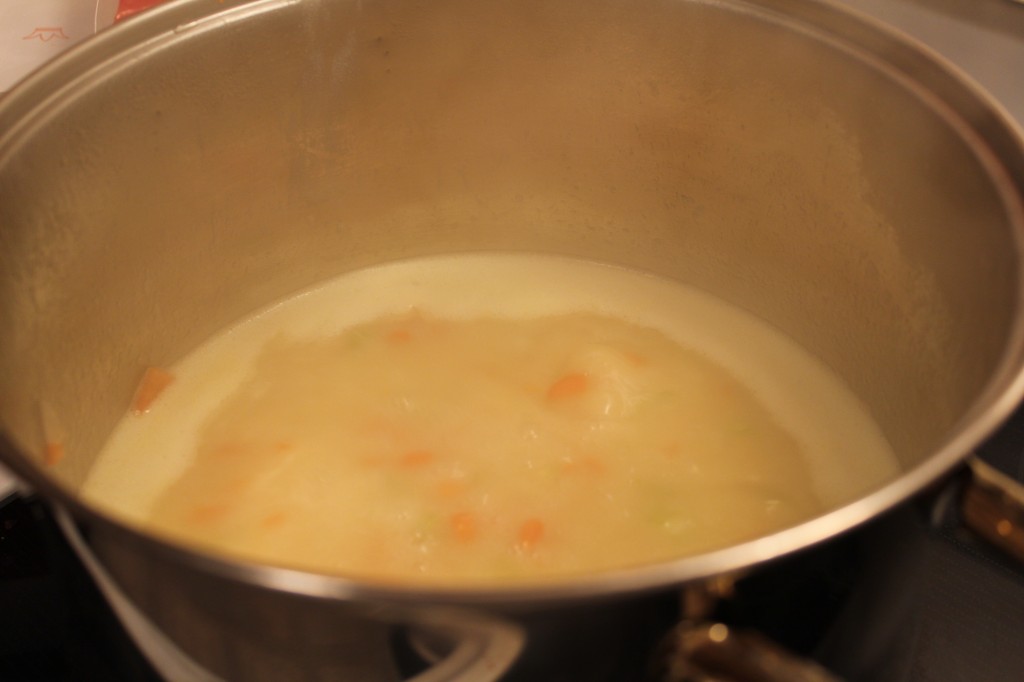
Reduce the heat and simmer uncovered for about 30 t0 40 minutes. The mixture will start to thicken. The vegetables will also get very soft.

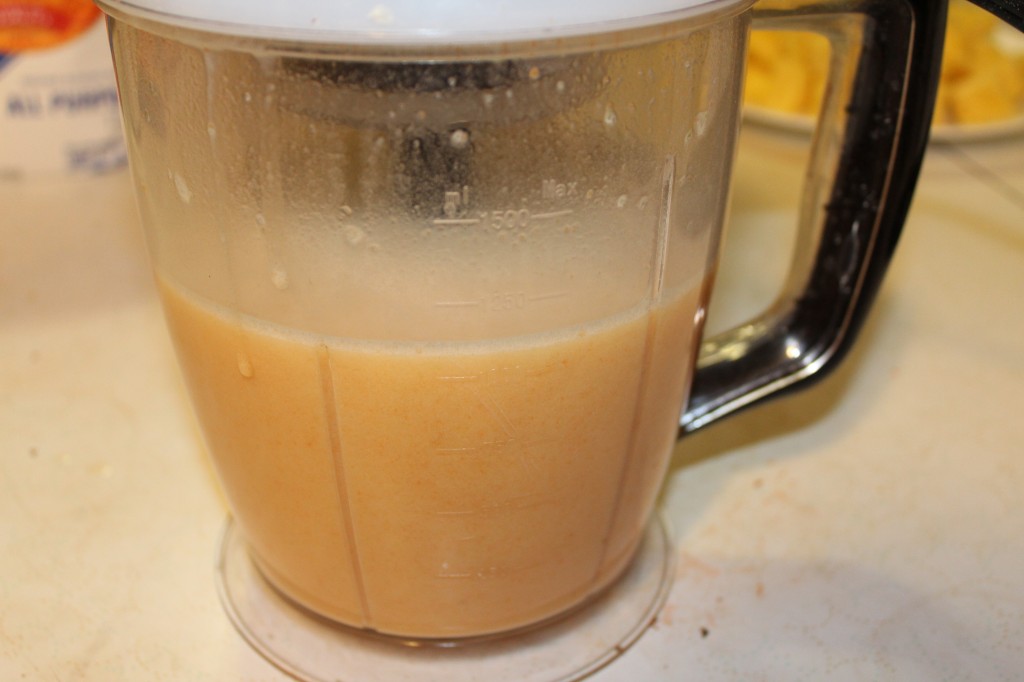
To make the soup really smooth, you take the soup and put it in a blender or food processor or one of those immersible blenders and blend until smooth. You can strain the soup to remove any small pieces of vegetables, but I did not because I do not mind the very tiny pieces of carrots.

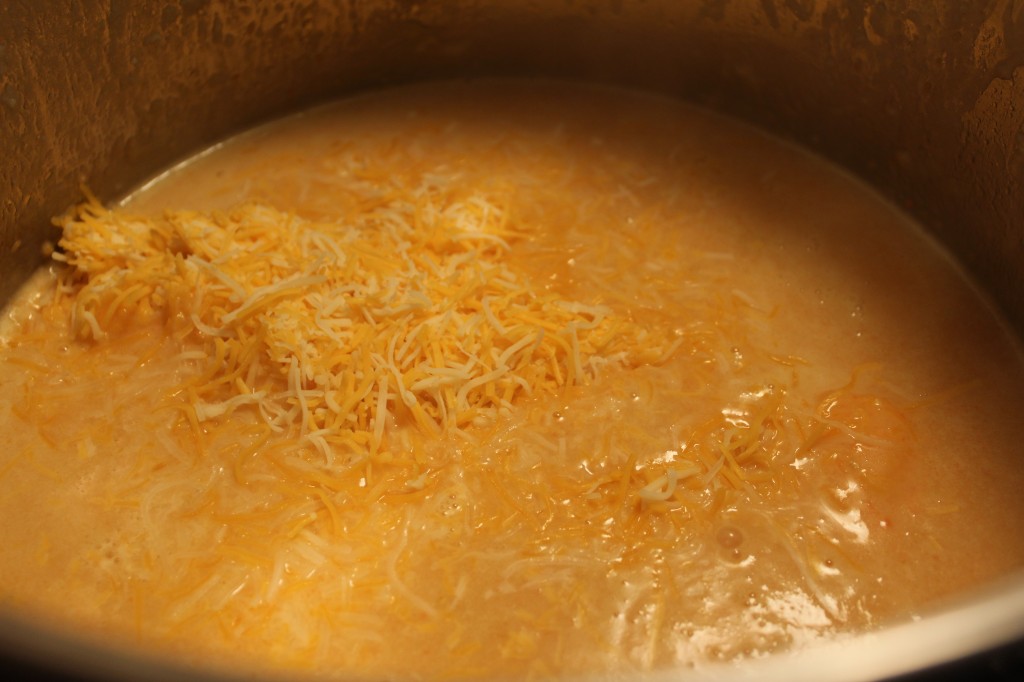
After you blend the soup until smooth, add in the cheese.

Add in the half and half.

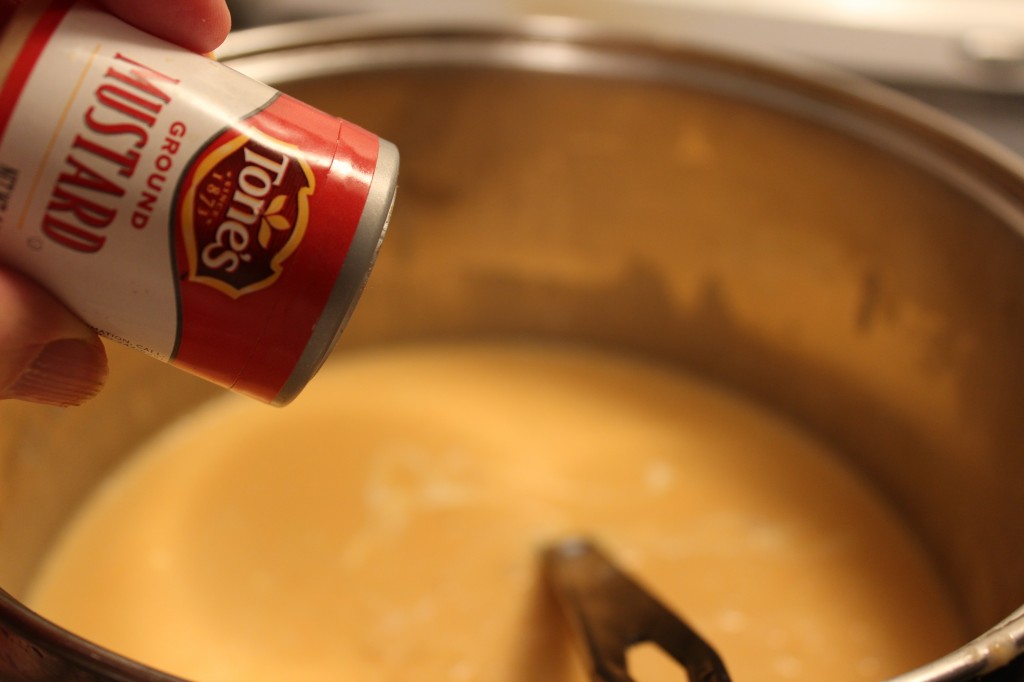
Add in the dry mustard.

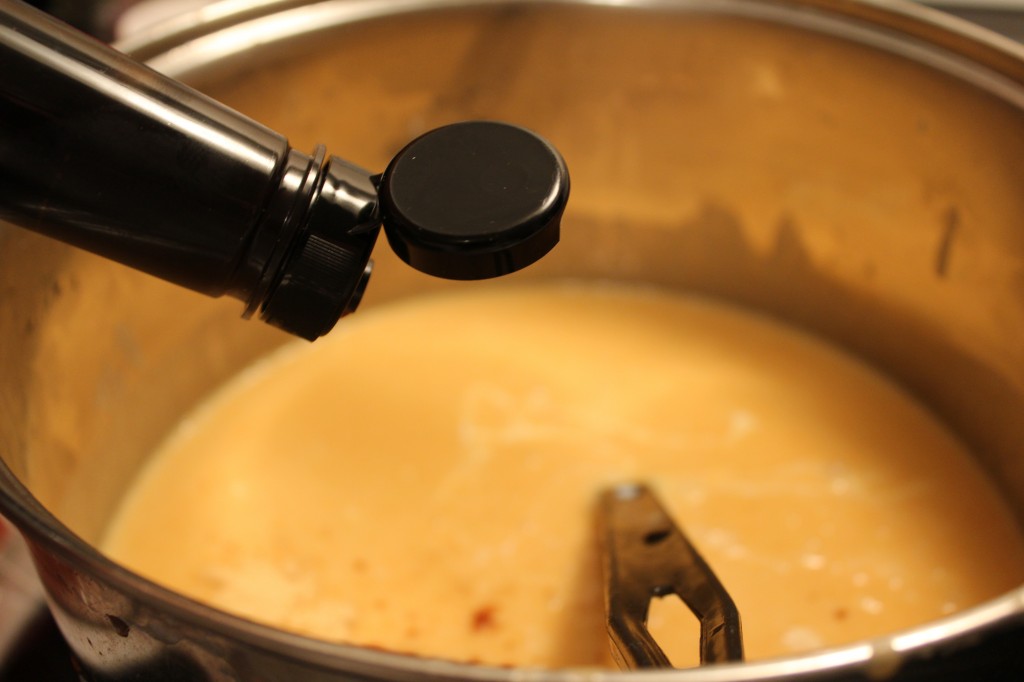
Now, add in the worcestershire sauce. Season with salt and pepper and it you are like me and you have to add a little garlic powder it is ok.

Heat the soup on low until the soup is heated through and the cheese has melted.

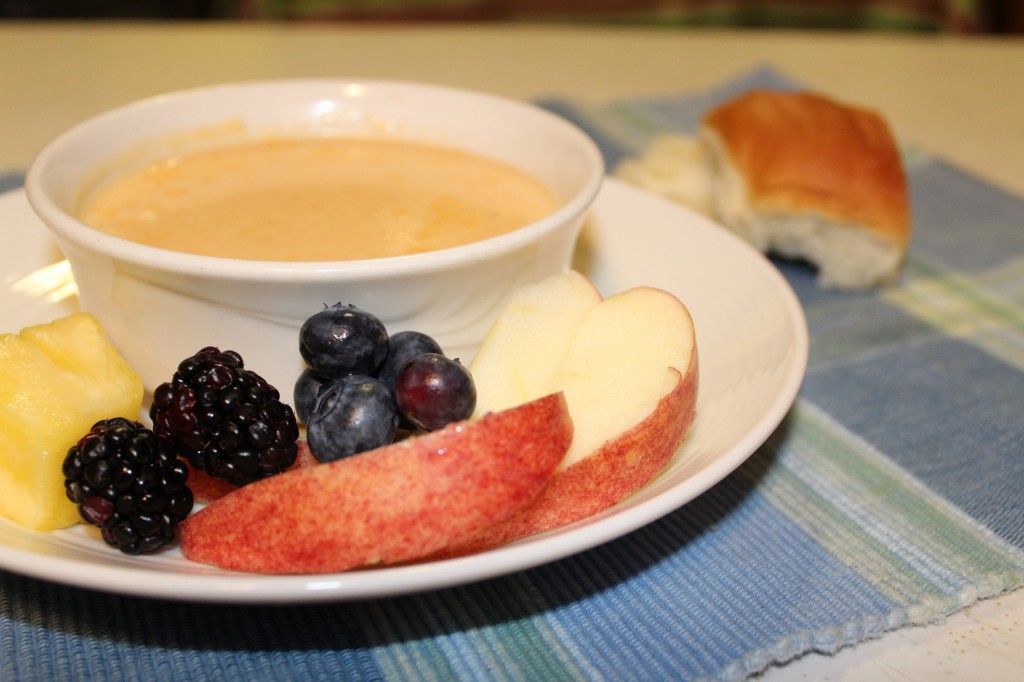
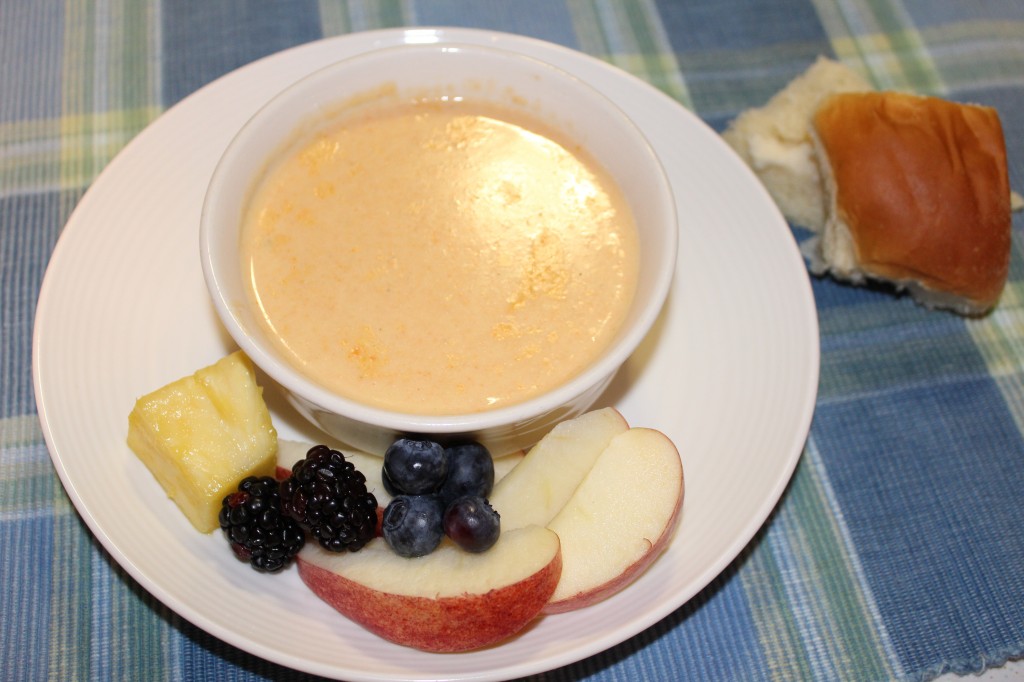
We ate ours with some fresh fruit and some rolls and some homemade jelly.

Here is the recipe:

Vermont Cheese Soup

Shared with me from one of my students at school.

Ingredients:

1/2 cup of unsalted butter

1/2 small onion, diced

1 medium carrot, peeled and diced

2 medium celery stalks, finely chopped

1/4 cup of flour

4 cups of chicken stock

1 cup of half and half or light cream

1/2 pound (8 ounces) Vermont sharp cheddar cheese (I used mild and it was still great tasting)

1 teaspoon dry mustard

1 teaspoon worcestershire sauce

salt and pepper to taste

Cayenne pepper to taste optional

Directions:

Melt butter in a large stock pot over medium heat. Add the onions, carrots and celery. Saute until tender or about 3 to 4 minutes. Sprinkle the flour over the vegetables and  stir and cook for 3 minutes to cook the raw taste out of the flour.

Slowly add the chicken stock, whisking to combine. bring to a boil and then reduce the heat to a simmer and simmer uncovered for about 40 minutes. The soup will start to thicken.

Puree the soup in a blender or food processor or with a immersible blender to blend the soup until smooth. You can strain the soup to remove any large pieces of vegetables. (i did not do this)

Pour the pureed soup back into the stock pot and add in the half and half, cheese, dry mustard and worcestershire sauce. Season to taste with pepper and salt, and even a tad of cayenne pepper or garlic powder.

Soups ON!

Enjoy

Becky

Here is some other posts you may enjoy!


St. Louis Gooey Butter Cake     Homemade Sausage Gravy    Strawberry Spinach Salad with Feta Cheese


Grandma Jackie’s Famous Ham Cheese Ball

Happy New Years Everyone!

I hope everyone had a fun and restful News Years Day and are looking forward to all the possibilities that 2015 can bring.

Do you have a family tradition for New Years Eve?

I do….normally……

For years and years, I have always made fun appetizers and goodies and  family and friends come over and we eat, watch the ball drop and drink sparkling grape juice while we make funny New Year’s resolutions.  This year was gong to no different, except I relapsed with the flu again while I was in Springfield visiting baby college girl. Both baby college girl and I ended up being sick and in a hospital urgent care. Long story/short version, my first two rounds of antibiotics did not fully clear up sinus and ear infection and I had to go on another round of antibiotics. Needless to say, I did not make a thing for our celebration. Oldest daughter bought really good pizza and gyros for dinner and I feel asleep before the ball dropped.

Pretty exciting right…..? : )

Well, on the other hand, Baby College Girl was able to go ahead and make her Grand Ma Jackie’s Famous Ham Cheese Ball for New Year’s Eve.

While her grandma was still alive, Grandma Jackie always made her Ham Cheese Ball for the holidays. It is still a family favorite and brings back memories of my kids grandma and how much she loved a good recipe. Grandma Jackie would invite her family over to eat and then play cards and eat some more. She made a pretty good punch too with sherbet.

Since I was not up to cooking, Baby College Girl took step by step photos of her making the cheese ball so I could post the recipe.

Thank you Baby College Girl!

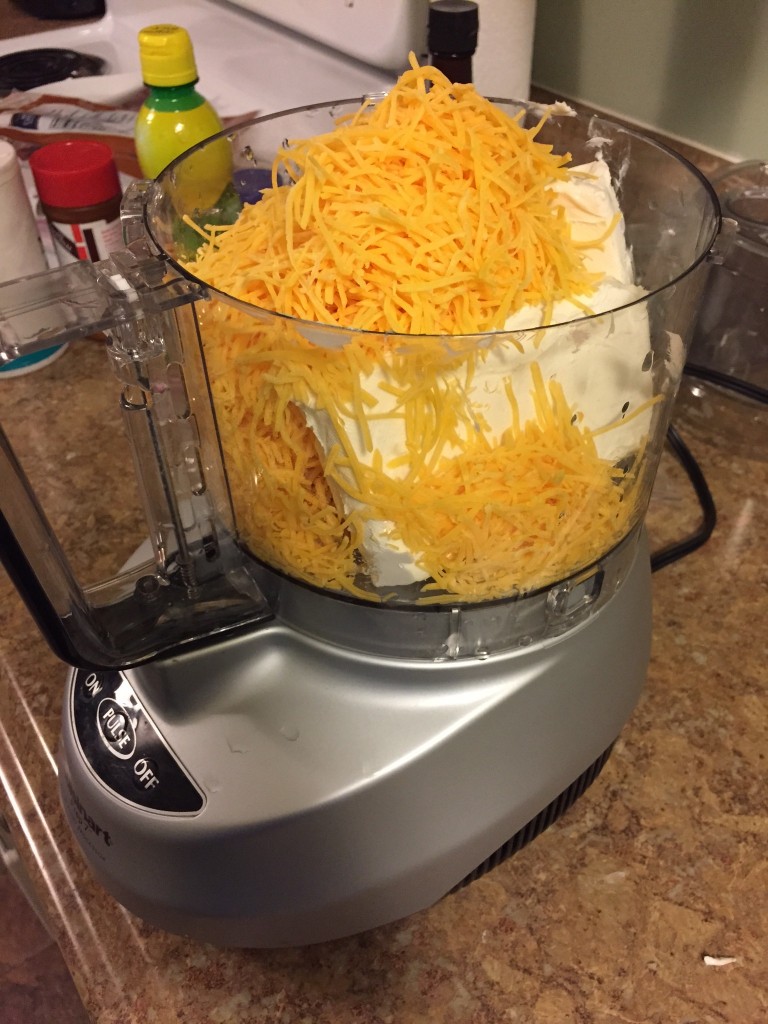
First thing  you will need to do is mix together the cream cheese and the grated cheese. I bought her this great food processor from Craigs list and took it to her as a surprise to make the  dip in in. You can also use a mixer.

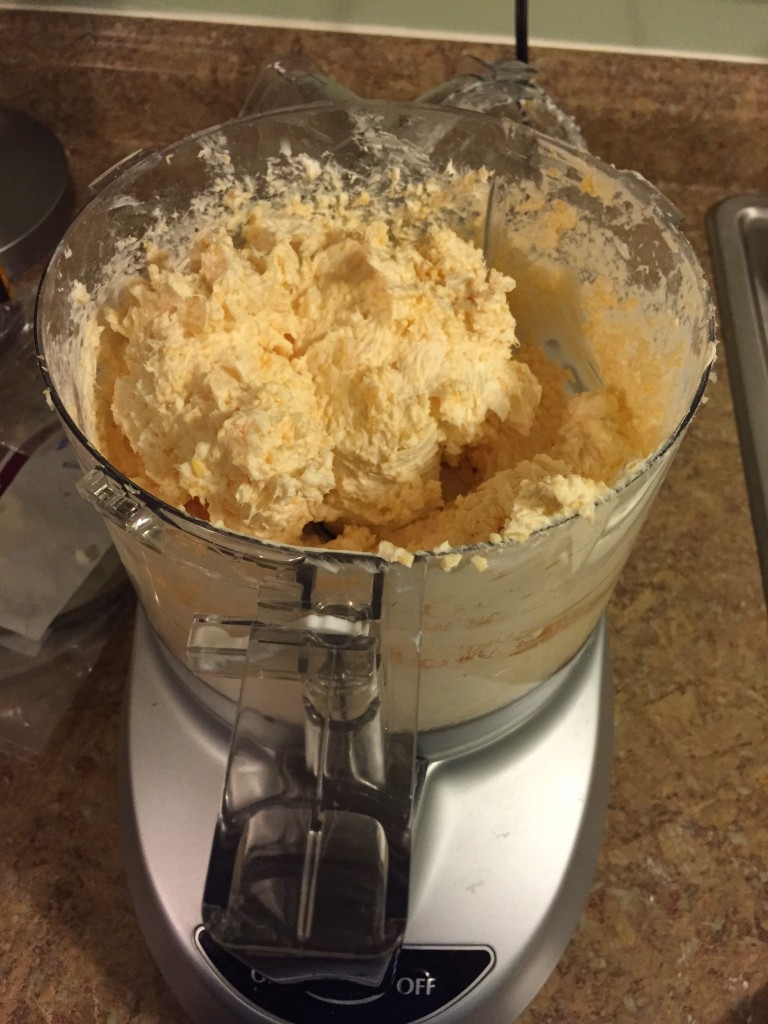
It should be pretty smooth when you get it all mixed together. Add in the grated onion.

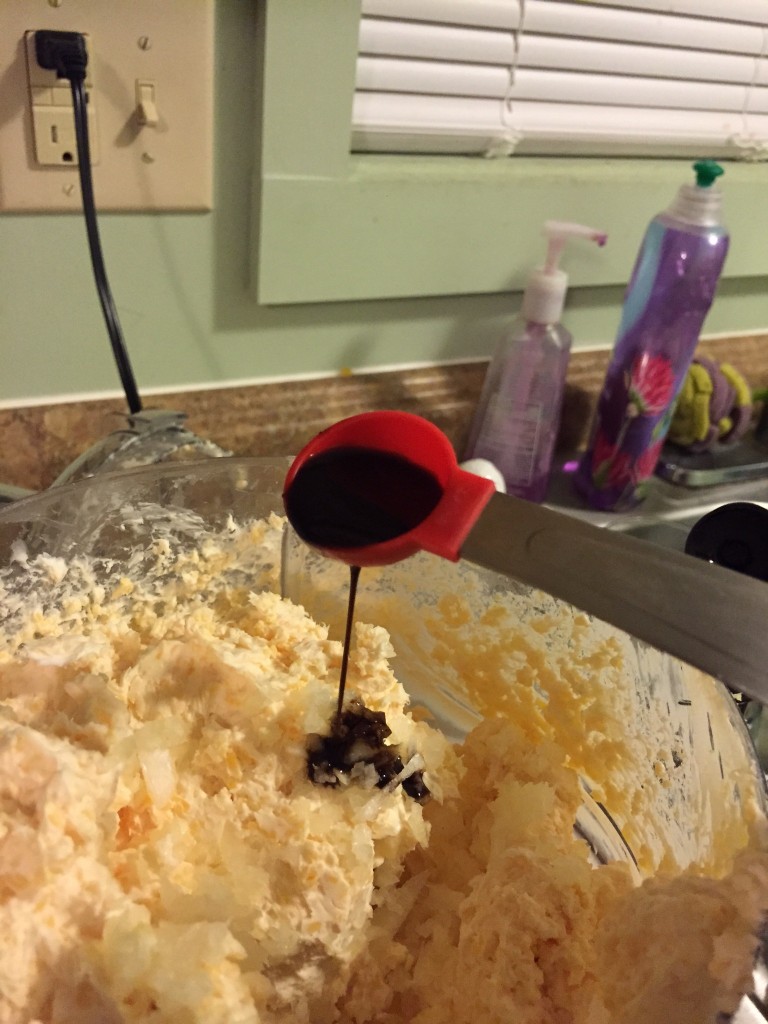
Now, she added in some Worcestershire sauce.

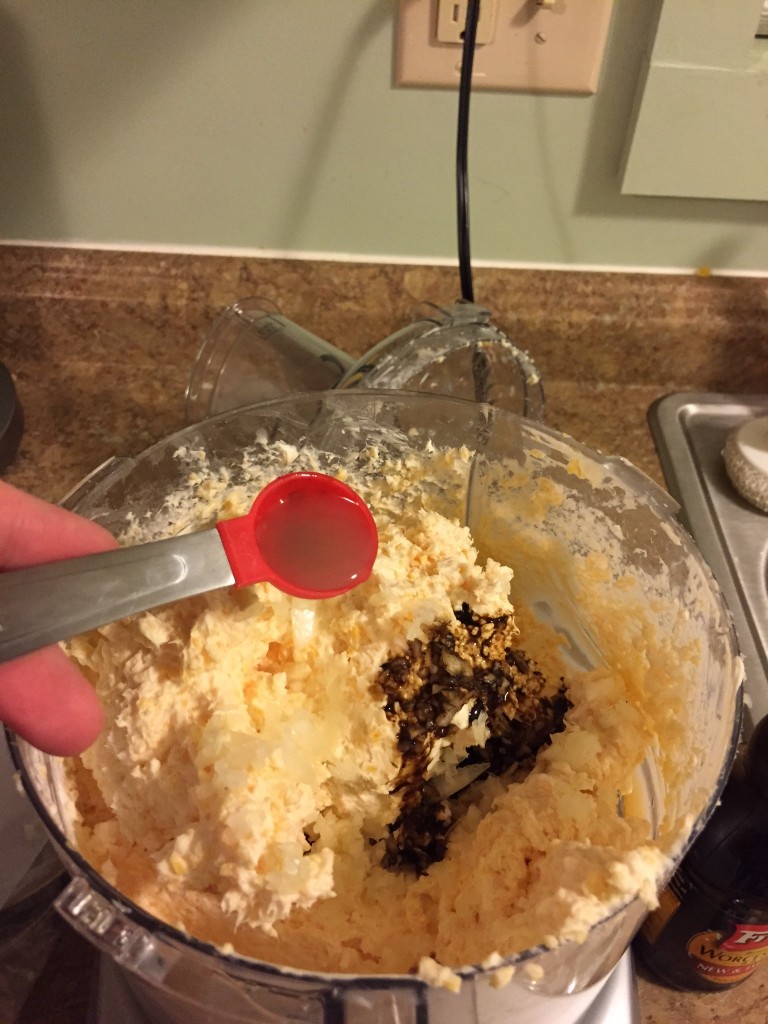
She added a little bit of lemon juice. (I really think she can read a recipe…hehe)

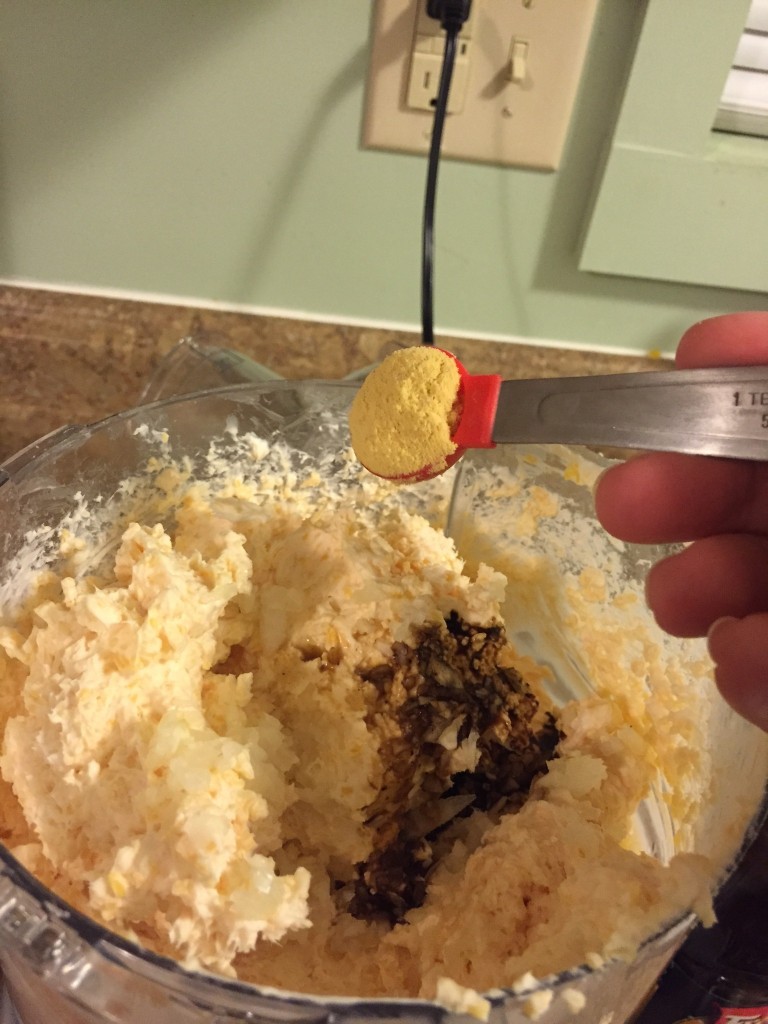
Next, she added some dry mustard.

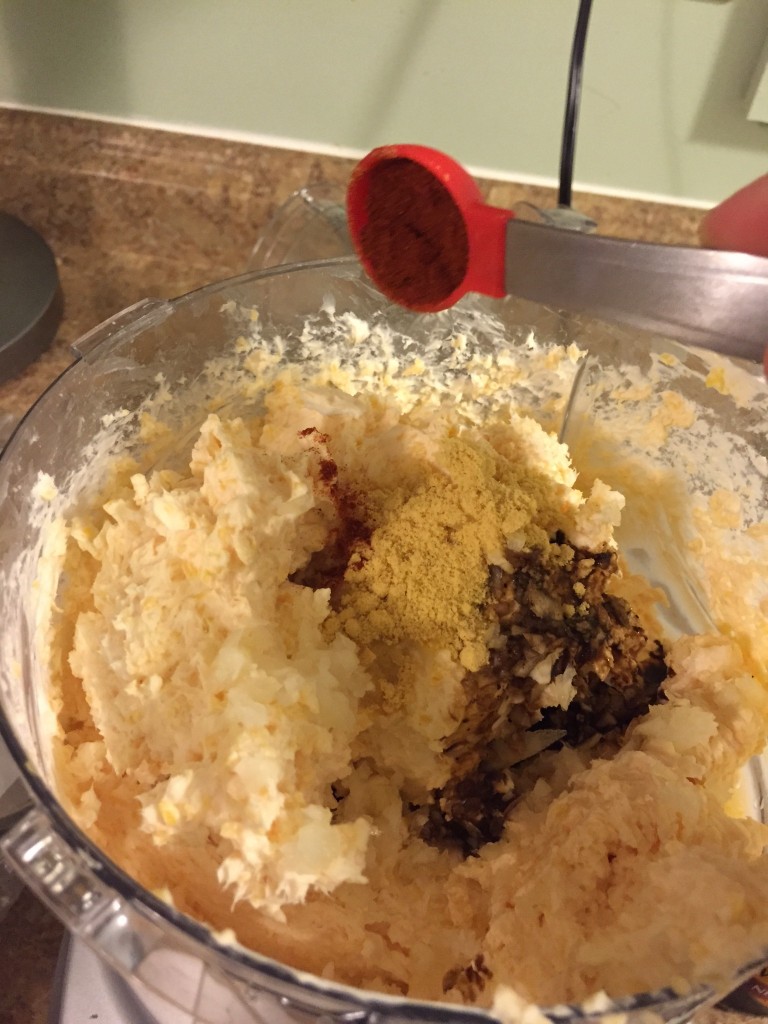
Now, add some paprika.


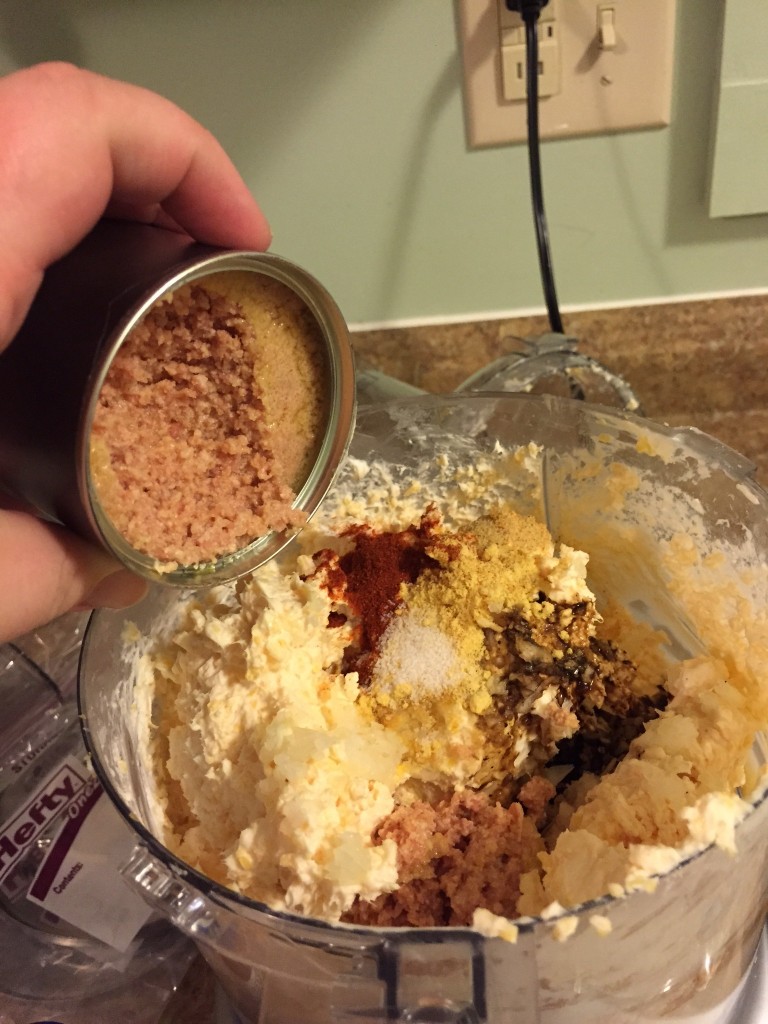
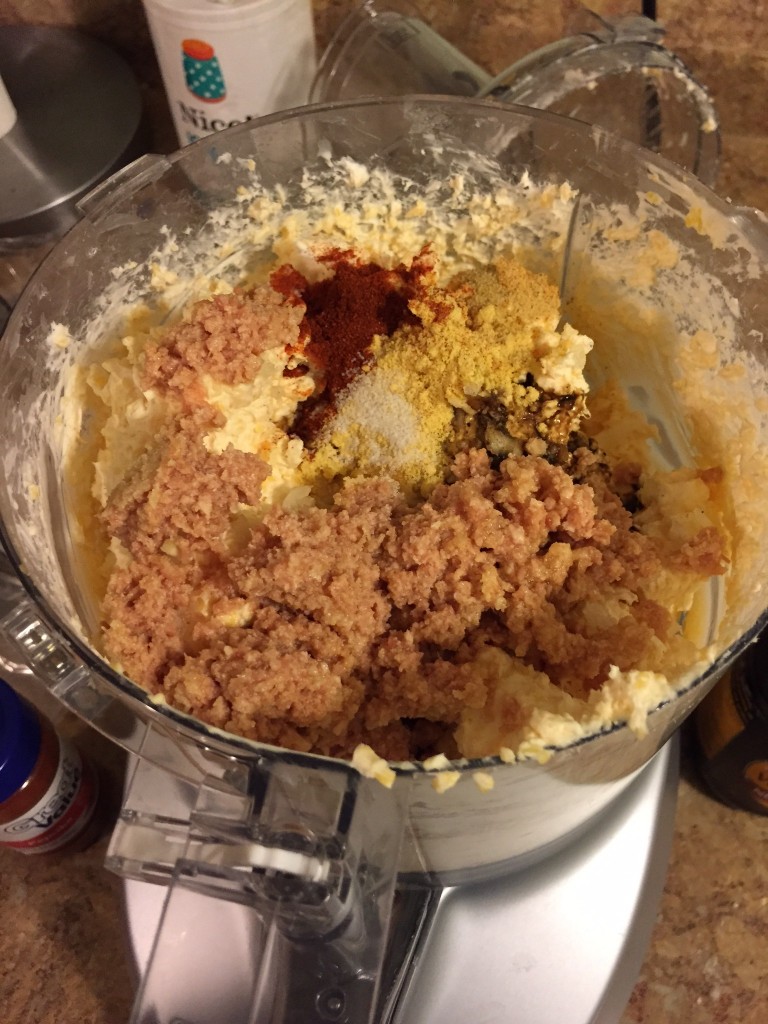
Add in the deviled ham and a little bit of season salt and regular salt. (the recipe called for pimentos and parsley too but she did not have any)

Now mix everything together.

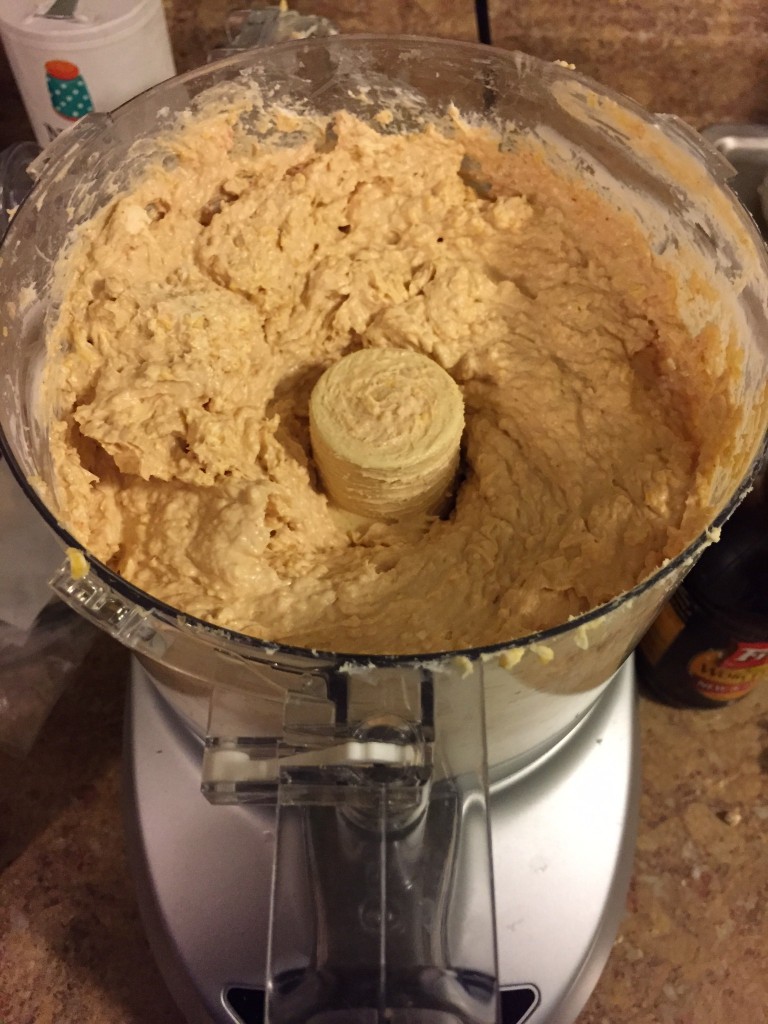
Here is it all mixed together.

Now, take the cheese ball and put it into the fridge to firm up.  When it is firm, form the cheese ball into two cheese balls. You can roll the cheese ball into chopped nuts if you want. Baby College girls prefers her cheese balls without the nuts.

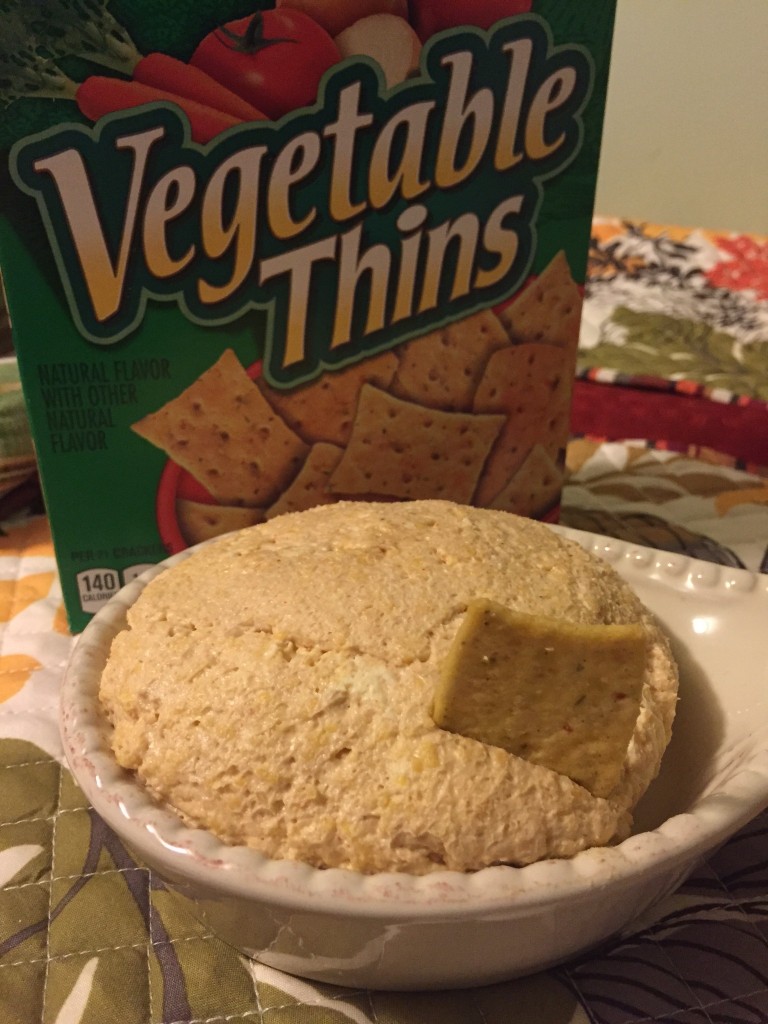
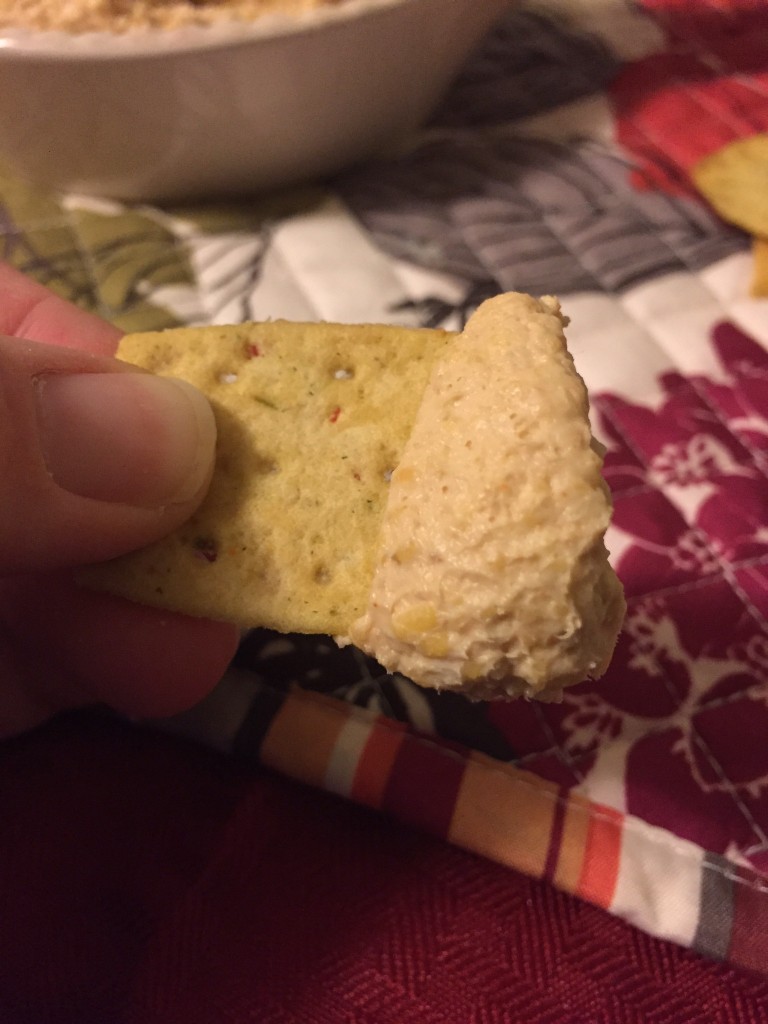
She likes her with crackers ; ).

Happy New Year!

Enjoy!

Becky

Ham Cheese Ball

Recipe from the recipe book of Grandma Jackie.

Ingredients:

2  — 8 ounce packages of cream cheese

8 ounces of grated cheddar cheese

2 teaspoon grated onion

2 teaspoon Worcestershire sauce

1 teaspoon lemon juice

1 teaspoon dry mustard

1/2 teaspoon paprika

1/2 teaspoon season salt

1/4 teaspoon salt

1 — 2 1/4 ounce devil ham

2 tablespoon pimento

2 teaspoon parsley

chopped nuts optional to roll the cheese ball in

various crackers to dip into cheese ball

Directions:

Soften cream cheese and in a small bowl, beat in the cheddar cheese and add in the next eight ingredients. Mix until smooth. Stir in the pimento and parsley.

Cover and refrigerate. Shape into a ball and roll in nuts. Serve with crackers.

Other Post you may enjoy!

Bacon Wrapped Brown Sugar Little Smokies

Knorr Spinach Dip

Molasses Cookies


Holiday Baking…whew…..

Can you see the grand girls behind the creative mess on my dining room table?

I have had a fun two days in the kitchen making a grand mess with my granddaughters and my baby college girl.

Never thought making a mess would be so fun and tasty!

Every years for as far back as I care to remember, I have been making goodie trays for my family at Christmas.

Normally every year, I spend my time alone in the kitchen cooking away. I think I kinda drive the kids out of the kitchen cause I am in the “zone” and on a mission to get everything made and wrapped up on a limited amount of time.

WELL….this year I had help. Baby College Girl took off of work and came up to hang out with me in the kitchen along with two of my granddaughter. I was a little nervous about turning over my baking and candy making to my little chefs, but I was so glad I did. They did a great job. We hung out and dipped candy, made cookie dough, melted chocolate for fudge, wrapped goodies up and had a totally perfect holiday fun in the kitchen.

Here is a few things that we made:

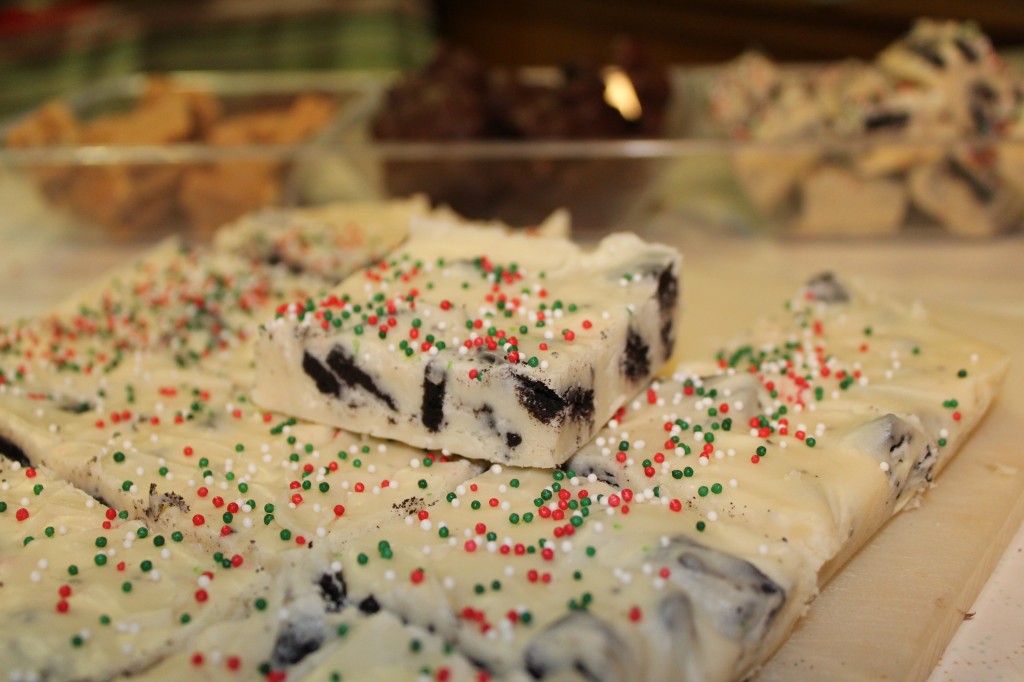
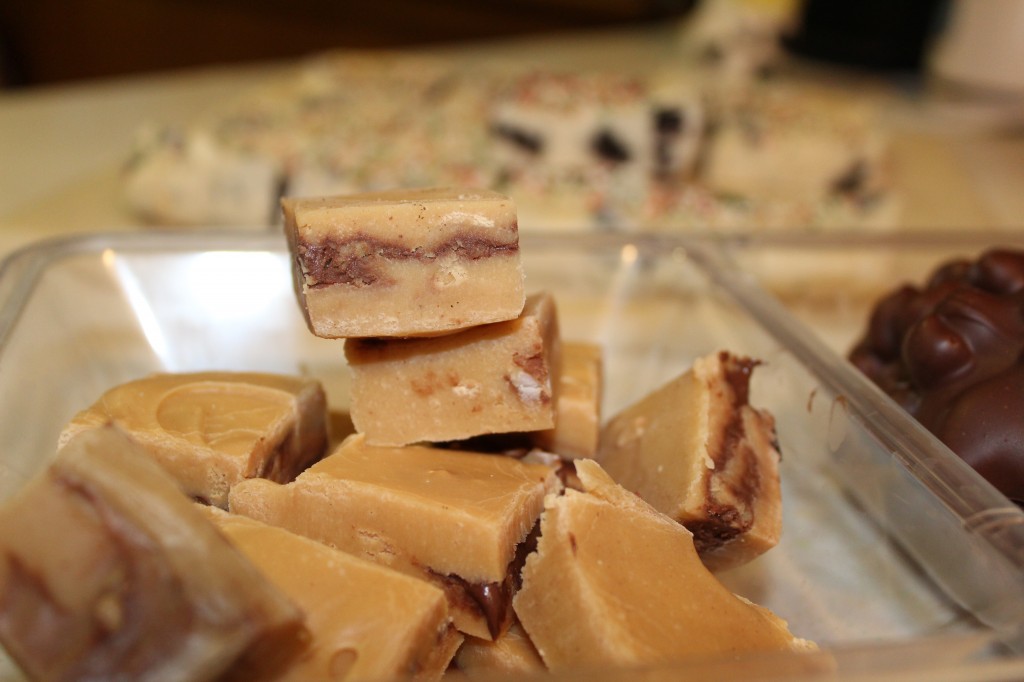
White Chocolate Fudge with chopped Oreos.

Peanut Butter Fudge with Nutella and Reece’scup filling.

Milk Chocolate Fudge with colored chocolate chips and sprinkle.

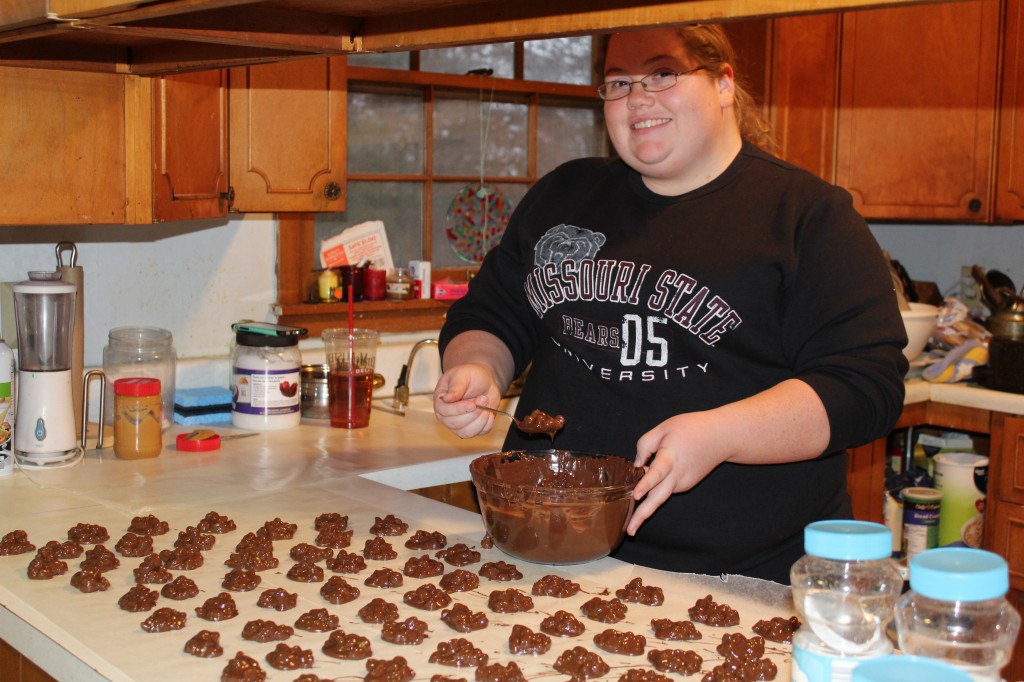
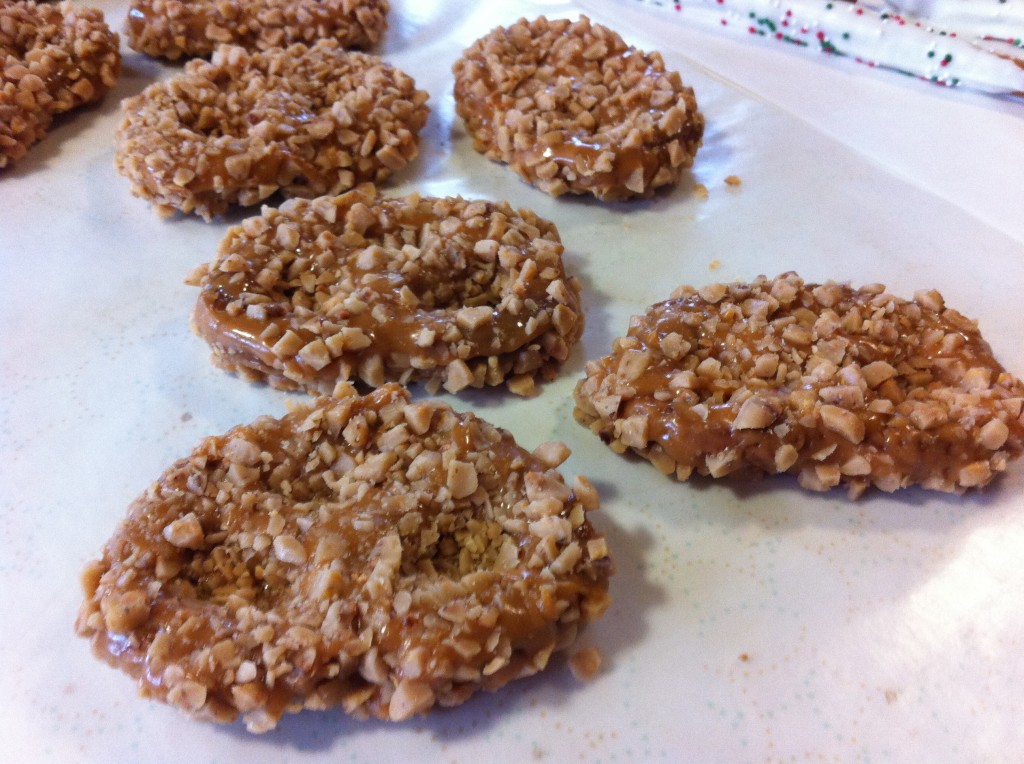
Baby College Girl Making PIC Grandpa’s Peanut Clusters.

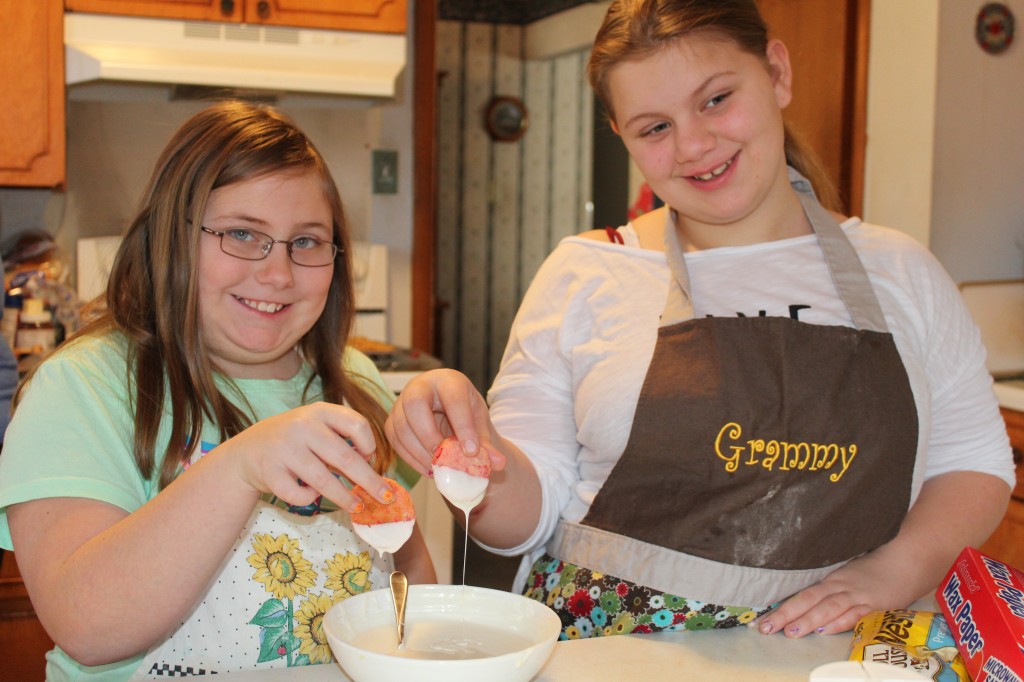
Grand girls dipping the Cherry Cookies in white chocolate.

Cherry Cookies with White Chocolate.

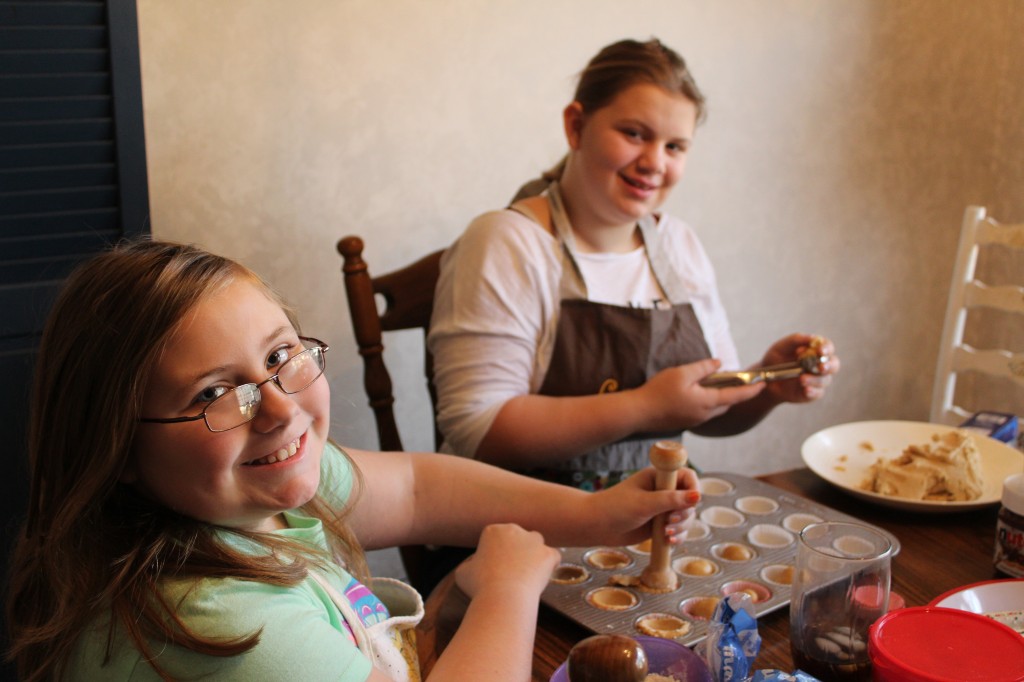
Grand girls filling the pan with fudge puddle dough.

Fudge Puddle Cookies.

Dipped Pretzels.

This is what I still need to make!

Caramel  Toffee Pretzels

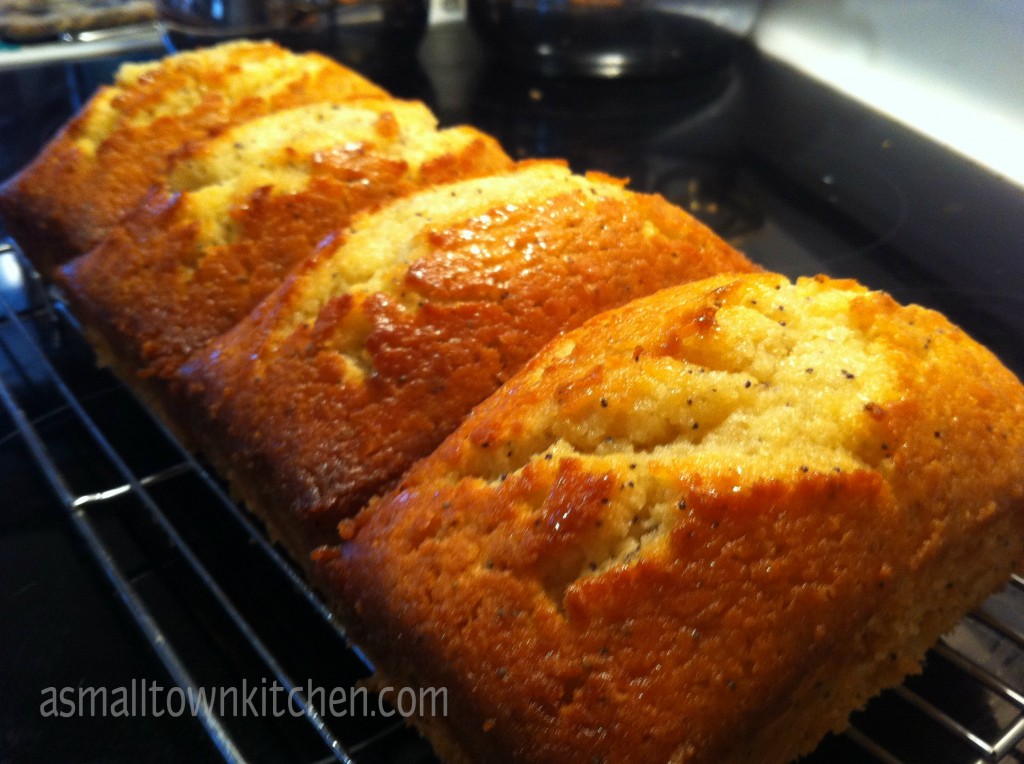
Poppy Seed Bread or maybe some Pumpkin Bread….I need to decide soon…haha…

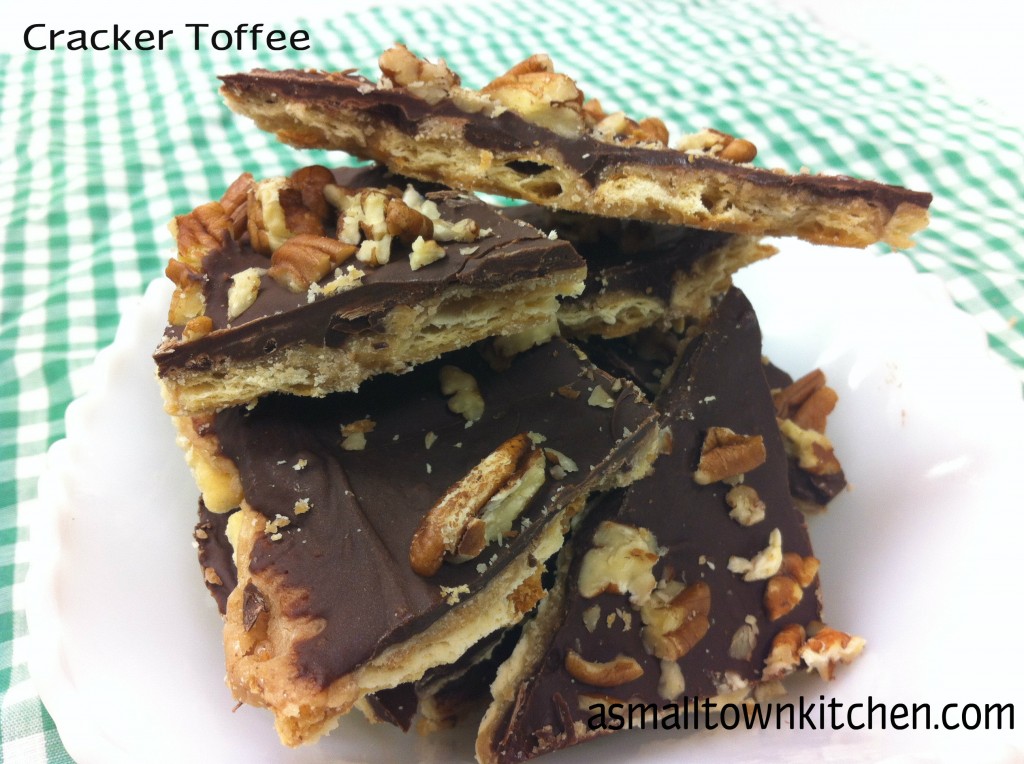
Cracker Toffee (love this stuff!)

I also have a couple of cookies I would love to make but Christmas Eve is tomorrow…and I hardly have any presents wrapped. But, I am craving some Ranger cookies.

Don’t you love Christmas Baking????

How is your baking going?? Are you running as late as I am?

I better get back into the kitchen. If I do not show up with Caramel Toffee Pretzels, I doubt anyone would let me into the house when I arrive at Mom’s for Christmas.

Merry Christmas!

Becky


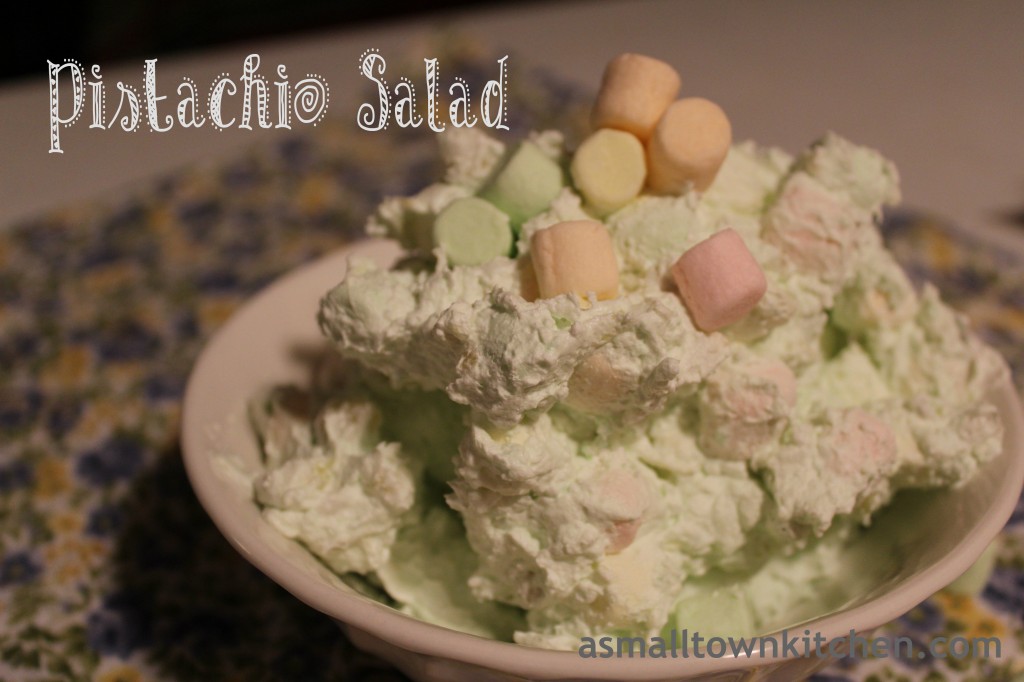
Pistachio Salad better know as “Green Stuff”

This is what my Oldest Grandgirl and her Aunt T calls the “Green Stuff.”

Green Stuff is a staple at  all our Thanksgiving and Christmas dinners. It is one of those dishes that you know your relative will always make, bring and share. Usually my PIC (other wise known as my sister in law) makes the Green Stuff. Because, being the awesome daughter that she is, she has been spending most of her free time with her dad in long term care after some major health issues, PIC was unable to make the Green Stuff!

It was so sweet that my Oldest Grandgirl came to the rescue! She volunteered to make the Green Stuff. Which just happens to be her favorite!!!

Anywho, this is the first, of I hope many, cooking post where my Grandgirls steal the show and make edible goodness in the kitchen. (as long as they wash their own dishes).

Here is what Oldest Grandgirls tells me she needs to make the legendary Green Stuff.

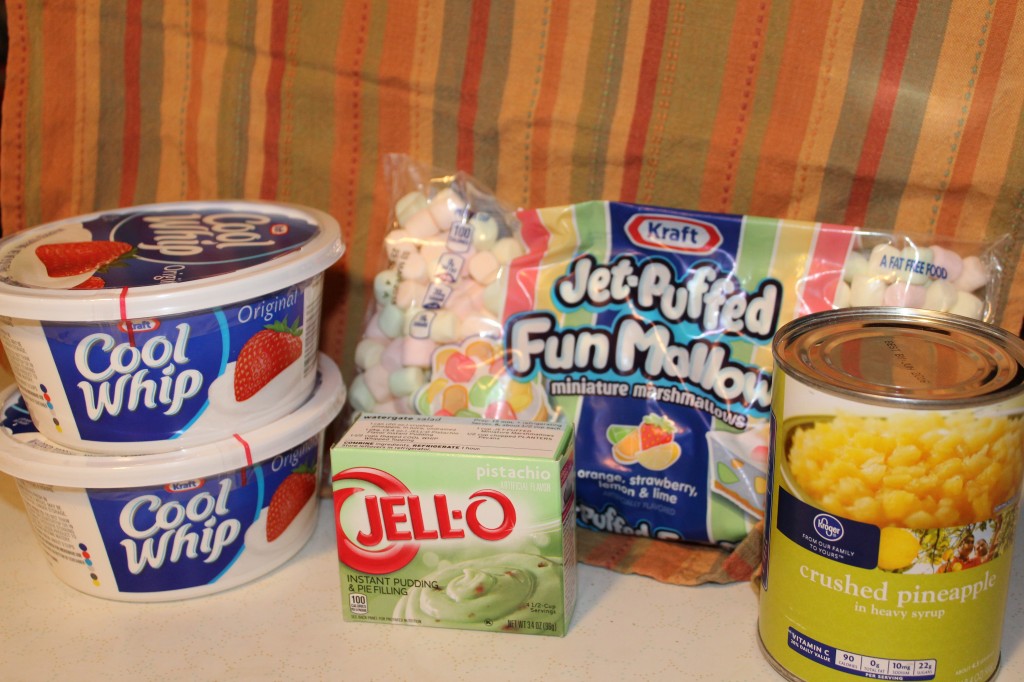
Two regular size cool whips, one regular size instant pistachio pudding, large can of crushed pineapple and  fruit flavored miniature marshmallows and if you like you can add some chopped pistachios or walnuts.

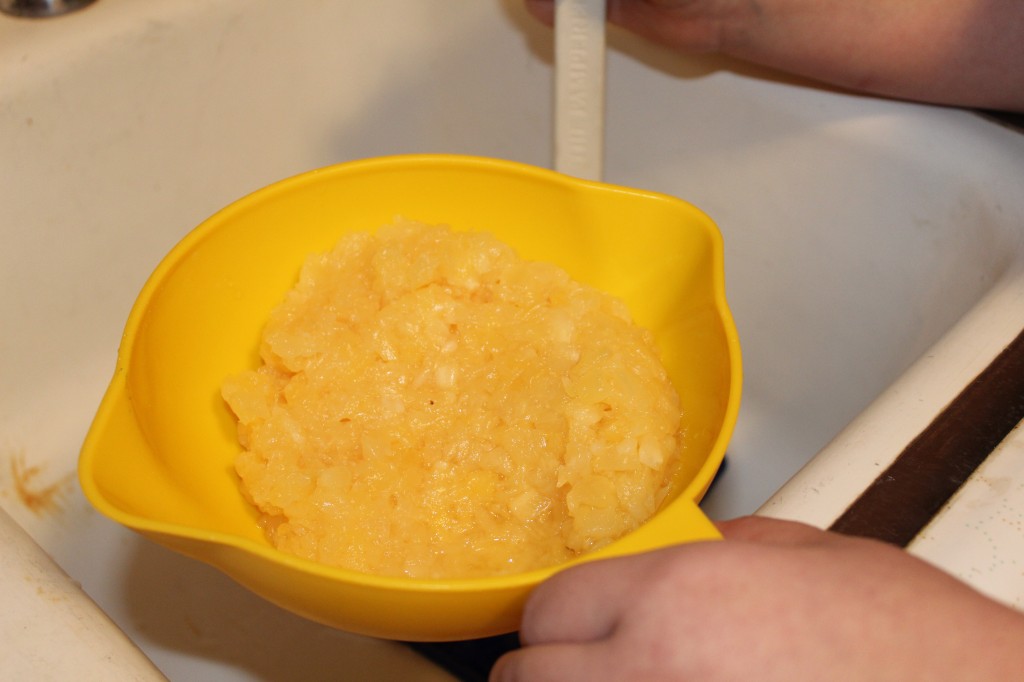
Drain the liquid from the pineapple.

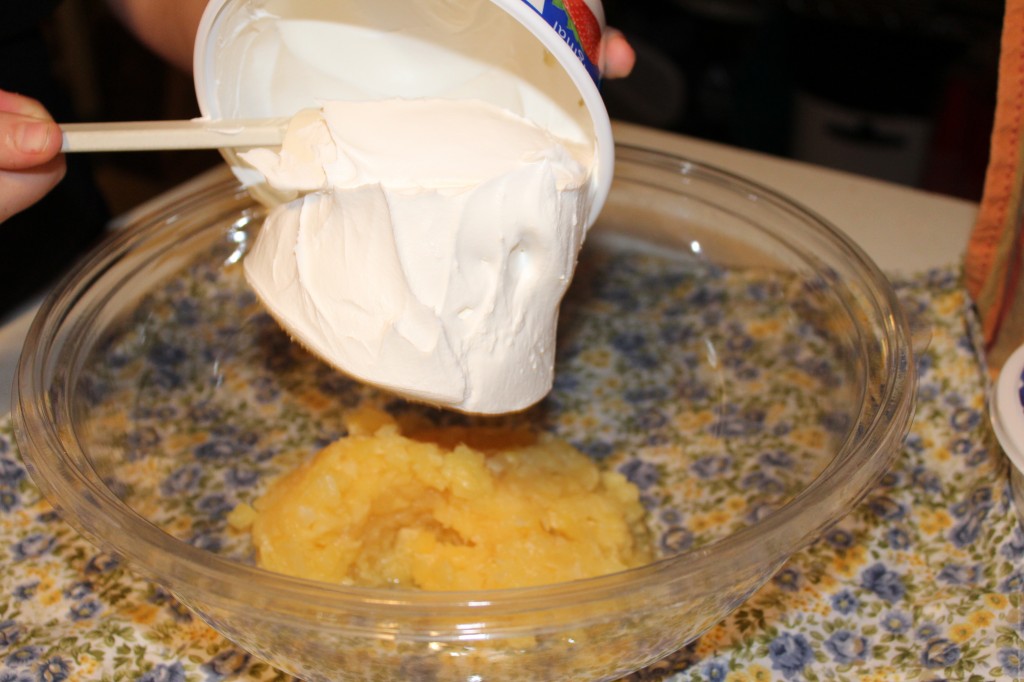
Put the drained crushed pineapple in a bowl and add the cool whip.

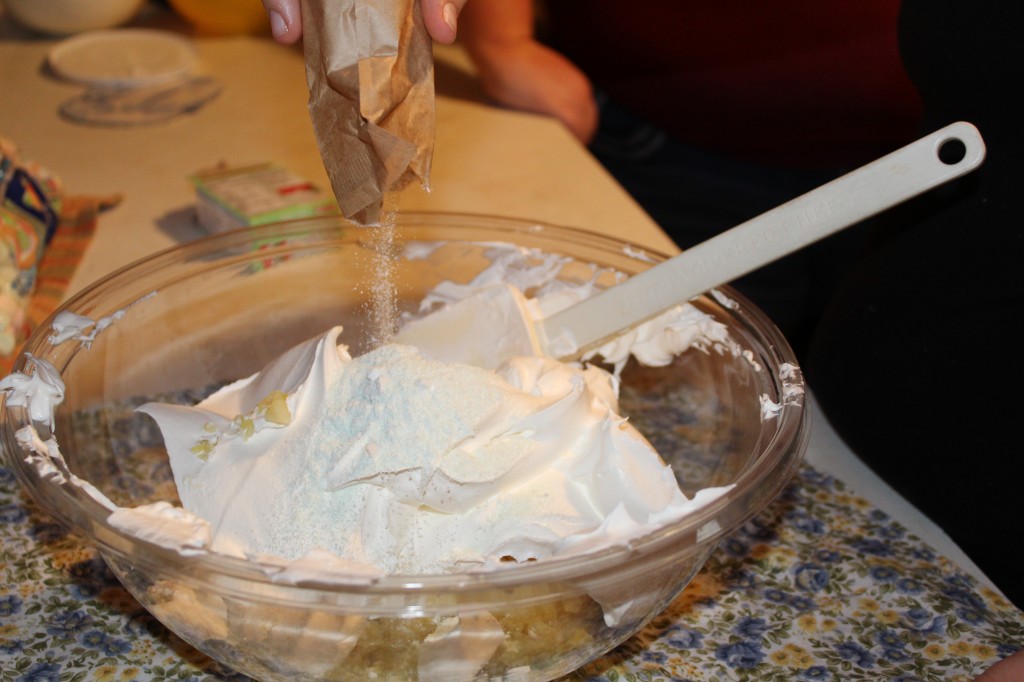
Add in the pistachio pudding.

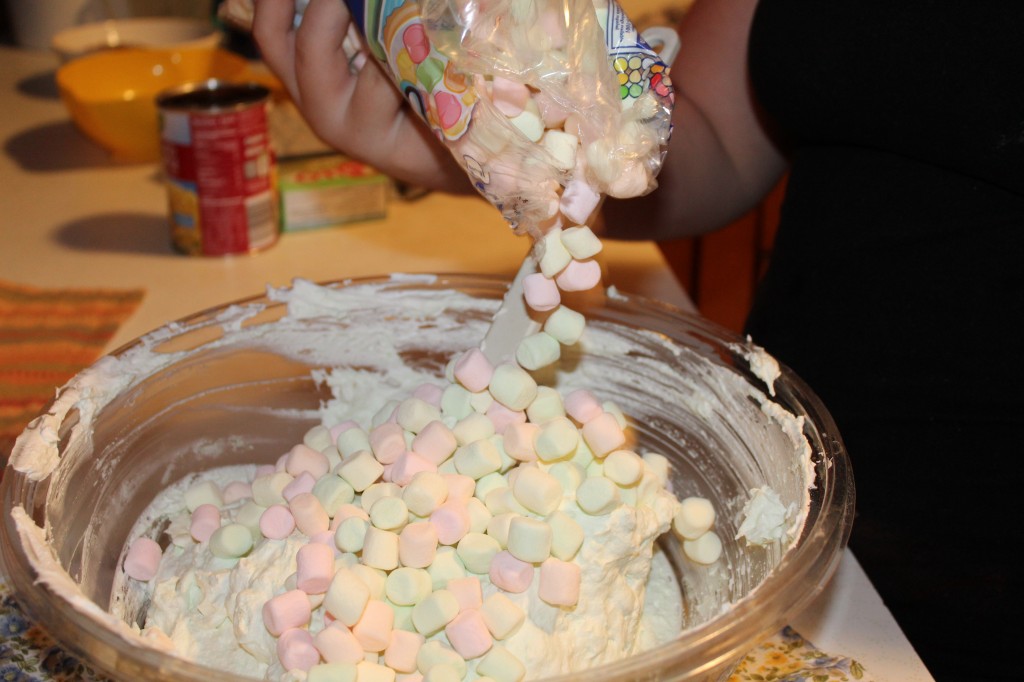
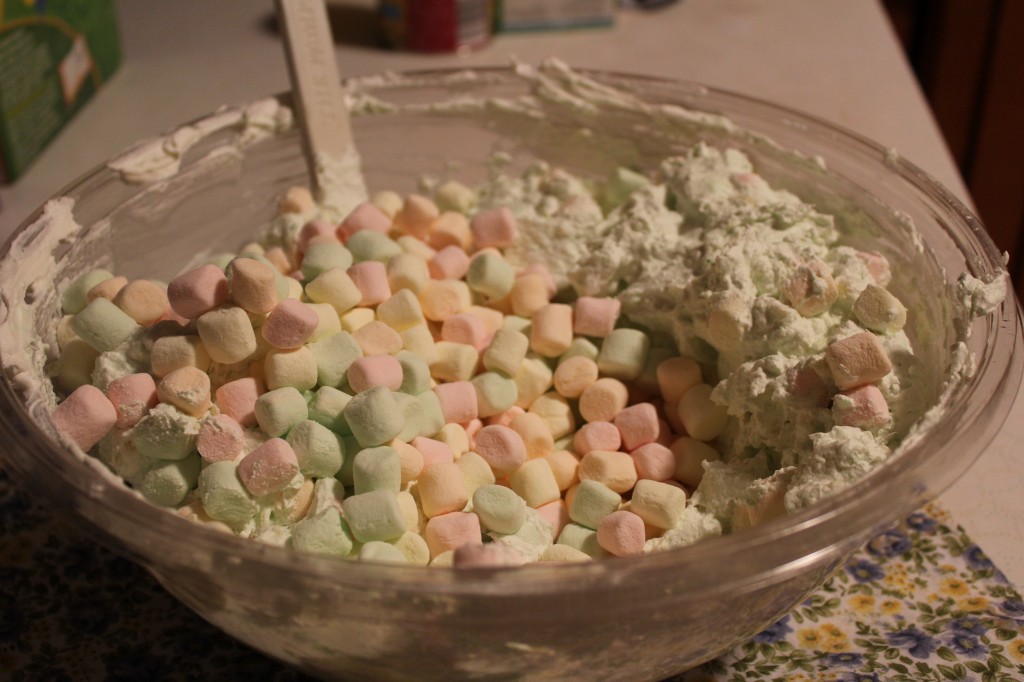
Add in the fruit flavored mini marshmallows.

Stir together!

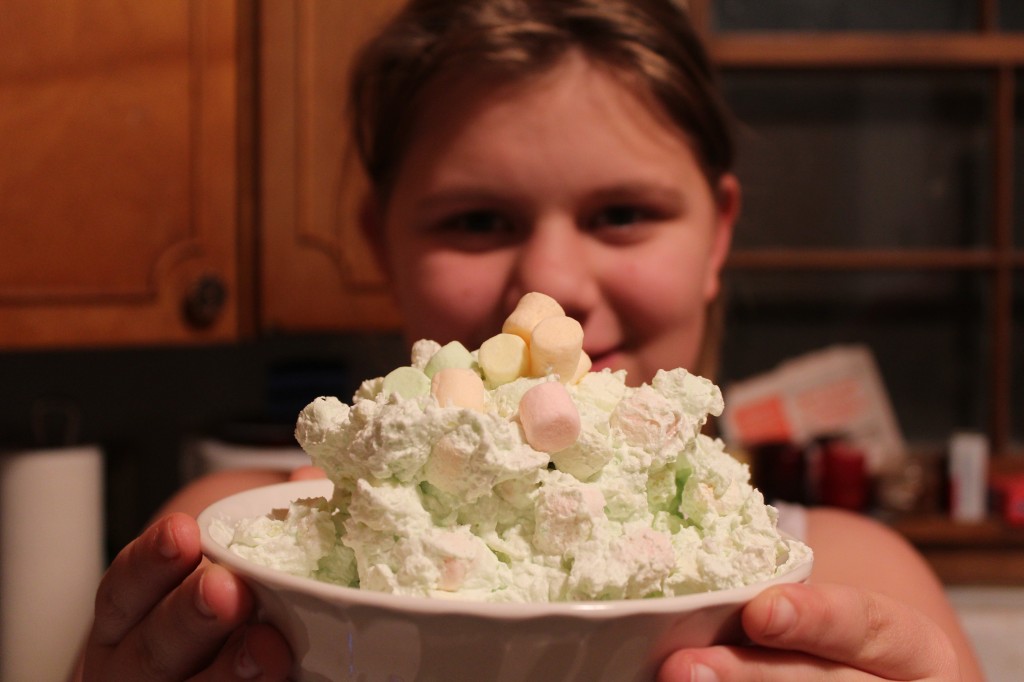
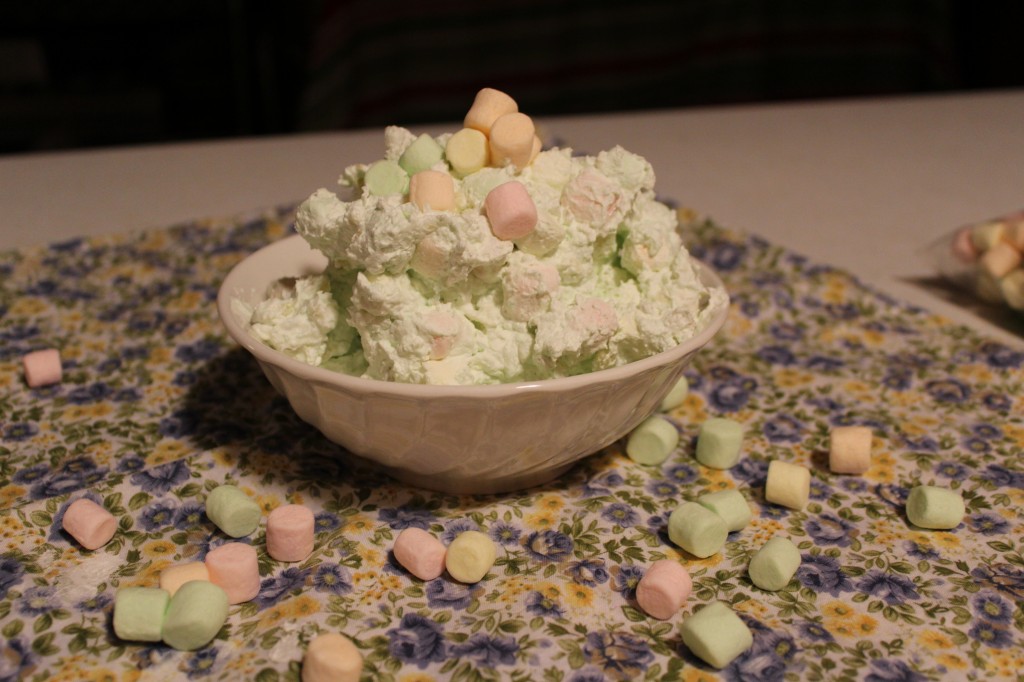
That is all there is to making, “The Green Stuff!”

Enjoy!

Oldest Grandgirl

Pistachio Salad

Recipe from PIC or Aunt T.

Ingredients:

1 – 20 ounces can crushed pineapple, drained

2 – 8 ounce containers of cool whip

1 – 3 ounce box of instant pistachio pudding mix

3 cups of fruit flavored miniature marshmallows

1 cup of chopped pistachios or walnuts  (optional) We did not add extra nuts because we have some family who do not like a lot of nuts in their food. I think they are nuts…LOL

Directions:

In a large bowl, add the drained pineapple, cool whip, pudding mix and the marshmallows. Stir until all the ingredients are combined. Cover and refrigerate until ready to serve. 


Other post you may enjoy:


Layered Mint Brownies     Chocolate Shortbread Brownies w/macaroon     Cracker Toffee


Chocolate Pie

I love chocolate pie!

Every year around Easter, my whole family heads out, and we all meet at a church in a neighboring town and go to their annual fish fry. Besides having the best fried fish (and it is all you can eat) the little ladies of the church make all kinds of pies, (my favorite part…besides the fish).

Usually, we get about 8 different slices of various pies and pass them around and we all take a little bite. This way we get to try all the pies  and then decide which pie we want to eat a whole slice of. We are so bad!  Our strategy has worked well for a number of years until last year.  Last year we were all running late and by the time we got there, all the delicious cream pies where gobbled up already.

WHAT?

I even asked the servers if they were hiding some pies in kitchen. Nope, all they had left was what was out already.

We had to make do with a piece of cake….boo! There was not even a small scrap of  cobbler.

Anywho, I have been craving a nice creamy homemade piece of chocolate cream pie, for almost 6 months. So, this past Thanksgiving, Baby College Girl helped me make 3 chocolate pies. One for me, Two for me, Three for me….. Ok. Ok, I did share, but we make enough pies that there was one pie left that Company and I was able to eat a piece (or two) after Thanksgiving.

This pie is so easy to make and taste so delicious, it is so dangerous, that you will be tempted to make it all the time!

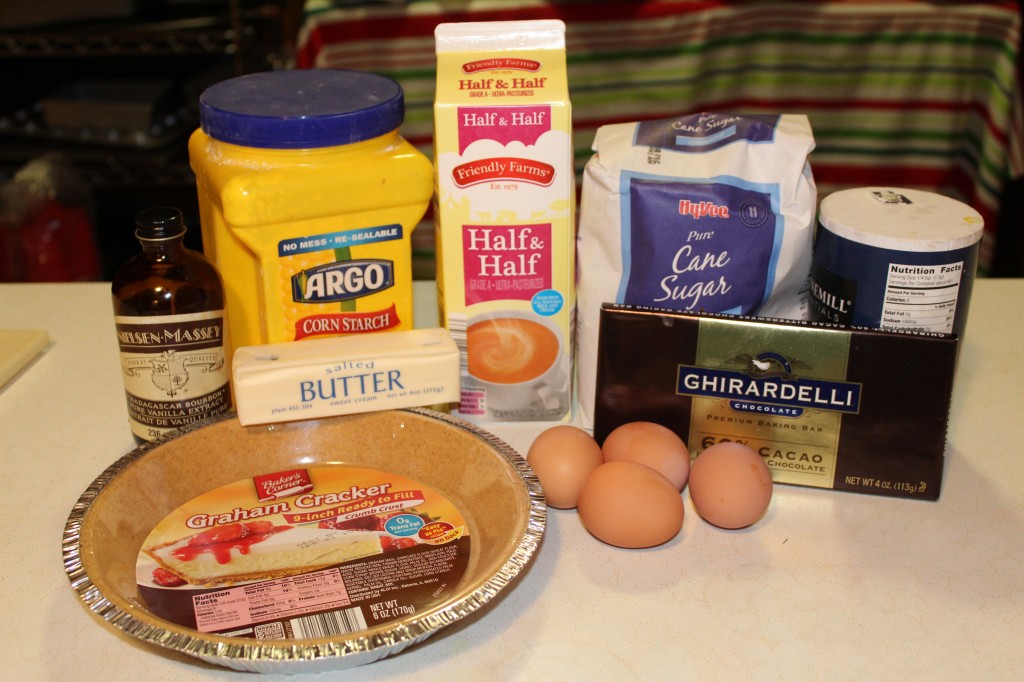
Here is what you will need to make it.

Bittersweet chocolate, butter, 4 eggs (I used my back yard chicken eggs whoohoo) vanilla, sugar, cornstarch, salt and half and half. (or you can use whole milk)

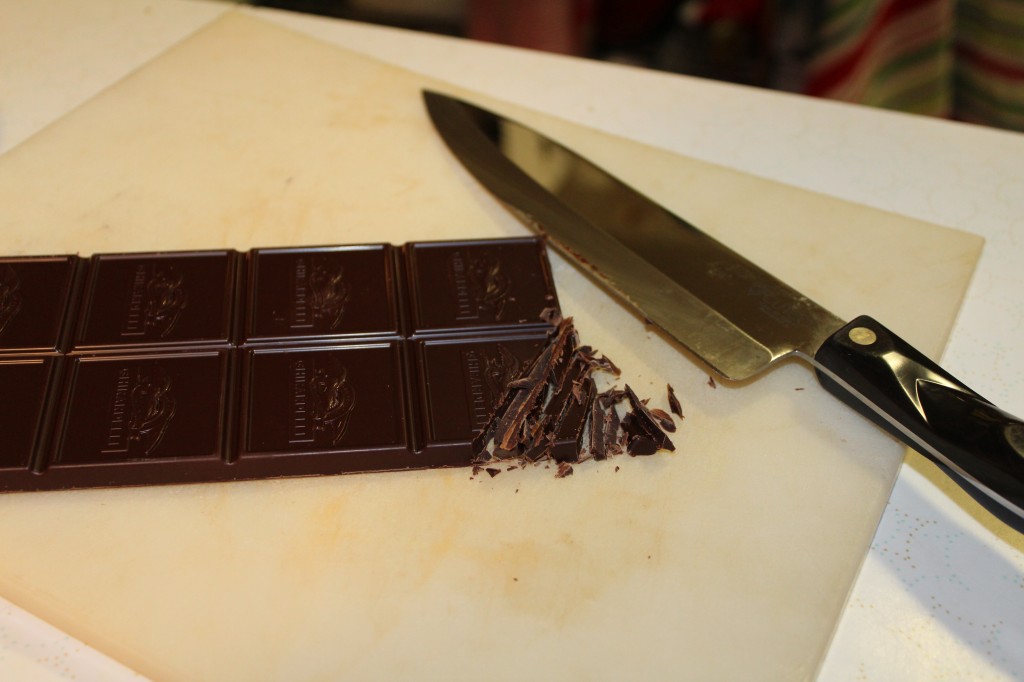
First thing that College Girl did was chop up the chocolate.

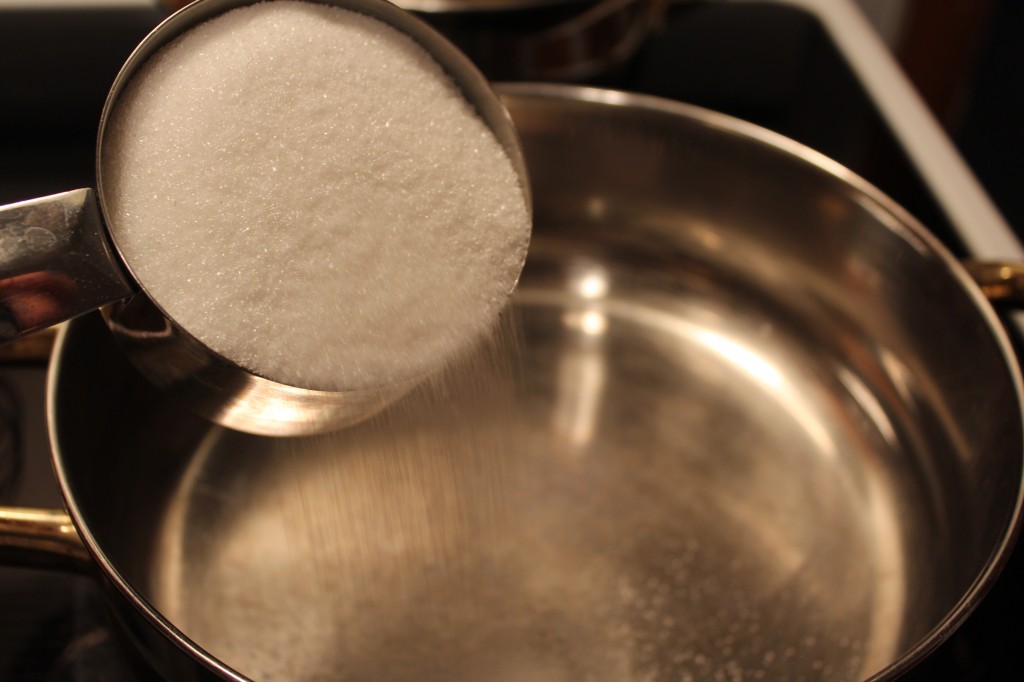
I got out a sauce pan and measured in the sugar.

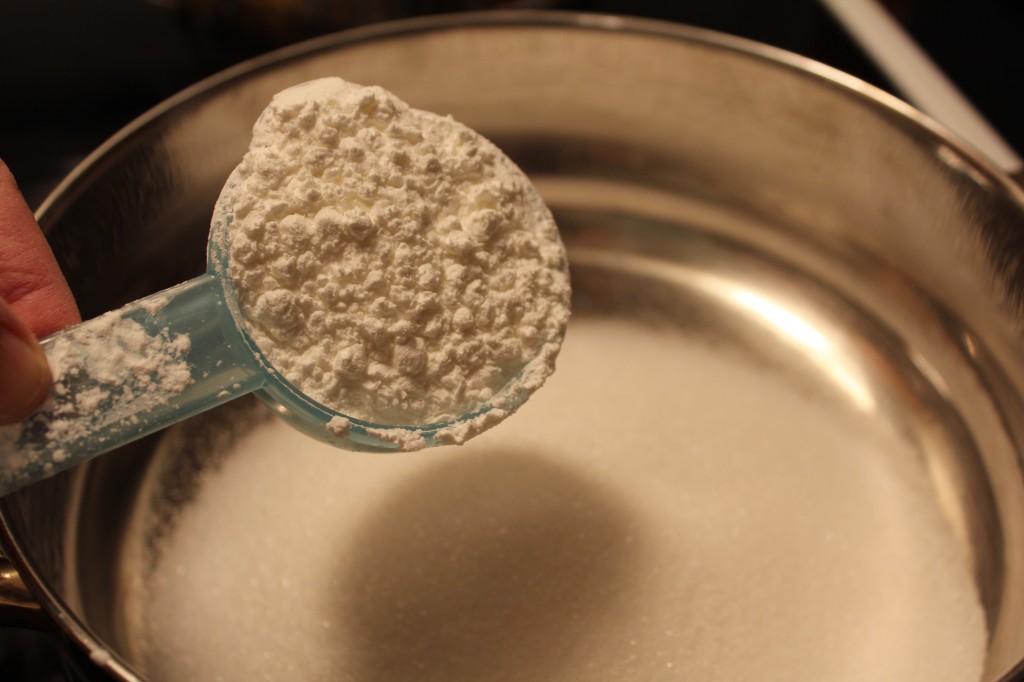
Then I added the corn starch and salt.

I whisked the dry ingredients together.

College girl measured the milk and poured it in cause she told me I was not measuring correctly…ha!

Add in the egg yolks. I suggest you take a fork and beat the egg yolks up first before adding them in to make it easier to combine completely.

Cook the filling over medium heat, stirring constantly until the filling started to boil. When it starts to boil and thicken up take it off the heat.

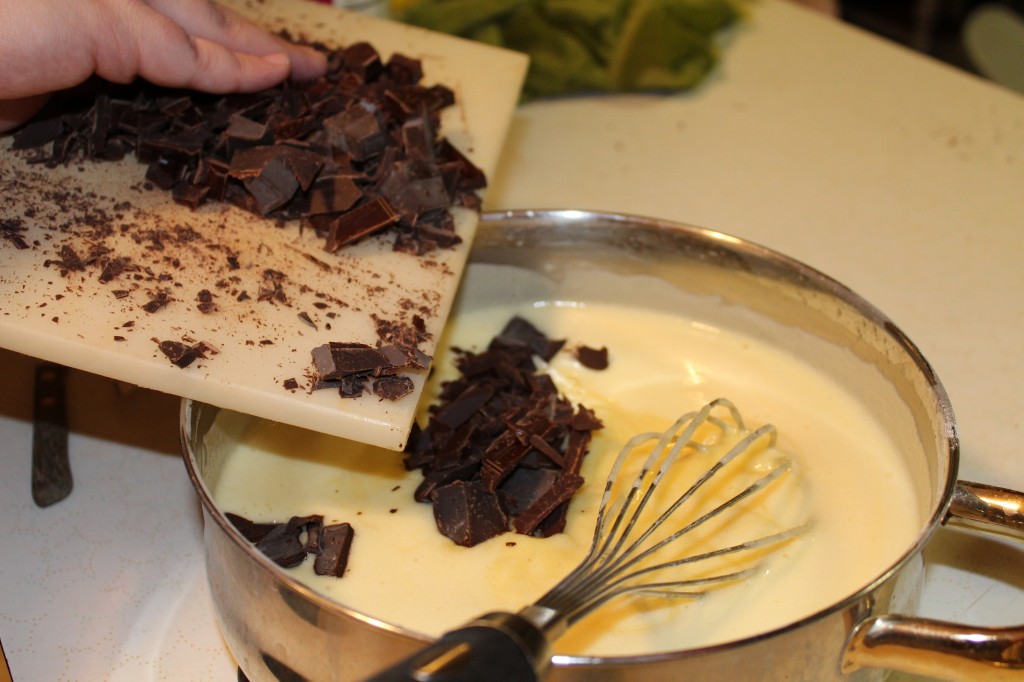
Add in the chopped chocolate into the hot the filling.

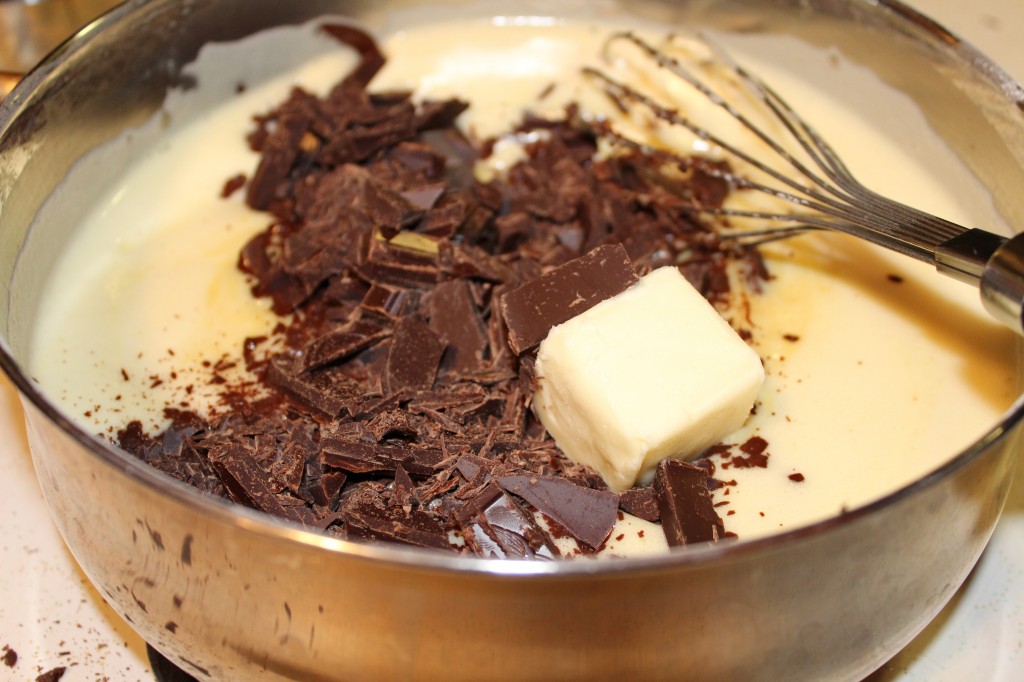
Add in the butter.

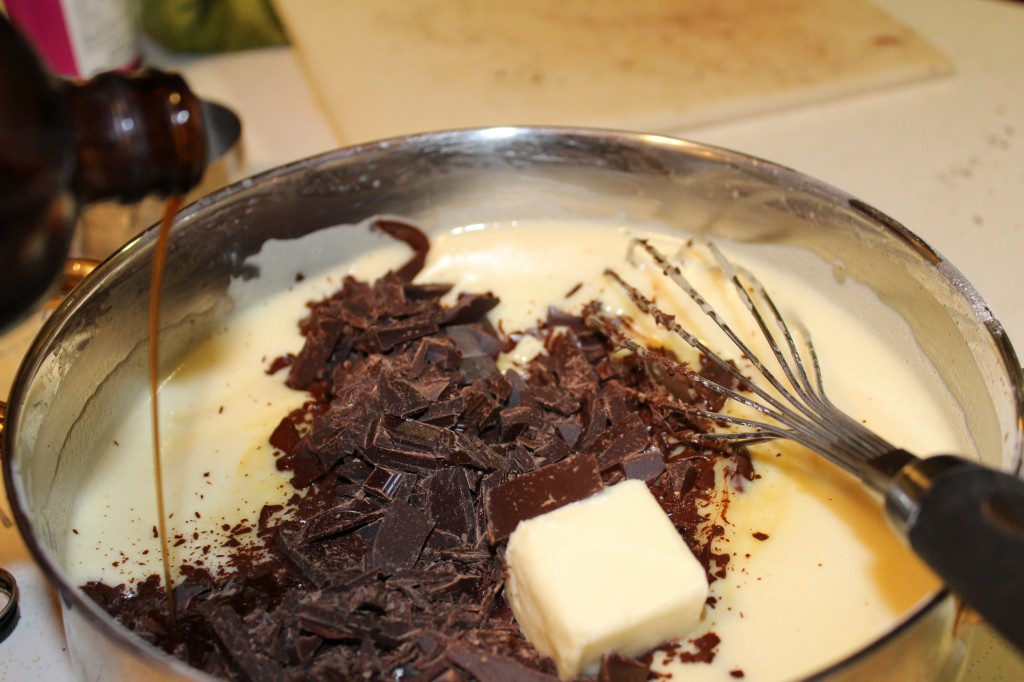
Pour in the vanilla.

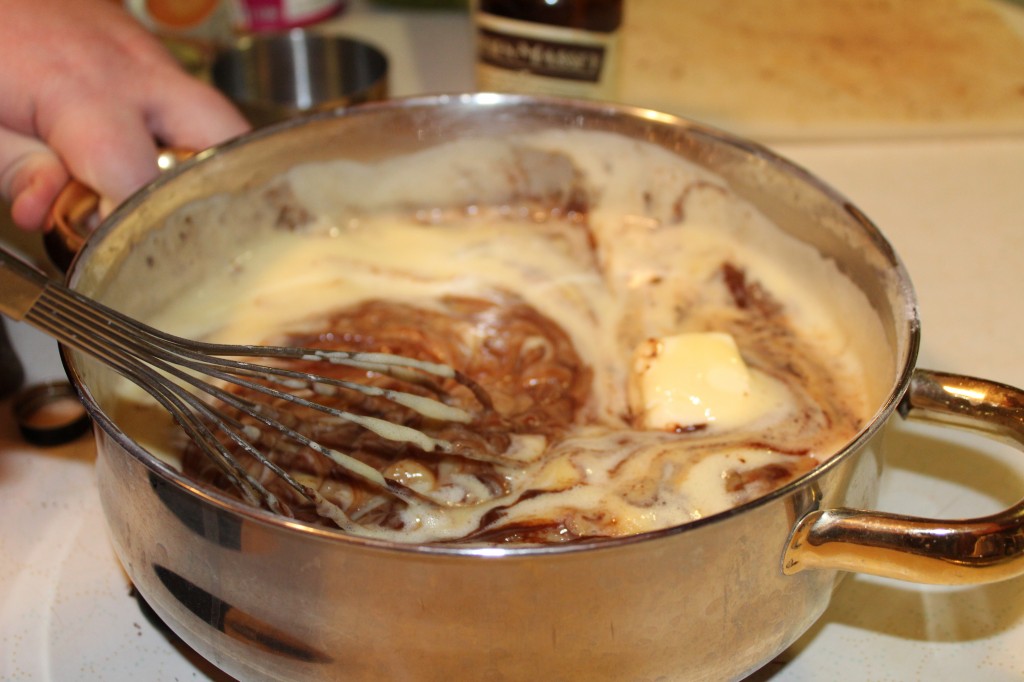
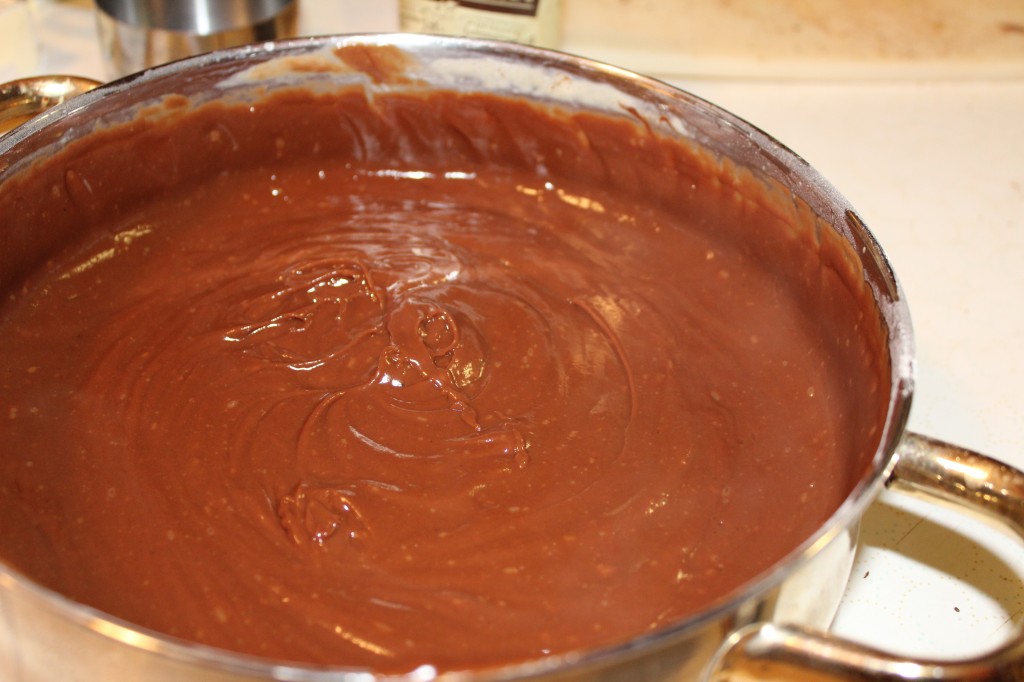
Whisk the filling until the chocolate melts completely and turns a rich chocolate color.

Perfect!

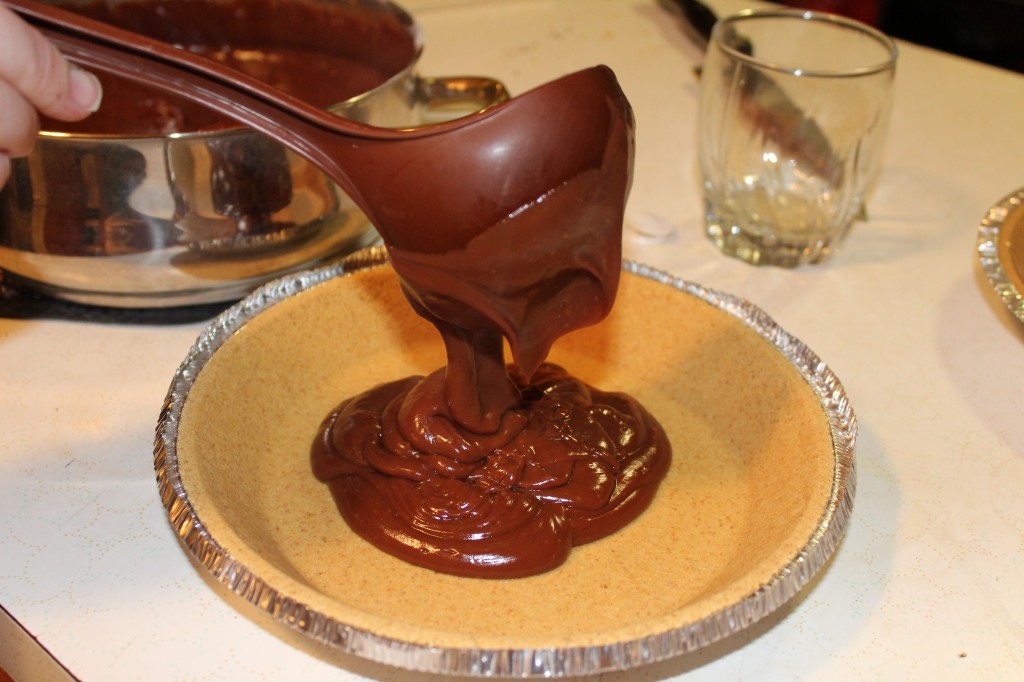
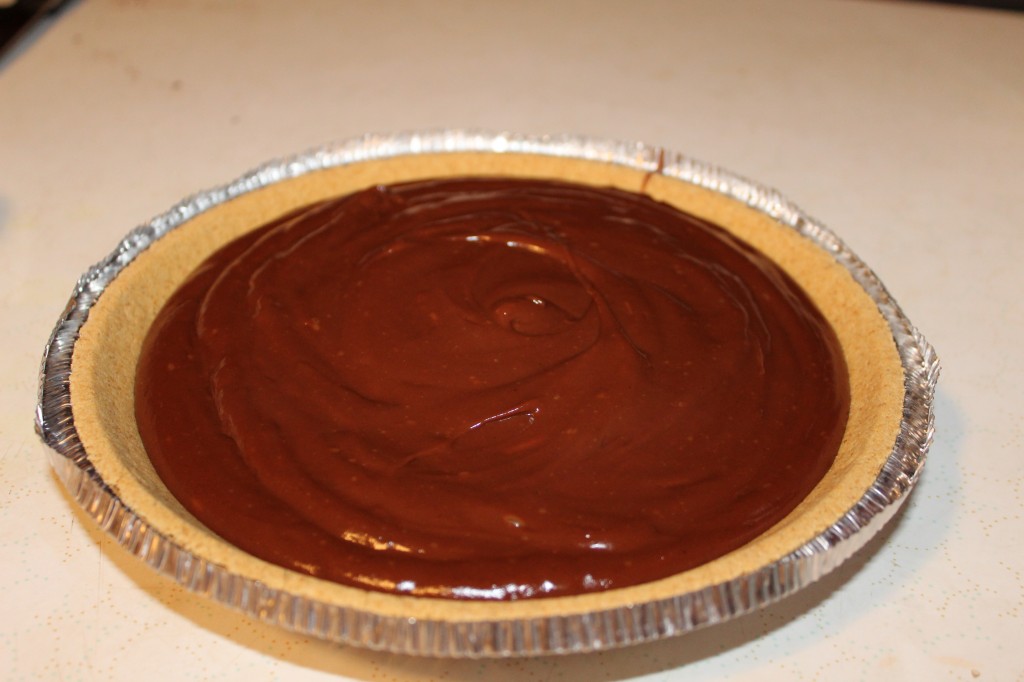
Pour the pudding into whatever crust you like. I used a graham cracker crust. I made two batches of filling and it made enough for 3 pies.

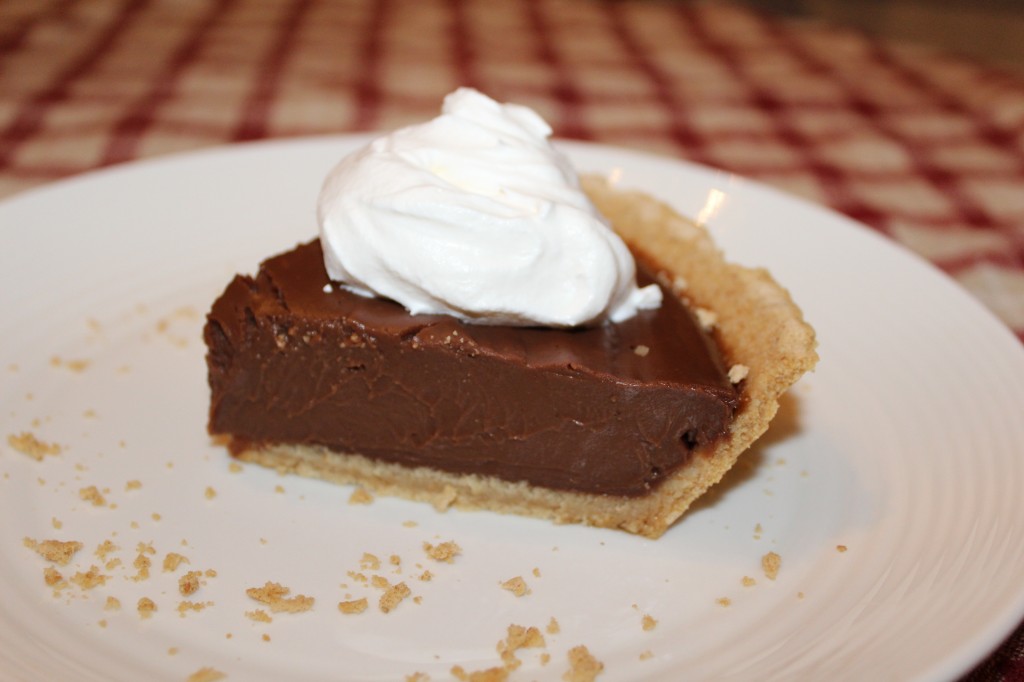
Chill at least 4 hours or overnight. I am amazed at how great this pie slices up.

Chocolate Pie

Adapted from Pioneer Woman

Ingredients for the filling:

1 1/2 cup sugar

1/4 cup cornstarch

1/4 teaspoon salt

3 cups half and half or whole milk (all I had was skim or half and half so I went with the half and half)

4 egg yolks

6 1/2 ounces bittersweet chocolate, chopped. I used part Gharardelle and Bakers Secret and it worked out fine.

2 teaspoons vanilla extract

2 tablespoons butter

Additional:

Some kind of pie crust for a 9 inch pie.  I used a graham cracker crust, but homemade crust or a oreo crust would work great.

Whipped Cream. I like plain ole Cool Whip…not that I don’t like real whipped cream. ; )

Directions:

Chop up the chocolate into small slivers. This makes the chocolate melt easier and faster.

In a sauce pan, combiner the sugar, cornstarch and the salt. Whisk together.

Whisk in the half and half (or milk if you are using whole milk) and egg yolks. Make sure that you whisk the yolks into the mixture completely. You do not want to see little pieces of yolk. HINT: you can use a blender and blend the milk and the yolks together first, then add.

Over medium heat, continue stirring until the mixture comes to a boil. Once it started boiling the mixture will thicken up. You want it to thicken until it looks like pudding. Take the filling off of the heat and add in the chopped chocolate, vanilla and butter. Stir everything together until the chocolate melts and fully combined.

Pour putting into a pie crust. (I used a graham cracker crust). Smooth the top. You might have extra…I sure did. Just put the extra into little cups to share….or to hid in the fridge till later : ).

Chill the pie for at least 4 hours, or overnight. Serve plain or with a big dollop of whipped topping.

Enjoy!

Becky

Additional Post  you may enjoy:


Sugared Pecans                  Cinnamon French Toast Bake          Creamy Cherry Salad


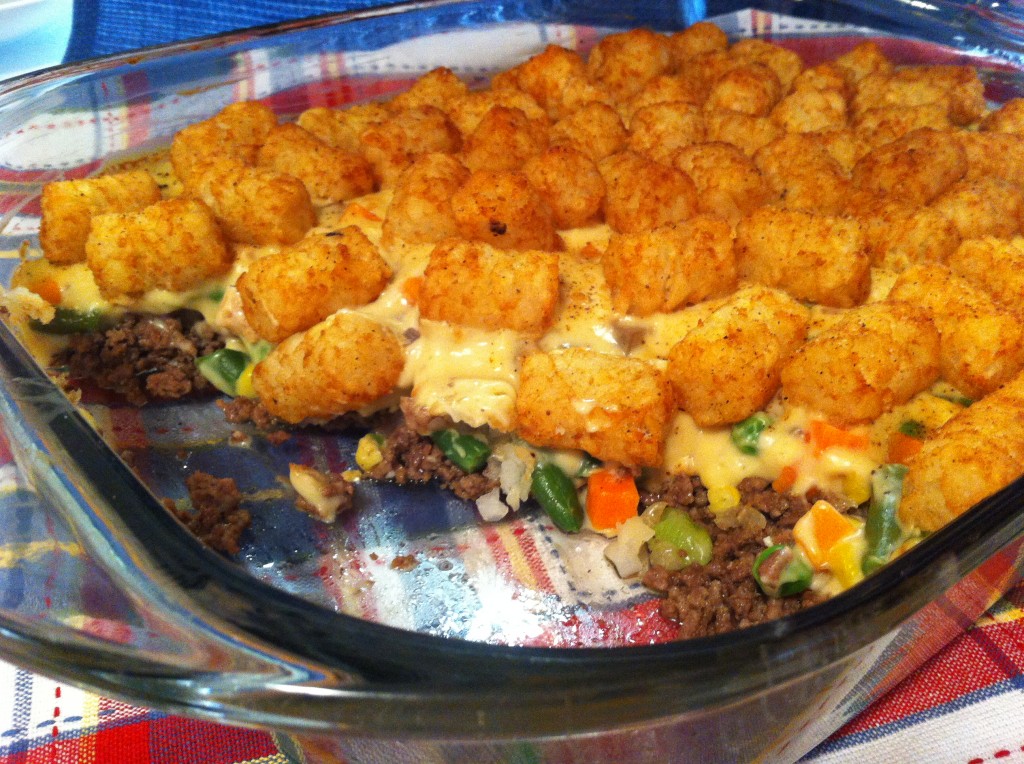
Minnesota Hot Dish

Sorry I have been a little absent from posting on my little web page. The last month has been hectic with a major plumbing issue in my basement (Minerva, I know you can relate). What was a little leak ended up jack hammering out a 15 foot section of my basement floor and replacing the pipe…..(tearing out carpet) moving furniture having a big hole in the floor for 5 days….need I go on..haha..

Then I got the dreaded flu….I am on the mend now, and it is a good thing to, cause Christmas is right around the corner and I have a ton of baking to do for my Christmas Trays, I hand out each year.

I know that everyone out there is just as busy or more so than I am. If you are looking for something simple to make for dinner that does not take a lot of time, you might want to give this recipe a try.
It is so simple to make Oldest Daughter Who Does Not Cook can make it.

Yes, seriously, it is that easy. : )

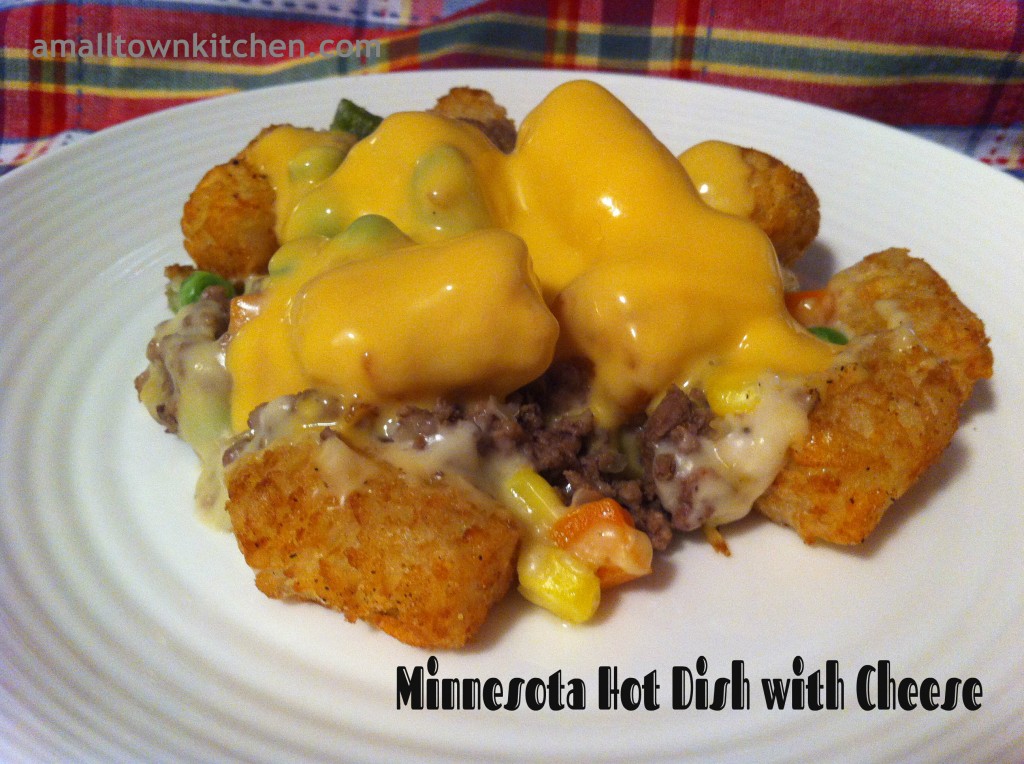
It is called Minnesota Hot Dish.

I found this recipe last year for my foods class when we were cooking recipes by regions of the United States. I stumbled upon this recipe (although there is a ton of variations on it) and thought it would be a perfect recipe the my students at school could try. They loved it so much, I made it at home, and my kiddos and grandgirls loved it too….even Company!
In fact, I put one together today and put it in the fridge to bake this weekend.

Anything I can do ahead so I can just bake in the kitchen and not worry about at least one meal.

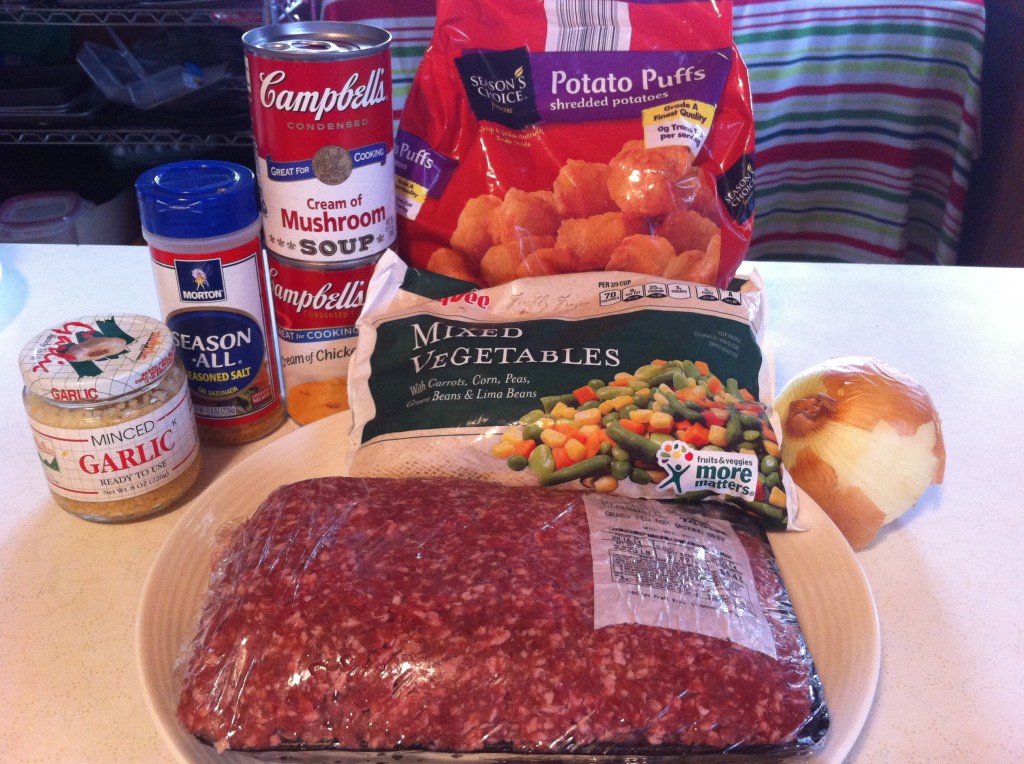
It only takes a few ingredients to make this simple, yet satisfying dish.

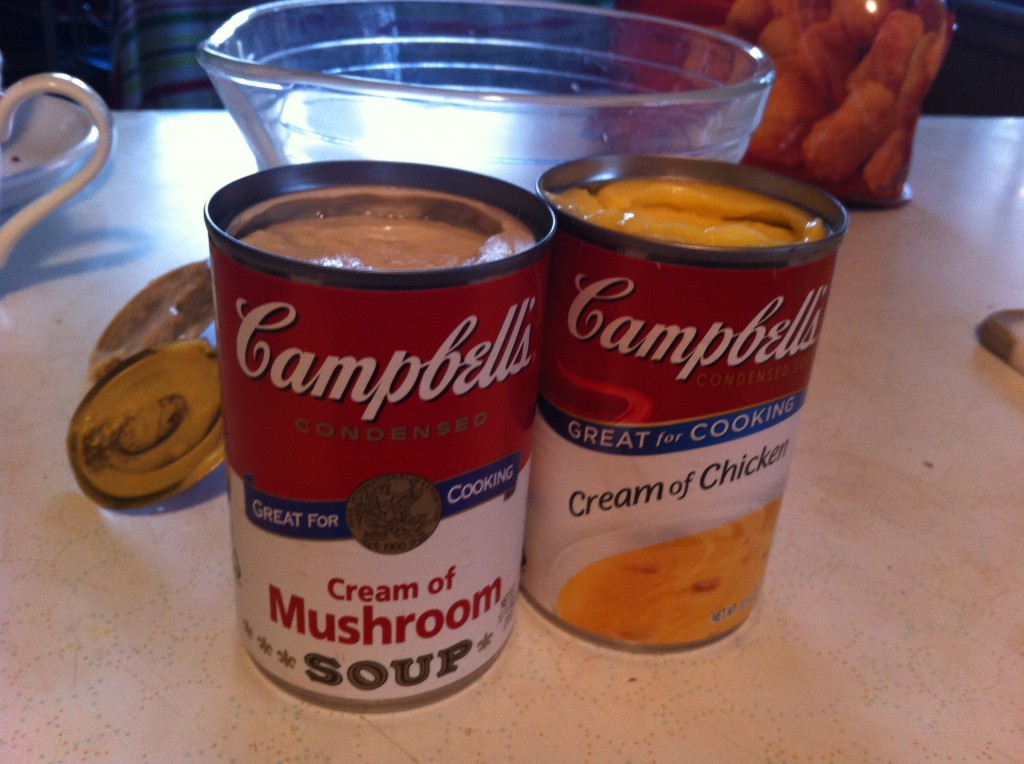
You will need two pounds of hamburger, one can of cream of chicken soup, one can of cream of mushroom soup, 1 tablespoon of garlic, 1/2  chopped small onion, season salt, frozen mixed vegetables (you can used canned if you want) and tater tots.

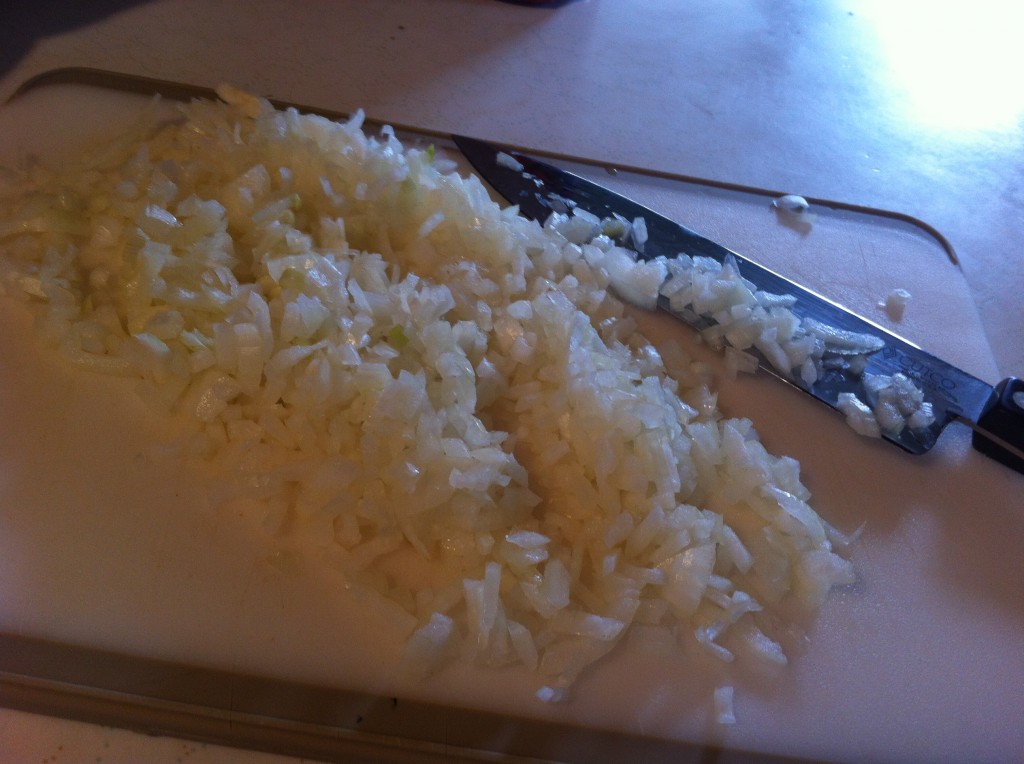
First thing you need to do is chop the onion. I have to chop it really fine, cause Company does not like onions, so if hid them in a dish he can’t find them.

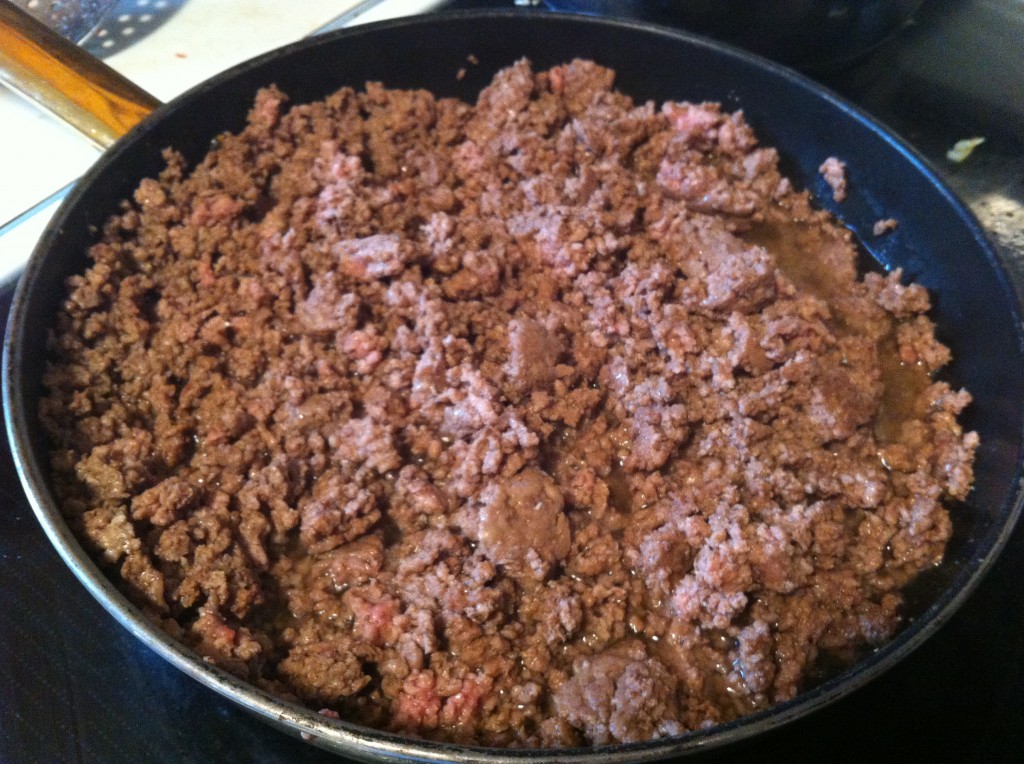
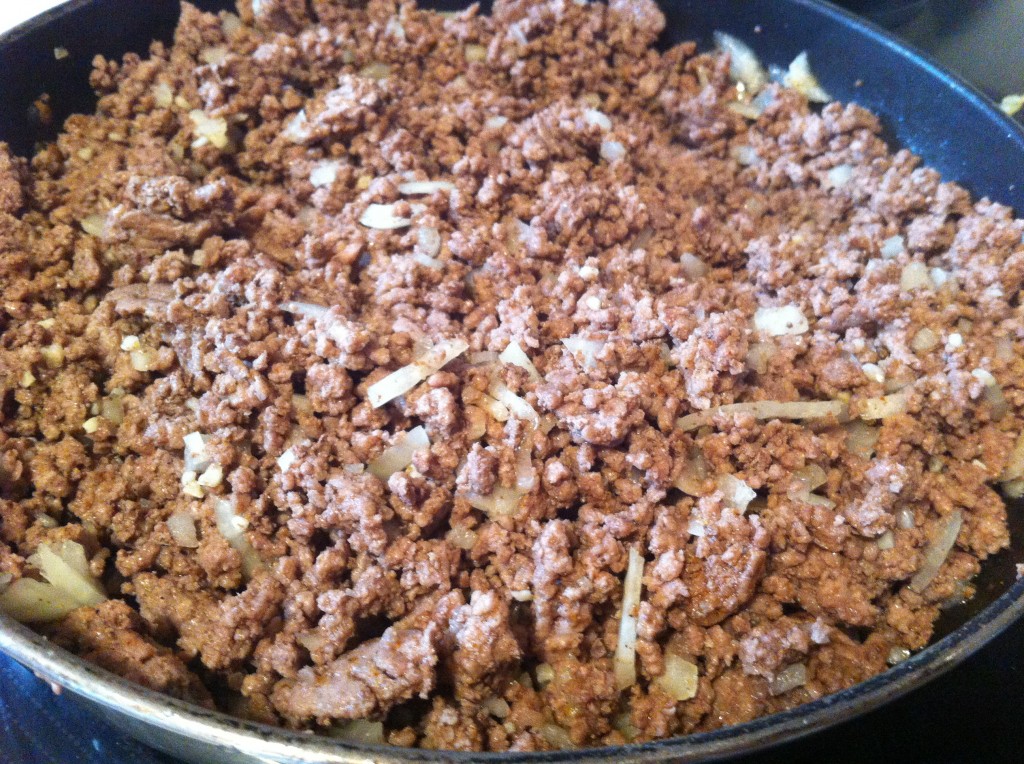
Brown the hamburger and drain the grease.

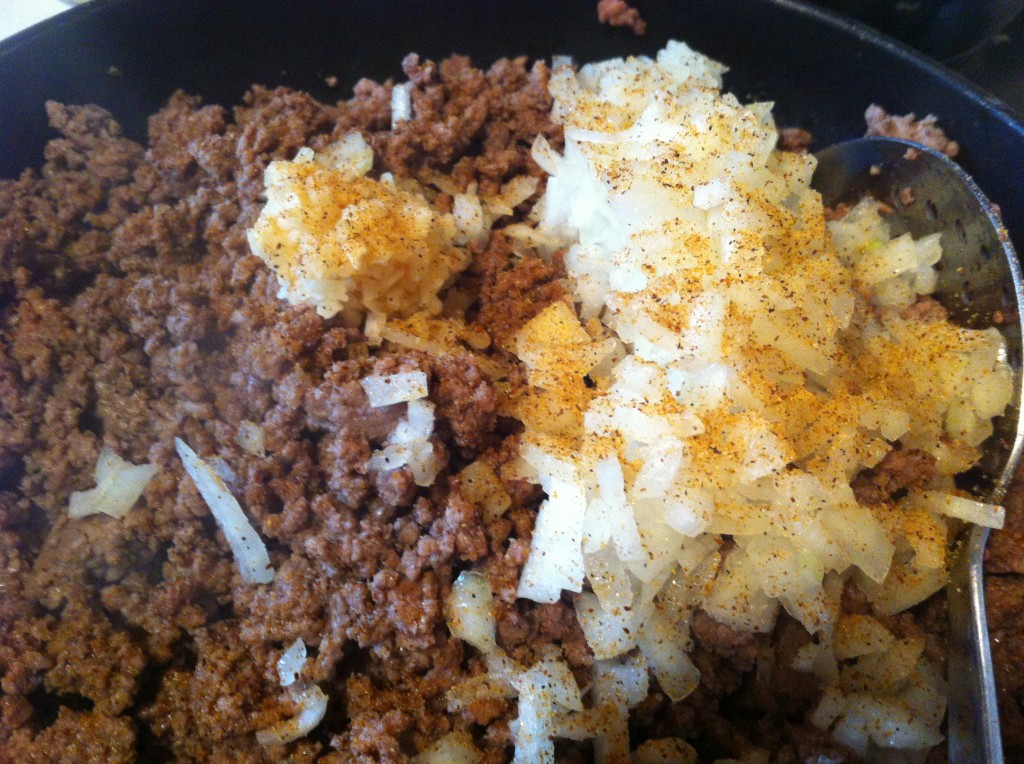
Add in the chopped onion, a tablespoon garlic and season salt to taste. I used about a teaspoon.

Cook until the onion is translucent.

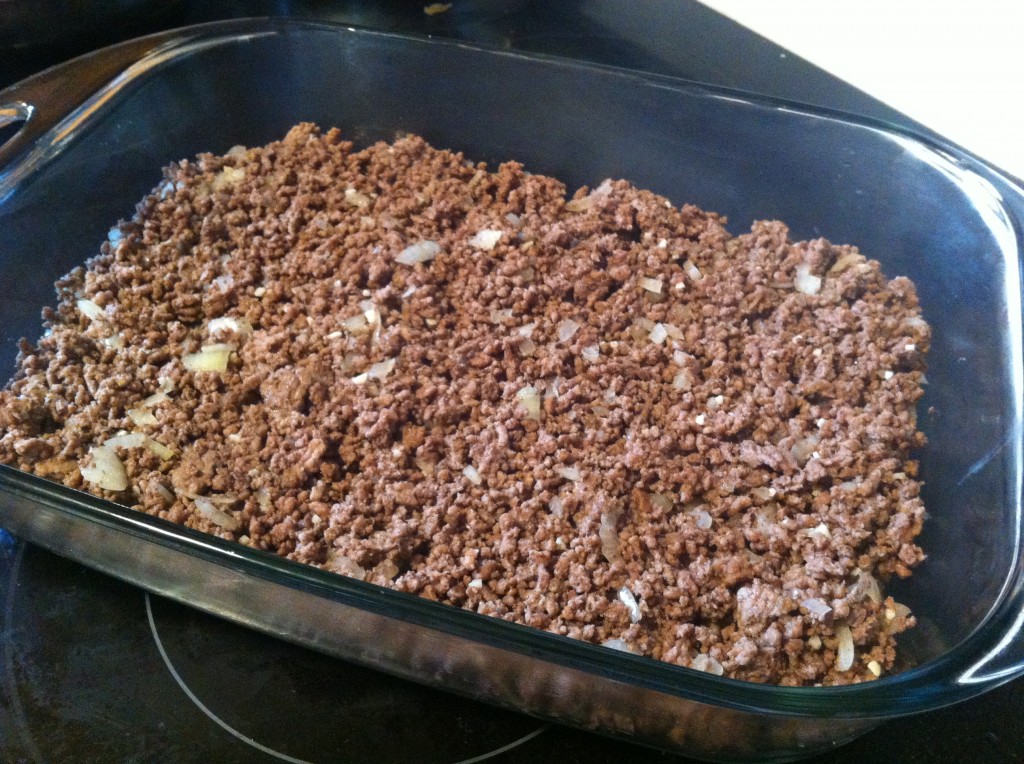
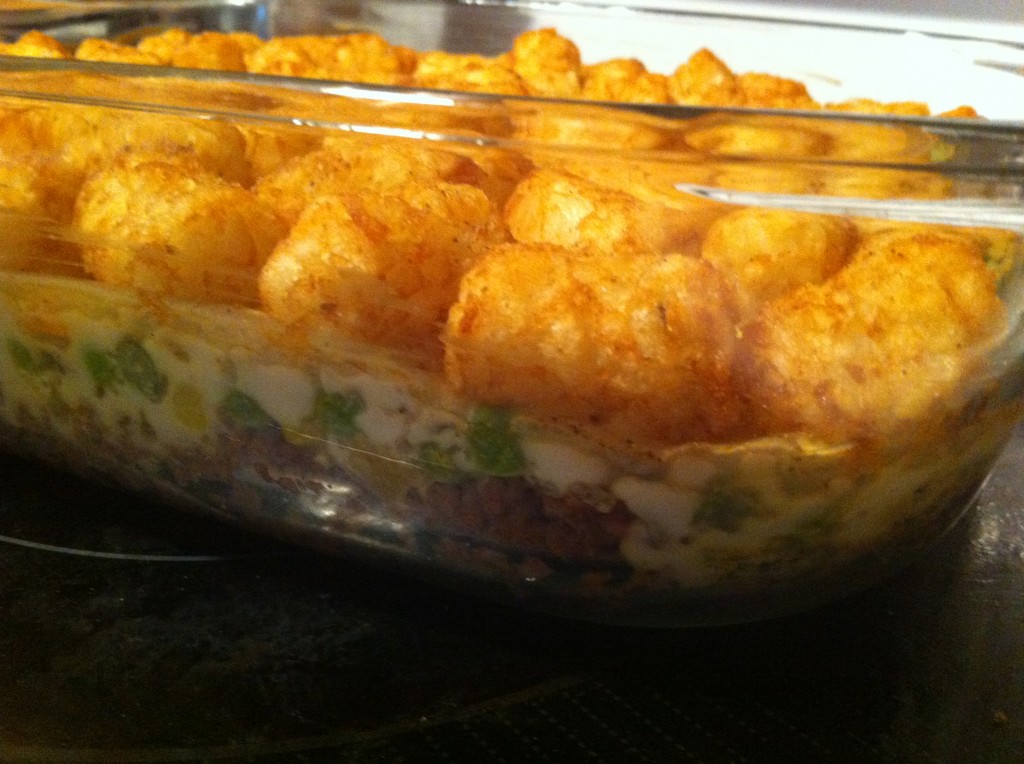
Layer the hamburger in the bottom of a 9 by 13 baking dish.

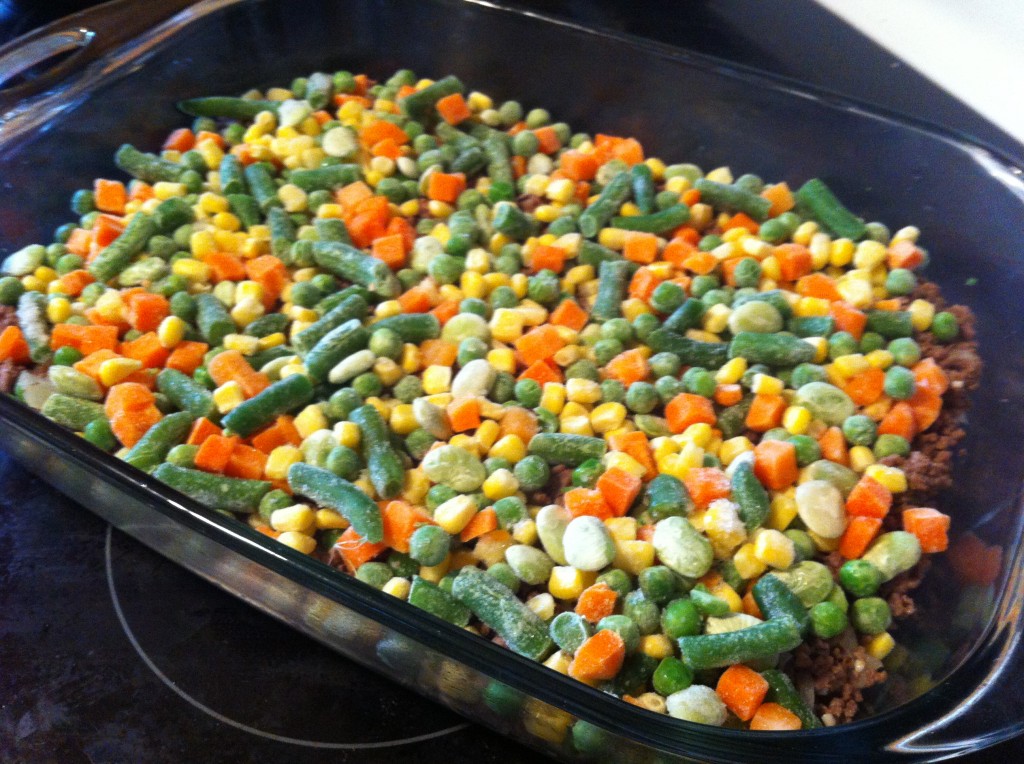
Layer the frozen vegetables on top of the hamburger.

You will use two cans of cream soup.

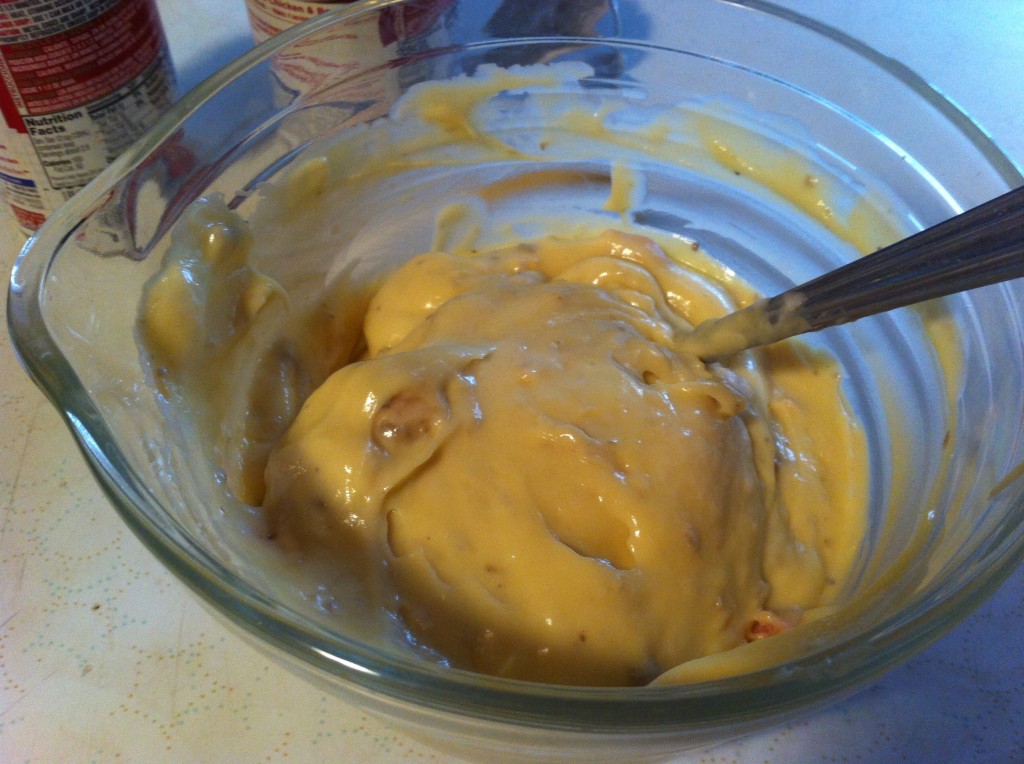
In a bowl, mix the cream of mushroom and the cream of chicken soup together.

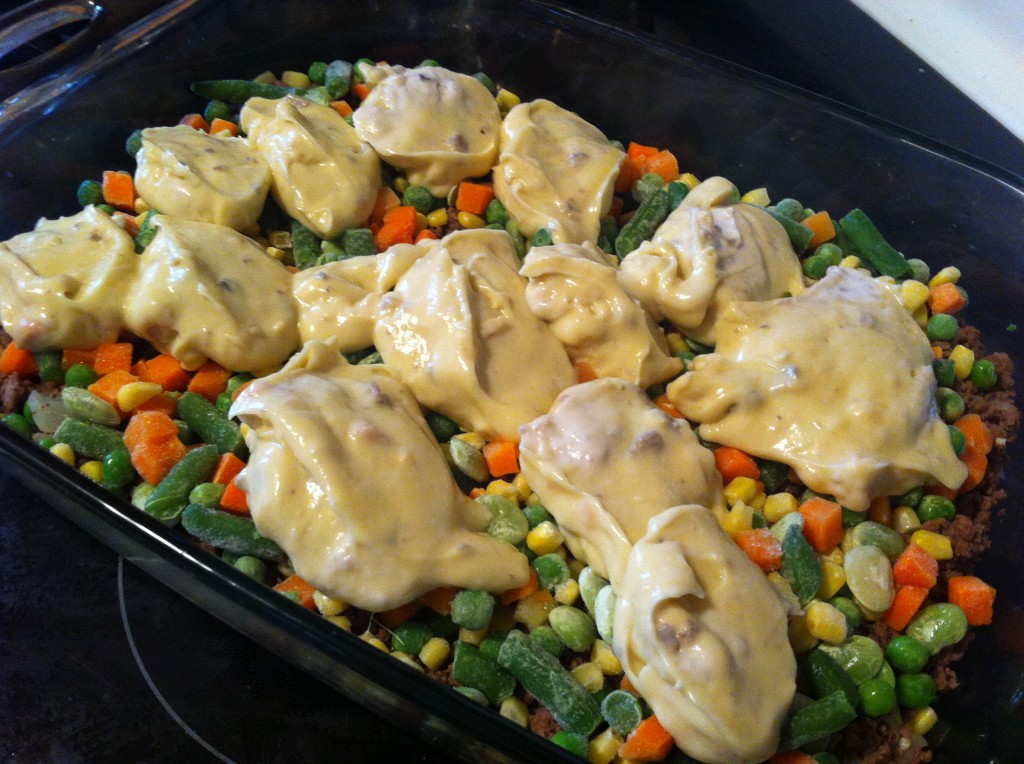
Evenly spoon the cream soup over the vegetables.

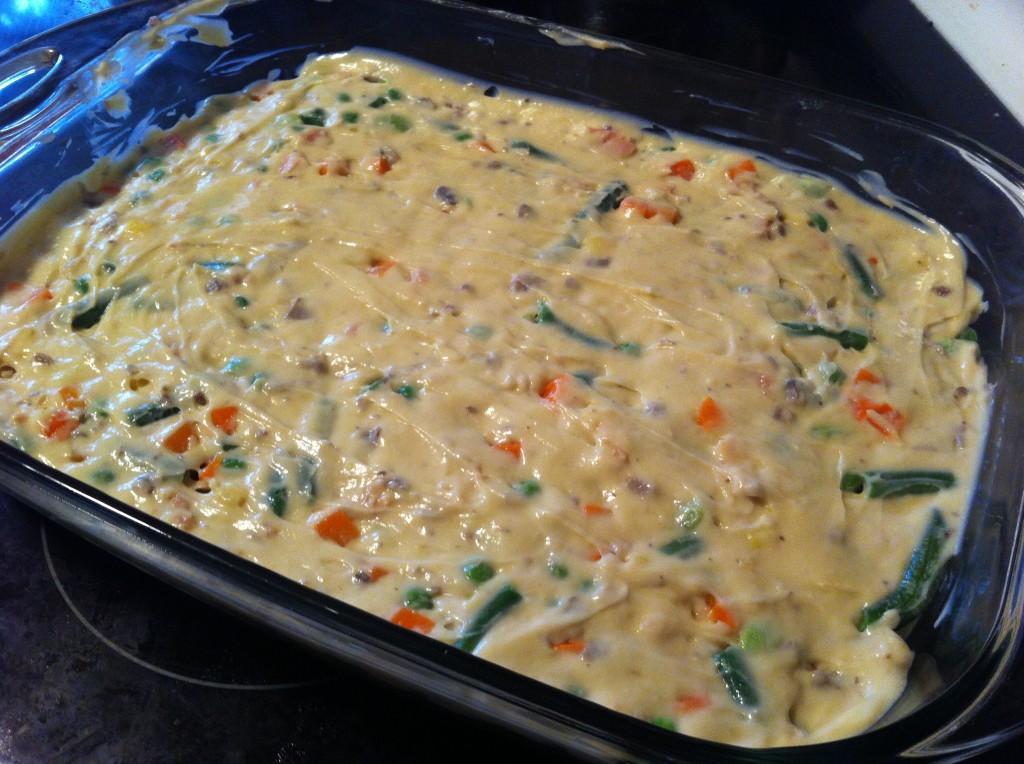
Spread the soup over the frozen vegetables.

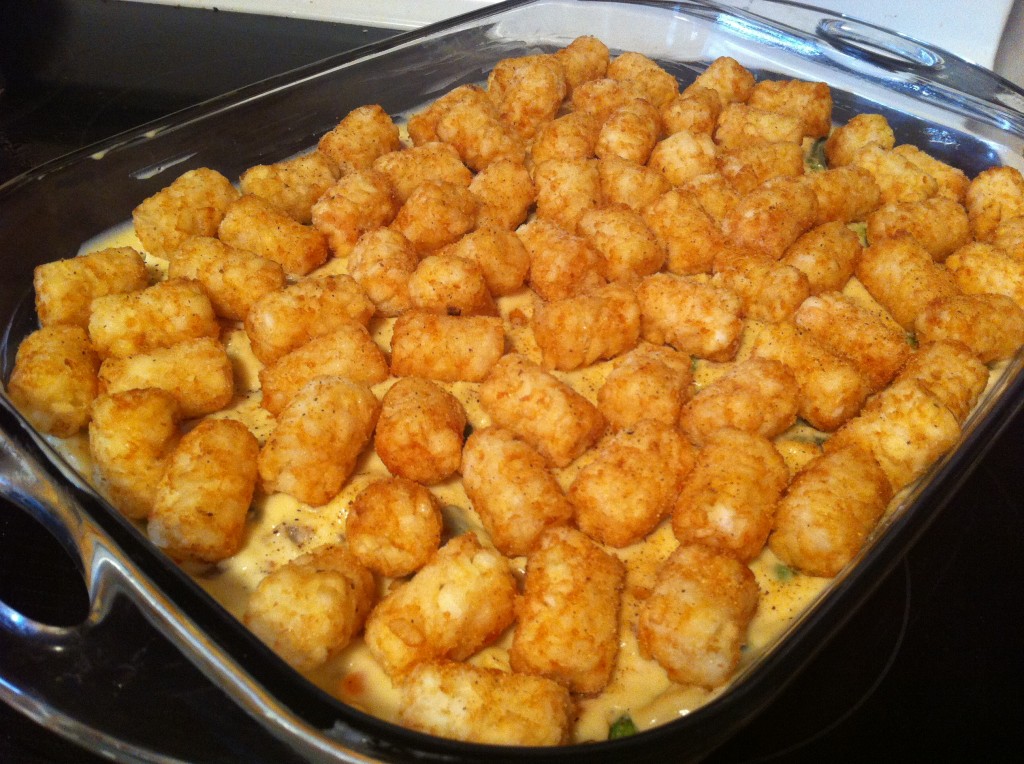
Layer tater tots on top of the soup.

Bake in the oven at 350 degrees until the tater tots are brown the layers are bubbling together.

You can serve it just like this with out cheese or………….

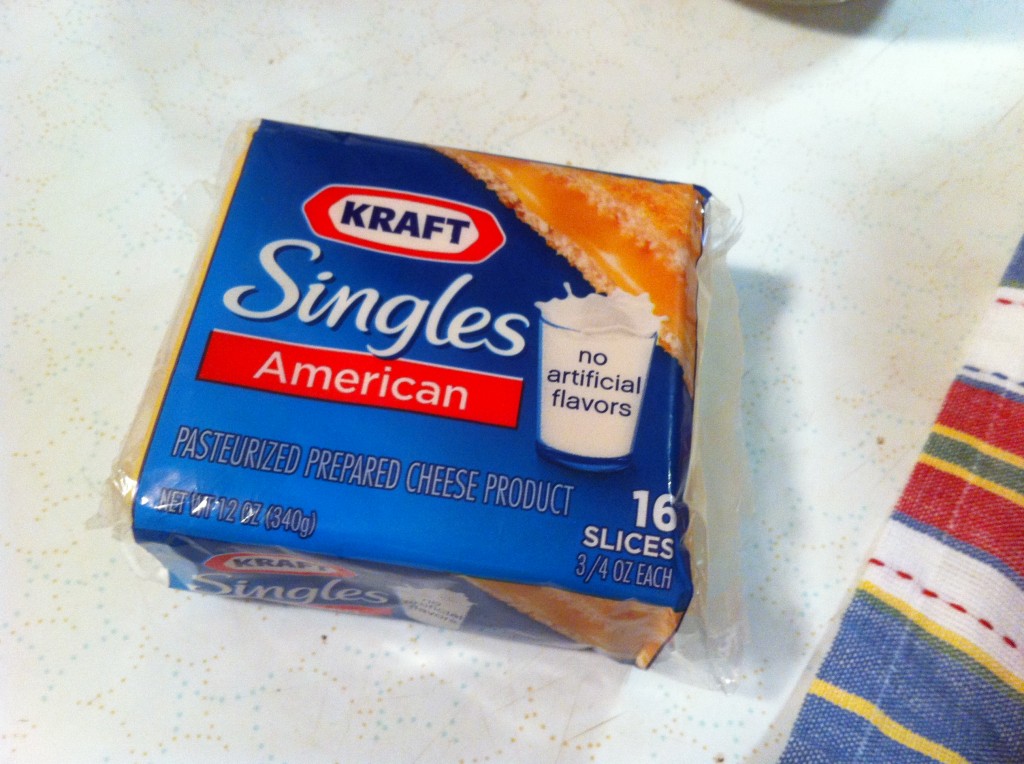
You can get out your favorite slice cheese.

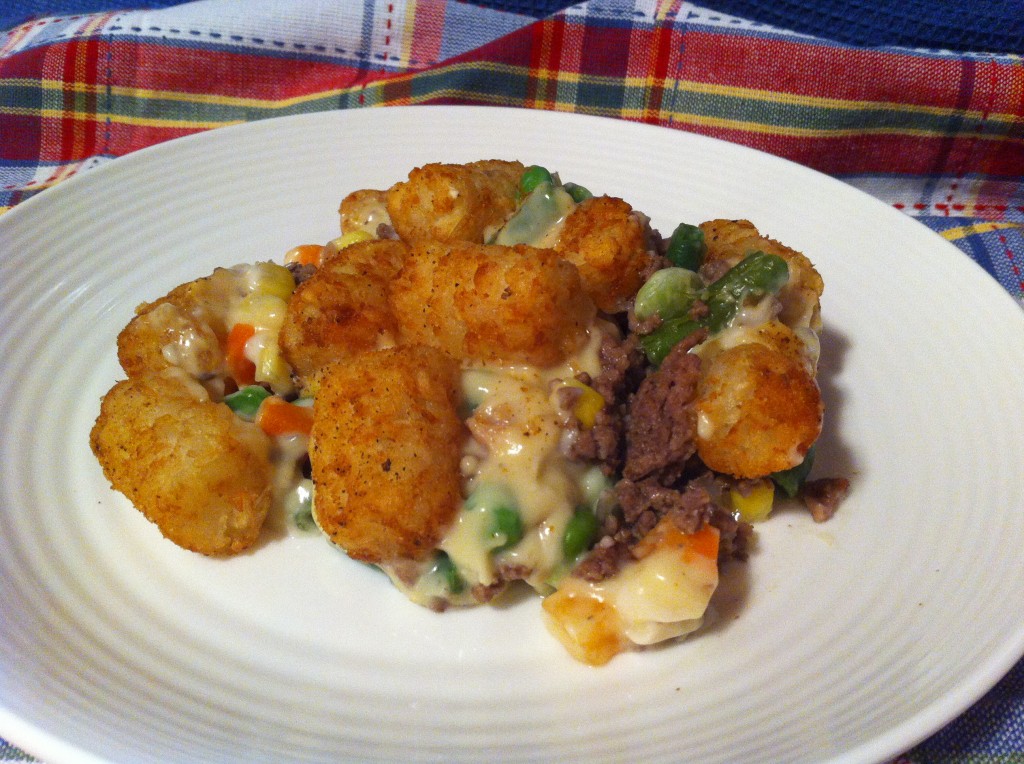
And lay the cheese on top to melt. Then dig in. It is a complete meal in one.

Easy Peasy Nice and Easy!

Here is the recipe:

Minnesota Hot Dish

Ingredients:

2 pounds of hamburger

1/2 chopped small onion

1 teaspoon of season salt

1 tablespoon of garlic

3 to 4 cups of mixed frozen vegetables (you can use 2 to 3 cans of different vegetables if that is what you have on hand)

1 can cream of mushroom soup

1 can cream of chicken soup

1 small bag of frozen tater tots.

Directions:

Brown the hamburger and drain the grease. Put the hamburger back in the frying pan and add the season salt, garlic and chopped onions. Fry until the onions are translucent.

Layer the hamburger in the bottom of a 9 by 13 pan. Sprinkle the frozen vegetables over the top of the hamburger. Mix the cream of mushroom and cream of chicken soup together in a small bowl. Spread the soup over the vegetables. Cover the soup with the tater tots. You should have 4 layers. Bake the hot dish in a 350 degree preheated oven until the layers are bubbling and the tater tots are brown and crispy.
This is a perfect recipe to make when you are busy and do not have a bunch of time to spend in the kitchen.
Enjoy!

Becky

Other post  you may enjoy!


Pistachio Bread                          Blackberry Blueberry Oat Cake             Molasses Cookies


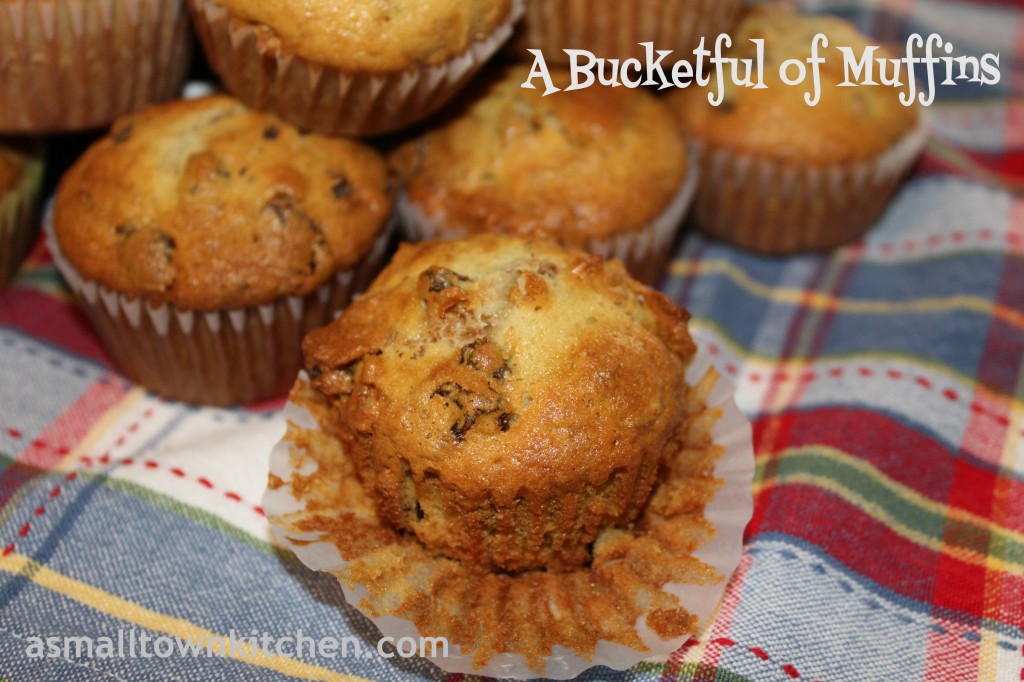
A Bucketful of Muffins

Have you ever had to cook for a crowd? Or just wanted to bake something that you could enjoy today and for later?

That is why I love to make these muffins.
When I had to start going to meetings before school, several of us teachers brought in enough goodies to feed all the teachers a nice breakfast. It is great to just hop in your car, drive to school, knowing that breakfast was there waiting for you. Yummy breakfast food to celebrate the start of school and to get you ready to go to all those FABULOUS meetings….. : ). One of the things that I made to share were these terrific muffins. They are full of raisin bran cereal and extra raisins. I love them so much, I made a batch for home and shared with Niener Wiener and Jeanie Beanie. I froze the rest in the freezer. All I had to do was pull a muffin out and microwave it for breakfast. It was like eating a fresh baked muffin. If you would rather bake a few of the muffins at a time, you can do that too. Just put the batter in the refrigerator and bake a few at a time. The only trick is that you do not stir the muffin batter after it goes into the fridge because it breaks down the cereal.

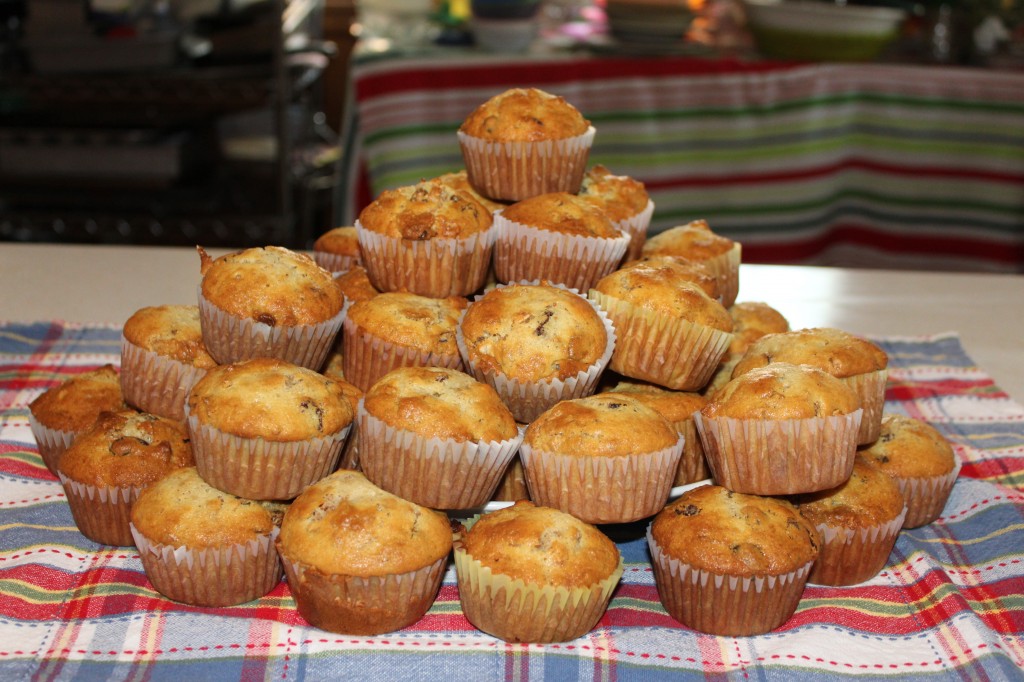
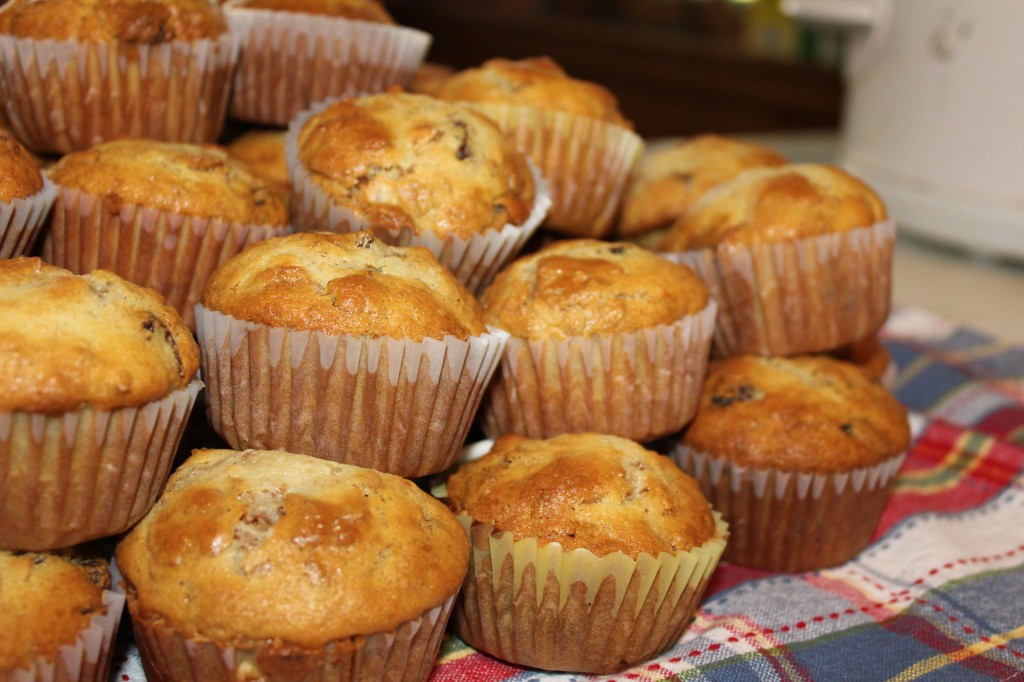
See, it really does make a bucket full of muffins!

Lets get started!

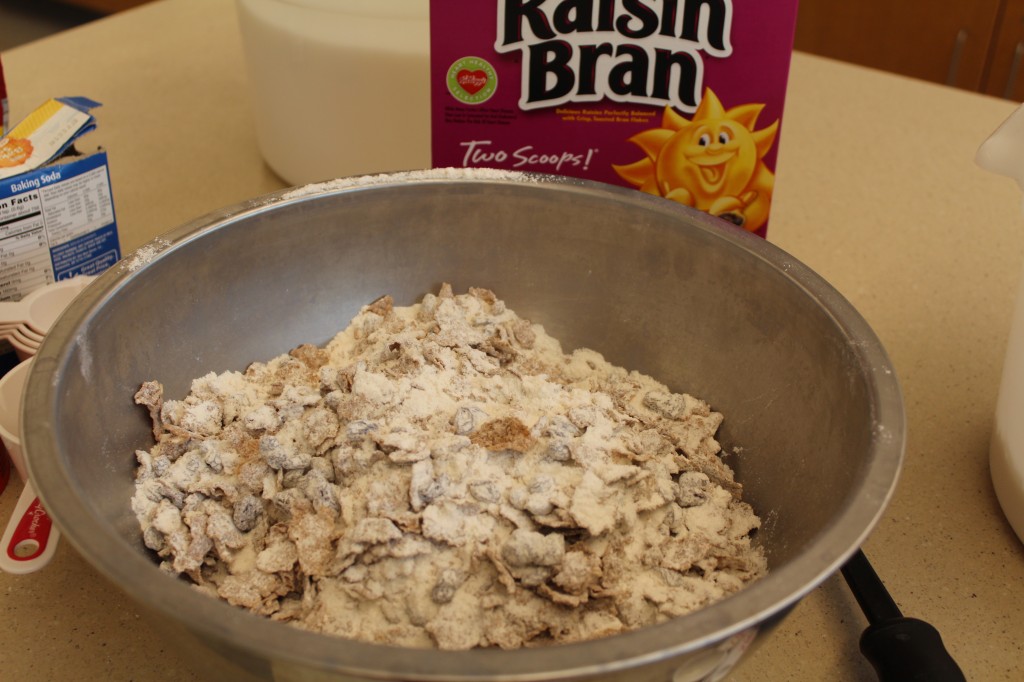
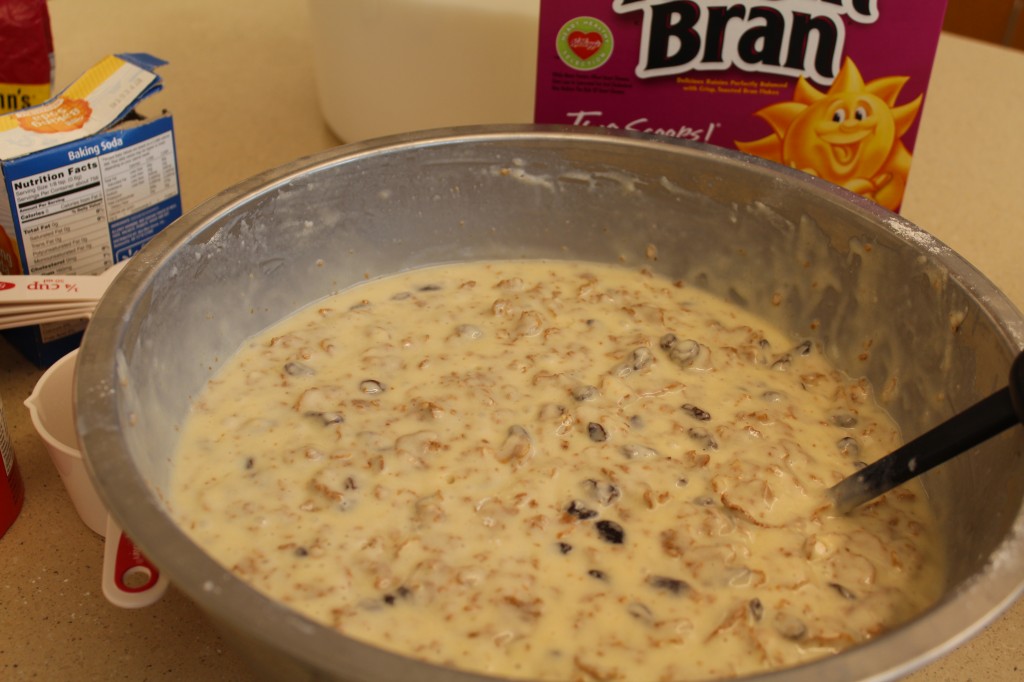
Can you tell I am making these at school? First thing you do is put all the dry ingredients together. This includes the flour, raisin bran cereal, sugar, more raisins, baking soda and salt.

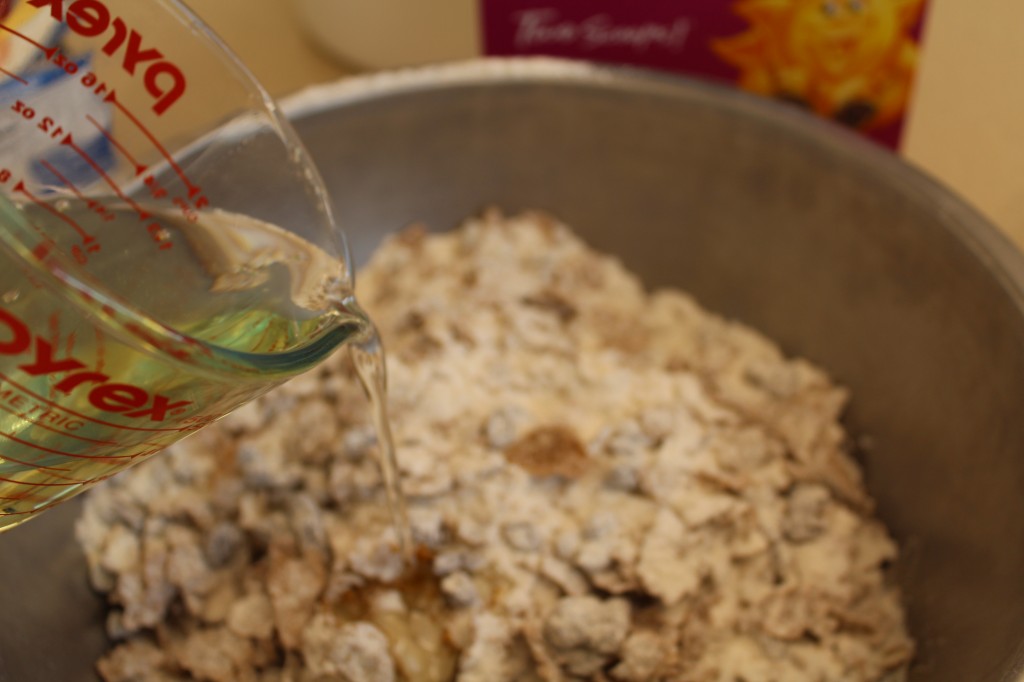
Add the oil.

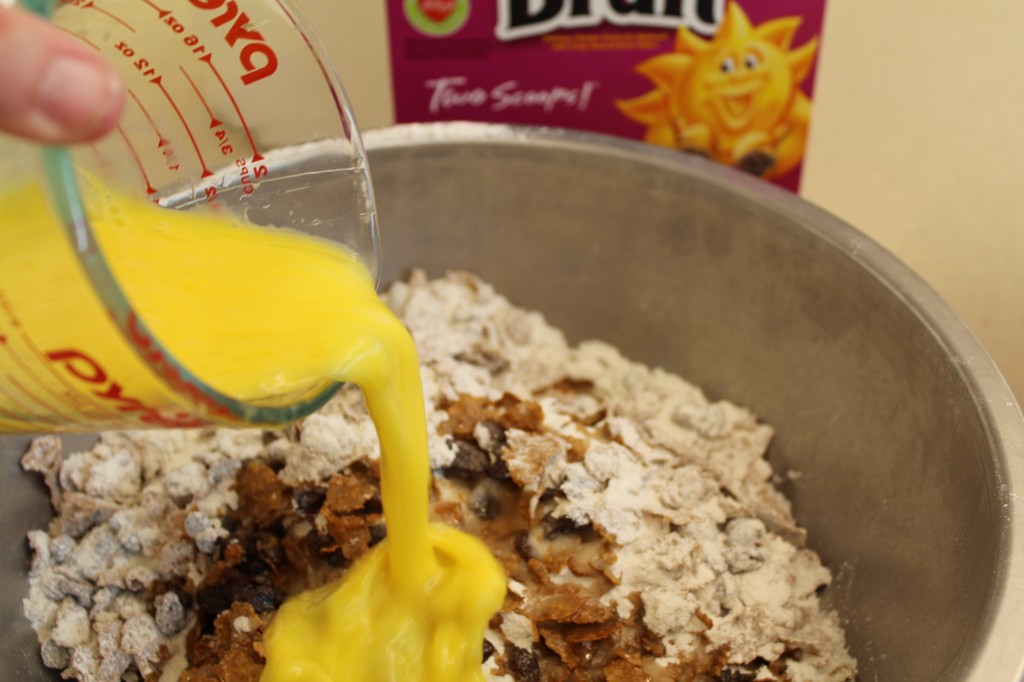
Add four beaten eggs.

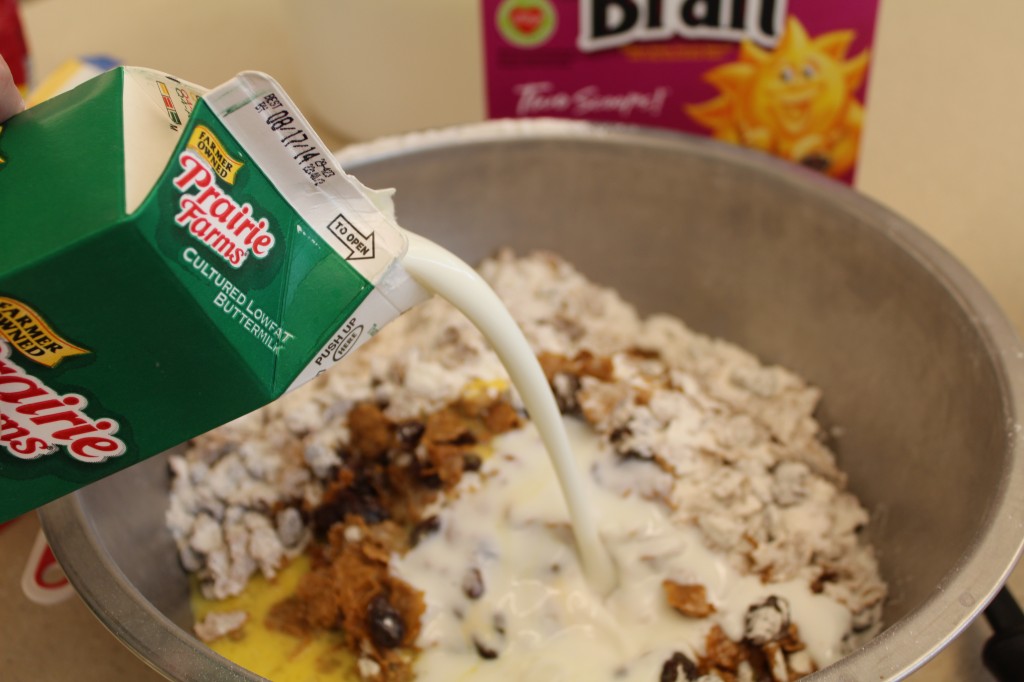
Add a whole quart of buttermilk.

Mix together, but do not over mix because it will break down the raising bran cereal.

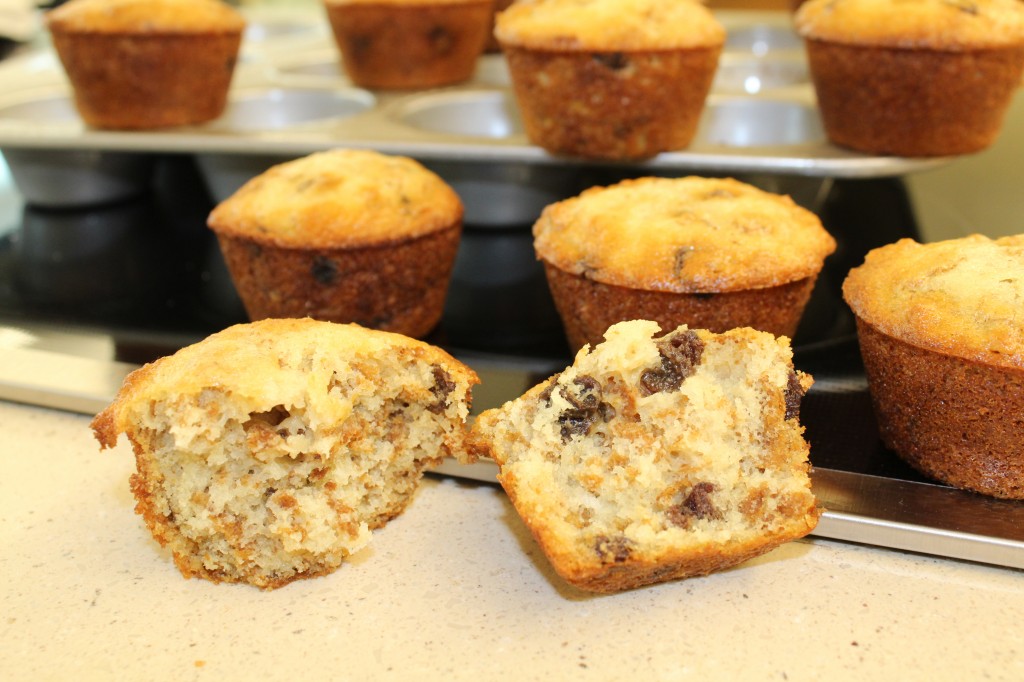
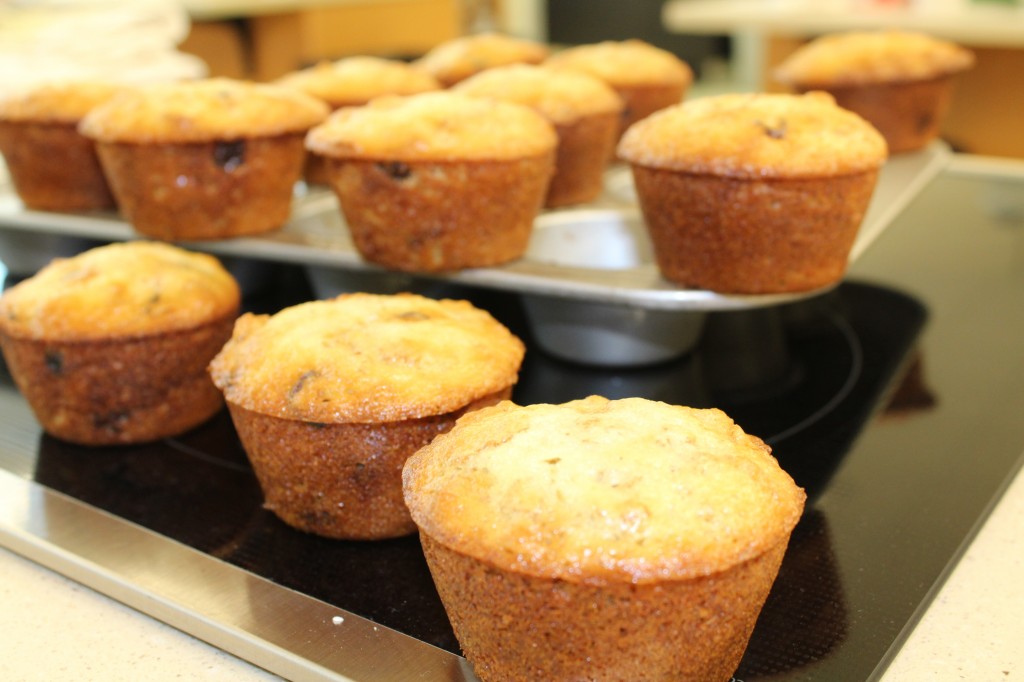
Bake muffins for 15 to 20 minutes in a 400 degree oven. I love the bits of cereal through the muffin.

The recipe says that the batter will last in the fridge for 4 weeks. If you can make yourself wait that long before eating all of them.

As you can tell I made the whole batch!

These muffins are moist and dense at the same time. I love all the raisins!

Hope you do too!

Becky

Here is the recipe:

Bucketful of Muffins

Adapted from a old church cookbook I found at Salvation Army

Ingredients:

Dry Ingredients:

1–15 ounce box Raisin Bran Cereal

5 teaspoons of baking soda

5 cup of all purpose flour

2 teaspoons salt

2 cups of raisins

3 cups of sugar

Wet Ingredients:

4 beaten eggs

1 cup of vegetable oil

1 quart buttermilk

Directions:

Mix all the dry ingredients in a very large bowl. Mix well. Add in the eggs, oil and buttermilk. Stir together but do not over mix and break down the cereal. If you are not baking all the muffins you can store in a covered container in the refrigerator. Do not stir any time after mixing the batter together.

Bake muffins as needed (or all of the batter like I did) in a 400 degree oven for 15 to 20 minutes.

Other post you may enjoy reading:


Taco Soup                                            Strawberry Bread                        Brown Sugar Meatloaf

Related Posts Plugin for WordPress, Blogger...