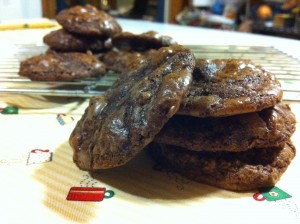
Praline Snickerdoodles

How is everyone?

If you live in central Missouri, I hope you are not floating down the Missouri River like Tom Sayer. : )

We have had so much rain lately maybe we all should be buying a boat. Not that I am complaining after the drought we had last summer. I am sure the ground is loving this rain.

One of the things that I love to do when it is stormy outside (since I can’t go outside and plant my seedlings) is to spend some time in my kitchen baking something yummy.

I noticed this recipe a few weeks ago while I was looking through that Brownies and Bar magazine that I made those yummy Banana Bars and the  Chocolate Shortcake Brownie with Macaroon from. This recipe really got my attention because my son the  Super Hero  loves snickerdoodles. The praline part sounded really pretty good too.

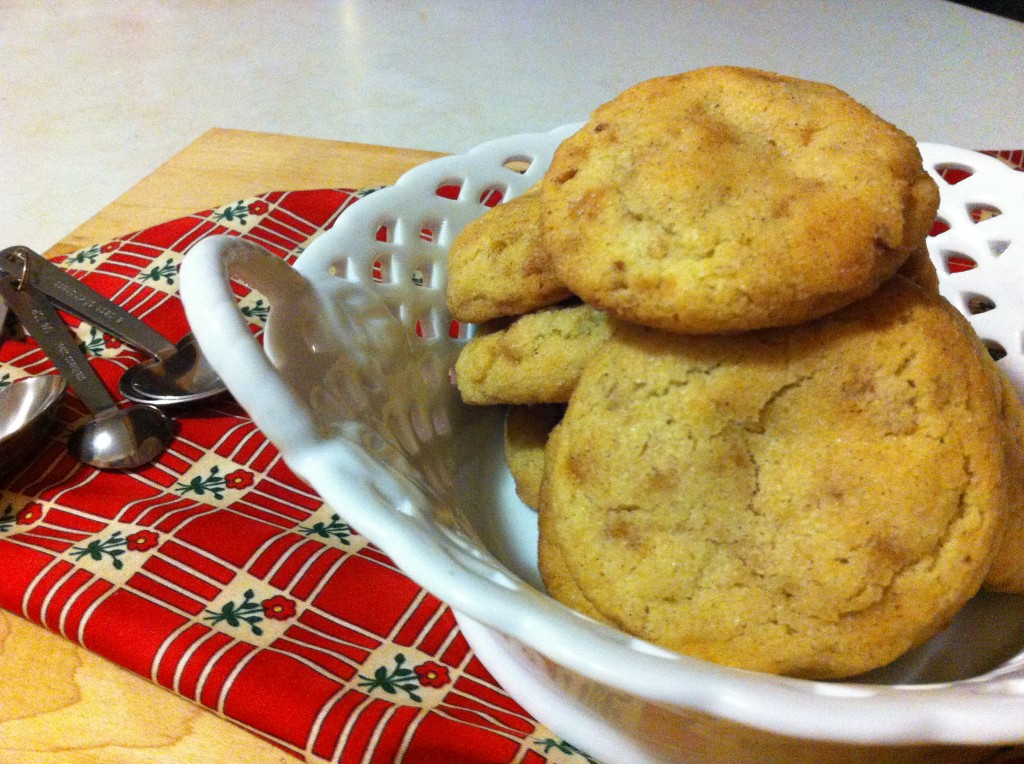
So anywho, the other night when it was raining outside I made these sinfully chewy cinnamony cookie.

They are easy to whip together. Just allow an extra hour for refrigeration to chill the dough and then they will be ready to pop in the oven.

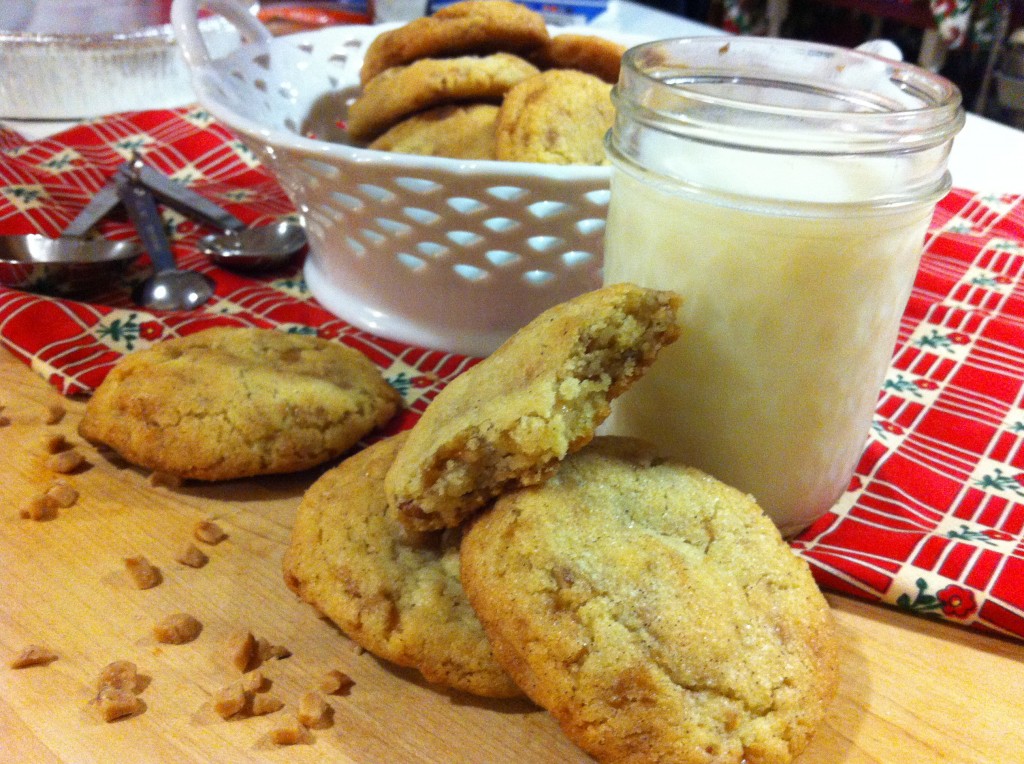
Warning: These cookies are highly addictive. Do not eat them right out of the oven while they are warm, with milk, if you plan on having any cookies left over.

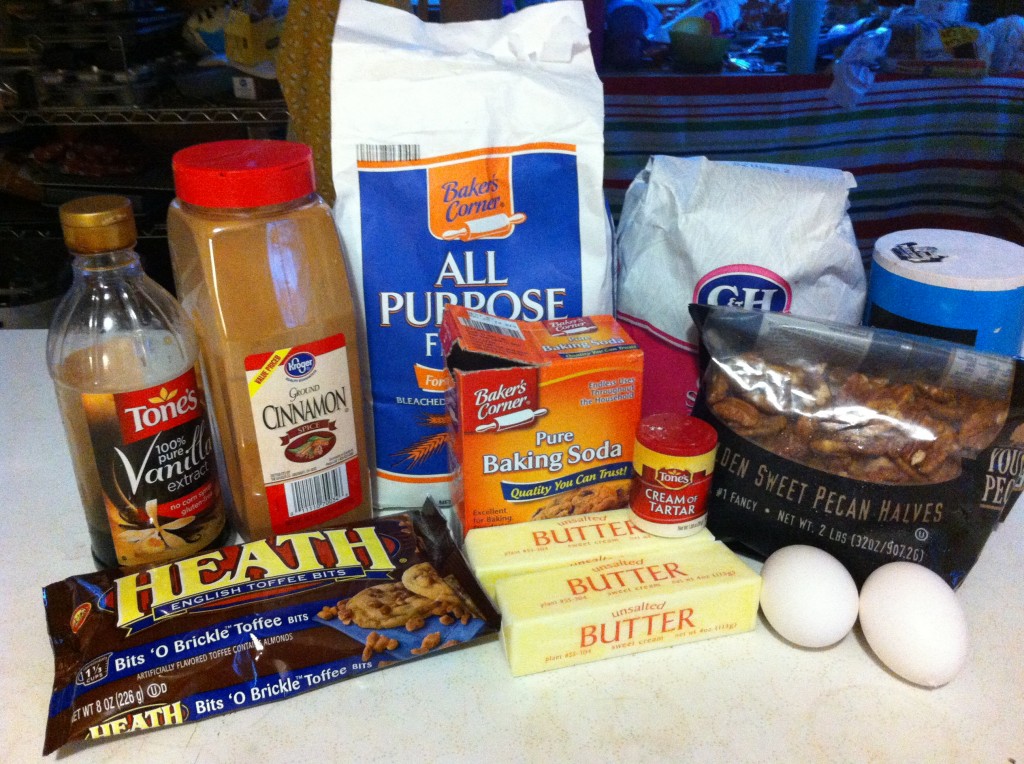
Here are your step by step instructions:

Suprise…..they have pecans in them too.


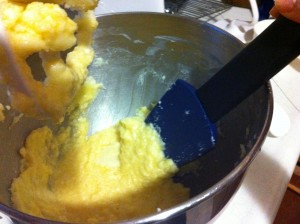
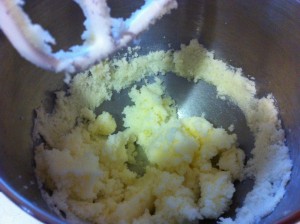
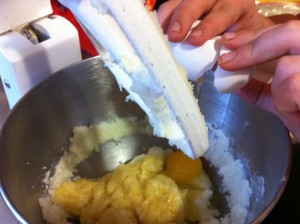
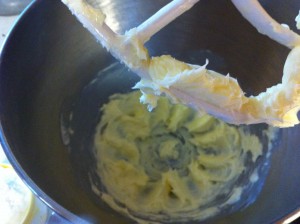
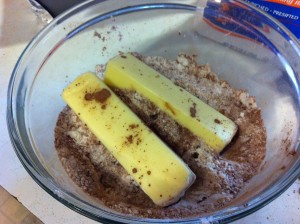
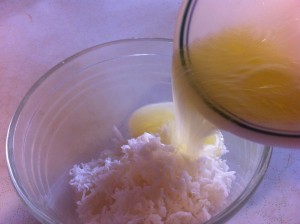
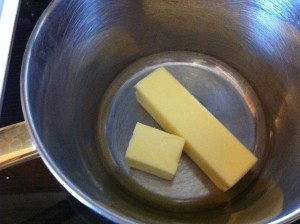
In a large mixing bowl put in 2 sticks of soften butter and cream.

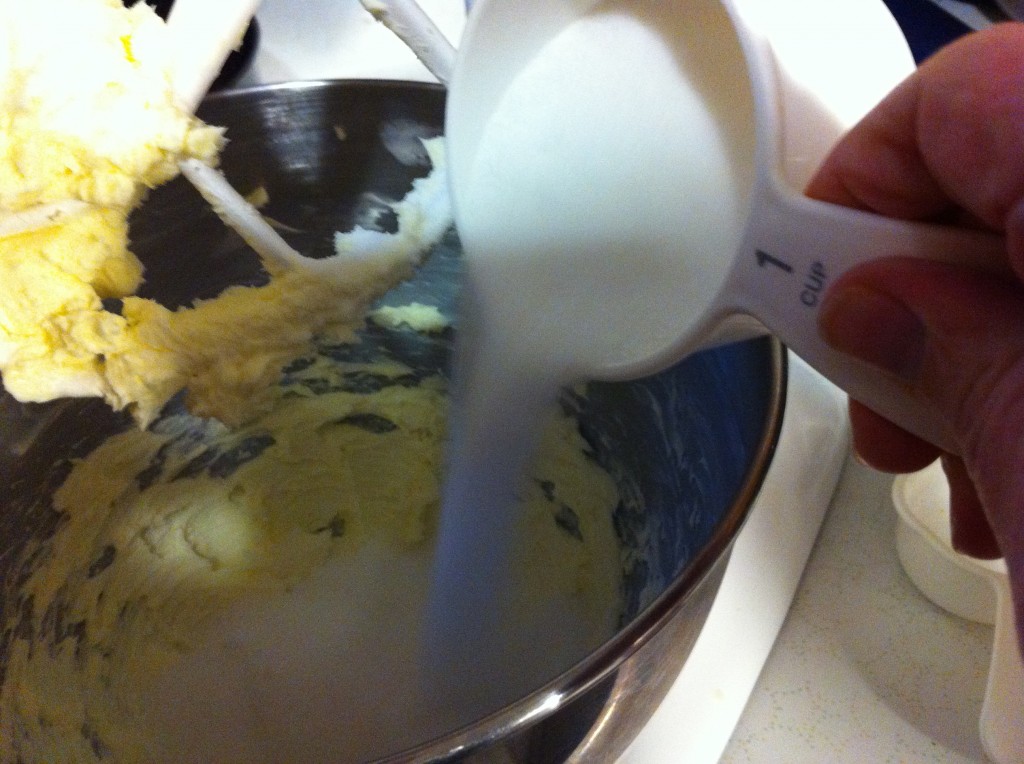
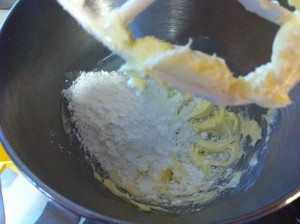
Add the sugar. Cream the sugar and butter together.


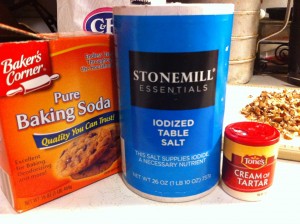
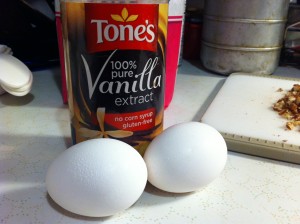
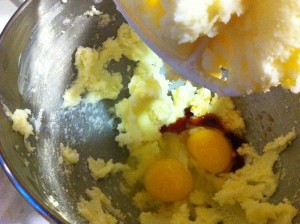
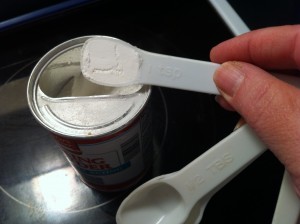
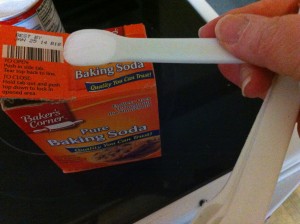
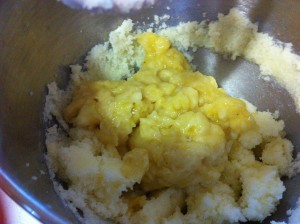
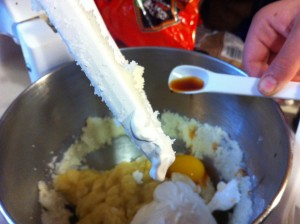
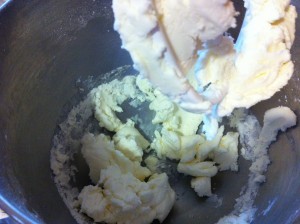
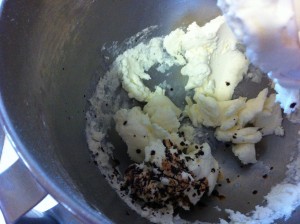
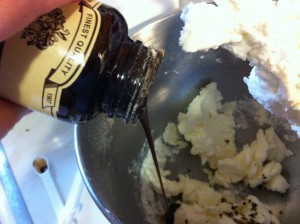
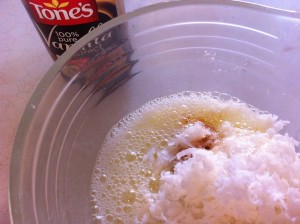
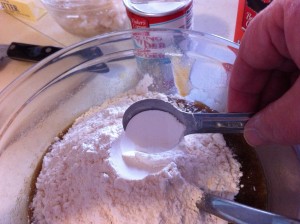
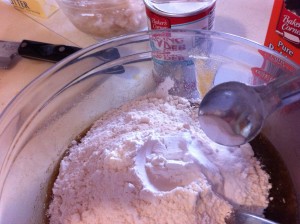
Next add the baking soda, cream of tartar and salt to the creamed butter mixture. Then add in the vanilla and two eggs.


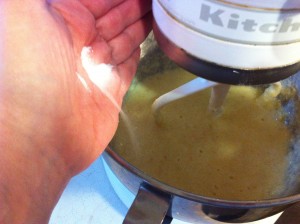
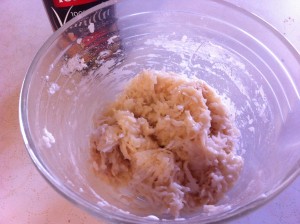
After  you add the eggs and mix, be sure to stop and scrap the bowl several times.

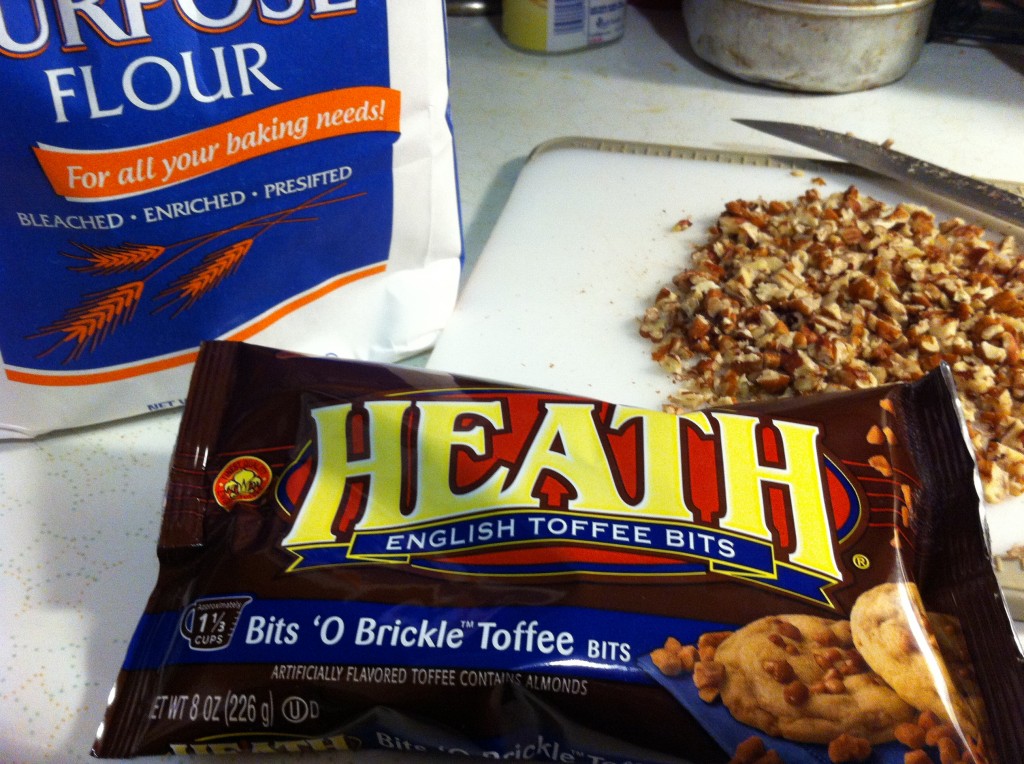
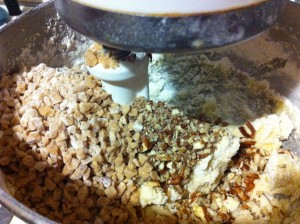
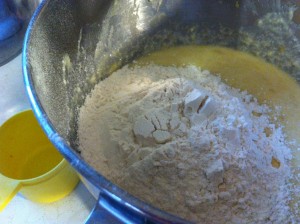
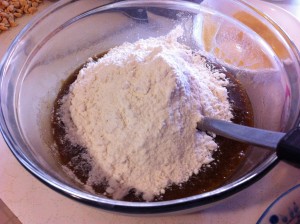
Now that the butter, sugar and eggs are all cream together it is time to add the flour, chopped pecans and those yummy toffee pieces.


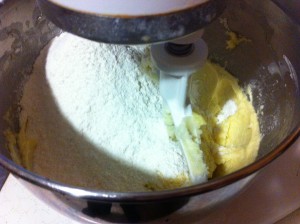
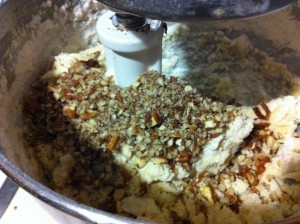
Add the flour and the chopped nuts.


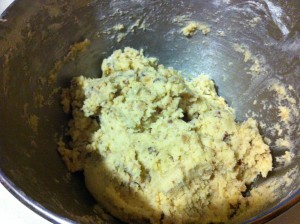
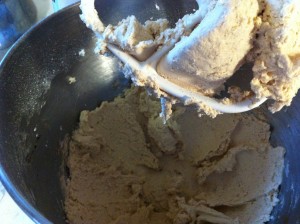
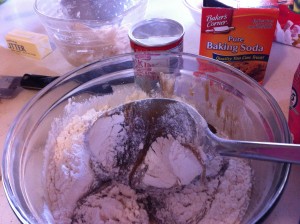
Add the toffee pieces and using the mixer combine all the dry ingredients without over mixing. Place the dough in the refridgerator for one hour.

Preheat the oven to 375 degrees.


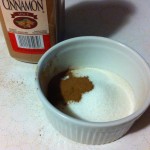
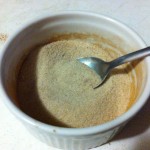
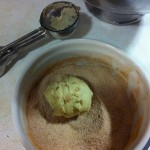
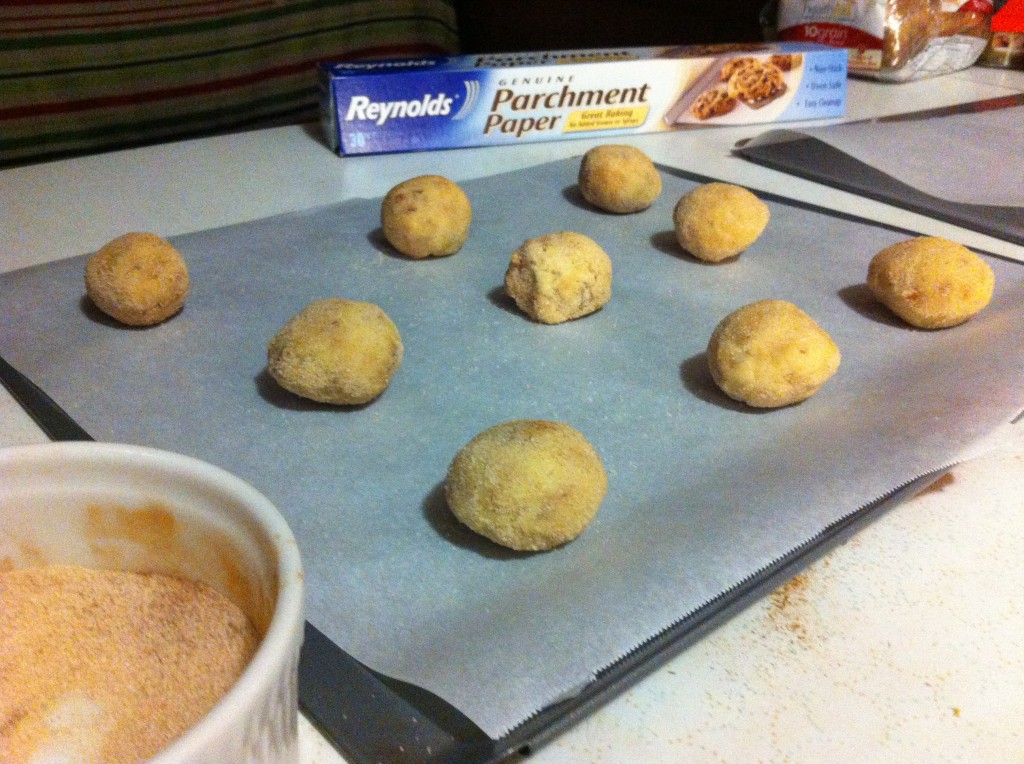
In a small bowl mix 1/4 cup of sugar and 1 teaspoon of cinnamon together. After the dough has chilled, scoop out 2 inch balls and roll into the cinnamon sugar mixture to coat.

Place the scoops of cinnamon coated dough onto a parchment lined cookie sheet.

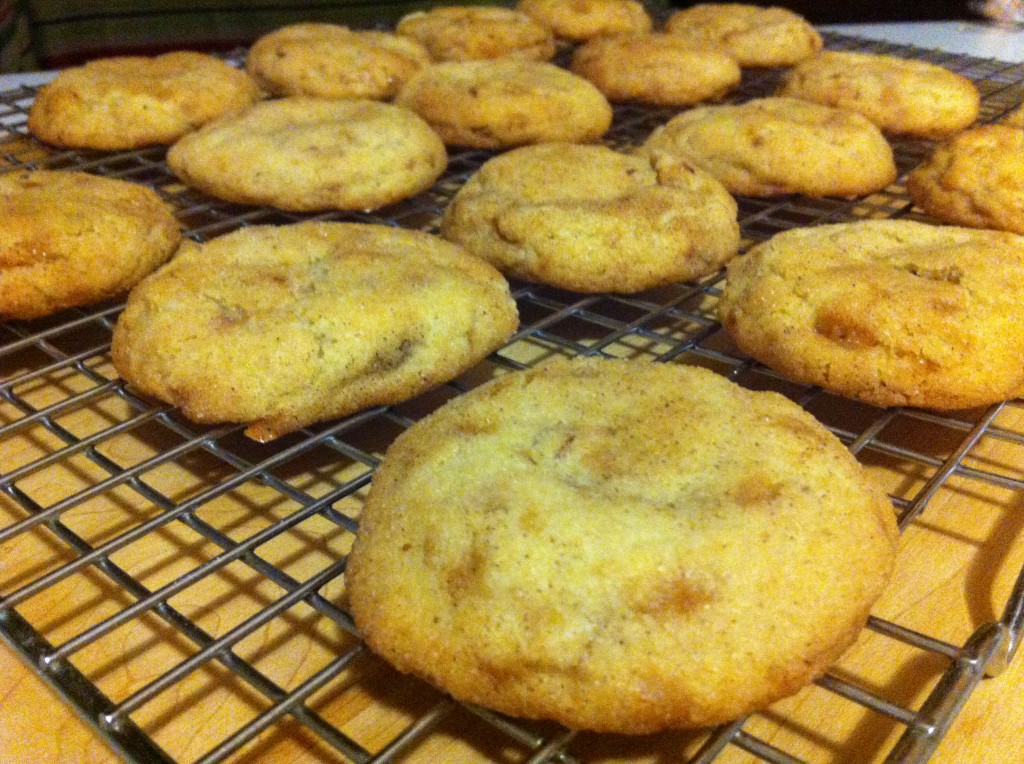
Bake in a preheated 375 degree oven for 9 to 10 minutes. Do not overbake. Bake just until the outside edge starts turing brown.

I ate one while the cookie was still warm right out of the oven….OH. MY.

I told the Super Hero to try one. OOOPS….I forgot the Super Hero does not like nuts.

This means only two thing.

It means that I will have to make a batch without the nuts for him.

AND it means more cookies for me.

My BAD.

Here is  your recipe;

Praline Snickerdoodles

Adapted from Better Home and Garden

Ingredients:

1 cup soften butter

1 and 1/2 cup sugar

1 teaspoon cream of tartar

1 teaspoon baking soda

1/4 teaspoon salt

2 eggs

1 teaspoon vanilla

3 cups all purpose flour

1 cup almond toffee bits

1/2 cups chopped pecans

Cinnamon Sugar Topping

1/4 cup sugar

1 teaspoon cinnamon

Directions:

In a large mixing bowl cream the soften butter. Add the sugar and cream together. Add the cream of tartar, baking soda and salt. Beat until combined. Be sure and scrap the bowl down several tims. Beat in the eggs and vanilla until combined.

Add the flour, chopped pecans and toffee bits to the creamed butter and sugar mixture. Mix in the dry ingredients with the mixer until all the ingredients are combined. Do not over mix.

Chill the dough for one hour.

Preheat the oven to 375 degrees.

While the dough is chilling, make the cinnamon sugar coating. In a small bowl stir together the sugar and cinnamon.

When the dough is chilled, scoop out 2 inch balls of dough and roll each one in the cinnamon sugar mixture to coat.

Place on a parchment lined cookie sheet and bake for  9 to 10 minutes until the edge just starts to turn brown. Do not over bake.

Cool on a cooling rack.

Makes 2 dozen cookies.

Enjoy!

Becky

Here is some post you may enjoy reading : D
Buttermilk Chocolate Cookies

Grocery Budget Update

Whew where has the time gone?

I have not posted a budget update in three weeks.

You might have remembered me mentioning I was pretty sick for a couple of weeks with a pretty bad sinus infection.

That was when the blur started.

Yes, the blur.

The blur is when your life just goes by in a big blur.

I not sure what I did, what I bought and where I went.

I know I manage to go to work and to my part time tutoring job. The house is not burnt down, so I am assuming I turned off the oven. If I cooked. I don’t remember cooking too much.

Anywho, I did go back through my bank account to see exactly what I did buy and try to make some sense as to where I am in my grocery budget.

So, let’s see if we can figure it out.

On March 24th I had $320.61 in my budget.

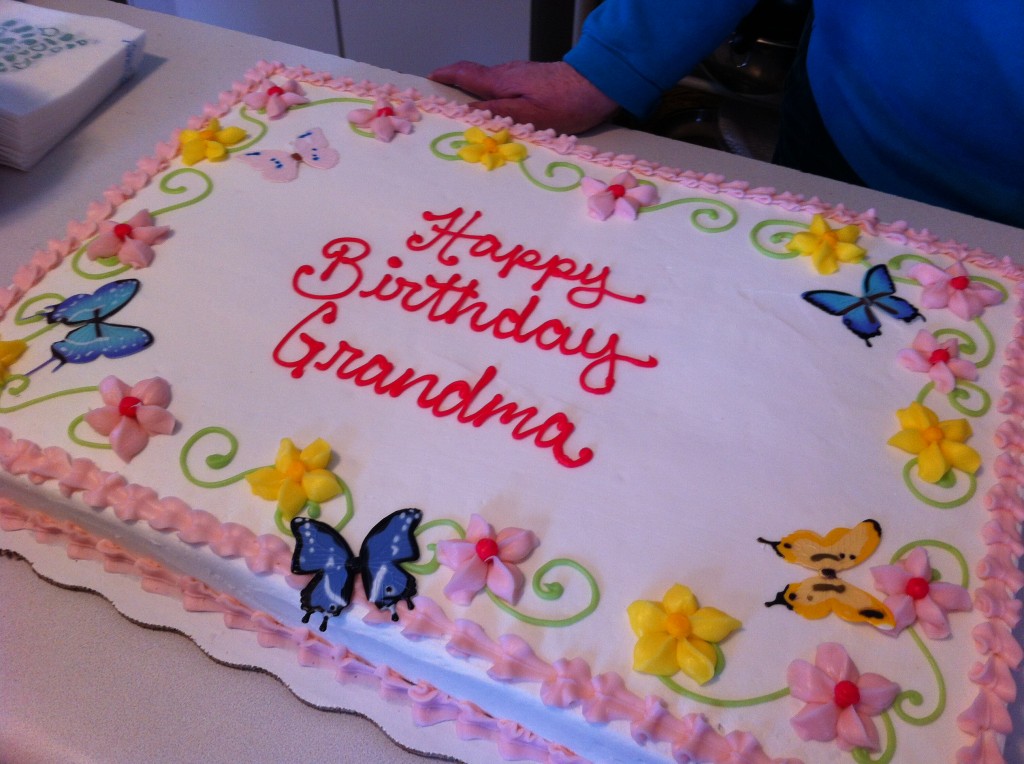
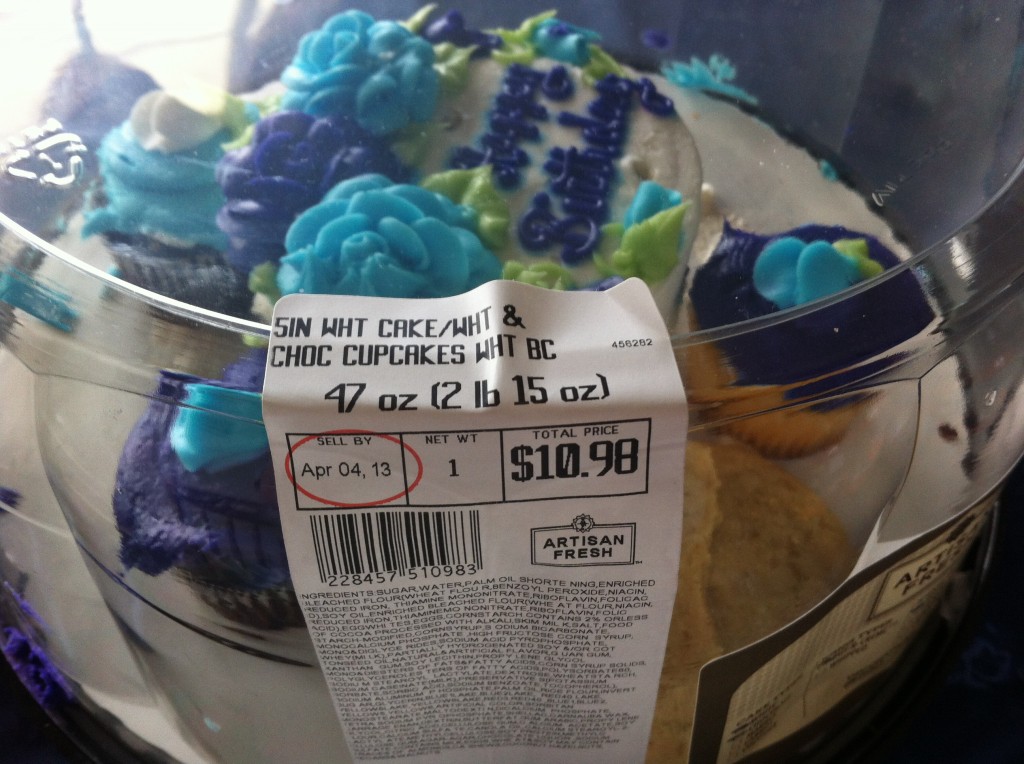
I bought two birthday cakes and some potato salad and coleslaw for Easter and birthdays.

I spent a total of $60.49

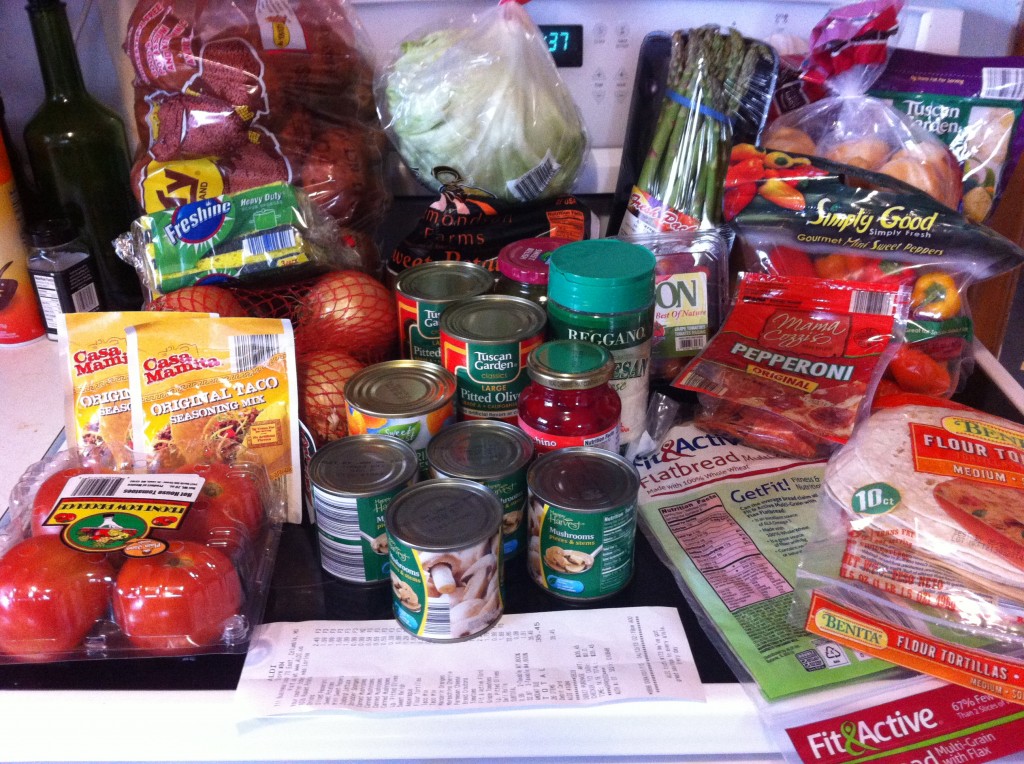
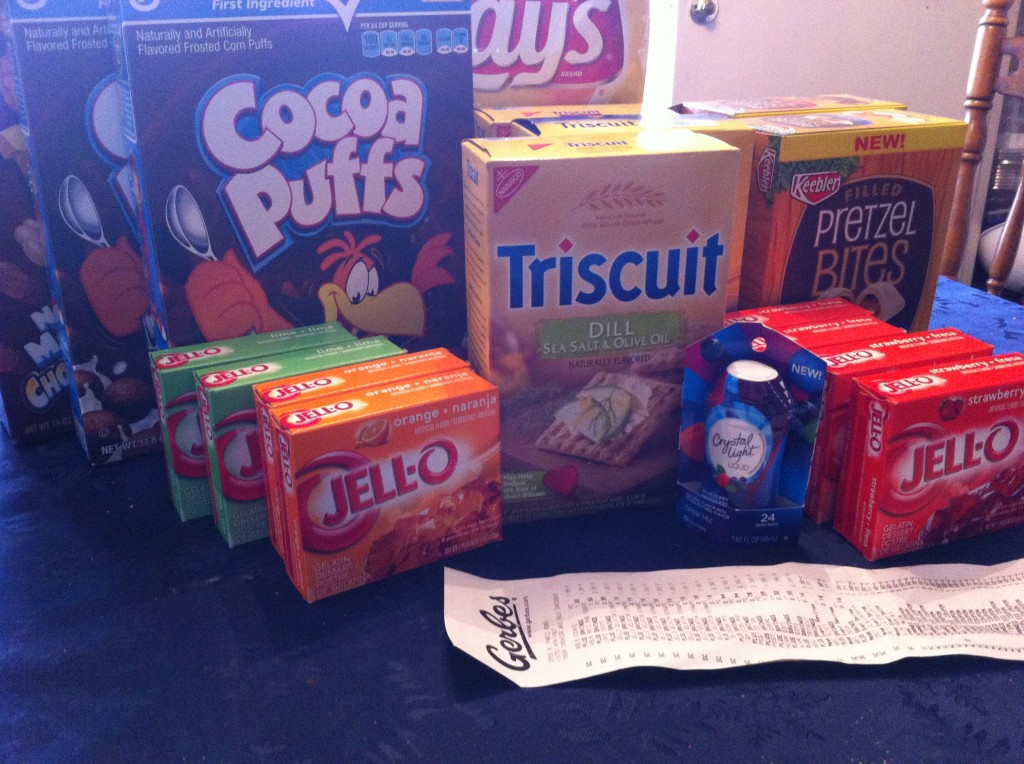
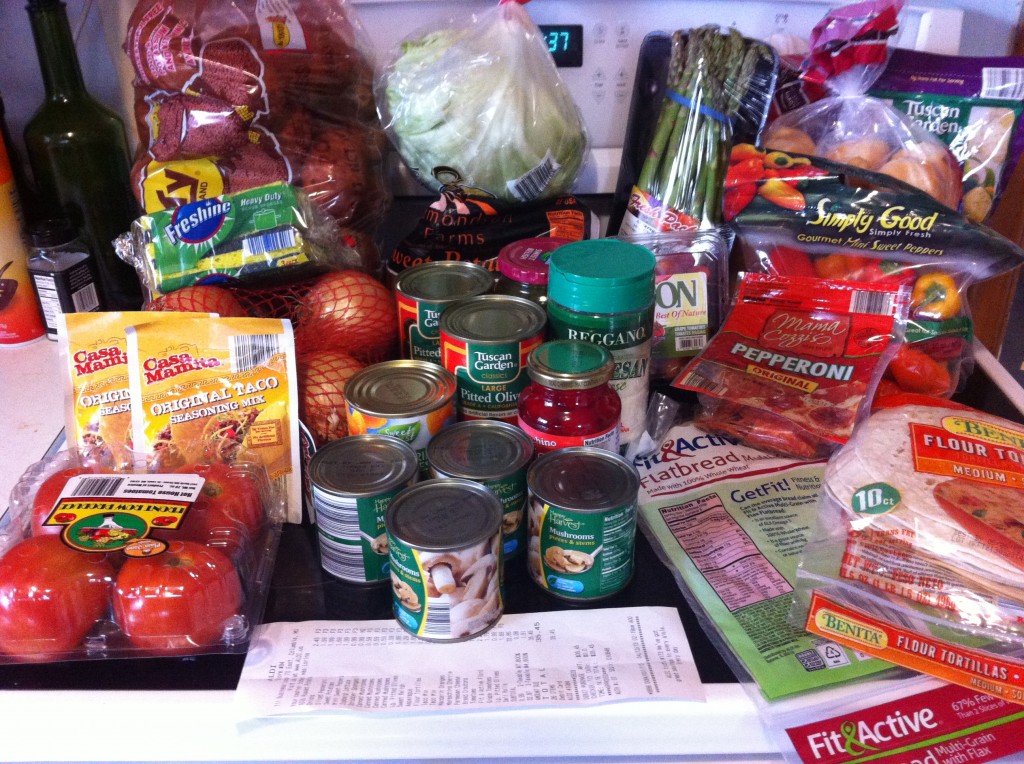
I had several purchases from Gerbes. This is a partial picture of what I bought. (I ate one box of cereal and the free gallon of milk I got free when I bought 4 boxes of cereal.) It is also missing some potato chip dip and a couple of packages of the new Crystal Light liquid water flavoring. (I used it up too while I was at school).

Here are my purchases:

$21.97

$6.93

$14.04

$8.02

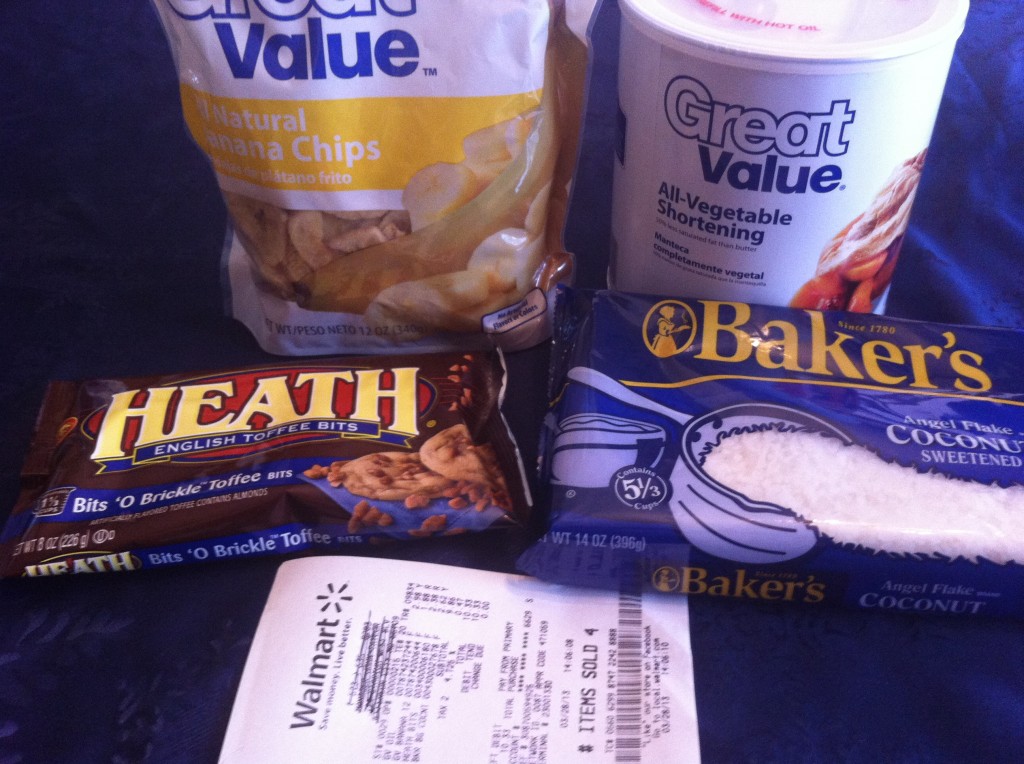
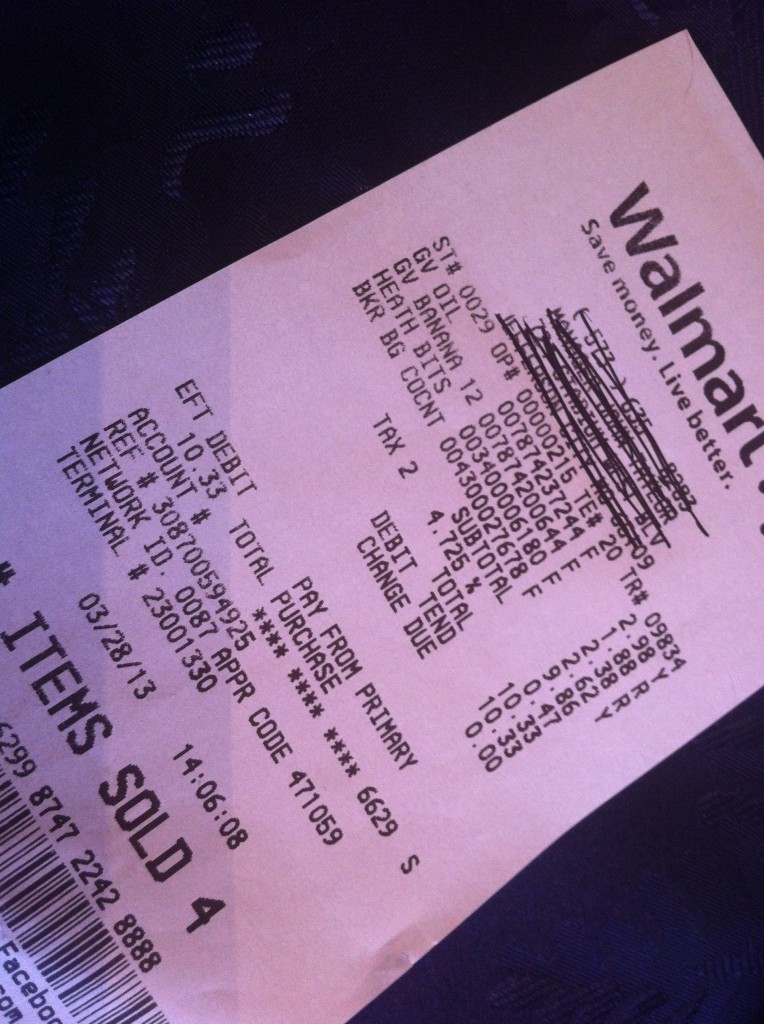
Here is my shopping trip to Walmart for $10.33

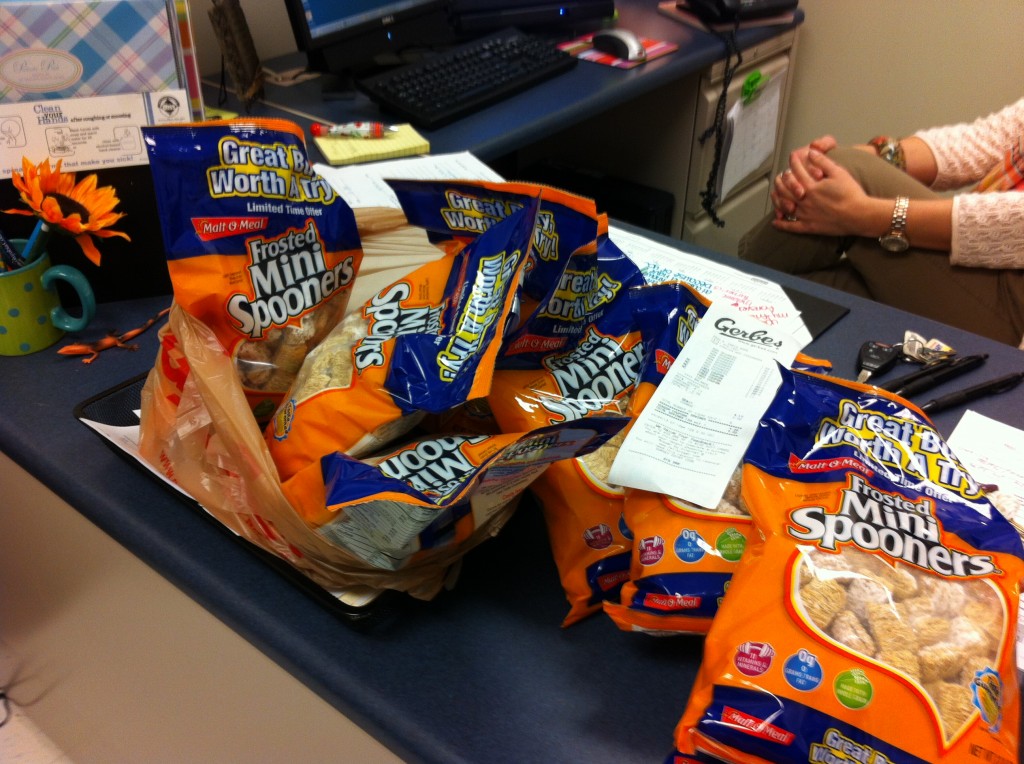
Here is a little shopping trip to Gerbes. I bought these cereals for .50 cents a bag with BOGO coupons when the cereal was on sale for $1.00. I donated the 6 bags to the nurses office for snacks to very hungry students.

$3. 24

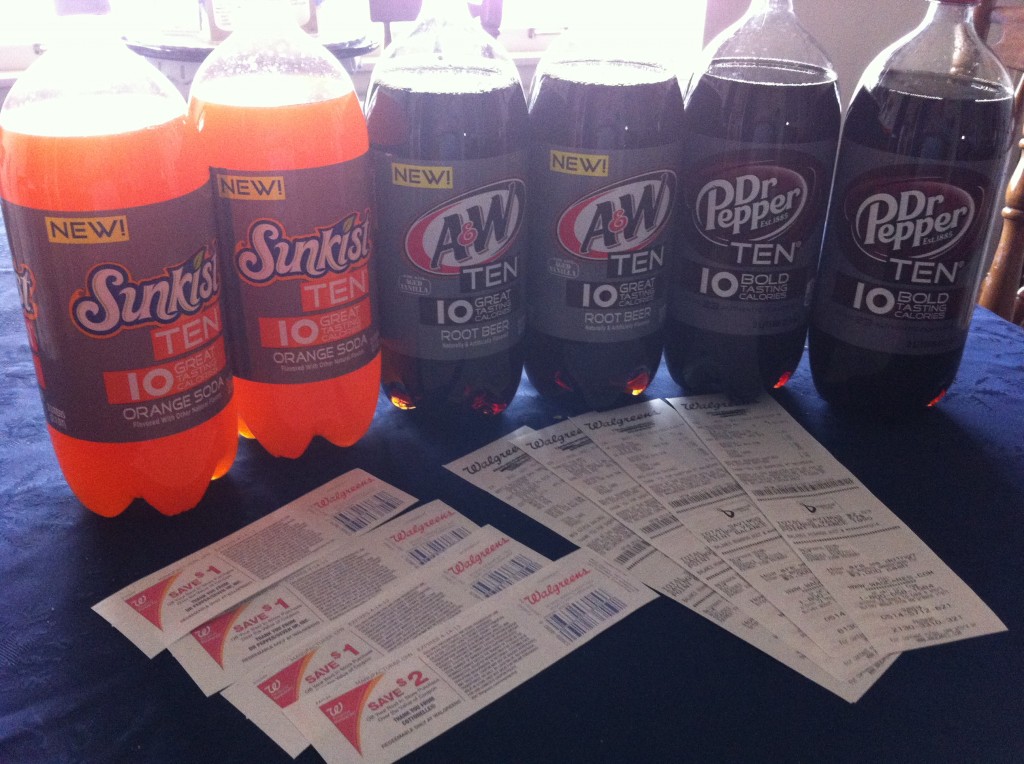
I bought this soda at Walgreens and got back $5.00 in register rewards. So soda ended up being around .25 cents a two liter bottle.

Walgreens:

$1.23.

$1.51

$1.30

Yesterday, I went to Aldis to get some salad and sandwich stuff


I did not have too much time to coupon this weekend because I was working on Oldest Grand girl a costume for her Choir concert later this week. Aldi’s is a great place to pick up essentials when you do don’t have time to cut coupons.

I spent $36.33 there.

I think that is it!!!

So lets see.

I started with $320.61

I spent a total of $165.39

On March 31 and on April 7th and 14th I could add $75.00 for each week.

So when I add my weekly budget and subtract what I spent my new total is $380.22

I am very thankful that my oldest daughter who does not cook bought a bunch of veggies, fruit, hamburger, some deli meat and a couple of rotisserie chickens while I was sick. I am sure my total would be a lot less if she had not jumped in.

I think I am pretty much on the mend.

Right now, just computer screen  is a blur……cause I don’t have my reading glasses on. : D Minerva if you are reading this, I am really trying to spell all my words right hehe.
How is your couponing going? Have you found any great deals out there?

Monday starts a new week of bargains!

Becky


Gardening Update


Guess what I bought a couple of weeks ago?

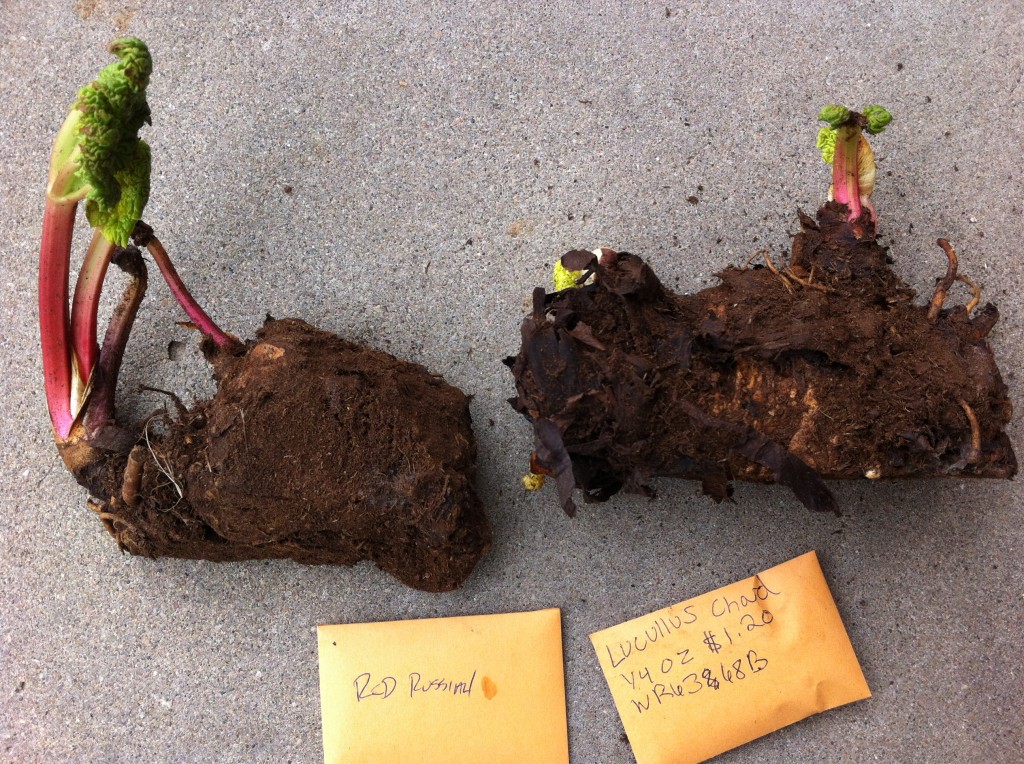
Does anyone out there recognise the green leafy and rooty plant?

It is really edible…I promise.

Have you heard of rhubarb?

Does strawberry rhubarb pie sound familiar?

Well anywho, even though I am a (somewhat) country gal I really do not remember eating rhubarb pie growing up. I think it is because I loved eating apple pie so much. After a couple of large slices of apple why would I want to eat some pie with a weird name like rhubarb in it….right???

I was wrong.

Yes, I will own it!

The first time I introduced my taste buds to rhubarb was in college. My foods teacher (yes the scary one) had us make a rhubarb spread for our biscuits. I feel in love with the tartness of the rhubarb stalks. I thought it was so amazing that you could cut the little stalks into chunks and cook them down with sugar and make this combination of sweet and tartness into a  spread for your biscuits or bread in 30 minutes.

Since then I have only made that spread a few times because I can’t find rhubarb stalks.

This year I decided to plant my own.

It only took me two weeks to find someplace local where I could buy the roots. I had to pay almost $8.00 for each chunk of roots.

Was that too much money???

I was told by local farmers that you usually can get the roots from a friend when they divide up their plants for free.

That is great when you have friends that have rhubarb growing in their garden. My friends perfer to plant things like tulips, iris, lilies and roses.

So, I went on a mission to find some rhubarb. I was at a point I would pay what ever price the store wanted.

Yes, I am crazy sometimes.

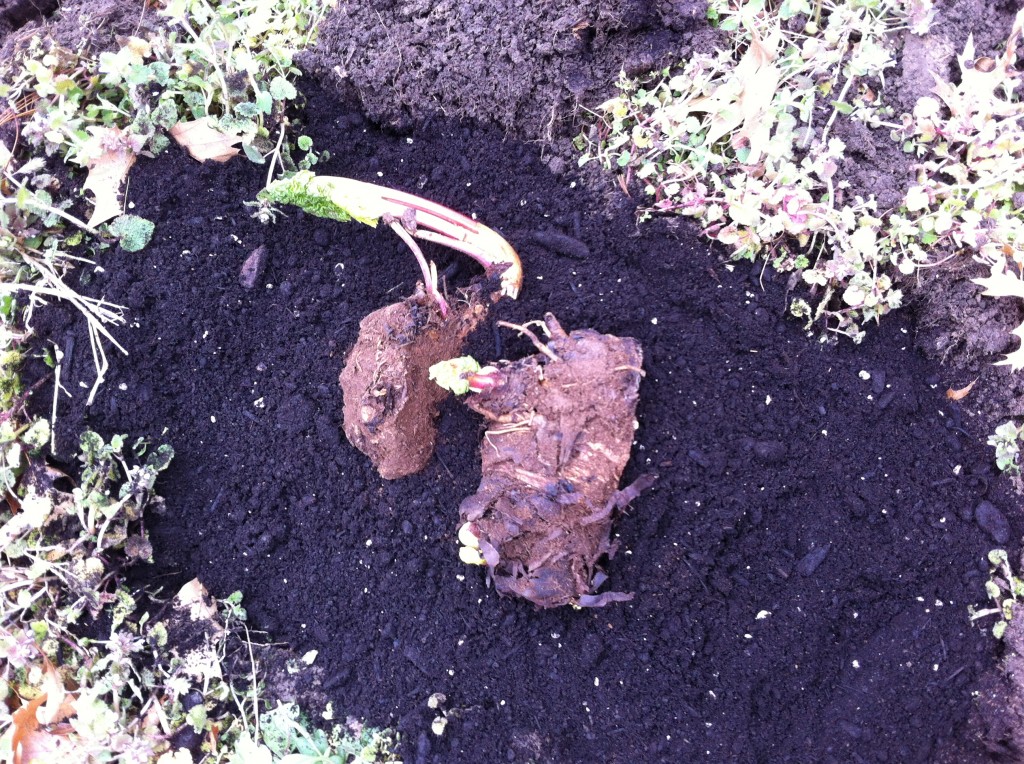
Anywho, I bought my rhubarb and dug two holes and planted them right in my  flower bed.

Yep, they are planted next to my iris, lilies, cone flowers and a few weeds too.

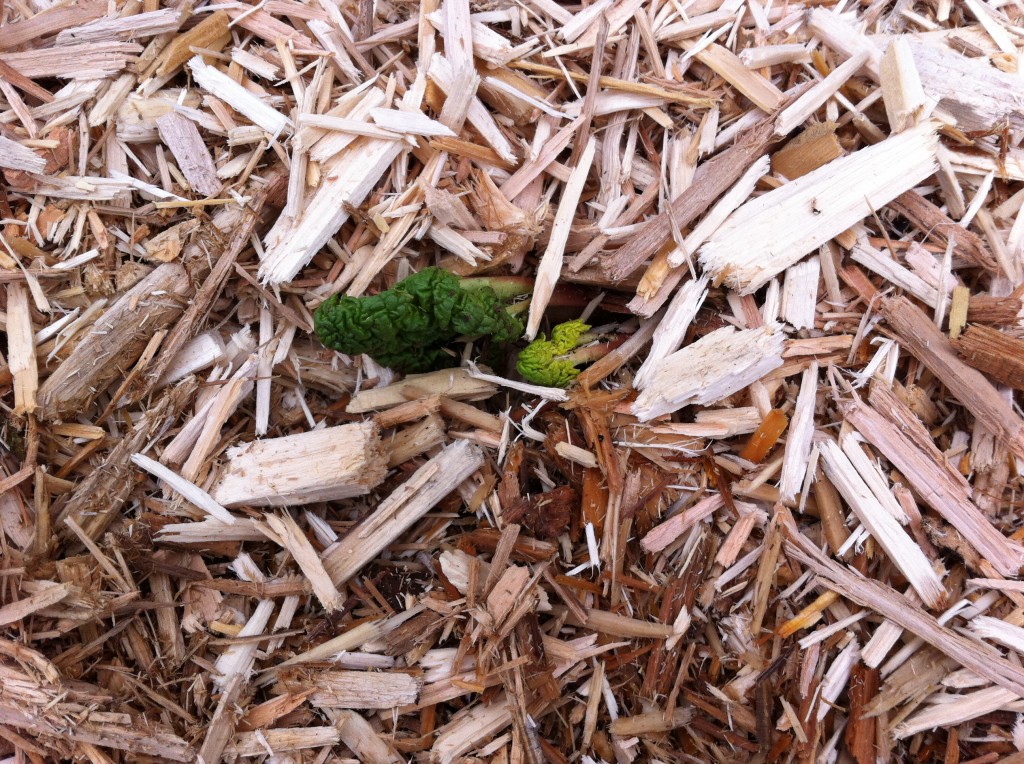
Here they are all snug as a rug with a nice layer of mulch.

They will grow there for two years before I can cut the stalks to make into jam or a nice big pie.

So, it looks like I will have to try to find some stalks this year to make some tangy spread.

Or find myself a farmer friend who will give me some.

Do you know one?

I don’t either : D
What have you planted so far this year?

 With all the snow I am a few weeks late in planting anything except my garlic (I planted way back in Dec) and my rhubarb. I have a bunch of seedling in the house that is just waiting to get outdoors.

I will have to show you pictures of all my little seedling and big seedlings this weekend.

Tomorrow is Friday…whohoo!!!

The weekend is almost here.

Becky


Going Bananas

We love to eat bananas at our house.

I bet you do too.

But sometimes you can’t eat them all before they start turning a little brown. Right?

What may not be so great for snacking, a over ripe banana is great for cooking.

I wanted to make some kind of goodie goodness for my baby college girl when she came home for her birthday, while making enough to make into a couple of little goodie boxes for a couple of wonderful ladies at school. These two ladies  helped so much with furneral of our custodian at school when he passed away. You can read my little dedication to him here.

When I saw how many bananas I had that I needed to make into something, I started thinking of different ways to use them up instead of making the traditional banana bread.

Remember those Chocolate Shortbread Blondies with Macaroons that I made a couple of weeks ago? Well anywho, in that same magazine there was this recipe for banana bars.

MMMMM…..that sounds good.

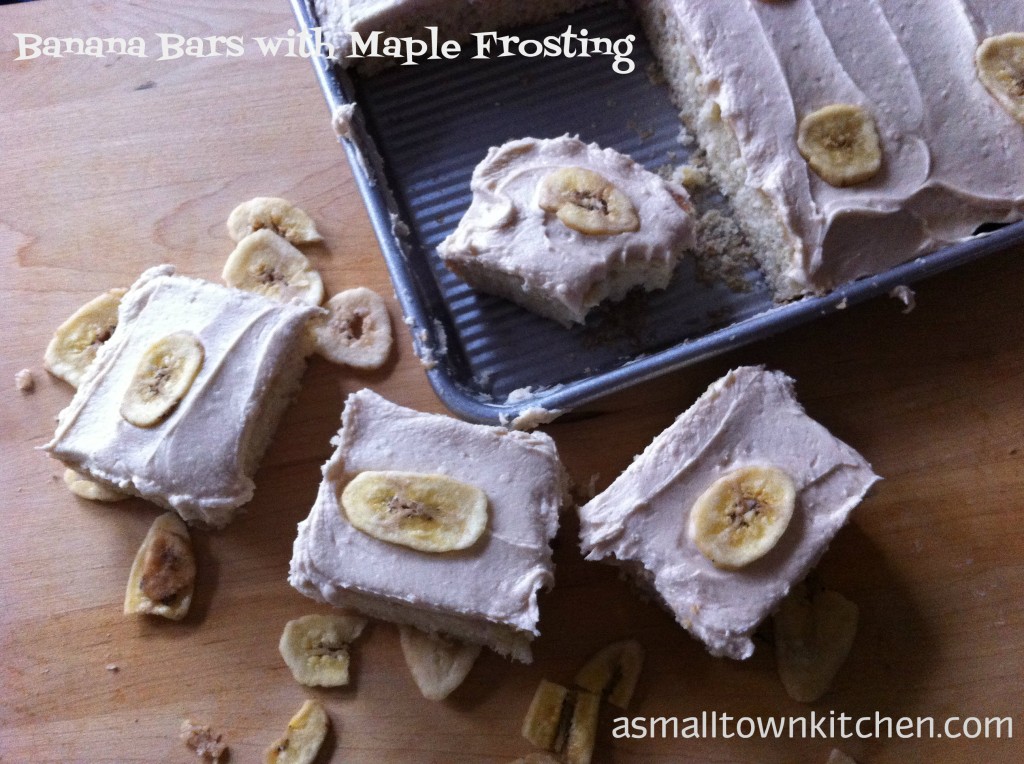
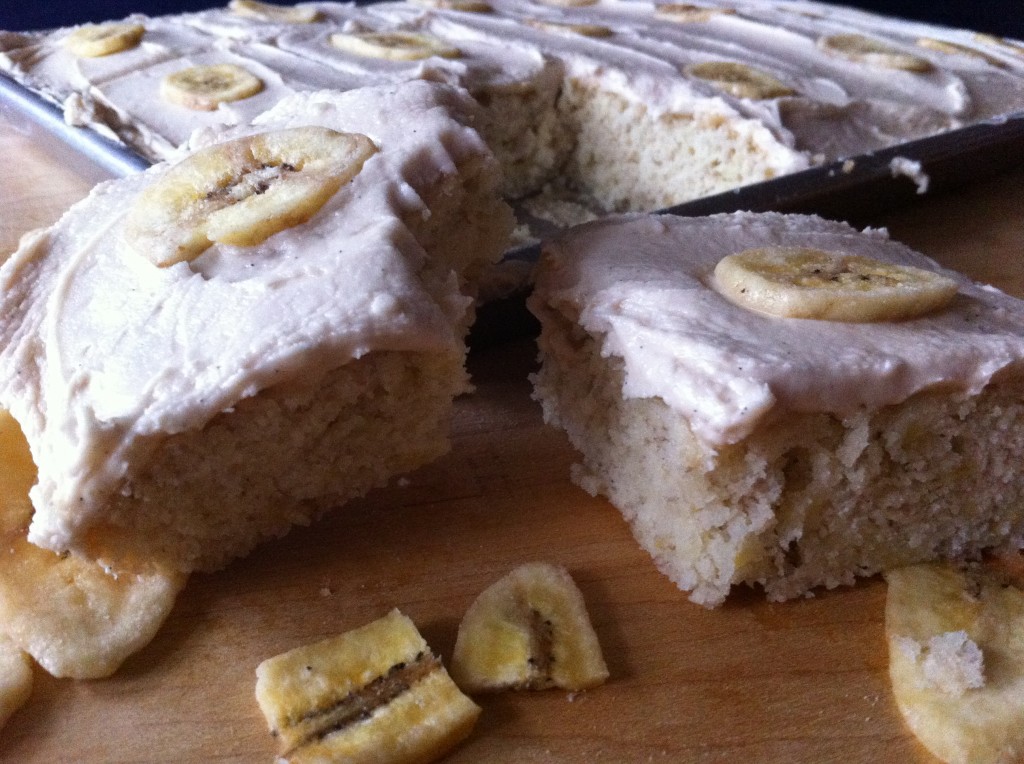
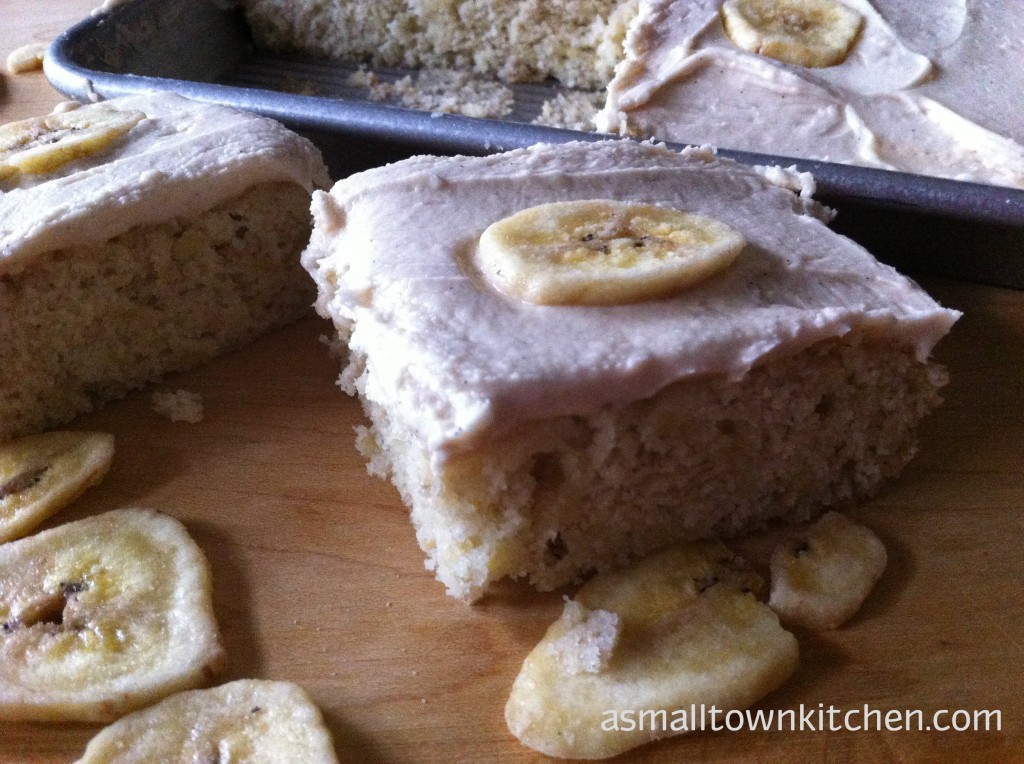
I looked the recipe over and decided to change it up a bit and came up with a Banana Bar with Maple Frosting. This recipe will drive your taste buds bananas with it’s smack your lips maple icing and the perfectly moist banana bar it sits on.

You can make these up in a jiffy. They cut into perfect bars which makes them great for gifts boxes or to take to that potluck supper when you don’t know what to make.

Here are your step by step instructions.

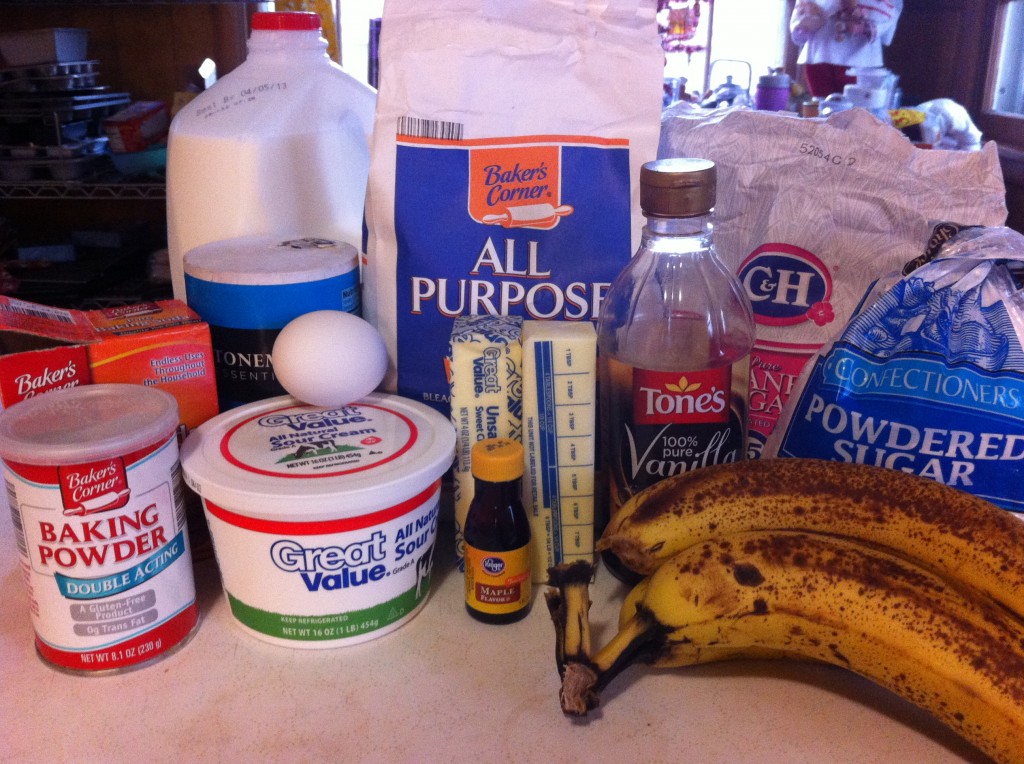
This is all you need to make these bananalicious bars.


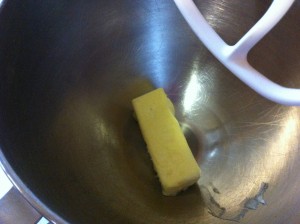
Put the stick of butter into a mixer bowl and cream.


Add the sugar and the baking powder.


Add the baking soda. Cream together the butter, sugar, baking powder and baking soda.


Add the smashed bananas and the eggs That is grand girl putting in the eggs. She loves to crack the eggs.


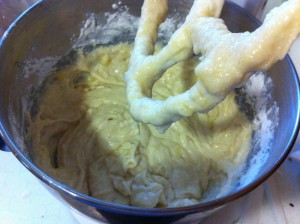
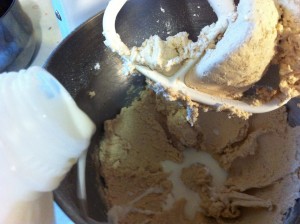
Add the sour cream and the vanilla. I forgot to add the salt earlier so I had to add it now. OOPS….nobody is perfect : D   Cream all the wet ingredients together.
    

Add the flour and mix with the wet ingredients until just mixed together.

Now it is time to get your pan ready.

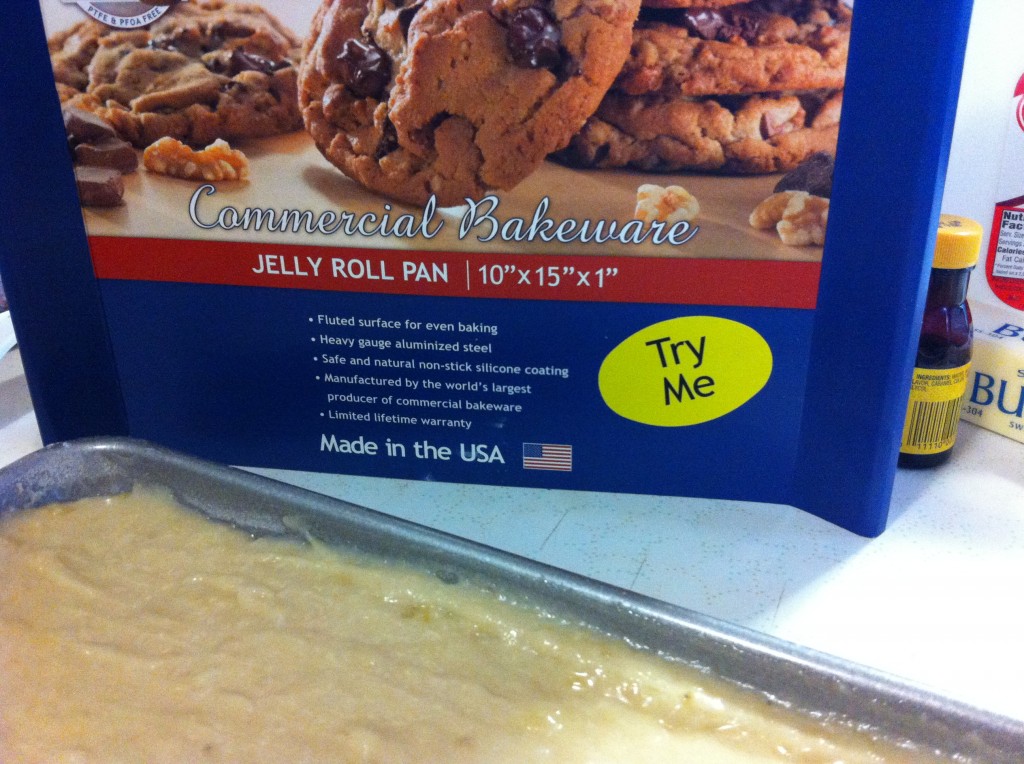
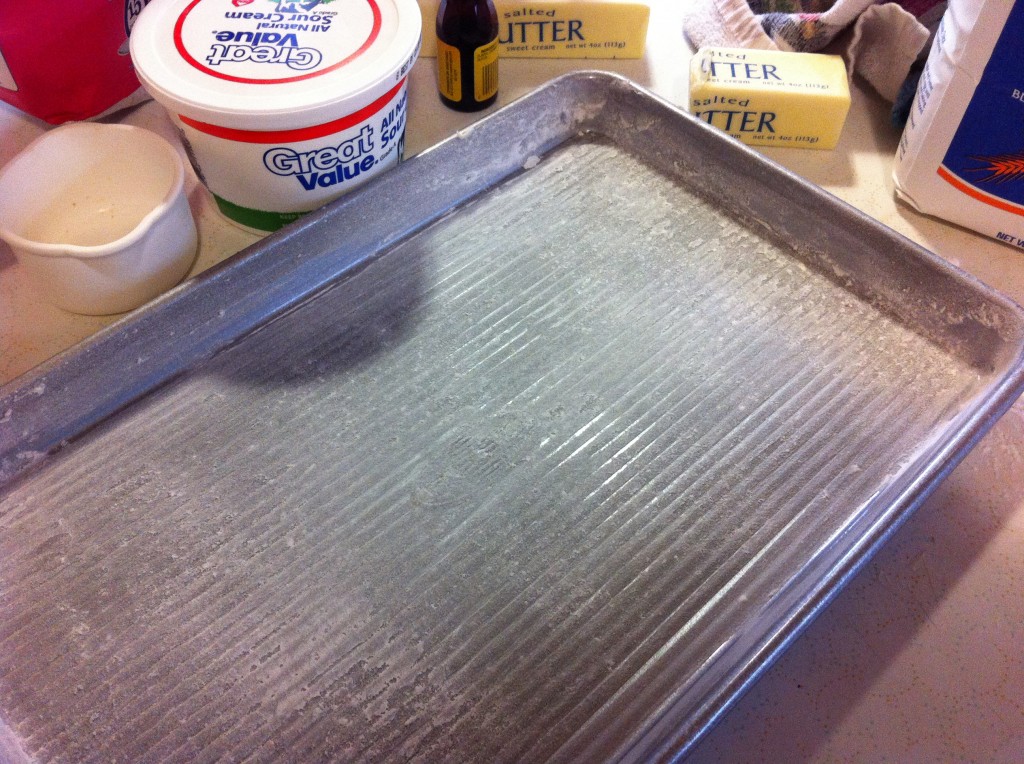
I bought a new pan for these bars….but you do not have too.  I found this cute pan at Bed Bath and Beyond for a try me price of $9.99

I was really looking for a new jelly roll pan and found this smaller pan and I thought I would try it out. It worked great!!


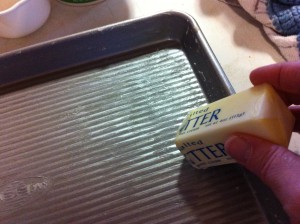
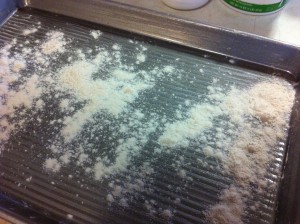
One thing that good pans mention is that even though they can go into the dishwasher they recommend that you wash them by hand so you do not get a residue on them. They also recommend that you do not use cooking spray but instead grease your pan the traditional way but using butter or Crisco and put a thin layer on the pan. The you coat the pan with a thin layer of flour.

This is how great cooks have been doing it for years….so why use cooking spray that can gum up on  your pan?


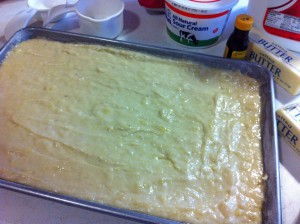
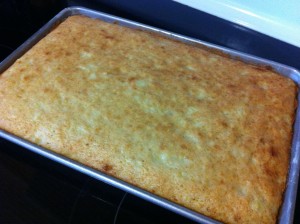
Pour batter into pan and bake at 350 degrees until a toothpick comes out clean.

While it cools, it is time to make the yummy maple frosting.


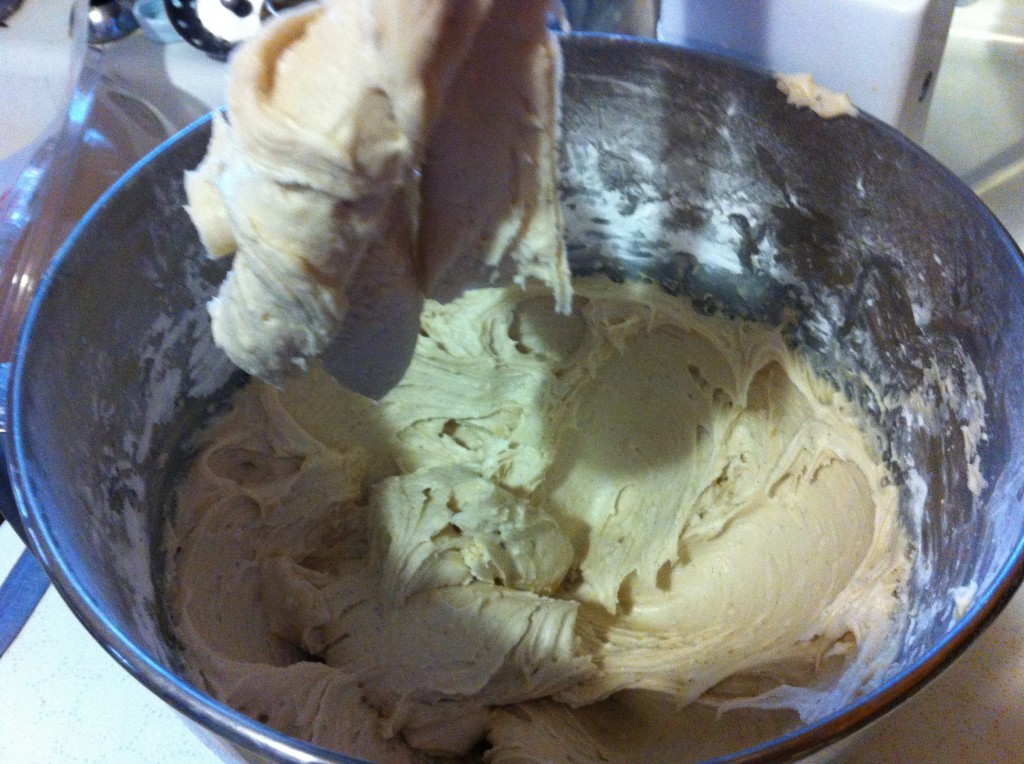
Put the soften butter into a mixer bowl and cream until smooth.


Add 3 cups of powdered sugar and beat in.


Add in maple flavoring and vanilla.

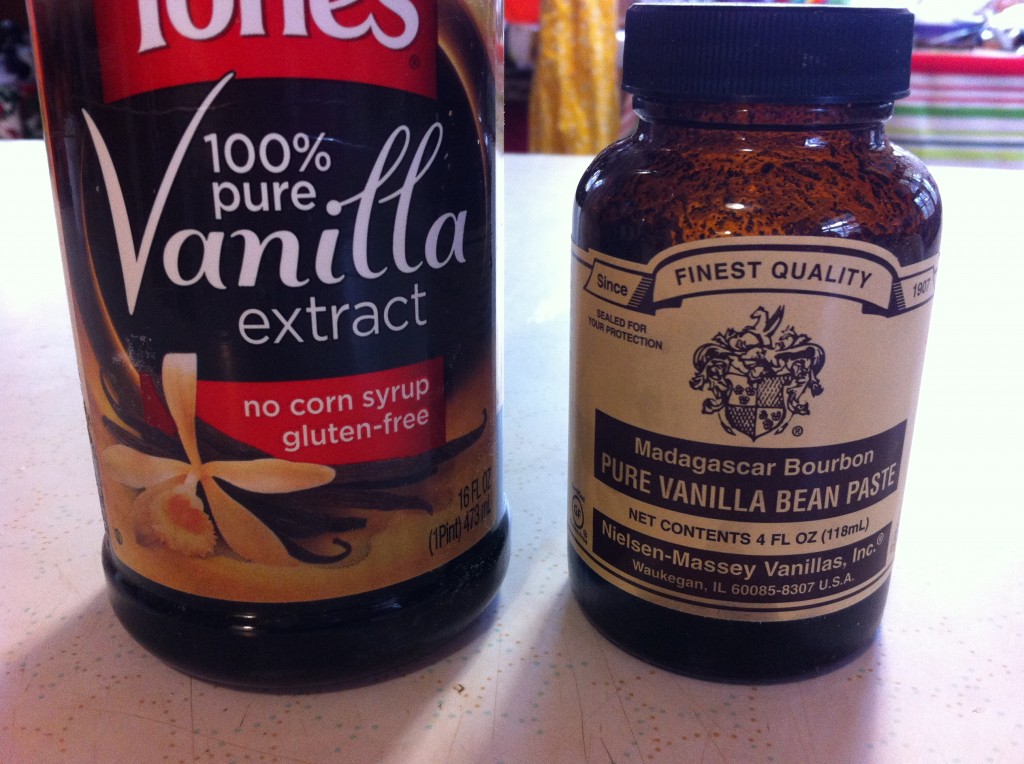
I love using real vanilla. The only thing I love more is using pure vanilla bean paste. I love this stuff and will often use it in icing when I want a more intense flavor. And, of course I love those little specks of vanilla beans you get to see. You can use either one and this icing will turn out just fine.


Add another 3 cups of powdered sugar and enough milk to make reach a spreading consistency.

This looks perfect. It taste perfect too.

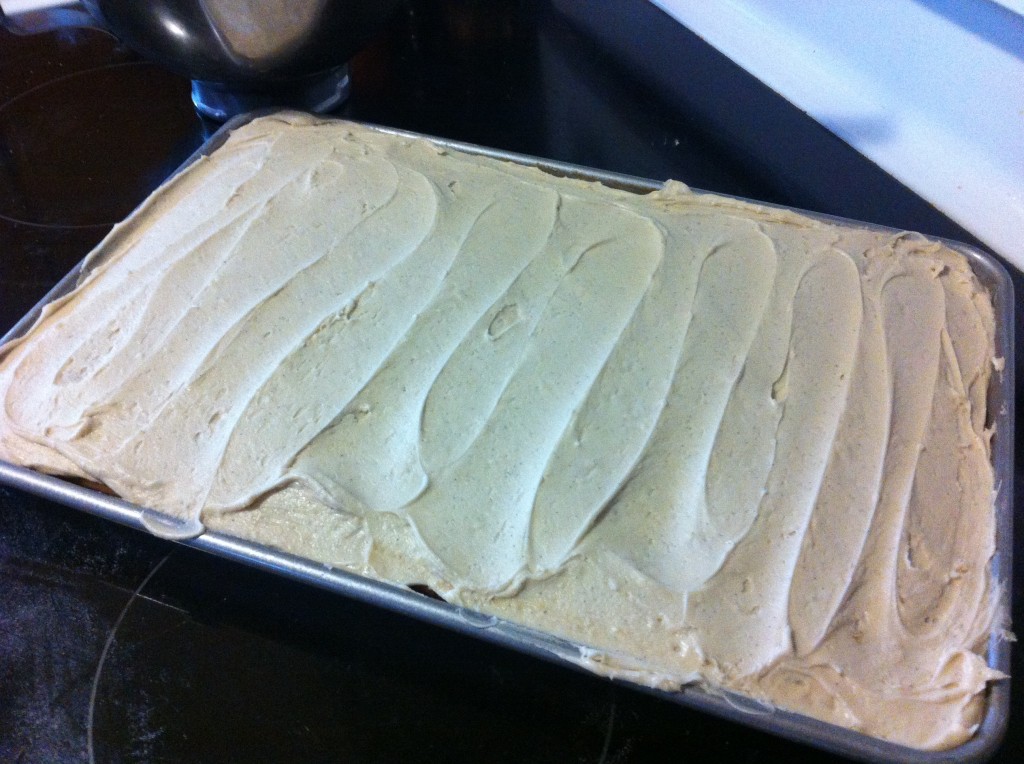
Spread frosting over the cooled bars.

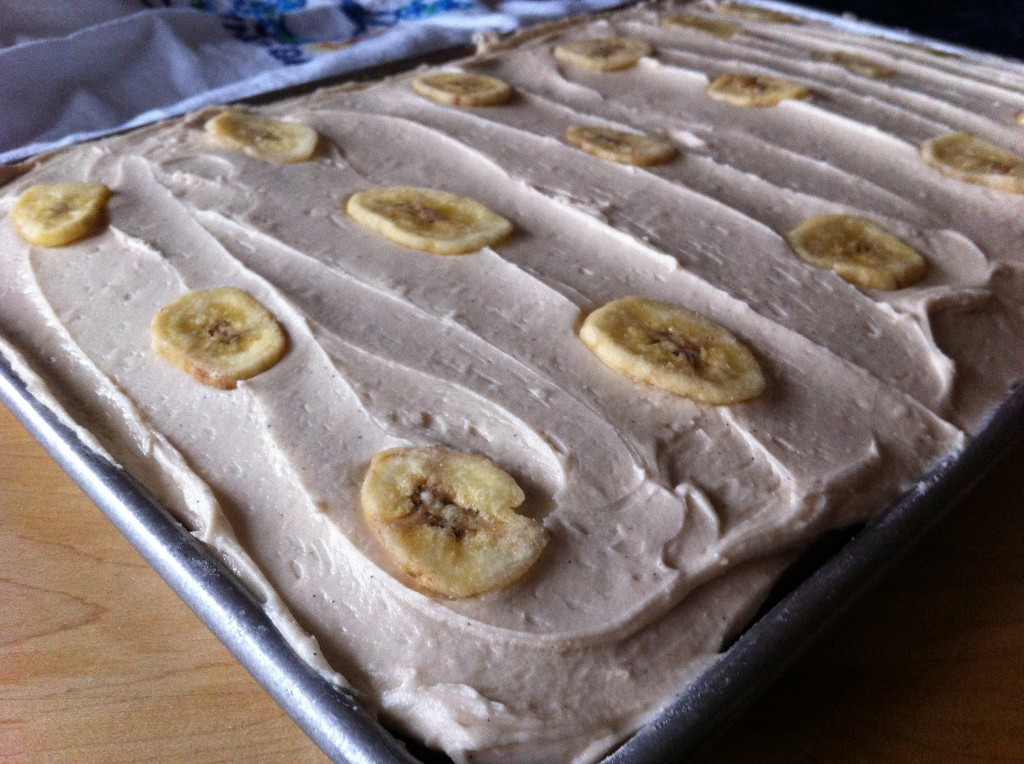
Decorate with dried banana chips.

See how easy they are to make? Your family will go bananas over this recipe.

I hope you do too!

Enjoy,

Becky

Here is your recipe:

Banana Bas with Maple Frosting

Adapted from Better Homes and Garden

Ingredients for Banana Bars:

1/2 cup of butter, softened

1 and 1/3 cups of sugar

1 and 1/2 teaspoons baking powder

1/2 teaspoon baking soda

1/4 teaspoon salt

1 egg

1 and 1/3 cup mashed bananas (about 3 medium bananas)

1/2 cup sour cream

1 teaspoon vanilla

2 cups of all purpose flour

Ingredients for Maple Frosting:

1/3 cup of softened butter

6 cups of posdered sugar

2 teaspoons vanilla

1/2 te aspoon maple flavoring

enough milk to make the frosting reach a spreading consisitency

Banana Chips are optional

Directions:

Preheat your oven to 350 degrees. Grease a 15 x 10 x 1 inch baking pan.

In a large mixing bowl beat butter with an electric mixer. Add the sugar, baking powder, baking soda and salt. Beat until ingredients are combined. Add the egg, mashed bananas, sour cream and vanilla until all the ingredients are mixed together. Mix in the flour until it is mixed in without over mixing it.

Pour batter into prepared pan. Spread evenly. Bake for about 25 minutes or until a toothpick comes out clean.

Cool.

While the bars cool, make the frosting.

In a mixing bowl beat butter until smooth. Add 3 cups of powdered sugar, beating well. Beat in vanilla and maple flavoring. Gradually beat in the remaining 3 cups of powdered sugar. Add enough milk to have the frosting reach a spreading consistency.

Spread frosting on cooled bars. Decorate with banana chips if your desire.


Friday Funnies

Happy Friday Everyone!

I thought I would give you a couple of pictures that might make you giggle.

About three weeks ago in my sewing classes, we started our sewing unit. We have been cutting fabric, practicing sewing on paper, practicing sewing on small sqaures of fabric and sewing the correct the seam allowances. Whew! That took us over two weeks.  Now, we are REALLY sewing. Like in: cutting real patterns and making pj bottoms or pillowcases or tote bags and last but not least small quilts. Each of my kiddos need to finish two items. I don’t care which ones or if they even make two of the same thing.

Well….now that we are sewing, we are making mistakes. When you sew your legs together, or sew your pillowcase upside down or the straps on your totebag inside out, you have to have a seam ripper.

I could not find enough seam rippers. This is like a major catastrophe!

So, I went and bought all the seam rippers they had at our local fabric store.

For a few days all was well. Every student that made a mistake had a seam ripper to use.

Then…..

Suddenly half of them turned up missing.

So for the past week…..

I have been asking every student in my classes if they had the seam rippers.

Nope….

I have been searching every fabric bin for the MIA seam rippers.

Can’t find a single one.

UGH!

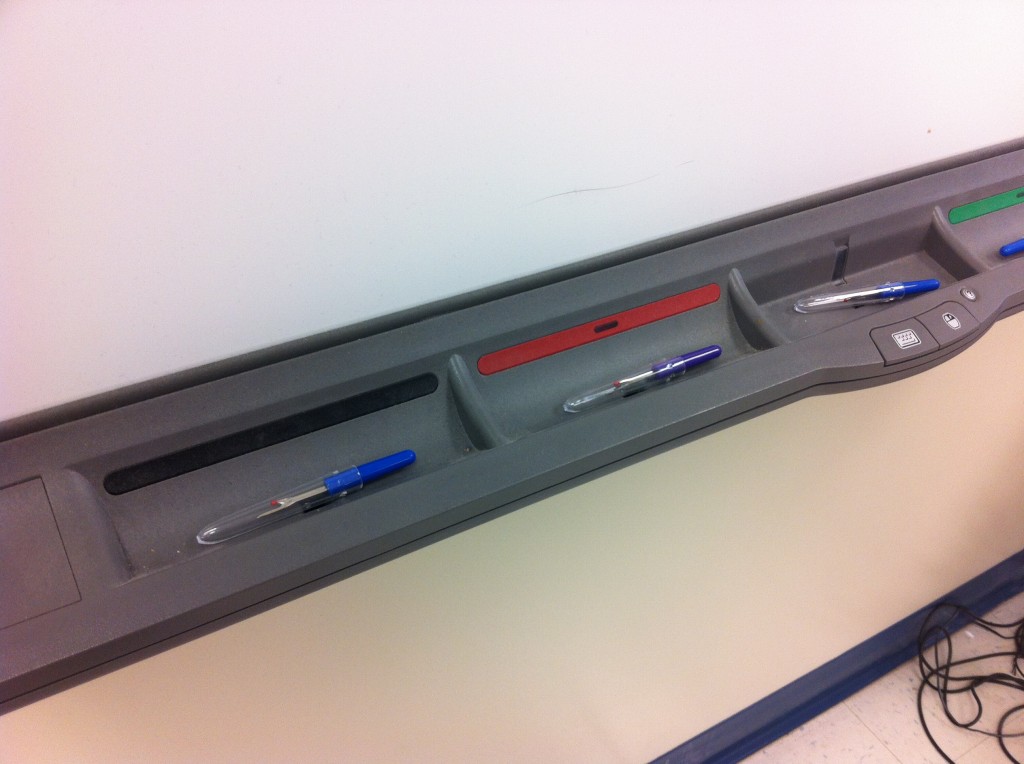
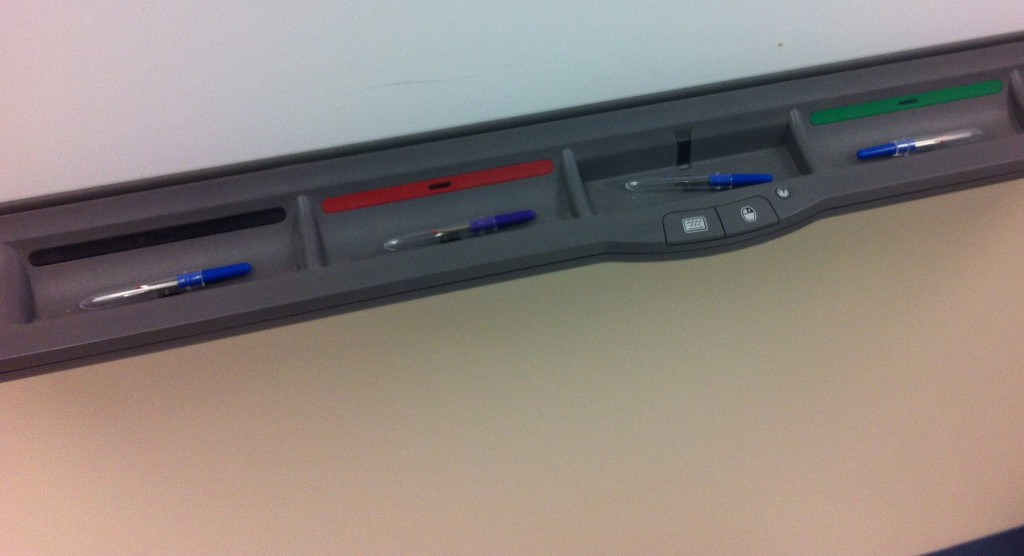
Today a student walked over to the smart board and asked why there was seam rippers in each of the marker compartments.

What?

Yep, here are the seam rippers right here.

REALLY?

The fun does not stop here yet.

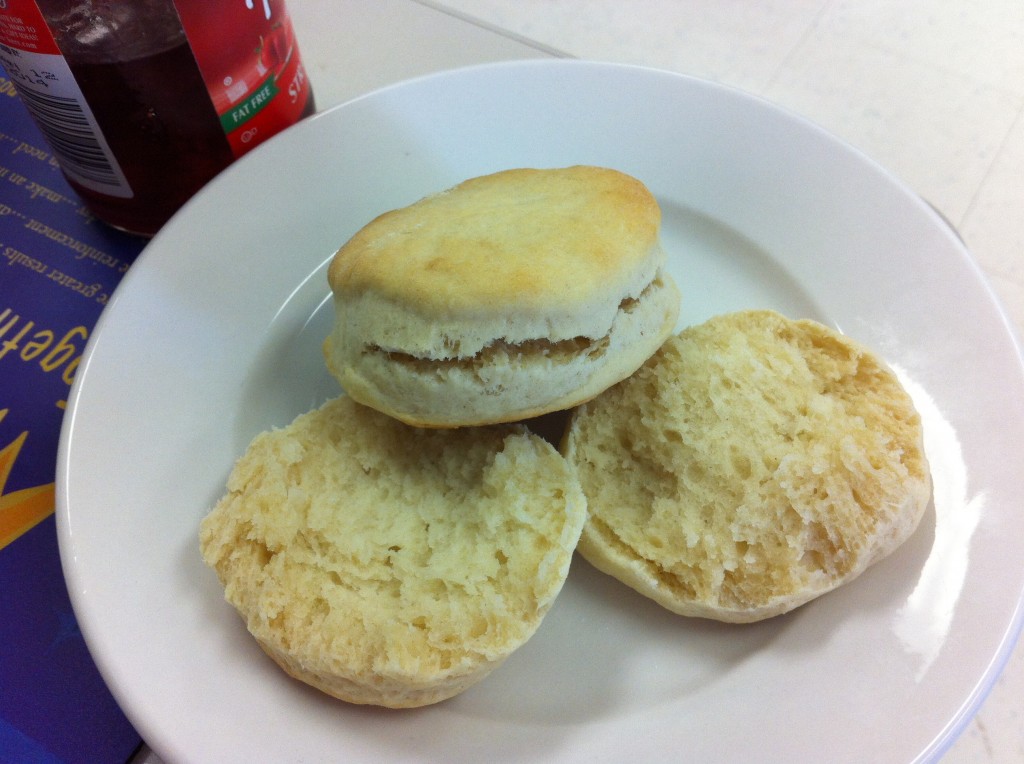
Today, in my foods classes the students made yummy biscuits.

 Remember Miss Alaska, the student that taught me to make cracker toffeee? Her kitchen made these. I put apple butter on them and ate them right up.

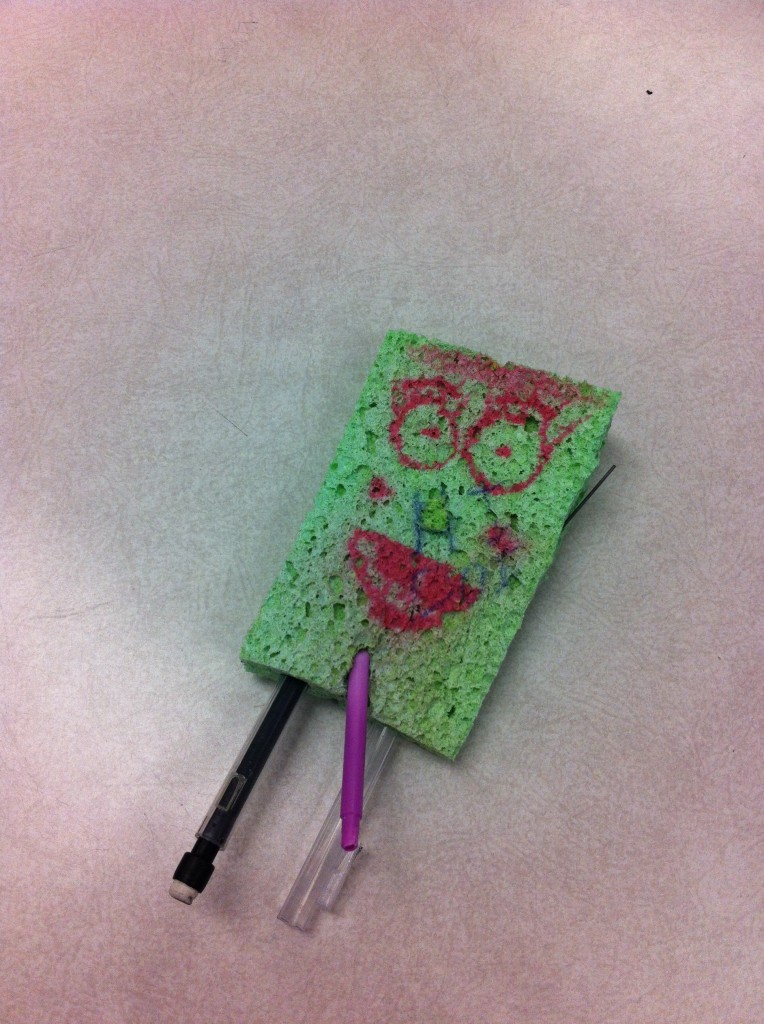
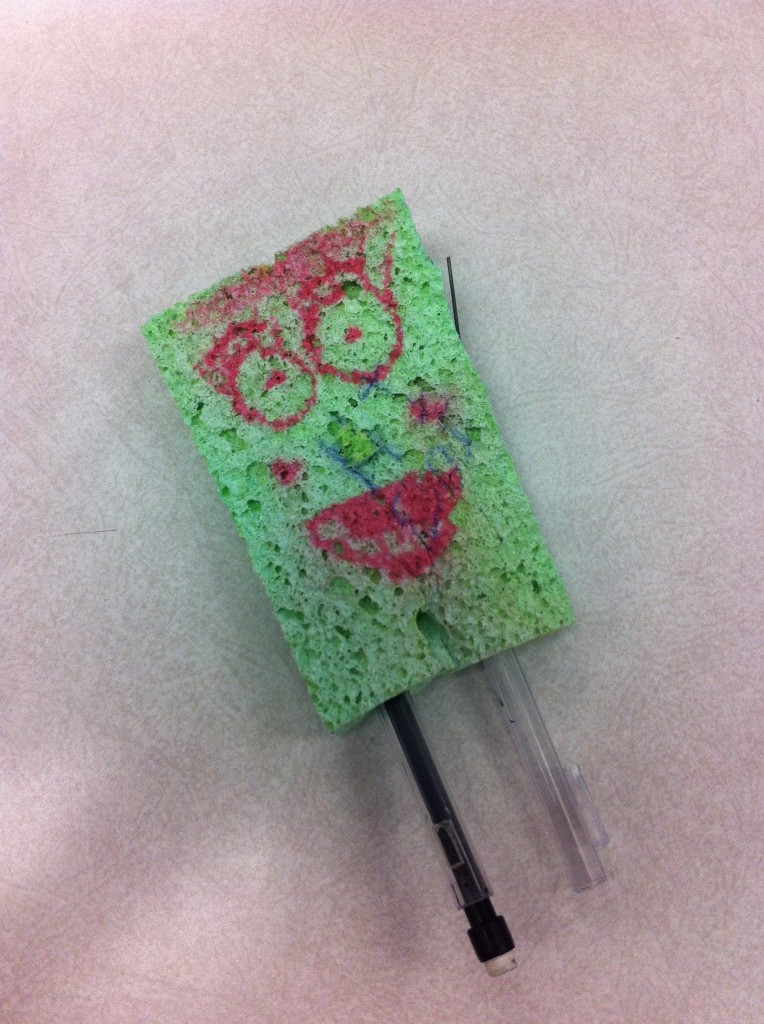
Well, as I was walking around checking the kitchens and cleaning up I found an interesting sponge.

I looked at it, and then I did a double take. I thought for a minute the sponge had three legs……

Then the light bulb went on in my head.

What?????

Which little junior high munchkin did this??

I wish I knew!

This one looks a little more G rated version.

I threw the little purple pen in the trash.

It is OK to laugh!

Junior High munchkins….you got to love em.

Have a great weekend!

Becky


Surviving Happy Birthday Week

Whew, what a week last week was.

It was one party after another!

Oldest daughter, Baby College Girl and The Princess all celebrated birthdays last week. Plus, we have to add Easter in too

It was a great week…a little exhausting and I ended up with a super nasty sinus infection. (that is why you have not heard from me, it is hard to type when you are holding a kleenex to your nose). This is my second day on antibiotics, so the faucet attached to my nose should be down to a trickle soon.

Enough about me….

Did I surprise you with the picture of my Mom and her identical twin sister?

I remember growing up and going to the store with my Auntie Flo and people would think she was my mom. My Auntie never missed a beat and would not correct the person that was mixed up and just pretended she was my Mom….it was a hoot. The same thing would happen when I was with my Mom, The Princess, shopping. People would think she was Auntie and would just answer their  questions like she was.

That is what it was like growing up with identical twin sisters.

Anywho, did you make a guess which one was my real mom?

The one on the left is my Mom, who we call The Princess. MyAuntie Flo, pictured on the right, is a Princess too!

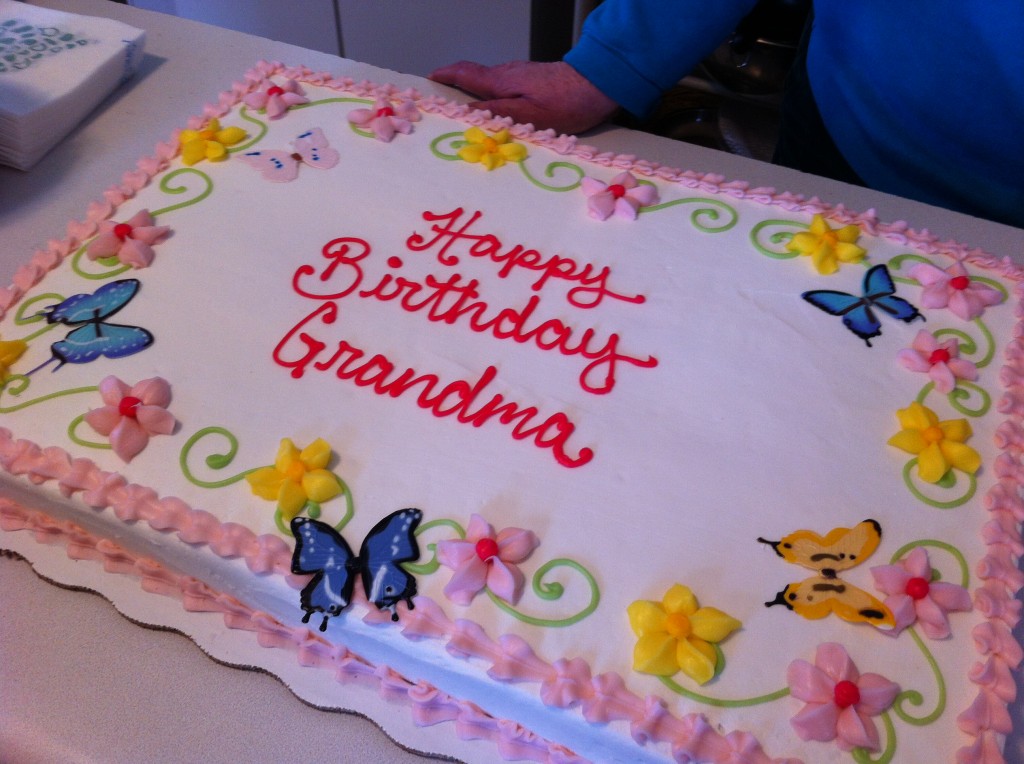
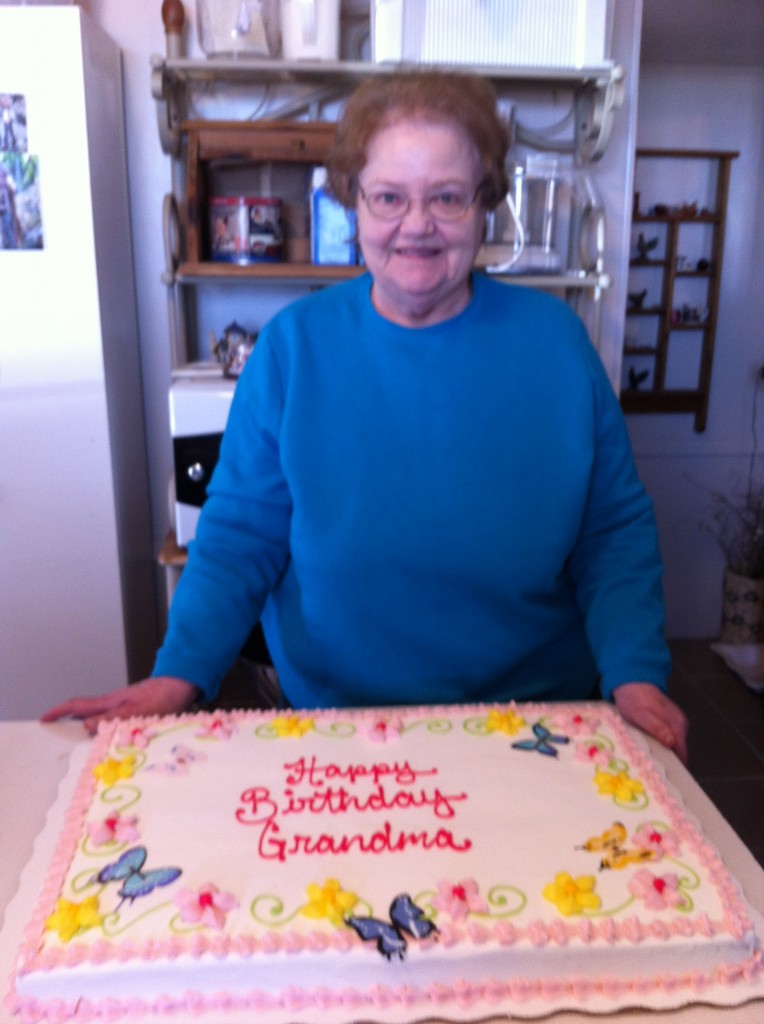
Here is The Princess on her big day. You notice we did not put her age on the cake.

Princesses never tell their real age.

Becky : )


The Princess’s Birthday is Today

Today is my Mom,”The Princess,” Birthday. Can you guess which Mom pictured above is my real Mom? I probably have forgotten to tell you that my Mom is an identical twin. So, I really grew up with two Moms. They are affectionately called by the family as, ” The Twins.” I took this picture of the two of them together at the Christmas party at The Old Home Place back in December. You can read about our fun day here at Christmas at The Old Home  Place. 

Anywho….today is both My Mom’s birthday.

Take a guess and see if you can guess the correct Princess.

Whew, this has been a busy week of birthdays. First I had Oldest Daughter, then Baby College Girl and now the Princess.

Good thing I love birthday cake.

Have a great Saturday!

Be on the look out for a bunny running around giving out chocolate tomorrow!

I am hoping the bunny stops here, I am all out of my chocolate marshmallow eggs.

Becky

Another post about my family you might enjoy.

The Stocking Tradition Continues

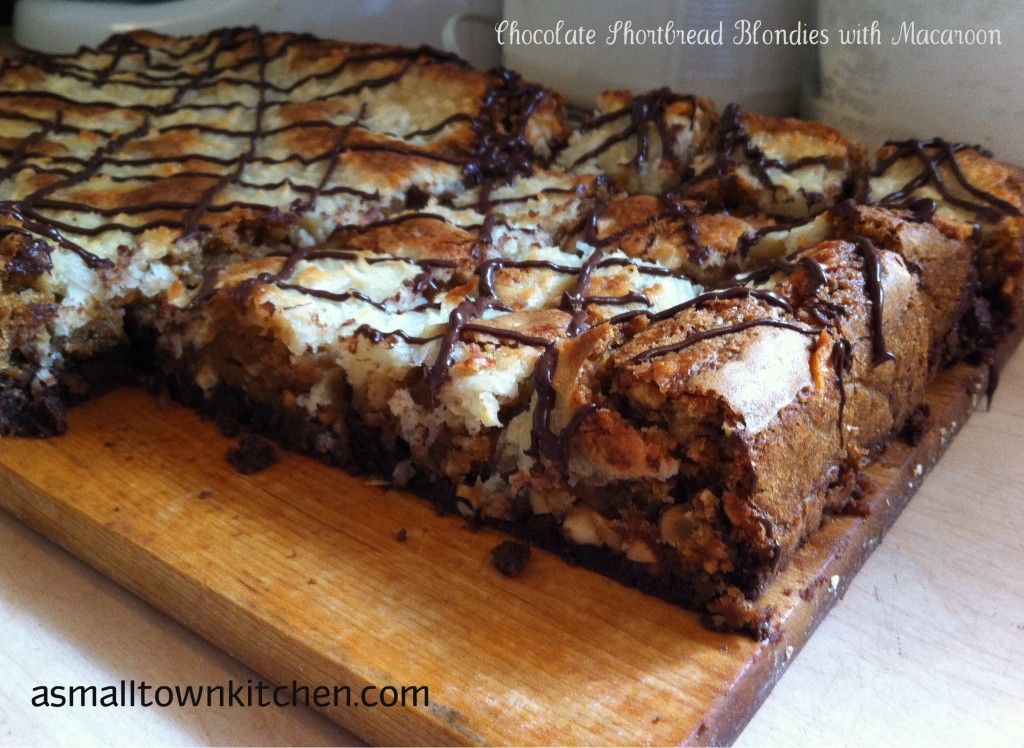
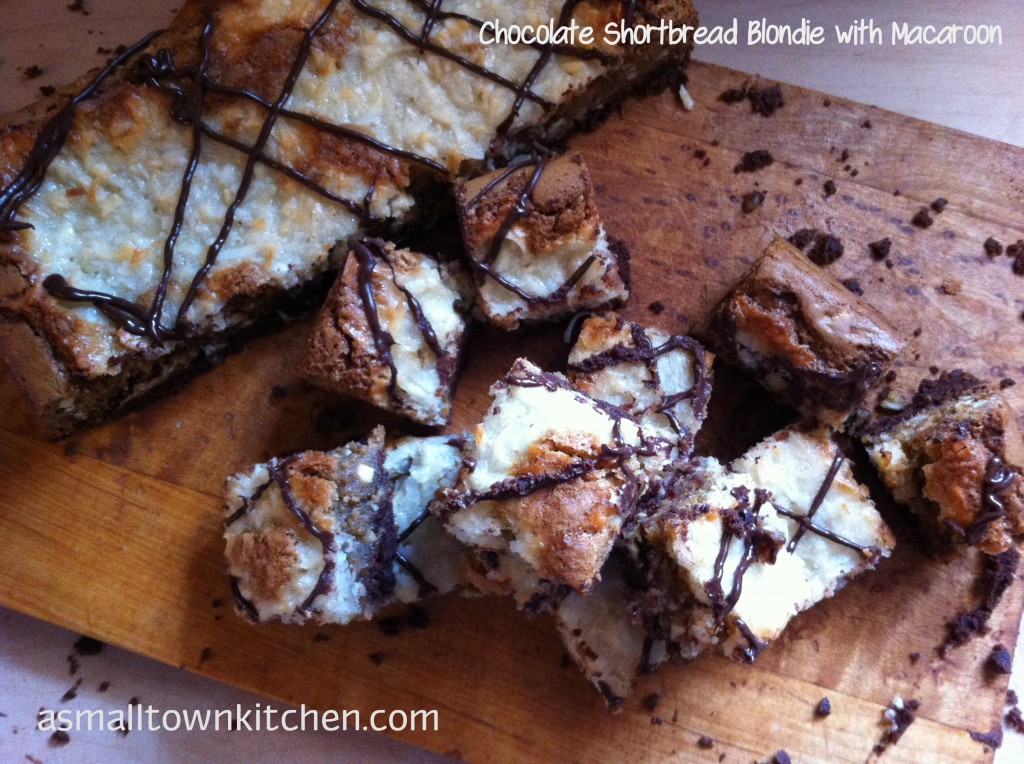
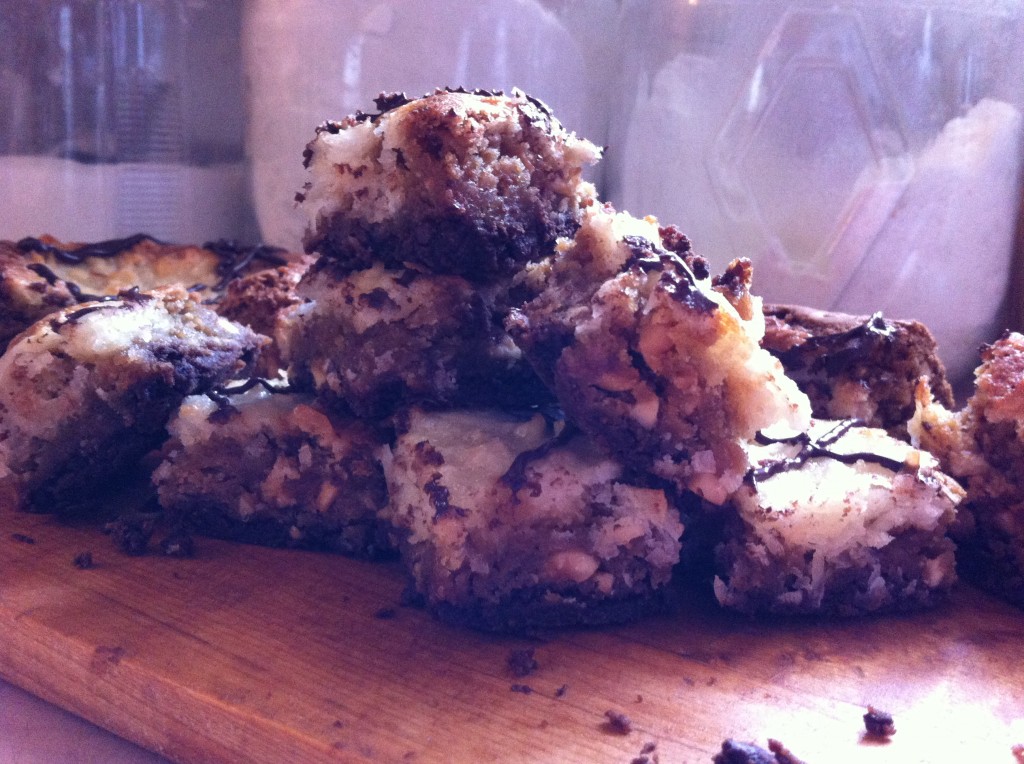
Chocolate Shortbread Blondies with Macaroon

Don’t you love it when you buy a new recipe magazine and you can not decide which recipe to make from it?

That was my problem last night.

A few weeks ago I bought this Better Homes and Garden magazine on Brownies and Bars.

The pictures are so gorgous, you’ll want to rip out the page, crumble it up and put it in your mouth for a taste.

But don’t. You might eat the recipe.

Trust me I know.

Anywho, last night I was looking for a yummy recipe to make into little goodie boxes for my Mom the Princess, Neiner Weiner, Jeanie Beanie and PIC. I wanted to take a little chewy goodie to give them when I went up for a visit today.

After narrowing down the choices to three, I finally had to decide on the one that I had all the ingredients to.

So, I settled on making Chocolate Shortbread Blondies with Macaroon.

Whew….who came up with that name?

I would have just called them Knock Your Taste Buds Off and Bring Me A Glass of Milk Blondie.

Maybe, we should keep with the original name.

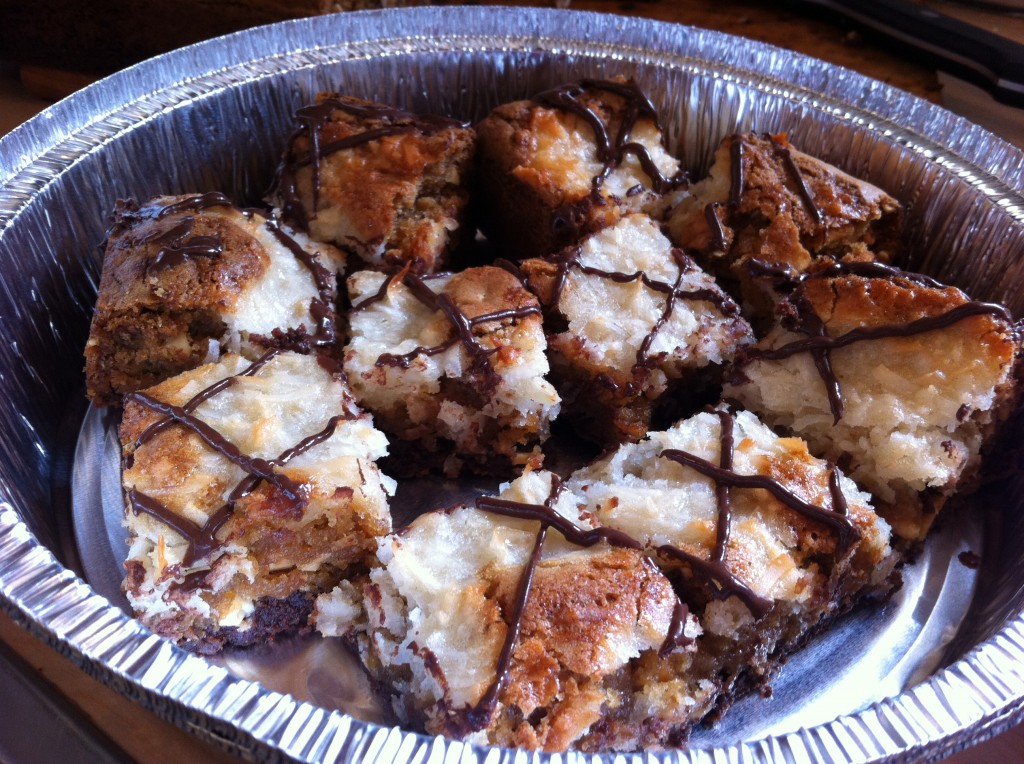
If you love chocolate. If you love peanuts. If you love coconut. If you love chewy, moist, lick your fingers clean, blondies, then you have to make these.  Allow yourself a couple of hours. They have a few steps to them, but I know you can do it! Just follow the step by step pictures to help you out. I made a couple of small mistakes, but they were easily corrected.

These are the little goodie tins I made for everyone. I bought the tins for 3 for $1.00 at the dollar store. They even came with a lid. Cool uh?

PIC took hers to her work and I don’t think she had any left by they time she left to go home.

If you need a recipe for a pot luck, office party, holiday dinner or pinic, these would be perfect.

Have a go and give them a try.

Here are your step by step instructions.

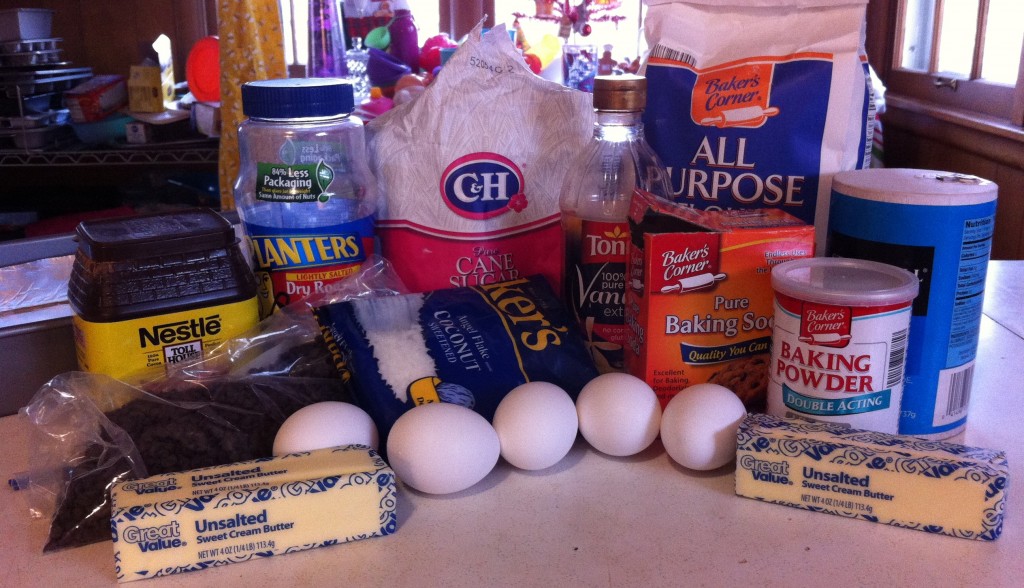
This is what you will need to make these sinfully delicious blondies. I forgot to put one more stick of butter in the picture. I can’t count sometimes.

The first thing you will make will be the crust on the bottom.


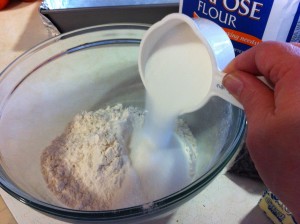
Add the flour and the sugar into a medium bowl.


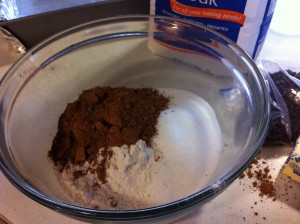
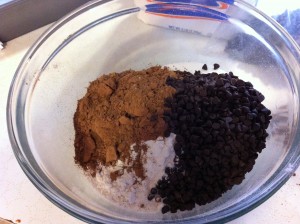
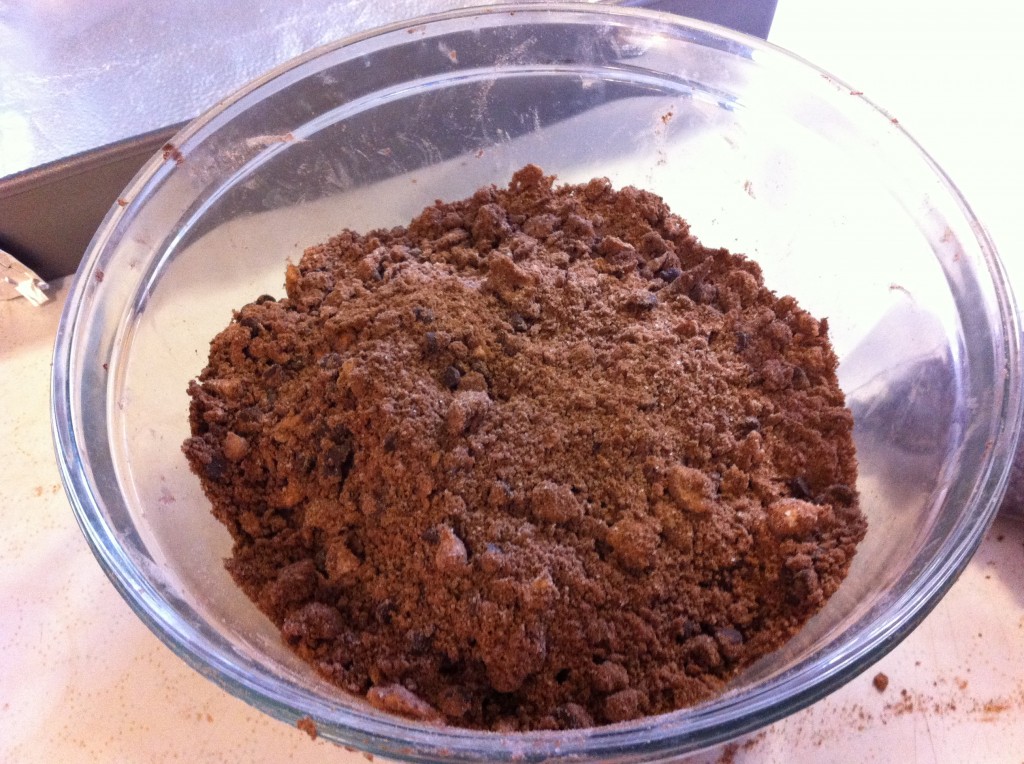
Add the cocoa and the miniature chocolate chips to the flour and the sugar.


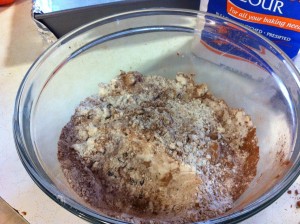
Stir the flour mixture together and add 2 sticks of butter.

With a pastry cutter, cut the butter into the flour mixture until it resembles course crumbs.


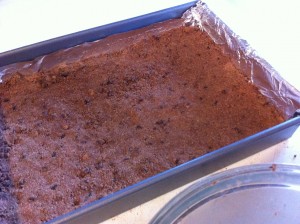
Line a 13 x 9 x 2 baking pan with foil and lightly grease (I used cooking spray). Press the crust mixture evenly in the bottom of the pan. Bake in a preheated 350 degree oven for 8 minutes or until set.

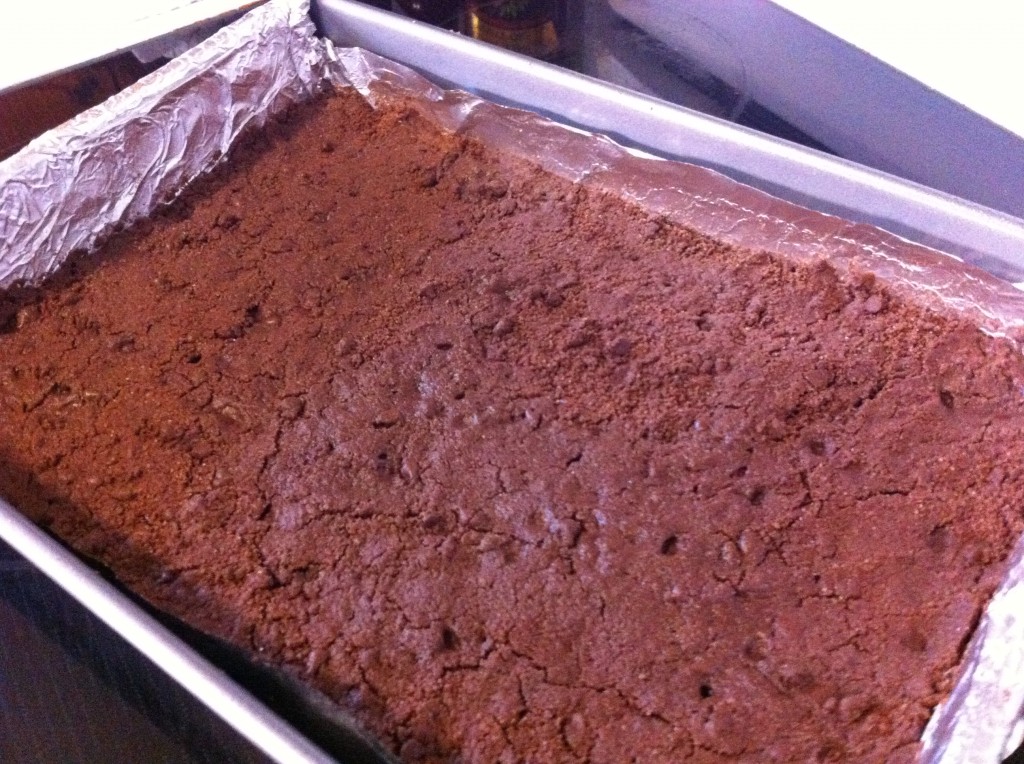
This is what it looks like when it comes out of the oven. Just let it cool while you make filling and the macaroon topping.

Now it is time to make the macaroon topping.


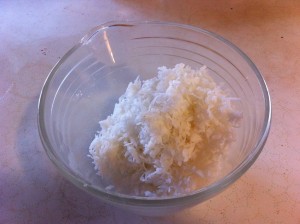
In a medium bowl, add the flour and sugar (not shown because I forgot to take the picture). Measure out the coconut and add it to the flour and sugar.


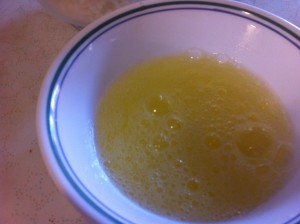
Lightly beat 3 egg whites. Add the lightly beaten egg whites to the macaroon mixture.


Add the vanilla and stir to combine. Set the macaroon topping aside for later.

Now it is time to make the filling.


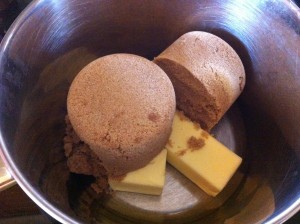
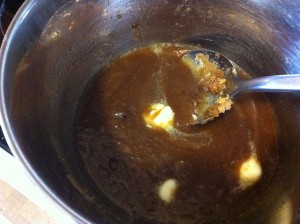
In a medium sauce pan melt together the butter and the brown sugar.

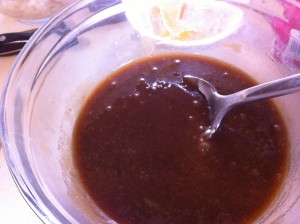
Stir while it melts together. Cool slightly and and pour into a medium size bowl.


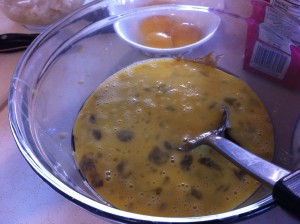
Add two slightly beaten eggs and stir together. Add 2 teaspoons vanilla and stir.


Add the flour and baking powder.


Add the baking soda and stir everything together.


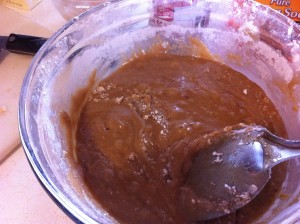
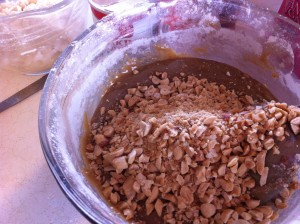
This what it will look like. Now, add the chopped peanuts.

Now the fun begins…..though I know you were already having fun! Right?


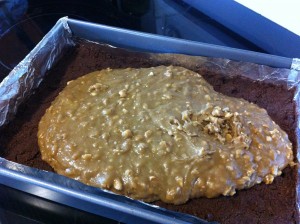
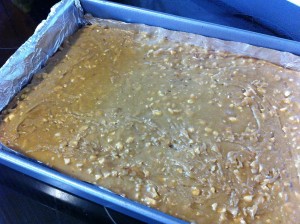
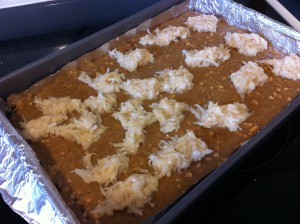
Pour the filling over the chocolate crust. Spread out evenly.


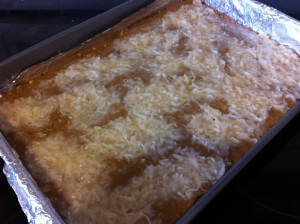
Spoon macaroon topping into small mounds evenly over the top of the filling. Spread out evenly. Place in a 350 degree preheated oven and bake 30 to 35 minutes or until the topping turns light brown.

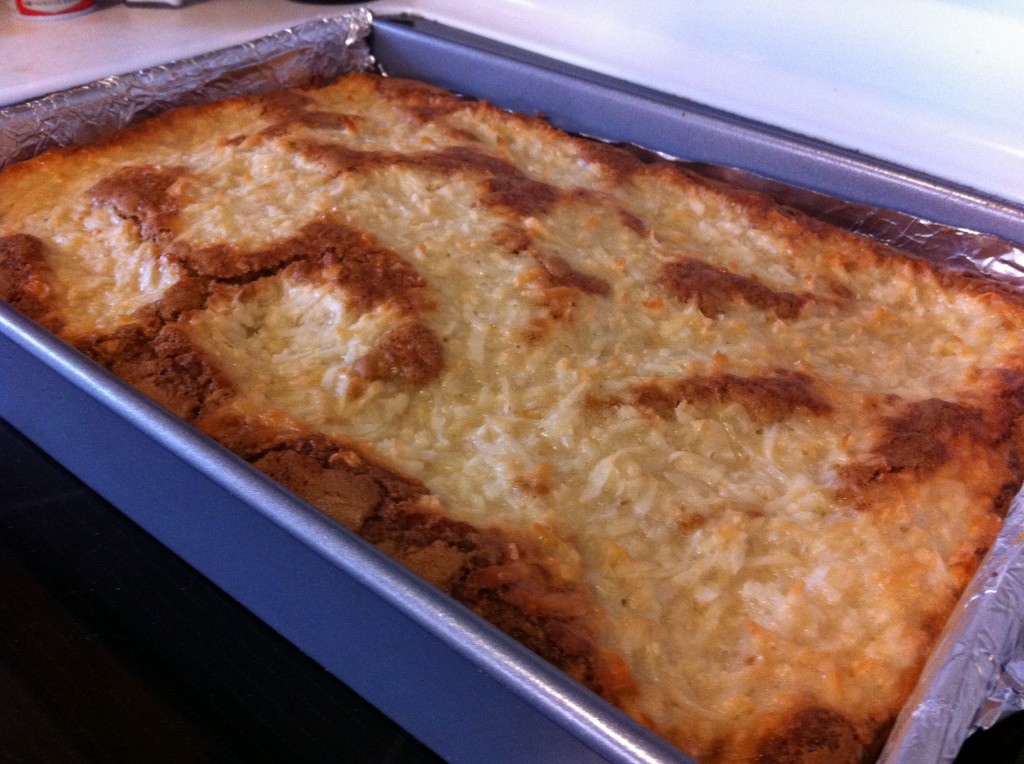
This is what mine looked like when it came out of the oven. Cool bars in the pan on a wire rack.

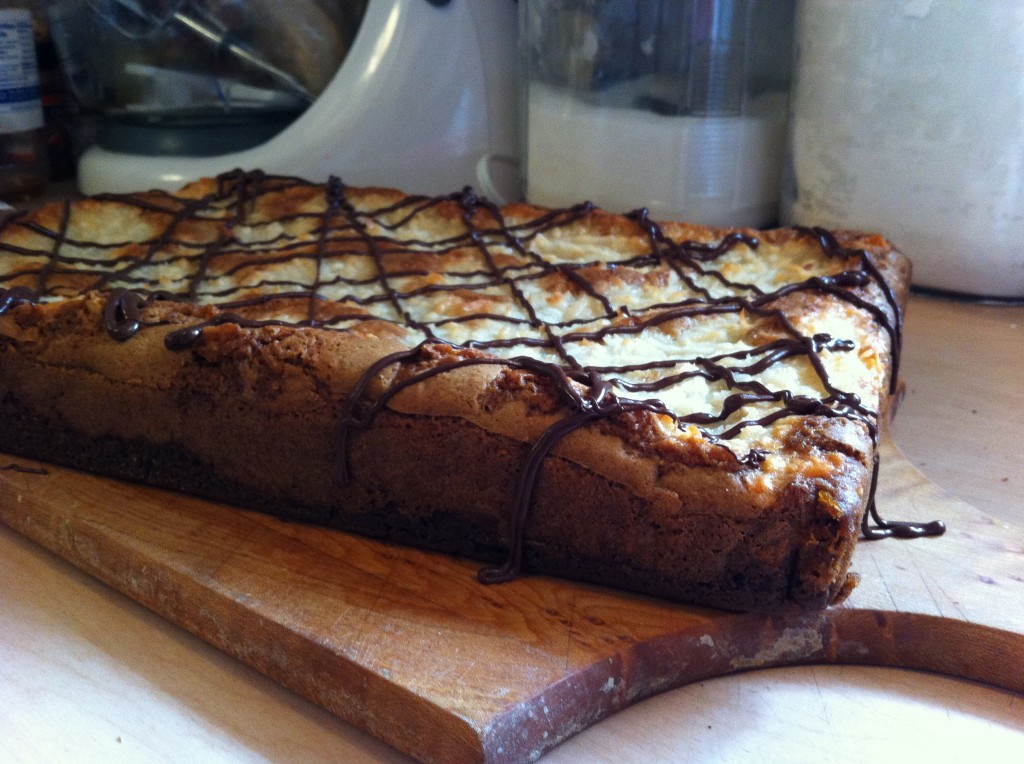
When cool, take the blondies out of the pan and drizzle melted chocolate over the top.

Cut into 32 bars.

Can you believe I gave them all away??? Was I crazy or what?

I did eat one of the Princess’s before I left for home.

I may have to go back tomorrow for another visit to eat (gobble down) another one.

When you make yours, be prepared to gobble too.

Enjoy!

Becky

Here is the recipe

Chocolate Shortbread Blondies with Macaroon

Adapted from Better Homes and Garden

Ingredients:

For the crust:

1 and 1/2 cups of flour

2/3 cups of sugar

1/2 cups of cocoa powder

1 cup of butter

1/2 cup miniature semi sweet chocolate pieces

For the Macaroon Topping:

1/3 cup sugar

1/4 cup flour

1 and 1/4 cup sweetened flaked coconut

3 slightly beaten egg whites

1/2 teaspoon vanilla

For the Filling:

2 cups packed brown sugar

2/3 cups butter

2 eggs

2 teaspoons vanilla

2 cups of flour

1 teaspoon baking powder

1/4 teaspoon baking soda

1 cup chopped peanuts

Optional: melted chocolate chips to drizzle on top

Directions:

Preheat oven to 350 degrees. Prepare a 13 x 9 x 2 inch pan by lining it with foil and lightly grease.

For the crust:  In a medium bowl, combine flour, sugar, chocolate pieces and cocoa. Using a pastry blender, cut up the butter until the crust resembles course crumbs. Press the crust evenly into the foil lined pan. Bake for 8 minutes or until set.

For the macaroon topping:  In a medium bowl stir together the sugar and flour. Stir in coconut and 3 lightly beaten egg whites. Stir in the vanilla and set aside for later.

For the filling:  In a medium saucepan melt together the butter and the brown sugar. Stir till totally mixed together. Cool Slightly. Pour into a medium sized bowl. Stir in 2 slightly beaten eggs. Stir in the vanilla. Add the flour, baking powder and soda and combine together. Stir in the chopped nuts.

Putting it all together: Pour the warm filling over the crust and spread evenly. Spoon out the macaroon topping in small mounds evenly over the top. Spread the macaroon over the top of the filling. Bake in a preheated 350 degree oven for 30 to 35 minutes or until the macaroon topping turns light brown. Cool in the pan on a wire rack. Using the edges of the foil remove the bars from the pan. Drizzle the bars with melted chocolate if desired.

Soup…It’s Whats for (Birthday) Dinner

Yesterday was Oldest Daughter’s Birthday!

Hard to believe that the years have flown by so quickly!

She has blessed me with two little grand girls that keep me smiling every day.

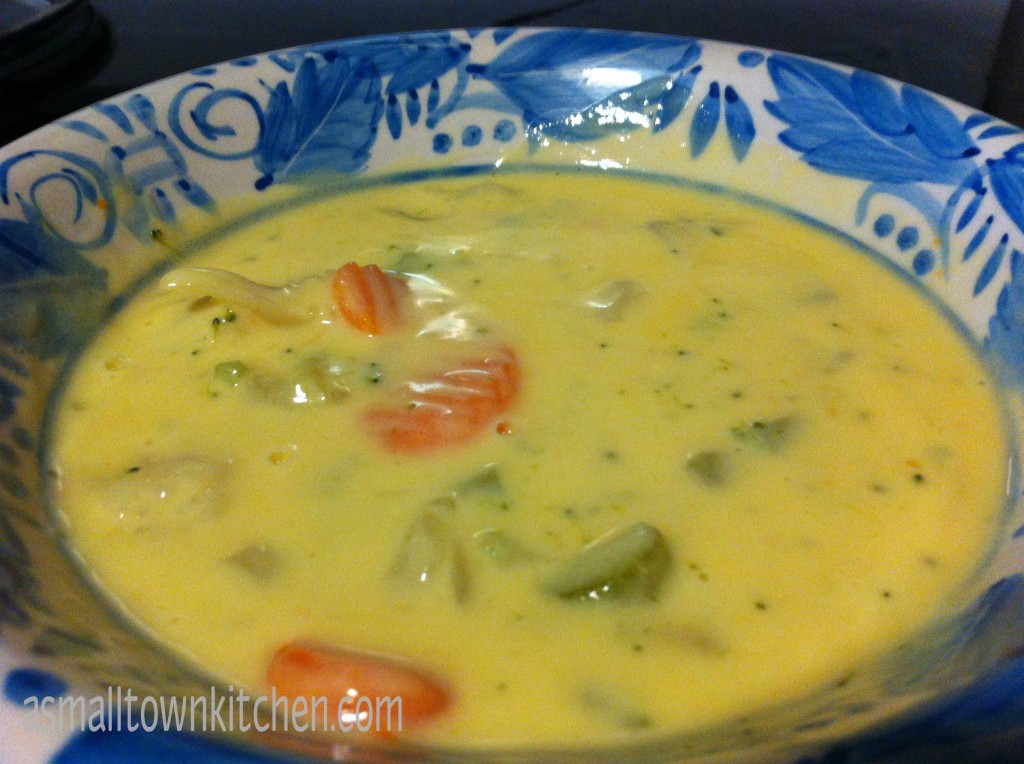
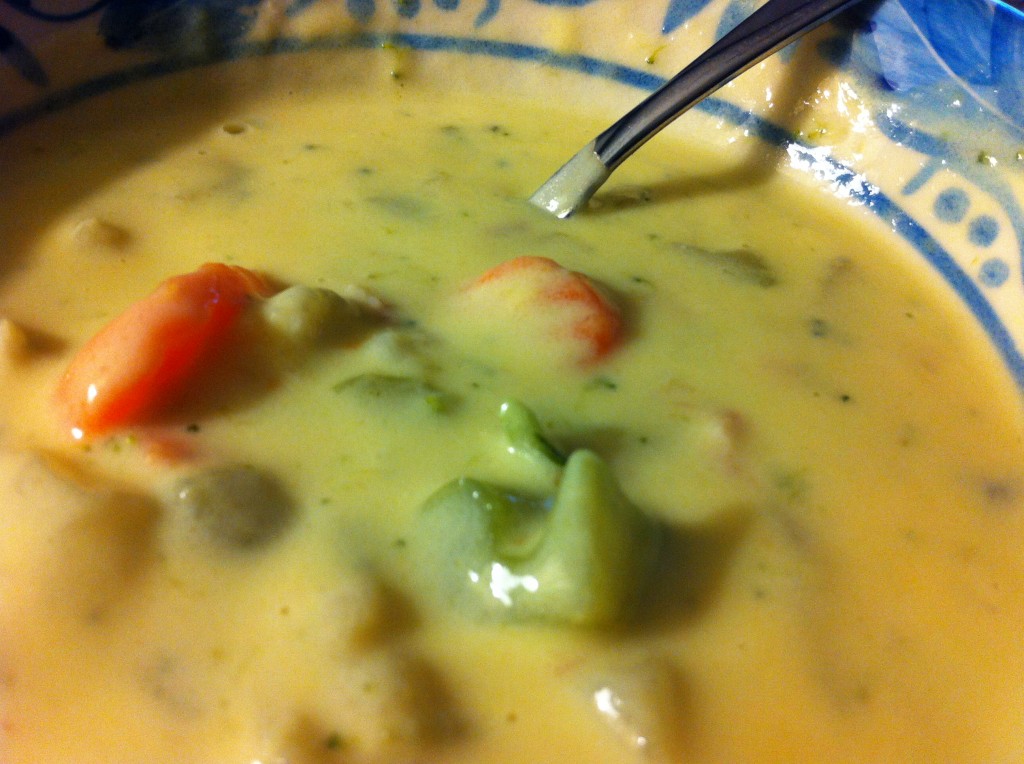
Anywho, when I asked her what she wanted for her birthday dinner, she said, “Cheese Soup.”

You are probably wondering….really soup?

Now, you have to keep in mind that my spring break week off is full of birthdays.

Yesterday was Oldest Daughter’s, Friday is Baby College Girl’s and Saturday is the Princess’s.

Baby College girl is heading home on Saturday, so we are officially celebrating both birthdays on Saturday. While we are celebrating Easter and the Princess’s birthday on Sunday.

Whew!

Oldest Daughter just wanted her favorite cheese soup for dinner.  So, while I cleaned house, had a plummer come (ugh..major repair scheduled for next week) and cleaned the snow off my car so I could take her billfold to her job that she left at home, I made birthday girl her soup.

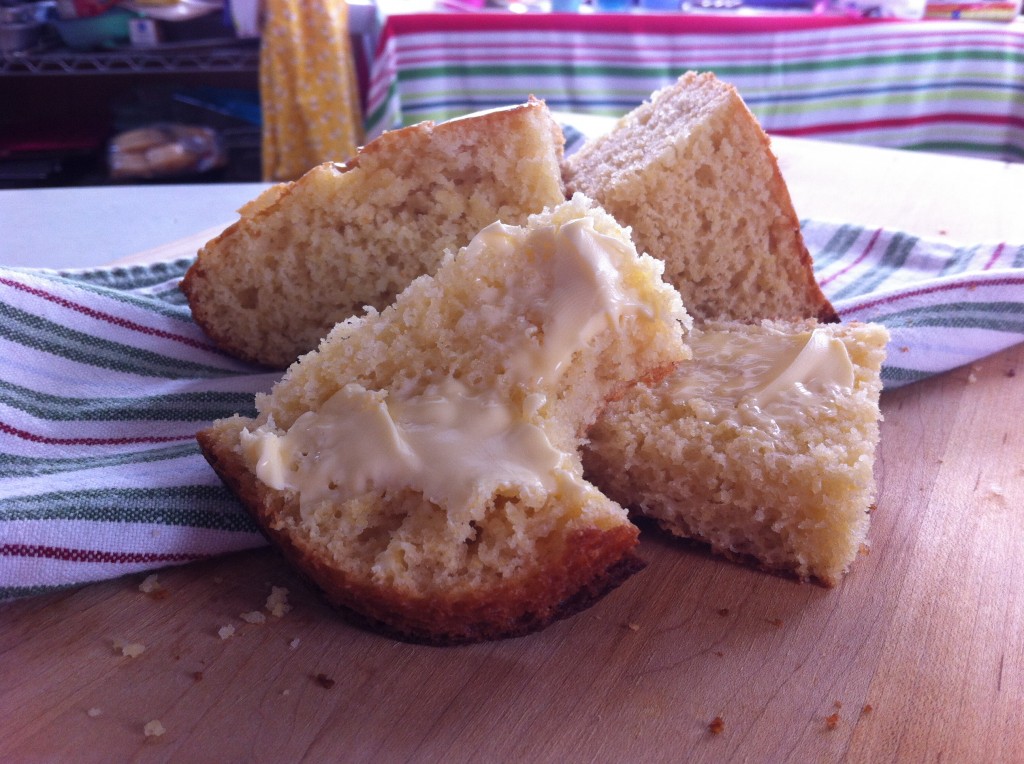
We also finished up the last of the cornbread.

You can find the Cheese Soup Recipe and the Honey Cornbread Recipe just by clicking on the link.

I offered to make her some brownies or another yummy goodie  to go with her soup. We are waiting to have real birthday cake on Saturday with Baby College Girl.

But, Oldest Daughter told me, “it was ok, she had it covered.”

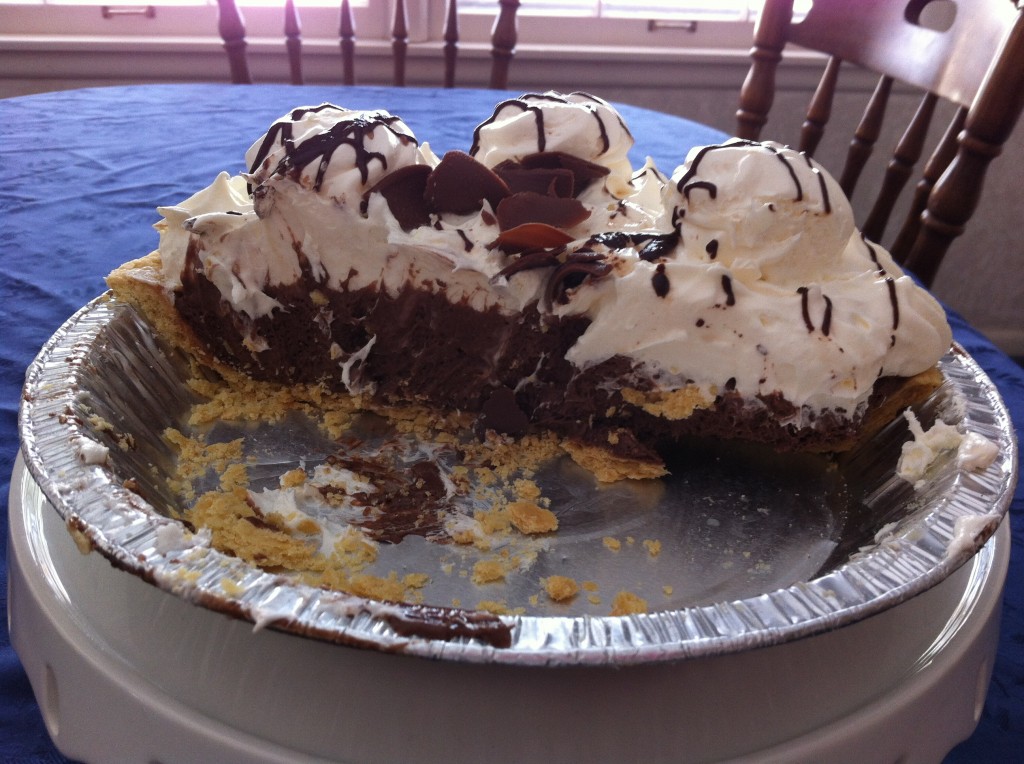
This is the reason she needed her billfold. Oldest Girl saw a very large chocolate pie with sweet whipped cream and chocolate shavings on the top.

It had birthday pie written all over it.

Maybe I will make some brownies today….or should I wait till we finish the chocolate pie?

Do you celebrate birthdays with a normal birthday cake, or have you had something fun and out of the ordinary.

We do not have to be ordinary everyday.

Right!

Have a great Wednesday!

Becky

Secret Hiding Place

Do you have a secret hiding place?

Well, I do.

At least until my kiddos get around to ever to reading this post.

Everyone needs a secret hiding place.

Right?

It is getting harder and harder for me to find a place to hide things with my nosey little grand girls.

But I think I found the perfect place.

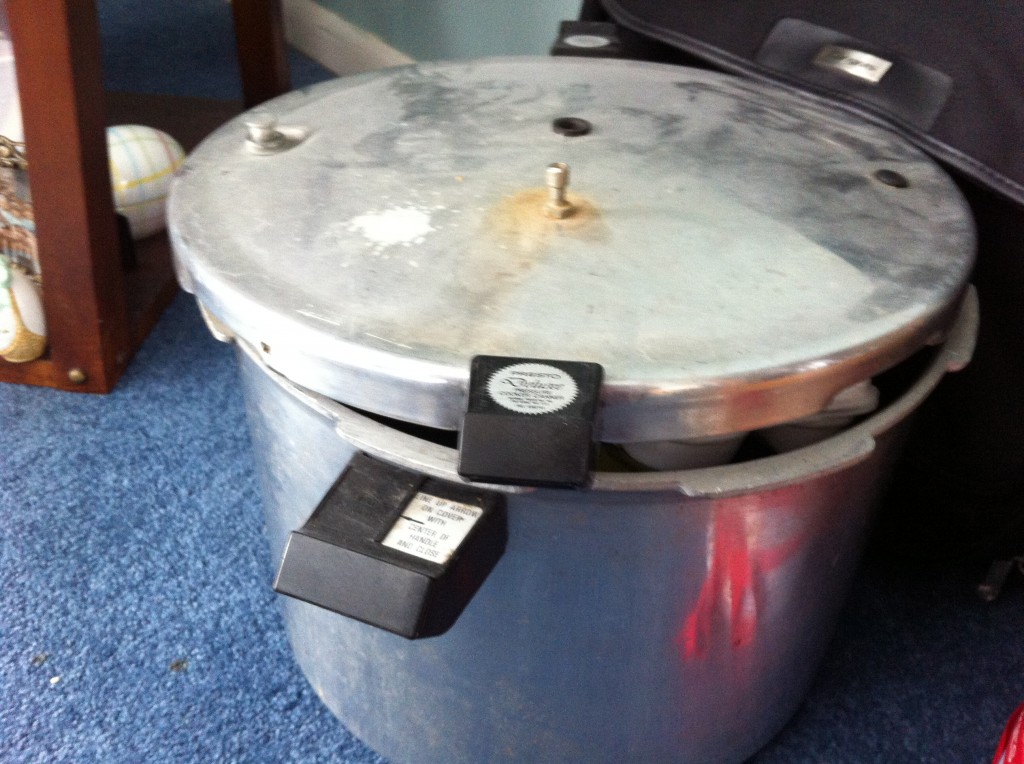
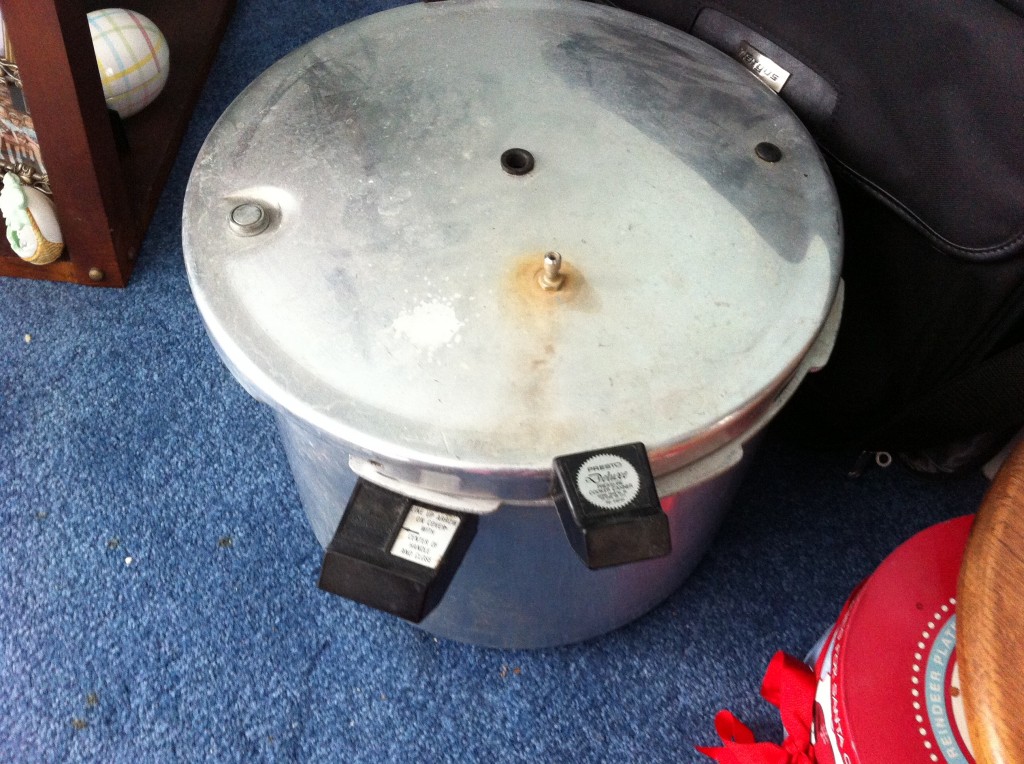
Way back in the dinosaur age, I bought a pressure cooker.

It had been stored away, literally for years and years. See that dust on top? That is dinosaur dust…..no lie.

Anywho, I brought it back from the brink of death and took it to a canning class I took last summer at the local Extention Office.

Beside showing us how to properly can and preserve food safely, they also checked out our pressure cookers to make sure they were safe to use. Mine almost passed inspection. I need a new rubber gasket and a new pressure valve. It will cost about $40 for parts which is way better than paying over $100 for the size of one I have now.

Sorry, I got off topic.

After the class was over, I carried the pressure cooker back into the house and sat it down by my china cabinet.

And there she be, for over a year now.

I am pathetic.

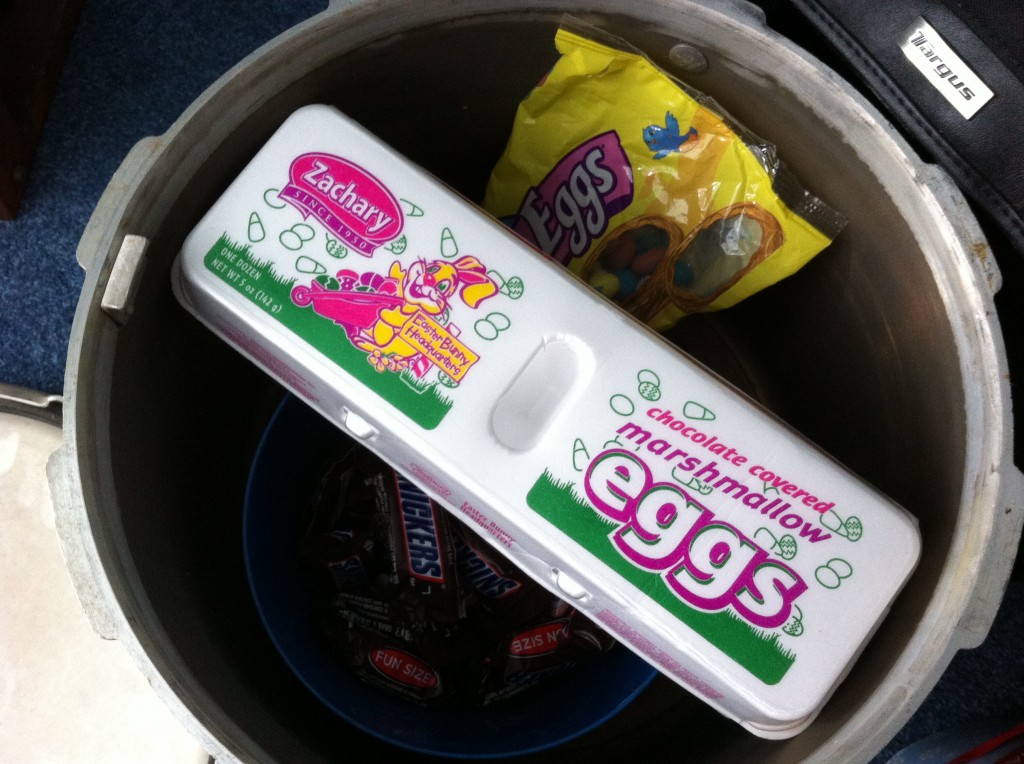
My Oldest Daughter who does not cook bought me one of my favorite Easter candies of all time. Those chocolate covered marshmallow eggs that come in those egg cartons. I love those things. I sat them by my computer, and ate one, then two, then three…..I was going for the fourth one, when it dawned on me I could hide them from my marshmallow egg loving self and they would last longer.

I looked around and saw my pressure cooker sitting innocently there on the floor.

Eureka! The perfect hiding place.

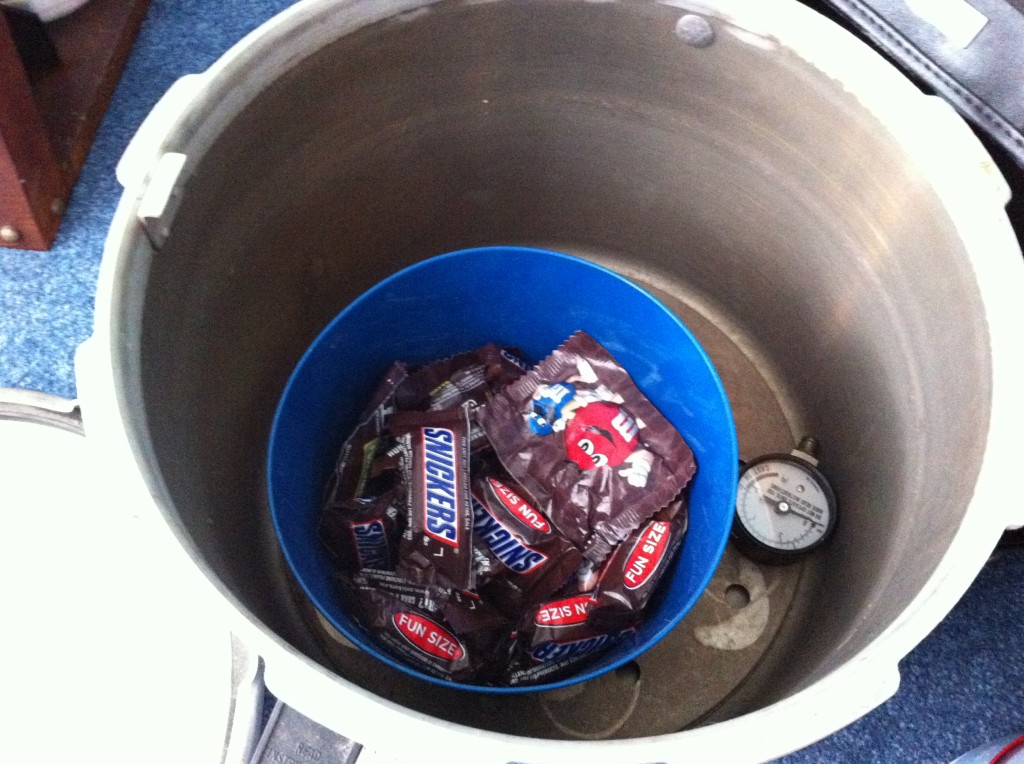
I went over to hide my eggs and a bag of malted eggs (also one of my favorites). I took off the lid and…..

SURPRISE!!! I found my Holloween candy I hid in there back in November.

See, I told you it was a great hiding place.

Now my eggs are inside the cooker all safe and sound.

Until I need to hid more candy.

MMMMM……. that snickers bar looks pretty good to me right now.

Have a great Monday!

I am off to the big city (St. Louis) to do some fabric shopping with a friend of mine. Wahoo!!!

Have a great Monday!

Becky

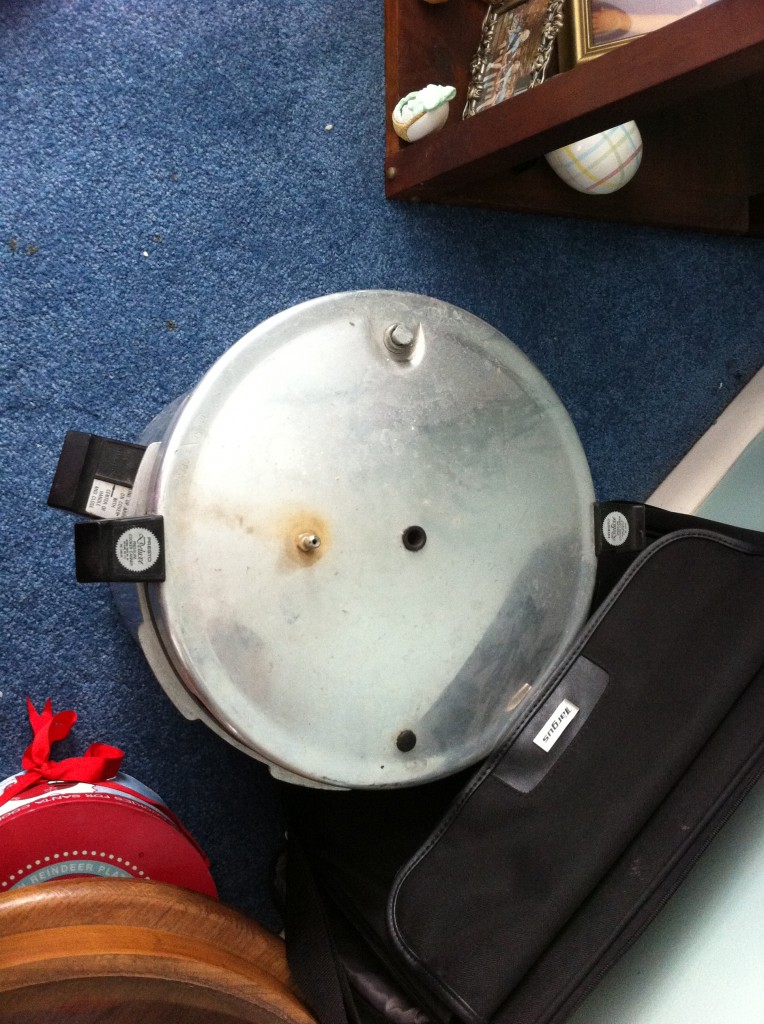
P.S. You can’t even tell there is candy in there can you?????

Related Posts Plugin for WordPress, Blogger...