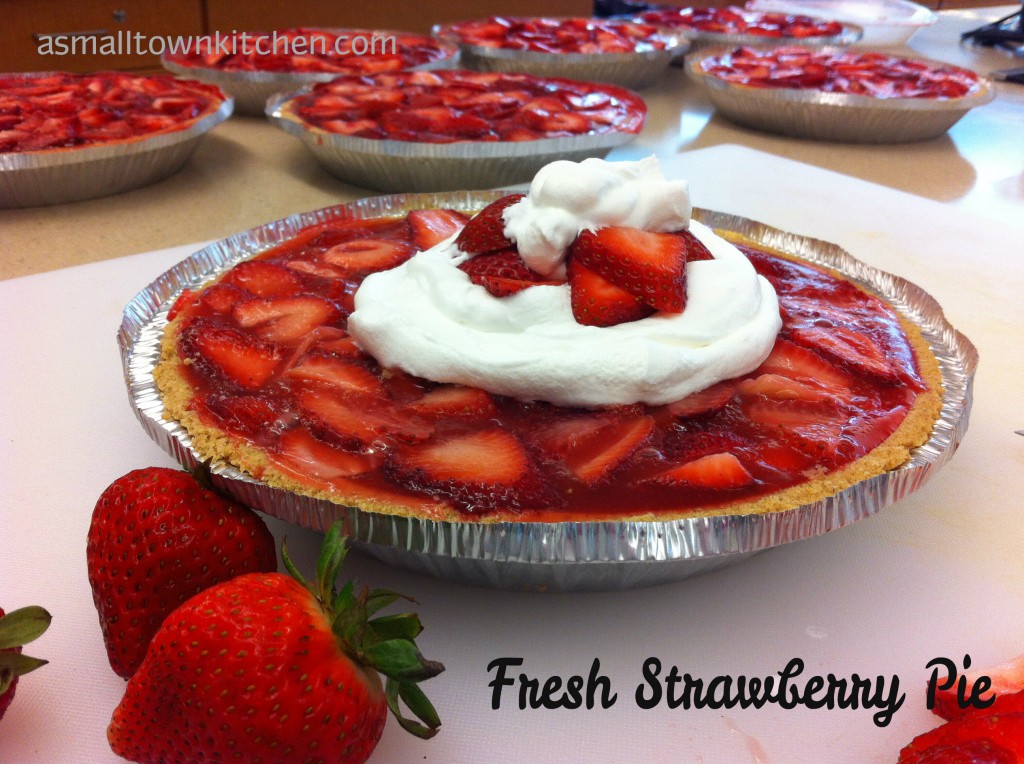
Fresh Strawberry Pie

Whew, I am so sorry it has taken me a couple of weeks to finally post a new recipe!

These last two weeks have been packed with all kinds of teaching summer school fun, that finally, just ended last week.

So, now I can officially say that I am on summer school break.

I can finally sing the song, “Schools Out for Summer!”

I am SO behind in posting so many amazing recipes that I have made over the last couple of months, that it will take me several days to get them posted.

Anywho, I wanted to start off with this super easy Fresh Strawberry Pie.

At the end of the regular school year, I wanted to make treats for all the secretaries, guidance department, media center, custodians and the principals. This school year has been great, but a bit of a challenge opening up a brand new school. The end of the  school year was a great time to send treats and to celebrate that we survived ; ). There were just too many staff that I wanted to make treats for individually, that I just did not have enough time in the day to make it happen. So, I decided to make a pie or two for each department.

Am I a genius or what?

Even though Company and I did not have any strawberries to speak of this year because of the un-cooperating weather, a local store had strawberries on sale at a great price. I found a simple but delicious fresh strawberry pie recipe out of a old cookbook that I bought at a flea market and I went to work (at school) making strawberry pies.

Seven pies altogether.

I know it is a tad past strawberry seasons, but I still see great prices at the stores on strawberries. If you are looking for a easy, fresh, delicious summer pie, try a go at this recipe.

Here is the step by step directions with photos:

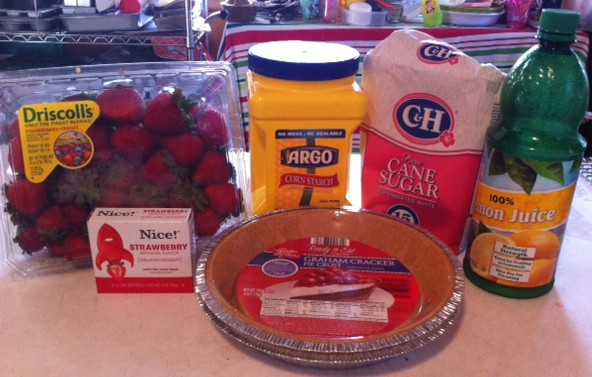
You will just need a few ingredients to make this simple but scrumptious pie.


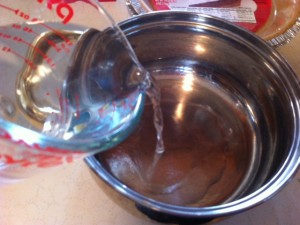
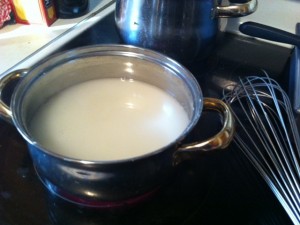
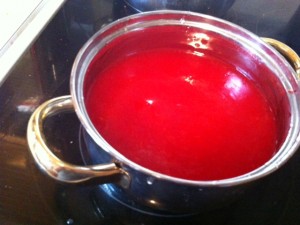
In a sauce pan measure in the water and the corn starch.


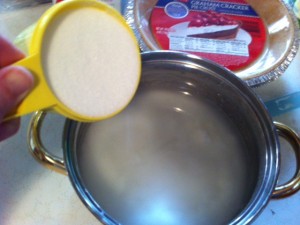
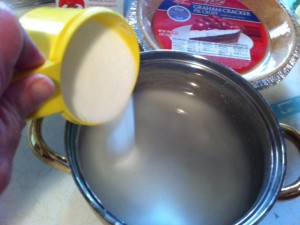
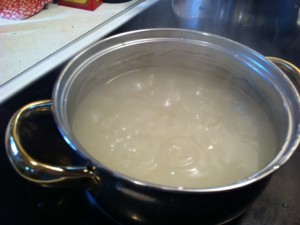
Add the sugar and stir. Cook over medium, stirring to prevent lumps.


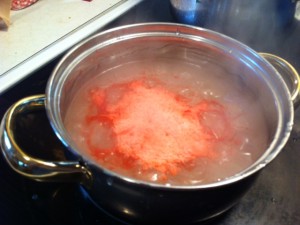
Bring the sugar and cornstarch mixture to a boil. Turn off the heat and the add the jello.


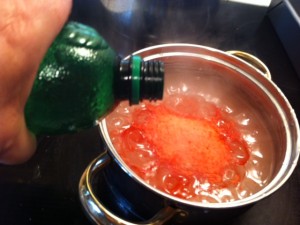
Add the lemon juice. Stir the jello and lemon juice in.


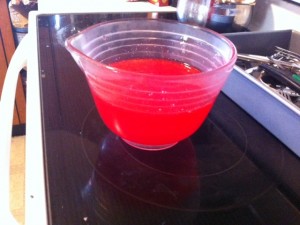
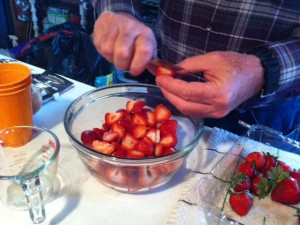
To speed up cooling the jello filling, I poured it into a bowl to cool. Find a volunteer to slice the strawberries. (this was Company’s job haha)


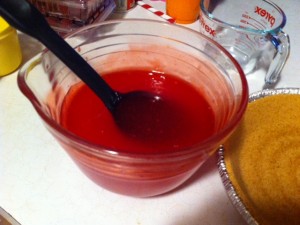
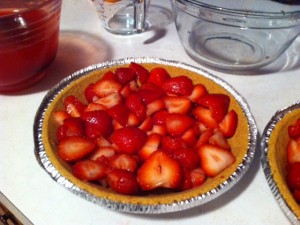
Stir the jello mixture (just in case a film formed on top while cooling). Fill the pie plates with strawberries. (I have also used a BIG bowl and mixed the filling and strawberries together first and then put in the crust. Either way works.)


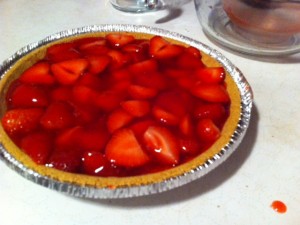
Pour equal amounts of the filling over the strawberries. Place the pies in the fridge for a least 4 hours to set up.

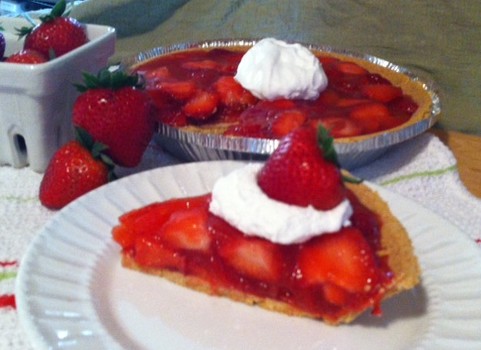
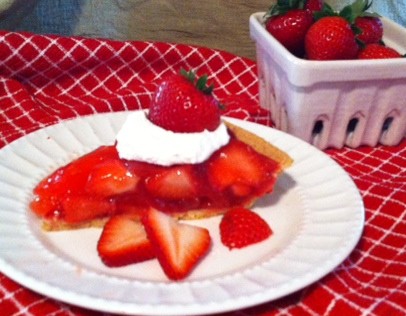
When it sets up, it slices up beautifully. Garnish with cool whip and sliced strawberries.

Before I give you the recipe, I just want to tell you a couple of details about the recipe changes I made to suit me. I used store bought graham cracker crust. The recipe will make enough filling for two small pies. I will be giving you the original recipe that will make one large 9 inch pie using a store bought pie crust. There you go! You can decide which size better fits your needs : ) or pie cravings.

Here is the recipe:

Fresh Strawberry Pie

Adapted from Old Cookbook

Ingredients:

1 quart (4 cups) washed, stemmed and sliced strawberries

1 and 1/2 cup sugar

1 (3 ounce) pkg. strawberry gelatin

1 and 1/2 cup water

1 tablespoon lemon juice

1/4 cup cornstarch

1 baked 9 in pie shell (or 2 small store bought graham cracker crust)

Cool Whip for topping

Directions:

In a medium sauce pan, combine the water, sugar and cornstarch. Heat and stir until thick and clear. Remove from the heat and stir in the gelatin and the lemon juice. Let the gelatin cool.

In a large bowl, place the sliced strawberries. When the gelatin cools, pour the gelatin over the strawberries and combine. Make sure the gelatin is evenly combined with the strawberries.

Pour the strawberry filling into the prebaked pie shell, or into the graham cracker crust.

Put the pie/pies into the refrigerator to firm. This will take about 4 hours.

Decorate the top of the pie with cool whip and sliced strawberries if you want.

Enjoy the flavors of summer!

Becky

Other post you may enjoy reading:


Blackberry Cobbler                       Strawberry Rhubarb Crisp           Broccoli Rice Casserole


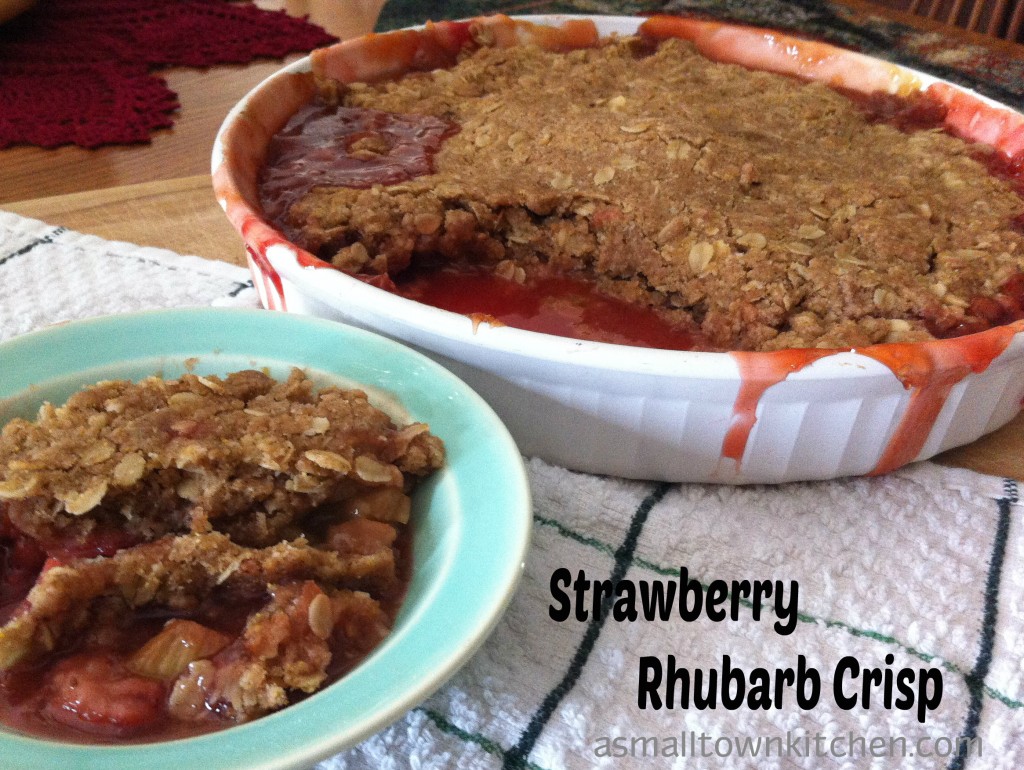
Strawberry Rhubarb Crisp

Have you ever heard of a plant called Rhubarb?

I know that I had never heard of it until I went to college and my foods teacher had us make rhubarb spread for biscuits.

I feel in love with rhubarb that day!

If you want to plant some rhubarb in your garden, now is the time to think about planting some. I tried planting some last spring. I think some varmit dug up my two crowns, that I paid $8.00 a piece for, and had them for dessert. You can read about me planting my rhubarb here. Anywho, I think I think I will be planting several crowns over at Company’s house this spring because he has more room. I hope my results will be better than last year!

Well anyway, my good friend Minerva, who I miss and have hardly seen over the last few months, gave me this terrific cookbook called, “Back in the Day Bakery Cookbook.” It is written by Cheryl and Griffith Day.

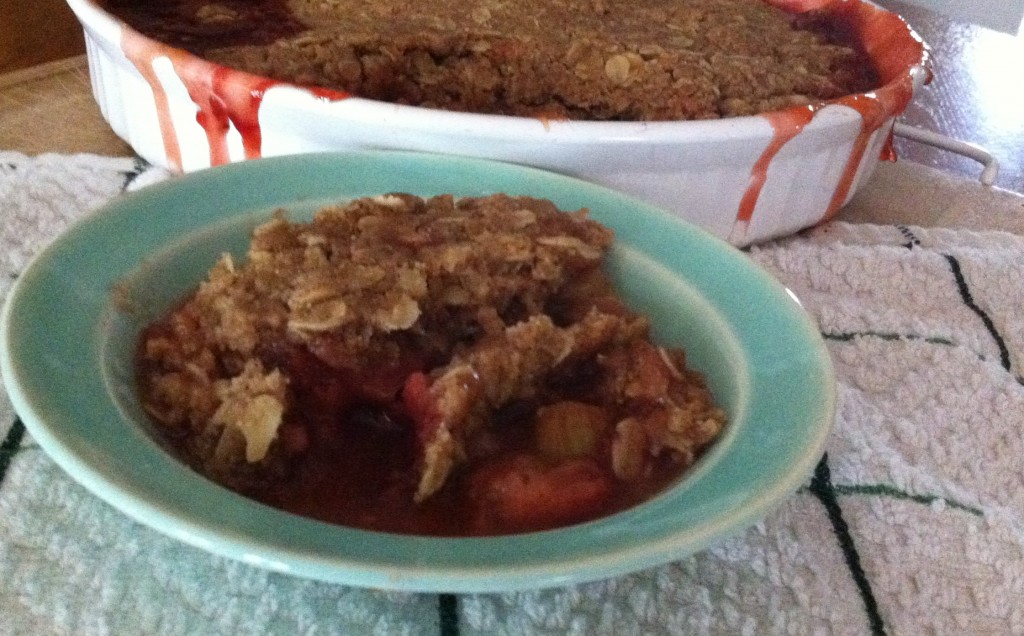
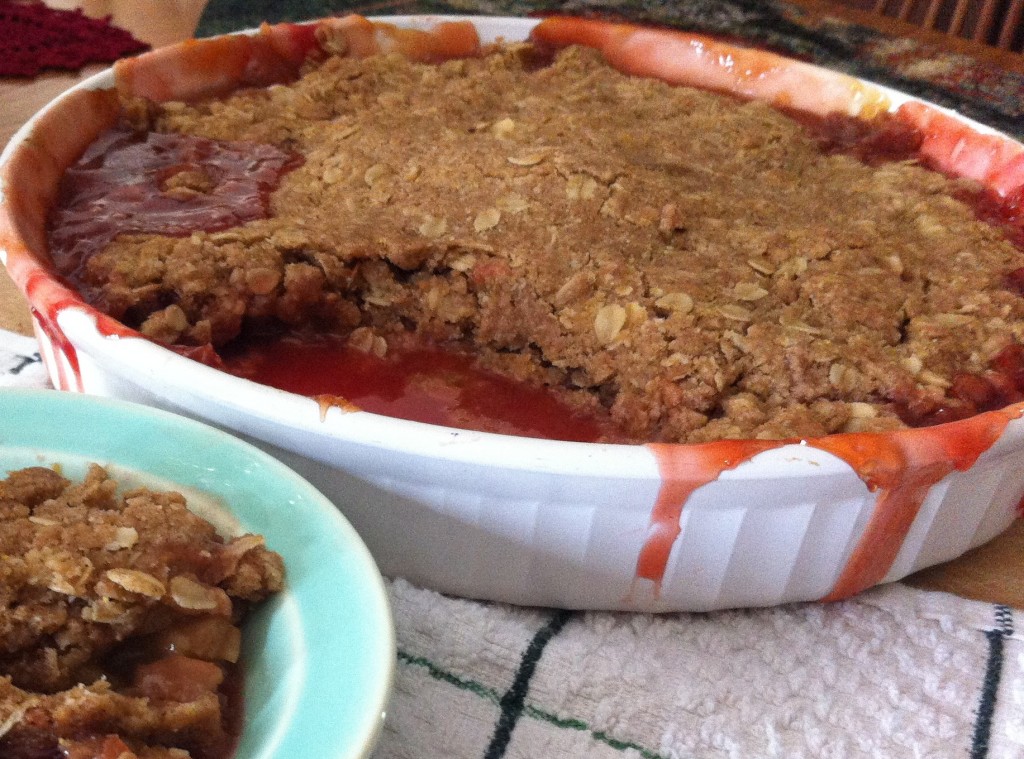
I LOVE LOVE LOVE this cookbook. Of course it has my favorite food group (desserts) as the main attraction and the recipe looks divine. Last year, in my hopes of starting my own rhubarb plot (farm), I made this rhubarb crisp recipe from this cookbook. I think it lasted all off 10 minutes. It is made with strawberries and rhubarb and is topped with a crunchy, sugary topping.

Looking at my pictures of this mouth watering dessert, is tempting me to make some right now at 10:30 at night.

It would be done just in time for a midnight snack.

I need an intervention, immediately! ; )

If you are ready for warm weather, flowers on the trees and a sweet dessert in your kitchen, try a little Strawberry Rhubarb Crisp.
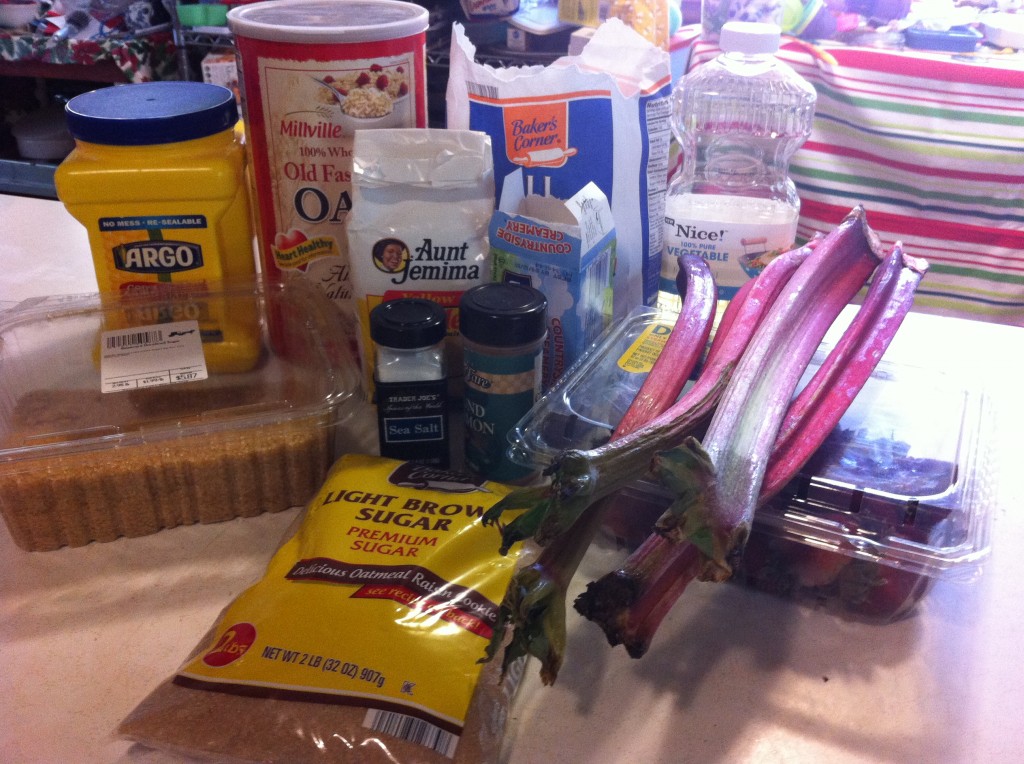
Here is what you will need:
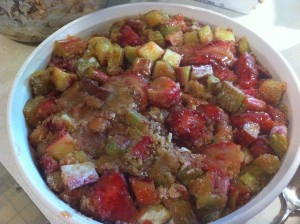
I know it looks like a lot of ingredients, but you should have most of the ingredients in your kitchen cupboard. One thing you might not have is the turbinado sugar. I bought mine at a Amish store, but I have seen it at Hyvee also. It is a course  sugar that still have some maple flavor left in it.


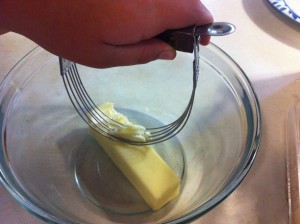
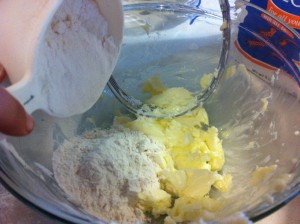
Take your softened butter and with a pastry cutter, cut in the flour. (the recipe says to cut the butter in cubes, sometimes I forget to follow the recipes.)


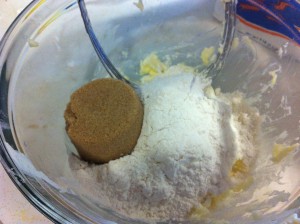
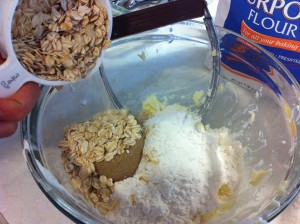
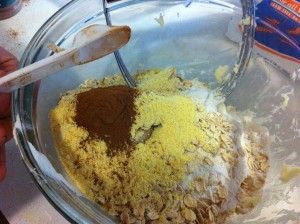
Add in the brown sugar and the oats.


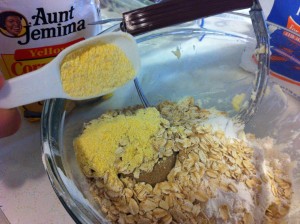
Add in the corn meal, salt and the cinnamon


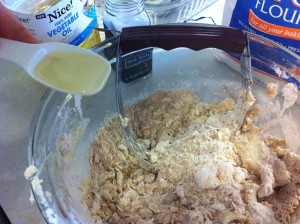
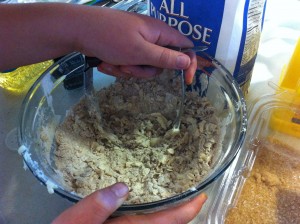
Lastly add in the oil. Now, get crackin with the pastry cutter and mix all the ingredients together. Set aside.


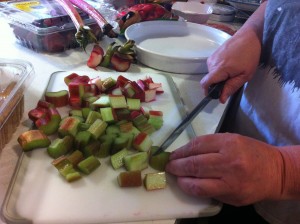
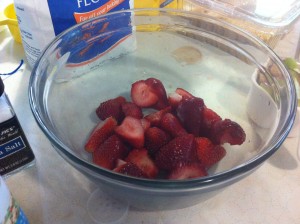
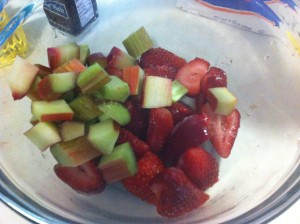
Now it is time to peel and cube the rhubarb. Next, wash and stem the strawberries.


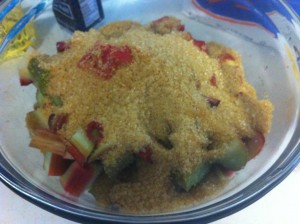
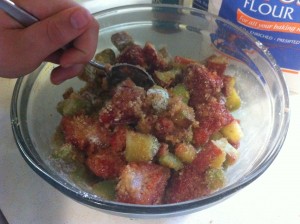
Add the rhubarb to the strawberries. Next, add in the turbinado sugar. (see how coarse it is and the light color of the maple flavor still in the sugar)


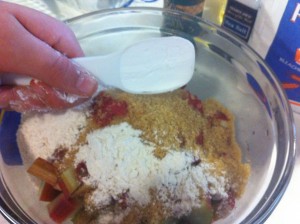
Add  in the corn starch and flour. Mix until all the flour is covered.


Dump , (is that a funny word to use when cooking?) the filling into a buttered deep dish pie plate. Spread the filling evenly on the bottom.

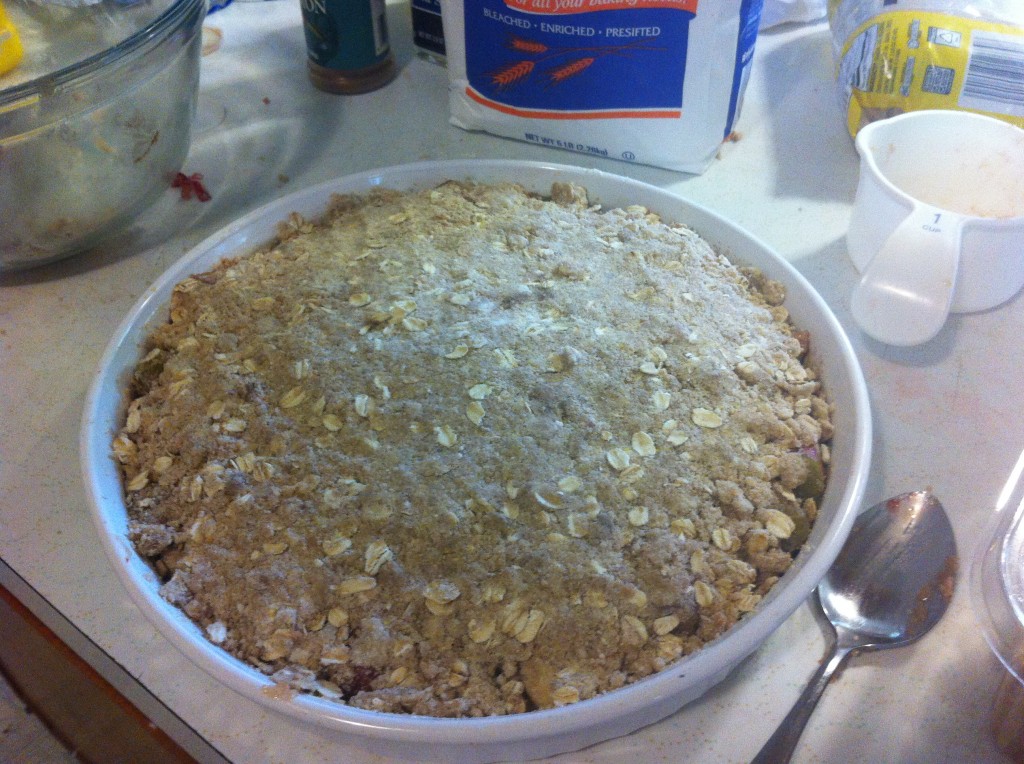
Take the topping and press or crumble it on top of the filling. Bake for 40 to 45 minutes in a 350 degree oven.


Here is the recipe:

Strawberry Rhubarb Crisp

Adapted from The Back in the Day Bakery Cookbook

Ingredients For The Topping:

1 cup flour

1/2 cup brown sugar

3/4 cups old fashioned rolled oats

2 tablespoons yellow cornmeal

2 teaspoons cinnamon

1/4 salt

1/2 cup butter (cut into 1/2 inch cubes)

1 tablespoon oil

Ingredients For The Filling:

2 cups strawberries

4 cups 1 inch pieces peeled rhubarb (I just took a vegetable peeler and went over the backs of mine)

1 1/4 cup turbinado sugar (found at most groceries stores)

3 tablespoons flour

1 tablespoon cornstarch

Directions:

Butter a 9 inch deep dish pie plate and line a baking sheet with parchment paper. You will put the pie plate on top of the baking sheet to catch any bubbling juices that might bubble out of the pie plate.

To make the topping: In a medium mixing bowl, stir together the flour, brown sugar, rolled oats, cornmeal, cinnamon, salt, butter and oil with a fork until completely blended. Set aside.

To make the filling: In another medium bowl, combine the strawberries and rhubarb with the turbinado sugar, flour and cornstarch, stirring to coat the fruit.

Pour the fruit mixture into the prepared pie plate. Sprinkle the topping evenly over the fruit mixture.

Place the pie plate on the baking dish.

Bake for 40 to 45 minutes in a 350 degree oven. The crust will start to get golden brown and crispy.

Now, all you have to do is wait for it cool off before you can eat (all of) it!

I will have to say it again, “I love rhubarb.”

Enjoy,

Becky

Some of my favorite recipes post:


Good Morning Saturday                       Corn Bread Salad                                Crusty White Bread

Strawberry Jam

A few weeks ago, there was a sale on strawberries at my local organic grocery store. They had reduced the price of their strawberries down to .99 cents for 16 ounces.

Woo…hoo!

It was a great time  to offer a preserving cooking lab for my advanced foods class using fresh strawberries. So, I showed my classes how to make freezer jam. I try not to get on my soap box too often here on the webpage. In saying that, I promise I won’t stand on it for too long. but, I feel that preserving food is an essential lesson for students.

The preserving foods lab lesson offers the students the opportunity to; cut, chop, follow a recipe, measure, and participating in, start to finish, the techniques in taking a fresh food item and turning it into preserved food, such as jam. Last semester, we took pie pumpkins and made; pumpkin seeds, pumpkin puree and lastly pumpkin pies (with home made crust). You can read about the pie pumpkins here.

This semester, my beginning foods class took the remaining pumpkin puree and made these astonishing delicious pumpkin pancakes with home made caramel sauce. (I promise I will post those recipes soon.) It was refreshing to see how many different food items we could make from the pumpkin puree. Now, my classes were making freezer jam.

Here is one box of freezer jam, about to go into the fridge. You can refrigerate freezer jam for up to 3 weeks if you want to use it right away. Since the students were going to make Southern 7 UP biscuits to eat the jam on, we just put the jam in the refrigerator. Students brought their own containers from home to put their jam in. When we were done with the biscuit lab, the students were able to take their left over jam home….that is if there was any left over to take home.

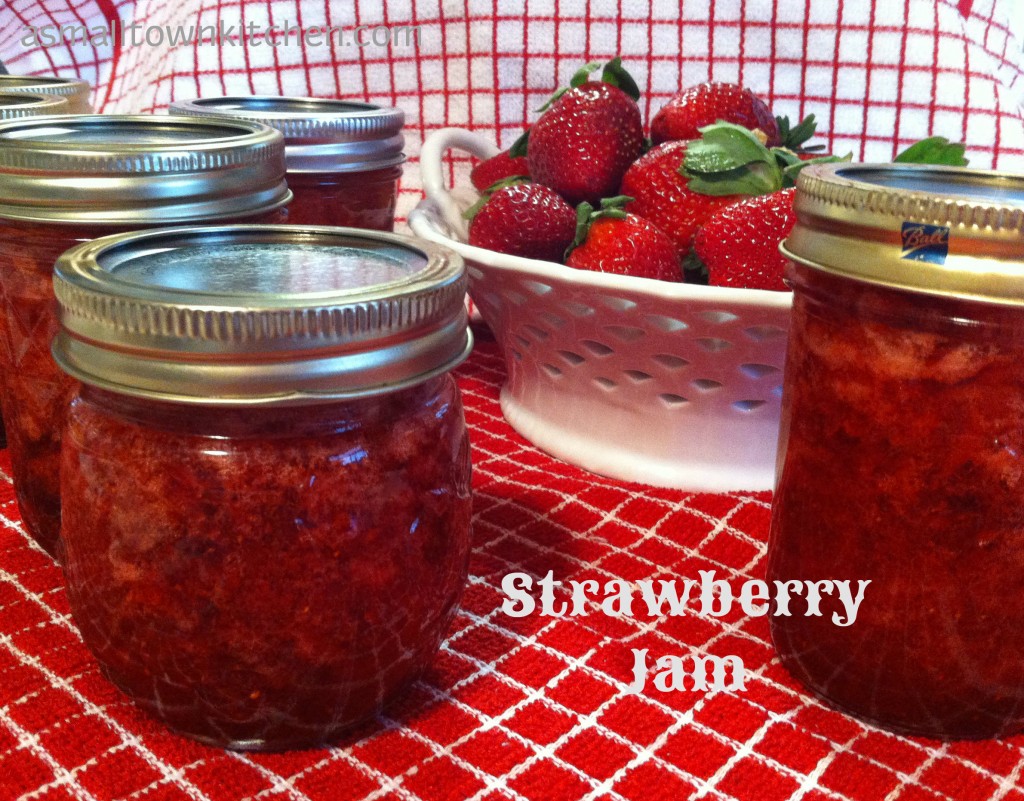
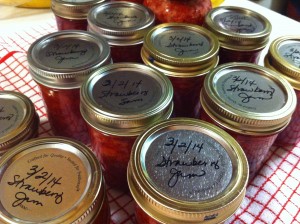
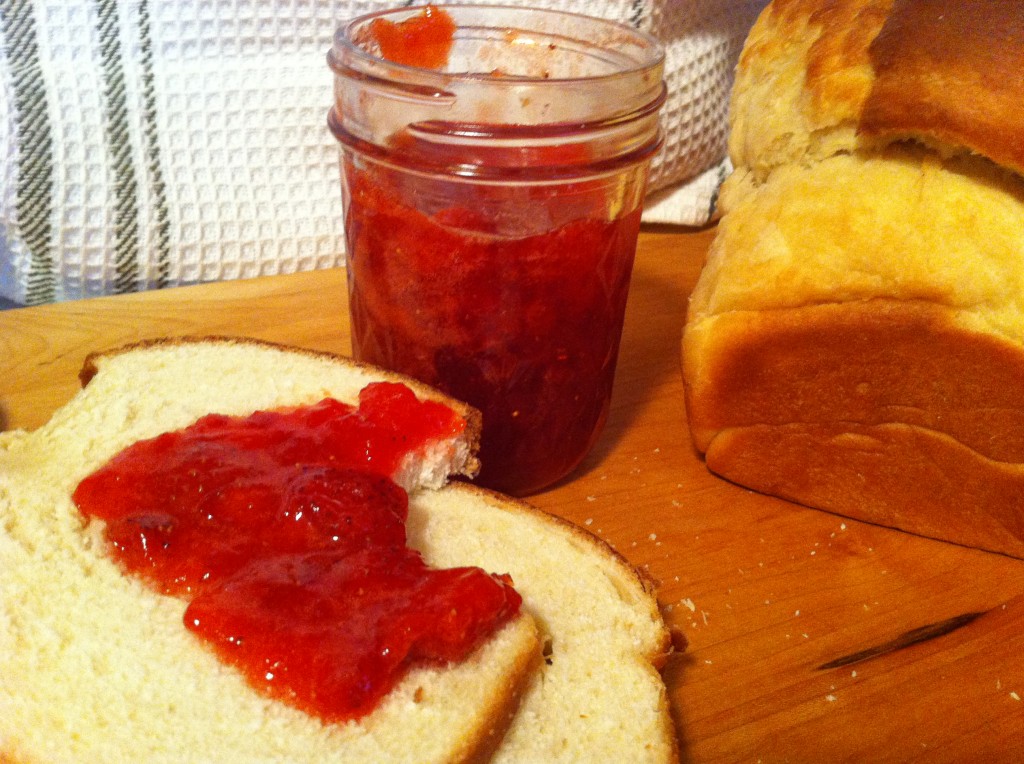
Well anywho, since I was out of freezer room at home, I decided to take my strawberries and make cooked strawberry jam.  I could process the jam in jars and then be able to store the jam in my pantry. In the three weeks or so since I made the jam, I am not sure how many I have left. It is funny how many pieces of toast you can eat when you have fresh jam to slather on top. Not that I know anything about that. : )

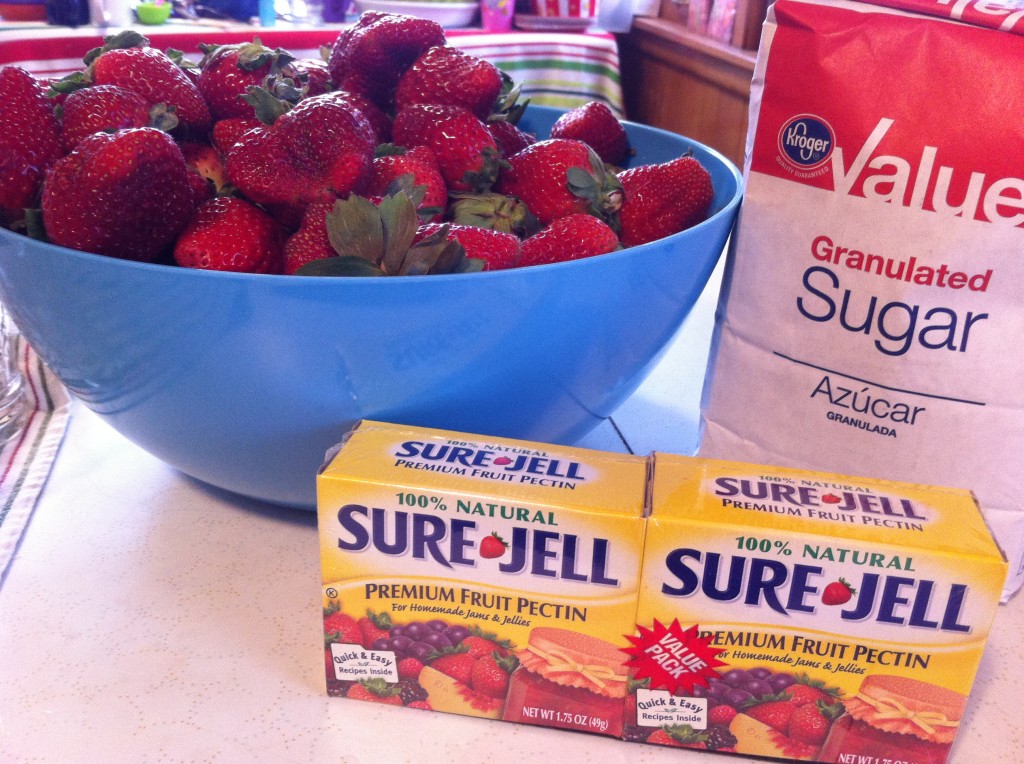
Don’t feel you have to wait until it is strawberry season in your area to make some jam. If you are able to find some strawberries that are on sale during the off season, give this basic, simple and delicious strawberry jam recipe a try. Here is what you need.

You will need strawberries (of course), sugar, and sure jell fruit pectin

.          

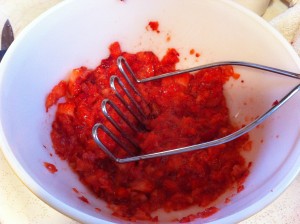
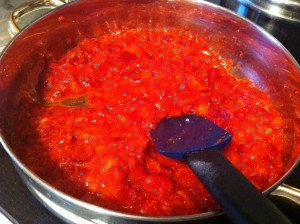
The first thing you do is, cut the green stem off the top of the strawberries and slice up. Take a potato masher and mash the strawberries. Put the strawberries in a large sauce pan.


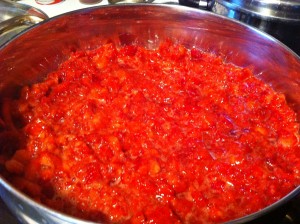
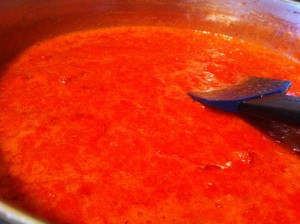
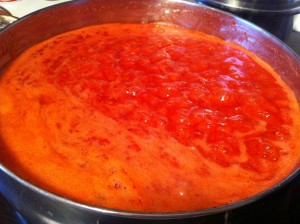
Add in the contents of the box of pectin and cook the strawberries and pectin together until the mixture comes to a FULL boil.


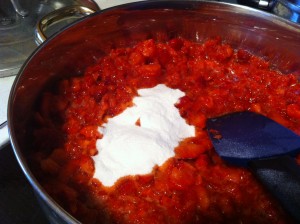
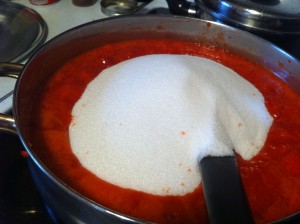
When it comes to a full boil,  quickly add in the sugar and stir. Return the mixture to a full boil.


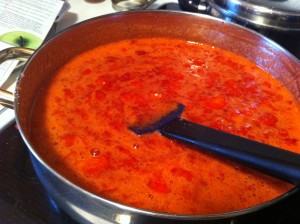
When the mixture comes to a full boil, boil for ONE minute, stirring constantly.


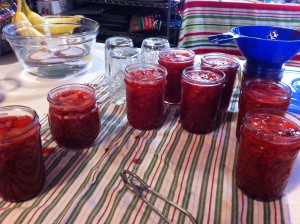
Ladle the jam into sterilized jars to within 1/8 inch from the top. (you want less air in the jar as possible). Wipe the jar rims and threads. Cover with two piece lids. (screw bands and the flat lids that have the little rubber circle edge).


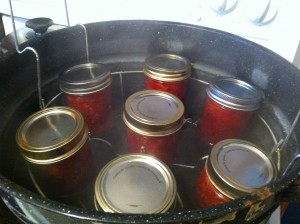
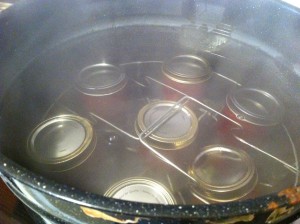
Screw the bands tightly. Place jars on elevated rack in canner.


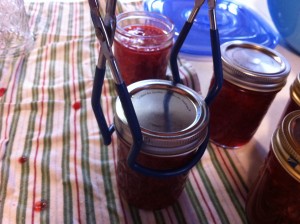
Lower rack into the canner. Water must cover jars by 1 to 2 inches. Cover, and bring water to gentle boil. Process for 10 minutes.


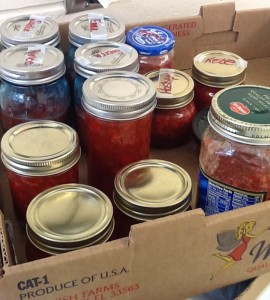
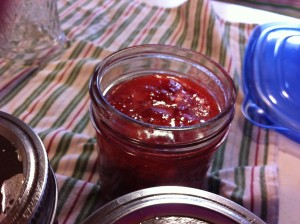
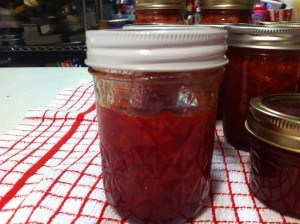
I did not process this jar, as I did not have enough jam to go to the top, so I put it in the refrigerator for us to enjoy now. Let the processed jam stand at room temperature for 24 hours. Store processed jam for up to one year. Be fure to lable the jam with what kind of jam and the date you made it. Refrigerated jam for up to 3 weeks. Note: that jar of jam that went into the refrigerator did not last one week ; )

See, that is all there is to making strawberry jam.

Here is the recipe:

Recipe Adapted from the Sure Jell directions located inside the box of pectin.

Ingredients:

5 cups crushed strawberries

7 cups sugar

1 –1.75 ounce box of Sure Jell

Directions:

1 Bring boiling-water canner, half full with water to a simmer.

2. Sterilize  and wash jars and screw bands with soapy water and rinse with warm water.

3. Pour boiling water over the lids and let stand until you are ready to use them.

4. Measure exact amount of crushed strawberries into a 6 to 8 quart sauce pan.

5. PRE MEASURE the sugar into a seperate bowl, so you will have it ready to add to the strawberries when the time comes.

6. Add the contents of the box of pectin into the crushed strawberries and stir.

7. Bring the strawberry and pectin mixture to a FULL rolling boil, stirring constantly.

8. Quickly add in the premeasured sugar.

9. Return the strawberry, pectin and sugar mixture to a FULL roiling boil. Boil for exactly ONE minute.

10. Ladle the hot jam into the jars. Fill the jars, 1/8 inch from the top. Wipe the rim and threads of jar clean of any spilled jam.

11.  Put a lid on the top of the jar and then screw on the band, tightly.

12.  Put the jars of jam in a elevated rack in the canner. Lower the jars into the canner.

13.  Boil,the jars (making sure there is 1 to 2 inches of water over the top of the jars) for 10 minutes.

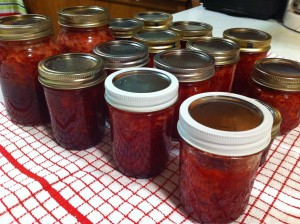
14. Take the jars out of the canner and let sit at room temperature for 24 hours. You should start hearing the lids pop as the jam cools, forming a airtight seal.

Now all you have to do is find an excuse to try some.

Enjoy!

Becky

Other post you may enjoy:


Brown Sugar Meatloaf                               Molasses Cookies                       Poppy Seed Bread with Glaze

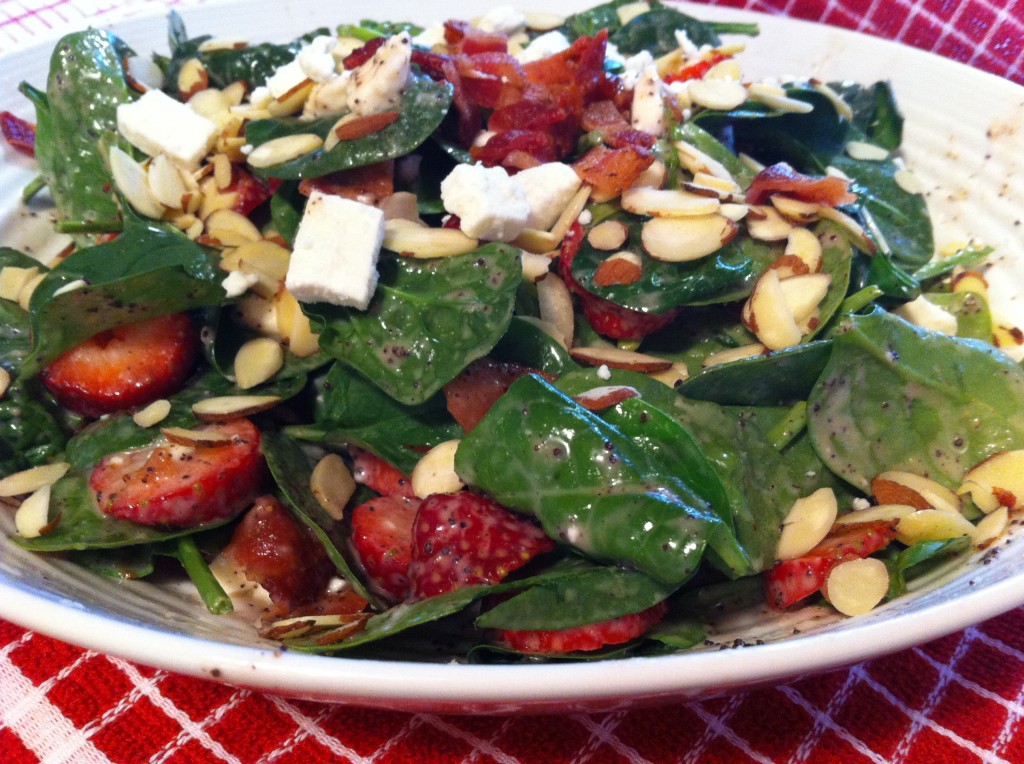
Strawberry Spinach Salad with Feta and Bacon

Are  you ready for a little warm weather?

I know I sure am.

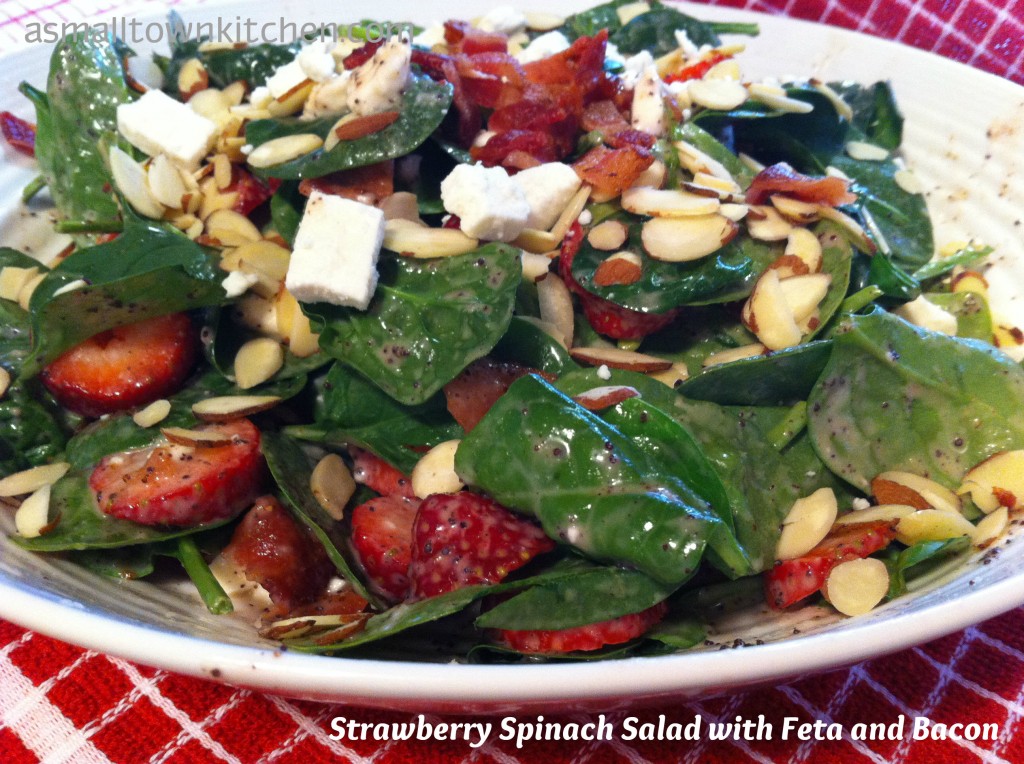
Tonight, it is suppose to get below zero here in Mid Missouri. Creamy, steamy soup with hot rolls is perfect for those cold nights, except….when you are craving some summer salads. A new store opened up not far from here and they had these beautiful strawberries on sale. I could not resist buying a few packages. They looked like summer and even smelled like summer. I knew I had some left over spinach from when I made chicken and spinach enchiladas. In my summer starving mind, I thought, what better way to bring in a little summer into my kitchen, then by making some Strawberry Spinach Salad.

I did not have a couple of items for the salad. My Super Hero son volunteered to go to the store to pick them up for me. Only problem was, he did not know what feta cheese looked like and he did not have a clue where to find sesame seeds. After several phone calls and going to a different and bigger store, he was able to buy what I needed. I offered to buy him a mountain dew for his troubles. The Super Hero loves his mountain dew.

All was forgiven.

While I fried up some bacon cheeseburgers, I made this quick and easy recipe for Strawberry Spinach Salad. Oldest daughter who does not cook, myself and even Company enjoyed big bowls of this salad, with our burgers. It was just what the doctor ordered to bring a sunny smile to our faces. The Super Hero did not want to eat spinach salad. I think he was afraid he would turn into Popeye.

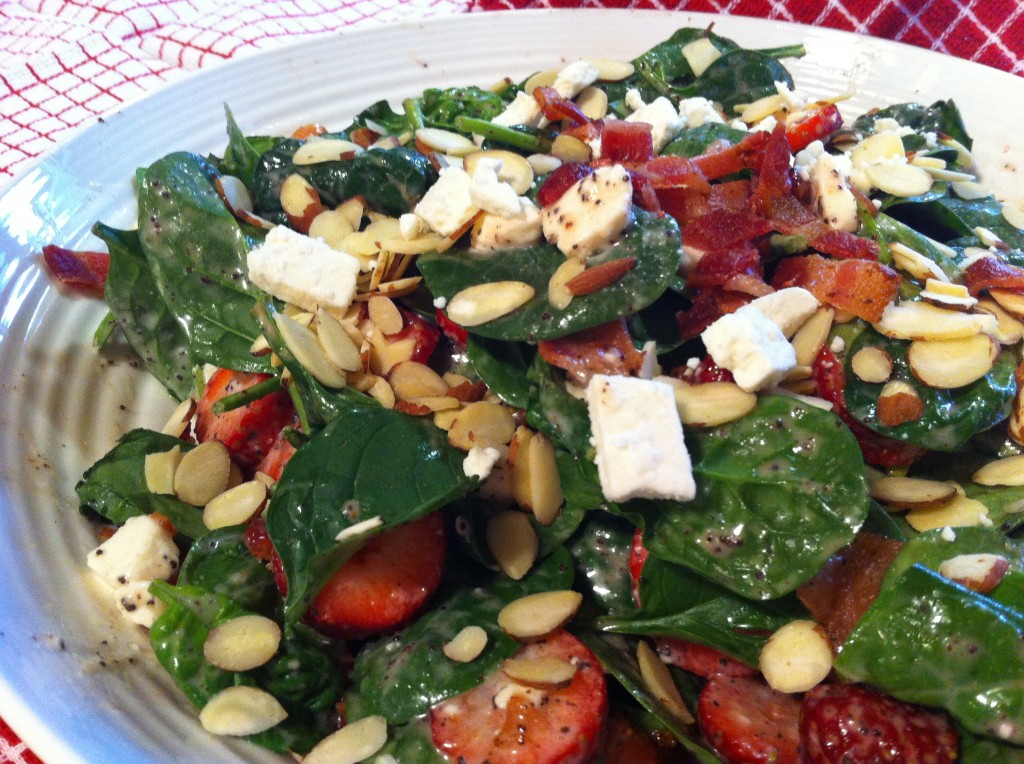
If you are missing summer and what to bring a little bite of strawberry sunshine into your kitchen, try this spinach salad. You will not be able to resist the sweet vinegar dressing, loaded with strawberries and bacon and topped with feta cheese and slivered almonds.

Here’s to warm weather : )

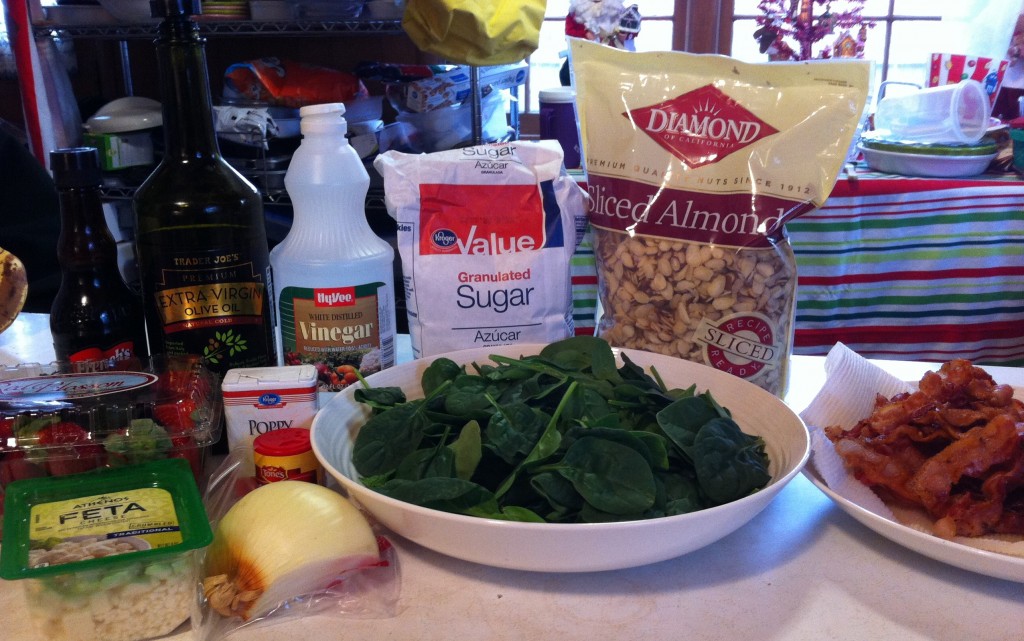
This is all you need to make this summer sensational salad (even in the winter.)


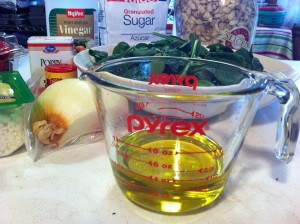
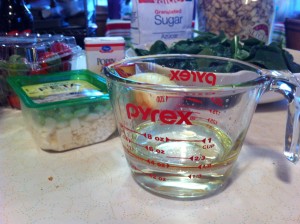
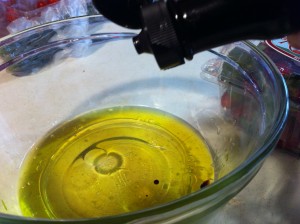
The first thing you will want to do, is make the dressing. You will need to measure out the olive oil and the vinegar. Pour the oil and vinegar into a bowl.


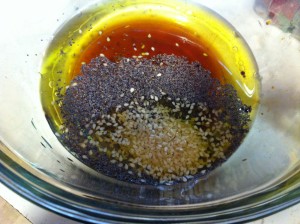
Next, you add in the Worcestershire sauce. The you add in the poppy and sesame seeds.


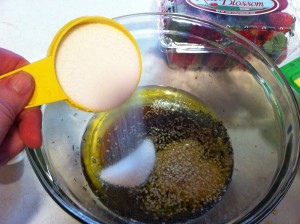
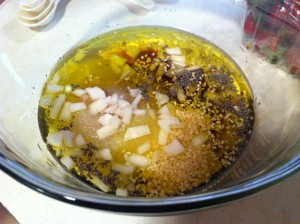
Now, add in the sugar and the  chopped onion and whisk everything together.


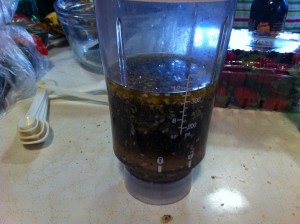
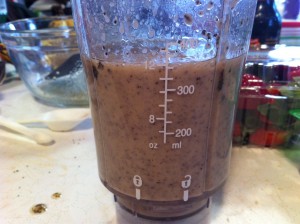
Pour the dressing into a blender and blend for 30 seconds. (I just used my little shake blender)  The dressing will emulsify, turning in a nice, rich dressing. You won’t even see the onion.

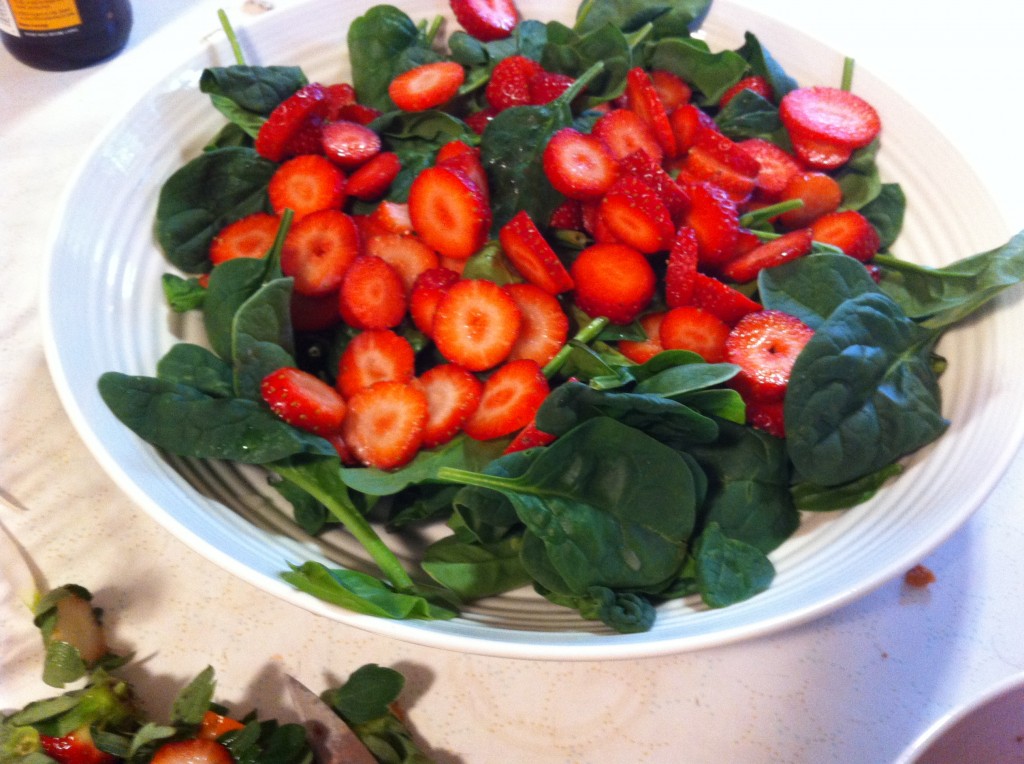
In a large bowl, put in your spinach and your sliced strawberries.

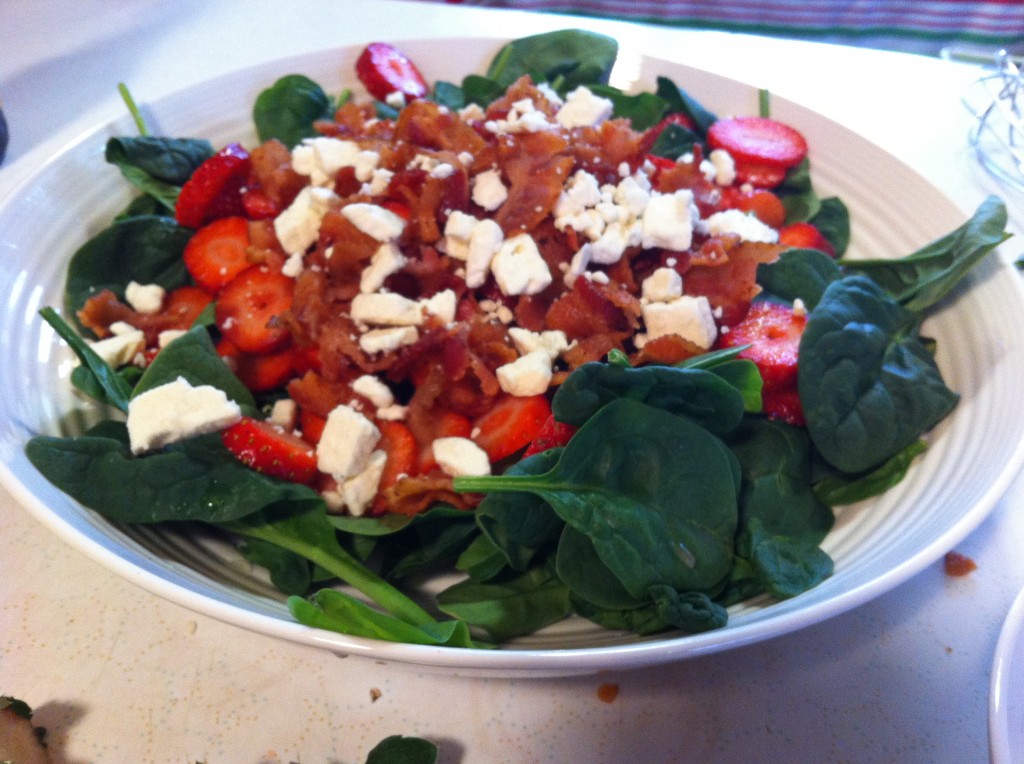
Now add your bacon and feta cheese. I saved a little to use as a garnish for later.

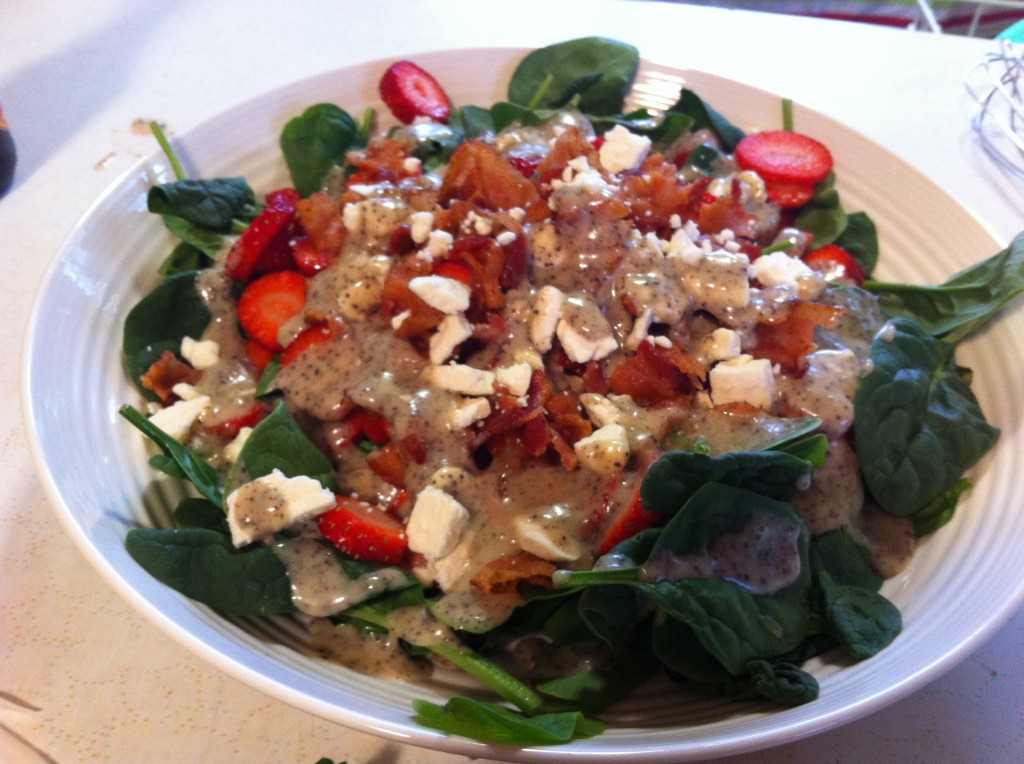
Now pour on some dressing. I only used half of my dressing. I thought that was plenty, but to each their own.

Lastly, stir the salad together. Top with remaining bacon and feta and some slivered almonds.

All you need now is a fork and a lock on the kitchen door (if you do not want to share). ; )

The sun will come out tomorrow……. : )

Right?

Enjoy!

Here is the recipe:

Strawberry Spinach Salad with Feta and Bacon

10 cups of fresh spinach

1 pint strawberries, hulled and sliced

4 ounces feta cheese

1 cup of bacon bits (I fried bacon and crumbled it ahead of time)

1/2 cup of slivered almonds

Dressing Ingredients:

1/2 cup white vinegar

1/2 cup olive oil

1/2 cup sugar

1 tablespoons Worcestershire Sauce

2 tablespoons poppy seeds

2 tablespoons sesame seeds

3 tablespoons chopped onion

Directions:

In a medium size bowl, whisk together the oil, vinegar, sugar, Worcestershire sauce, poppy seeds, sesame seeds, and chopped onion. Pour the dressing into a blender and blend for 30 seconds.

In a large bowl add the spinach, feta cheese, bacon and almonds. (I saved some bacon, feta and almonds for a garnish).

Pour on the desired amount of dressing. (I used about half of it, saving the rest for another salad)

Toss the salad and dressing together.

Garnish with the remaining bacon, feta and almonds.

Hope this salad chases those winter blahs away!

Becky

Other Posts you might enjoy.


Cornbread Salad                    Sausage Mushroom Stuffed Acorn  Squash                Blackberry Jam

Related Posts Plugin for WordPress, Blogger...