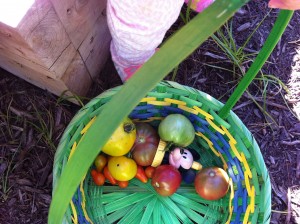
This page is all about the, “My Little Garden,” in my backyard. Two years ago, my wonderful brother in law, Neiner Wiener’s hubby, set up two raised garden beds in a corner of my yard. This was a project I had thought about for a year before and at times I had a really hard time committing to completing it. As I sit here writing this, almost 8 months later, I can tell you I am so glad I put those garden beds in. My entire family and especially my grand girls had a wonderful learning experience. From planting the seeds, watering the little seedlings and then eating fresh cherry tomatoes right from the vine provided an opportunity to get us back out in the yard and in the sunshine. I may not have grown as much as I wanted to last summer, (no help from the varmits helping themselves to my tomatoes and green beans) but I learned a lot and I am ready to get started again in 2015. I know a few things I will do different, (not waste 5 pots on artichokes that did not produce one little flower), plant my rows closer together, fill the beds with more dirt and compost, and start earlier.
If you feel up to following along with me through my journey on being just a little bit self sustainable, then check back on this page. As not to confuse you, I have know a fella, that I call Company, who has a country home with some land with a large garden and some fruit trees. My grand girls and I spend quite a bit of time out there on the weekends, and we do a little gardening there also. Company I put in a large strawberry patch with floating rows back in Oct. and Nov. in part of his garden. Hopefully, this spring we will have enough strawberries to share. I will create a separate page for the country garden at a later time.
Below are the pictures and step by steps on how I put in my raised garden beds. If you just want to read about my harvest and what I planted scroll past the directions and I will start adding post links that you can read. (first updated post April 2015)
Installing Raised Garden Beds. (at least how I put mine in.)
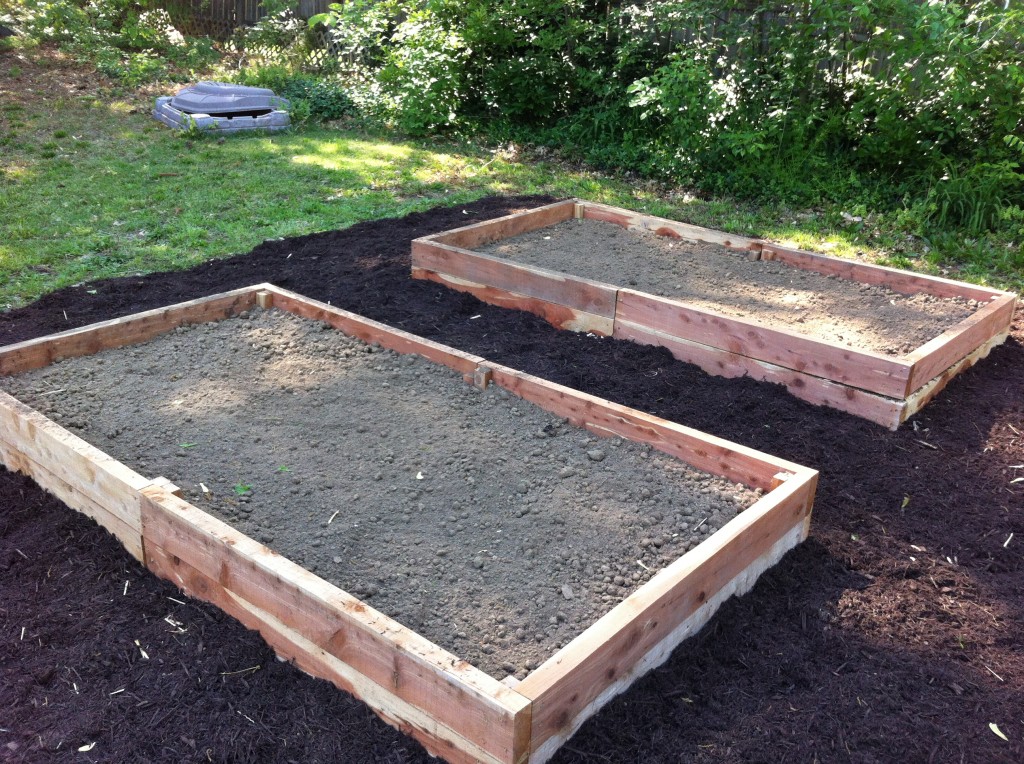
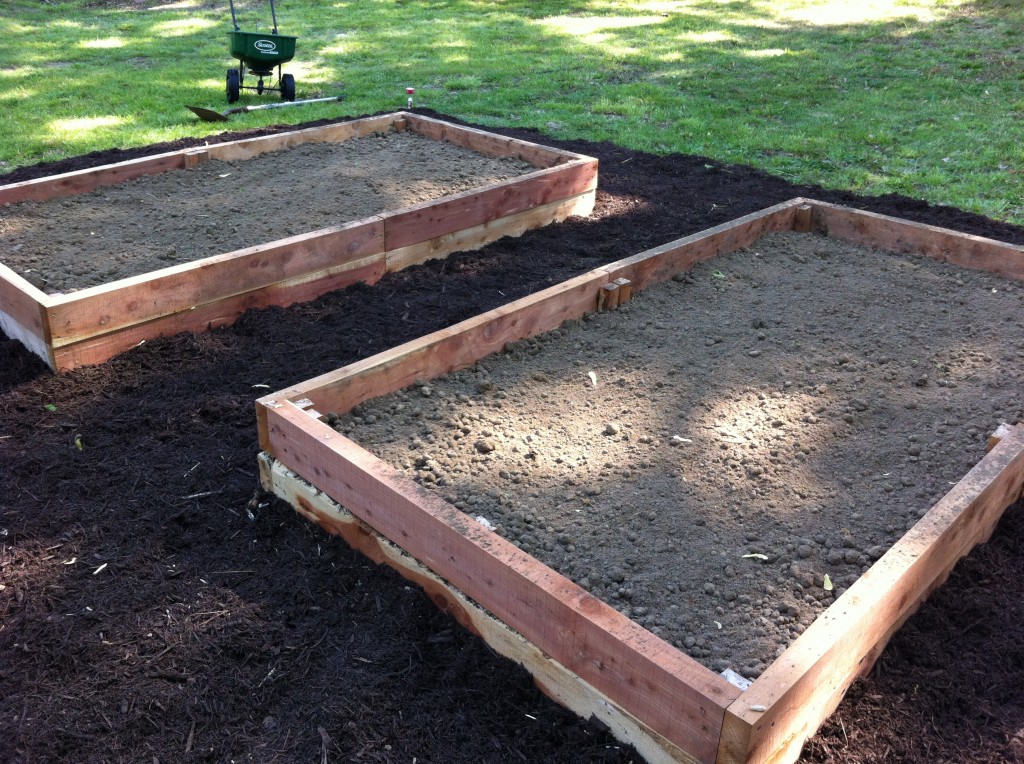
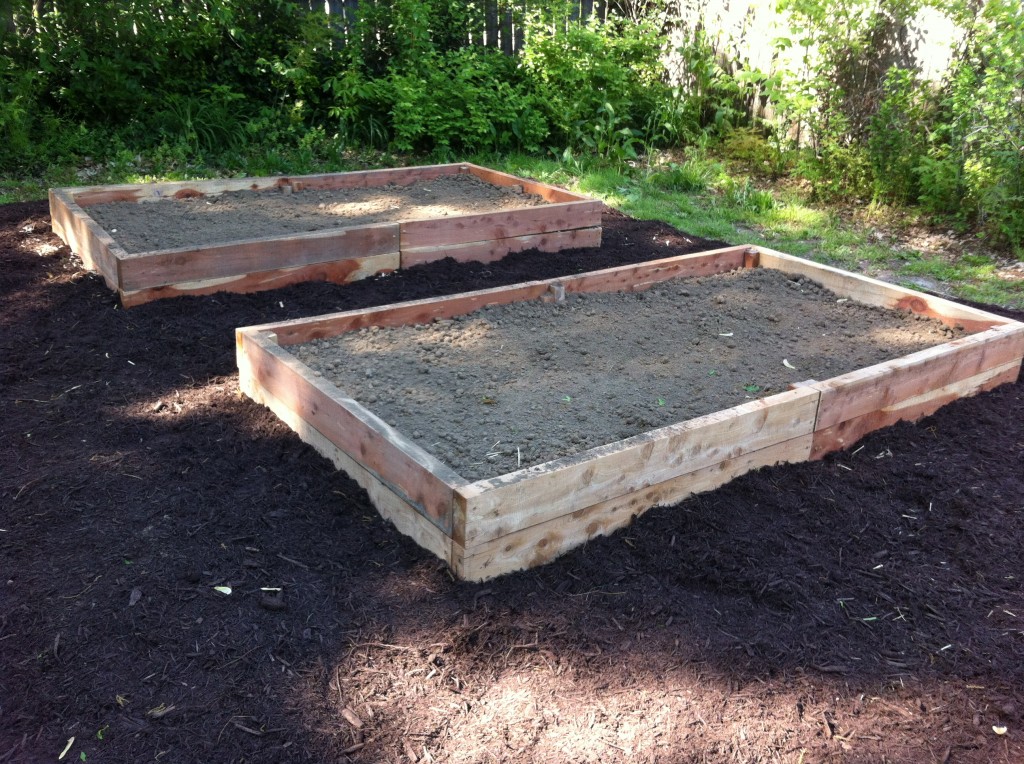
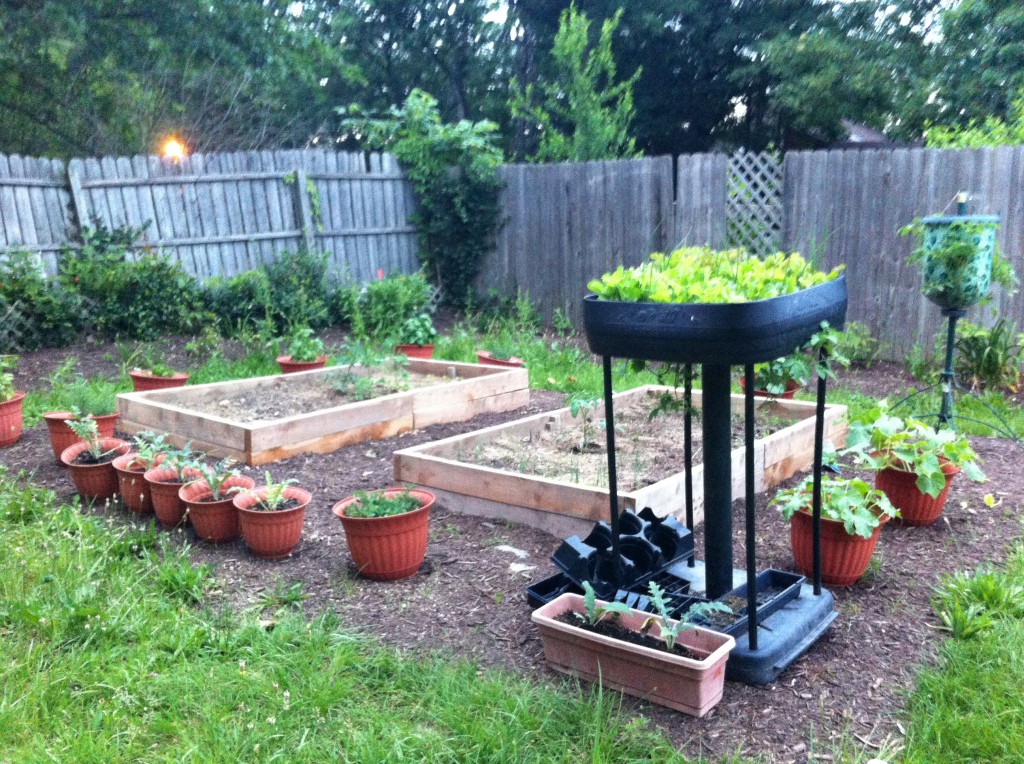
Here is a picture of my two raised garden beds after they were finished. I thought I would start by showing the steps we took putting the raised gardens. I am not pretending to be a expert in this at all, but it you are curious what steps we used then this post is for you.
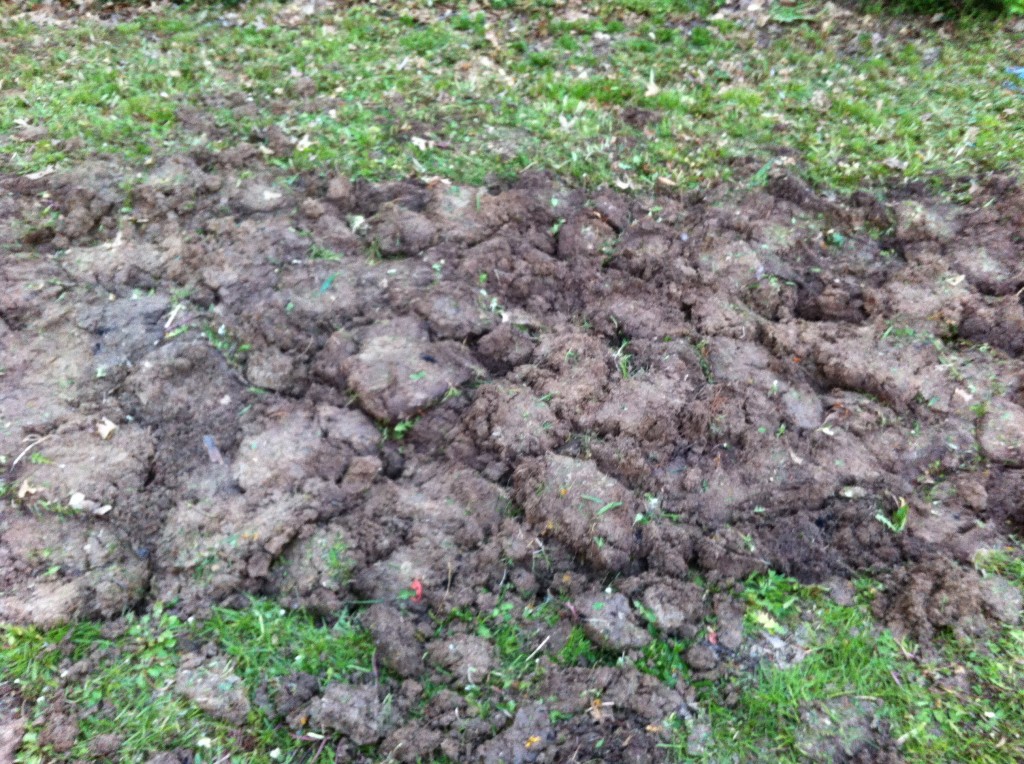
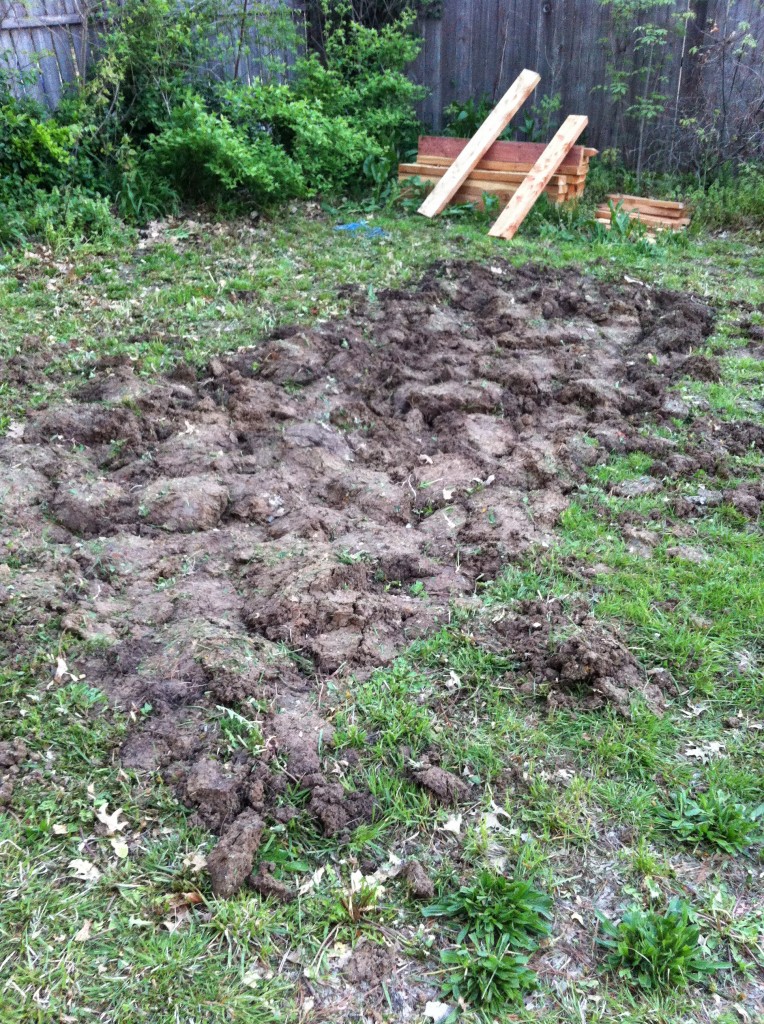
The first thing we did, was find the right spot in the yard to put the beds in. I found a place that is in the sun most of the day until about 5 or 6 in the evening and then it is in the shade. This was a great spot for me. To help with weeds that might later invade the raised beds, my son, The Super Hero, turned the dirt over where the beds were going to go.
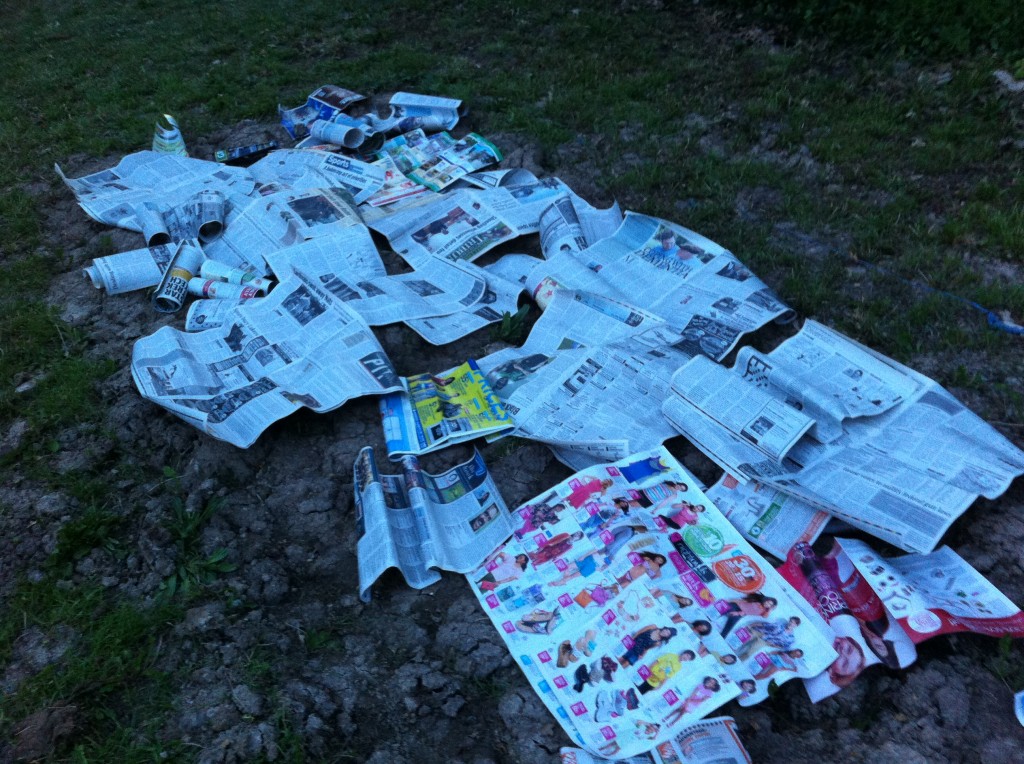
The next thing we did was put old newspapers on top of the dug up soil to help prevent weeds. You can probably tell that I do not want to spend all my time pulling weeds and letting the beds look un-kept.
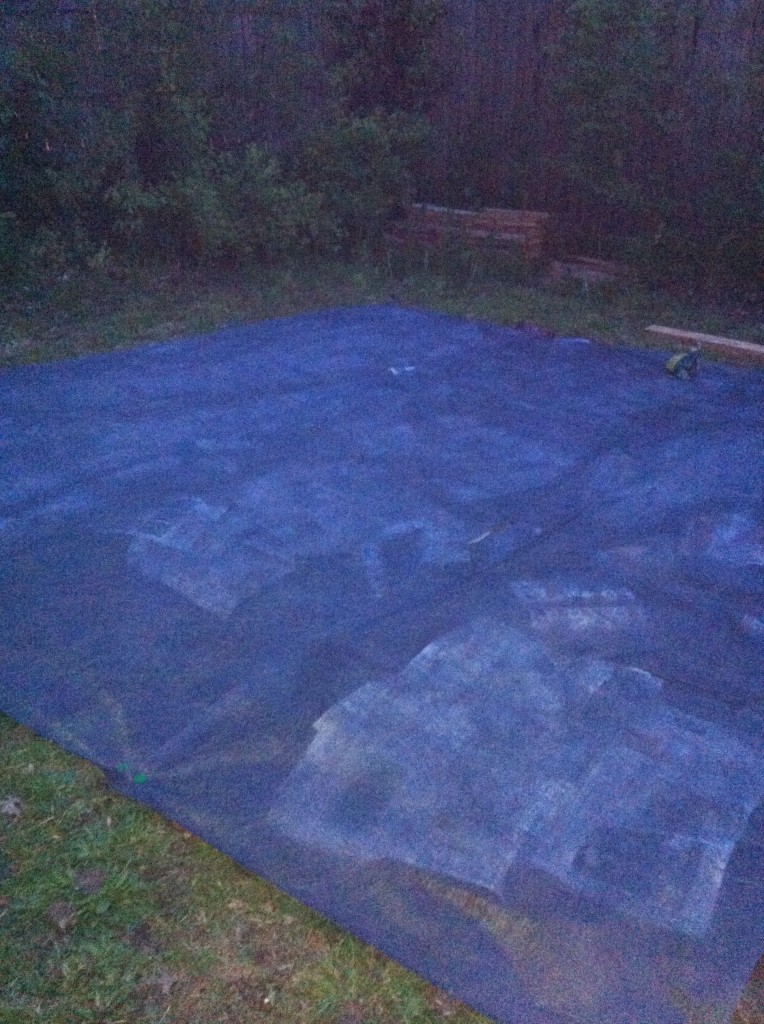
After laid all the newspapers down, we covered the spot with commercial grade landscaping fabric. It was more expensive, but I did not want to worry about weeds and the fabric breaking down after a couple of years.
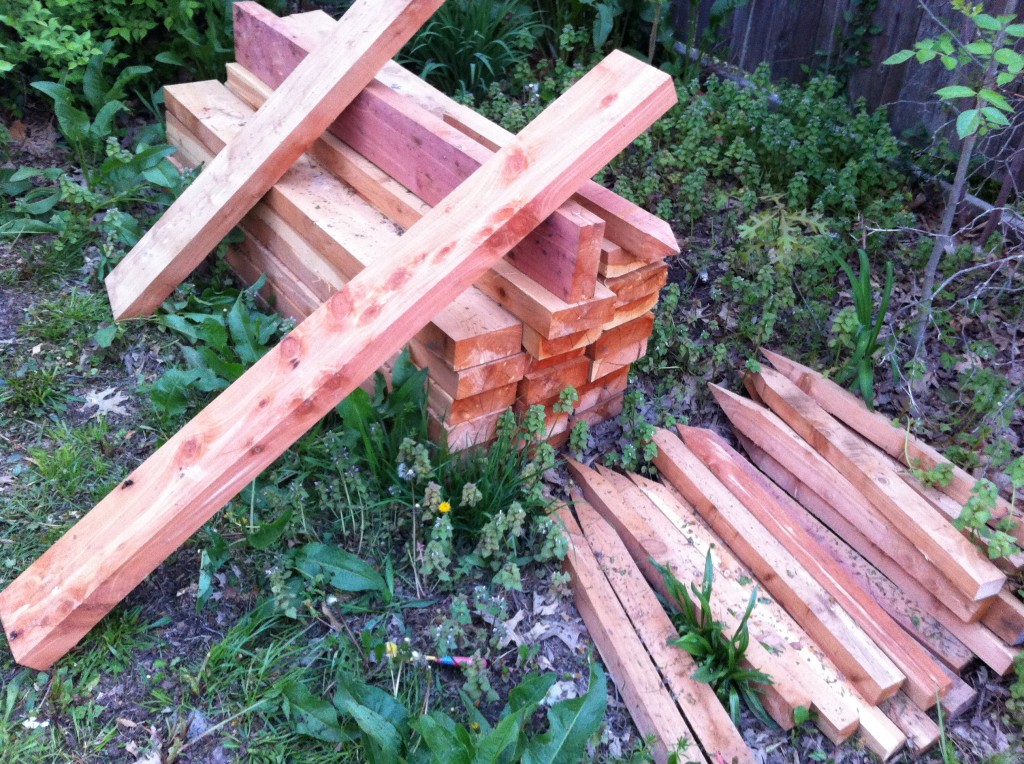
I found a local man that cut cedar boards and stakes for me. When I was first deciding what size to make the gardens I was going to do four 4 x 4 raised gardens. After I had already ordered to wood, I decided to do two 8 x 8 raised beds. I used cedar boards because it is a natural wood that resist rotting. You could use treated lumber if you want, I just wanted a more organic wood and less chemicals. I ordered 2 inch wide cedar that were 6 inches tall and 4 feet long. I ordered enough to stack the 6 inch tall pieces to make 12 inch tall raised beds. I also ordered corner stakes to use to connect the corners and sides.
I wish I could have taken pictures of the beds getting installed but, I had to go to work and my brother in law put them in while I was gone. But, it was great coming back to see what a great job he had done.
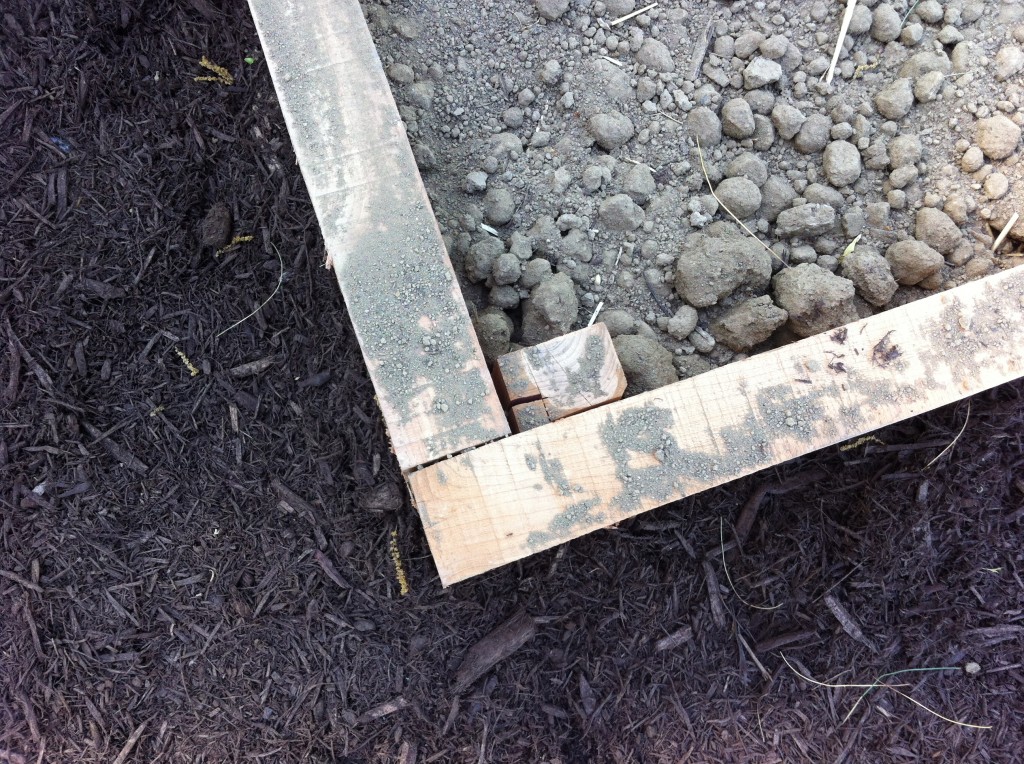
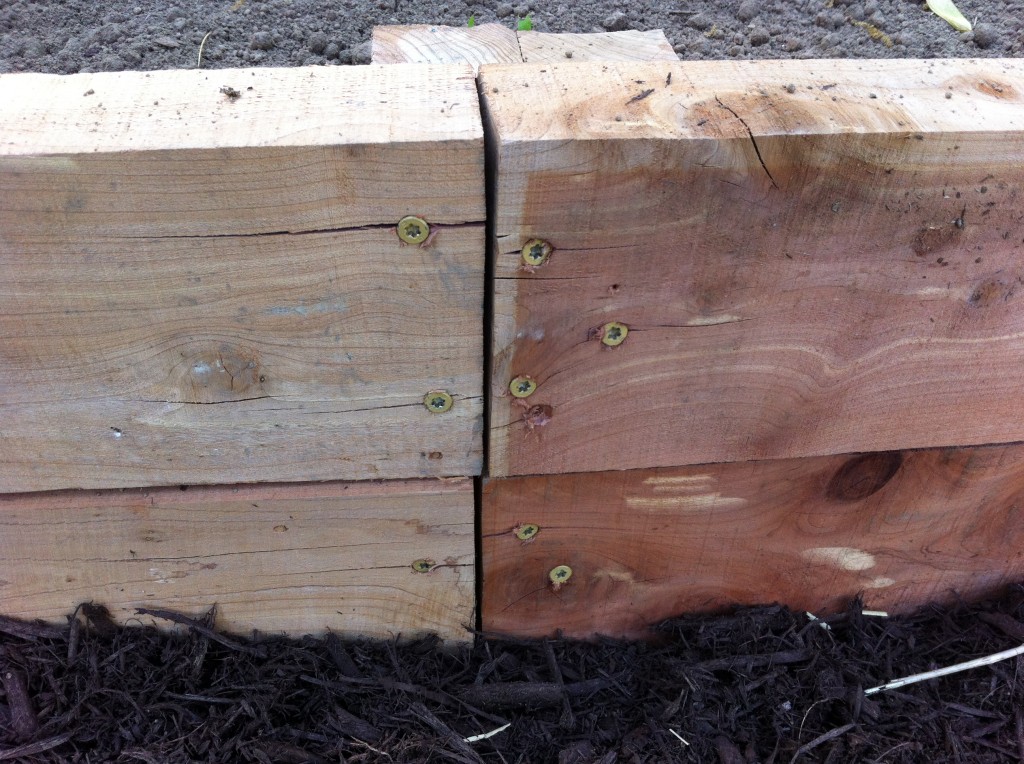
Here is a close up picture of the corners. I bought rust proof long screws to use to screw the corners together.
Here is where the pieces are connected at the sides. These pieces are screwed into a stake piece on the inside.
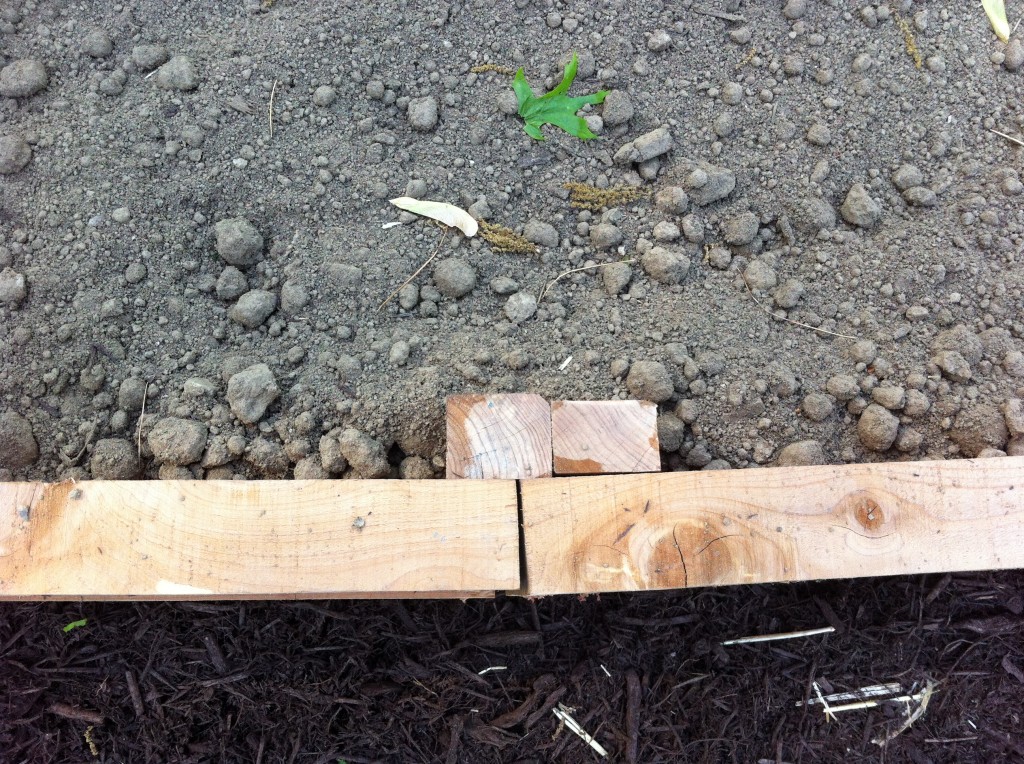
Here is a picture of the inside stake that is stuck in the ground for support.
The beds are filled with a 70 percent dirt and 30 percent compost mixture. The dirt really settled over the summer. I will add more dirt this spring, to both beds. I would love to get some organic fertilizer (like chicken poo poo) to fertilize the dirt also.
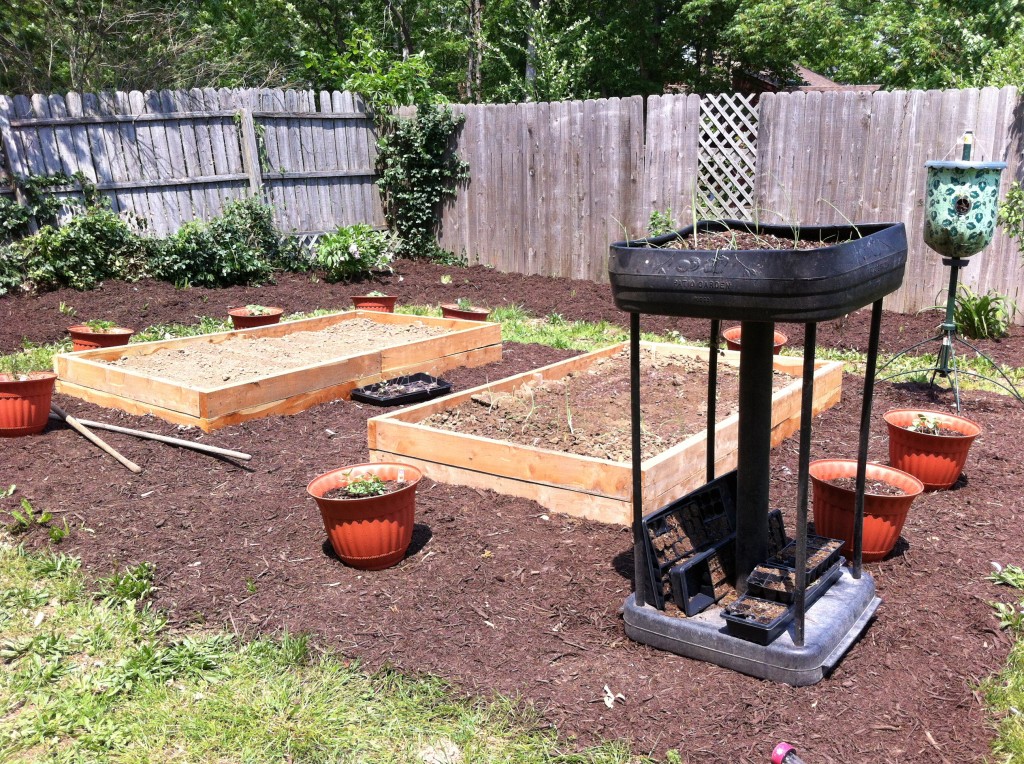
We put several truck loads of mulch around and in between the beds to add a attractive finish look. I put two upside down planters (that I planted cherry tomatoes and lettuce in) on one end of the beds. I also put pot of herbs, cucumbers, butternut squash around the beds also.
This is what my little garden looked like a few weeks after being installed.
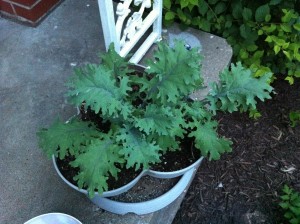
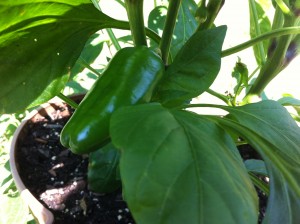
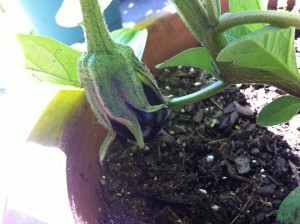
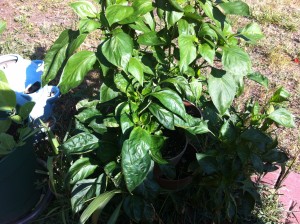
On the patio, I plant some sweet peppers and eggplant in flower pots. The great thing about growing vegetables on the patio is that the varmits did not bother them.
I hope I have inspired you to set up your own raised garden beds. I spent a few hundred dollars on them (yikes) but that expense is a one time cost for many years of fun, playing in the dirt.
Becky
This is where my post will start about what I plant and how I maintain my raised garden bed here.
Garden Update: Playing in the dirt.
This is my first garden post about my raised garden beds for 2015.
15.
