Varmint in the Backyard!

For the last couple of week, some varmint has been getting into the shed in the backyard where I keep the chicken food and breaking in and eating it!

The doors would be pulled shut each night and in the morning one of the doors would be pulled forward making it go off the hinges.

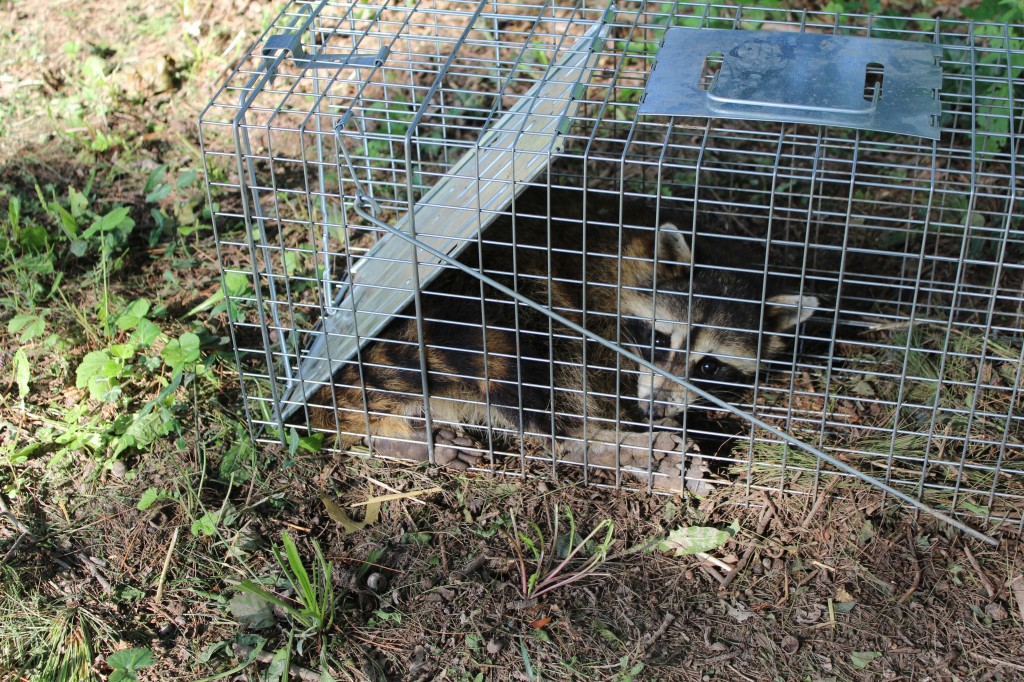
After much deliberation and denial that I might have a real live raccoon (that could potentially break into the coop after the chickens) I decided it was time to get a trap and try to capture it.

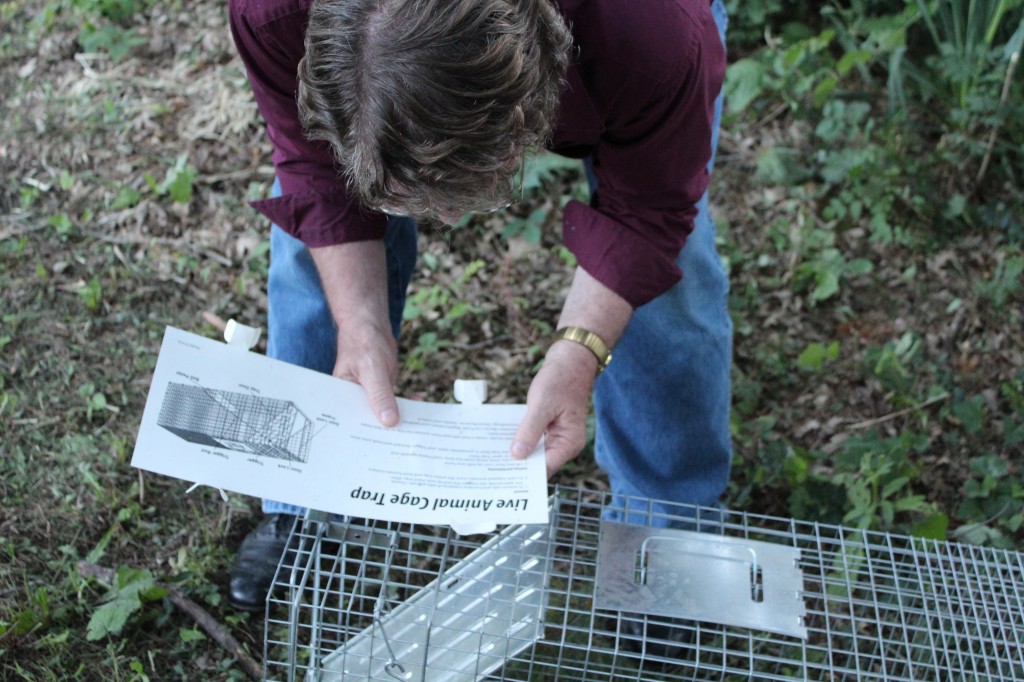
Company reading the directions and trying to get the trap set up.

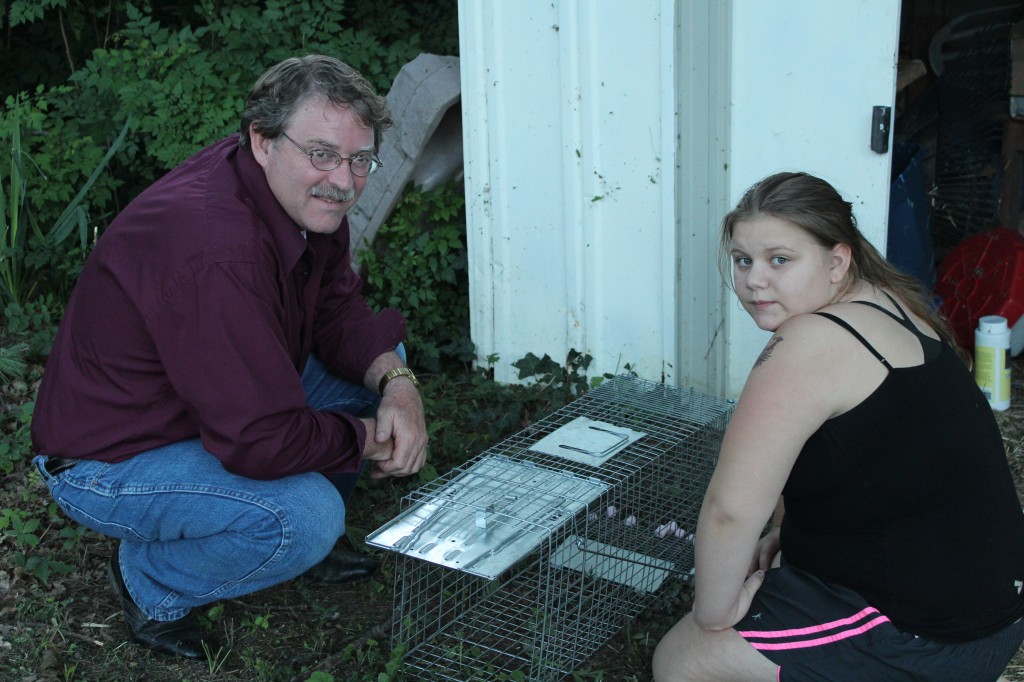
Oldest grand girl decides to take over.

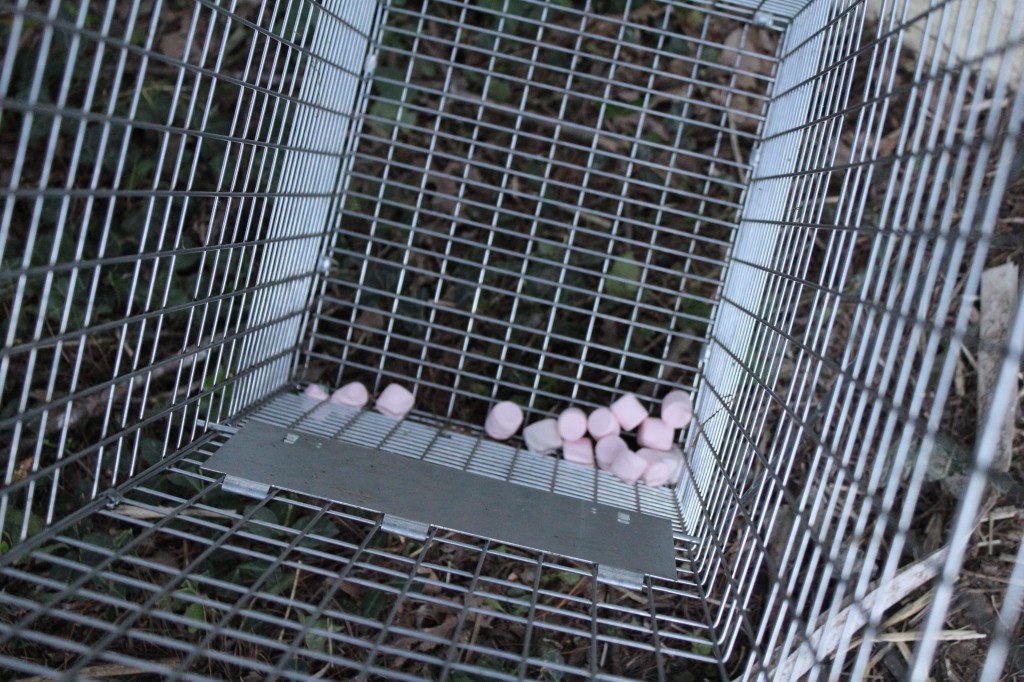
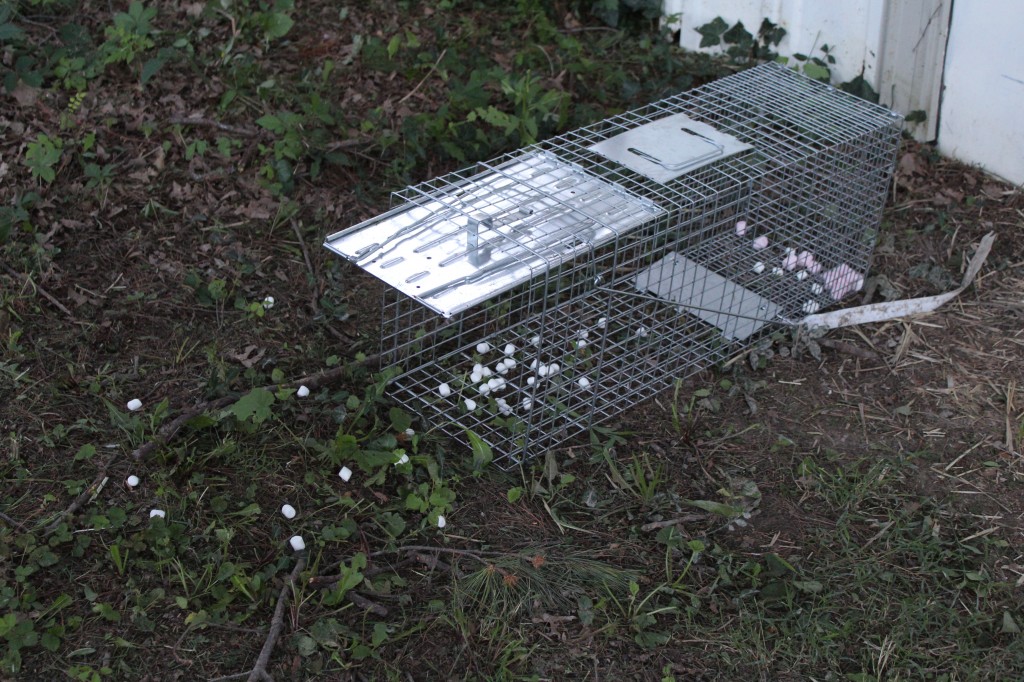
She loaded the trap with strawberry marshmallows.

Then she put a trail of marshmallows to  the inside of the trap.

After we caught the raccoon we took it miles away to a conservation/wildlife area.

We are going to put the trap out a few more times to see if it has any friends.

But, for now the chickens are safe in their coop at night and I even wire the door at two places for extra security.

Bye for now….

From the Mother Hen


Happy Belated 4th of July

fourth of july

How was everyone’s Fourth?

I hope you able to relax with family and friends and eat some great food.

My sisters and I took Mom the Princess and Dad to spend the day at my Aunt Lily’s country home. She bought it a few months ago and has been renovating it with her daughter Lisa.

We had such a fun day!

aunt lily country home

Here is my Aunt Lily.

She sure knows how to put on a party!

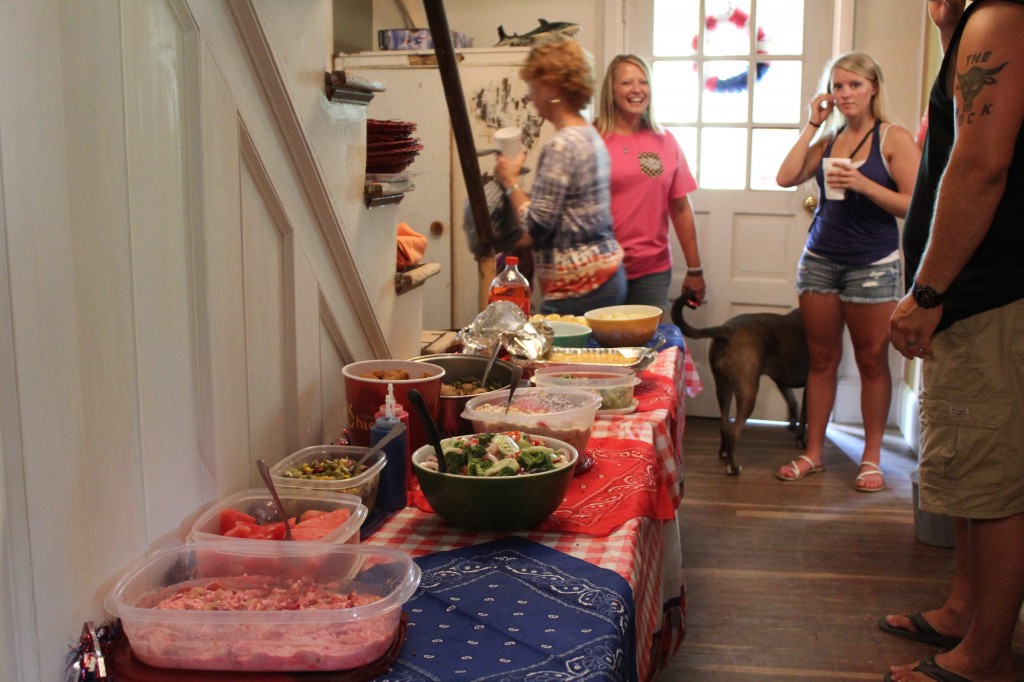
We had a ton of food, and cousins and a dog there.

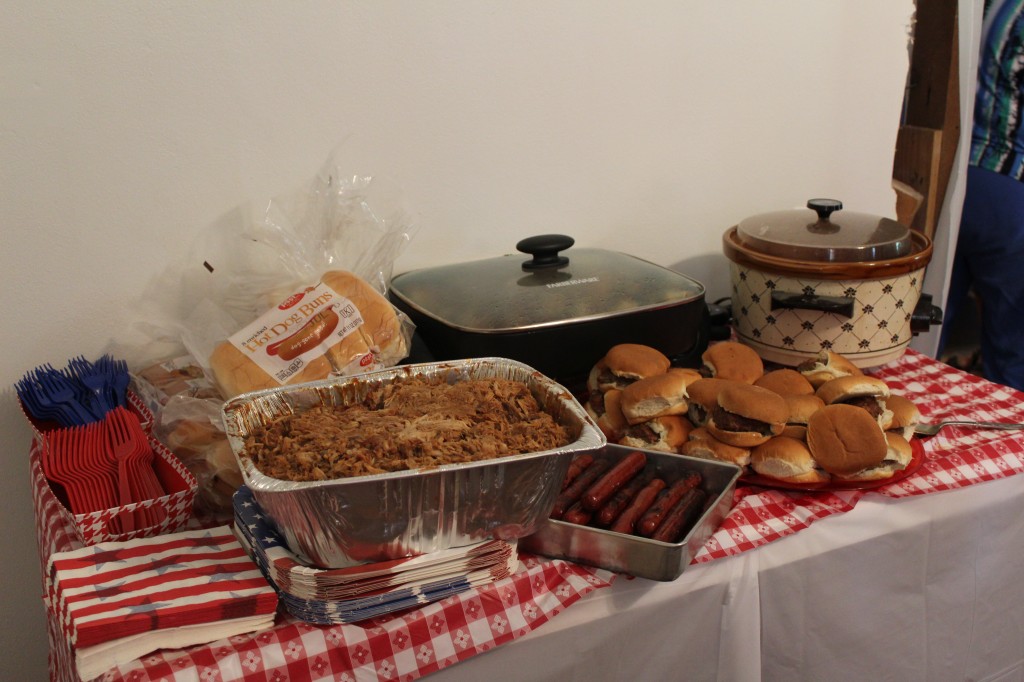
We had some BBQ.

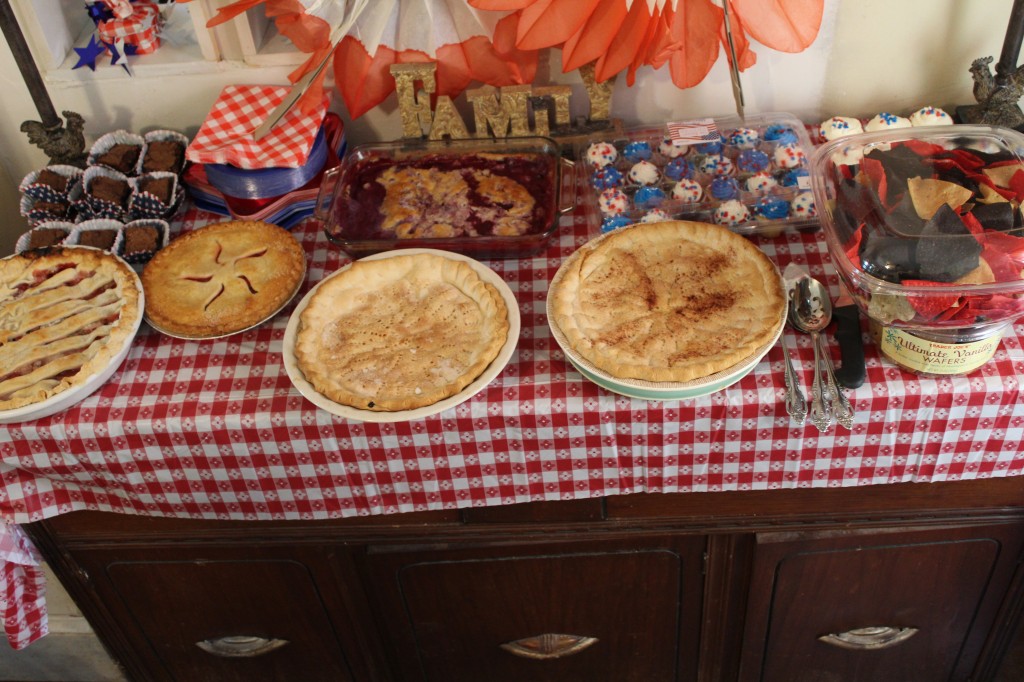
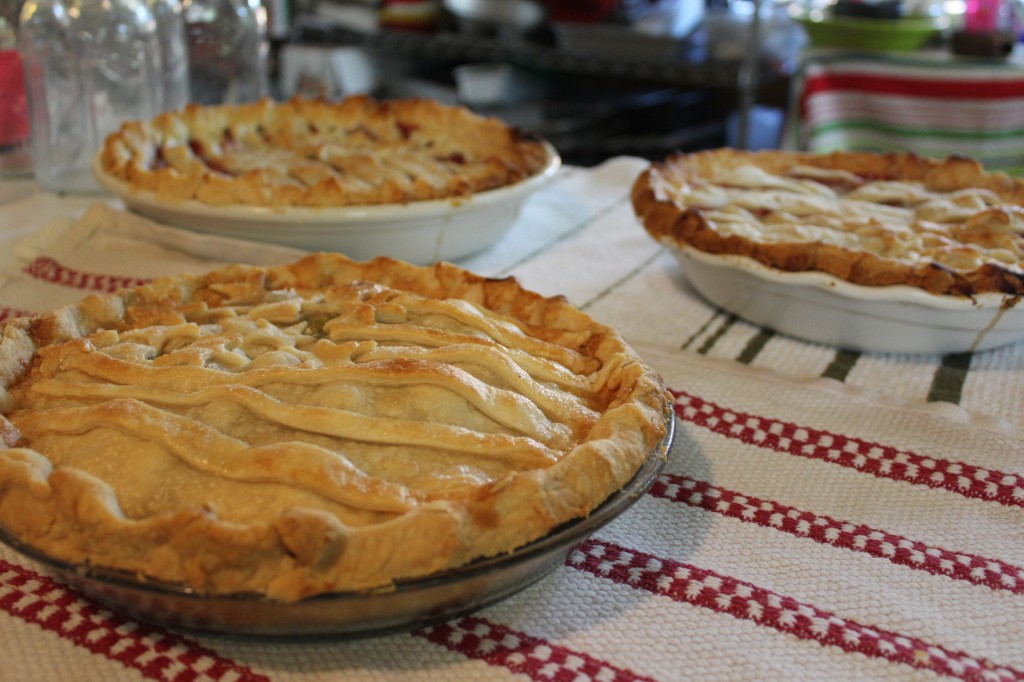
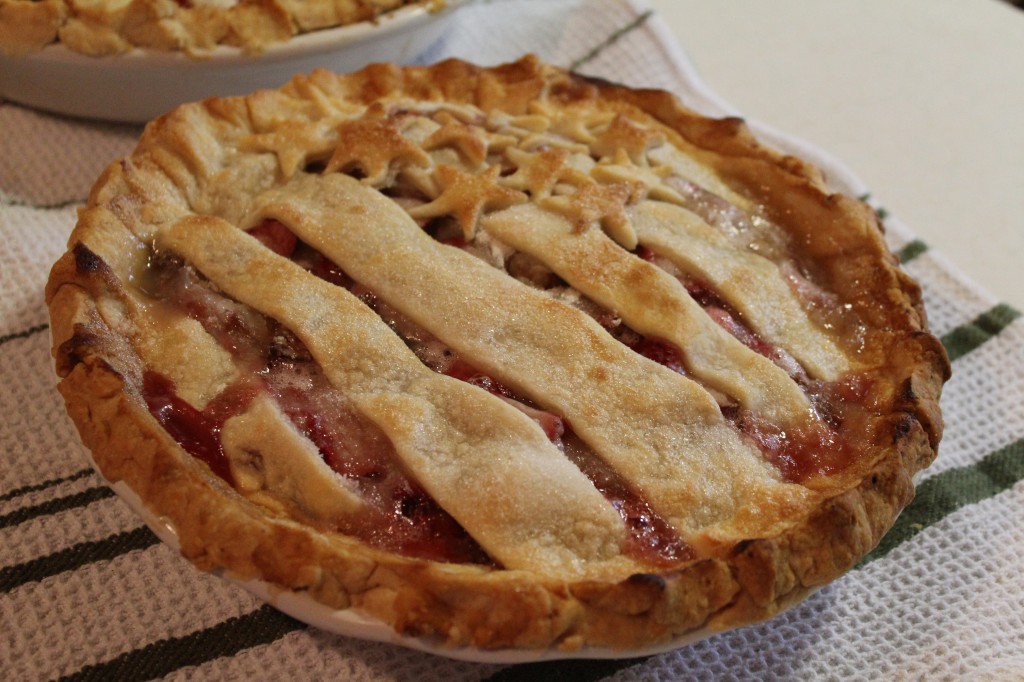
We had desserts! The two big pies in the middle were made by my Aunt Corene. She is famous for her pies, and of course they were eaten first.

We had a home made slip and slide with bubbles. This is my great nephew Boston enjoying the water!

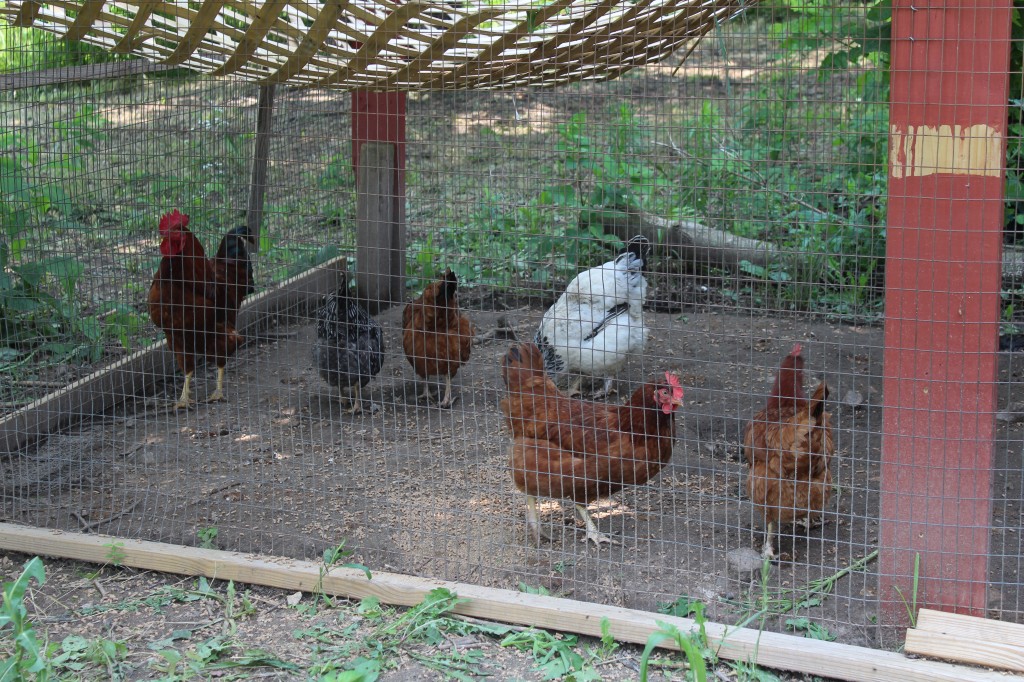
Aunt Lily has chickens and a rooster!

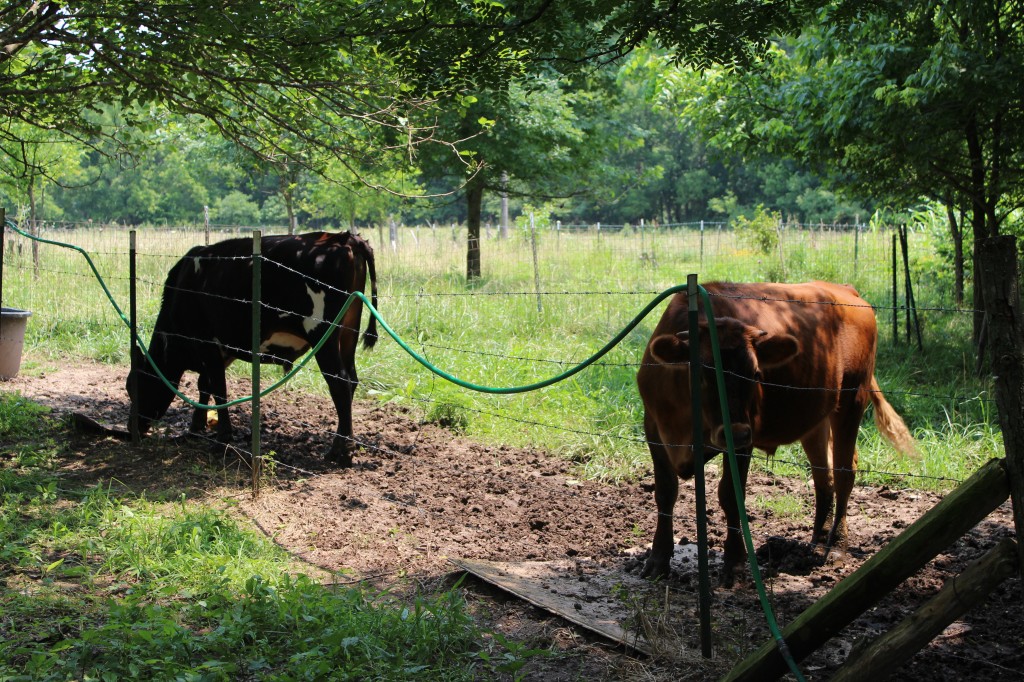
Pet cows. Ha! There were suppose to be freezer meat but now they are pets with names.

And of course every old country farm house has a cemetery next to it. Funny thing is, it is a family tradition. My Grandma and Grandpa Wright had a cemetery next to their house. It was where all of us cousins would go play in when we were visiting.

It was a wonderful day in the country with many aunts, uncles and cousins.

You just can’t buy those kind of memories!

Becky

Oh..,I made a few pies myself….though not as tasty as my Aunt Corenes.

I made two strawberry rhubarb pies and a gooseberry.

I will get the recipes posted soon : )

Becky


Corn From My Freezer

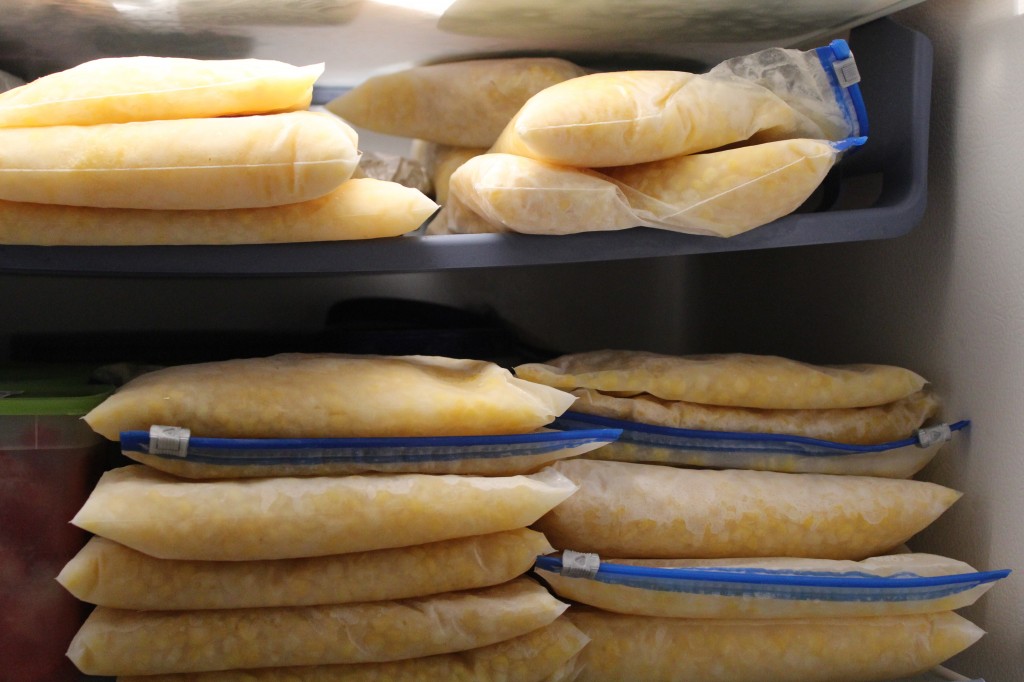
I have been hording my frozen corn all winter.

Kinda funny, right?

I mean, the reason why we freeze or can food in the summer is so we can eat it all winter.

I think that is right, right?

So, why am I hording it?

Maybe, I have a problem with sharing.

Maybe, I was saving it to eat on a snow day from school….which we did not get any…well, maybe we got one. (but I did not feel like sharing that day).

But, I think the real reason I have turned into a corn hoarder is…

drumroll…….

Cause it taste so good!

And ya know, cooks in the kitchen want that taste to last the whole year.

Two more months till fresh sweet corn from the Amish.

I better count my supply to make sure it last until then.

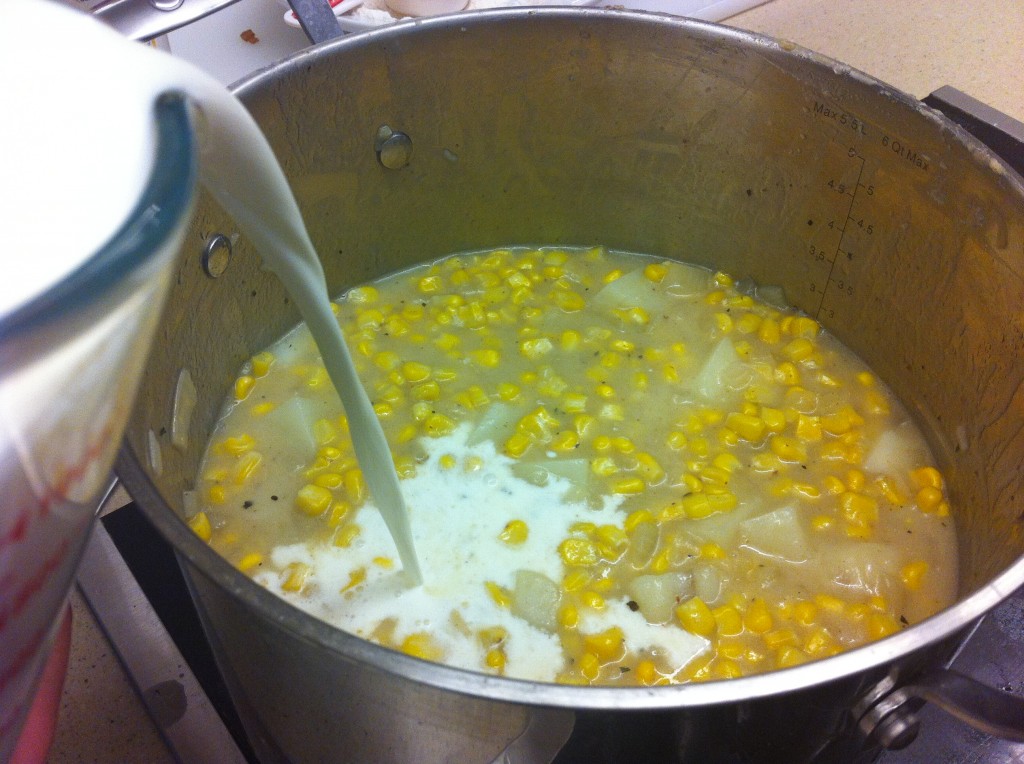
Making Cheesy Corn Chowder, find the recipe HERE.

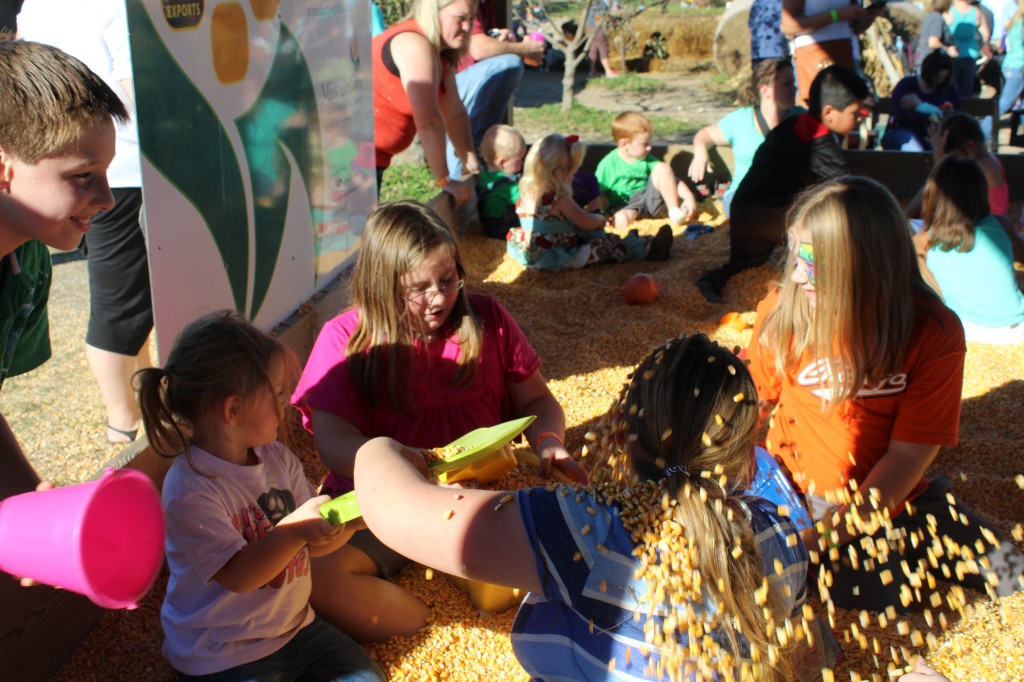
Grand girls and great nephew playing in the corn bind when we went to the corn maze last year.

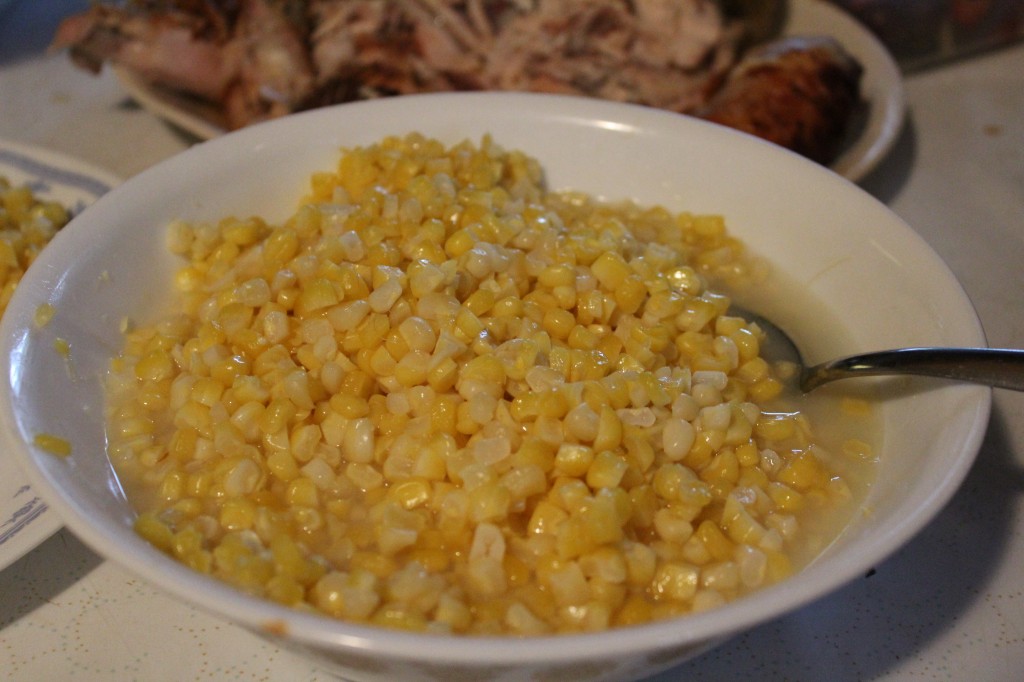
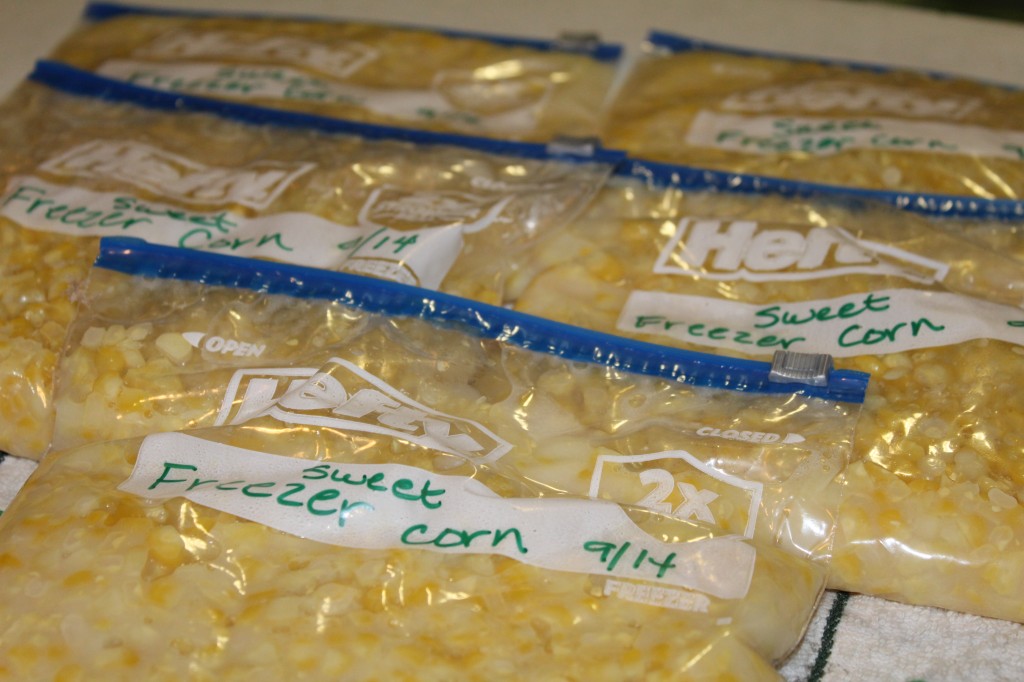
Sweet Freezer Corn recipe HERE.

I am giving the recipe I used, but I tried a new one last summer and I will get that one posted soon so you can compare the two and see which one  you like better.

I guess I better get out of here and go teach summer school!

Becky


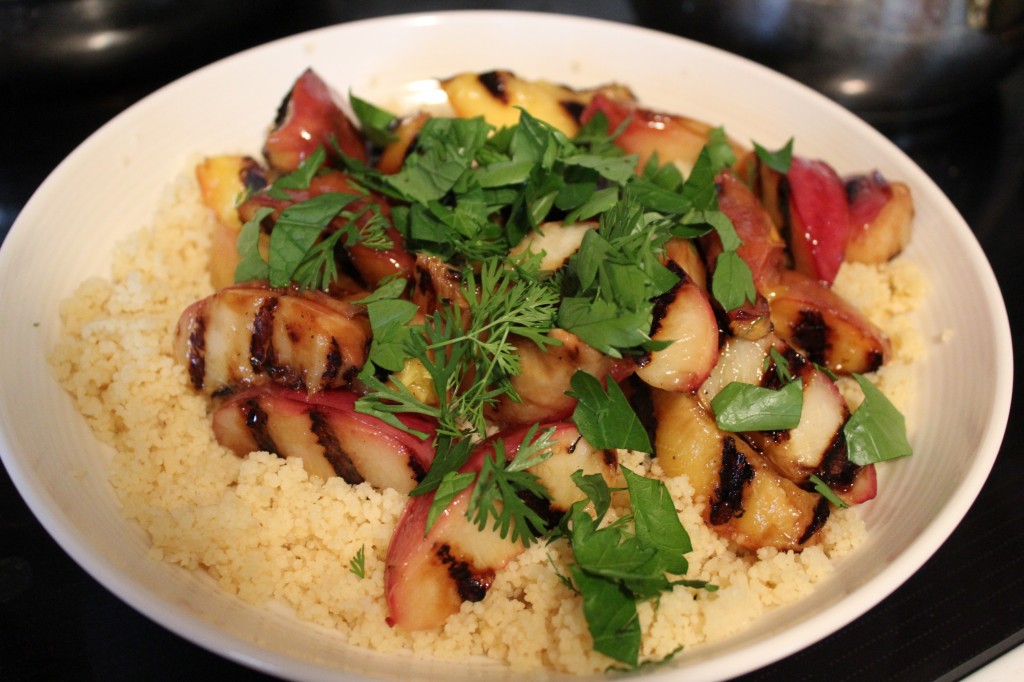
Grilled Fruit Couscous Salad

I have been buying small little boxes of couscous at Aldi’s every few times that I go there to shop.

The funny thing is, is that I had never used any of it.

I think I must like buying it because of the cool name. Couscous Couscous…..

Or maybe it is the interesting shape of the tiny little pastas that have me intrigued.

Maybe, I just like buying groceries. Ha!

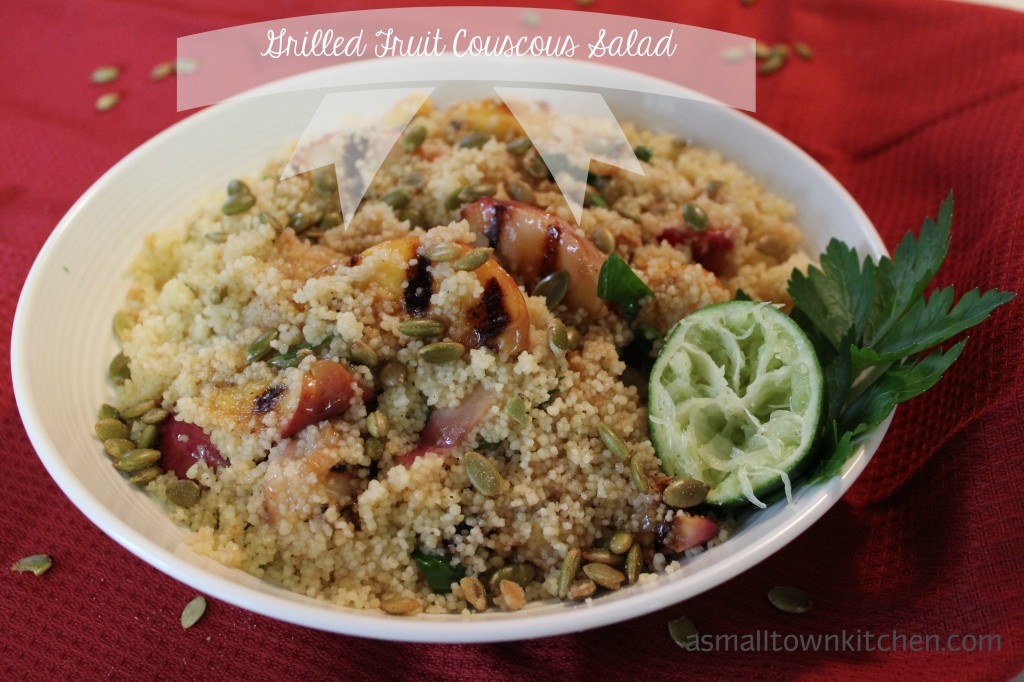
Needless to say, I was glad I had some in my pantry when I came across this recipe for Grilled Fruit Couscous Salad!

I love about anything grilled on a grill. I used my indoor grill to grill the fruit, and I am kinda glad I did because I did not have to worry about the fruit falling through the grates on my outdoor gas grill.  I cut my fruit in fourths and grilled it, but if  you were to do it outside you just grill the fruit that was cut in half. This would prevent the fruit from slipping. So really, indoor or outdoor, it does not matter which one. Just be careful no to let the fruit stick on the grill.

I also loved the ingredients in the salad dressing…olive oil, lime juice, spices and sweetened with honey. YUM!

Fresh cilantro and parsley too.

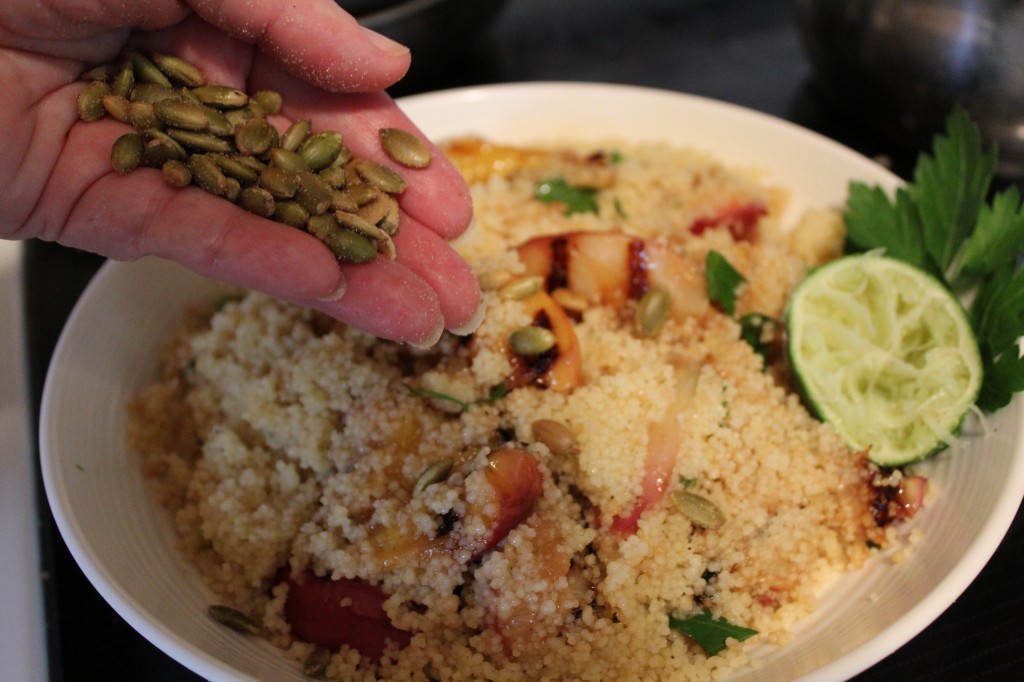
AND topped with those roasted and salted pumpkin seeds called pepitas. I love those things! They added that bit of tasty crunch to the salad.

I hope you will give this recipe a try!

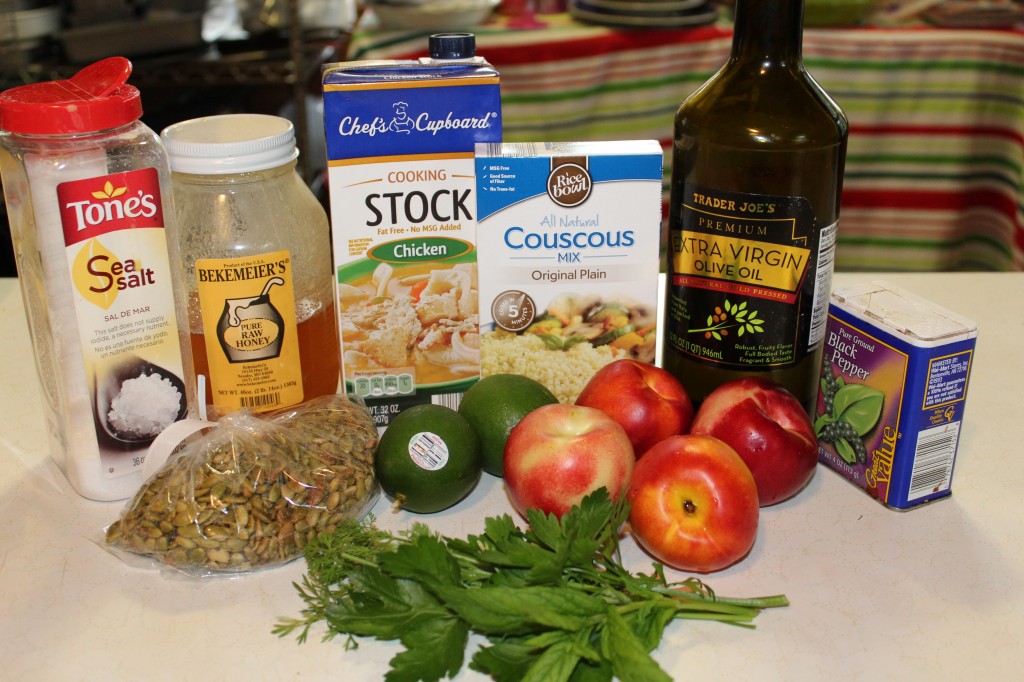
Here is what you will need : )

Chicken broth, couscous, olive oil, pepper, salt, honey, lime, nectarines and plums (I forgot to put the plums in the picture), fresh cilantro and parsley and the pepitas. I found these in the health food section of my grocery store. I have also bought them in bulk at my local Amish store. (Also I did not add an green onion to the salad, even though I love onions, because Company does not like onions.)

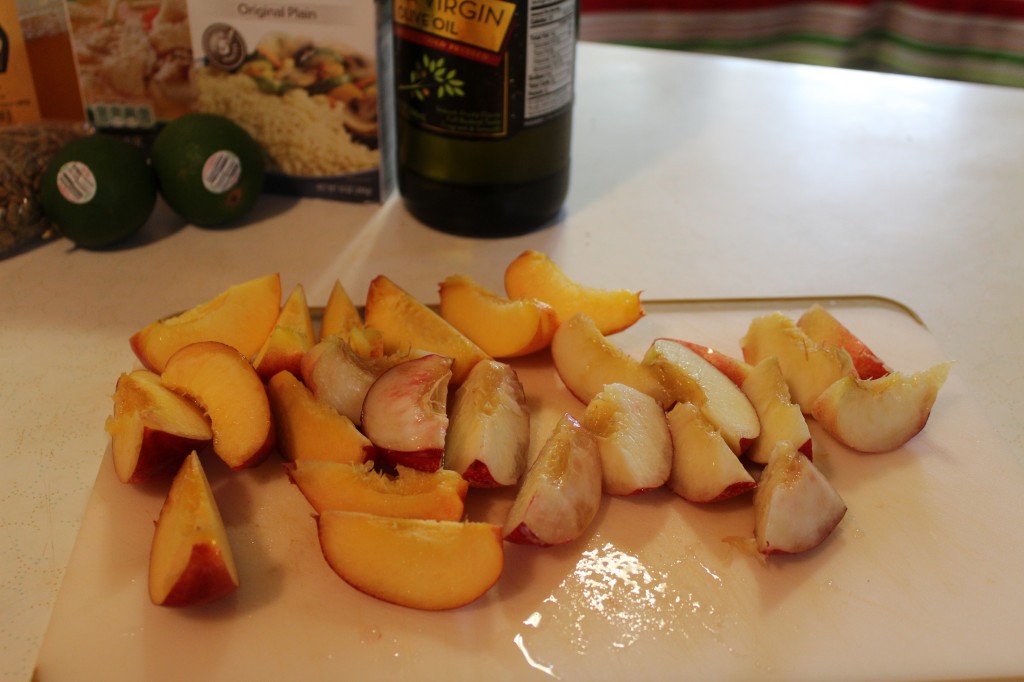
First t hing I did was quarter my fruit.

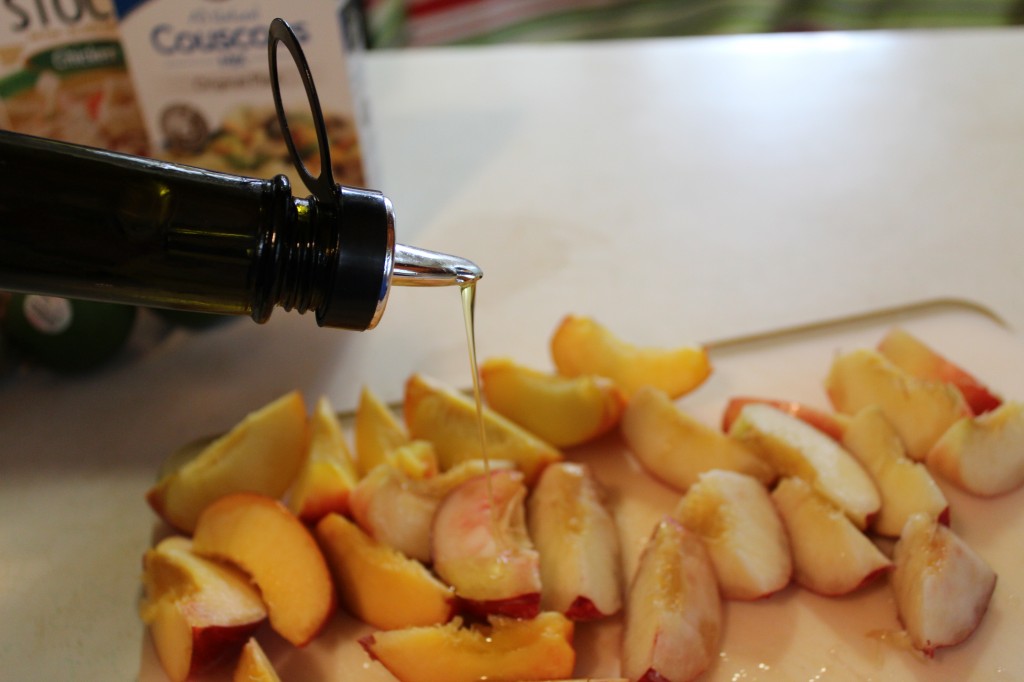
I drizzled olive oil on the fruit to keep it from sticking to the grill.

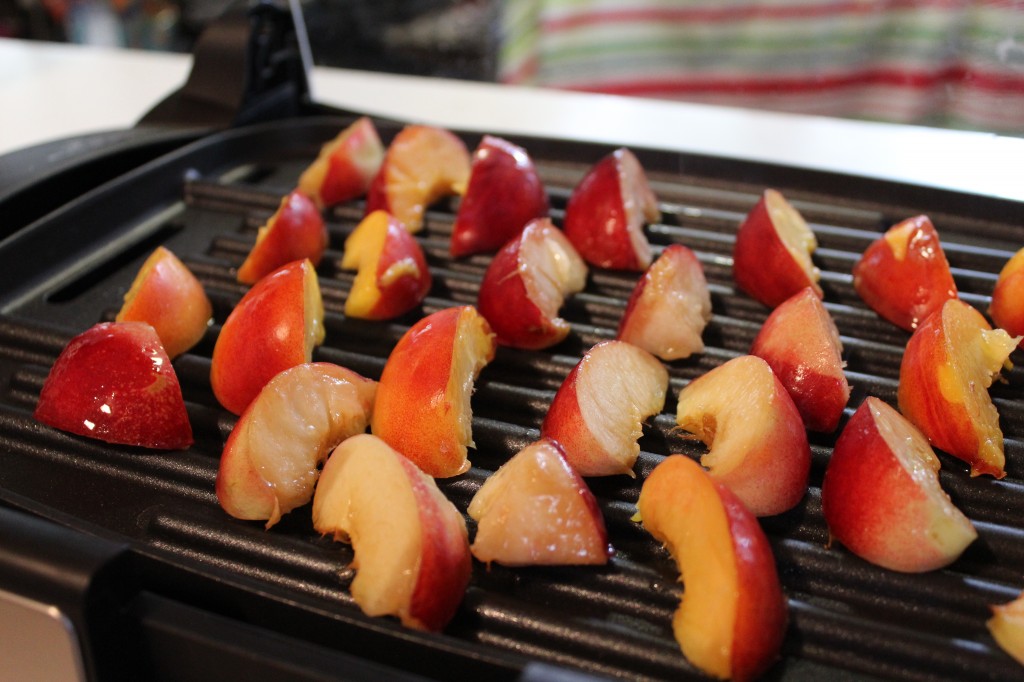
Then I put them on my indoor grill (feel free to use your outdoor grill) and I grilled both sides of them.

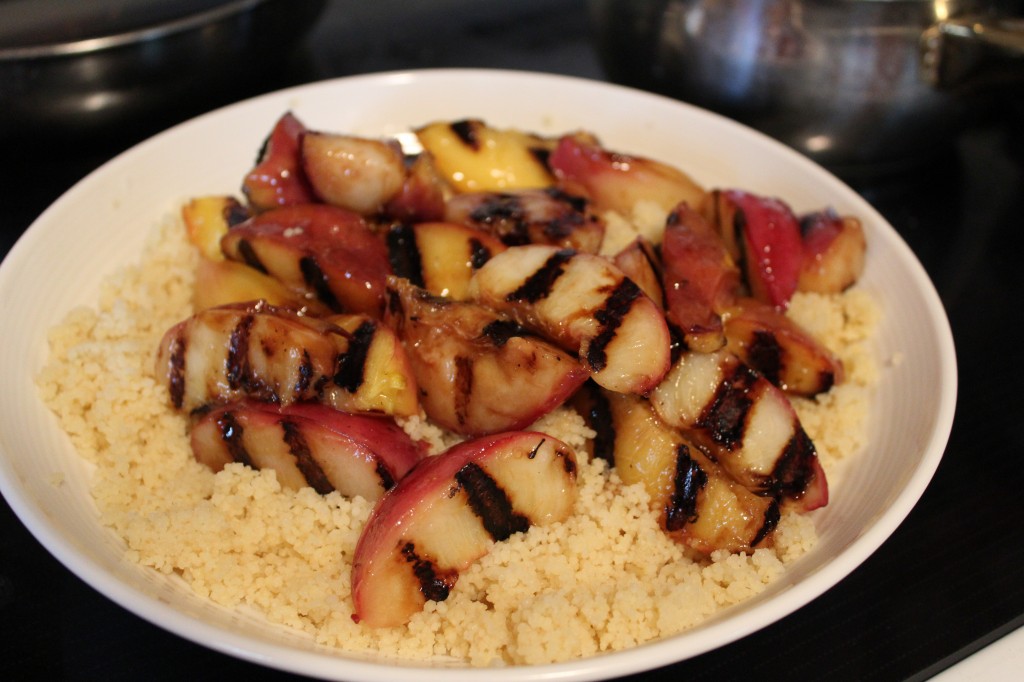
This is what they looked like grill. I love grill marks!

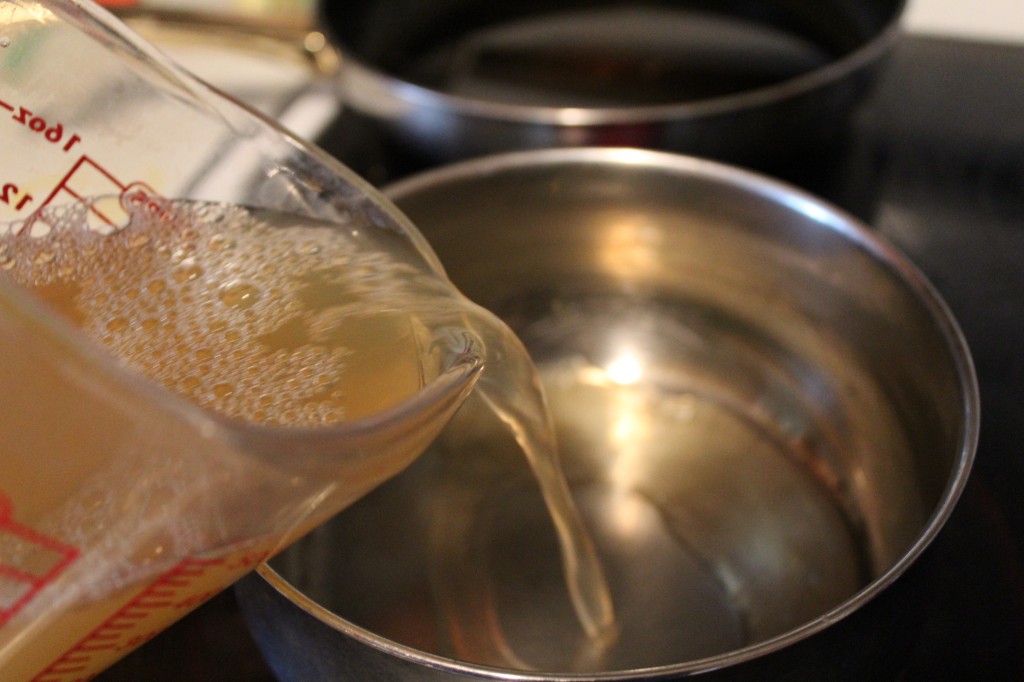
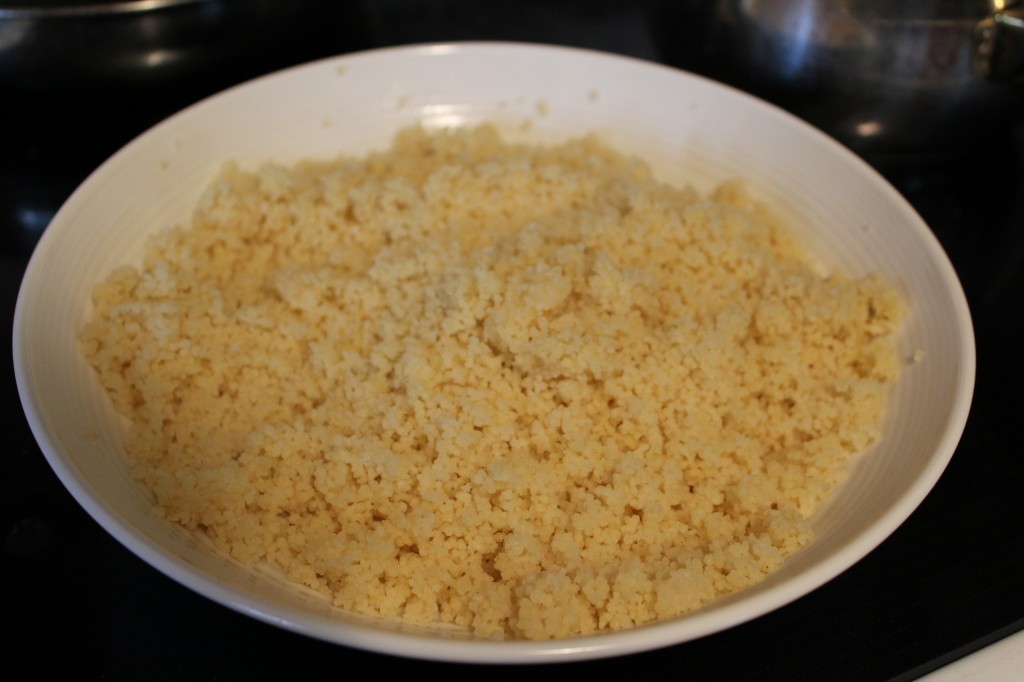
Then in a medium sauce pan I poured in my chicken stock and brought it to a boil. The chicken stock seasons the couscous, so be sure and taste your stock and make sure you do not need to season it up a bit.

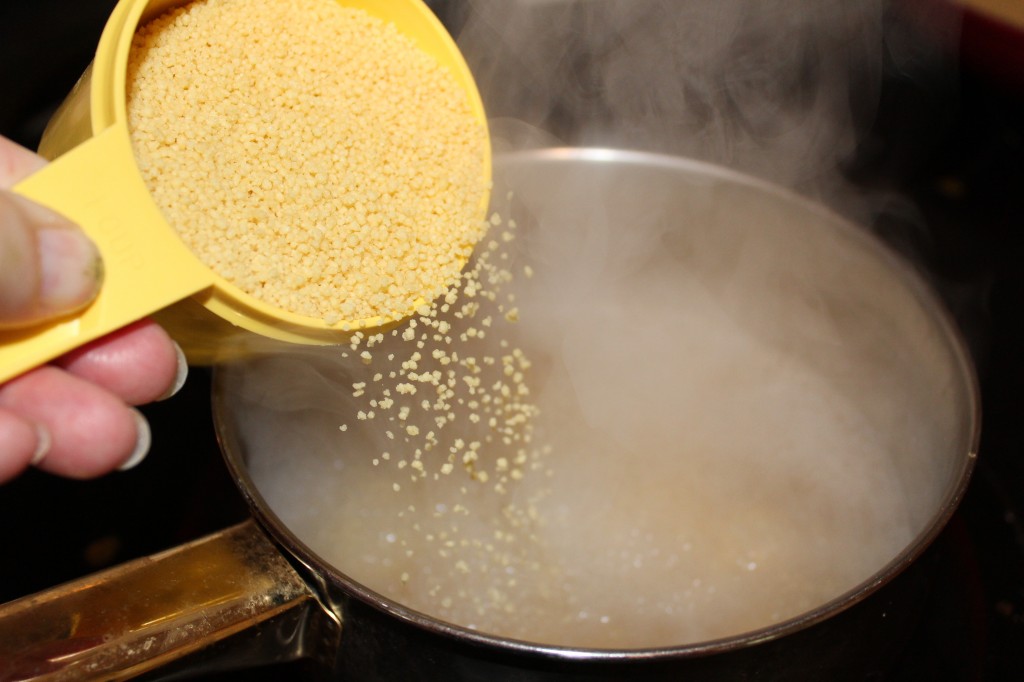
When the broth is boiling add in the couscous. Take the couscous off the heat and let it stand for 5 minutes and then fluff with a fork.

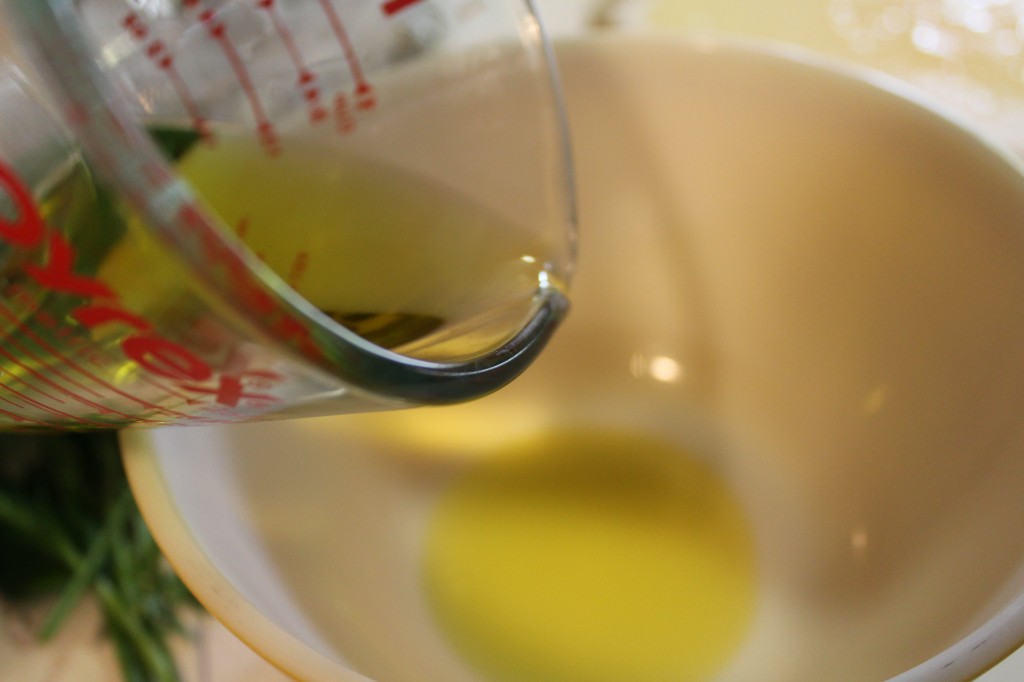
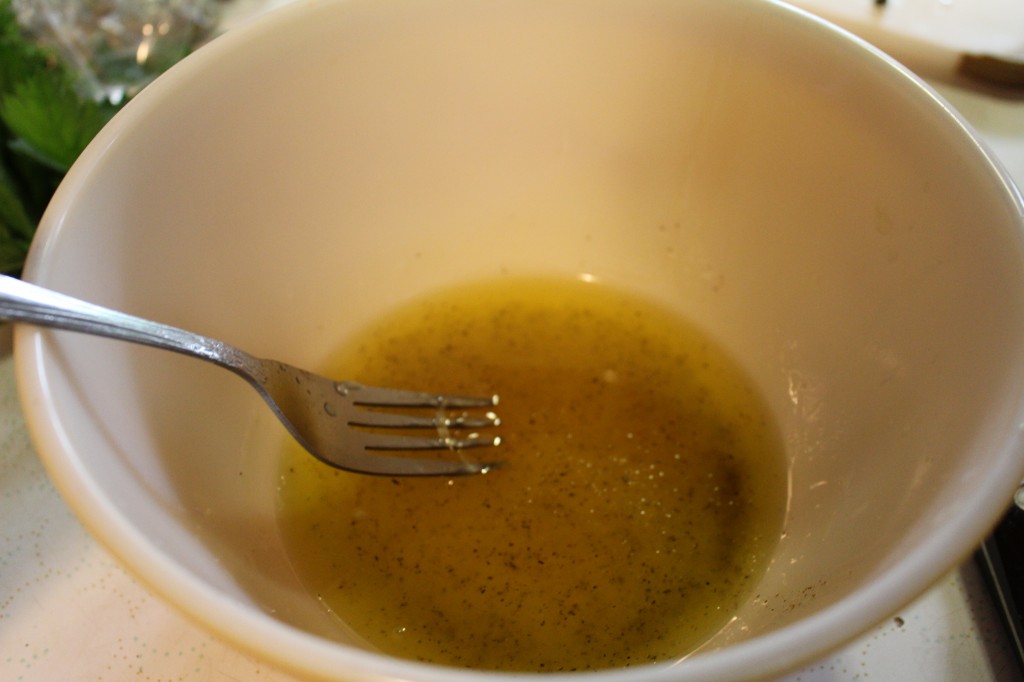
Now, lets make the dressing. In a medium bowl pour in the olive oil.

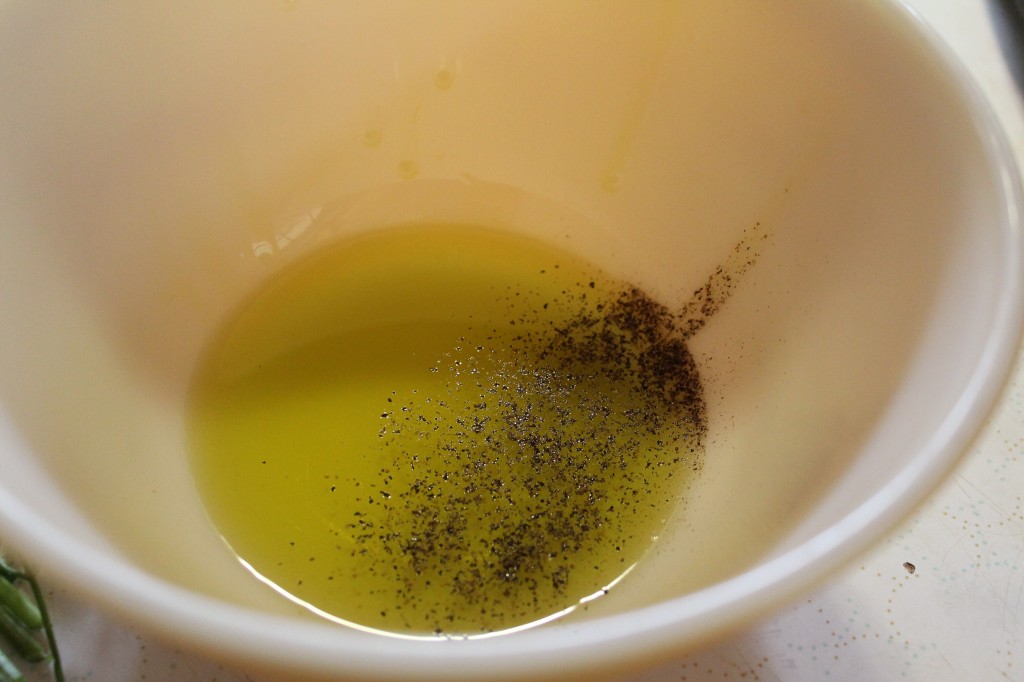
Add in some pepper.

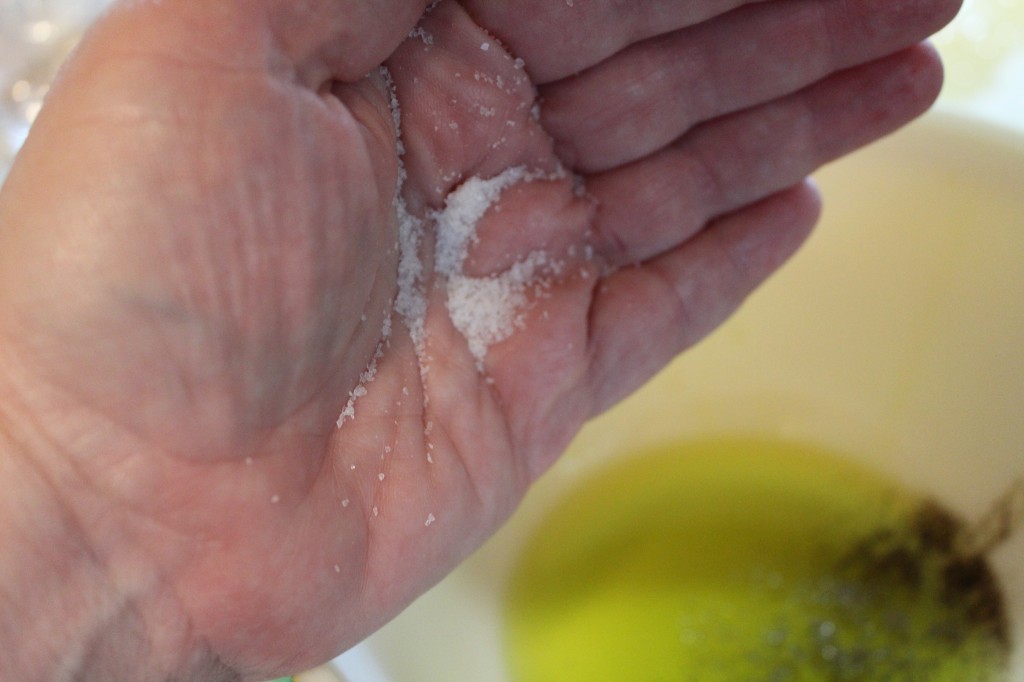
Add in some salt. I used sea salt.

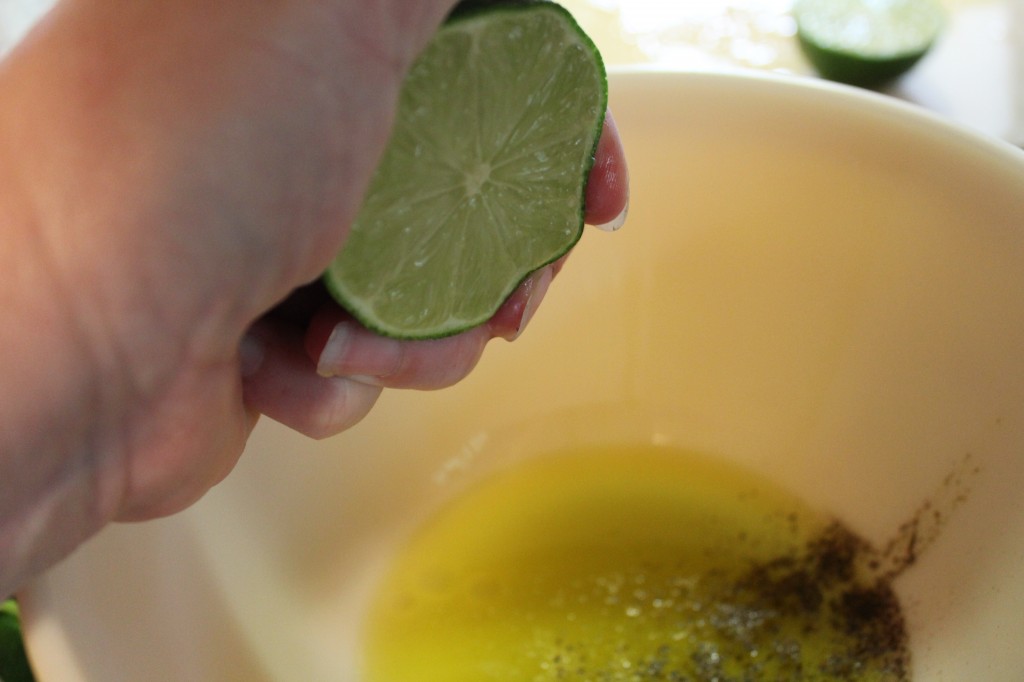
Add in some fresh lime juice.

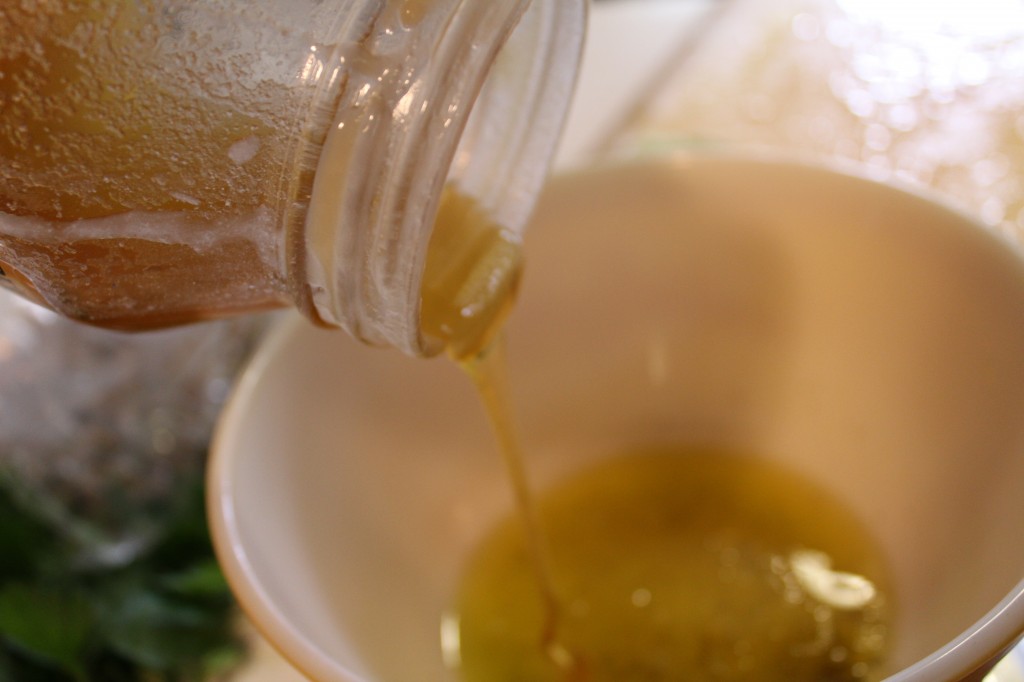
My favorite part….the honey.

Mix together. This can also be done in a small blender. Give your dressing a quick taste and add more honey or seasonings to suit your taste.

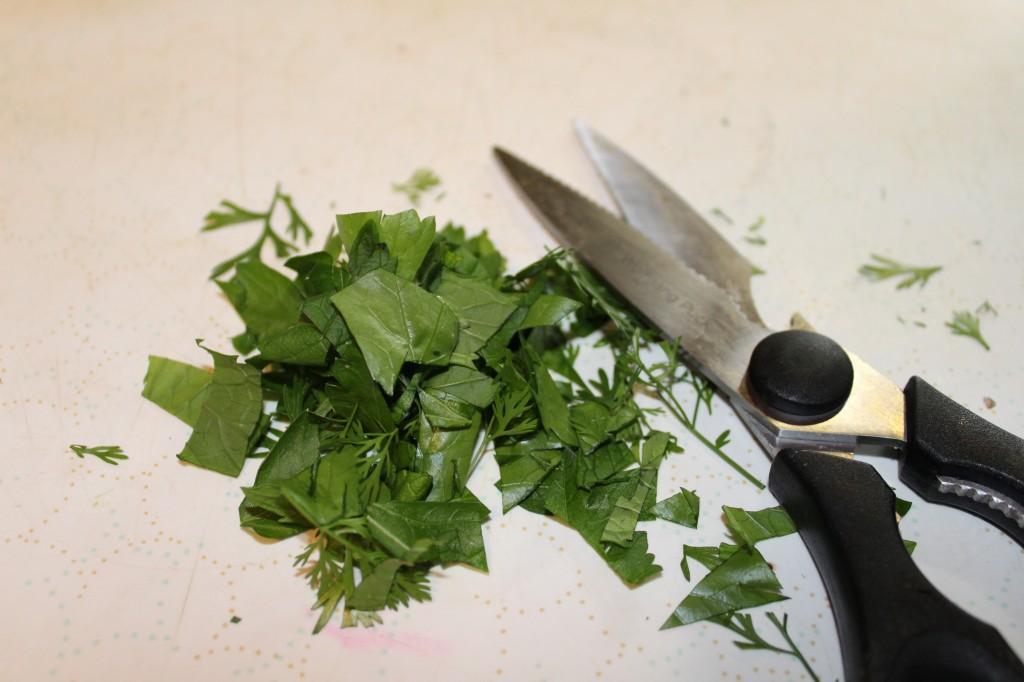
Cut your fresh parsley and cilantro, be sure and take out the stems of the cilantro.

Put the cooked couscous in a large serving bowl.

Add in your grilled fruit.

Top with your fresh herbs and if  you are using a chopped green onion, now is the time to add that in too.

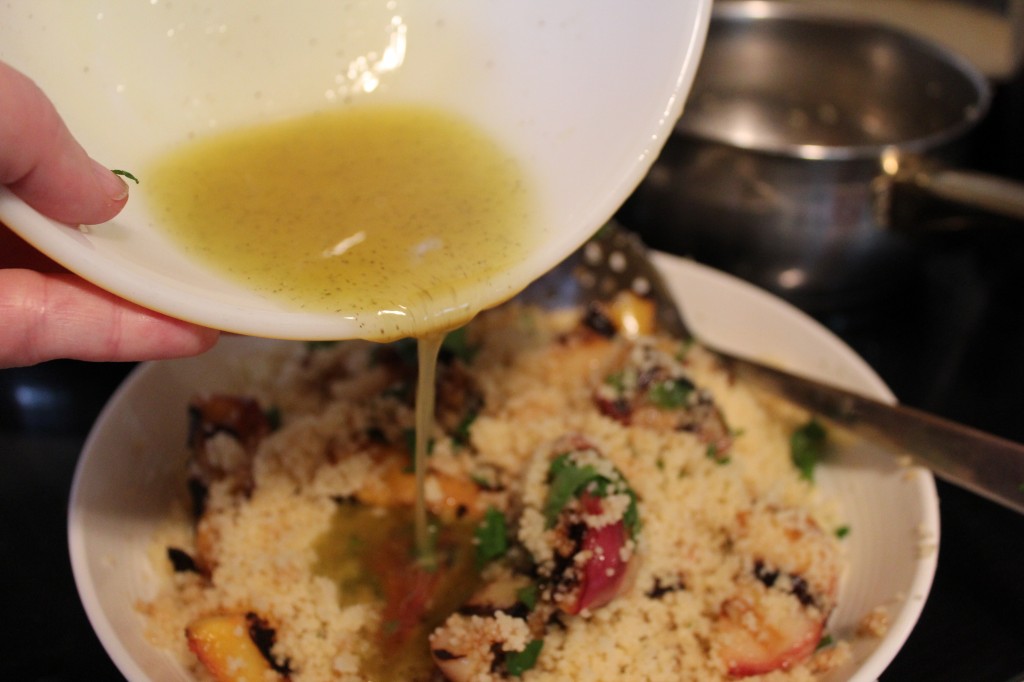
Drizzle with the dress and gently toss.

Top with the roasted pepitas (roasted and salted pumpkin seeds).

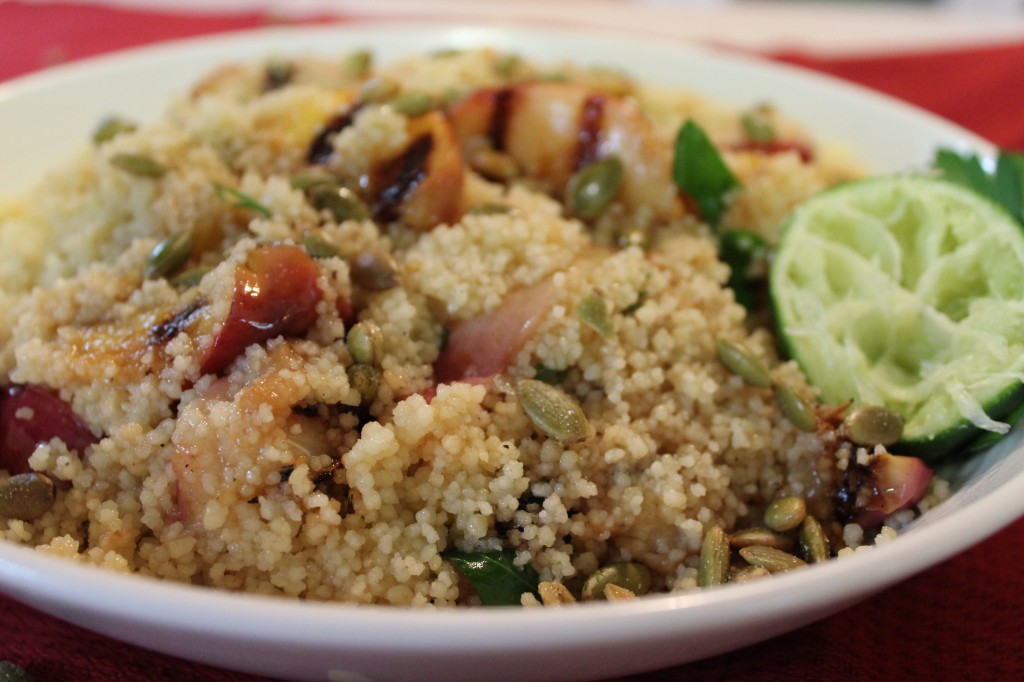
I decorated the salad with my squeezed lime and large parsley leaf.

Do you wish you had a fork??

I was glad I had a fork and a large bowl!

Enjoy!

Becky

Here is the recipe:

Adapted from Better Homes and Garden

Ingredients:

2 fresh plums, pitted and halved

2 fresh nectarines, pitted and halved

1/4 cup olive oil and 1 tablespoon to coat the fruit before grilling

1 1/2 cup chicken broth or you may use vegetable broth

1 cup couscous

2 scallions or green onions diced small

3 tablespoons lime juice (I used the juice from one lime)

2 tablespoons honey

2 tablespoons snipped fresh cilantro

1 tablespoon snipped fresh parsley

Garnish with salad toppings or I used roasted salted pumpkin seeds called pepitas. I buy them in the bulk health food section.

Directions:

Brush the fruit with olive oil. I cut mine in quarters and then put olive oil on them. I used my indoor grill and grilled both sides of the fruit unit I got nice grill marks. If you are using an outdoor charcoal or gas grill leave the fruit in half then quarter. In a medium saucepan bring the broth to a boil. Add in the couscous and remove from the heat. Cover and let stand for 5 minutes. Fluff with a fork.

Mix the dressing together in a small bowl. Whisk together the olive oil, lime juice, honey, 1/4 teaspoon each of salt and pepper.

In a large serving bowl, put in the couscous and then the fruit. Drizzle with the dressing and then cilantro and parsley. Toss together.

Garnish the salad with  your favorite salad topping or with roasted salted pumpkin seeds call pepitas.

Here are some other post you may enjoy! ; )


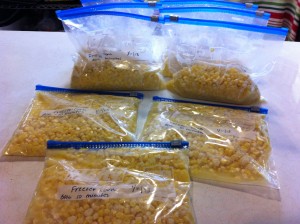
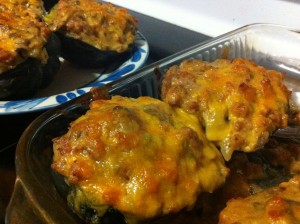
Freezing Fresh Corn                                                                Sausage Stuffed Acorn Squash


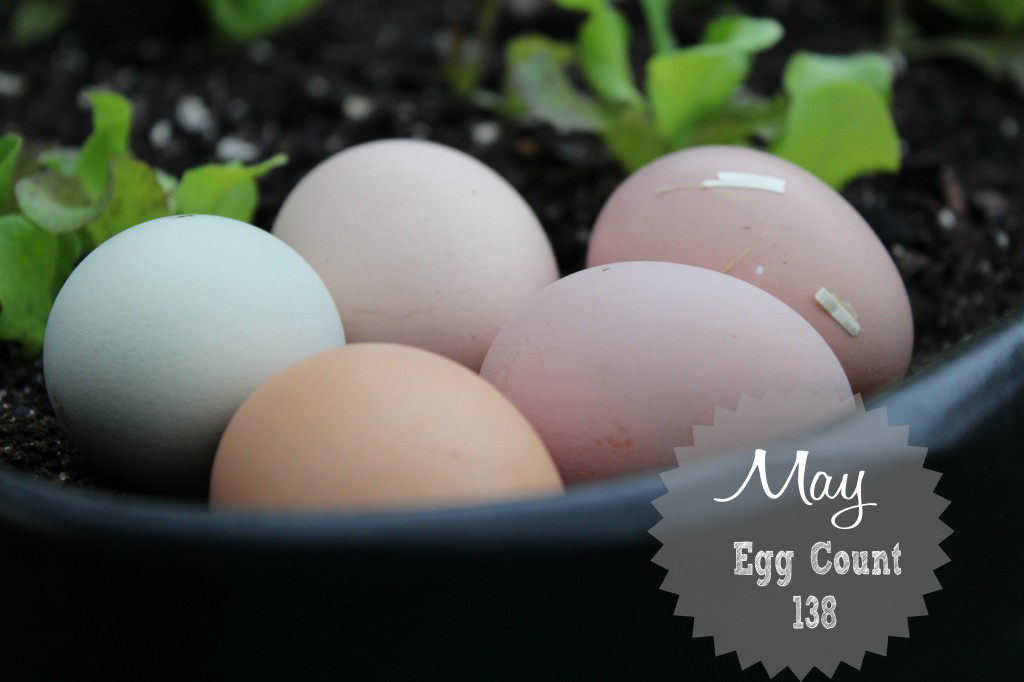
Eggciting News! Counting Eggs for May

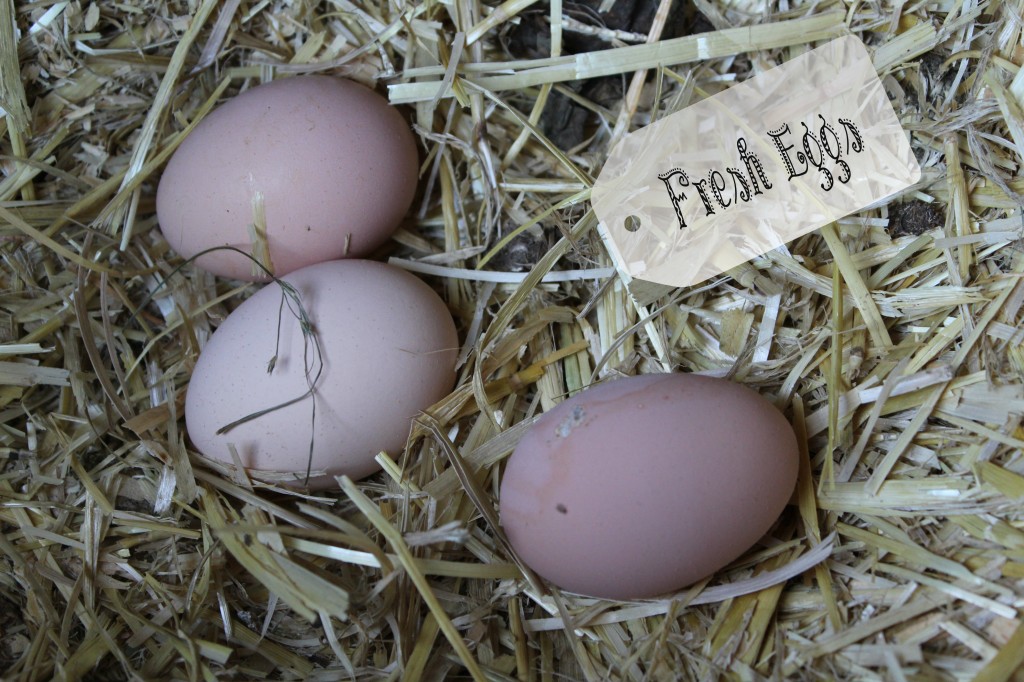
This is my highest number of eggs for one month since I started this backyard chicken adventure a little over a year ago.

As you know I have raised these girls since they were one day old.

Many poopy butts and days of changing dirty water and I still love having backyard chickens.

When I stick my head in the coop where the girls sleep and lay eggs, it smells like the barns on my grandparents farms. The warm straw and earthy wood smell reminds me of younger days and long ago memories when my grandparents were still here on earth.

It warms my heart!

The only pictures I have of my siblings and I playing with the chickens with their baby chicks and hunting eggs, are the ones from my memory.

They are good memories!

Funny how chickens and eggs can make you happy!

Until  you have to clean the coop! HA!

Becky

Other Post you may enjoy reading:

A Meal Fit for a Chicken

Mark Your Calendar a Chicken Laid an Egg


Raspberry and White Chocolate Scones

Not sure if I have ever told you that I do not like to eat eggs.

Yes, I have backyard chickens and love collecting, counting and sharing my little egg shell wrapped yumminess, but I really do not like scrambled eggs. I technically eat eggs in backed goods…but that is like a cake or a cookie. : )  Believe it or not, I have really gotten better about eating eggs over the last few years. I have started eating the occasional boiled and deviled egg. Progress!

So, why am I talking about eggs when I am posting a recipe about delicious and moist, fruit and white chocolate filled scones covered in a drizzle of vanilla bean glaze.

Well, it is because these are the things that I like to eat for breakfast.

For those of us who do not eat that traditional breakfast of eggs, bacon and toast, we are experts at finding other breakfast combinations.

Pancakes, biscuits and cereal (which is what I had for breakfast this morning).

Which by the way…does include bacon! Ha!

Let’s talk scones. I do not want a dry, tasteless, biscuit like scone that you need a ton of marmalade to make it taste good. That does not mean that I do not like a scone that is covered in marmalade…you should know me better than that. Let just forget the dry and tasteless part…ok?

This recipe for Raspberry and White Chocolate Scones is moist and every crumb taste gooooood! It is sweet but not too sweet and the raspberries add that bit of tartness that I love.

These scones lasted for about 5 minutes after they were glazed.

Yes, about 5 minutes….I barely got to take a picture of them!

It is cool this morning in Mid Missouri. So, make you some hot tea and some warm scones and warm up that tummy.

It will make you happy!

Here is what you will need for the scones, the ingredients for the glaze is a little further down:
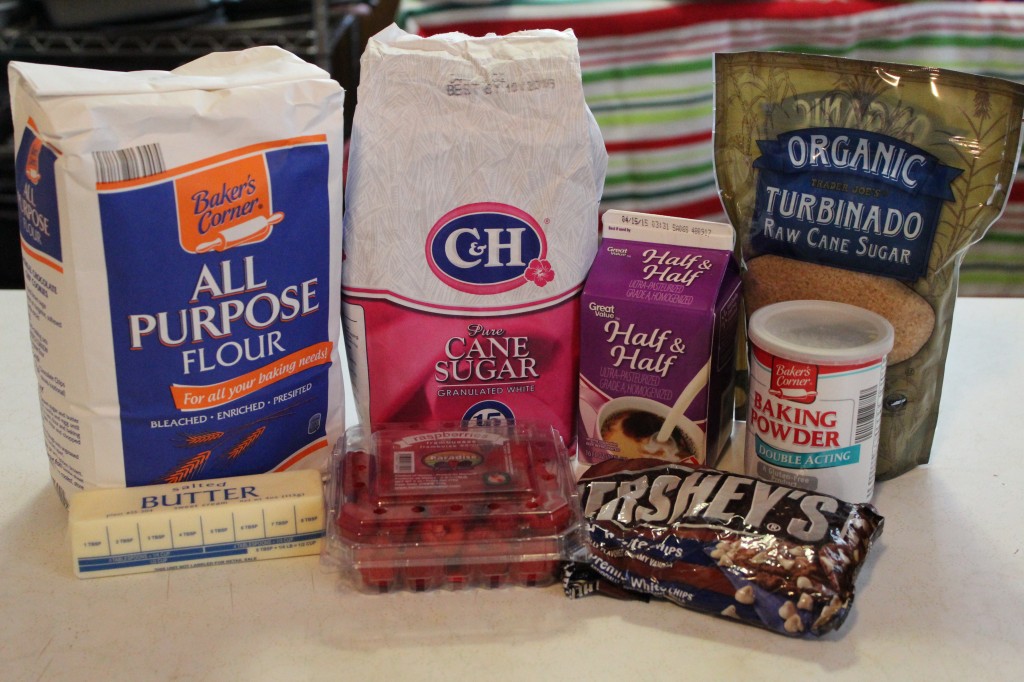
You will need flour, salt (I forgot to put the salt in the picture), baking powder, sugar, whipping cream (I was out so I used half and half and it worked fine), butter, raspberries, white chocolate chips and a course sugar to top them with. I used turbinado raw can sugar, but you can use a course sanding sugar like this too.
This is from Wilton brand sanding sugar.
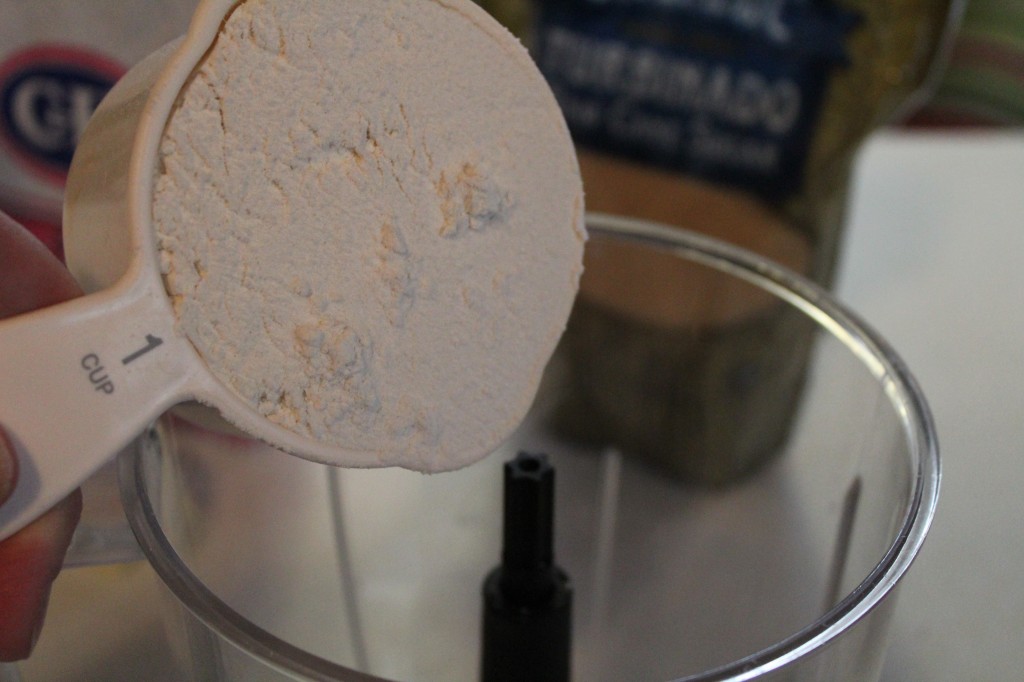
I used by little blender to mix my scones together, but you can definitely use a pastry blender to cut in your butter. First, measure out your flour and put it a bowl or your little blender.
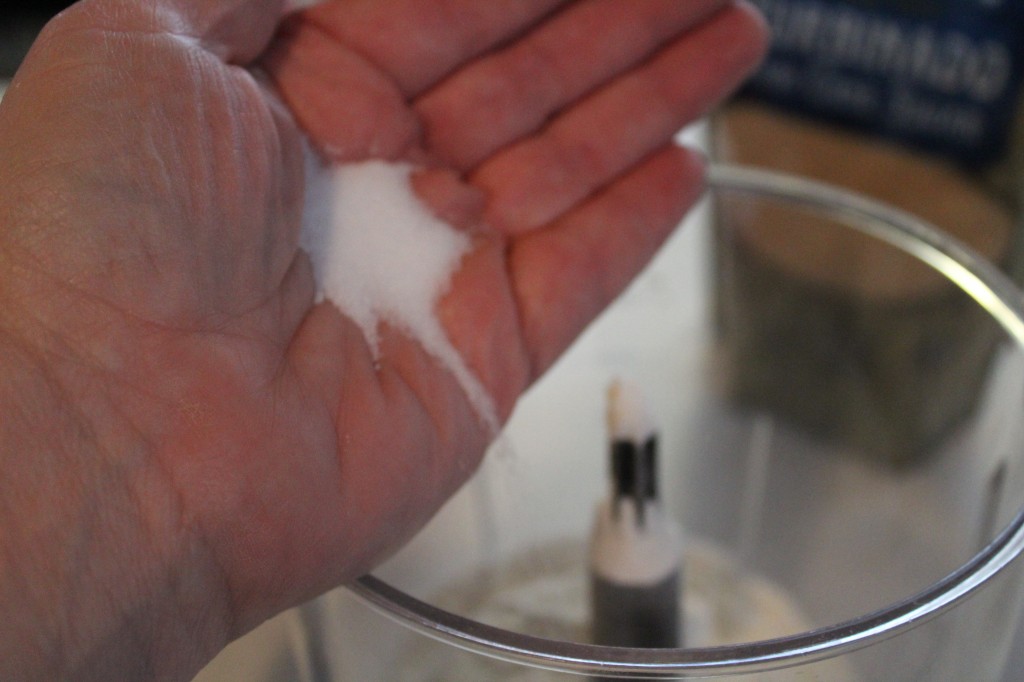
Add in the salt.
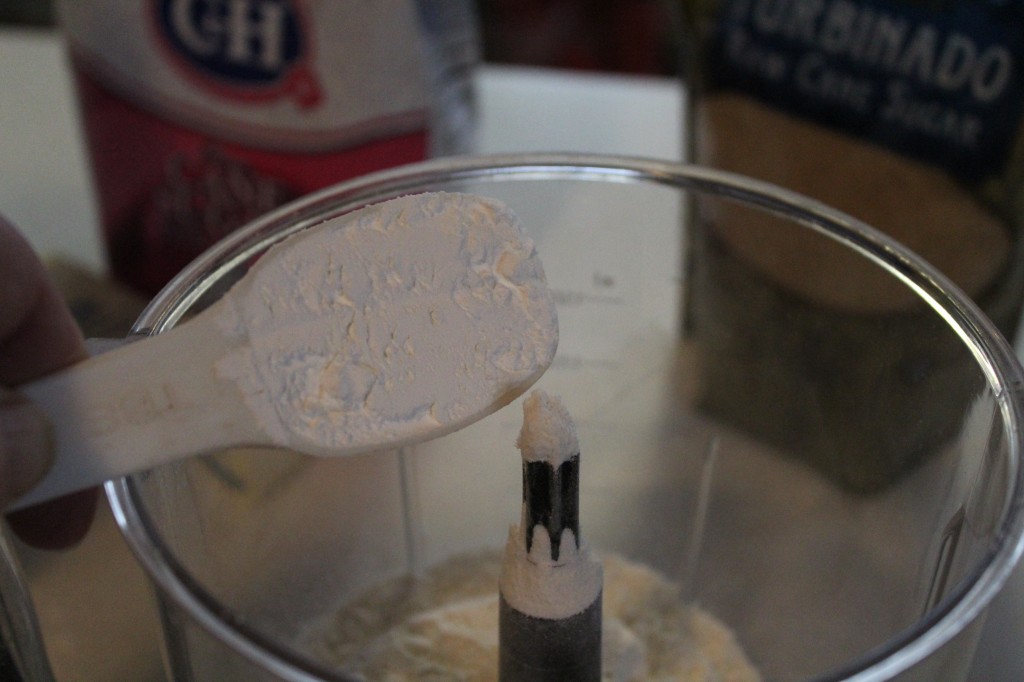
Now the baking powder and mix together.
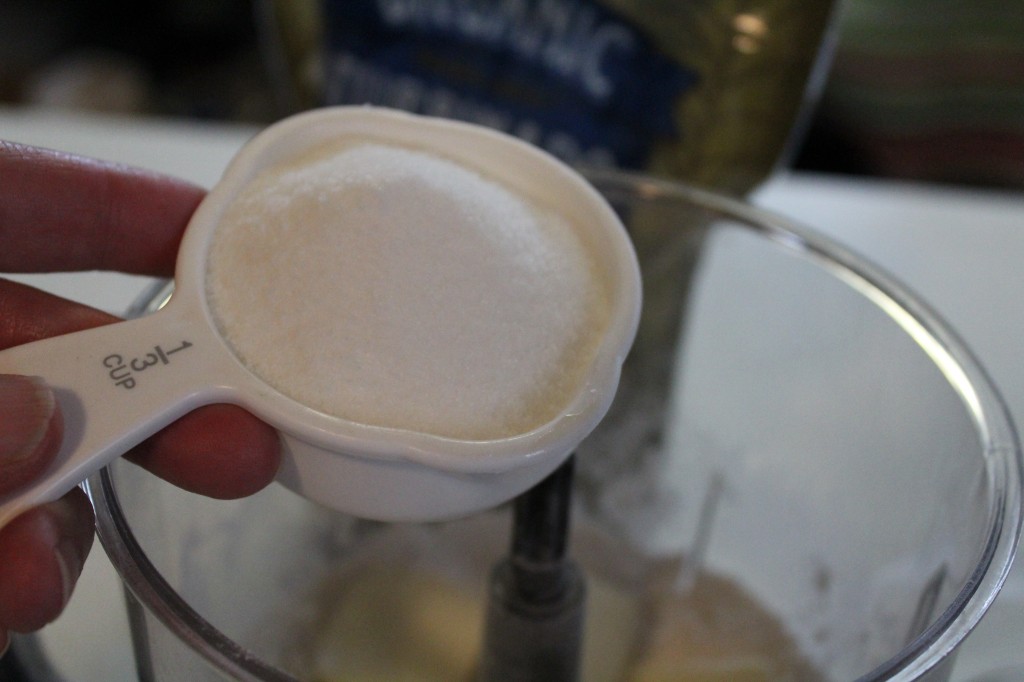
Stir in the sugar.
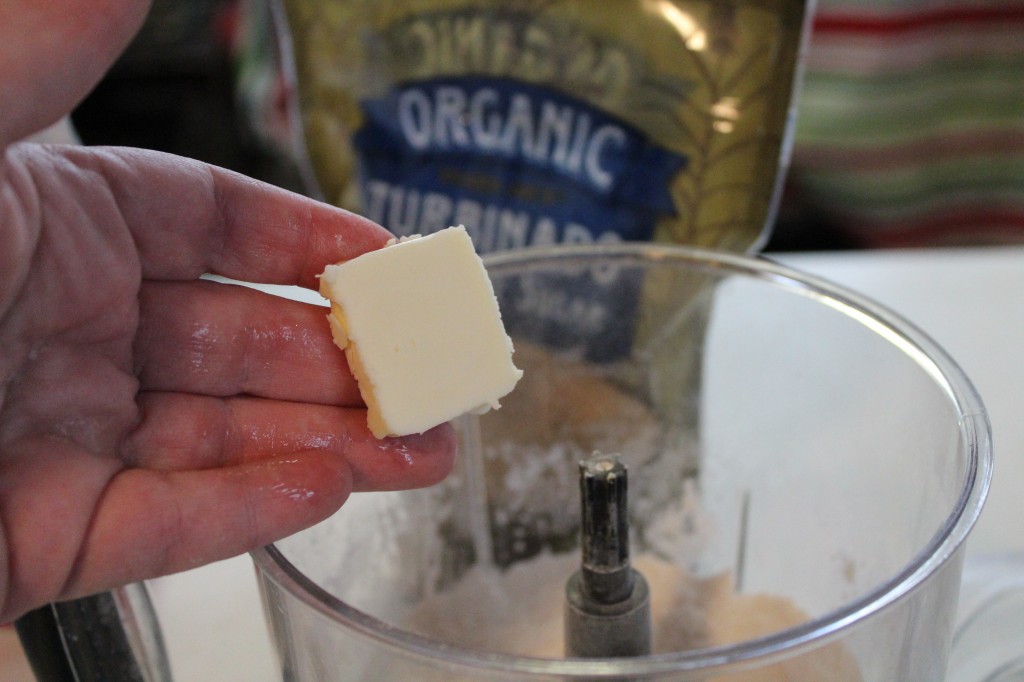
Add in the cold butter slices and cut in with a pastry blender or pulse a few times on your blender.
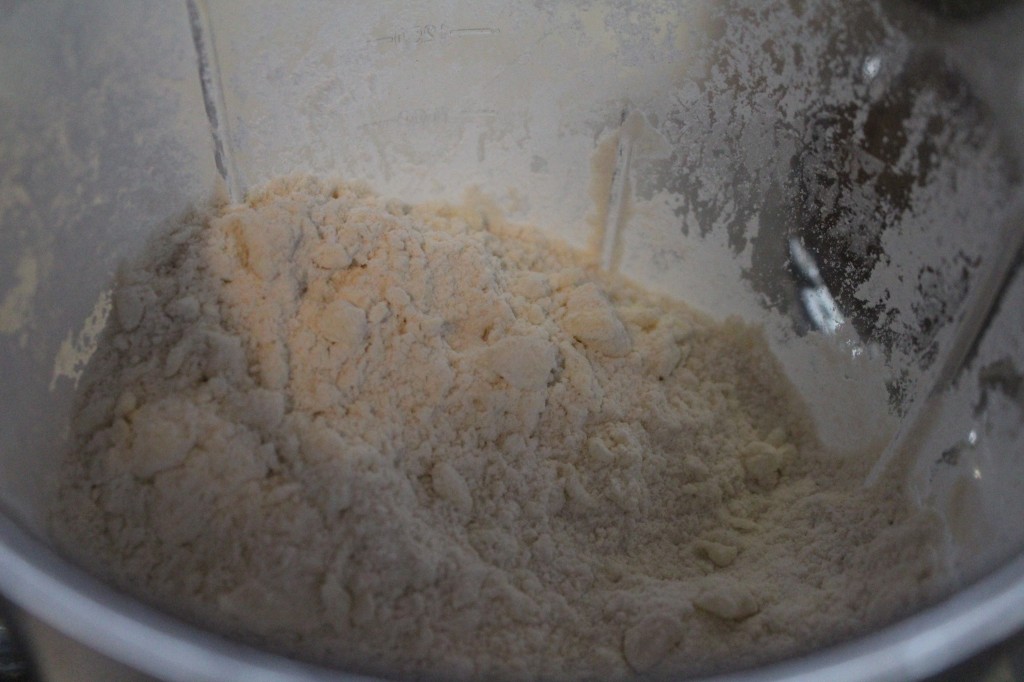
Your dough should start looking like crumbs with small pieces of butter.
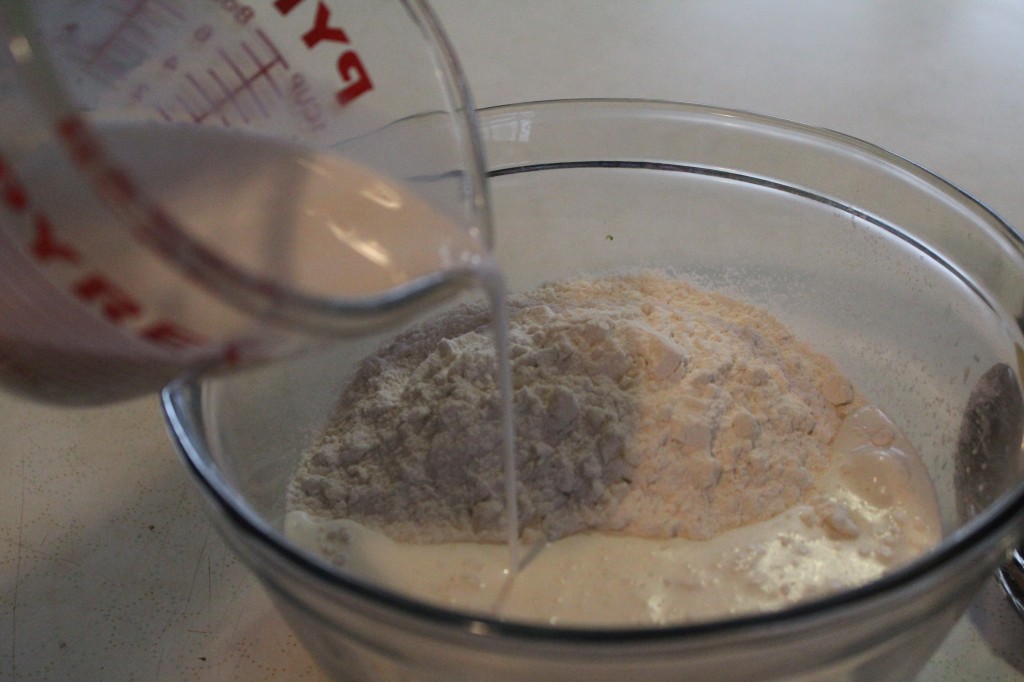
I transferred my flour and butter mixture to a bowl. Now, pour in the whipping cream (I used half and half) and stir together, gently.
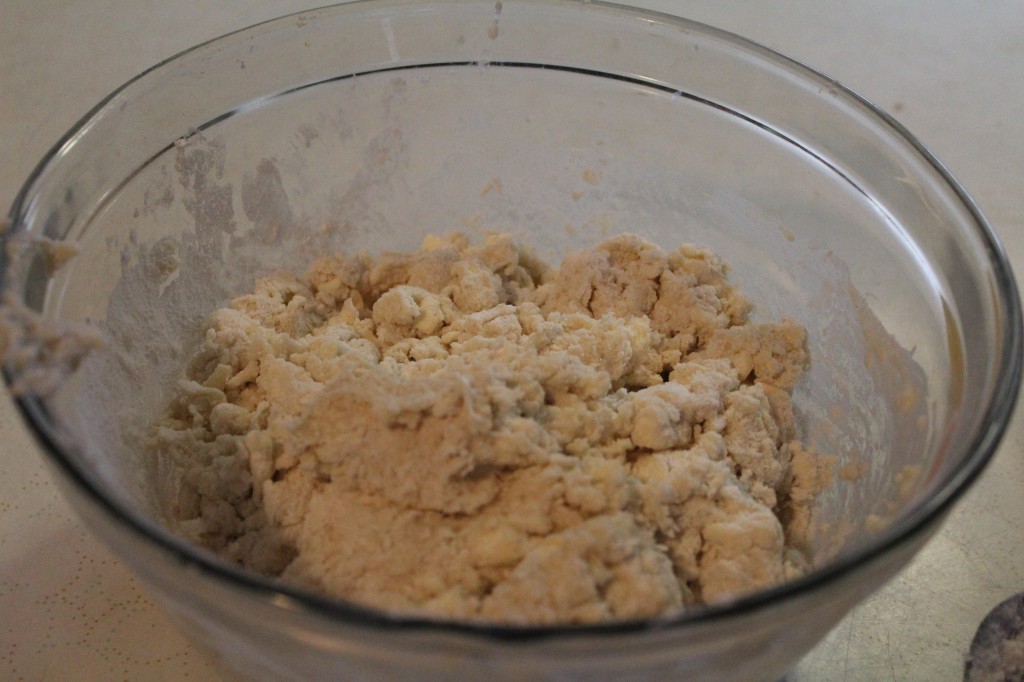
The dough will start to take shape.
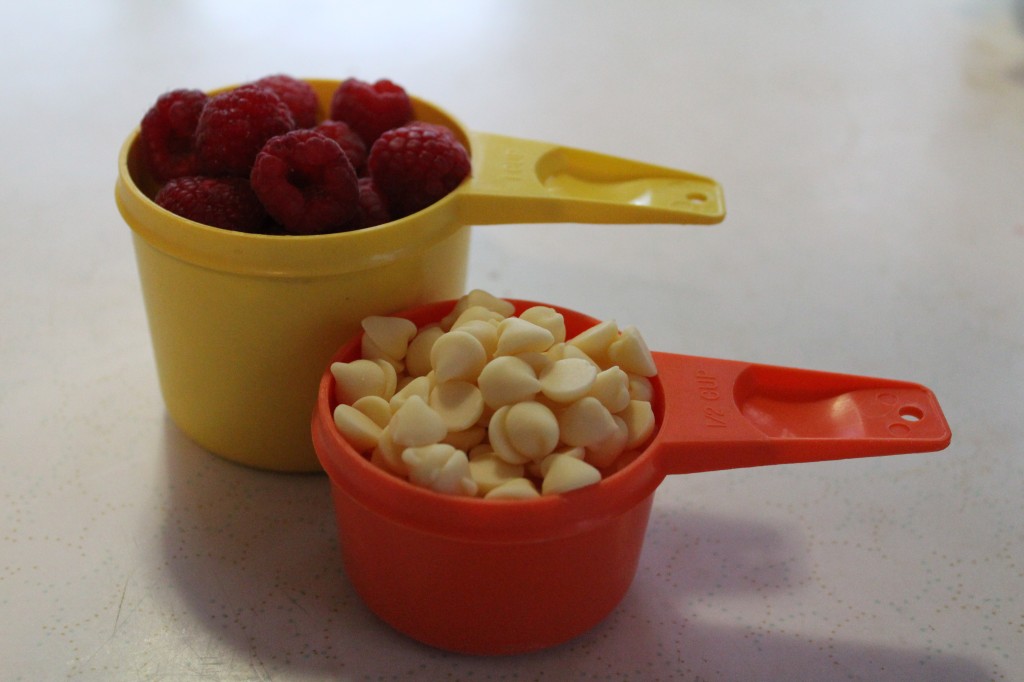
Measure out your raspberries and white chocolate chips.
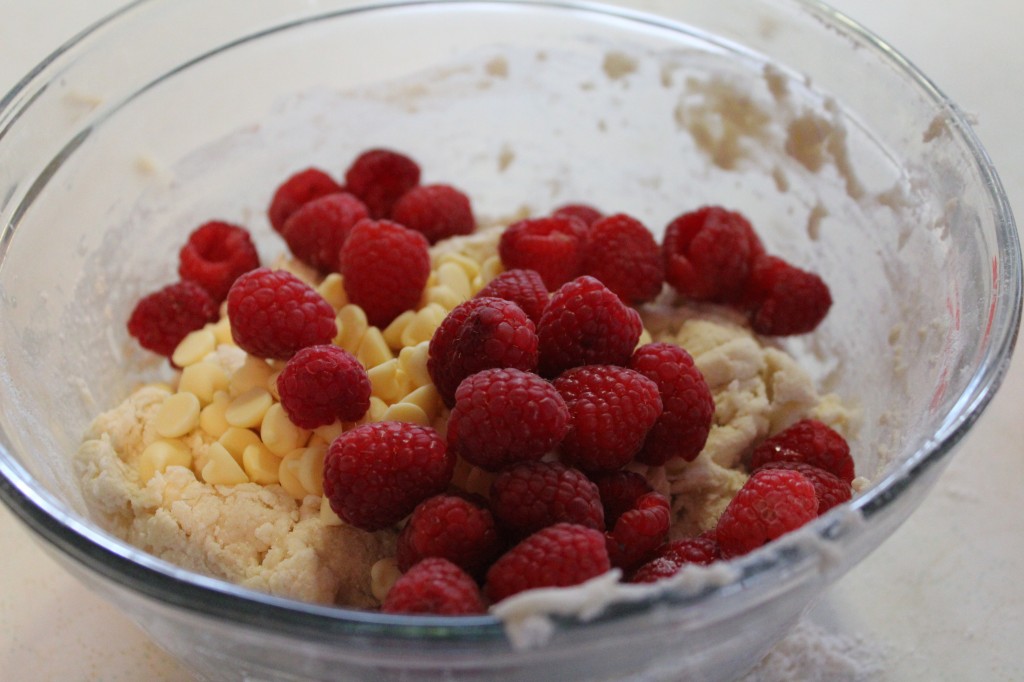
Add in to your dough and gentle knead in the dough. Be care not to break apart all the berries and be gentle during this process.
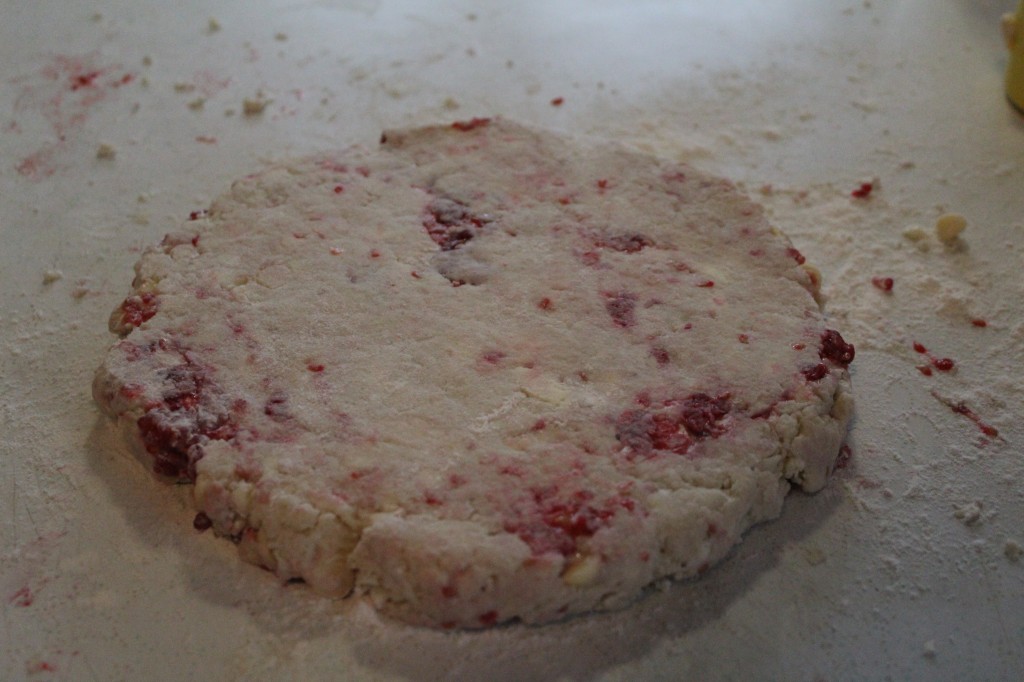
Form the dough into a nice circle.
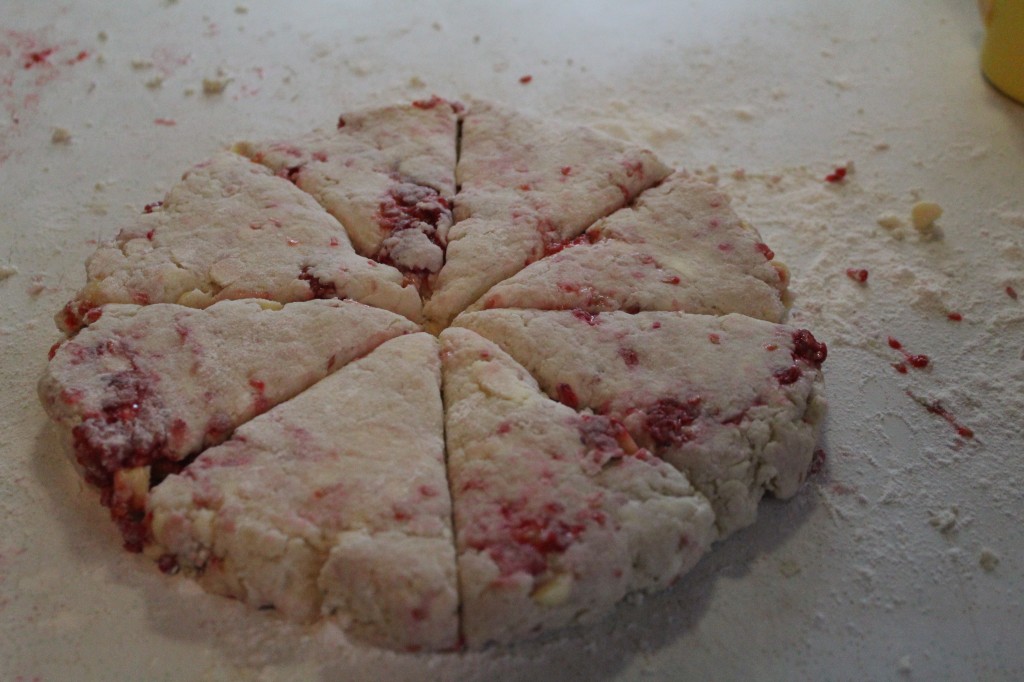
Cut like a pizza into  8 wedges.
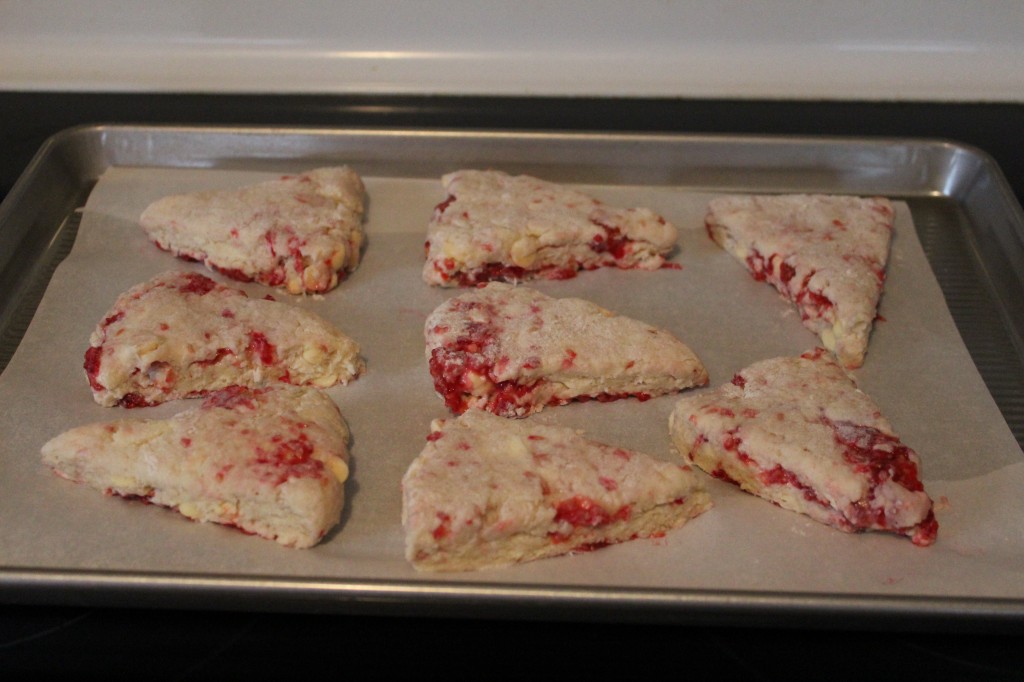
Place the scones on a parchment lined cookie sheet.
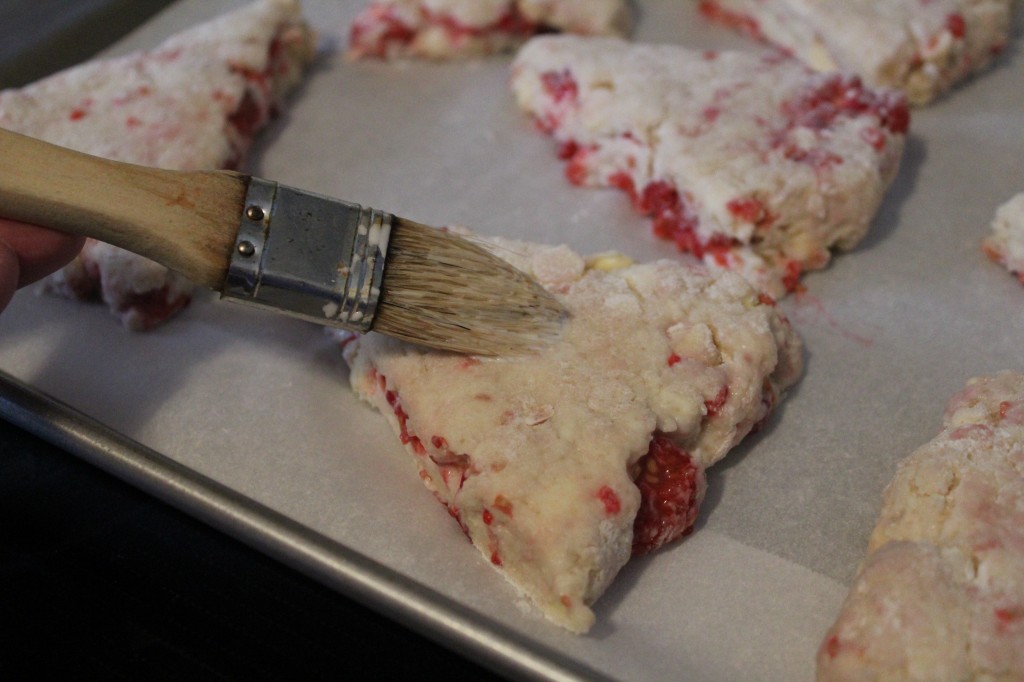
With a pastry brush, brush the tops of each scone with half and half.
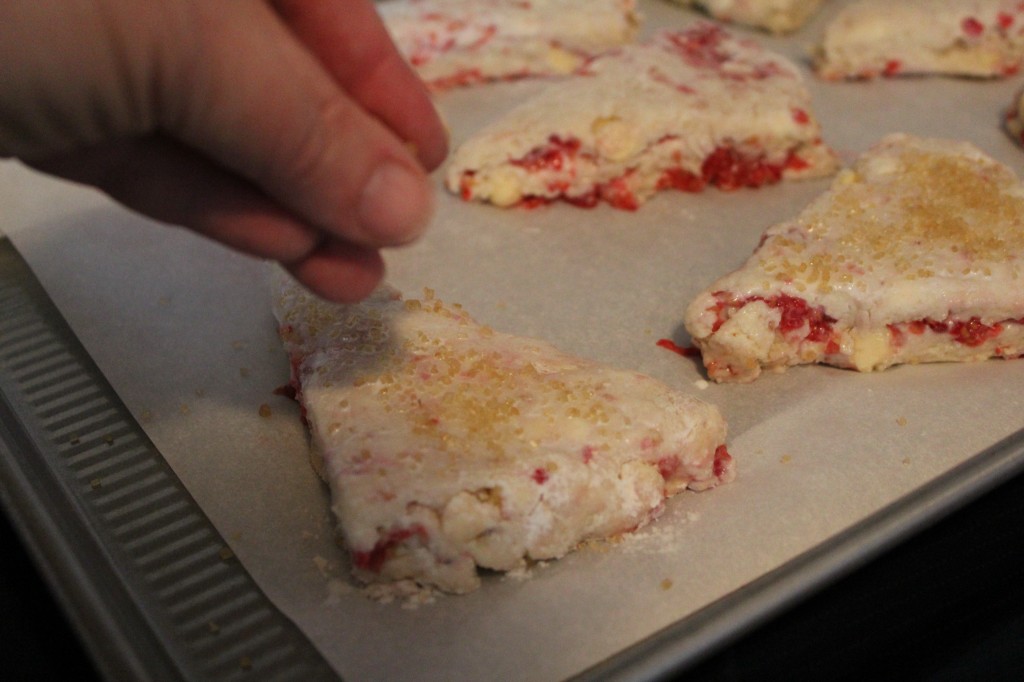
Sprinkle with turbinado sugar or sanding sugar. I love the little sugar crunch on the top. YUM! Put the scones in the oven and start baking. While the scones are baking, make the glaze.
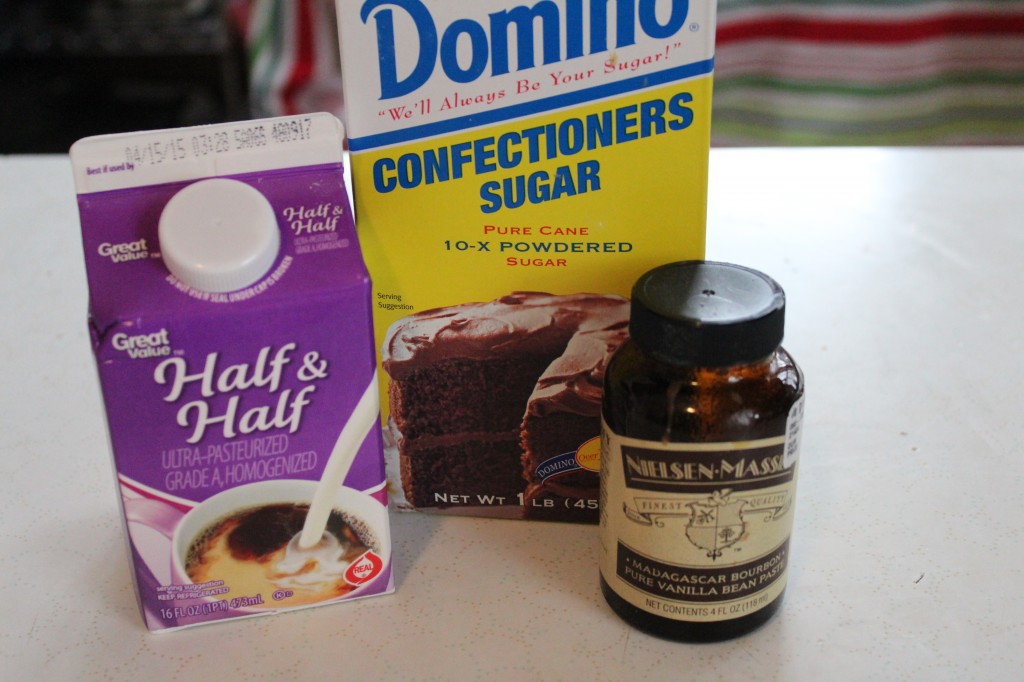
You will need some more half and half, powdered sugar and vanilla bean paste. If you do not have vanilla bean paste, just use vanilla.
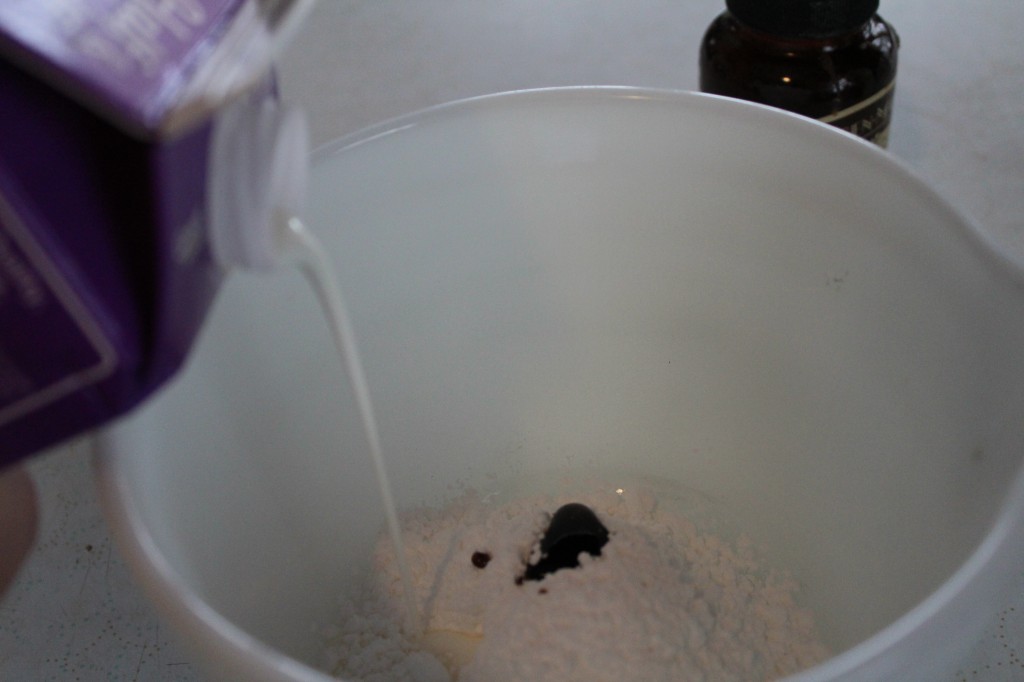
Add the powdered sugar, half and half and the vanilla bean paste.
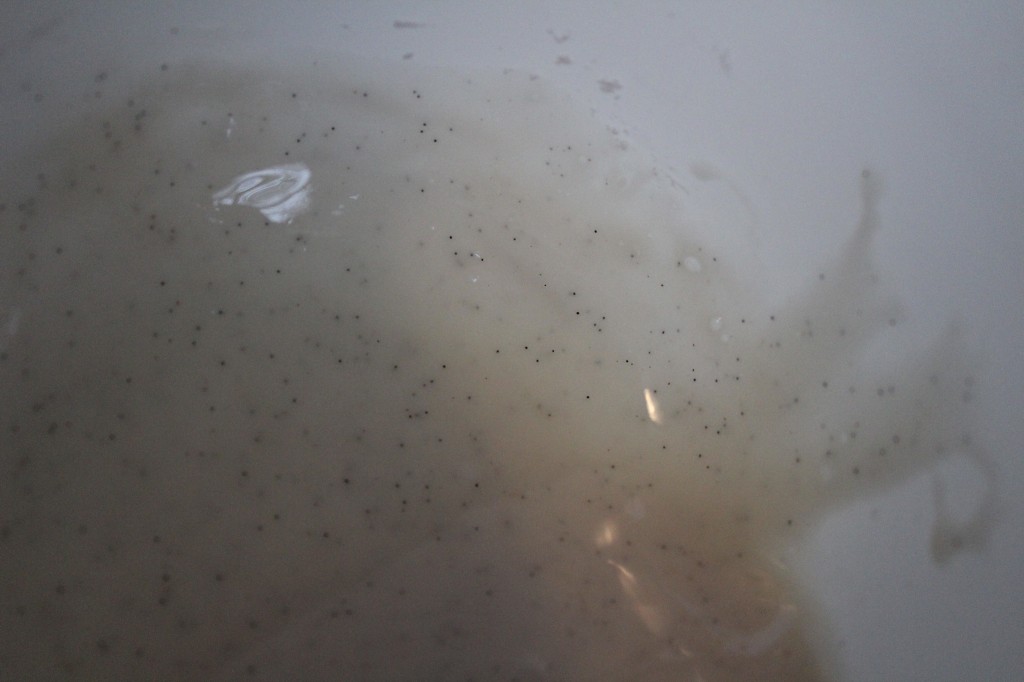
Stir together until smooth. I LOVE the little bits of vanilla beans.

When the scones are warm and just out of the oven, drizzle the glaze over each one.
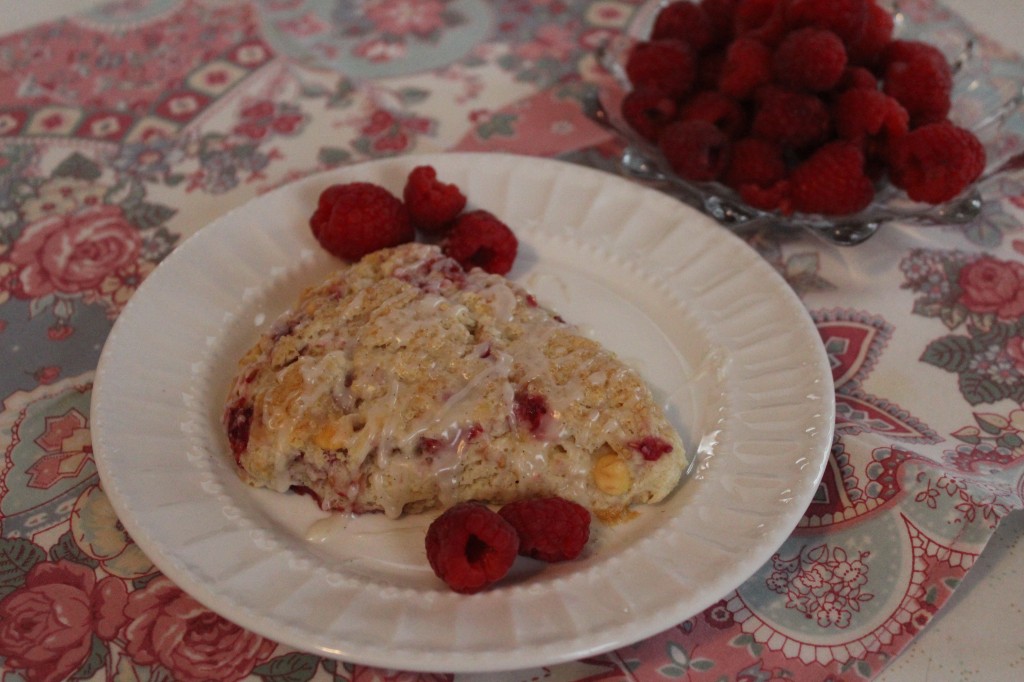
There you go!

You might not even need bacon to go with them : ).

If you are looking for a special breakfast or an afternoon tea scone, I think you will love these!

Here is the recipe:

Adapted from Southern Living

Raspberry and White Chocolate Scones

Ingredients:

2 cups of all purpose flour

1/3 cup sugar

1 tablespoon baking powder

1/2 teaspoon salt

1/2 cup cold butter cut into 1/2 inch cubes

1 cup whipping cream (save 2 tablespoons to brush on top of scones)

2/3 cups of fresh raspberries

1/2 cup white chocolate chips

Sanding sugar

Ingredients for the glaze:

1/2 powdered sugar

1 to 2 tablespoons milk to thin consistency ( I just went ahead and used my half and half)

1/4 teaspoon vanilla (I used vanilla paste)

Direction:

In a large bowl (I used my little blender) mix together the flour, salt, baking powder and sugar. Cut in the cold butter with a pastry blender until the mixture starts to look like crumbs. Pour in the half and half (save 2 tablespoons to brush on top of the scones) and gently stir to start forming a dough. Add in the raspberries and white chocolate chips. Gentle knead them in. Take the dough out of the bowl and form into a circle. Cut the dough like a pizza into 8 wedges. Brush each scone with the reserved whipping cream and sprinkle with turbinado sugar or a sanding sugar. Place the scones into a  450 degree preheated oven and bake 13 to 15 minutes until light golden color.

While the scones are baking, stir together the milk, powdered sugar and vanilla paste.

When the scones come out of the oven, drizzle with the glaze.

Now, try not to eat all of them!

Enjoy!

Becky

Here are some other post that might interest you:


Chocolate Peanut Butter Mousse Cake             Broccoli Rice Casserole
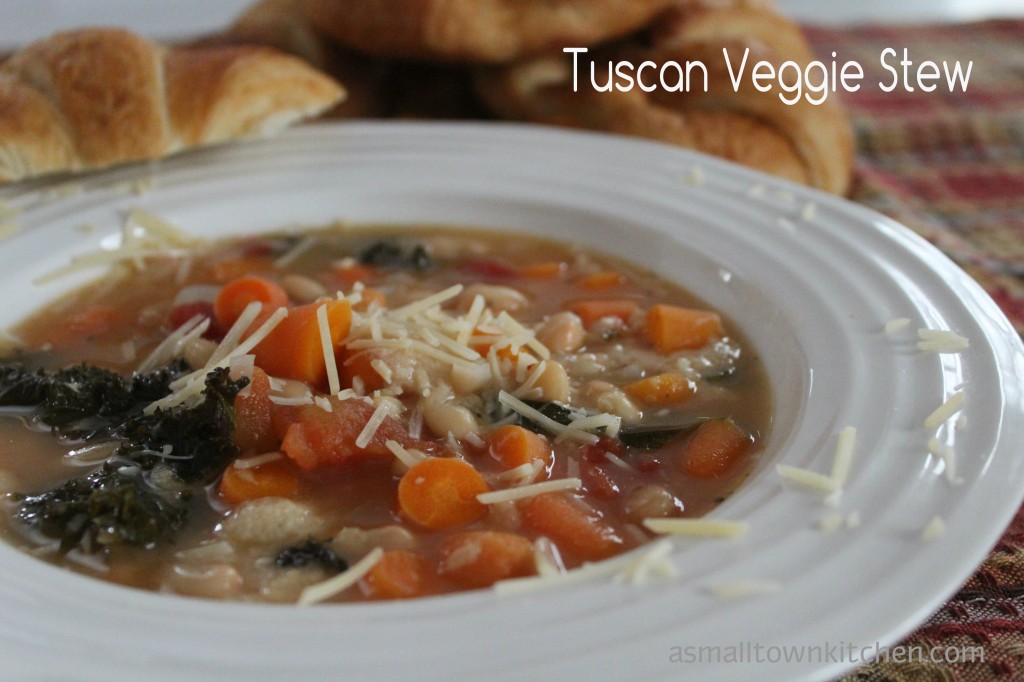
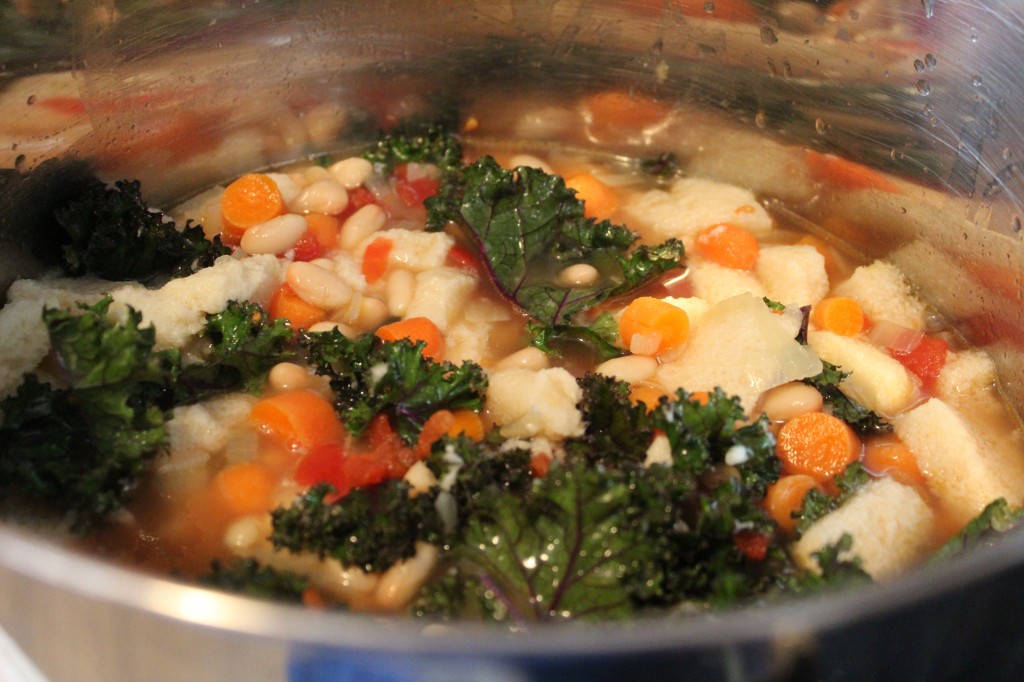
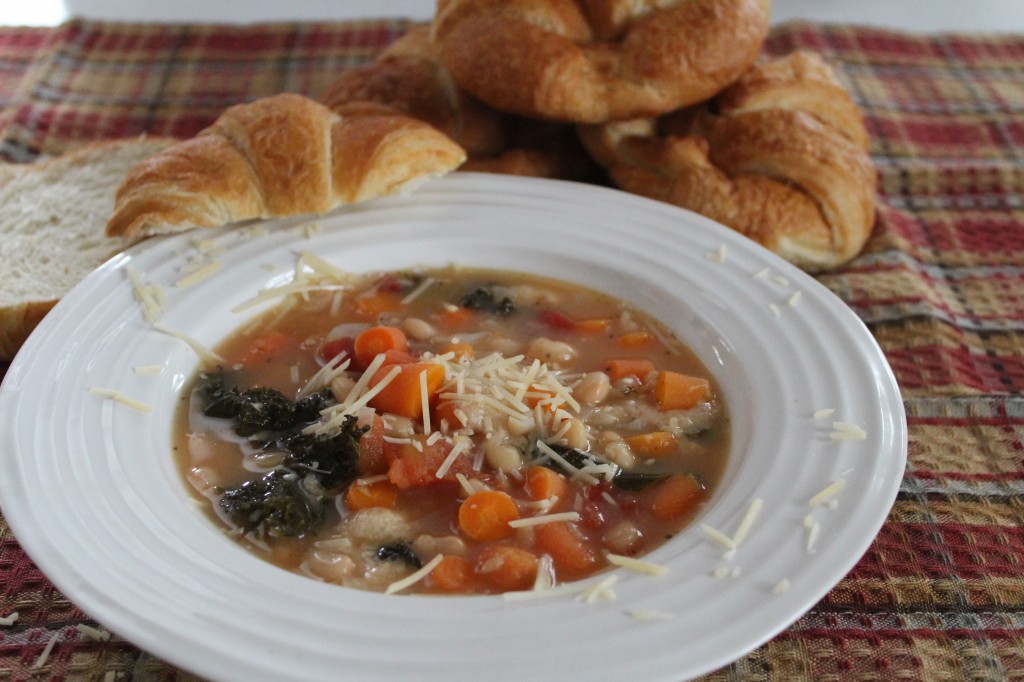
Tuscan Veggie Stew

If you have been reading and following along with me on my recipe and garden PLUS chicken journey, you already know by now that I love soup!

AND, what better time to have soup than in the spring and summer.

No, I am not teasing you…honestly I am not.

I mean you have heard of soup and salad or soup and sandwich meal combinations, right?

If that soup just happens to be made from a medley of veggie goodness and we grow veggies in the spring and summer….that makes this soup pretty perfect for making a big batch now that spring has sprung.

In the spring and summers I do not crave those creamy soups that I do in the winter when there is snow outside and a snow day from school.

I prefer a broth and veggie laded soup that has a great flavor.

This one just happens to have kale in it. MMM…I just happen to be growing kale in my raised garden beds.

Ok, so maybe you are not a kale fan…you can put spinach in this soup instead of the kale….and I just happen to be growing that too.

See…I told you this soup was perfect : ).

I spied this recipe in my Mom the Princess’s Good Housekeeping magazine a few months ago. I really wanted to make it because it had kale in it and Oldest daughter and I love kale. The  broth and veggie combination sounded like it went perfect together too. So, I was anxious to make this soup.  There was one little tiny thing I was hesitant about putting in the soup and that was the stale bread. Not because it might not taste good, but because I do not like soggy bread or crackers. I do like soggy bread so bad that I do not even dunk my cookies in milk.

Yes, I am weird.

I did follow the recipe and make it with the stale bread in it and it was fine, but next time I make it, I will be using gnocchi or a small pasta in the soup instead of the stale bread..

I forgot to mention that this soup also freezes well. I love to take soup I have made at home and froze to take to work for lunch.

MMMM soup in spring and summer….

Now, I just need a sandwich…preferable with bacon on it…lots of bacon, to go with my soup!

Hope you give this super simple delicious soup a try!

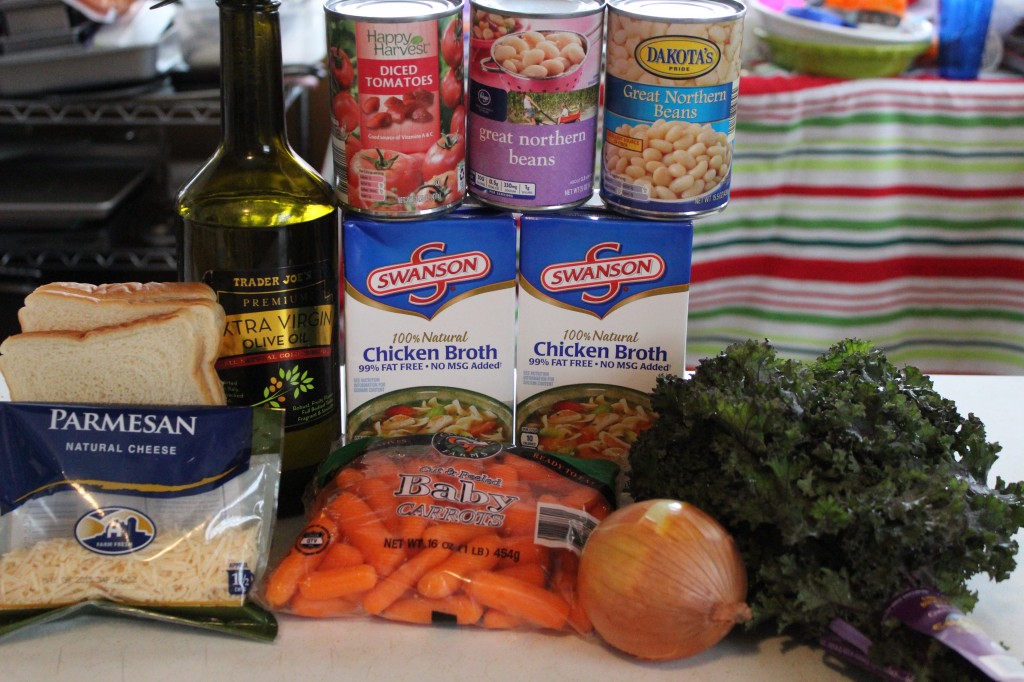
Here is what you need:

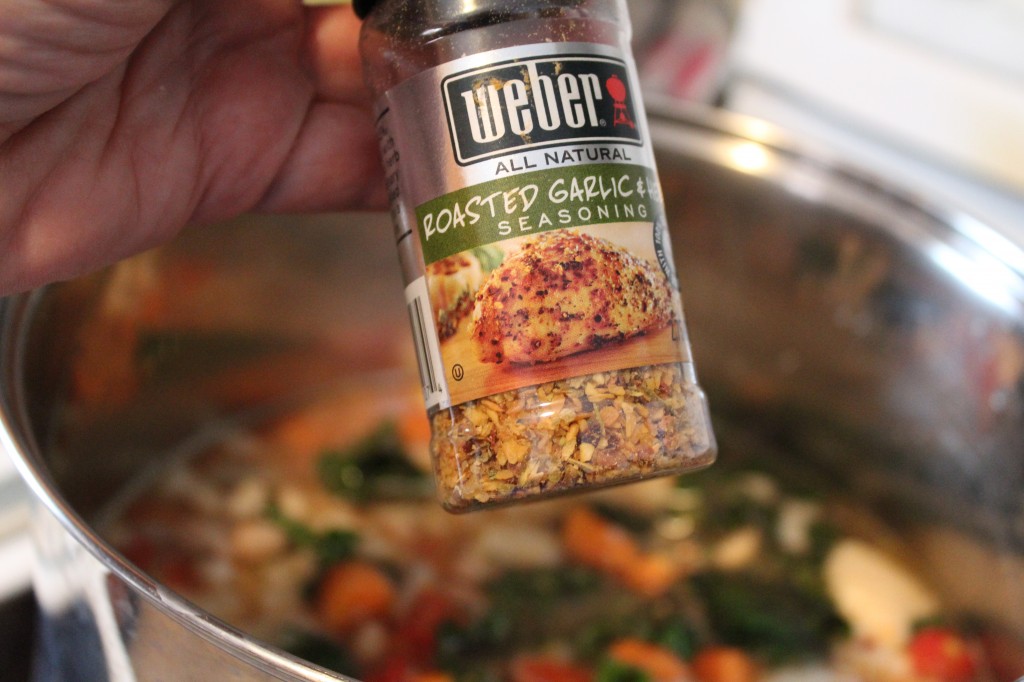
You will need some chicken broth, carrots, onion, kale, white beans, diced tomatoes, olive oil, parmesan cheese and some stale bread. Now…I did sneak in some roasted garlic flavoring in after I taste tested it. I love me some garlic!

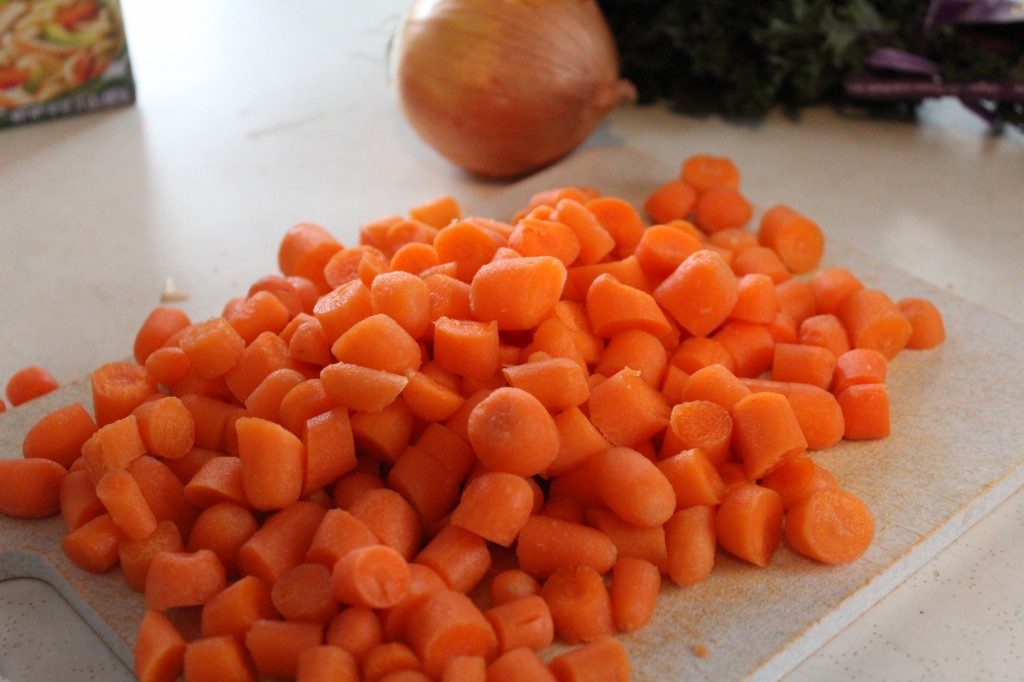
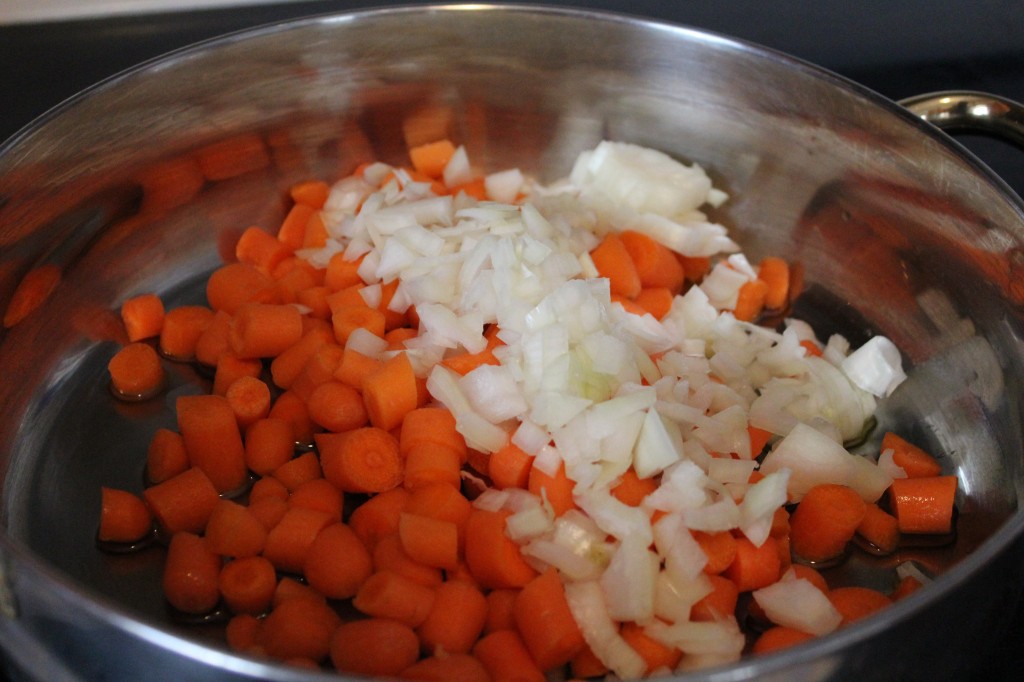
First thing you do is chop up the carrots.

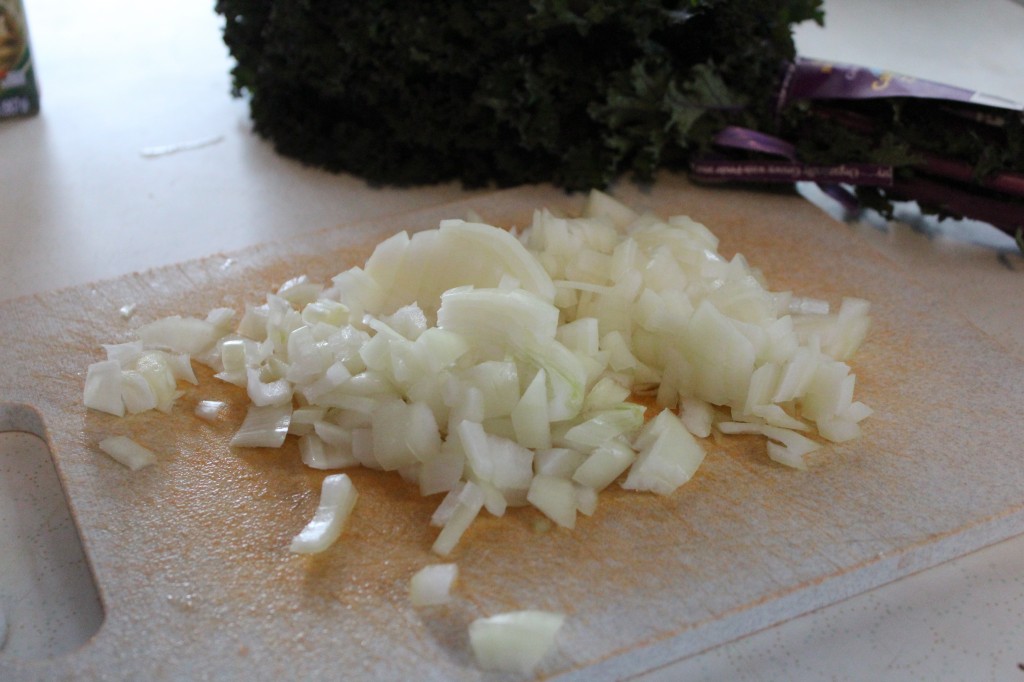
Now you dice up the onion.

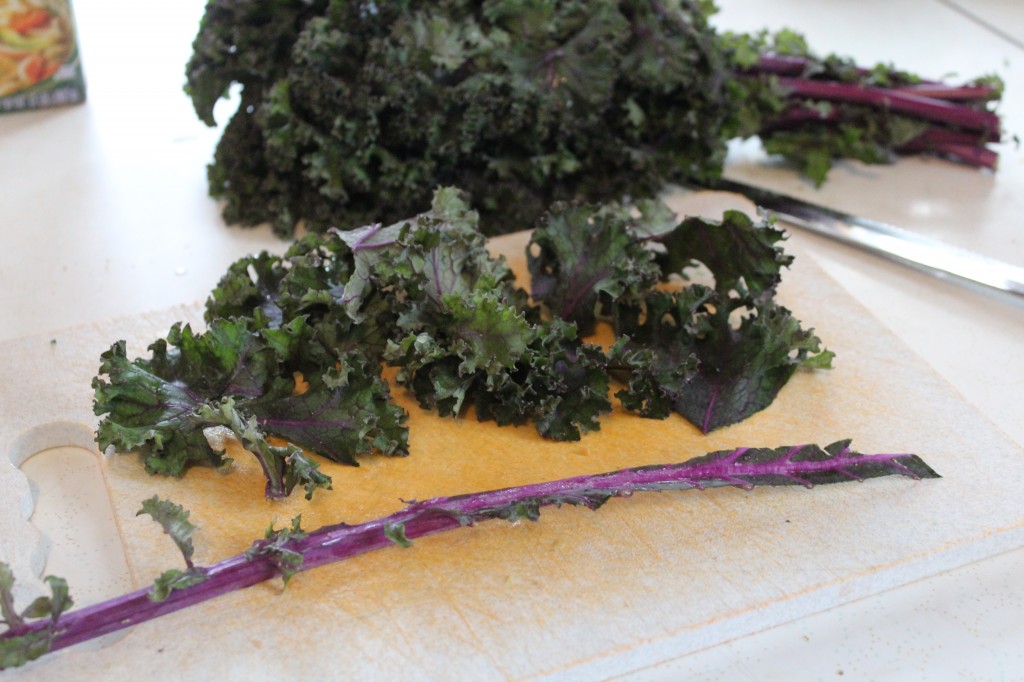
Be sure and take the stalk out of the kale first. Then you cut or chop the kale into large chunks.

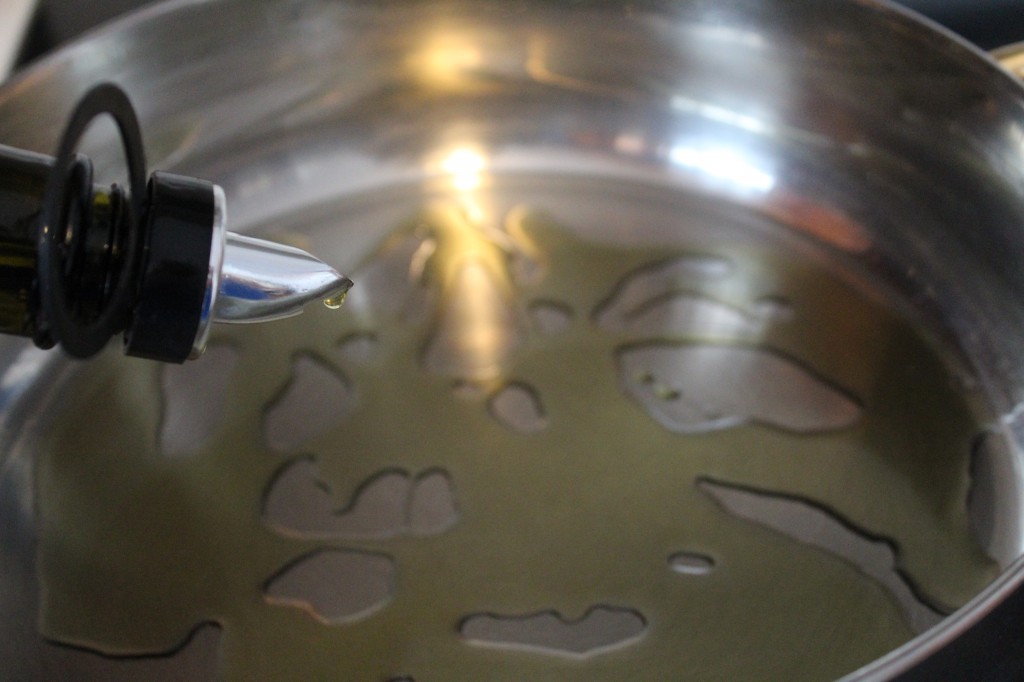
Heat up some olive oil on medium heat in a large sauce pan.

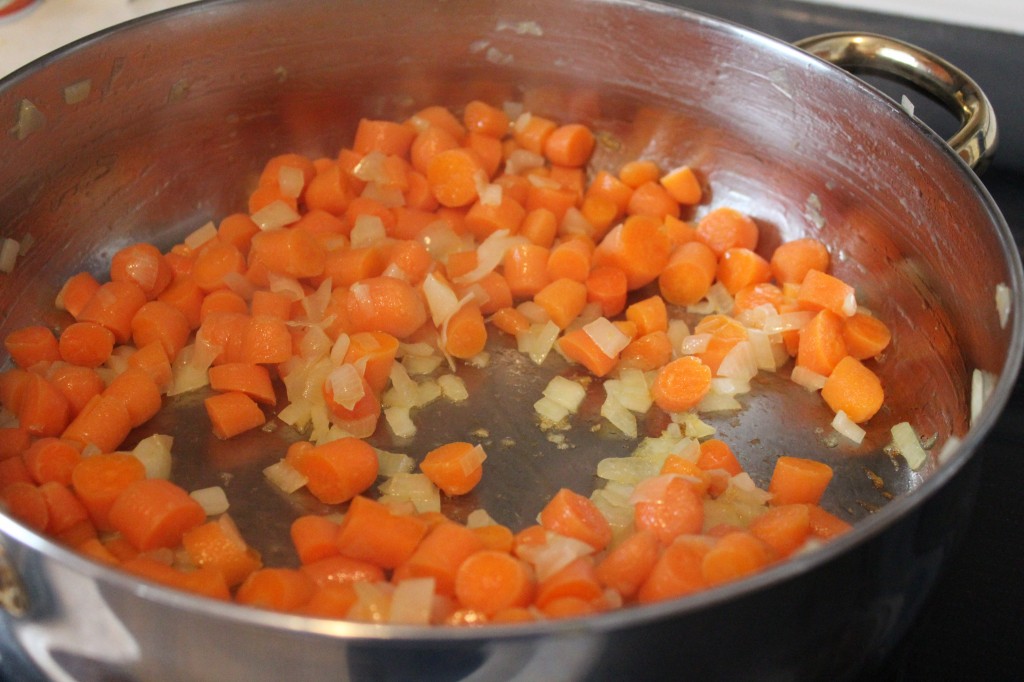
Saute the onions and the carrots.

They should start to get tender.

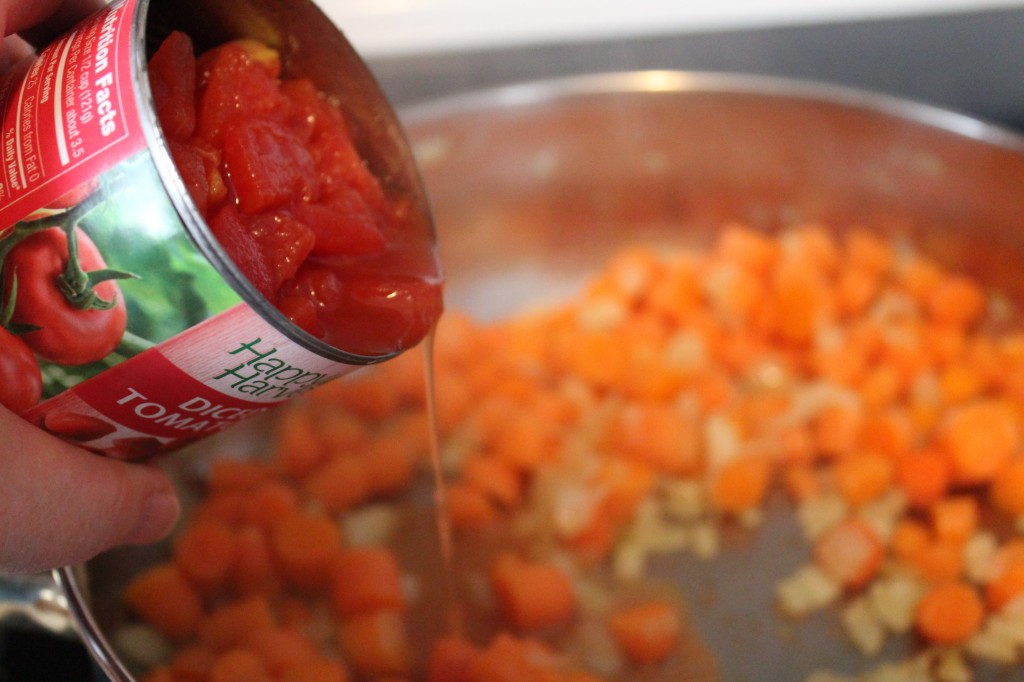
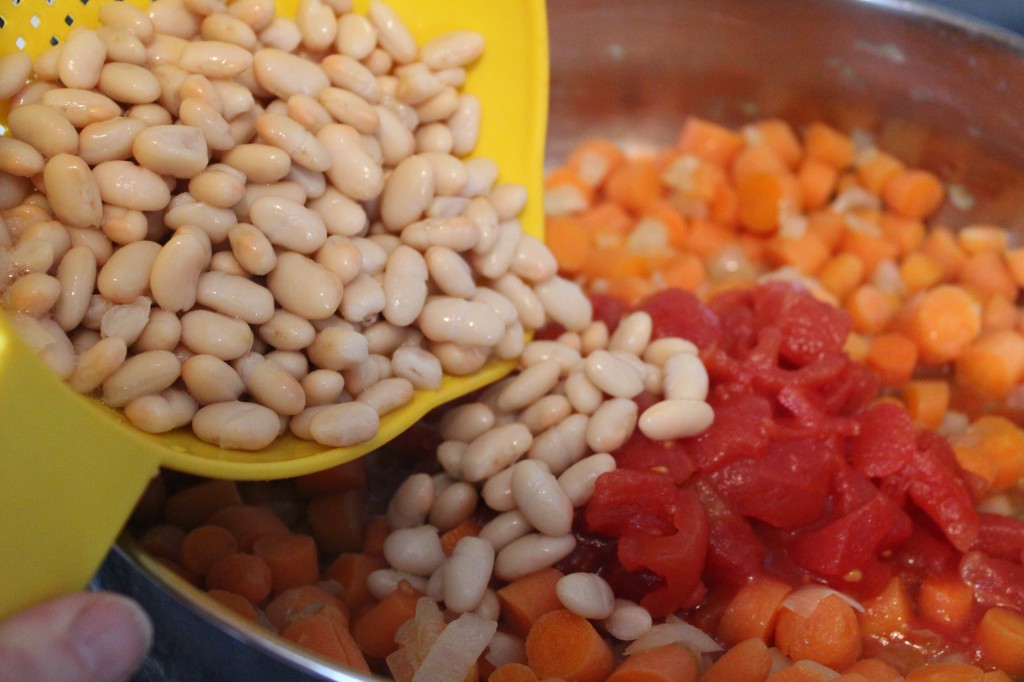
Pour in one can of diced tomatoes.

Add in two cans of white beans, drained and rinsed.

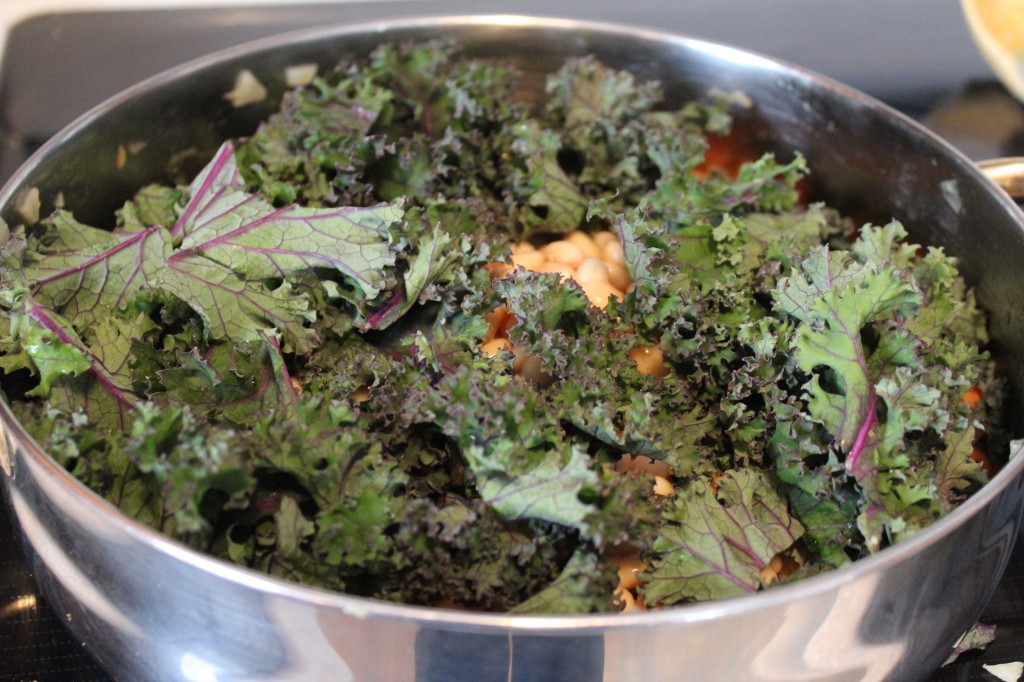
Now add in all that kale. Don’t worry it cooks down.

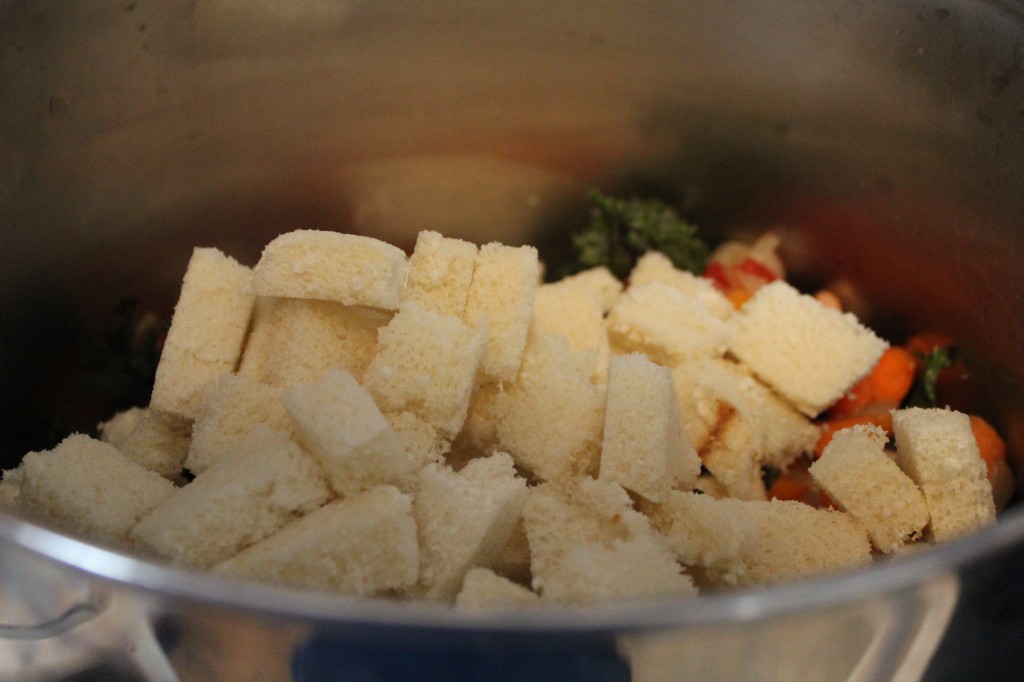
Add in your stale bread cut into chunks. (next time I am going to try potato gnocchi instead.)

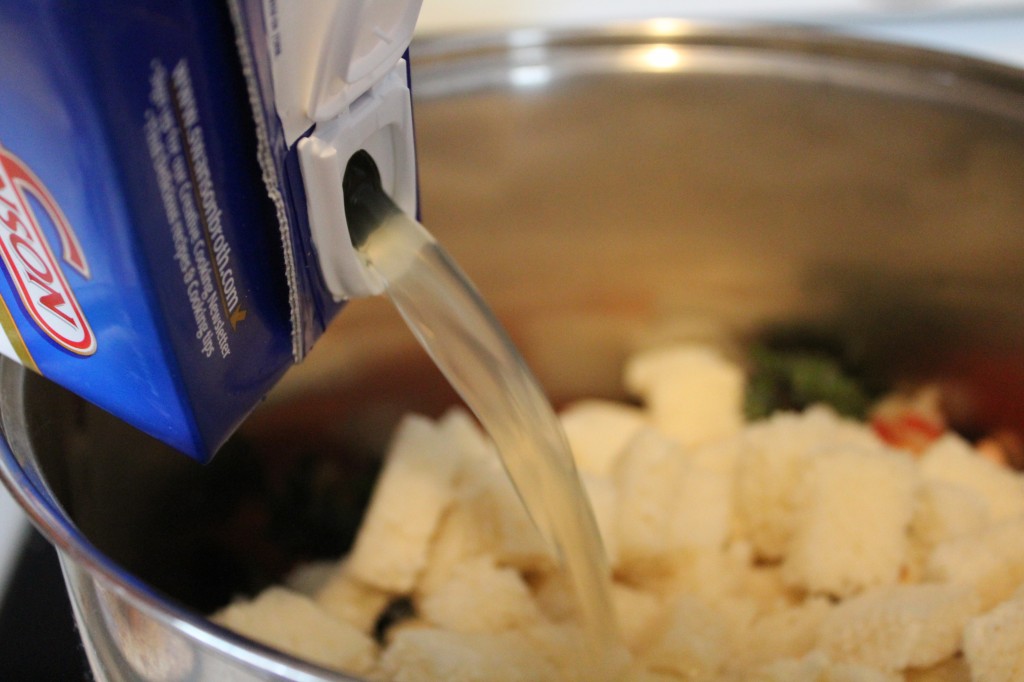
Pour in you chicken stock.

Let simmer until the kale is tender, about 20 minutes.

Do a little taste test and add some seasonings if you want. I add in some roasted garlic seasoning cause I love garlic. It was about a teaspoonful.

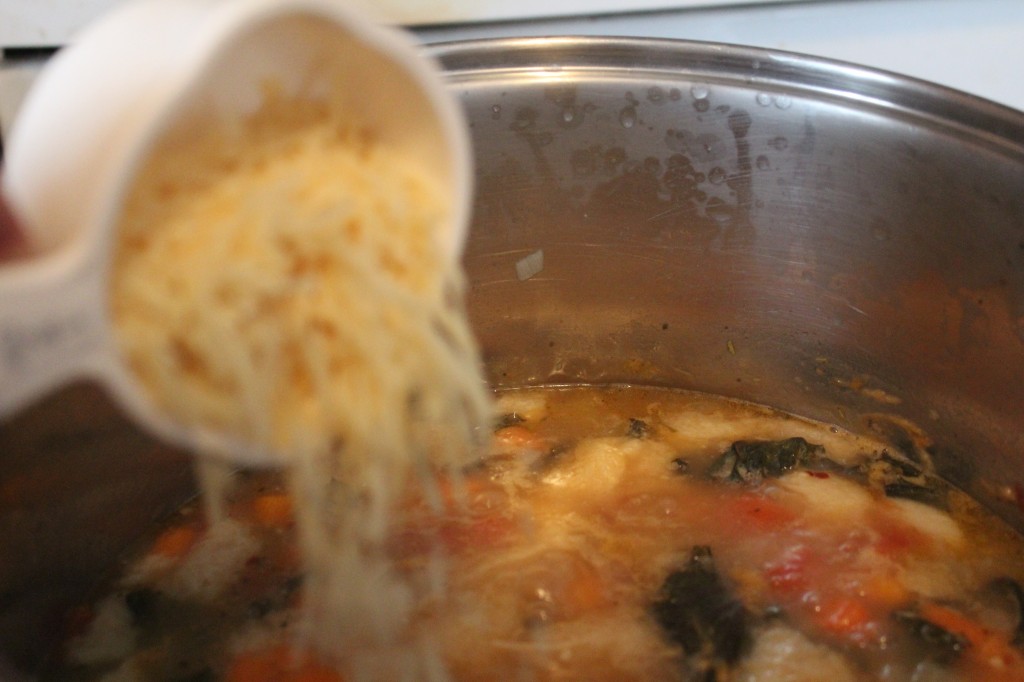
Lastly, add in the parmesan cheese and give it a quick stir.

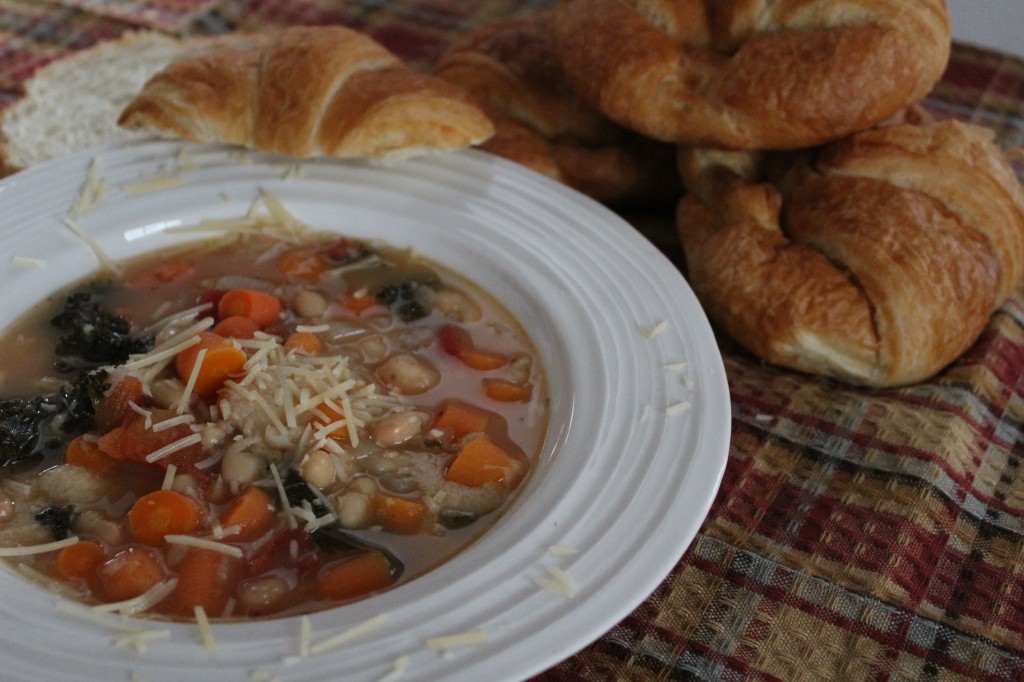
And, now it is ready to eat!

Adapted from Good Housekeeping

Ingredients:

3 to 4 tablespoons olive oil

1 pound of carrots, chopped

1 medium onion, finely chopped

2 quarts Vegetable or Chicken broth (I used Chicken)

1 bunch kale Tuscan or curly, stalk removed and chopped

4 ounce of stale bread turn into small pieces about 4 cups worth (you could substitute the bread for gnocchi, tortellini or even a small pasta, I would just use 1 to 1 1/2 cups worth though)

2 can white beans rinsed and drained

1 – 14 ounce can of diced tomatoes

1/3 cup parmesan cheese (additional amounts make be served as a garnish)

Directions:

In a large stock pot, heat oil on medium and saute the carrots and onions. Cook for 10 minutes or until vegetables are starting to get tender.

Add the broth, kale (after removing the stalks) bread, beans and tomatoes. Simmer for 20 minutes or until Kale is tender. Stir in the parmesan cheese and serve.

You can garnish with parmesan cheese or olive oil if you want.

This recipe is so quick and simple to make and taste so good!

Enjoy!

Becky

Other post you may enjoy reading:


Glazed Strawberry Bread                                                      Apple Sour Cream Crumb Pie


Brown Sugar Meatloaf                                                            Knorr Spinach Dip

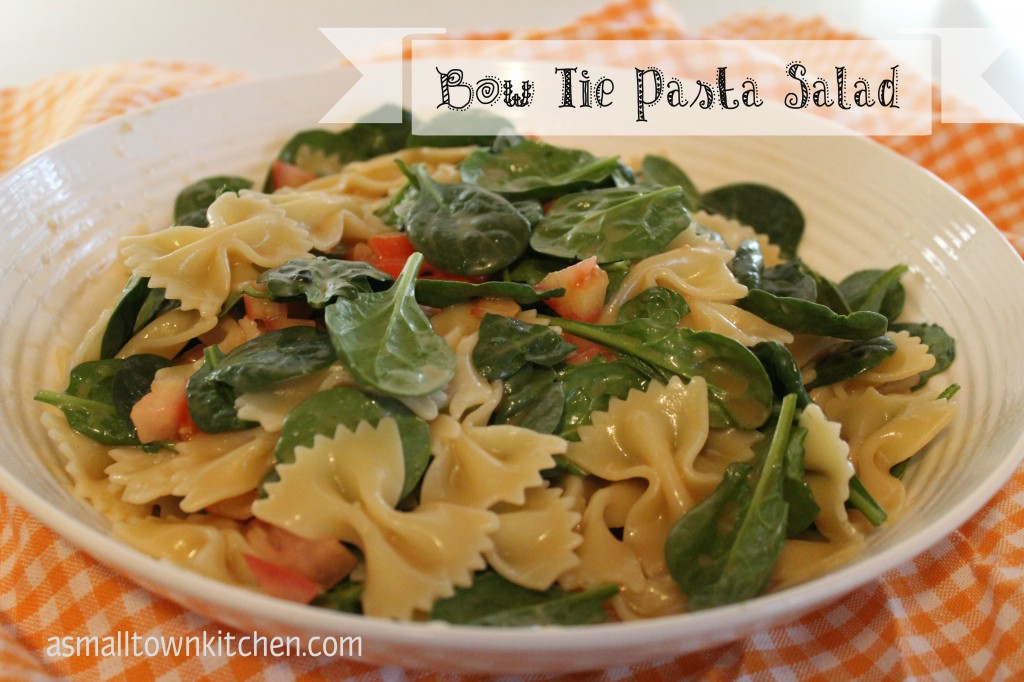
Bow Tie Pasta Salad

I am obsessed with this salad.

Just ask my good friend Jeanetta!

Jeanetta would bring this salad to school for teachers luncheons and I would practically follow her around to see where she sat her salad down at.

Then, I would politely (well sorta) position myself to be first in line to make sure I got some of her famous salad.

I don’t know if she finally felt sorry for me or was tired of me stalking her salad, that she finally gave me the recipe.

Yippe!

I just love how all these simple everyday ingredients come together to make this yummy summer (or anytime) salad.

It has all those things in a salad that I love!

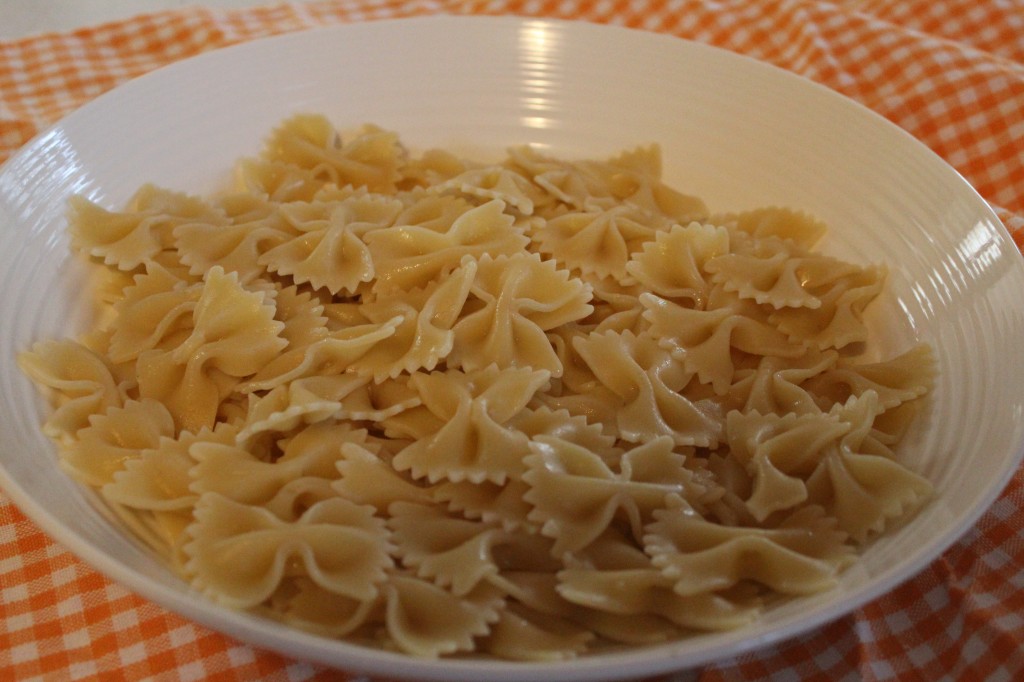
Pasta….come on who does not love pasta???

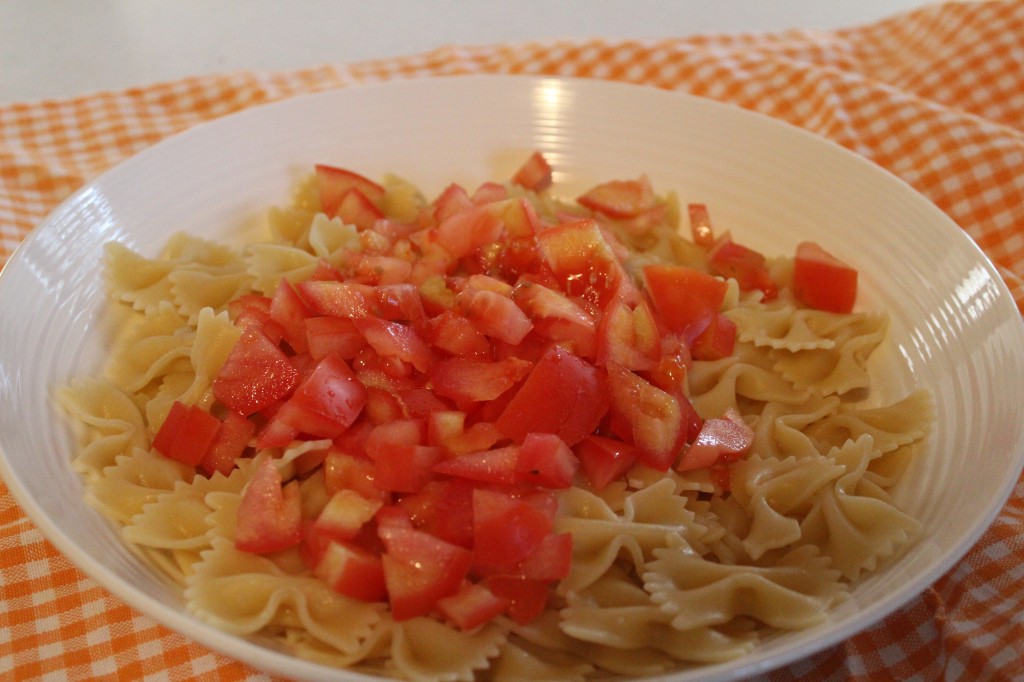
Tomatoes…..ok…not every body loves tomatoes…but then the same ones that don’t eat tomatoes…eat ketchup…..mmmm you got to wonder about them. Yes, I am talking about my super hero son who does not eat tomatoes!

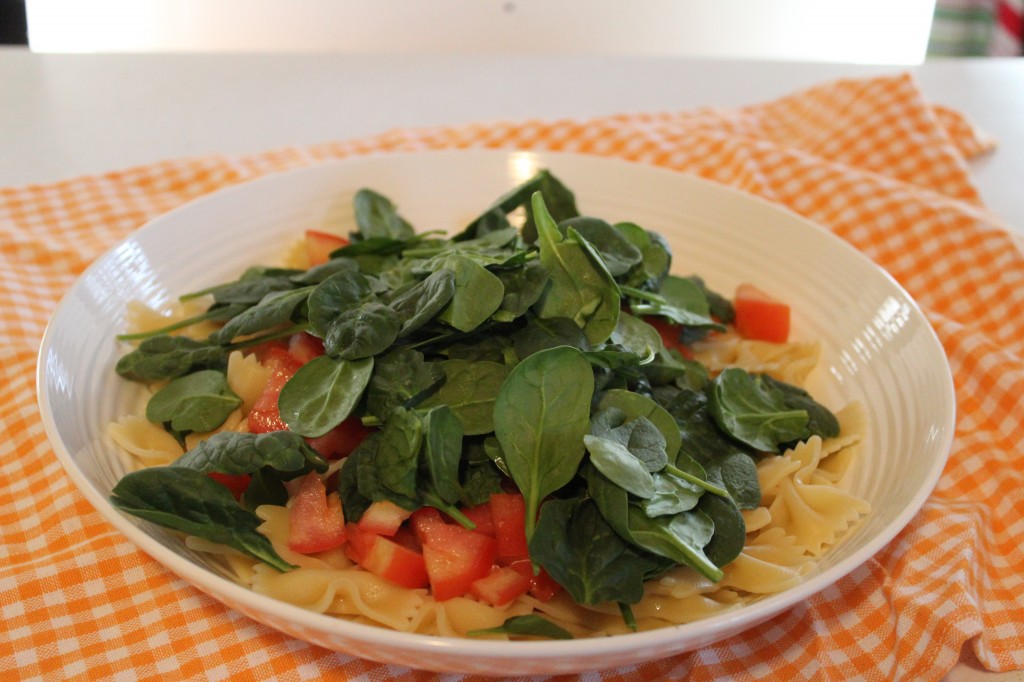
Fresh spinach….fine, not everyone loves spinach, not sure why….I must be kin to Popeye cause I love spinach; cooked or fresh!

A little bit of red onion…I have to sneak them in cause Company hates onions….what he does not taste does not kill him…hehe..

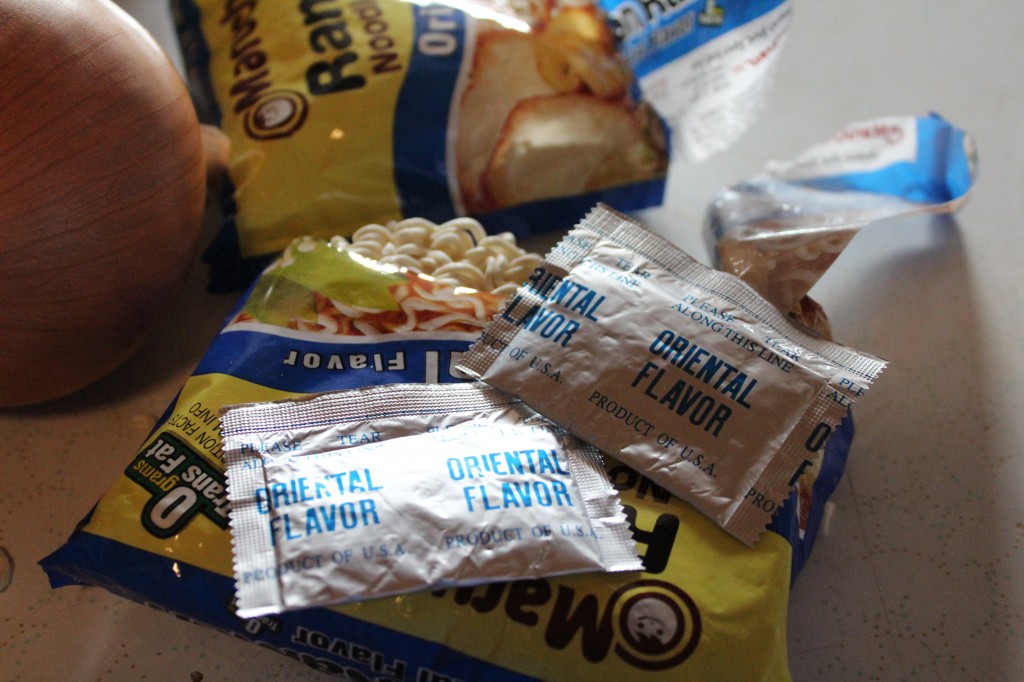
AND last but not least the dressing seasoned with oriental  ramen noodle seasoning packets.

YUM!

Anywho, with summertime approaching and all the backyard BBQing starting, you might need a simple, party pleasing, great tasting, easy to make pasta salad!

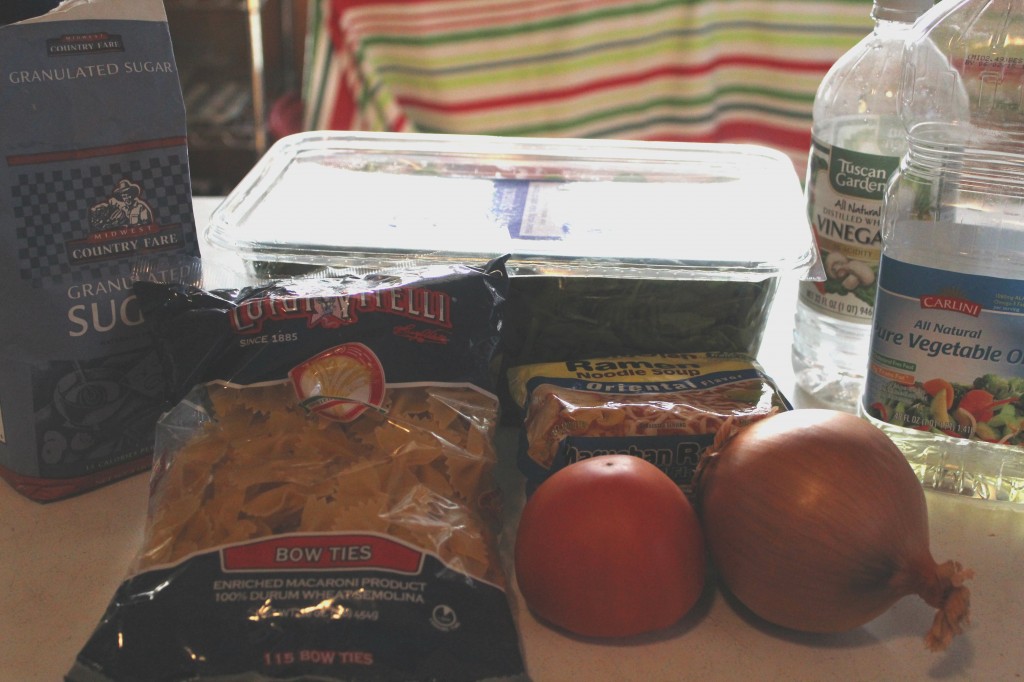
Here is what you need!

For the dressing, sugar, vegetable oil, vinegar and 2 packets of oriental ramen nooodle seasoning packets. For the salad, bow tie pasta, tomatoes (I usually use cherry tomatoes cut in half) sweet red onion (I had to use yellow cause I was out of red) and fresh spinach.

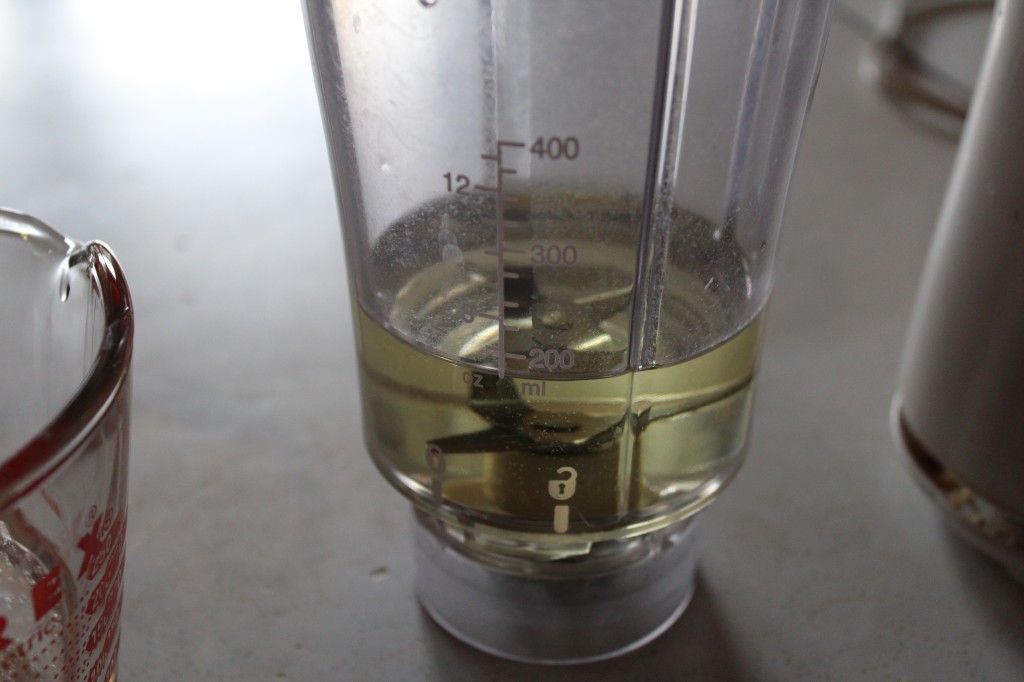
Let’s make the dressing first. In a little blender or a big blender, pour in your oil.

Now, add in  your vinegar.

Toss in your sugar.

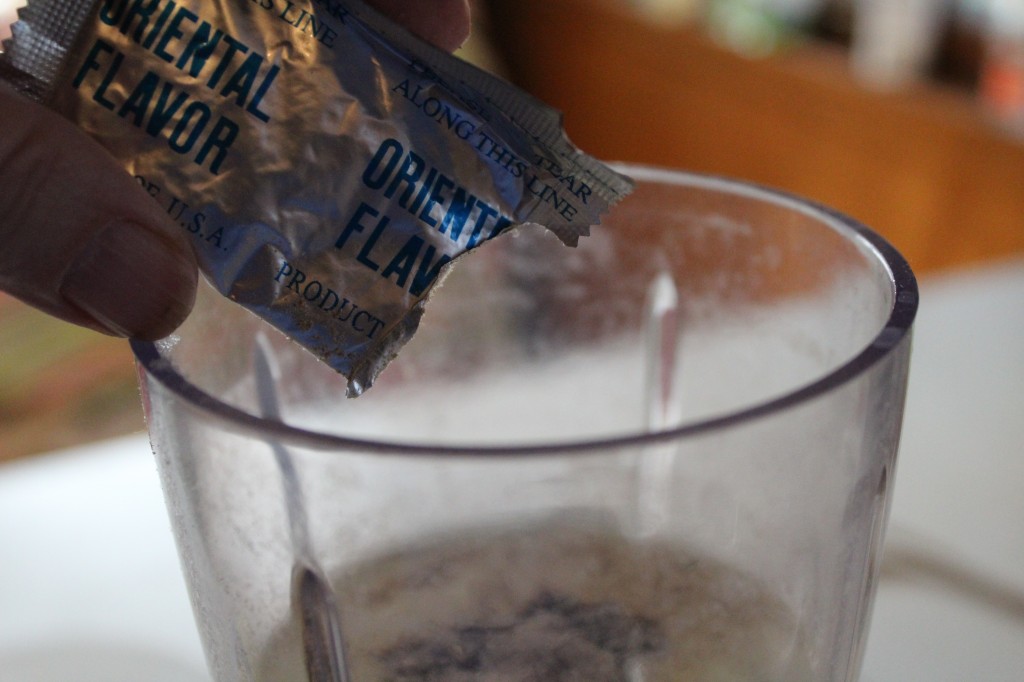
Now add in the secret ingredient of two packets of oriental flavor ramen noodle seasoning packets.

Just sprinkle them in.

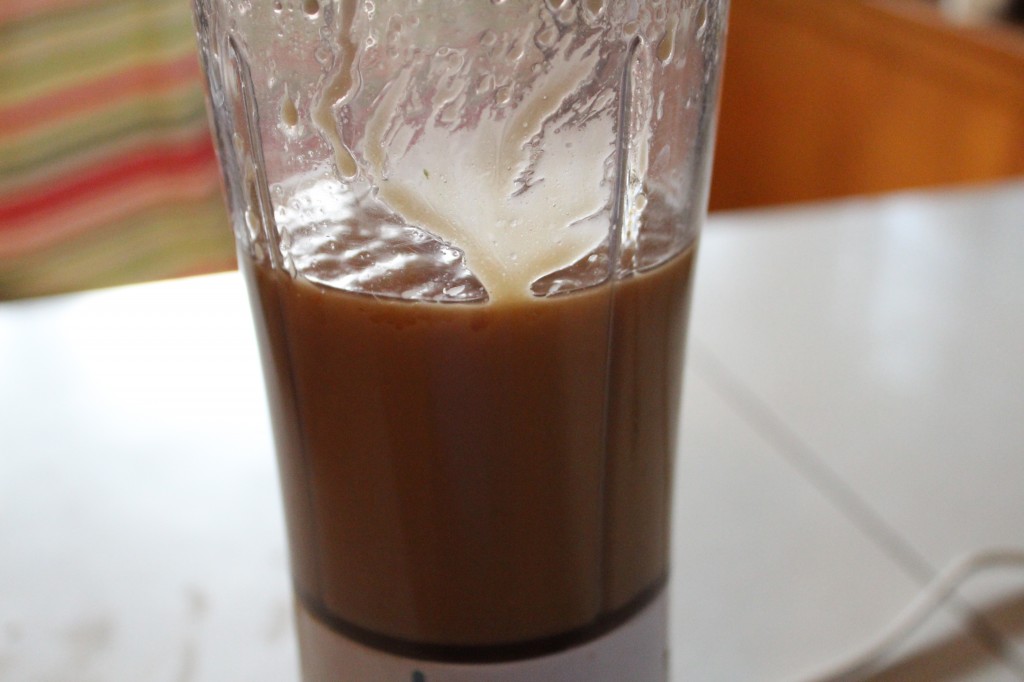
Using  your blender, blend the dressing until it is smooth and thick. The oil and vinegar should totally be emulsified.

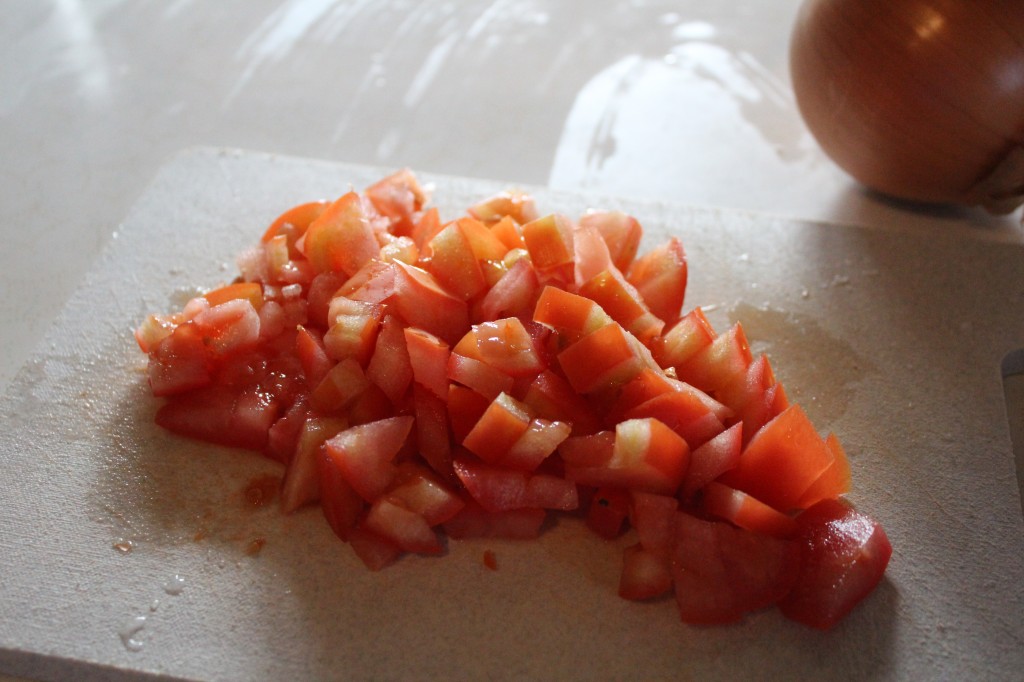
Now chop up your tomato, or if you are using cherry tomatoes, cut the cherry tomatoes in half. Also finely chop up a half of a red onion.

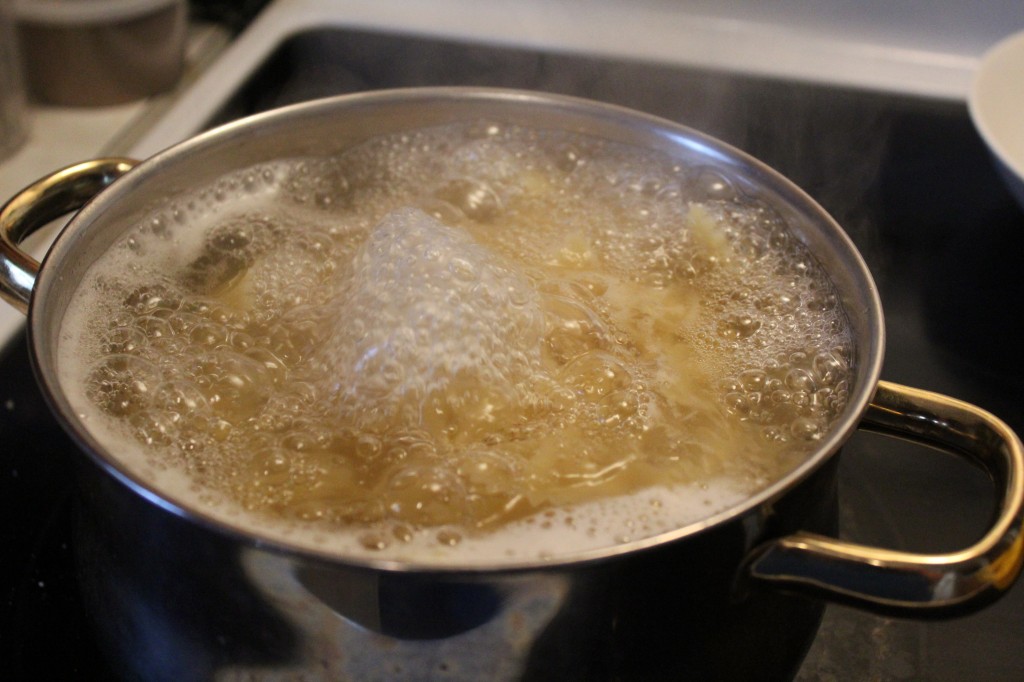
Start some salted water to boil and boil bow tie pasta following the directions on the box.

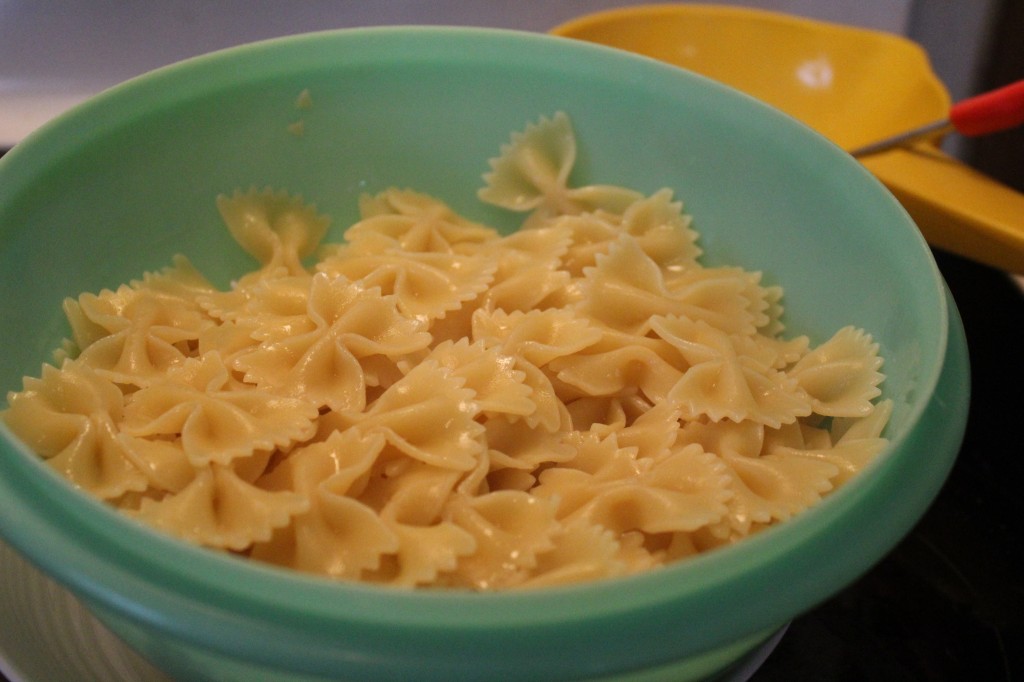
When finished cooking, run cold water over the pasta to cool.

Now it is time to assemble the salad.

In a large bowl put in the cooked and cooled pasta. Add in the tomatoes.

Add in the diced onions and the spinach.

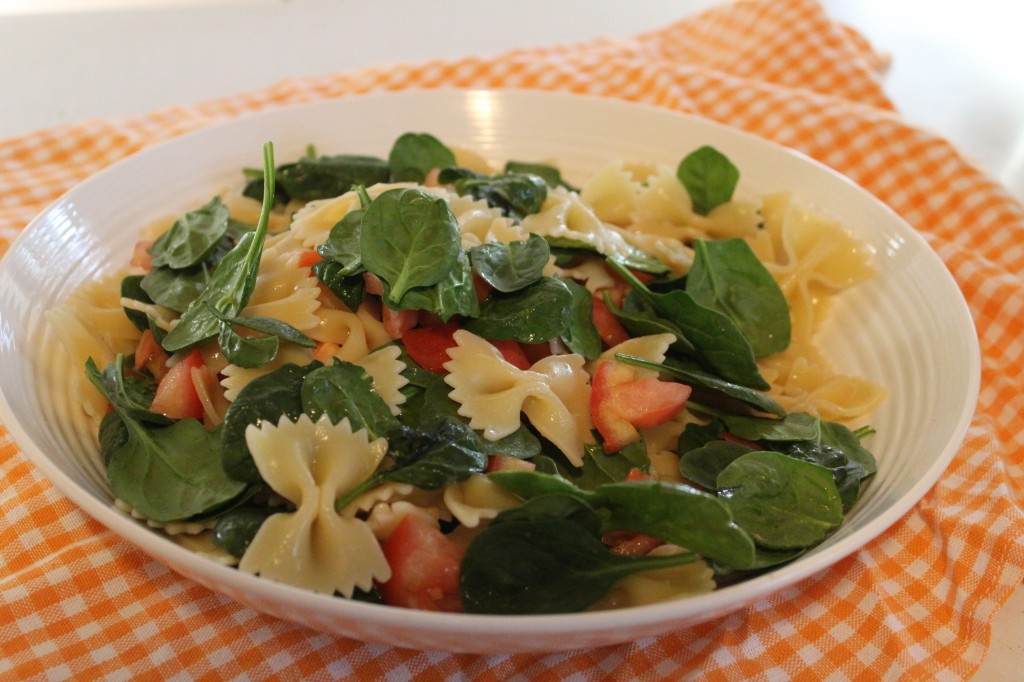
Toss and the salad ingredients together.

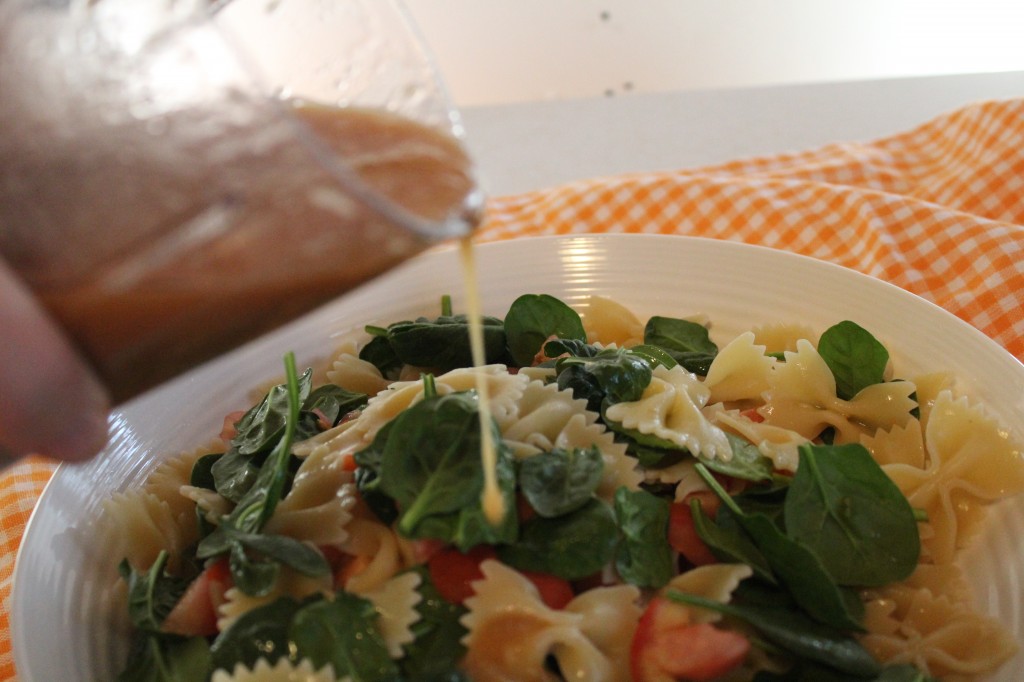
Now drizzle on the amount of dressing that you like.

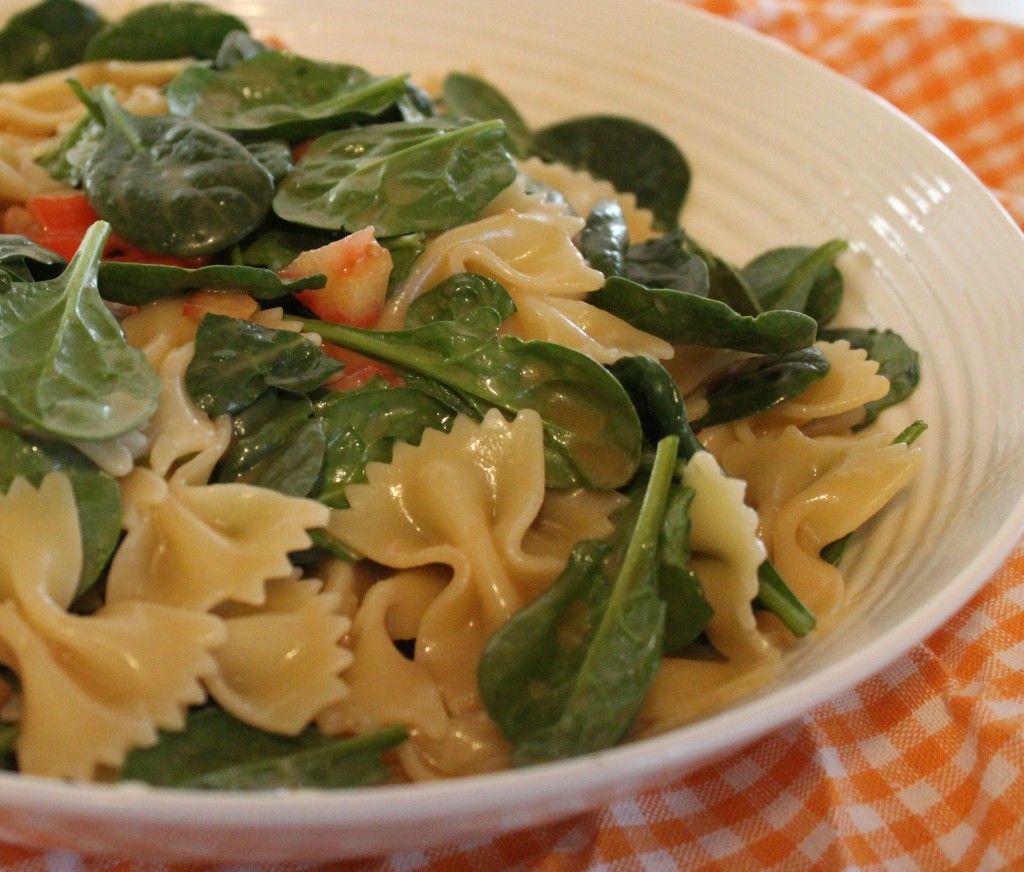
All you need now is a fork!

Here is the recipe:

Courtesy of my friend Jeanetta!

Bow Tie Pasta Salad

Ingredients:

1- 16 ounce box bow tie pasta

2 to 3 cups of fresh baby spinach

2 cups cherry tomatoes sliced in half

1/2 sweet red onion diced

3/4 cup vegetable oil

1/2 cup vinegar

1/2 cup sugar

2 seasoning packets from oriental flavor ramen noodle packages.

Directions:

Slice the cherry tomatoes in half. Dice the red onion.

Cook pasta according to the package directions. Drain and let cool.

In a blender, blend together the vegetable oil, vinegar and sugar. Add in the oriental flavoring packets. Blend until fully emulsified.

In a large bowl combine the cooked pasta, tomatoes and onions. Toss together .

Right before serving, add in 2 cups of spinach leaves. Toss.

Drizzle with dressing in the amount that you like. Toss and serve.

Enjoy!

Becky

Here is a couple of other post you may enjoy reading:


St. Louis Style Oven BBQ Ribs                                                Grilled Steak Burgers


Unearthing Canning Jars

Several years ago my friend Roberta found 5 large boxes of canning jars for sale at a garage sale. She called me and wanted to know if I wanted her to buy them for me.

Of course I said yes.

Looking back I am not sure why I wanted them. I was not even canning food at that period in my life. I had done some jam making, green bean canning and corn freezing years before. But, at that particular moment, I wasn’t. I was too busy finishing my masters degree, teaching junior high and raising kids.

I just knew I wanted those jars.

Roberta dropped them off at my house and I paid her back the $25 she spent buying these jars. (did i get a great buy?)

Not sure where to store the jars, I dragged those boxes across the back yard and put them in the shed. Where they have stayed for several years.

The jars have had many adventures in the shed.

Spiders and wasp just love to keep the jars company.

My brother in law, Gary even painted their little house (shed) the same color as the trim on the house a couple of summers back.

The MOST exciting adventure was when the jars had to share the shed with a ground hog that loved living in the shed.

That ground hog dug a big hole in the dirt floor of the shed and threw dirt all over the jars, buried several of the jars, broke some of the jars and when he finally left (not on his own free will) he had left a pretty good mess in the shed.
Now, that I am back to canning and growing (or rather trying to grow) some of my own back yard veggie vittles.

It was time to unearth the jars.

Company and I have been slowly bringing the jars out of the shed. One by one.

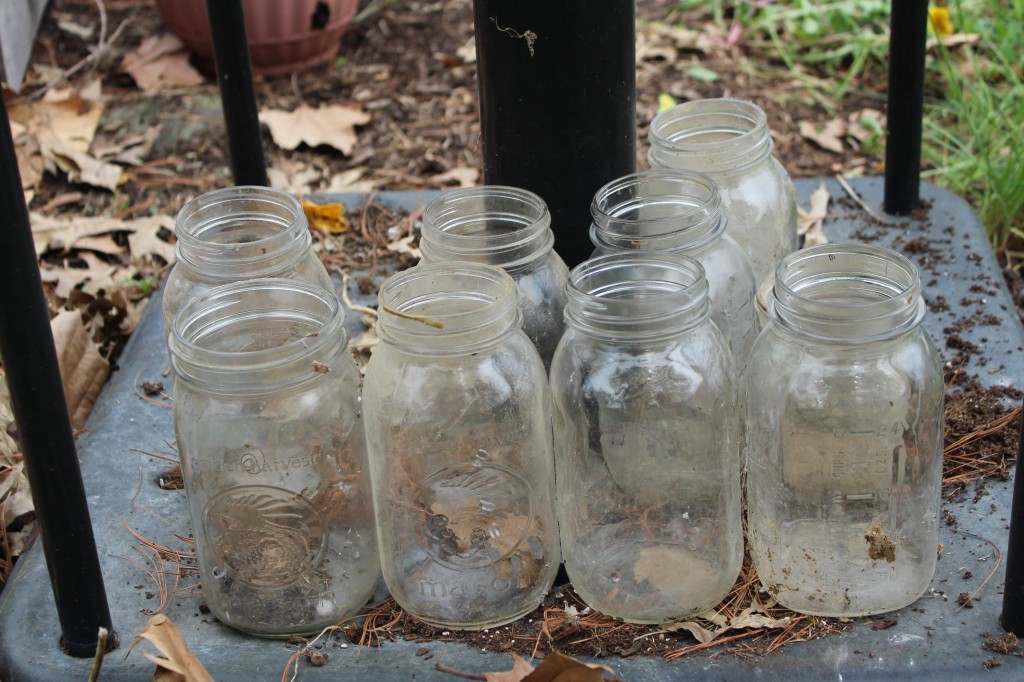
They were dirty and a little dinged up. We threw away the broken ones and checked for cracked in the other ones.
Then we set them outside to let the rain and the sun shine, clean them up a bit before I bring them into the house for a final big cleaning.

We still have three boxes left to bring out.

I think the jars look happier now. Dusty and and a little worn but happy to be out of the boxes.
But jars are never truly happy until they are filled with garden goodness.

What do you think?

Let the canning season begin!

Becky

Other post you may enjoy:

    blackberry jam

 Rhubarb Jam                                                                                  Blackberry jam


Related Posts Plugin for WordPress, Blogger...