Point Cut Corn Beef

It is almost St. Patty’s Day.

Have you bought your corn beef yet?

It is on sale every where right now.

Did you go and could not decide which cut to buy?

What was that again?

Yes, which cut of corn beef to buy?

What?!

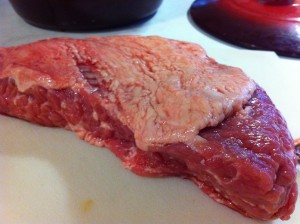
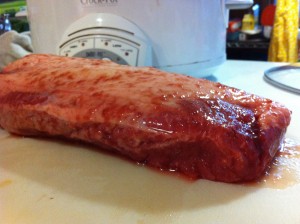
Yes, there are two cuts of corn beef that you can buy. The point cut and the flat cut.


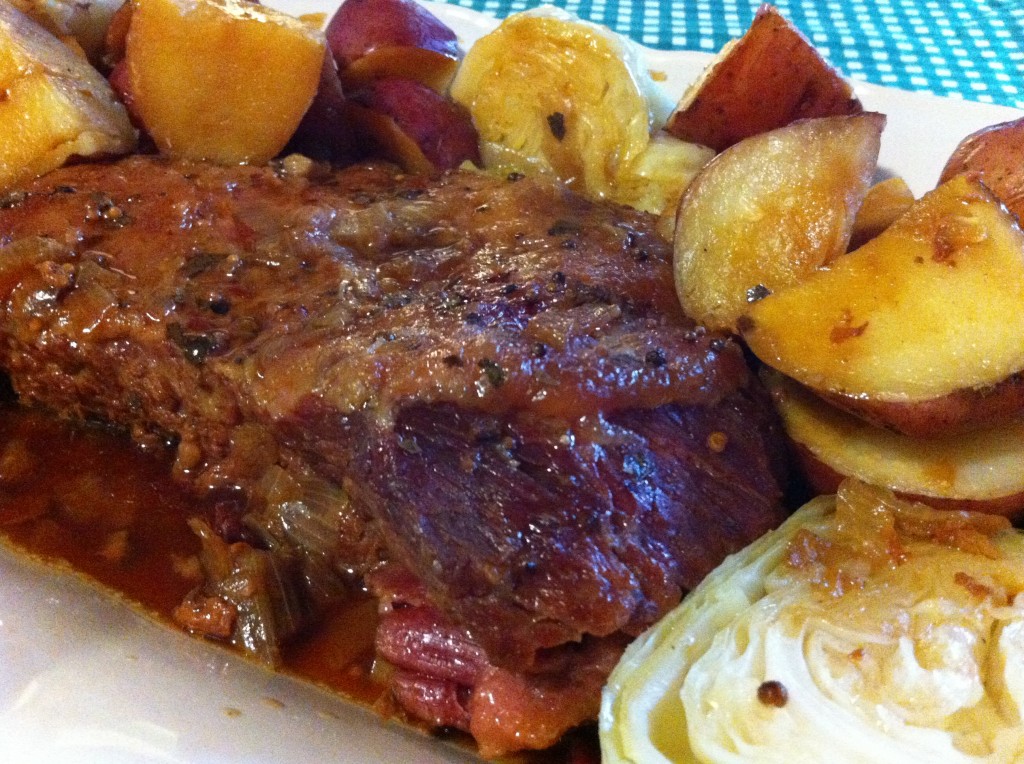
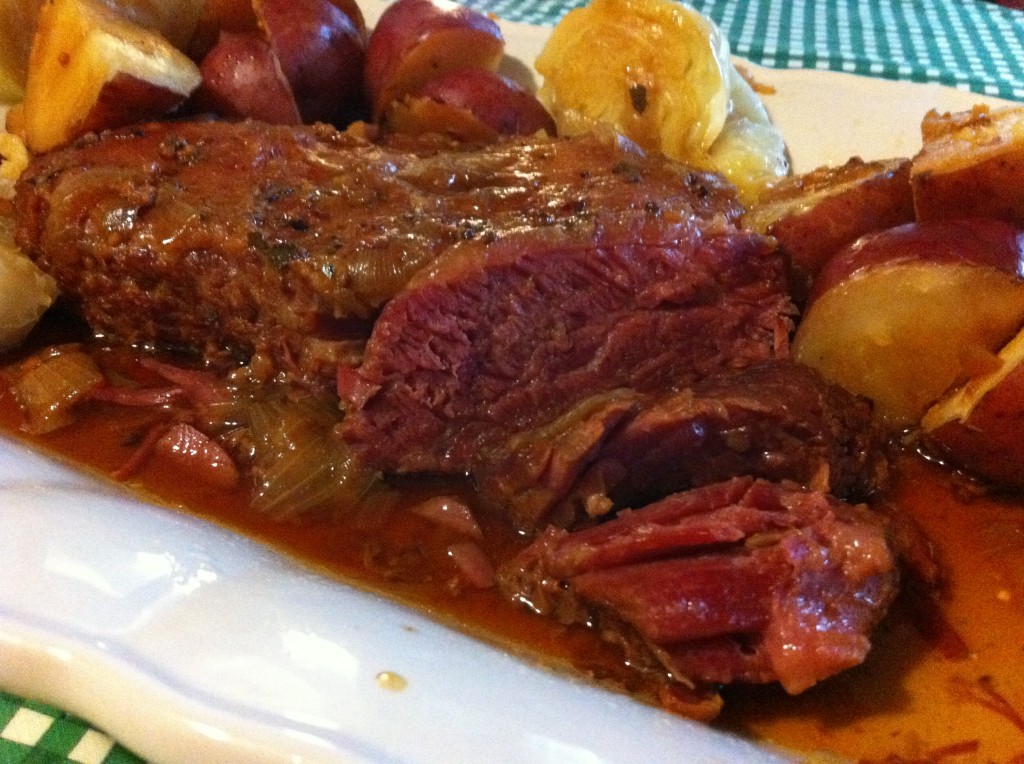
Here is the point cut.                                                               Here is the flat cut.

So whats the different? Basically it is a brisket cut into two pieces.

The point cut will have more fat on the top and will be cheaper in price. While the flat cut is higher in price and less fat on top.

Some cooks while swear that the point cut has more flavor. Other will say the flat cut has less fat.

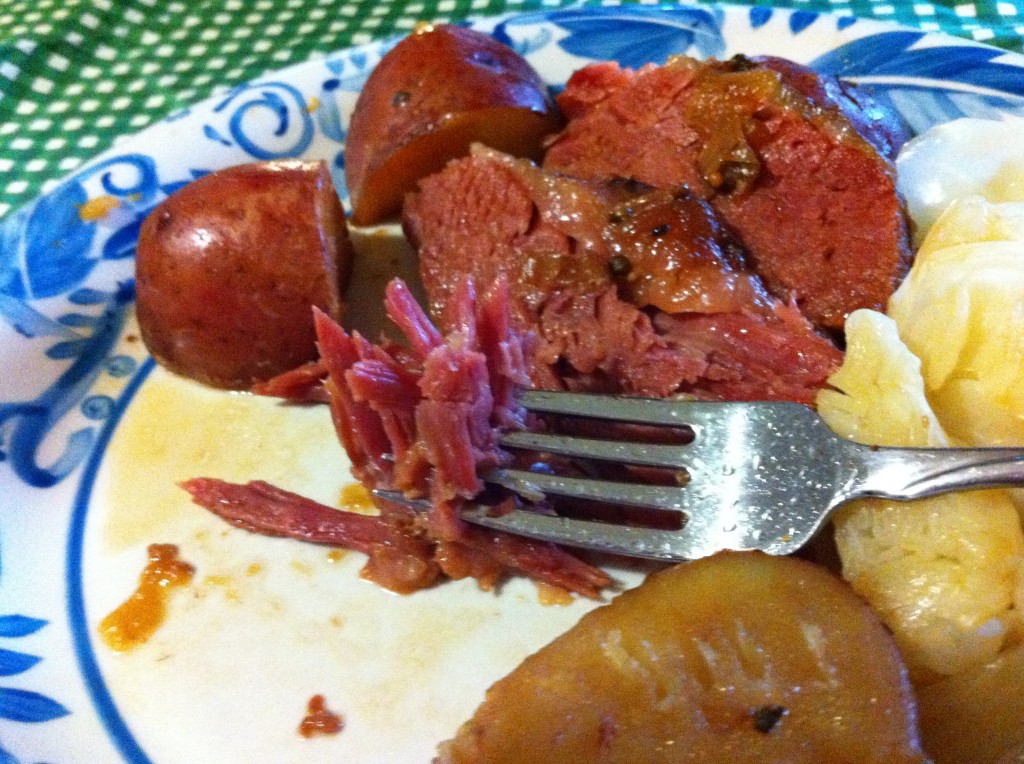
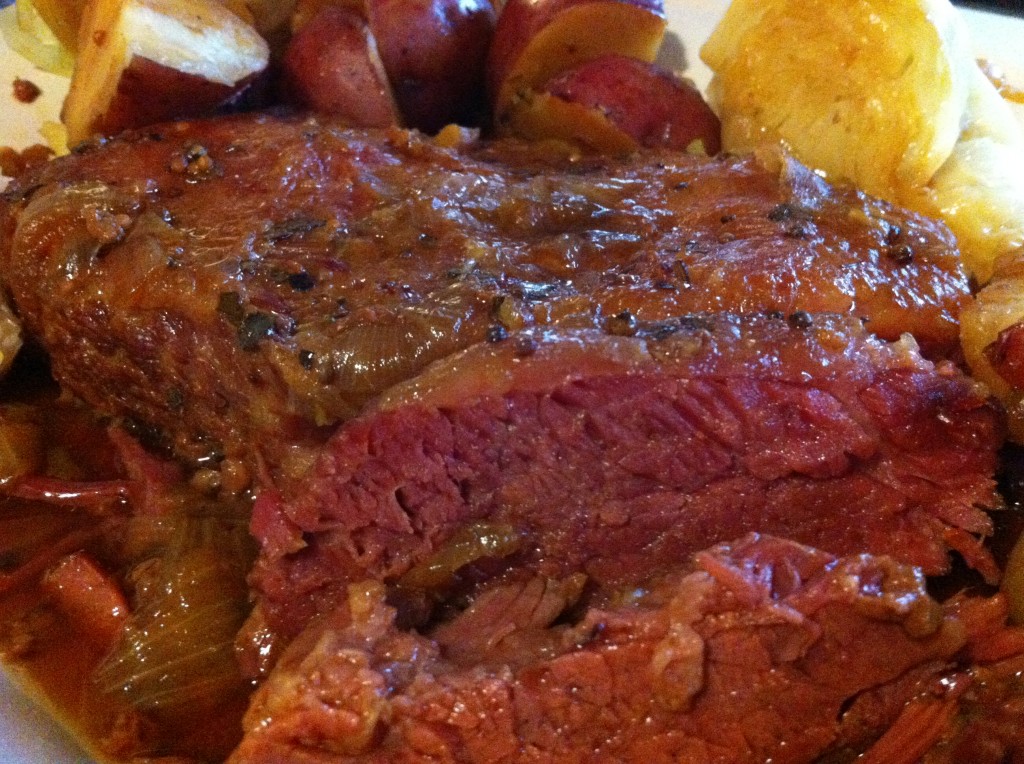
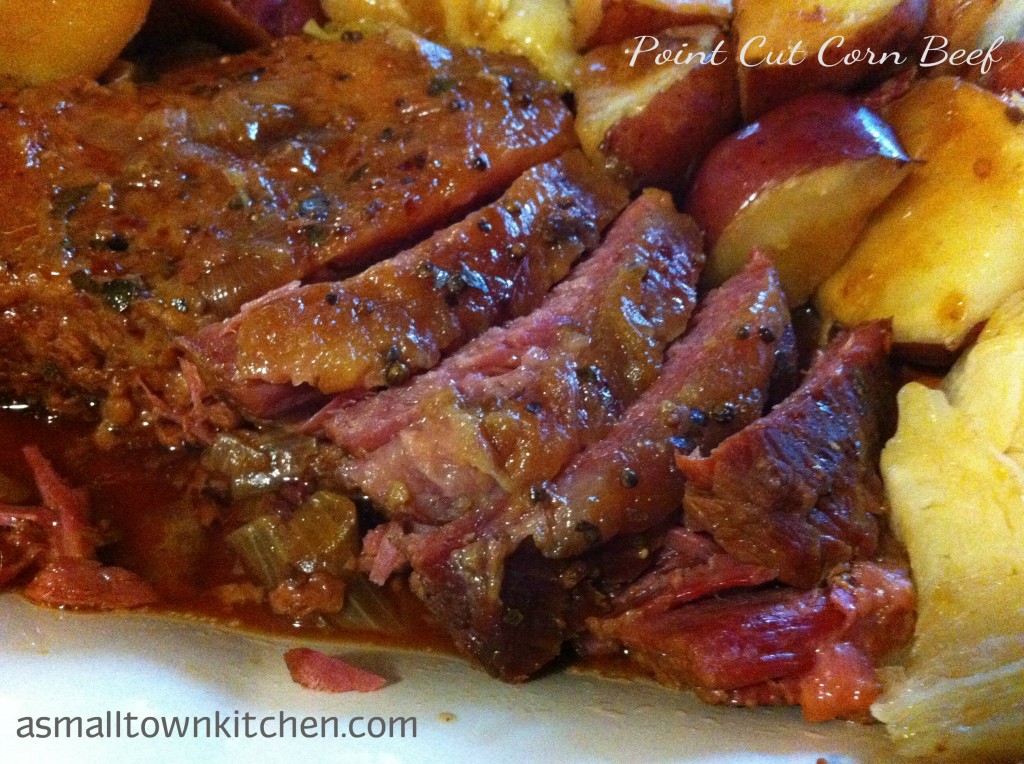
I just ate a big slice of point cut corn beef and though it did have a little bit of fat left on top after cooking, it was tender and delicious and very rich in flavor.

I have a flat cut cooking off in the crock pot right now, that I will talk more about tomorrow.

Today, I am going to talk about cooking a point cut corn beef.

So, here we go.

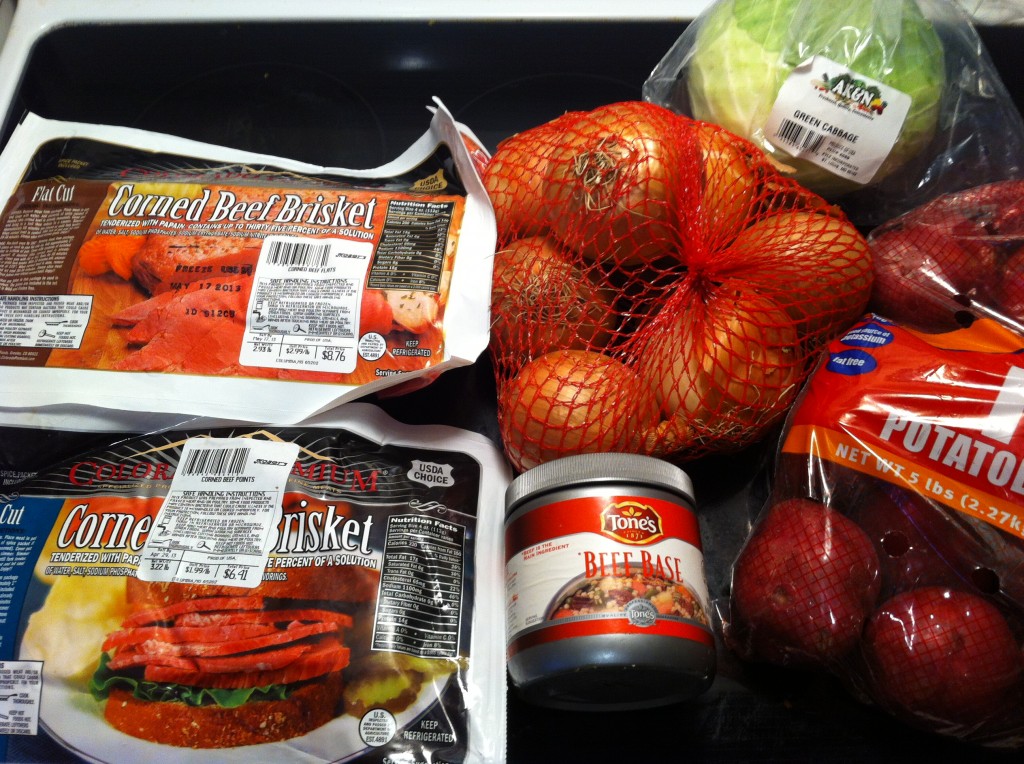
This is what you will need to make corn beef.  Purchase  a point cut corn beef, 2 to 3 pounds of red potatoes, 1 large onion and 1 cup of beef broth or use 1 teaspoon beef base with 1 cup of water.

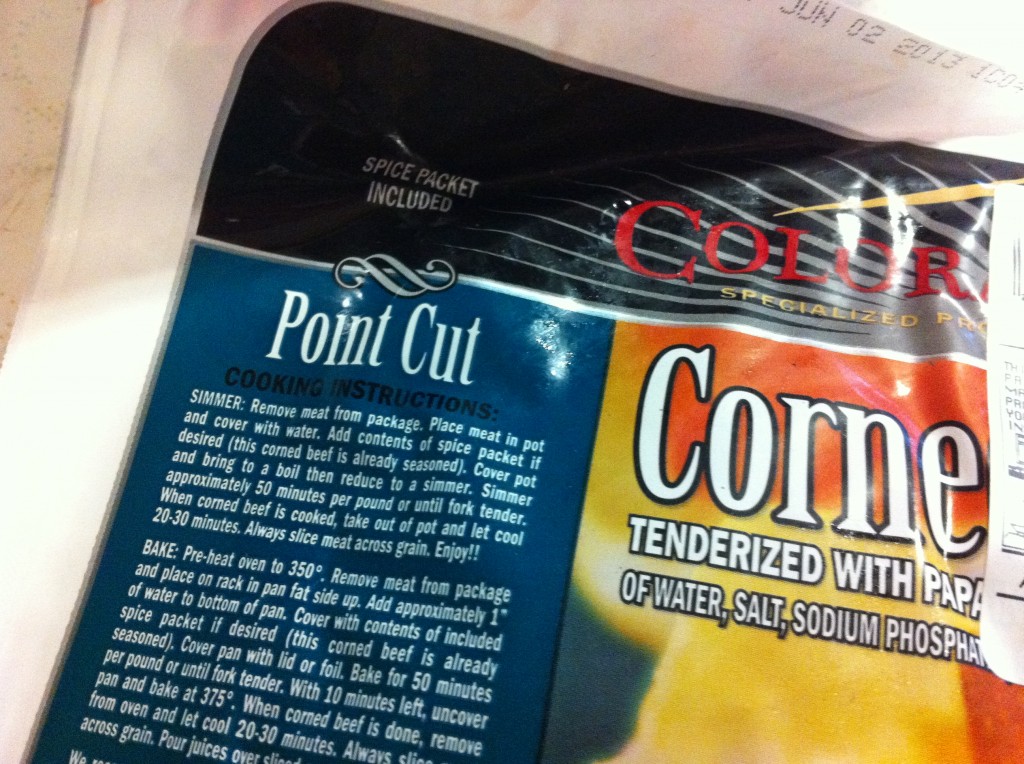
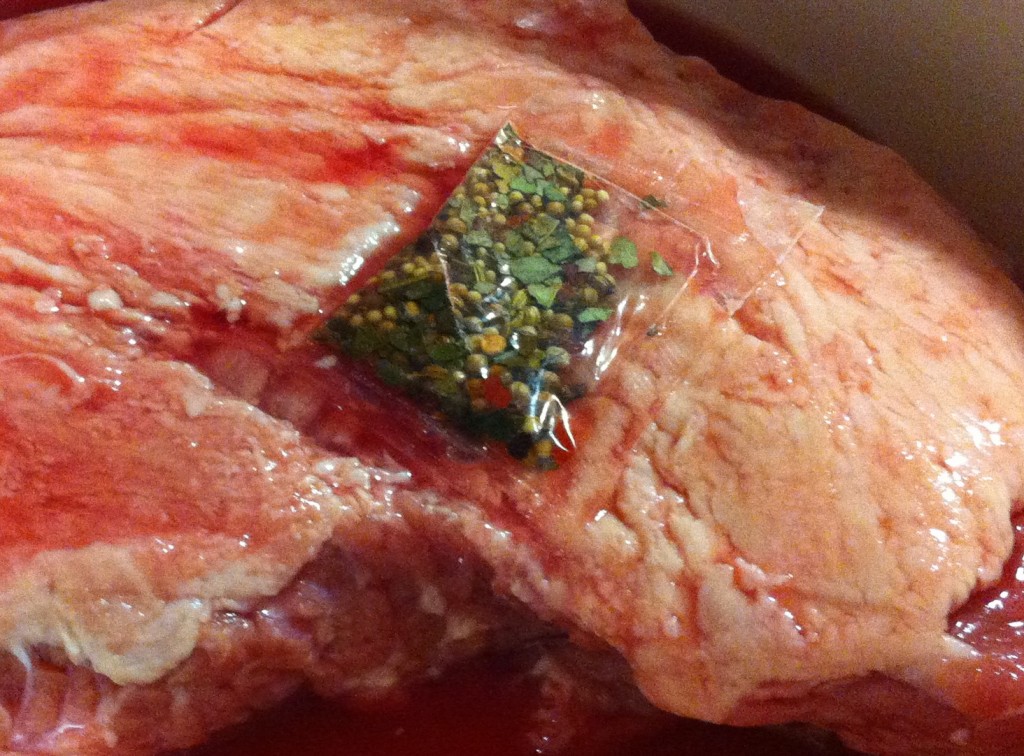
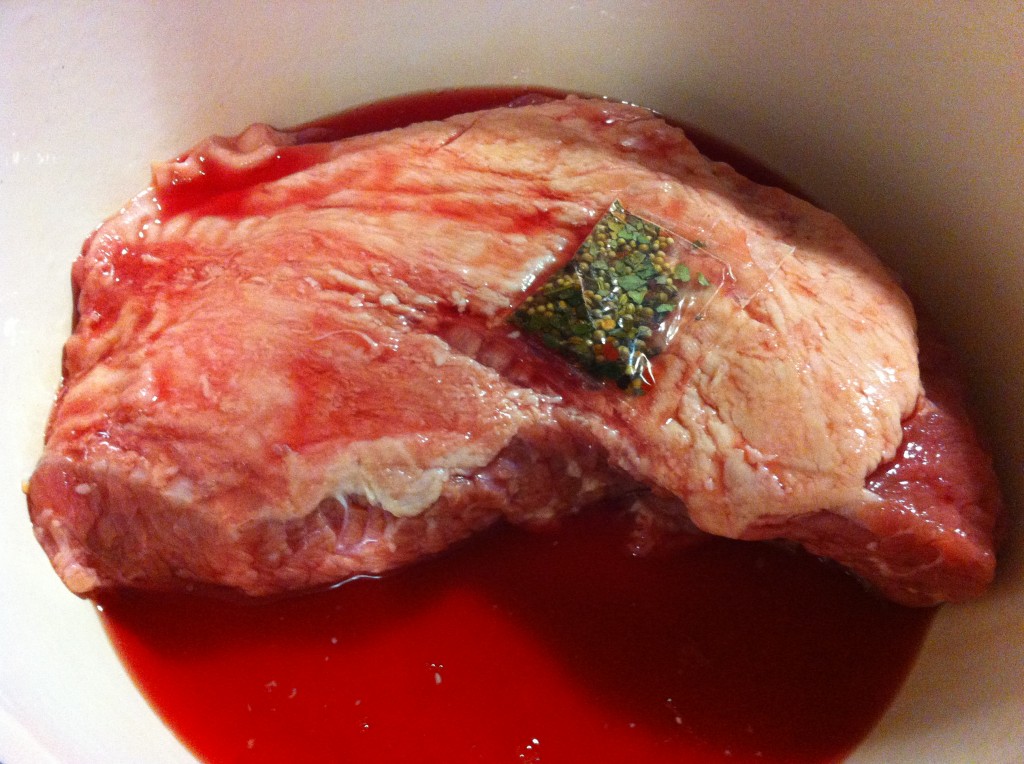
On the upper corner of the package it should say what cut the corn beef it. This one says point cut.

It will also come with a seasoning package.

The juice that comes in the package with the corn beef is seasoned too. The direction on my package said to cook the juice with the corn beef. I have read that some cooks will rinse off the corn beef and use beef broth instead. It really is a personal choice.

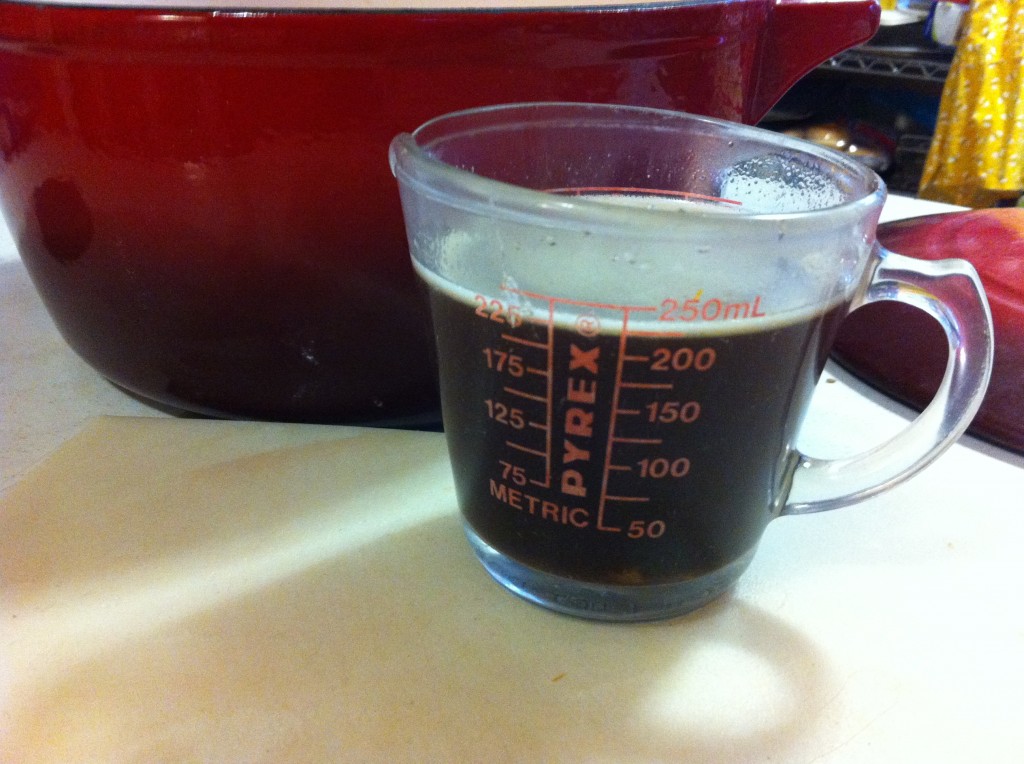
I decided to use the juice in the package and add a cup of beef broth I made from the beef soup base. Be careful to measure the soup base carefully and not add too much because it is salty. (Mine ended up a little salty cause I was in a hurry this morning and just scooped some in).

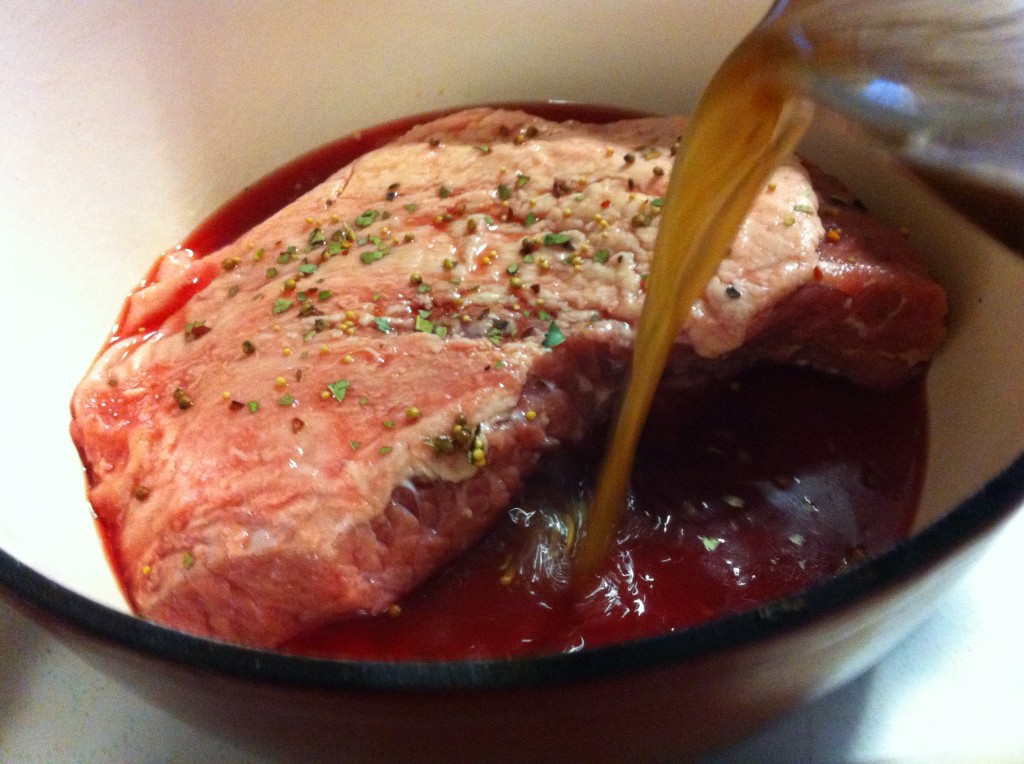
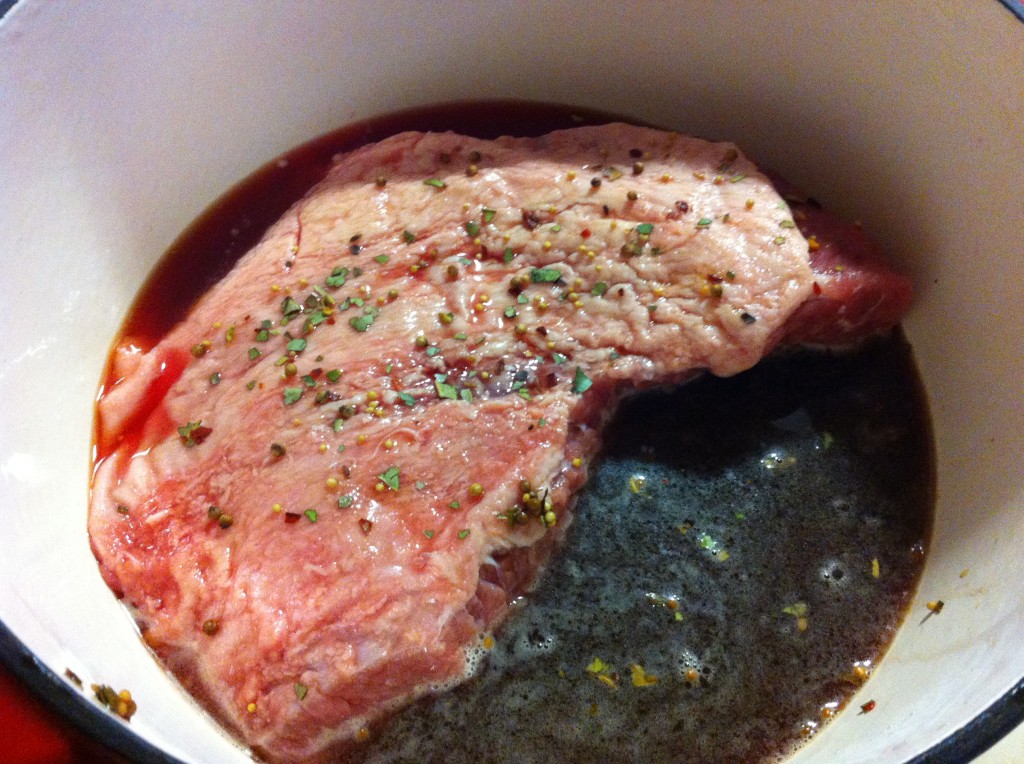
I added my one cup of beef stock (made from the soup base) in the pot. I am using a enamel cast iron Dutch oven with a lid, to roast it in.

I sprinkled the season package on top.

I put the  corn beef in a dutch oven, put the lid on it and put it in the oven at 275 degrees and roasted it slowly for 9 hours. It could take less or longer depending on the size of your corn beef. Mine was right at 3 pounds. The corn beef should be fork tender at this point.


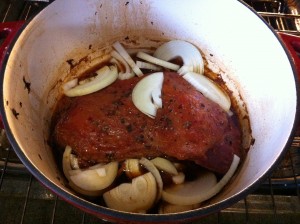
Ater cooking until the corn beef in tender, I sliced up an onion and the red potatoes. I placed the onions on top of the corn beef.


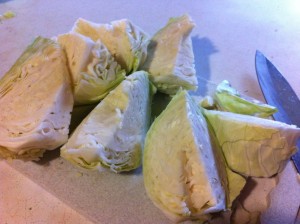
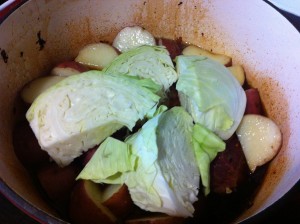
I took a cabbage and cut the core out and cut it into wedges. I placed the potatoes down into broth and laid 4 cabbage wedges on top.

I put the lid back on the Dutch oven, increase the heat of the oven to 325 degrees and roasted for one hour or until the potatoes and the cabbage are both tender.

It is not too late to make one of these for St. Pat’s Day. You can cook it over night in the oven, or the crock pot. Or you can just put it on first thing in the morning and let it cook, slow, all day. Your whole house will smell amazing. It even brought the super hero out of his room asking me what was the great smell.

It made a great dinner.

Luck of Irish to Yea!

Becky

Here is the recipe

Point Cut Corn Beef

Ingredients:

1-Point Cut Corn Beef (one one I used was three pounds, this includes the juice)

I package of Point Cut Corn Beef. I used Colorado brand (hey it was on sale for : D )

2 or 3 pounds of red potatoes

1 large onion

1/2 of a cabbage

1 to 2 cups of beef stock.

Direction:

Place entire contents of the point cut corn beef into a cast iron dutch oven (you can use a crock pot also). Add one cup of beef stock. Sprinkle the contents of the seasoning package on top of the corn beef.  Roast in a preheated 275 degree oven. Roast in the  oven for approximately 8 to 9 hours, or until the corn beef is fork tender.

Slice one onion and lay it over the corn beef. Slice red potatoes in half and put them down into the broth. You may need to add another cup of beef broth or water, if it has cooked out. Place 3 to 4 wedges of cabbage on top of the corn beef.

Place it back into the oven. Turn the heat up on the oven to 325, and roast for another hour or until the potatoes and cabbage is tender.

I did not add anymore salt to this recipe. The juice from the seasoning package, the juice from teh package and the beef broth added plenty of salt.

It comes out tender and juicy.

Enjoy!

Becky
Grilled Steak Burgers

Am I the only one out there missing the smell of smoke, waifing up from the barbecue grill?

The delectable aroma of barbecue smoke that makes you want to guess what is grilling on the grill.

If you are like me, you love the taste of food cooked on the grill.

I love the charred parts, the grill marks and the distinctive smell that grilled food produces.

I am always jealous when I come home from work and my neighbors are grilling and making the air smell so delectable while  my grill sits cold and empty.

I just want to follow the smell of the smoke and invite myself to dinner.

I use this strategy to meet my neighbors.

I know this has happened to you.

Or do you have a better strategy?

If you do, please let me know.

Anywho, as I sit here watching the snow melt, I am day dreaming about a eating a grilled steak burger.

A few months ago, before central Missouri was blanketed with snow along with blowing cold air freezing our ear lobes, at went to my brother Robert and PIC’s house for a visit.

I love to go there for a visit.

We usually go to the outlet mall to shop, buy sweet goodies to eat and my brother barbecues for us.

That weekend, I brought with me a recipe for steak burgers that I found from America’s Test Kitchen.

It is a steak experience on a bun.

Since fat is one of the things that make a burger taste so great, and since ground steak is really lean,  you  add melted butter right in with the ground meat. You get the great taste of steak, the juicyness from the butter and the added bonus flavor of sauteed garlic.

Spring is right around the corner. You will want to save this recipe to bring your grill out of winter hibernation.

Your grill will thank you and so will your taste buds.

Here is your step by step instructions:

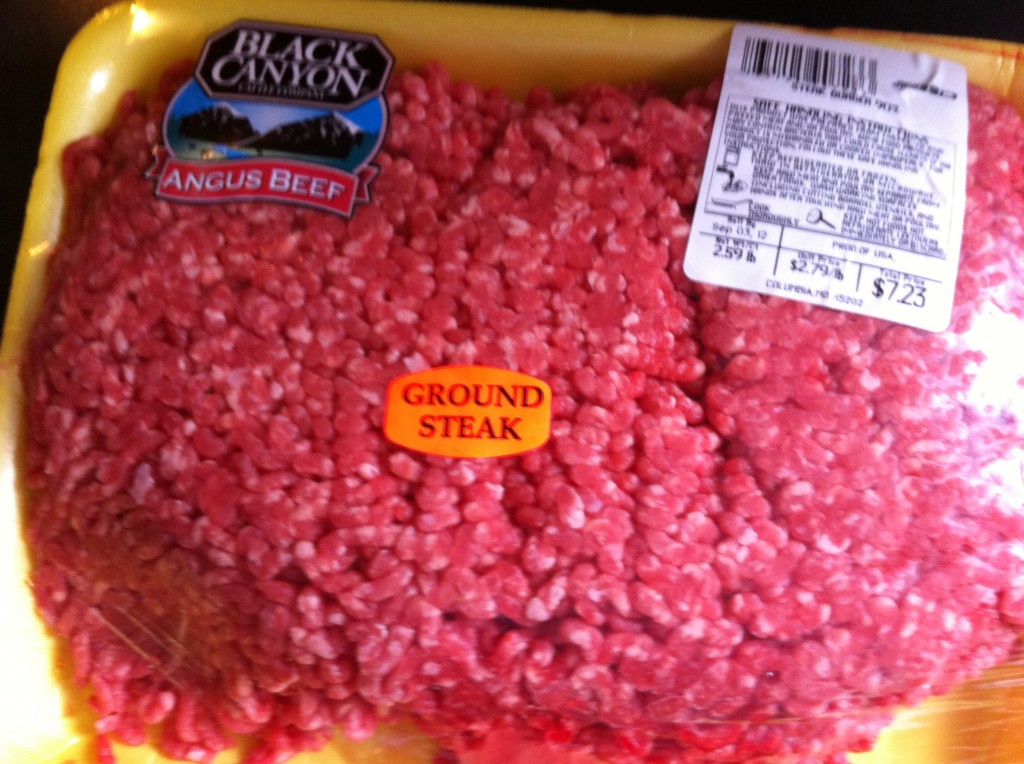
First off you will need some steak burger. I just happen to luck out and find some on sale. You will also need some fresh garlic, unsalted butter, onion powder, peper, salt and soy sauce.


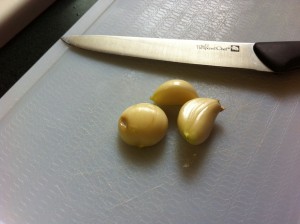
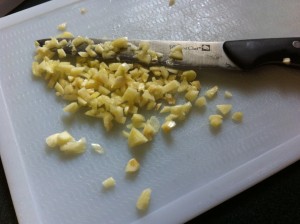
You will need to peel 2 cloves of garlic and mince them up. I had more ground steak so I had to use three.

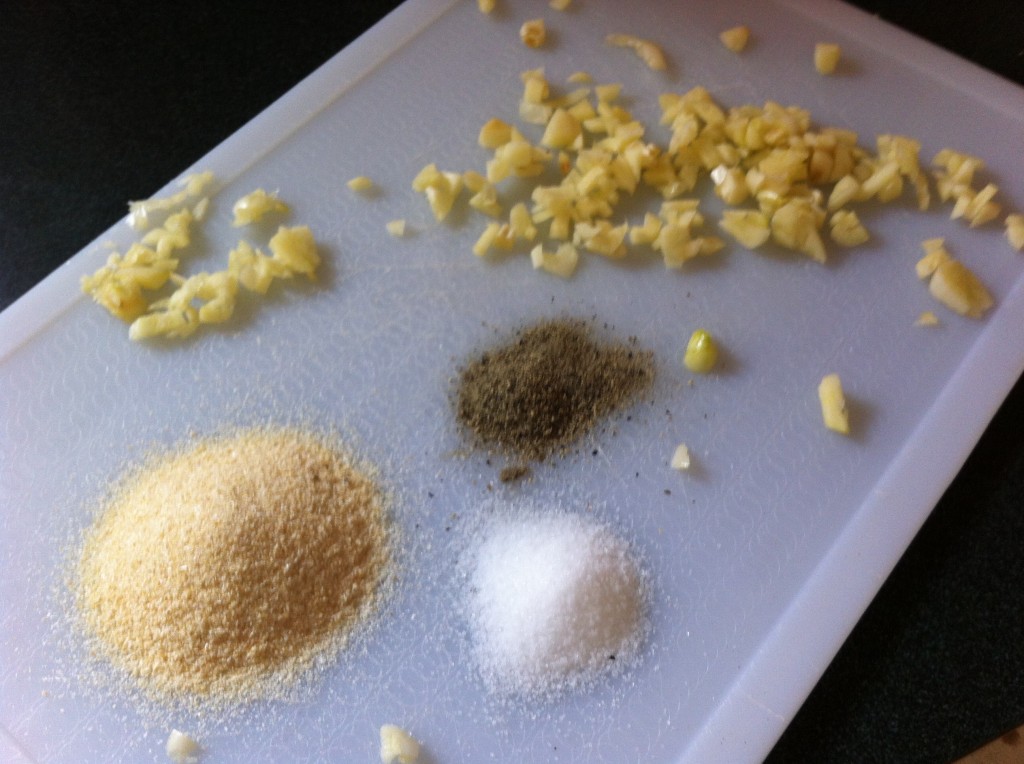
Measure out the onion powder, pepper and salt.

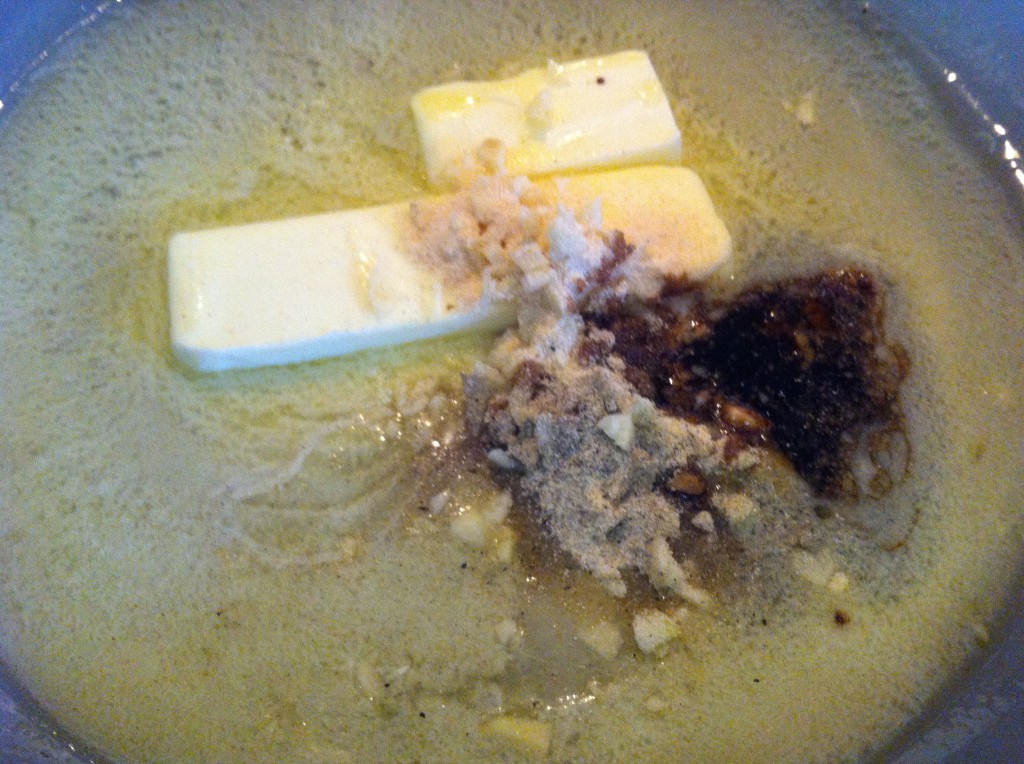
In a sauce pan, melt the butter. Add the garlic, seasonings and soy sauce. Saute for one minute. Cool for about 5 minutes.


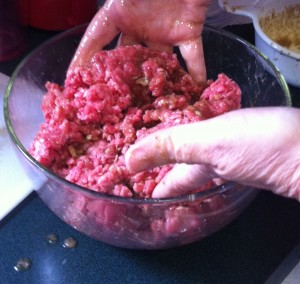
Add the cool butter mixture to the ground steak and gently knead in.

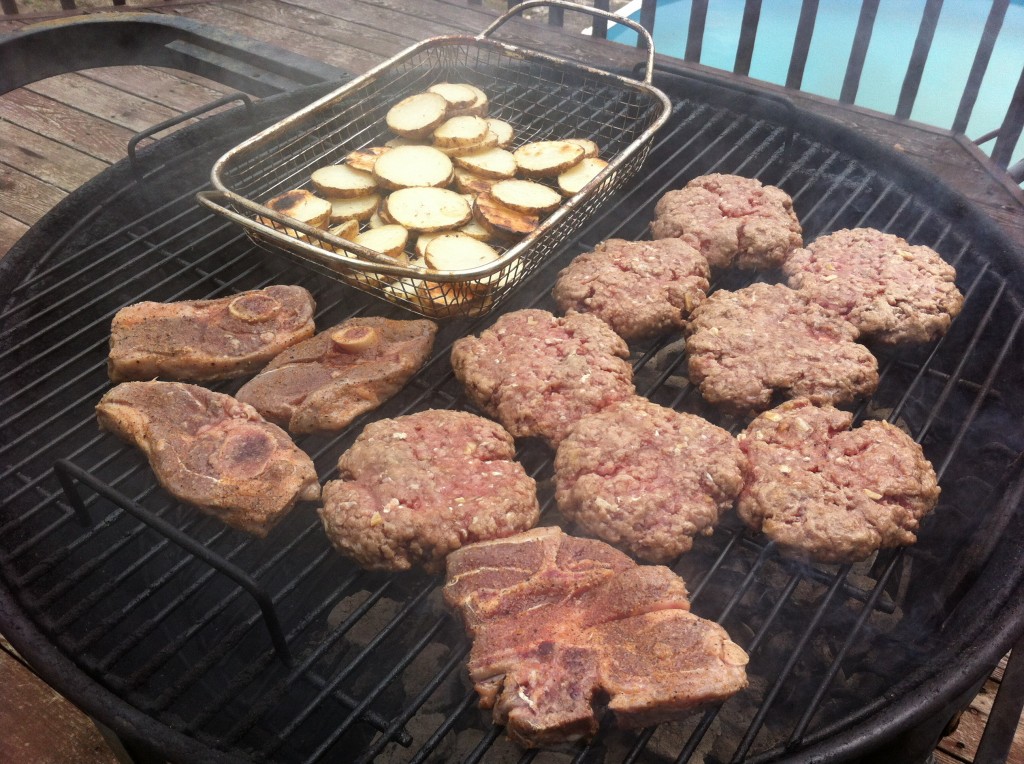
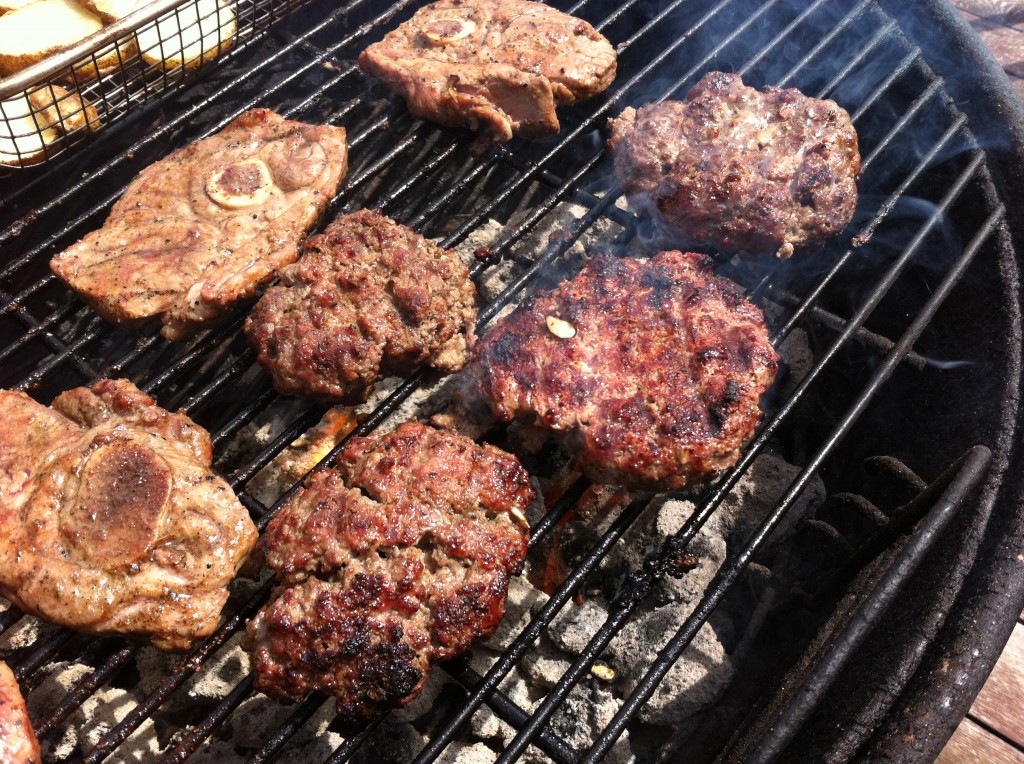
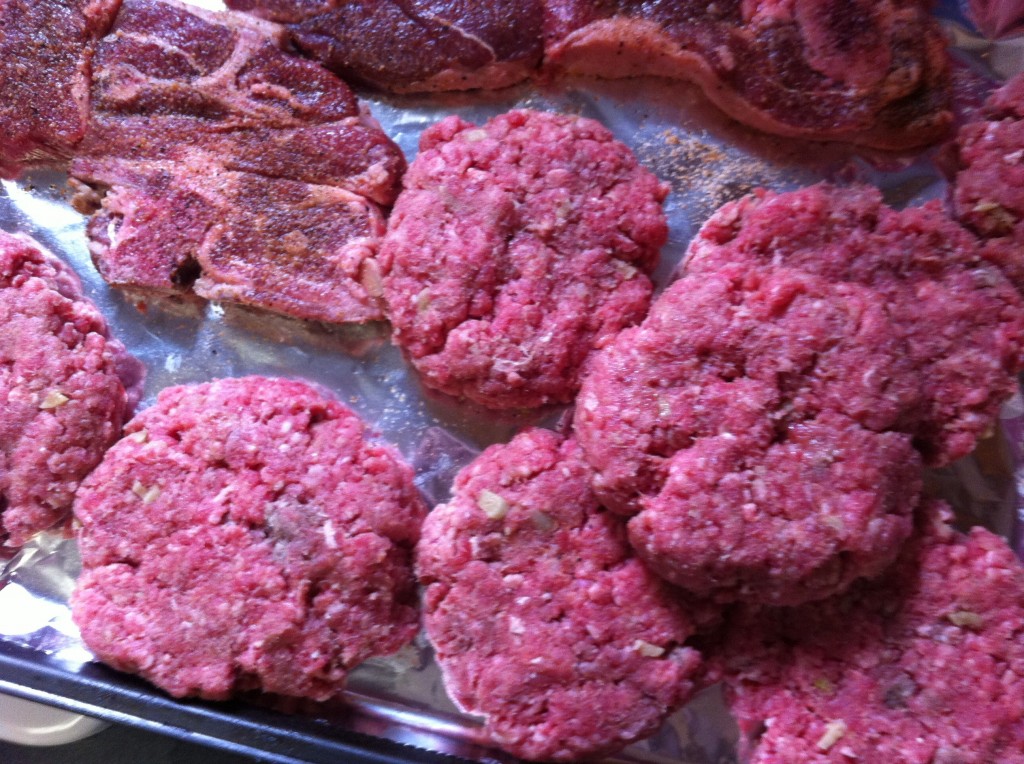
Form into 3/4 inch thick patties. Looks like some pork steak wanted to sneak in on the grill action.

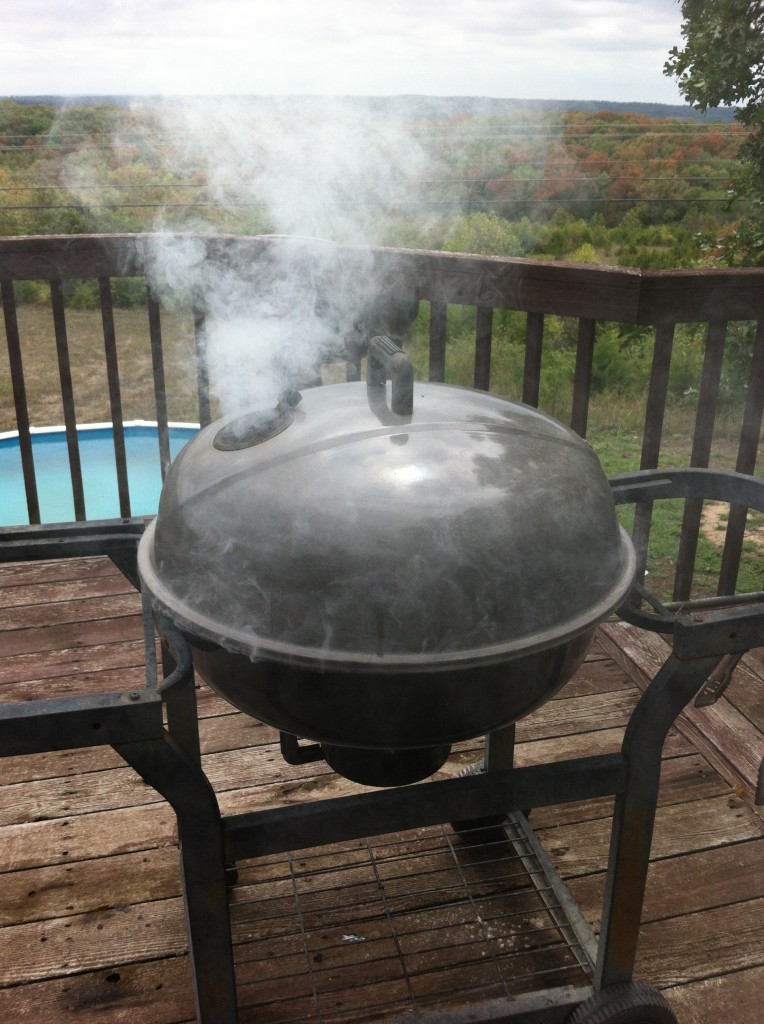
Now, it is time to go find a smokin hot grill.

 Place burgers on a hot grill.

Grill on both sides until you get to the done-ness you prefer. I like mine medium to slightly pink so that would be approximately 8 to 10 minutes on the grill. Flipping the burgers half way through the cooking time.

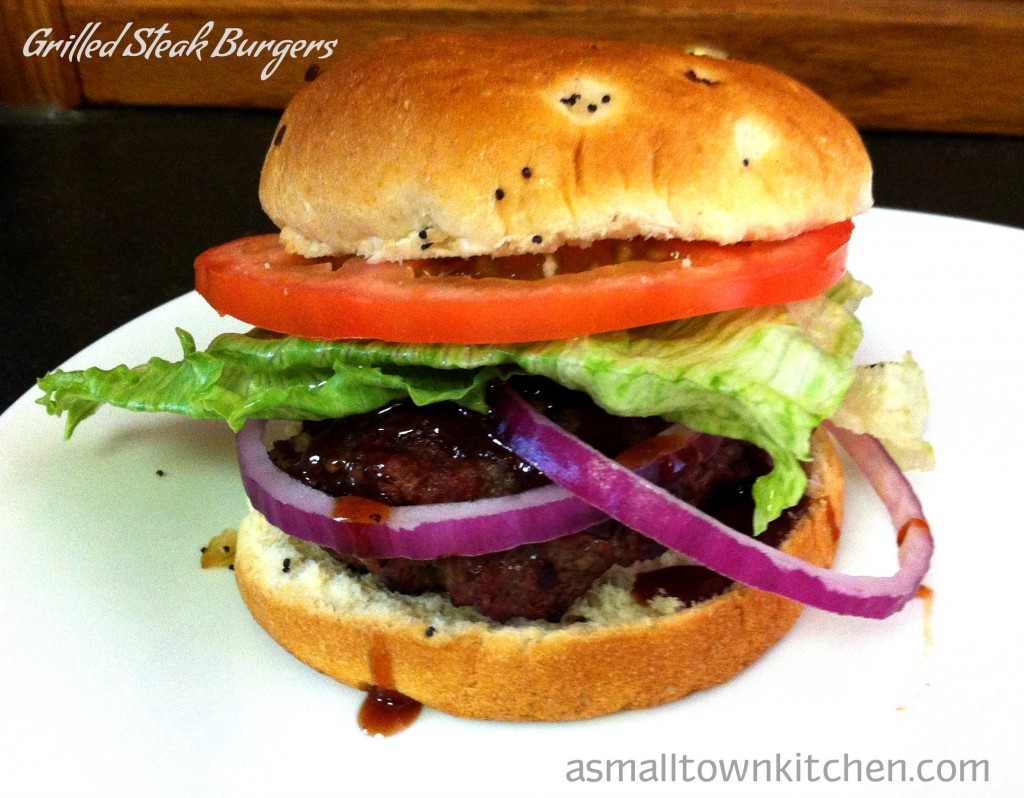
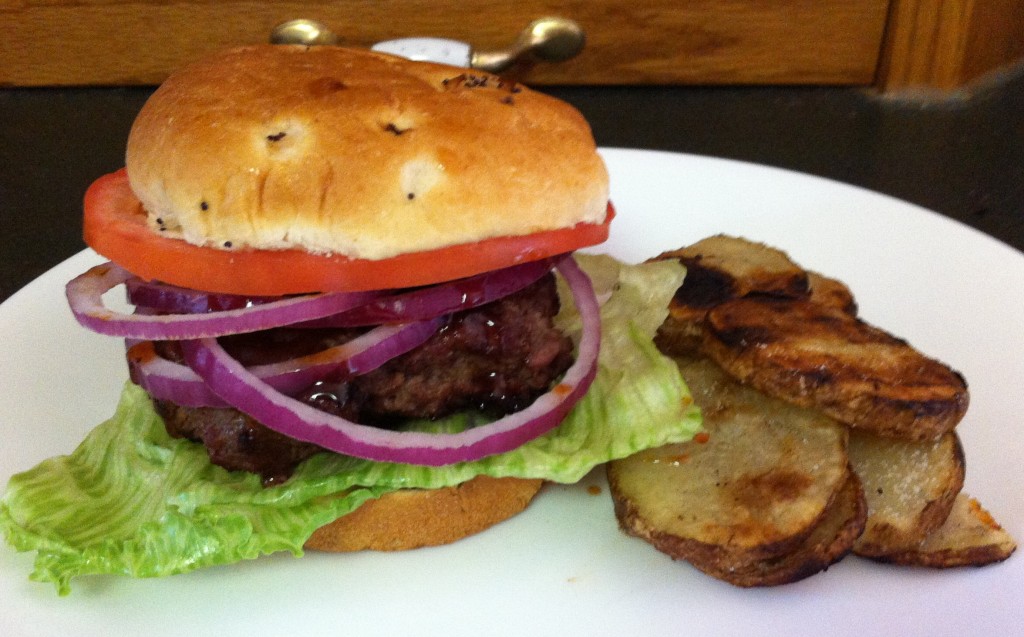
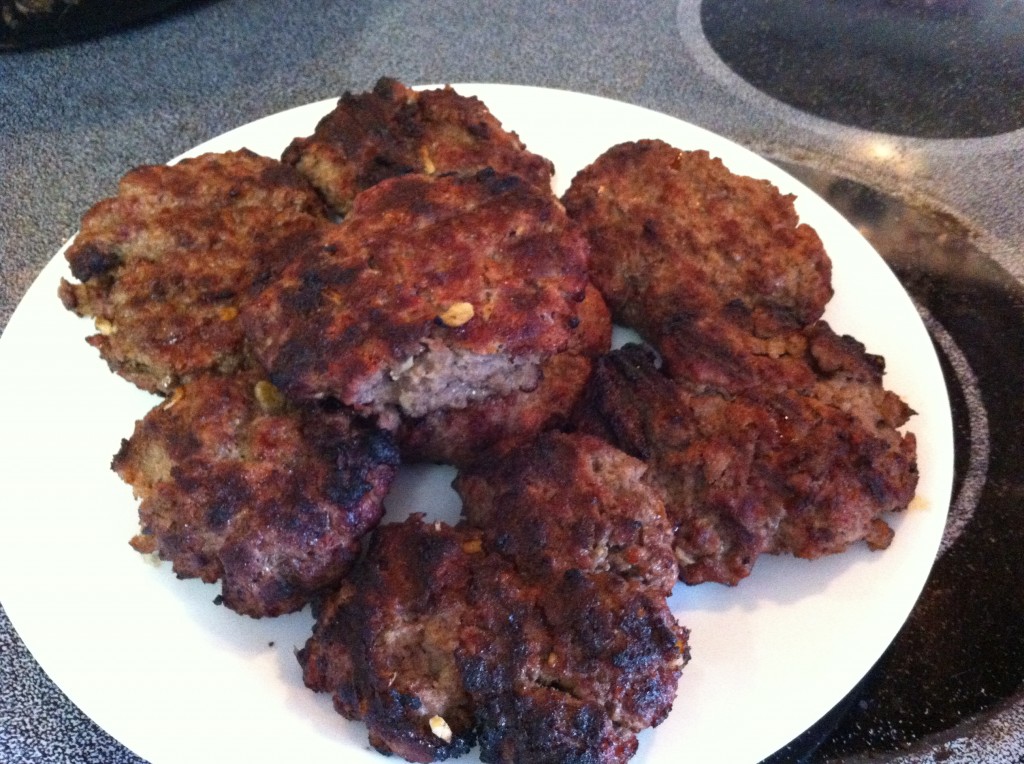
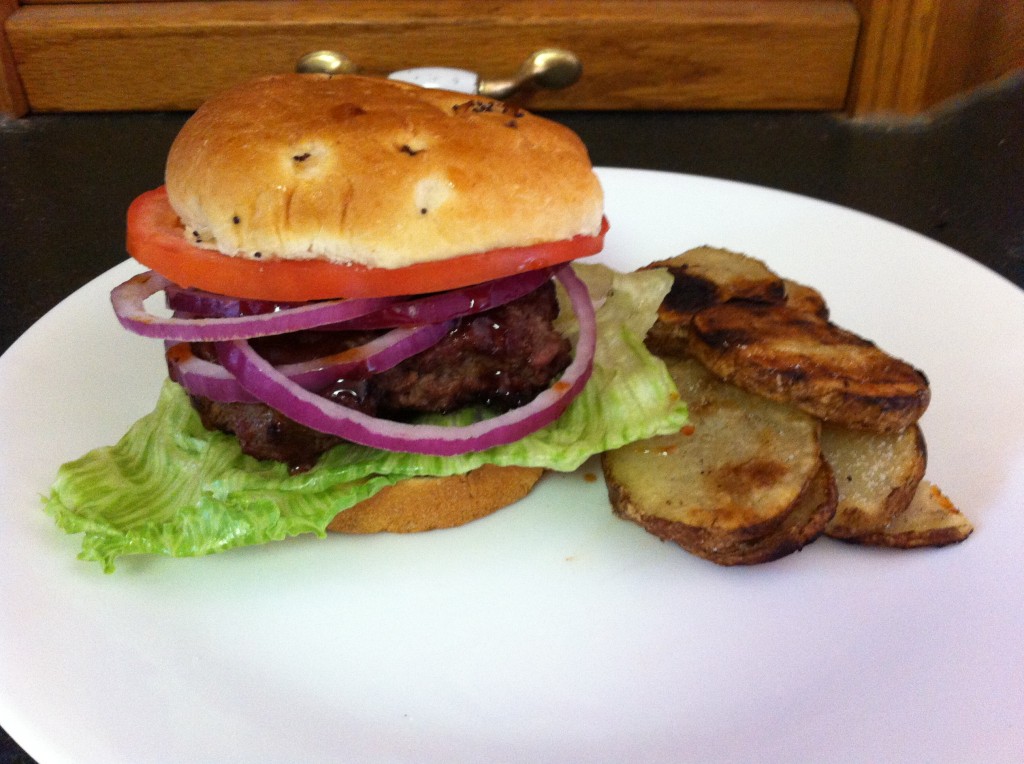
Here is your plate of perfectly grilled steak burgers. Can you see the speck of garlic peeking out. Sorry….that is my bite : D

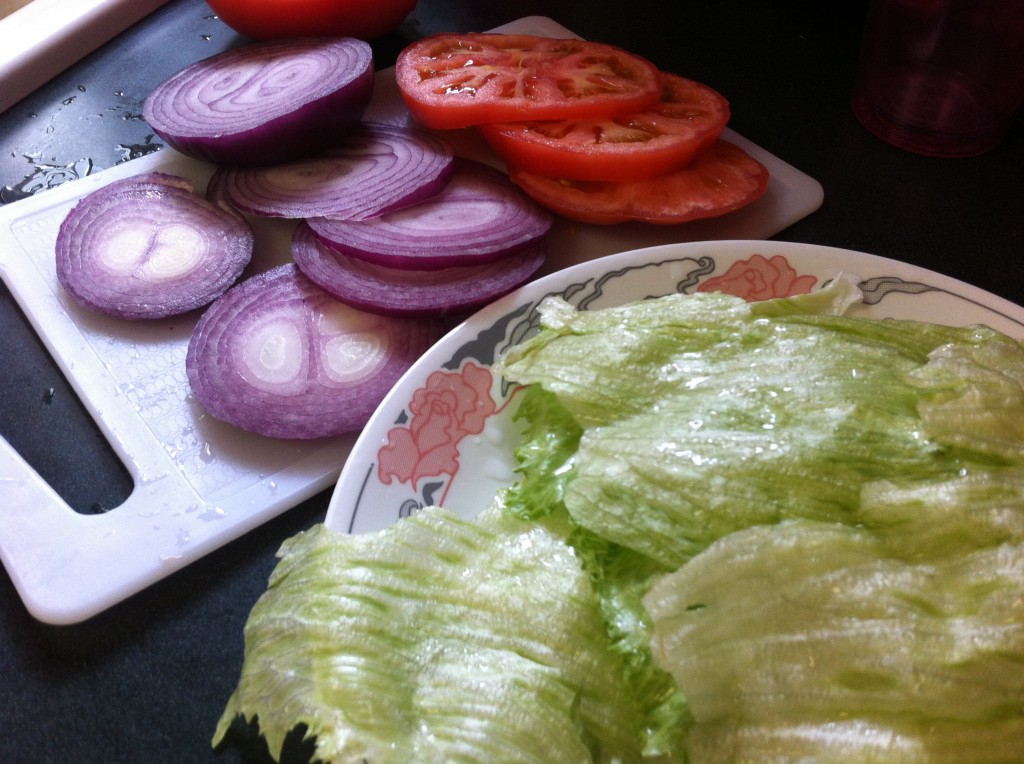
While Robert was grilling PIC and I sliced up some tomatoes, sweet red onions and tore some lettuce leaves.

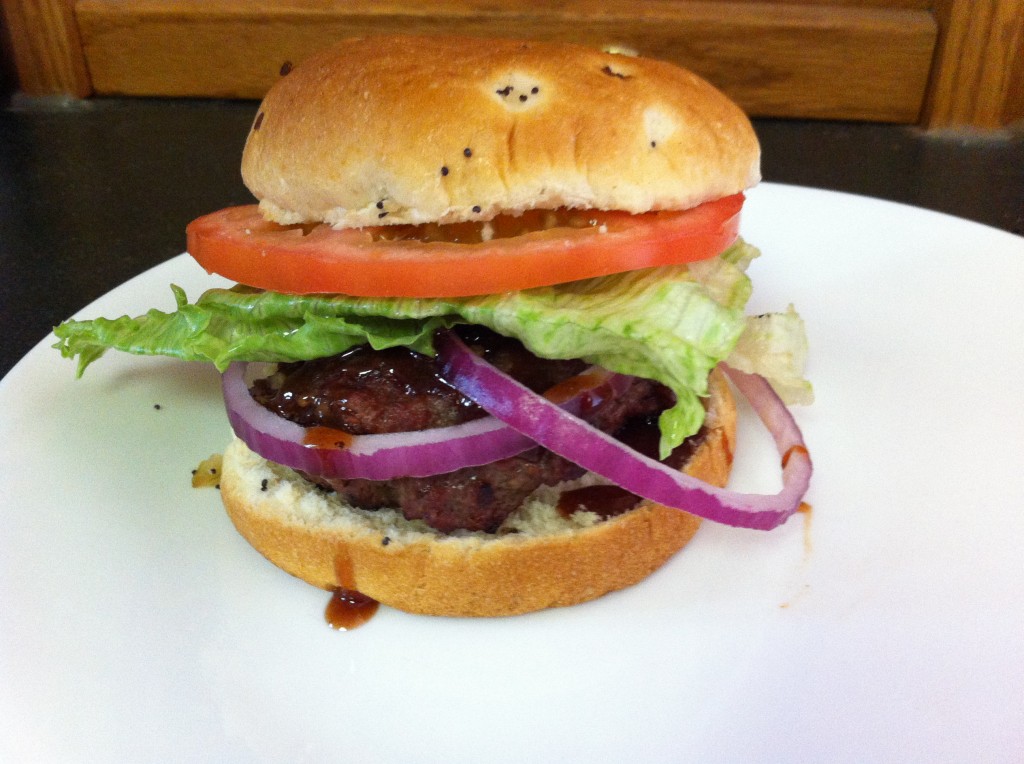
We used onion buns to top on our buns. See that little drip of sauce. That is Robert’s secret sauce.

 I would give you the recipe, but it is secret.

Hence the name, “Secret Sauce.”

He won’t even tell me how to make it. He reminds me of a mad scientist when he makes his secret sauce. I know it has brown sugar in it and that is good enough for me.

I keep telling myself spring is almost here. You can put money on it that as soon as I get my grill ready,  I will be grilling these steaks burgers first thing.

Or, maybe I will just make another visit to my brothers house and have him grill them for me.

Get your grill ready and invite your friends over for grilled steak burgers.

It will be a steak experience they will not forget.

Enjoy!

Becky
Here is the recipe:

Grilled Steak Burgers

Adapted from America’s Test Kitchen

Ingredients:

6 tablespoons unsalted butter

2 garlic cloves, minced

2 teaspoons onion powder

1 teaspoon pepper

1/2 teaspoon salt

2 tablespoons soy sauce

1 and 1/2 pound ground steak or 90 percent lean ground sirloin

4 onion buns or regular hamburger buns if you prefer.

Directions:

In a sauce pan, melt the butter. Add in the minced garlic, pepper, salt, soy sauce and onion powder. Saute for about one minute. Set aside to cool for about 5 minutes.

In a large bowl put in the ground steak. Add the cooled butter mixture. Gently knead the butter and ground steak together.

Make into four 3/4 inch thick steak patties.

Place on a hot grill. Heat grill for five minutes  before placing the patties on the grill.

Carefully grill the patties. They will be tender and they start to cook and firming up.

Grill for around 4 to 5 minutes on each side, or until desired done-ness.

Serve with fresh lettuce, sliced onions and tomatoes.

If you have some secret sauce that is great too.

If not, you can use your favorite barbecue or steak sauce.

Enjoy!


You Got Chocolate On My Peanut Butter!

Don’t you love those old commercials?

This cake reminded me of the old Reeces Peanut Butter Cup commercial, “You got chocolate on my peanut butter”.

If you are too young to remember or if you are young at heart, go here to watch it.

I don’t know if there is more chocolate than peanut butter in this cake, or if there is more peanut butter than chocolate.

It is a peanutty question.

I only know it has the PMMF factor. That’s right, the PMMF factor, “Pass Me My Fork.” I really should say the PMMFN factor. “Pass Me My Fork Now,” factor.

It has a rich cake like brownie, baked with peanut butter cups, bottom, filled with a light peanut butter and whipped cream mousse, covered in a decadent ganache and topped with more peanut butter cups, then drizzled with more ganache.

See I told you…..the PMMFN factor.
Allow yourself plenty of time to make this cake. I made the mistake of not starting this cake until 8:30 pm. Also, make sure your dishwasher is empty and ready to fill with all the bowls you will use for this cake.

It will be worth it.

Remember is has the PMMFN factor.

Chocolate and Peanut Butter….together….the perfect romance.

Happy Valentine’s Day!

Becky

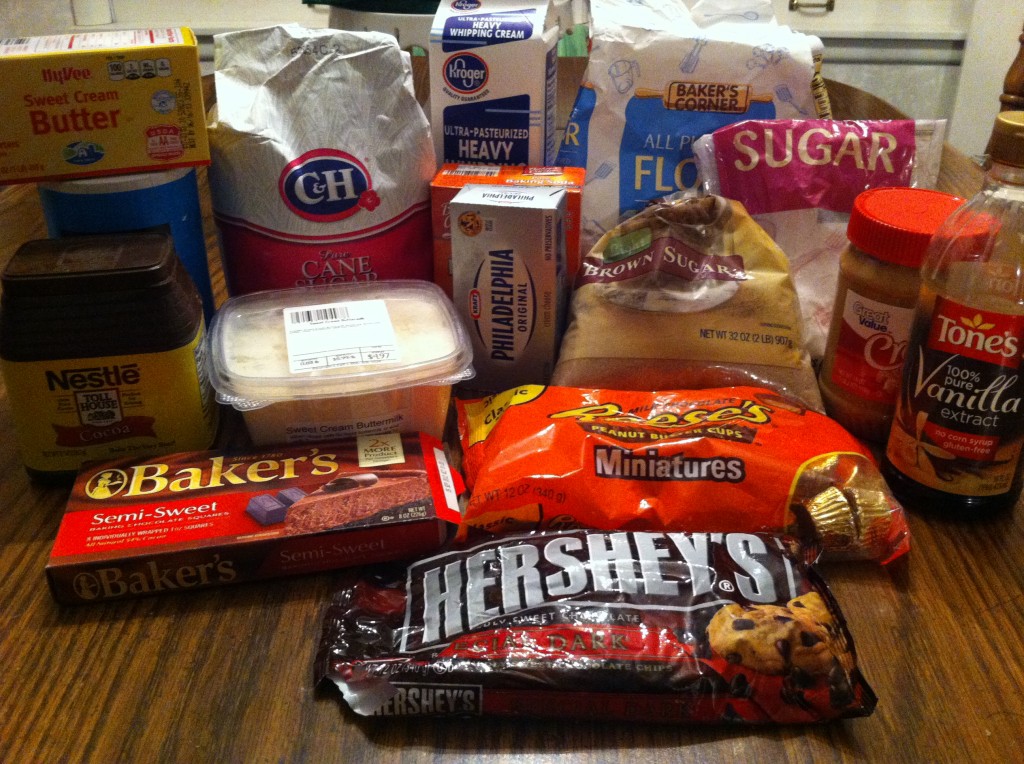
Here is what you will need, except I forgot to get the eggs in the picture. I was too busy drooling over the peanut butter cups. OOPS

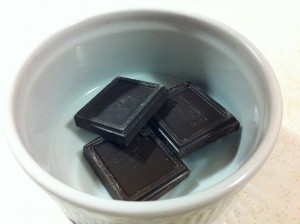
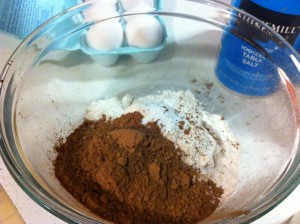
Place the chocolate in a microwave safe dish and very carefully melt the chocolate. In a bowl stir together the flour, salt, baking soda and cocoa.


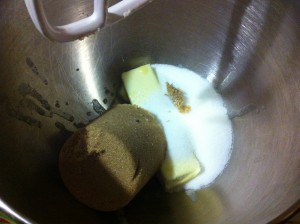
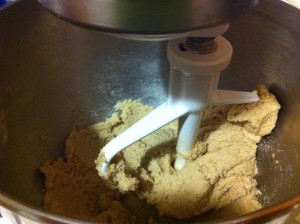
In a mixing bowl, mix together the sugars and butter together until fluffy.


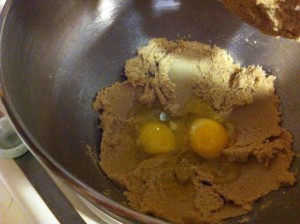
Add the eggs and mix in.


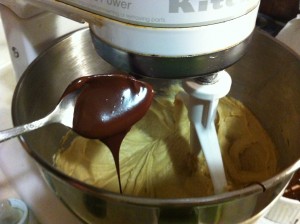
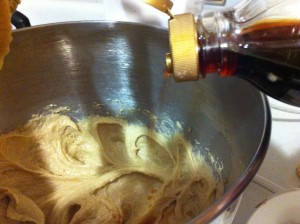
Add the melted chocolate and the vanilla.


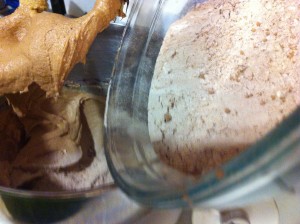
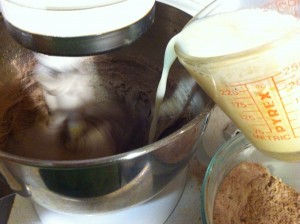
Alternate adding the milk and flour cocoa mixture.


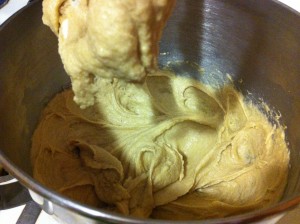
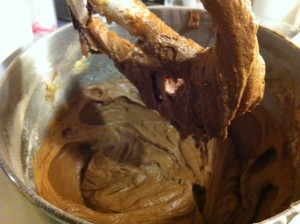
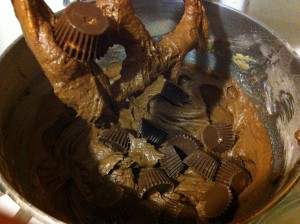
You end up with this rich beautiful batter. Stir in the peanut butter cups.


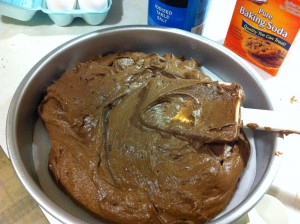
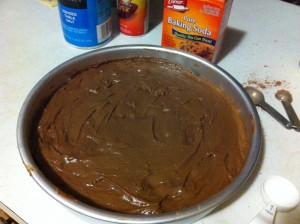
Spread batter evenly in a parchment lined 10 round baking pan. Place in preheated oven and bake.

Now it is time to make the ganache.


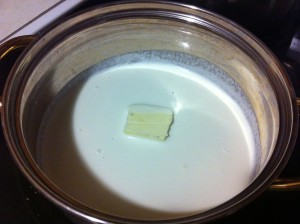
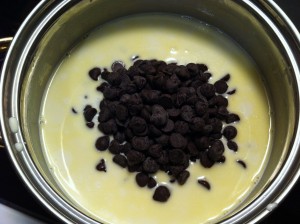
Heat up whipping cream and butter. Do not boil. When the whipping cream is very hot and the butter has melted, add the chocolate chips.

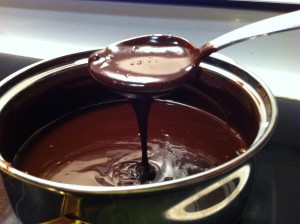
Stir the ganache until all the chocolate chips have melted. Set aside to cool. The ganache will thicken when it cools.

Time to make the mousse.


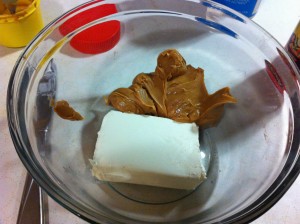
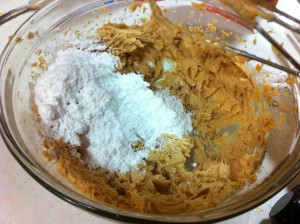
In a mixing bowl, mix together the cream cheese and the peanut butter. When smooth, add the powdered sugar and mix together until it is smooth, light and fluffy.


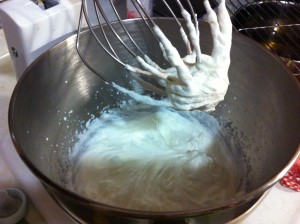
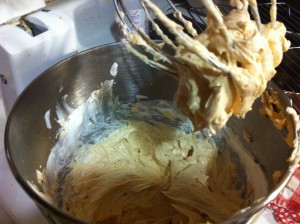
In another mixing bowl, with a whisk attachment, whip the whipping cream. Fold in the peanut butter mixture into the whipped cream. Be careful not to deflate the whipping cream in the process.

Now it is time to assemble the cake. YIPPEE!


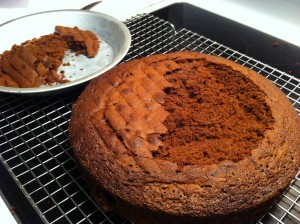
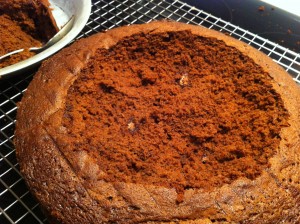
When the cake has cooled completely, run a sharp knife around the inside of the cake and scoop out the middle of the cake. Do not go all the way to the bottom. Save the cake pieces.


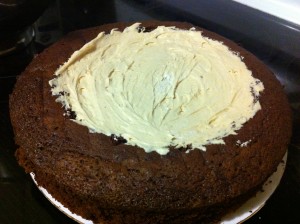
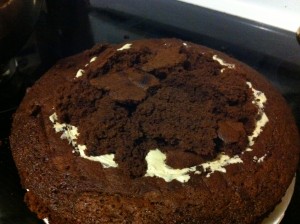
Fill the inside of the cake with half of the peanut butter mousse. Top the mousse witht the broken cake pieces.


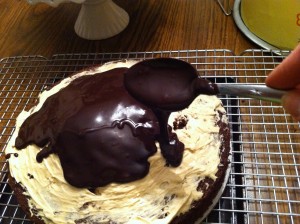
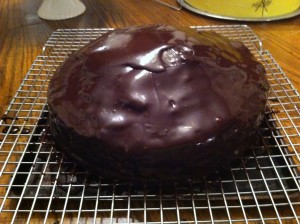
Spread the rest of the peanut butter mousse over the cake top, covering the cake pieces. Now, pour the cooled and thicken ganache over the cake. I put my cake on a cooling rack with a cookie sheet under it to catch the drips of ganache. Make sure to cover all the edges of the cake with ganache. Save some ganache for a drizzle.


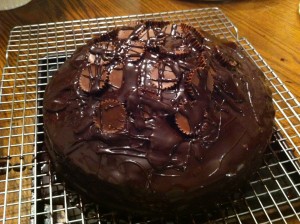
While the ganache is still soft place the rest of the peanut butter cups on top of the cake. Drizzle the rest of the ganache over the peanut butter cups.

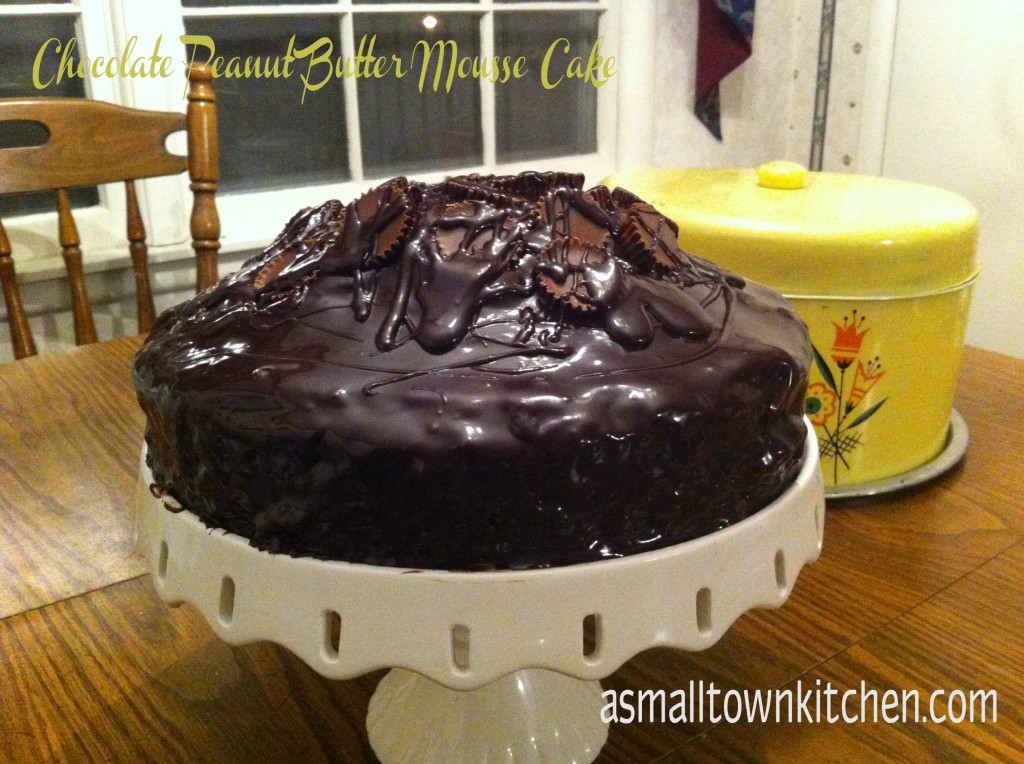
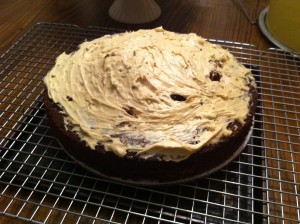
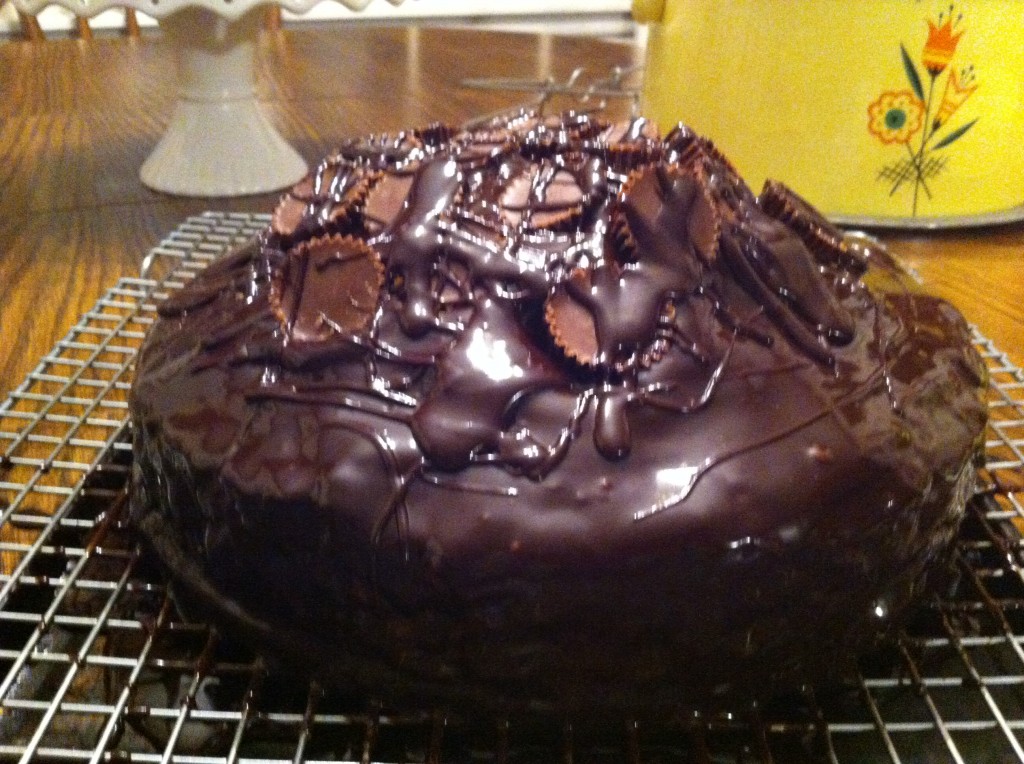
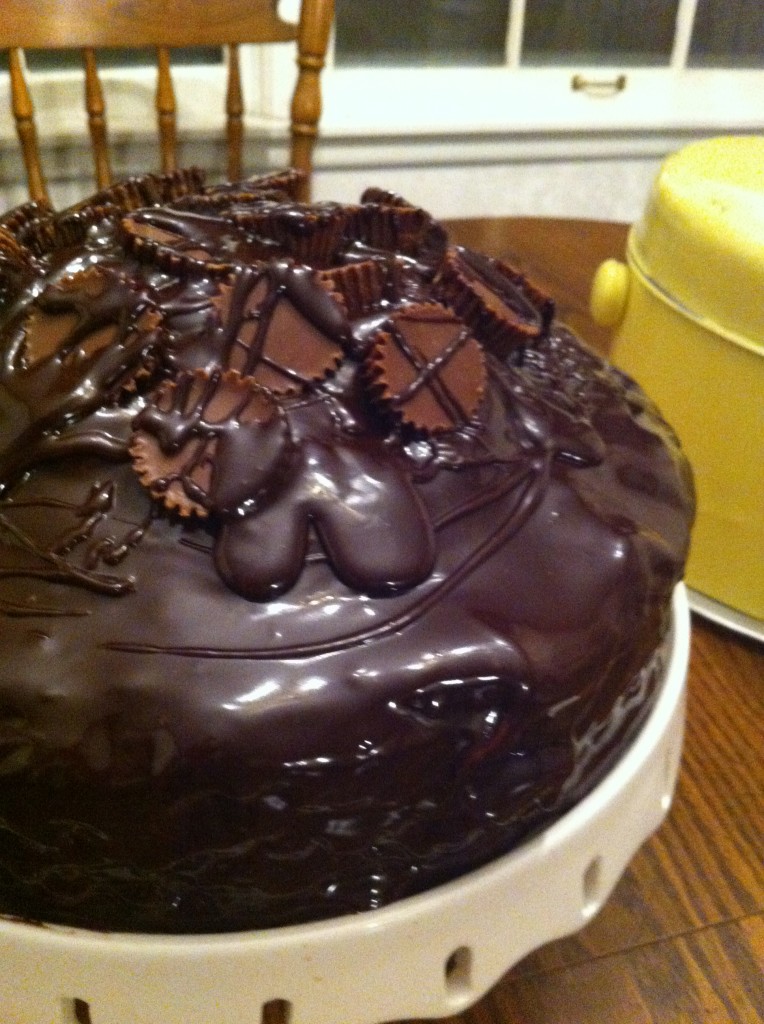
Here is the finished cake. Sorry about the light glare. It is 11 pm at night and I had to have the light on. : )

This is truly a beautiful cake.

Don’t be afraid to make this cake! It does take a bit of time. But the oohs and ahhs you will get will be worth every minute.

Here is the recipe!

Chocolate Peanut Butter Mousse Cake

Serves 12

Adapted from Blue Eyed Bakers Web Page

Ingredients for the cake:

1 1/2 ounce unsweetened chocolate, chopped. (I used semi sweet)

1 1/2 cup cake flour (I used regular flour and it was fine)

1/2 cup unsweetened cocoa

3/4 teaspoon baking powder

1/4 teaspoon salt

9 tablespoons unsalted butter, at room temperature

1 cup light brown sugar

1/2 cup granulated sugar

2 large eggs, at room temperature

1 teaspoon vanilla

1 cup buttermilk (I used powdered buttermilk with water)

30 minuture peanut butter cups (15 goes in the cake batter, the other 15 for the topping)

Ingredients for the Ganache:

1 cup cold whipping cream

1 tablespoon unsalted butter

1 to 10 bittersweet chocolate chips (I used dark chocolate chips)

1 teaspoon vanilla

Ingredients for the Peanut Butter Mousse:

6 ounces cream cheese at room temperature

3/4 cup cream peanut butter

3/4 cup powdered sugar (confectioners)

1 cup cold whipping cream ( the colder it is the more it will whip up)

1 teaspoon vanilla.

Directions for the cake:

Preheat teh oven to 350 degrees. Butter the bottom and sides of a 10 inch round cake pan. Line the bottom with parchment paper. Butter the parchment paper too.

Melt the unsweetened chocolate in the microwave in a microwave safe container. This will only take 30 seconds or so. Be careful not to burn it. Set the melted chocolate aside for later.

In a mixing bowl, mix together the four, cocoa powder, baking soda and salt. Set this aside for later.

With an electric mixer, beat the butter and sugars together until smooth and creamy. this will take about 3 to 5 minutes. Add the eggs and thoroughly mix in, scraping the bowl as needed. Add the vanilla. On low speed, slowly add in the melted chocolate.

Add the flour mixture, alternating with the buttermilk, to the butter and sugar mixture. be careful not to over mix.

Stir in 15 miniature peanut butter cups.

Bake the cake until the top feels firm about 40 to 45 minutes. I would check it at 35 minutes to be on the safe side.

Cool the cake on a wire rack until cool enough to invert onto a a wire rack to cool completely.

Now to prepare the ganache. In a medium sauce pan, heat the cream and butter over low heat until hot but not boiling. Add the chocolate chips. Let stand for 30 seconds and then stir to fully melt the chocolate chips and blen the cream together. Add the vanilla. Set aside to cool and thicken.

To make the mousse, mix together the cream cheese and the peanut butter until smooth. Slowly add the powdered sugar until light and fluffy. In another bowl, using the whisk attachment on the electric mixer, whip the whipping cream and vanilla until stiff peaks form. Add 1/3 of the whipped cream to the peanut butter mixture to lighten it up. Gently fold the the lighted peanut butter mixture to the rest of the whipped cream. Do not over mix to deflate the mousse.

To assemble the cake, put the cake, top side up onto a serving plate. Leaving a 1 inch edge all the way the cake, use a sharp knife to cup out the center of the cake to create a cavity. Scoop out the middle of the cake but do not go all the way to the bottom of the cake.

Spread half of the mousse in to the cavity. Take the broken cake pieces and place them on top of the mousse. Spread the remaing mousse over the entire top of the cake. Refrigerate the cake until the mousse is firm, about 30 minutes.

Using a spatula, spread the thickened ganache over the entire cake and sides. Top with the remaining 15 miniature peanut butter cups. Drizzle the top with left over ganache.

Keep refrigerated for up to two days.

Day in the Kitchen

Today was the first time I had my kids at school cook something that was actually part of my classwork.

Yesterday, I put the students in kitchen groups, or I should say they put themselves in kitchen group,s that I had to approve. They got to explore a little bit in the kitchen they where assigned too, to see where everything is located. It did not take long until they had to inform me that they already knew where everything was.

Funny how they thought the big upright freezer was a refridgerator.

Whatever….  : D

I got up early this morning; and by the way it was freezing outside; and made my way to the closest grocery store to buy the ingredients for microwave monkey bread. Microwave monkey bread is always the first cooking lab I do with my students. One of the main reasons is that it is so easy.  |It is also not expensive to make and the students love it. They love it so much, they did not even offer me a one little nibble all day. So much for getting up early on a freezing day to earn a bite of monkey bread.

I decided I would come home and make a batch that I could keep all to myself.

Right now it is hiding in the microwave. It is still warm, and gooey and cinnamony….. Please don’t tell oldest daughter who does not cook. She loves anything with cinnamon in it.

I am not sure where I got this recipe, or where I found this recipe, but I have been using it for years and years. I like to find recipes that my students are able to make at home, with ingredients that they probably already have.

If you need a super easy, super lip smacking, super fast treat on a Snow Day morning (all teachers dream of snow days), or any morning, you should  give this recipe a try!

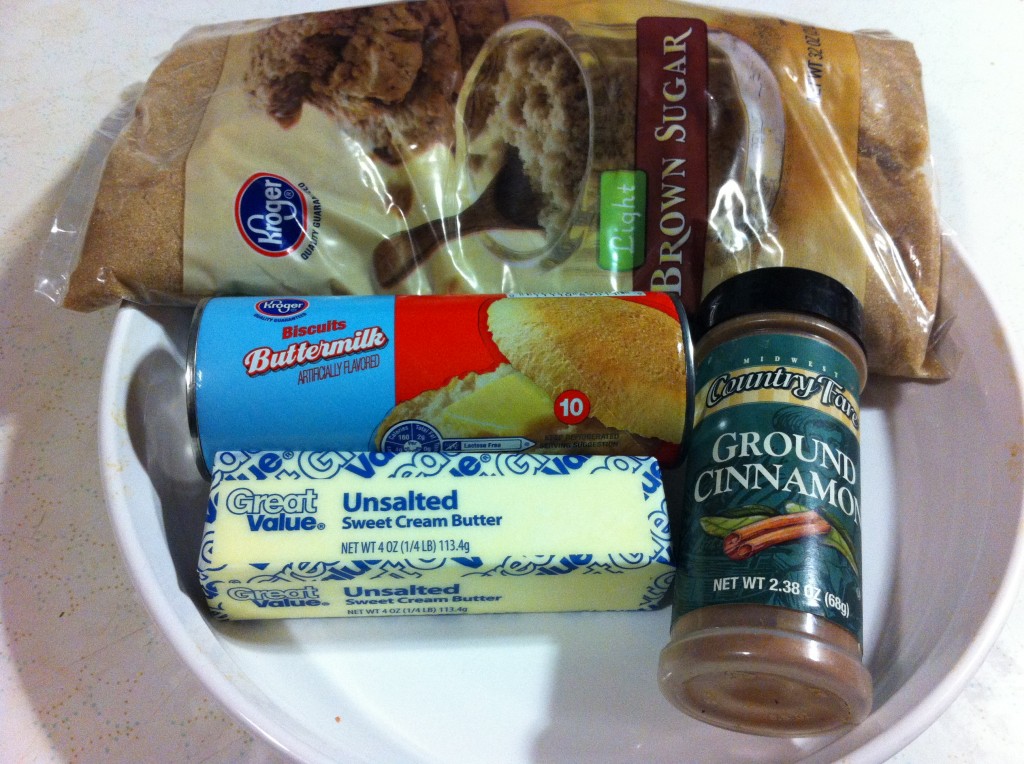
This is all you need! How cool is that?

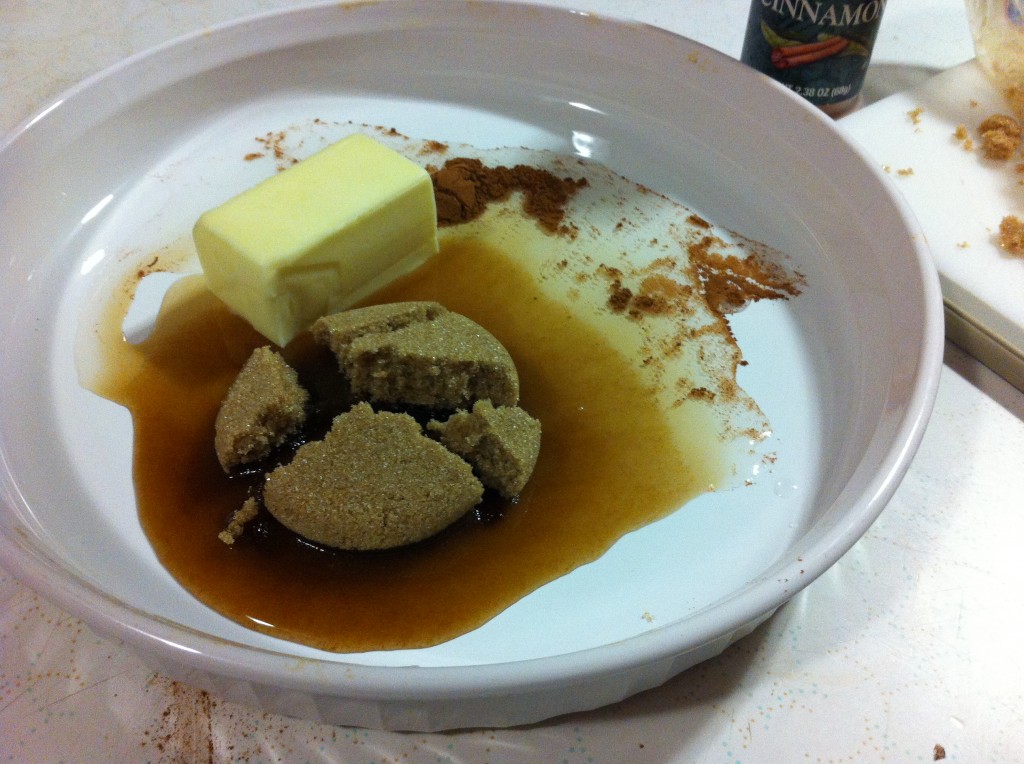
First thing you do is, melt 1/4 cup butter or margarine, 2 tablespoons of water, 1/2 cup of brown sugar and 1/2 teaspoon of cinnamon together in the microwave.


This is what it looks like melted.                                      This is what it looks like stired together


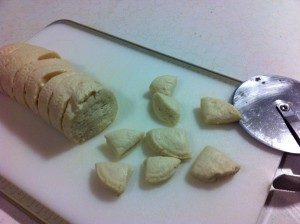
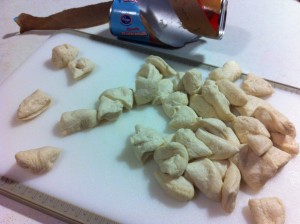
On a cutting board, using a pizza cutter (I found that it works the easiest) and cut each biscuit into four pieces.


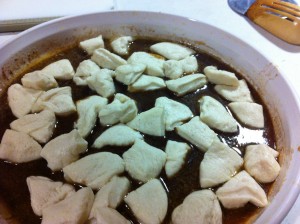
Put all the little pieces of biscuits in the brown sugar and butter sauce. Stir to coat each piece.


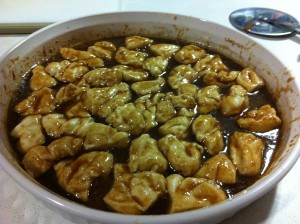
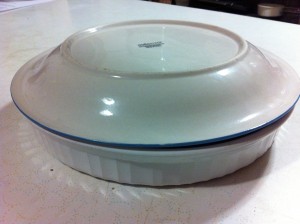
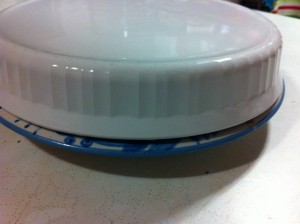
Cook for three minutes in the microwave. Take it out of the microwave and let it stand for 2 minutes. Place a plate over the top of the pan and invert.

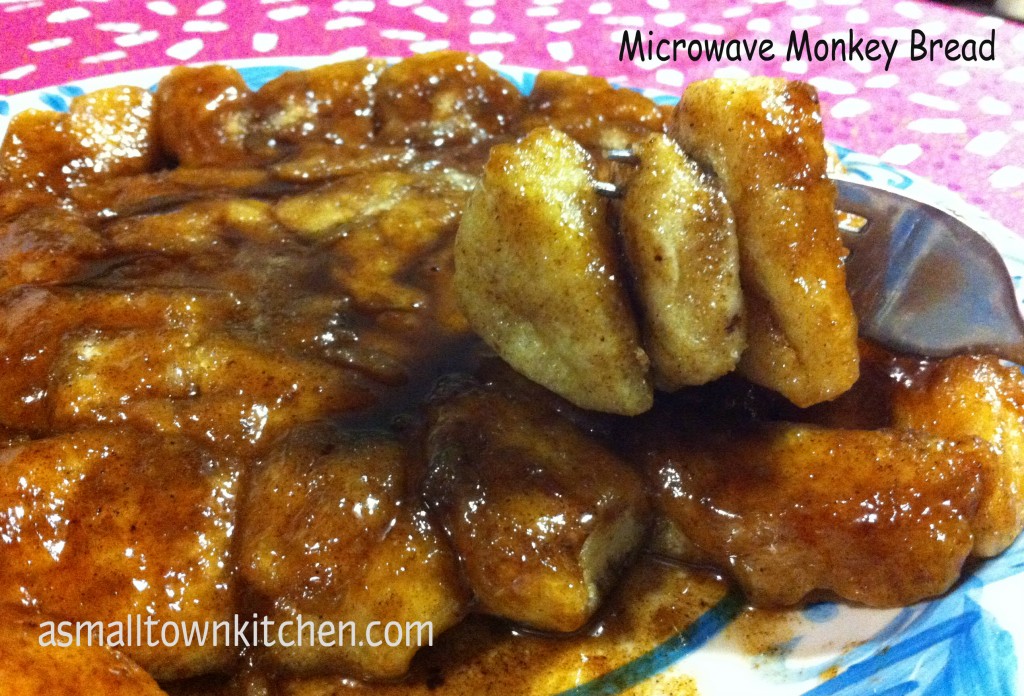
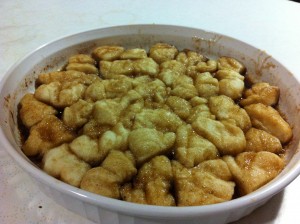
Invert the monkey bread onto a plate.

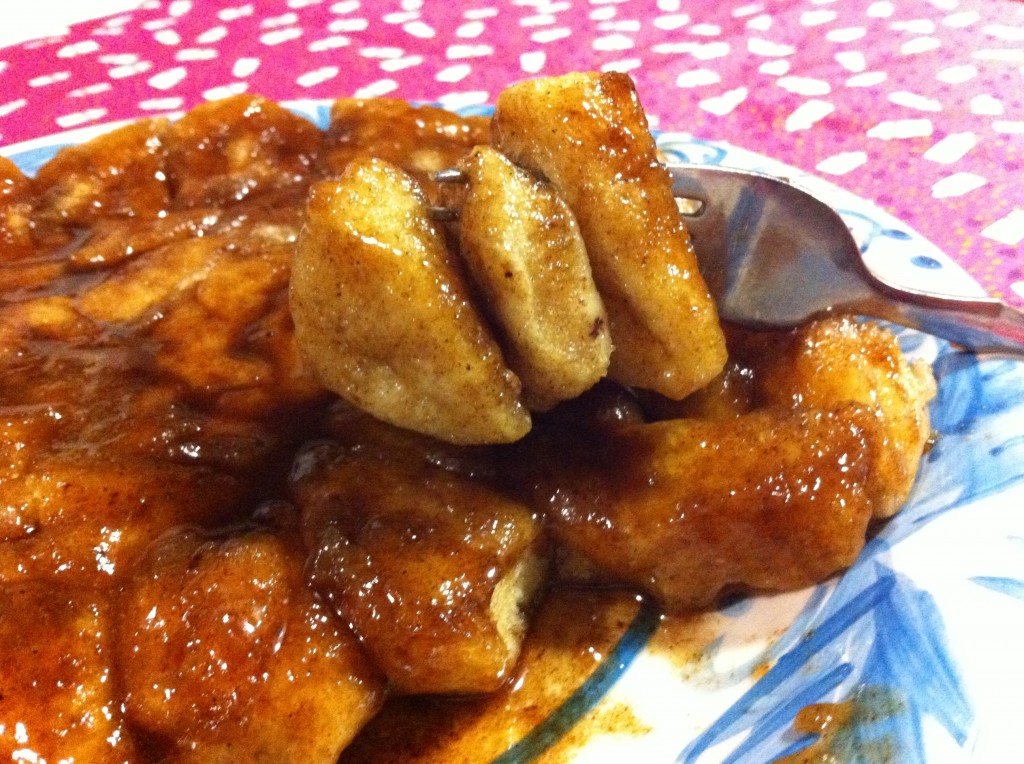
Grab a fork super quick and grab a bite, because they will not last long!

In fact, that is where I am heading.

Right to my golden, gooey, globs of deliciousness hiding in the microwave.

I just need to find a fork!

Enjoy,

Becky

Microwave Monkey Bread

Ingredients:

1/4 cup of margarine or butter

1/2 cup of brown sugar

2 tablespoons water

1/2 teaspoon cinnamon

1-7.5 ounce can of refrigerator biscuits (10 small biscuits)

Serves 4

Directions:

In a round microwave safe dish, melt the butter, brown sugar, water and cinnamon on high for 45 seconds. Place a lid on the dish to prevent splattering.

Cut each biscuit into 4 pieces. Place the biscuits into melted brown sugar and butter sauce. Stir to coat each piece of biscuit.

Cook biscuits in the microwave on high for 3 to 4 minutes or until the biscuits are cooked. remove from the microwave with potholders. Let the bread sit for one minute to allow the sauce to thicken. Place a plate over the pan and turn monkey bread over onto a plate to serve.


Bacon Wrapped Brown Sugar Little Smokies

Everyone loves these little gems of pork fat.

It is a no brainer. Bacon, Brown Sugar and Smokies, what is there not to love about this recipe.

I did not come up with this recipe. Someone found it somewhere. It was like a note that was getting passed around as school. Everyone had to read it. Then they went home and made some.

They are addicting. They are salty sweet. They are oinkalicious.

Best of all, they are super easy to make!

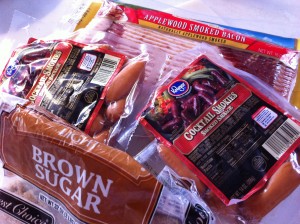
You will need some thin slice bacon, cocktail sausages, brown sugar and tooth picks.

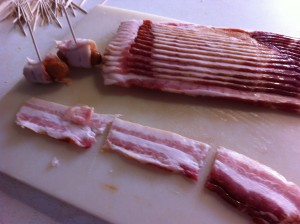
Cut your bacon slice into thirds. This is the perfect amount to go around the sausages.


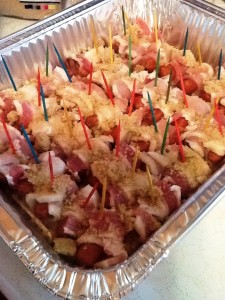
  Wrap up all the little smokies and put them in a pan. Sprinkle brown sugar on each one.

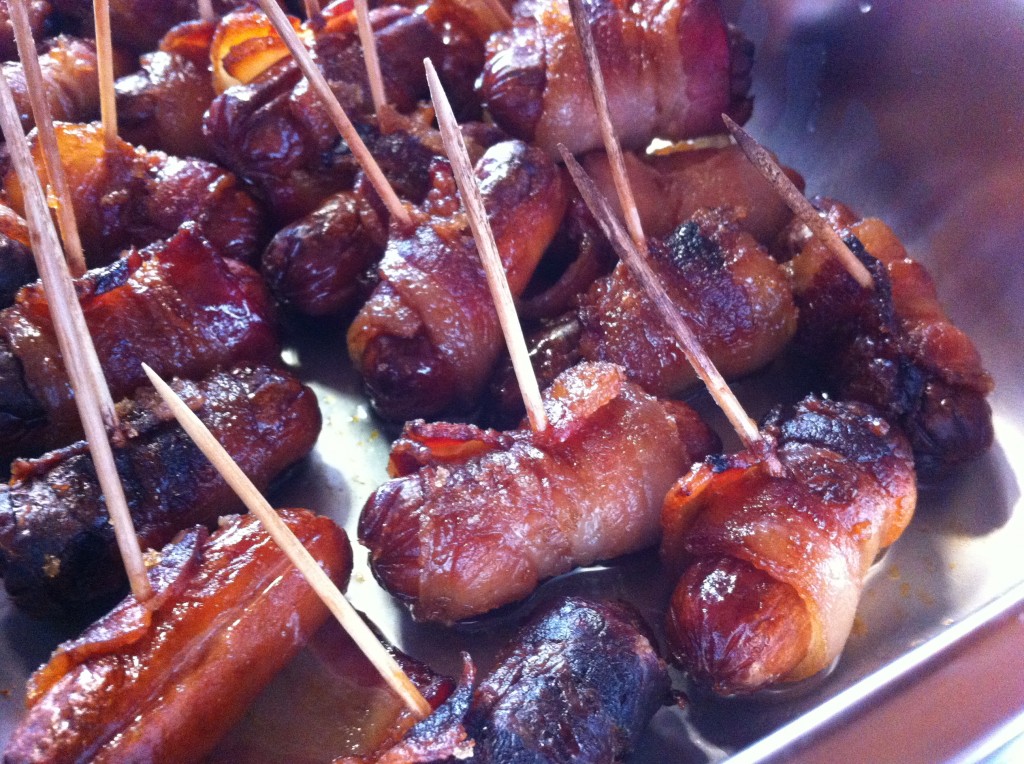
Put them in a 375 degree oven and bake for 30 to 40 minutes. You want all the bacon fat to render down.

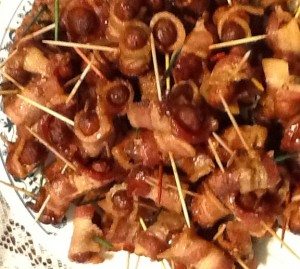
Once the bacon is crispy they are done.

This little delights are addictive. You cannot stop at just eating one.

Remember this recipe for your upcoming Super Bowl Party.

This recipe gets the oink seal of approval!!

Becky

Bacon Wrapped Brown Sugar Smokies

Ingredients:

1 pound of bacon.

2-8 ounce packages of cocktail sausages

Brown Sugar

Tooth picks.

Directions:

Cut the bacon slices into thirds. Wrap each sausage with bacon and secure bacon with a tooth pick. Place bacon wrapped sausages in baking dish and sprinkle brown sugar on top. Place in a 375 degree preheated oven and back for 30 to 40 minutes or until the bacon starts to get crispy.


Knorr Spinach Dip

I fell in love with this recipe when we all listened to the BeeGees and wore disco skirts. Whew, that dated me didn’t it? I first sampled this at a Christmas party I attended not long after I graduated from college. I loved the little crunch from the water chestnuts, the chopped spinach, the little vegetables that you get from the soup mix and of course the assortment of crackers you can eat with it.

It is an old recipe.

You used to be able to buy a box of Knorr Vegetable soup mix and it would be on the back of the package. Now, the recipe is replaced with new and improved ways of using the vegetable mix.

I had to look just a bit until I found the right recipe with the right ingredients. I wanted it to taste just like the one I fell in love while singing to Staying Alive.

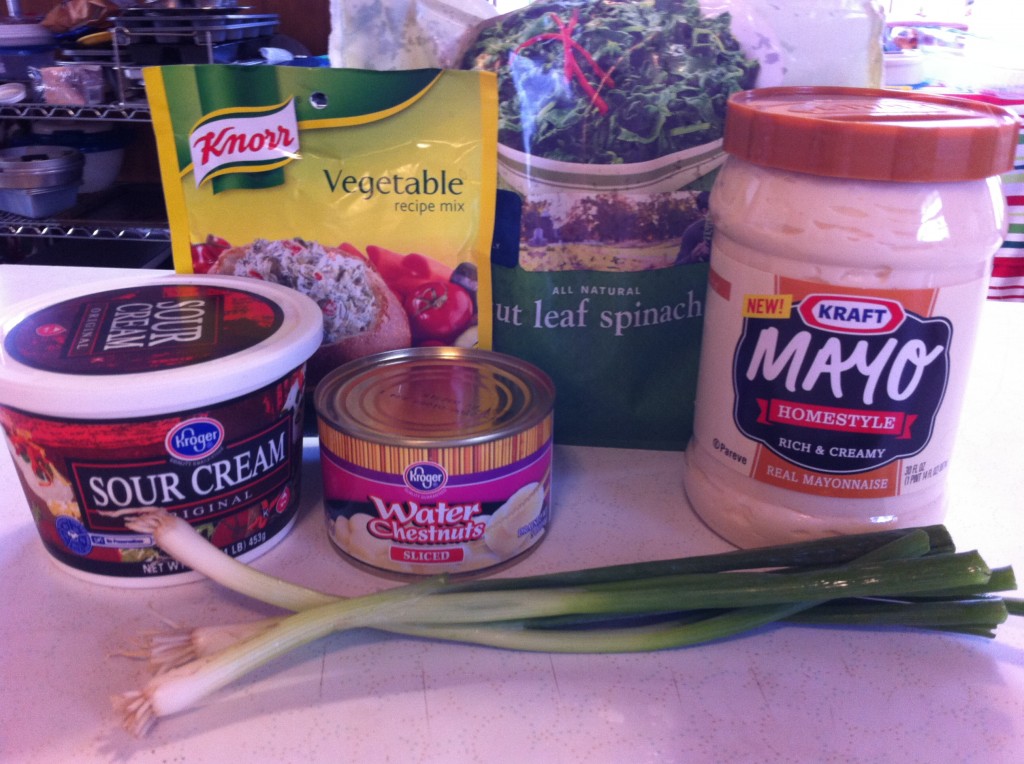
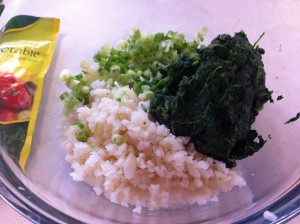
This is what you need to make real Knorr Spinach Dip.


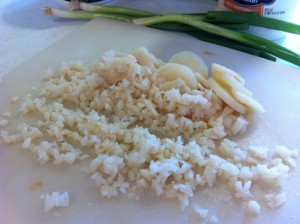
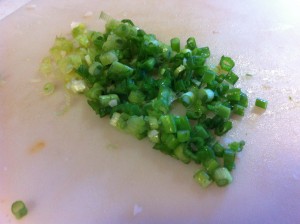
First thing you need to do is chop up the water chestnuts and green onions.

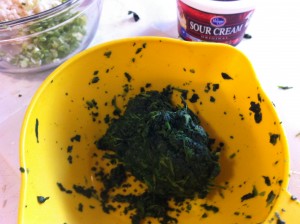
Drain and squeeze out all the water from the frozen spinach. You will be amazed how much water comes out of the spinach. When you think you are done, squeeze some more! You do not want the water from the spinach watering down your dip.


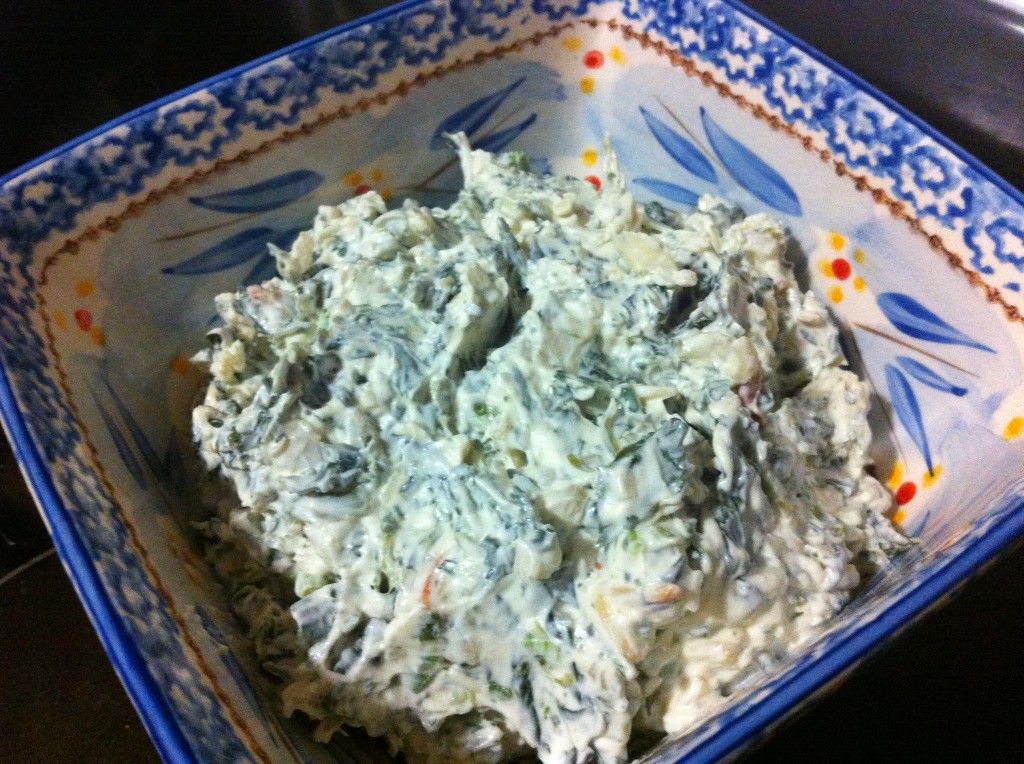
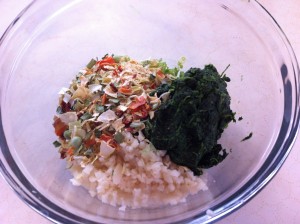
In a bowl, add your water chestnuts, onions and spinach. Next add your Knorr Vegetable Mix.


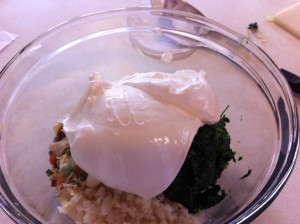
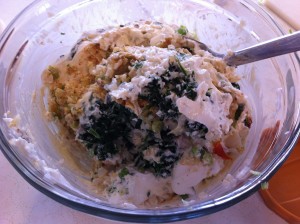
Next, add in your sour cream and real mayonnaise. Stir together, making sure to get all of the spinach mix in.


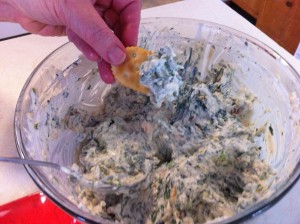
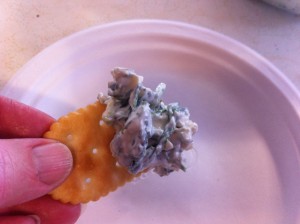
I can’t help it, I had to get a little bite!

It taste just like I remember!

Helpful hints. Look for the Knorr Vegetable Mix in the soup aisles at the store. Oldest daughter who does not cook tried to find it in the dressing and pickles aisles. The dip taste better if you make it several hours before you serve it. It gives the dehydrated vegetables time to hydrate and add more flavor. This dip looks great in a large round bread loaf. Just cut a circle in the loaf of  bread and take it out and fill it with dip.

Go retro and make some dip. You might even want to listen to some BeeGee’s music while you munch out.

Keep Staying Alive!

Becky

Knorr Spinach Dip

adapted from Knorr

Ingredients:

1 10 ounce package frozen chopped spinach. (cooked, cooled and squeeze dry) (I cooked mine in the microwave)

1 container 16 ounces of sour cream

1 cup mayonnaise

1 package Knorr Vegetable  Mix

1 can 8 ounces water chestnuts drained and chopped

3 green onions chopped.

Direction:

Combine all the ingredients and chill for 2 hours before serving.


Poppy Seed Bread

I made candy yesterday.

Today is baking day.

This is my favorite poppy seed bread recipe. It comes from a old local cookbook that was published in way back in 1973.

Pretty Old uh?

Sometimes, oldies are goodies.

A nice lady named Judy Wollard submitted this recipe. I do not know who Judy is, or if she is still alive, but she must be nice if she shared her recipe.  The cookbook belonged to my ex Mother In Law, Jackie. She belonged to the American Business Women’s Association. The ABWA compiled a cookbook of favorite recipes and sold them to raise money. You could buy a copy for $2.00 each. I wonder how much money they made.

Jackie loved a good recipe. She left behind recipes she typed up on index cards, recipes she had cut of newspapers, and recipes she wrote down from her friends.

She had beautiful handwriting.

My children still ask for me to make some of her recipes.

Funny how a recipe can last longer that you can.

I love her recipes.

My family does too. When I asked them what they wanted on their goodie tray, they all said poppy seed bread.

This poppy seed bread is sweet and has a nice aroma of almond and butter with a dash of vanilla. While it is hot from the oven you pour on a orange juice and sugar glaze for an extra measure of moistness. Sounds perfect right?

It is.

Thank you Judy for sharing such a delicious recipe for my holiday goodie trays.

Thank you Jackie, for leaving me your cookbook.

Here is how you can make this holiday bread in your kitchen.

Becky

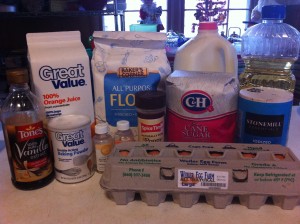
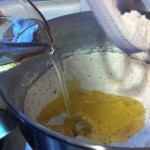
You will need, eggs, vanilla, baking powder, almond flavoring, butter flavoring, poppy seeds, sugar, salt, oil milk, flour and orange juice.


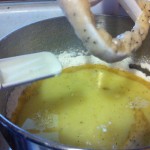
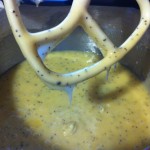
In a large mixing bowl, add the flour, salt, baking powder and poppy seeds. Next add the sugar. Mix all the dry ingredients together.


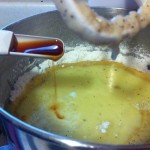
Add the oil, milk and butter and almond flavoring.


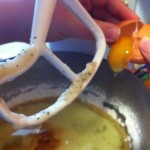
Add the vanilla and eggs. (that is baby college girl cracking the eggs) and mix together.

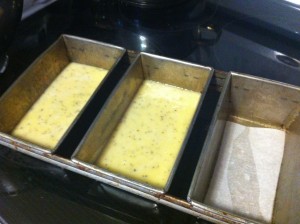
Evenly pour batter in small loaf pans lined with parchment paper. Or you can do two regular size loaf pans also.

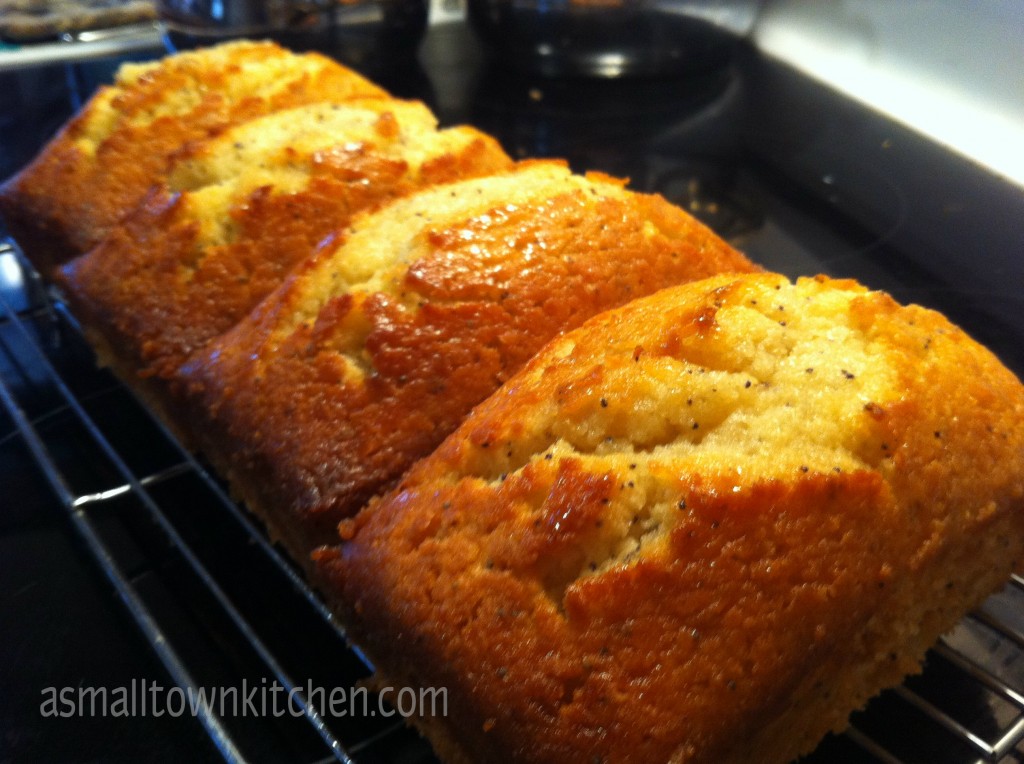
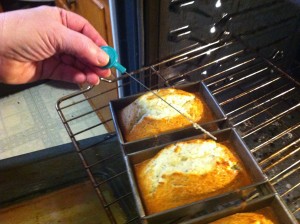
Bake until when you insert a cake tester in the bread and it comes out clean. This bread is not quite done.

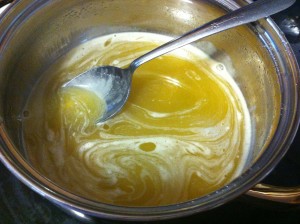
While the bread is baking, heat the orange juice, sugar, vanilla, and almond and butter flavoring.

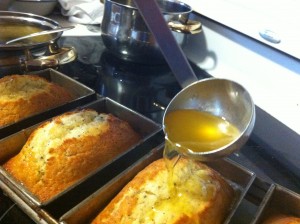
When the bread comes out of the oven, pour warm glaze over each loaf. If you want to, you can take a skewer and poke holes in the bread to allow the glaze to enter the bread easier.

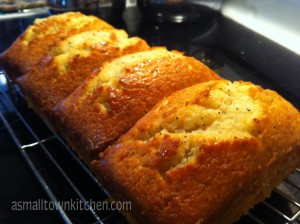
Take a knife and run around each loaf of bread to loosen from the sides of the pan. Take the bread out and cool on a cooling rack.

This is an oldie but goodie recipe.

Why change perfection?

Enjoy!

Becky
Poppy Seed Bread

Ingredients:

3 cups flour

1 1/2 teaspoon salt

1 1/2 teaspoon baking powder

2 1/4 cups sugar

1 1/2 tablespoon poppy seed

1 1/2 cup milk

1 1/8 cup oil

3 eggs

1 1/2 teaspoon vanilla

1 1/2 teaspoon almond flavoring

1 1/2 teaspoon butter flavoring

Glaze:

1/2 cup orange juice

3/4 cup sugar

1/2 teaspoon vanilla

1/2 teaspoon almond flavoring

1/2 teaspoon butter flavoring

Heat up glaze ingredients in a small sauce pan until the sugar is dissolved. When the bread is still warm from the oven, pour glaze over each loaf.

Directions for the bread:

Preheat oven to 350 degrees

In a large bowl mix together flour, salt, baking powder, sugar and poppy seeds. Add oil, milk, eggs and almond, vanilla, and butter flavoring.

Mix the dry and wet ingredients together until all the dry ingredients are moisten.

Pour batter equally into 2 regular size loaf pans or 5 small loaf pans.

If you are baking regualr size loaves, bake for 30 to 40 minuts. If you are baking smaller size loaves, bake until the center comes out clean when tested with a tooth pick or cake tester, aprox. 20 to 25 minutes.


Velveeta Cheese Soup

It is time to pull out the soup pot! Cold weather has hit good ole Missouri and what better way to warm your toe-sies than to eat some soup. My PIC (sister in law) emailed me today to get my recipe for cheese soup. OOOOwww that sounded good. I had not even thought of making soup tonight for dinner. I was set on making pigs in a blanket. Those piggies have got to wait till tomorrow for lunch, cause soup is on the menu.

What makes this soup so convenient to make is that you probably have most of the ingredients in your pantry. I did stop on my way home from work and buy the frozen veggies just cause I did not want to do a freezer dive to find some. (okay…give me a break…it is Friday right?) I did find some on sale for a dollar a piece to redeem myself. I even froze the leftover for my next soup inspired night.

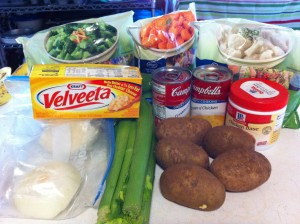
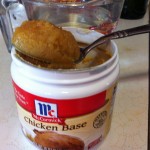
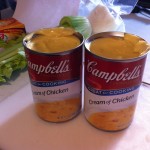
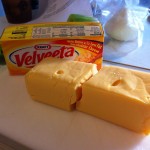
You will need some onions, celery, potatoes, milk, cream of chicken soup, chicken bouillon, velveeta and frozen carrots, broccoli and cauliflower. Oh and I forgot 4 cups of water : ).  I substituted chicken base for bouilon because that is what I had, and it worked great. I had two half onions left over from something else and celery already in the fridge.


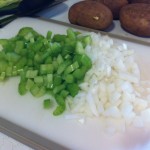
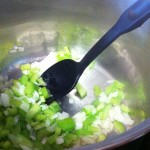
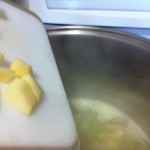
First thing you need to do is heat some oil in the bottom of your stock pot (I used olive oil). Next chop up the celery and onions. Add the celery and onions to the hot oil and saute until the onions are translucent.


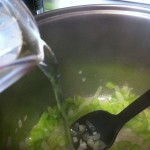
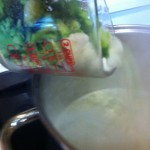
Slowly pour 4 cups of water in to the pot with the onions and celery. Next add the bouillon (I used a dallop of chicken base). Then bring the stock to a simmer.

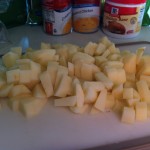
Now it is time to dice the potatoes.


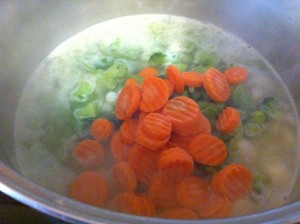
Once the stock in simmering add the diced potatoes and the frozen vegetables.

We are over half way there!

Simmer everything in the soup pot until the vegetables are slightly fork dinner.


Next, stir in the cream of chicken soup, the diced velveeta and the milk.

Ok…stop drolling….in just a minute you can eat some.

Gently stir the cheese  until it is melted.

That’s it! It is time to eat!

This soup really hit the spot! So much so I took a picture of it and sent it to PIC (sister in law) and said, “look what we are having for dinner.”

 She texted back and said, “U R Evil,”

 I felt so bad I sent her a picture of my second bowl.  

It makes up for the picture she sent me of ribs on the grill my brother made a couple of weeks ago.

All is fair in soup and grill.

Enjoy this recipe! 

Becky

Velveeta Cheese Soup 

Ingredients:

4 cups water

4 chicken bouillons cubes

1 cup chopped onions

1 cup chopped celery

1 pound Velveeta cheese

2 cans cream of chicken soup

1 cup milk

2 1/2 cup diced potatoes

1 box frozen cauliflower

1 box frozen broccoli

1 box frozen carrots

Directions:

Saute onions and celery in a small amount of oil in the bottom of a stock pot. Saute’ until the onions are translucent. Slowly pour in water. Add chicken bouillon. Bring mixture to a simmer. Add in diced potatoes and frozen broccoli, cauliflower and carrots. Simmer the vegetables until they  are almost fork tender. Stir in cream of chicken soup and diced velveeta cheese. Gently stir until the cheese is melted. Pour in the milk and stir to combine.

Serves 6 to 8.

Baking Powder Biscuits

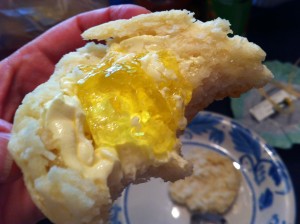
At the Ladies Day at church, I won some jelly. Not just any jelly. I won corn cob jelly. Well, it was the jelly that no one else wanted at my table. Maybe it was the yellow color tinged with green. Or, that it was made from left over corn cobs.

Sounds yummy right?

I have never tried corn cob jelly and have hardly seen it before. I felt like I had stepped back in time when I seen the name. I wanted it!

When you have a special jelly, made by special ladies, you need to make something special to put it on. It was time to make some home made baking powder biscuits.

This biscuit recipe is my “go to” biscuit recipe. It works when, I am camping, on vacation and it works every time in my kitchen when I want to make my family a special breakfast. Today, they do not know that they will be putting corn cob jelly on their biscuits. I made bacon to bribe them with, eggs too, and lets not forget to mention gravy. I had this in the bag!

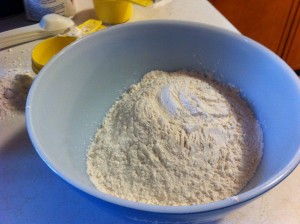
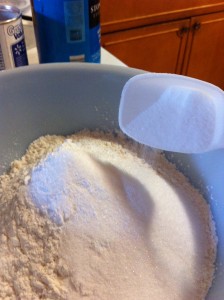
First thing you need to do is measure the flour and put it in a medium size bowl.

Next, add in the baking powder, salt and sugar. Stir to combine.


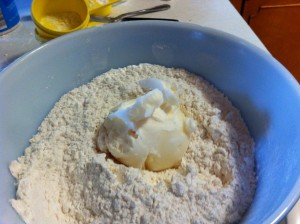
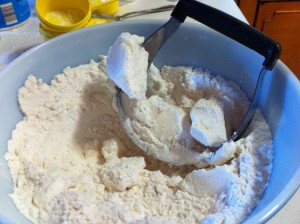
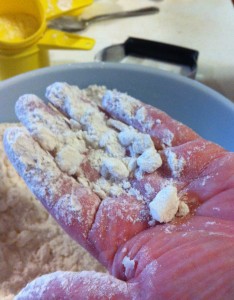
Next measure the shortening and take a pastry cutter and cut the shortening into small pea size pieces.

Did you know that each one of these pieces of shortening make a flake?


Now, add the milk. Stir, until all the flour is moisten. Take the dough and put it on a floured surface. I just use my kitchen counter.


Knead the dough about 20 times. Roll the dough to about 1 inch thick.


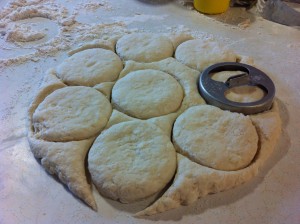
Cut out the dough with a biscuit cutter. I found this old very large biscuit cutter. It was perfect for cutting out this monster biscuits.

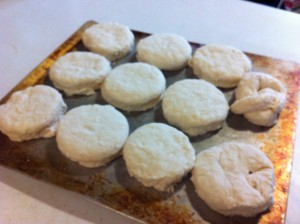
Place the biscuits on a cookie sheet The two misshapen biscuits are made from the left over dough. I call these my “taste tester” biscuits.


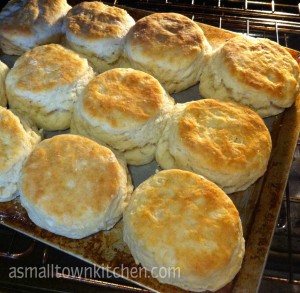
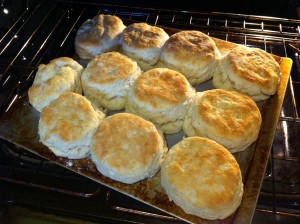
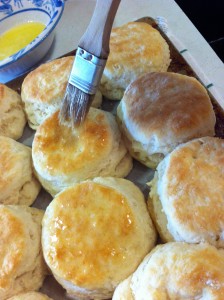
Place biscuits in the oven and bake for 15 minutes at 400 degrees or until they are a golden brown. I always brush melted butter on the top. Can you see my reflection?

Now, it was time to try the corn cob jelly.

Does anyone want some butter to go with their CORN cob jelly?

My girls said no, and asked to pass them the grape jelly. My son tried it and said it tasted better before it was on his biscuit.

City kids!!!

I went ahead and let them eat some bacon and eggs and even some gravy anyway.

I really liked it! I don’t have to share it now, either.

It is fun to try something new, even if it’s yellow and made out of left overs : )!

Enjoy!

Becky
Baking Powder Biscuit Recipe

Ingredients

I doubled the recipe when I made these

2 cups of flour

1 tablespoon baking powder

1 teaspoon salt

1 tablespoon sugar

1/2 cup shortening

3/4 cup milk

Directions:

Mix flour, baking powder, salt and sugar together. Add shortening. With a pastry cutter, cut the shortening into small pieces.

Add milk and stir until all the flour mixture is moisten. Be careful to not over stir.

Put dough onto floured surface and knead about 20 times.

Roll dough out to about 1 inch thick. Using a biscuit cutter (my grandma used a cup) cut the biscuts.

Place them, barely touching each other, onto a cookie sheet.

Bake at 400 degrees for 15 minutes or until golden brown.

Key Lime Cake

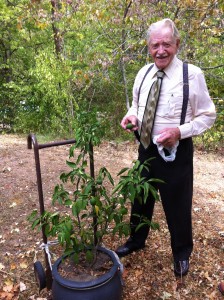
      You are never to old to plant a lime tree. My 94 year old dad proved that by planting a lime tree 6 years ago. On a family vacation to Florida six years ago, my dad bought a little lime tree that came in a box at a souvenir shop. He carried that little box home and told everyone he was going to plant a lime tree. We did not remind him that we live in Missouri, and lime trees do not exactly grow in Missouri. Anywho, my dad planted this little tree in a pot and six years later…..ShaZaam…he has limes.


He hauled his lime tree outside in the summer and hauled it back inside in the winter….for six years. Last year he had four limes, but this year

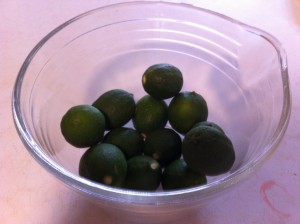
he had about a dozen. Guess who got the limes……yeppers….me!

Now, that I had Dad’s limes, I needed to find a great recipe using lime juice. I had recently watched a show featuring Trisha Yearwood’s lime cake. Ding, Ding, Ding..lime cake it is.

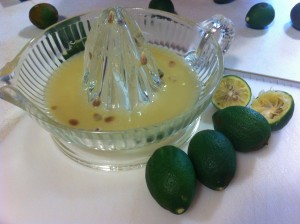
First, for the glaze,  you need to squeze the limes to get the juice out. You might try microwaving them for 10 seconds and then rolling them on the table before squeezing to get more juice out. I still needed to buy more lime juice at the store to make up the difference. Save the juice to make the glaze.

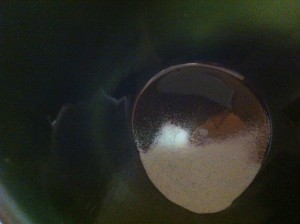
In a mixing bowl, add lime jello. Then add the sugar to the lime jello. See that little speck of green…that is the lime jello : )

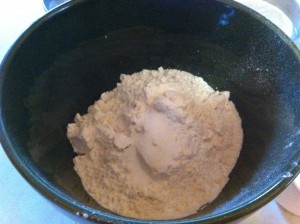
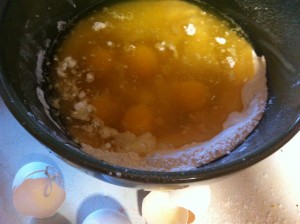
Next, add the flour, salt, baking powder and baking soda. Stir and mix well. Next, add the eggs, oil, orange juice, lime juice and vanilla.

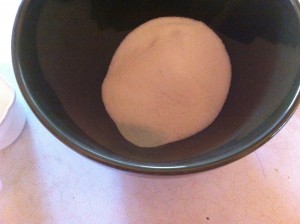
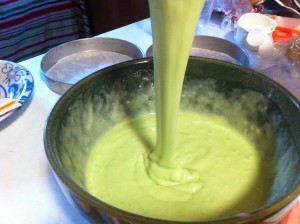
Next, mix together until combined. Don’t you love the green color from the lime jello??

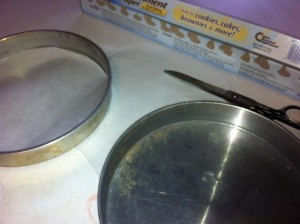
Prepare your pans. You can bake this cake in a 9 by 12 sheet cake pan or bake it in two layer pans. Since we were celebrating Dad’ harvest from his lime tree, I decided to make a layered cake. I alway spray my pans lightly with a vegetable spray and cover the bottom of the pans with parchment paper. I never have to worry about losing half my cake from geting stuck in the pan.

Put even amounts of batter into each pan. Place in a preheated 350 degree oven and bake for 35 minutes.

While the cake is baking, it is now time to get out all that lime juice.. In a mixing bowl, mix the lime juice and confectioners sugar together. I had to microwave mine to get all the sugar to dissolve.

When the cakes come out of the oven, cool the cakes for 5 minutes. Remove cakes from pans and place on a cooling rack.

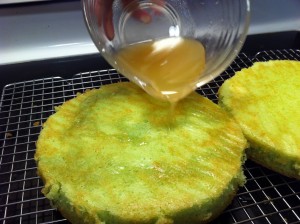
While cake is still warm, pierce the cake with a fork or skewer and pour the glaze over the cakes. Allow cakes to cool completely.

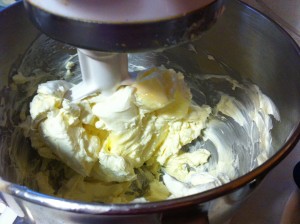
Time to make the cream cheese icing. Cream the butter and cream cheese together in a mixing bowl.

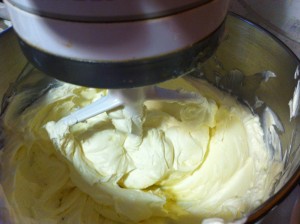
After you are finished creaming them together, add the powdered sugar.

Almost done!!! Time to ice the cake.

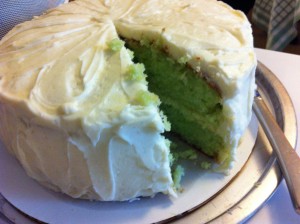
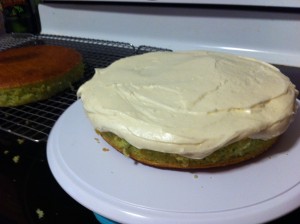
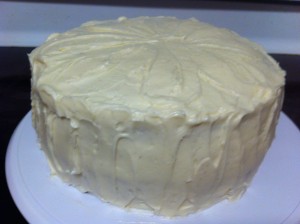
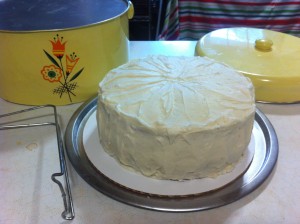
I always ice a cake passed the edge of the cake. It makes it easier to ice the sides. Place the other cake on top, and ice top and sides.  All finished!

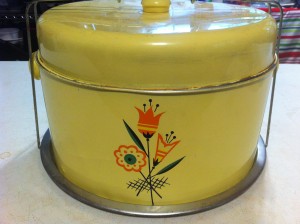
Now, it was time to pack up the cake and take it to Mom’s and Dad’s for our dessert. My Dad bought me an antique cake carrier for Christmas, and it was perfect to take the cake for the drive to Mom’s and Dad’s.

All packed up! Kinda like putting a baby in a car seat : )

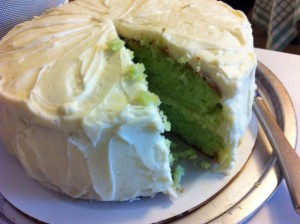
Who gets the first piece?

Dad does!

Key Lime Cake recipe adapted from Trisha Yearwood’s recipe

Ingredients:

For the Cake:

1 – three ounce package of lime flavored gelatin

1 1/3 cup of sugar

2 cups sifted all purpose flor

1/2 teaspoon salt

1 teaspoon baking powder

1 teaspoon baking soda

1 cup vegetable oil

3/4 cup orange juice

1 tablespoon lime juice

1/2 teaspoon vanilla extract

5 large eggs, slightly beaten

For the Glaze:

1/2 cup key lime juice (it takes about 25 key limes or 4 large limes)

1/2 cup confectioners sugar

For the Icing:

1/2 cup butter at room temperature

one 8 ounce package of cream cheese room temperature

one pound box confectioner’s sugar

NOTE: I doubled the icing recipe because I was making a layered cake. I did have left over icing so try making 1 and 1/2 recipes of icing)

Directions:

Preheat oven to 350 degrees

In a large mixing bowl, mix the gelatin, granulated sugar, flour, salt baking powder and soda. Stir to mix well. Add the oil, orange juice, lime juice, vanilla and eggs. Mix until well combined. Pour the batter evenly i the pan and bake for 35 minutes. Be sure and check you cake often at the end, the cake tends to get very brown on top. When done, cool the cake in the pan for about 5 minutes and then place on a cooling rack.

For the glaze: While the cake is still hot, mix the lime juice and confectioners sugar together. If you are having a hard time getting the sugar to dissolve try microwaving the glaze for a minute. Pierce the cake and while the cake is hot, pour the glaze over the layers. Let cool completely.

For the icing: Cream the butter and cream cheese. Beat in the confectioners sugar until mixture is smooth. (I added some vanilla paste, just cause I love those little specks of vanilla beans). Spread the icing on the top of the bottom layer of cake. Place the top layer on and ice the top and sides.

This cake was moist and tangyingly good! So different and so divine!

Pucker up with lime cake!

Enjoy,

Becky
Related Posts Plugin for WordPress, Blogger...