Fried Turkey Day Throw-Down


 I am so full!

I have eaten so much turkey, I am surprised I am not growing feathers.

 Gobble….burp…..gobble….. oops, excuse me.

Yesterday on Turkey Day, aka, Thanksgiving,  my brother and I had our annual fried turkey throw down. We scheme and plot and try to beat each other, as we force our family to decide who made the better tasting fried turkey. We do this every Turkey Day. It is all in good fun, except if somehow, someone burns your turkey, cough cough……. that one time, a few years ago, was an accident….I think…: )

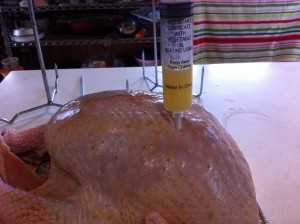
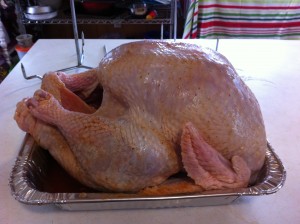
I already bought my turkey, I just had to send my son out to get my secret ingredients. I spent an hour rinsing, seasoning and injecting my turkey with taste busting flavors.

It is like pretending to be a mad scientist!

I think I have it already for the fryer.


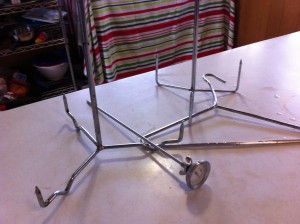
Had to hunt up all the gizmos that go with the fryer. 2 claws to put the turkeys in the hot oil, thermometer to check the oil temperature and the hanger to pull out the turkeys. I also had to talk my son into cleaning the fryer. I ran back inside the house before he sprayed me with water!

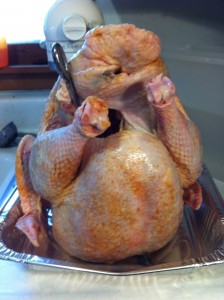
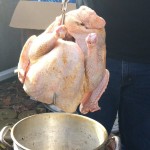
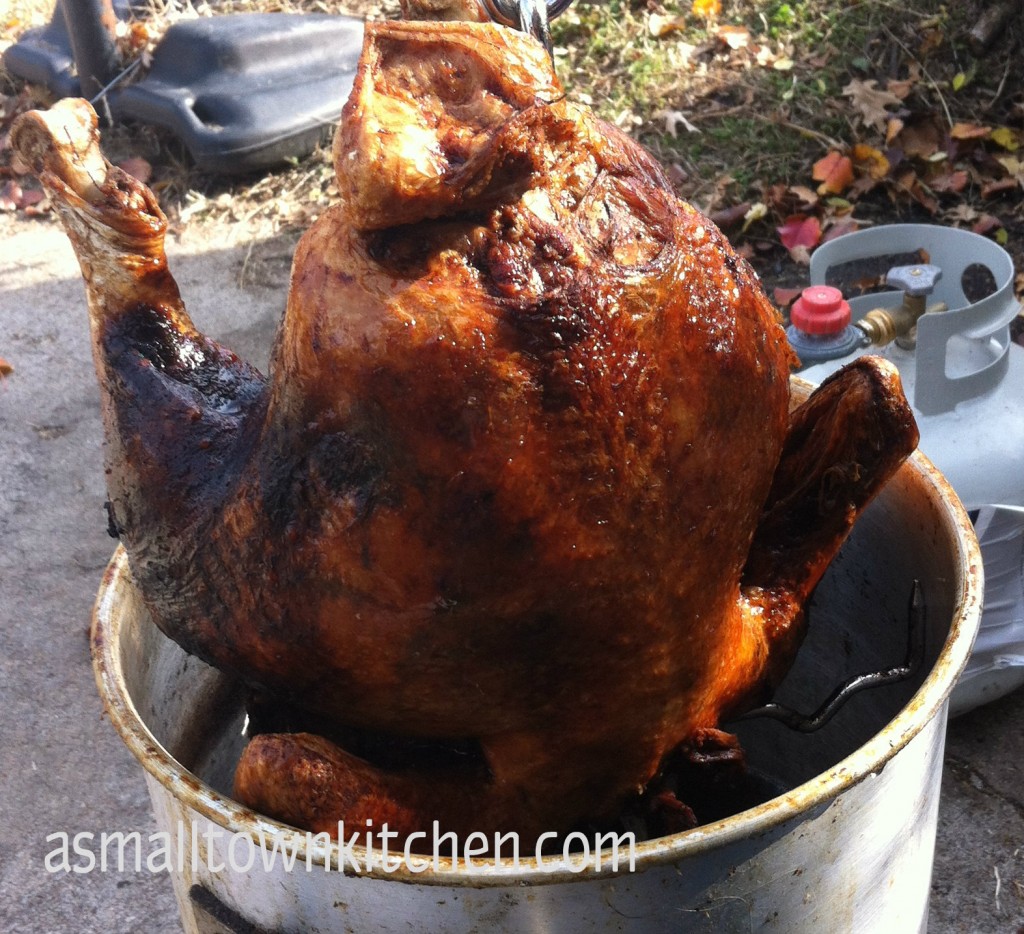
Here is my turkey, hung up, ready for the fryer.

I never get to see my brother’s turkey before he puts his in the hot oil. He hides it in a cooler and when I have my back turned he puts his turkey in the hot oil. Is he afraid I will find out his secret recipe??? Maybe next year I need to a surveillance camera!


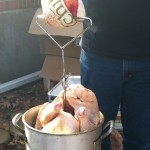
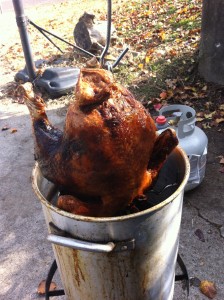
Here is my brother very slowly putting my turkey in the hot oil.


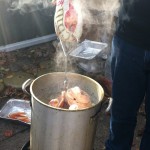
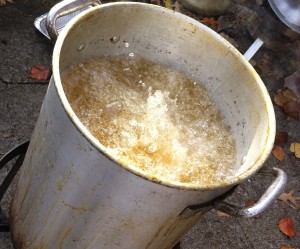
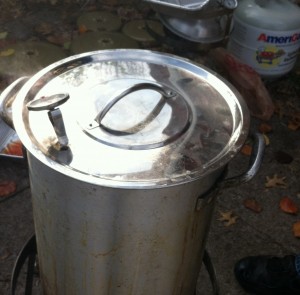
The turkey is all covered in hot peanut oil. You put a lid on it and watch it closely, keeping an eye out on the temperature of the oil and and the gas flame underneath. You fry the turkey for 3 1/2 minutes per pound. My turkey was 15 pounds, so it was fried for approximately 50 minutes, or until the internal temperature is 170 degrees. The internal temperature continued to rise after it was out of the oil until it reached 180 degrees.


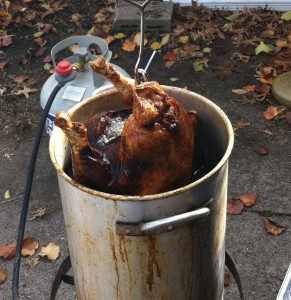
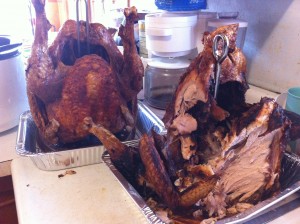
There it is! The skin is all crispy, which keeps the meat inside all juicy.

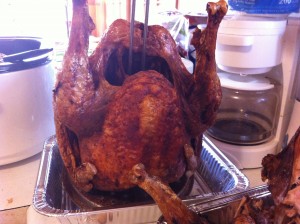
Here is my brother’s turkey. It is a very pretty bird…. I wonder if it has any flavor….(this is a competition, you know.)

My turkey is in the front. Looks like everyone wanted to eat my turkey instead of my brother’s….sorry Robert! But, truthfully, mine was done when we were eating and Robert was still frying his. So, nobody had a chance to sample his….yet.

Robert’s turkey was really good (as always)….mine was the best testing one…that I have ever made, so far. : )

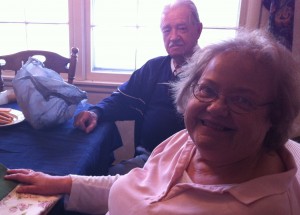
We let our Dad decide who the winner was…

We both waited in anticipation…..Dad tasted mine first…then Roberts…..

Our Dad was enjoying this!

He smailed and said,” he could not pick a winner.”

It was a tie!

Dad did take a second bite of mine….hehe….then a second bite of Roberts….

It was still a tie….as it should be!

Just want to give a word of caution if you try frying your own turkey. It is tons of fun and it smells and taste delicious, but you are dealing with a gallon and a half of hot oil and a wet bird. If you put too much oil in the pot and the oil boils over and hits the flames, it will catch on fire. I had the driveway free of leaves, but the wind was blowing on Turkey Day so a few leaves did start appearing . An adult was with the fryer the whole time the gas burner was on. I did have two cardboard boxes in the corner of the driveway that was ready for recycling and we were keeping an eye on those too.

Be safe and read all the safety tips when frying your turkey at home. It might become a family tradition, just like us!

Even if we tie every year!!

Hope you had a great Turkey Day!

Becky
Reminding Myself to be Thankfull

All I wanted this morning was a pair of matching socks to wear to work.

I did not think it would be that hard to find a pair. My oldest daughter had just done my laundry. I had socks galore. The only problem was, they were still wet this morning. Since I do not like my clothes dried all the way, and prefer to hang up my clothes, damp on the hanger to dry, my socks did not get completely dry. In fact they were just plain wet.

I was not wearing wet socks to work.

So….I had to look for a older pair of socks in my drawer….that matched.

I don’t know why I am so hung up on the matching sock thing. The stores sell mis-matched socks now. They are called Little Mismatched. I have even bought some for my nieces for Christmas. So, why am I worried if my black socks are out of one weave and the other black one has a gold toe. I just am.

It is kinda like holes in your jeans. When I was growing up (back in the covered wagon days) if you wore ripped jeans to school it would mean that you could not afford a better pair. Now, you pay top dollar for a pair of “distressed” jeans. I watched a video on how jeans were made recently. They pay workers to destress jeans and actually put them in a big washer full of rocks to further destress them. No lie!! How Jeans Are Made is the video. The last few minutes of the video show workers sanding down jeans, then using a lazer dye machine on them and lastly throwing them in a big washer with volcanic rock. Think about that next time you plunk down your credit card for a pair of worn out jeans.

I still bought a pair of (spandex) skinny jeans. : )

Socks are different.

Maybe, it is because growing up with two sisters, matching socks were hard to come buy. Knee socks were very popular but hard to find too. Somehow, I always got the socks in the bottom of the clothes basket.

The cast offs, the mismatched. The socks that started to lose it elasticity and would creep down your calf as you walked. A sure sign that you probably had holes in your socks too. Is there anyone out there who ever took a rubber band and put it at the top of a pair of knee socks to keep them up? If you fold the top of the knee sock down just right, you could hide the rubber band under the fold.

Where has the time gone?

This morning I took so many things for granted. A warm house, a refrigerator full of food, a car to get to me to work….having a job and matching socks.

I should have been thankful I had a pair.

Gee…I sometimes hate when I need to learn a lesson.

It was time to go to work. The bells at school do not stop ringing just because I could not find dry socks.

So, I found a pair of somewhat matching socks.

And,  decided to be thankful I only had a hole in one sock instead of two.

I am truly blessed!

Becky


Vacancy at Snowman Village

I think there is a vacancy over here at Snowman Village……I would suggest you bring a coat too : )

Every year since I became a teacher, my department has donated gingerbread houses to the local Holiday Inn. Our houses are added to their houses (created by their chef) to become one large gingerbread house display. The houses on are display in their lobby along with their big Christmas Tree.

I did not start adding houses until last year. Last year’s theme (we always have a theme) was local landmarks.  I made a replica of the old bus station and a outdoor theater. If I can find the pictures I will post them later for you to see. This year our theme was kinda a woodland theme….not a real specific name. Three members of the club I co-sponsored each made a house. Two were very cute!


One got caught in an avalance(of students) . It got swept off it’s base. We are going to try to repair it next week.

 I delivered the other two houses, forgeting to get pictures first. Drats!!! I will get pictures as soon as they are on display at Holiday Inn.

 For my houses I decided to do a Village with little trees sitting around. (that is the woodland part).

I was not sure exactly what I was doing. I just started cutting grahm crackers and icing them to gether to make an assortment of different size houses. I got a piece of plywood for the Industrial Tech teacher and starting building a little mound in the middle and added some mountains (little hills) on each side. I started adding the houses, then the trees. I made the little lanes and piped icing to put the red hots on. My co-sponsor, Jeanetta came and put all the red hots on and the little lights on the trees. Whew!! Lastly we added the snow people and surrounded the trees with presents.

Here are little houses tucked next to a hill side.


Here are a little bit bigger houses surrounded by trees. Plus little snow people waving at you. You can wave back!


Here are some more close up of the little snow people and their village.

I wish I would have taken pictures of the village in progress from start to finish. Oh well, that is just one thing (among many) that I need to work on.

When all the houses are assembled into one big display, I will post more pictures.

In the meantime, grab some hot chocolate and a jacket and stroll along the red hot lined lanes and visit with the little snow people.

They might even give you a peppermint and a present with your name on it.

If you want to rent a little gingerbread house in the woods….you better hurry before the sign says “No Vacancies.”

This was my FACS Teacher week in review!

Becky

Let’s Make Granola!

I can always tell when I have bought too many great holiday cooking magazines.

I am on recipe overload.

It happens to me this time every year.

I am looking for yummy recipes to make for my annual goodie trays I make each year as gifts. I like to change it up a bit and make at least one new tasty treat to add each year . When I was looking at bread, candy and pies recipes, I kept running across granola recipes.

Who makes their own granola anyway?

When I ran across another granola recipe, and this one had cranberries and dark chocolate chips added in, I decided I might have to give it a try. I looked up several recipes and started comparing them. I had no clue you could make granola so many different ways. I decided to put two recipes together to make one that had the, “right goodie,” combination I was looking for.

Buyer beware. Homemade granola is not cheap to make. My biggest expense was the honey and maple syrup. I went to the local natural health food store to purchase most of my items. I spent almost $33. Did you faint? Do you need some smelling salts???? The cost sounds worse than it really is. I only used 1/4 cup of the maple syrup that I paid a little over $10 for. I used 1 cup of the honey I paid almost $13 for. I have enough left over for 3 more batches. I also have enough of everything else for one more batch. BUT, I already had most of the nuts at home in the freezer. So, the cost does not include the almonds, pecans and walnuts or even the chocolate chips.

I can tell you, my oldest daughter who does not cook, loved it. My oldest grand girl loved it. I took a mason jar full of granola to work today for a gift because it just looks so good. It also makes at least 12 cups of granola. Enough for you to hide a couple of cups to keep all for yourself.

Are you tempted to make some yet?

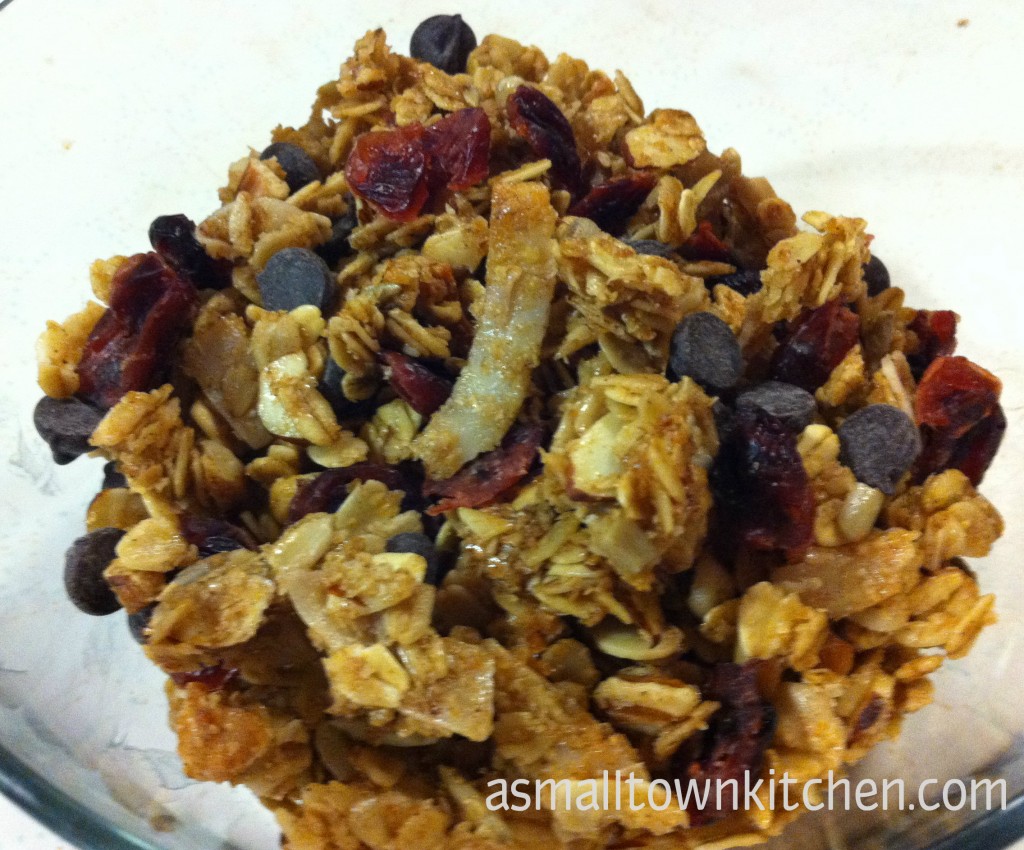
Does eating warm, fresh granola right out the oven convince you?

Look how easy it is, and maybe you will answer yes. Here is how you make it.


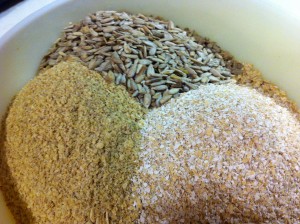
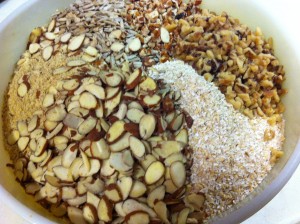
In a large bowl or container (I had to switch to a bigger one) measure out the rolled oats, sunflower seeds, coconut, wheat germ and oat bran. Next add the combination of nuts you want to use. I used a cup each of almonds, pecans and walnuts. You could use all one kind of nut if you want to.


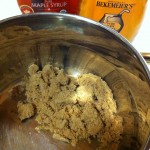
In a sauce pan, measure out the brown sugar, honey, maple syrup, salt, vanilla and cinnamon.


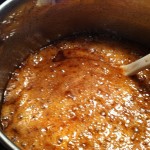
Pour oil in the sauce pan and stir. Bring to a complete boil.

Pour the hot, bubbly mixture over the oat mixture. Stir, Stir, Stir until all the little oat pieces are coated.

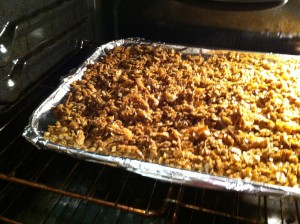
Take half of the granola mixture and spread out on a large foil lined baking sheet. Bake at 300 degrees for 10 minutes and stir. Bake another 10 minutes and stir and bake an additional 2 to 3 minutes dependant on how dark you want it. Be careful, right now, you can over cook this really easily. The oats will harded when they cool off. 

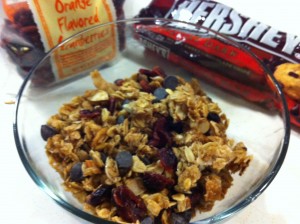
When the granola cools completely add some raisins or cranberries (or any other sweetened dried fruit) and some chocolate chips. This time I used dark chocolate chips. You can also leave these out. Have fun and just eat it how you like it.

Have I convinced you to make some yet??? or do you think I am a nut and a flake…..

Homemade Granola Recipe

Ingredients:

8 cups of rolled oats

1 1/2 cups of wheat germ

1 1/2 cup oat bran

1 1/2 cup fancy shredded dried coconut

1 cup sunflower seeds

1 cup finely chopped almonds

1 cup finely chopped walnuts

1 cup finely chopped pecans

1 1/2 teaspoon salt

1/2 cup brown sugar

1/4 cup maple syrup

3/4 cup honey

1 cup vegetable oil

2 tablespoons cinnamon

2 tablespoons vanilla

2 cups sweetened dried cranberries or raisins

1 to 2  package of dark chocolate chips

Directioins:

In a large container mix together oats, wheat germ, oat bran, coconut, sunflower seeds, pecans, walnuts and almonds.

In a sauce pan measure in, brown sugar, honey, maple syrup, cinnamon, salt, vanilla and oil. Bring to a full boil stirring constantly.

Pour over the oat mixture and stir together.

Preheat oven to 300 degrees.

In a large foil lined cookie sheet, spread half of the granola mixture out and bake for 20 to 25 mintues. Be sure and stir ever 10 minutes.

Do not overcook. Granola will harden when it cools.

Cool completely

Add cranberries and chocolate chips.

Enjoy!!

Becky

My Mom’s Turnips

If you read my earlier post here, you already know that I went to The Old Home Place with my parents last week. Before the big trip we always discuss the most important things we need to take. Forget about tools for taking down the door, or toilet paper for the fancy two-seater outhouse or maybe some wet wipes.

 No, we worry more about whats for lunch.

Mom said Aunt Lily was making stew and if we were lucky enough to have Aunt Corene come, we might even get one of her famous apple pies. I asked Mom what she was bringing. I was thinking maybe her yummy sugar cookies.

She said turnips.

Uhmmmm….turmips!

I have never seen my mom make turnips in my life.

Just like fried chicken. My mom does not eat chicken, so why would she waste good crisco for frying chicken. That is what the Colonel is for. With his 11 herbs and spices fried to perfection, why would my mom bother. Instead she will take a all beef hot dog with a side of ketchup.

She brought all beef hot dogs too….just in case her sisters brought mystery meat from the farm. You know…squirrel, deer, wild turkey maybe a raccoon. Ok, maybe not a raccoon but a rabbit, yes. Maybe I should bring a pack of all beef hot dogs too or stop and pay the Colonel a visit.

Anywho, back to the turnips.

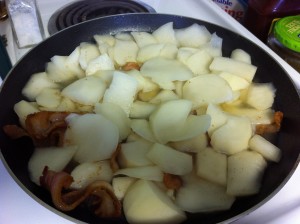
Mom had fresh farm turnips from a farmer at church to bring and cook for us. She brought  four slices of thick slab bacon too. Everything taste better with bacon right? This is sounding better all the time. She was so excited.

The first thing mom did was wash and peel the turnips.

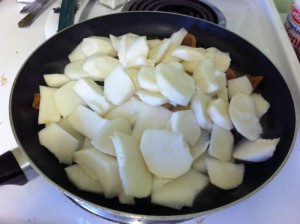
Then she slice them.


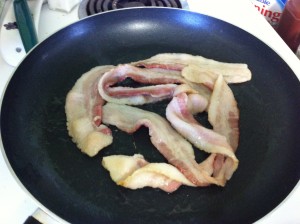
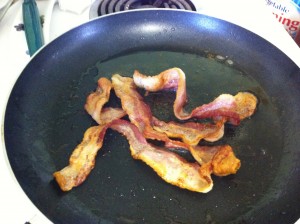
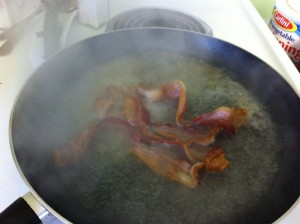
Next, she fried 4 slices of bacon until slightly crispy.

Next, she pour about 1 1/2 cup of hot water into the pan of bacon and bacon grease. Be careful because it will steam up.

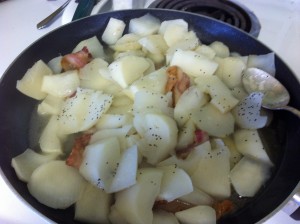
She put her turnips right on top of the water and the bacon.

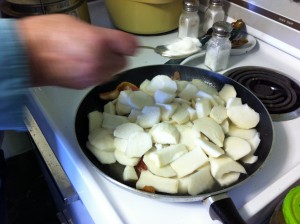
She sprinkled about 2 tablespoons of sugar on top.


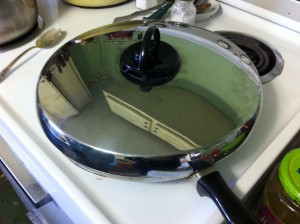
She sprinkled a bit of salt and pepper on top.                         She found a lid that fit and she covered the turnips.


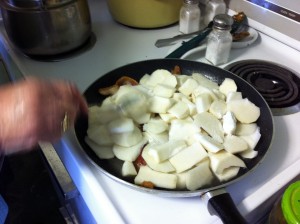
She gave me permission to stir the turnips up a bit and season just a bit more with salt and pepper.

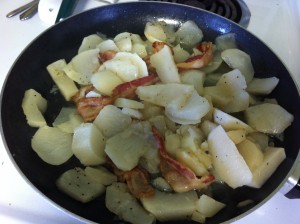
These turnips were looking and smelling pretty good!

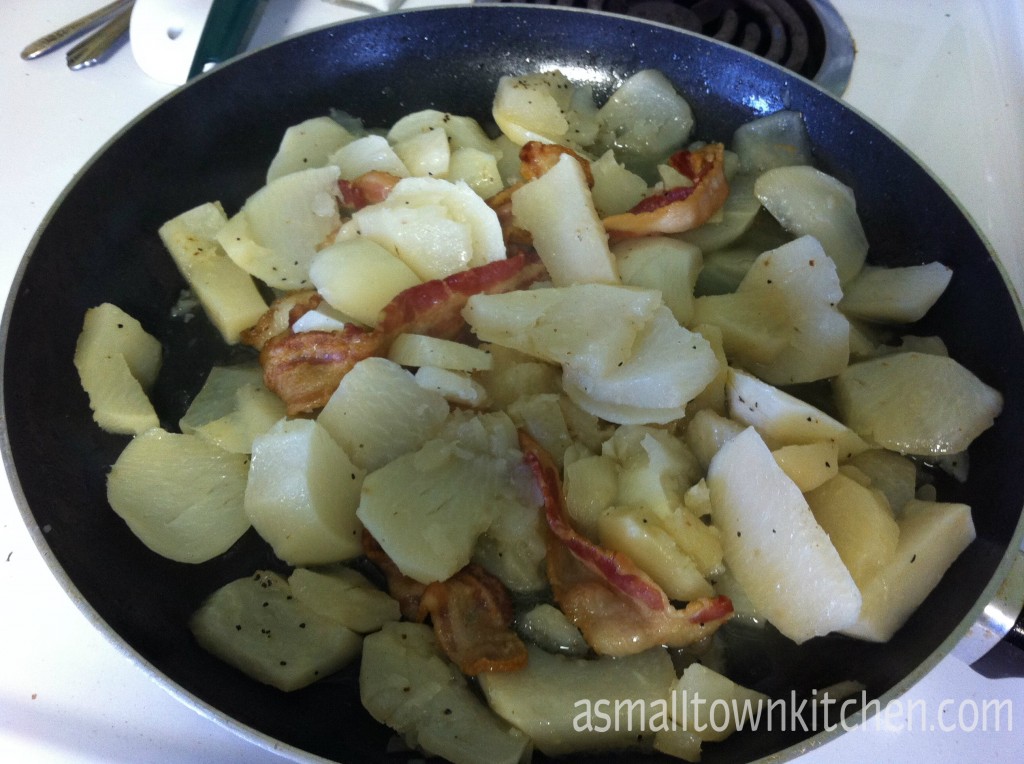
Here they are all done and ready to eat.

I have to tell you…..they were really good!

I was hopeing no one would turnip for dinner so I could eat them all.

Old fashiony simple and good.

Sometimes simple is best!

Becky

My Mom’s Old Fashioned Cooked Turnips with Bacon

Ingredients:

4 large turnips, washed peeled and sliced.

4 slices thick slab bacon

1 1/2 cups of hot water

2 tablespoons sugar

Salt and pepper to taste

Directions:

Fry bacon in large skillet until slightly crispy and the bacon grease if rendered out. Do not cook bacon until the bacon grease turns brown because it will discolor the turnips. Very carefully pour the hot water into the skillet with the bacon and bacon grease. Be careful because it will steam up. Add the sliced turnips. Then add the sugar, salt and pepper. Turn the heat down on the skillet. Put a lid on the turnips and cook until the turnips are slightly translucent and fork tender. Do not cook to long or they will get mushy.

Salt and pepper again to taste if you need to and serve.

Enjoy!

Becky
Playing Hooky On Friday…well not exactly

I had the day off on Friday!!!

I hardly ever take a personal day just for doing something fun!

But I did on Friday.

I woke up and felt like I was playing hooky. I knew it was going to be a great day when I heard,”Da Turdy Point Buck,” song on the radio as I started the car. That song cracks me up every time I hear it. Click on the link and take a listen….you will laugh too!

I was heading to the country with my parents and brother to the old farm house my great grandfather built.

My Mom’s family call it, “The Old Home Place.”

My Mom’s family lived in this house for several years while she was growing up. There is a pond, that they call the “goverment pond.” There is also an old barn, chicken house, ice house and  old turkey house. In a sudden decision, my grandfather sold the house and farm and moved his family to a nearby town. He always regretted it. My Aunt Lily, rents the house now for the family to enjoy. My uncles and aunts, Mom and Dad have been fixing this house up for the next generation to enjoy.

I guess that means me, my brother and sisters and my 50 to 60 cousins. I come from a large country family.

Today, I get to help decorate the house for Aunt Lily’s annual family Christmas party. There will be some cleaning to do too. We also have to tell the mice that they are not invited.

To get there we have to open the cattle gate and drive down a narrow road through the cow pasture.

My oldest daughter let me borrow her Jeep Cherokee even though she hates driving my car. We needed her tall vehicle and maybe four wheel drive to get through the pasture. I am so glad my brother is driving. If something happened to her car I could always blame him. Sorry, Robert! No worries, we made it, past the ditch, the washed out road, the cow patties and safely to, The Old Home Place.

When we got there and opened the door Aunt Lily was already at work.  I wanted to run back out side!  The inside of the house smelled like something had died in it! My eyes where even burning. Yikes! Get me out of here and open the door. Aunt Lily told us that the refrigerator had quit and everything was spoiled inside it. That fridge had to go.

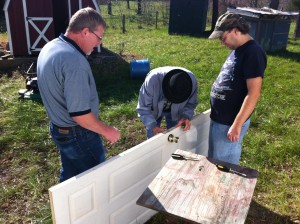
Thank goodness my little 6 ft 2 brother came with us. He had the fridge out in no time. At least that was after he almost had to take the door off, move a table and take the door knob off the door to get it out.

There is it! PEEEUUU

Now all the men just have have to fix the door and the knob. (Brother Robert, Dad and my cousin)

It was time to decorate and get in the Christmas spirit. I tried to sing, Pretty Snowflakes, as I was sweeping little mice droppings.


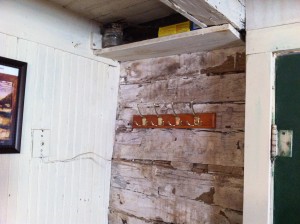
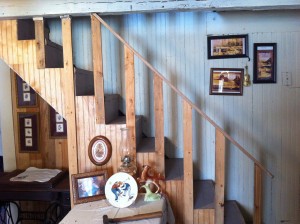
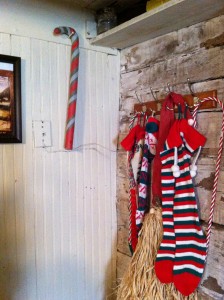
Here is a picture of the original wood logs at the bottom of the stair case.


The narrow stairs lead to the two upstairs bedrooms.


Time to go back downstairs and decorate!


We worked pretty hard all day.


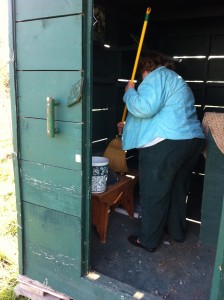
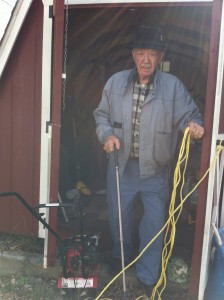
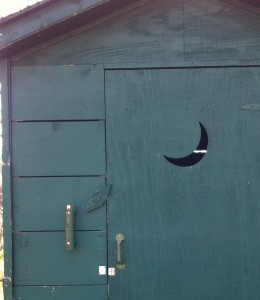
Mom cleaned out the fancy two-seater outhouse. Dad cleaned out the shed.


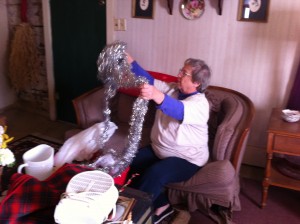
Aunt Lily was busy decorating.                                                              Brother Robert was needed on Christmas lights.

We were starting to get hungry!

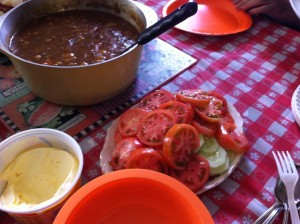
Mom made us cooked turnips, Aunt Lily made stew, I brought some  store bought cookies for lunch.


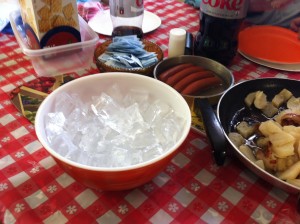
We also had garden tomatoes and cucumbers with a few hot dogs.  We put ice in a bowl from the cooler for our tea.

We had a feast!

Two hours after lunch, this is what it looked like when we got it all done.


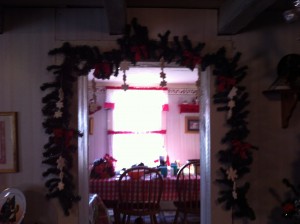
 the Christmas plates are out now.                                                    Sitting down for a much needed rest.

It was about time to go.

Mom, Dad and I walked out to the jeep to leave.

We waited!

And waited!!!!

Finally Brother Robert showed up.

He got locked inside the fancy two-seater outhouse.

OOPS!

I was trying not to laugh.

I was laughing all the way to the cattle gate. Dad got out and closed the gate.

It was the end to a wonderful day at, The Old Home Place!

I just wondered who turned the outside wooden latch on the door of the fancy two-seater outhouse while Robert was paying it a visit.

My guess, it was the mice!

HEE HEE!

Thank you for letting me share my day playing hooky with you!

Becky
 

Easy Crab Rangoons

This past week I did a look through at all the left over ingredients I had in the refrigerators at school. Had lots of ketchup, salad dressings, mustard, a few cans of biscuits (we made microwave monkey bread a few weeks ago),  margarine (I can’t afford real butter on my school budget) a onion, (that I threw out), a carton of milk from the cafeteria (that I drank, don’t worry it was mine) and about 20 boxes of cream cheese. The cream cheese was left over from the 32 cheesecakes we made a couple of weeks ago. You can read about it here 32 Cheesecakes and Counting

What do you do with 20 boxes of left over cream cheese?

I was asking you that! : )

Originally, each kitchen was going to make their own cheesecake. After making so many cheesecakes and getting treated to left over cheesecakes, the students in my class will only eat cheesecake again if it came from The Cheesecake Factory.

I had this easy little recipe for crab rangoons. The students were a little, let’s say, CRABBY, when I mention it. It took a little bit of coaxing, “it’s crab rangoons, or notes and a power point.” Surprisingly they all of sudden were very excited to make crab rangoons!.

Go Figure!

In a bowl mix together softened cream cheese, imitation crab meat, chopped green onion, garlic salt, soy sauce and worcestershire sauce.

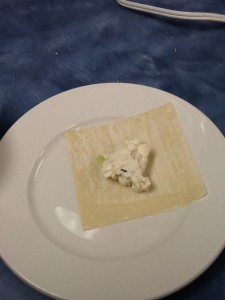
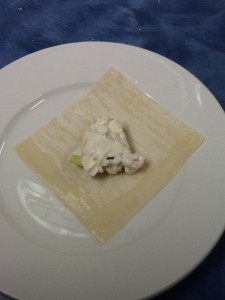
Take a small amount of filling and place it in the middle of a wonton wrapper.

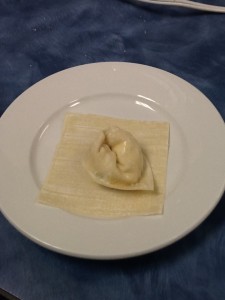
Wet the bottom half corners with water.

Fold over to seal the crab rangoon filling in and press shut. The water works like glue to seal it together.

Wet the two top corners and make a crescent shape out of the crab rangoon and seal the top corners together. Whalaa!!!

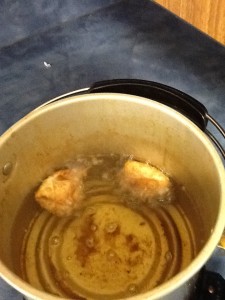
Put them in a deep fat fryer at around 370 degrees. Fry to a nice golden brown.


A little too light……………………………a little too brown………………………..Just Right!

Reminds me of a nursery rhyme.

My little crabs, who did not want to make crab rangoons did not stay crabby for long : )…..relief!

Here is to another week of being a FACS teacher!

I still have 6 boxes of cream cheese left……wonder if I can freeze it?

Becky

Easy Crab Rangoons

Ingredients:

1- 8 ounce package of cream cheese, softened

4 ounces of chopped imitation crab meat

1/2 teaspoon of soy sauce

1/2 teaspoon of worcestershire sauce

dash of garlic powder

1 green onion chopped

1 package of wonton wrappers.

Directions:

Heat vegetable oil to 370 degrees.

Mix the cream cheese, crab meat, soy sauce, worcestershire sauce, garlic powder andgreen onion in a bowl.

Put a small amount of the filling in the middle of the wonton wrapper.

Wet the bottom two corners with water and fold over to seal the edges.

Wet the top two corners with water and curve into a crescent and seal the top two corners together.

Drop carefully into the hot oil and fry until a golden brown.

Serve warm with sweet and sour sauce.

This recipe makes around 30 crab rangoons.

Lastest Coupon Deals

I headed out after work on Tuesday to pick up two last minute couponing deals before the ads changed on Wednesday.

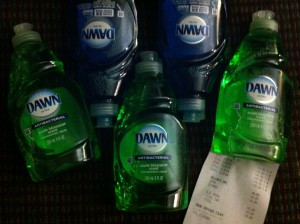
This is what i was able to buy.


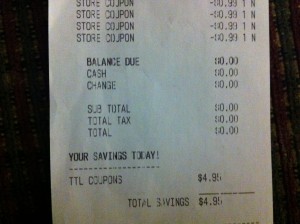
I did a sale price match up with another store and bought 5 Dawn dish washing liquids at 99 cents each. With 5-.50 cent coupons that doubled, I bought all 5 Dawn dish washing liquids for FREE!

Yippee!


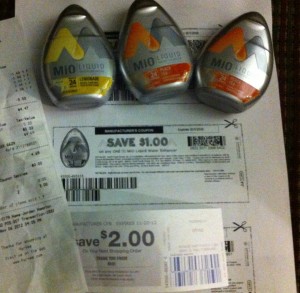
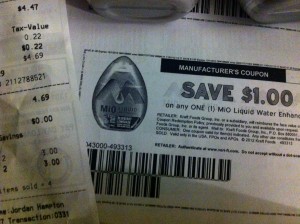
At Hyvee they had a $3.00 off coupon if you bought three Mio water enhancers. I had three coupons I could stack with it. Super Dopper! The problem was, I put two $1.50 coupons in my purse and just got out the $1.00 coupon I printed. In my rush to get out the door and vote before I had to drive across town for meeting for school, I left the $1.00 coupon at home. I looked for 20 minutes in my car in the parking lot over this $1.00 coupon. I found the coupon as soon as I got home. Double Drats!

Oh well….this is how my deal worked. I bought:

3 Mio water enhancers and used 2-$1.50 coupons and a $3.00 Hyvee coupon. Plus when you purchase 3 mios you get a $2.00 catalina to use on your next purchase. So, I paid $4.69 (would have been $3.69 if I had my other coupon) plus I received a $2.00 catalina. The Mios were on sale for $3.49 each, so only paying about $1.56 for each one with out taking into account the $2.00 catalina I recieved at check out,  not too bad.

Now, I can drink a little enhanced water while I use the Dawn dishwashing liquid to wash the dishes…….fun fun…..

I think I need a drink…..of peach tea mio….before I get started.

Becky


Cooking for a Super Hero! Honey Chicken over Rice.

Faster than a speeding bullet…..oops wrong super hero….or comic strip…..It is Captain America!

My son has dressed in many different costumes growing up. My favorite was when he was a Ninja Turtle. It had a green turtle foam back for the shell and it even came with a sword. I still have that costume. I think it fits about a 5 toddler. My son used to draw Ninja Turtles all over the house. He even made ninjas out of clay.

Now, he is ready to fight bigger and more evil bad guys as Captain America.

Don’t tell him he is missing his shield, it might hurt his super powers.

Since my daughter told me I could not go out to eat over the weekend, I needed to see what I could make to feed everyone, especially a super hero, with what groceries I already had at home. I remember seeing a post of a recipe made in a crock pot on a blog  I love to follow. The blog is One hundred dollars a month. The recipes is made in a crock pot. It is super easy to make which makes it even better!

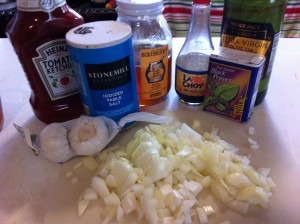
The first thing you need to do is get out all the ingredients.


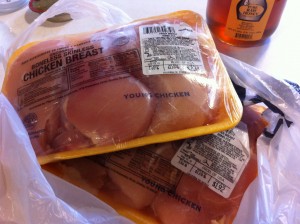
Of course the most important ingredient is the chicken. I used 2 packages of skinless boneless chicken breast I got on sale and put in the freezer. I did thaw the chicken first for this recipe.  I hurried and rough chopped the onion. Onion chopping makes me cry!

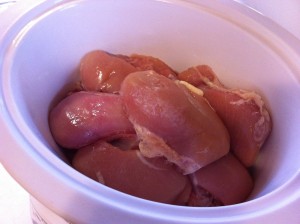
Put the  thawed chicken in the crock pot.


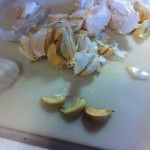
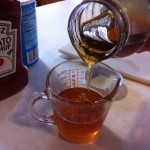
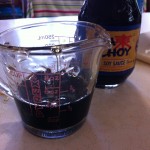
Mince fresh garlic. I did not like the look of mine, so I used garlic powder. Next, measure out the honey and then the soy sauce.

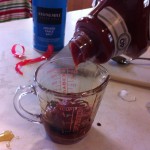
Measure out the ketcup.

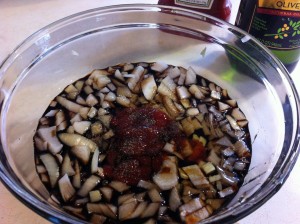
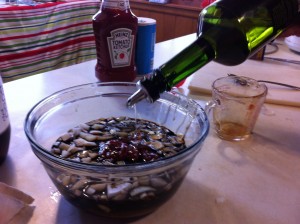
Put onions, honey, soy sauce, garlic and ketchup into a bowl.

Add in the olive oil and some red peppers flakes (if you want a little kick) I conveniently could not find mine….oops..hehe

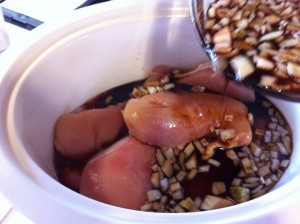
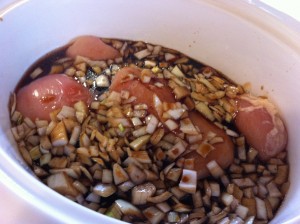
Pour the honey mixture over the chicken.

Put a lid on the crock pot and cook on low for 4 hours.

When the chicken is ready to serve, it is time to make the rice.

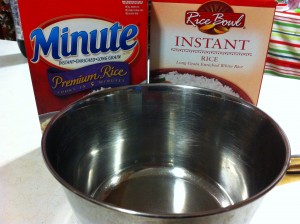
I had a partically used box from Aldi’s and a new box I bought with a coupon. I used two kinds of rice so I finish using the used box. I just followed the directions on the box.

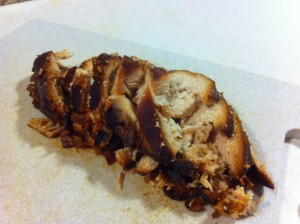
Take the chicken out of the crock pot and slice into bite size pieces.

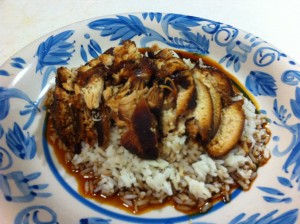
Put it back into the crock pot to get it covered in the honey sauce and pour over the rice.

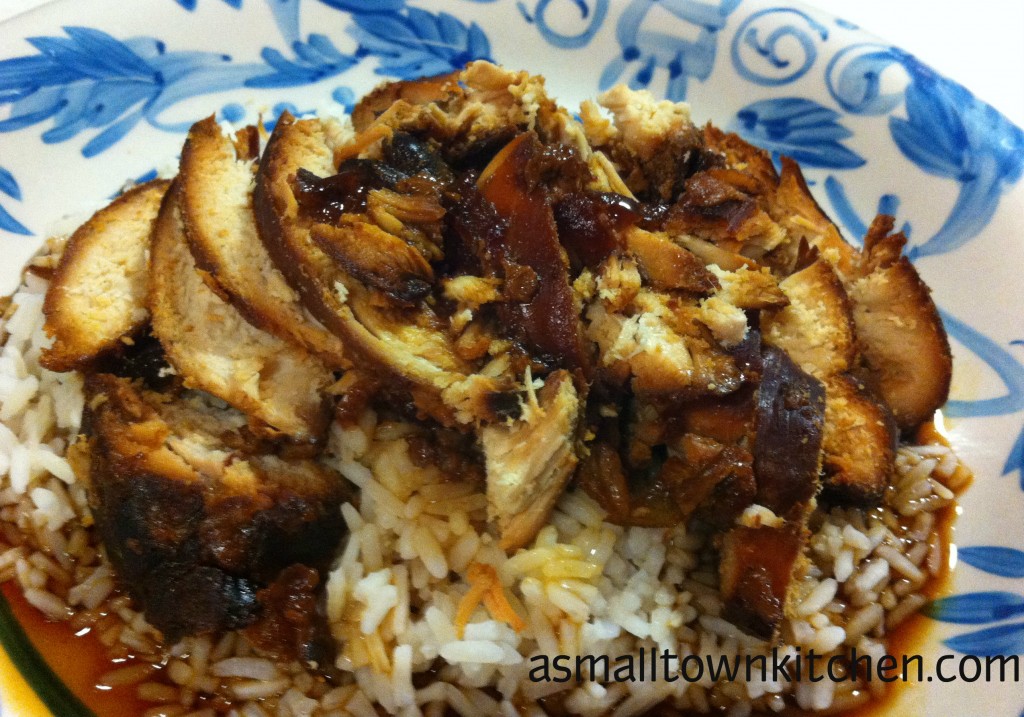
I do want to say a couple of things about this recipe. First, I left mine in the crock pot too long. It was done cooking and the crock pot went to warm for a couple of hours. During this time the chicken absorbed the dark color of the soy sauce. It did not hurt the taste too much. The picture might not look as appealing if I would have taken it out sooner.  Because of that, I almost did not post this recipe.

The only thing that changed my mind was that…..

Captain America ate two helpings and then ate it again as left overs today…….

If a super (picky eater) hero goes backs for seconds, and again as left overs, then this recipe has the power!

One last note, my oldest grand girl took most of the pictures for this recipe. Not too bad for a elementary school grader. She even helped load the dishwasher! Go Grand girl!

I need to go and recharge my lightsaber.

Becky
Honey Chicken over Rice

Ingredients:

4 to 6 skinless boneless chicken breasts

1 small onion chopped

1 cup honey

1/2 cup soy sauce

1/4 cup ketchup

3 cloves of garlic minced

2 tablespoons olive oil

1/2 teaspoon red peper flakes

salt and pepper to taste

Directions:

Lightly salt and peper the chicken. Put the chicken in a crock pot. Mix all the other ingredients together and pour over the chicken. Cook for 3 to 4 hours on low on the crock pot.

Make rice according to package.

When the chicken is done, take it out of the crock pot and slice into bite size pieces. Put chicken back into sauce. Scoop chicken and sauce and pour over rice.


I Wanted To Eat Out BUT Oldest Daughter Told Me NO!

I really wanted to eat out sometime over this last weekend.

I mean, I really wanted to eat out. I did not feel like cooking! I was tired! It was Friday! I was desperate!

I would have even eaten at the all you can eat, not so good, pizza place.

But, oldest daughter told me no……What nerve! : )

Actually,  she told me that she was saving for Christmas and that eating out cost too much money.

How could I argue with that? Eating out does cost more than small change. I was trying to rationalize the cost of cooking at home so I could defend myself if I went out to eat.  mmmm electricity for the kitchen lights, water for the dishwasher….let’s see….even the microwave cost for the little ping sound of the timer. The wear and tear on my socks as I walk in the kitchen making myself something to eat. UGH! this was not working, I was going to have to cook and eat at home.

And I did. Chicken fajitas with blue chips and salsa. I bet you were afraid I would starve. This came from left overs and a can of chicken I had in the cupboard. It was probably better than all you can eat pizza. I bet I will get a hole in my sock from standing in front of the stove. But, it did not cost me a thing.

I guess I probably saved $8.00 instead of going to the, not so good, all you can eat, pizza place.

I did not go out to eat all weekend. I cooked at home and used what I had bought with coupons and items on sale.

I figured I saved another $8.00 for a least one more meal out. I am not talking about high price dinning out. This is like a Subway, Hyvee all you an eat salad bar or maybe a french dip from Arby’s.

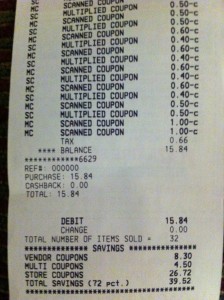
What can you buy with $16.00 at the store with coupons.

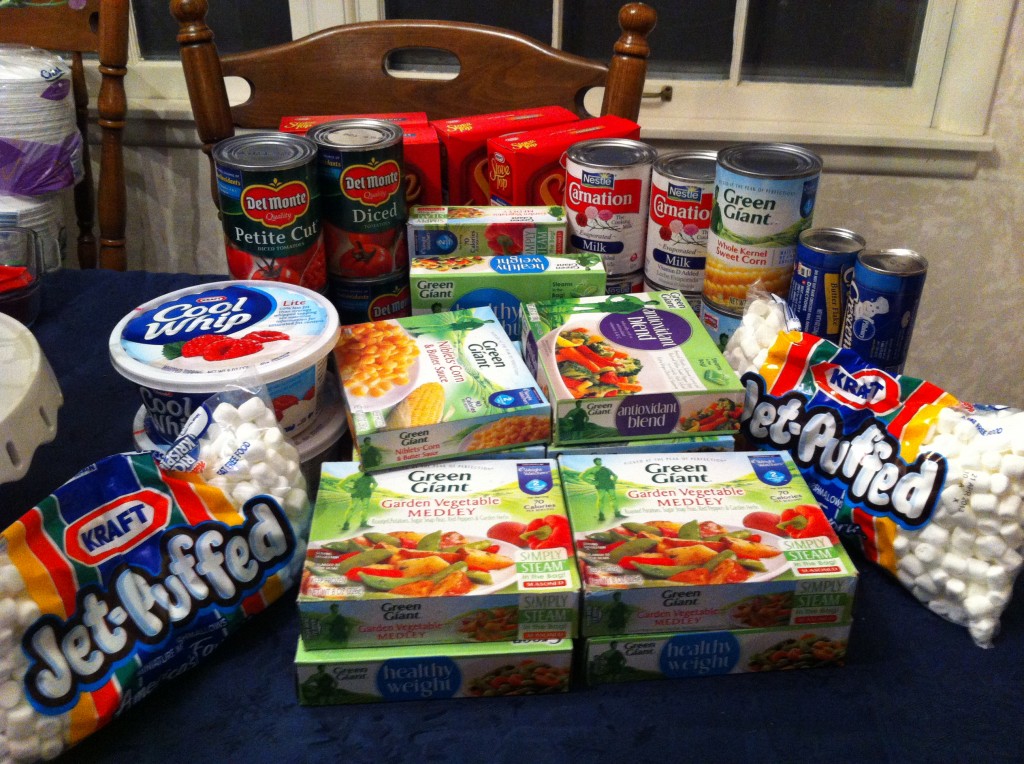
For $15. 84 cents I bought:

4 boxes Stove top stuffings

4  cans Carnation Evaporated milk

4  cans Delmonte diced tomatoes

2 cans of Green Giant Corn

2  bags Jett Puff marshamllows

2 containers of Cool Whip

2 tubes of Cresent rolls

12 boxes of Green Giant frozen veggies

This was a savings of 72%

So instead of eating out, I used the money to pick up a few bargains that I can use at a later date when my oldest daughter tells me No, we are not going out to eat.

By the way…..she just texted me….this is what it says….Ok. I have a bad headache and just dont feel very well. Grabbing McDs for dinner.

What the nerve!!!!

Kids!

Becky


Related Posts Plugin for WordPress, Blogger...