“The Project!”

Have you been wondering where I have been lately? I am so sorry that I have not had to time to tell you about making Baby College Girl a apple pie when she came for the weekend.

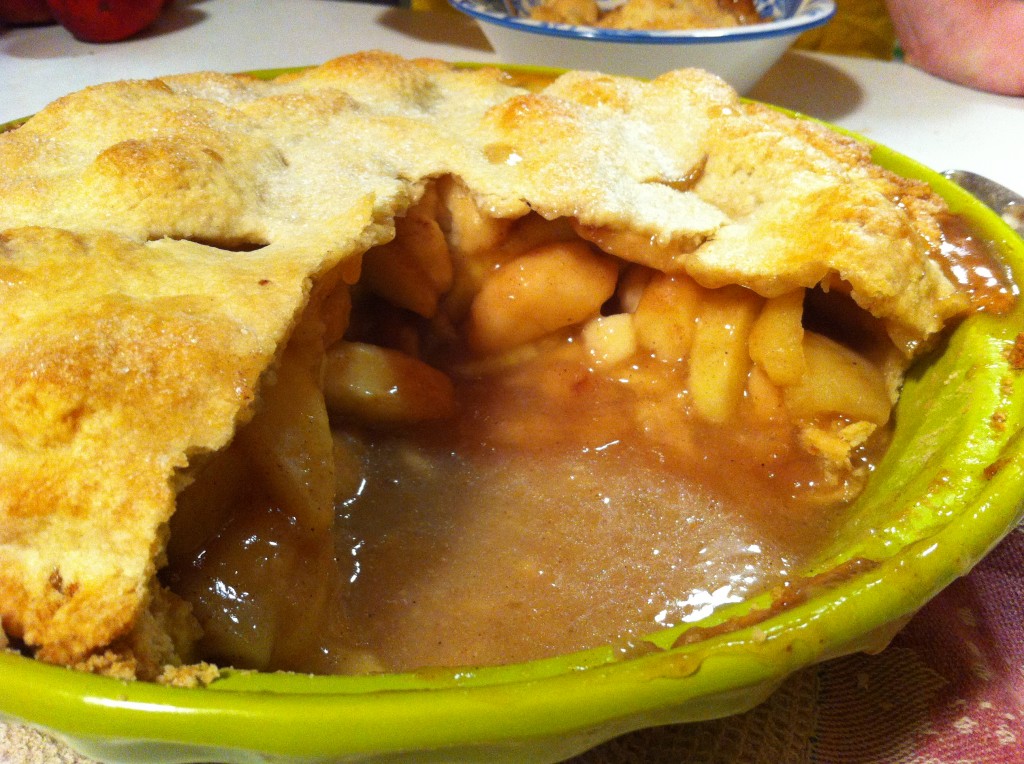
Here is the picture of the deep dish apple pie I made for that apple lovin’ college girl.  Actually, I made two of them. One for home and one for her to take back to her little apartment to bake in her little Barbie size oven. This pie was a act of love, cause I did not get started peeling the apples till 8 o’clock at night and it did not come out of the oven till 10:30. Super Hero came home about that same time and came down to the kitchen to see what was baking.

I did not know that warm apple pie tasted so good at 11:00 at night.

I have not had time to mention some of my coupon deals, either,  at Walgreens, (beef jerky for $1.50 a bag and snickers for .33 cents a bar) and Schnucks (chocolate chips for .50 cents a bag and yogurt for less than .10 cents a container).

I have not had time to tell you anything……CAUSE of, “The Project!” (Jeanetta, if you are reading this, this project was kinda like us making all those cheese cakes and remember those 300 or 400 cupcakes????)

For the last week and a half, every free minute I have had after work and on the weekend, I have been helping Company with a garden project. I wish I could put all the blame him, but, it was my big idea. (Yes, the cheese cakes and cup cakes were my idea too….and I even forgot to mention those million of cake pops and whoopee pies…..)

Big ideas are scary….right!

My big idea all started when I went blackberry picking at the local pick and pick place, outside of town. The owners where talking about planting strawberry plugs this fall using a plastic mulch system. With this more commercial way of planting strawberries, you get more yield the first year and with a lot less weeds.

Sounded like a great idea…..Right?

It is a great idea, for those farmers that have the right equipment to actually make the rows and put the plastic down at the same time. That is why it is more of a commercial way of doing it.

But……guess what?????

We got it done!!!!

With a lot of help from ibuprofen.

I am going to start with step one that took us about 3 to 4 days after work to get to finish. Just keep in mind that by the time I drive to Company’s house after I get off work, we only have a couple of hours of daylight or less to work in the garden.

So here goes!

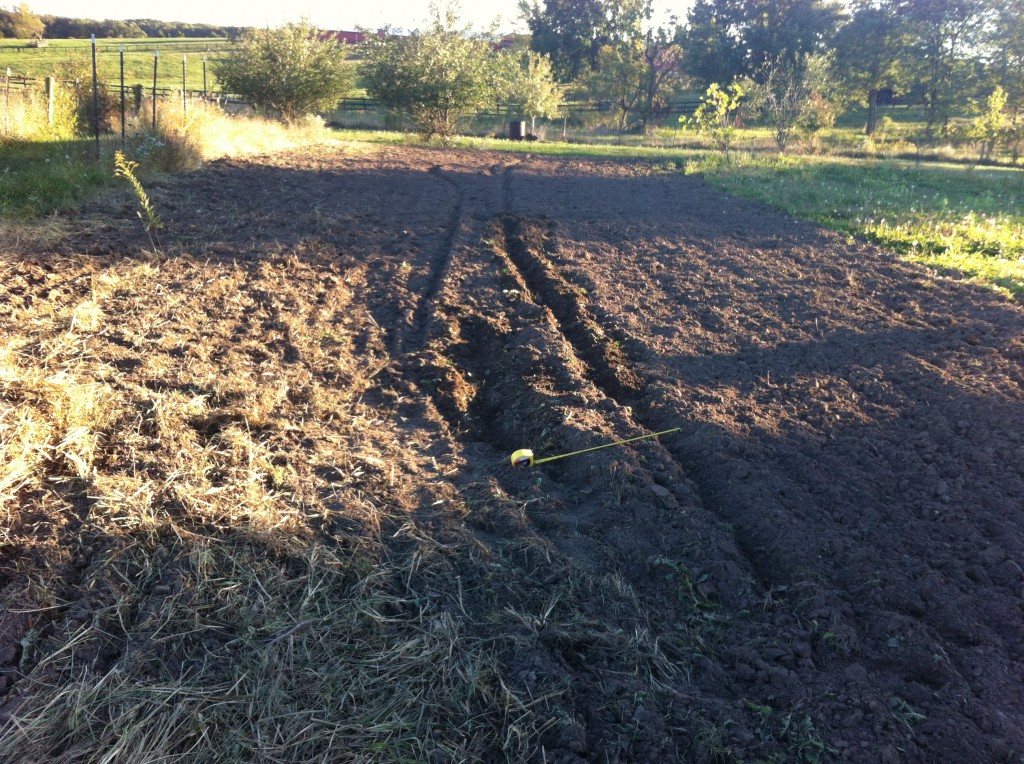
First thing….after Company took his tractor and disked up part of the garden, he took the tiller and loosened up the part where we were putting the strawberries rows in.

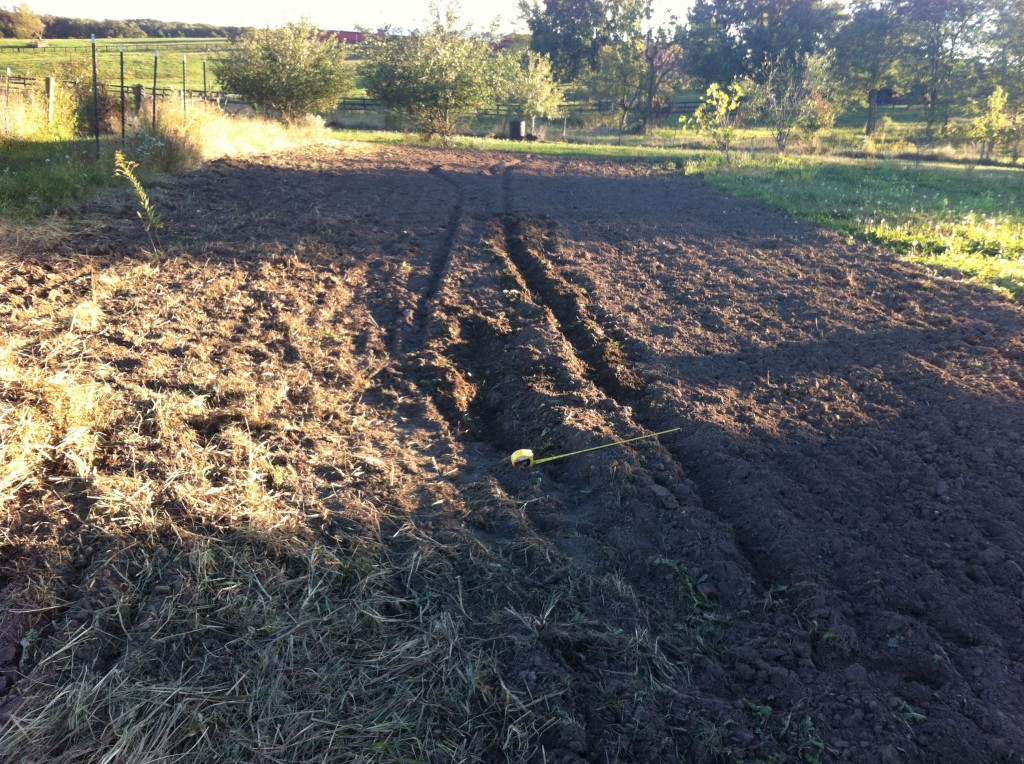
The we tried to measure rows of 2 feet wide…..see the tape measure on the ground….I think I need private lesson on how that thing works! After we measure off a somewhat 24 inch wide row, we measure another 24 inches for the walk way between the rows.

We did this three times. The rows are 2 feet wide and 60 foot long.

Did I mention that this was a project…..?

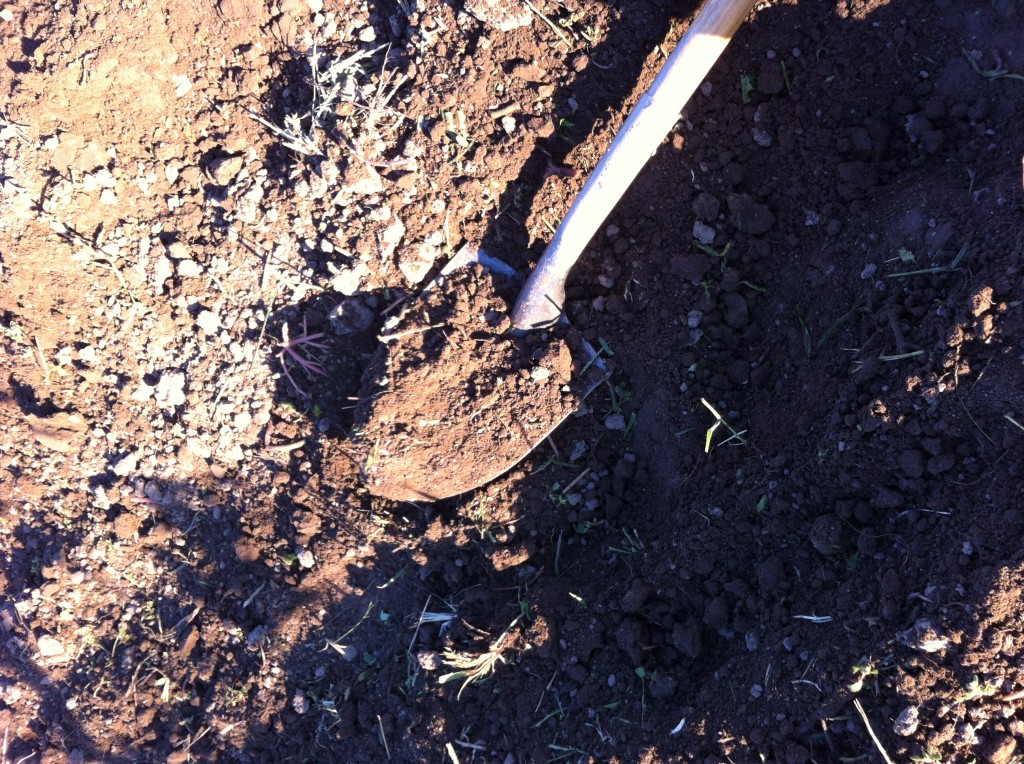
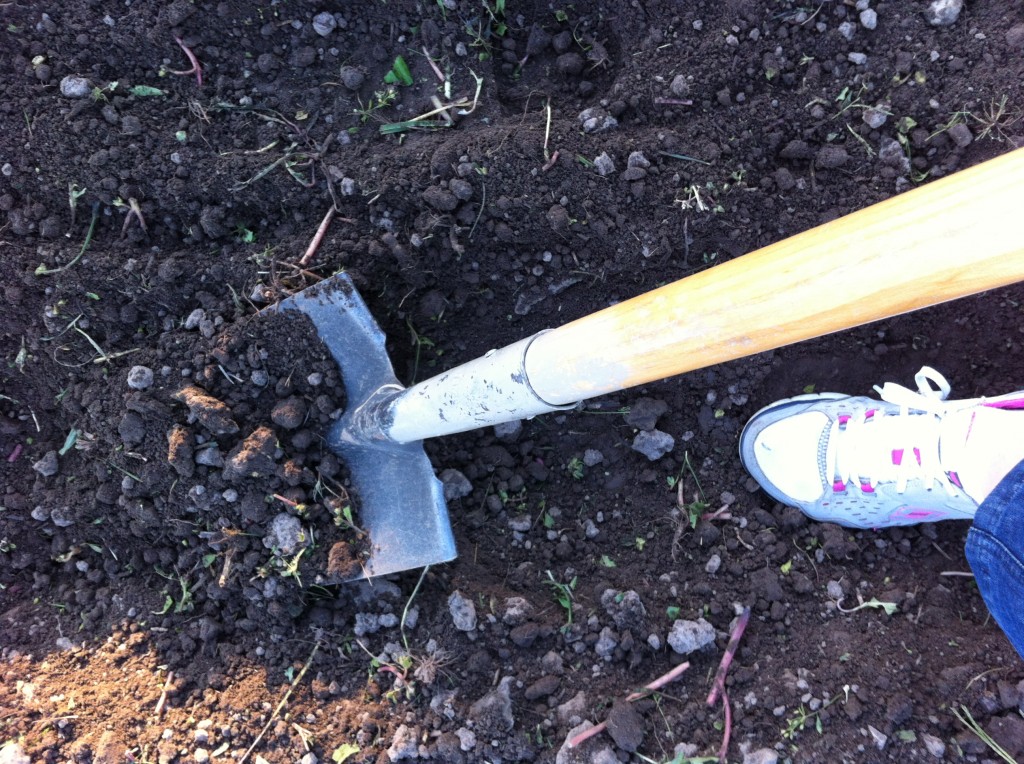
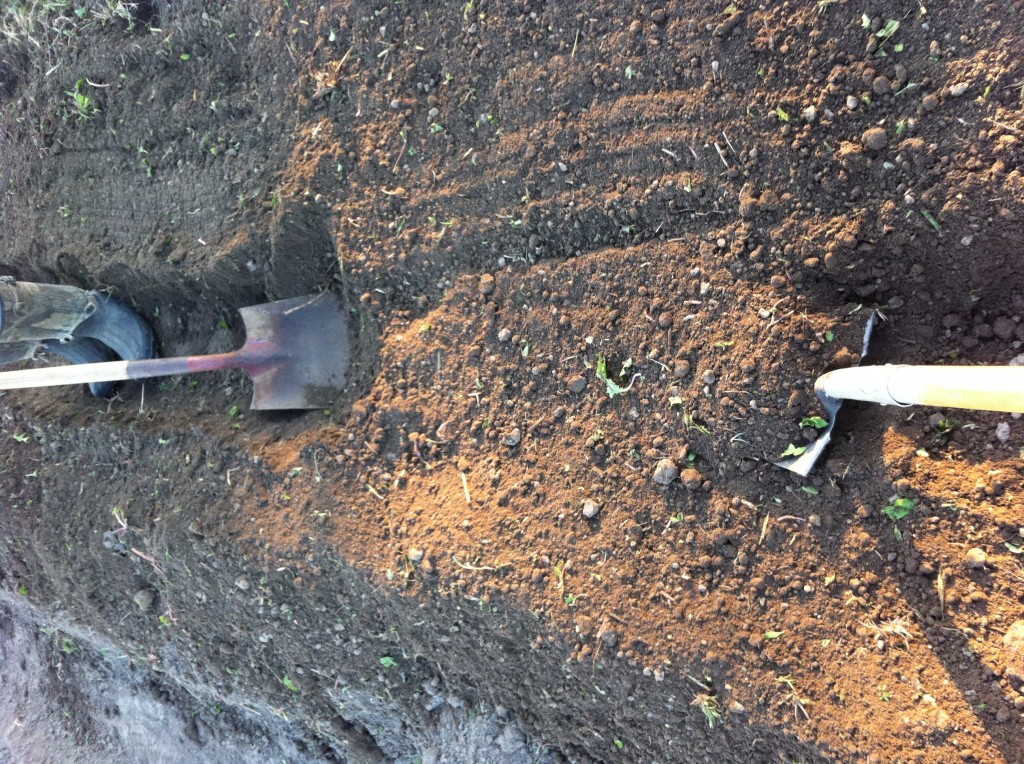
Then we started shoveling dirt between the rows and building up the dirt on the rows that we are going to plant the strawberries plugs in.

Here is a picture of me shoveling too. We had to time to shovel a row a night….so we shoveled…..for……….

…..three days….here is a picture of Company on one side of the row and me on the other, meeting each other, shoveling our last row! Don’t you love his worn out favorite pair of work boots?

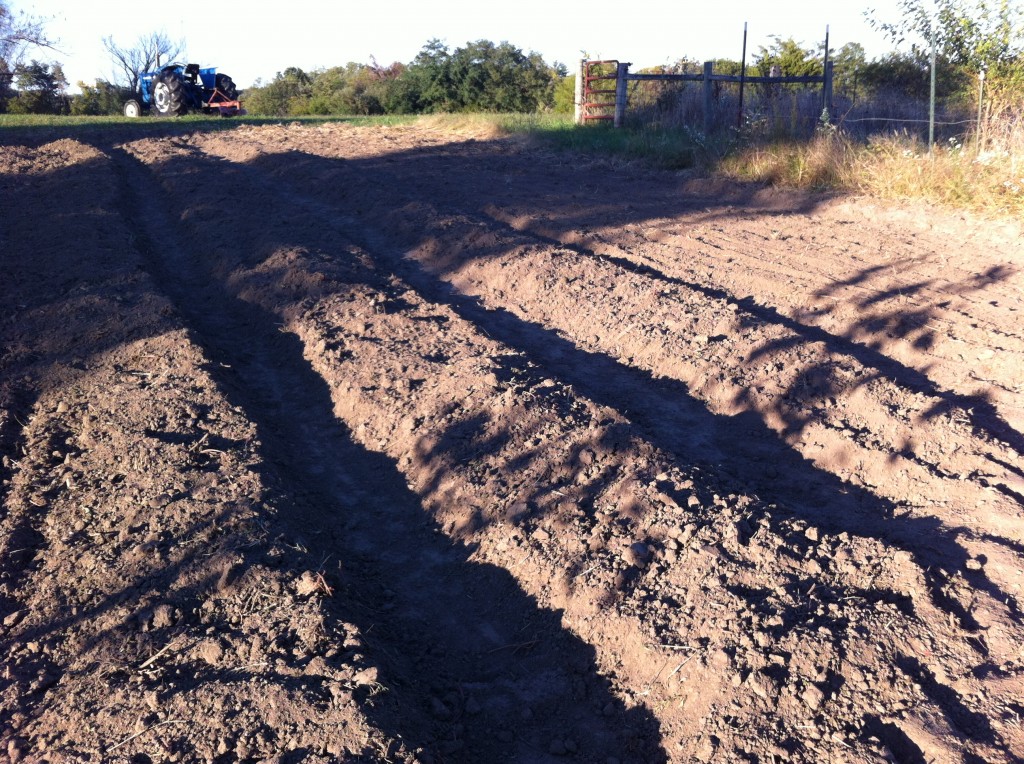
Here is a picture of our rows after they were shoveled and dirt mounded up.

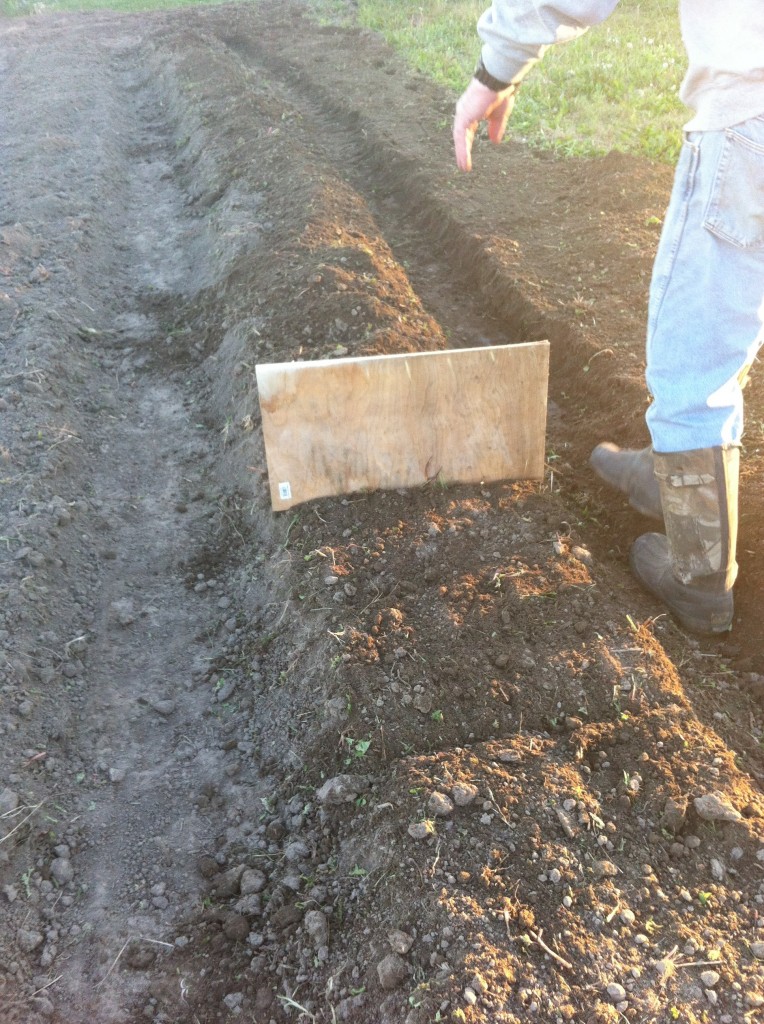
To finish our rows, we took a piece of wood and level off the top of the mounds of dirt.

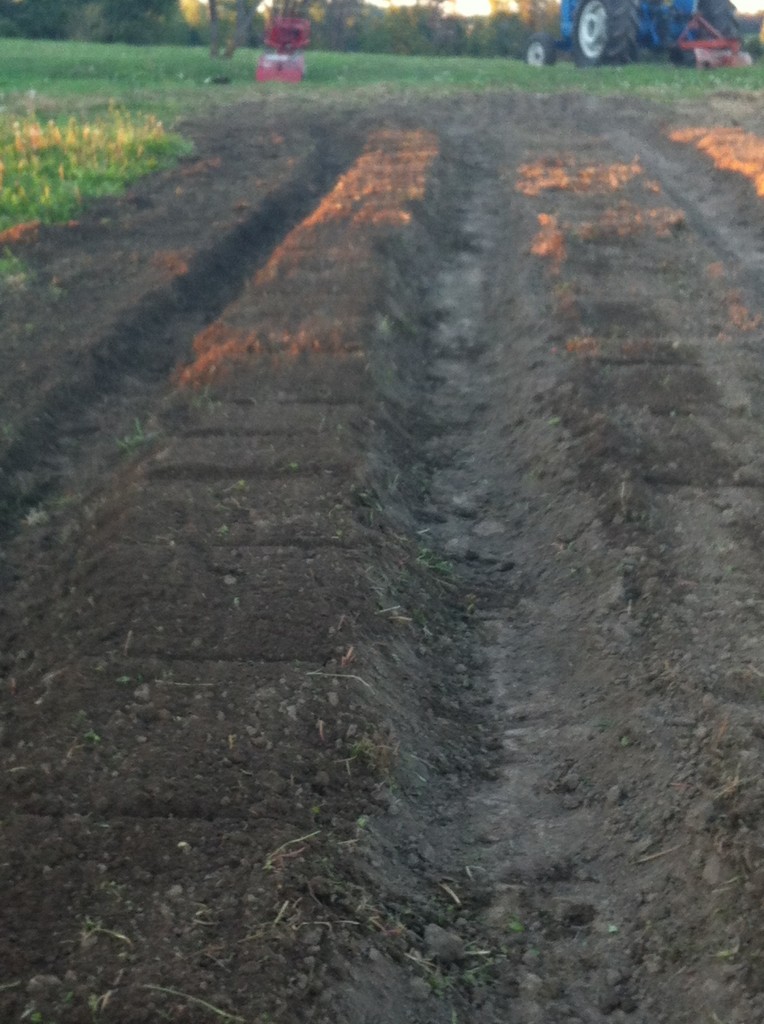
Here is what a couple of the rows looking like after we leveled off the top.

The rows are not perfect, but we got it done!

Good thing too….cause…

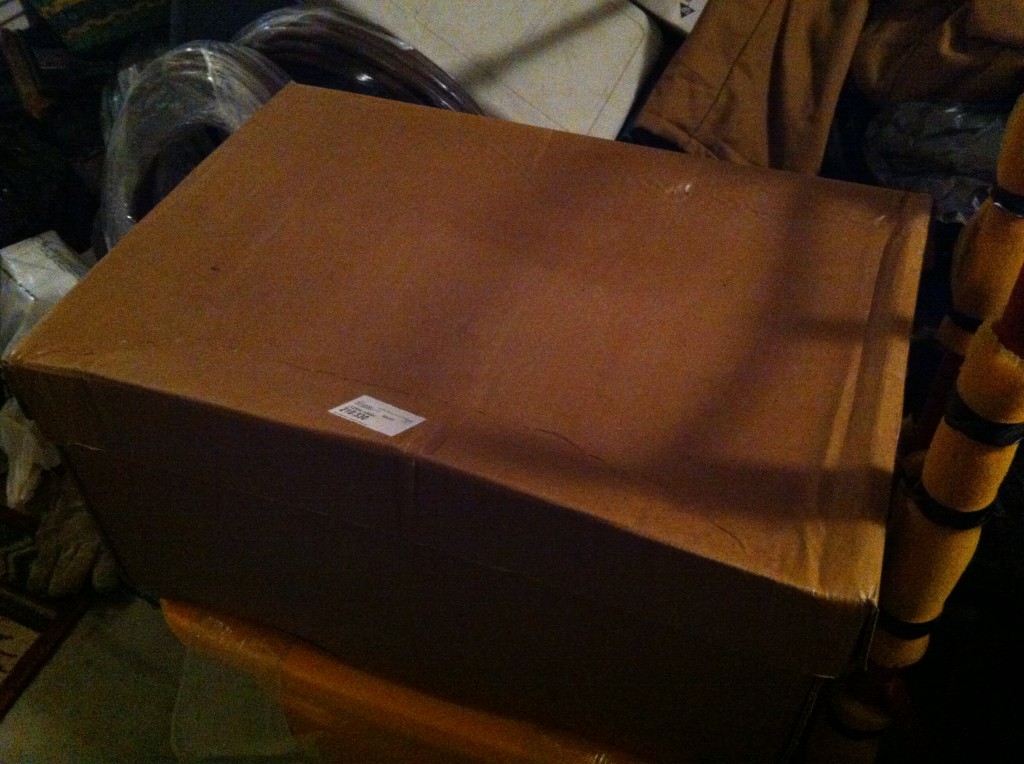
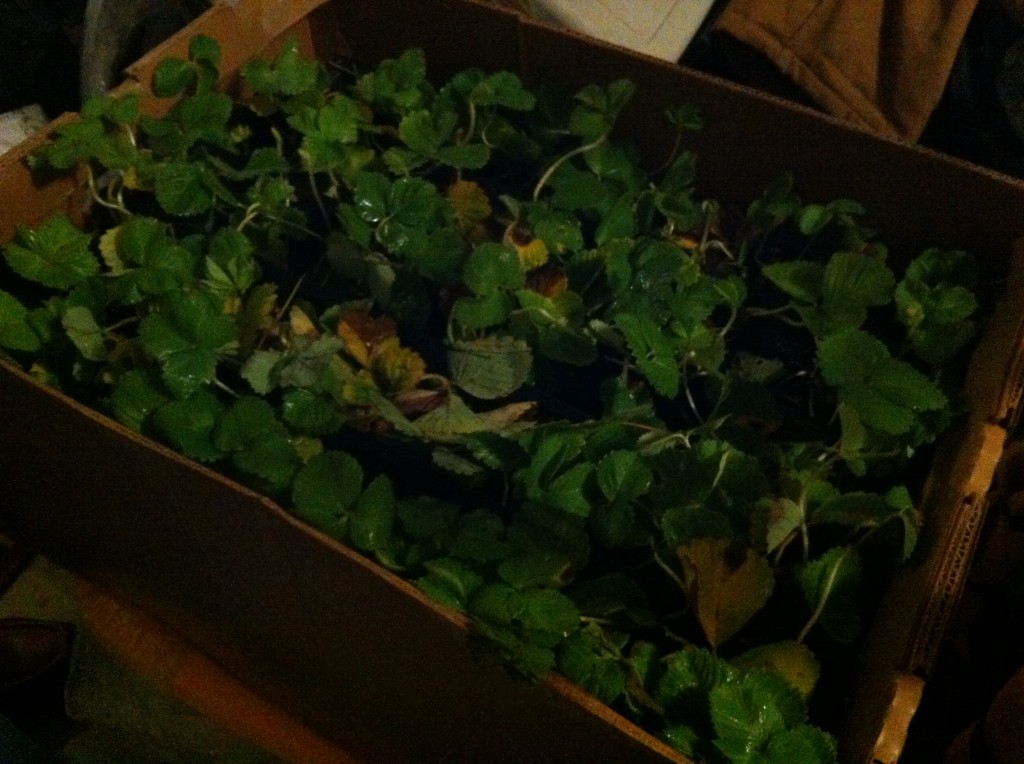
….the strawberry plugs arrived!

Yep, the strawberry plugs arrive all the way from Arkansas. All 250 of them.

Yes…..250 of them.

What can I say….Company likes strawberries. ; )

Anywho….this was step one of “The Project.”

I will try to post step two tomorrow night, after I get my next, big idea, project done.

Company is helping me pick up 50 pie pumpkins from a local garden center tomorrow…..

Long story….don’t ask.

I promise to tell you all about the pie pumpkins later.

If you have any wonderful strawberry recipes, send them my way around April. I should be (better be) picking loads of strawberries about then.

Is anyone out there doing any winter gardening….or completing a big idea project?

I would love to hear about it!

Talk to you tomorrow!

Becky


New Bundt Cake equals New Cake

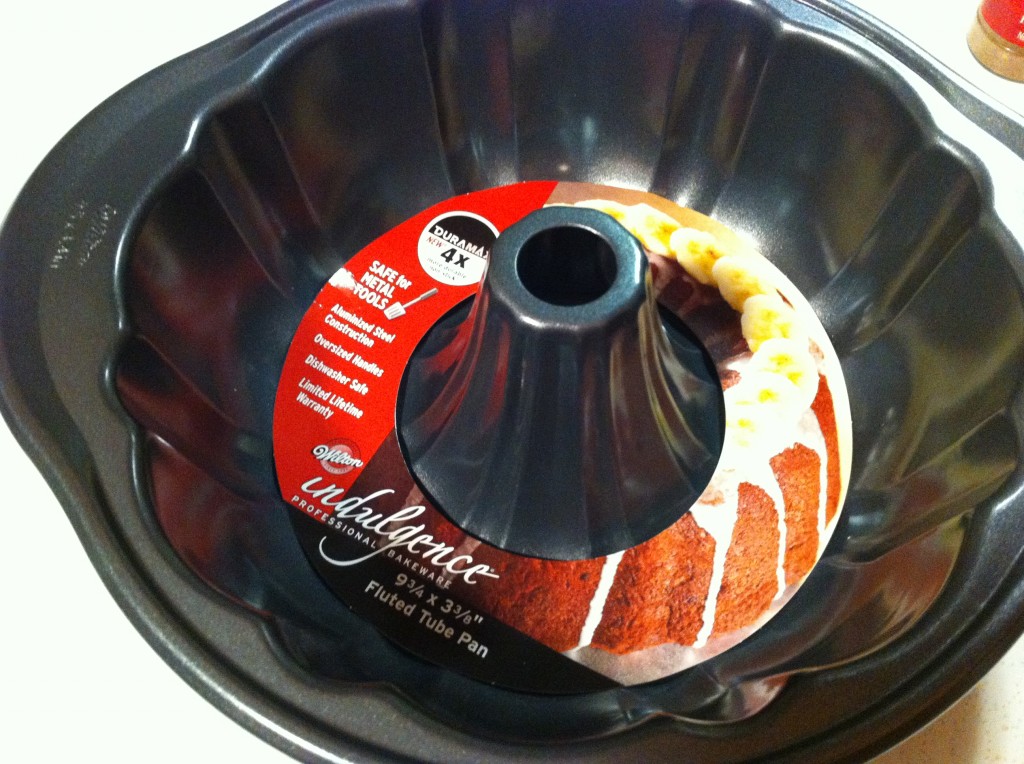
A week or so ago, Bed Bath and Beyond had a clearance sale on selected items. Who knew that one of the items would include a bundt cake pan.

I could not pass up a bargain and picked up a new bundt cake pan.

I got a new lasagna pan too.

Plus I was able to used a 20% coupon on the clearance items. Yippee!

After my last bundt cake near disaster, I was anxious to try to make a bundt cake again. For those that might have missed my earlier post, “Can This Cake Be Saved,” I blogged about making a bundt cake for a church ladies day. The cake got stuck and broke in two.

Has this ever happened to you?

It kinda makes you want to buy a cake in the bakery department at your local grocery store.

Even though this cake looked like it had been dropped, used as a basketball and a dog nibble on it’s side…. I could not just give up on this recipe…..it really is a wonderfully tasting pound cake.

So…… I went ahead and tried this recipe again.

And Guess What………

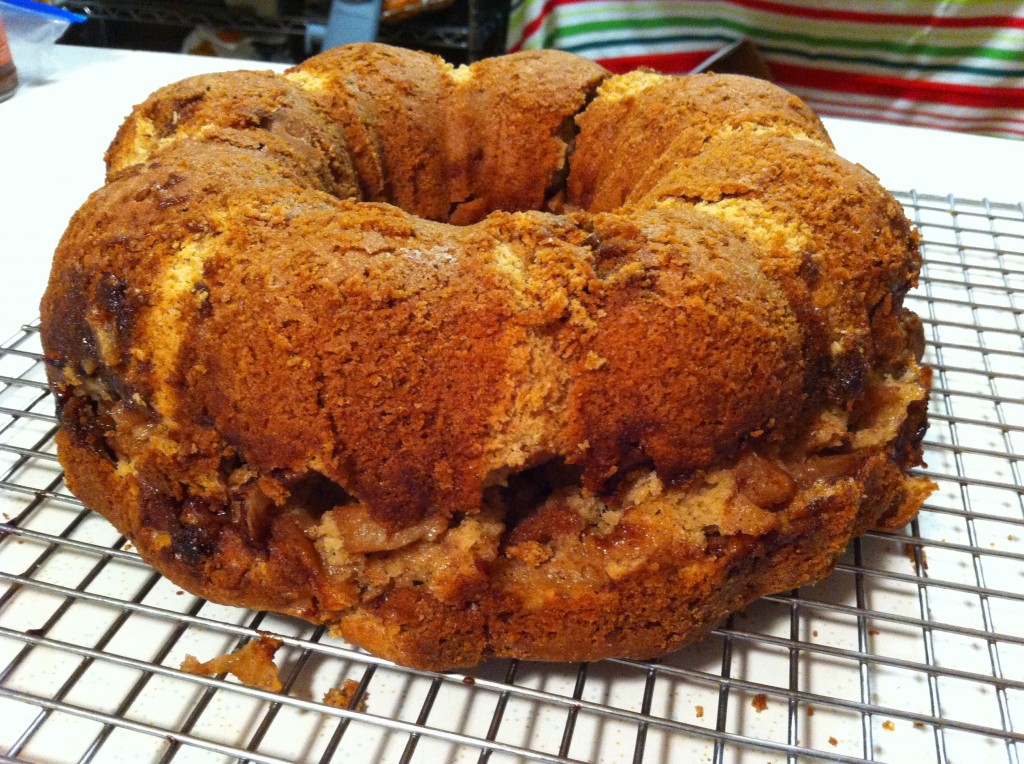
My new pan did the trick. The cake came right out of the pan!

Yippee….

Anywho….since I finally had success…I wanted to post this moist and yummy Caramel Apple Pound Cake recipe.

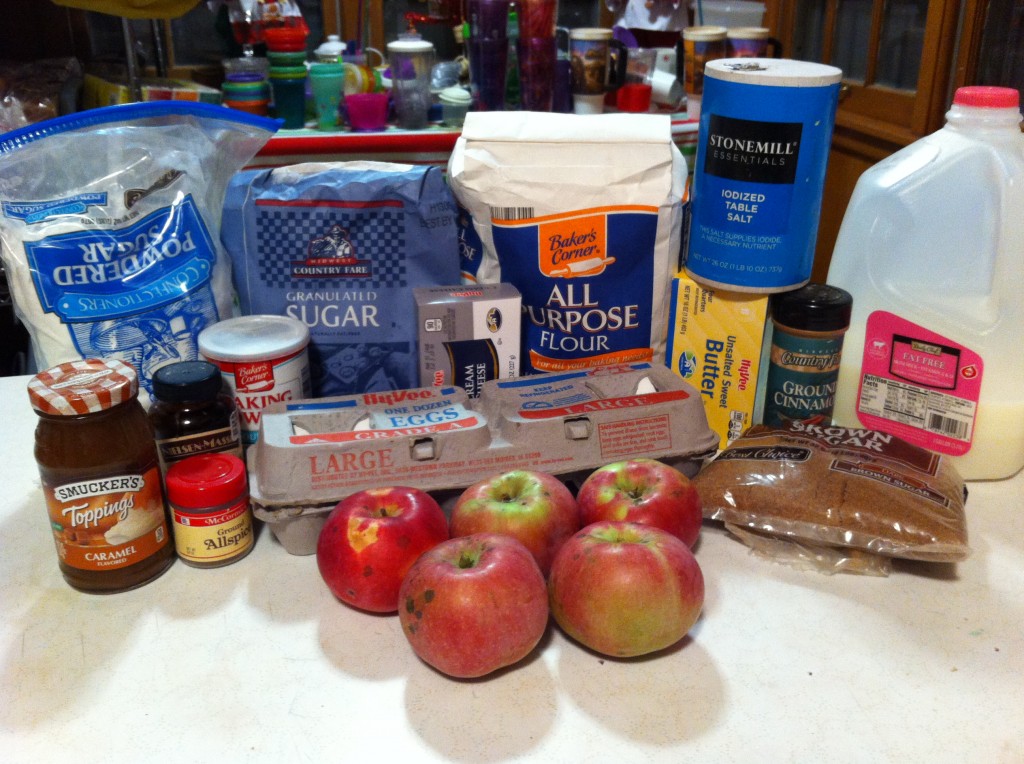
Above is the ingredients that you will need to make the cake. The apples are ones that I picked right off apple trees at Company’s house.

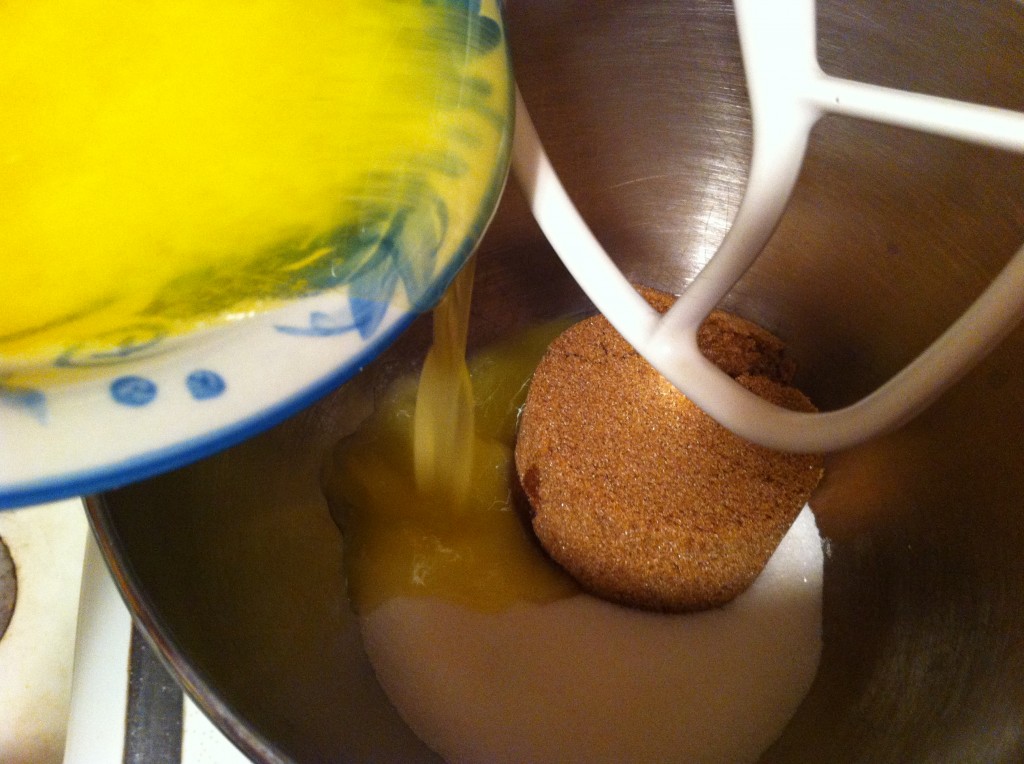
The first thing you need to do is melt the butter. Then pour the butter into the brown and white sugar. Mix together with a mixer until creamed together.

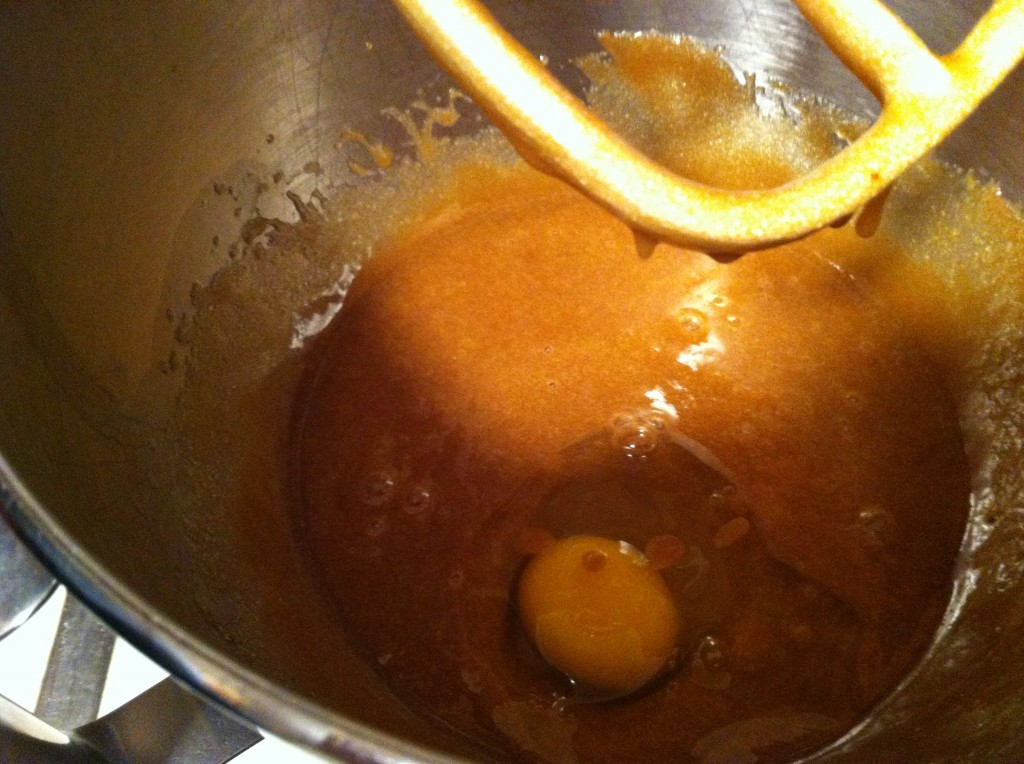
Next, add in the eggs, one at a time, and mix them with the sugars and melted butter.

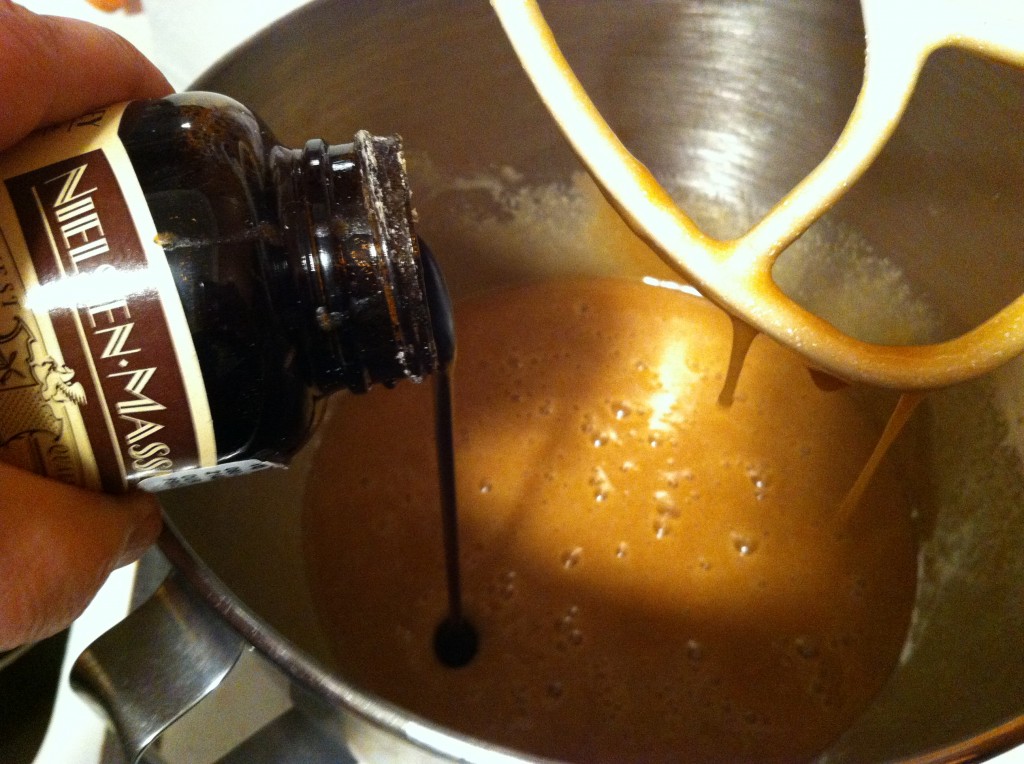
Then add the vanilla. I love real vanilla!

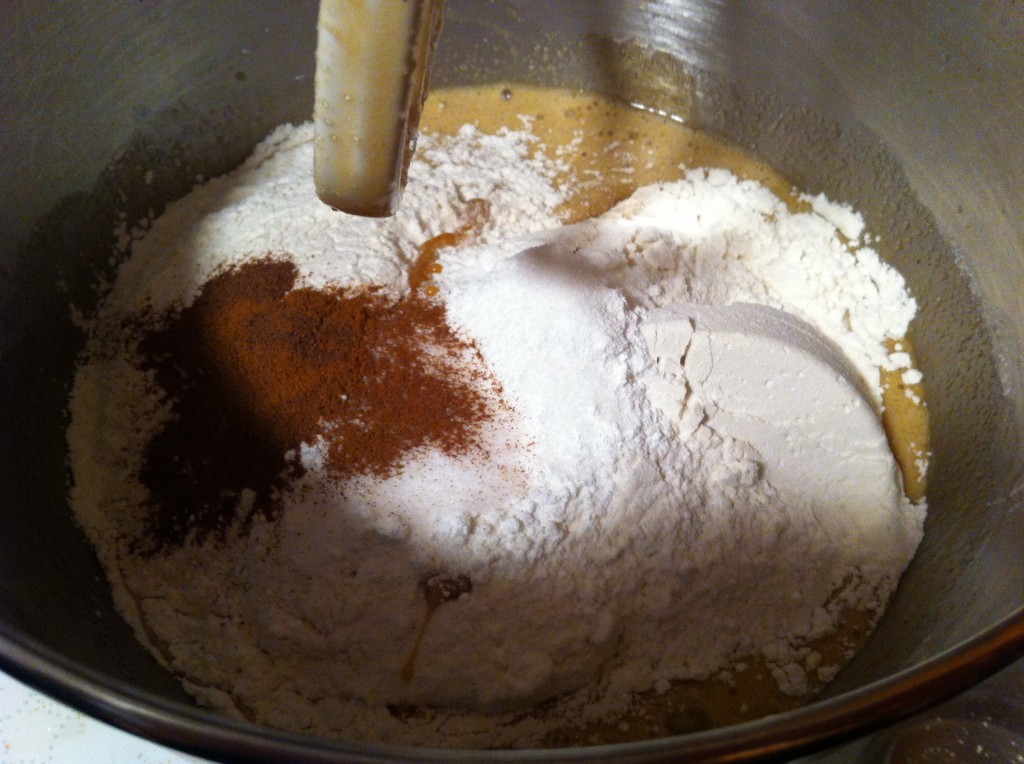
Now, you can add in the flour, apple pie spice, baking powder and salt. Mix in all the dry ingredients to make a nice cake batter.

One of the changes I made from the first time I made this cake was to dice my apples smaller. So my second cake, the apples were diced smaller.

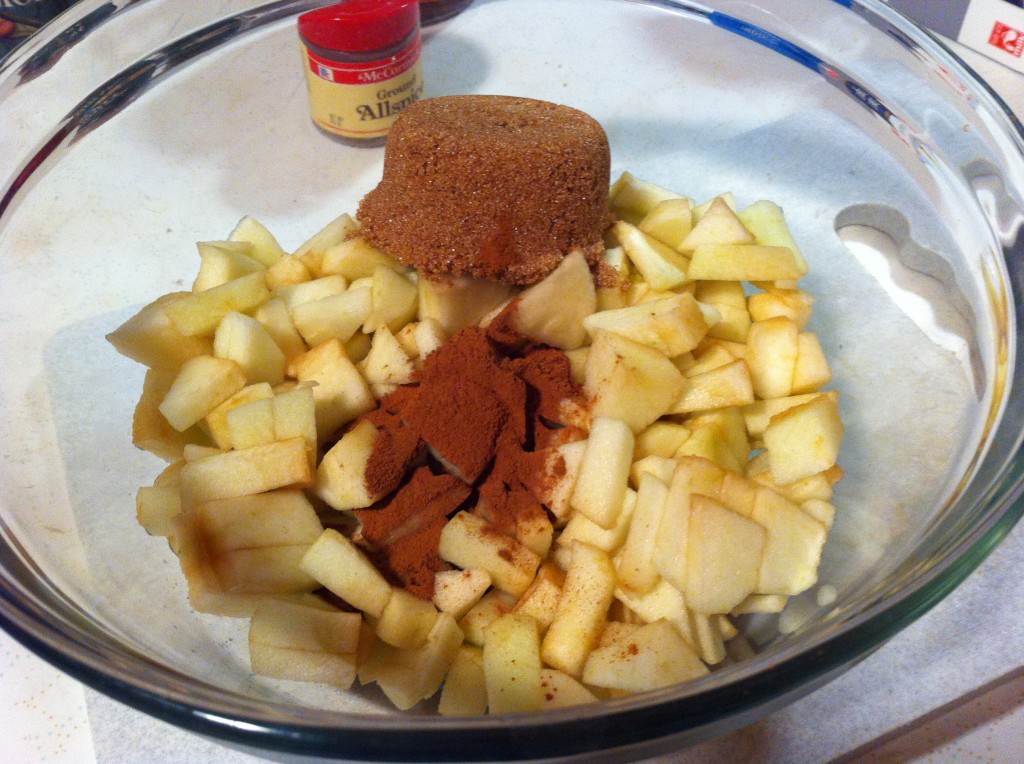
Now, take your diced apples and add the cinnamon and some brown sugar.

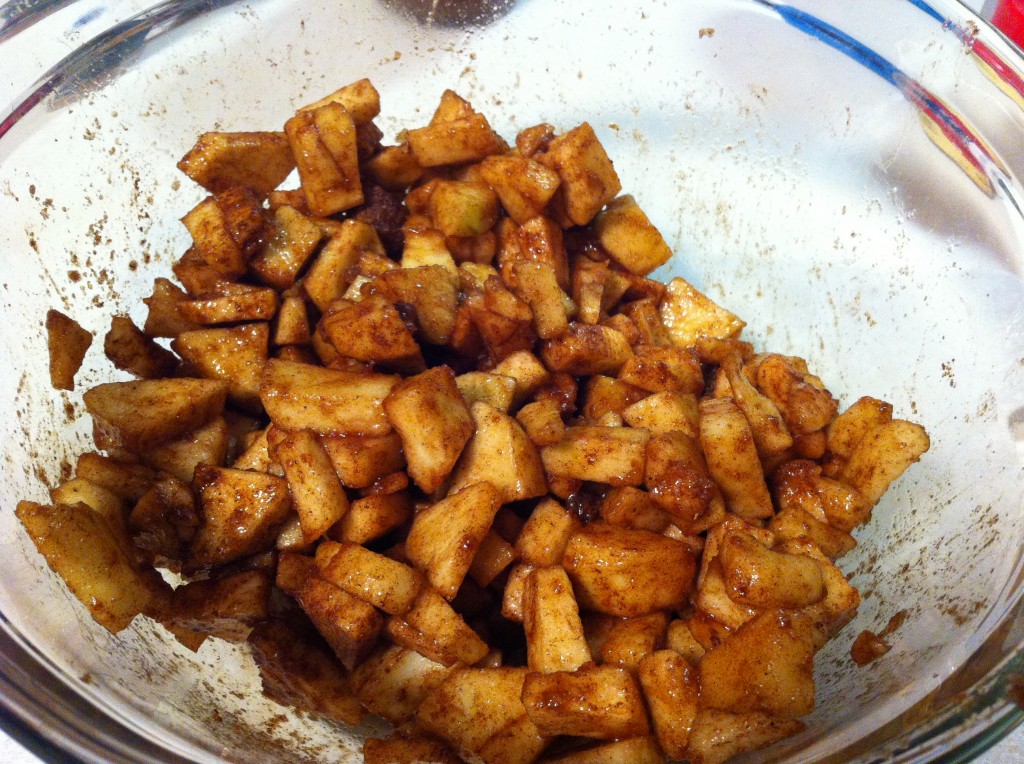
Stir the apples, brown sugar and cinnamon together until the apples are well coated.

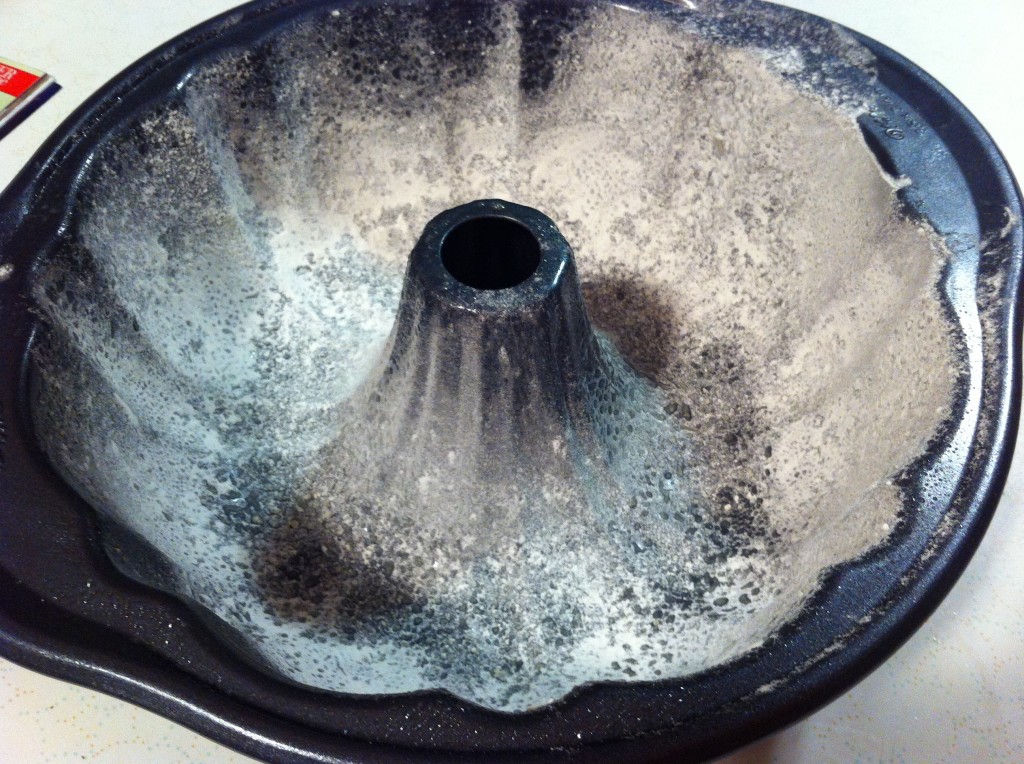
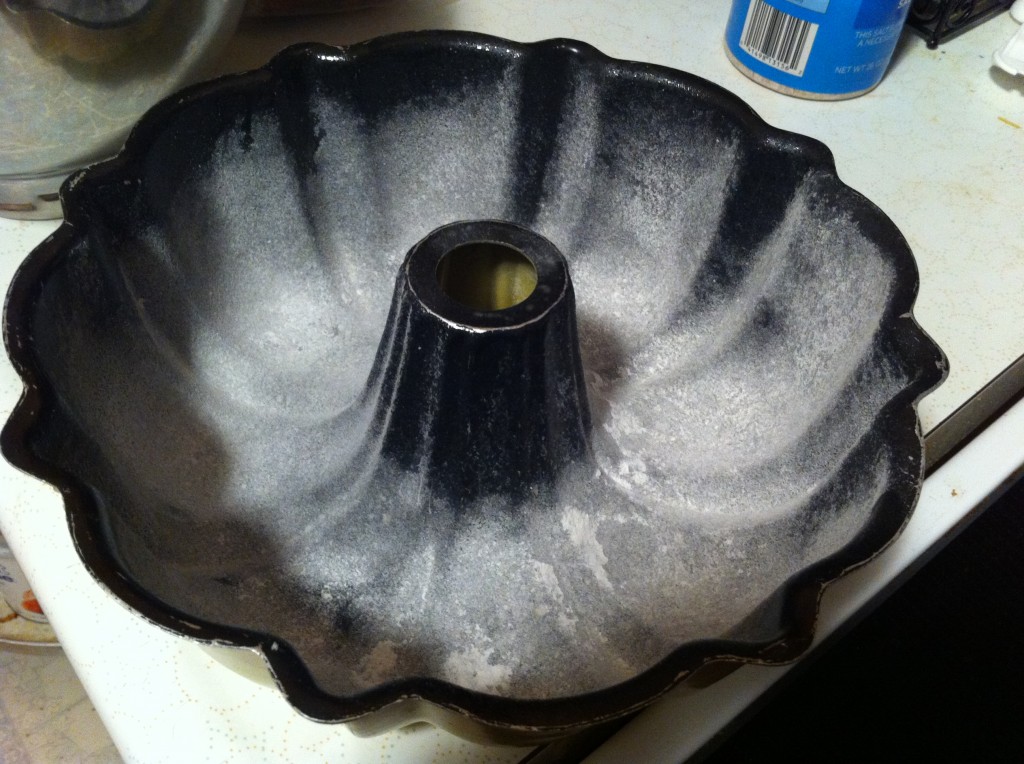
With my New bundt cake pan, I sprayed it down the vegetable spray and coated it with flour to help with the release of the cake.

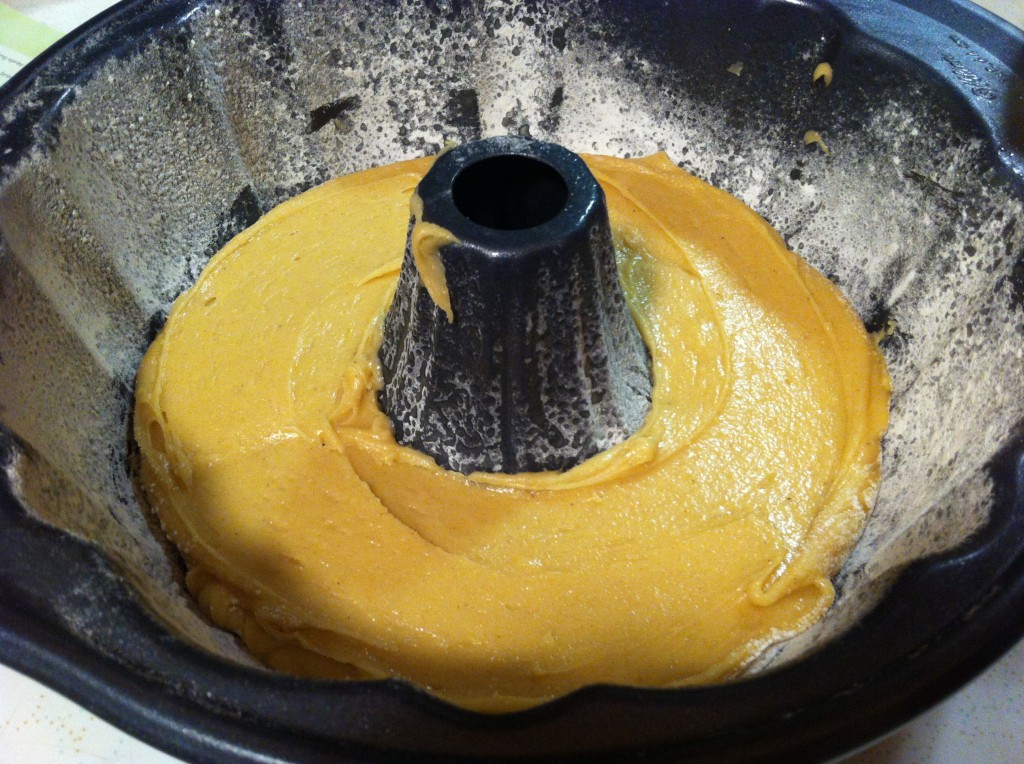
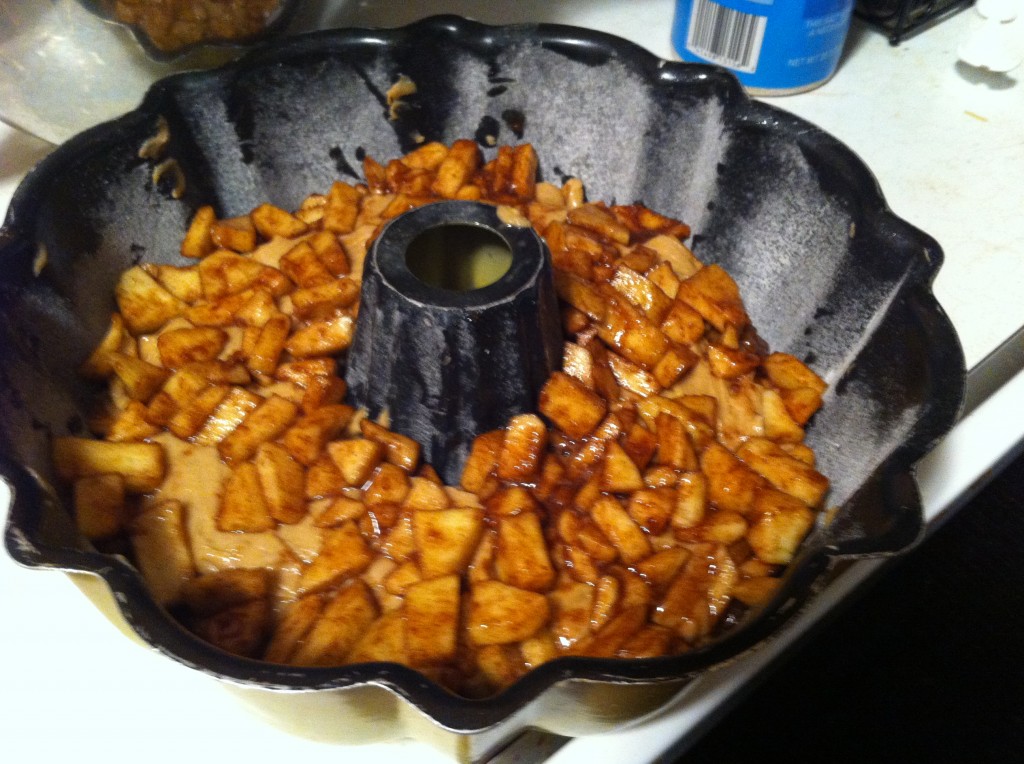
Now the fun begins. You will make layers of cake batter and the diced apples. Take a third of the batter and spread evenly in the prepared pan.

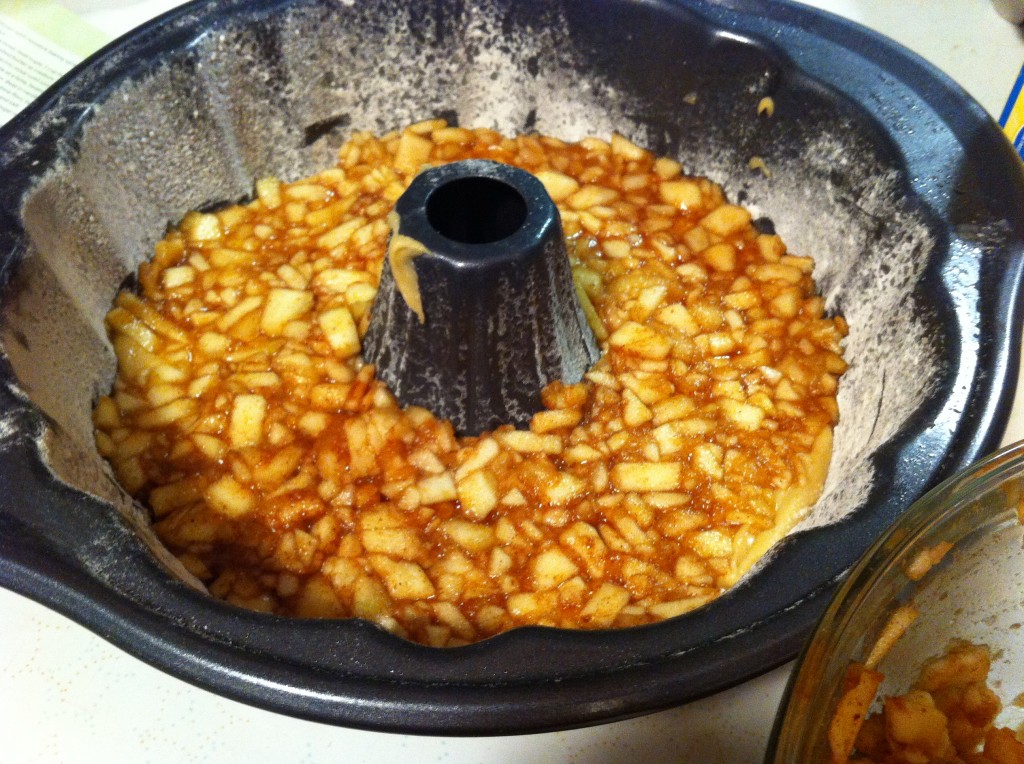
Take half of  your apples and spread over the batter. Did you notice the apples are diced smaller this time?

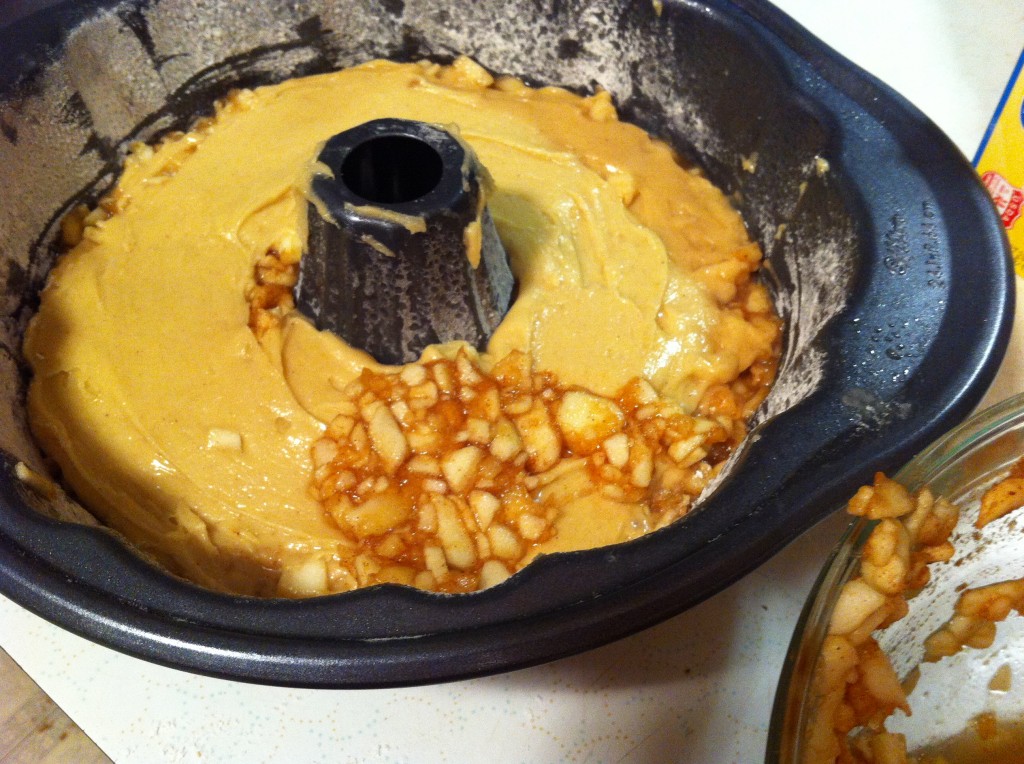
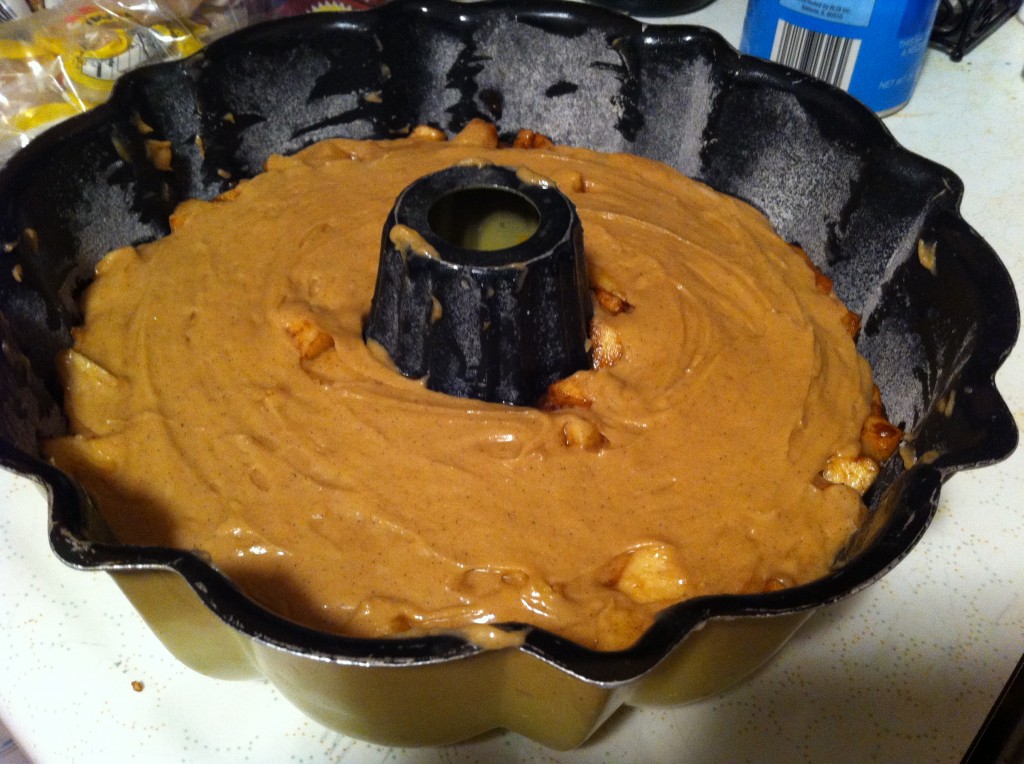
Add another one third of you batter over the diced apples, and spread the rest of the apples over the batter.

Using the last one third of  you batter, cover the diced apples. Put cake in a preheated 350 degree oven for around 50 minutes.

Bake until a tooth pick comes out clean. Cool for 10 minutes, then loosen the edges of the cake from the pan.

Here is truth time…..will the cake come out of the pan???? Can you hear the drum roll…..?

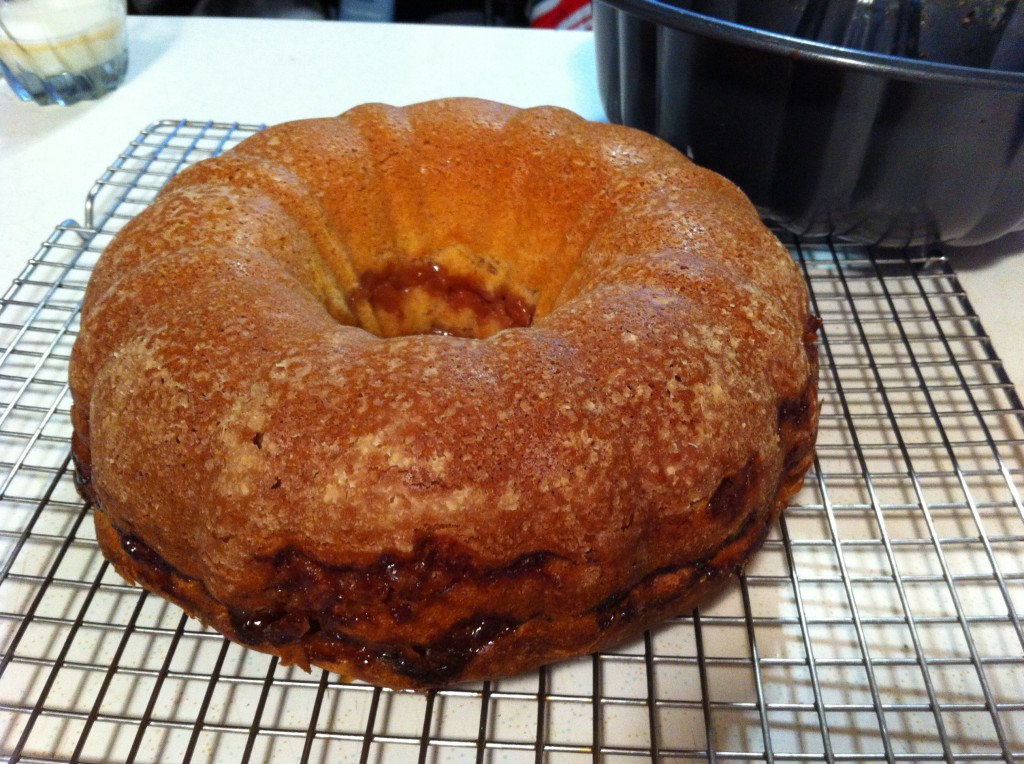
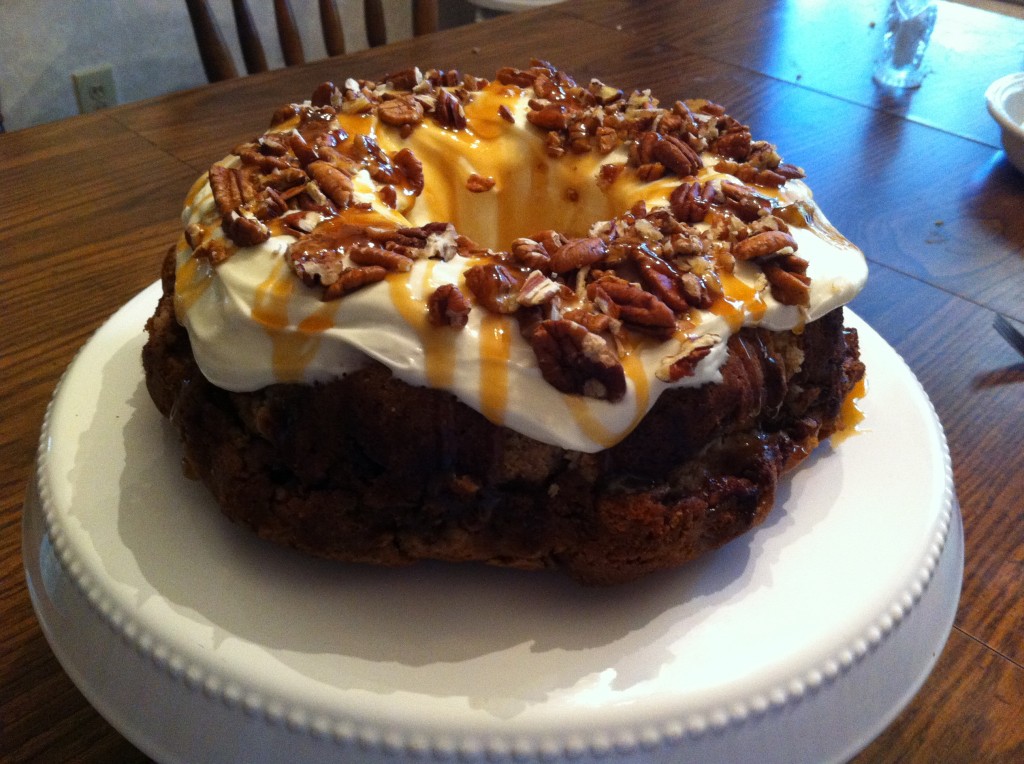
Yippee…..relief…..success….Can you see the layers of spiced apples and batter? If you do not want to see the layers, do not put the apples all the way to sides of pan, just put the apples in the middle of the batter.

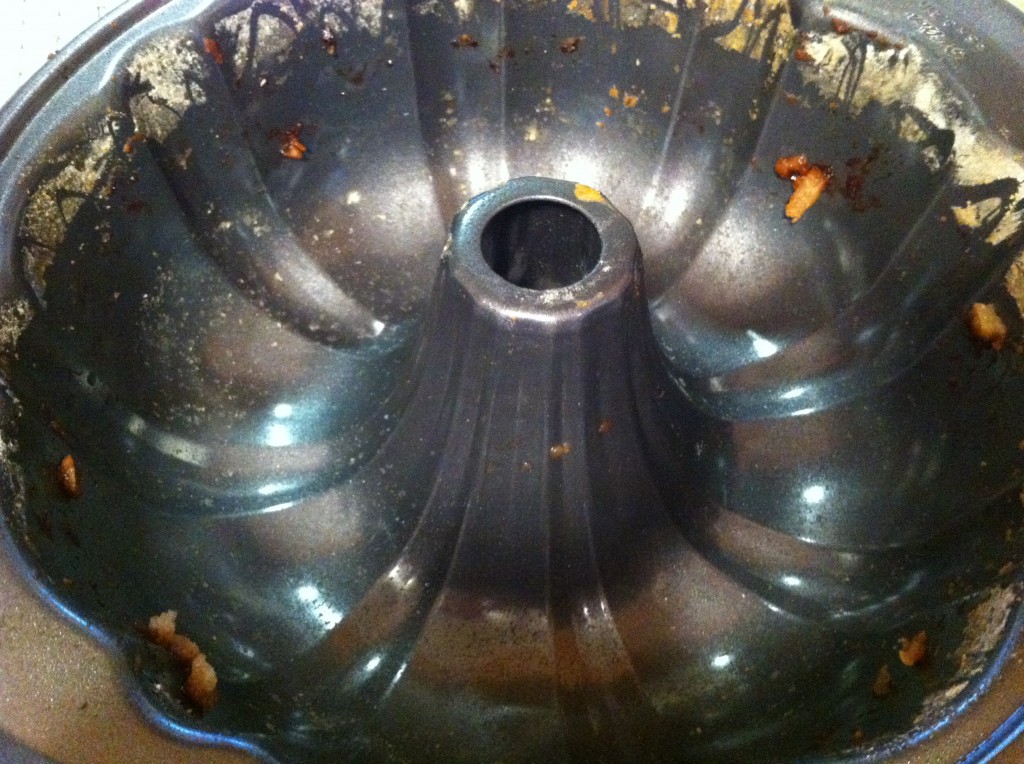
Here is what the inside of the bundt cake pan looked like after the cake came out.

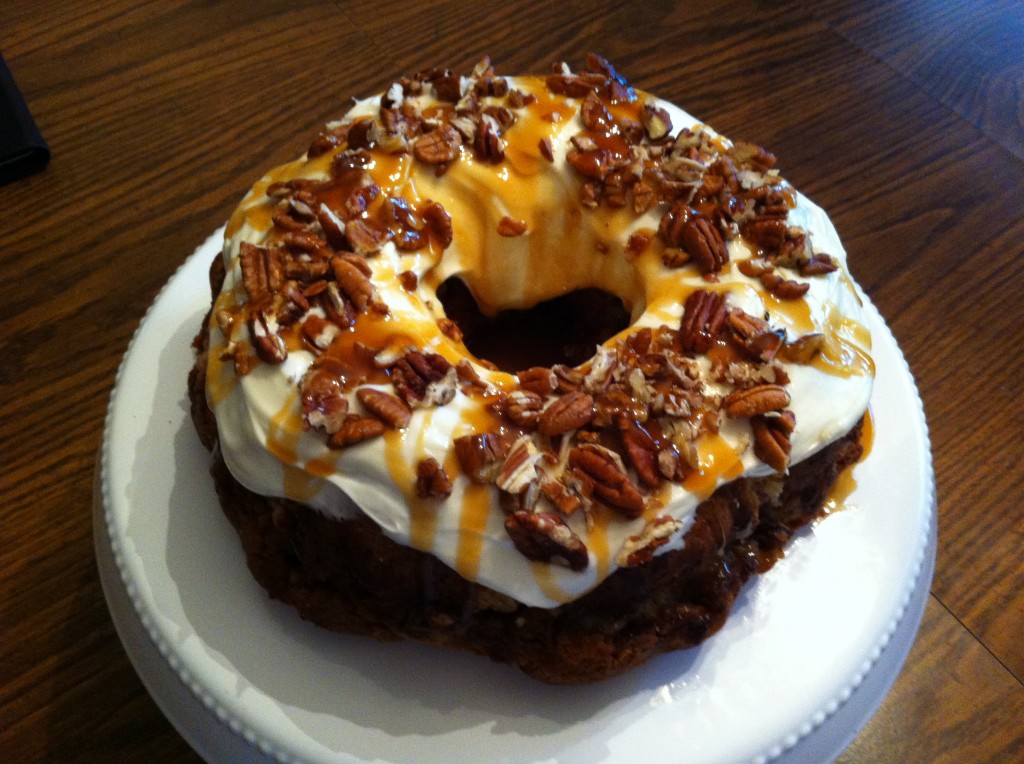
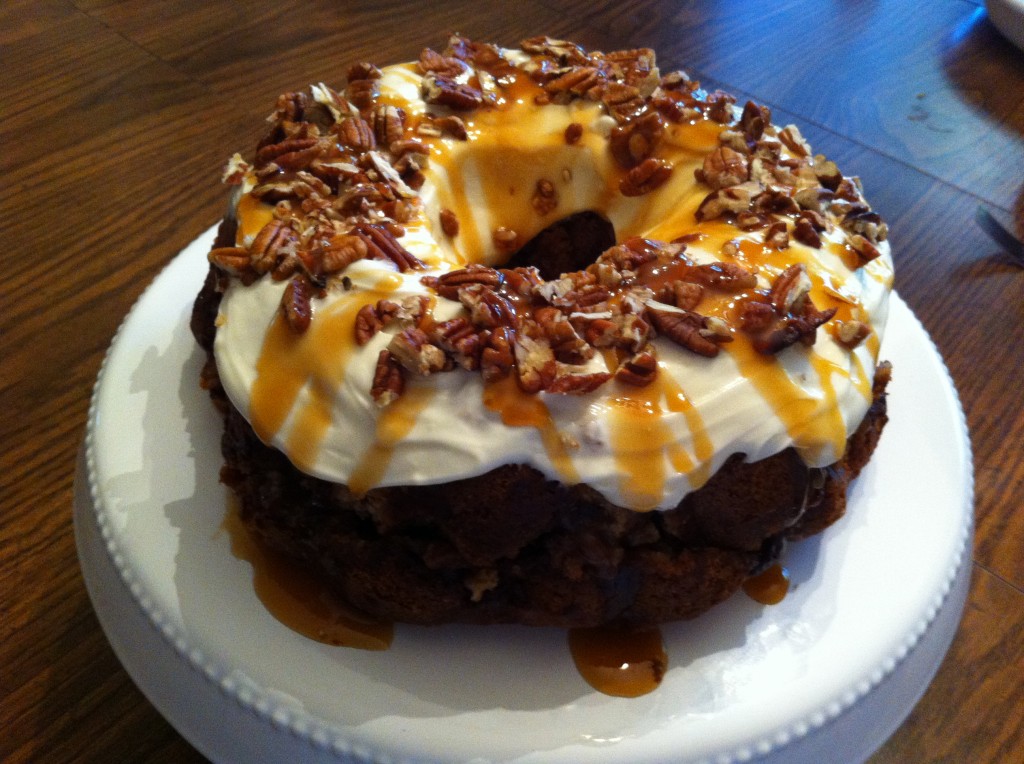
Now, you can cool completely and decorated it with a cream cheese glaze, caramel drizzle and chopped pecans (if you likes nuts). I made the cream cheese icing a little thinner this time around, (by accident) that is why it looks a little different from my first cake.

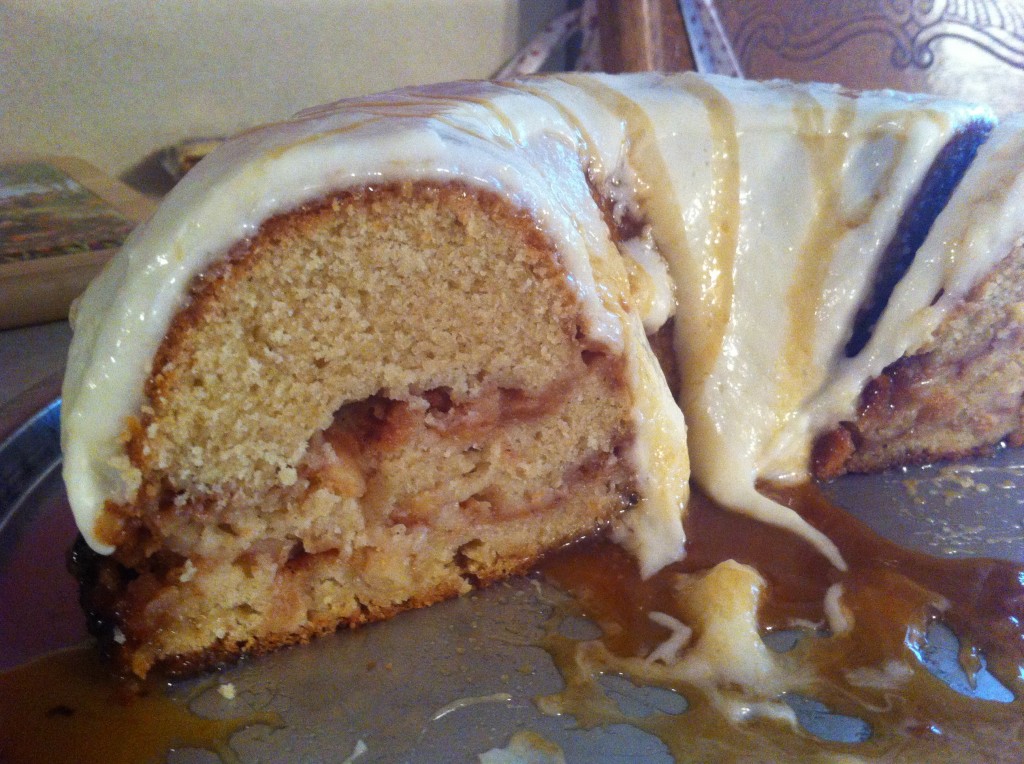
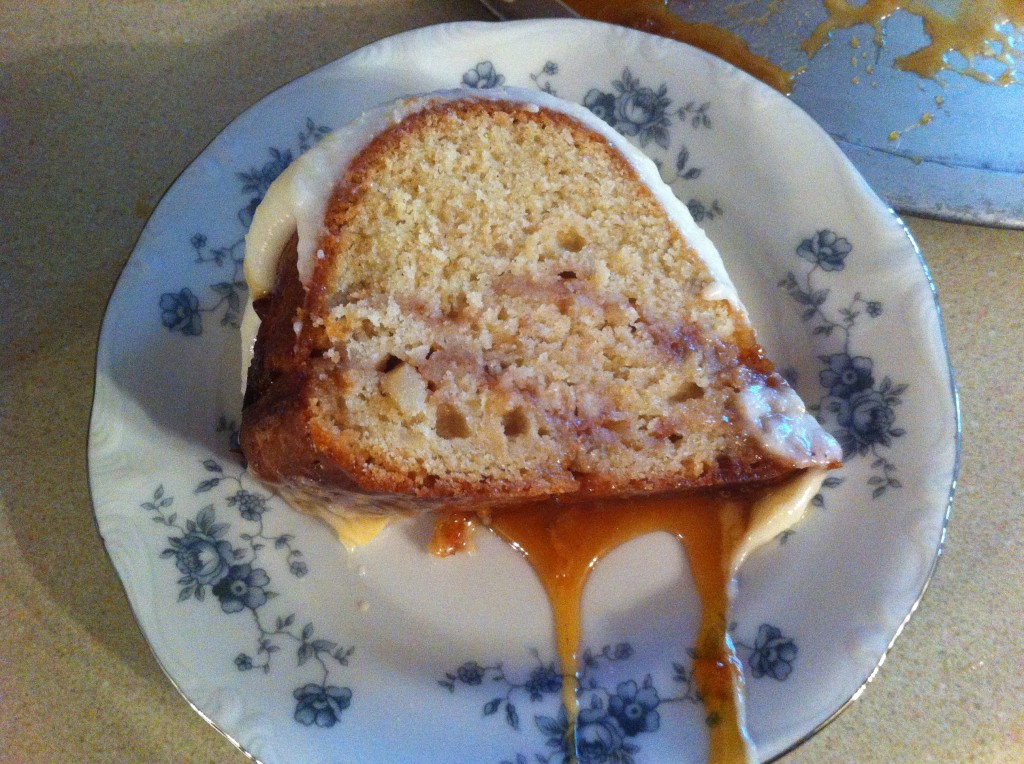
Here is a close up of a slice of the cake. I would have taken more pictures, but The Princess, Dad, Jeanie Beanie and grand son,  Oldest Daughter who does not cook, Grand girls and Company was waiting on their piece of cake.

Family holding up forks, waiting on their piece of cake, makes me nervous.

Apples are still in season, so it’s not too late to try to make this cake!

Don’t be afraid to try it! Even my broken cake went like  wild fire at the ladies day.

Here is the recipe:

Caramel Apple Pound Cake

Adapted from Southern Lady magazine.

Ingredients for the pound cake:

1 cup sugar

1 and 1/4 cup firmly packed light brown sugar, divided. (I used dark brown sugar and it worked out fine)

1 and 1/2 cups butter, melted

4 large eggs

1 teaspoon vanilla (I almost always use real vanilla, it does make a difference)

3 cups all purpose flour

2 teaspoons baking powder

1 teaspoon apple pie spice (you can make your own too, just use cinnamon, nutmeg, allspice, ginger and cardamon)

1 teaspoon salt

3 cups chopped Granny Smith apples.(I used ones I picked right off Company’s apple trees)

2 teaspoons cinnamon.

(You will use caramel ice cream topping in the icing, recipe is below, and to drizzle on the cake. You can also top with chopped nuts.I used pecans because it is my favorite.)

Directions:

Preheat your oven to 350 degrees. Prepare your bundt cake pan. I sprayed mine with vegetable spray and then coated it with flour. In a large bowl, mix together the white and 1 cup of the brown sugar. Add the melted butter and continue mixing until combined. Add the eggs, one at a time, beating after each egg. Next add the vanilla.

In a separate bowl you will get the dry ingredients together. Combine the flour, baking powder, apple pie spice and salt. Take a whisk and whisk all the dry ingredients together.

Gradually add the dry ingredients to the sugar mixture, and mix until the all the ingredients are combined.

In another bowl, combined the chopped apples and the remaining brown sugar and the cinnamon.

Spoon one third of the batter in the prepared bundt pan. Spoon one half of the apples on top of the batter. Be careful not to get too close to the edge of the pan because it may cause the cake to stick. Next, spoon another one third of the bater over the apples and then top with the rest of the apples. Finally, cover the last layer of apples with the rest of the batter.

Place the cake in the preheated over and bake for around 50 minutes or until a wooden pick comes out clean from the middle. Take the cake out of the oven and let cool for 10 minutes. Remove cake from pan and cool completely on a cooling rack. Top with the Cream Cheese icing and chopped nuts. Drizzle with caramel ice cream topping.

Cream Cheese Icing Recipe

Ingredients:

1–8 ounce package of cream cheese

2 cups powdered sugar

1/4 cup milk (I used skim milk and it was fine)

1/4 cup caramel ice cream topping

In a medium bowl, combine cream cheese and powdered sugar. With an electric mixer beat the cream cheese and powdered sugar together until smooth. Next, add the milk and the caramel topping. Mix altogether until smooth. Spread over the top of the cooled pound cake.


I am sure you can think of a reason to make this cake!

I have several reasons…..apples, caramel and pecans

Enjoy!

Becky
 

Blame It On The Princess

Did your Mom ever teach you how handy an old kitchen butter knife can be?

You can use them as a stirrer.

You can use them to fish stuff out of the garbage disposal.

You can use them to pry open a stuck window.

You can even use them to spread butter on a roll!

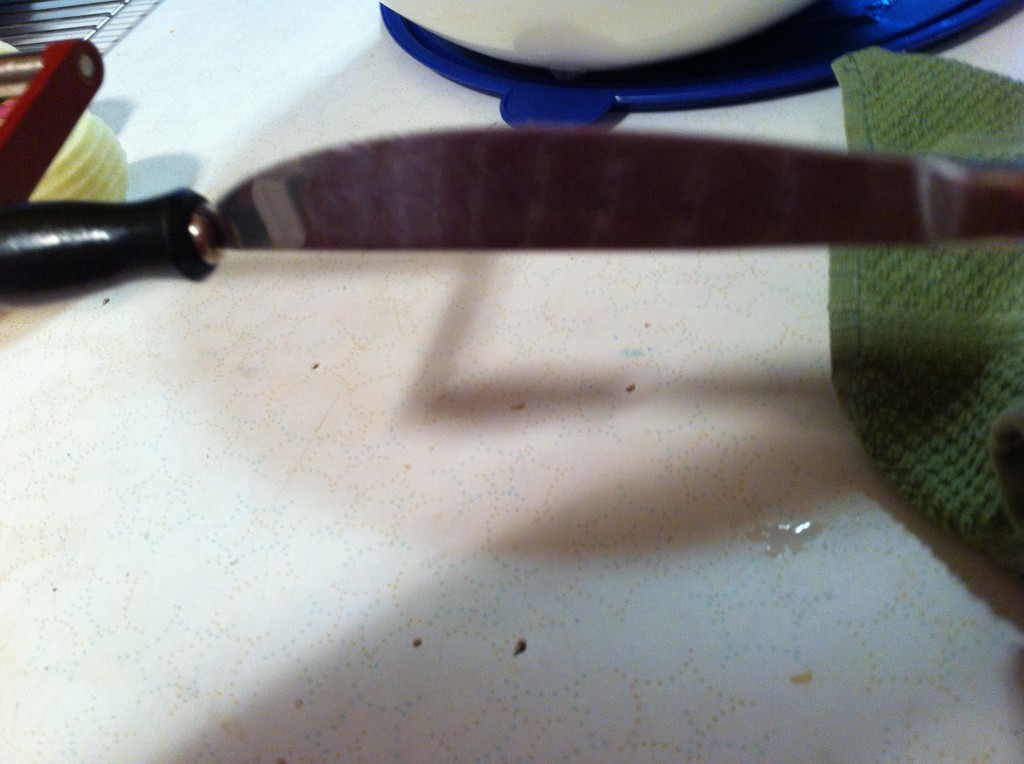
But, blame it on The Princess for teacher her girls to use it as a screw driver!

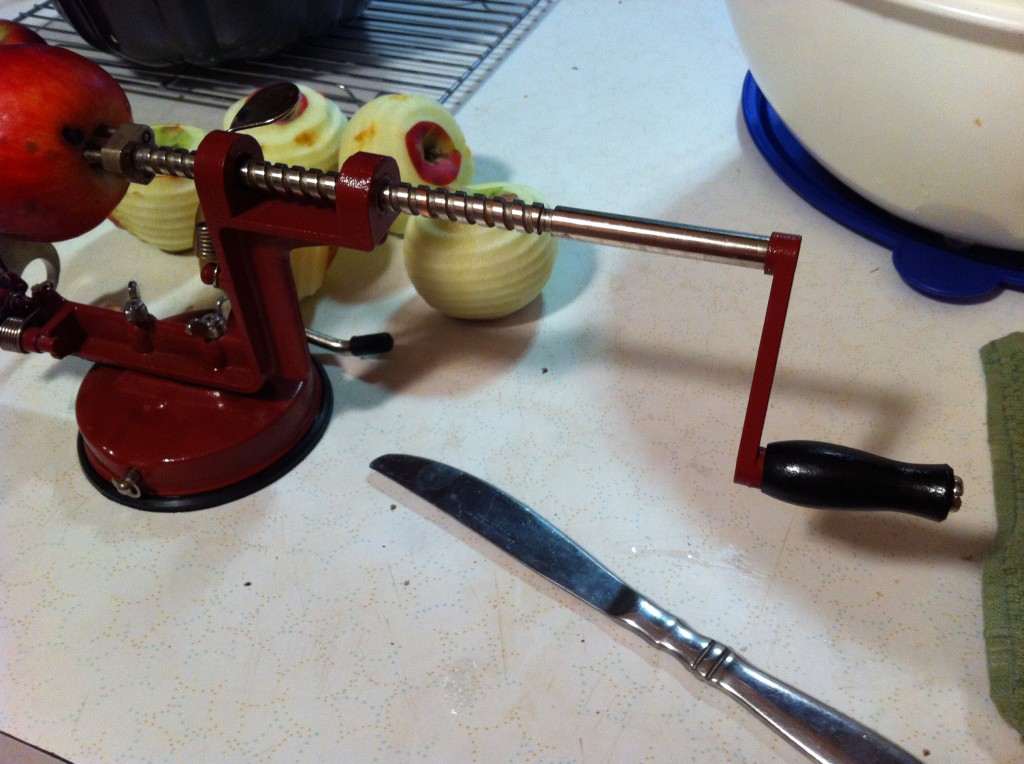
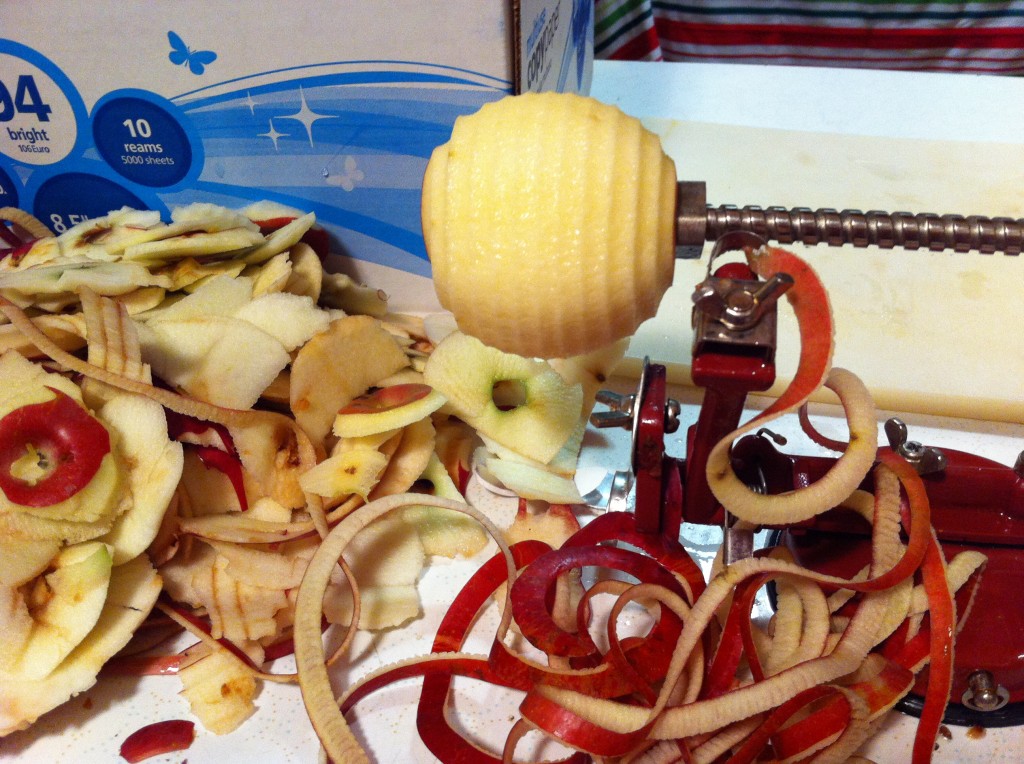
I was using my apple peeler so much making apple pie filling and apple butter over the weekend, the knob kept falling off.

I could not find a screw driver anywhere, so I found a handy dandy old butter knife.

See how well it works now!

Thanks Mom!

P.S. Dear Santa, I need a new tool set for Christmas.

Becky
 

Can This Cake be Saved?

Does this pan remind you of the movie, “My Big Fat Greek Wedding?”

Bundt…Bundt…Bundt cake.

If you have never watched this movie is one of those funny family movies that two totally opposite kinds of family have to unite when their children get married. It is a total hoot and I laugh pretty much all through the whole movie.

But….getting back to my post….”Can this cake be saved?”

Last weekend I was attending an annual ladies day at church. I had signed up to bring a dessert and some bake potato toppings. I spent most of the week in my (very little) free time looking for just the right recipe to take to the ladies day. While I was out shopping I found this magazine with fall recipes and ran across this beautiful Caramel Apple Bundt Cake.

It looked divine.

It just so happens that I had a bunch of apples that I picked at Company’s house the Sunday before.

So Caramel Apple Bundt Cake seemed like the perfect dessert to take.

The Friday night before the ladies day, Company came over and helped me make this cake…or rather distracted me while I tried to make this cake. I had to hunt long and hard to find my Bundt cake pan. When I did find it, there was a BIG spider in it and I practically threw it across the kitchen. This should have been my warning not to make this cake….but no….I did not pay attention to the signs to make something else. After Company killed the spider, I washed the pan out with HOT water and plenty of dawn and got it already for this fabulous fall apple cake.

After much time layering the batter and chopped apples and making another layer of batter and chopped apples, I finally got the cake in the oven at 10:45 at night.

It takes a hour to bake…..

I sent Company home and I patiently waited for the cake to bake.

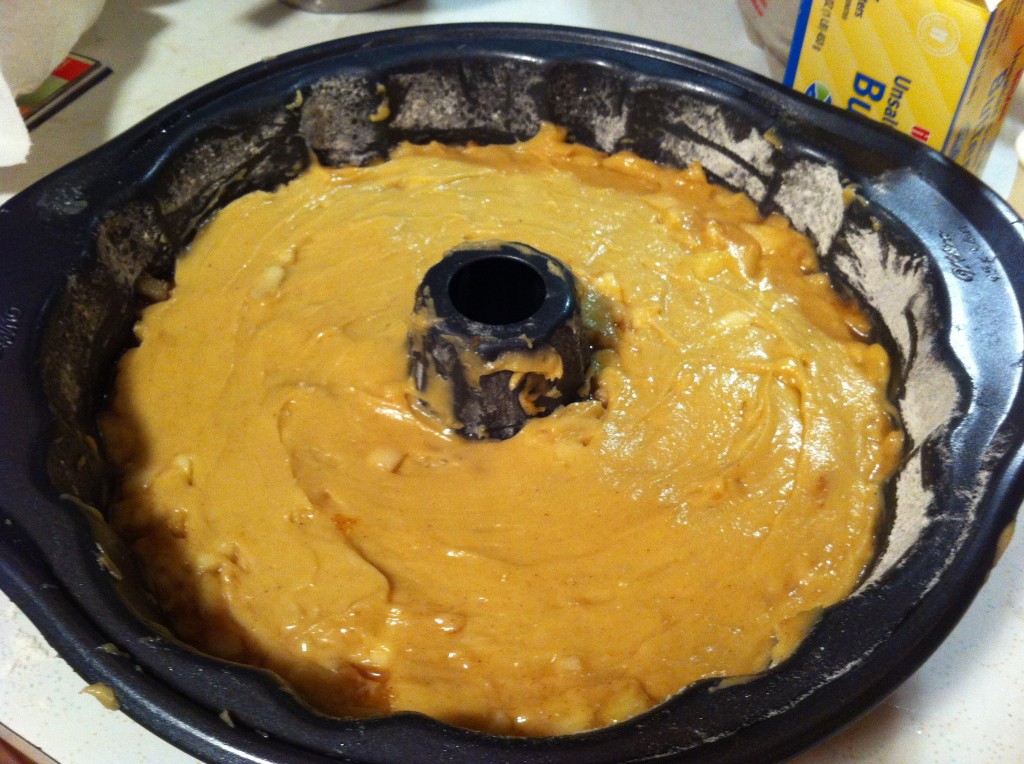
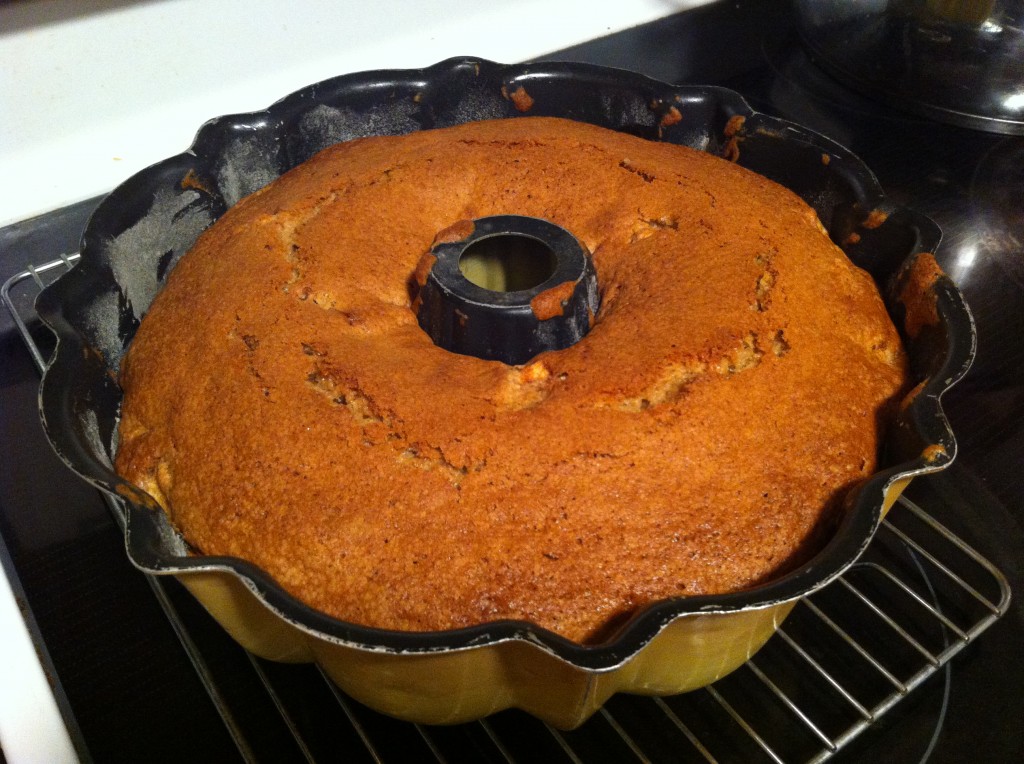
This is what it looked like before it went into the oven.

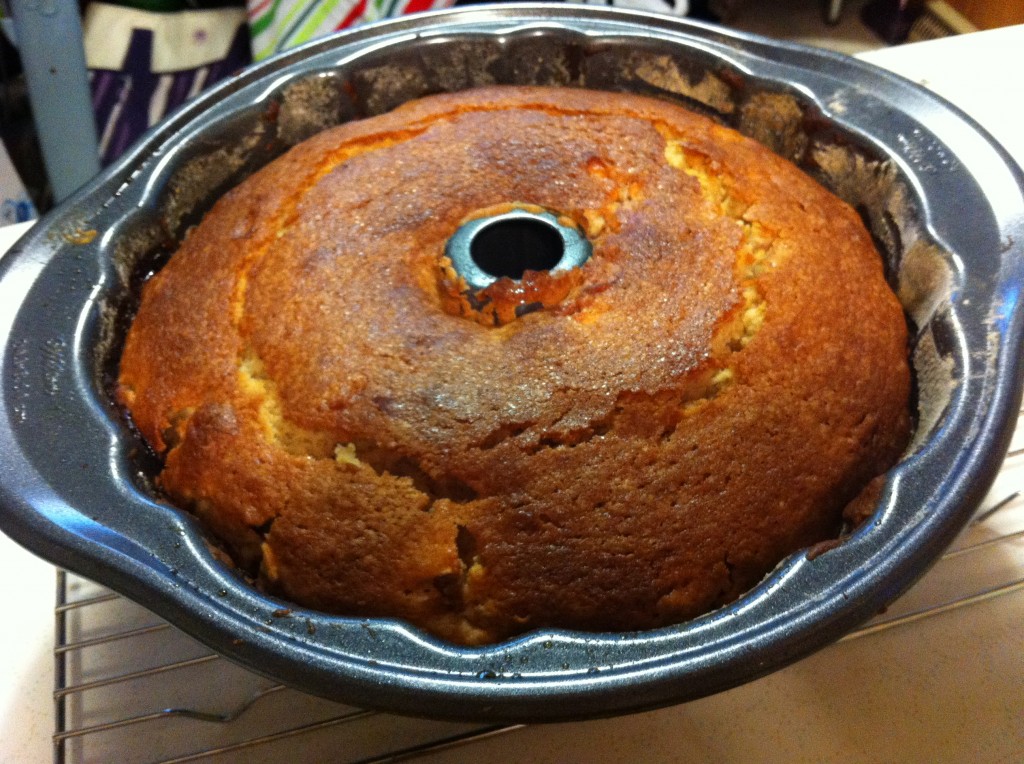
This is what it looked like when it came out of the oven.

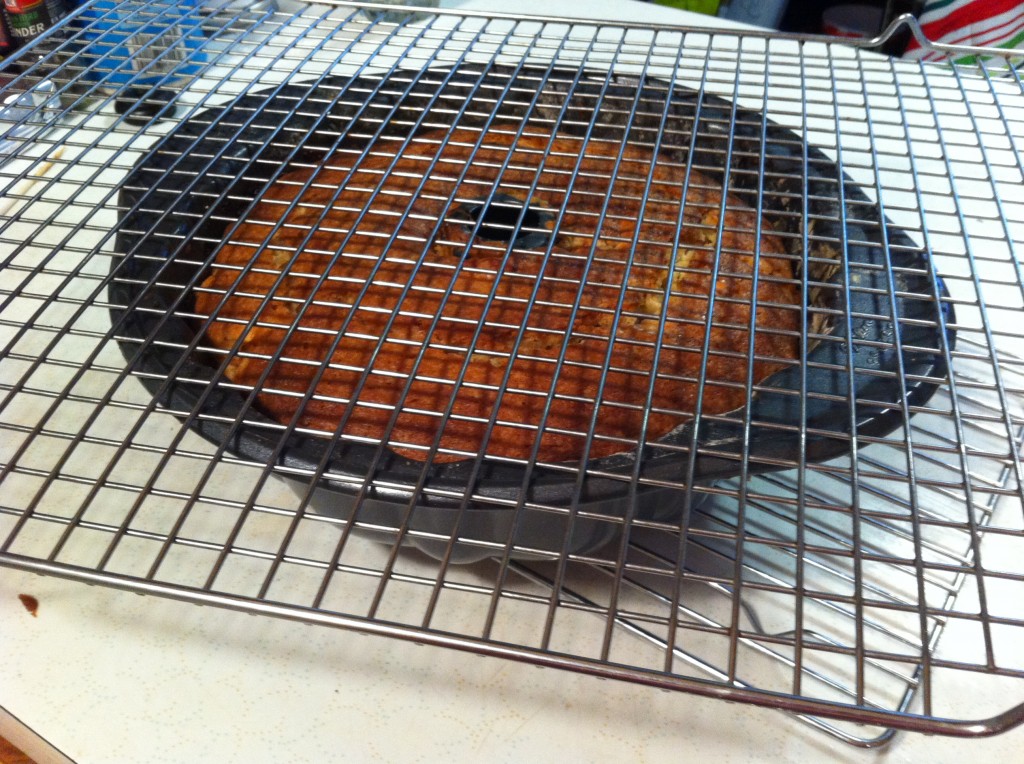
I was so relieved! By this time it was past 11:30 and I still had to let it cool off for 10 minutes before I turn the pan over and take the cake out.

This is when disaster struck!

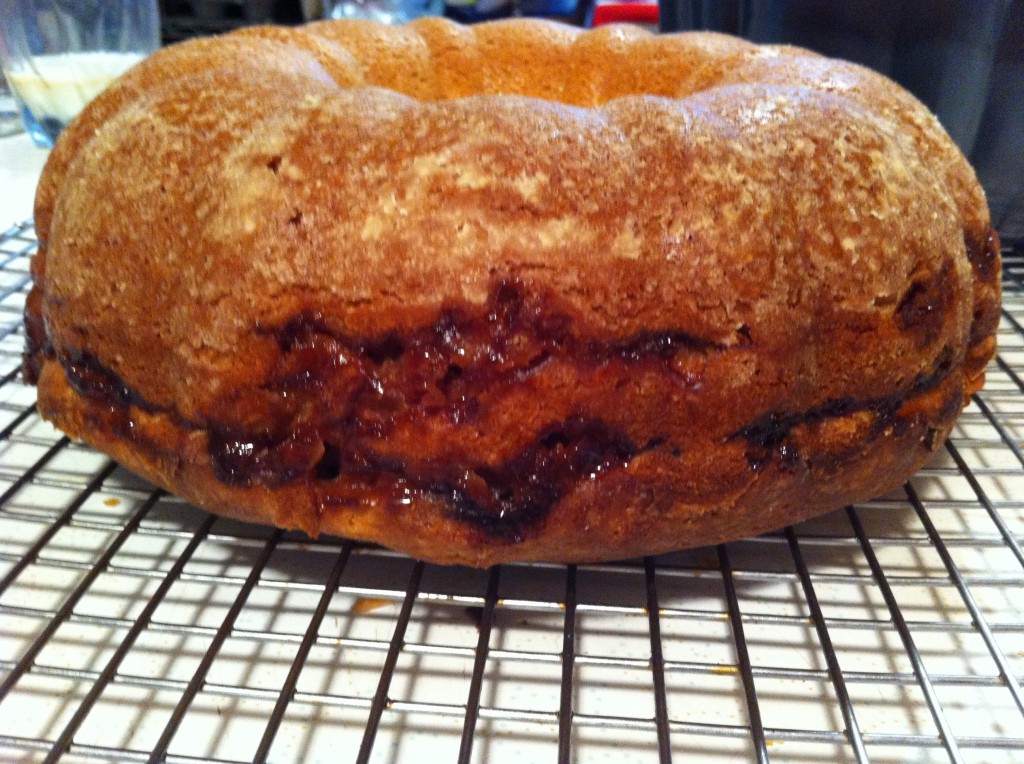
The cake split in half when I took it out of the pan.

I even broke the top in two in one place.

I just looked at my broken cake in disbelief.

I think my pan is old and warn out, and even though I sprayed and floured it, the top of the cake stuck in the pan when I turned it over.

It is midnight, I need a dessert in the morning by 8 am and I am ready to go to bed.

I just decided to wrap the cake together with saran wrap and put it in the fridge.

I did the whole Scarlett O’Hara thing and decided that I would think about it tomorrow….tomorrow is another day.

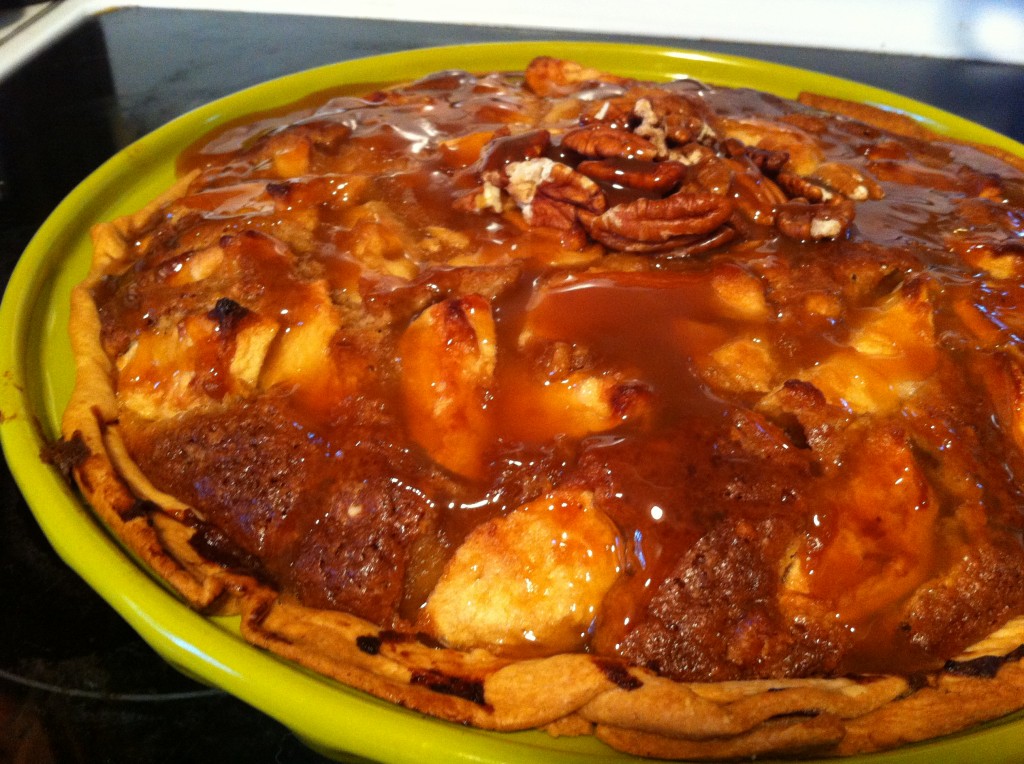
So….I got up at 6 am in the morning and made a caramel apple blondie pie. I guess I was in the mood for caramel apples.

This is what it looked like. I will post about this pie later on this weekend.

Even though I had a nice looking pie to take to the ladies day, I still had that broken, neglected cake hiding in the refrigerator. I decided to bring it out to see if I could, “save the cake.”

I went ahead and make the cream cheese icing and heated up the caramel ice cream topping and went to work.

Did I say I chopped pecans and put them on top too?

What do you think…did I save this cake?

I spread the cream cheese icing over the top of the cake. Covered the icing in chopped pecans and then drooled hot caramel topping over the top.

I think I saved the cake!

I took TWO desserts to ladies day and did not bring home one crumb of either one.

Anywho….I guess the moral of this story is, that when a cake does not come out perfect to our eyes and the outside it broken and a little battered, it is what’s on the inside that counts. This cakes was filled with hand picked apples, coated in lots of brown sugar and cinnamon and baked with love. The ladies got two desserts and I brought home a empty cake plate and pie pan.

You know what else I got out of this whole thing?

I get to buy a NEW bundt cake pan.

Have you ever had this happen to you when you were baking for a special event? What did you do? I would love to hear from you.

I will get both of these recipes posted in the next few days!

Becky
 

Caught the Varmint “Green” Handed!

I use the word “caught” very loosely here….I caught him, green handed, on camera!

I came home from work a few days ago and just happened to look out my dining room window and this is what I saw! A big ole ground hog, munching happily away on one of green tomatoes!

Yikes!

After I took the culprit’s picture, I banged on the window pane (like that was going to do any good). I guess I was loud enough to wake up the Super Hero (in bed asleep with horrible cold). Super Hero ran out of his room ready to find out what all the noise was about. Embarrassedly, I told him about the ground hog “porking out” on my tomatoes and I thought banging on the window as hard as I could would really scare the fat varmint.

Ok, Ok……I am a blonde dork sometimes….I said, I thought it was a good idea….

The Super Hero went back to bed, scheming of ways to get me back from waking him up from a good nap.

I thought about my next plan of action and decided I would pull up all my tomato plants except the cherry ones. I rationalized that if the ground hogs were going to eat my big green tomatoes, there was no use in keeping the plants around when I could grow something else.

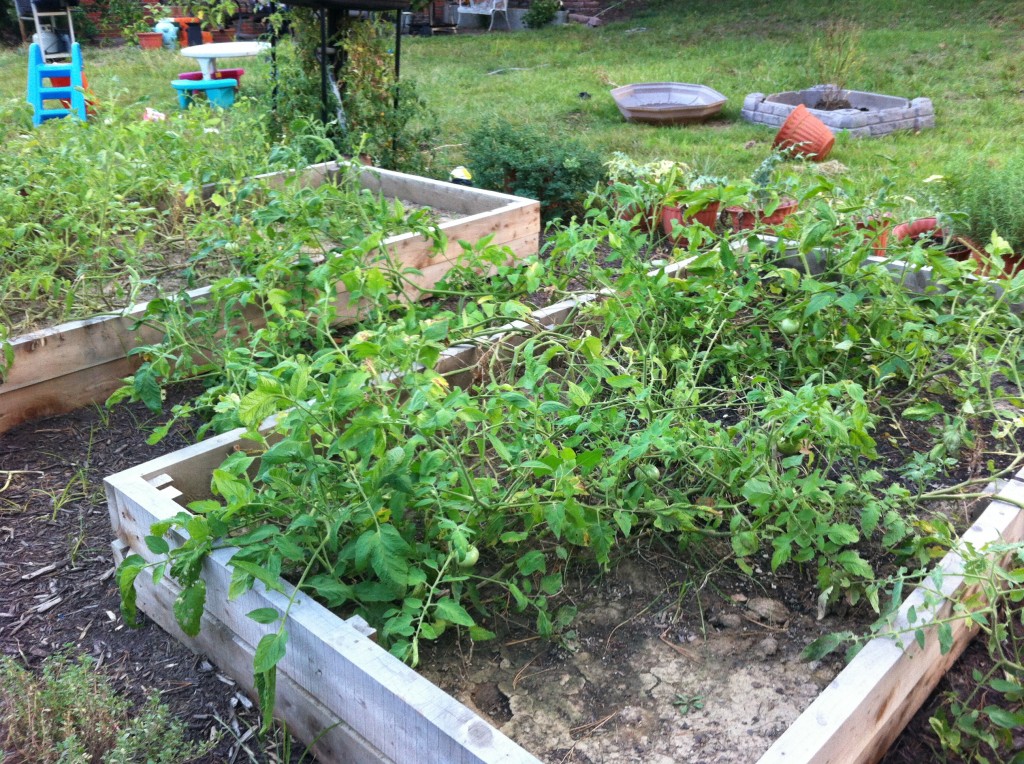
I spent the next hour or so picking the rest of the tomatoes off the plants and pulling out the tomatoes. This is a before picture.

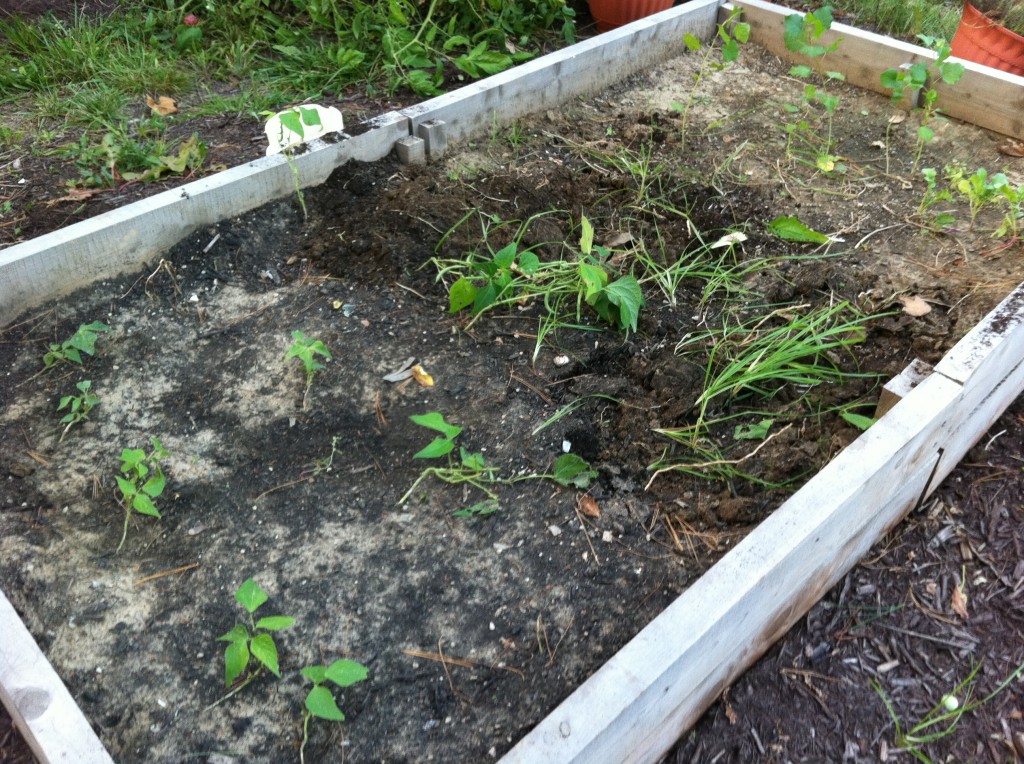
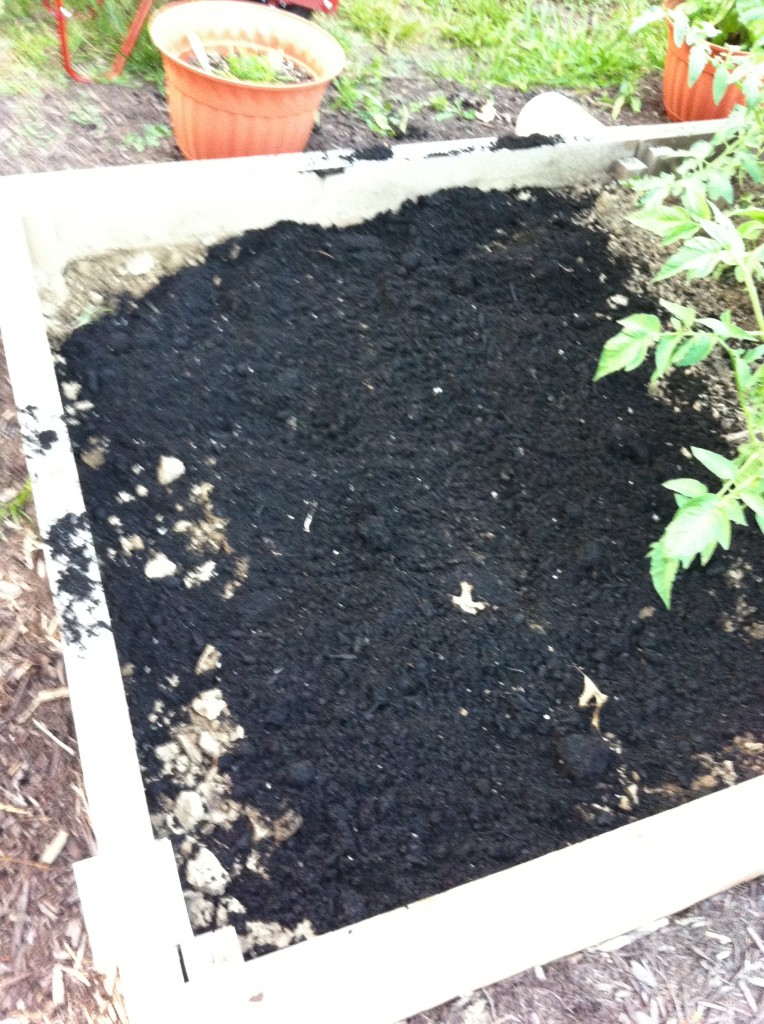
This is an, after shot, of one of the garden beds after I pulled out the tomato plants.

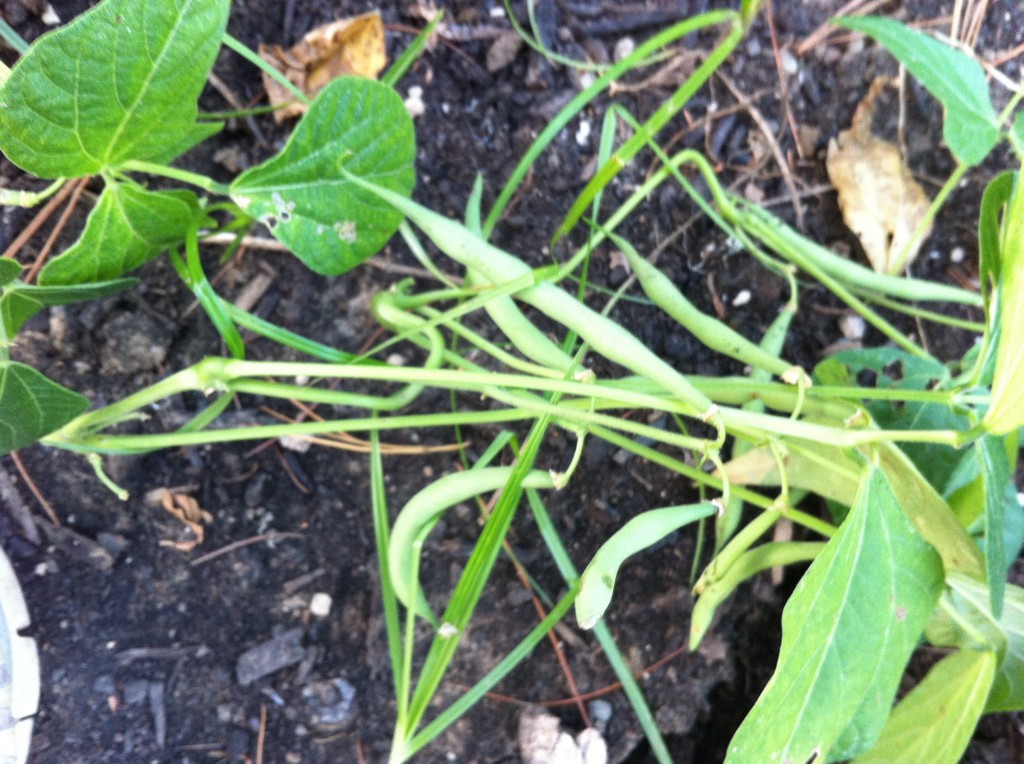
Underneath some of the tomato plants were some bean plants, the varmints did not see, that actually had real green beans on them! I was so excited!

I have planted beans twice this summer. Each time my little plants gets some blooms on them, some furry creature gobbles down all my blooms and half the plant!

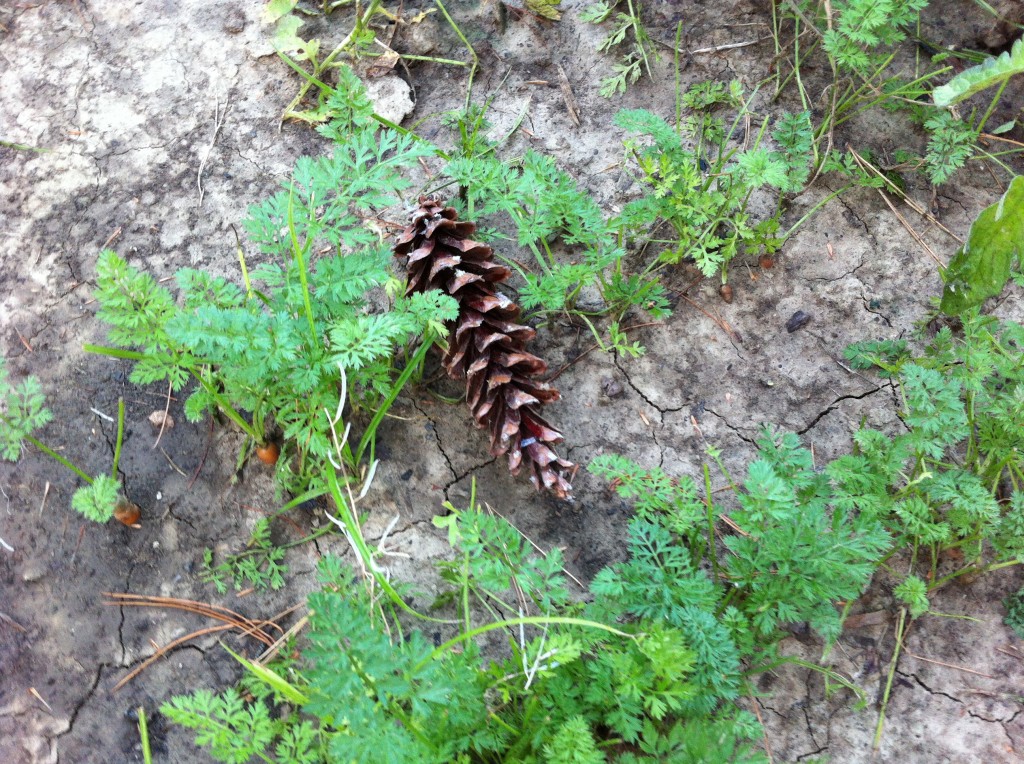
I also found a pine cone from my big ever green tree in the back yard. There is no way this pine cone “found” it’s way into the raised garden. You don’t think the varmints wanted to do a little, “bartering” with me do you? In like, I will trade you one crunchy pine cone for all your green tomatoes……varmints aren’t that smart are they???

I think this one might be!!!   “I will get you my pretty and all your furry tomato eating friends too…..”

Anyone want a furry well feed ground hog as a pet???

I don’t either!

Hope your garden is still going great!!

Becky


Texas Sheet Cake

Niener Wiener made me do it! Now, Jeanie Beanie wants the recipe…; )

Yes, Niener Wiener was the one that talked me into making Texas Sheet Cakes.

It all started  with a silent auction to raise money for the old cemetery down by The Old Home Place.

Brother Robert made two roasters full of his famous chili, Auntie Corene made her famous pies (which I bought a whole one to take home to the child who does not cook) and I brought two large Texas Sheet Cakes that Company helped me bake the night before.

I don’t know if you have ever made Texas Sheet Cakes before, but they are easy, they feed a crowd and they taste good too! All winners in my book.

You can find several recipes for this cake. One is made with sour cream, one made with buttermilk, one with more eggs, one with more cocoa….YES, it does get a little confusing as to which recipe to use. As I am a creature of habit, I just use the same recipe I have been using for years. It is tried and true and has never let me down. I just put pecans as a decoration on the icing cause the Super Hero does not like nuts, but you can add chopped pecans to the icing, or not use nuts at all. It is up to you….I mean, we really are just eating it for the chocolate…right?

If you need a dessert recipe for a tailgate this weekend, or need a cake to snack on for movie night, you might try making a Texas Sheet Cake. And…you don’t even have to be in Texas to eat it.

Here is your step by step instructions:

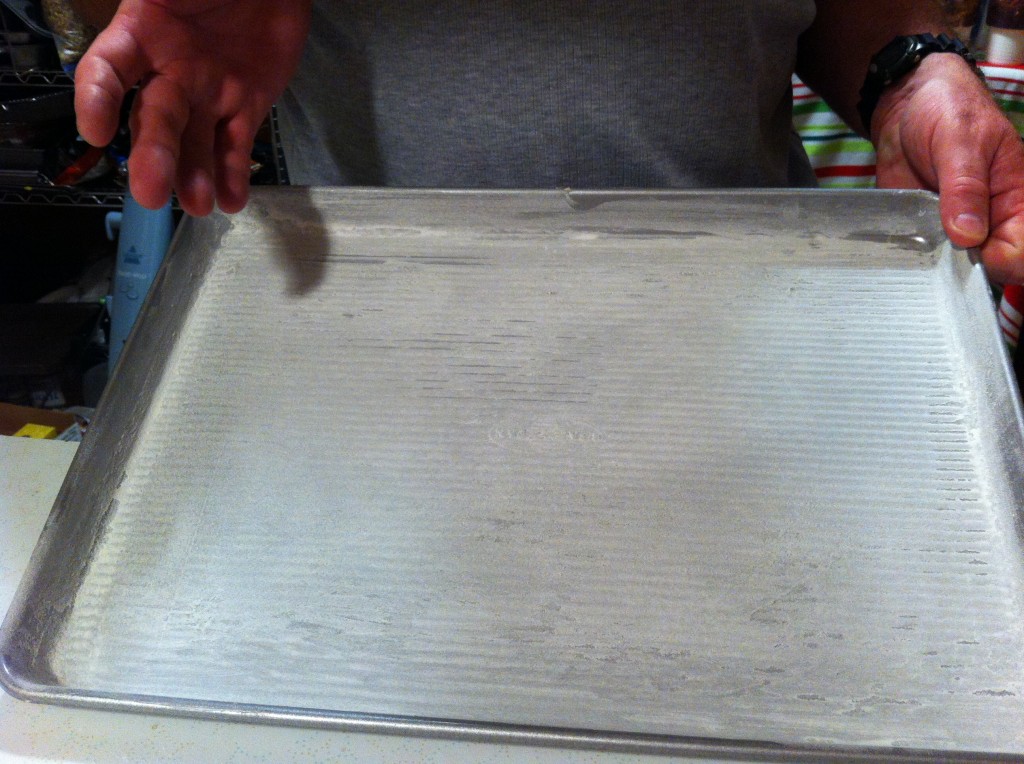
First, get your pan ready. You will need a 10 inch by 15 inch sheet cake pan. I used some vegetable shortening and flour to put on the sides and bottom of the pan. Yes, that is Company holding the pan. I did not realize he was such a ham!

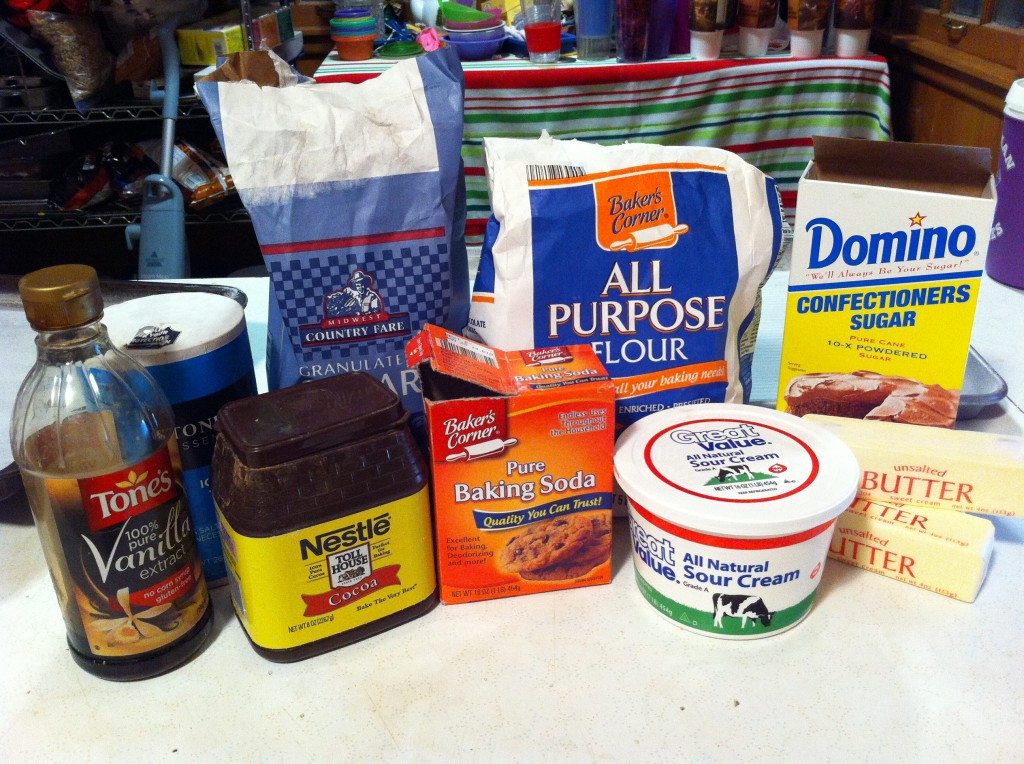
Here is what you will need to make this cake. I was so excited that I did not have to buy a thing and had plenty of everything to make two cakes. I forgot to put the milk in the picture…oops my bad!

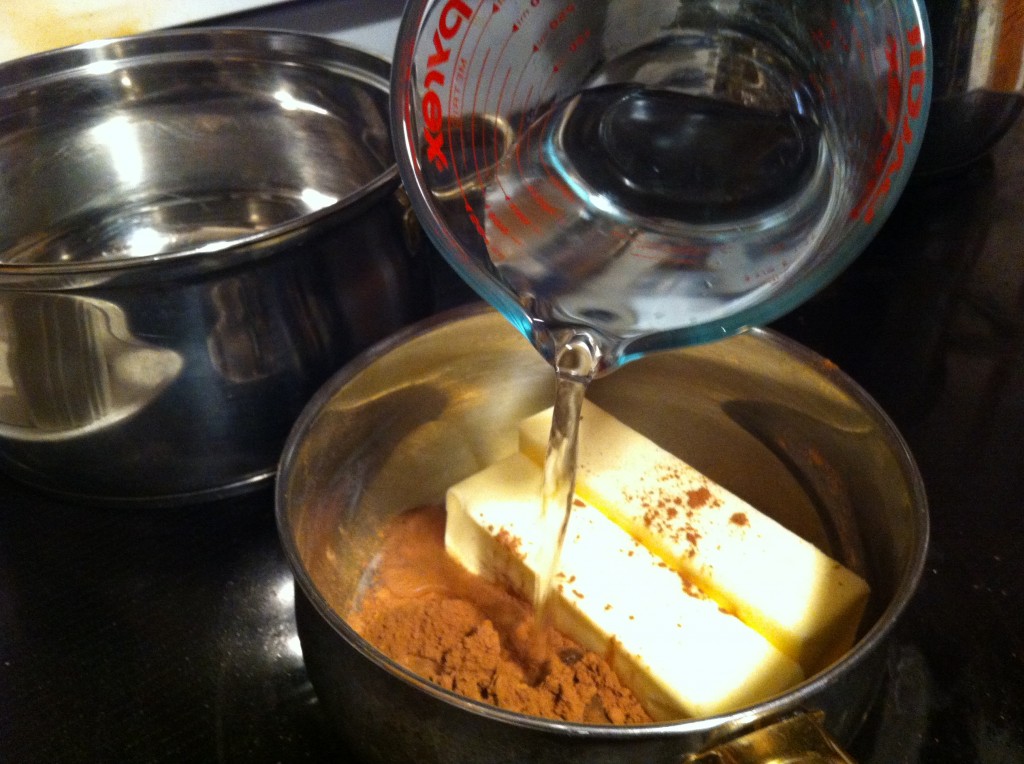
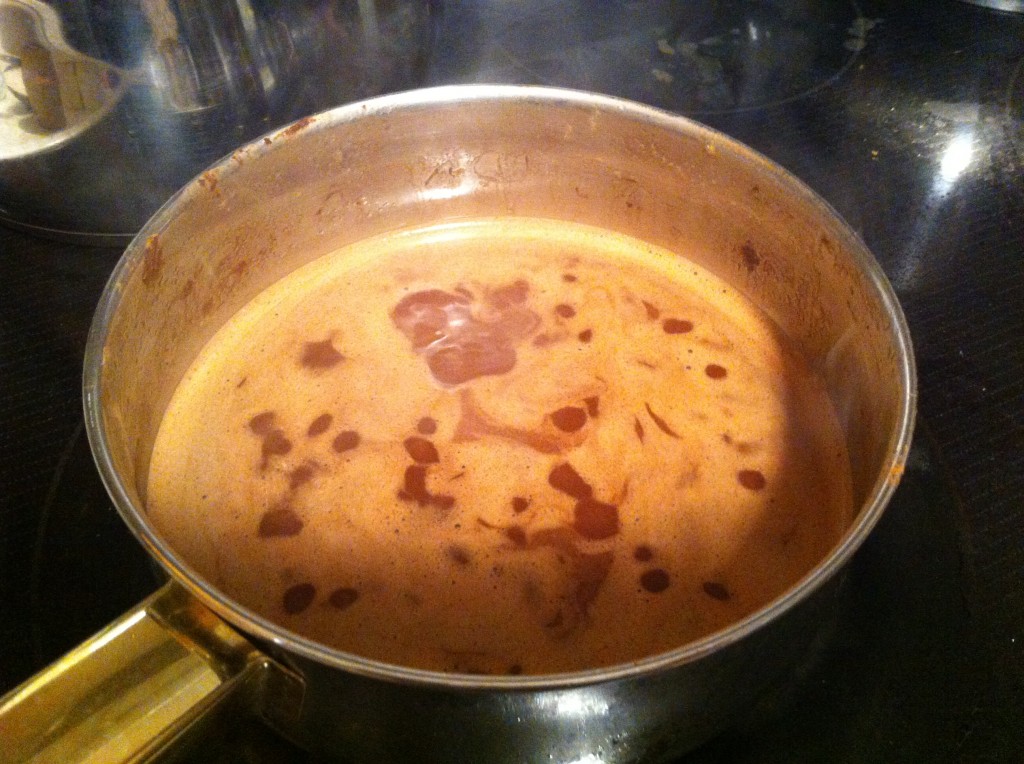
In a sauce pan bring the cocoa, water and the butter to a boil.

After you bring it to a boil, take it off the heat to cool slightly.

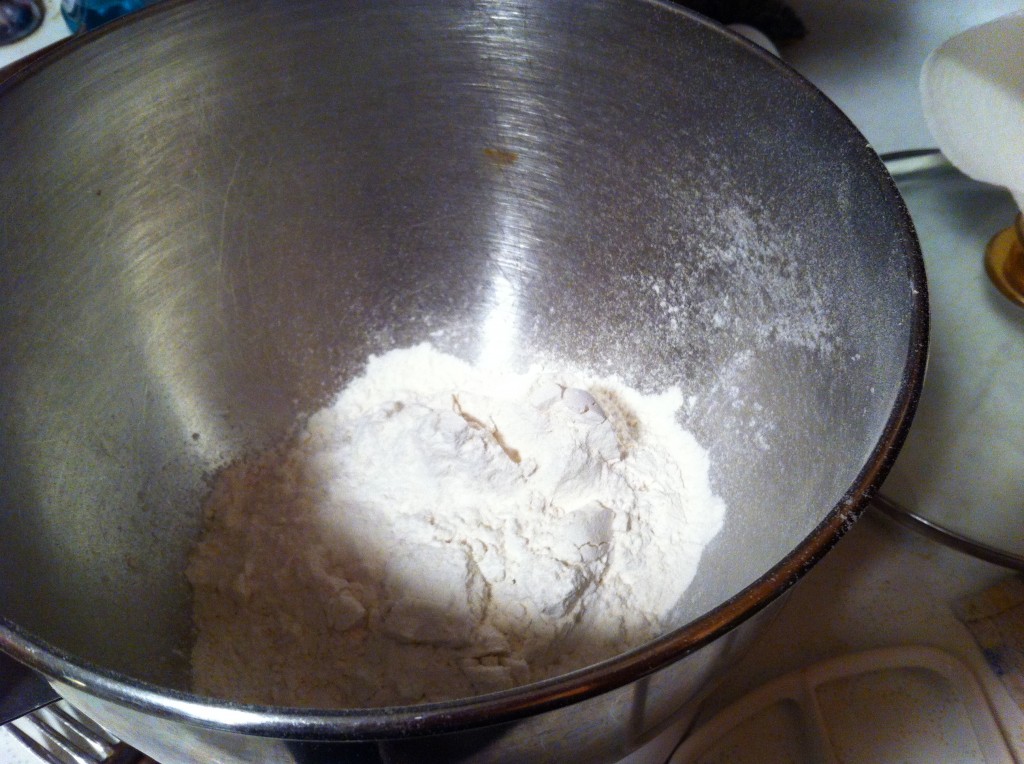
In a large mixing bowl, add the flour.

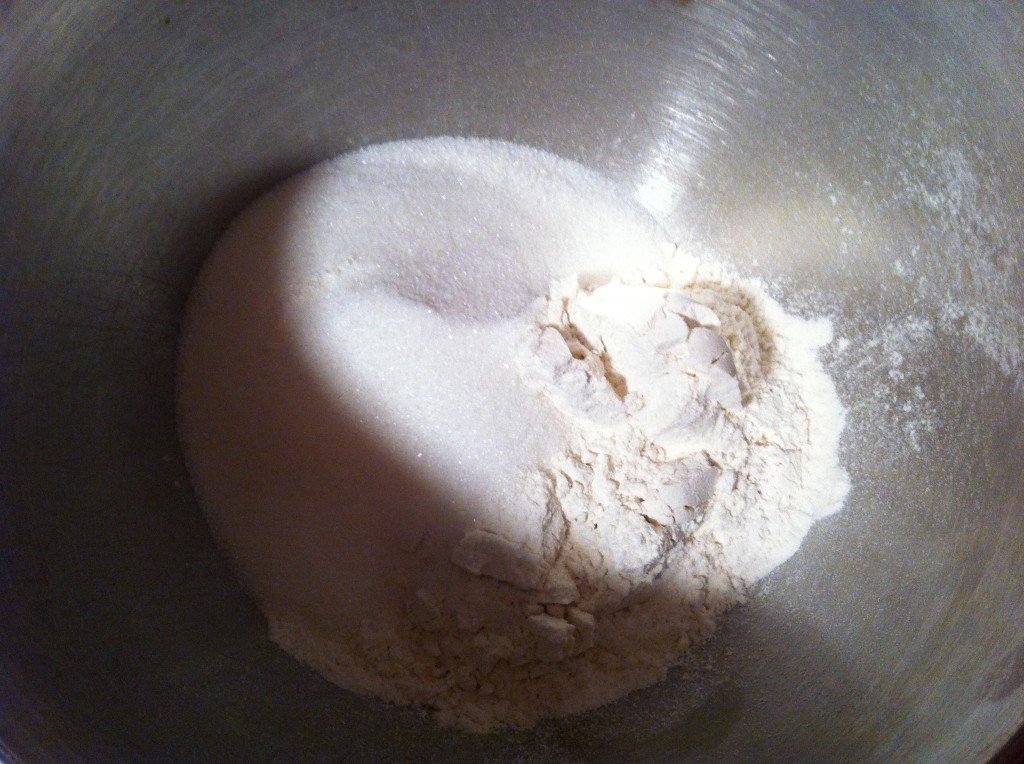
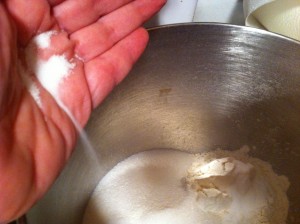
Now, add the sugar to the flour.


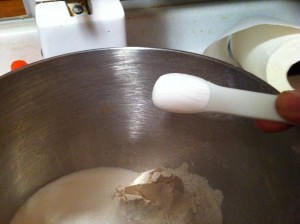
Now, add in the baking soda and the salt.    Stir all the dry ingredients together.

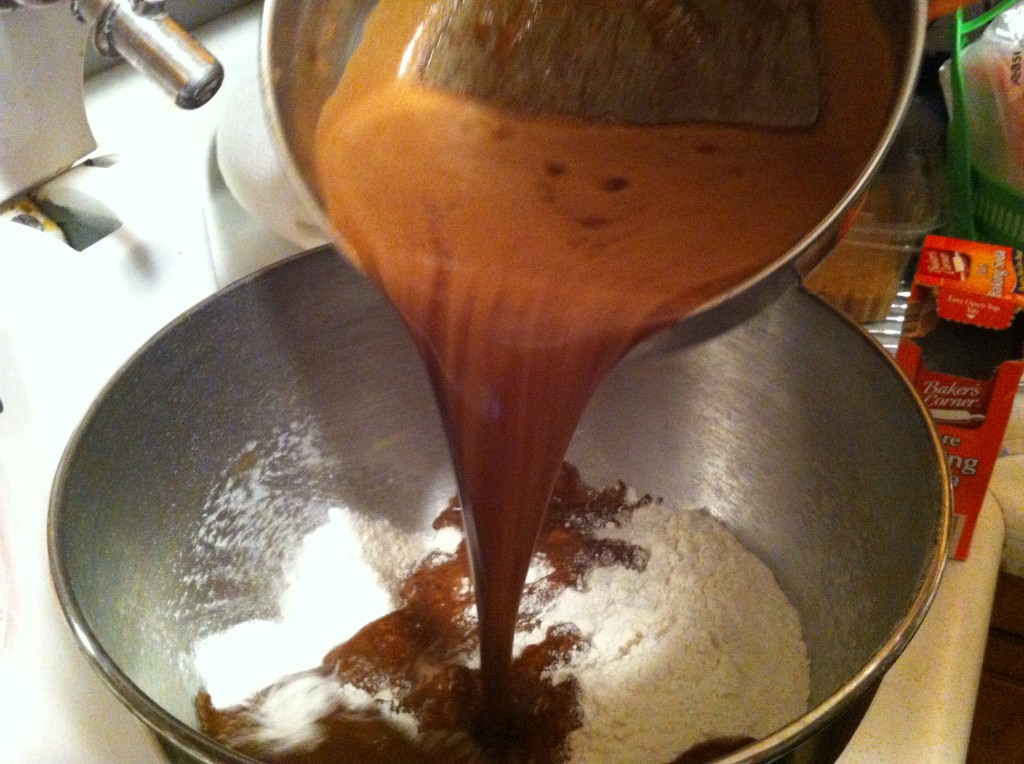
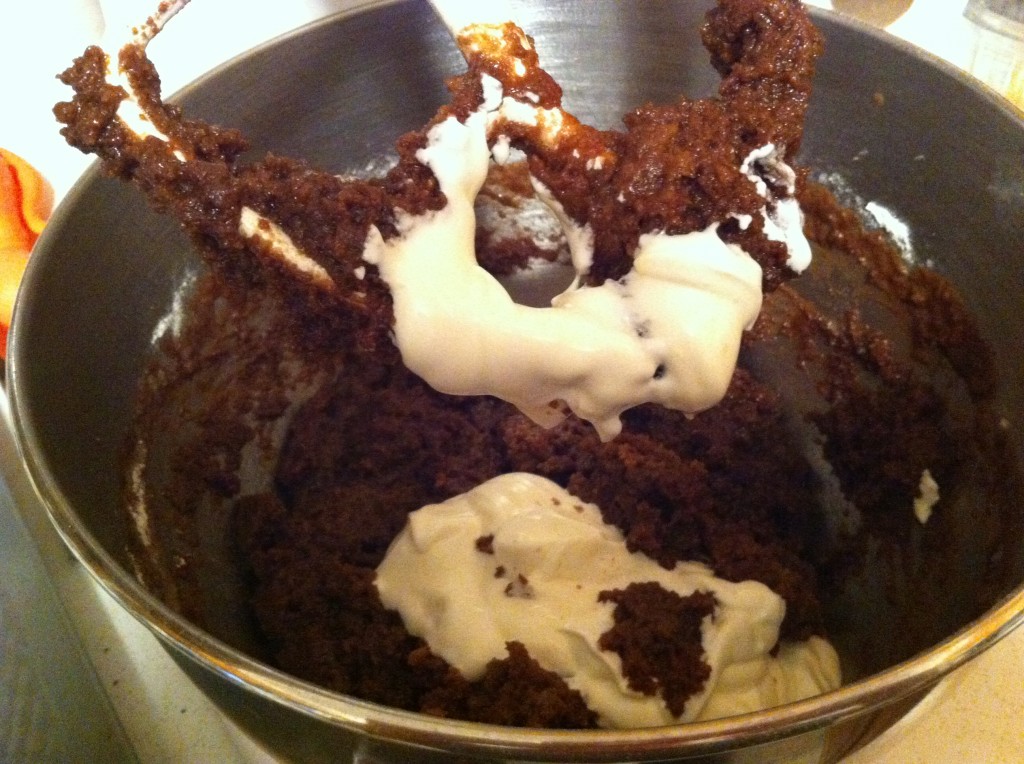
Now, we get to the fun part. Pour the warm cocoa mixture into the flour mixture.

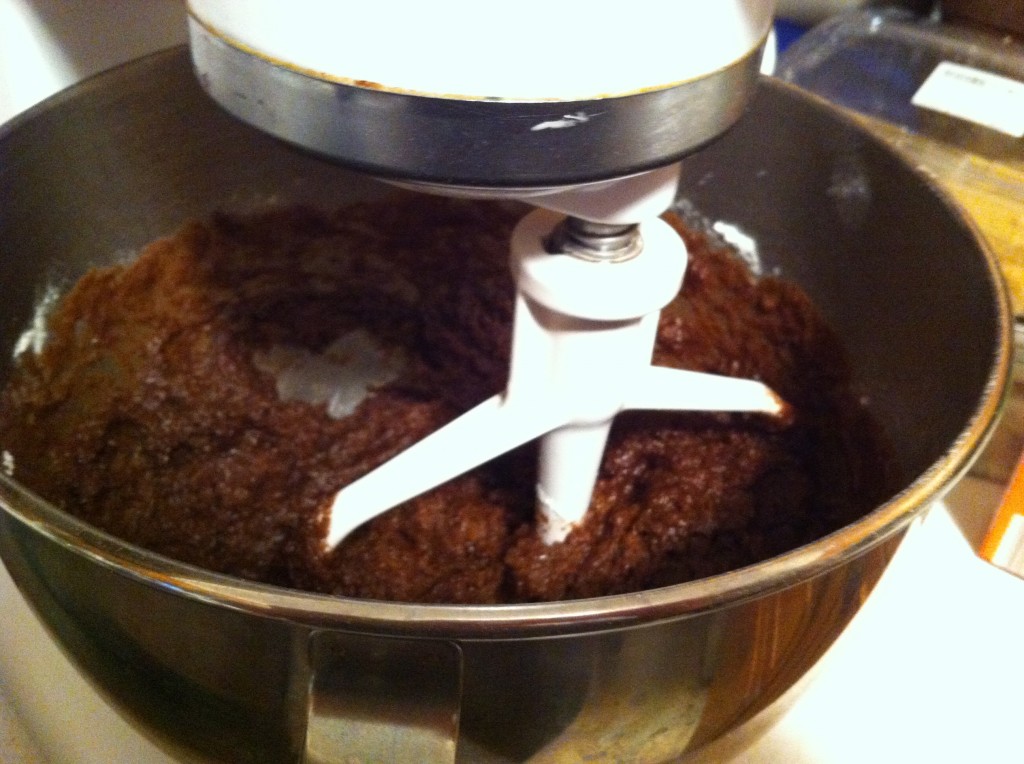
Mix lightly together.

Now, add in the sour cream and lightly mix together until everything is incorporated.

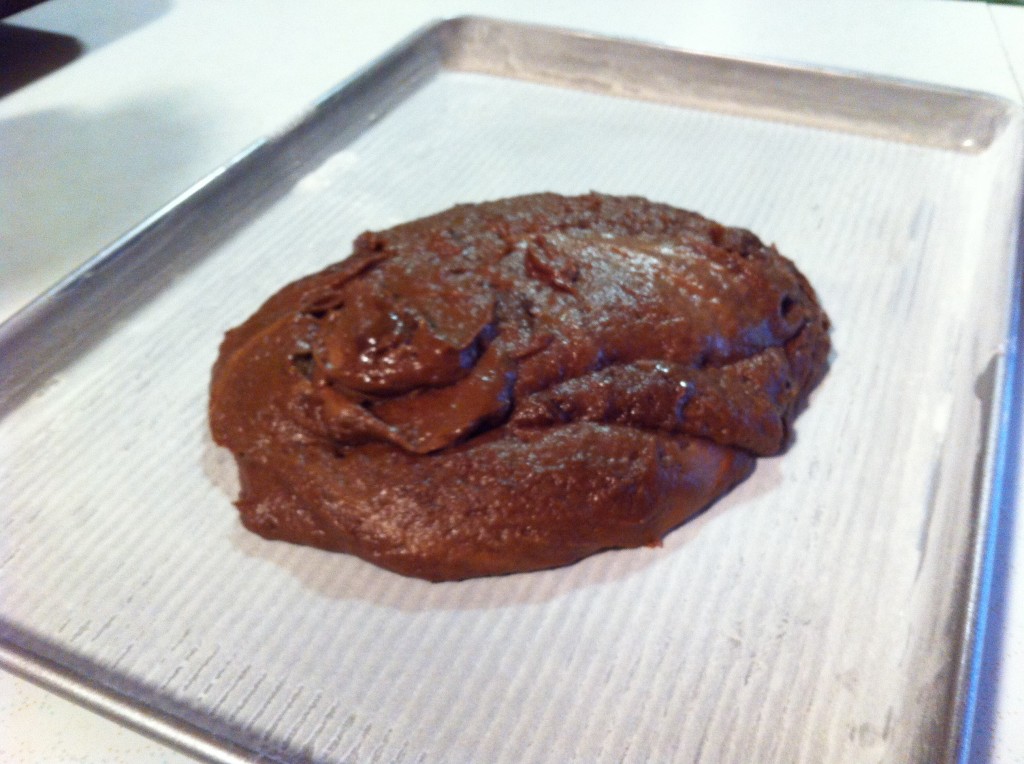
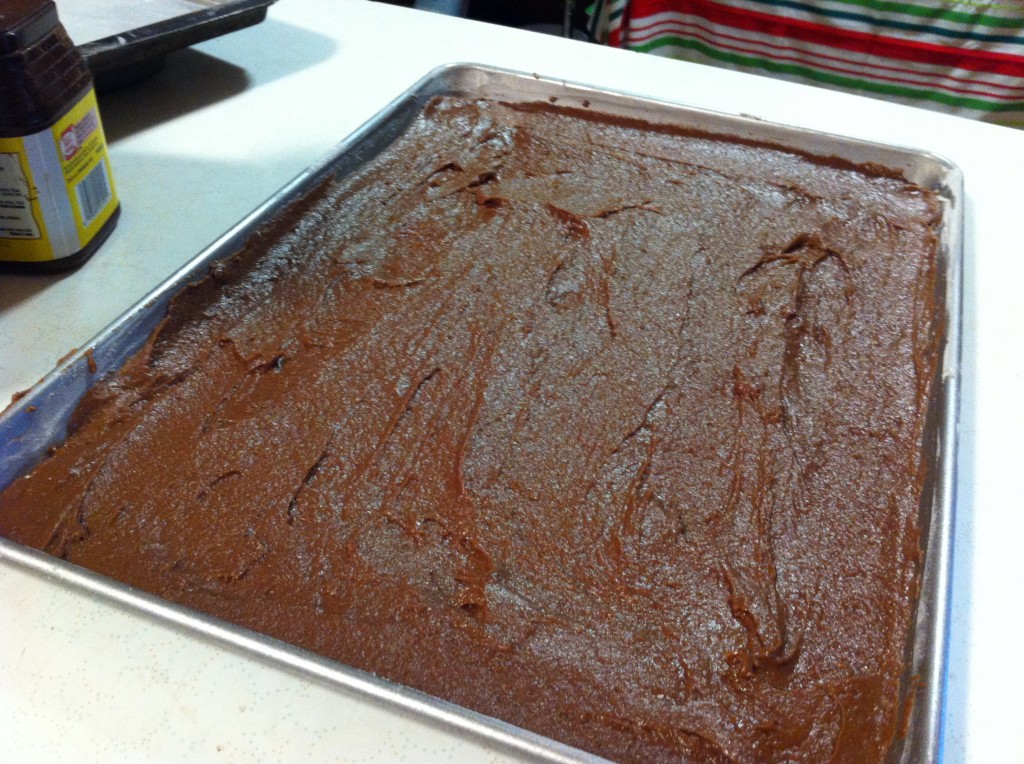
Pour into the prepared sheet cake pan.

Spread batter evenly in pan. Put the cake in a preheated 350 degree oven and bake for about 20 minutes.

While the cake is baking start making the icing.

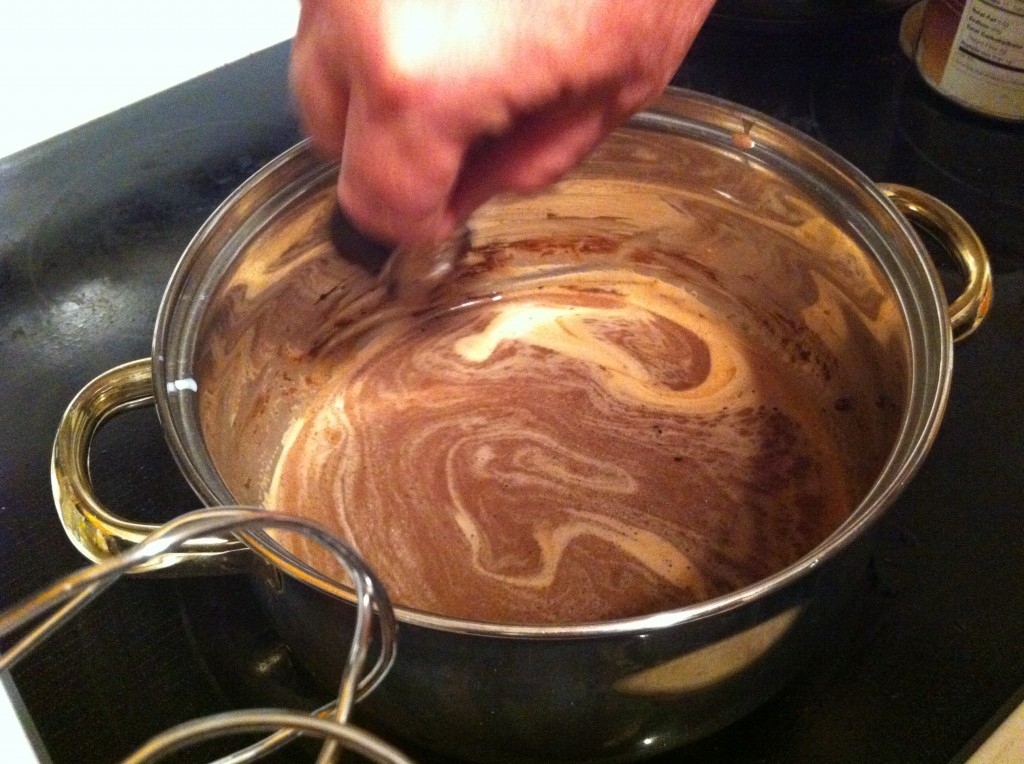
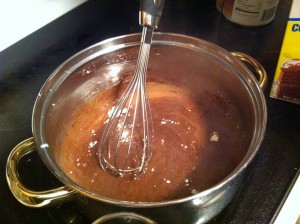
To make the icing, get out a large sauce pan stir together the butter, milk and cocoa.


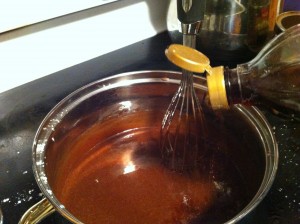
Stir the cocoa mixture until it comes to a boil and then add the vanilla.

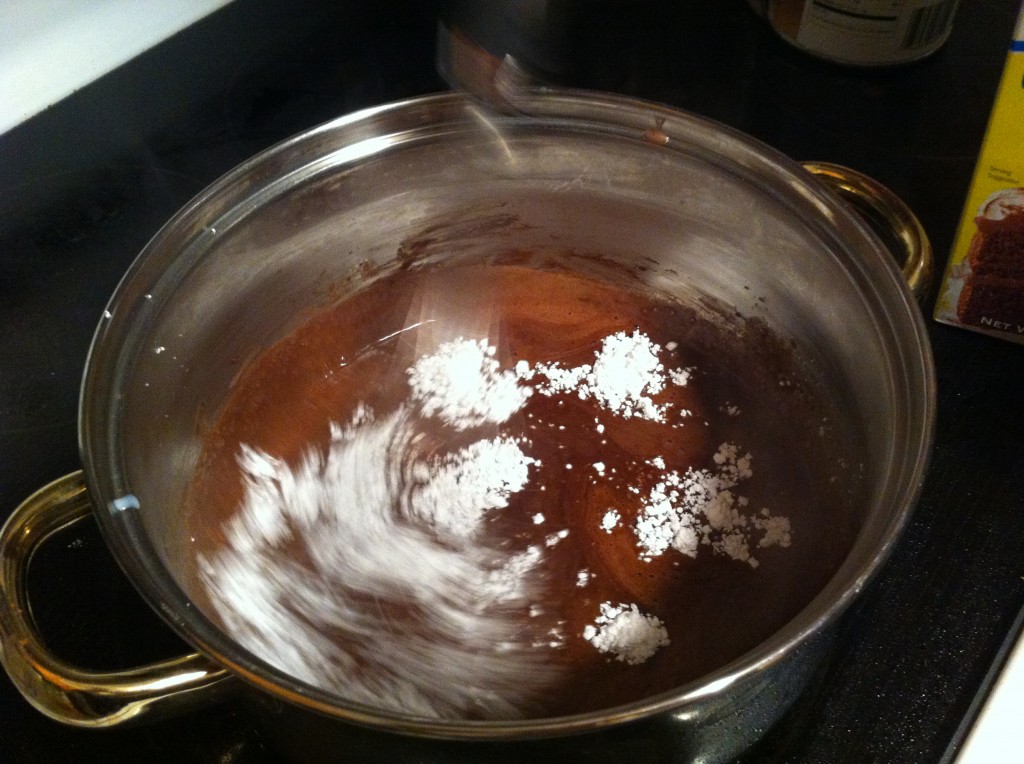
Now, while the mixture is warm, whisk in the powdered sugar. Company is doing the whisking here not me. Whisk in all the powdered sugar, making sure you get all the lumps outs.

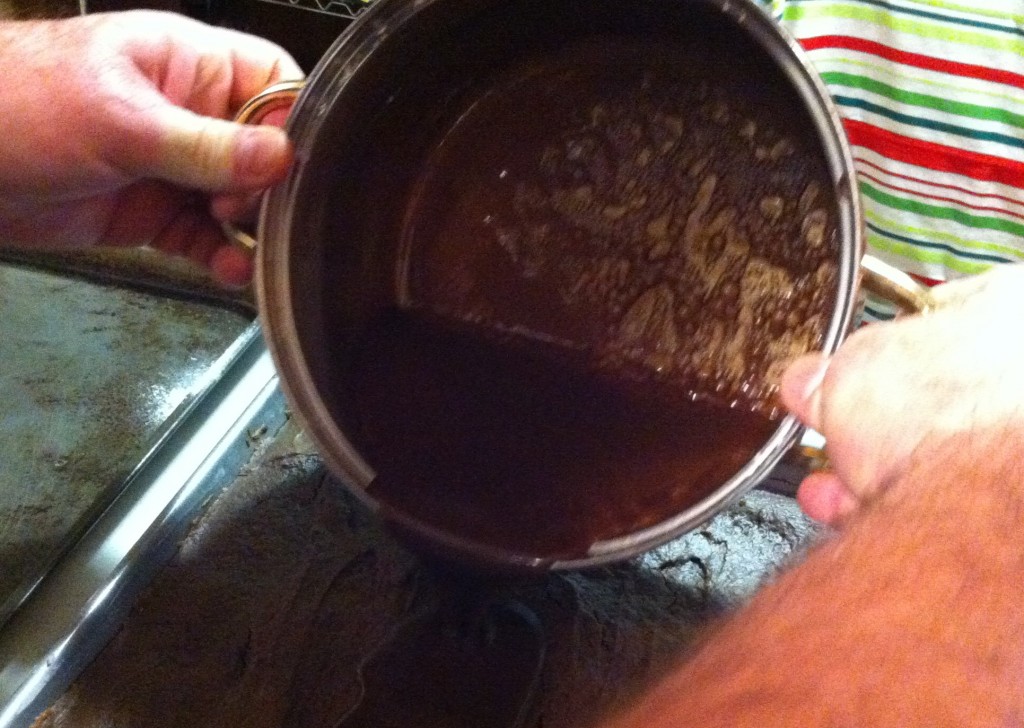
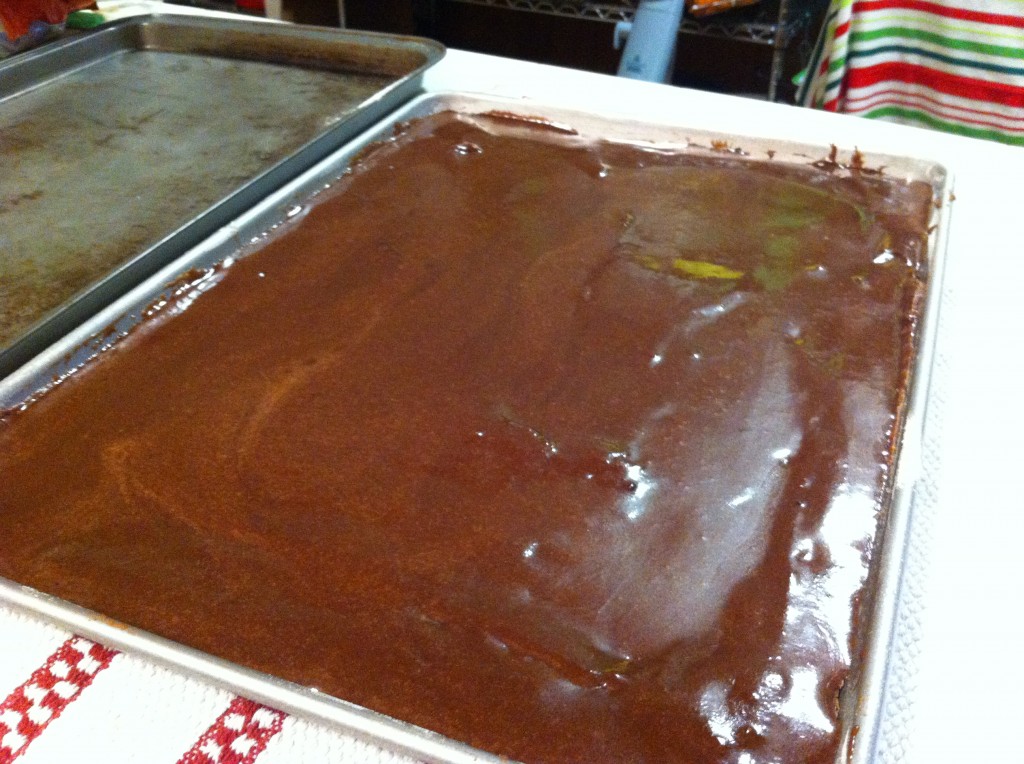
While the icing is till hot, pour it over the warm sheet cake. Company had to pour the icing on the cake too….gee…LOL

Spread the icing around while it is still warm to cover all the edges of the cake.

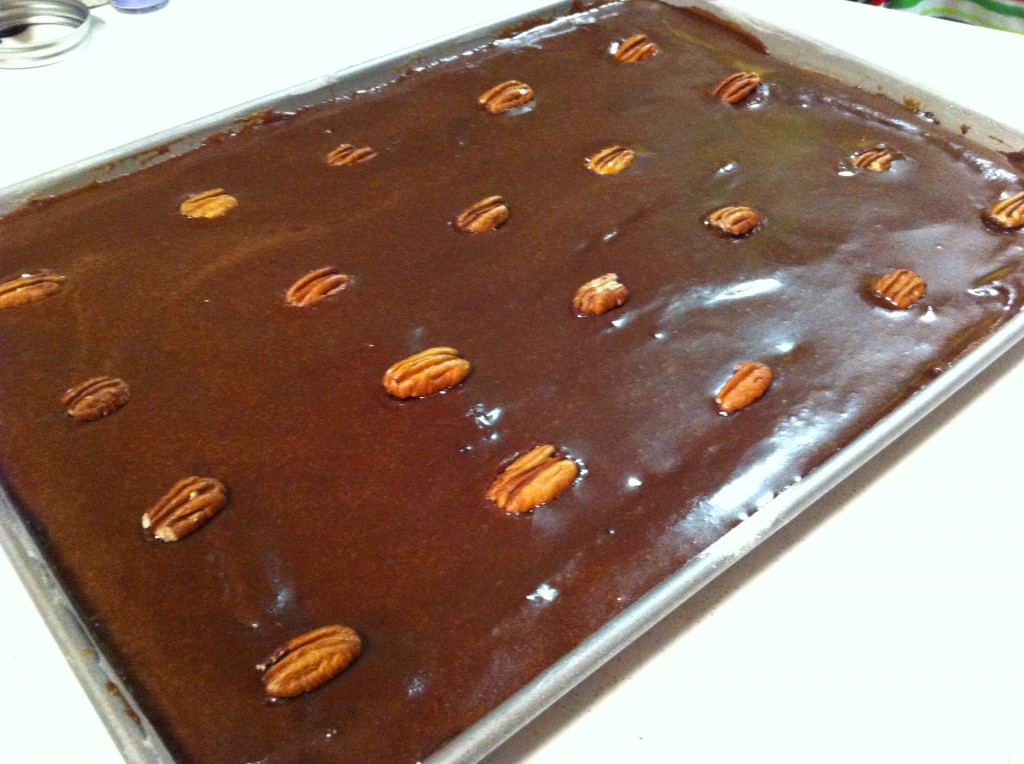
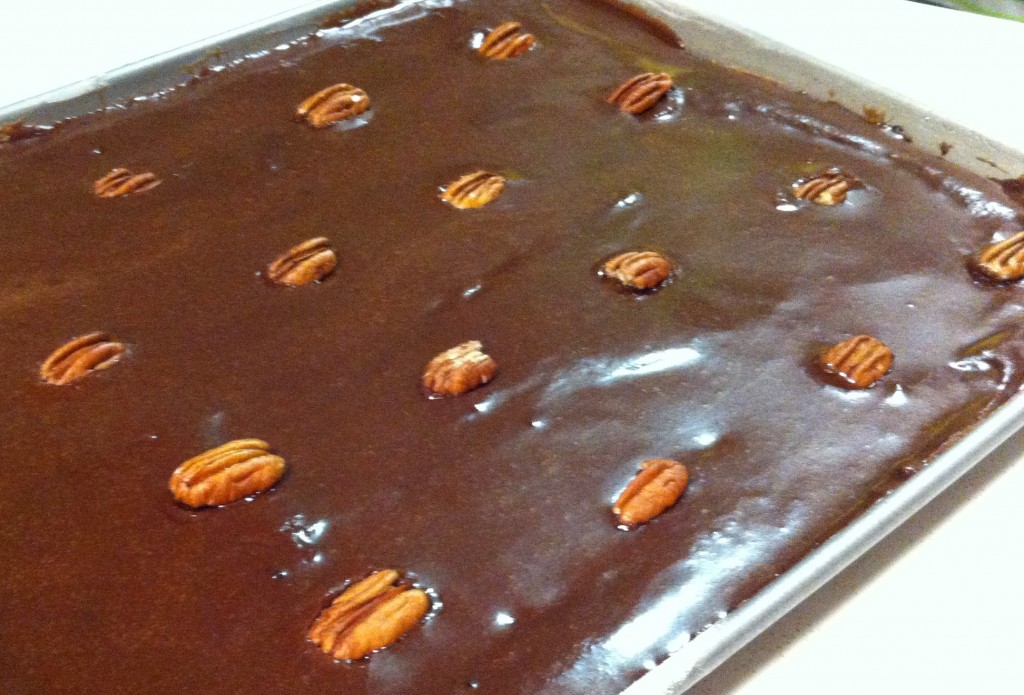
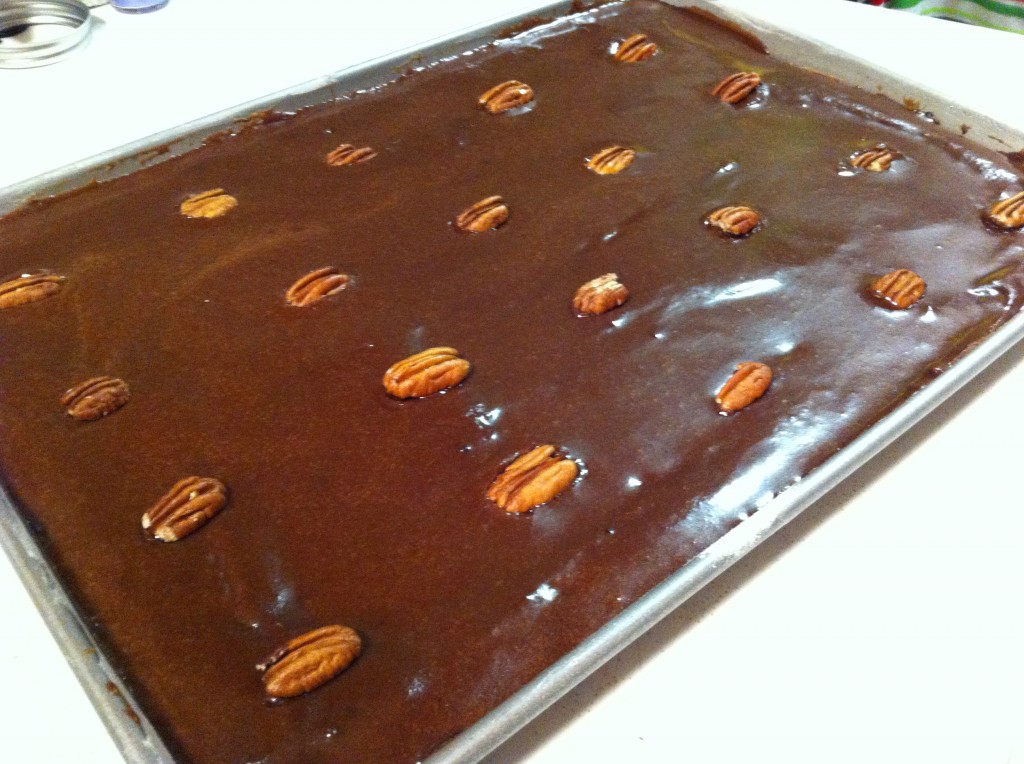
You can decorate the top with pecans halves if you want to.

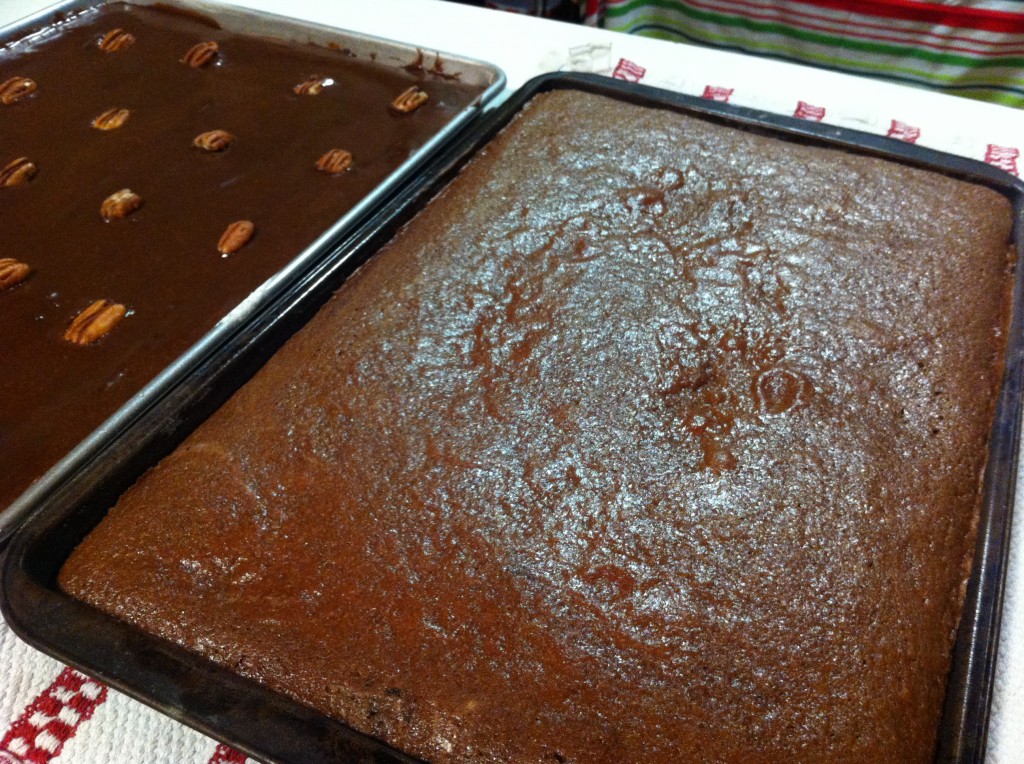
If you make one, you might as well make two : ).

In case you are wondering, this cake does not contain eggs. If you want a lighter cake, you can add two eggs if you want. The batter will not be quite as thick but it will work : ).

Here is the recipe:

Texas Sheet Cake

Ingredient for the Cake:

2 cups of flour

2 cups of sugar

1 teaspoon baking soda

1/2 teaspoon salt

1/2 cup sour cream

1 cup butter

1 cup water

5 tablespoons unsweetened cocoa powder.

Ingredients for the Icing:

6 tablespoons milk

5 tablespoons unsweetened cocoa powder

1/2 cup butter

4 cups powdered sugar

1 teaspoon vanilla

pecans or walnut optional

Directions:

Preheat your oven to 350 degrees.

Prepare a jelly roll/sheet cake pan. 10 inches by 15 inches. I coated mine with vegetable shortening then with flour.

In a large sauce pan bring the water, cocoa and butter to a boil. Set aside to cool.

In a large mixing bowl, stir together the flour, sugar, baking soda and salt.

Pour in the warm cocoa mixture and blend together.

Add in the sour cream to the batter and mix all together.

Pour batter into greased pan and bake for around 20 minutes.

While the cake is baking prepare your icing.

In a large sauce pan, bring the milk, cocoa and butter to a simmer. Add the vanilla.

With a whisk, whisk in all the powdered sugar until all the lumps are dissolved.

While the icing is sill warm, pour over the warm cake.

Spread the icing out while it is still warm to cover all the edges of sides of the cake.

Decorate with nuts if you wish.

The only question  you need to ask yourself now, is how big you want to cut your piece of cake!

Enjoy!

Becky
 

Varmints and Critters Oh My!

The Varmints and Critters have struck again!

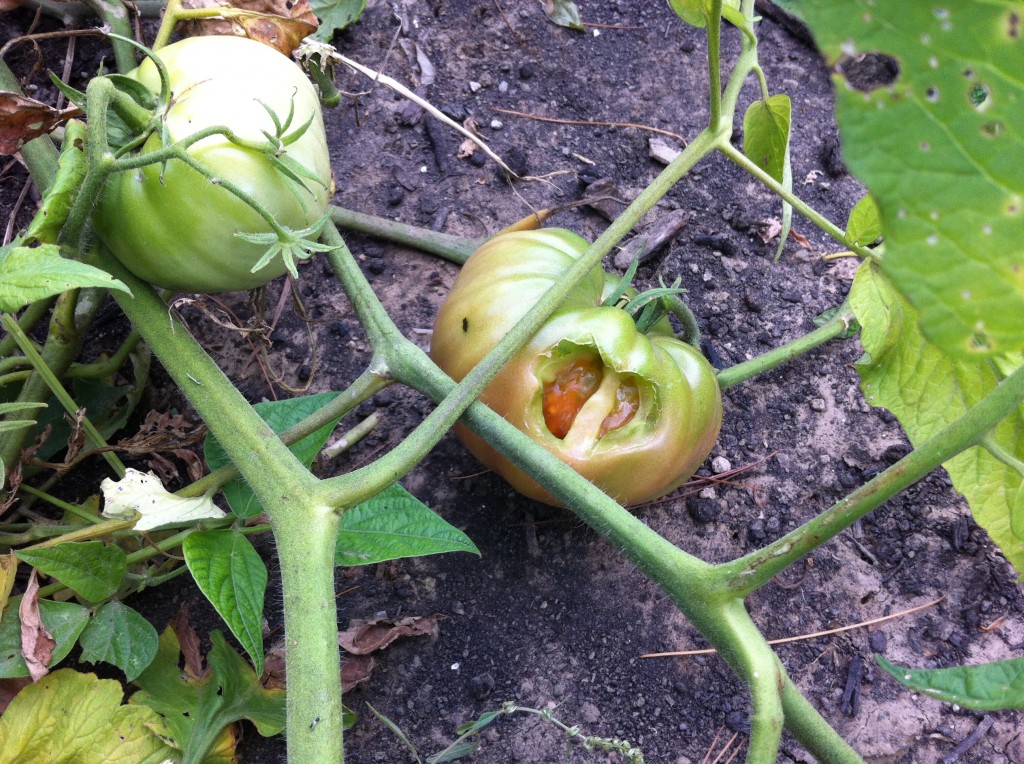
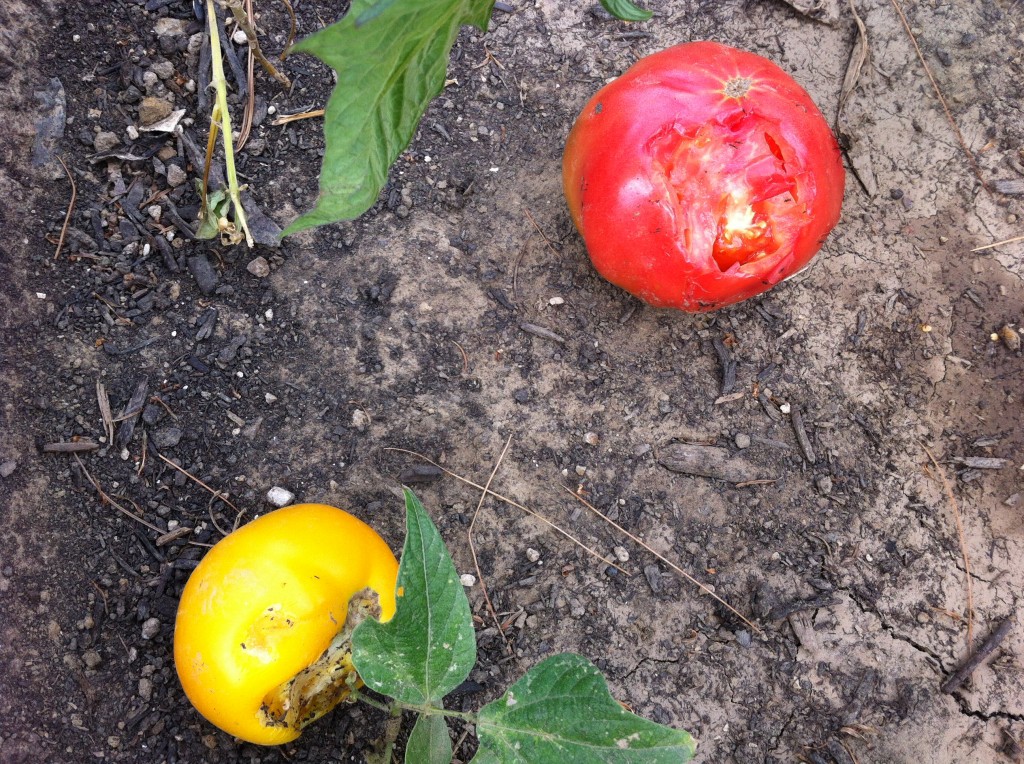
I went out yesterday morning to water the little garden and this is what I found….ugh!

Perfectly good, almost ripe tomatoes, with big bites taken out of them.

I think it is work of a mama ground hog, baby ground hog, teenage rabbit and a fury tailed squirrel.

I feel like I am out numbered!

That tomato looks good enough to eat…except for the big bite out of it.

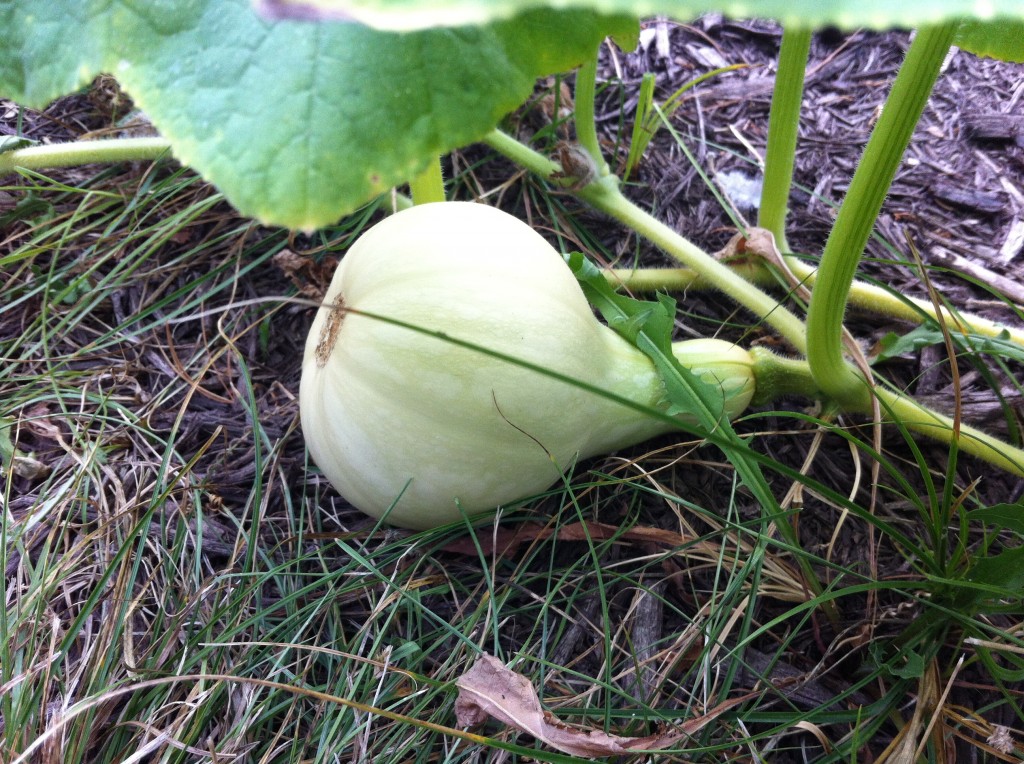
I don’t know which one ran off with my little butternut squash. But, whichever one is the bandit, they bite the vine off and dragged/rolled it off too.

I did find some good news in my little garden……

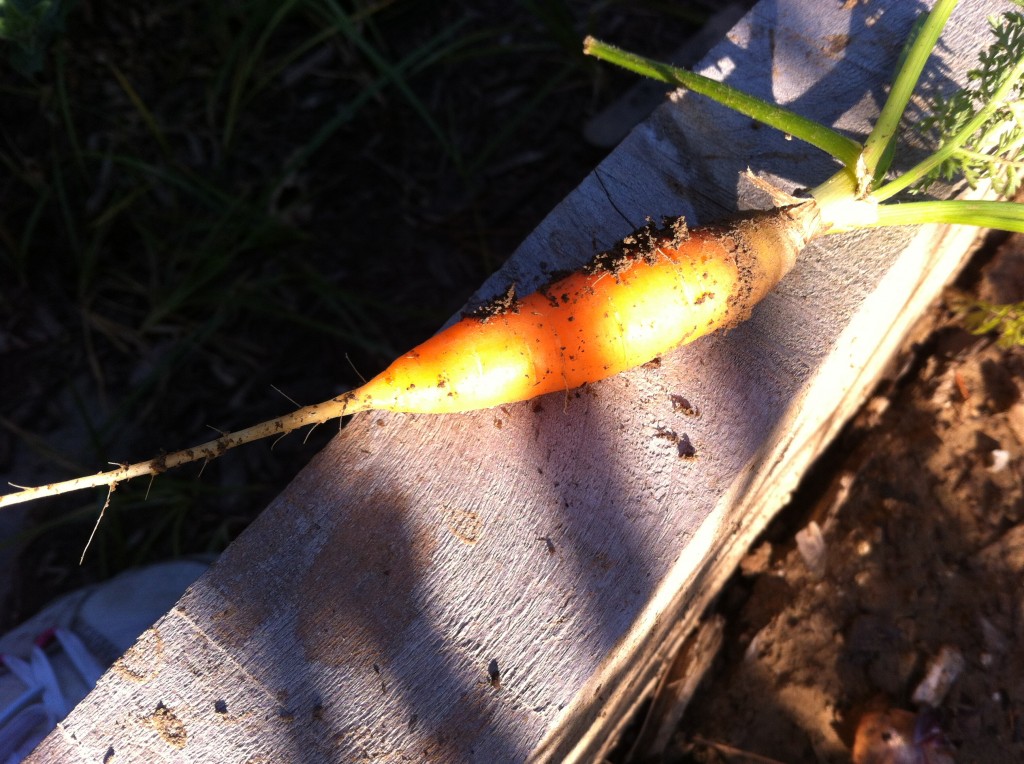
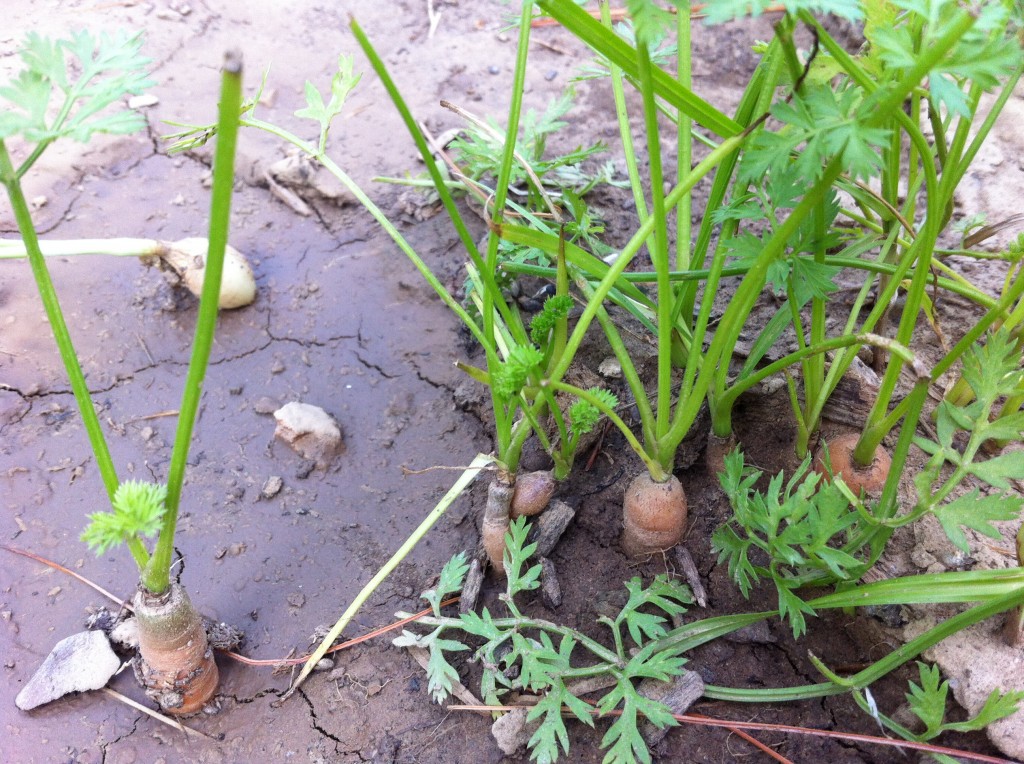
I can grow little carrots.

woohooo!!!!

I planted these little miniature carrots months ago and look…..I have little carrots!  I might only get a couple of bites from each one, but I am eating these babies!

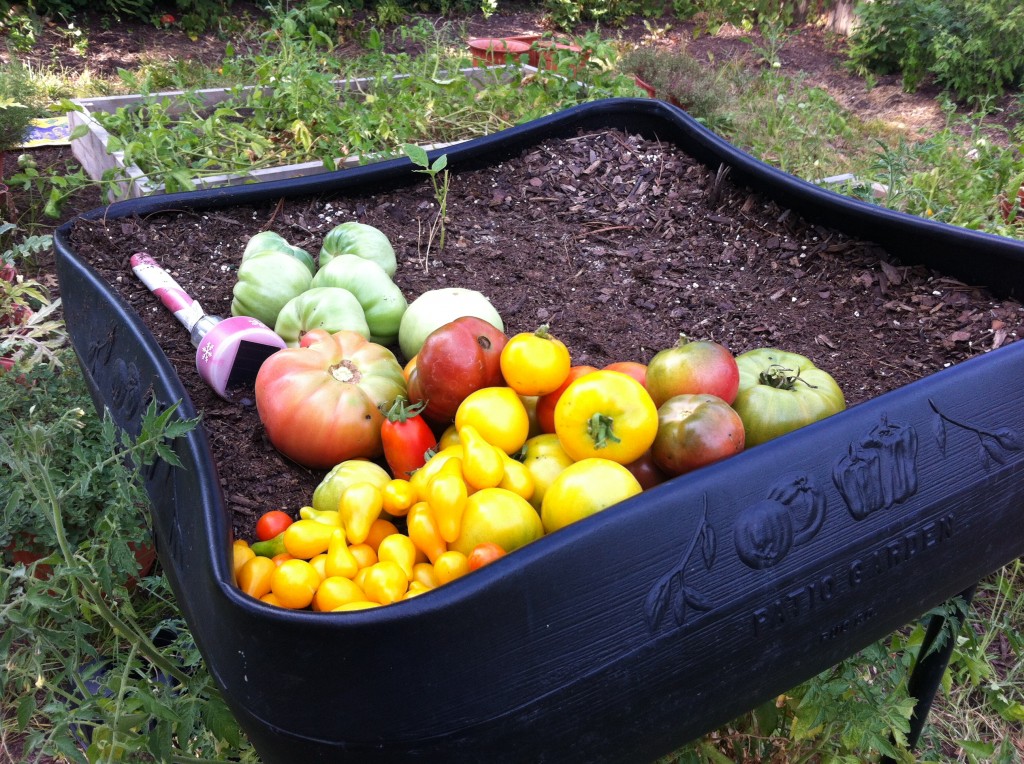
Anywho, this is what I ended up doing. I picked all the ripe tear drop and cherry tomatoes, yellow tomatoes, and I even picked some green tomatoes, and hide them up in the upside down planter.

Am I clever (or stupid) or what?

Later on this week, I am going to pick all the green tomatoes, pull the tomato plants out and fill one raised garden bean with  bush beans and  the other one with turnips.

The Princess loves turnips!

Now, I just got to figure out a way to keep the varmints out.

Is your summer garden winding down?

Becky


A Varmint In the Little Garden

Living in the city limits; having a 5 foot privacy fence around most of the yard and a chain link fence around the rest….I did not think I would have a varmint problem.
Well….I was wrong.

Some varmint or varmints are having a feast on my little plants and my almost ripe tomatoes.

See that hole in the ground in the picture above? That is their nice, warm, comfy and SAFE underground home. (in the next door neighbors yard)

I guess I should introduce you to my new neighbors….

Mama ground hog, baby ground hog and teenage rabbit.

I would post a picture of them, but they live undercover. I only see them when they are nibbling in my yard and I don’t have a camera on me before they dash down that hole. They may be running because I am chasing in them in what ever crazy looking outfit I have on. I would be scared too.

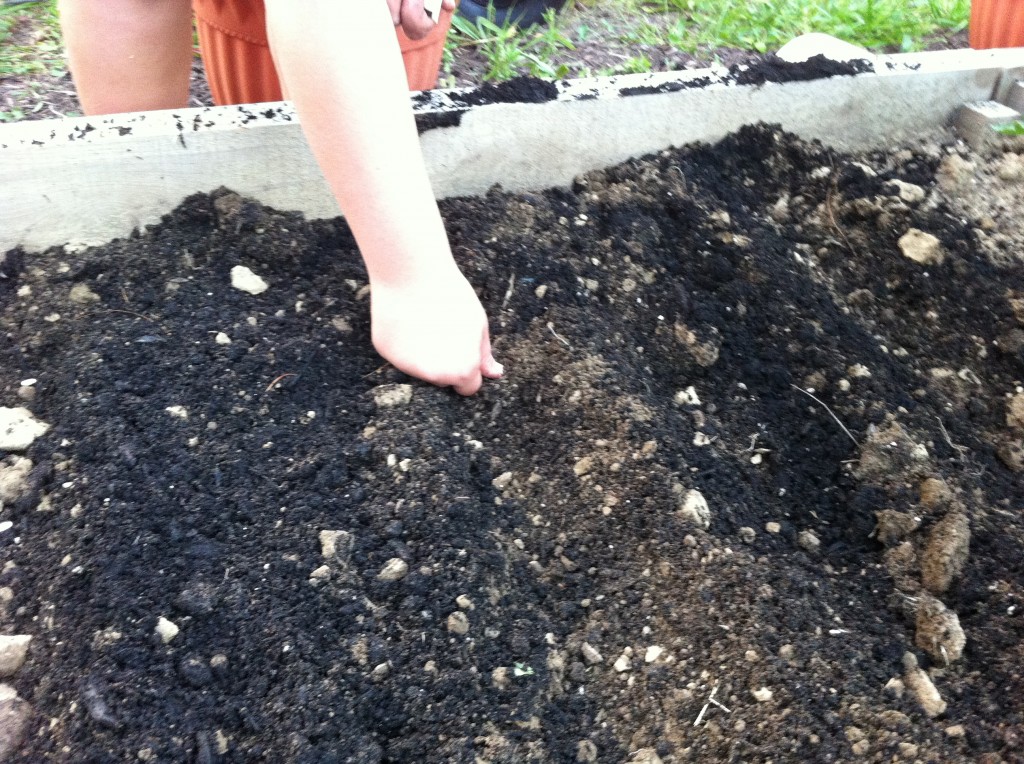
A few weeks ago, oldest grand girl and I added more soil to one end of the garden bed and we planted bush beans.

Here she is planting the seeds. We both had high hopes of eating some fresh green beans.

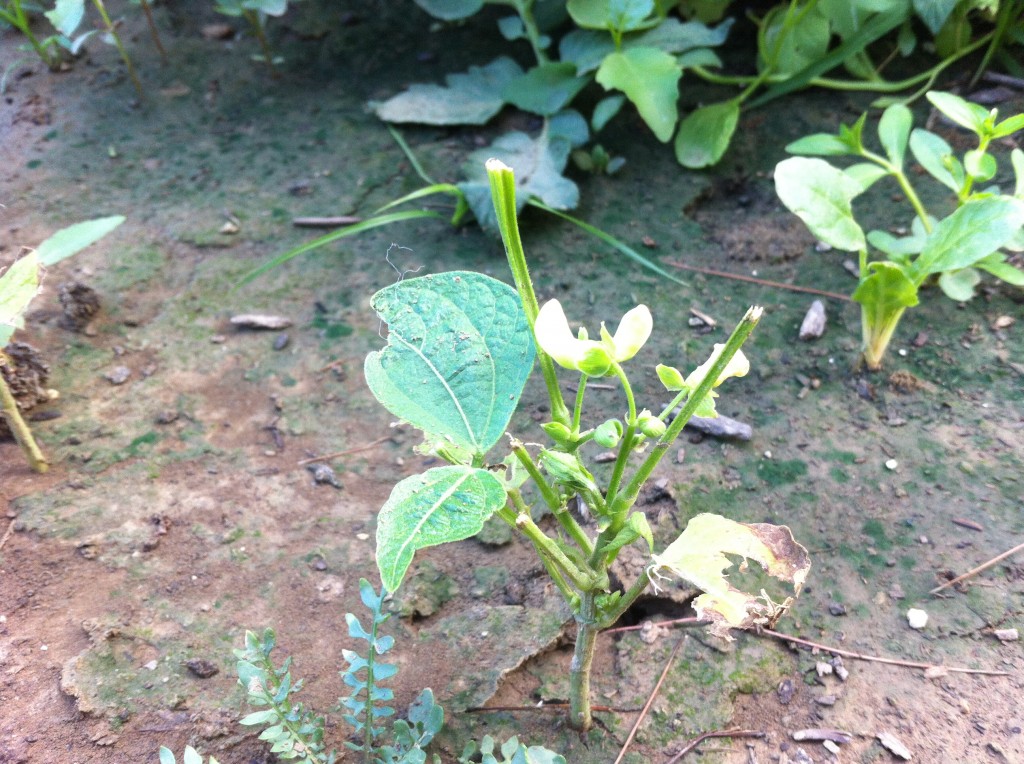
Here is what they look like now. Some critter has bitten off the top of them. As soon as the little beans has a few blooms on the stems, it is like ringing the dinner bell.

Not only are they munching on my beans, they are munching on my almost ripe tomatoes.

They only munch on the almost ripe ones too!

Anywho….this is my dilemma.

Do I move my containers that I am not using now to my patio and plant more beans? They do not like to go on the patio, or, they just do not like egg plant or peppers, because the containers there are not being touched.

OR…do I take out the tomatoes in one raised bed and plant all beans and maybe some turnip and put a wire fence around it (which will be kinda ugly) but, will keep the varmints/critters/tomato munching/ bean stealing/ furry creatures out of the garden.

What would you do?

Bean or not to Bean….

Are  you planting a fall garden?

Becky


Picking Veggies from the little garden with baby grand girl

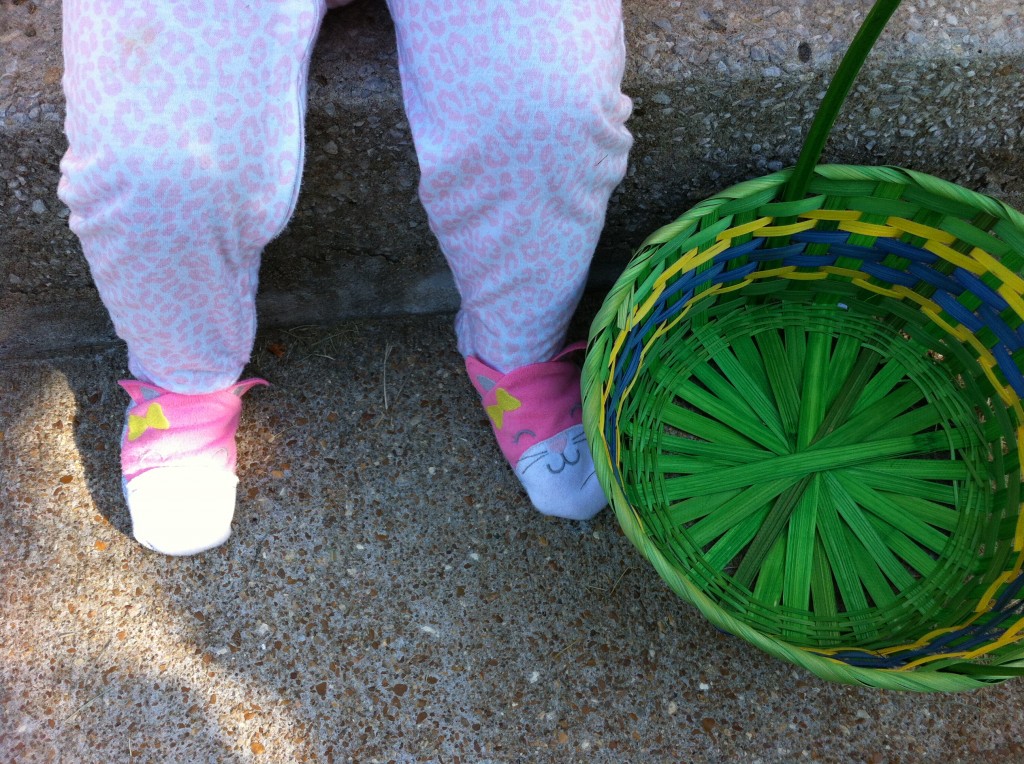
Oldest daughter who does not cook had to work this morning, so I got to baby sit two of the grand girls. After a fine breakfast of Scooby Doo Cereal, baby grand girl and I decided to go pickin veggies from the little garden. We invited the little kittens on her feet to go too.

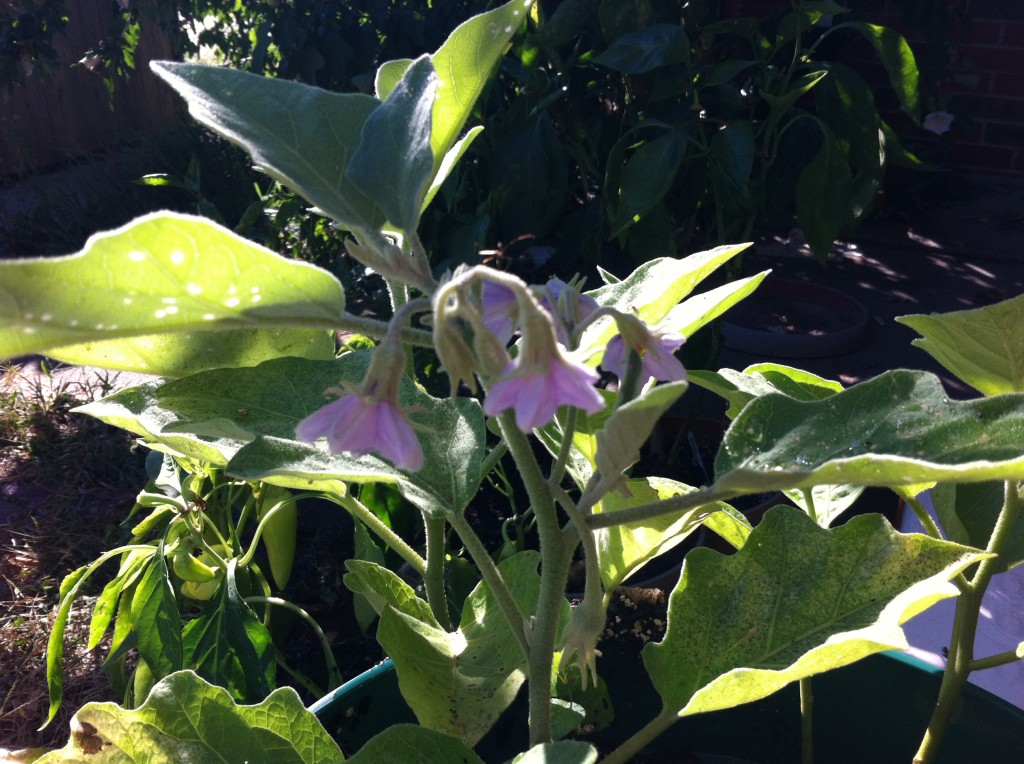
We found lots of blooms still blooming. I love the purple color of this egg plant variety. I would plant this for decorating even if I did not love eating egg plant.

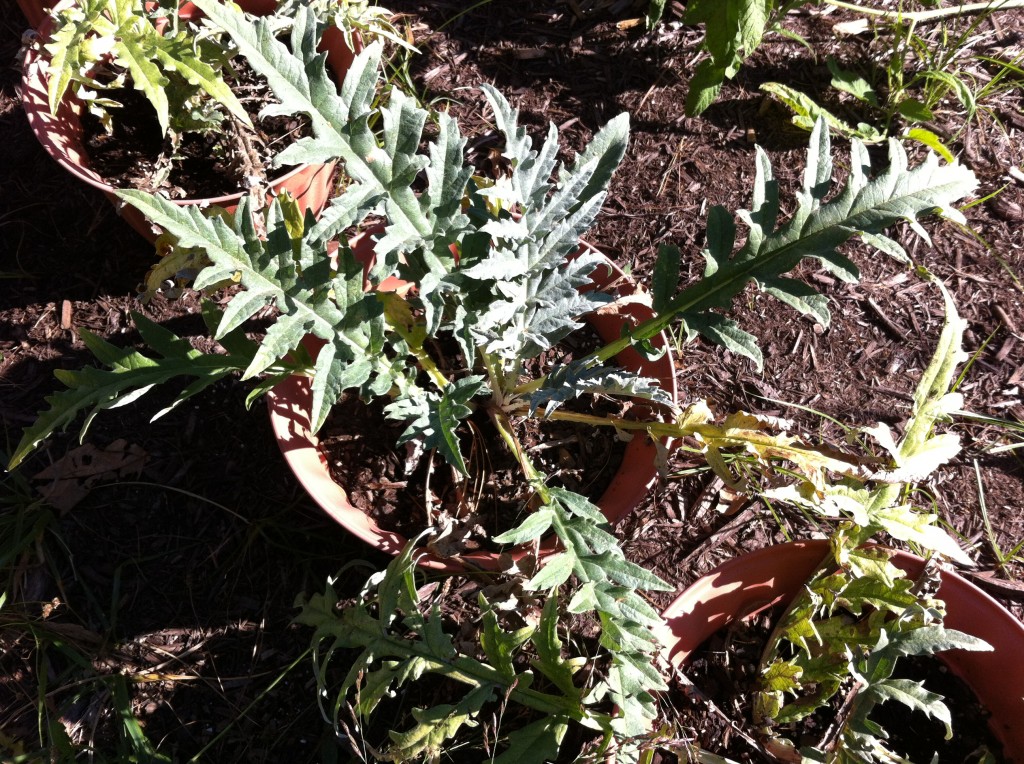
We checked out all the artichokes plants too. I planted these babies from seeds way back in January or February and I have yet to get one little artichoke. I am going to wait a couple of more months to see what happens, but I might have “choked” on trying to grow artichokes. (Even if the package says you can harvest in one growing season).

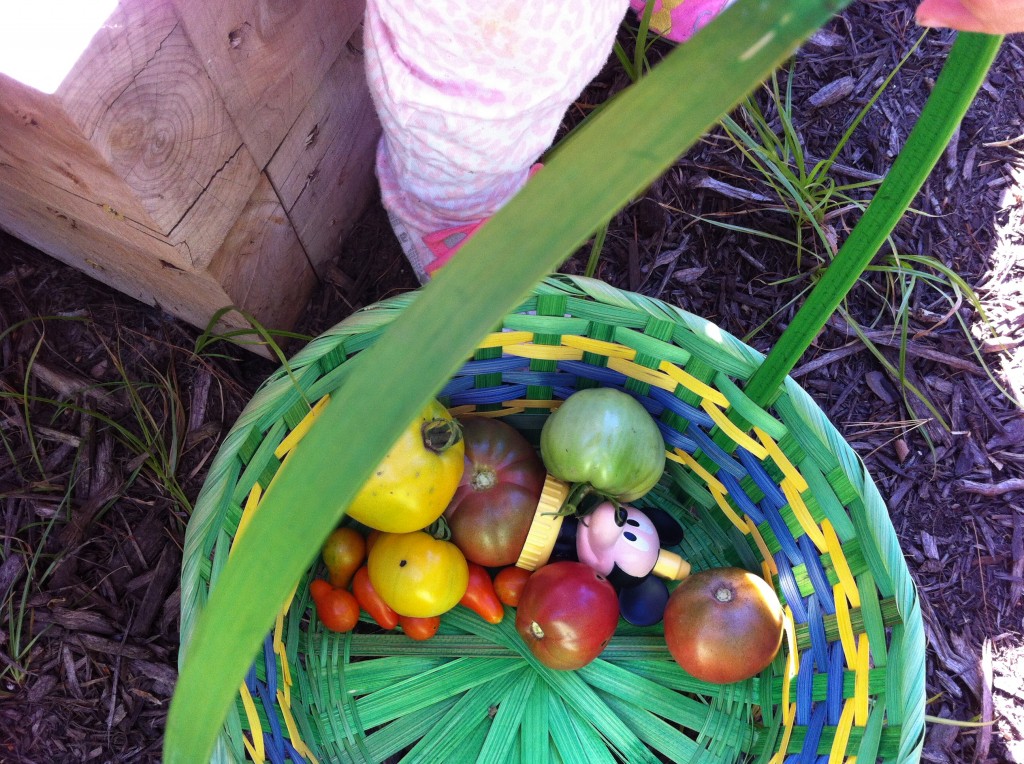
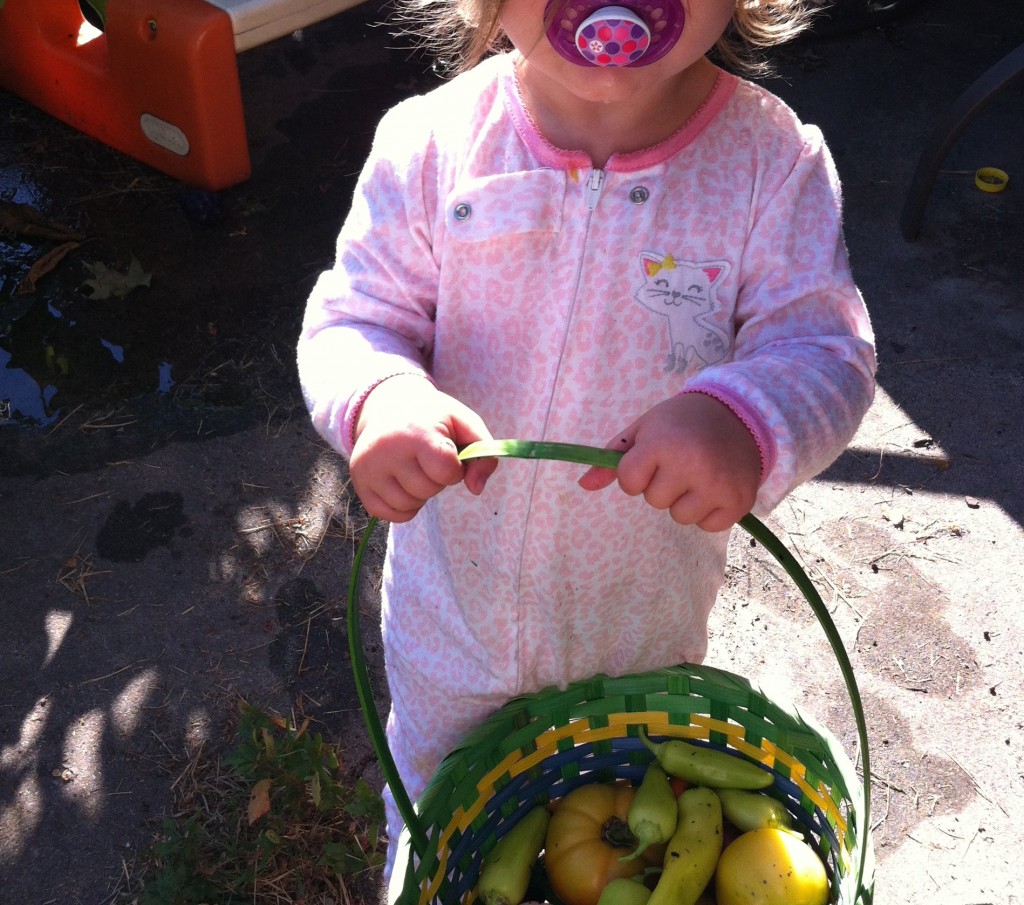
The little basket is starting to fill up. (not everyone can grow a Micky mouse head).

We were able to pick some sweet banana peppers, a couple of yellow tomatoes, a bunch of cherry and tear drop tomatoes and some sweet orange peppers.

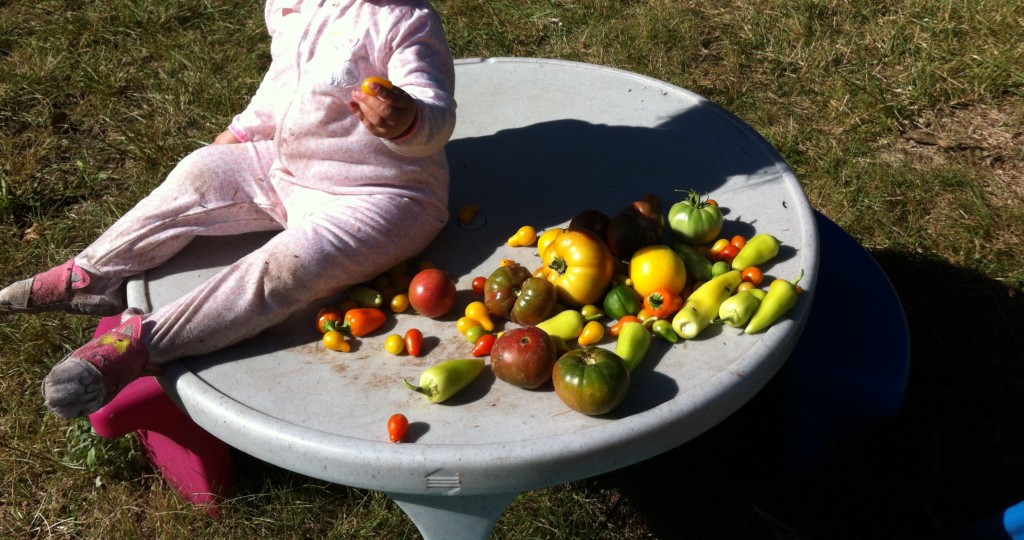
Here is our harvest, after baby grand girl ate some cherry tomatoes. The poor little white kittens on her feet got a little wet while I watered the garden….it looks like they need a bath. : )

We are all heading to the country to Company’s house for a little BBQ, I think hamburger and hot dogs are on the menu, this afternoon.

I hope everyone has a great Labor Day!

Drive Safe!

Becky


Blackberry Jam

I love me some blackberry jam!

When I went blackberry pickin a few weeks ago with my retired teacher friends, I was able to pick around 8 pounds of blackberries.

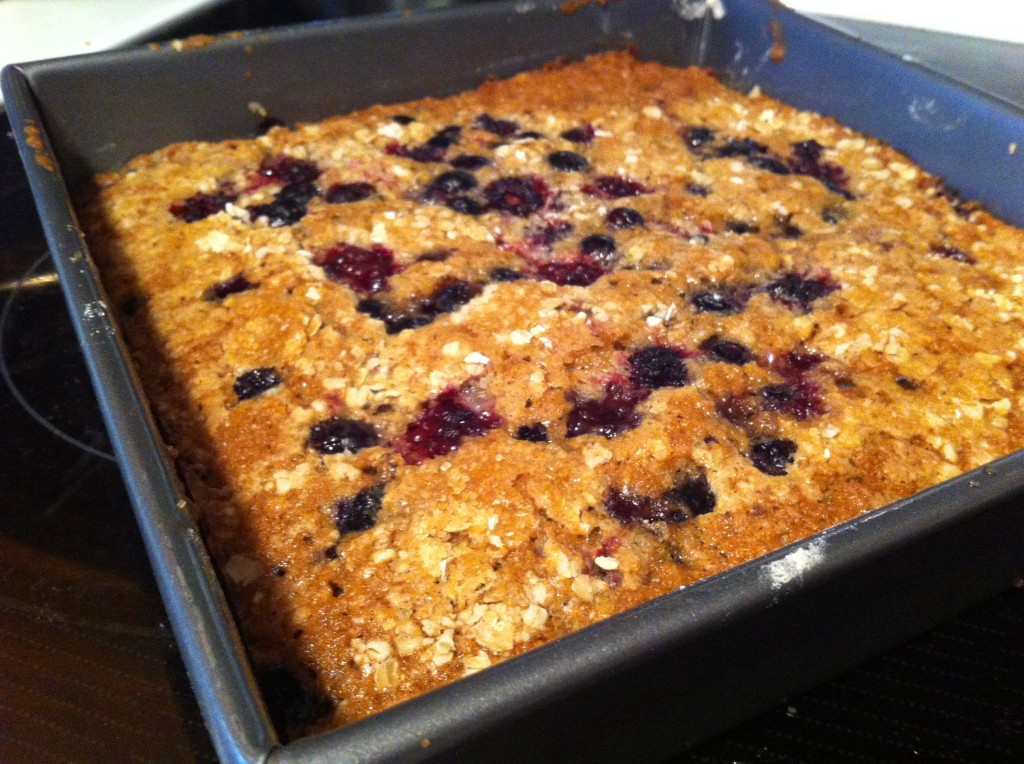
I used some blackberries to make this super yummy oatcake with blue berries and blackberries. You can find the recipe here.

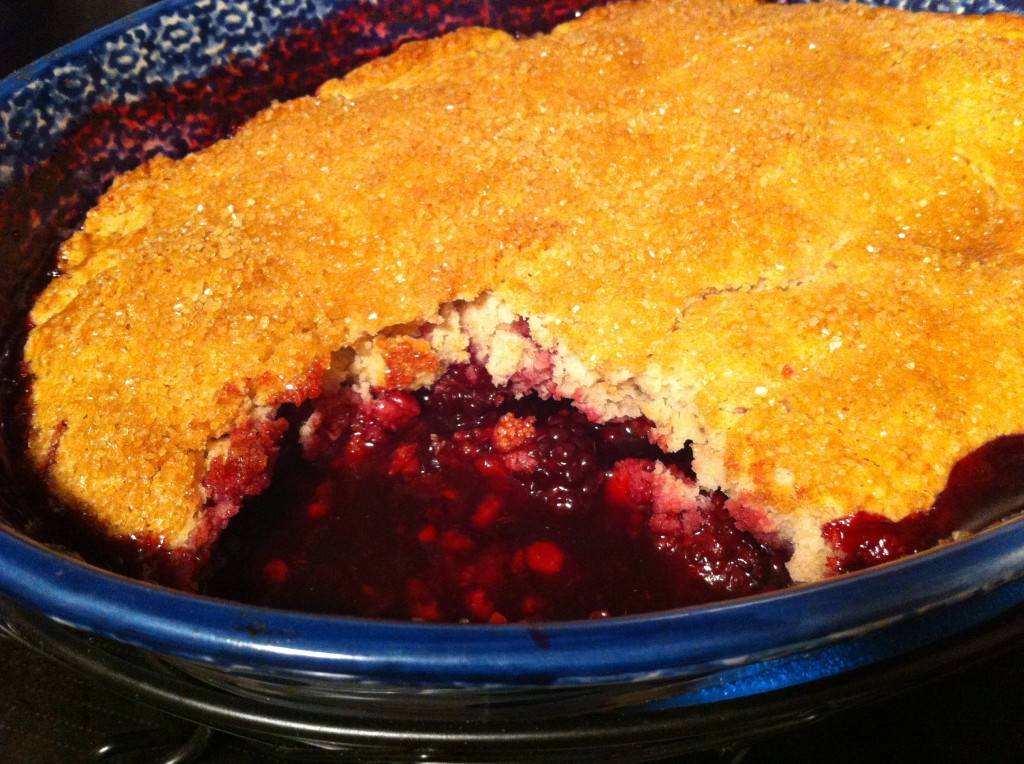
I also made this blackberry cobbler when Company came over. You can find the recipe here.

I had just enough blackberries left over to make a batch of blackberry jam.

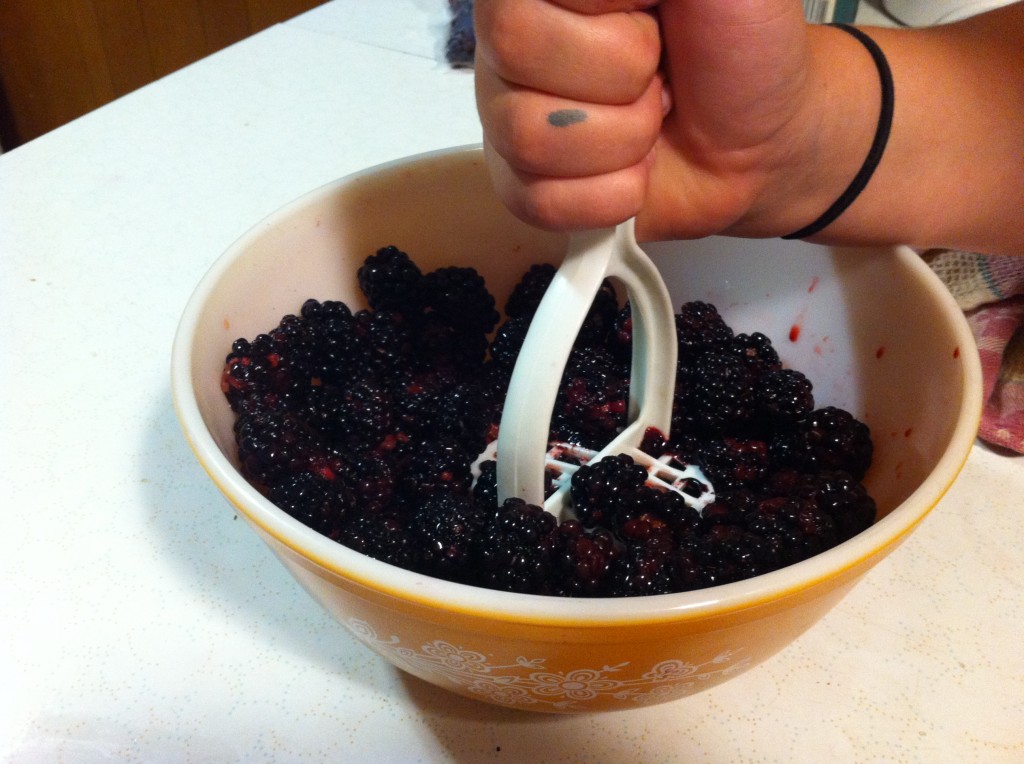
Jam is not that hard to make. You can tell from the above picture I had oldest grand girl helping me mash the berries first a little to get the juice out.

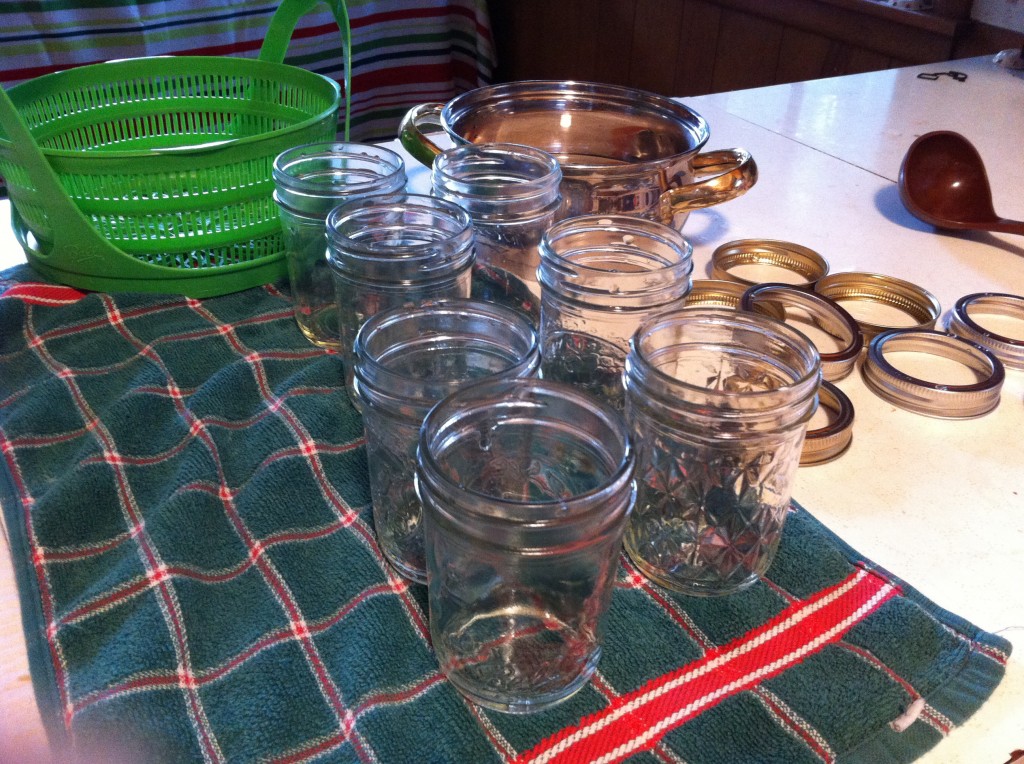
First thing I do is get my jars washed and sterilized. After that, I put them on a tea towel, along with the rings. I keep the lids hot by keeping them in hot water in a pan behind the jars.

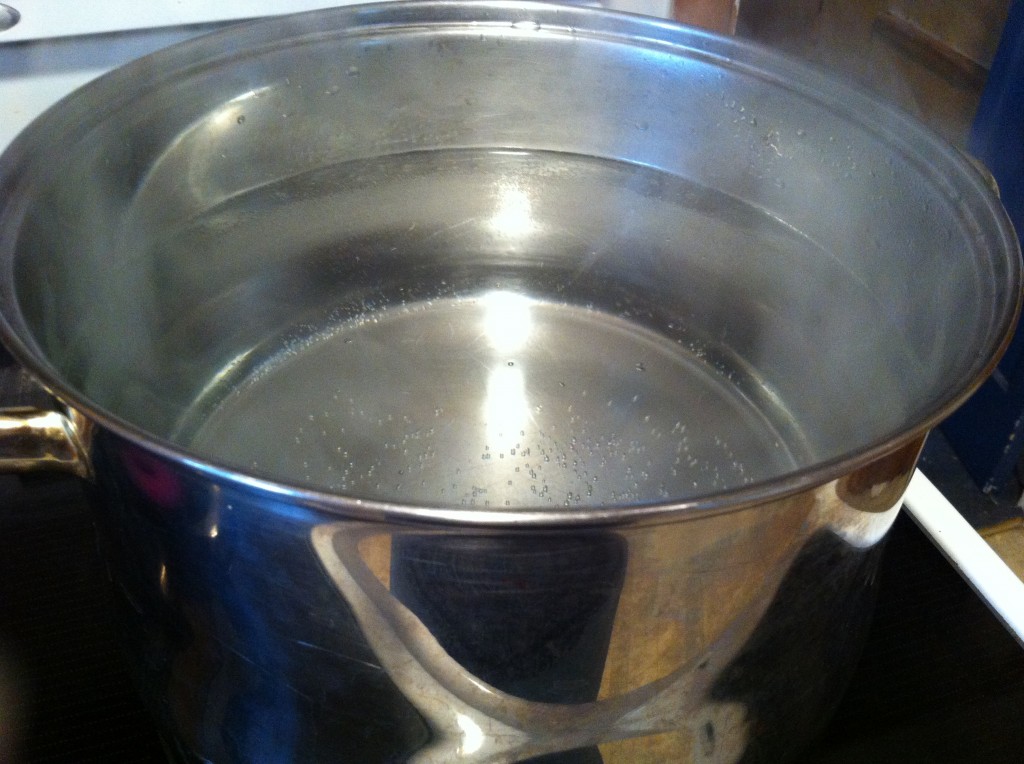
I fill a stock pot with water and bring it to a boil to do a 10 minute water bath processing after the jars are filled.

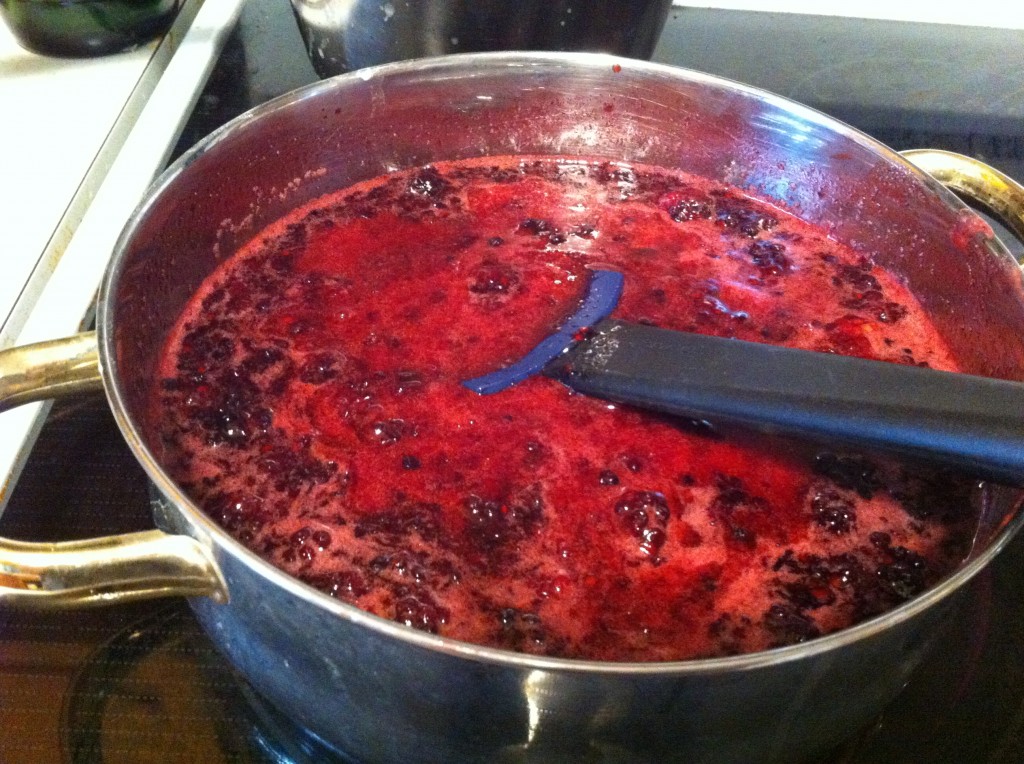
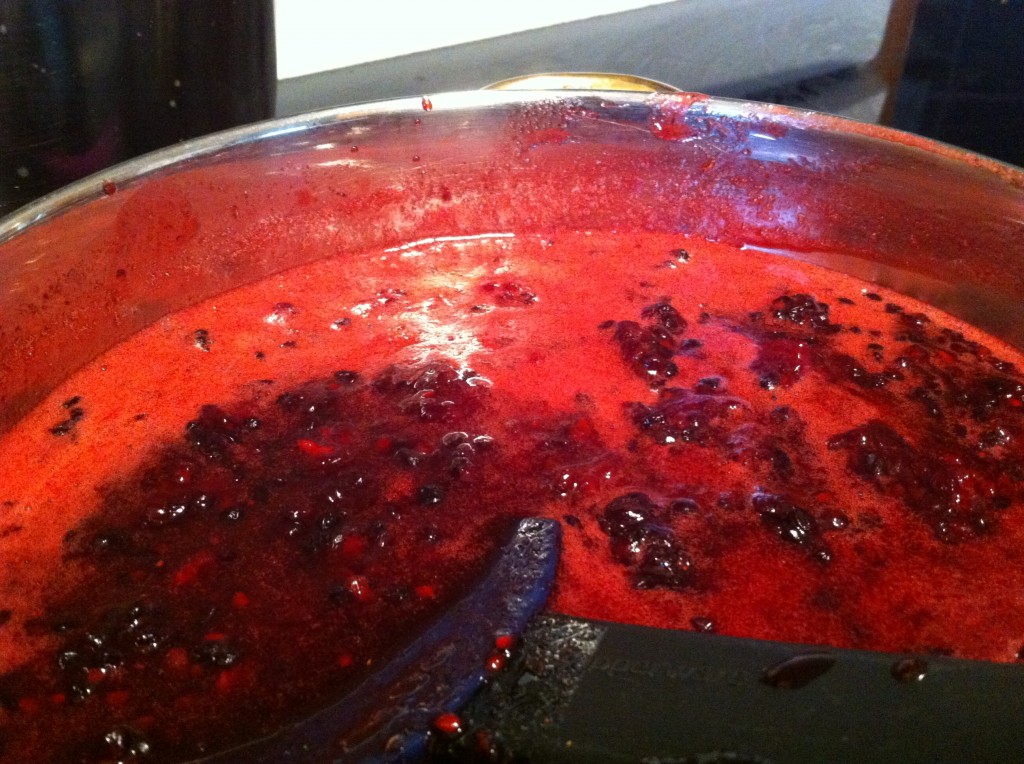
Now, it is time to get the jam started. For this batch of jam, I just used the recipe included in the sure jell pectin box. In a large pan you take crushed blackberries with a small amount of sugar and the pectin and bring to a full rolling boil. Next, you add in the rest of the sugar and bring it back to a boil.

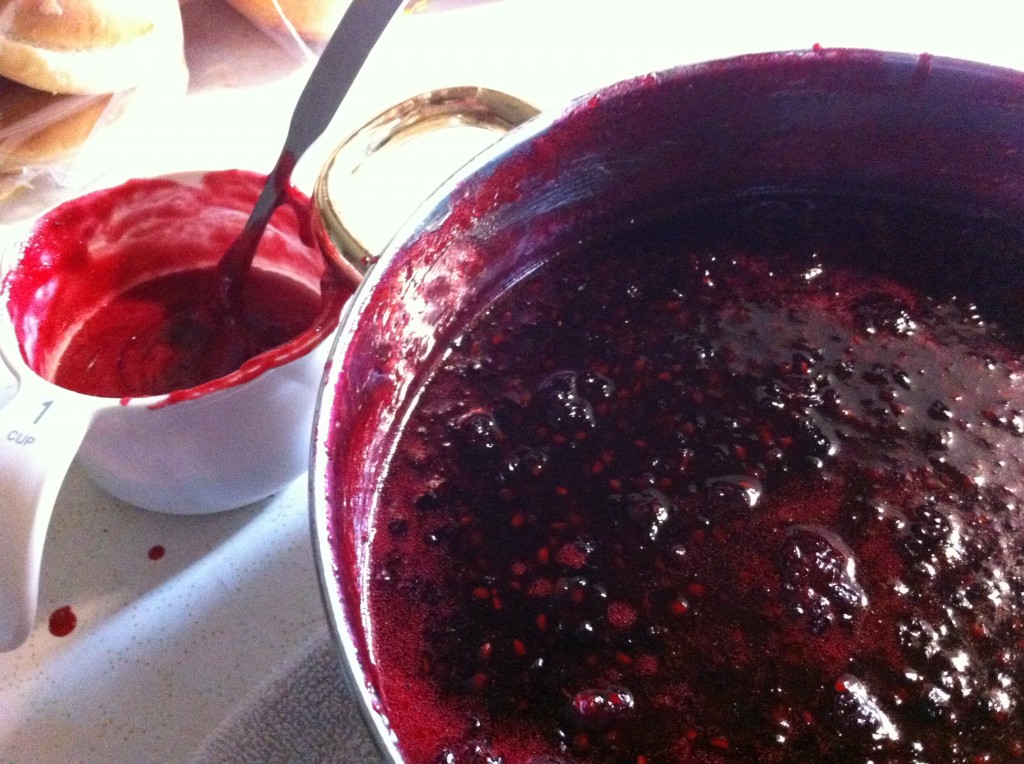
Bring the jam back to a boil and boil for a full one minute. You can see the foam start to build up on top of the boiling jam. Some cooks add in a 1/2 teaspoon of butter to reduce foaming. It is a personal choice.

I usually just scoop off the foam and put it into a cup

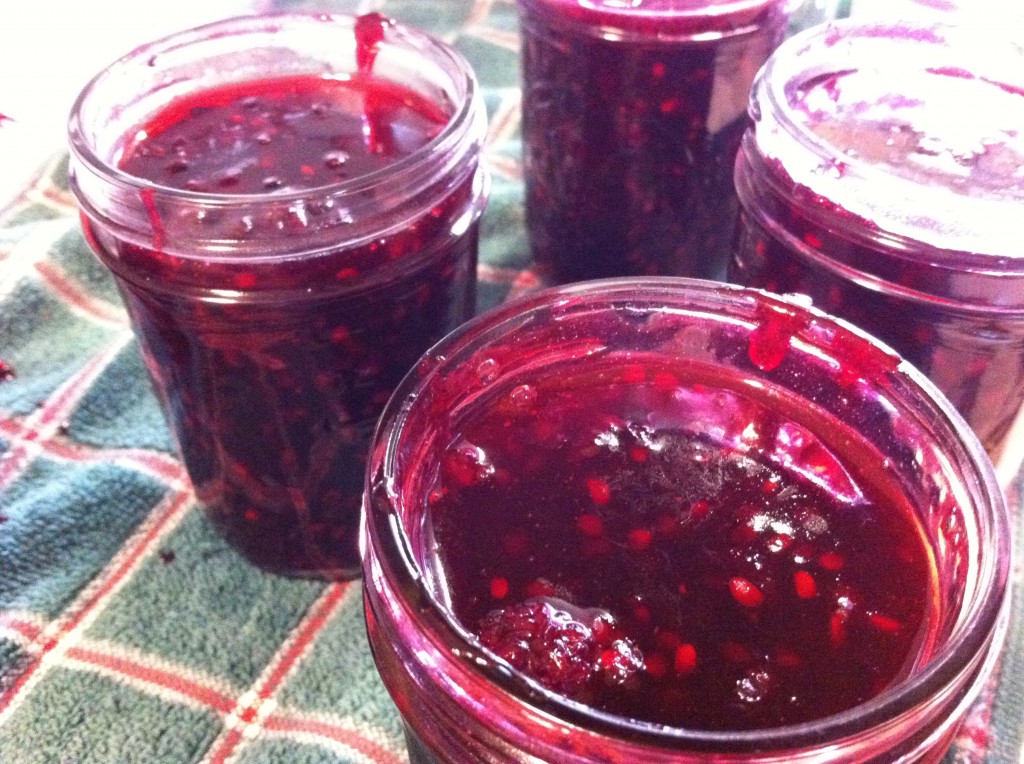
Next, ladle in the hot jam into the hot jars. Be sure and wipe the top of each jar clean before you put the lids on.  You want to fill each jar with jam to about 1/4 inch from the top.

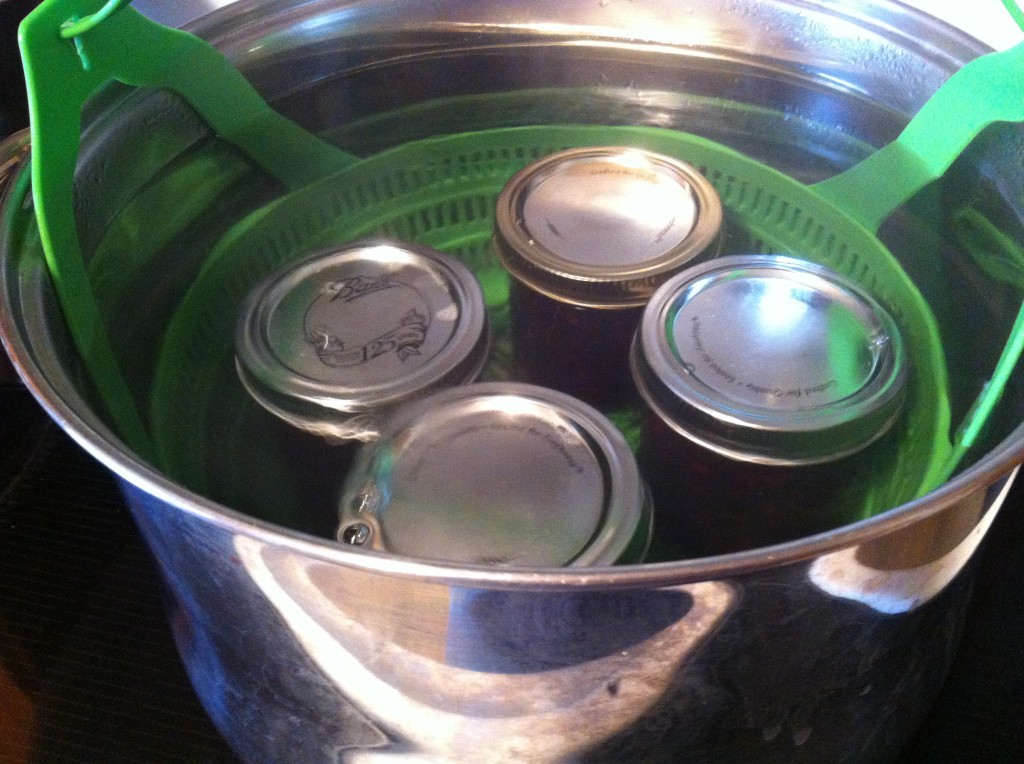
After  you get the lids and rings screwed on, put the jars in boiling water for 10 minutes.

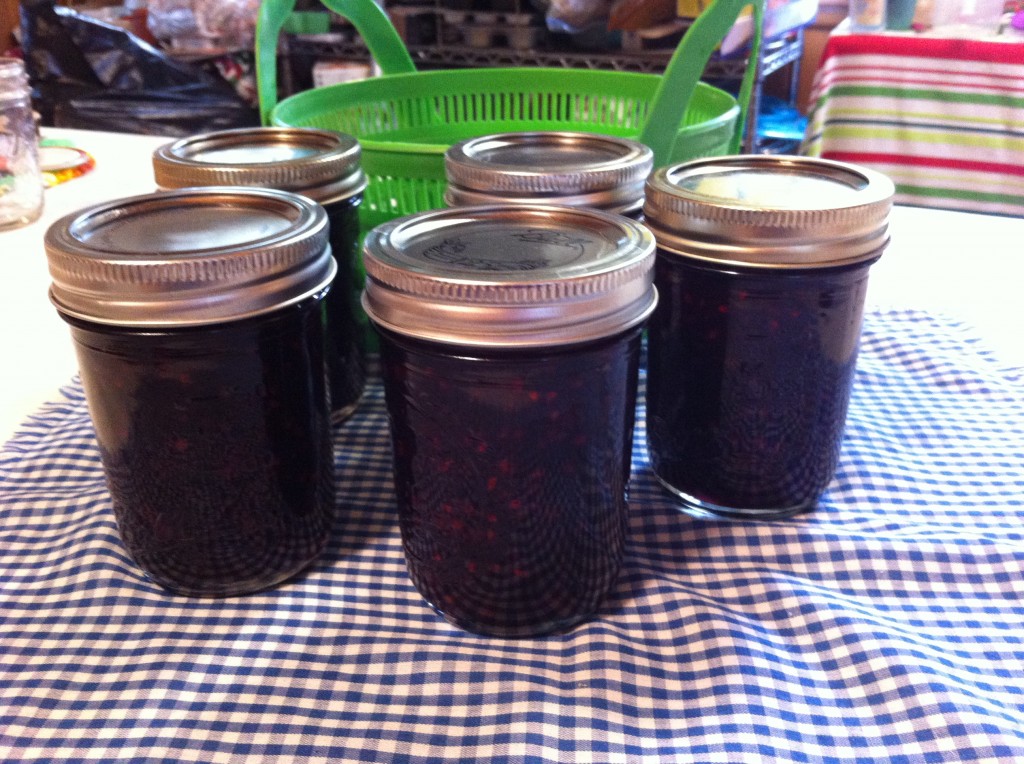
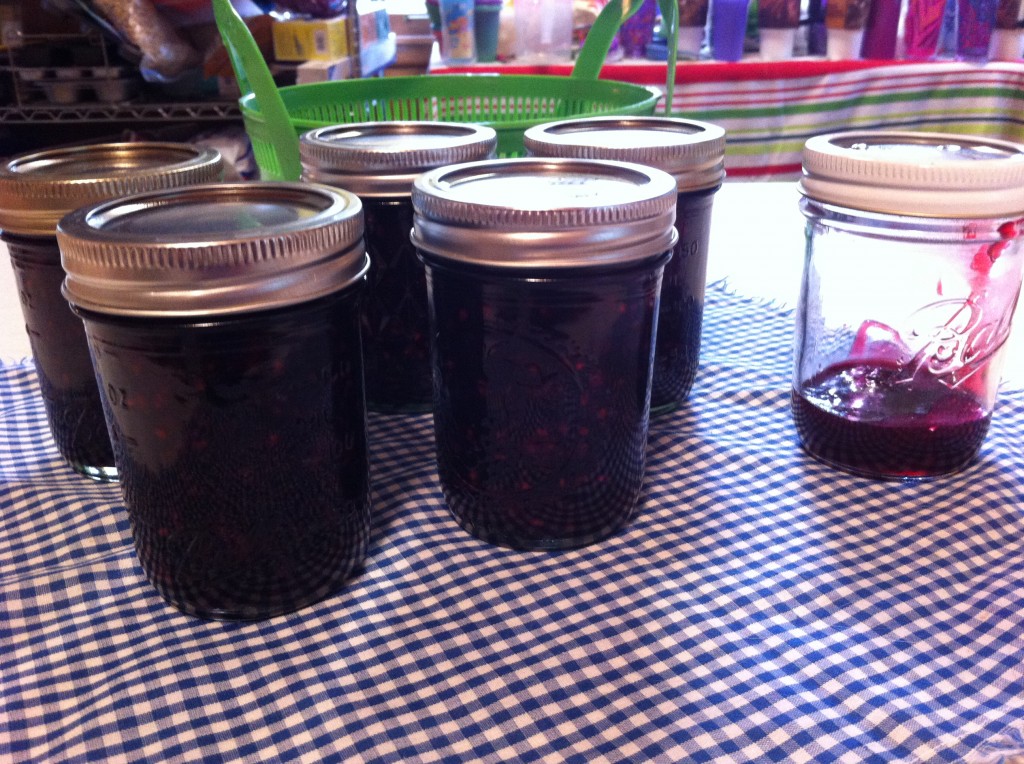
Remove jars from boiling water and let cool on a kitchen towel. That little bit, in that jar I had left over, it went into the refrigerator.

We have since ate it….

See how easy making jam it : )

Now, we just need some warm biscuits.

Anywho, blackberry season is over here in mid Missouri, but if you have some berries you picked in your freezer or just want to buy some fresh berries at the store, you can make blackberry jam year round.

Here is the recipe

Blackberry Jam

Adapted from the  Sure Jell recipe

Ingredients:

5 cups crushed berries

4 cups sugar

1 box (1.75 ounce) of pectin. I used Sure Jell for this recipe

Directions:

In a large pot or canner, bring pot half full of boiling water

Wash and sterilize jars and rings. Pour boiling water over the lids and keep hot in the water.

Crush 5 cups of berries with a potato masher. Do not puree.

Measure out 5 cups of crushed berries, 1 box of pectin and 1/4 cup of sugar. Put the sugar, pectin and berry mixture into large sauce pan and bring to a boil.

Add the rest of the sugar into the boiling berry mixture.

Bring to a boil and boil for one minute at a full rolling boil.

Remove from heat. If you have foam on top of your jam you can just skim it off with a spoon.

Ladle the hot jam into prepared jars.

Wipe top of jars clean.

Place lids on and rings. Screw the rings on with out making them overly tight.

Place jars of jam into canner (make sure you use some sort of rack, I used my little ball green canner basket) and process with boiling water for 10 minutes.

Remove jars from boiling water and cool on a towel.

Make sure all lids make that “pop” sound or run your finger over the top to make sure the lids have sealed.

Keep at room temperature for 24 hours.

The hardest part is keeping  your spoon out of the jars as you sample it….

Let me know how you do!!

Enjoy!

Becky
 

Here is another jam recipe you might enjoy making:
Vanilla Rhubarb Jam


Related Posts Plugin for WordPress, Blogger...