Raspberry and White Chocolate Scones

Not sure if I have ever told you that I do not like to eat eggs.

Yes, I have backyard chickens and love collecting, counting and sharing my little egg shell wrapped yumminess, but I really do not like scrambled eggs. I technically eat eggs in backed goods…but that is like a cake or a cookie. : )  Believe it or not, I have really gotten better about eating eggs over the last few years. I have started eating the occasional boiled and deviled egg. Progress!

So, why am I talking about eggs when I am posting a recipe about delicious and moist, fruit and white chocolate filled scones covered in a drizzle of vanilla bean glaze.

Well, it is because these are the things that I like to eat for breakfast.

For those of us who do not eat that traditional breakfast of eggs, bacon and toast, we are experts at finding other breakfast combinations.

Pancakes, biscuits and cereal (which is what I had for breakfast this morning).

Which by the way…does include bacon! Ha!

Let’s talk scones. I do not want a dry, tasteless, biscuit like scone that you need a ton of marmalade to make it taste good. That does not mean that I do not like a scone that is covered in marmalade…you should know me better than that. Let just forget the dry and tasteless part…ok?

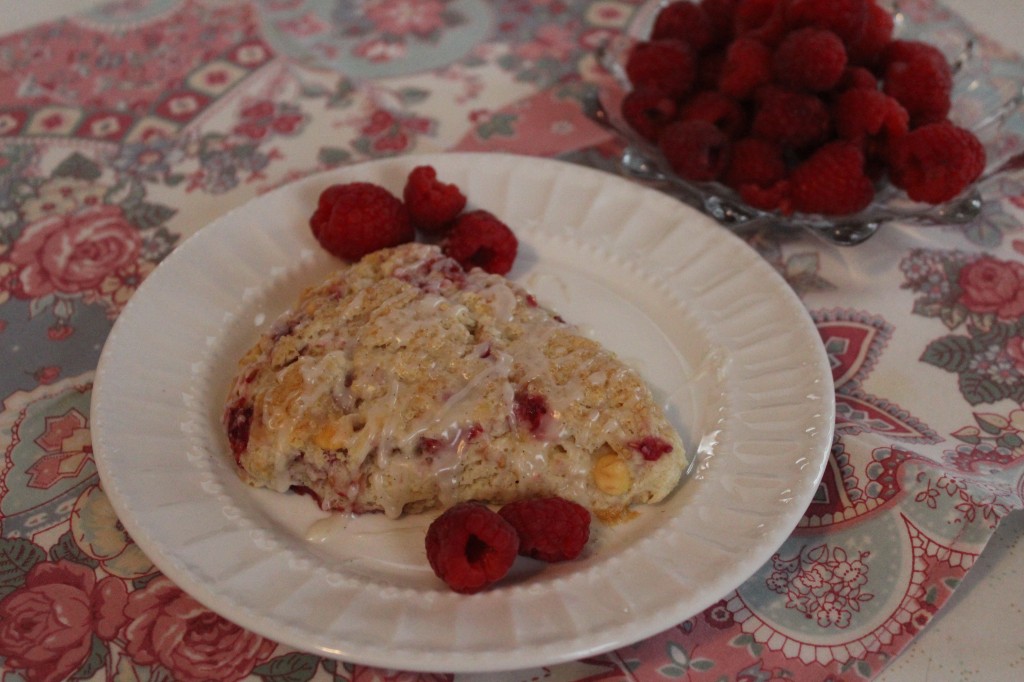
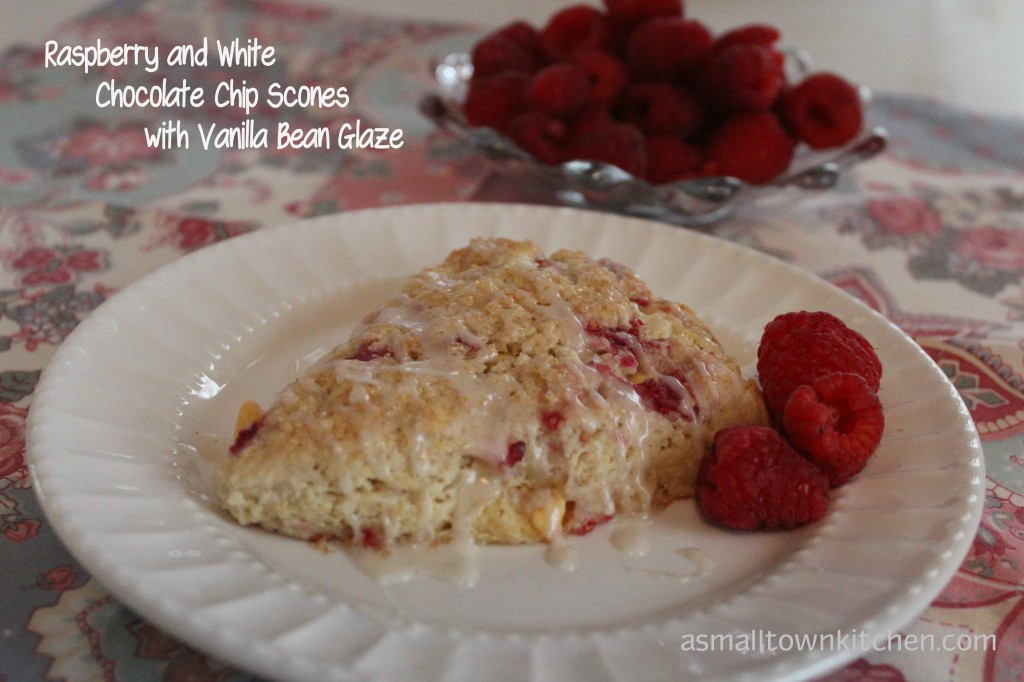
This recipe for Raspberry and White Chocolate Scones is moist and every crumb taste gooooood! It is sweet but not too sweet and the raspberries add that bit of tartness that I love.

These scones lasted for about 5 minutes after they were glazed.

Yes, about 5 minutes….I barely got to take a picture of them!

It is cool this morning in Mid Missouri. So, make you some hot tea and some warm scones and warm up that tummy.

It will make you happy!

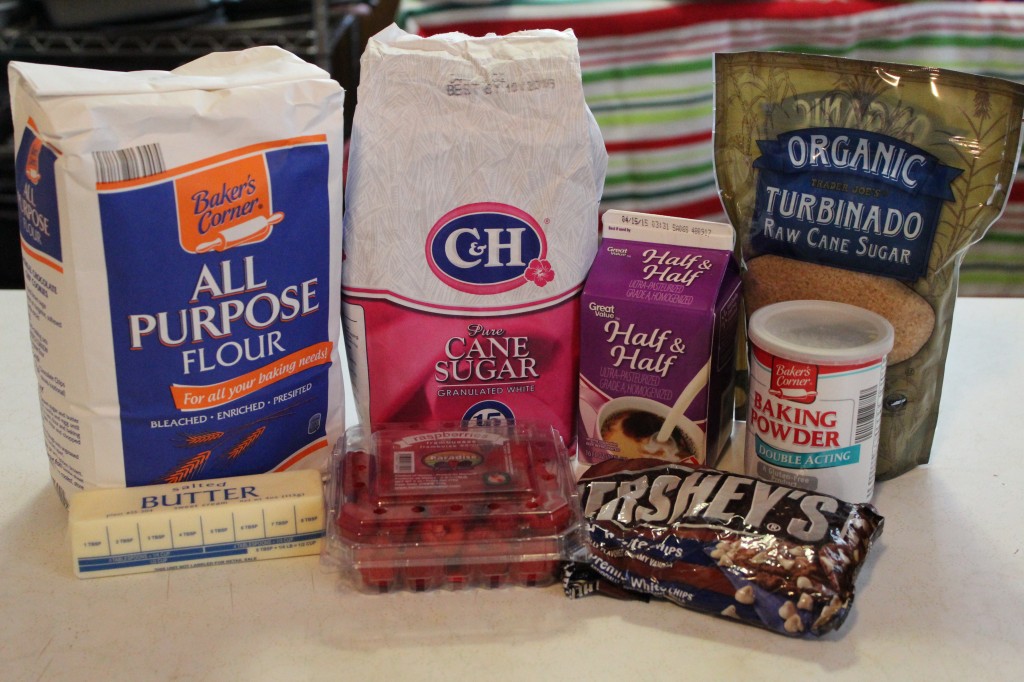
Here is what you will need for the scones, the ingredients for the glaze is a little further down:

You will need flour, salt (I forgot to put the salt in the picture), baking powder, sugar, whipping cream (I was out so I used half and half and it worked fine), butter, raspberries, white chocolate chips and a course sugar to top them with. I used turbinado raw can sugar, but you can use a course sanding sugar like this too.

This is from Wilton brand sanding sugar.

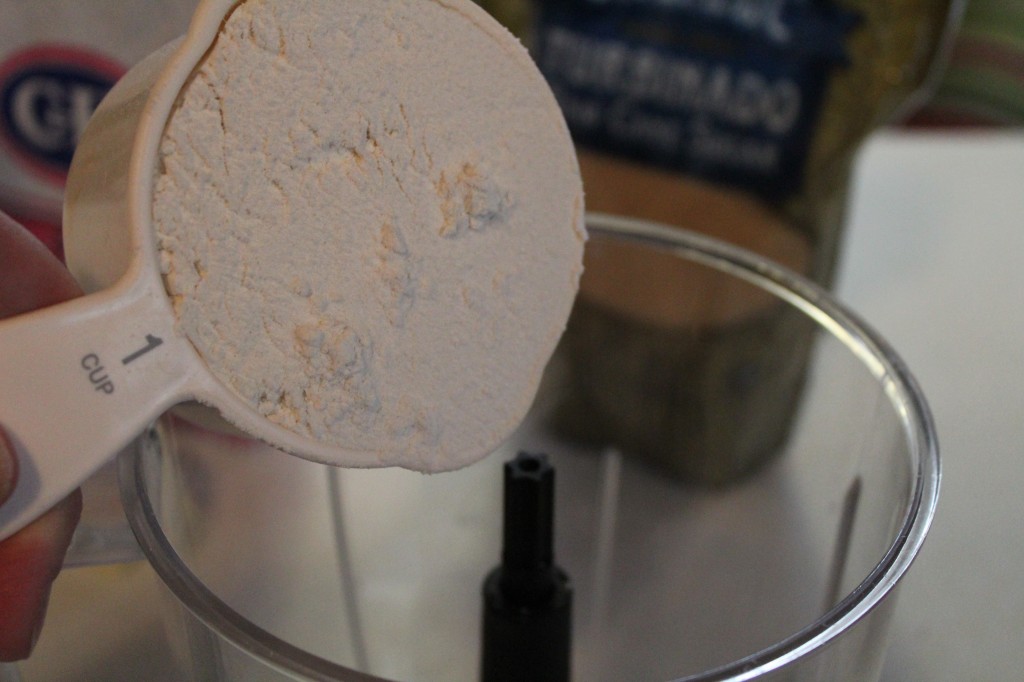
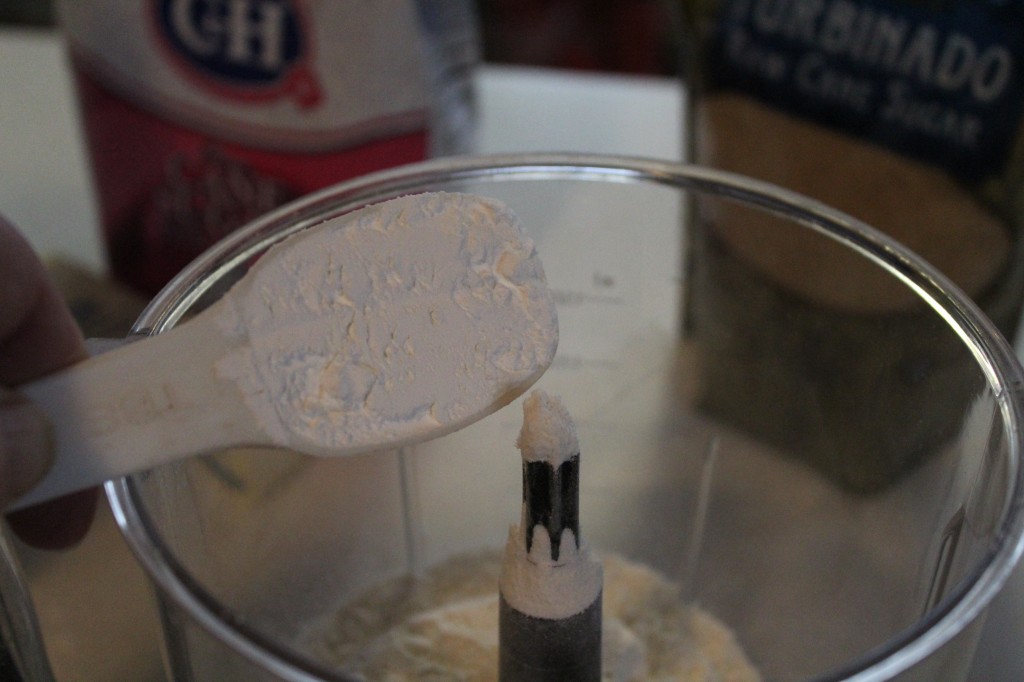
I used by little blender to mix my scones together, but you can definitely use a pastry blender to cut in your butter. First, measure out your flour and put it a bowl or your little blender.

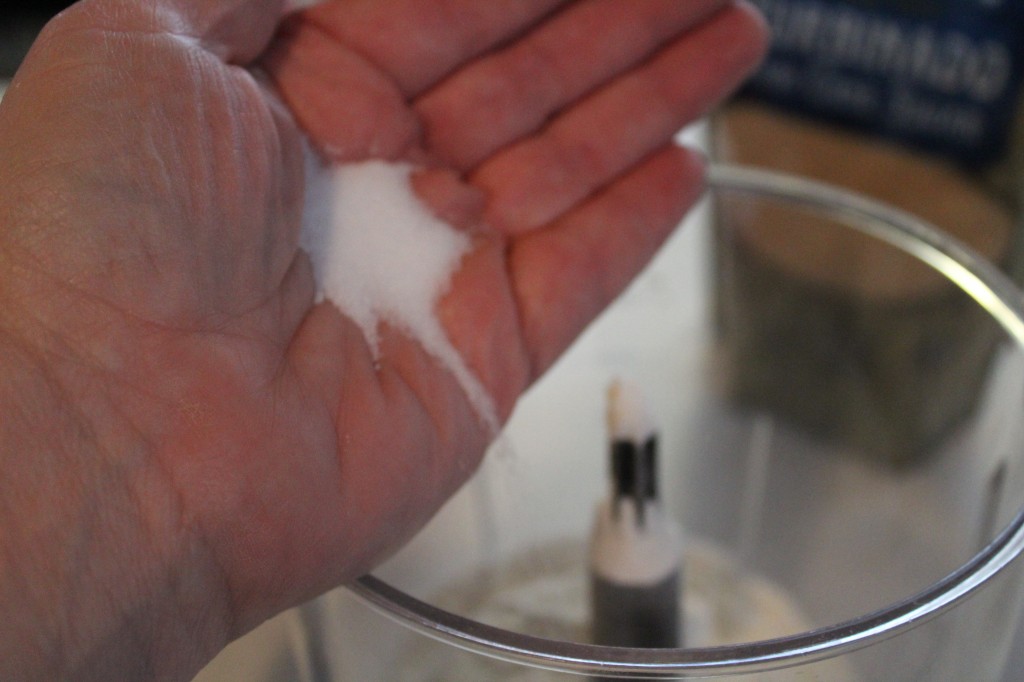
Add in the salt.

Now the baking powder and mix together.

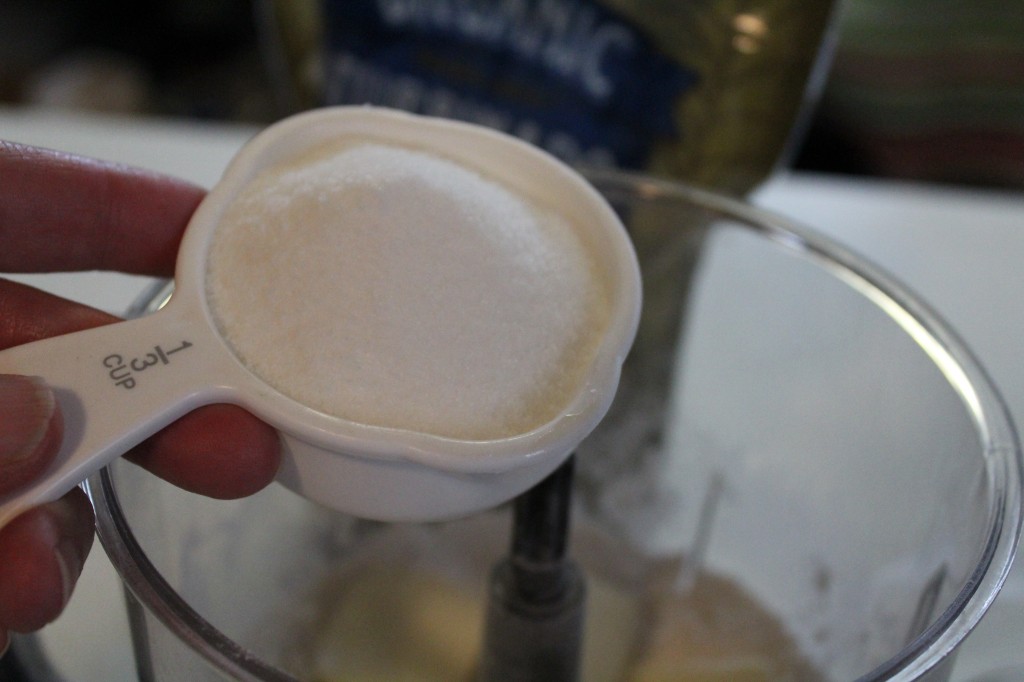
Stir in the sugar.

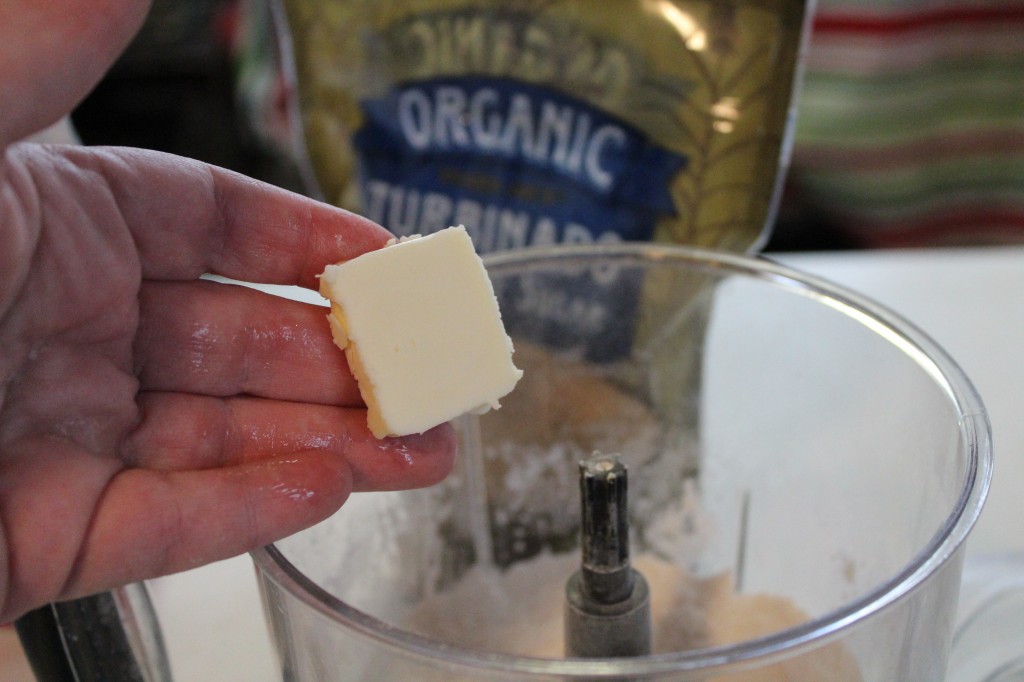
Add in the cold butter slices and cut in with a pastry blender or pulse a few times on your blender.

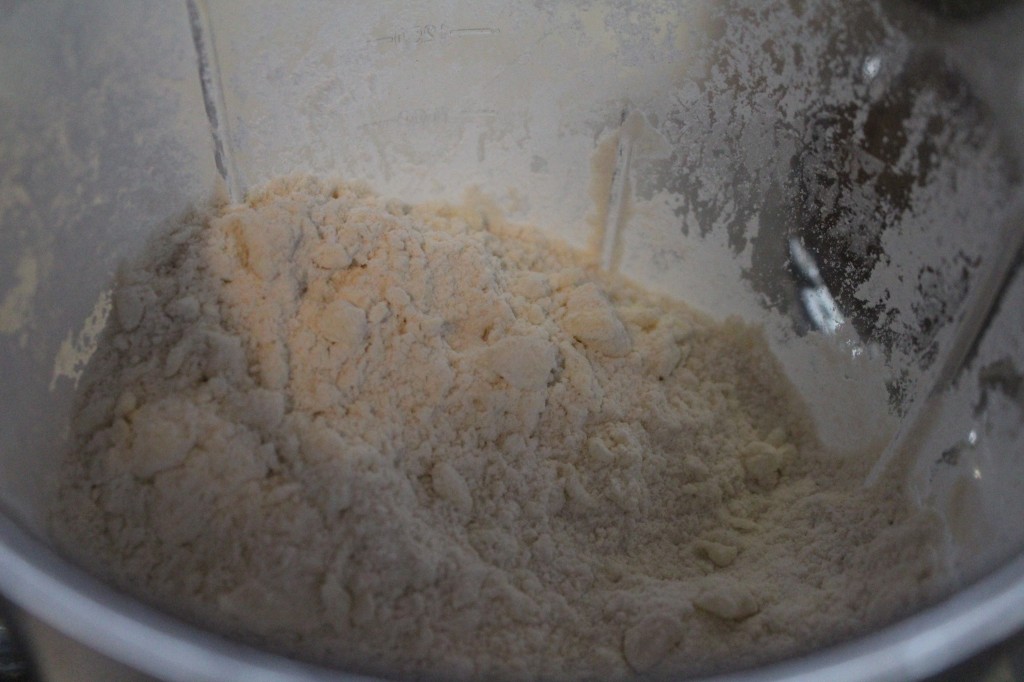
Your dough should start looking like crumbs with small pieces of butter.

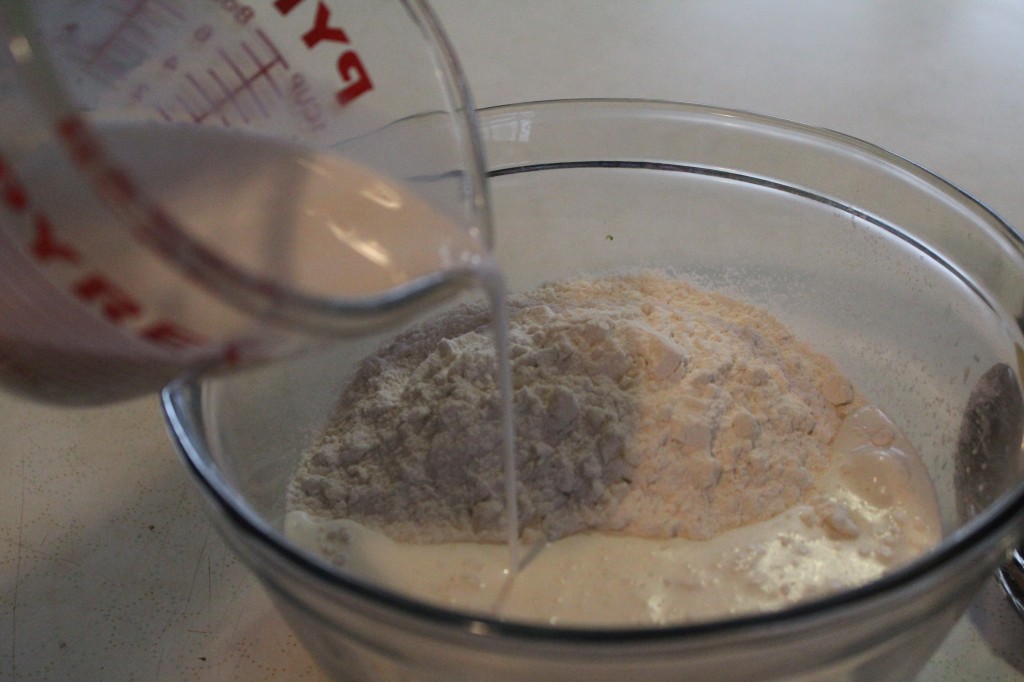
I transferred my flour and butter mixture to a bowl. Now, pour in the whipping cream (I used half and half) and stir together, gently.

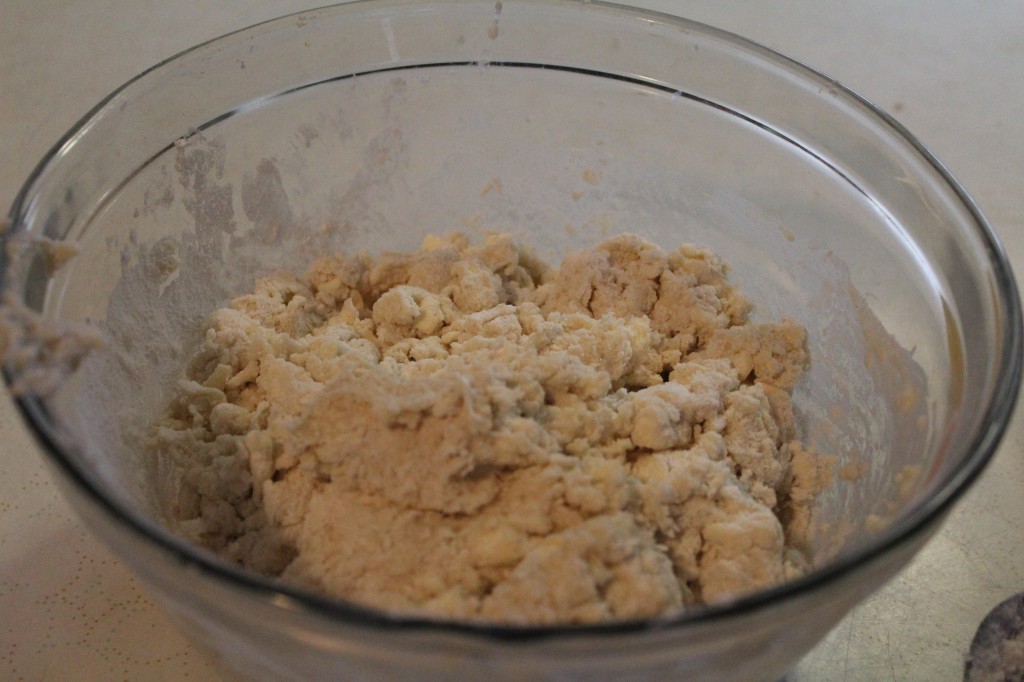
The dough will start to take shape.

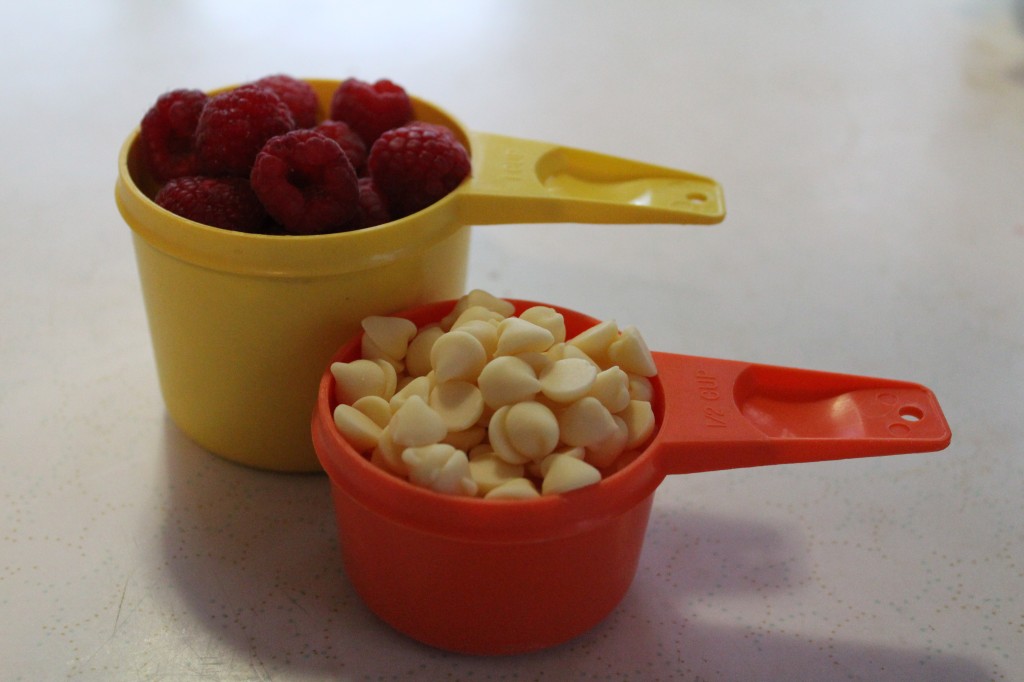
Measure out your raspberries and white chocolate chips.

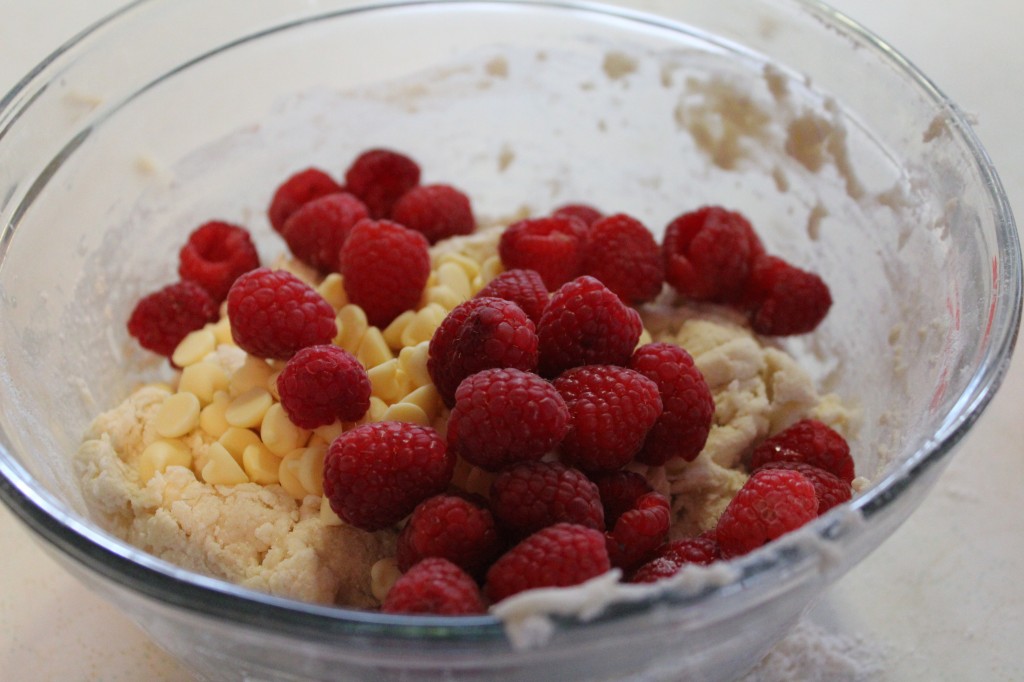
Add in to your dough and gentle knead in the dough. Be care not to break apart all the berries and be gentle during this process.

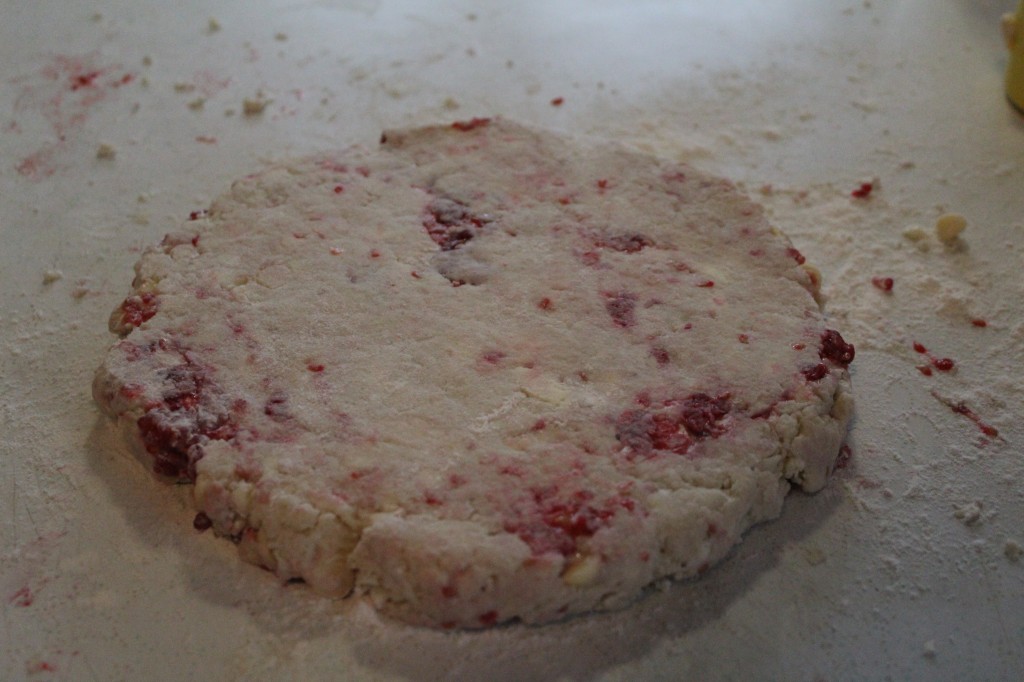
Form the dough into a nice circle.

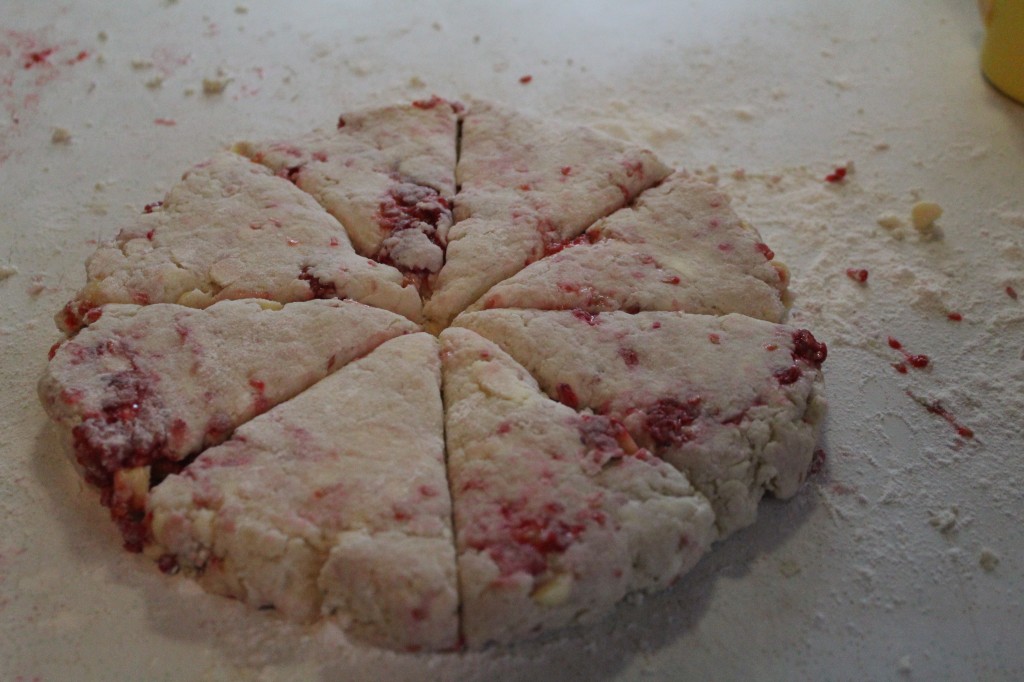
Cut like a pizza into  8 wedges.

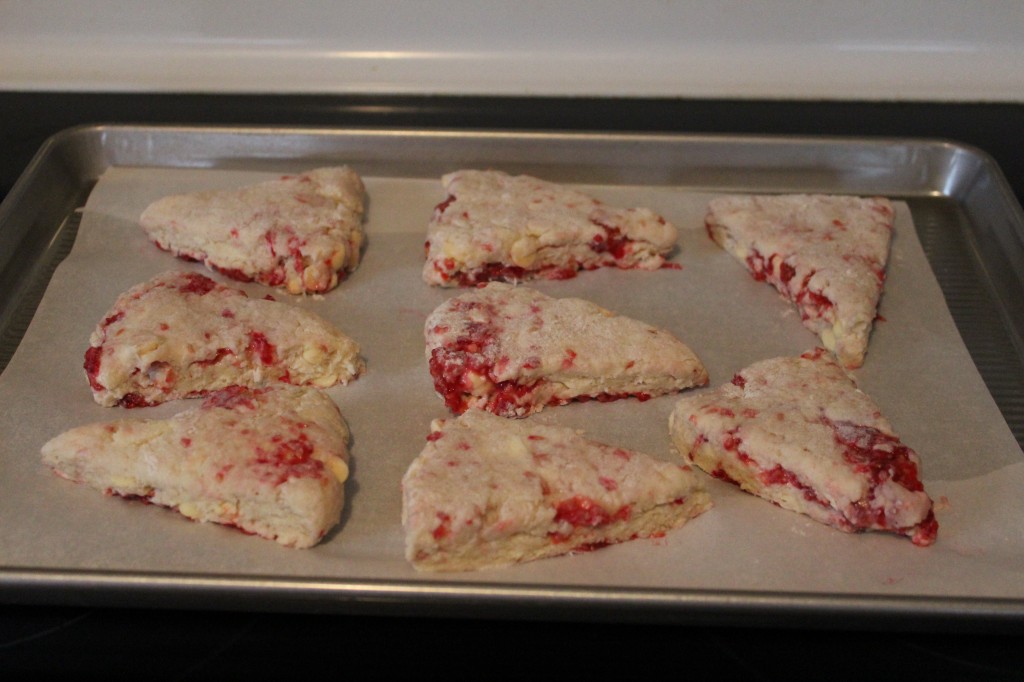
Place the scones on a parchment lined cookie sheet.

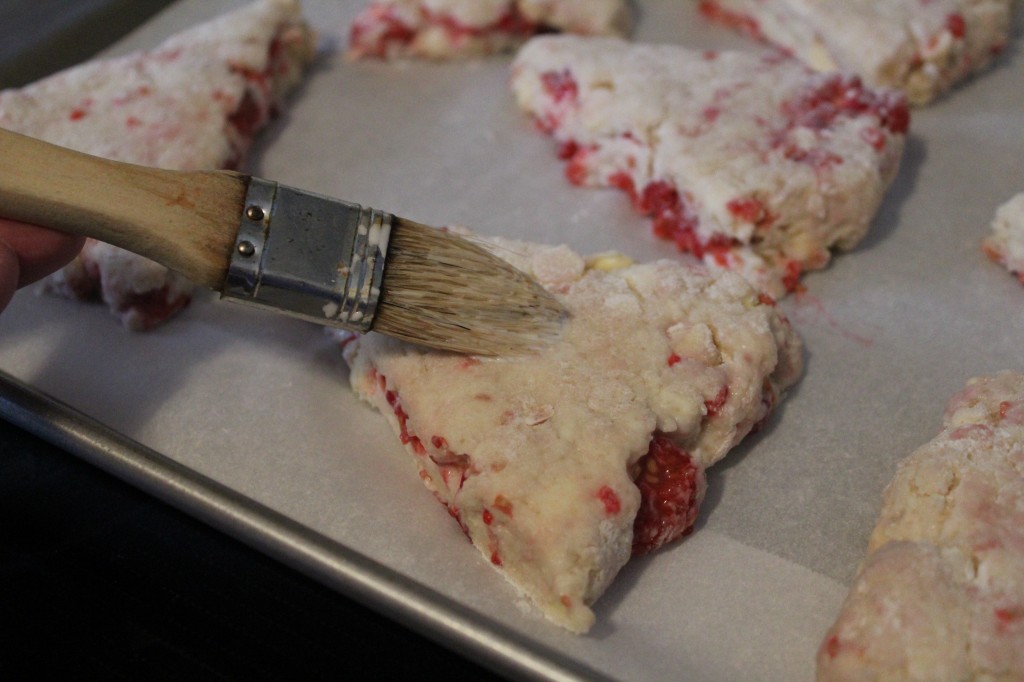
With a pastry brush, brush the tops of each scone with half and half.

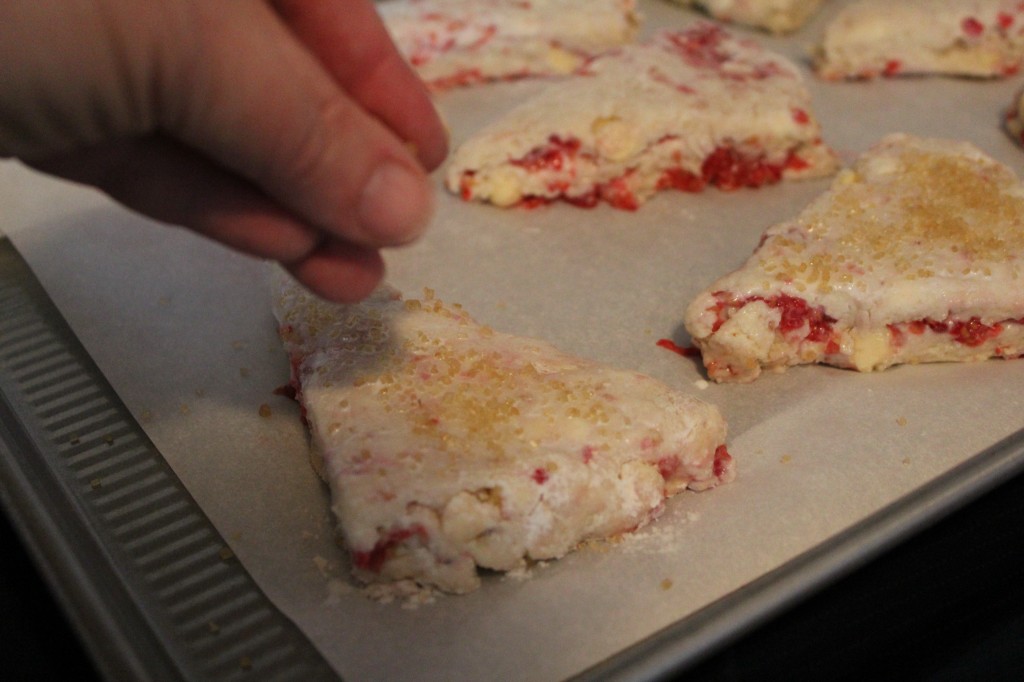
Sprinkle with turbinado sugar or sanding sugar. I love the little sugar crunch on the top. YUM! Put the scones in the oven and start baking. While the scones are baking, make the glaze.

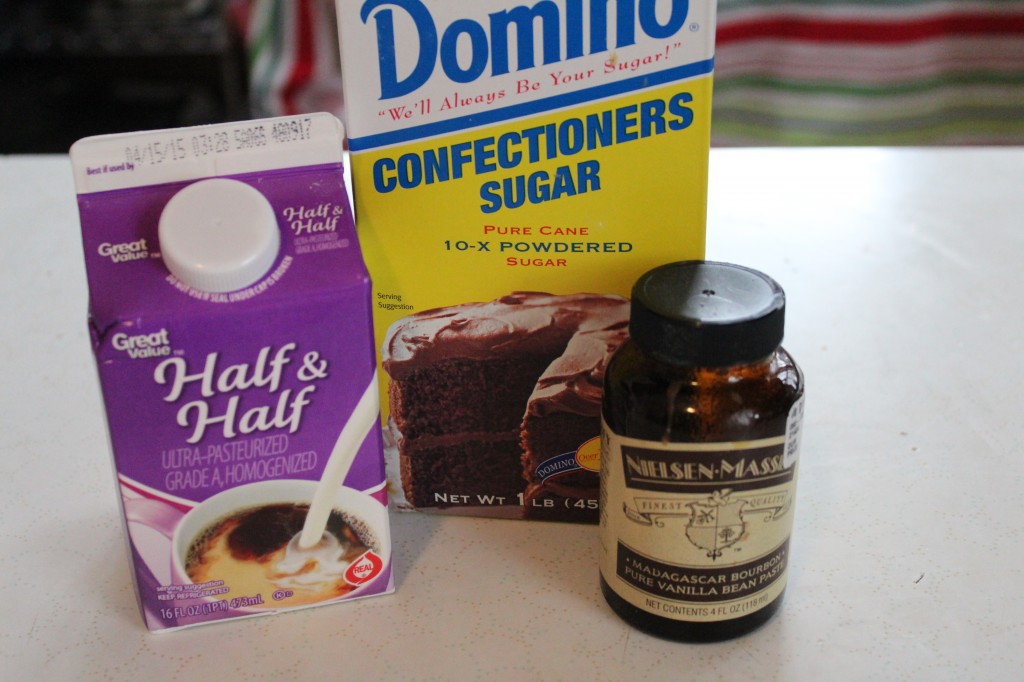
You will need some more half and half, powdered sugar and vanilla bean paste. If you do not have vanilla bean paste, just use vanilla.

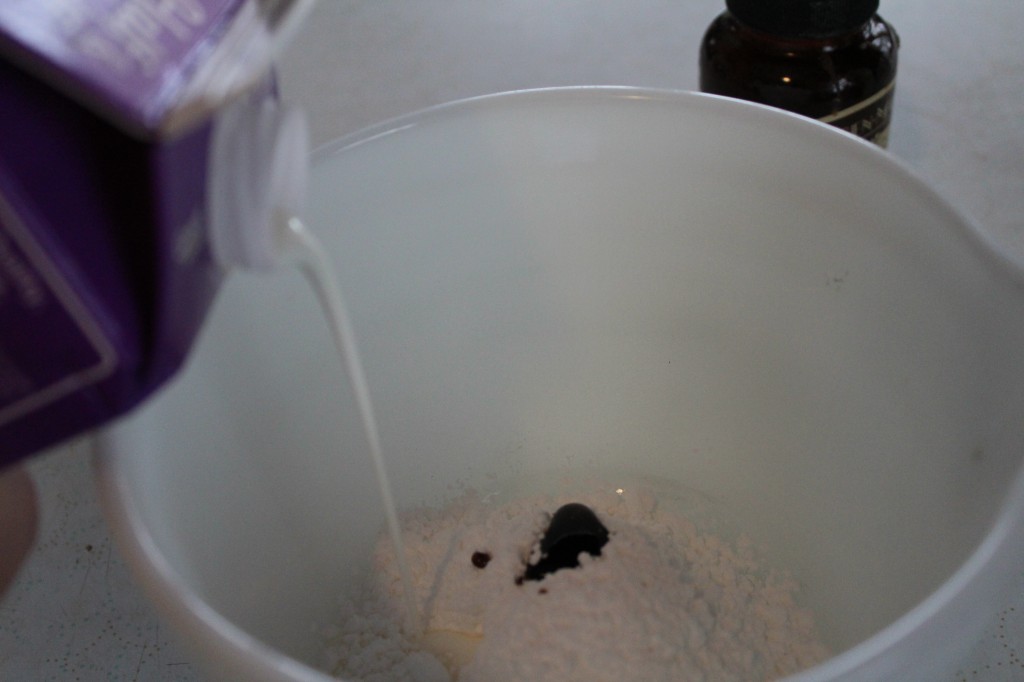
Add the powdered sugar, half and half and the vanilla bean paste.

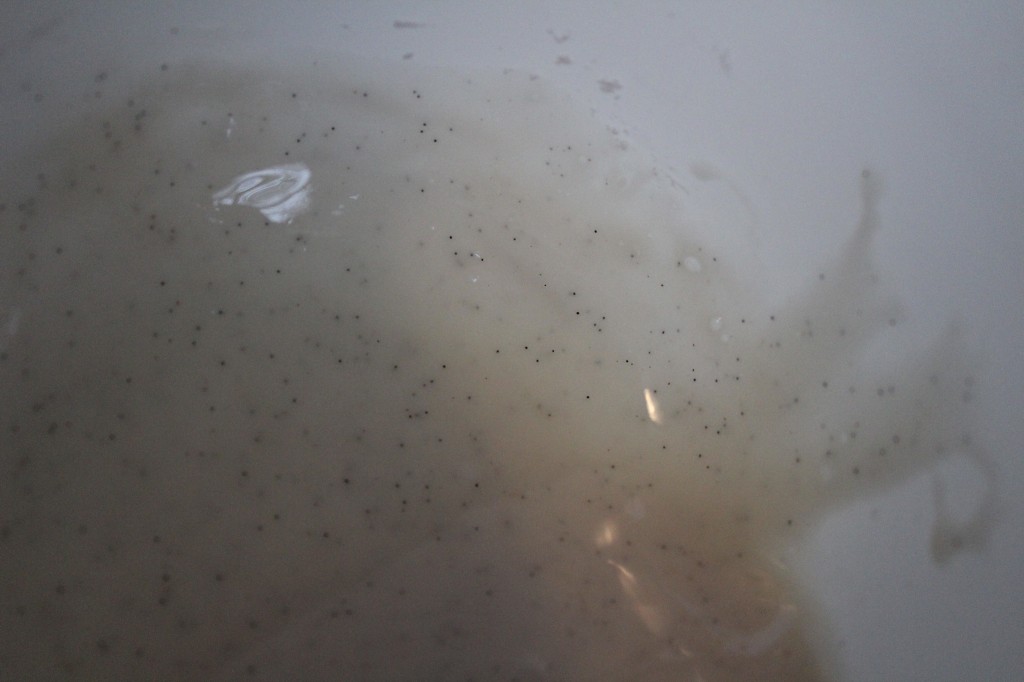
Stir together until smooth. I LOVE the little bits of vanilla beans.

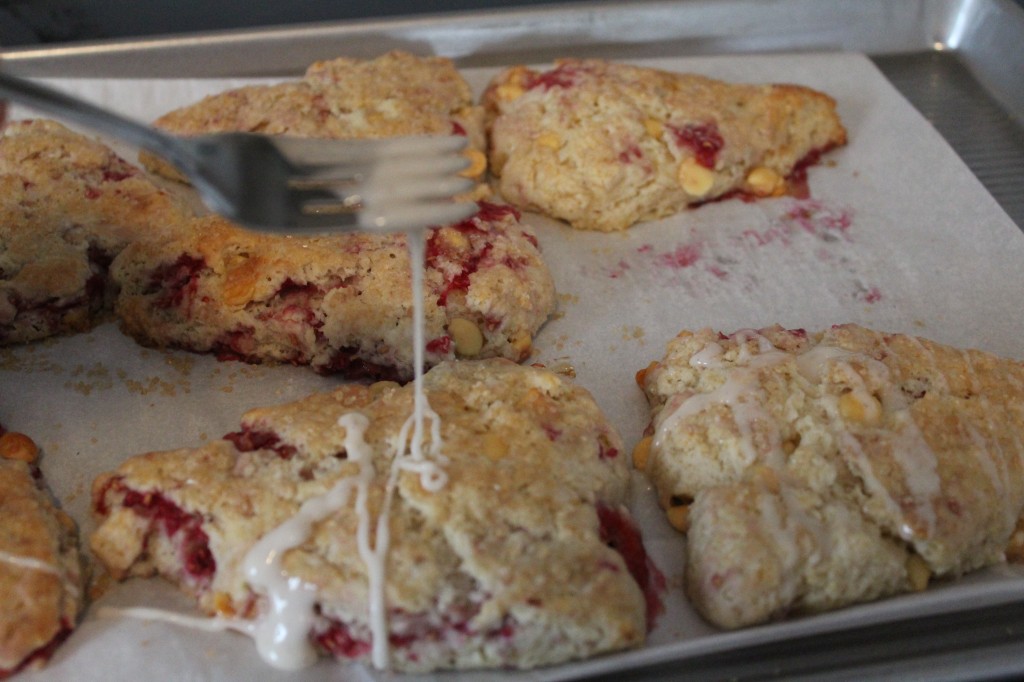
When the scones are warm and just out of the oven, drizzle the glaze over each one.

There you go!

You might not even need bacon to go with them : ).

If you are looking for a special breakfast or an afternoon tea scone, I think you will love these!

Here is the recipe:

Adapted from Southern Living

Raspberry and White Chocolate Scones

Ingredients:

2 cups of all purpose flour

1/3 cup sugar

1 tablespoon baking powder

1/2 teaspoon salt

1/2 cup cold butter cut into 1/2 inch cubes

1 cup whipping cream (save 2 tablespoons to brush on top of scones)

2/3 cups of fresh raspberries

1/2 cup white chocolate chips

Sanding sugar

Ingredients for the glaze:

1/2 powdered sugar

1 to 2 tablespoons milk to thin consistency ( I just went ahead and used my half and half)

1/4 teaspoon vanilla (I used vanilla paste)

Direction:

In a large bowl (I used my little blender) mix together the flour, salt, baking powder and sugar. Cut in the cold butter with a pastry blender until the mixture starts to look like crumbs. Pour in the half and half (save 2 tablespoons to brush on top of the scones) and gently stir to start forming a dough. Add in the raspberries and white chocolate chips. Gentle knead them in. Take the dough out of the bowl and form into a circle. Cut the dough like a pizza into 8 wedges. Brush each scone with the reserved whipping cream and sprinkle with turbinado sugar or a sanding sugar. Place the scones into a  450 degree preheated oven and bake 13 to 15 minutes until light golden color.

While the scones are baking, stir together the milk, powdered sugar and vanilla paste.

When the scones come out of the oven, drizzle with the glaze.

Now, try not to eat all of them!

Enjoy!

Becky

Here are some other post that might interest you:
         

Chocolate Peanut Butter Mousse Cake             Broccoli Rice Casserole

Brown Butter Cherry Bars

It is cherry picking time!

A couple of Sundays ago, after having lunch with my Dad and  the gang (Niener Wiener and Hubby, Jeanie Beanie, Baby Brother, Company and of course The Princess) for Father’s Day, Company and I went to Niener’s to pick a few cherries off of her cherry trees. Niener had already picked all she wanted the day before, on Saturday. Niener picked about 32 cups of cherries and it took her until the wee hours in the morning till she was finally done pitting her cherries. One thing about older sis is that when she starts something, she does not quit!

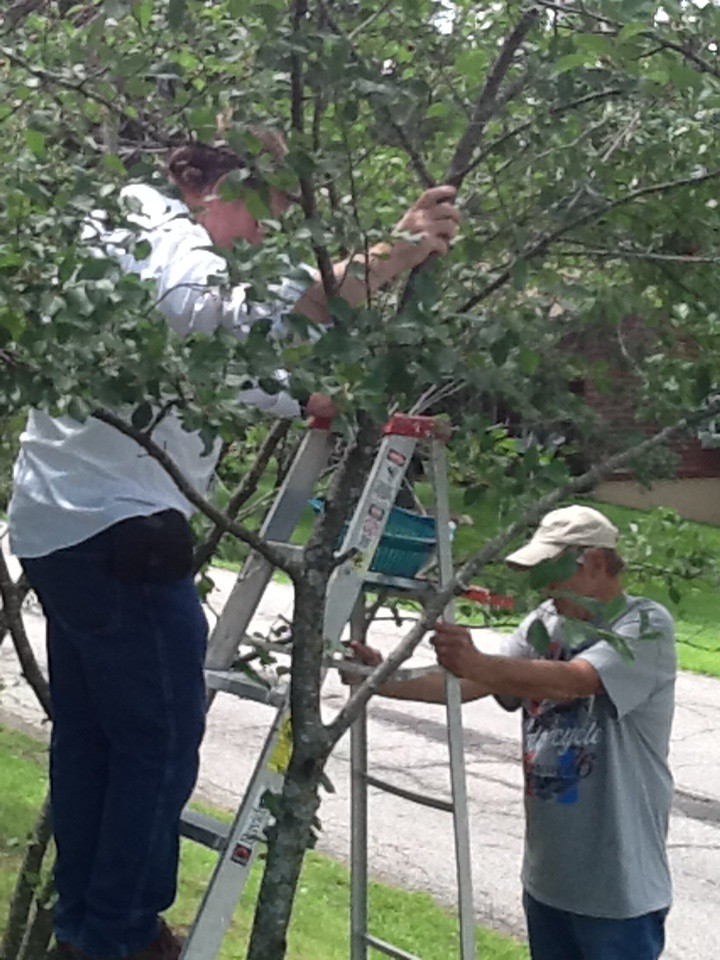
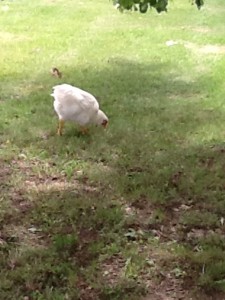
It was Company’s job to get on the ladder and pick the cherries on top of the trees, that niener could not reach and she left for us to pick. Niener is a wonderful sister, don’t you agree?  She also forgot to mention that we had to fight off the neighbor’s chickens (that were eating every cherry we dropped on the ground.) Plus, we were also assaulted by air from a couple of wood peckers who wanted to make the juicy cherries their dessert.

You gotta know that the men LOVED spending Father’s Day, picking cherries. hehe


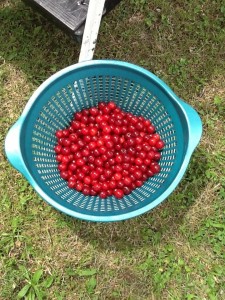
Here is one of the pesky cherry snatching chicken. Here is some of the cherries I (cough cough) picked.

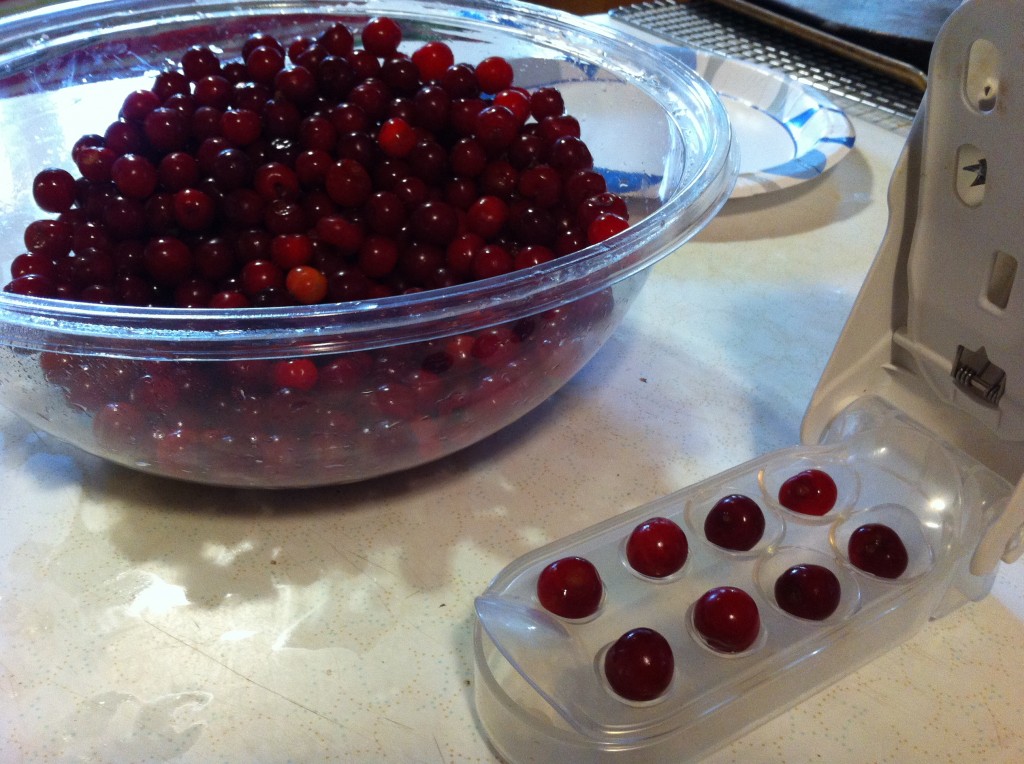
Here is what we ended up picking. It was about 7 cups of cherries. I bought this handy dandy cherry pitter at Bed Bath and Beyond a couple of  years ago. It pits four cherries at a time. I really saved us a bunch of time a couple of night ago, when I decided to make this new recipe I found that called for fresh cherries, at about 8 o’clock at night.

I never said I was very smart : )
Anywho, Company got to work on the cherries, taking the pits out, while I got to work making the crust for the Brown Butter Cherry Bars.

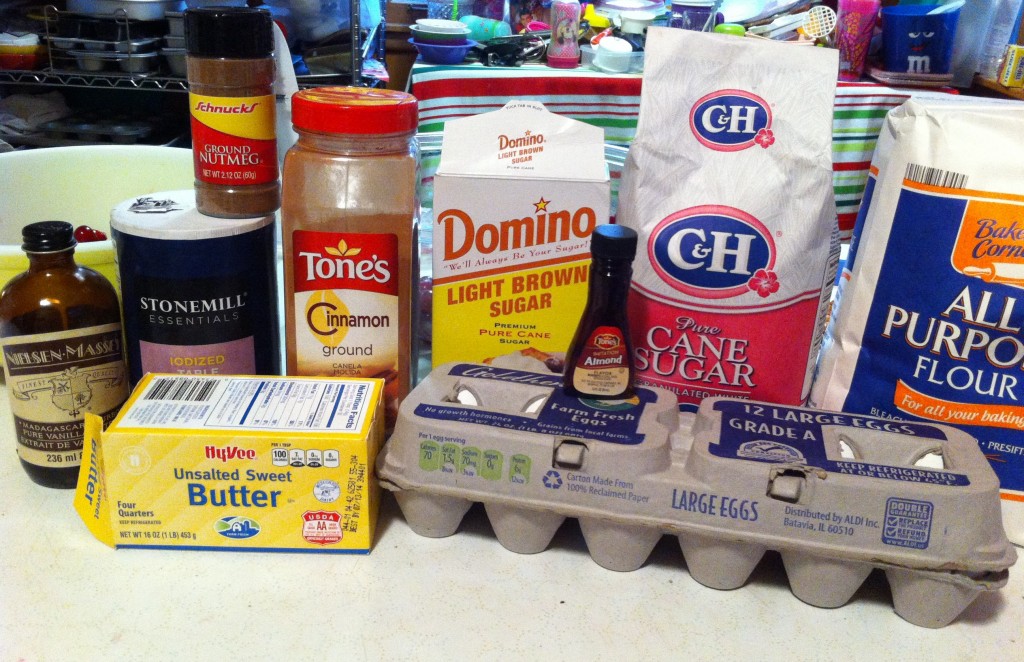
Here is everything you need to make this delicious Brown Butter Cherry Bars. (the cherries are in a bowl behind the vanilla).

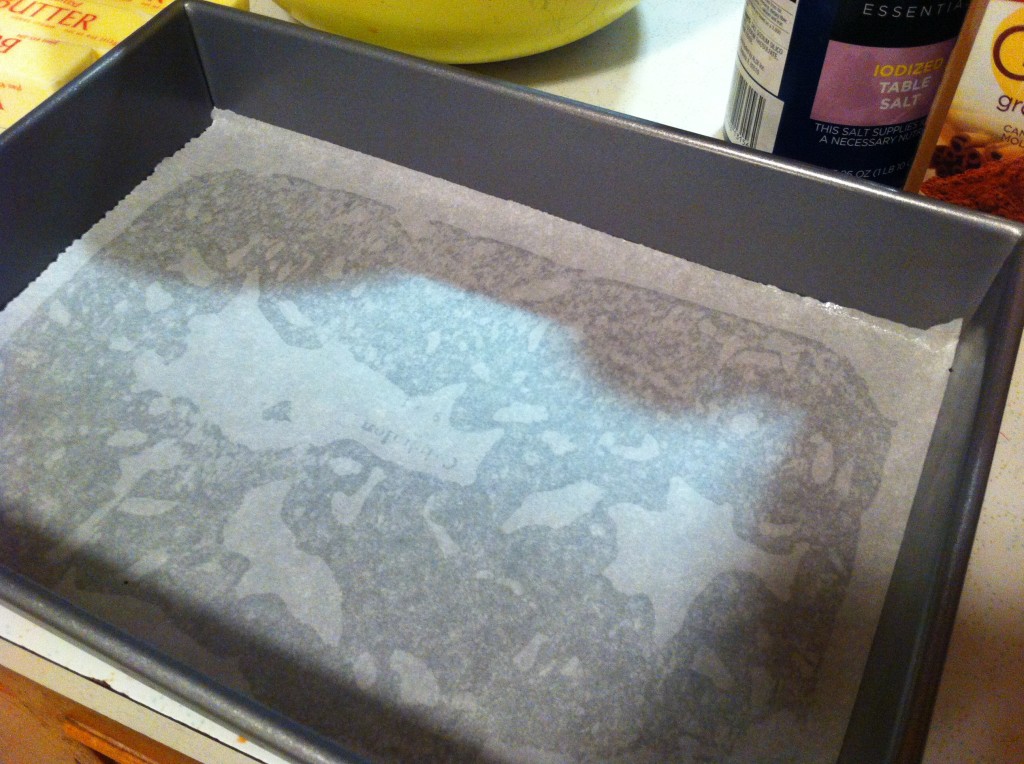
You HAVE to line your 9 by 13 pan with parchment paper.  I wish that I had brought it up higher on the sides so I could have actually lifted mine out using the parchment paper.


First thing you do is start the crust. Measure out the flour and then add the salt.


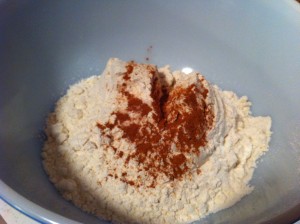
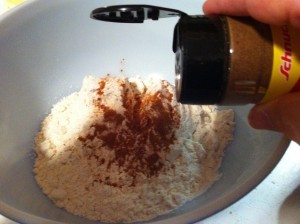
Put in the cinnamon and the nutmeg.


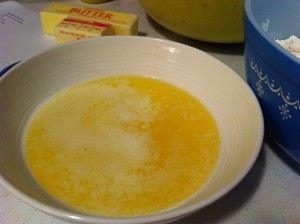
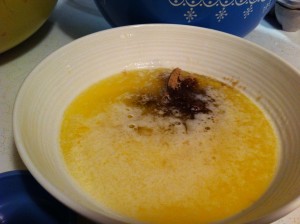
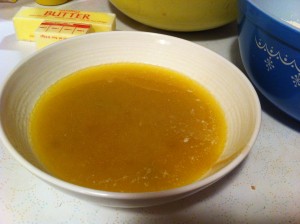
In a microwaveable bowl, melt the butter. Add the brown sugar to the butter.


Add in the sugar and the vanilla. Mix the butter and sugars mixture together.


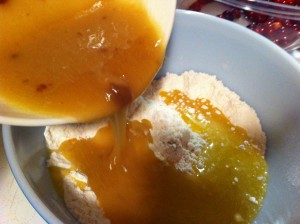
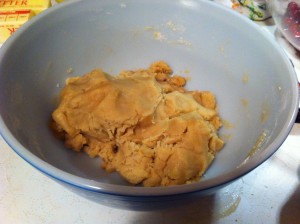
Pour the butter mixture over the flour. Make into a ball of dough.

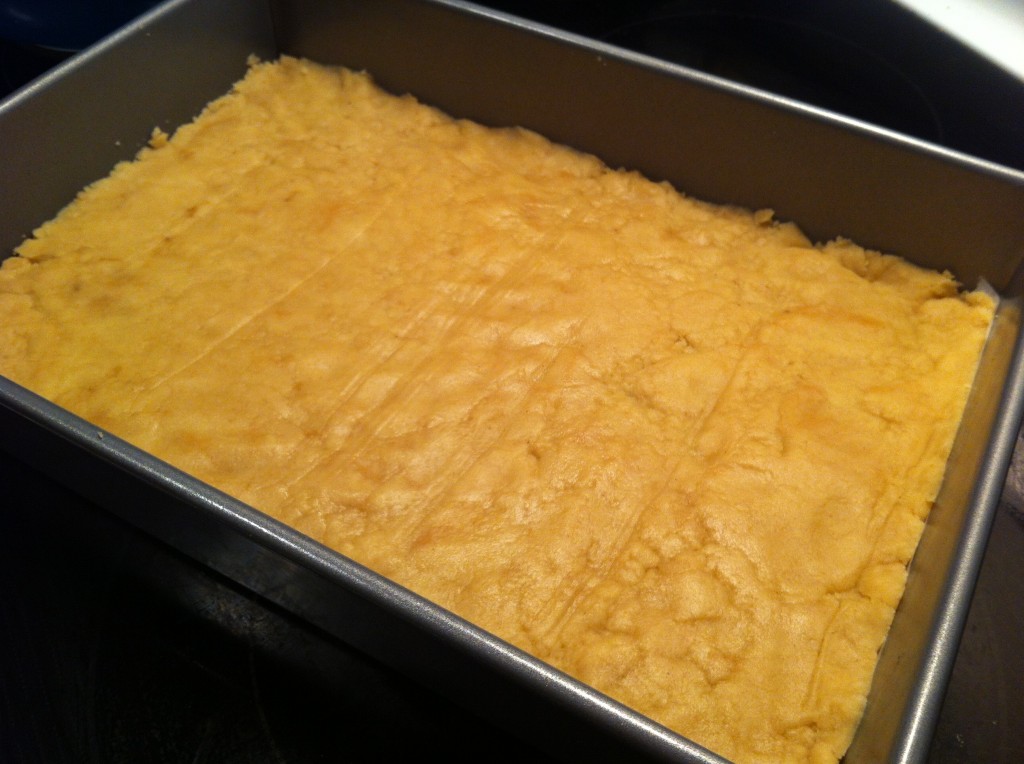
Take the crust and press it evenly onto the bottom of a 9 by 13 pan. Bake the crust in a 350 degree oven for 15 to 18 minutes.


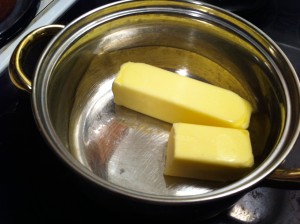
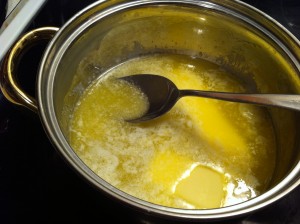
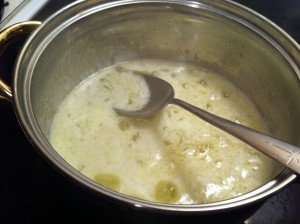
Now it is time to brown the butter. Melt the butter in  a heavy saucepan oven medium heat, stirring constantly.


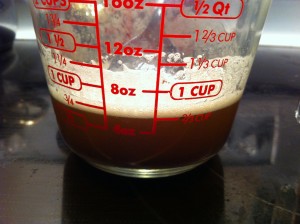
Cook until it foams up and starts to brown. I poured the browned butter into a measuring cup so  you could see the butter. Set the butter aside to cool


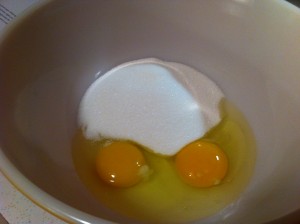
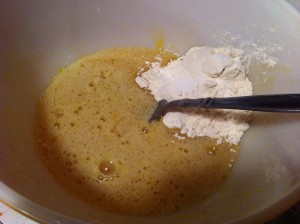
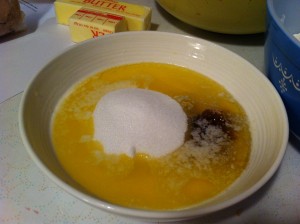
Now, lets start the filling. In a medium bowl add the eggs and the sugar.


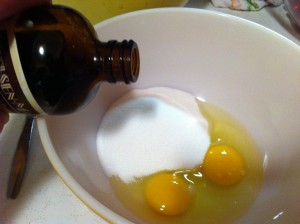
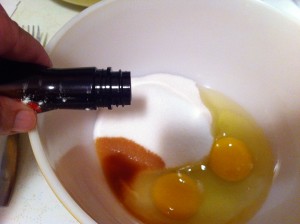
Add the vanilla.                                                                                        Add in the almond flavoring.


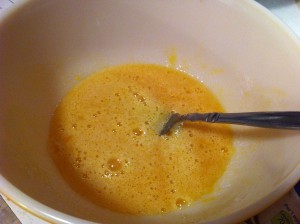
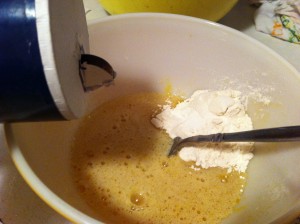
Mix together.                                                                                        Now, add in the flour.


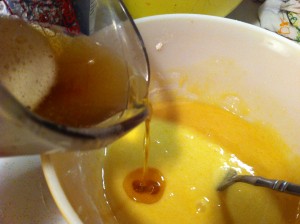
Add in the salt.                                                                                         Pour in the browned butter.


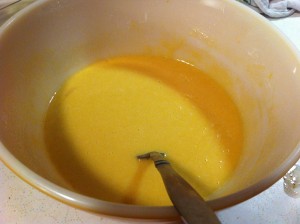
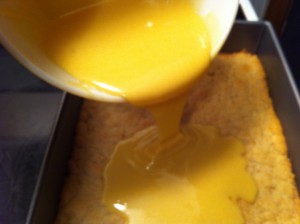
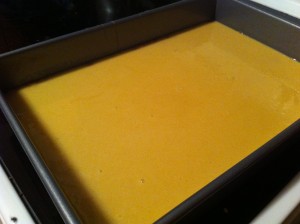
Mix the egg mixture and the browned butter together. Pour the filling over the baked crust.


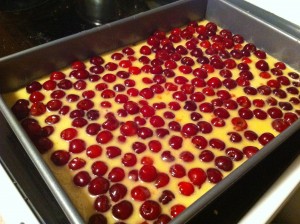
Spread the filling evenly over the crust. Sprinkle the cherries over the filling. Pressing the cherries into the filling.

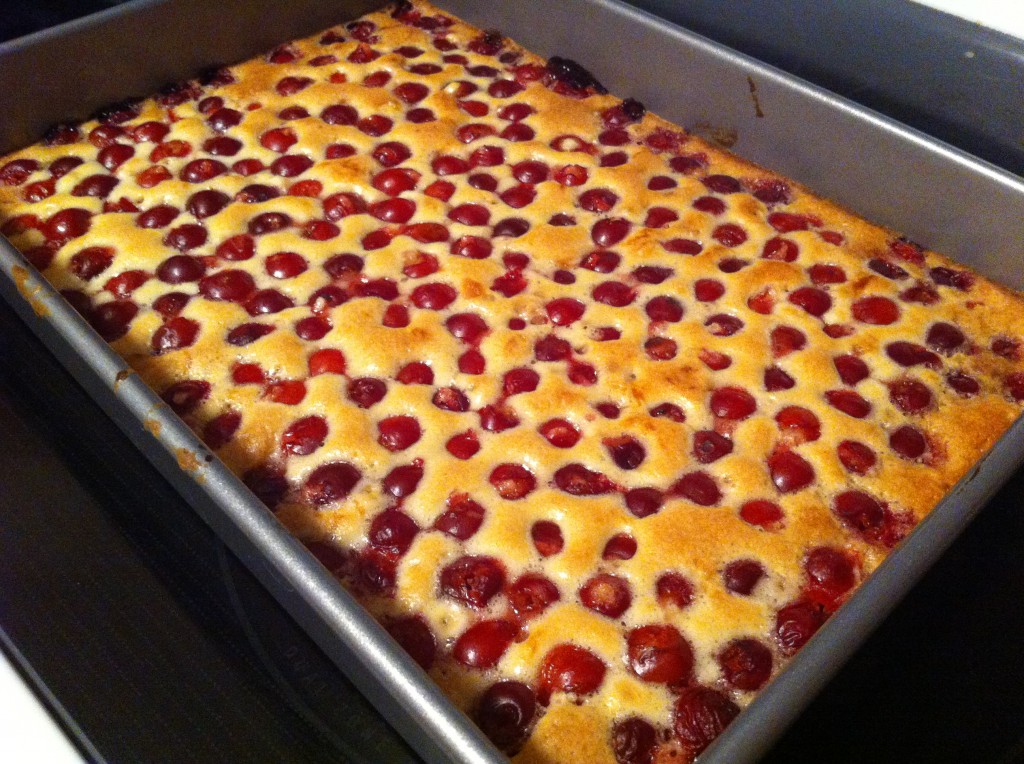
Bale the bars for about 35 to 38 minutes in a 350 degree oven. Let the bars cool completely.

Carefully lift out the bars. The bars cut easier if you freeze the bars for 15 minutes first. (I skipped this step cause I was late for work and the mine cut into bars just fine.)

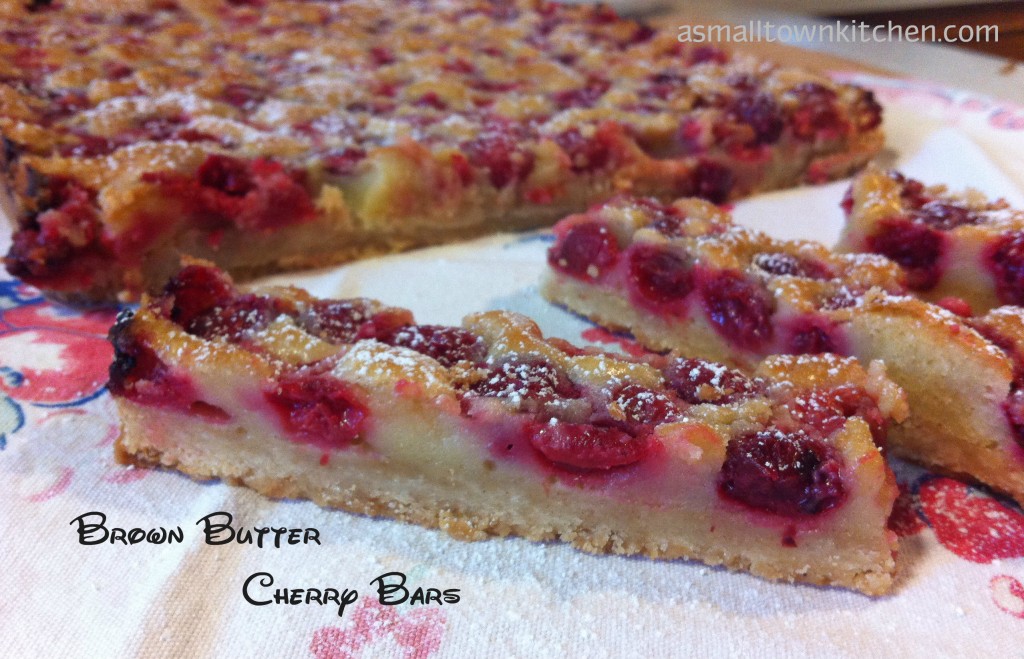
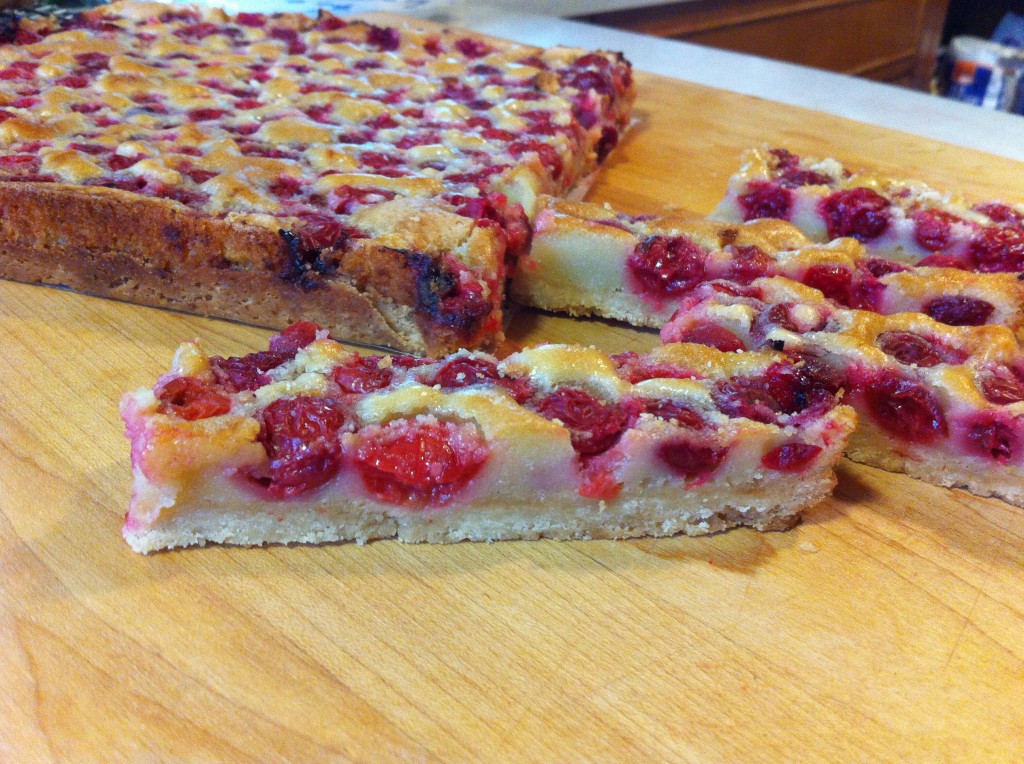
These bars are wonderful. I love the creamy filling with the tart cherries and the crunch of the sweetened crust. I took some to school and they are all gobbled up. Plus they are so pretty! Perfect to take to a friend.

Here is the recipe:

Brown Butter Cherry Bars

Adapted From Smitten Kitchen who adapted it from Bon A petit Magazine

Crust:

2 cups flour

1/8 teaspoon salt

1/2 teaspoon cinnamon

pinch of nutmeg

3/4 cup melted unsalted butter

1/2 cup sugar

2 tablespoons light brown sugar

1/2 teaspoon vanilla

Filling;

3/4 cup unsalted butter

2 large eggs

2/3 cup sugar

1 teaspoon vanilla

1 teaspoon almond extract

6 tablespoons flour

1/8 teaspoon salt

4 cups pitted fresh cherries

Directions:

Preheat your oven to 350 degrees.

Line a 9 by 13 pan with parchment paper. Have the parchment paper come up over the edge of the pan so you can use it to help you lift the bars out of the pan.

To make the crust:

In a medium bowl, whisk together the flour, salt cinnamon, and nutmeg. In a microwavable bowl, melt the butter and then combine it with the sugars and vanilla. Add the melted butter mixture to the flour mixture and combine to form a dough. Press the dough evenly onto the bottom of the 9 by 13 pan. Bake in the preheated oven for 15 to 18 minutes. Let cool for 15 to 20 minutes.

Browned butter:

To brown the butter, melt the butter in a heavy saucepan over medium heat. Stir constantly. It will begin to foam and the then turn clear and then it will turn a deep brown. This process will take about 5 to  7 minutes. Pour the butter into a container to cool. (I had some dark sediments that floated to the bottom on my container. I did not add those sediments to my filling)

To make the filling:

To prepare the filling, whisk the eggs, sugar and extracts together in a medium bowl until smooth. Add in the flour and slat and whisk into the egg mixture. Slowly pour the browned butter into the egg mixture, whisking in until smooth.

Pour the filling evenly over the crust. Arrange the cherries in a single layer across the top. Bake for 35 to 38 minutes o until the filling puffed up and is golden brown. Cool completely on a wire rack.

To help with removing the bars, chill the bars in the freezer for 15 minutes. Carefully lift the extra parchment paper to remove the bars. Place on a cutting board and cut into bars. Refrigerator until you are ready to serve.

I am sure that you will enjoy these bars!

Enjoy~

Becky

Other Post You May Enjoy:


Strawberry Spinach Salad                  Messy Marvins                              Coconut Cream Cake


Related Posts Plugin for WordPress, Blogger...