Homestyle Green Beans seasoned with Bacon

This  past summer, at Company’s house, I tried my best to grow green beans. They would pop out of the ground and make some blooms and then either the geese, deer or some green bean hungry animal would steal them all. GRRRRR……

Last year it was my back yard varmit that ate my green beans and tomatoes.

I finally gave up growing my own green beans  (until next spring) and just decided to buy some fresh green beans. I found a great deal on green beans for .99 cents a pound and bought three pounds. My favorite way to cook them is with some bacon and onion AND if I have some small new potatoes I like to throw some potatoes in too.

This Homestyle Green Recipe is not a exact science. It all depends on how many green beans you have. So this recipe is for making a full pot of green beans. But don’t worry, just add less of everything if you only have one pound of green beans. I like to cook my green beans for a couple of hours, until they get soft and, I know this sounds crazy, but it kinda makes a green bean gravy. In other words the green beans cook down as the water evaporates and all this great flavor makes into the broth/gravy.

YUM!

Anywho, it is time to get started!

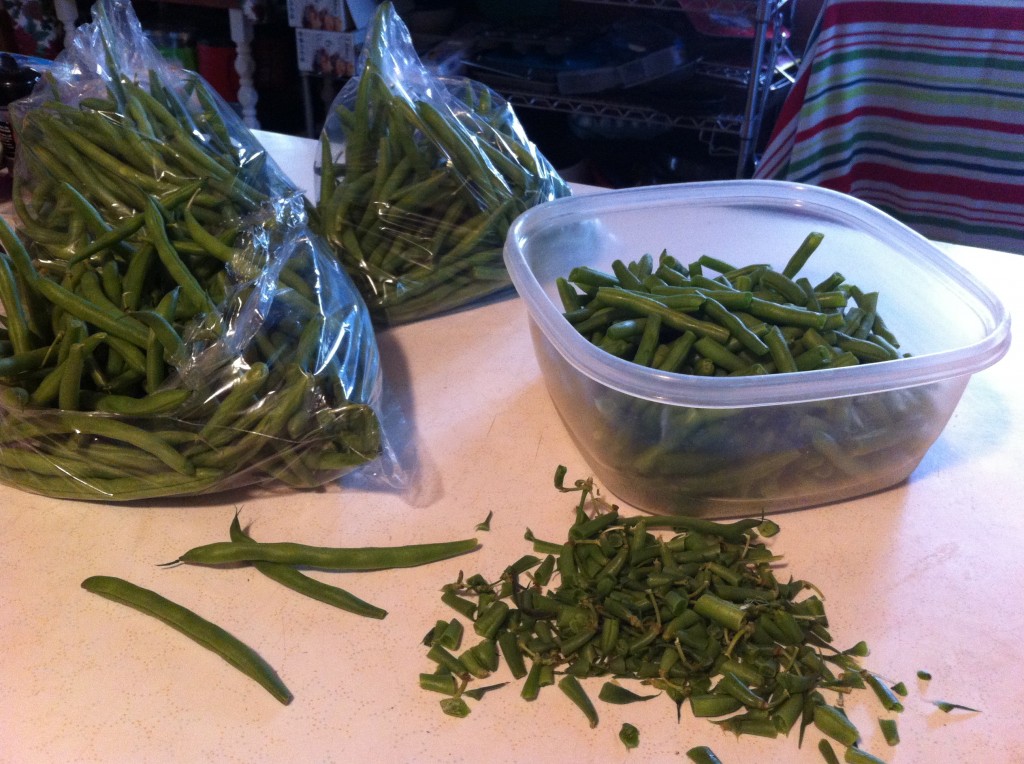
First thing you need to do is snap the ends off the green beans and snap them in half.

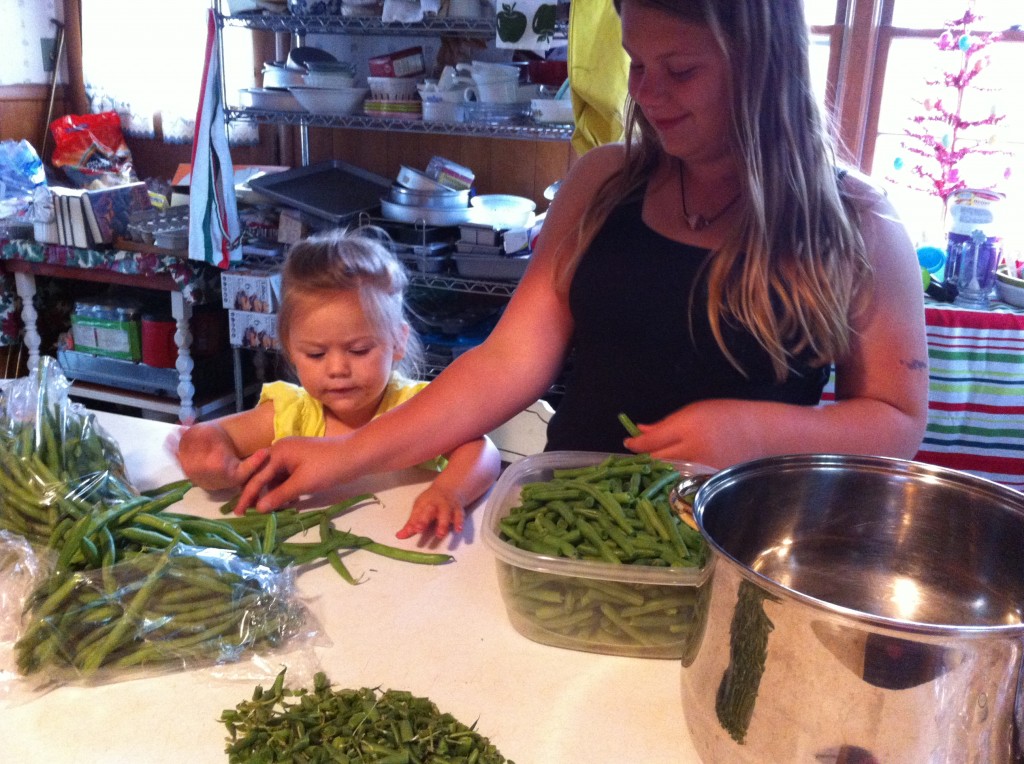
It is more fun if you can recruit some help for this. (please don’t look at my very untidy shelf with my extra pans on it) : )

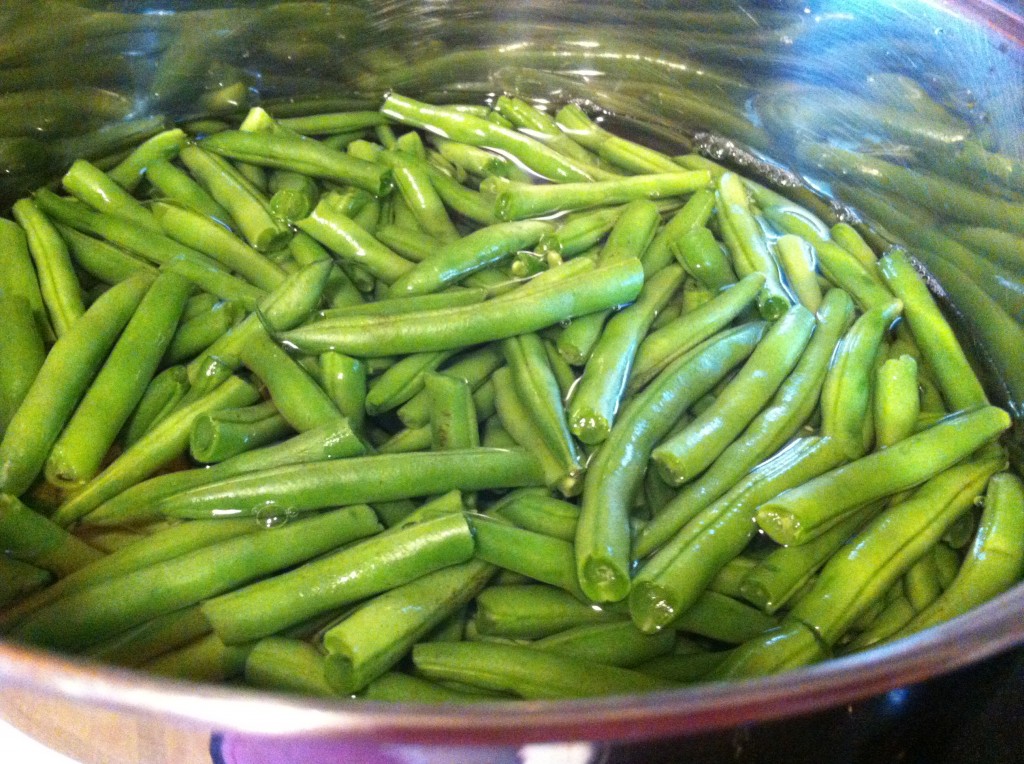
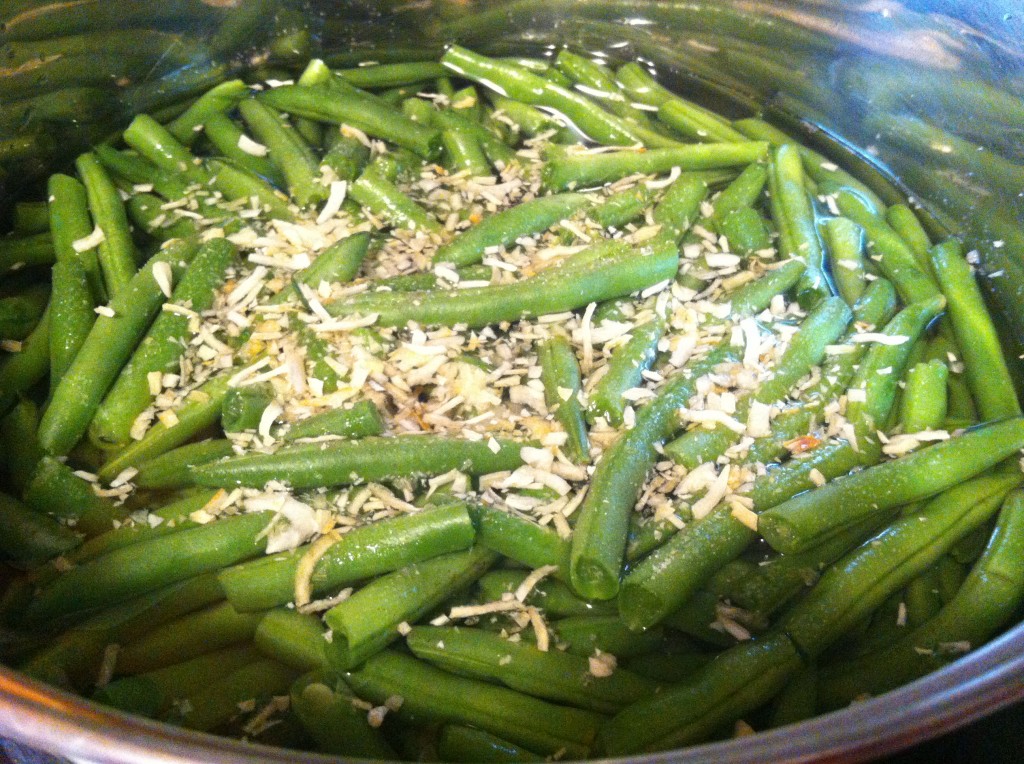
Rinse the green beans and then put them in a stock pot and fill  with just enough water to cover with them.

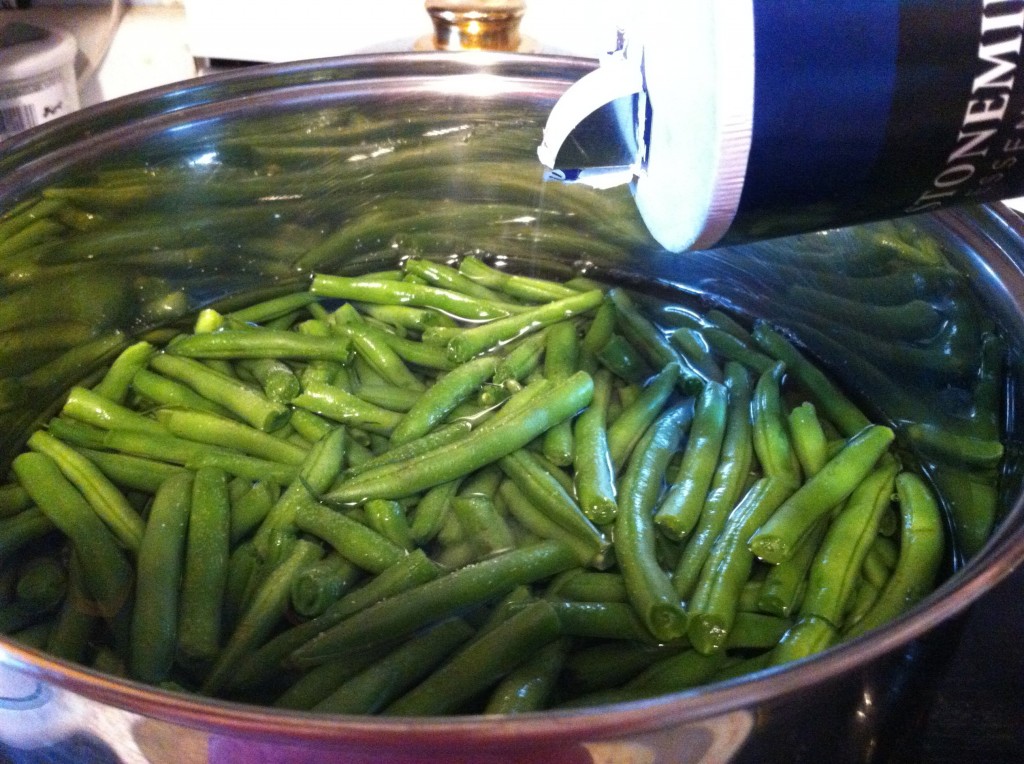
Add teaspoon of salt. (I do not add much salt right now. I let them cook down before I really season them to taste).

Add in some  dried mince onions or a large onion diced up. I am using diced minced onions because Company does not like onions and I can hid them (sorta) in the green beans if I used the dried dice onions. You can certainly use a fresh diced onion.

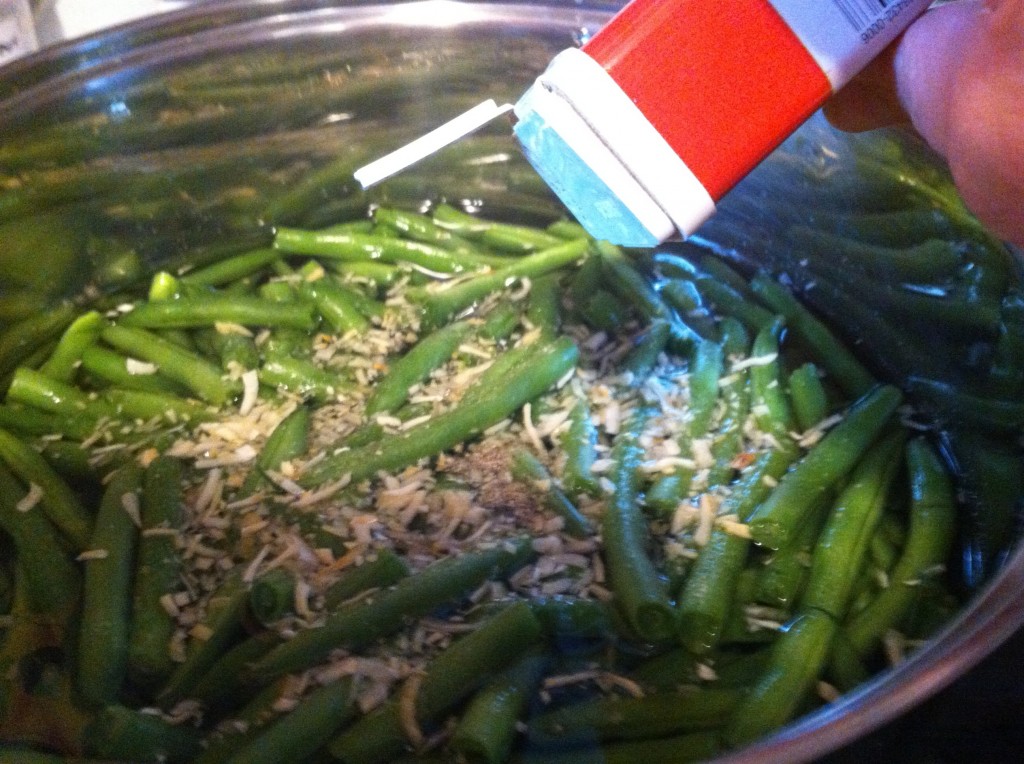
Add a teaspoon of pepper.

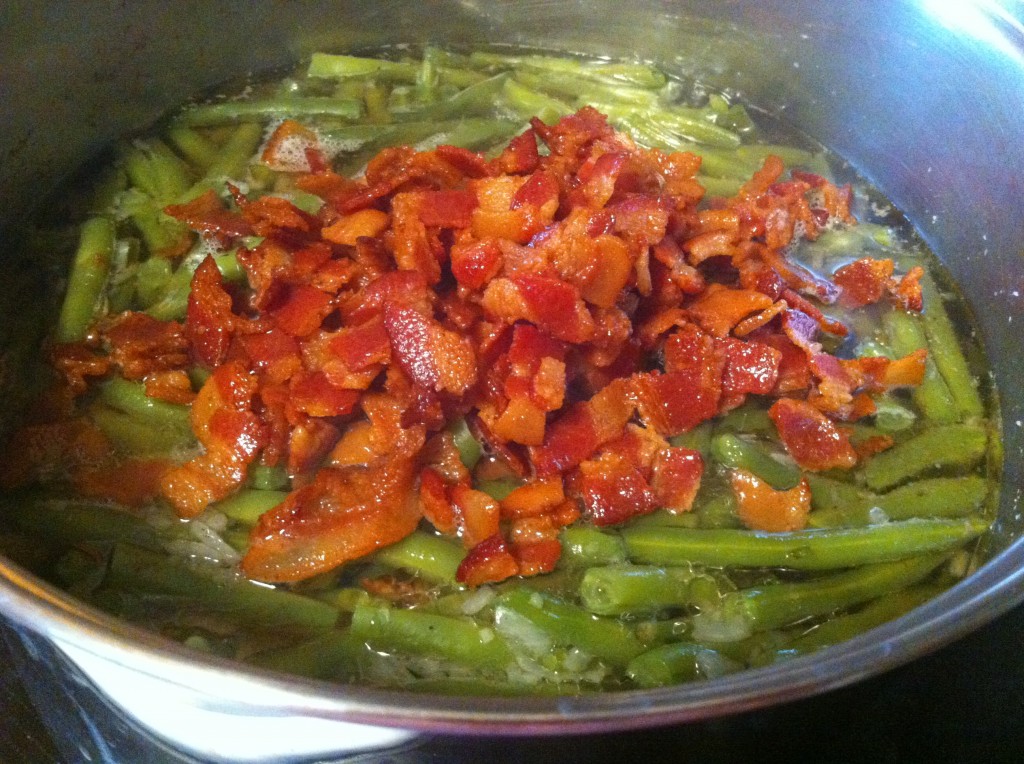
Turn on the heat to simmer and start cooking the bacon. I go a head and start the beans to start cooking the beans while I fry the bacon because it takes a bit to heat up the water and beans.


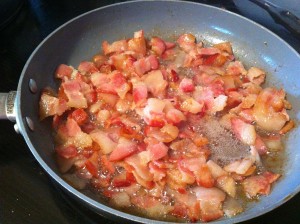
While I have my beans started I cut up the bacon in small pieces and fry until crispy. I used about 8 slices of bacon. I like to fry my bacon first because I like the bacon texture better than just putting in raw bacon in the green beans.

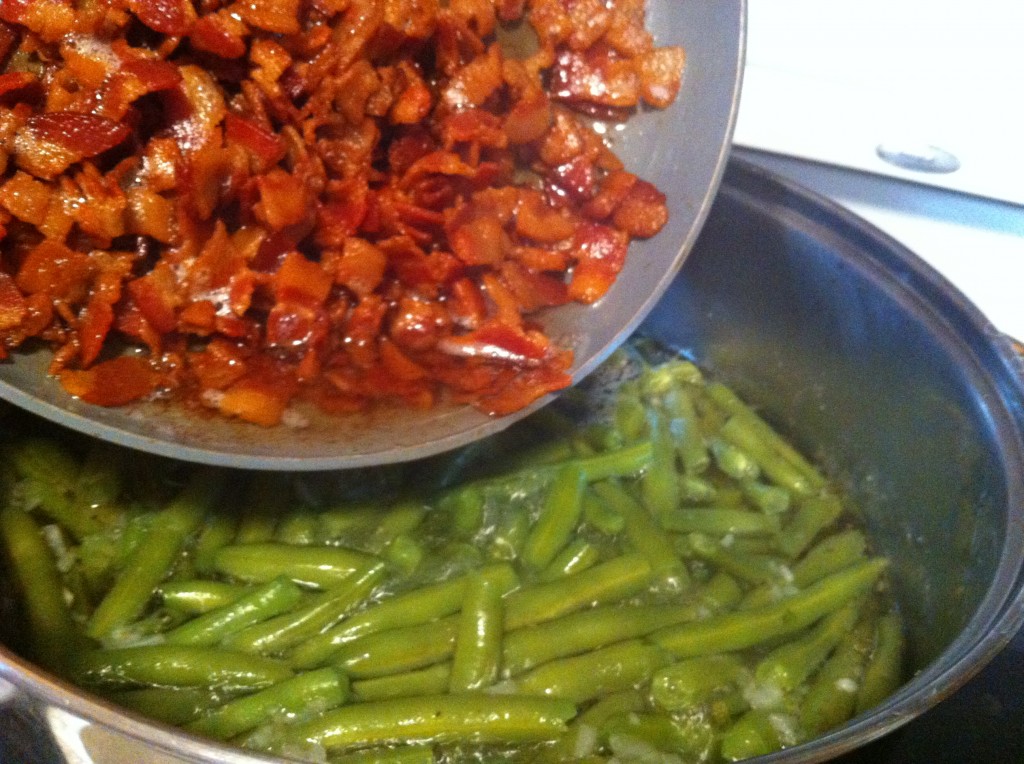
When the bacon is crispy, add the bacon and some of the bacon drippings. I used almost all of my bacon drippings.

Stir the bacon and drippings in the green beans. Let the beans simmer until tender. I cook mine about 2 hours on low for three pounds. Make sure that all you water does not simmer away and scorch your beans, add more water, a little at a time if you need to. It will take less time if you have fewer green beans. When the green beans get to the texture I like, I taste them and then add more salt and pepper until I get them to taste.

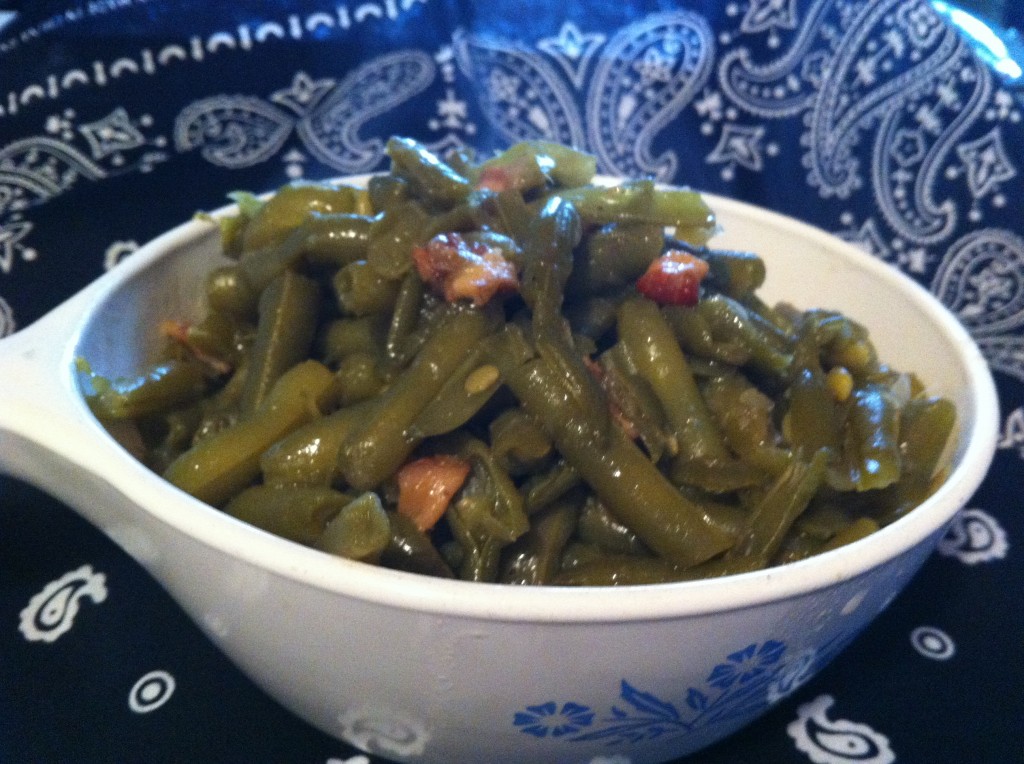
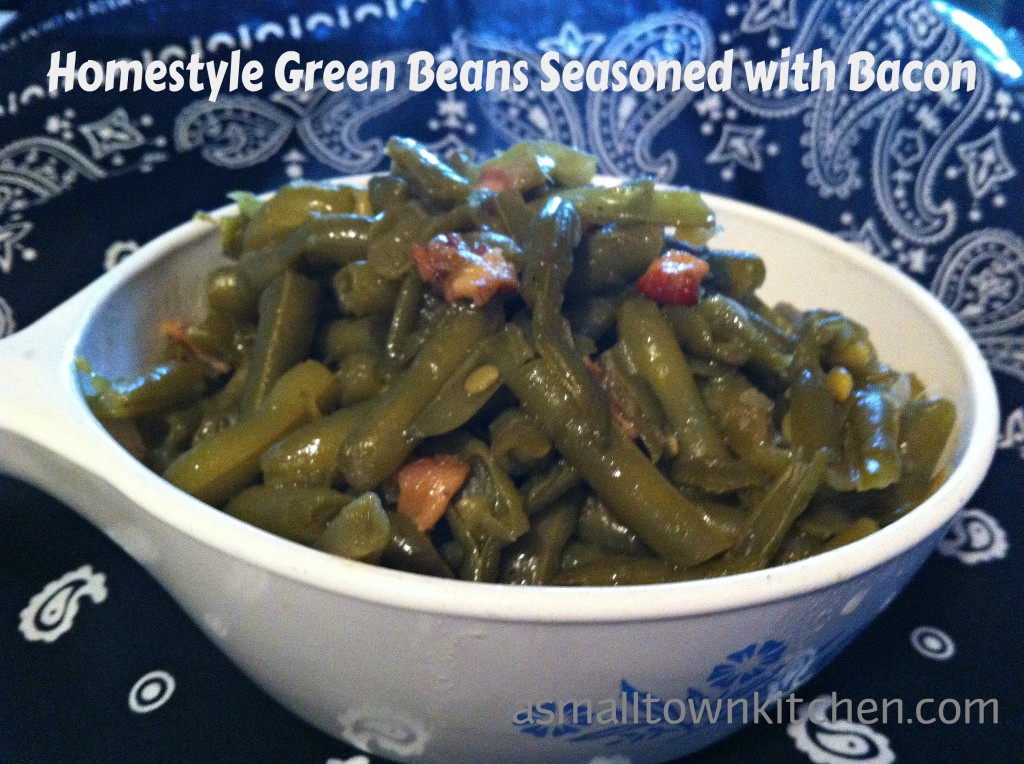
Here they are!

See how easy they are to make!

I can eat a whole plate of these green beans!

Here is the recipe (sorta)

Homestyle Green Beans seasoned with bacon and onion

Ingredients:

3 pounds of fresh green beans, snapped and rinsed

1 large onion diced or 1/2 cup dried minced onion

8 slices of bacon, diced and fried saving drippings for seasoning

Directions:

Put green beans in a large stock pot. Barely cover with water. Add in the onion and bacon. Add bacon drippings, (I used almost of my drippings) Salt and Pepper. Simmer for 2 hours approximately being careful not to let all the water simmer out and scorch your beans. When the green beans get to the texture you like, then season to taste with more salt and pepper if you like.

Enjoy!

Becky

Here is some other post you may enjoy reading:


Brown Sugar Meatloaf                  Sour Cream Apple Pie            Sausage Stuffed Acorn Squash
Bacon and Cheese Quiche

Hello All! I again apologize for the long delay in posting recipes. Long story short, I got pretty sick with a sinus infection. I knew I was feeling tired, head hurting, taking sinus medicine at all hours…thinking it was all due to school starting, allergies…you know regular “ya, I don’t feel good, but I have too much to do to give it much attention.” Well anywho, after much delay I finally went to the doc and yes I have a ear and sinus infection. I have been on antibiotics for a few days now, and I am starting to feel so good, I am almost excited to go back to school tomorrow….almost…haha.

The girls in the chicken coop, aka backyard chickens, are laying eggs like mad. They are popping out between 4 to 6 eggs a day. So, after months of feeding them and cleaning up the poopy chicken coop, I am finally rolling in eggs. Now, if they could lay me a golden egg. Yes, I am a dreamer! They have laid over 200 eggs in about 6 weeks time. I am having a blast sharing eggs with a couple of the Super Hero’s friends at work, Nierner Wiener and now I am saving up eggs for when Baby College Girl comes to visit in 3 weeks.

But, in the meantime, I needed to use a few eggs. Personally, I don’t eat many eggs. I will eat boiled eggs, occasionally. I will a deviled egg, occasionally. I love to make omelets, over easy eggs, scrambled and fried hard….you just won’t see me eat them.

Strange, I know!

Going back to my story…..I needed to use up some eggs, so last night I made two quiches. One with onions and one with out onions, cause some guy named Company does not like onions, (strange, I know) so I decided to be nice and make him happy.

I am going to show you how to make one with onions, but I was told the quiche tasted great without them….personally I think the onion one would taste better.

This recipe is super easy and it did not take long at all to make. Which means, I will be making more quiches around here.

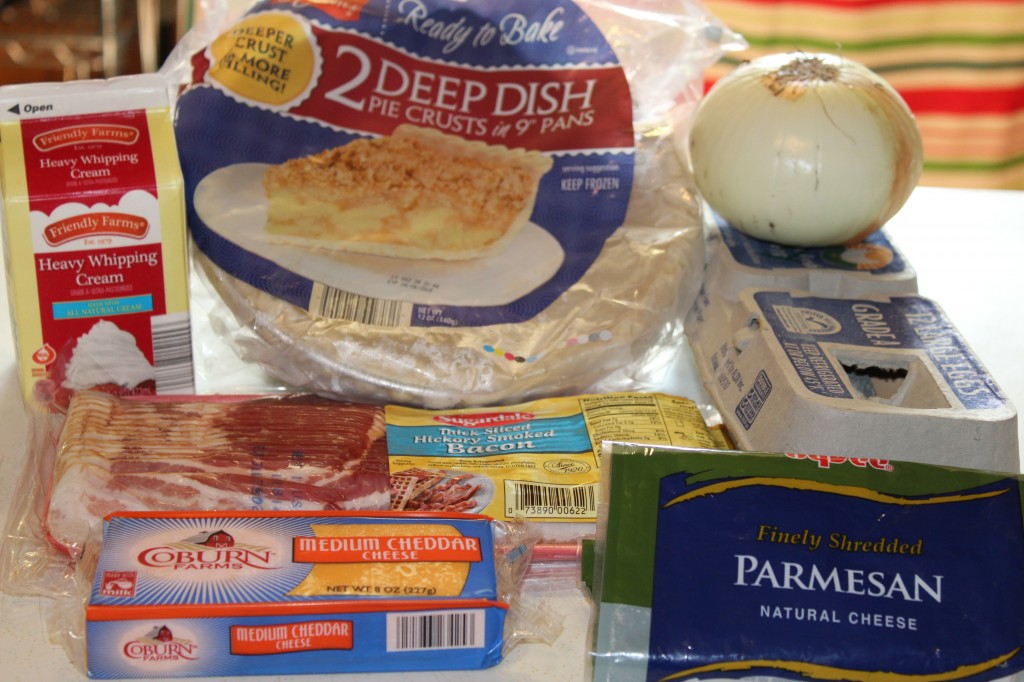
Here is what you need:

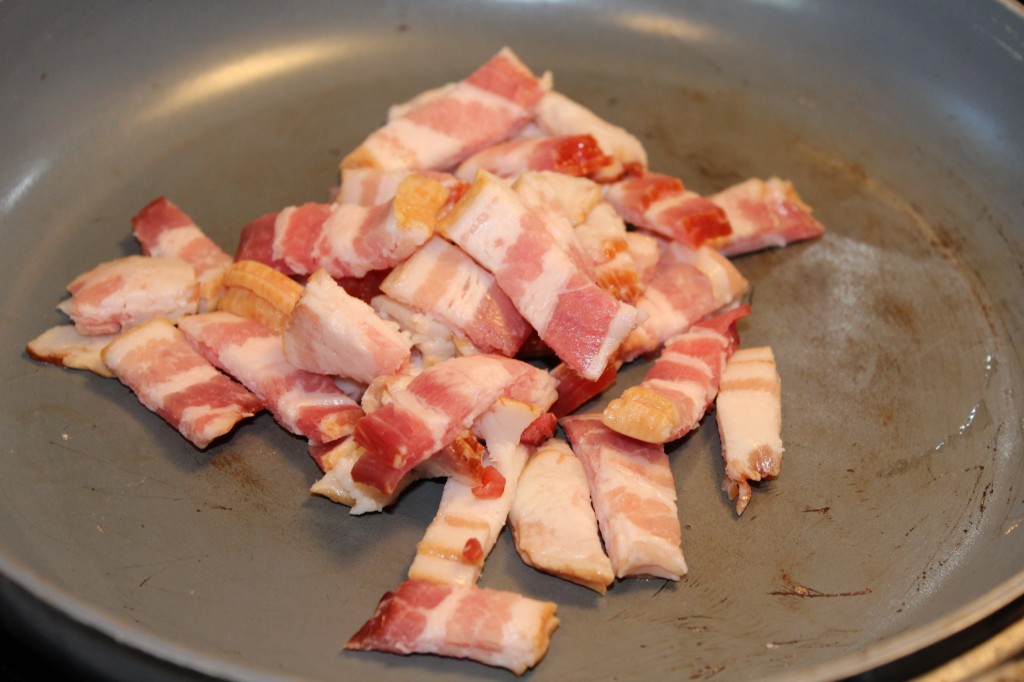
You will need a frozen 9 inch deep dish pie crust, (but by all means you can make your own crust) 5 slices of bacon fried and crumbled, some grated cheddar cheese, some parmesan cheese, whipping cream (you can also use half and half) and of course eggs.

I cut up my bacon before I fry it because I think it fries better and gets crispier.

Dice up 1/2 cup onion.

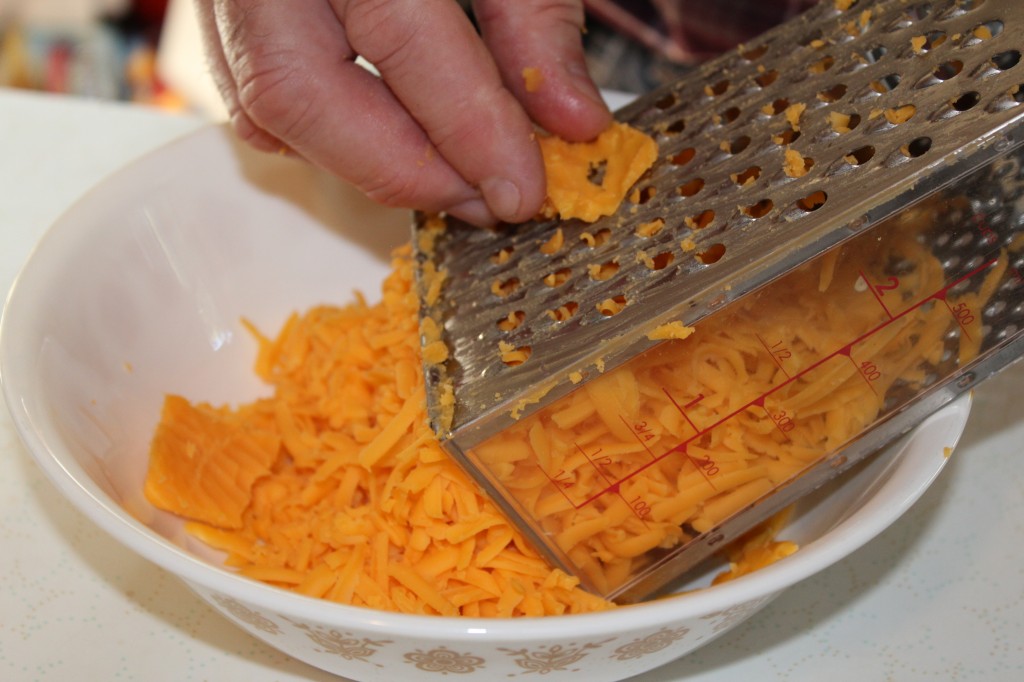
You will need 5 ounces of grated cheddar cheese. You can buy it already grated, but I talked Company into grated me some fresh cheddar cheese.


Now, it is time to start assembling your quiche. First put the grated cheese in the frozen pie crust first, then top with the diced onions.


After the cheese and the onion, add the parmesan cheese and the crispy bacon pieces.


I used a blender, but you can do this with a mixer or just with a fork, what ever method you choose to blend you eggs and whipping cream together till smooth.


Pour the egg and cream mixture into the pie crust. Some of the bacon bits will float to the top. Bake at 400 degrees for 13 minutes then turn the oven down to 350 degrees and bake an additional 25 to 30 minutes, or until crust is brown the quiche does not giggle with moved.

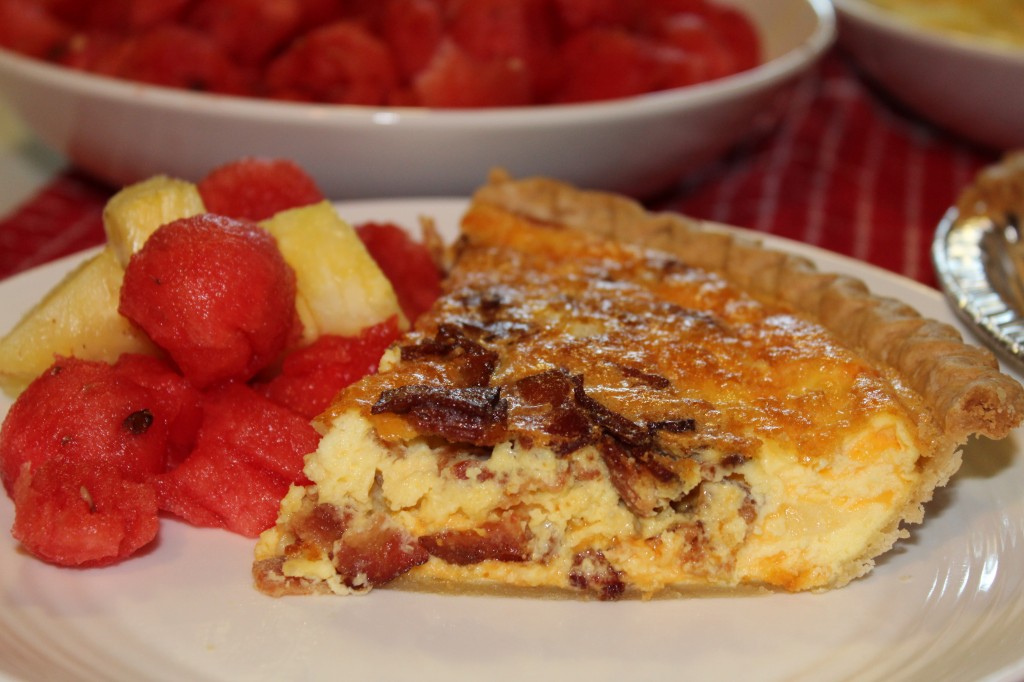
Here is the Bacon and Cheese Quiche right out of the oven. It will puff up real big then as it cools it will slowly go back down.

I cut up some fresh pineapple and seedless water melon, poured us some tea and everyone thought we had a feast. There was even enough left over for lunch today. Woot Woot!

Here is the recipe:

Bacon and Cheese Quiche

Adapted from Alrecipes

Ingredients:

5 slices of bacon (I used thick slab) fried and crumbled. (you can also use 3 ounces of REAL bacon bits not imitation)

1/2 cup  diced onions

5 ounces of shredded cheddar cheese

3 ounces of grated parmesan cheese

1 (9 inch) frozen deep dish pie crust

4 large eggs slightly beaten

1 cup cream or half and half

Directions:

Preheat oven to 400 degrees.

Layer the cheeses, onion and bacon in the unthawed pie crust. (you could also combine the cheeses, onion and bacon in a bowl first then put in the pie crust)

Mix the eggs and cream together until smooth. Pour over the cheese mixture.

Bake in a preheated 400 degree oven for around 13 minutes. Turn the oven down to 350 degrees and continue baking for another 25 to 30 minutes, or until top turns brown and center is cooked completely.

 Here is a little close up of all that bacon goodness!

Enjoy and eat eggs!

Becky

Other Post you may enjoy: (With fall close approaching, I added a couple of my FAVORITE squash recipes)

            Deviled Eggs                   Butternut Squash Soup       Sausage Stuffed Acorn Squash


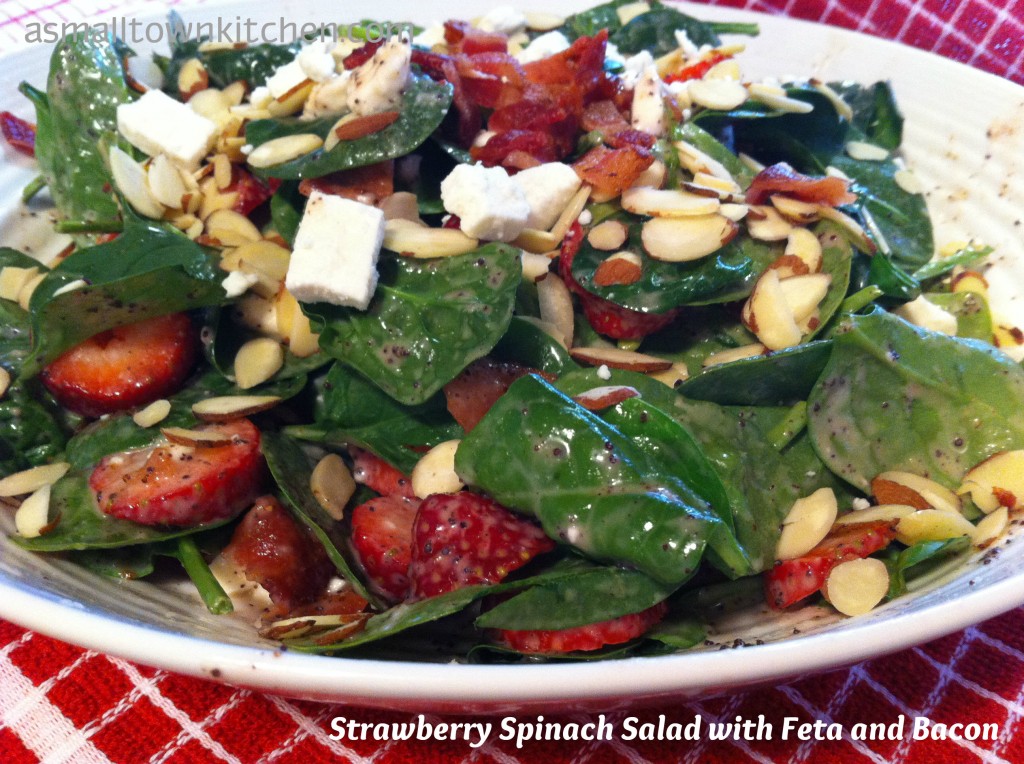
Strawberry Spinach Salad with Feta and Bacon

Are  you ready for a little warm weather?

I know I sure am.

Tonight, it is suppose to get below zero here in Mid Missouri. Creamy, steamy soup with hot rolls is perfect for those cold nights, except….when you are craving some summer salads. A new store opened up not far from here and they had these beautiful strawberries on sale. I could not resist buying a few packages. They looked like summer and even smelled like summer. I knew I had some left over spinach from when I made chicken and spinach enchiladas. In my summer starving mind, I thought, what better way to bring in a little summer into my kitchen, then by making some Strawberry Spinach Salad.

I did not have a couple of items for the salad. My Super Hero son volunteered to go to the store to pick them up for me. Only problem was, he did not know what feta cheese looked like and he did not have a clue where to find sesame seeds. After several phone calls and going to a different and bigger store, he was able to buy what I needed. I offered to buy him a mountain dew for his troubles. The Super Hero loves his mountain dew.

All was forgiven.

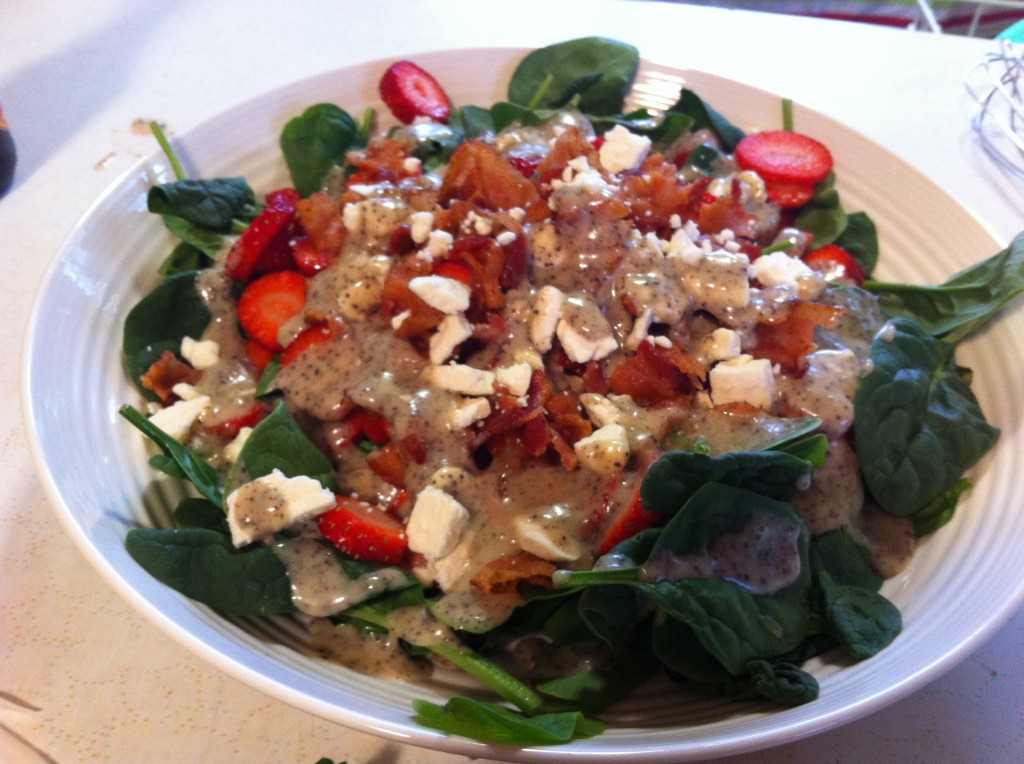
While I fried up some bacon cheeseburgers, I made this quick and easy recipe for Strawberry Spinach Salad. Oldest daughter who does not cook, myself and even Company enjoyed big bowls of this salad, with our burgers. It was just what the doctor ordered to bring a sunny smile to our faces. The Super Hero did not want to eat spinach salad. I think he was afraid he would turn into Popeye.

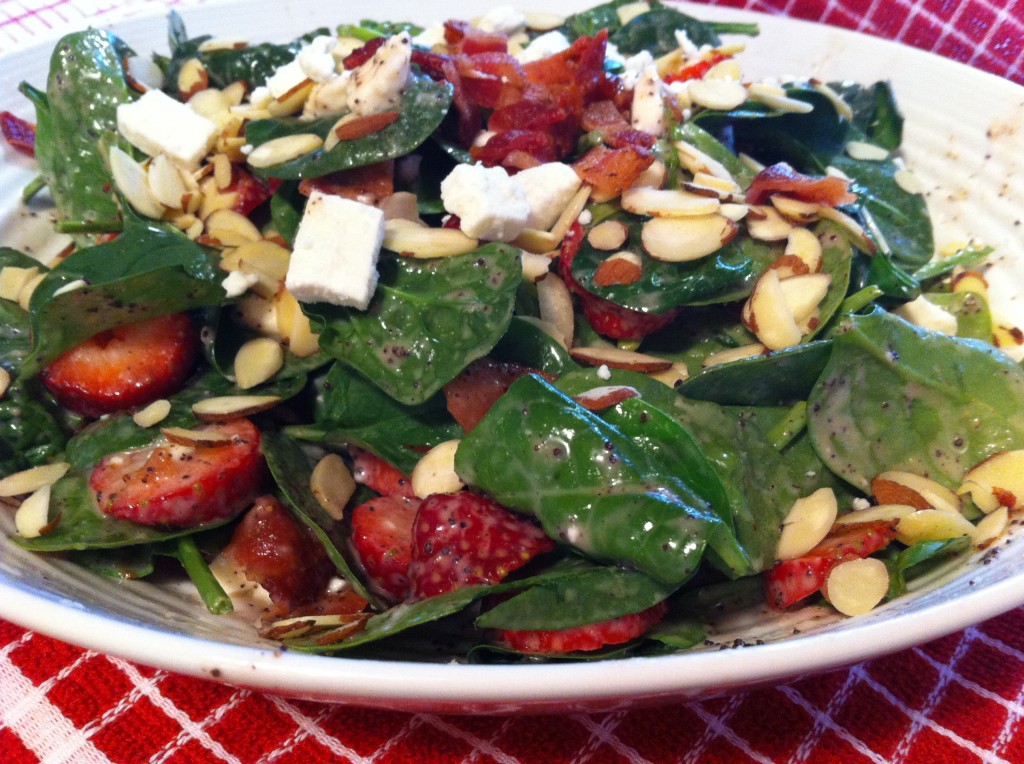
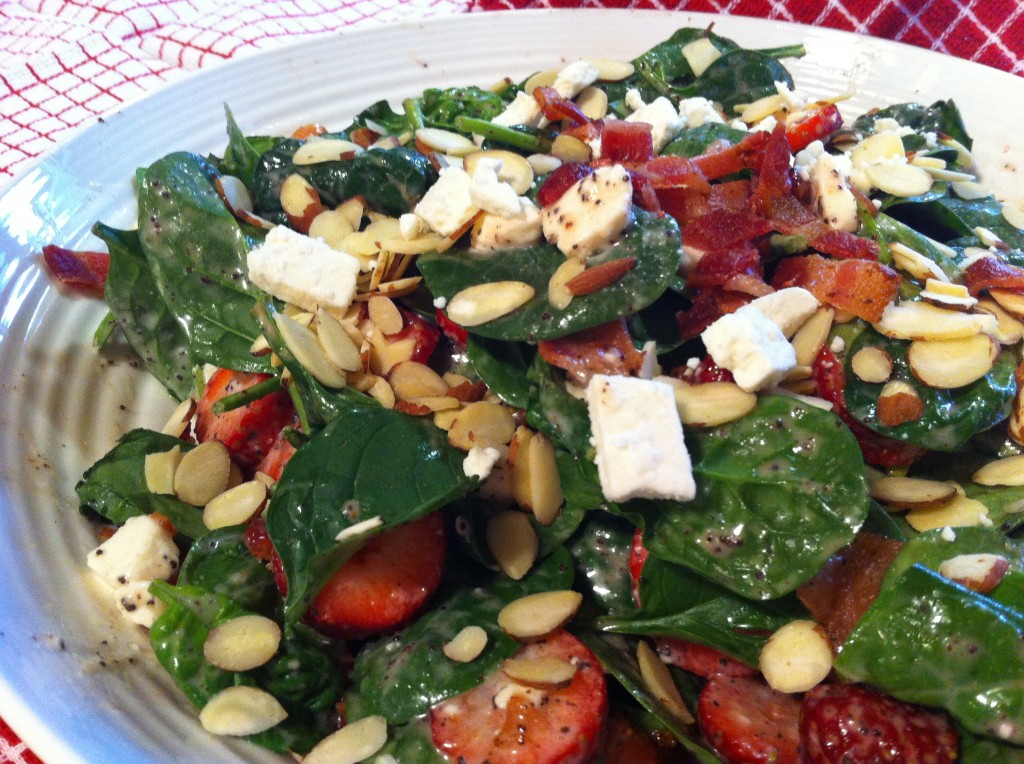
If you are missing summer and what to bring a little bite of strawberry sunshine into your kitchen, try this spinach salad. You will not be able to resist the sweet vinegar dressing, loaded with strawberries and bacon and topped with feta cheese and slivered almonds.

Here’s to warm weather : )

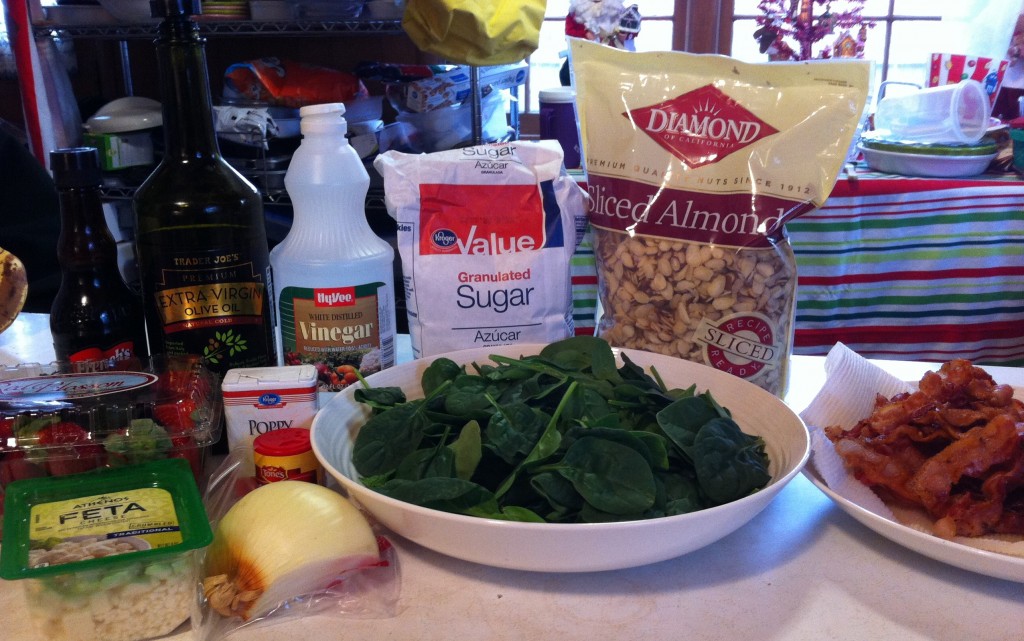
This is all you need to make this summer sensational salad (even in the winter.)


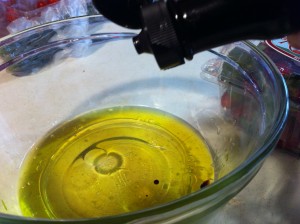
The first thing you will want to do, is make the dressing. You will need to measure out the olive oil and the vinegar. Pour the oil and vinegar into a bowl.


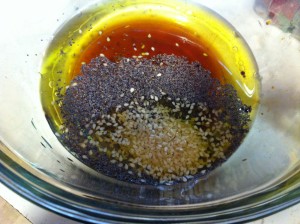
Next, you add in the Worcestershire sauce. The you add in the poppy and sesame seeds.


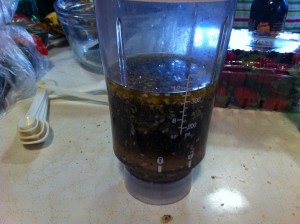
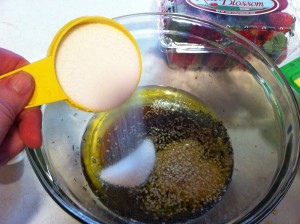
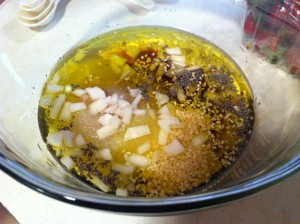
Now, add in the sugar and the  chopped onion and whisk everything together.


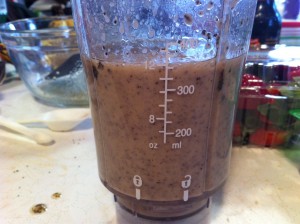
Pour the dressing into a blender and blend for 30 seconds. (I just used my little shake blender)  The dressing will emulsify, turning in a nice, rich dressing. You won’t even see the onion.

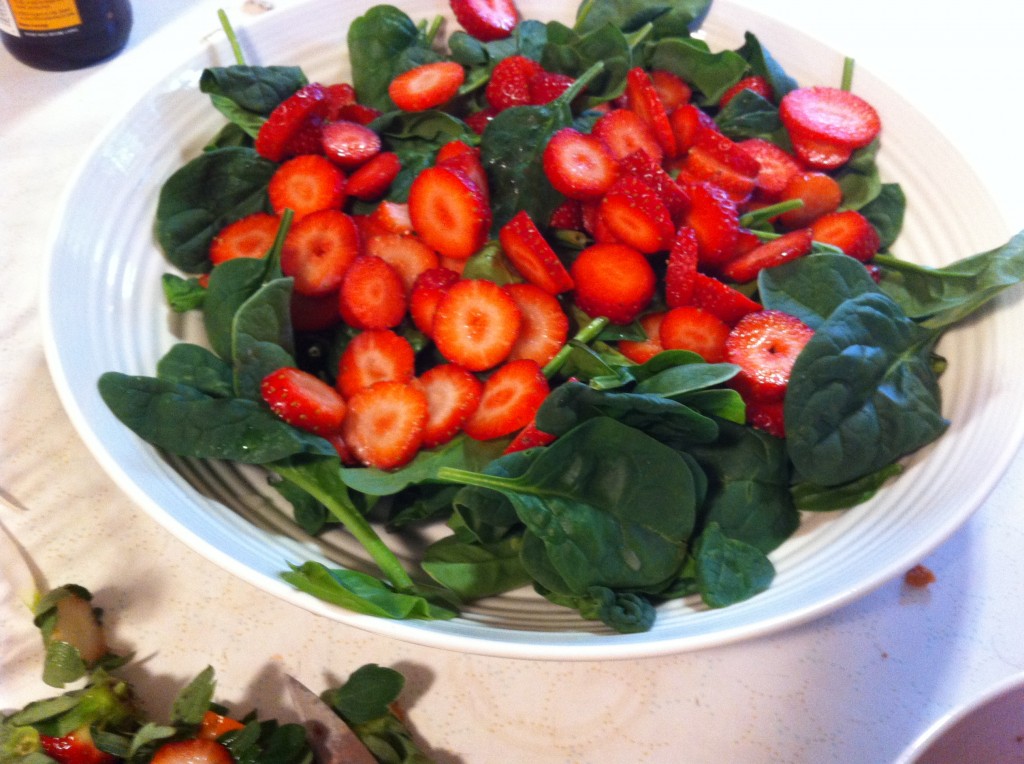
In a large bowl, put in your spinach and your sliced strawberries.

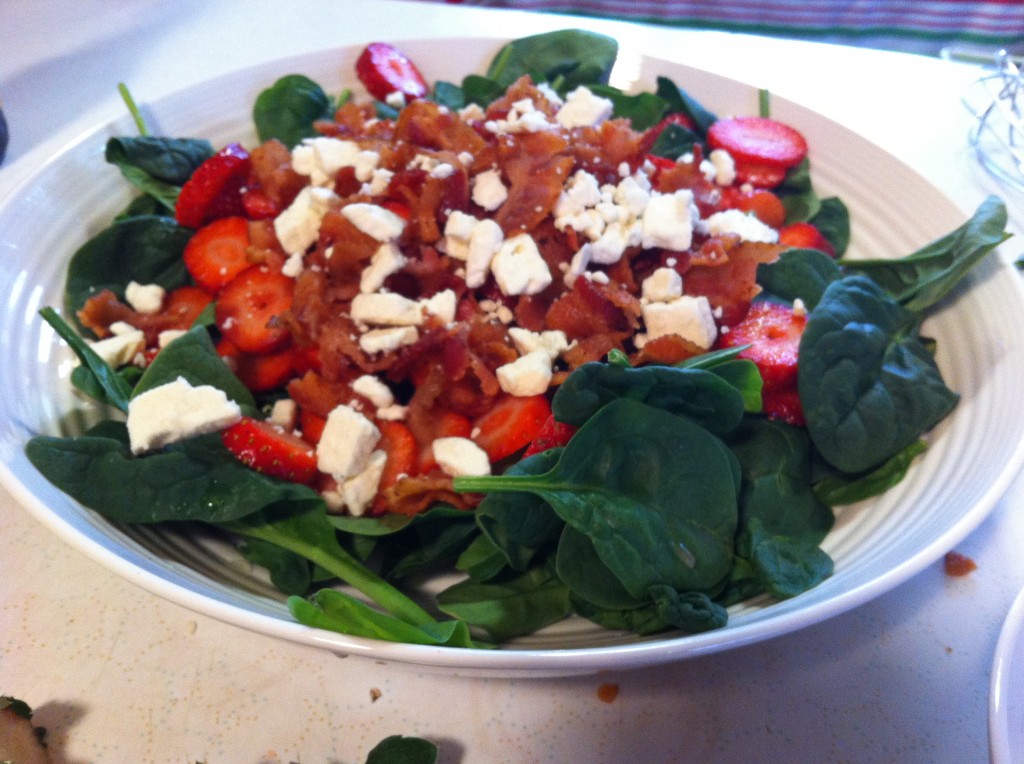
Now add your bacon and feta cheese. I saved a little to use as a garnish for later.

Now pour on some dressing. I only used half of my dressing. I thought that was plenty, but to each their own.

Lastly, stir the salad together. Top with remaining bacon and feta and some slivered almonds.

All you need now is a fork and a lock on the kitchen door (if you do not want to share). ; )

The sun will come out tomorrow……. : )

Right?

Enjoy!

Here is the recipe:

Strawberry Spinach Salad with Feta and Bacon

10 cups of fresh spinach

1 pint strawberries, hulled and sliced

4 ounces feta cheese

1 cup of bacon bits (I fried bacon and crumbled it ahead of time)

1/2 cup of slivered almonds

Dressing Ingredients:

1/2 cup white vinegar

1/2 cup olive oil

1/2 cup sugar

1 tablespoons Worcestershire Sauce

2 tablespoons poppy seeds

2 tablespoons sesame seeds

3 tablespoons chopped onion

Directions:

In a medium size bowl, whisk together the oil, vinegar, sugar, Worcestershire sauce, poppy seeds, sesame seeds, and chopped onion. Pour the dressing into a blender and blend for 30 seconds.

In a large bowl add the spinach, feta cheese, bacon and almonds. (I saved some bacon, feta and almonds for a garnish).

Pour on the desired amount of dressing. (I used about half of it, saving the rest for another salad)

Toss the salad and dressing together.

Garnish with the remaining bacon, feta and almonds.

Hope this salad chases those winter blahs away!

Becky

Other Posts you might enjoy.


Cornbread Salad                    Sausage Mushroom Stuffed Acorn  Squash                Blackberry Jam
Grading Finals and Eating Soup

Some things never change.

My grades are due by Wednesday morning, and I have waited till the last minute (again) to grade them. My bad. I could add, “grade finals early,”to my New Years Resolutions, but I have a feeling it would not help. Not one little bit.

I think, I will only wait until I absolutely have to, have my finals graded.

Oh well.

Anywho, to help me along with grading my finals. I am eating some creamy baked potato soup that I made yesterday.

Food always cheers me up.

Oldest Daughter who does not cook, was hinting at wanting some potato soup last week. With the recent, artic air, 5 inches of snow on the ground and not to mention school being cancelled today, what better way to cheer anyone up than with a bowl of creamy baked potato soup. Of course a day on a warm beach in Florida would also do the trick. : )

If you are in the mood for some soup, why not make it potato soup.

Here is what you need to make Creamy Baked Potato Soup:

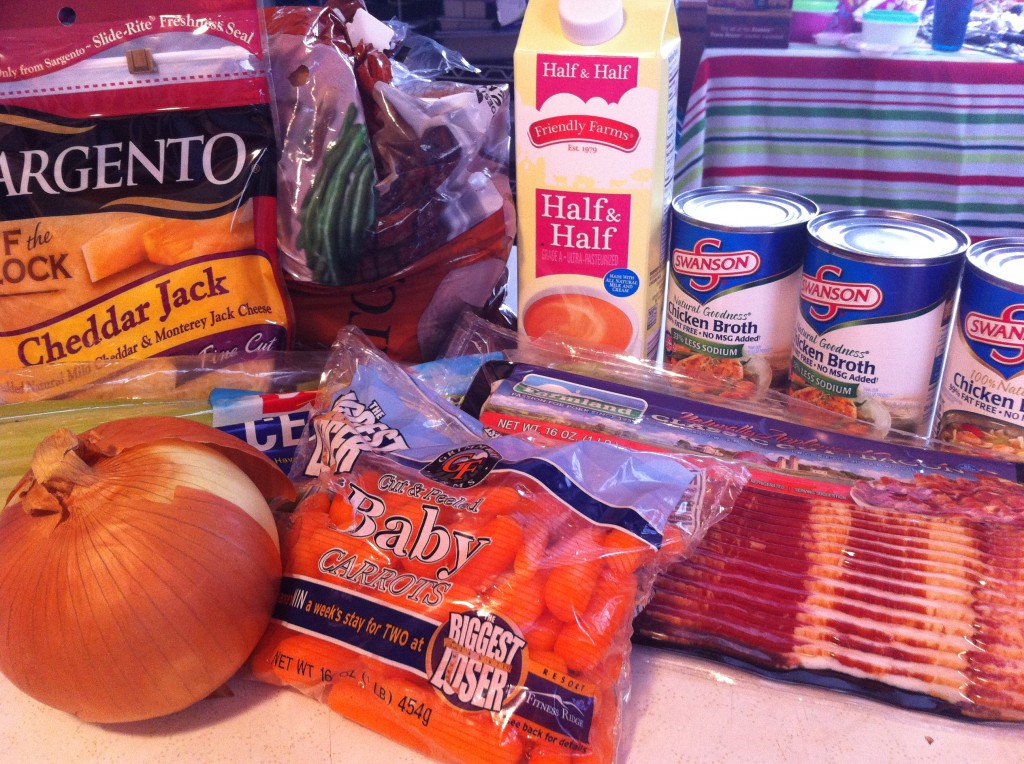
You will need some potatoes (of course),  carrots, celery, onion, half and half, chicken broth, butter and flour. (I forgot to put the butter and flour in the picture) You can garnish your soup with bacon bits and cheese. I seasoned the soup with salt and pepper. If you want to cut down on the calories just use fat free half and half or regular milk.

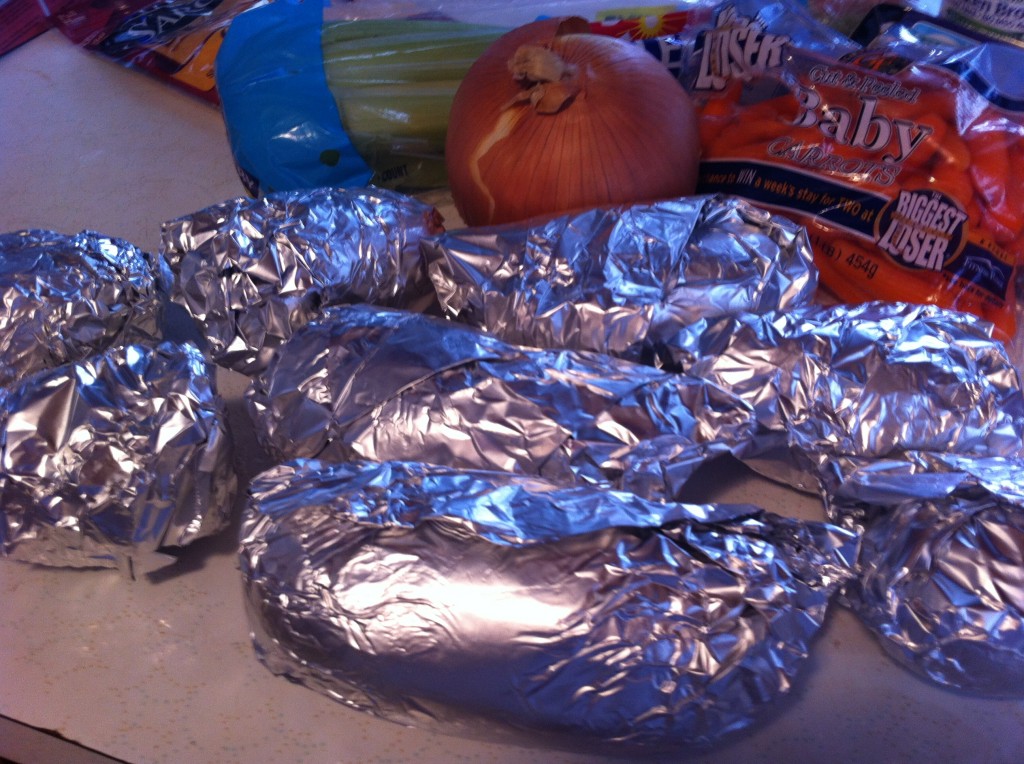
The first thing I did was wash off 8 large potatoes and wrap them in foil. Put them in a 400 degree oven and bake until they are tender.
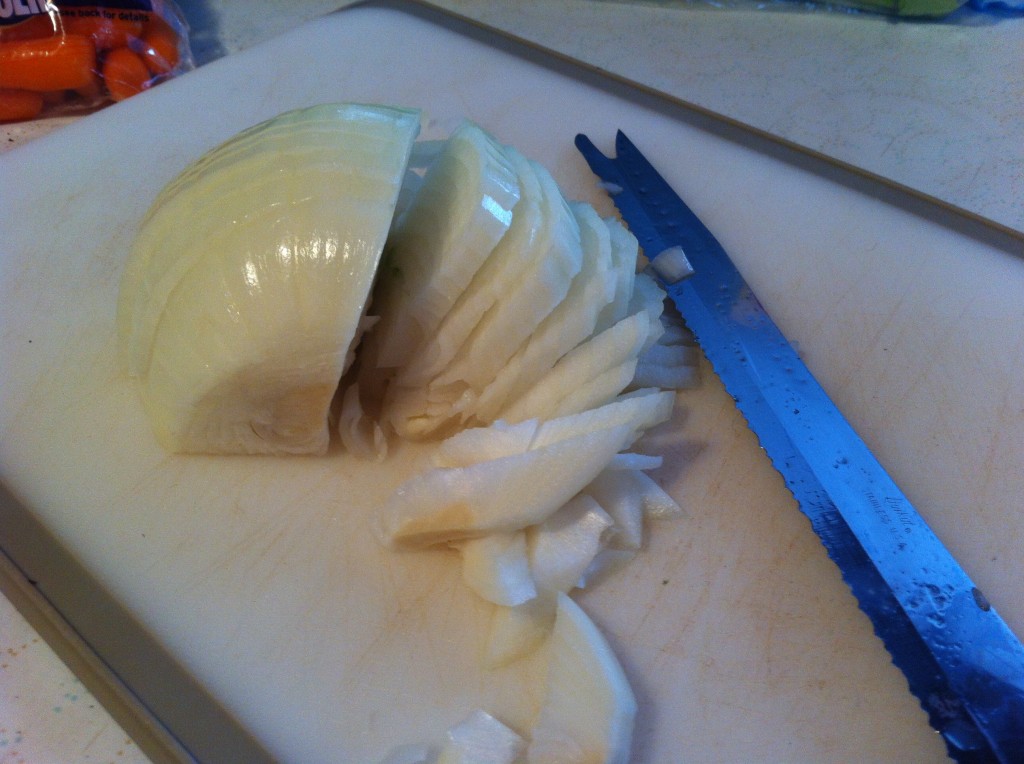
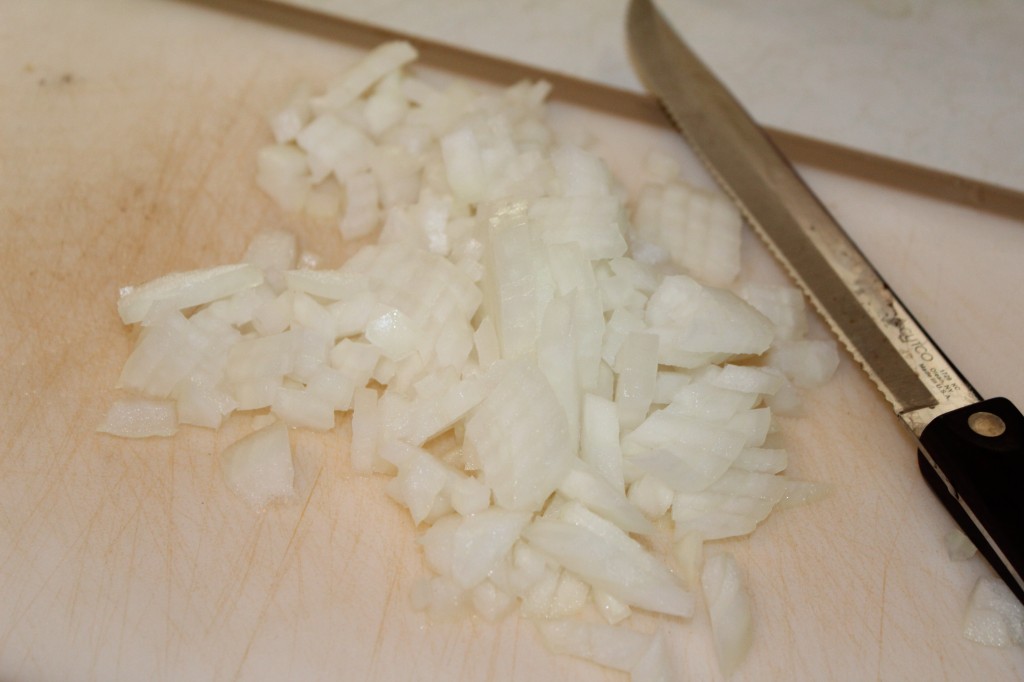
While the potatoes are baking, I chopped up half of a large onion.

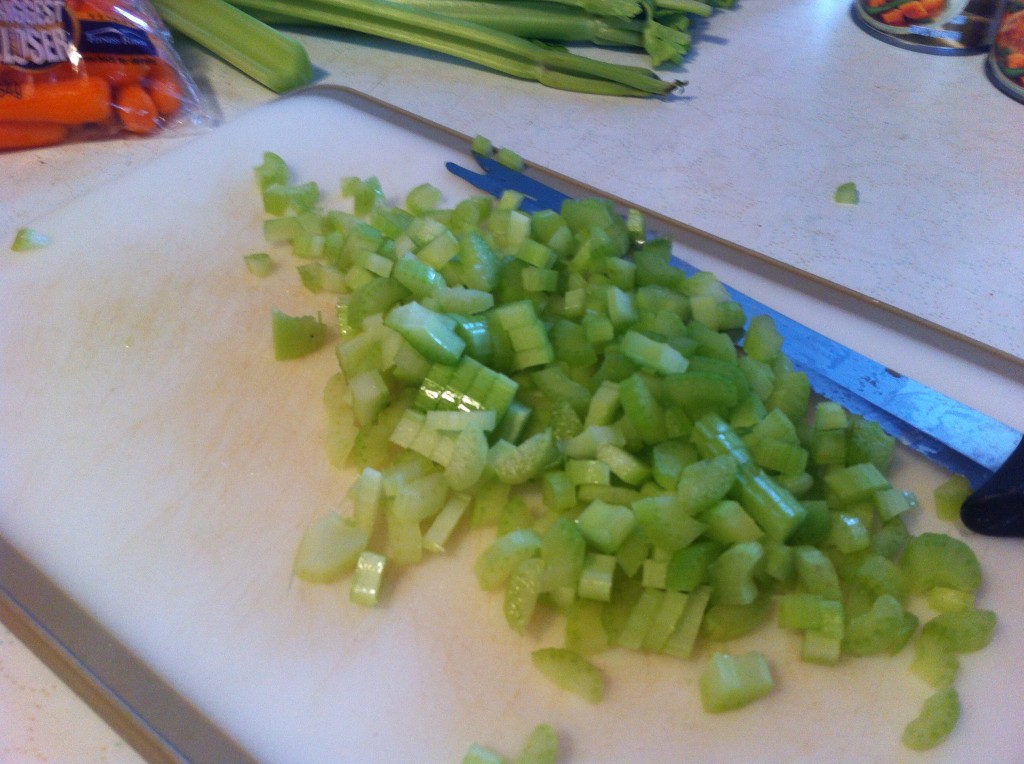
I also chopped 3 celery stalks.

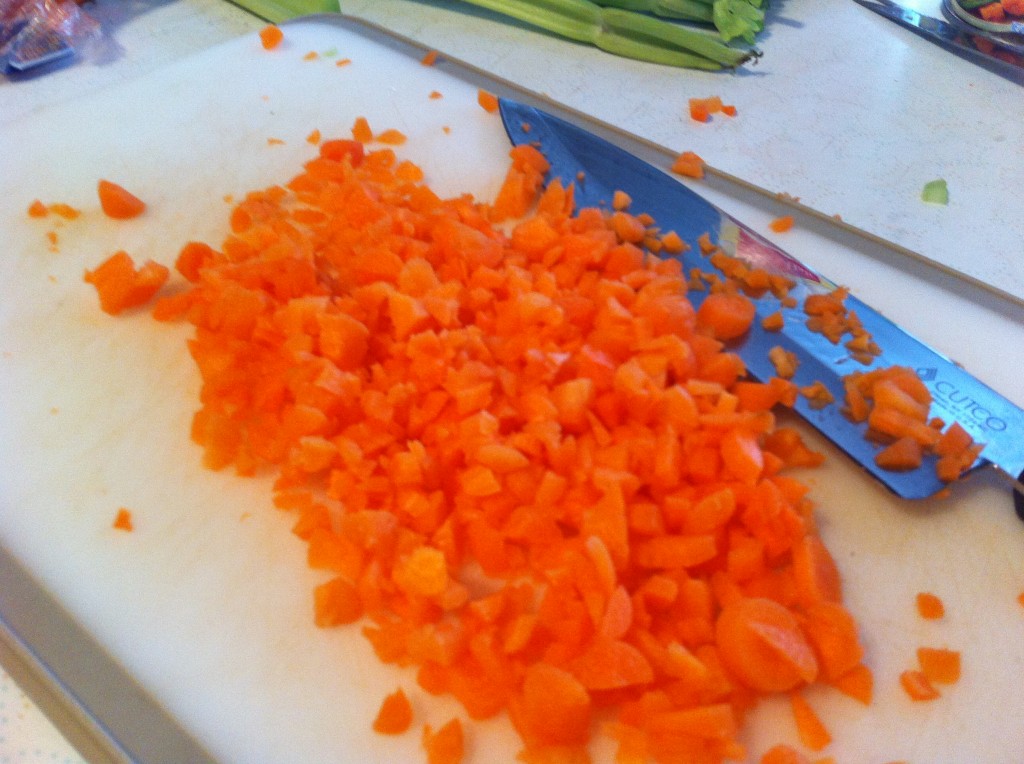
I had to use little carrots, because that was all I had. But if you are using large carrots, dice up 2 large carrots.

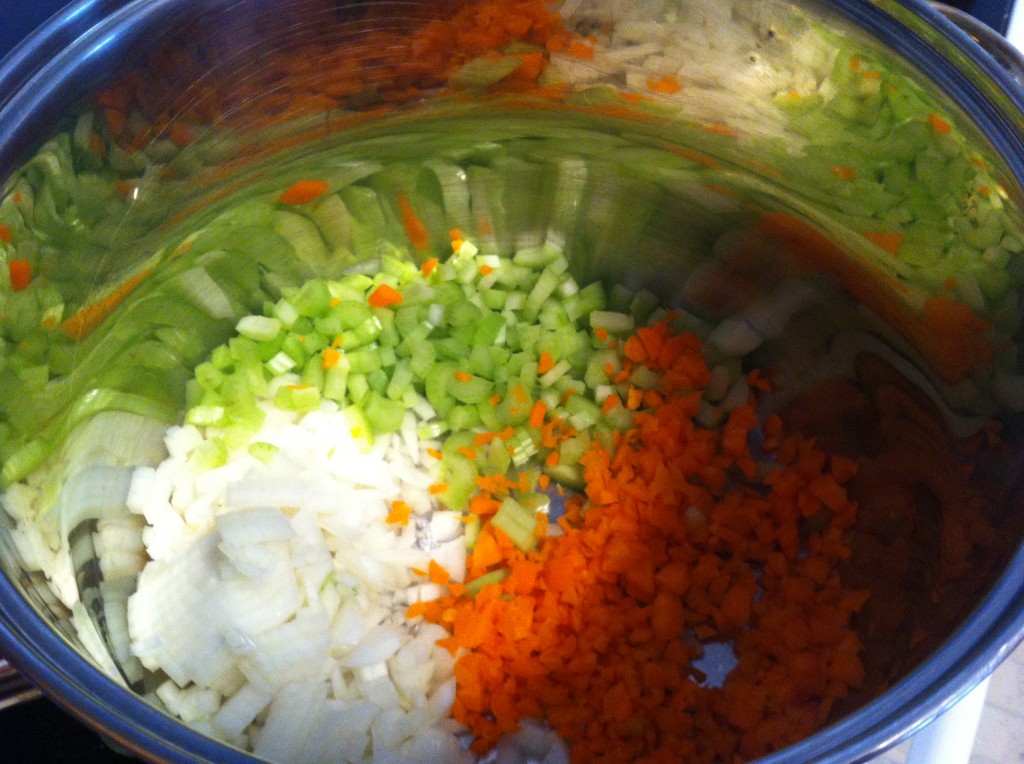
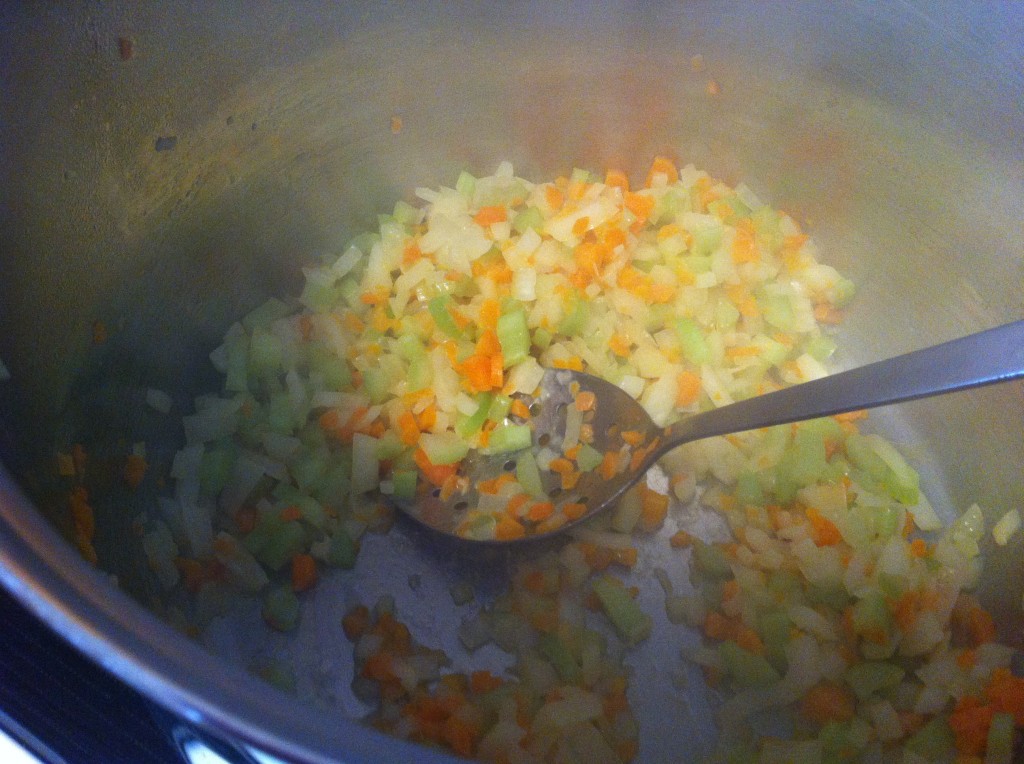
Put the diced, onion, carrots and celery into a large stock pot.

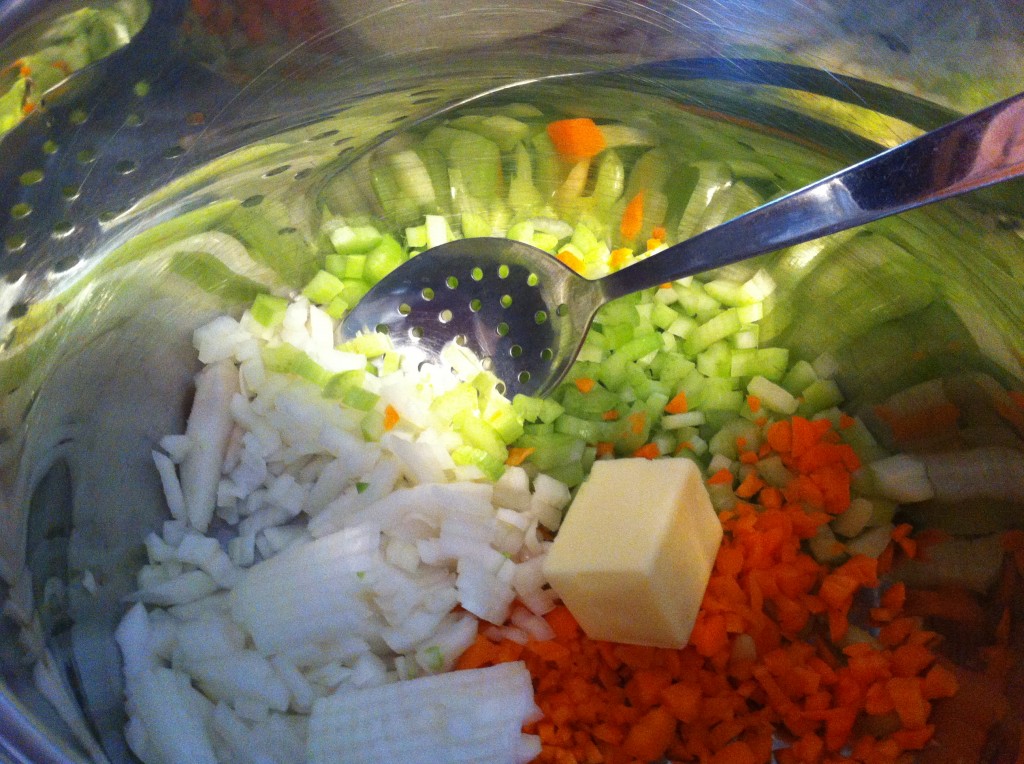
Add four tablespoons of butter to the diced vegetables. Turn the heat on medium.

Saute the vegetables until the are translucent and tender. Be sure and stir the vegetables while you are doing this.

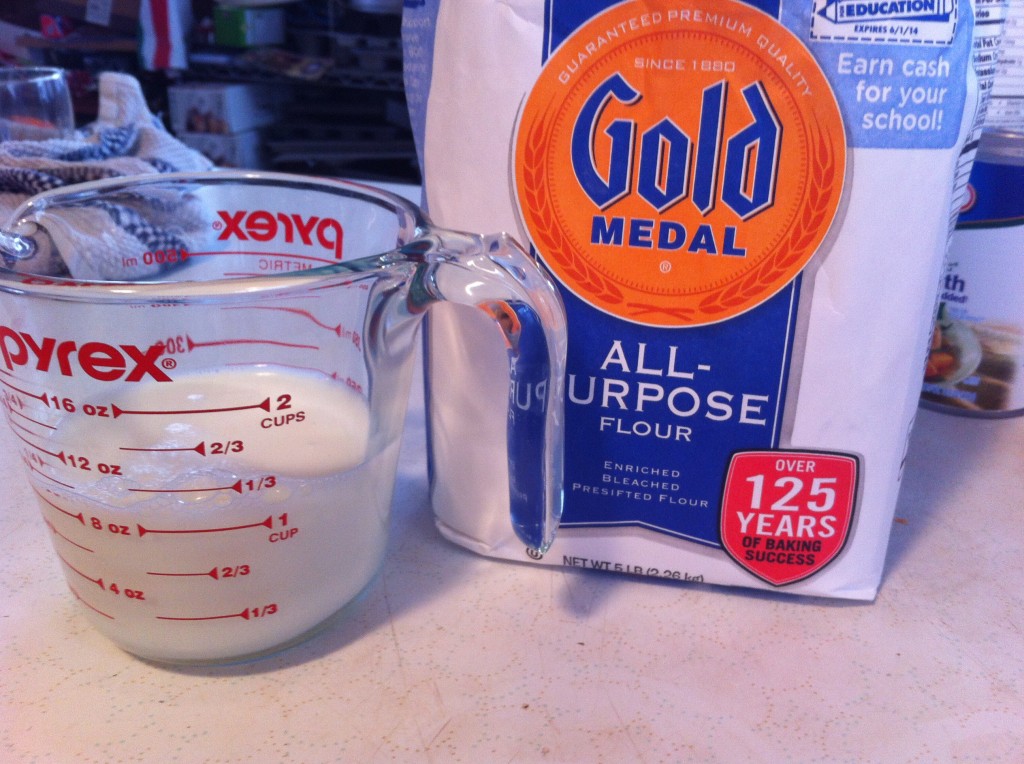
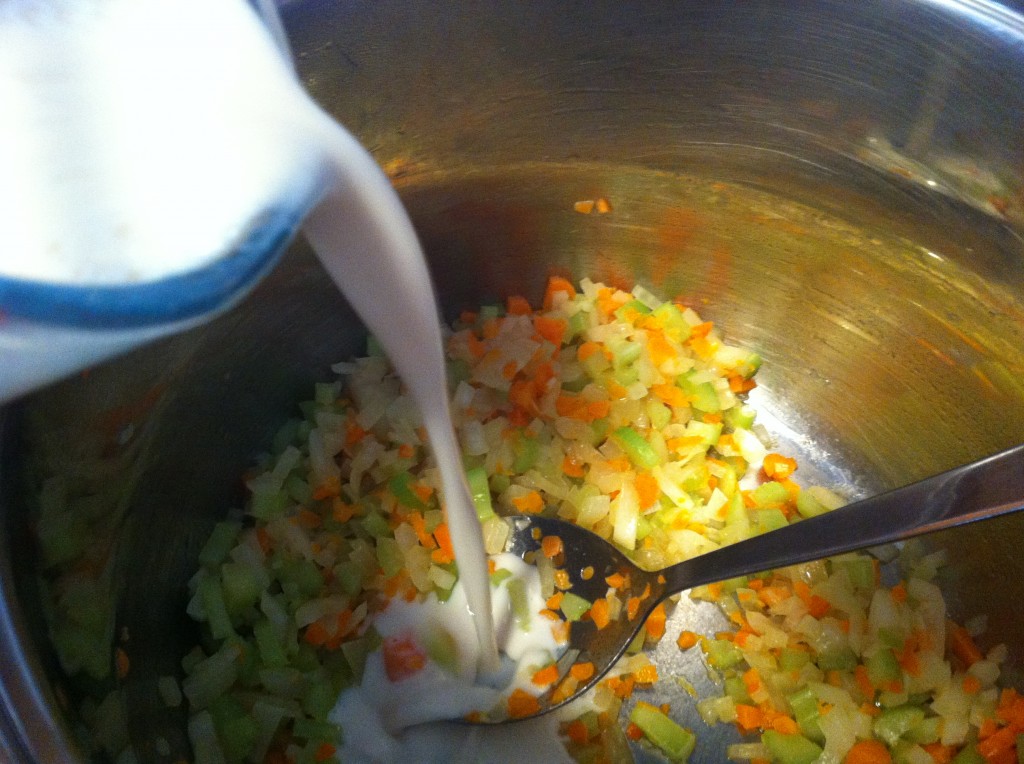
Now, you are going to make a slurry of half and half and flour.

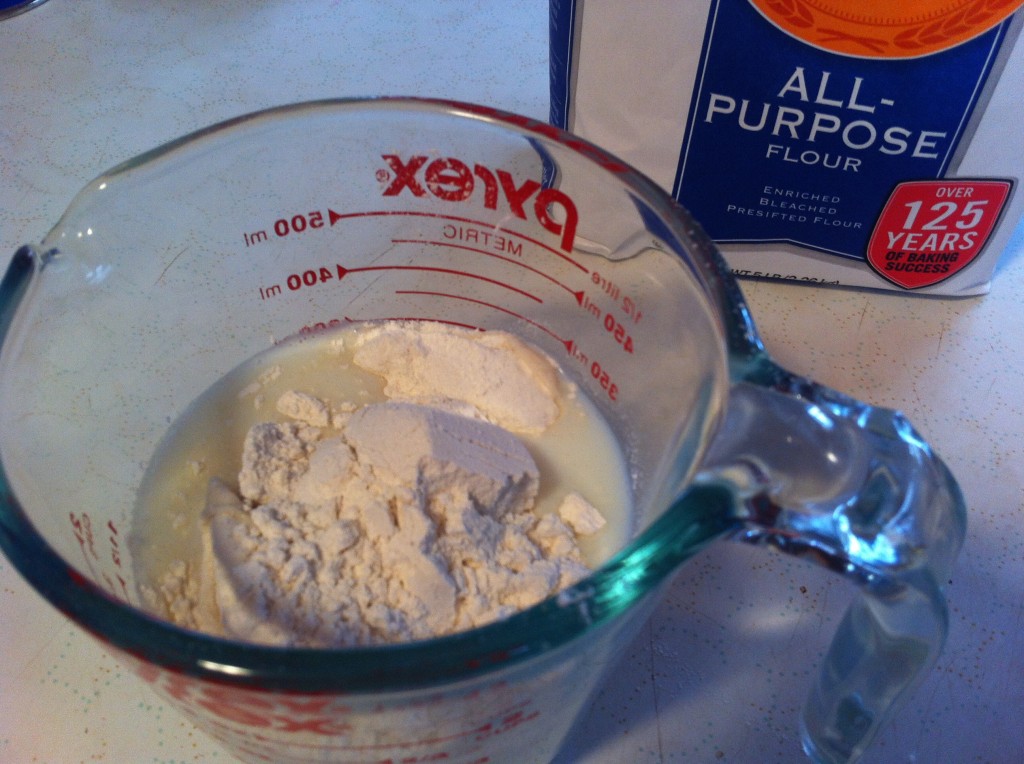
Take 2 cups of half and half and add in 12 tablespoons of flour.

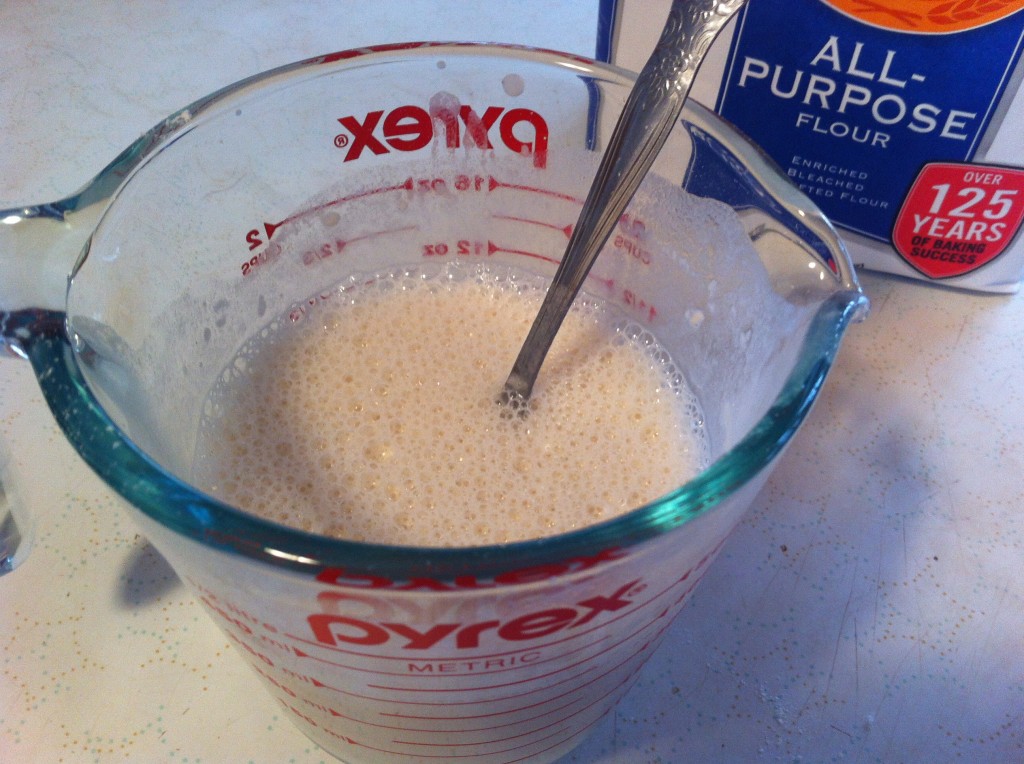
Stir the half and  half and flour together completely, making sure to get all the lumps of flour stirred in.

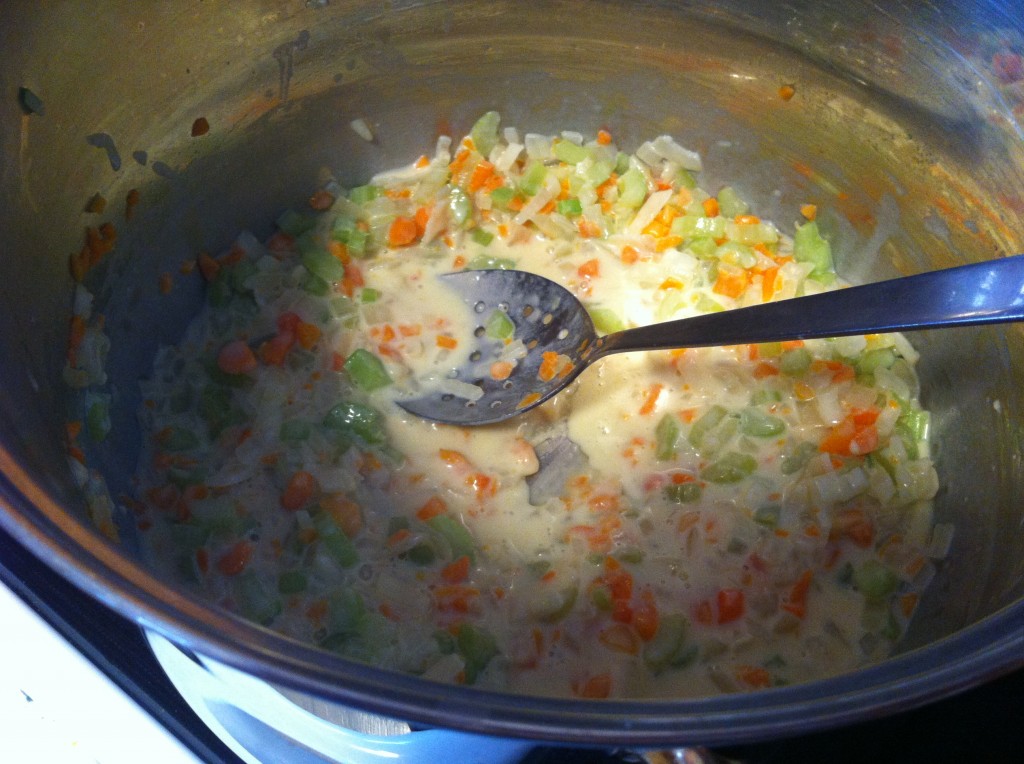
Add the half an half and flour slurry to the sauted vegetables.

Simmer the mixture until it thickens

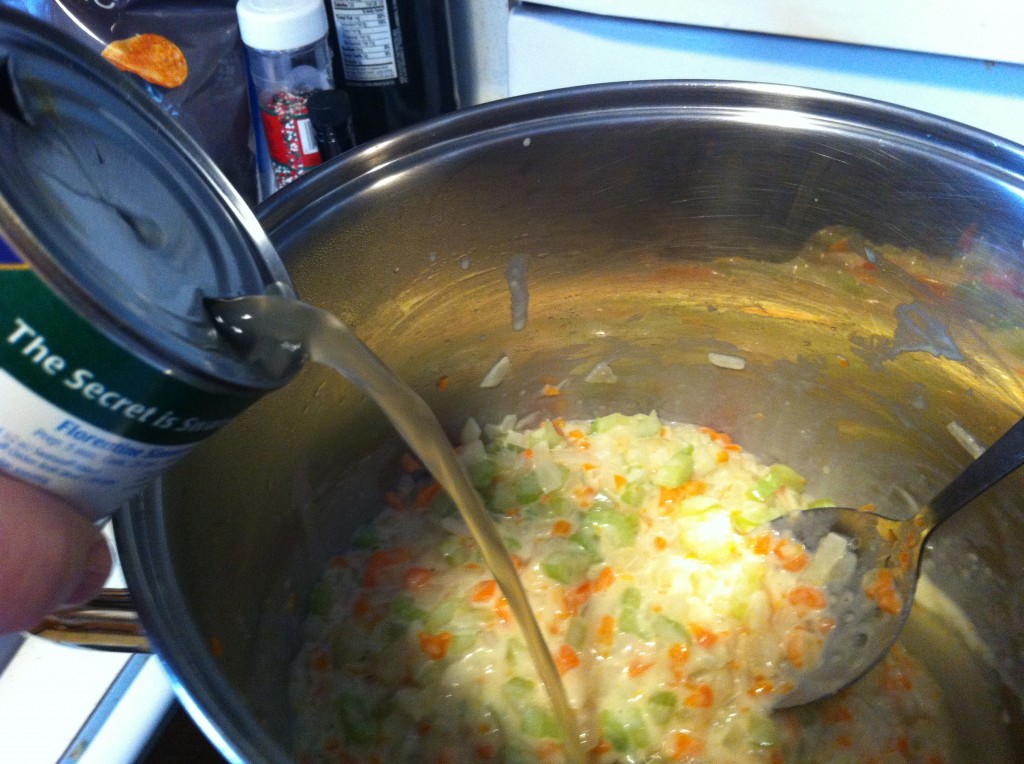
Pour in three cans of chicken broth.

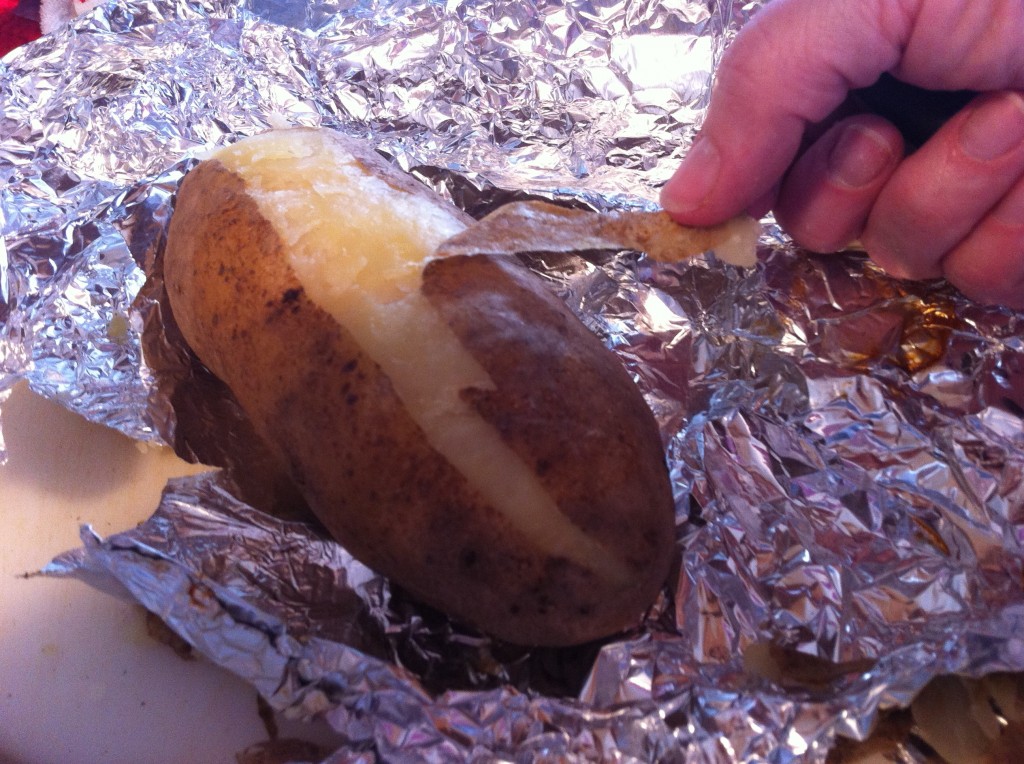
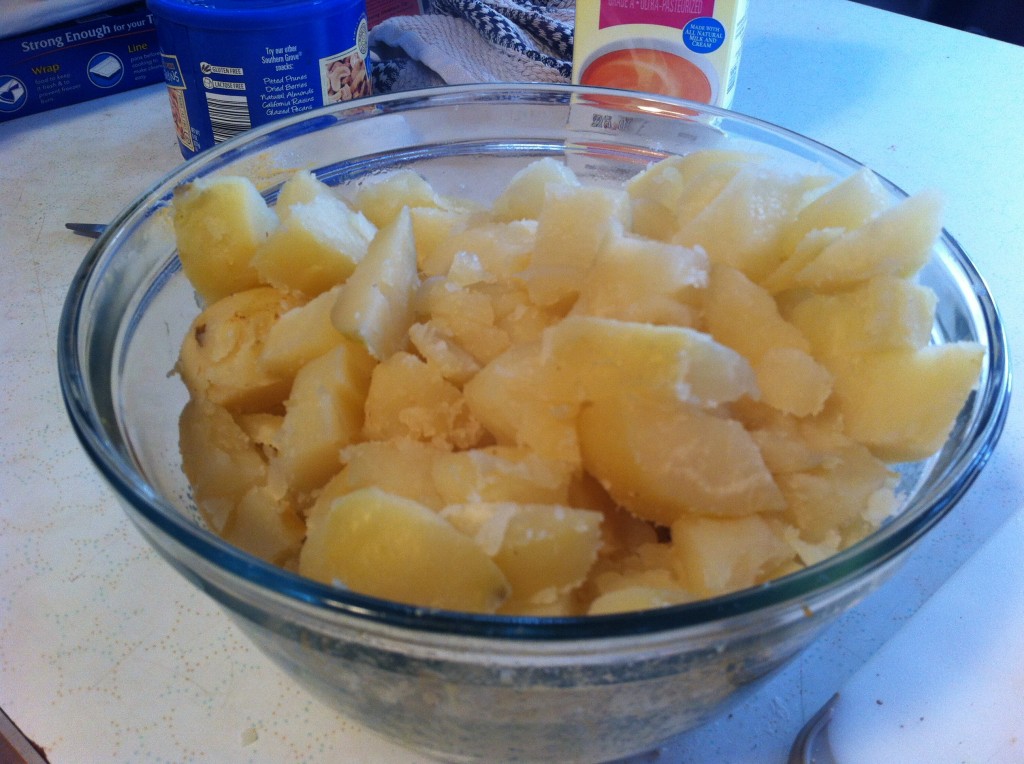
While the soup is simmering on low (make sure and keep checking it or take it off the heat), check and see if the potatoes are baked until tender. If they are, take off the foil and cool slightly and peel off the peelings. The peelings should peel off real easily.

With a knife, dice the potatoes up. You should have a medium size bowl full of baked, diced potatoes.

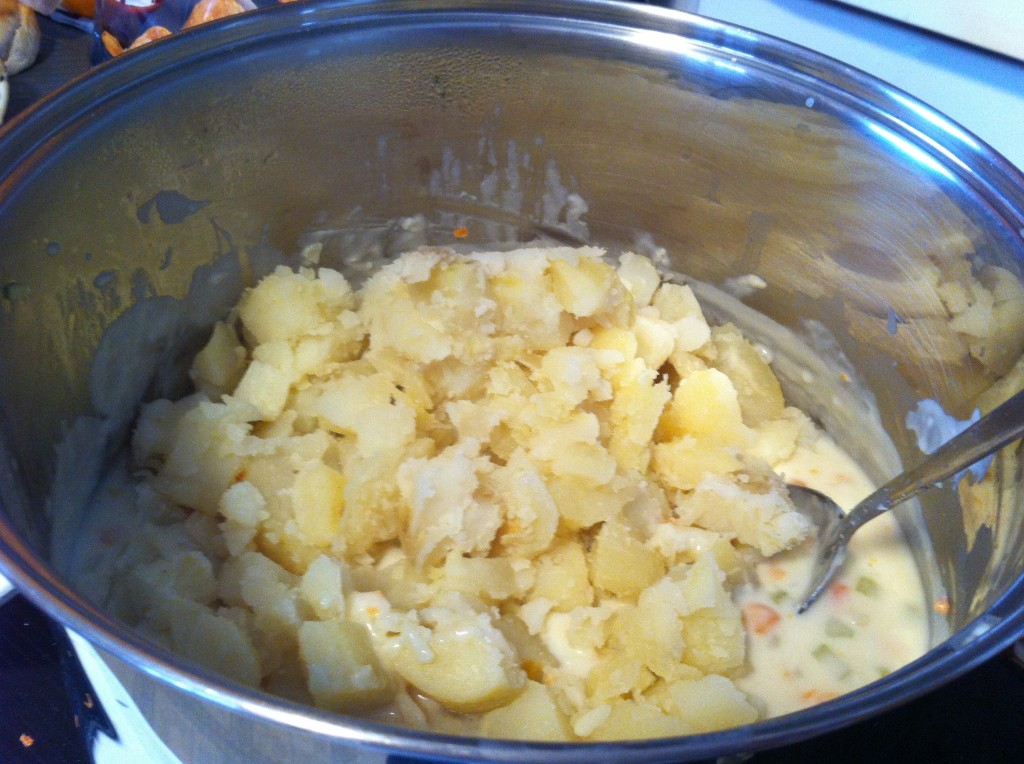
Add the diced potatoes to the soup and stir. Bring to a simmer on low heat. Stirring constantly so your soup will not stick to the bottom. The potatoes have a habit of sinking right to the bottom of the pan and staying there where they could burn.

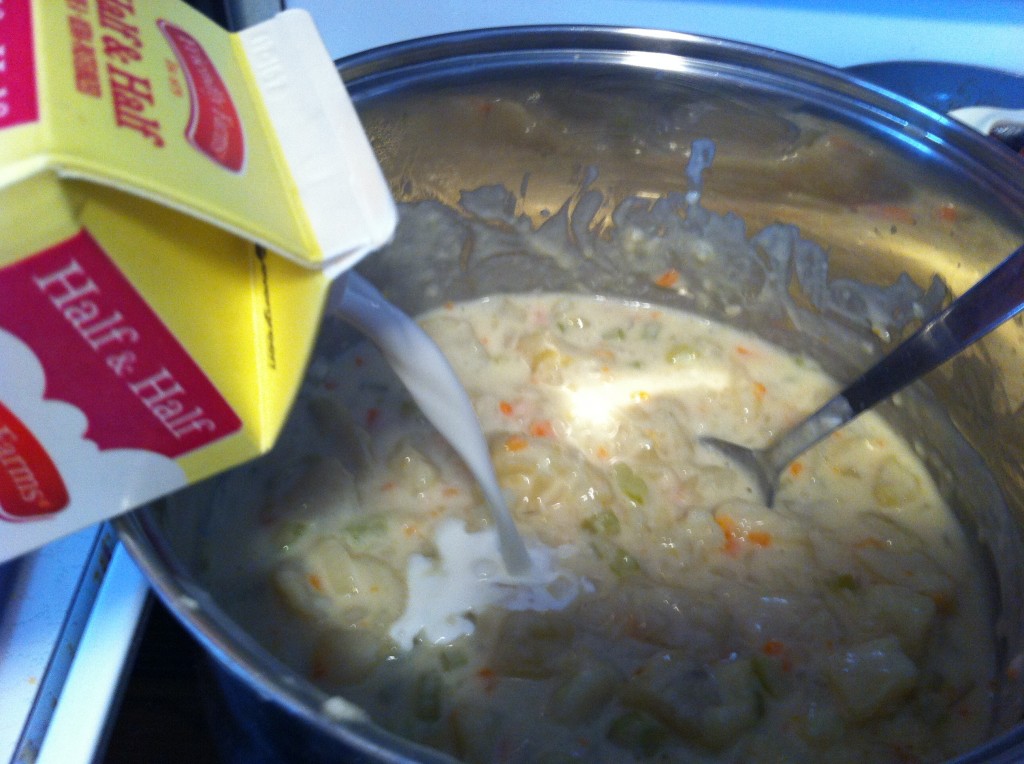
Your soup will be very thick and you will want to add the rest of the quart of half and half (2 cups). Keep stirring so the potatoes will not stick on the bottom of the pan. (how would I know this ?)

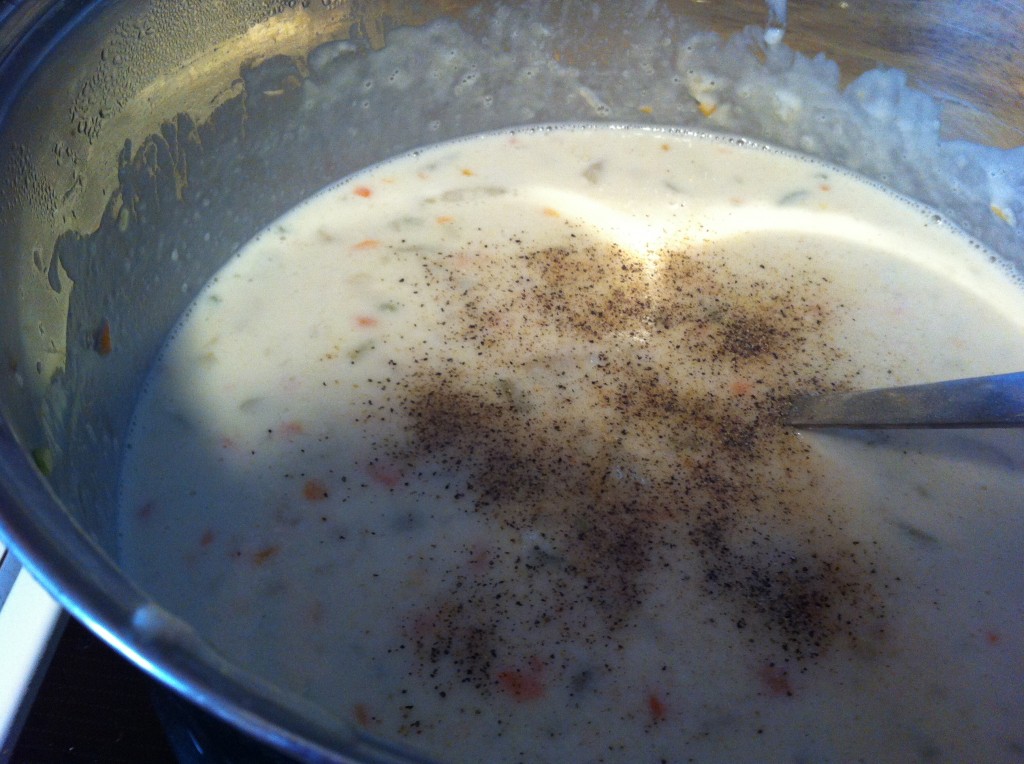
Now, take the time to taste  your soup and add in pepper and enough salt to  your liking.

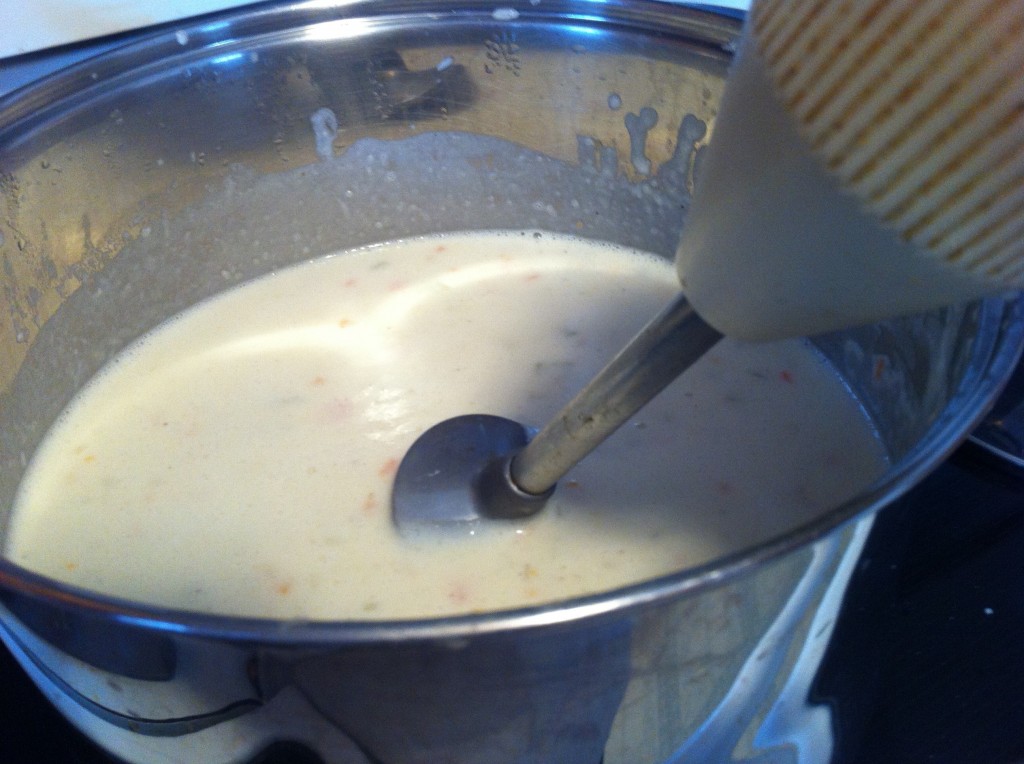
If you like chunky soup, stop here. I like mine kinda chunky and kinda smooth. So I take out my handy dandy immersion blender and blend some of the chucks of potatoes. I am careful not to blend up all of the potatoes. This just gives the soup a smoother, thicker texture. If you do not have an immersion blender, just take 3 cups of soup out and blend it smooth in a blender. Then add the blended soup back in.


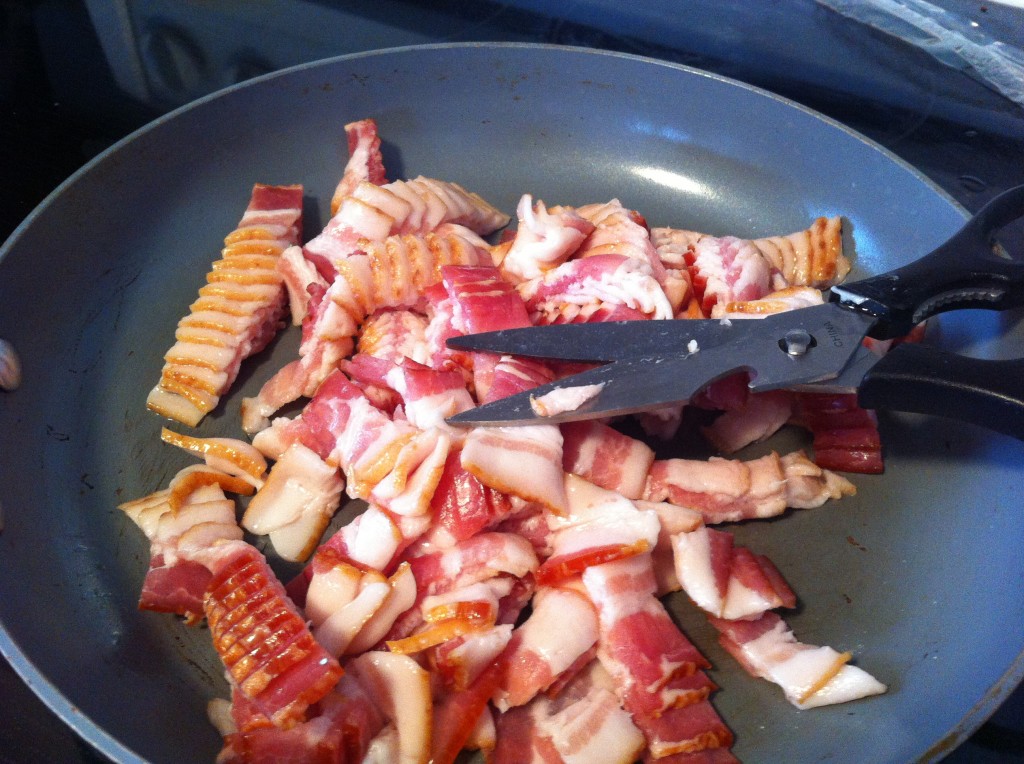
To make the bacon bits, I took my kitchen shears and cut the bacon into chucks.

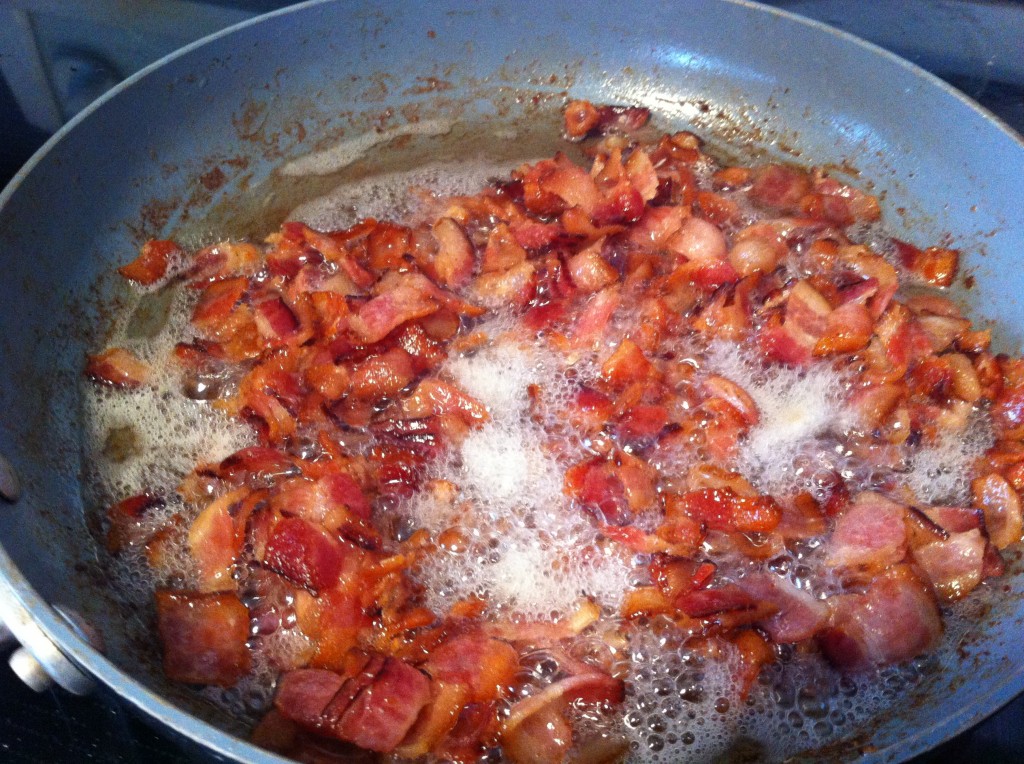
Then, I fried the little pieces of bacon until they were crisp.

Now, it is time to scoop some steamy, creamy soup in a bowl and garnish with bacon pieces and cheese. Can you see the chunks of potatoes I left in the soup?
This picture makes me want another bowl.

I hope everyone is staying warm inside and eating soup…really good soup!

Becky

Here is the recipe.

Creamy Baked Potato Soup

Ingredients:

8 large potatoes, (you will bake them and then cube them up)

1 quart of half and half

3 cans of chicken stock

one half of a large onion (diced)

3 celery stalks (diced)

2 large carrots (diced)

12 tablespoons of flour

salt and pepper to taste

Garnish

1 pound of bacon (cut into small pieces and fried till crispy)

1 cup of shredded cheese. I used cheddar jack

Directions:

Wash, then foil 8 large baking potatoes. Bake in a 400 degree oven until tender. When the potaotes are done, peel the potatoes and cube/dice. (depending on how big you like your potato pieces to be). Dice the onion, carrots and celery. Sauté the diced vegetables in a large stock pot with 4 tablespoons of butter. Sauté until tender. Make a slurry using 2 cups of the half and half and the flour (12 tablespoons.) Make sure to stir all the flour lumps out of the slurry. Add the slurry to the vegetables and cook until it thickens. This will help get rid of the raw taste of the flour. Now add in the three cans of chicken stock and stir. Simmer on low, stirring often, until all the vegetables are very tender. Now, add in the diced potatoes. Stir the soup and the potatoes together. Add in the rest of the half and half (2 cups). Simmer on low, stirring often as the potatoes sink and can burn. I use an immersion blender and blend the soup for a couple of minutes. This makes a real creamy consistency. I do not blend out all of the potatoes just some of them. You can use a blender too. Just blend about 3 cups of the soup until smooth and add it back to the soup. The soup is ready when it comes to a simmer and all the potatoes are tender.

Fry the bacon to make bacon bits.

Garnish the soup with bacon bits and cheese.

This is all there is to making creamy baked potato soup.

Easy Peasy Nice and Easy and so good.

Becky

Here are some other soup post you might enjoy:


 Chicken Gnocchi Soup                              Cheese Soup                                                Taco Soup


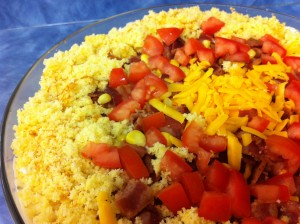
Cornbread Salad

The first time I had ever heard of cornbread salad was when I went to my long time friend Barb’s house for her annual Brunch and Ornament Exchange. Barb always has the most fabulous food. You look at her table loaded down with all sorts of delectable treats and you just want to take the serving spoon and take a big bite out of everything.  A couple of years ago, I spied a different looking salad. Hesitantly, I asked what it was and was told…Cornbread Salad. I put a small scoop on my plate, made my way through the crowd….she has BIG parties….and tasted this strange looking concoction. I was in love after the first bite.

Today, one of our teachers at my school had his annual, “Beginning of School BBQ” for his students. I was lucking enough to be invited and decided to make this salad to share with fellow teachers and his students. They too, looked hesitantly as the salad….I was the first brave soul to take a scoop, (well, I was the first in line haha) after telling them what it was….they took a small bite….and as with me, it was love at first bite. I hope it will be with you too.

Enjoy!

Becky

Cornbread Salad

1  8 1/2 ounce Box Jiffy mix (you can use another brand but I like the sweetness in this mix)

1 (1 ounce) package of dry ranch style dressing mix

1 cup sour cream

1 cup mayonnaise

1/2 cup chopped sweet red peppers

1/2 cup chopped sweet orange peppers

1/2 cup chopped onion

3 large tomatoes (I took the pulp and seeds out)

1  (16 ounce) pinto beans drained and rinse ( I have also used black beans and or kidney beans)

2 cups frozen sweet corn

2 cups grated cheddar cheese (I usually need a little more cause…well…I like cheese haha)

10 slices bacons that has been cooked till crispy and crumbled.

Directions:

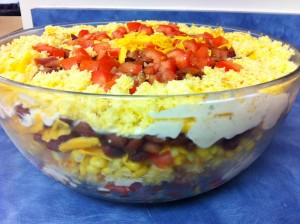
Bake the corn bread mix according to the package. Cool. Stir together the dry ranch dressing, mayonnaise and sour cream.  Dice the tomatoes, onions, red and orange peppers. In a large bowl combine the  peppers, tomatoes, onions, rinse and drained pinto beans and corn.  In a large glass bowl, (because you can see the pretty layers) start layering the salad. Layer half the cornbread on the bottom. Top with half the veggie mixture. On top of the the veggies, put half the cheese. On top of the cheese put half of the bacon. Now dollop half the dressing on top of the bacon. Repeat all the layers again. I always save a little (or use a little more bacon and cheese and cornbread) to garnish on top.

Can you see the layers? The one I made in this picture, I left all the vegetables and beans separated and layered them individually in the salad. Taste the same but just adds more layers.

Anyway you decided to make it, it will be a fabulous addition to your meal.

Related Posts Plugin for WordPress, Blogger...