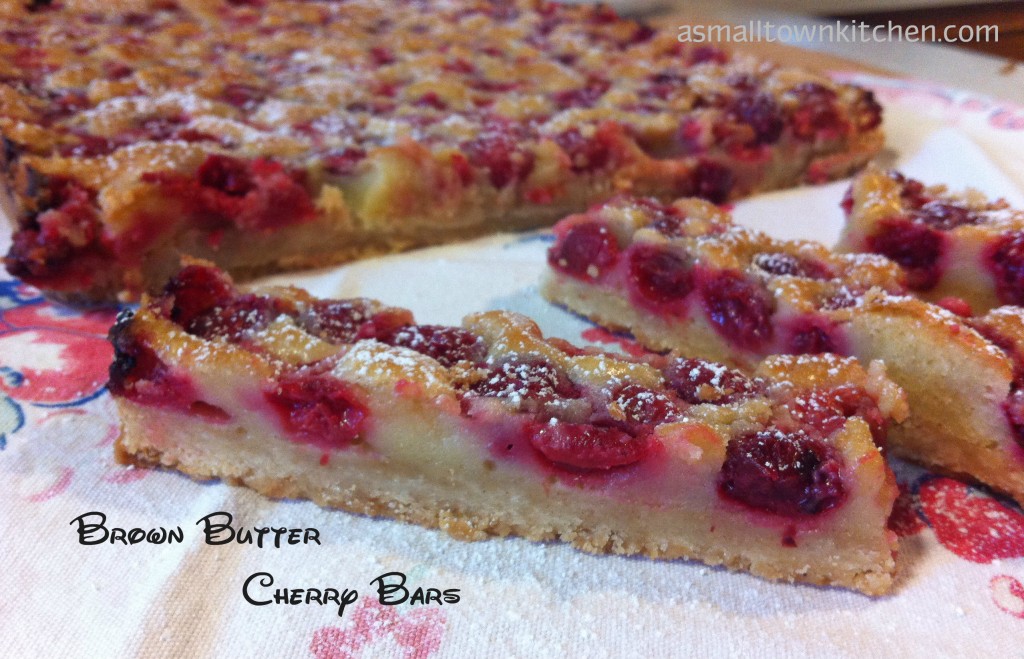
Brown Butter Cherry Bars

It is cherry picking time!

A couple of Sundays ago, after having lunch with my Dad and  the gang (Niener Wiener and Hubby, Jeanie Beanie, Baby Brother, Company and of course The Princess) for Father’s Day, Company and I went to Niener’s to pick a few cherries off of her cherry trees. Niener had already picked all she wanted the day before, on Saturday. Niener picked about 32 cups of cherries and it took her until the wee hours in the morning till she was finally done pitting her cherries. One thing about older sis is that when she starts something, she does not quit!

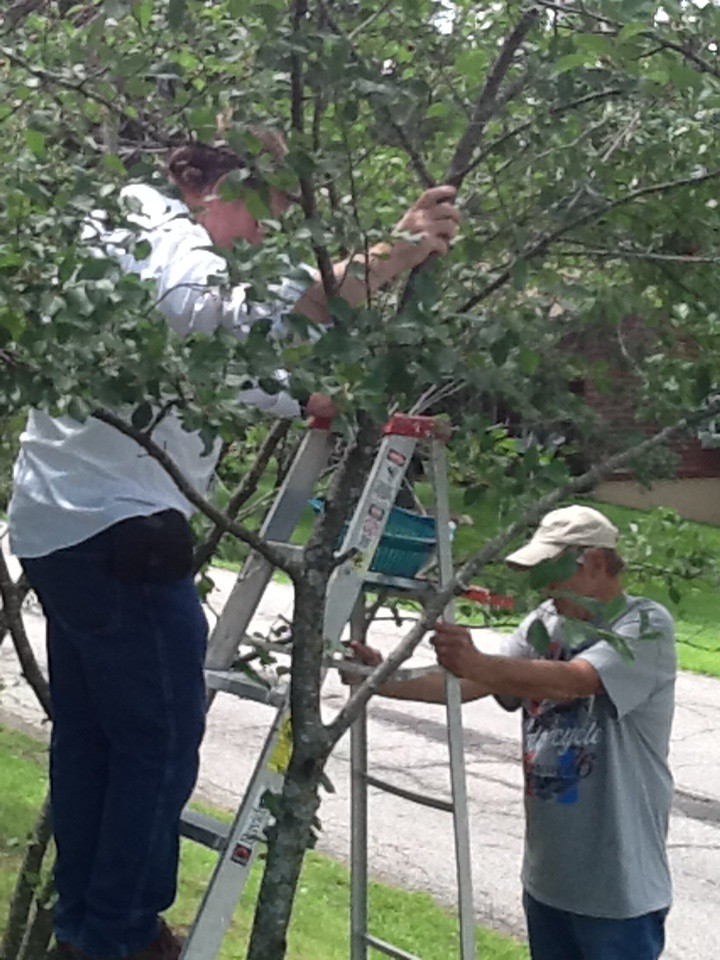
It was Company’s job to get on the ladder and pick the cherries on top of the trees, that niener could not reach and she left for us to pick. Niener is a wonderful sister, don’t you agree?  She also forgot to mention that we had to fight off the neighbor’s chickens (that were eating every cherry we dropped on the ground.) Plus, we were also assaulted by air from a couple of wood peckers who wanted to make the juicy cherries their dessert.

You gotta know that the men LOVED spending Father’s Day, picking cherries. hehe


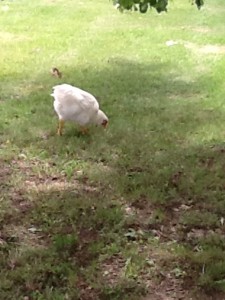
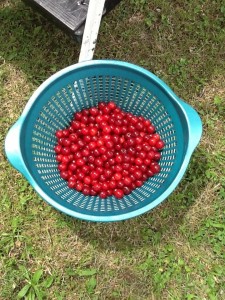
Here is one of the pesky cherry snatching chicken. Here is some of the cherries I (cough cough) picked.

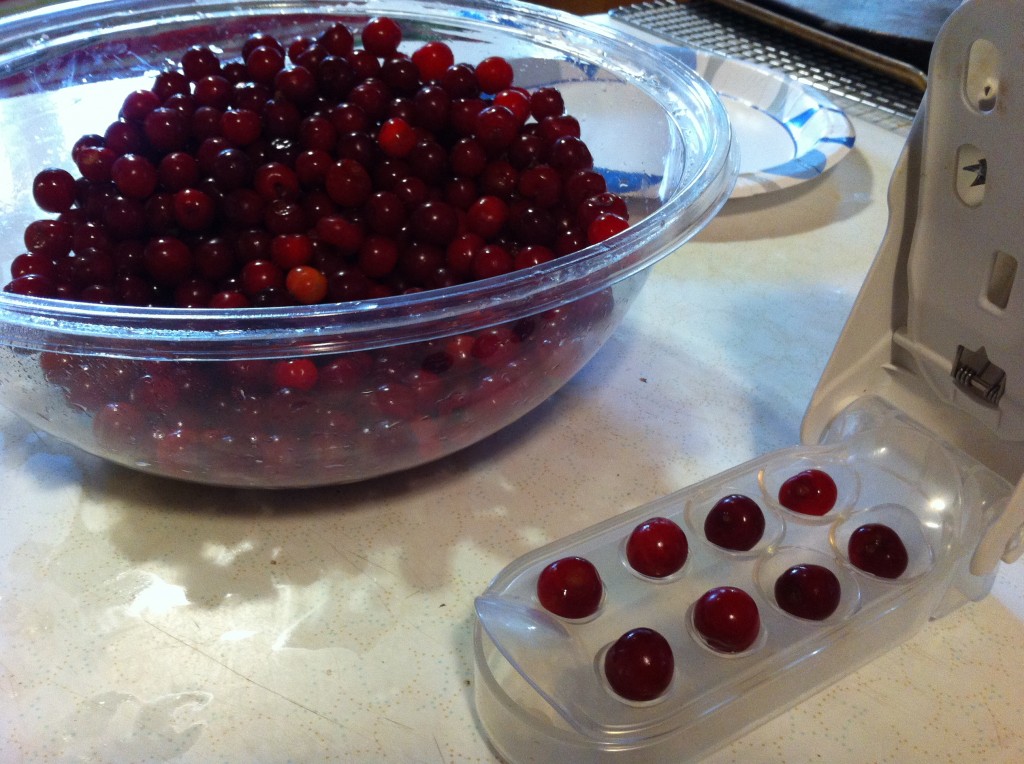
Here is what we ended up picking. It was about 7 cups of cherries. I bought this handy dandy cherry pitter at Bed Bath and Beyond a couple of  years ago. It pits four cherries at a time. I really saved us a bunch of time a couple of night ago, when I decided to make this new recipe I found that called for fresh cherries, at about 8 o’clock at night.

I never said I was very smart : )

Anywho, Company got to work on the cherries, taking the pits out, while I got to work making the crust for the Brown Butter Cherry Bars.

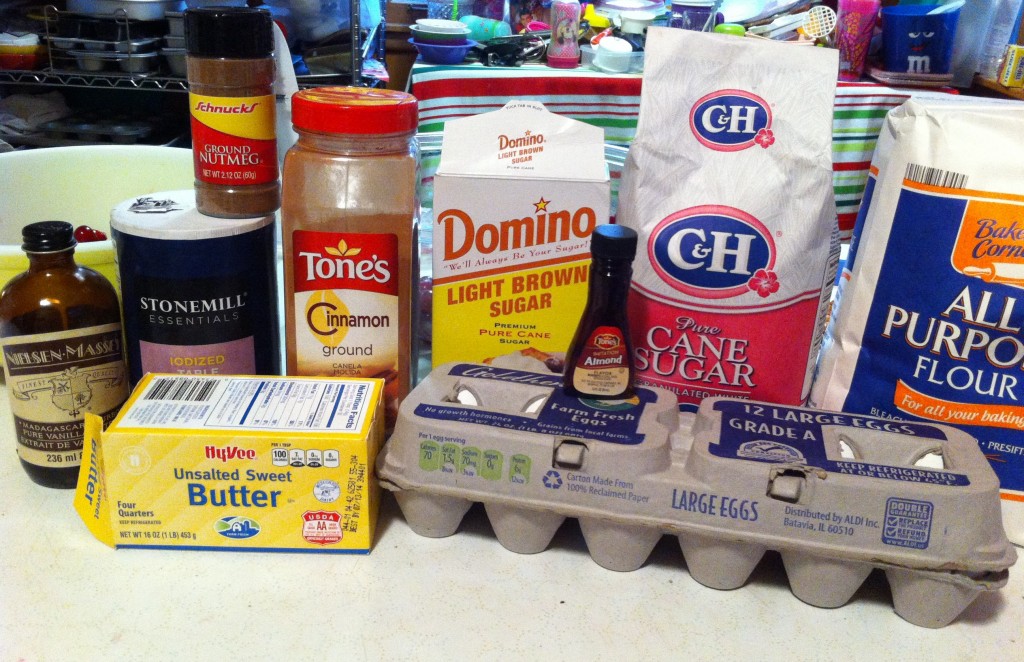
Here is everything you need to make this delicious Brown Butter Cherry Bars. (the cherries are in a bowl behind the vanilla).

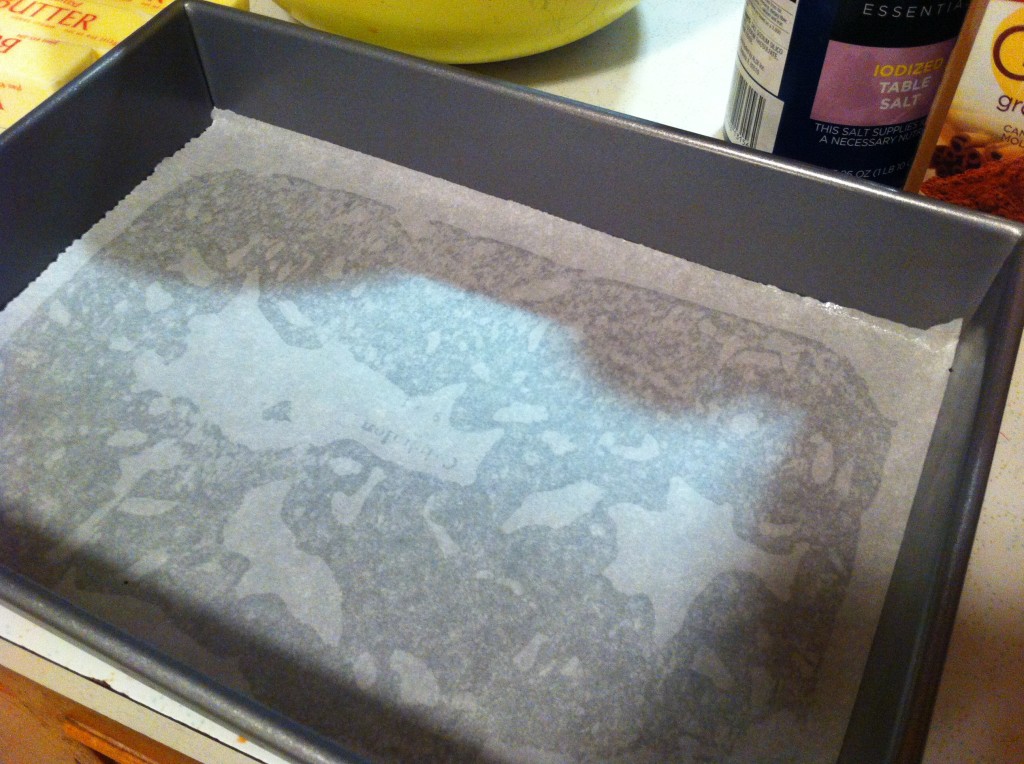
You HAVE to line your 9 by 13 pan with parchment paper.  I wish that I had brought it up higher on the sides so I could have actually lifted mine out using the parchment paper.


First thing you do is start the crust. Measure out the flour and then add the salt.


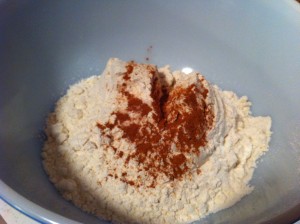
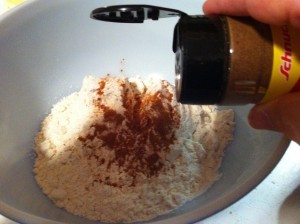
Put in the cinnamon and the nutmeg.


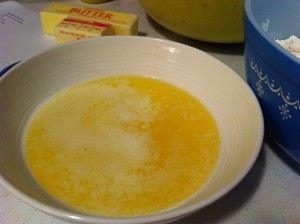
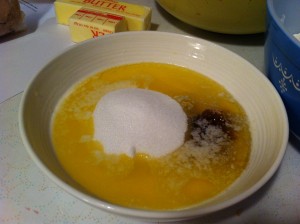
In a microwaveable bowl, melt the butter. Add the brown sugar to the butter.


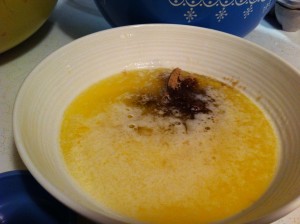
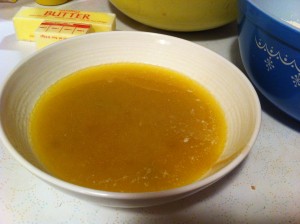
Add in the sugar and the vanilla. Mix the butter and sugars mixture together.


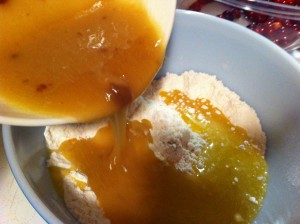
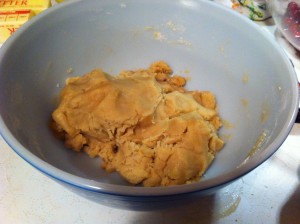
Pour the butter mixture over the flour. Make into a ball of dough.

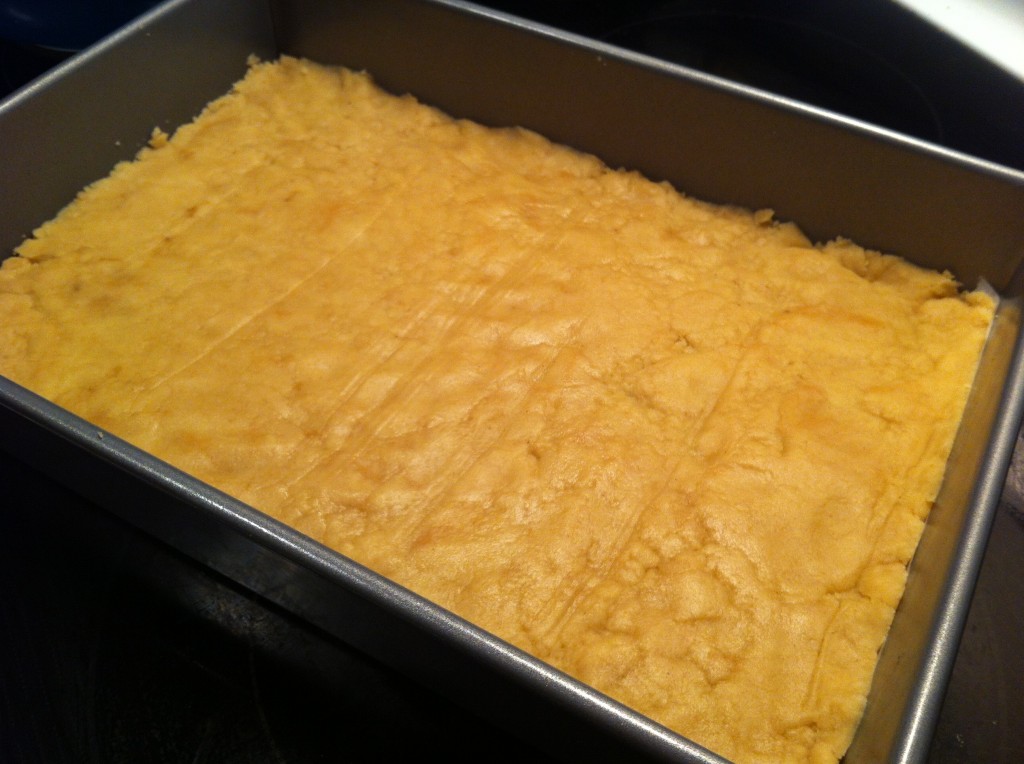
Take the crust and press it evenly onto the bottom of a 9 by 13 pan. Bake the crust in a 350 degree oven for 15 to 18 minutes.


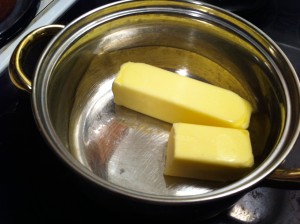
Now it is time to brown the butter. Melt the butter in  a heavy saucepan oven medium heat, stirring constantly.


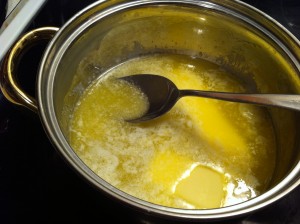
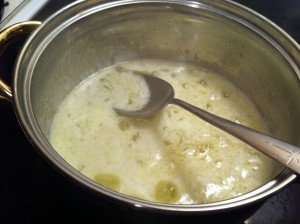
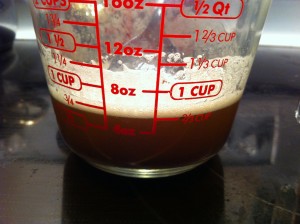
Cook until it foams up and starts to brown. I poured the browned butter into a measuring cup so  you could see the butter. Set the butter aside to cool


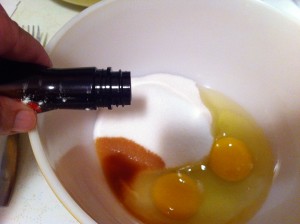
Now, lets start the filling. In a medium bowl add the eggs and the sugar.


Add the vanilla.                                                                                        Add in the almond flavoring.


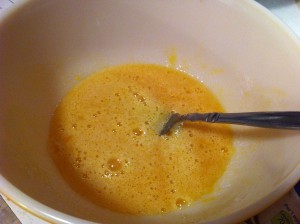
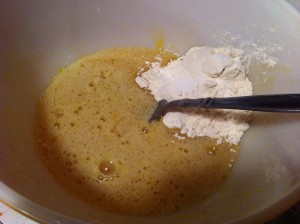
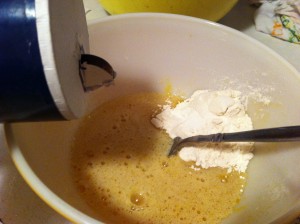
Mix together.                                                                                        Now, add in the flour.


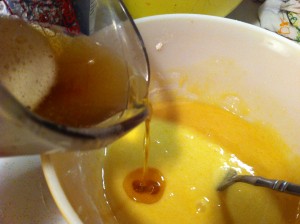
Add in the salt.                                                                                         Pour in the browned butter.


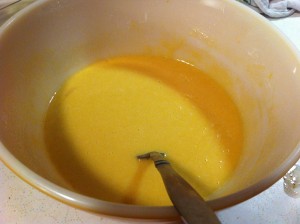
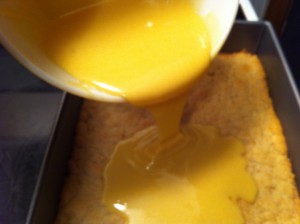
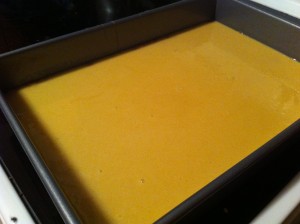
Mix the egg mixture and the browned butter together. Pour the filling over the baked crust.


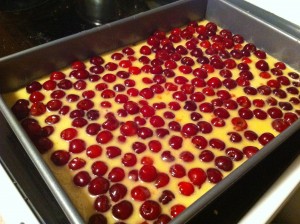
Spread the filling evenly over the crust. Sprinkle the cherries over the filling. Pressing the cherries into the filling.

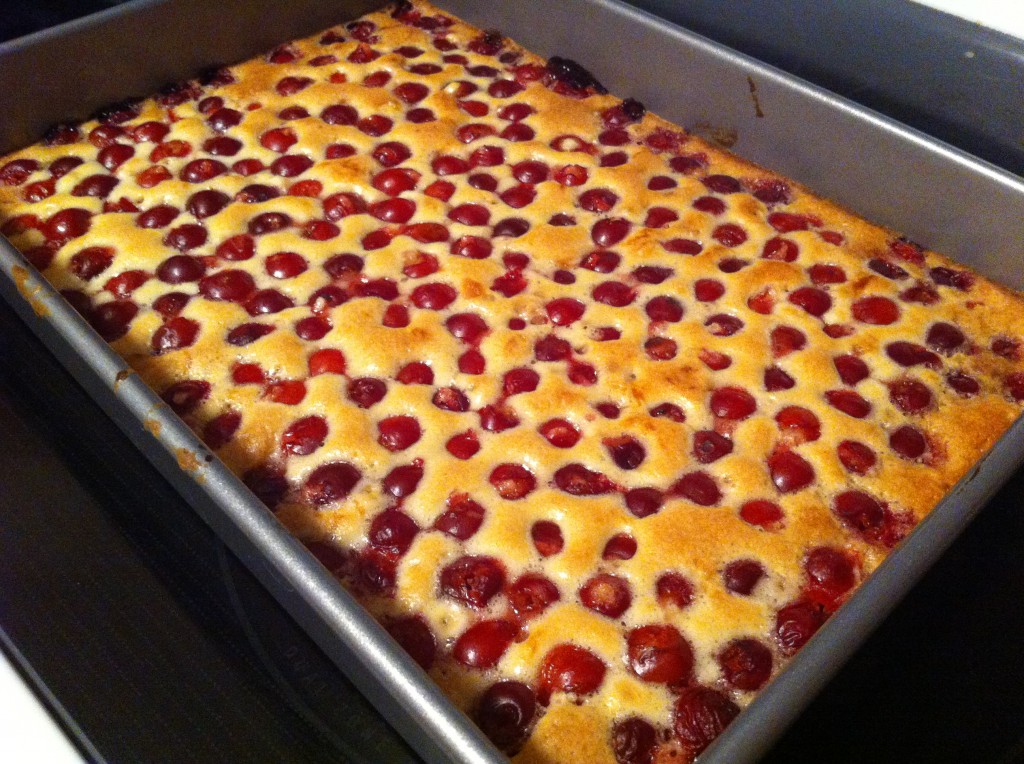
Bale the bars for about 35 to 38 minutes in a 350 degree oven. Let the bars cool completely.

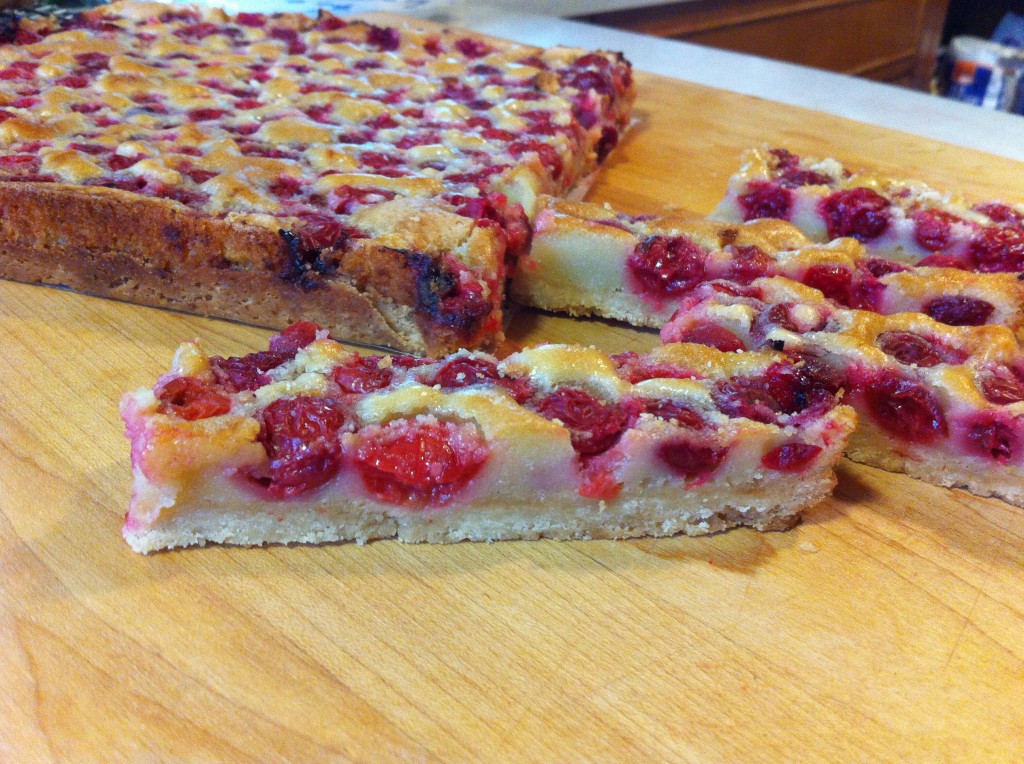
Carefully lift out the bars. The bars cut easier if you freeze the bars for 15 minutes first. (I skipped this step cause I was late for work and the mine cut into bars just fine.)

These bars are wonderful. I love the creamy filling with the tart cherries and the crunch of the sweetened crust. I took some to school and they are all gobbled up. Plus they are so pretty! Perfect to take to a friend.

Here is the recipe:

Brown Butter Cherry Bars

Adapted From Smitten Kitchen who adapted it from Bon A petit Magazine

Crust:

2 cups flour

1/8 teaspoon salt

1/2 teaspoon cinnamon

pinch of nutmeg

3/4 cup melted unsalted butter

1/2 cup sugar

2 tablespoons light brown sugar

1/2 teaspoon vanilla

Filling;

3/4 cup unsalted butter

2 large eggs

2/3 cup sugar

1 teaspoon vanilla

1 teaspoon almond extract

6 tablespoons flour

1/8 teaspoon salt

4 cups pitted fresh cherries

Directions:

Preheat your oven to 350 degrees.

Line a 9 by 13 pan with parchment paper. Have the parchment paper come up over the edge of the pan so you can use it to help you lift the bars out of the pan.

To make the crust:

In a medium bowl, whisk together the flour, salt cinnamon, and nutmeg. In a microwavable bowl, melt the butter and then combine it with the sugars and vanilla. Add the melted butter mixture to the flour mixture and combine to form a dough. Press the dough evenly onto the bottom of the 9 by 13 pan. Bake in the preheated oven for 15 to 18 minutes. Let cool for 15 to 20 minutes.

Browned butter:

To brown the butter, melt the butter in a heavy saucepan over medium heat. Stir constantly. It will begin to foam and the then turn clear and then it will turn a deep brown. This process will take about 5 to  7 minutes. Pour the butter into a container to cool. (I had some dark sediments that floated to the bottom on my container. I did not add those sediments to my filling)

To make the filling:

To prepare the filling, whisk the eggs, sugar and extracts together in a medium bowl until smooth. Add in the flour and slat and whisk into the egg mixture. Slowly pour the browned butter into the egg mixture, whisking in until smooth.

Pour the filling evenly over the crust. Arrange the cherries in a single layer across the top. Bake for 35 to 38 minutes o until the filling puffed up and is golden brown. Cool completely on a wire rack.

To help with removing the bars, chill the bars in the freezer for 15 minutes. Carefully lift the extra parchment paper to remove the bars. Place on a cutting board and cut into bars. Refrigerator until you are ready to serve.

I am sure that you will enjoy these bars!

Enjoy~

Becky

Other Post You May Enjoy:


Strawberry Spinach Salad                  Messy Marvins                              Coconut Cream Cake
 

Playing in the Hay, Country Garden Update

A couple of weeks ago, Company and I finally got his big garden planted.

whew….

We still need to build an asparagus and rhubarb bed to plant our little dormant plants. I know, I know, we are late getting around to building a bed and getting them in the ground, but…..oh well….

We do this garden thing to have fun doing something we both like to do together. If we get a bumper crop of something…of course that has not happen yet… but we plan on sharing. If we don’t, we will just try again.

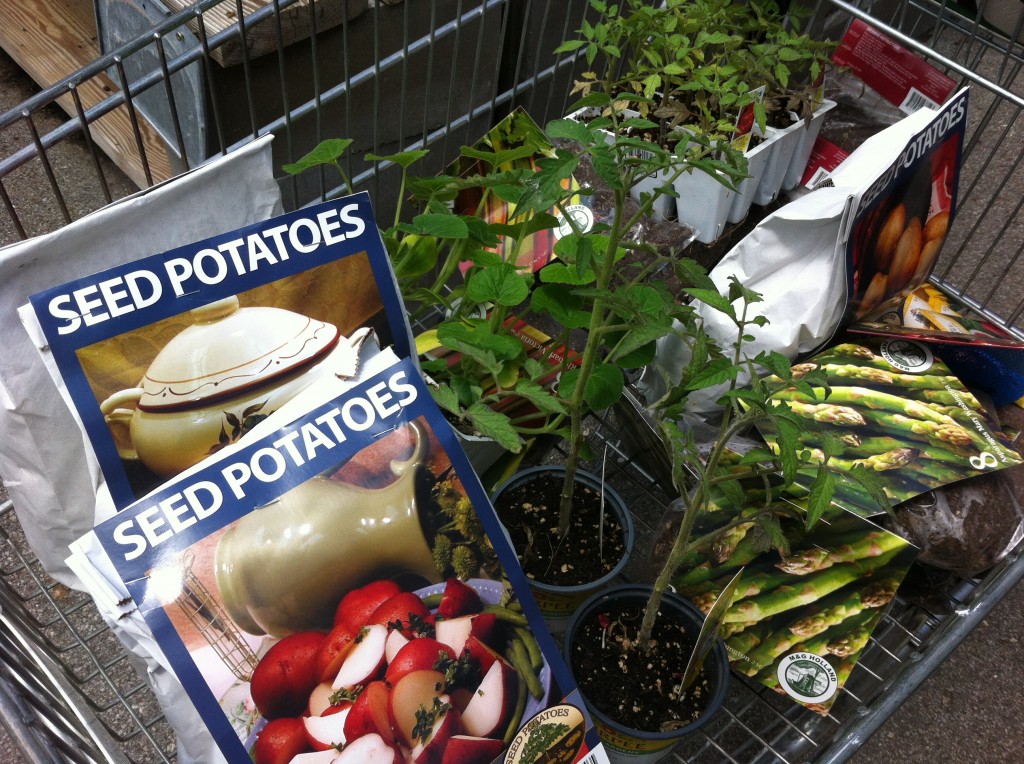
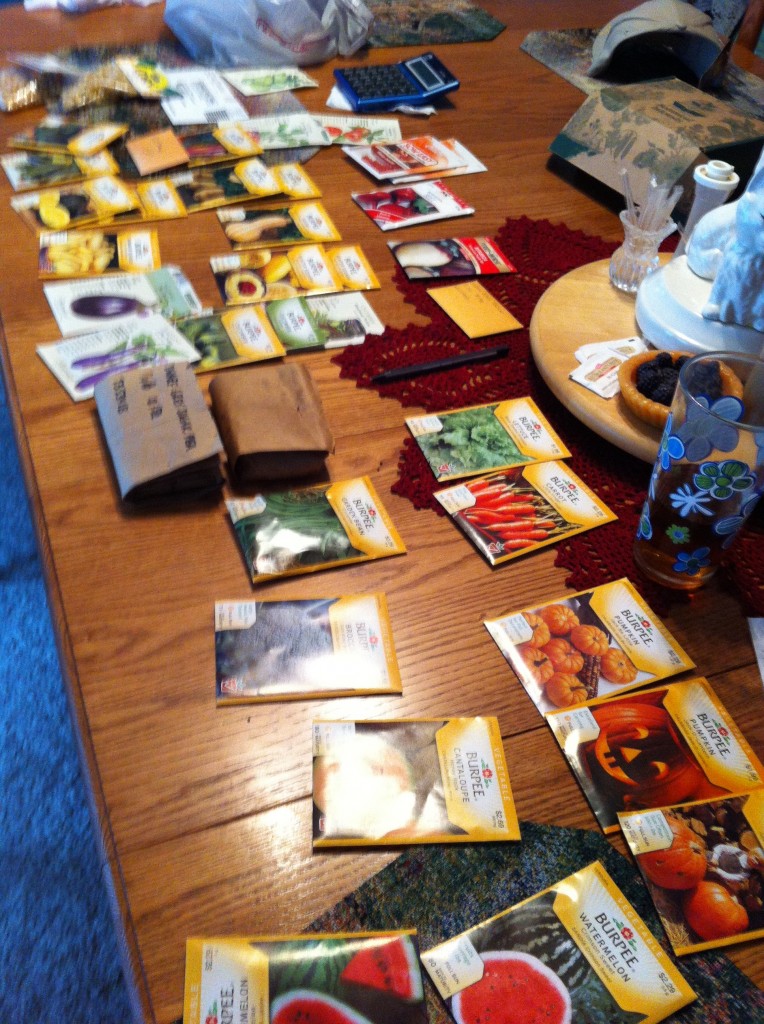
Anywho. back to a couple of weeks ago. After church, we went to the lawn and garden big box store, and loaded down our cart with the essential garden seeds, onion and potato sets and some tomato plants. We really do not know what the essential garden seeds are, but we bought a selection that impressed everyone at the store and we pretended to act like we know a thing or two about gardening. If we really knew anything, we would have had the garden planted way back in May. (another…oh well)

I organized all the seed packets on the table. Some of the items like, peas, lettuce, beets ect…I will wait and plant in late August for a fall garden.  All the ones, I thought would be ok to plant now, went into a “plant now pile.”

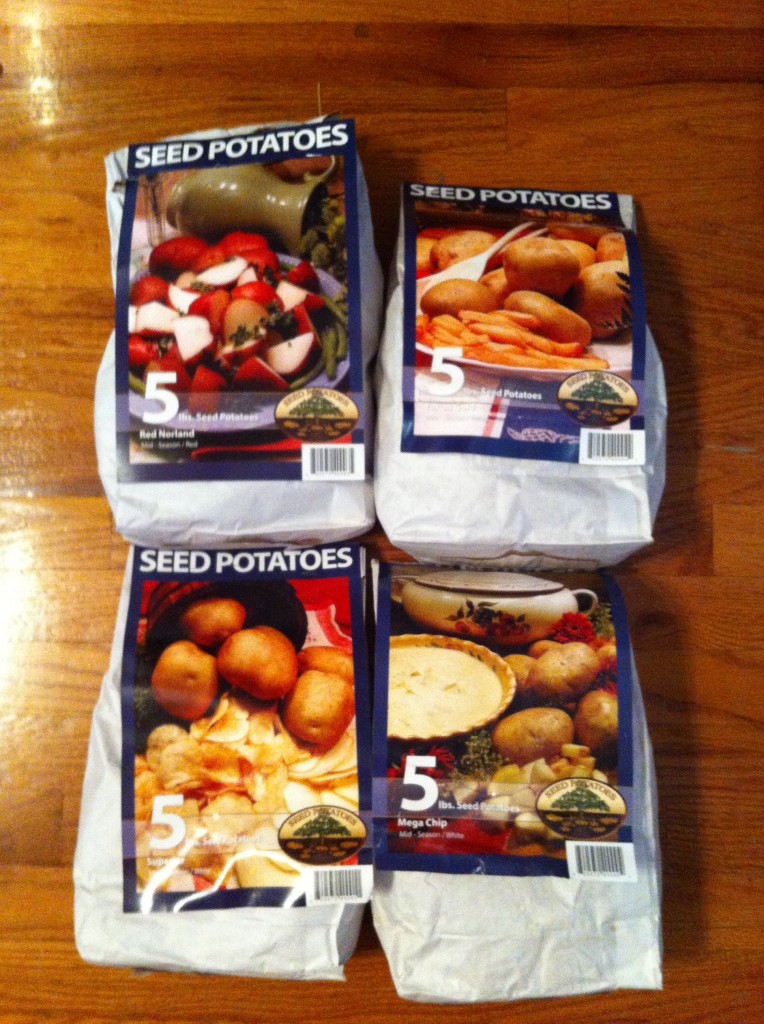
We also bought four different kinds of seed potatoes to plant. I have not planted potatoes since way back when Oldest Daughter was a baby. There is something fun about taking a potato fork and digging up potatoes that are hidden under the ground, that appeals to me.

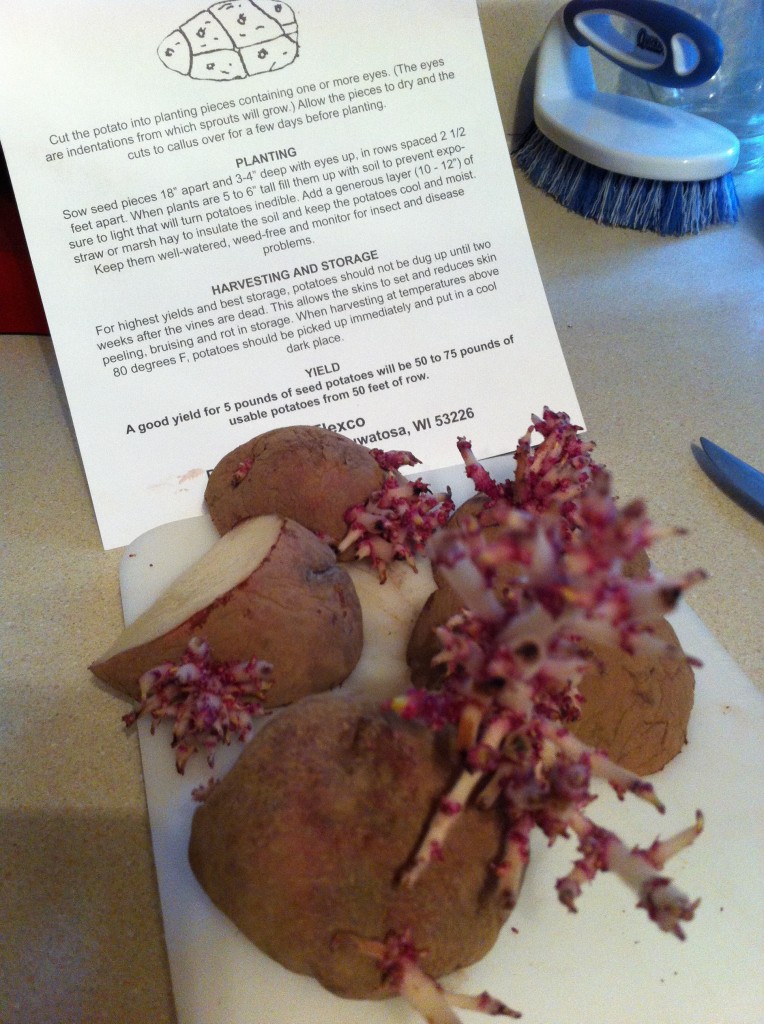
Not that I know much, but I do know that I had to cut the potatoes in pieces with “eyes” on them to plant. (I also read the directions to make sure I was doing this right)

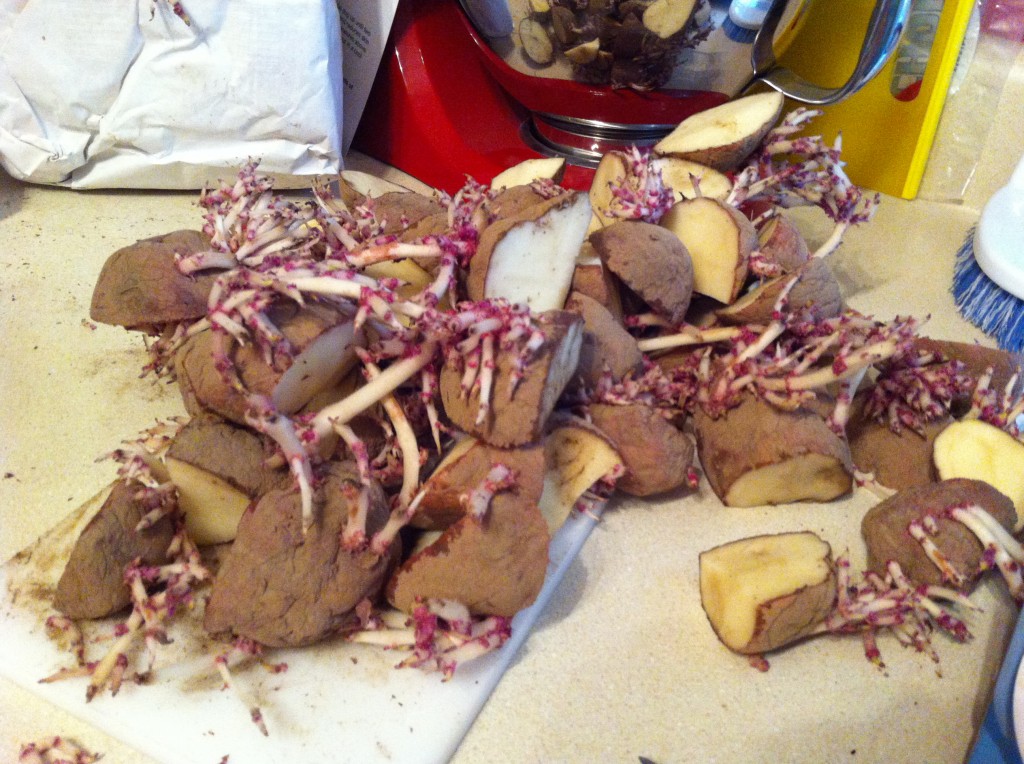
It took me awhile to cut up all those potatoes. : ) It was better than being outside and tilling up the garden, one more time, like Company was doing.

I made sure to take my time cutting up the potatoes in the cool, air conditioned house.

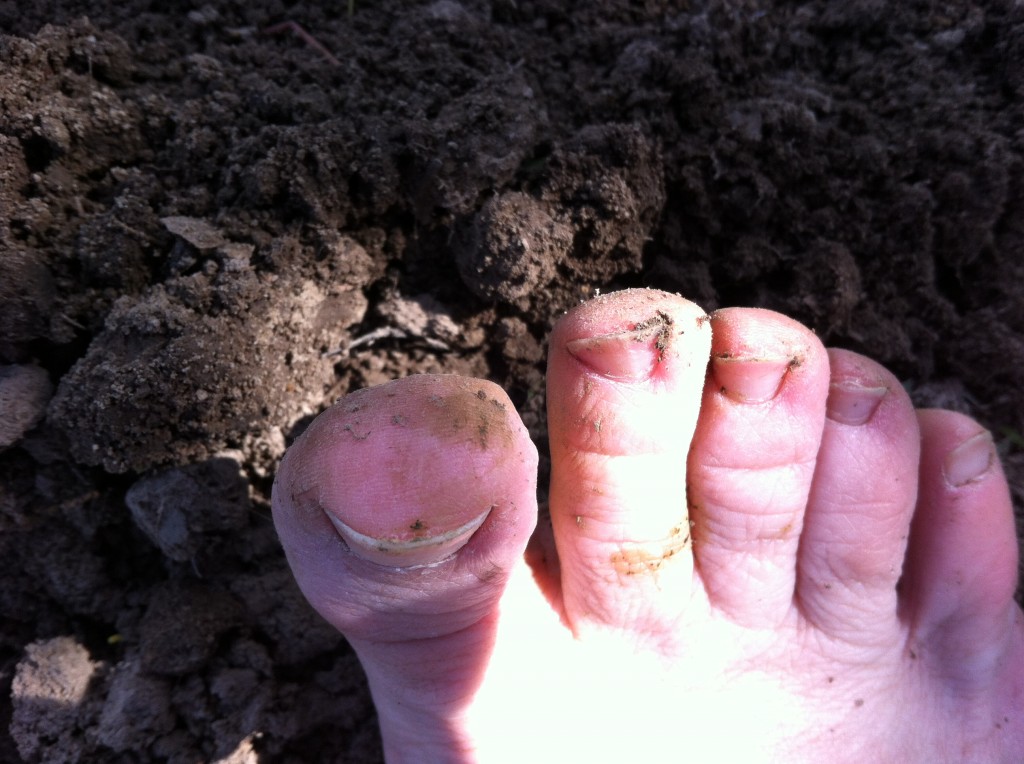
It never pays to try to get out of some garden work….cause…I forgot my garden tennis shoes, and decided I would go barefoot to plant the garden. The first thing I did was to step in goose poop.

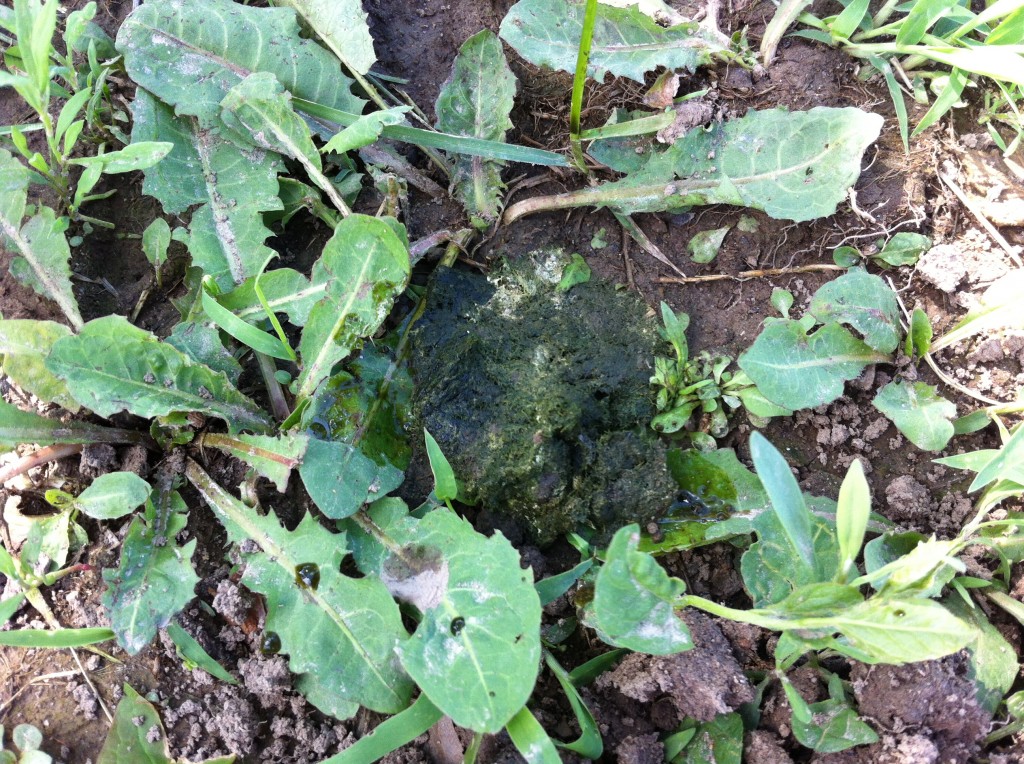
See that big green pile of goose poop? That is the pile I stepped in. It was cold too! Good thing I have not gone in to the salon for my summer pedicure yet.

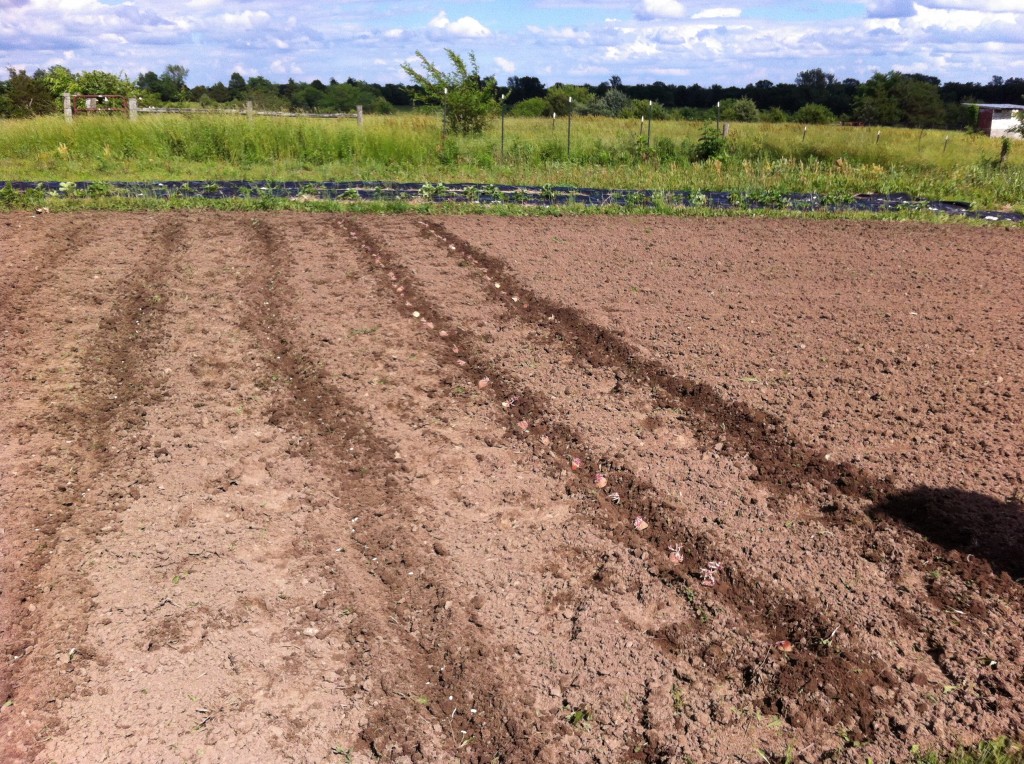
After much ado about nothing, we finally got the rows made and started planting. Here are the potato pieces on the ground ready to be covered up.

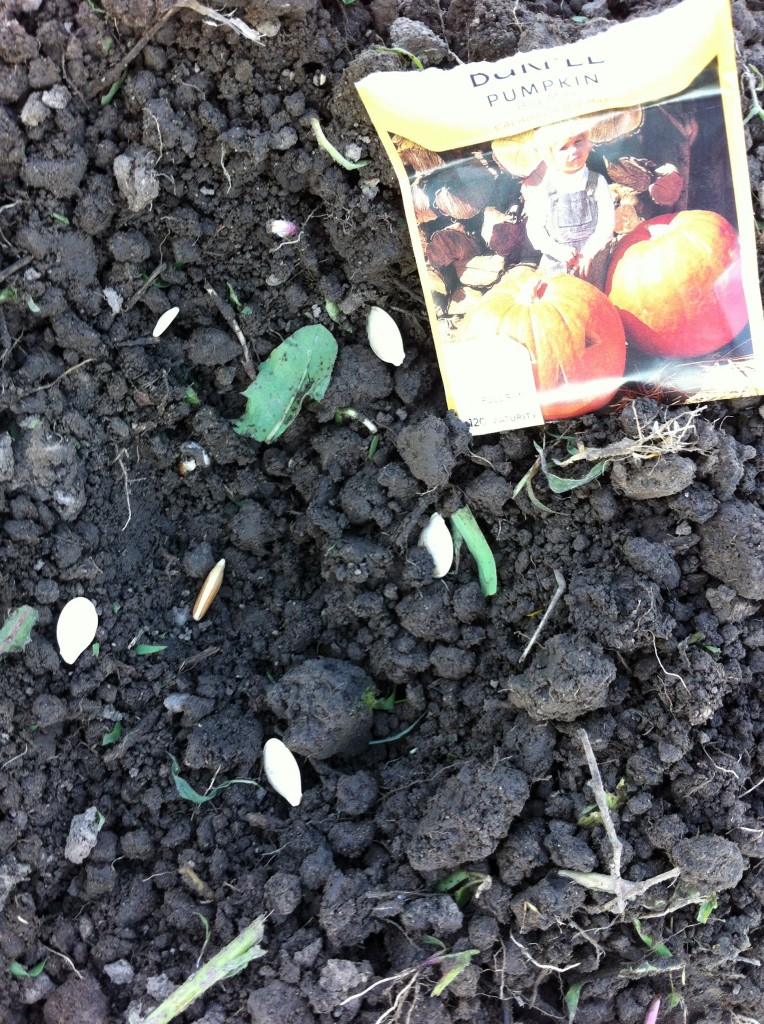
Oldest Grandgirl wanted us to plant her some pumpkins for Halloween. So, we made sure we planted her some.

As luck would have it, after we planted our little seeds, there was about three downpours of rain on the little garden. Some of the seeds got washed to who knows where, but some of the seeds were able to hang on and come to life. Here is a picture of something we planted. It is some vining plant, like squash, cucumber, or zucchini.

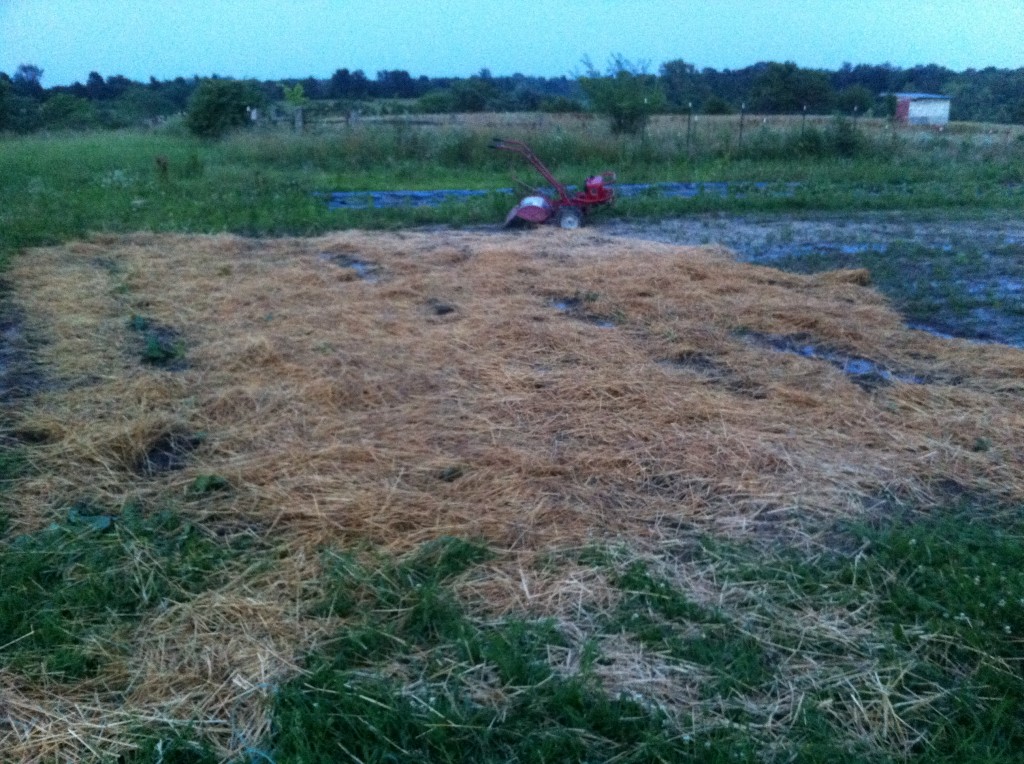
Today, after I got off of work, I drove to Company’s house to work in the country garden. Company tilled up the ground between the rows of plants and we sprinkled hay (it is really straw) down to help keep the ground moist if it rains. We only got about a third of the garden tilled up between the rows, because the tiller got a flat tire, making it hard to steer and it  (Company) tilled over some of my plants.

It was time to call it quits for the night and get something to eat.

After getting all the pieces of straw out of our clothes, and hair and my shoes.

Yes! I wore shoes. No more goose poop between my toes.

We headed to the big city to get some restaurant food.

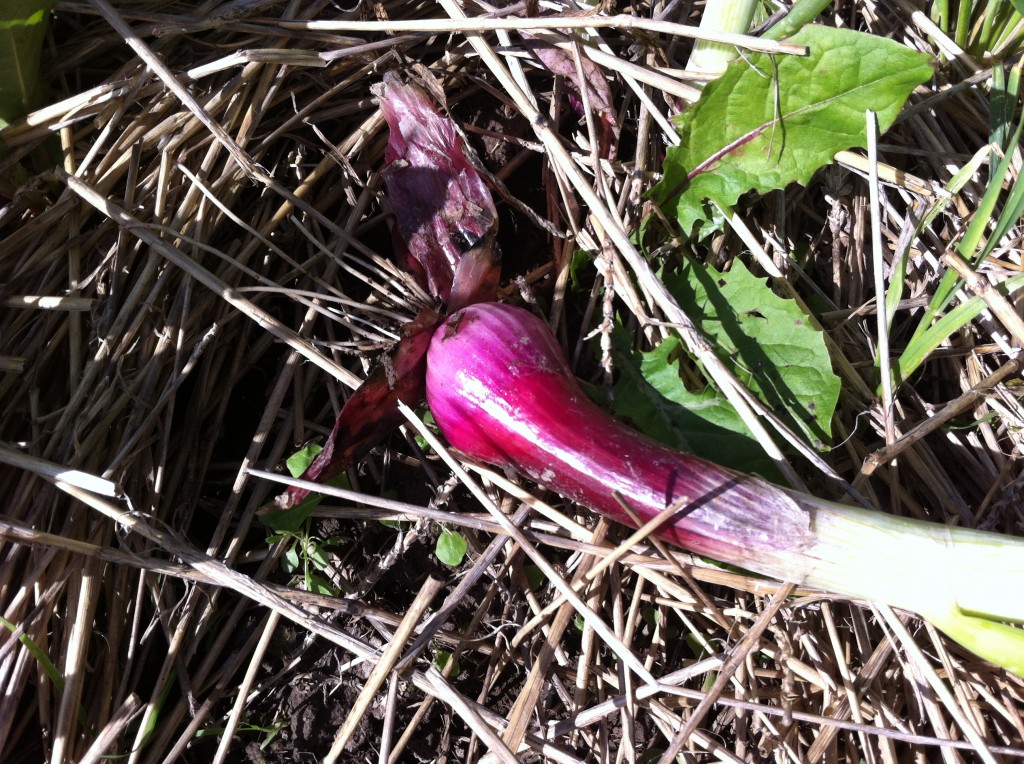
On a side note, the onions we planted in the fall and “over wintered” are growing. I think we should have fertilized them and watered them better. But, I am able to start pulling some up to use.

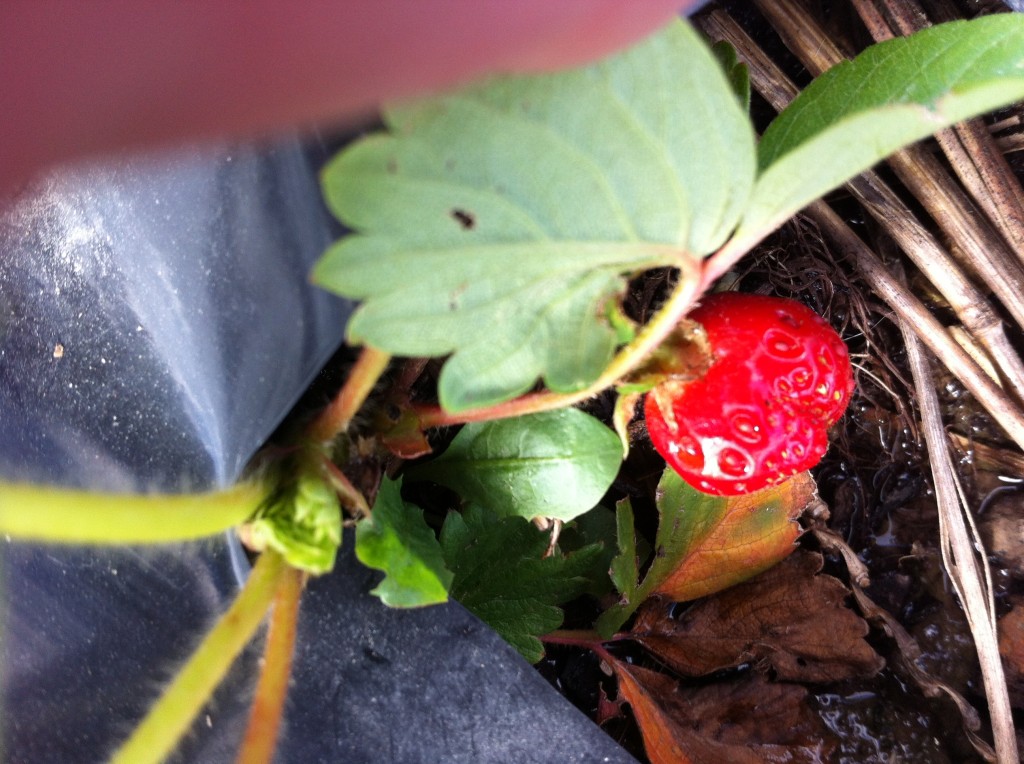
We did get a few strawberries this year. But, with all large scale strawberries gardens that were planted in the fall, this winter was hard on them. The plants that lived through that tough winter look great, but alas are not blooming.

I am sure next year will be our year of strawberries galore.

Amateur farmers have to stay positive!

How is your garden going?

Becky

Smokestack Baked Beans

I bet you thought I was never going to post anything ever again.

Never!

The last two weeks, (one being the last week of school and the other the first week of summer school) has kept me busier than ever. Not to mention helping put up a new privacy fence in my backyard, planting the country garden, grades for school, oldest grandgirls graduation from grade school….the list continues.

Anywho, thank you for being patient with me while I get you caught up on all the new recipes I have been trying, along with my little garden in my back yard. AND you cannot forget the chickens!

OK, lets talk beans.

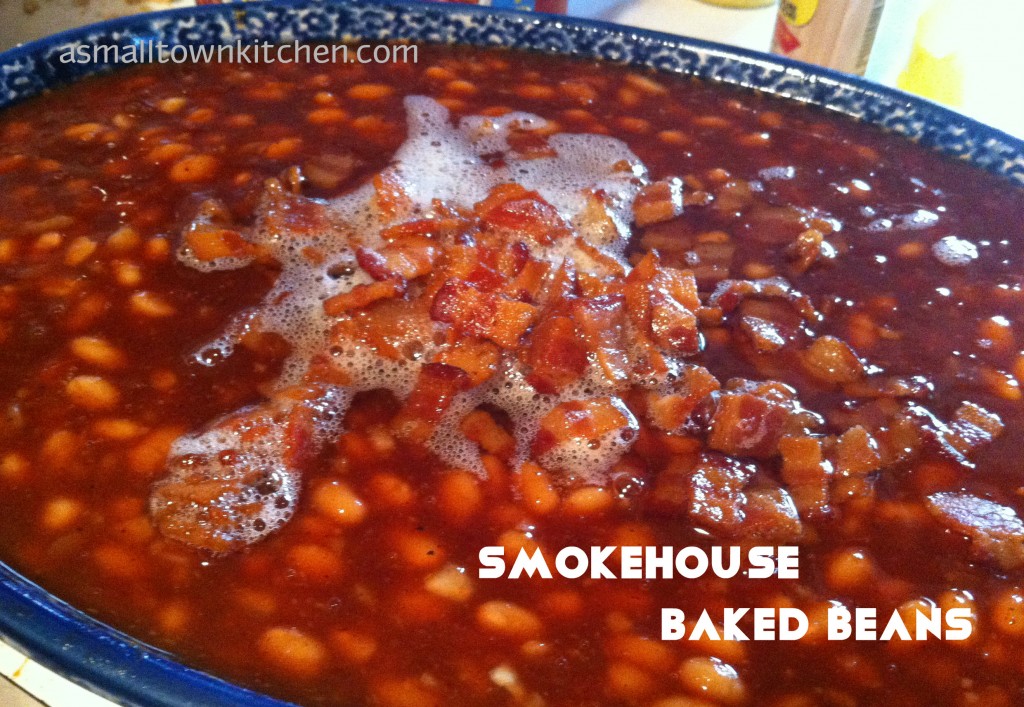
I have made this Smokestack Baked Beans recipe three times now. Each time I have made them (or sent them with the Super Hero son for a BBQ he was going to,) everyone loved them. The great thing about this recipe, is that you can control the heat with deciding how much chili powder to add to the recipe. This recipe also has one of my favorite things in the whole wide world added in, molasses. I love love love molasses.

It also has crispy bacon stirred in.

Now, come on, everyone loves bacon!

July 4th will be sneaking up on us before you know it. I am sure that BBQ will be on your agenda for one meal. This would be the perfect time to make some delicious, rich and smoky sweet with a little added heat, Smokehouse Baked Beans. They are so good that I fixed them for my Dads 96th birthday BBQ.

I hope you enjoy them too!

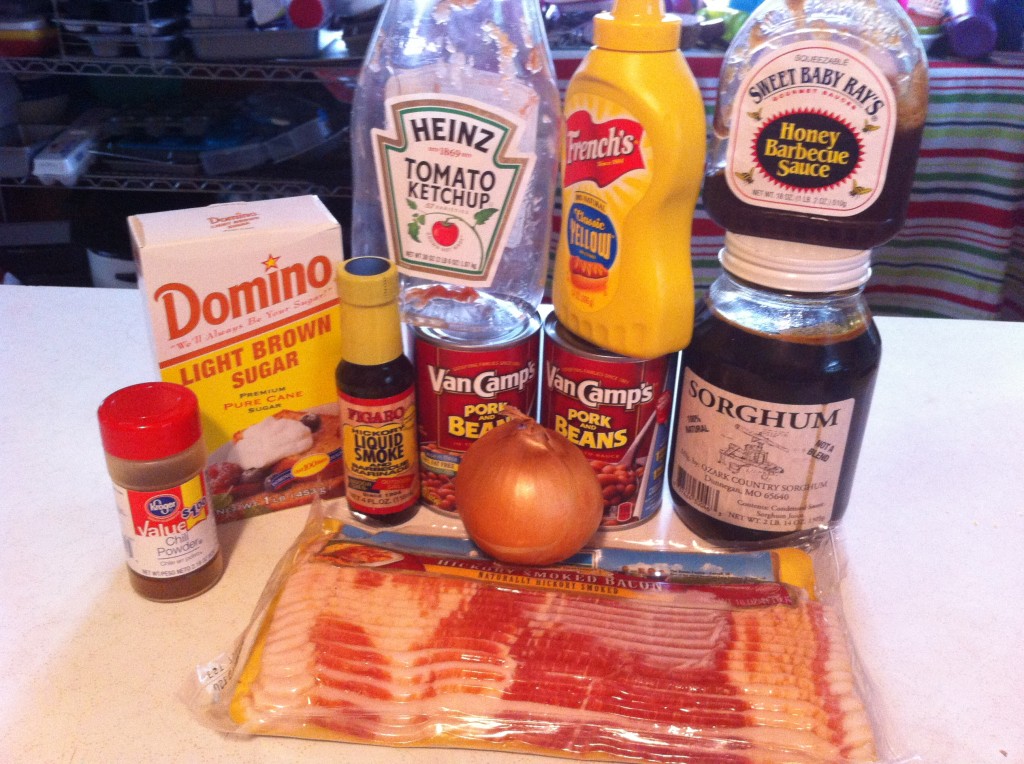
Here is what you will need:

You need some bacon, brown sugar, chili powder, liquid smoke, catsup, pork and beans, onion, mustard, barbecue sauce and molasses.


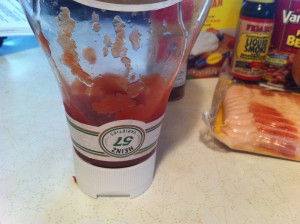
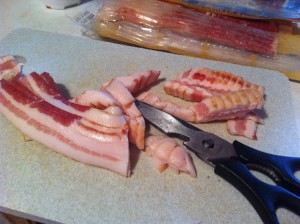
I barely had enough catsup to make this recipe. Who runs out of catsup???? I cut up my bacon is small pieces with my kitchen shears.


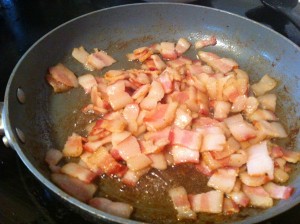
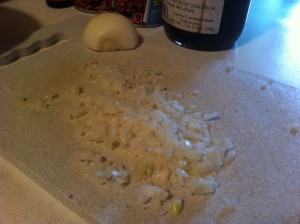
I then fried the bacon until it was crisp.                                          Next, I minced up some onion.


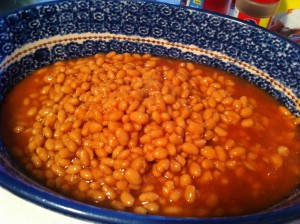
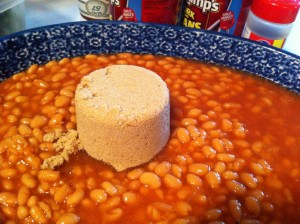
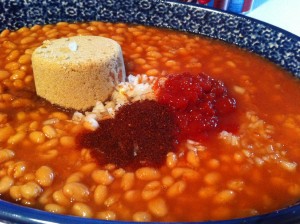
Now, you can start mixing everything all together. Pour the pork n beans into a casserole dish. Add the brown sugar.


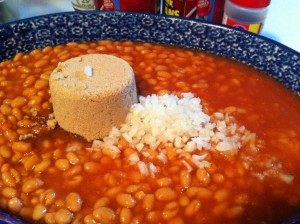
Add in the minced onion.                                                                 Add in the catsup and the chili powder. (if you like it with more spice, just add more chili powder)


Pour in some liquid smoke.                                                            Now you can add in the mustard.


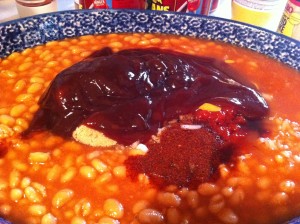
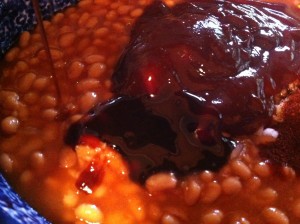
Pour your favorite barbeque sauce on top.                                      Here is the time to add in my favorite ingredient (besides bacon) molasses.

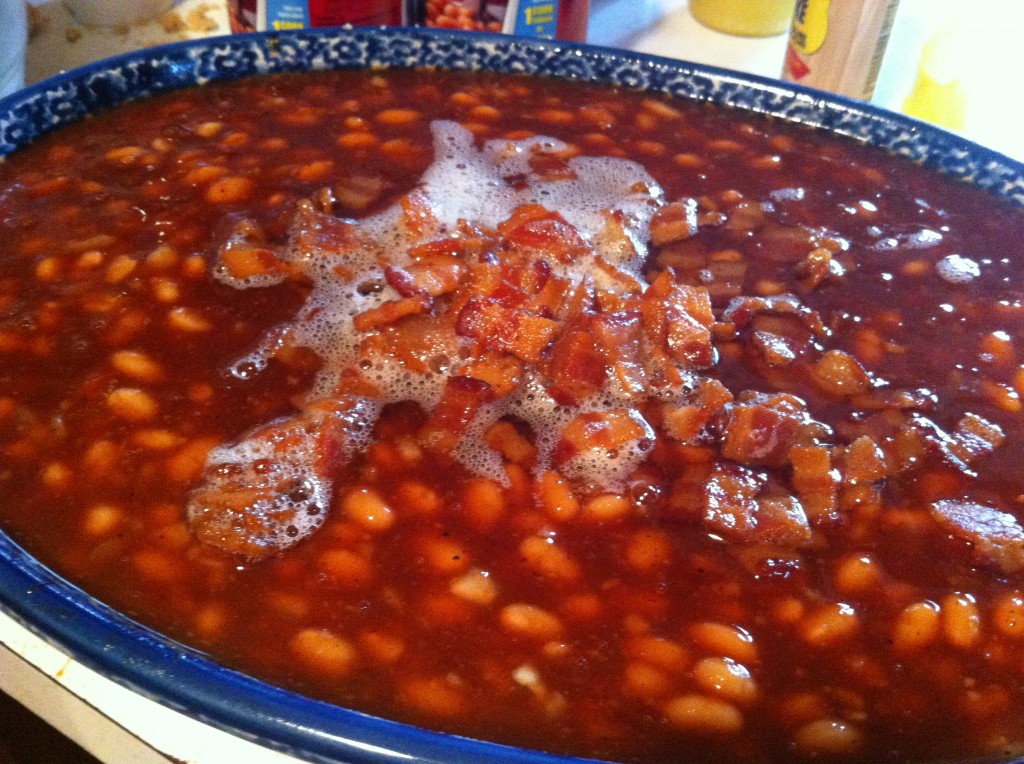
Pour the crispy bacon on top and stir it all together. Bake in the oven for 60 to 75 minutes in a 325 degree oven.

You will want to get a large spoon out to scoop out this smoky sweet baked beans.

Here is the recipe:

Smokestack Baked Beans

Adapted from old (really old) church cookbook

Ingredients:

6 slices bacon

3/4 cup brown sugar

1 tablespoon chili powder (I used 1 and 1/2 teaspoon)

1 teaspoon liquid smoke

1/4 cup catsup

1 large can pork and beans or 2 regular size cans

1 tablespoon minced onion

1 tablespoon mustard

3/4 cup of your favorite barbeque sauce

1/4 cup molasses

Directions:

Cut the bacon into small pieces and fry until crisp.

In a large casserole dish, add all the ingredients together and combine. Bake in a 325 degree oven for 60 to 75 minutes.

Enjoy!

Becky

Other posts you may enjoy.


Dad’s Lime Cake                       Sour Cream Apple Crumb Pie      Sausage stuffed Acorn Squash


Related Posts Plugin for WordPress, Blogger...