Zucchini and Sun Dried Tomato Scones

This past summer was the first summer I was able to grow an abundance of zucchini. As you know, when zucchini finally starts producing, you are picking zucchini everyday. So, I went on  a mission to try as many zucchini recipes that caught my fancy to use up my zucchini. I came across this delicious recipe for Zucchini and Sun Dried Tomato Scones on a blog I follow called One Hundred Dollars a Month. (you should check her blog out sometime).

Anywho….I fell in love with it. Made it at work and had fellow teachers try it (Jill and Jamie) and they loved it too. I did tweak it a bit by adding some fresh home grown basil and add some crunchy seeds on top. You pick, if you want to add them. The basil in my opinion is a must, it was so good in them.

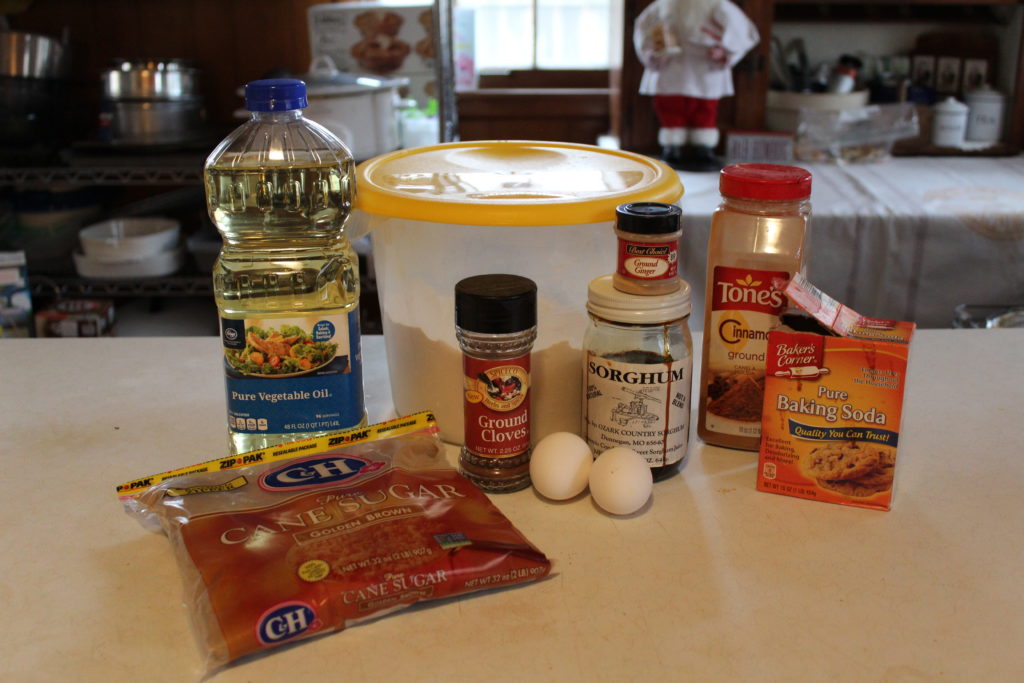
So below is the a picture of the ingredients I used.

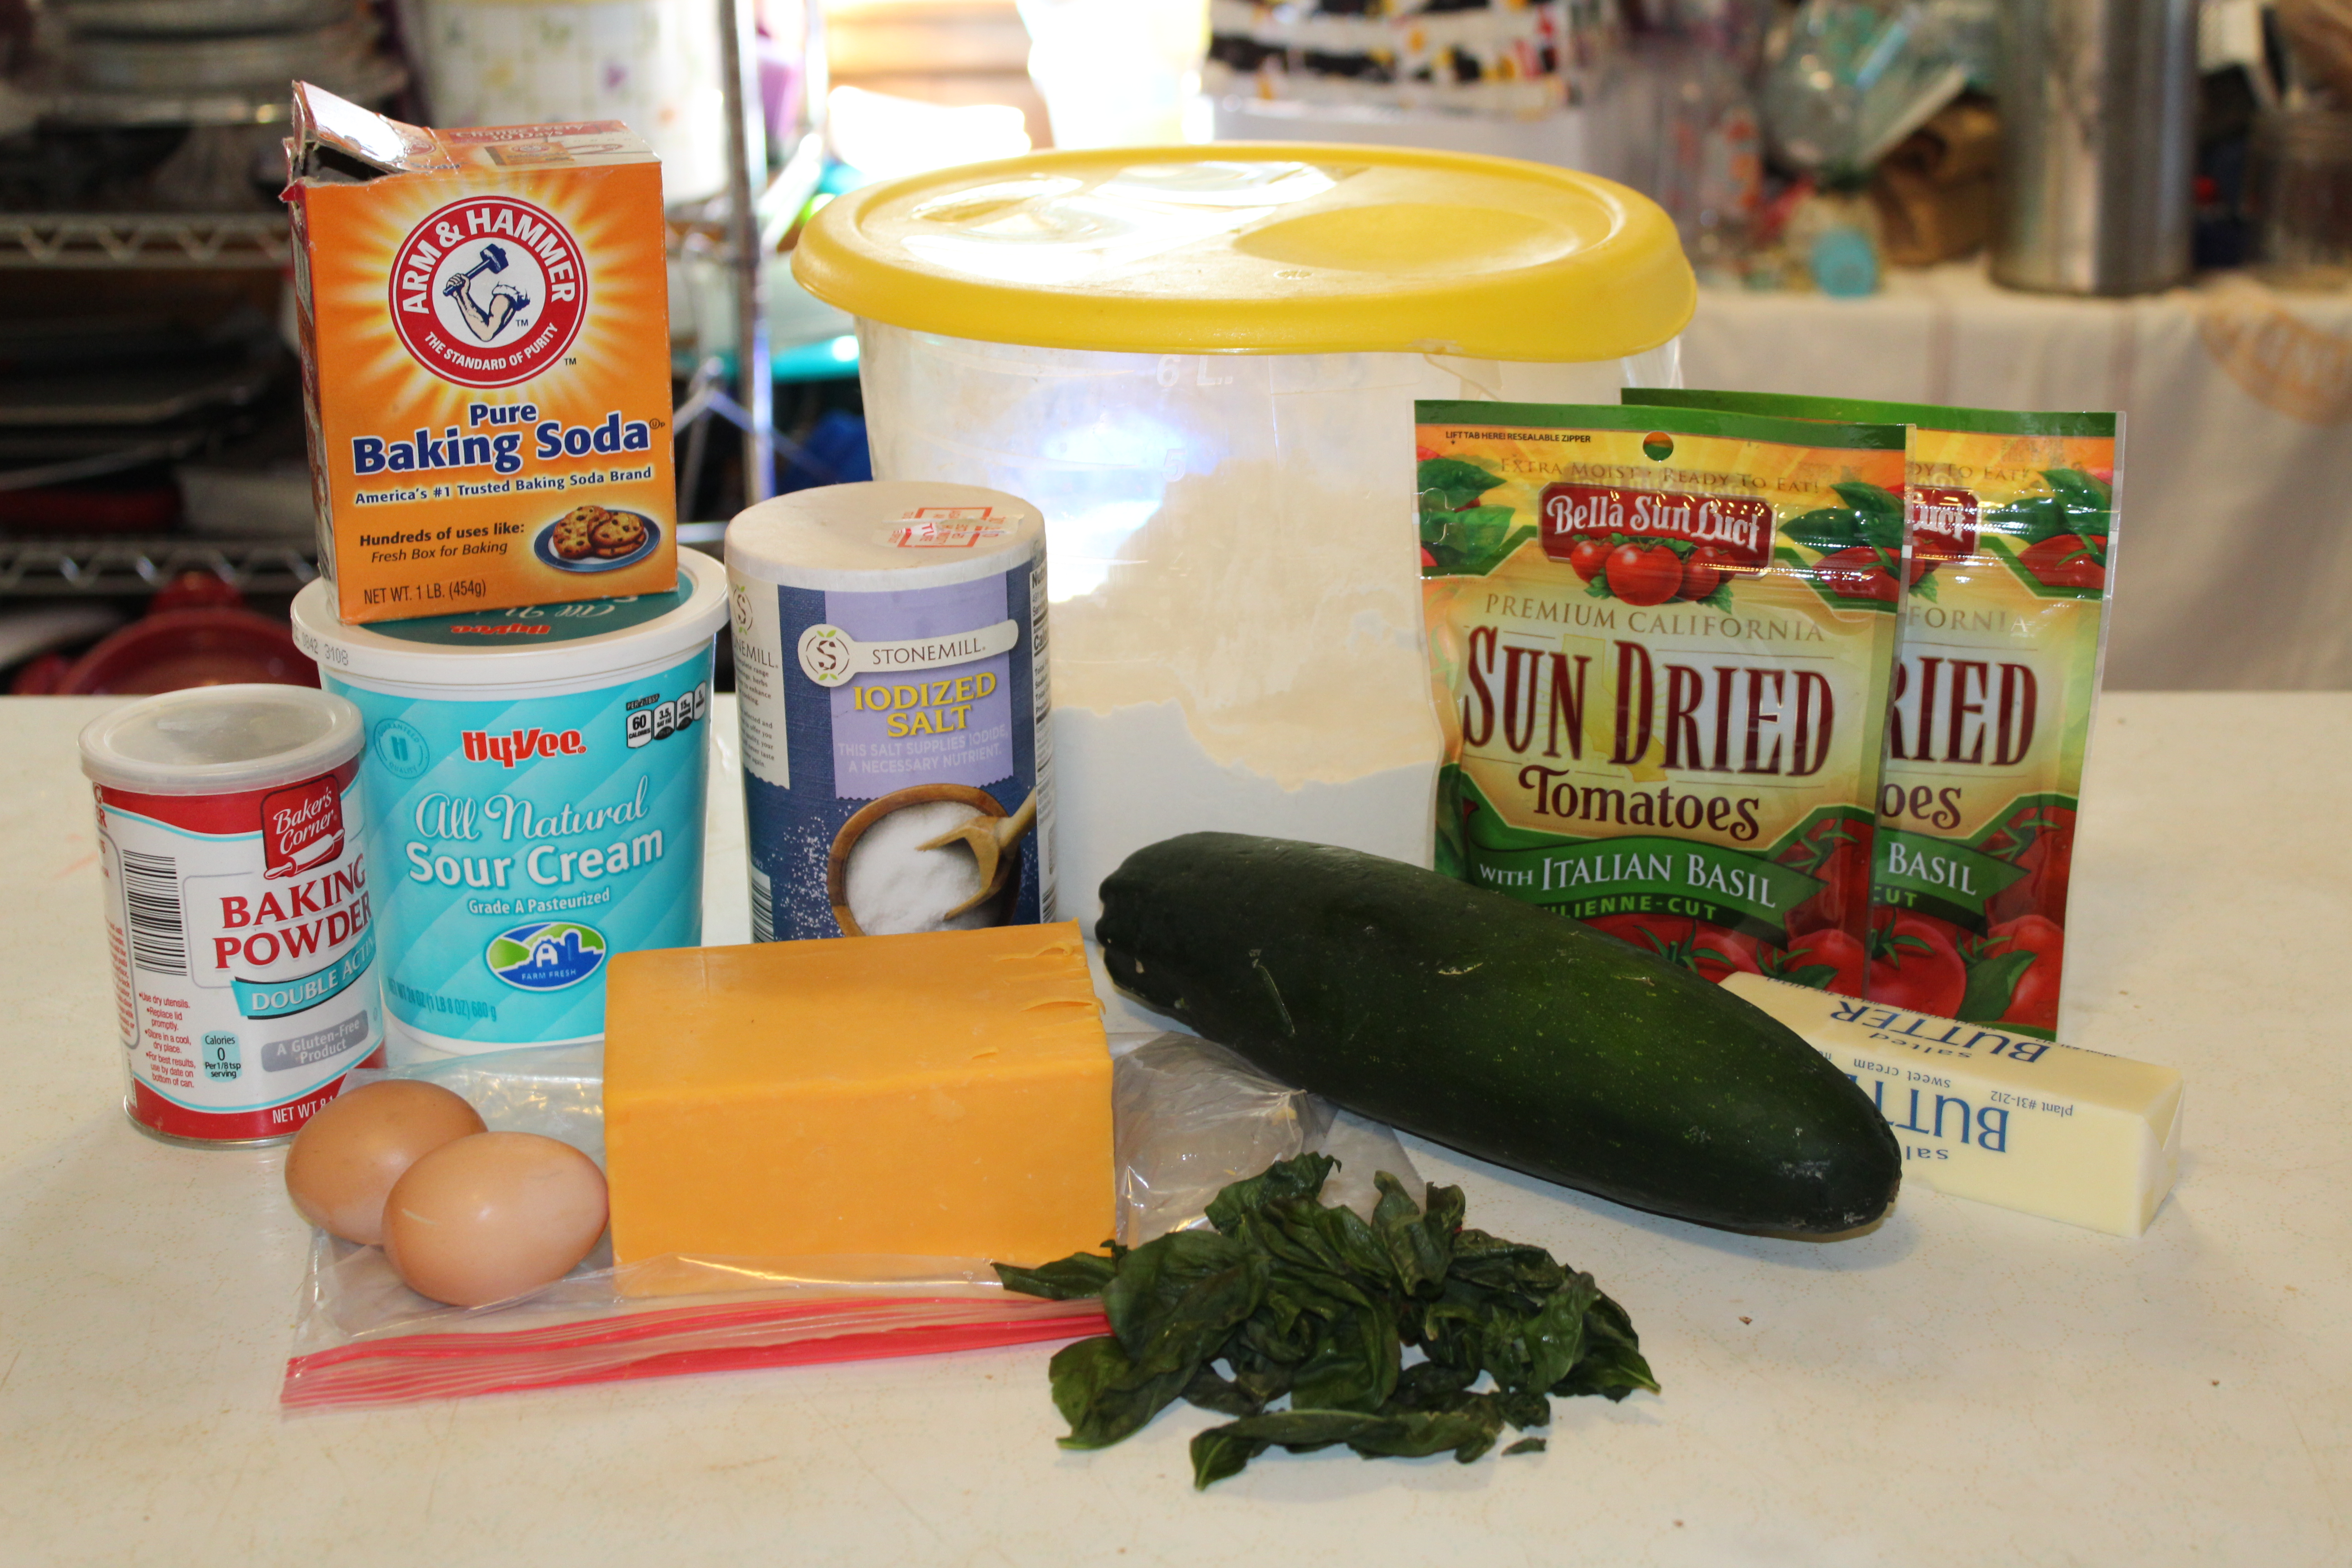
I tried three different kinds of sun dried tomatoes and this brand was my favorite, even over the jars  with oil and sun dried tomatoes. AND…it has basil in them too.

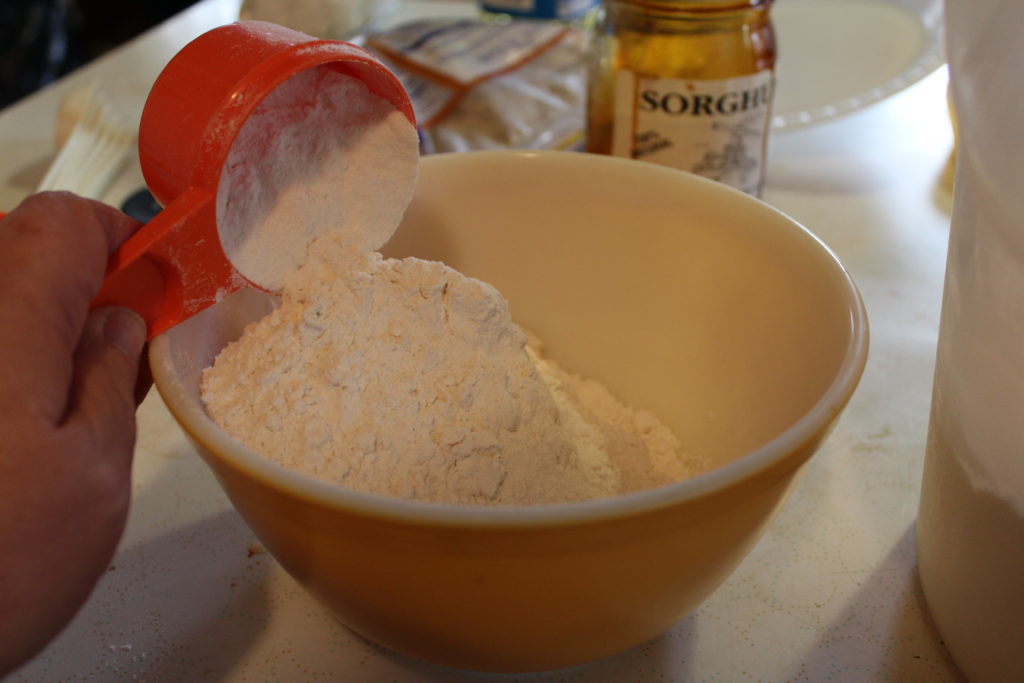
So you need some baking soda and powder, salt, egg (I used two super small eggs from my backyard chickens), cheese, flour, butter, basil, and don’t forget the major players…the zucchini and sun dried tomatoes.

Here is what you do first:

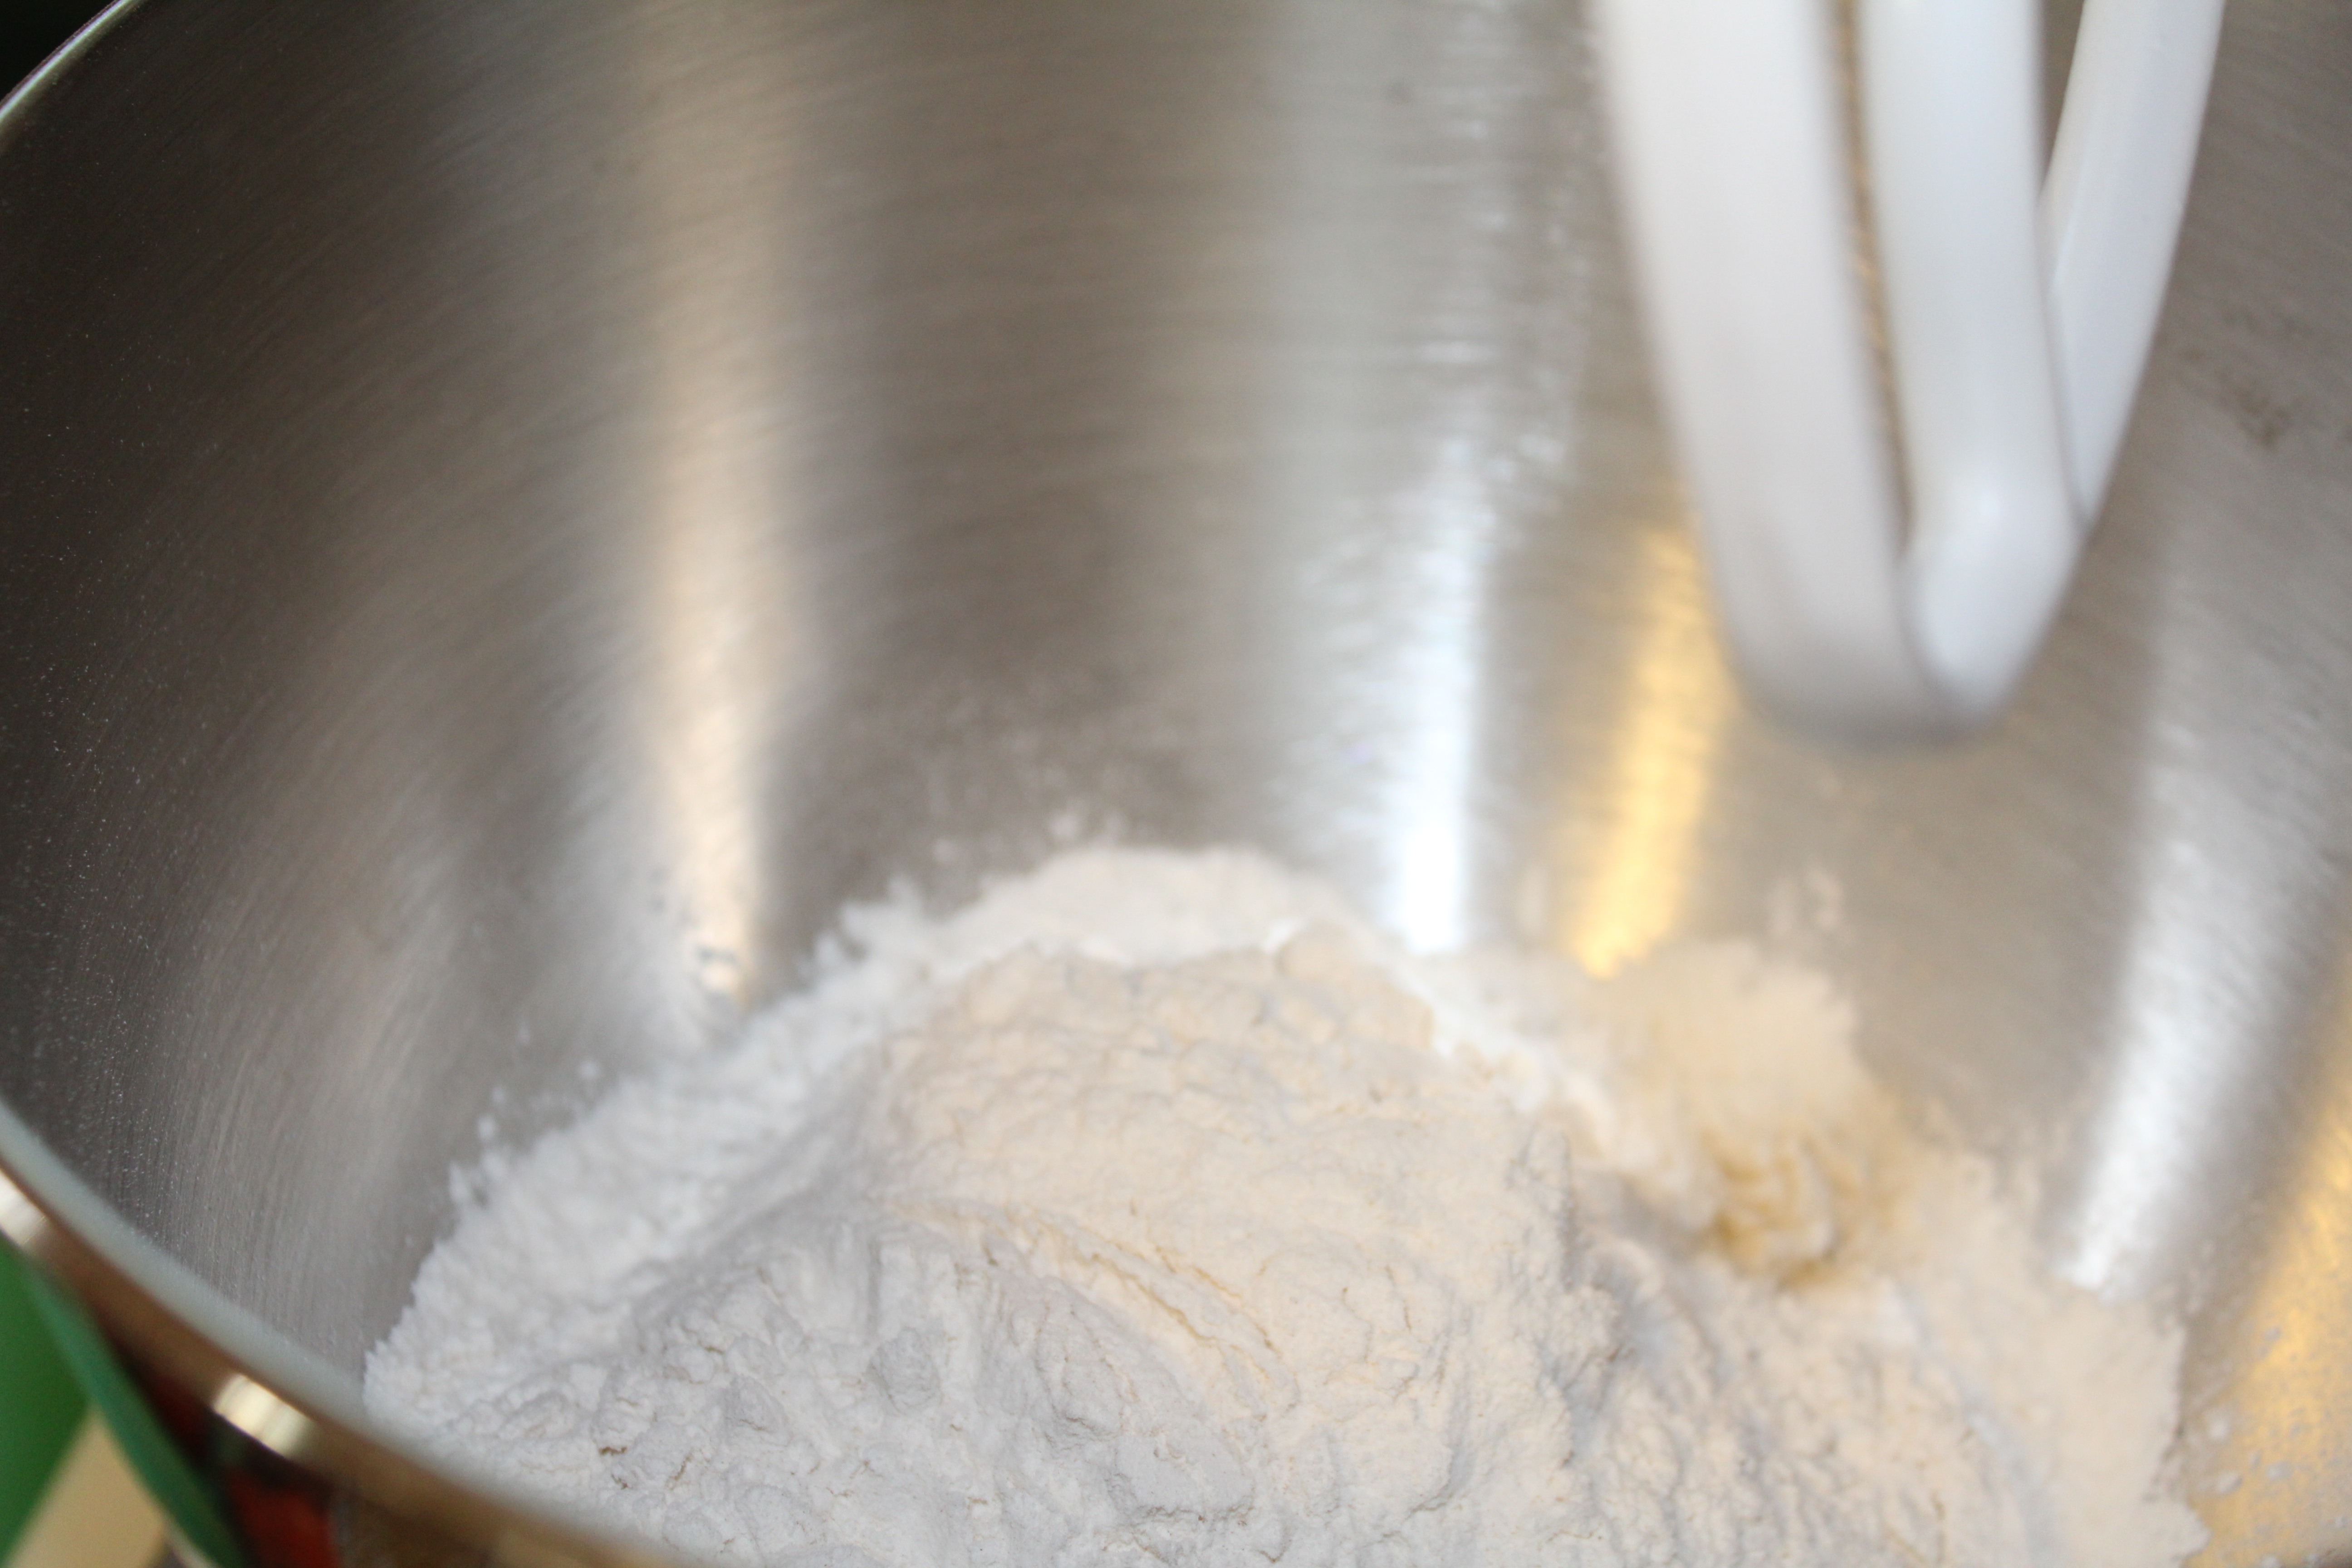
I used my stand mixer but you can do mix by hand if you prefer. Put the flour in a bowl.

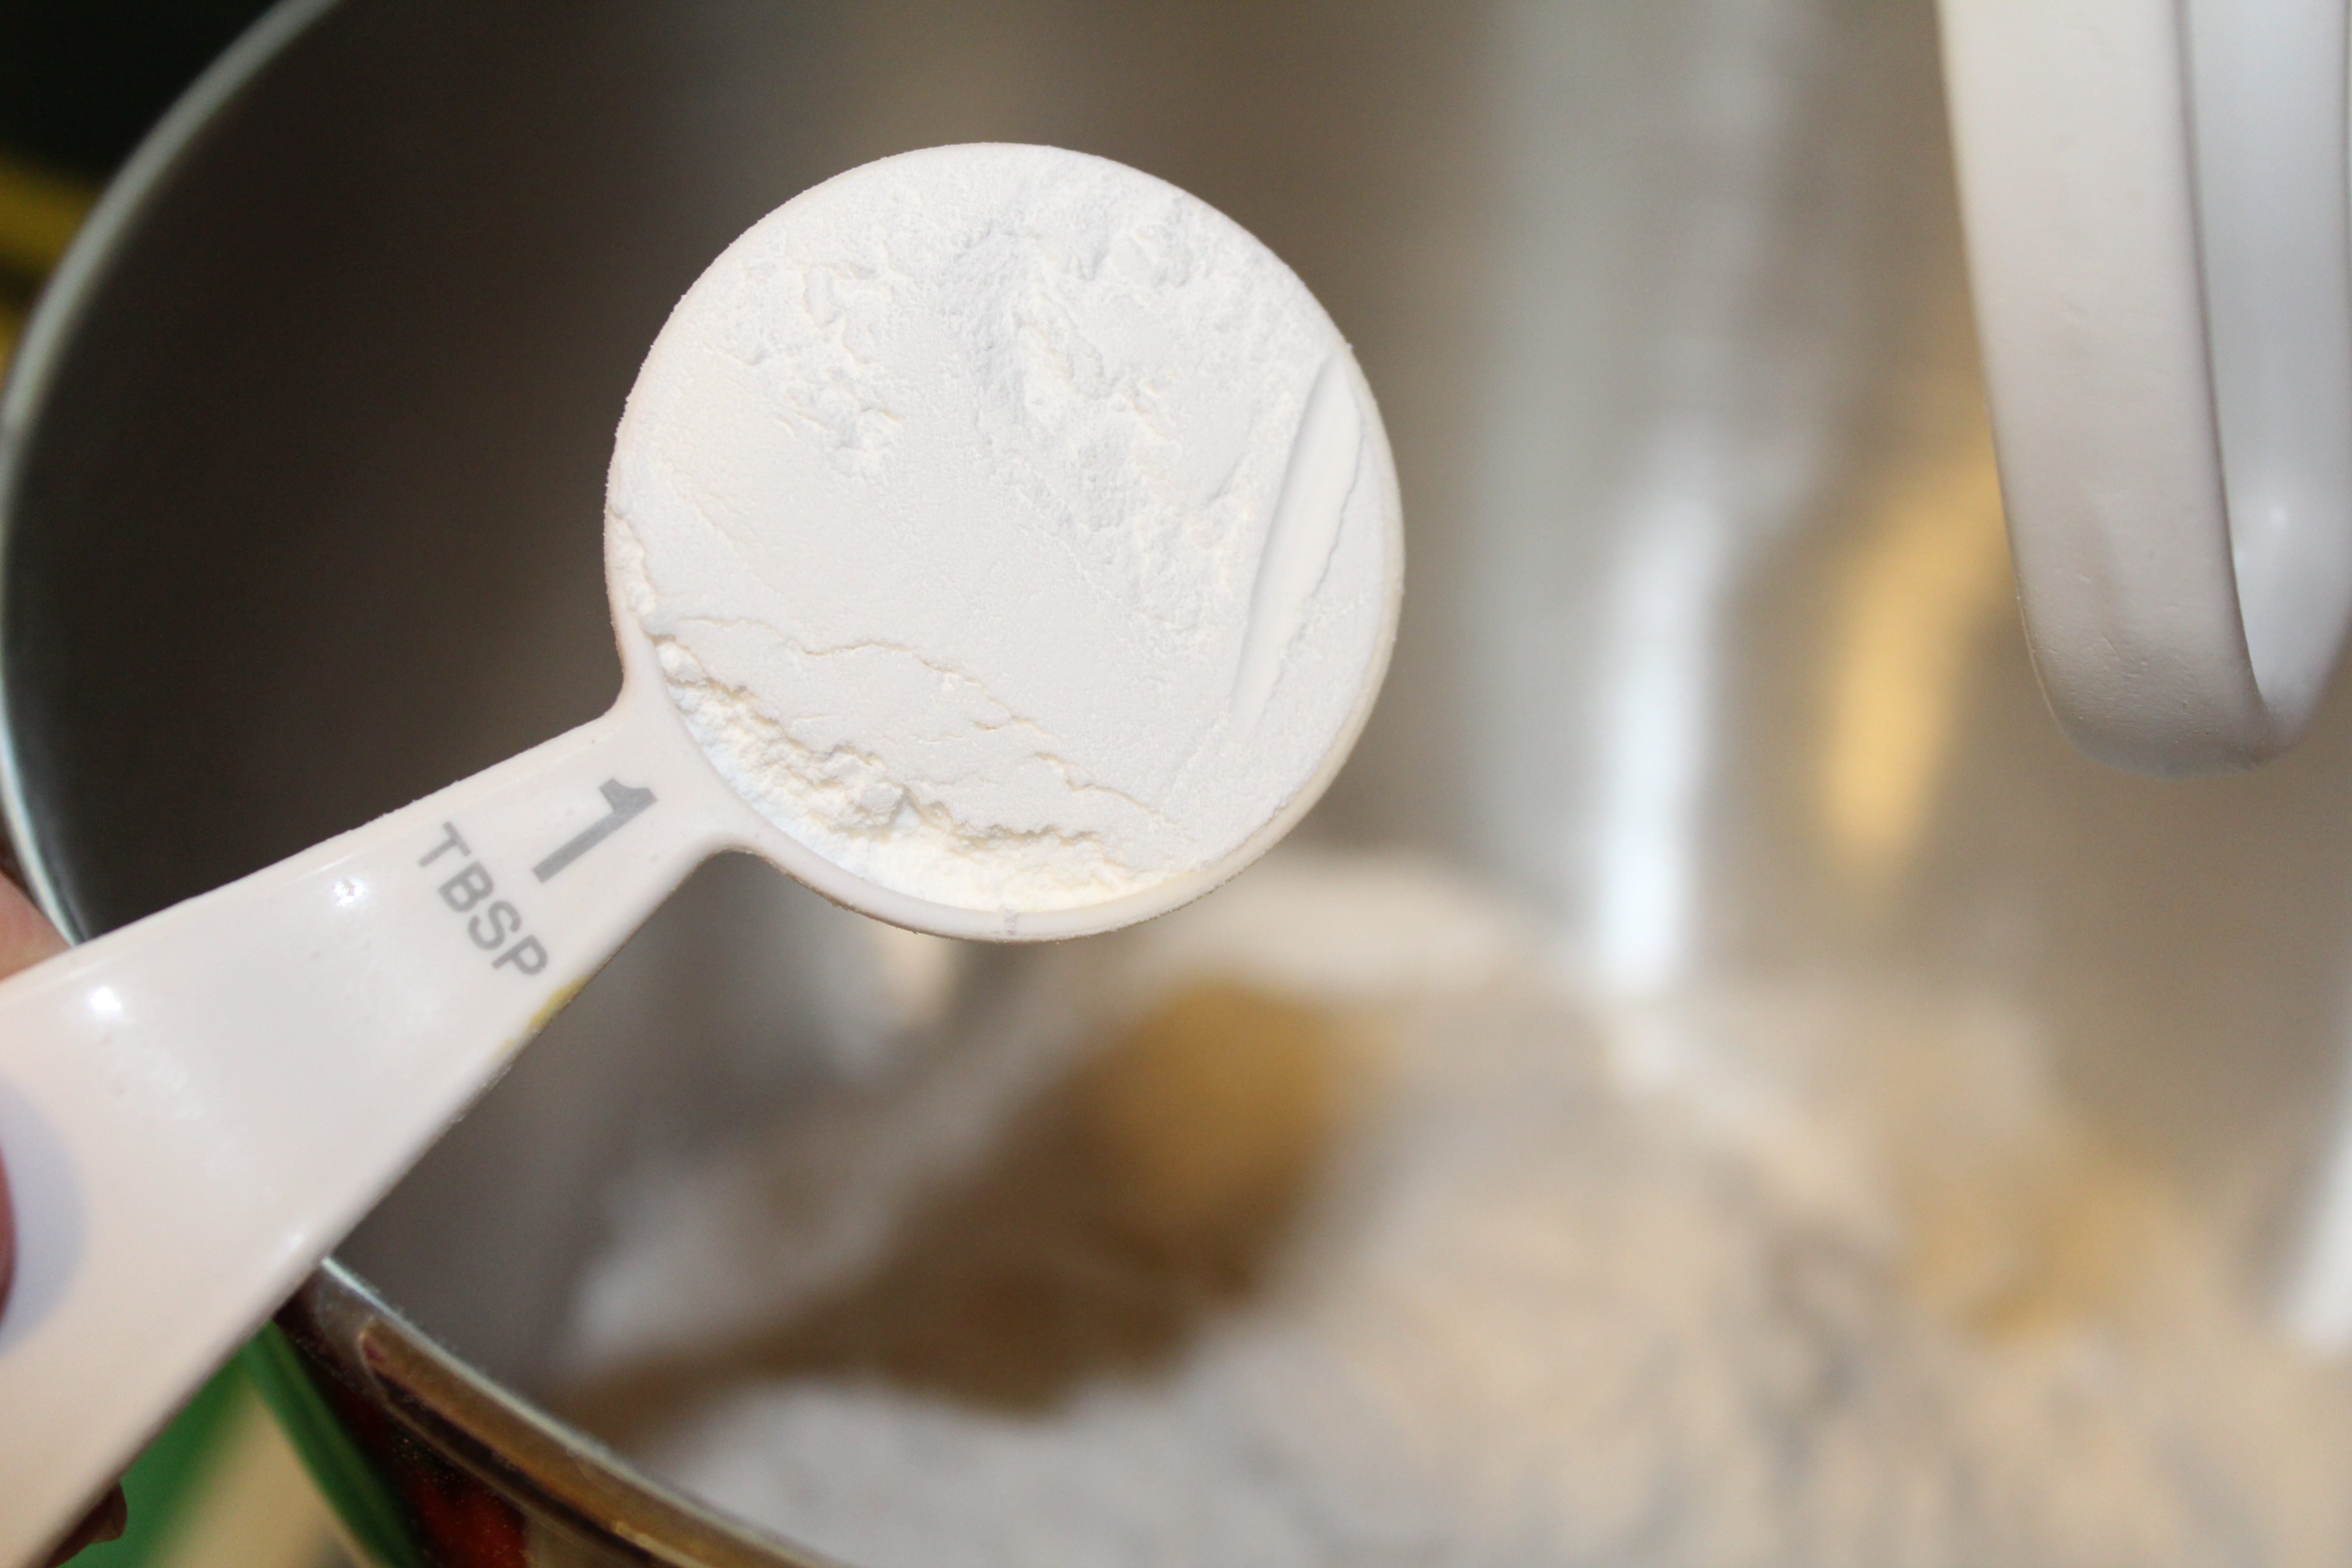
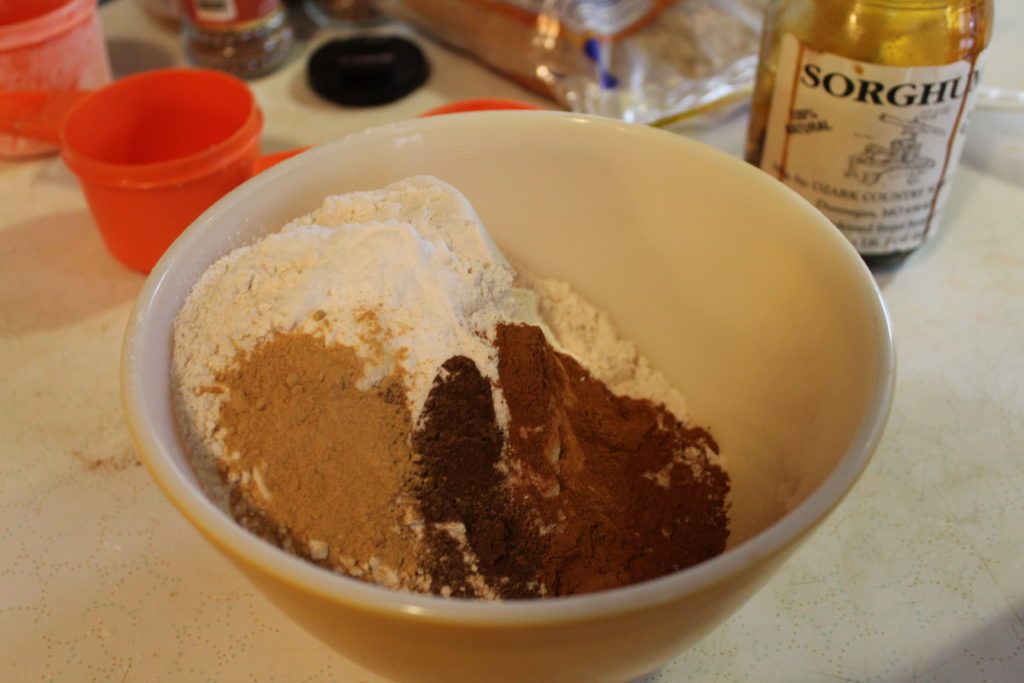
Add the baking powder.

Add the salt.

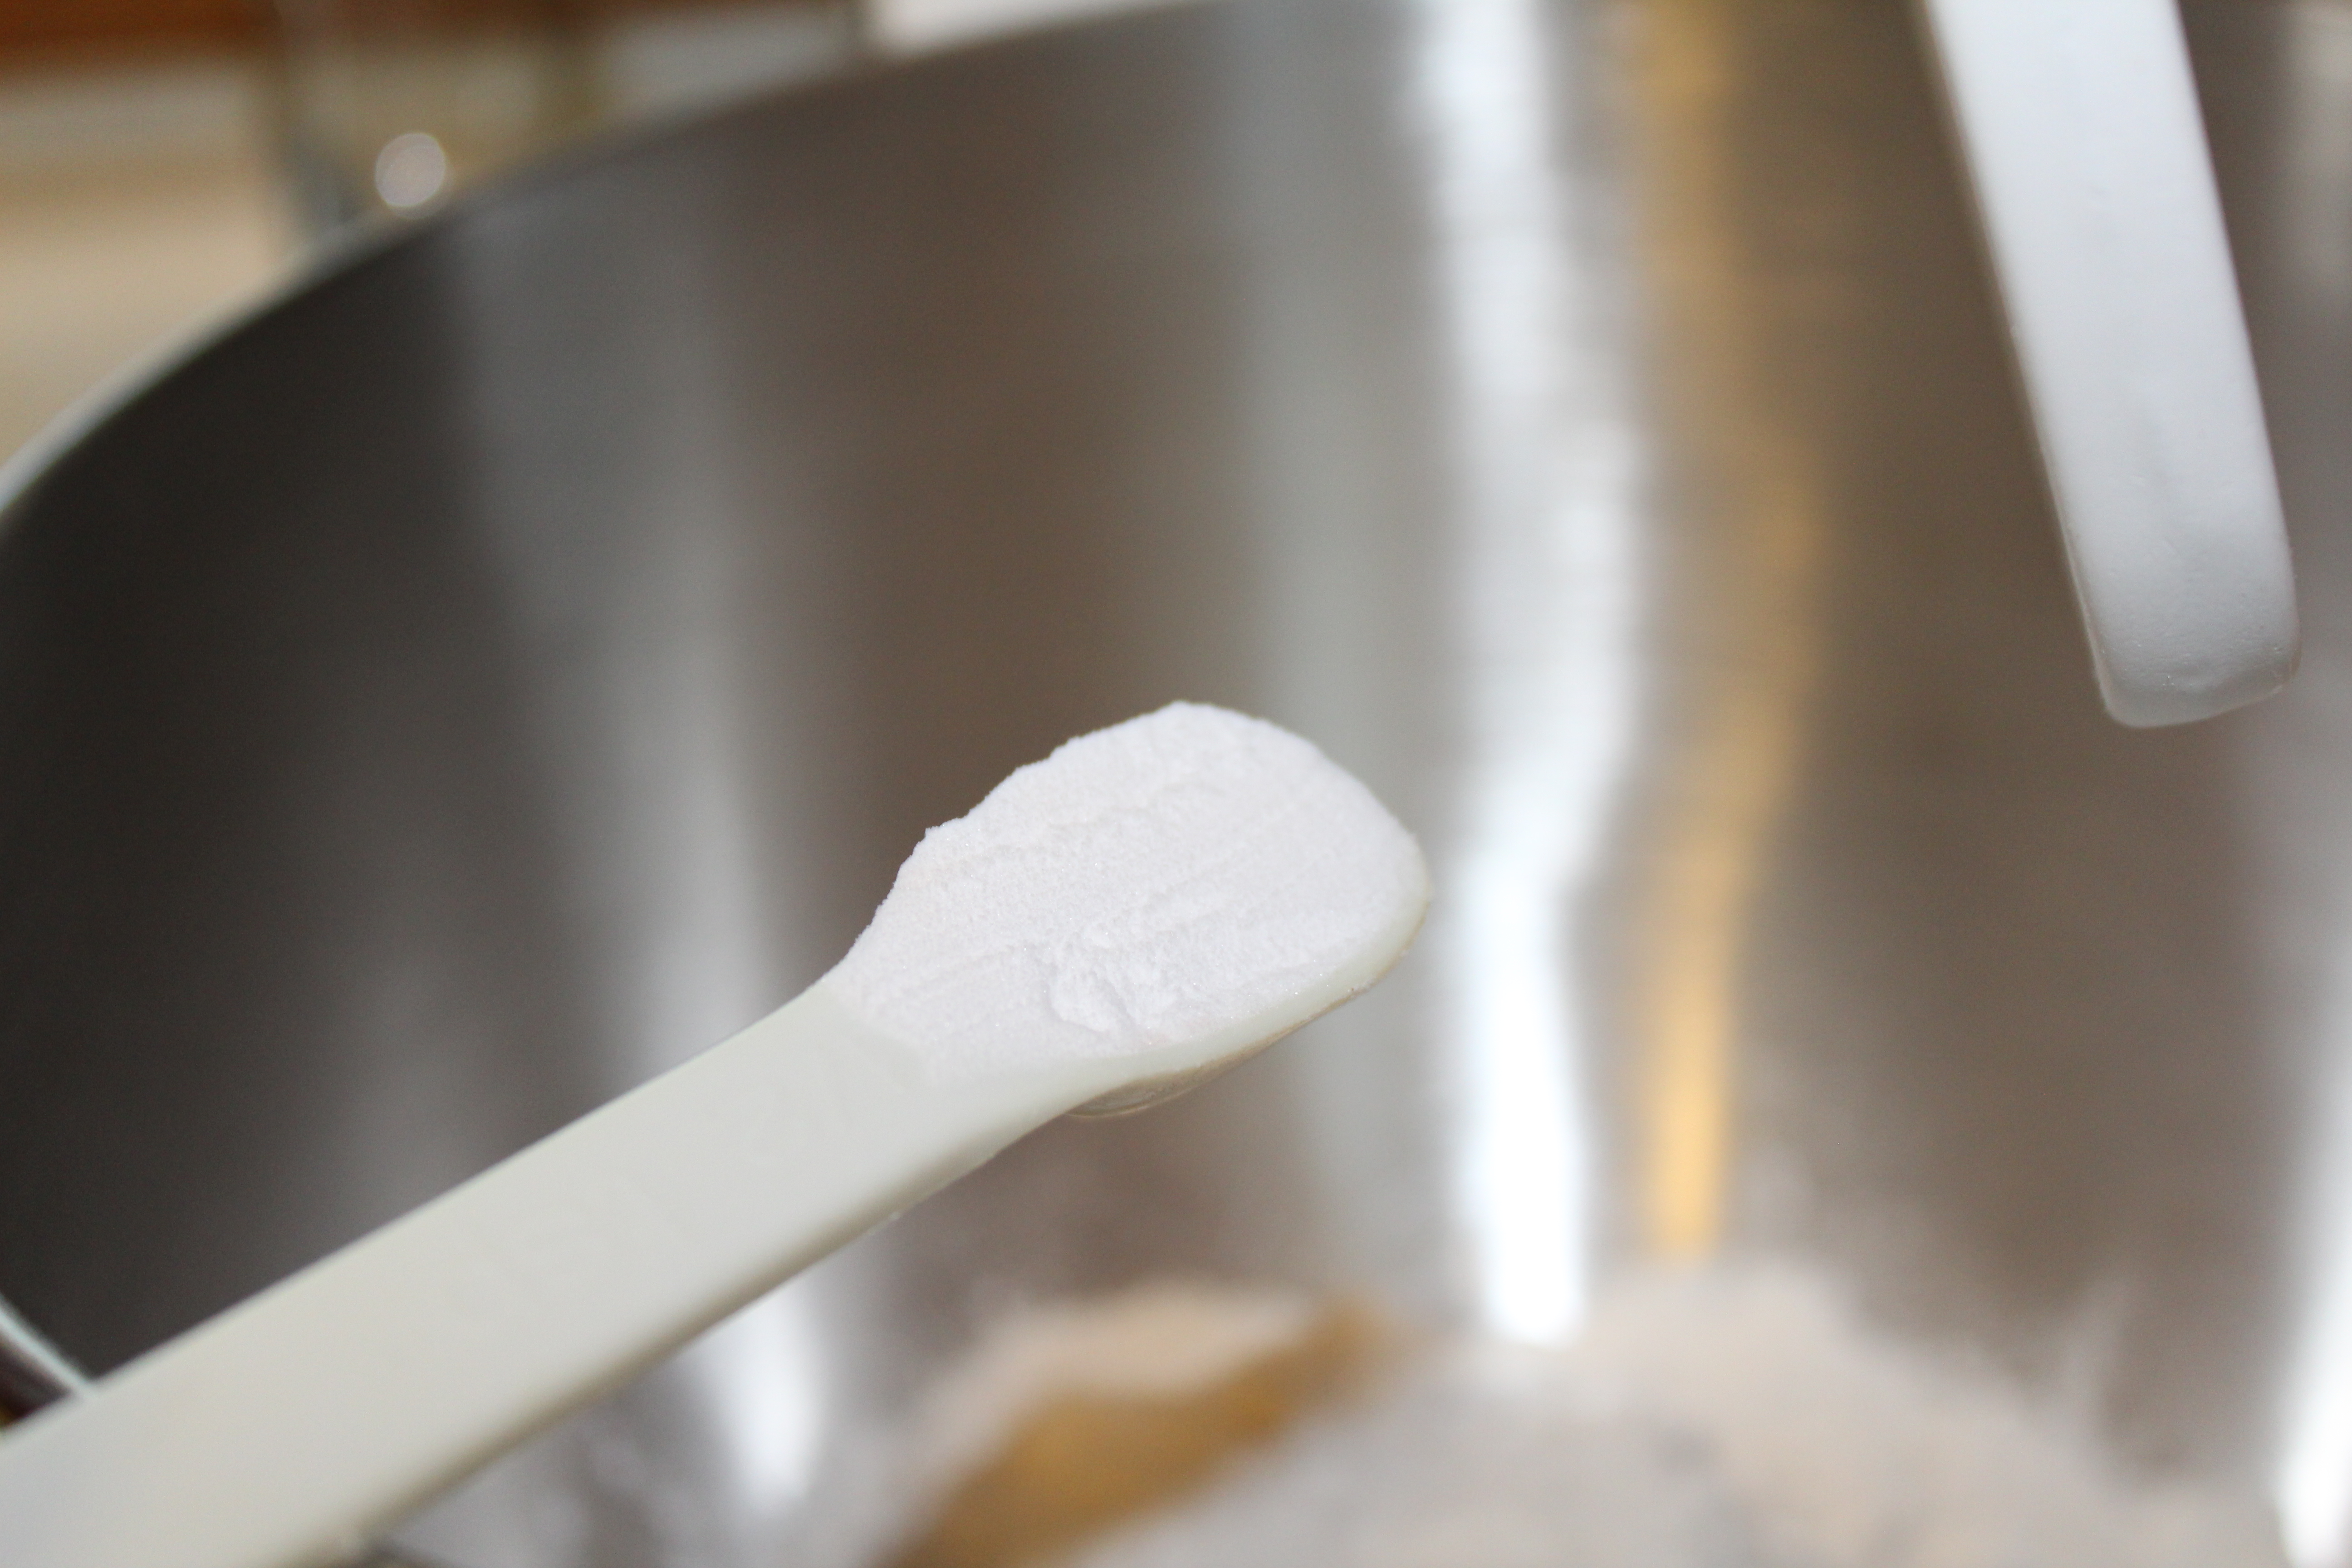
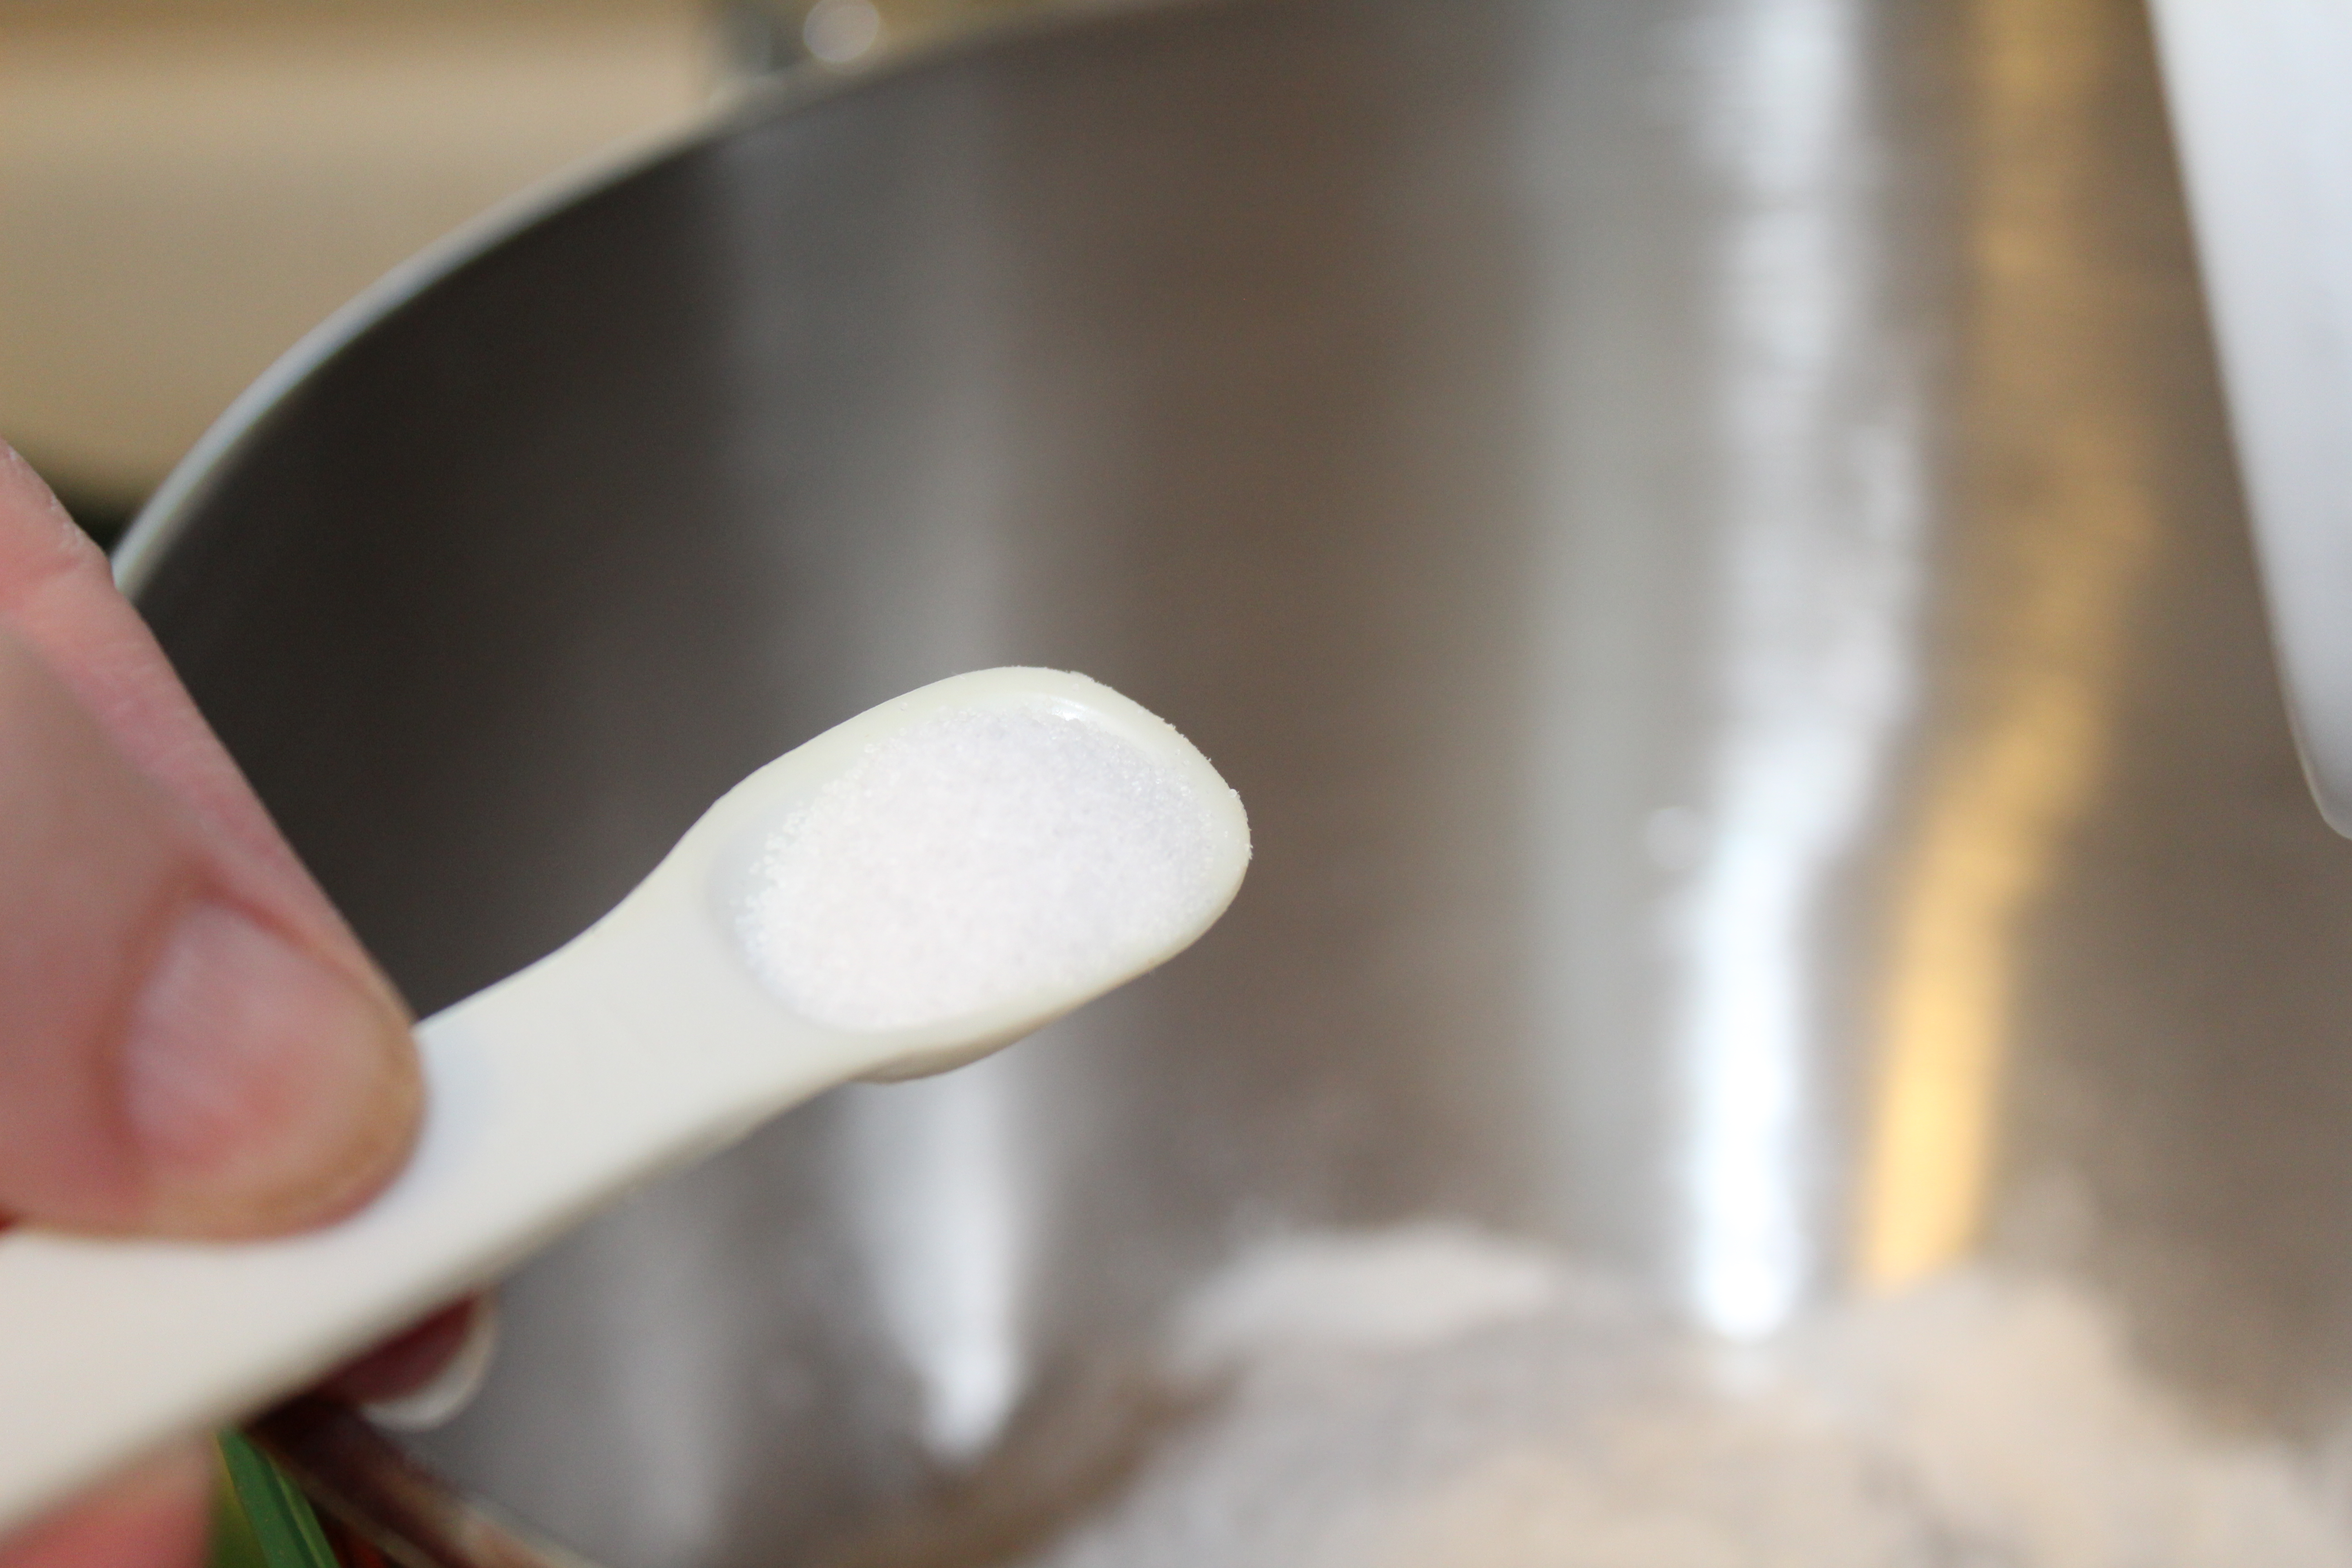
Add the baking soda.

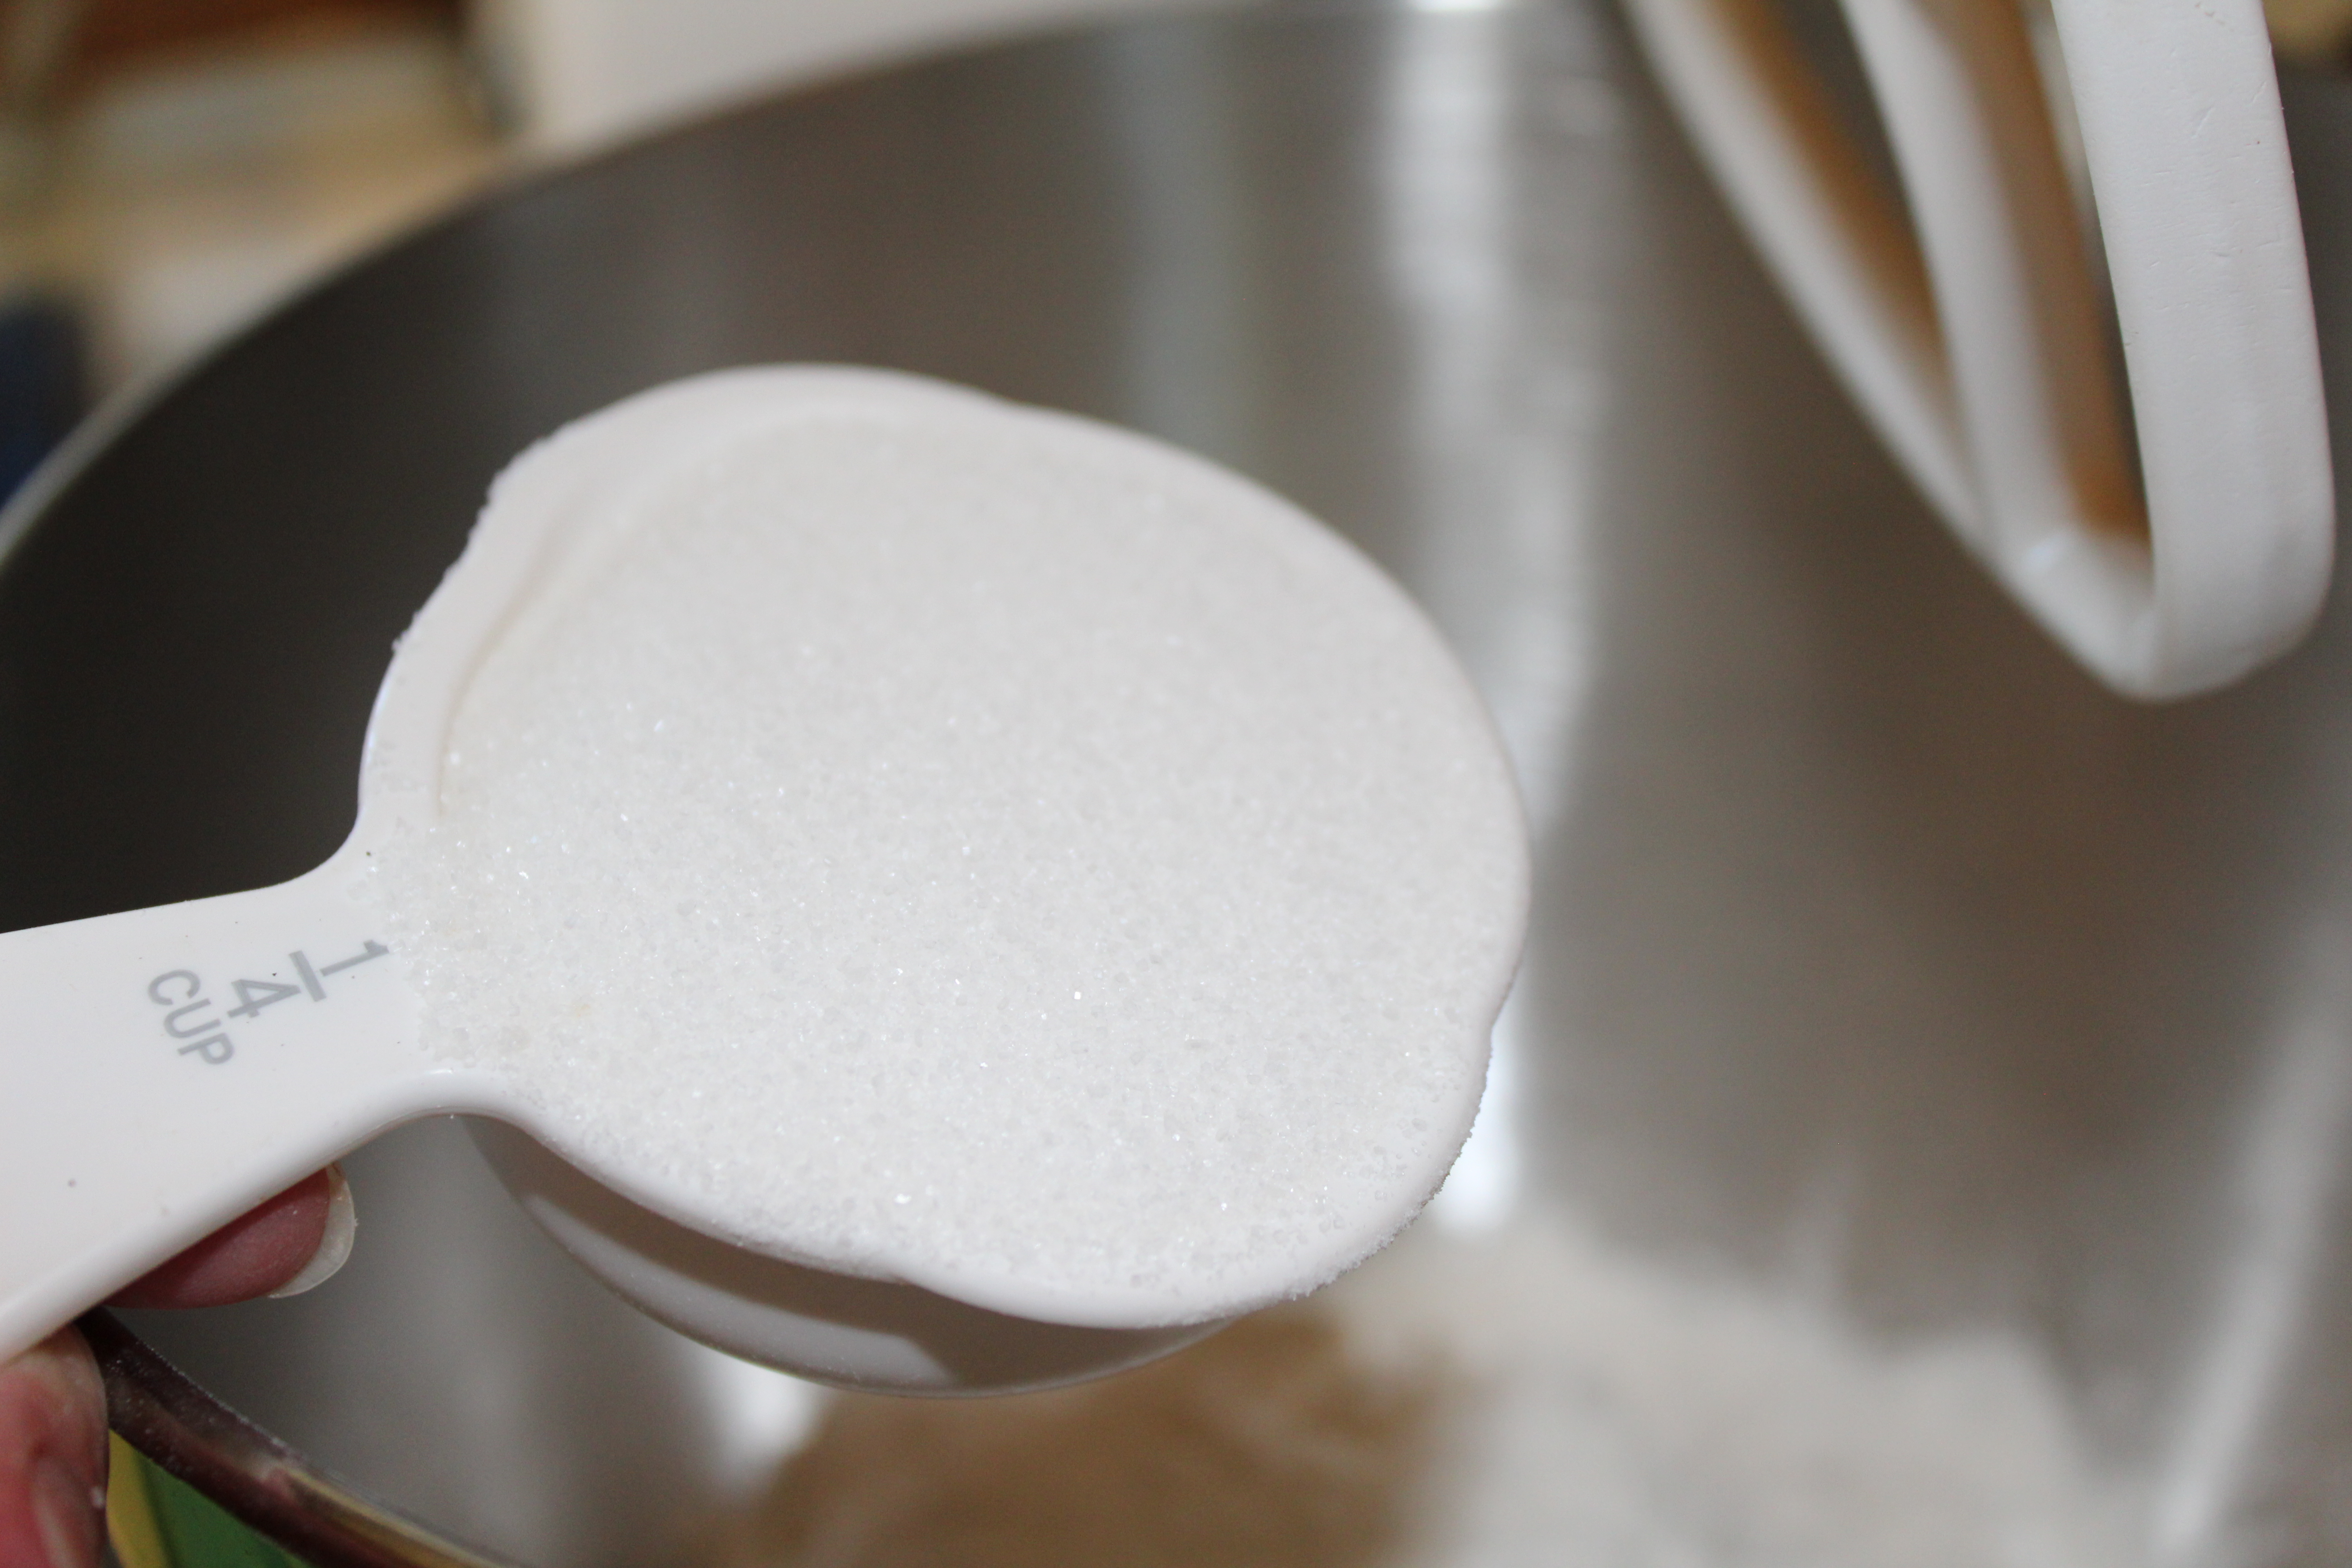
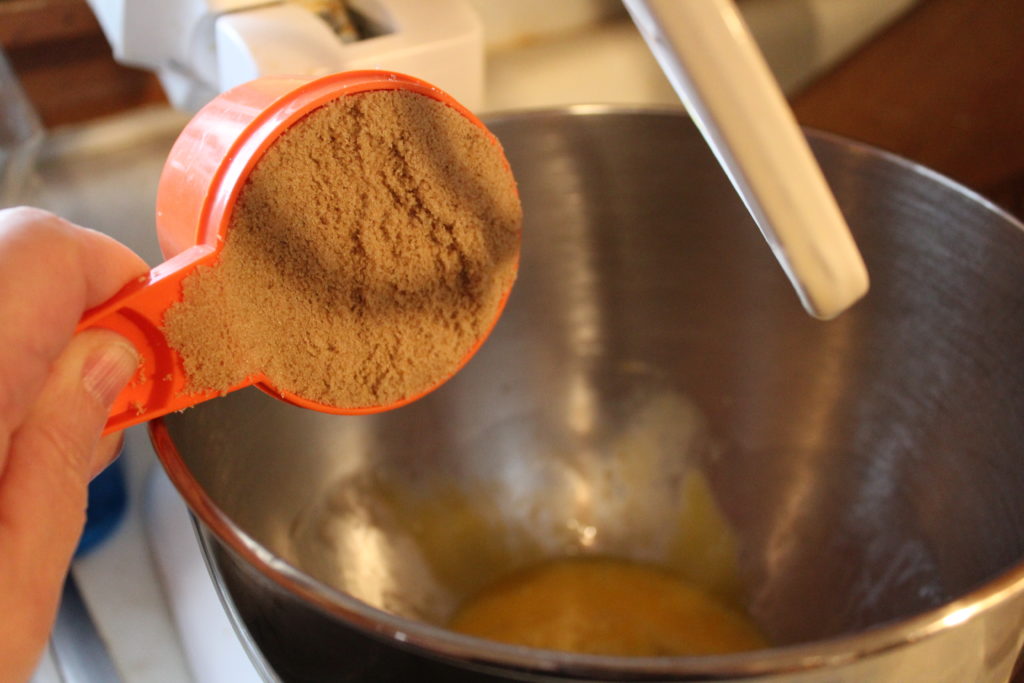
and add the sugar and stir to combine the dry ingredients.

Grate your cold butter and toss it into the flour mixture and toss it together to coat the butter.

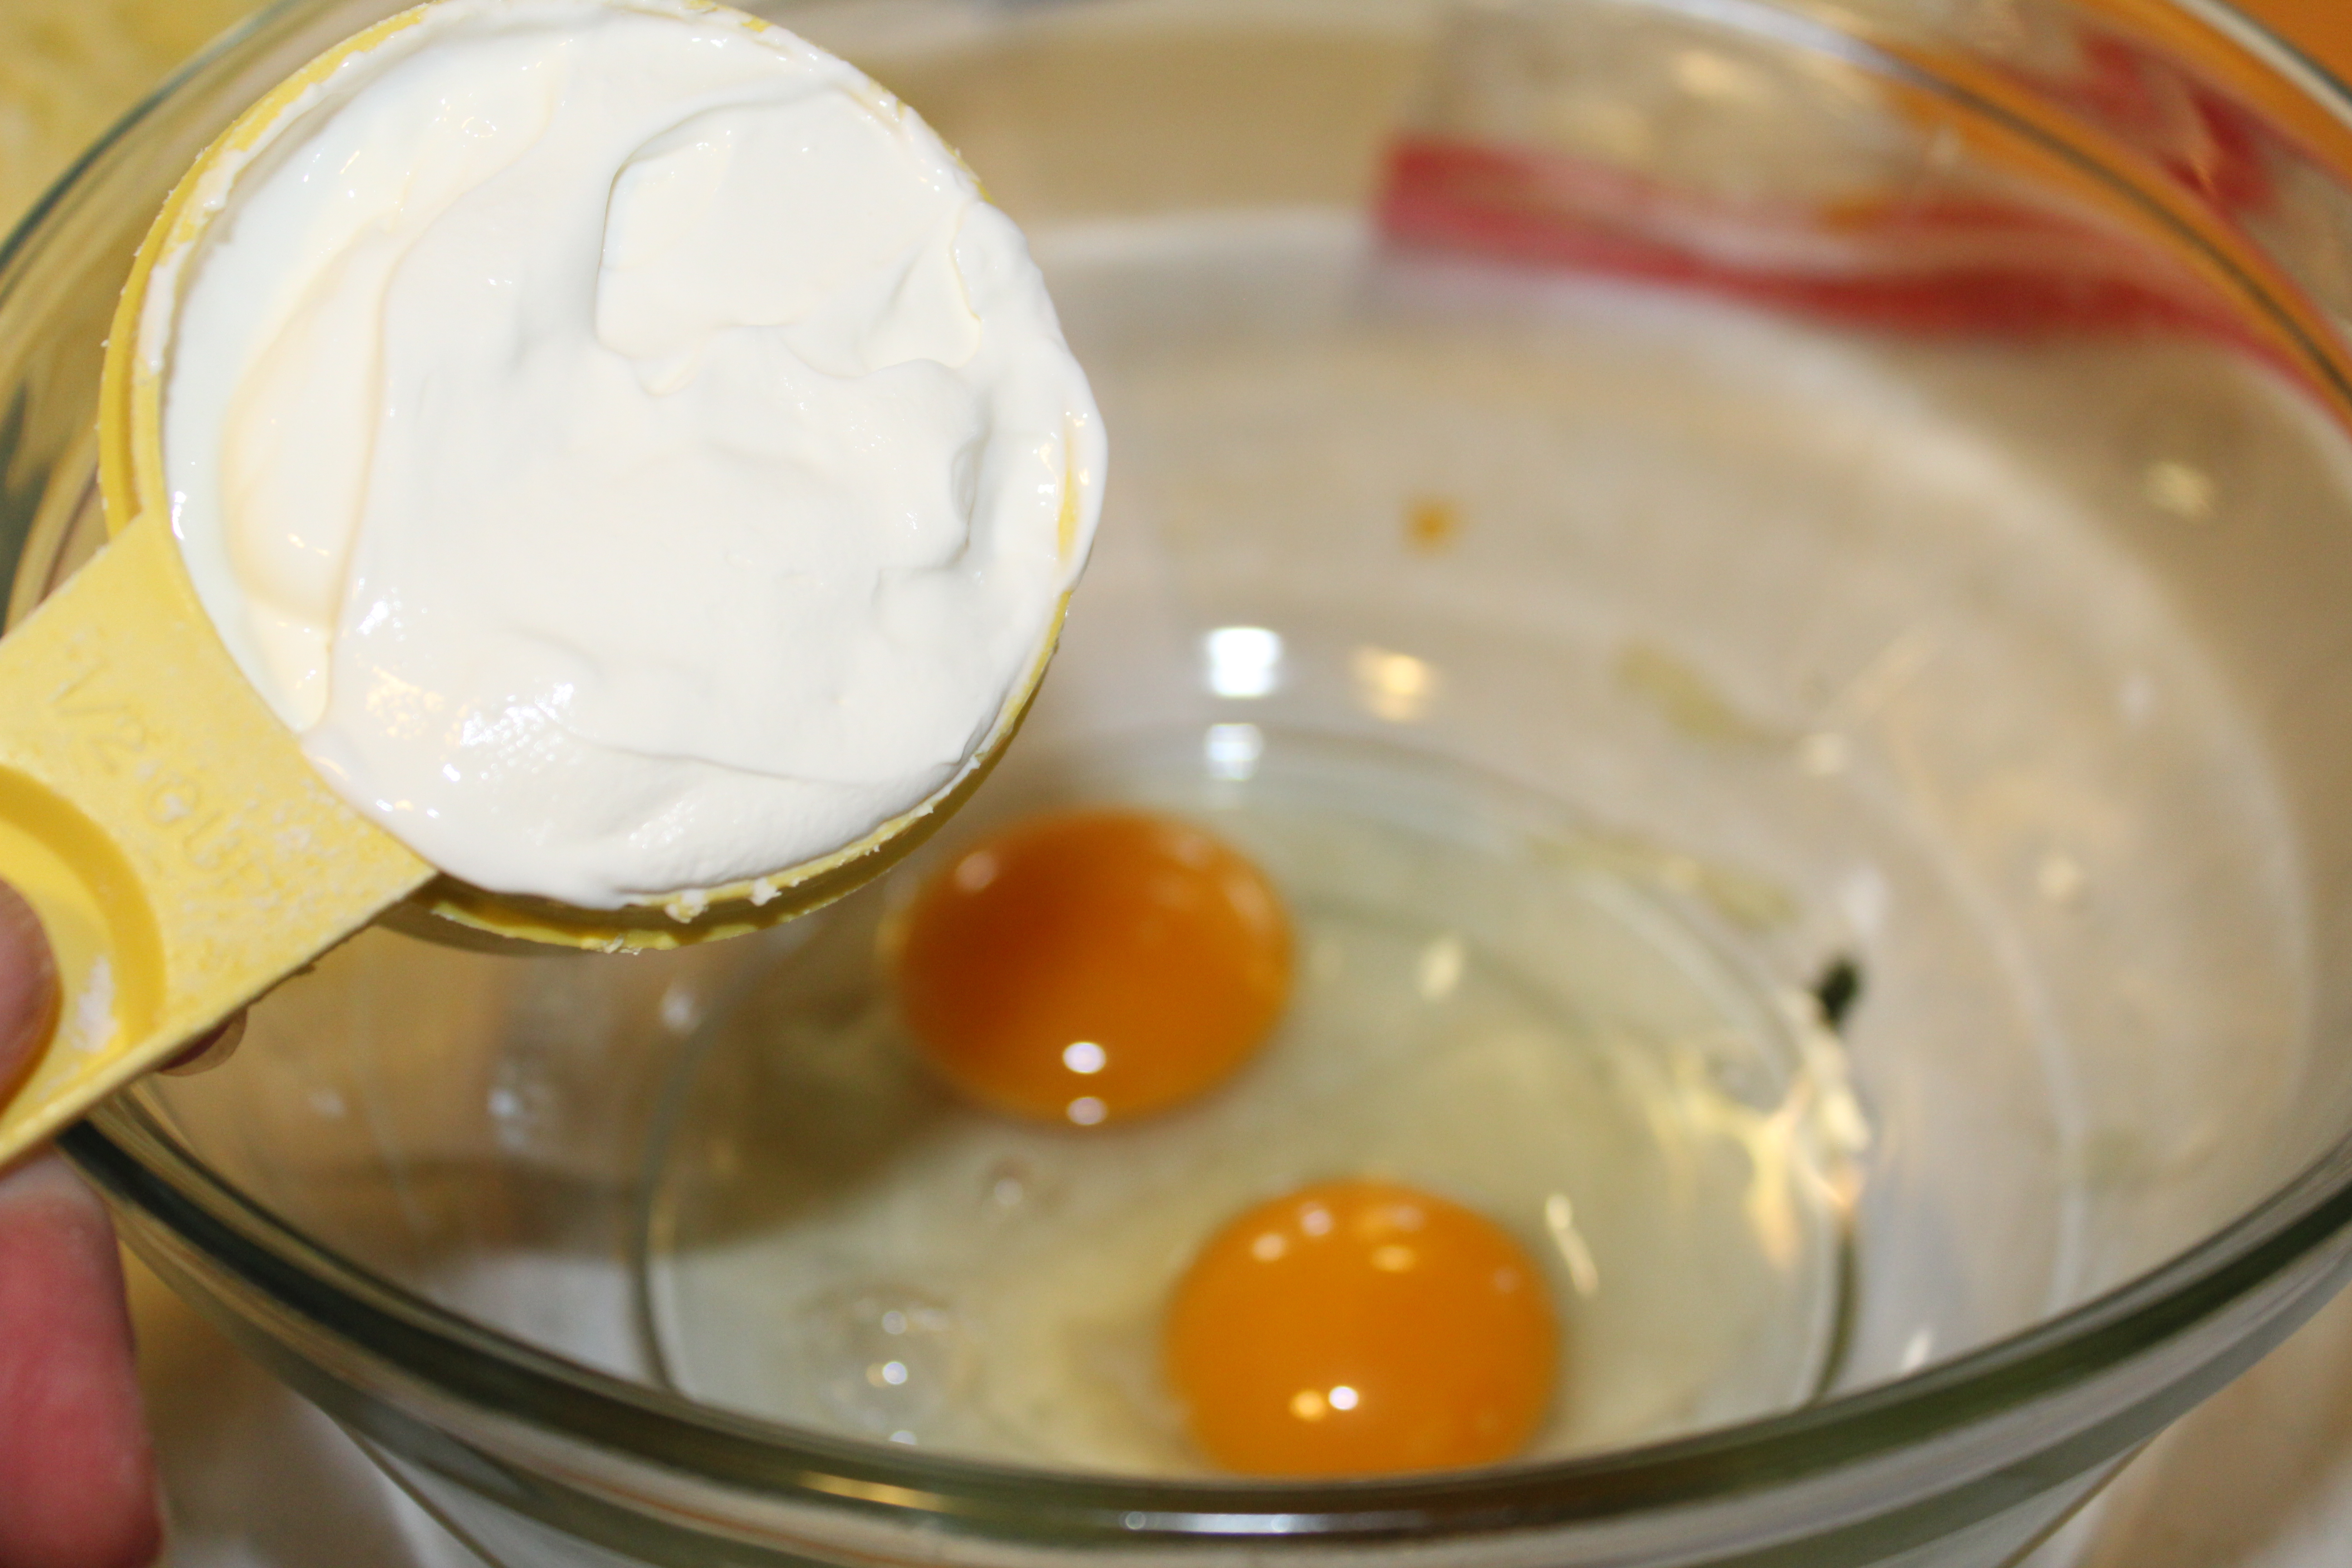
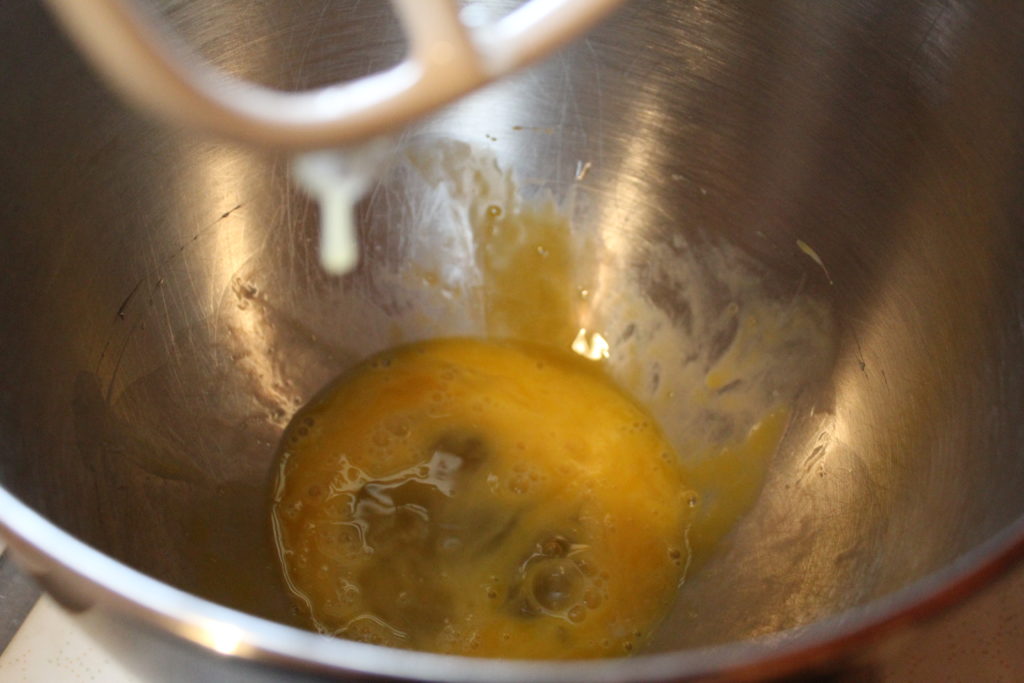
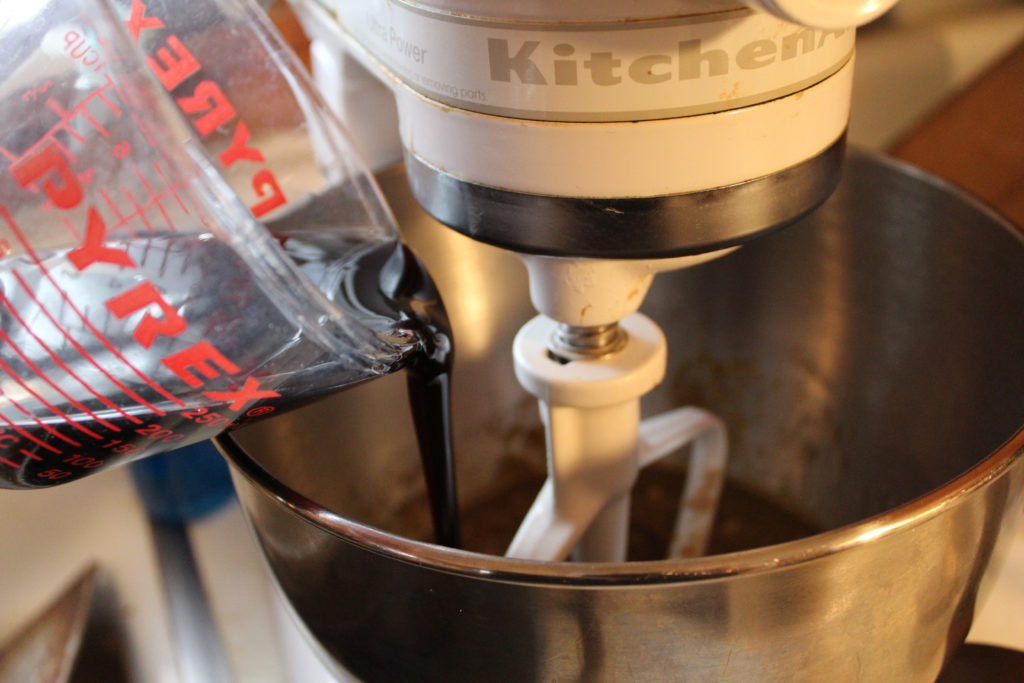
Next…in a bowl put in your eggs and sour cream. (yes it looks like two eggs cause it is…I was using super small eggs from the backyard chickens)

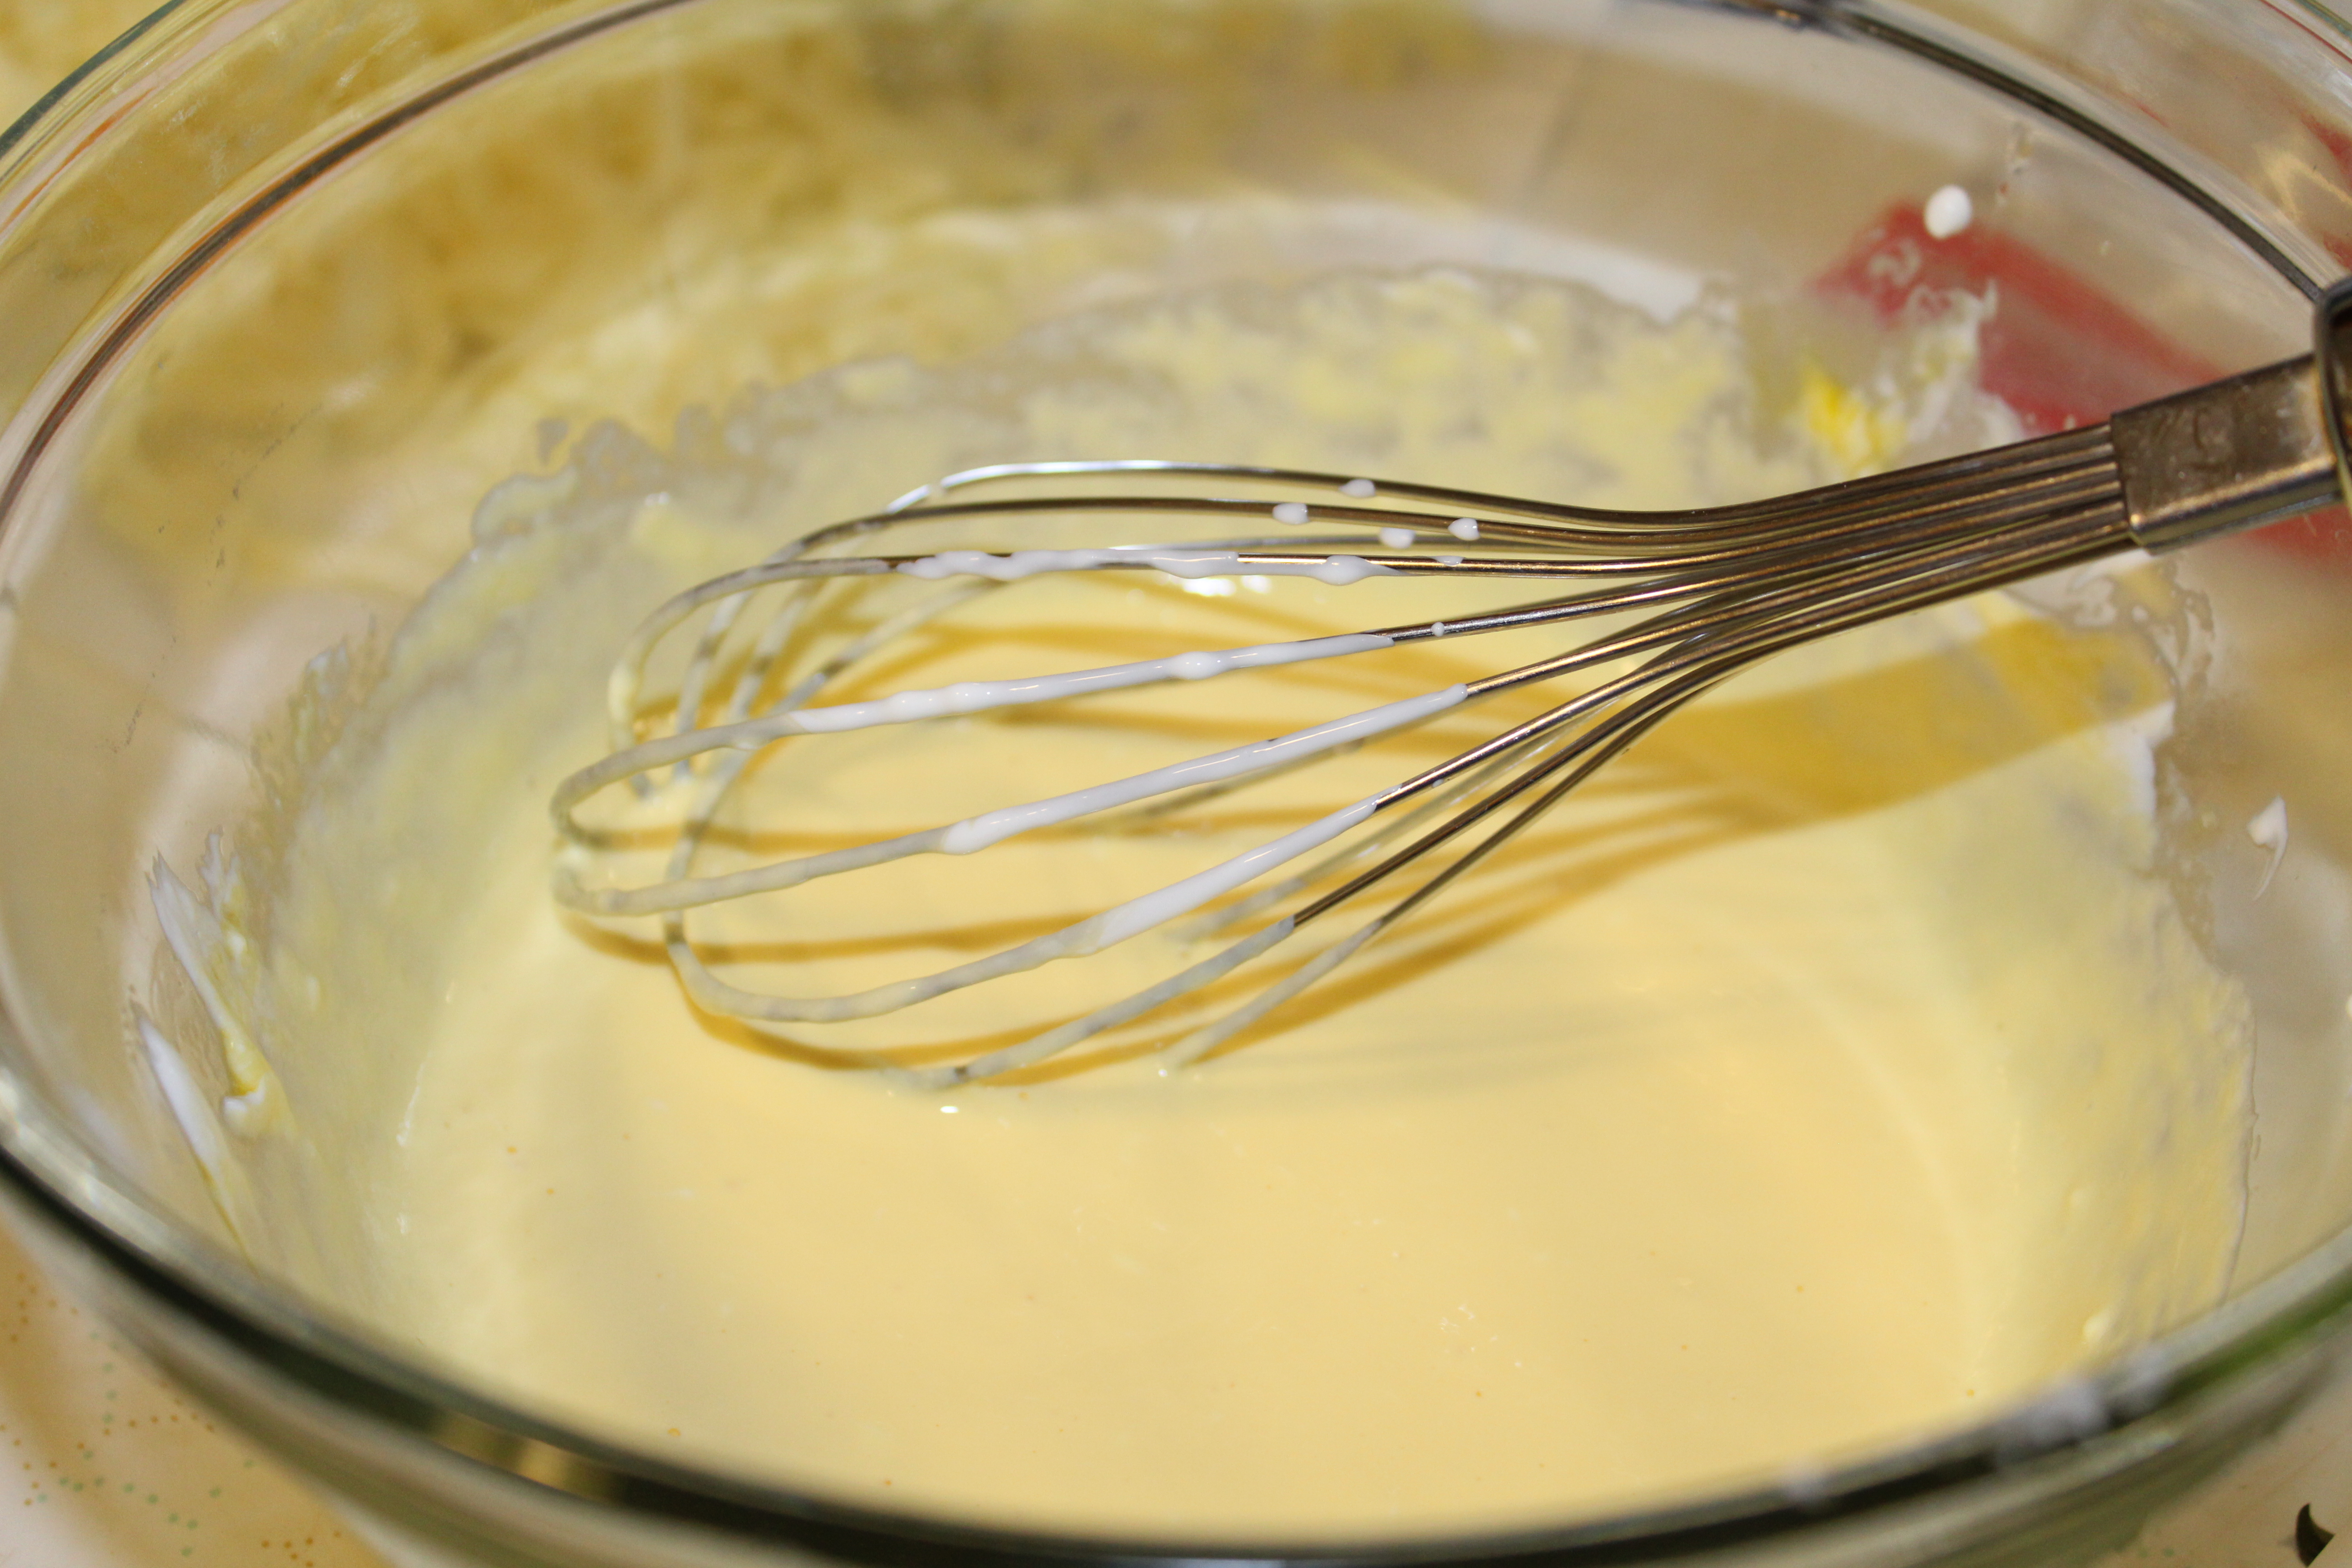
Whisk the egg and cream cheese together.


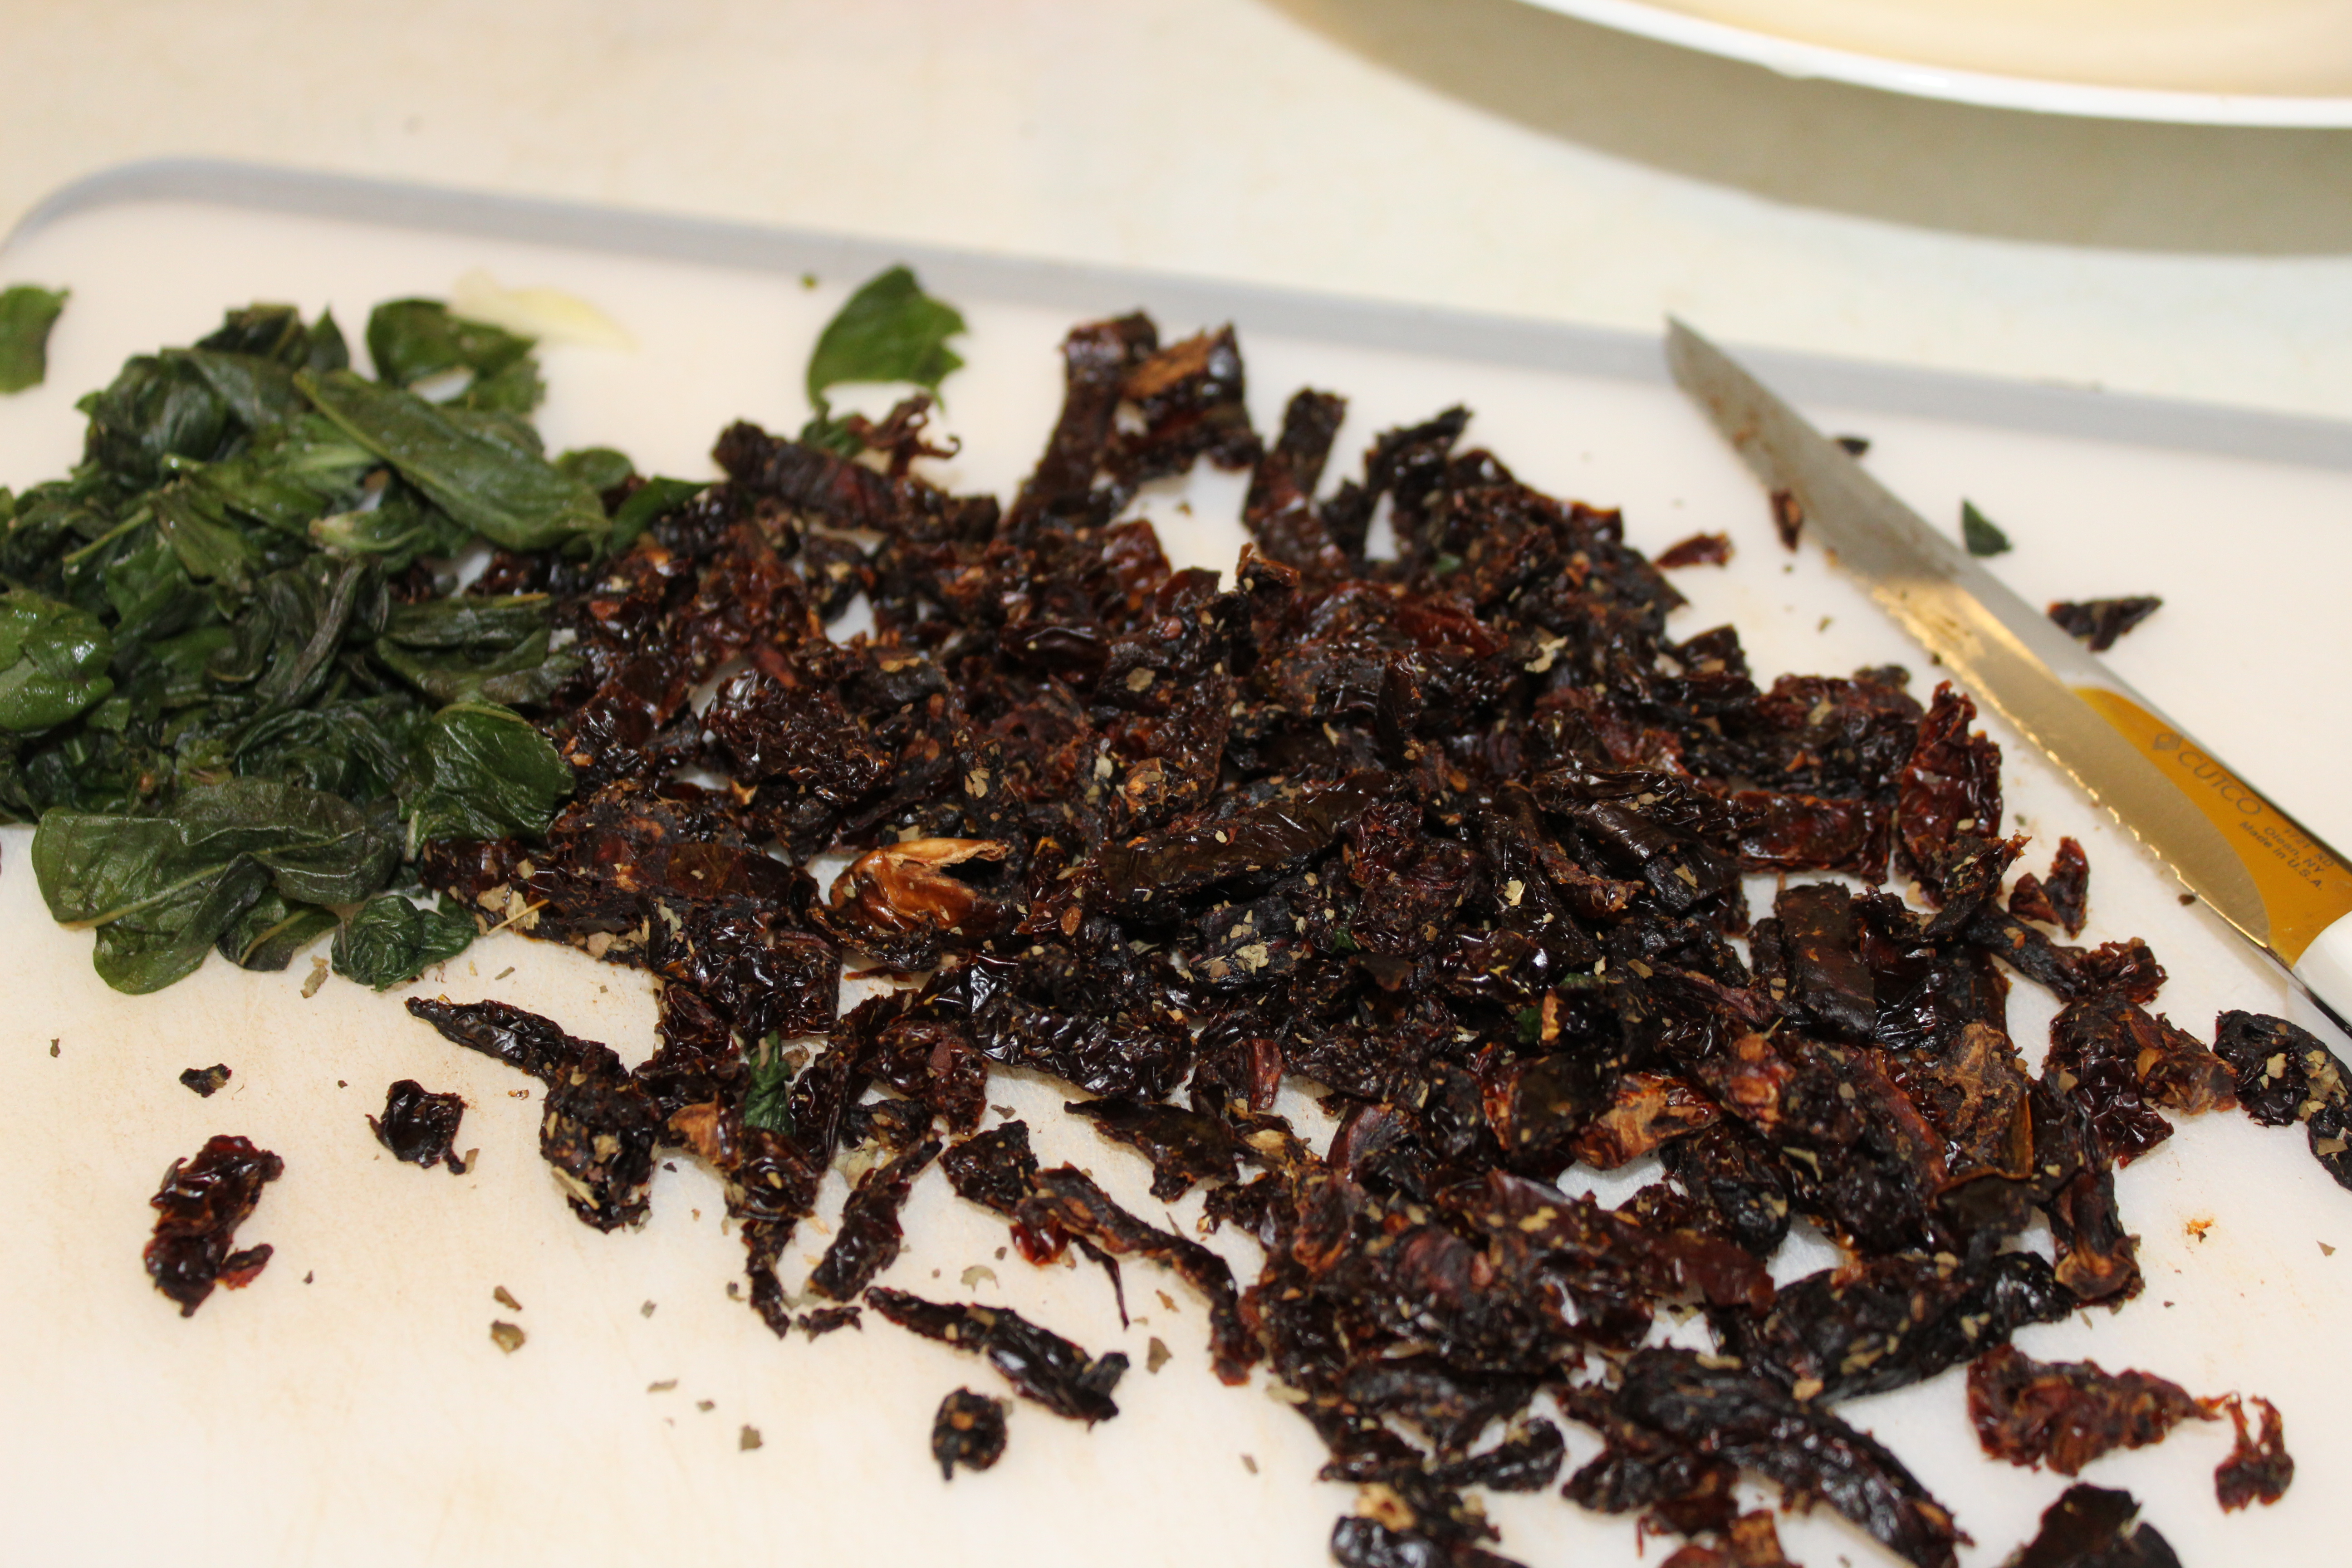
Now, cut up your sun dried tomatoes and basil. I used a super sharp knife for this. Some kitchen shears might work great too…but they were missing from my kitchen..MMMM granddaughter possibly?
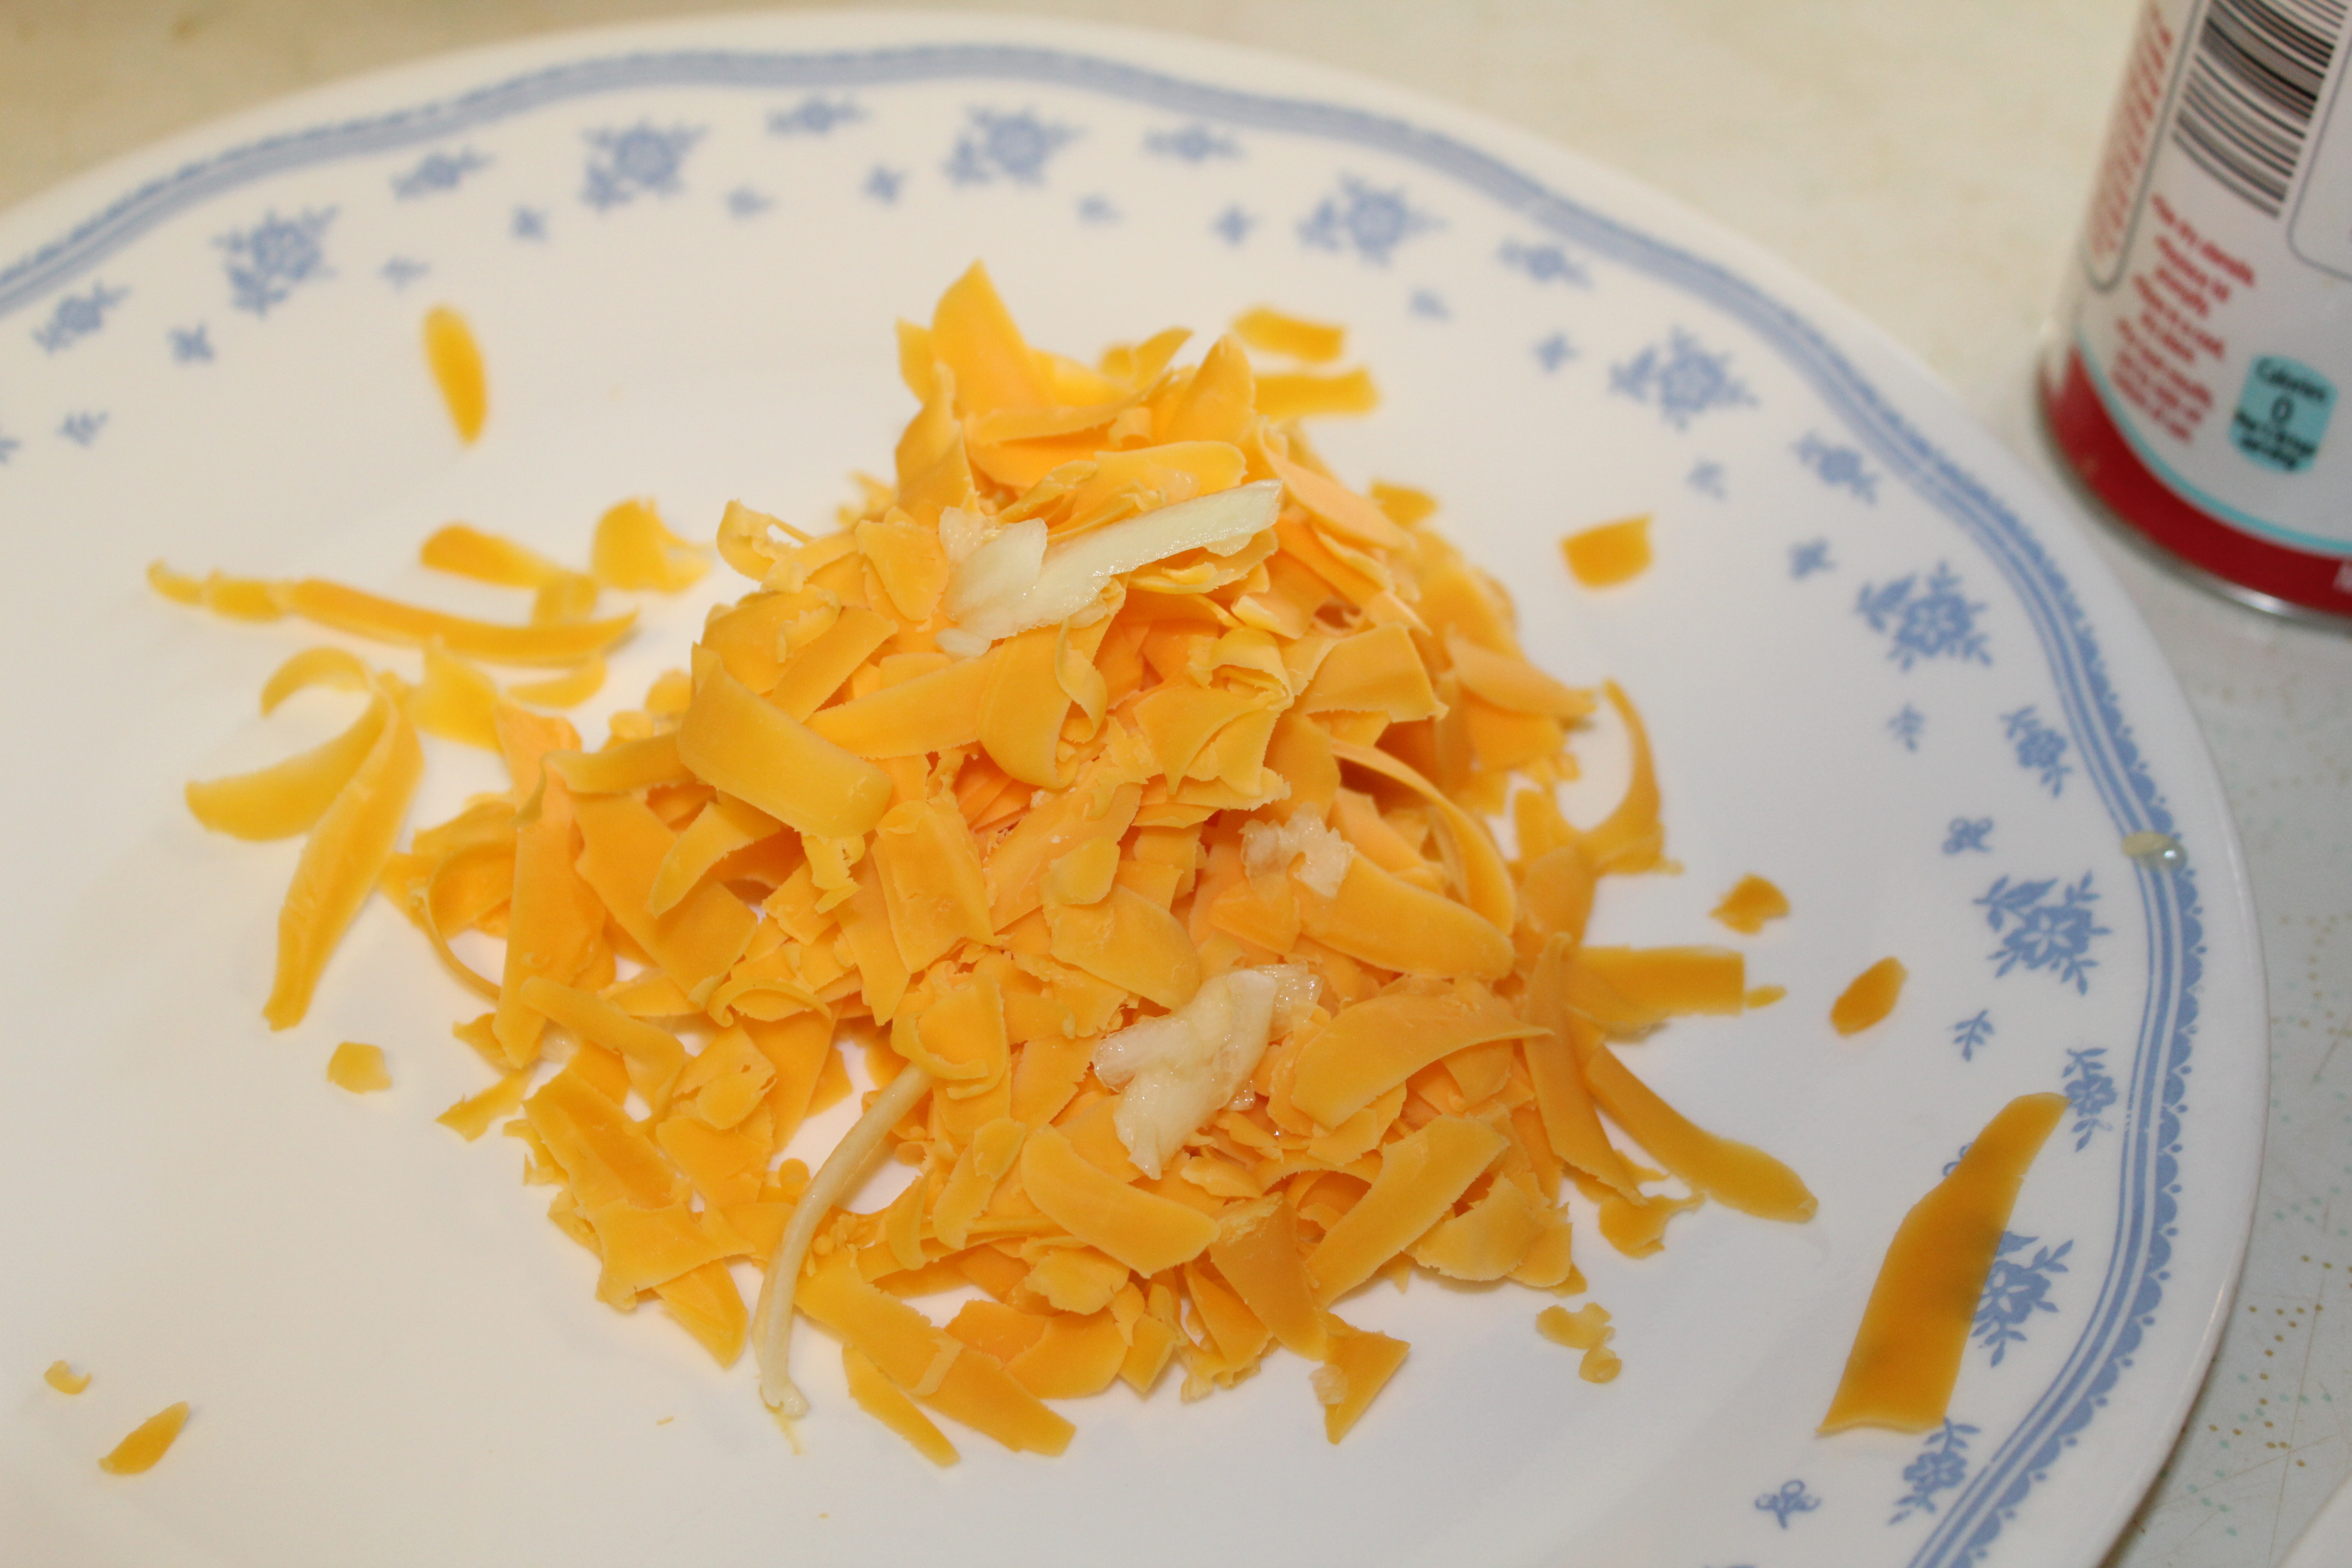
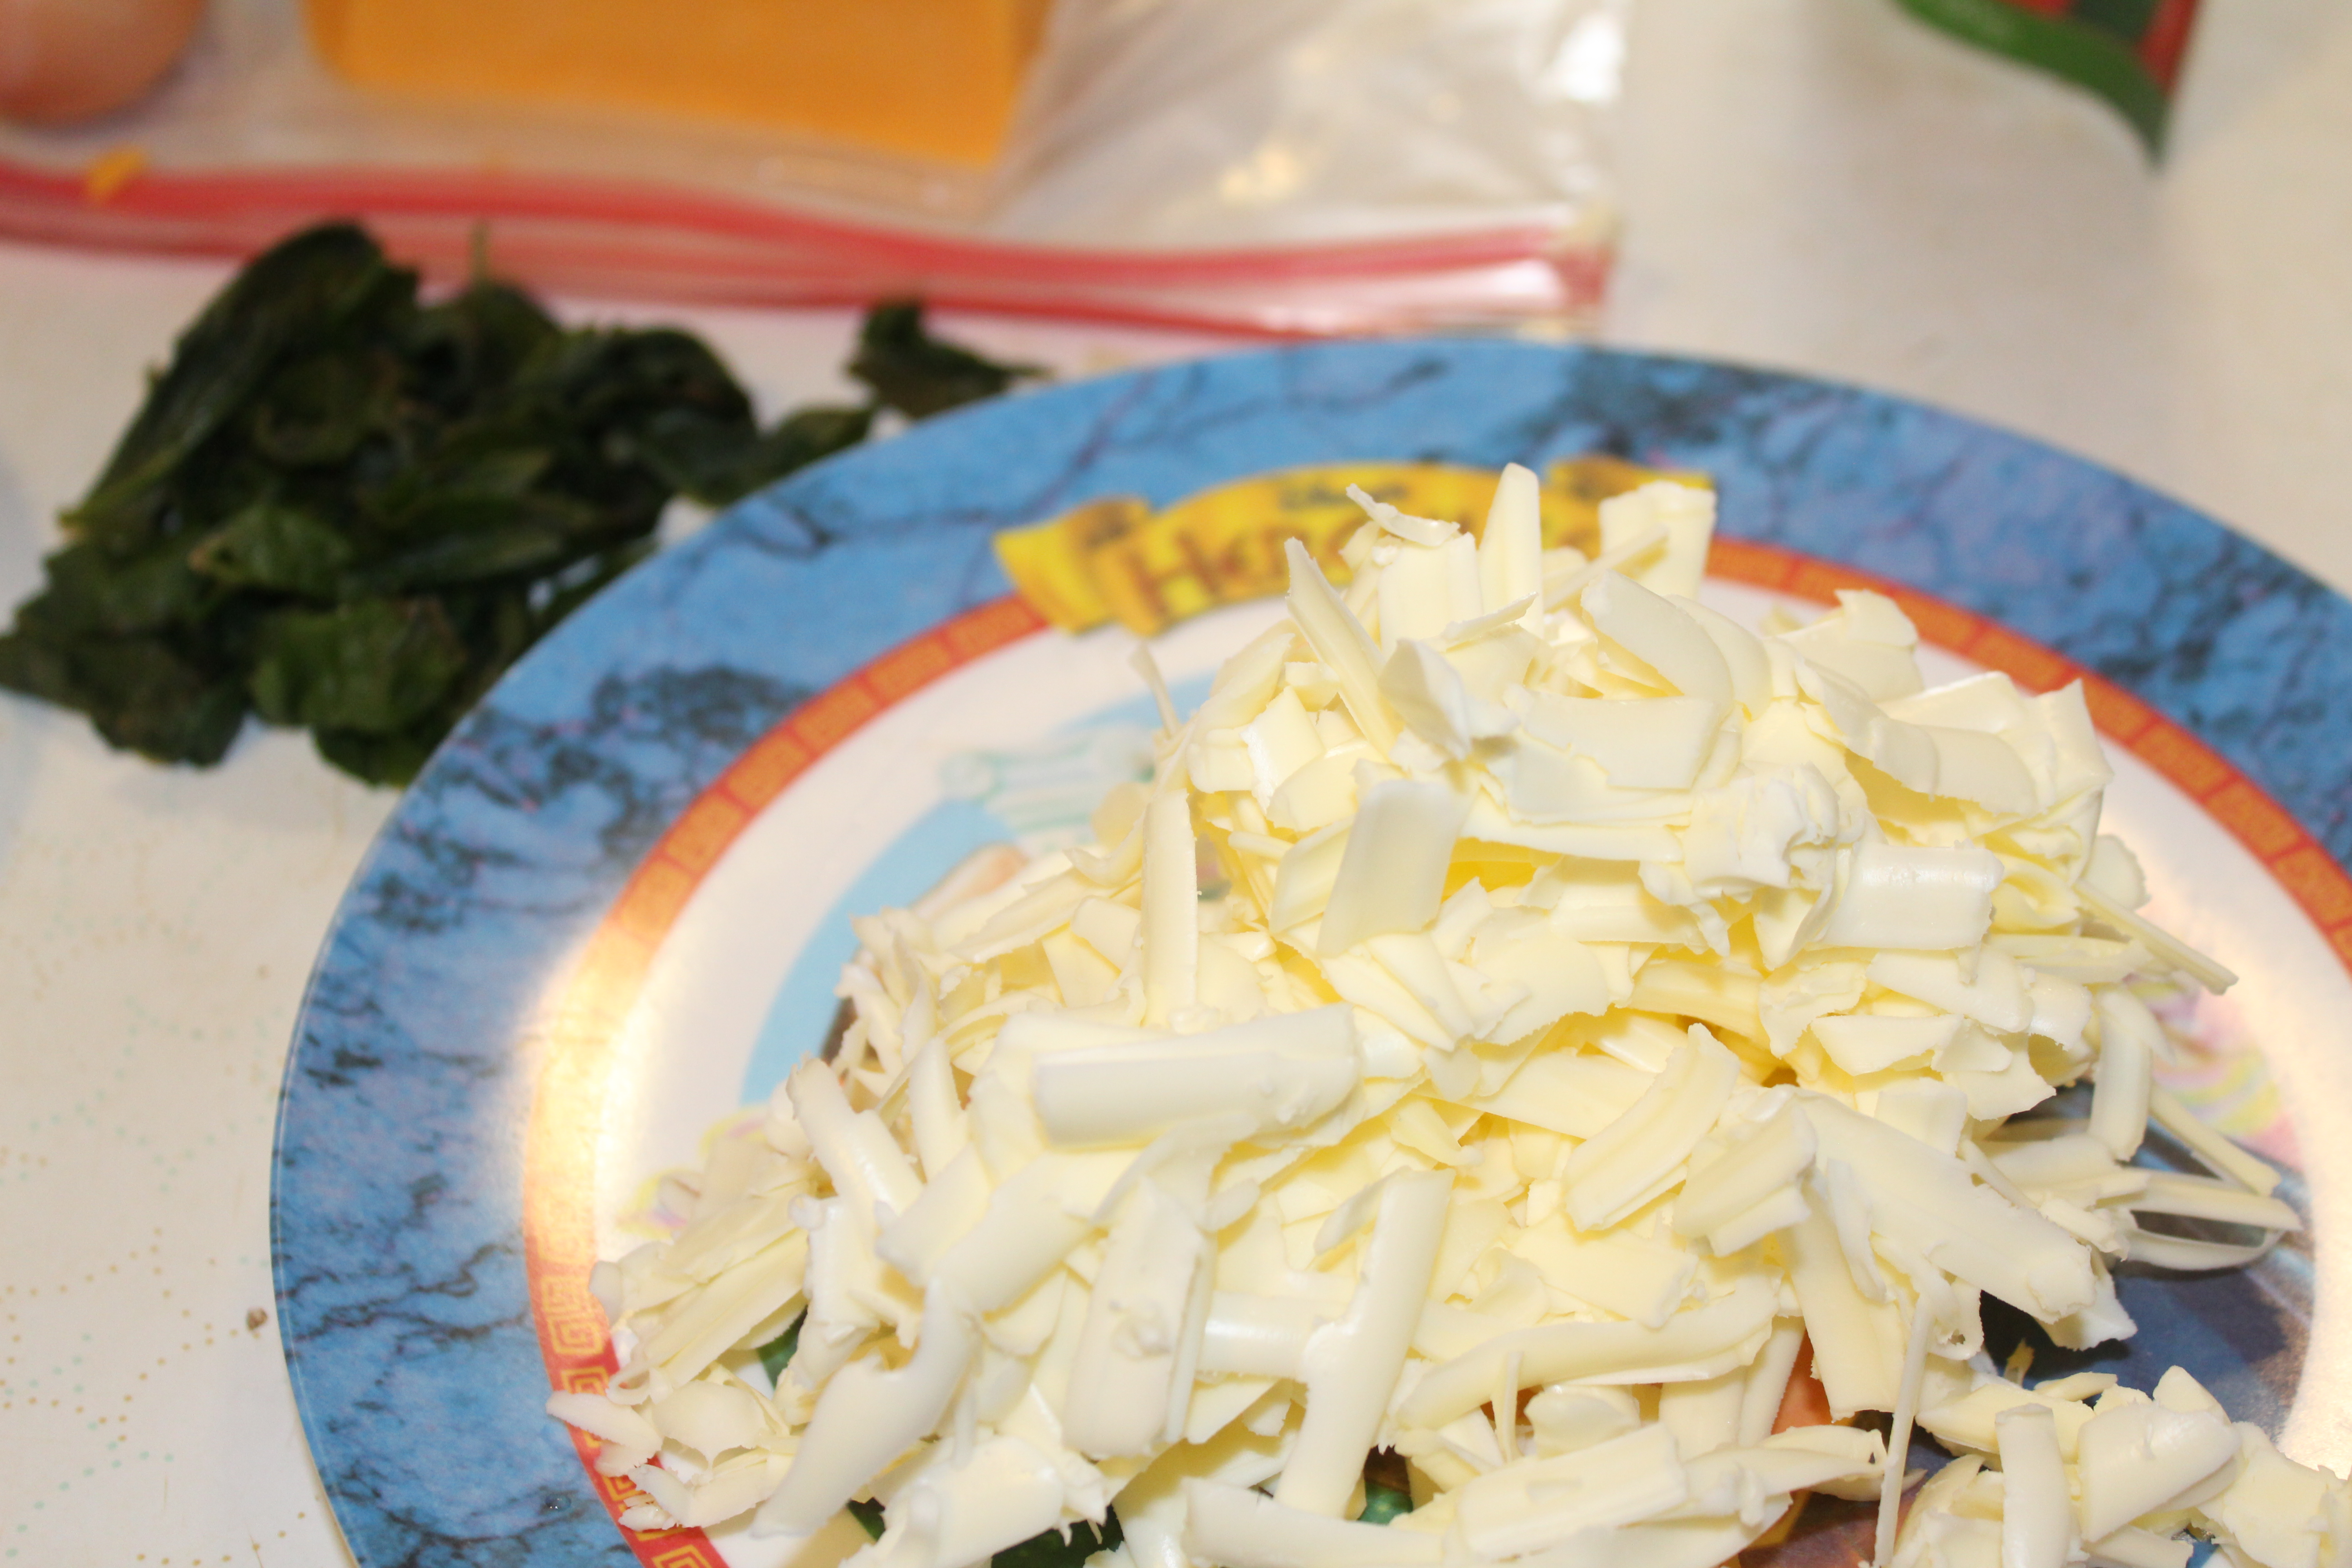
Grate your cheese.

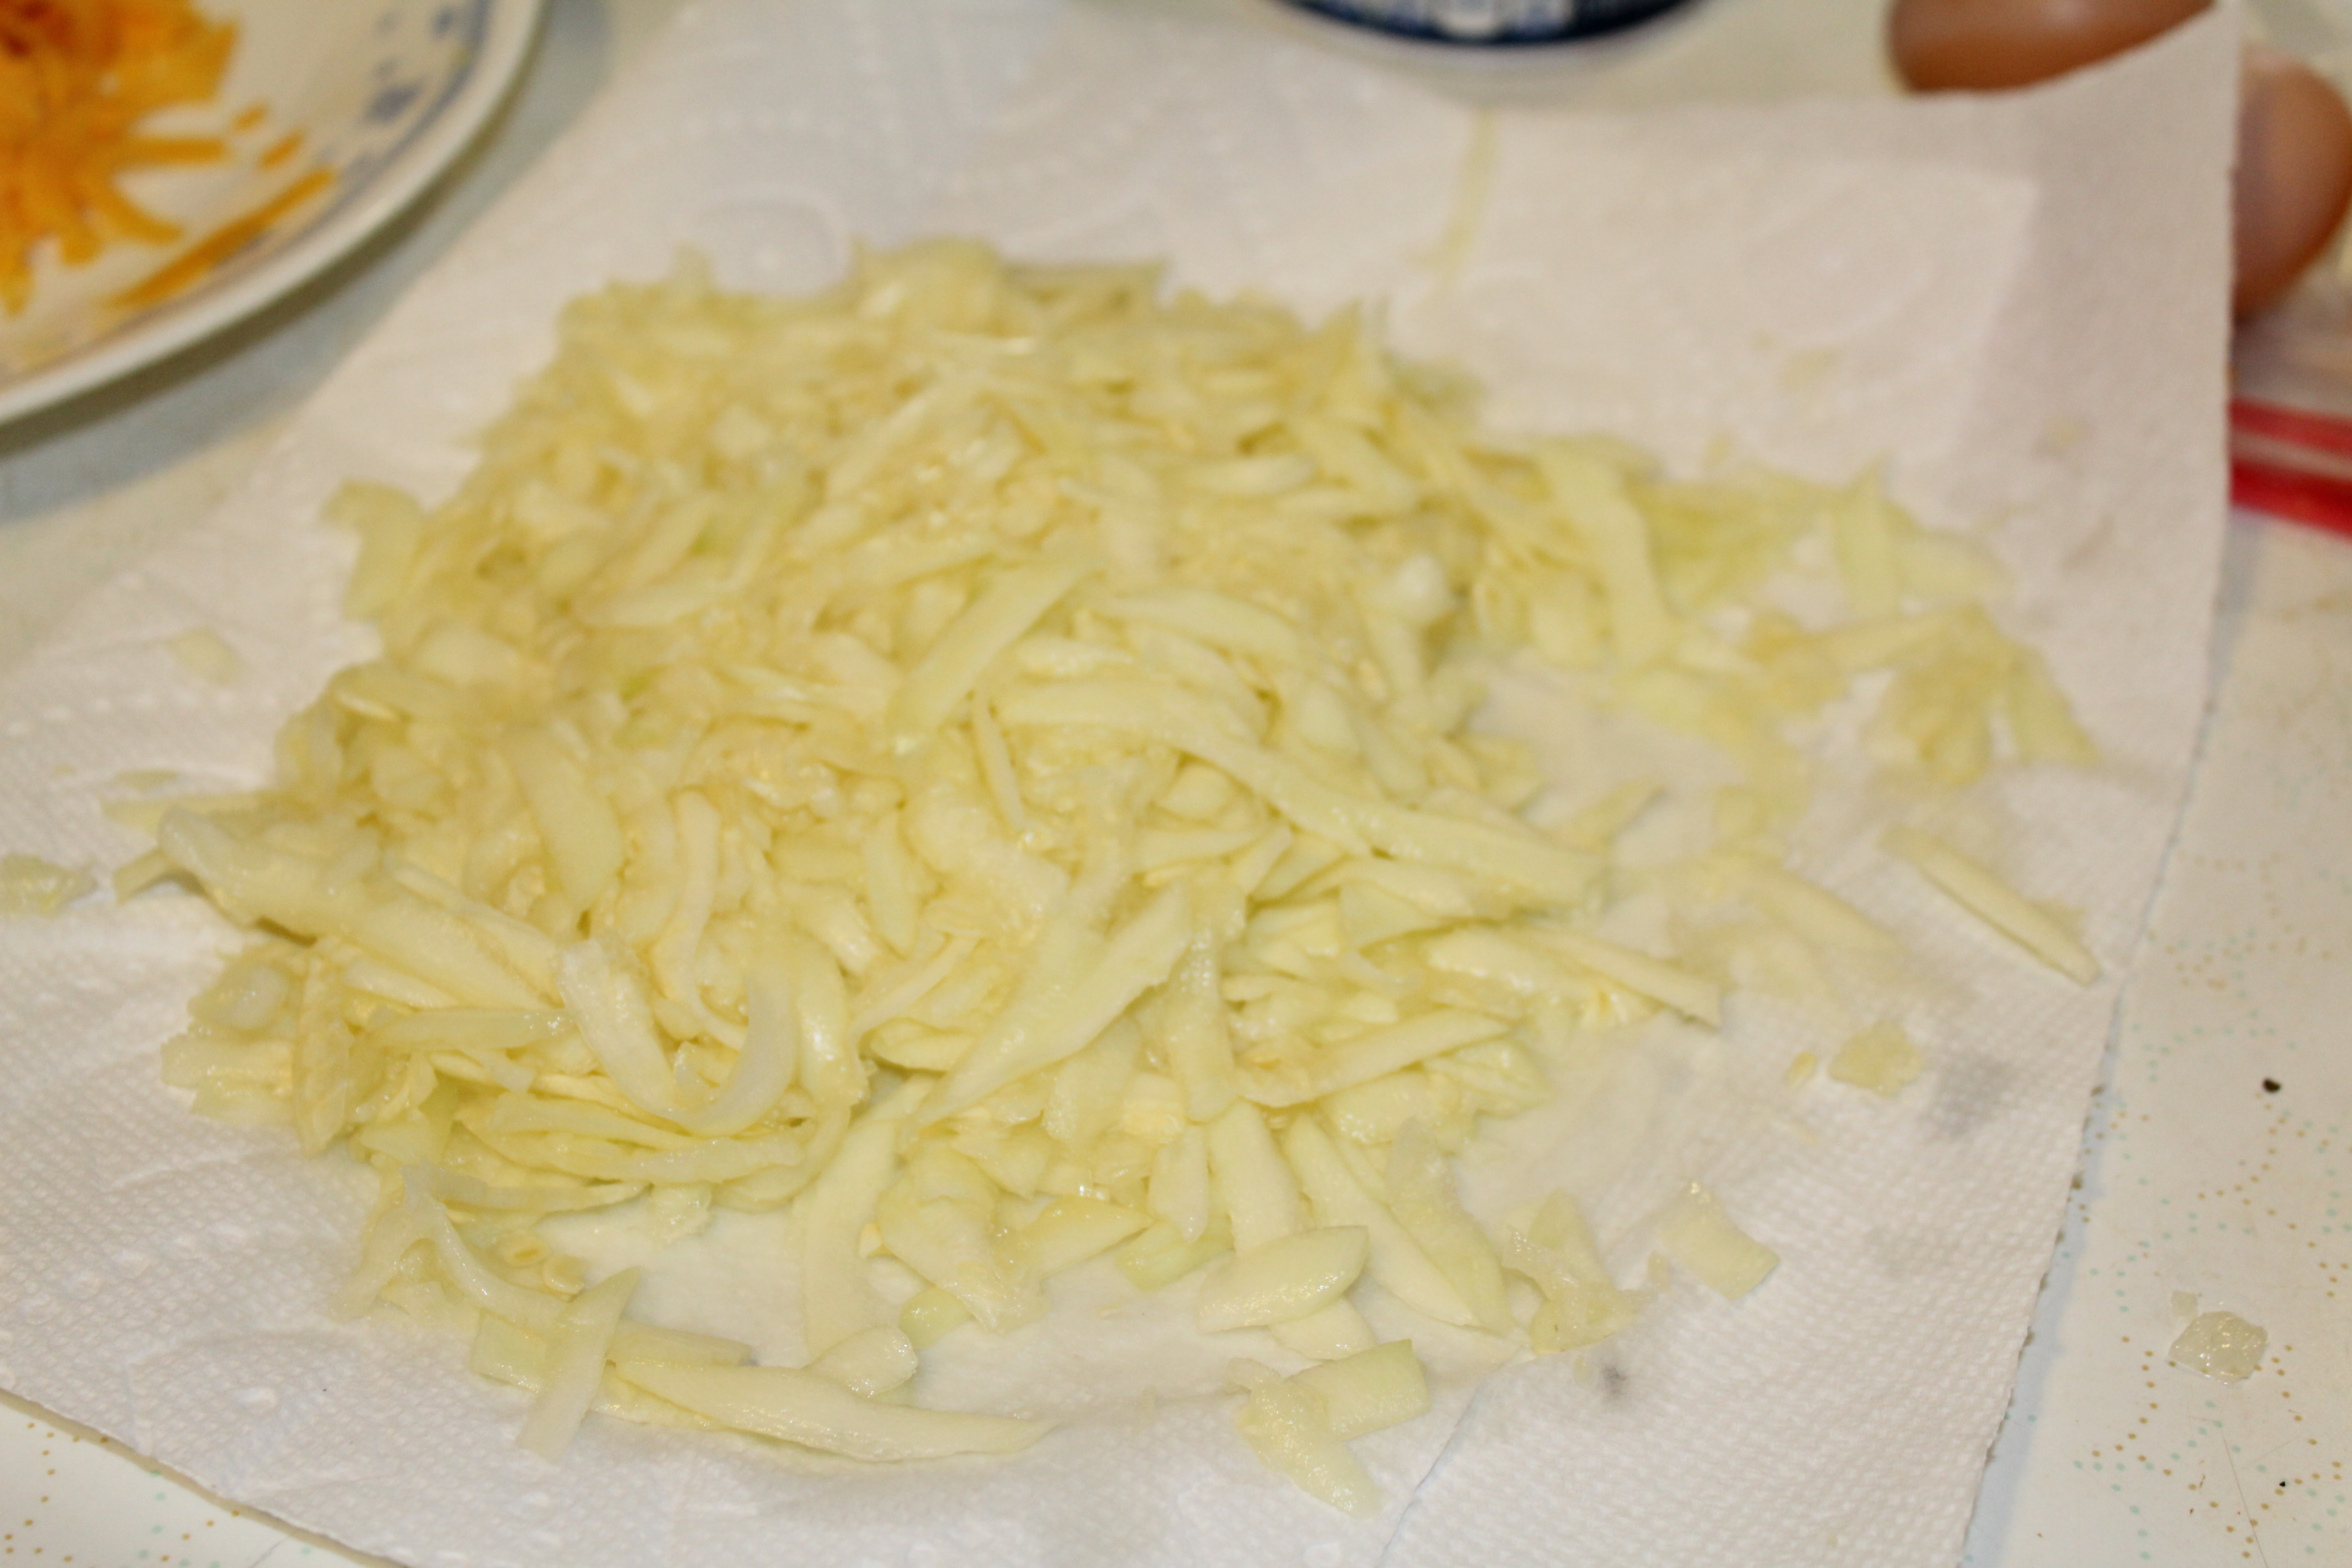
Grate your zucchini and then put it in a paper towel and squeeze all the moister out.

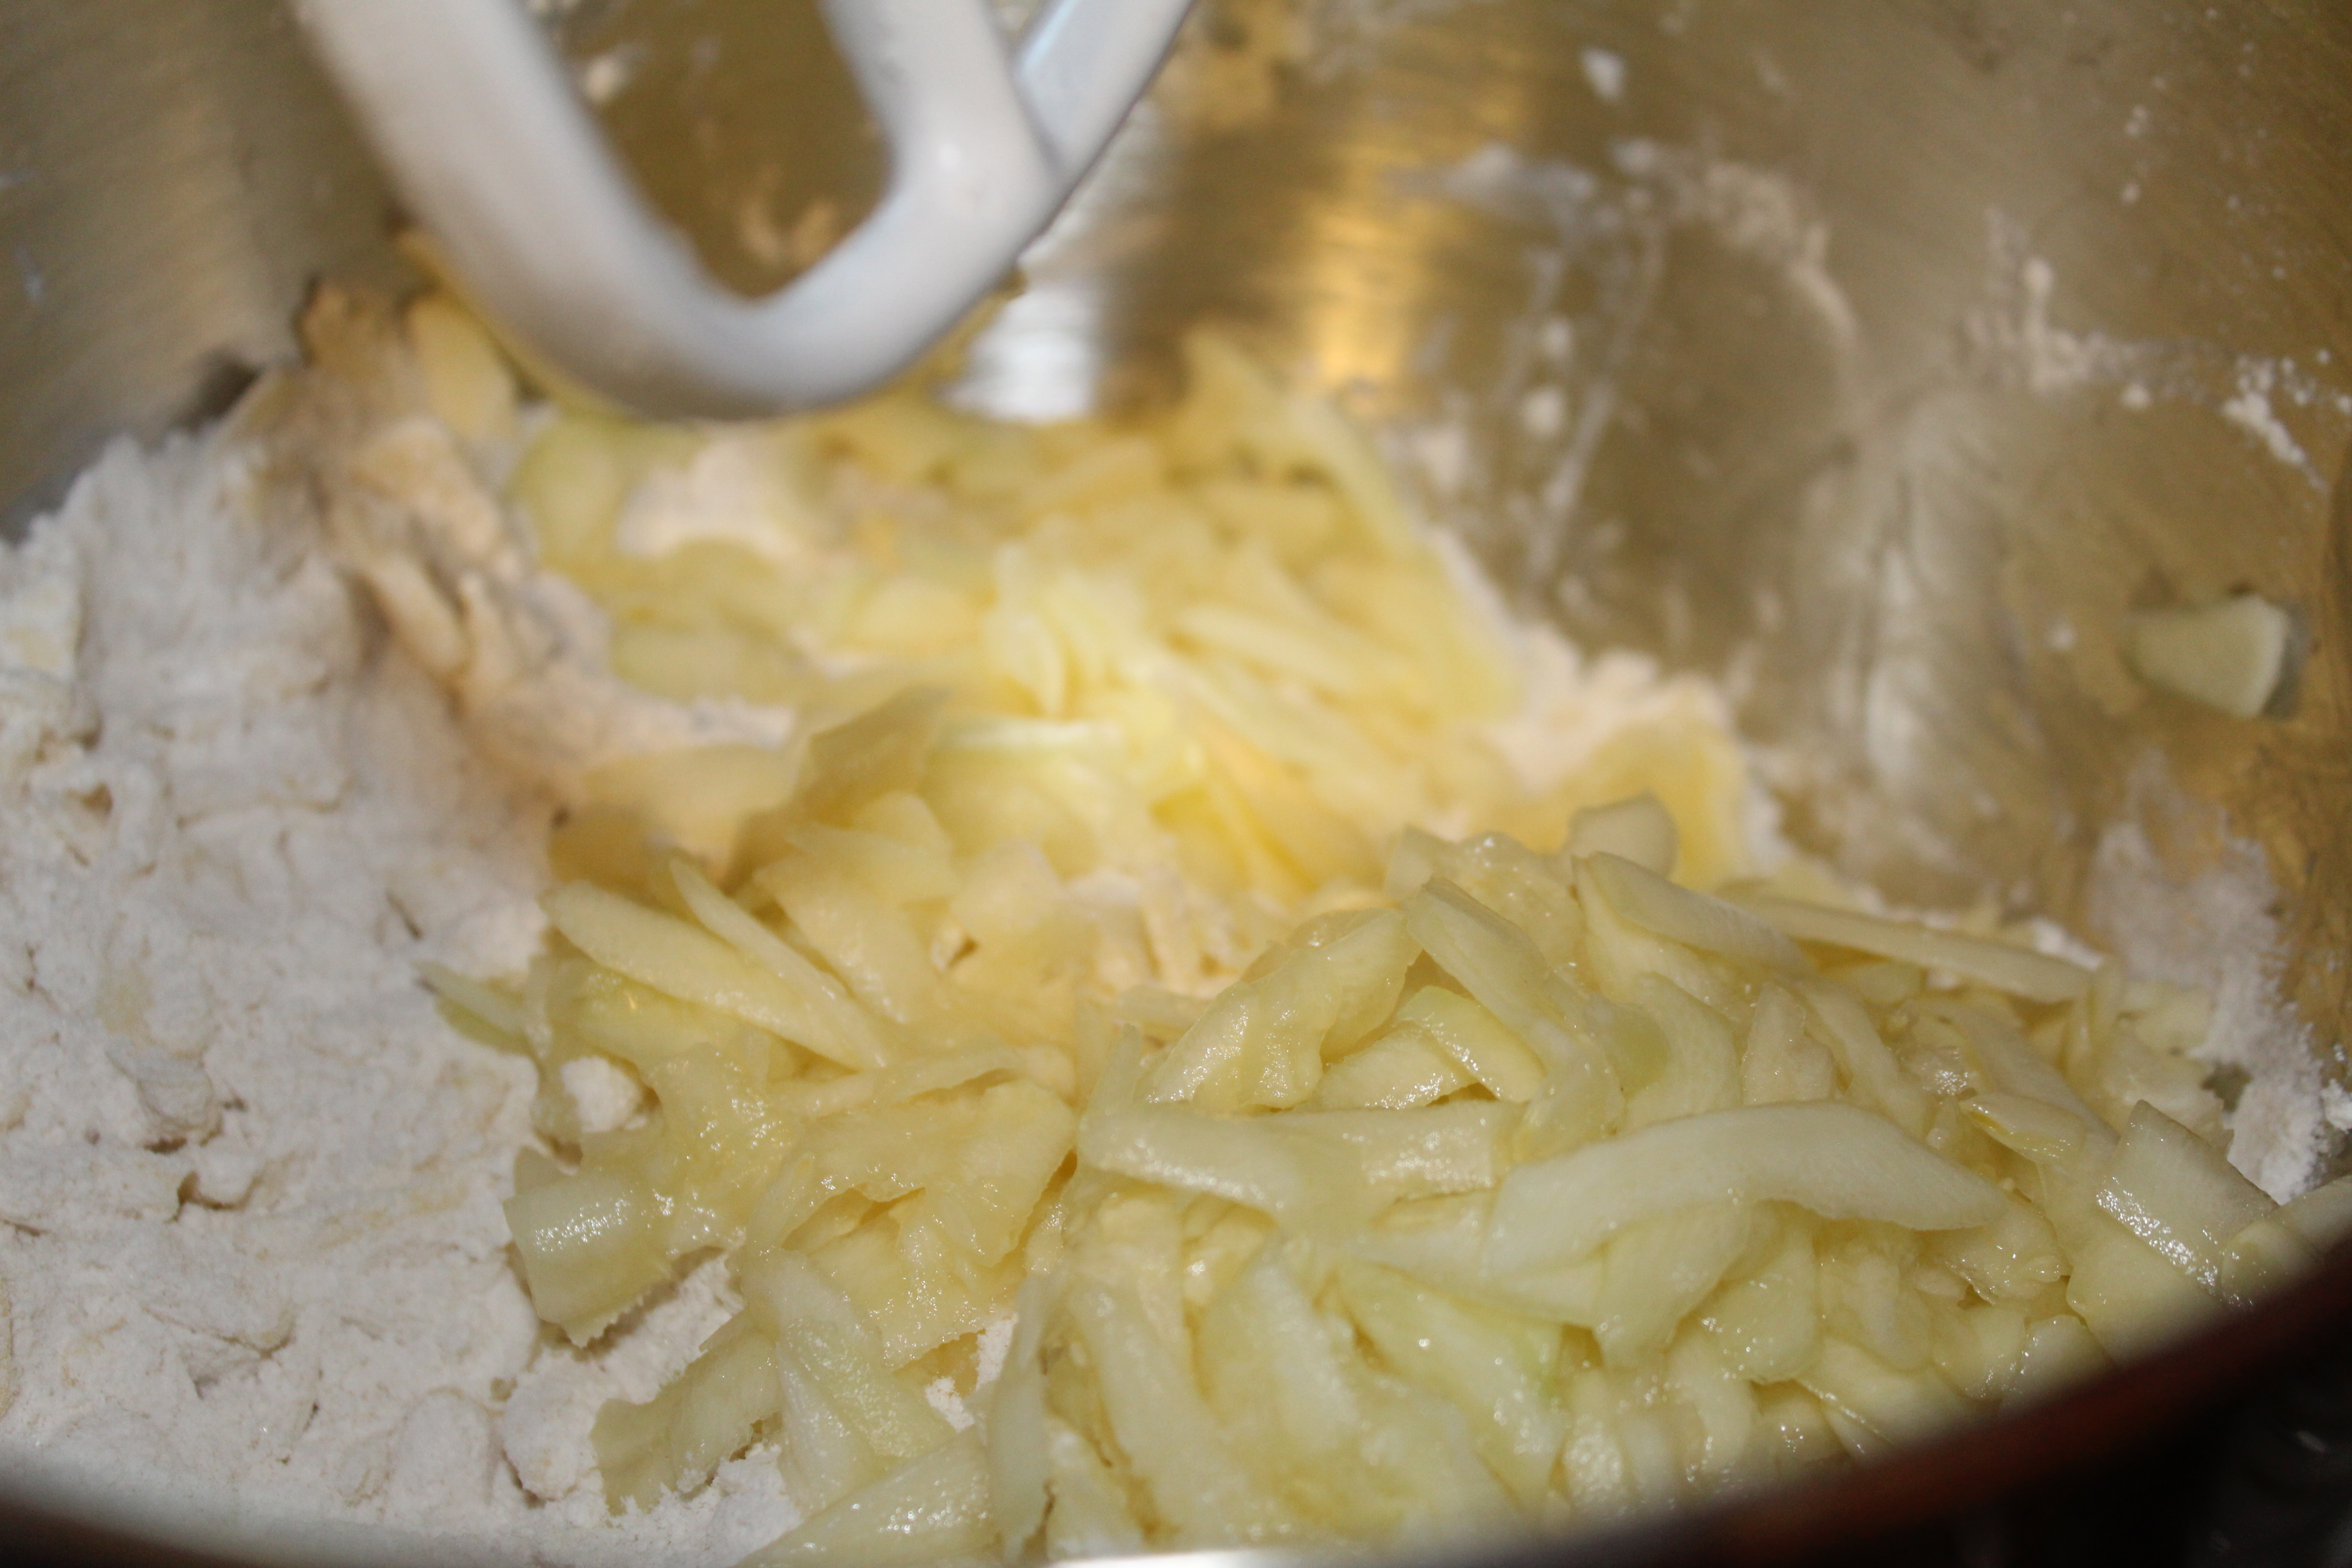
Now, toss in the well drained zucchini.

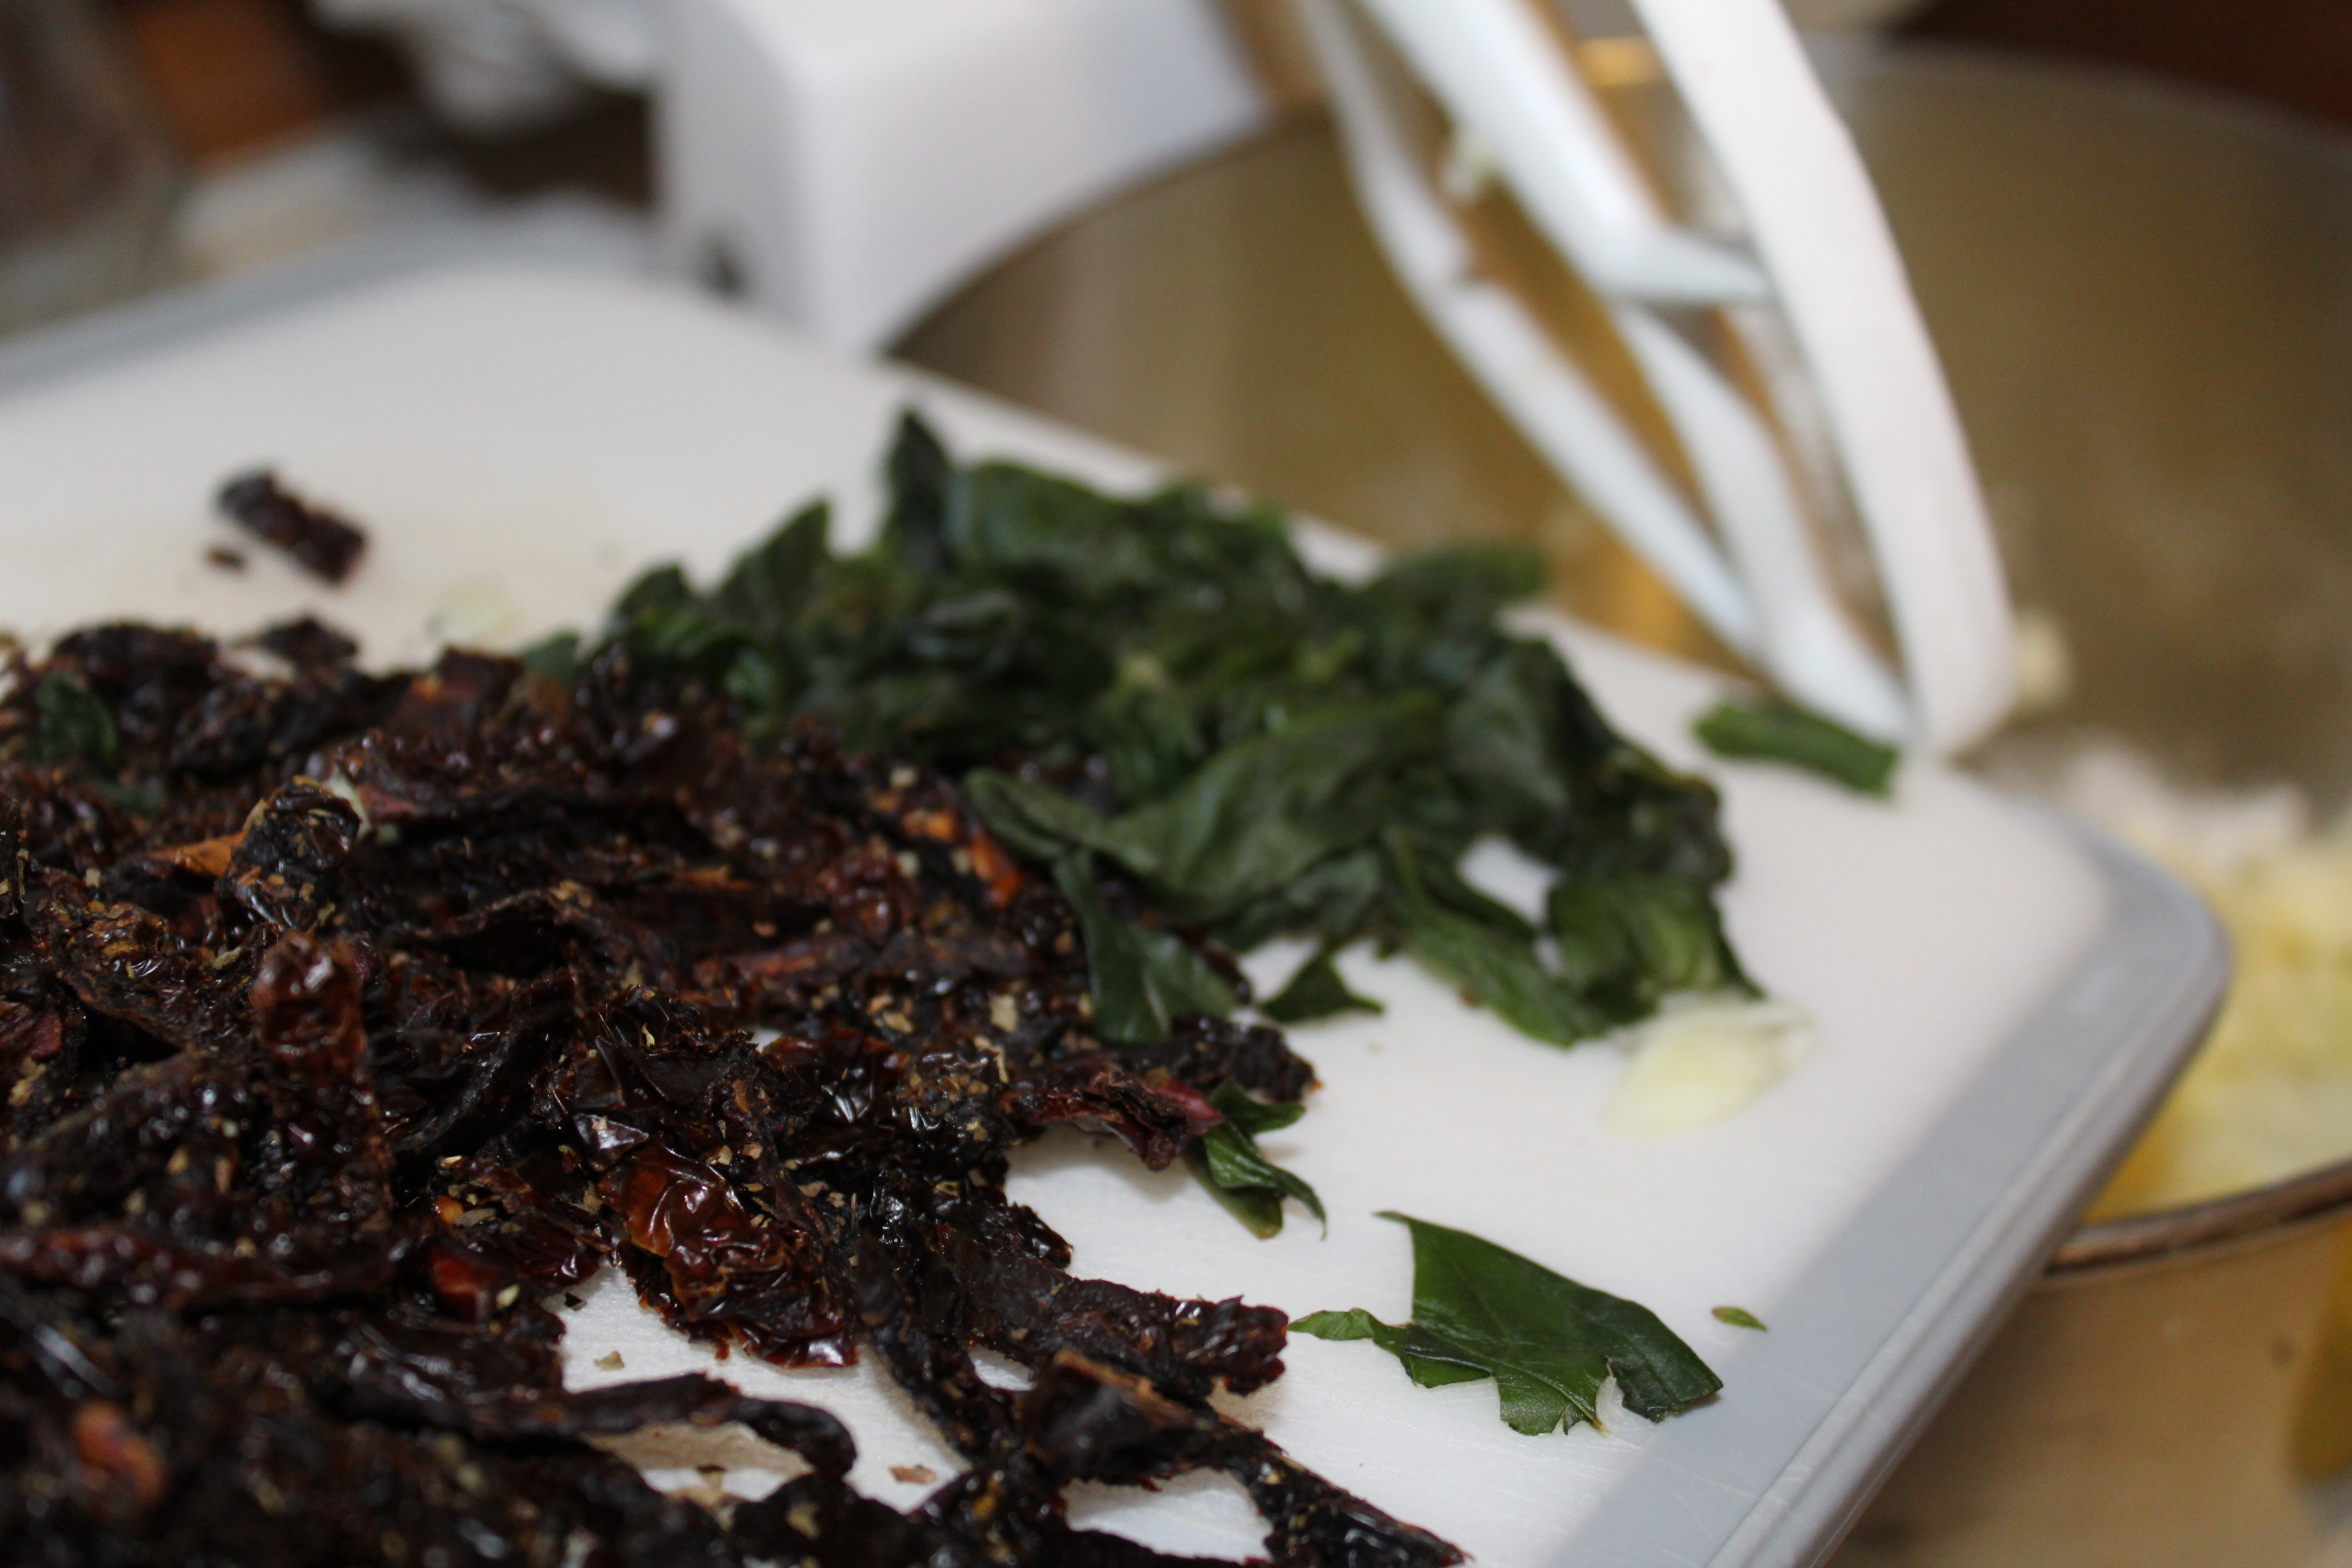
toss in the tomatoes and basil.

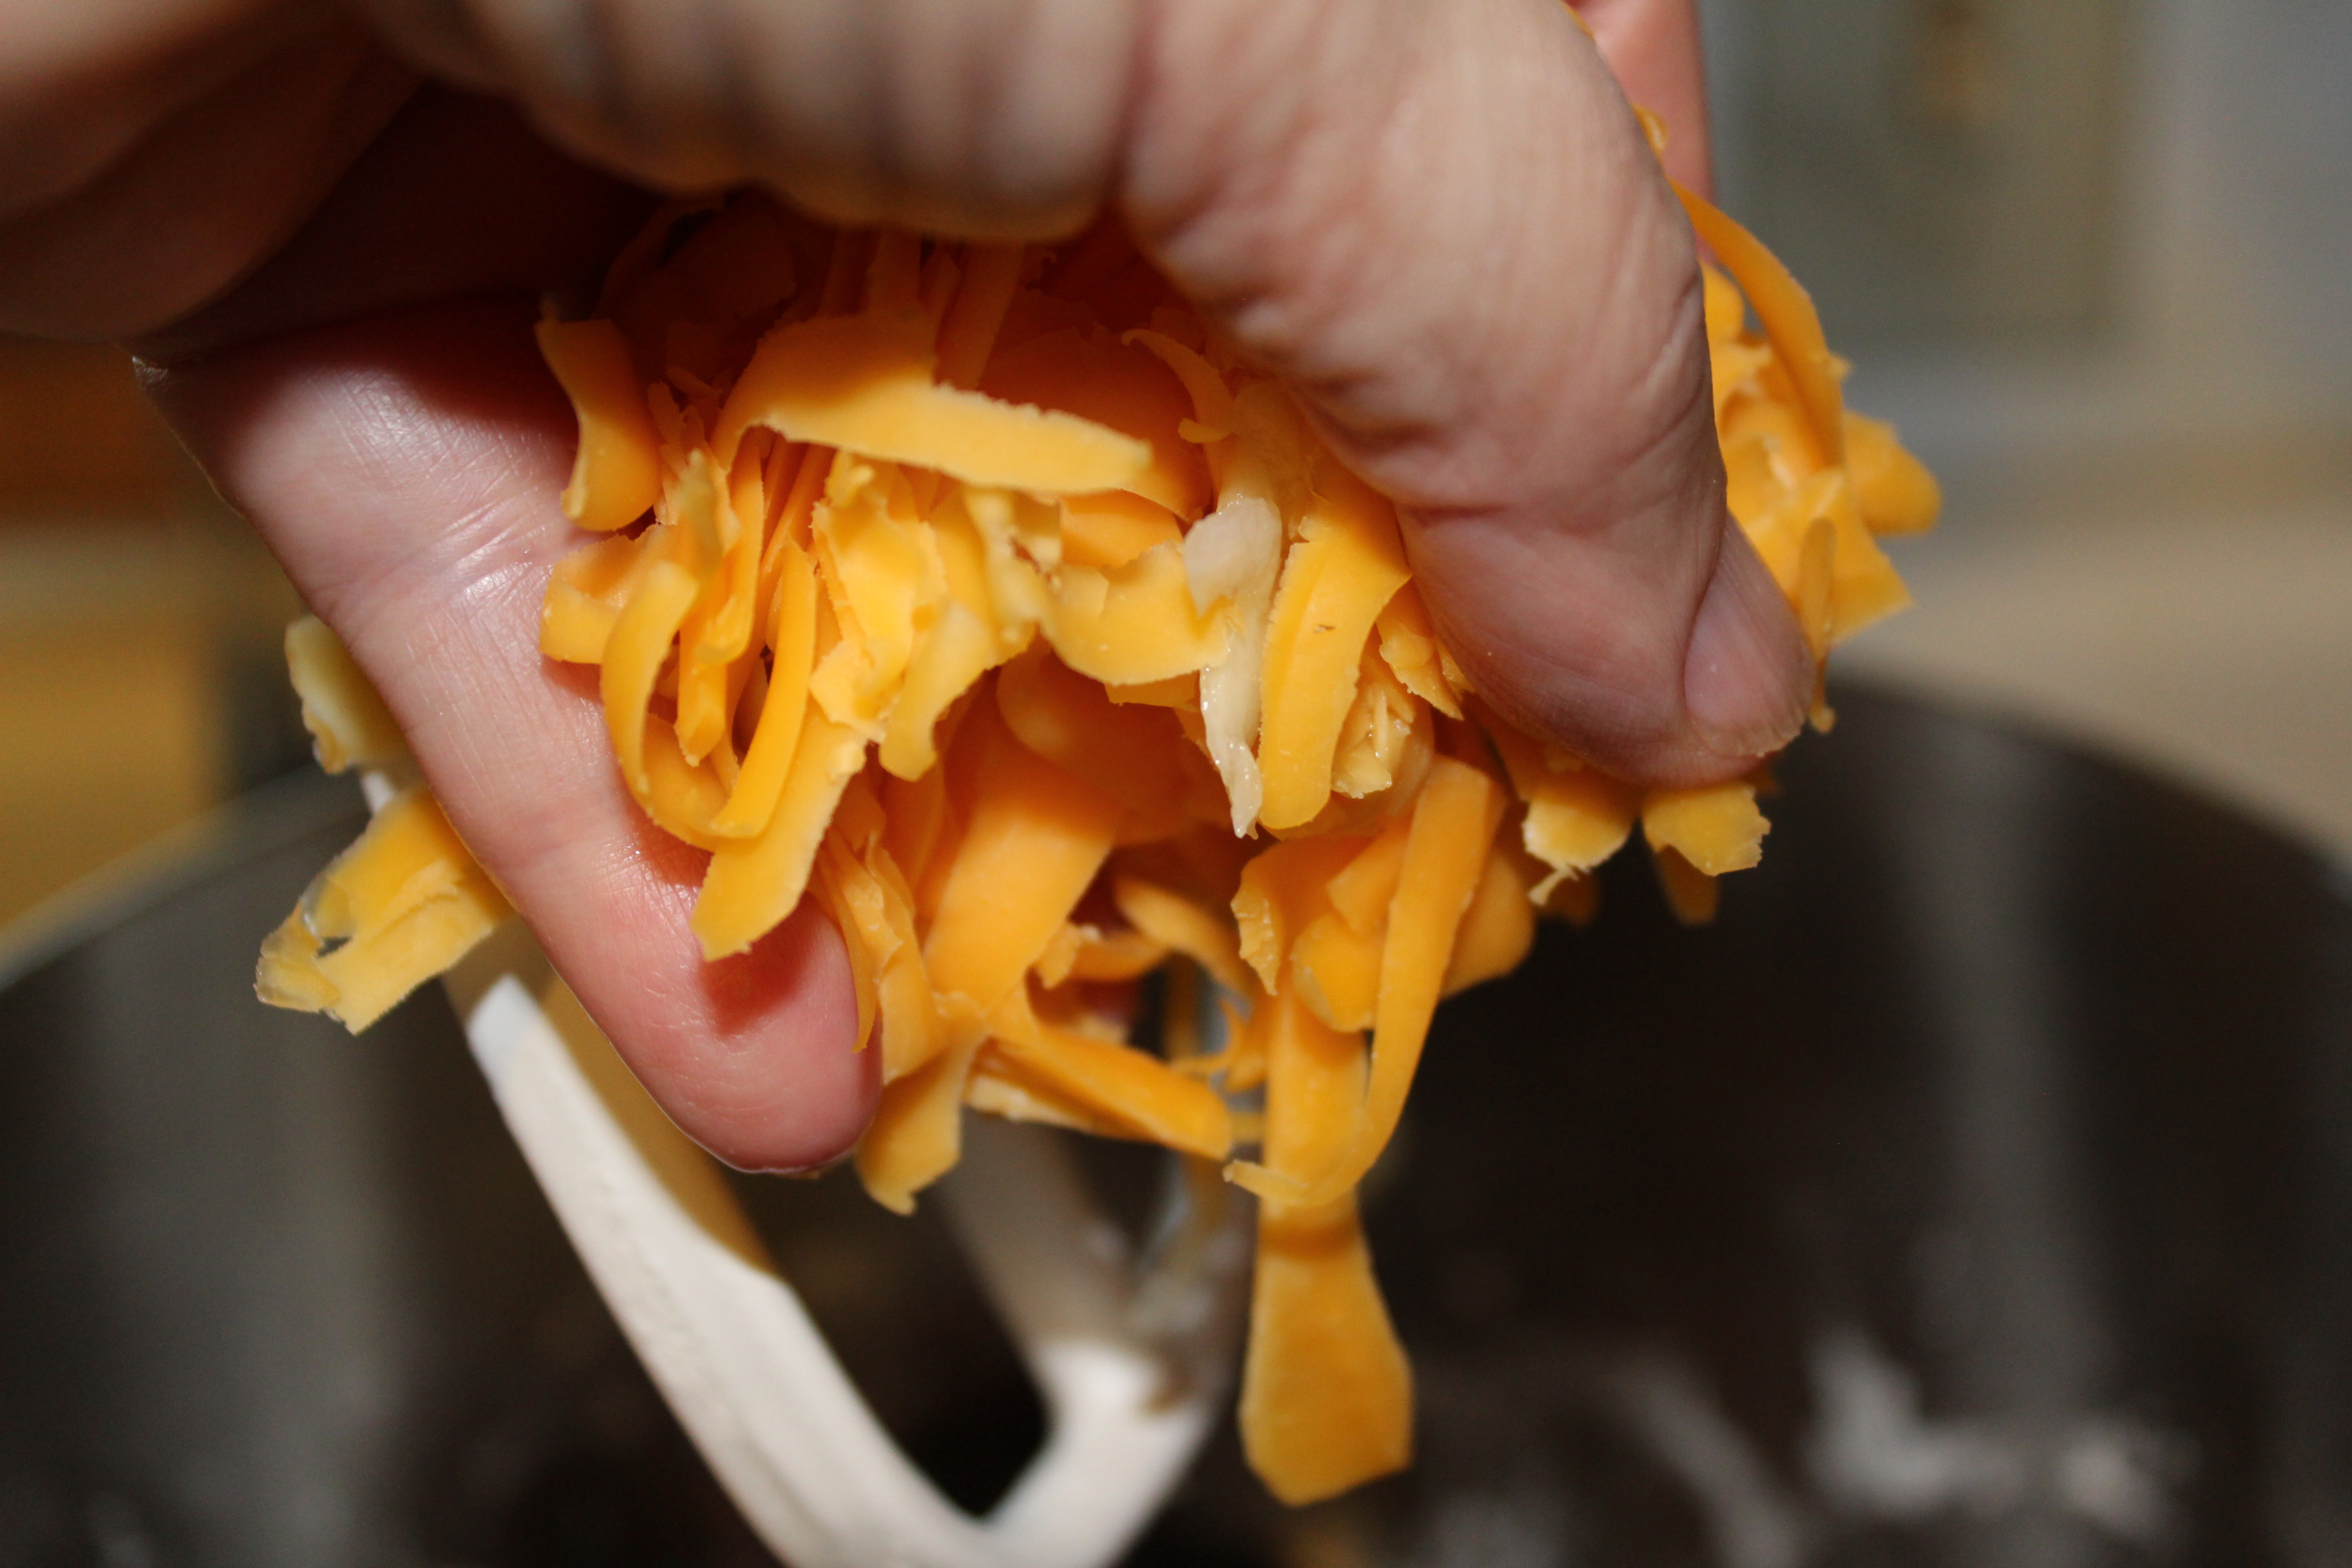
Next add the cheese.

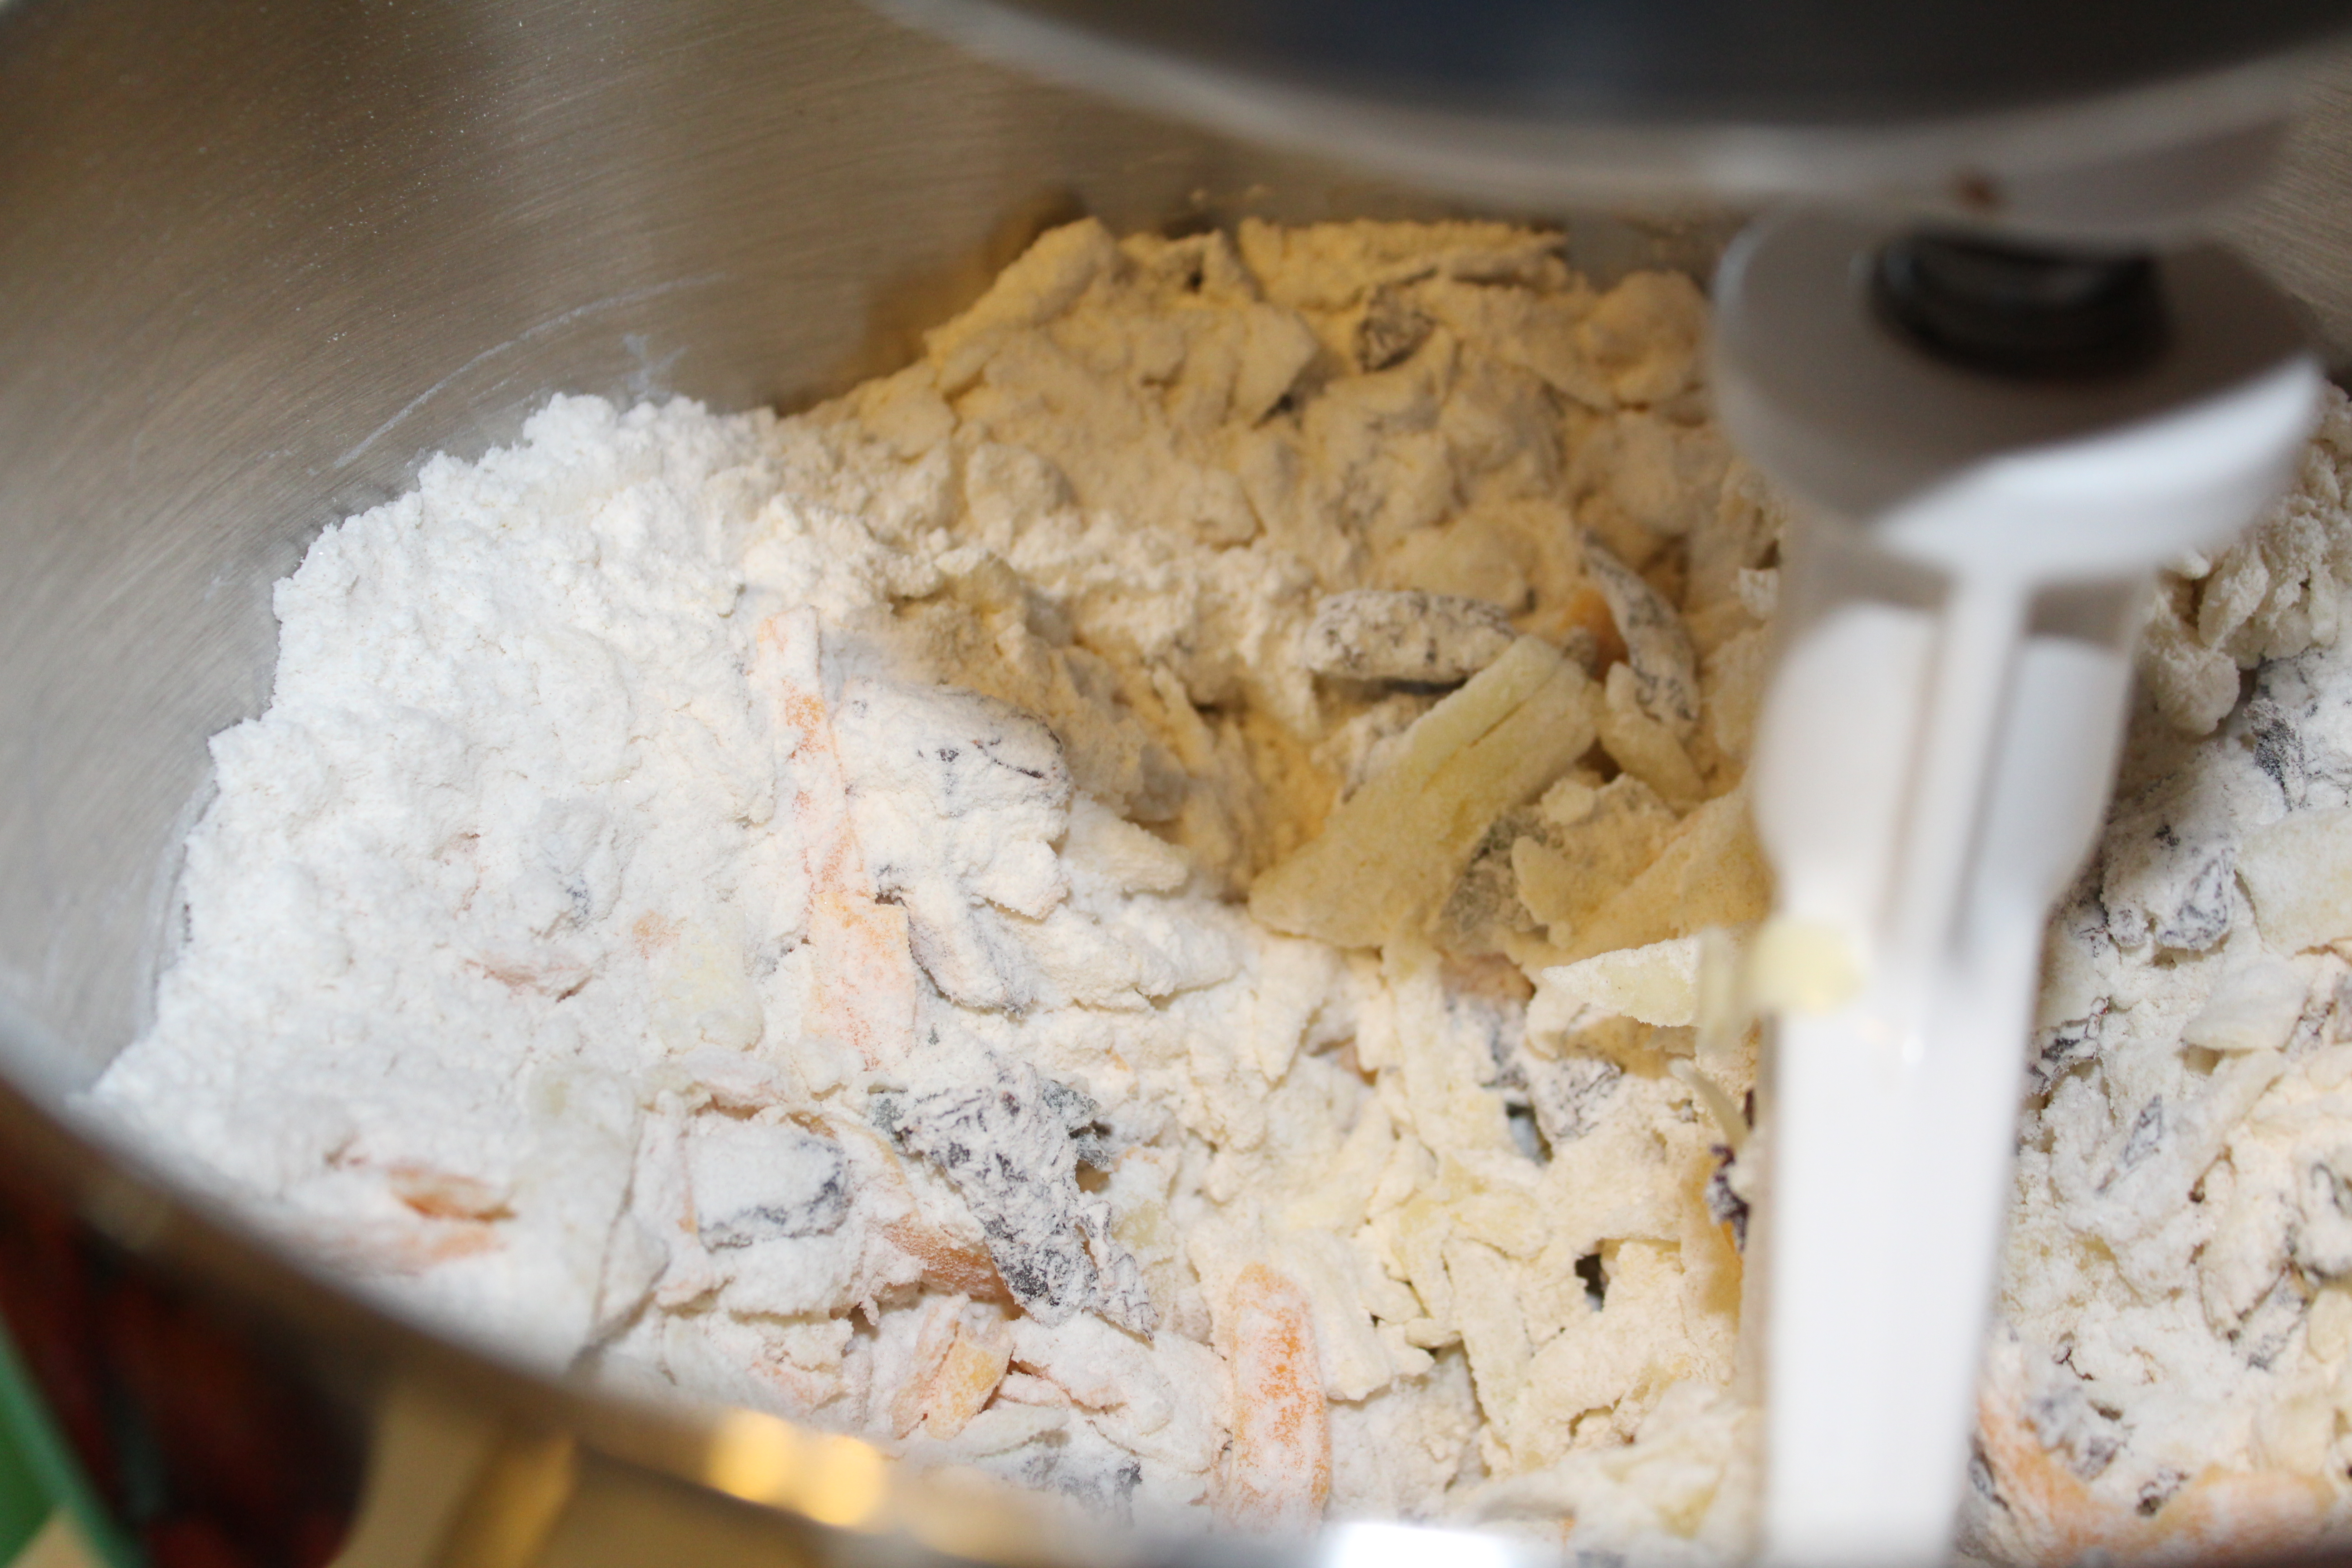
I used my stand mixer to gently combine all the ingredients.

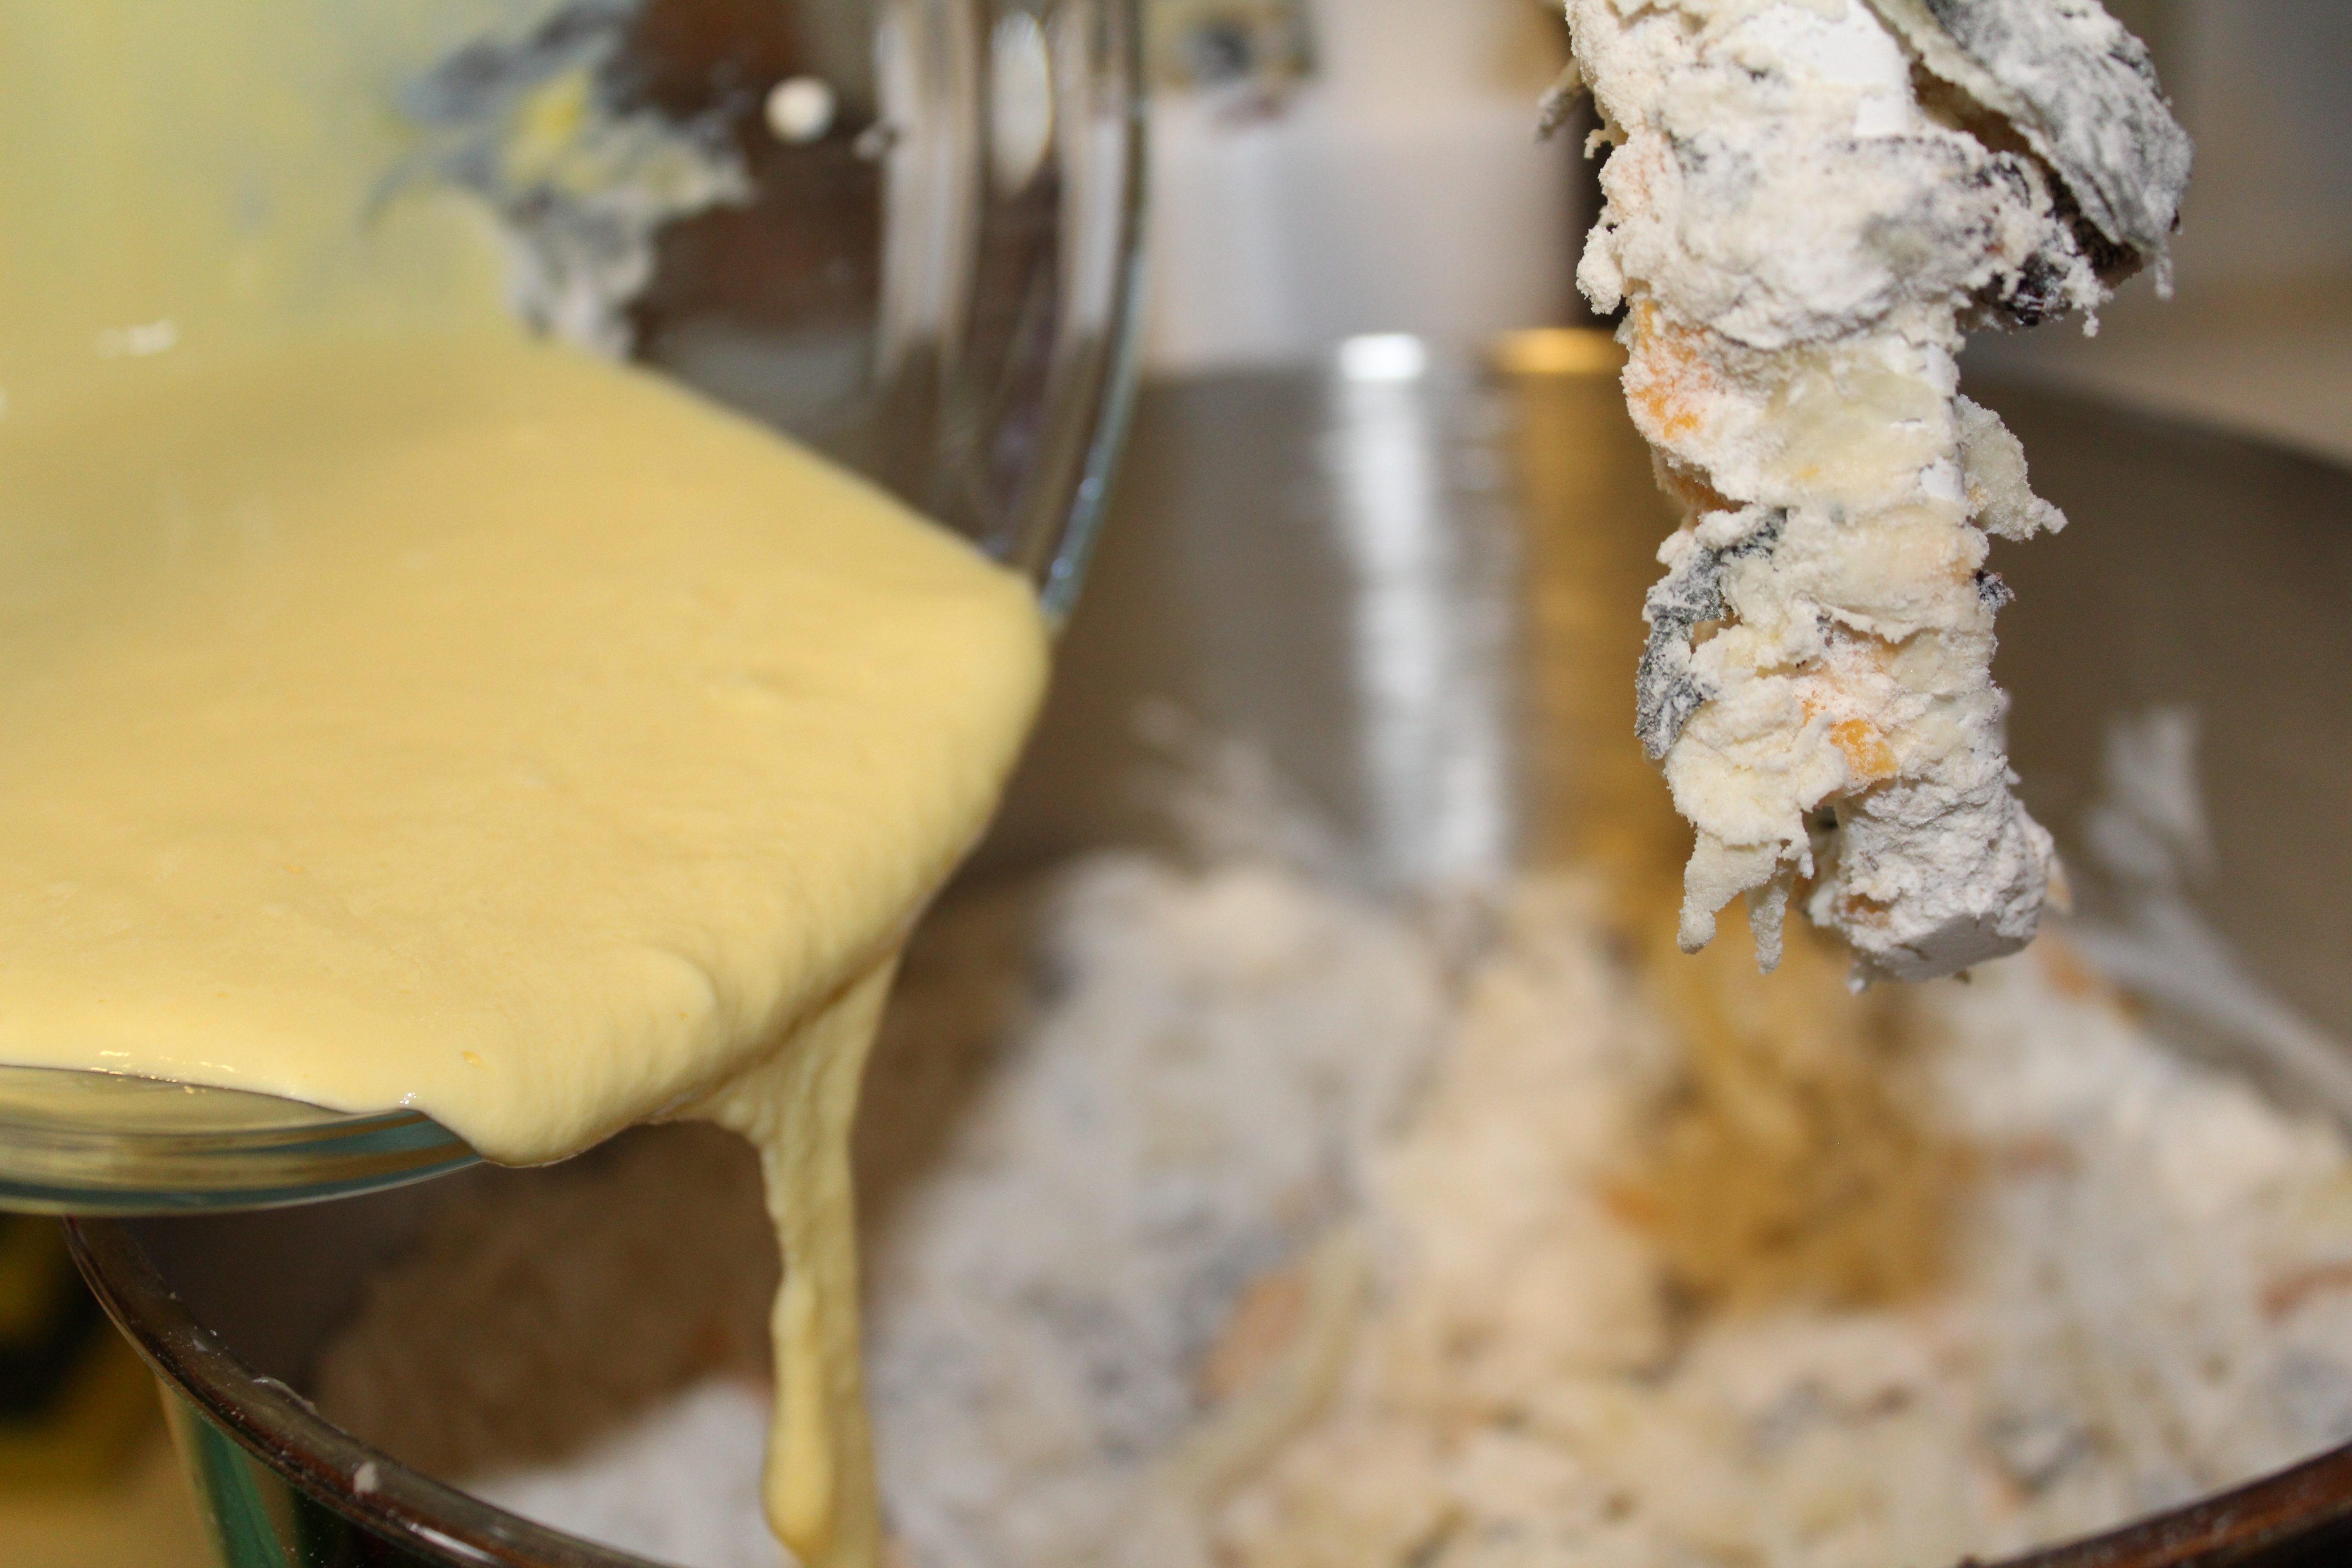
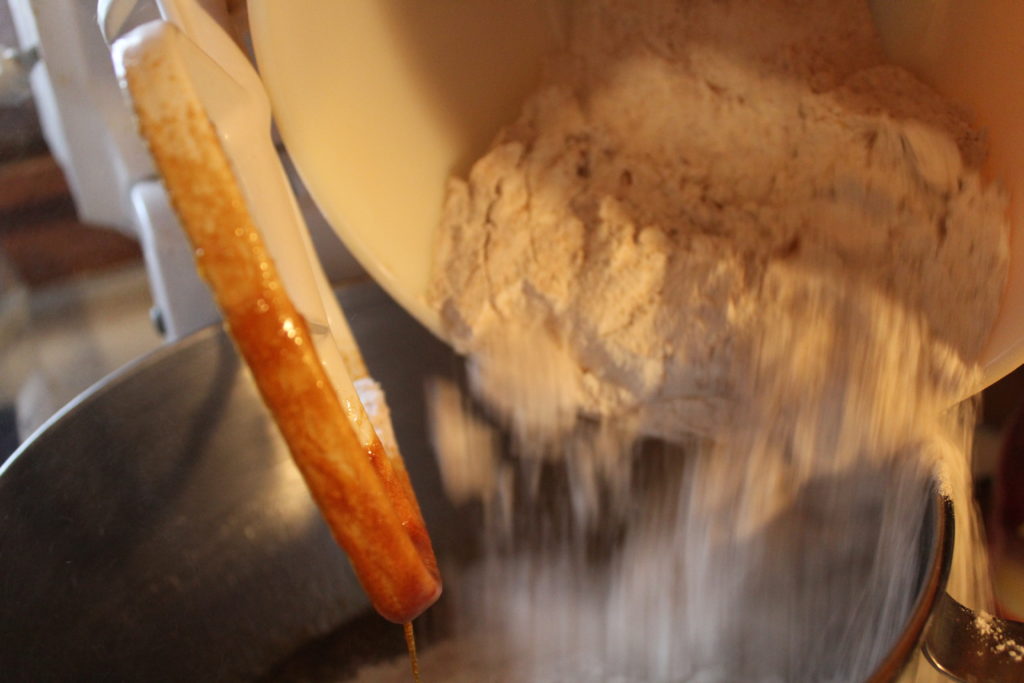
Now slowly add in the egg mixture and gently mix till it forms a soft dough.

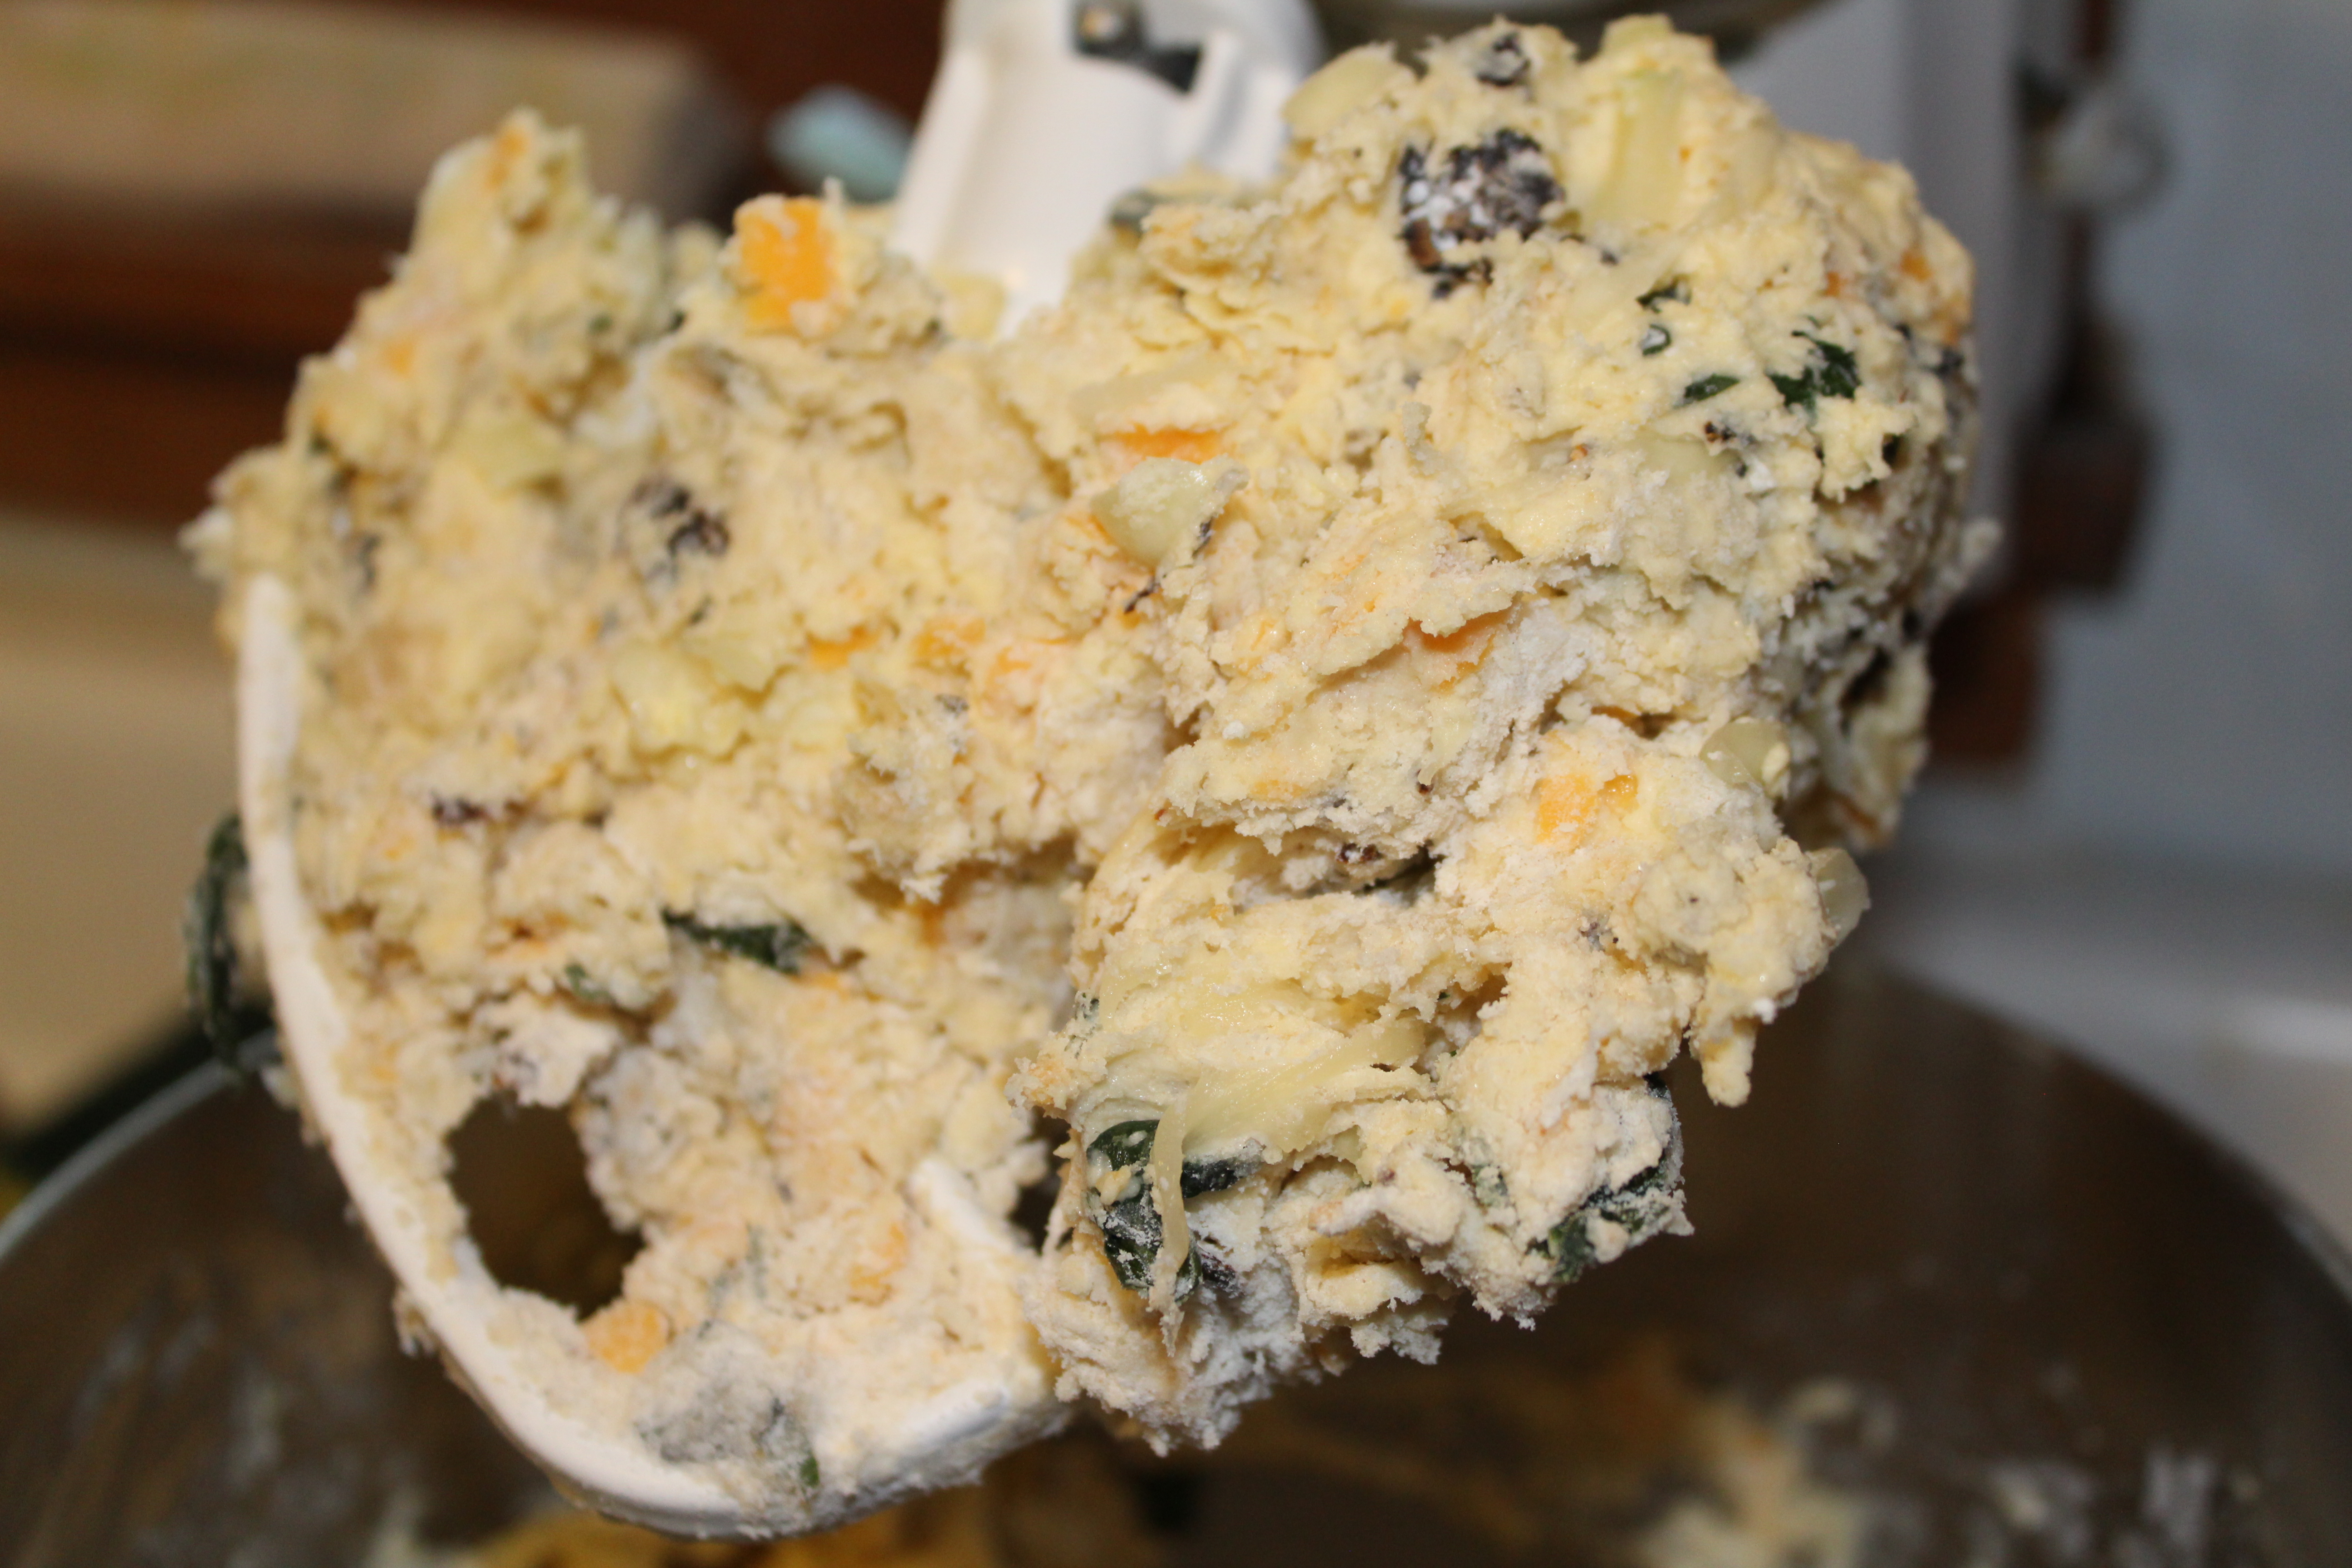
Your dough should look like this.

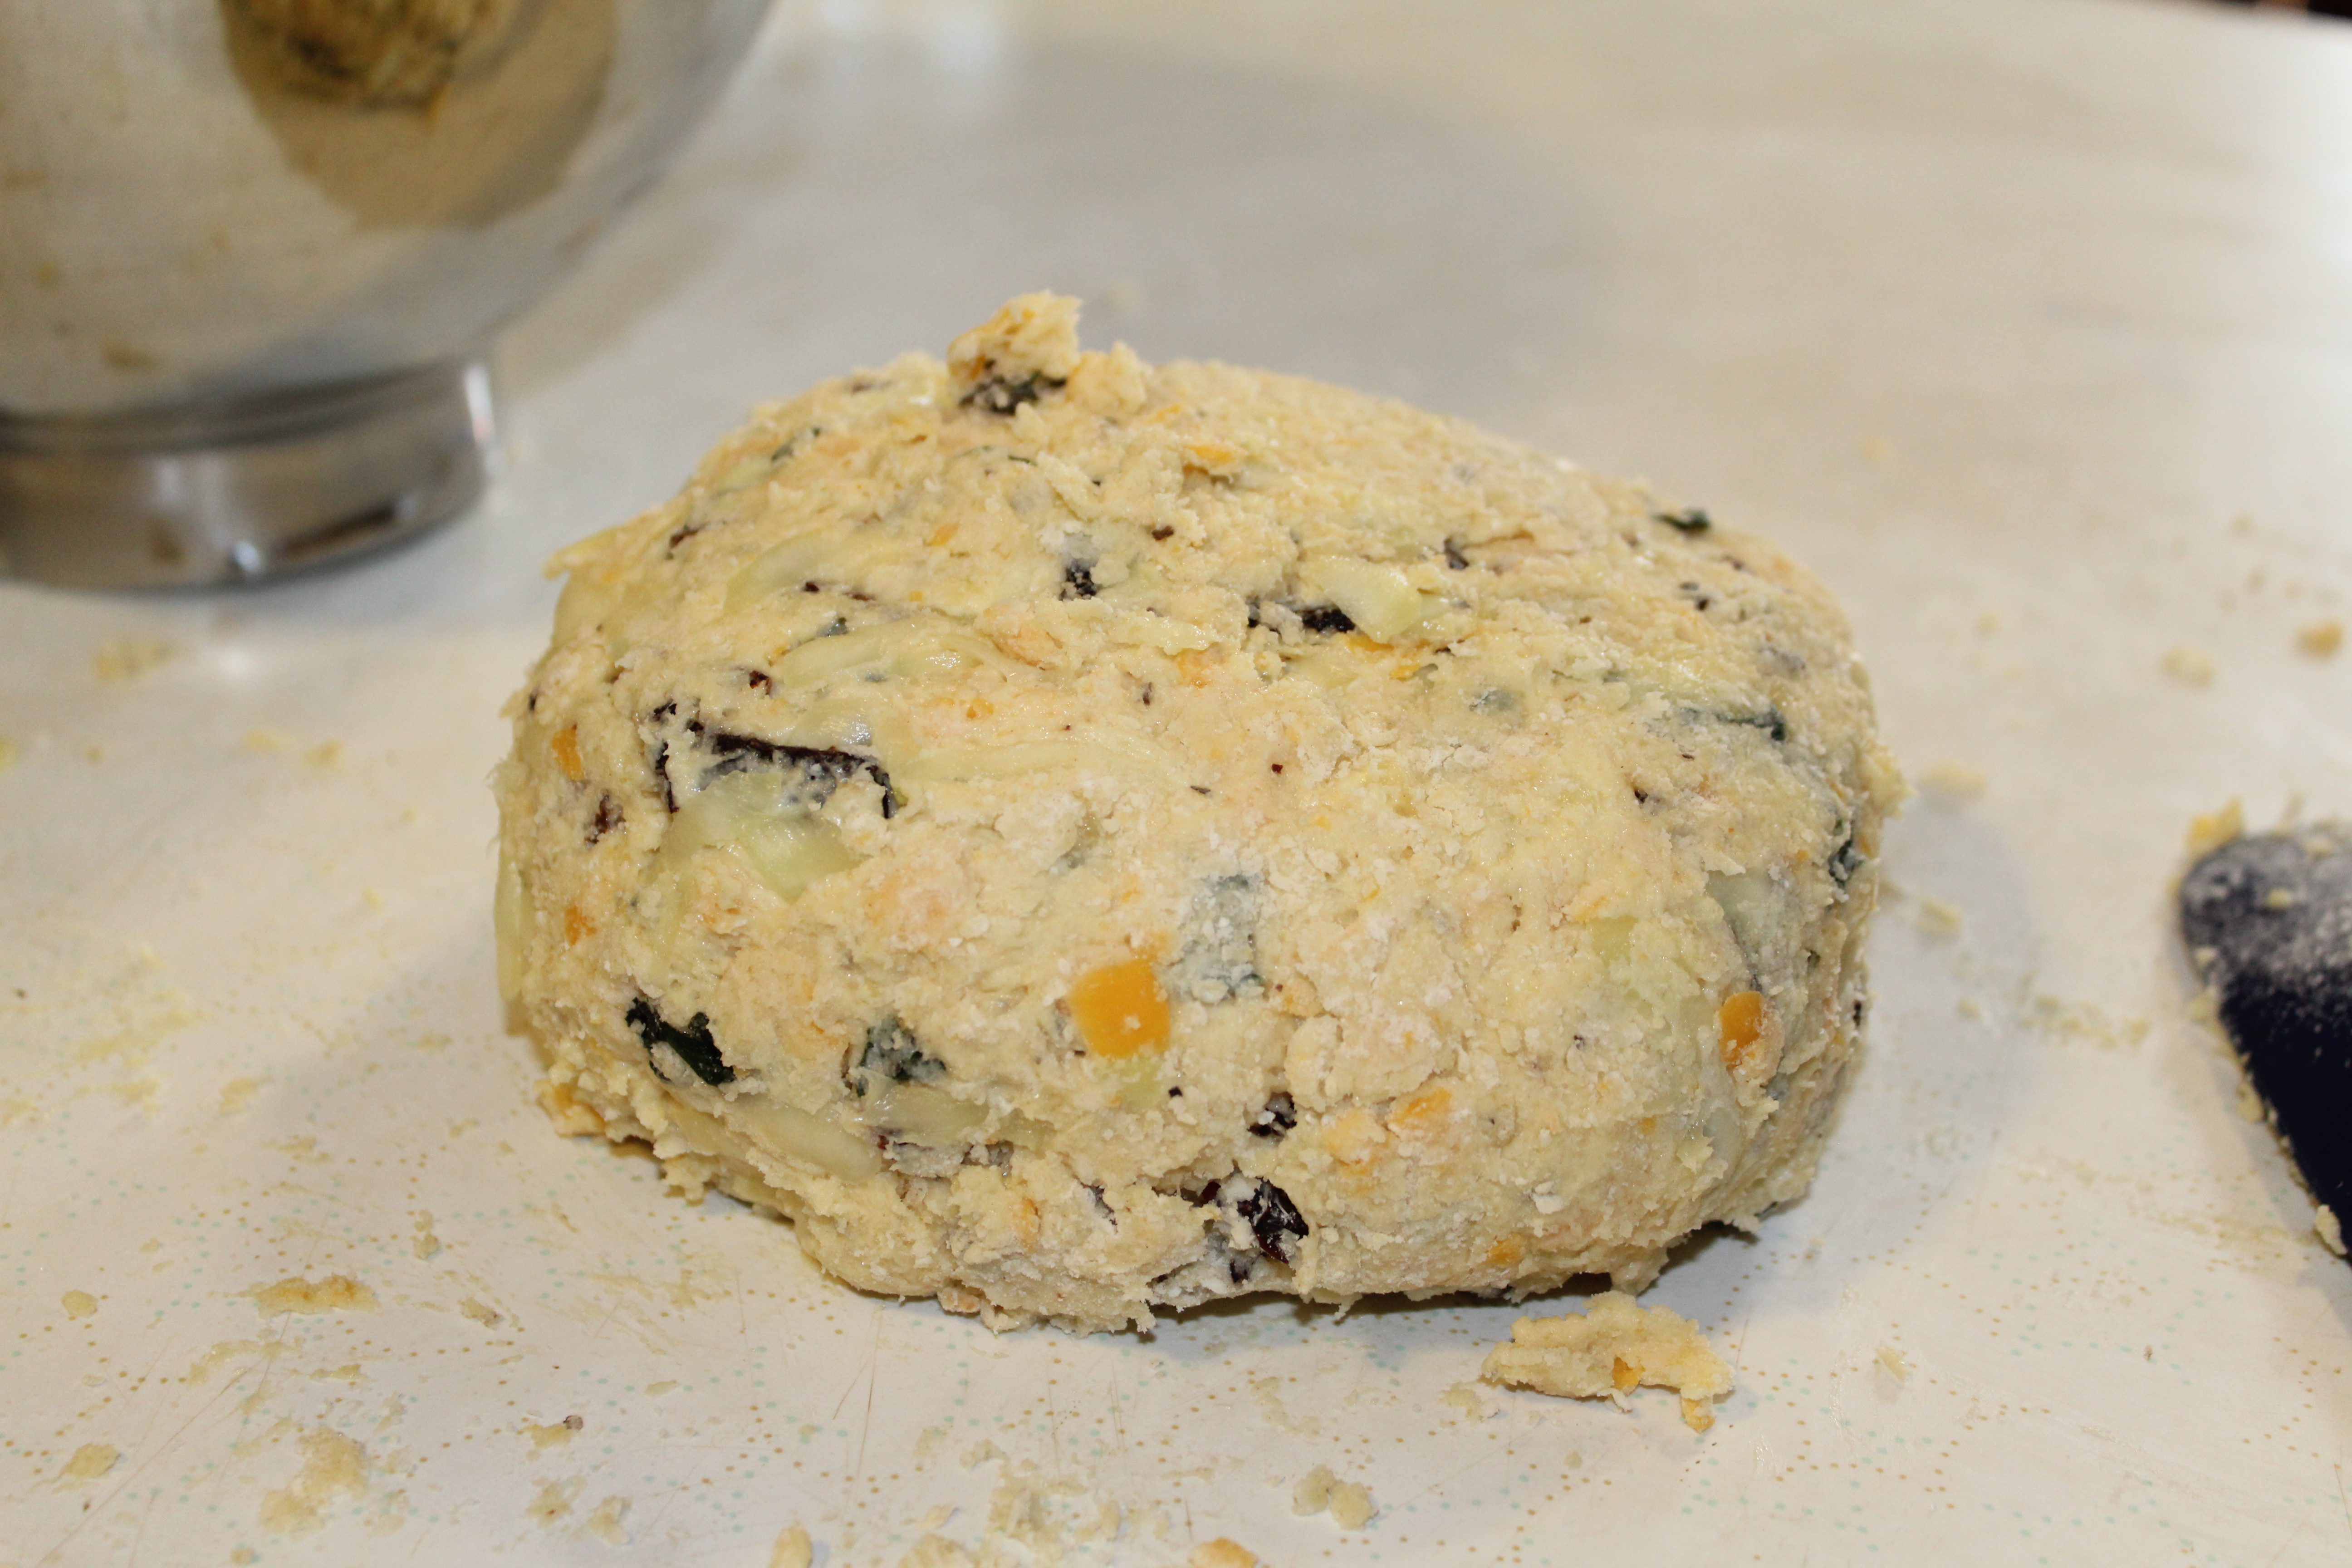
On a gently floured surface form your dough into a circle.

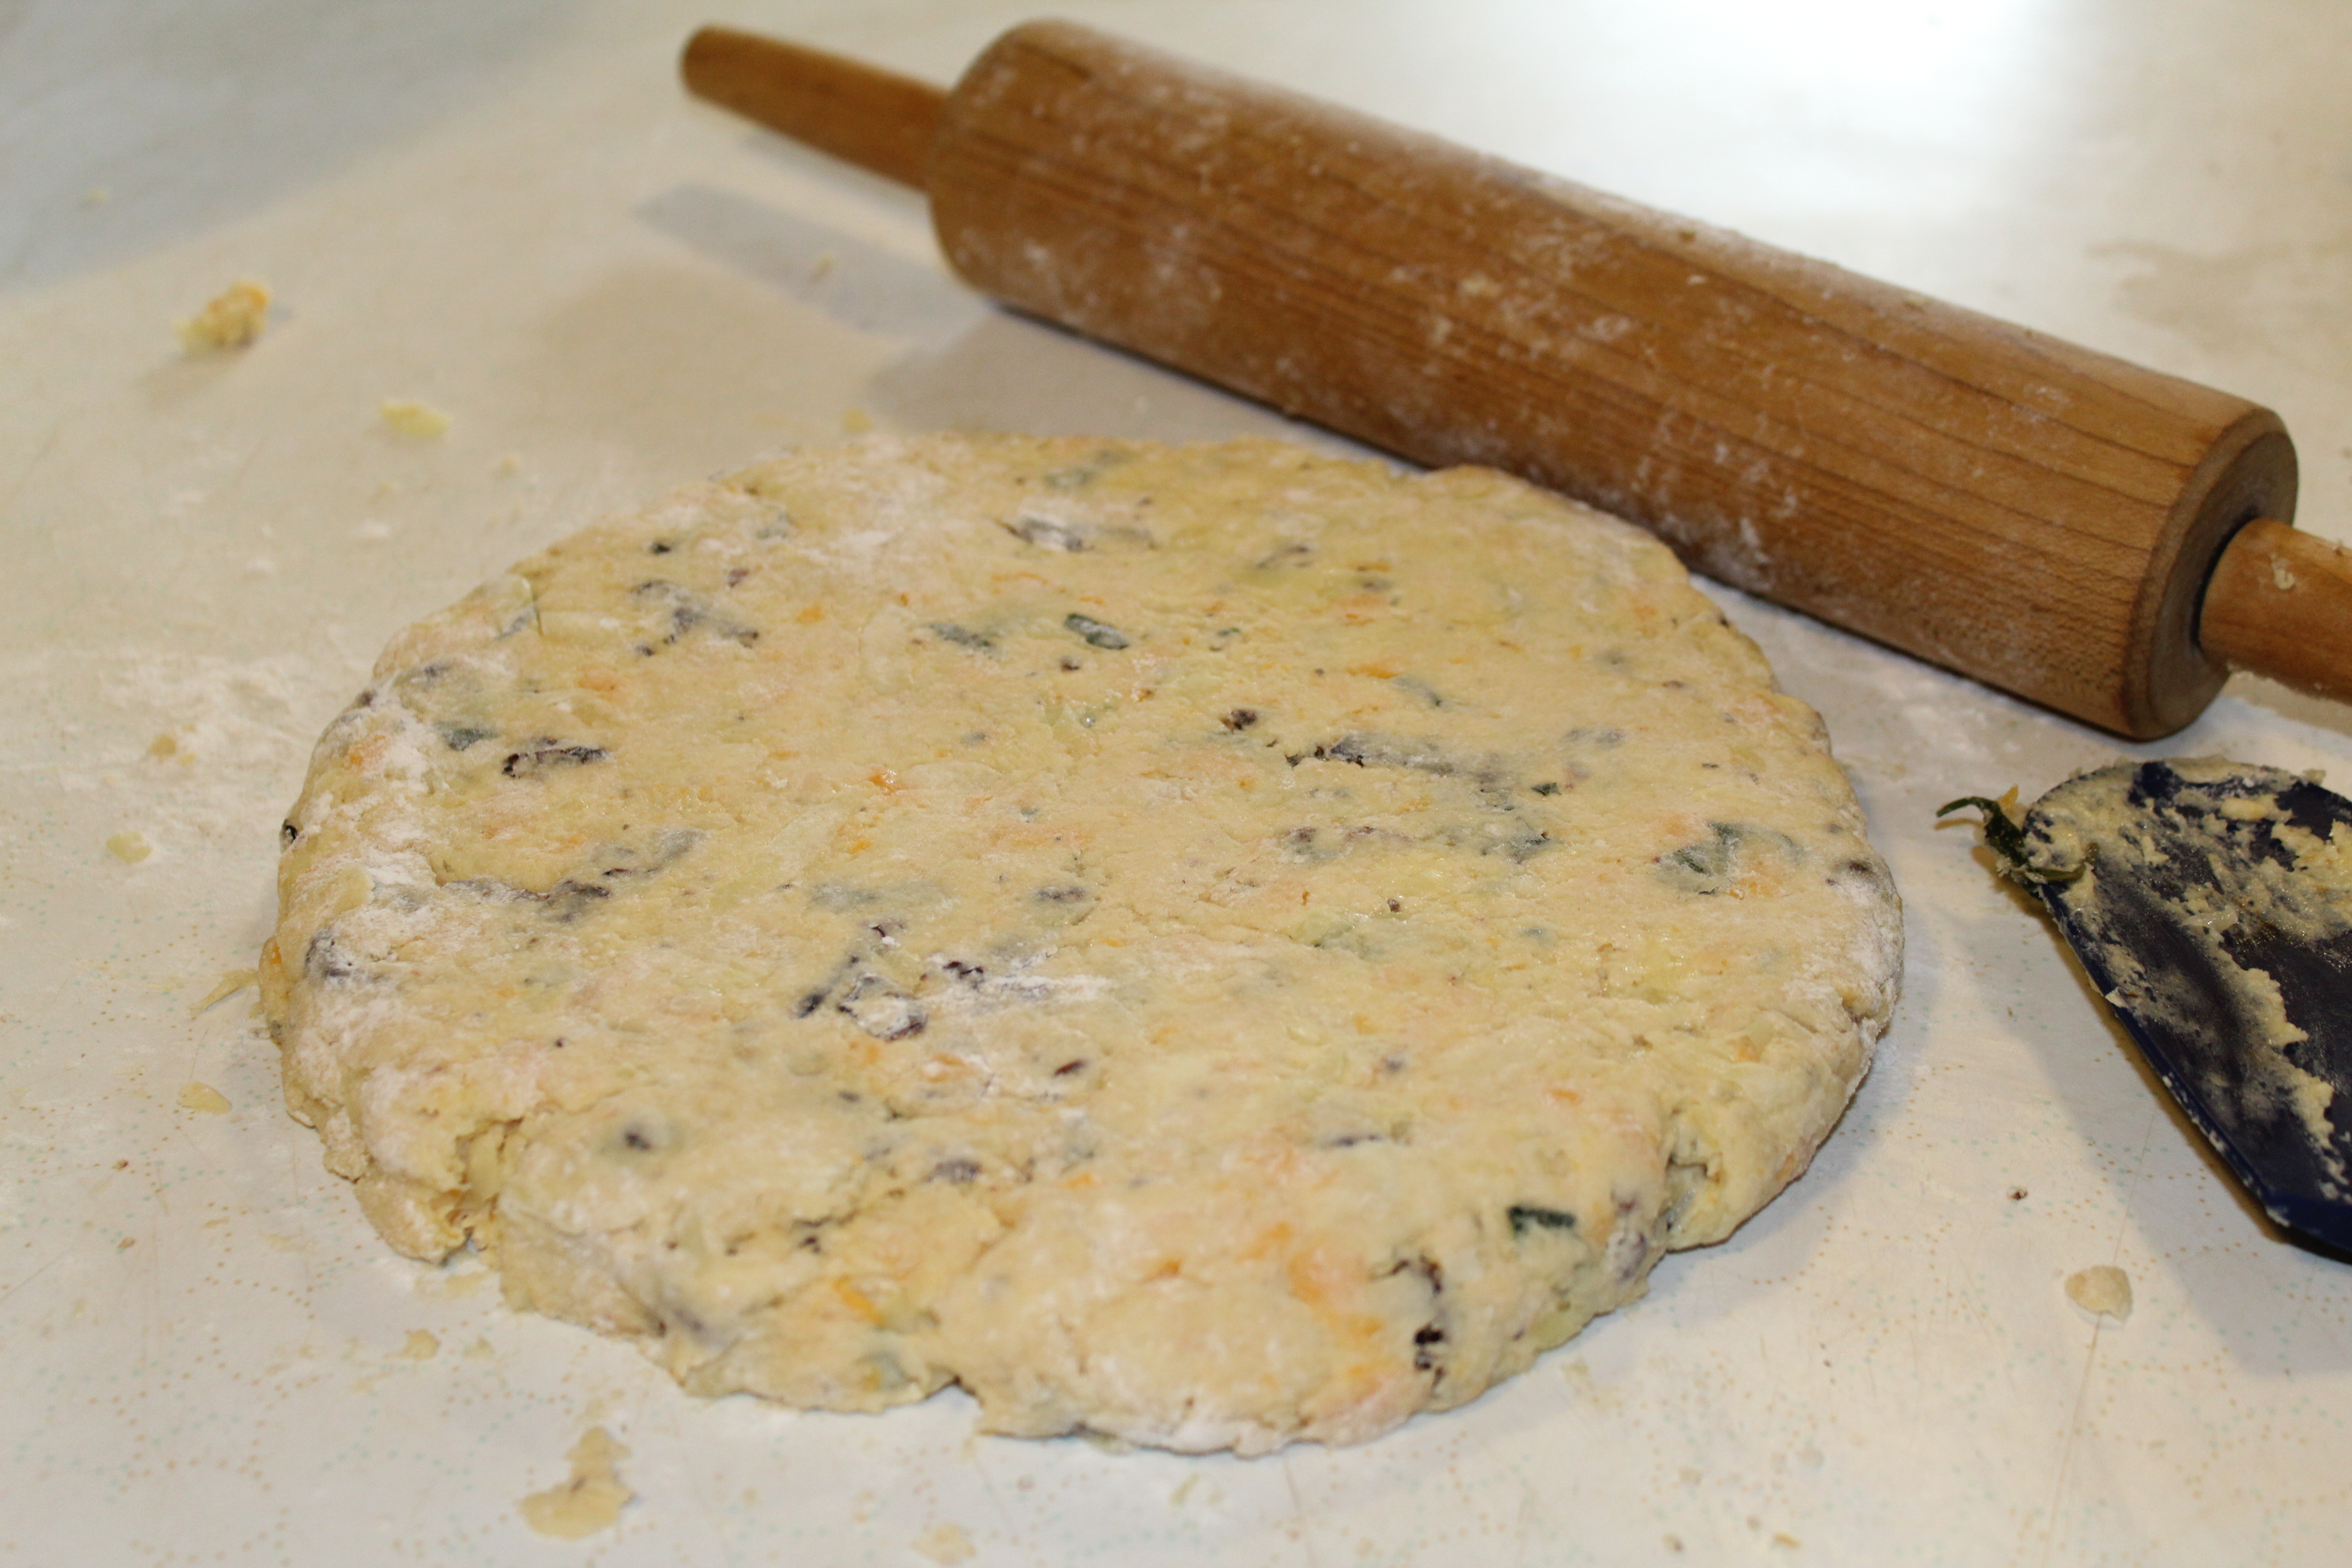
With your hands or a rolling pin, form the dough into a circle.

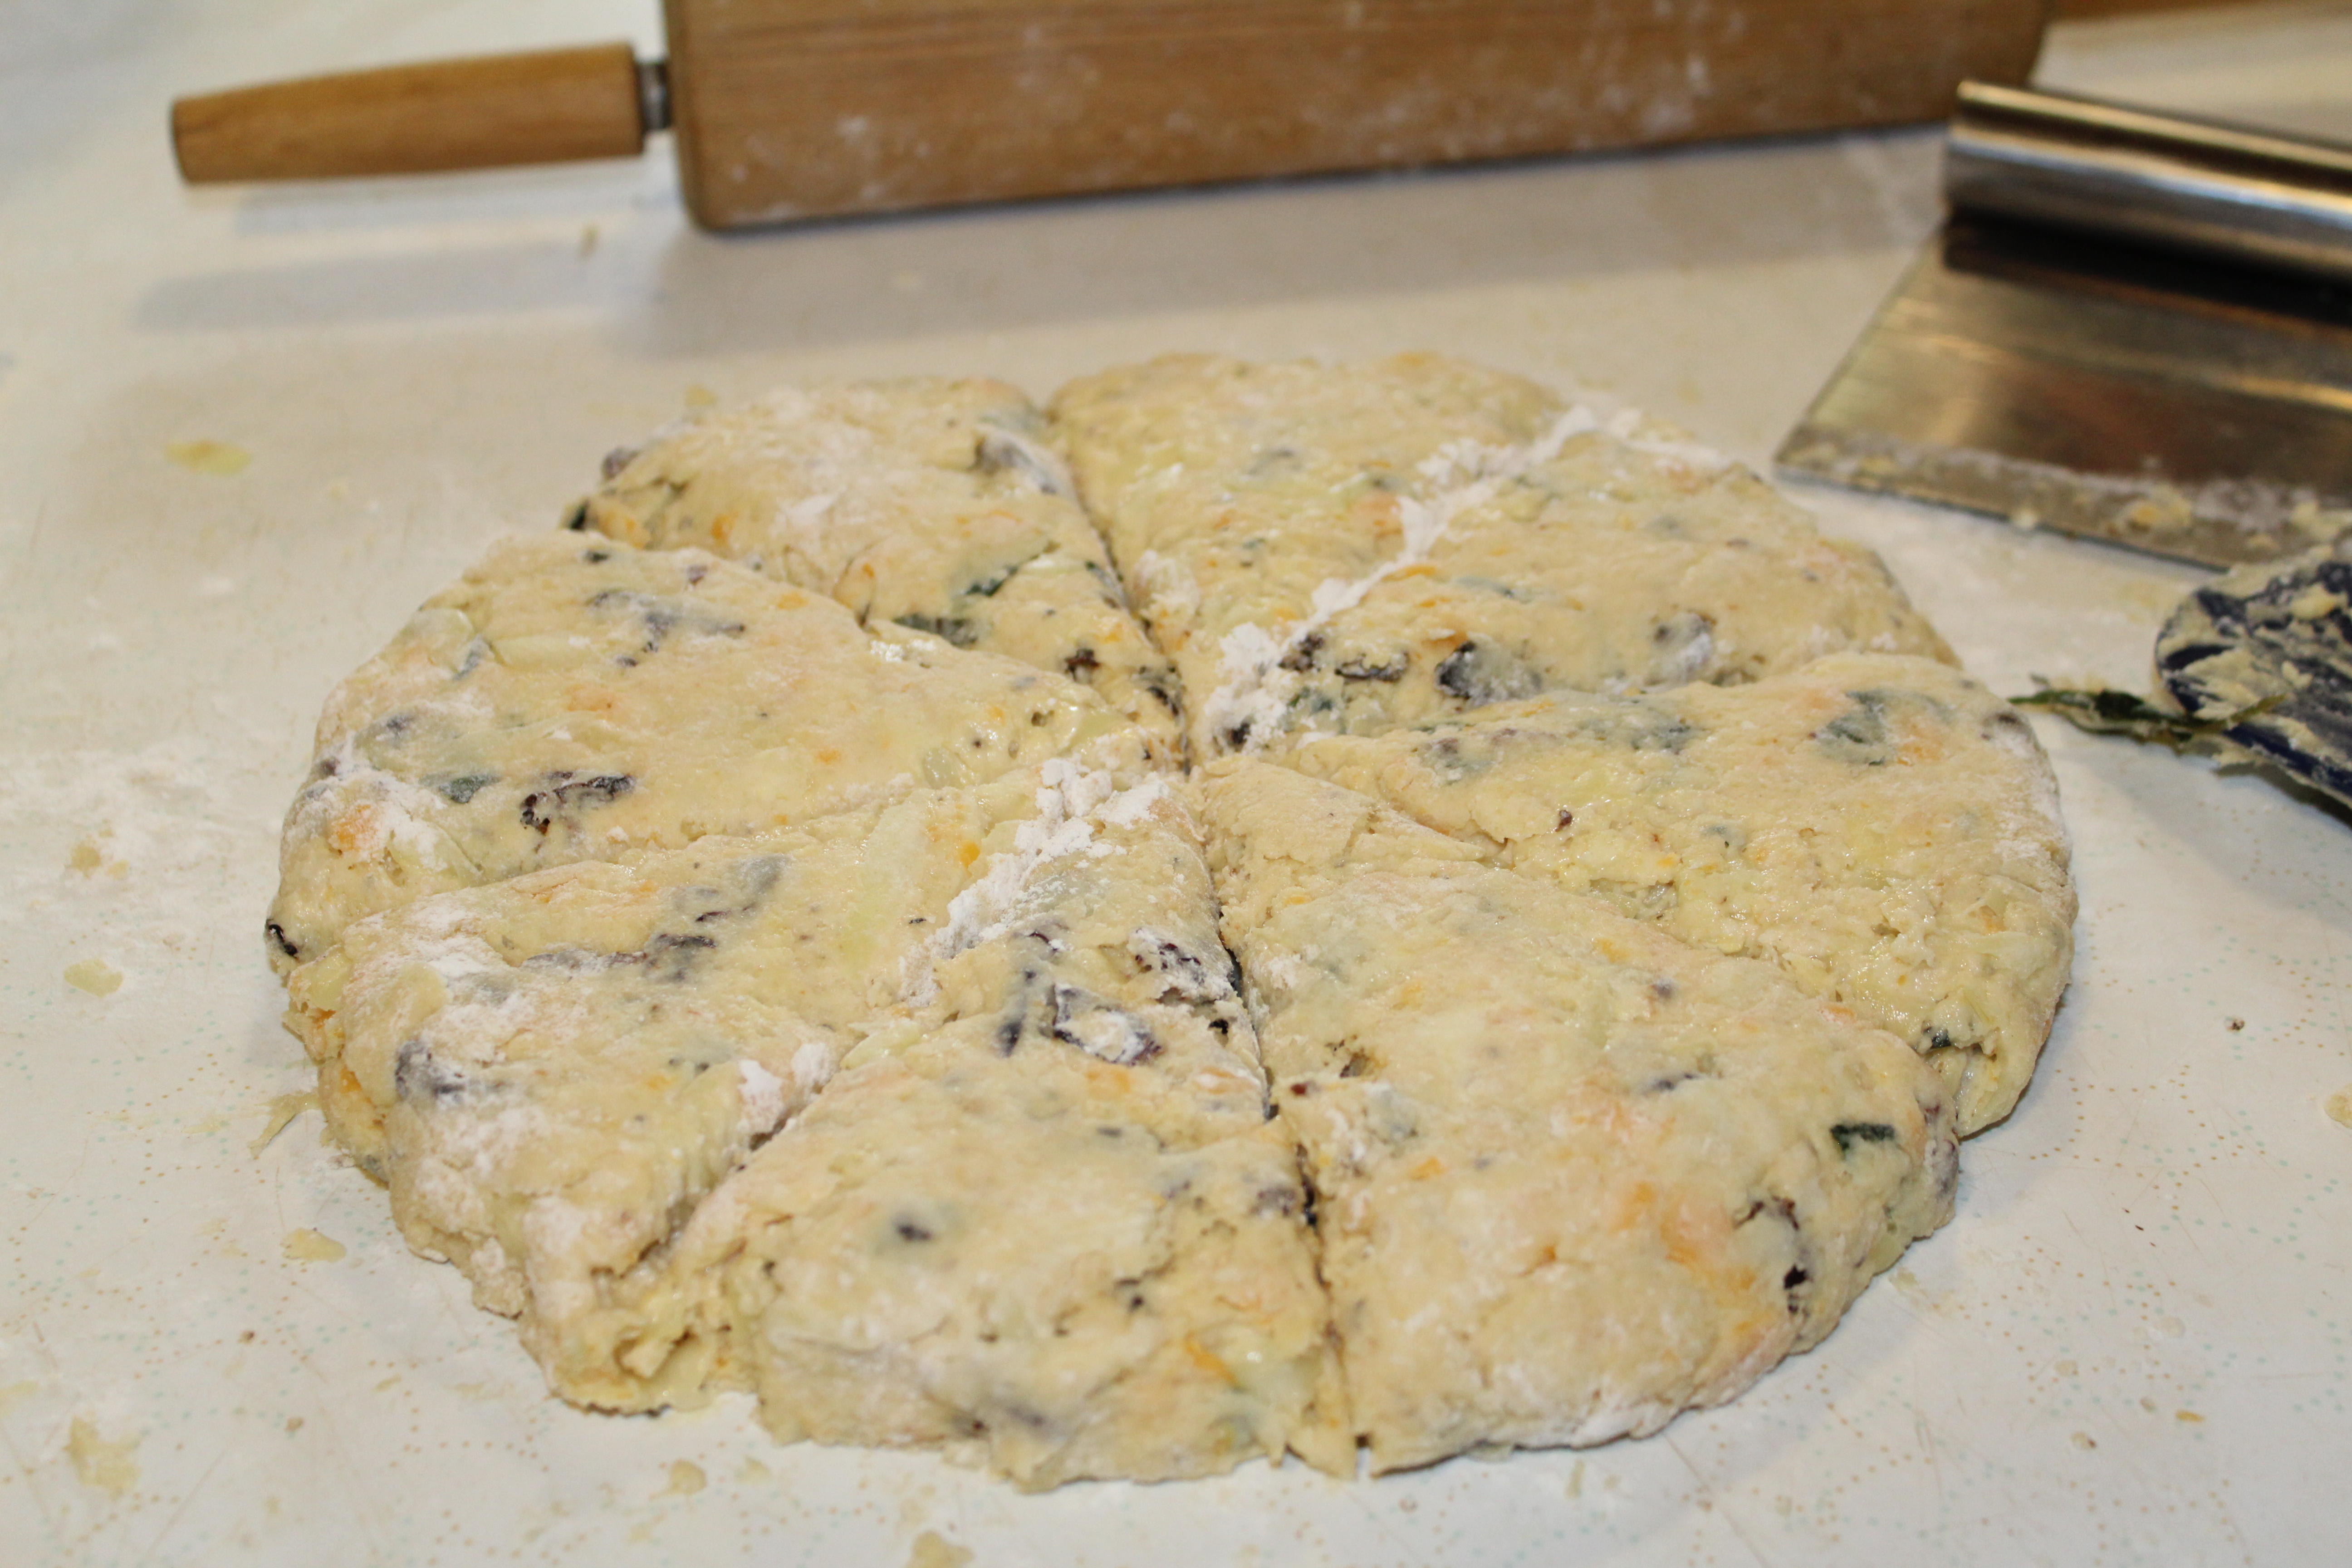
Cut the dough in wedges like a pie.


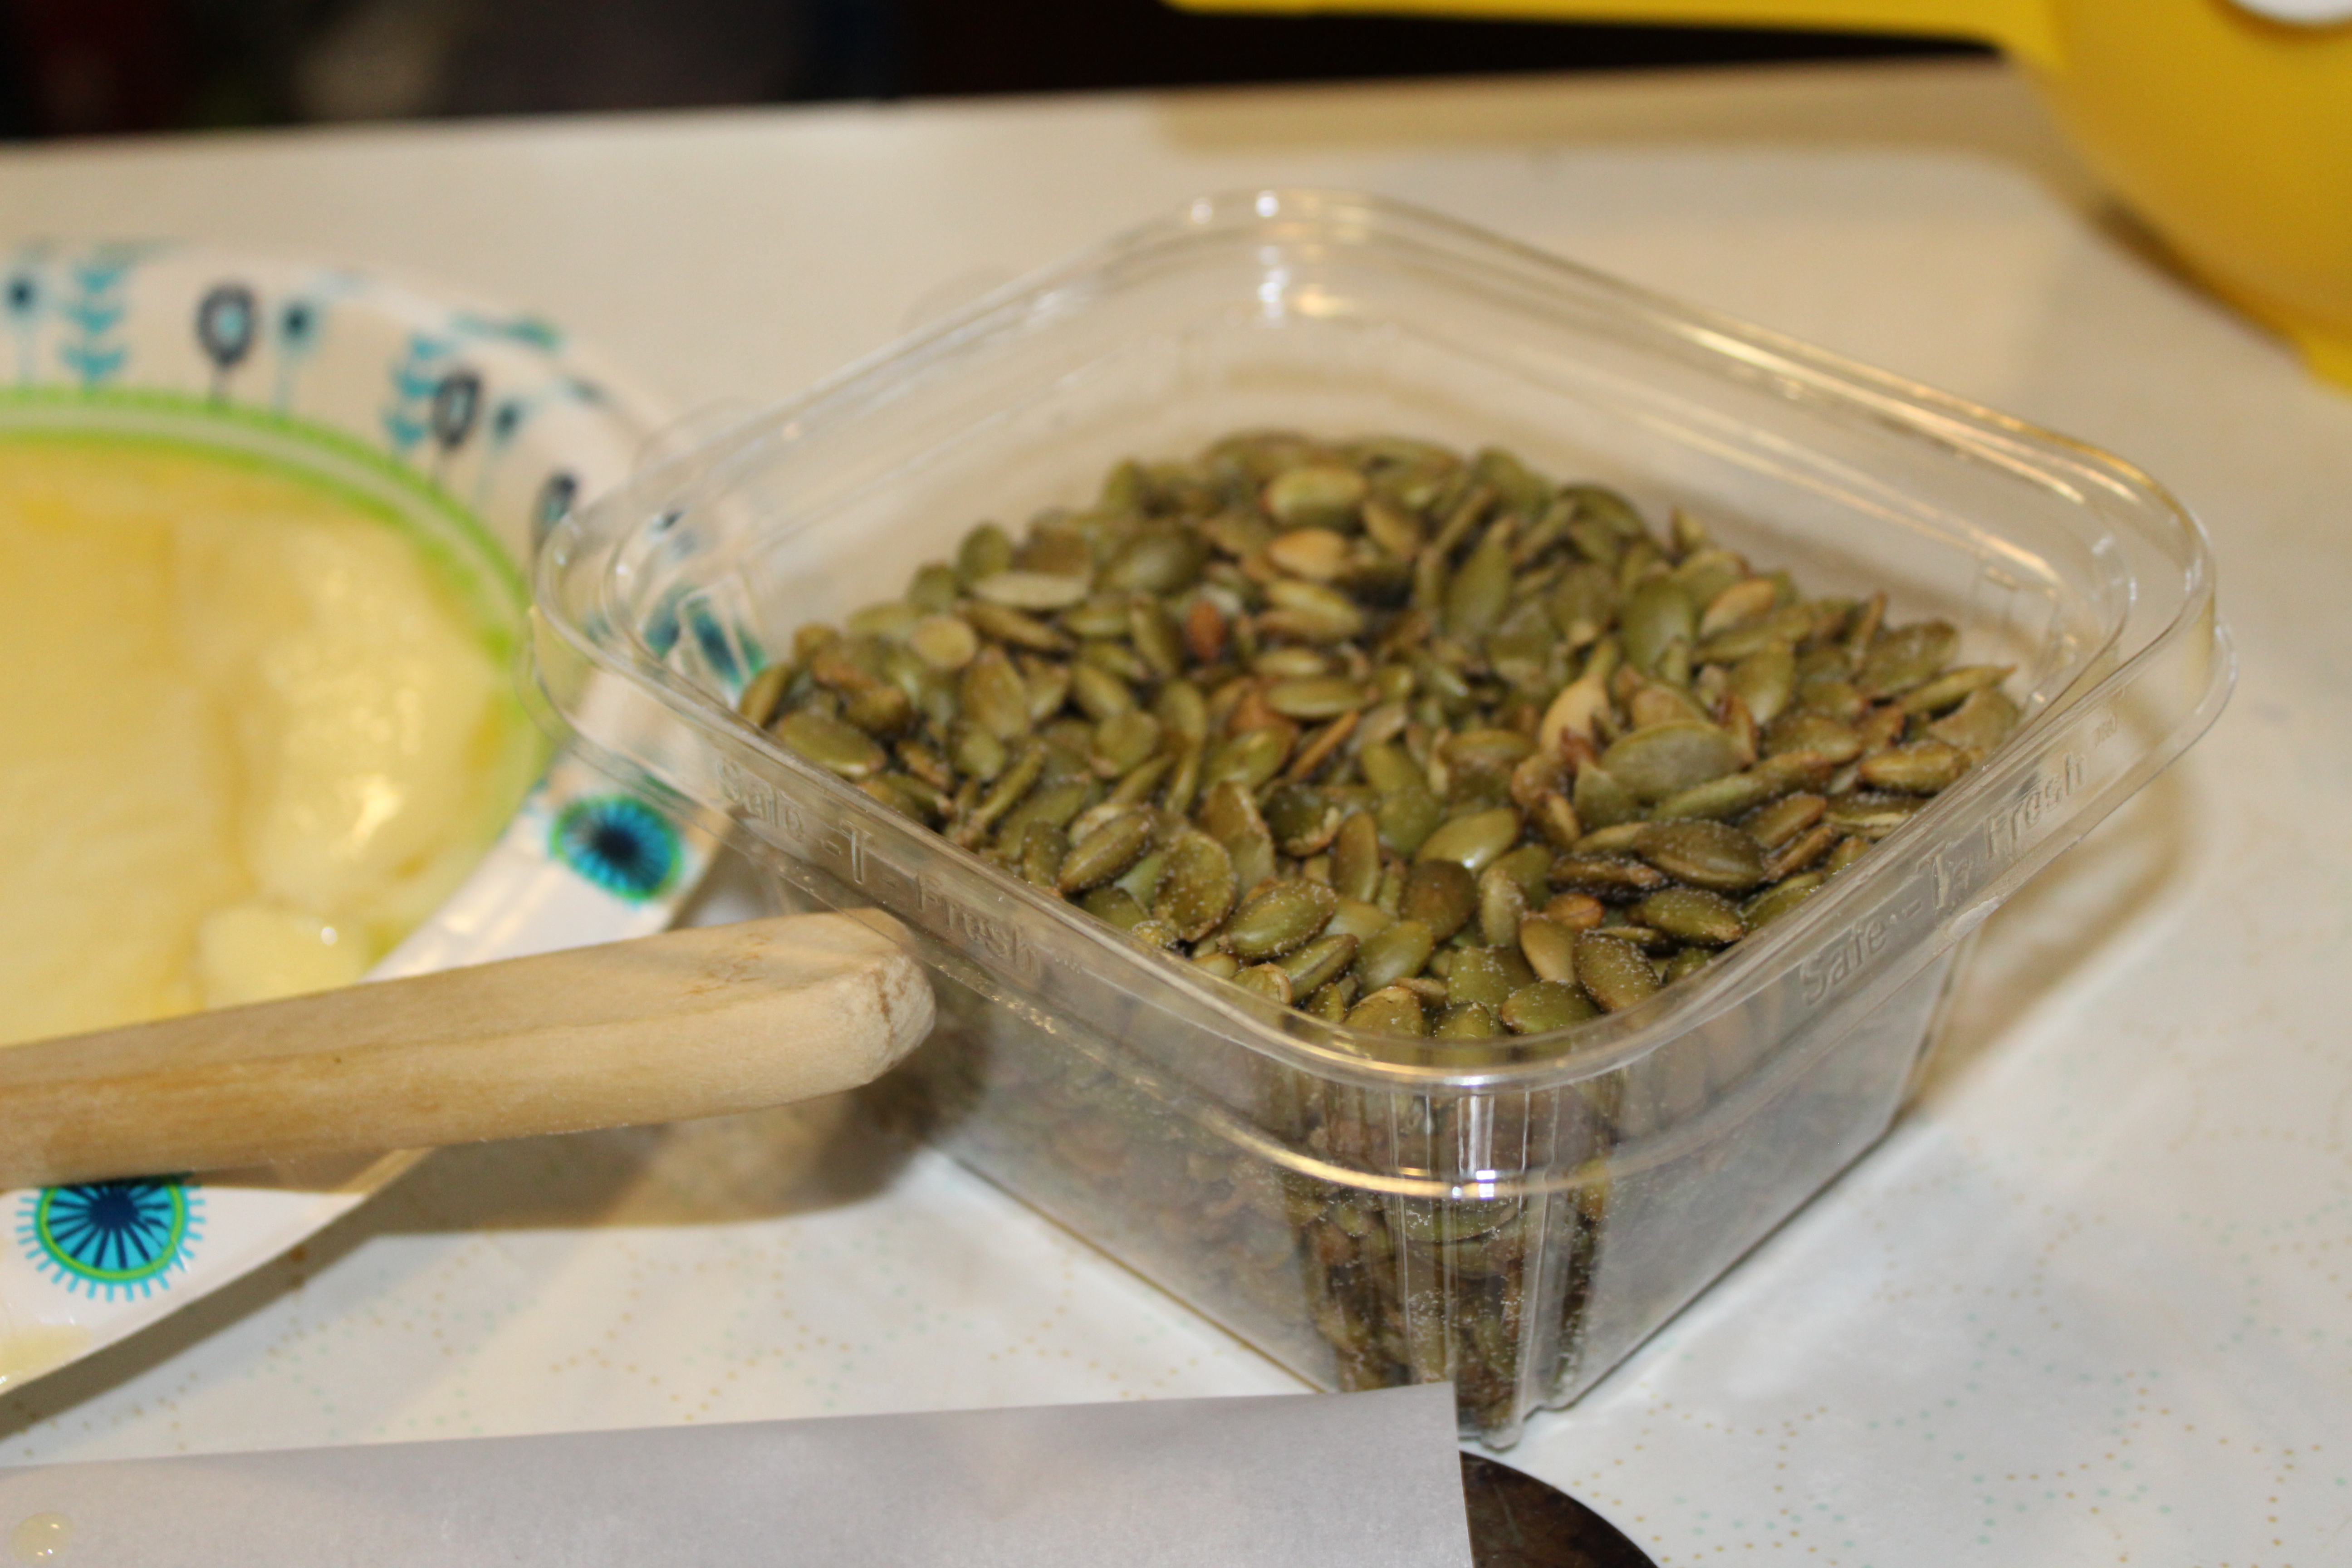
I used these seeds on top. (sunflower and roasted pumpkin seeds)

I brushed a little melted butter on top and then topped them off with seeds. This is optional. : ) Put the scones on a parchment covered cookie sheet and bake.

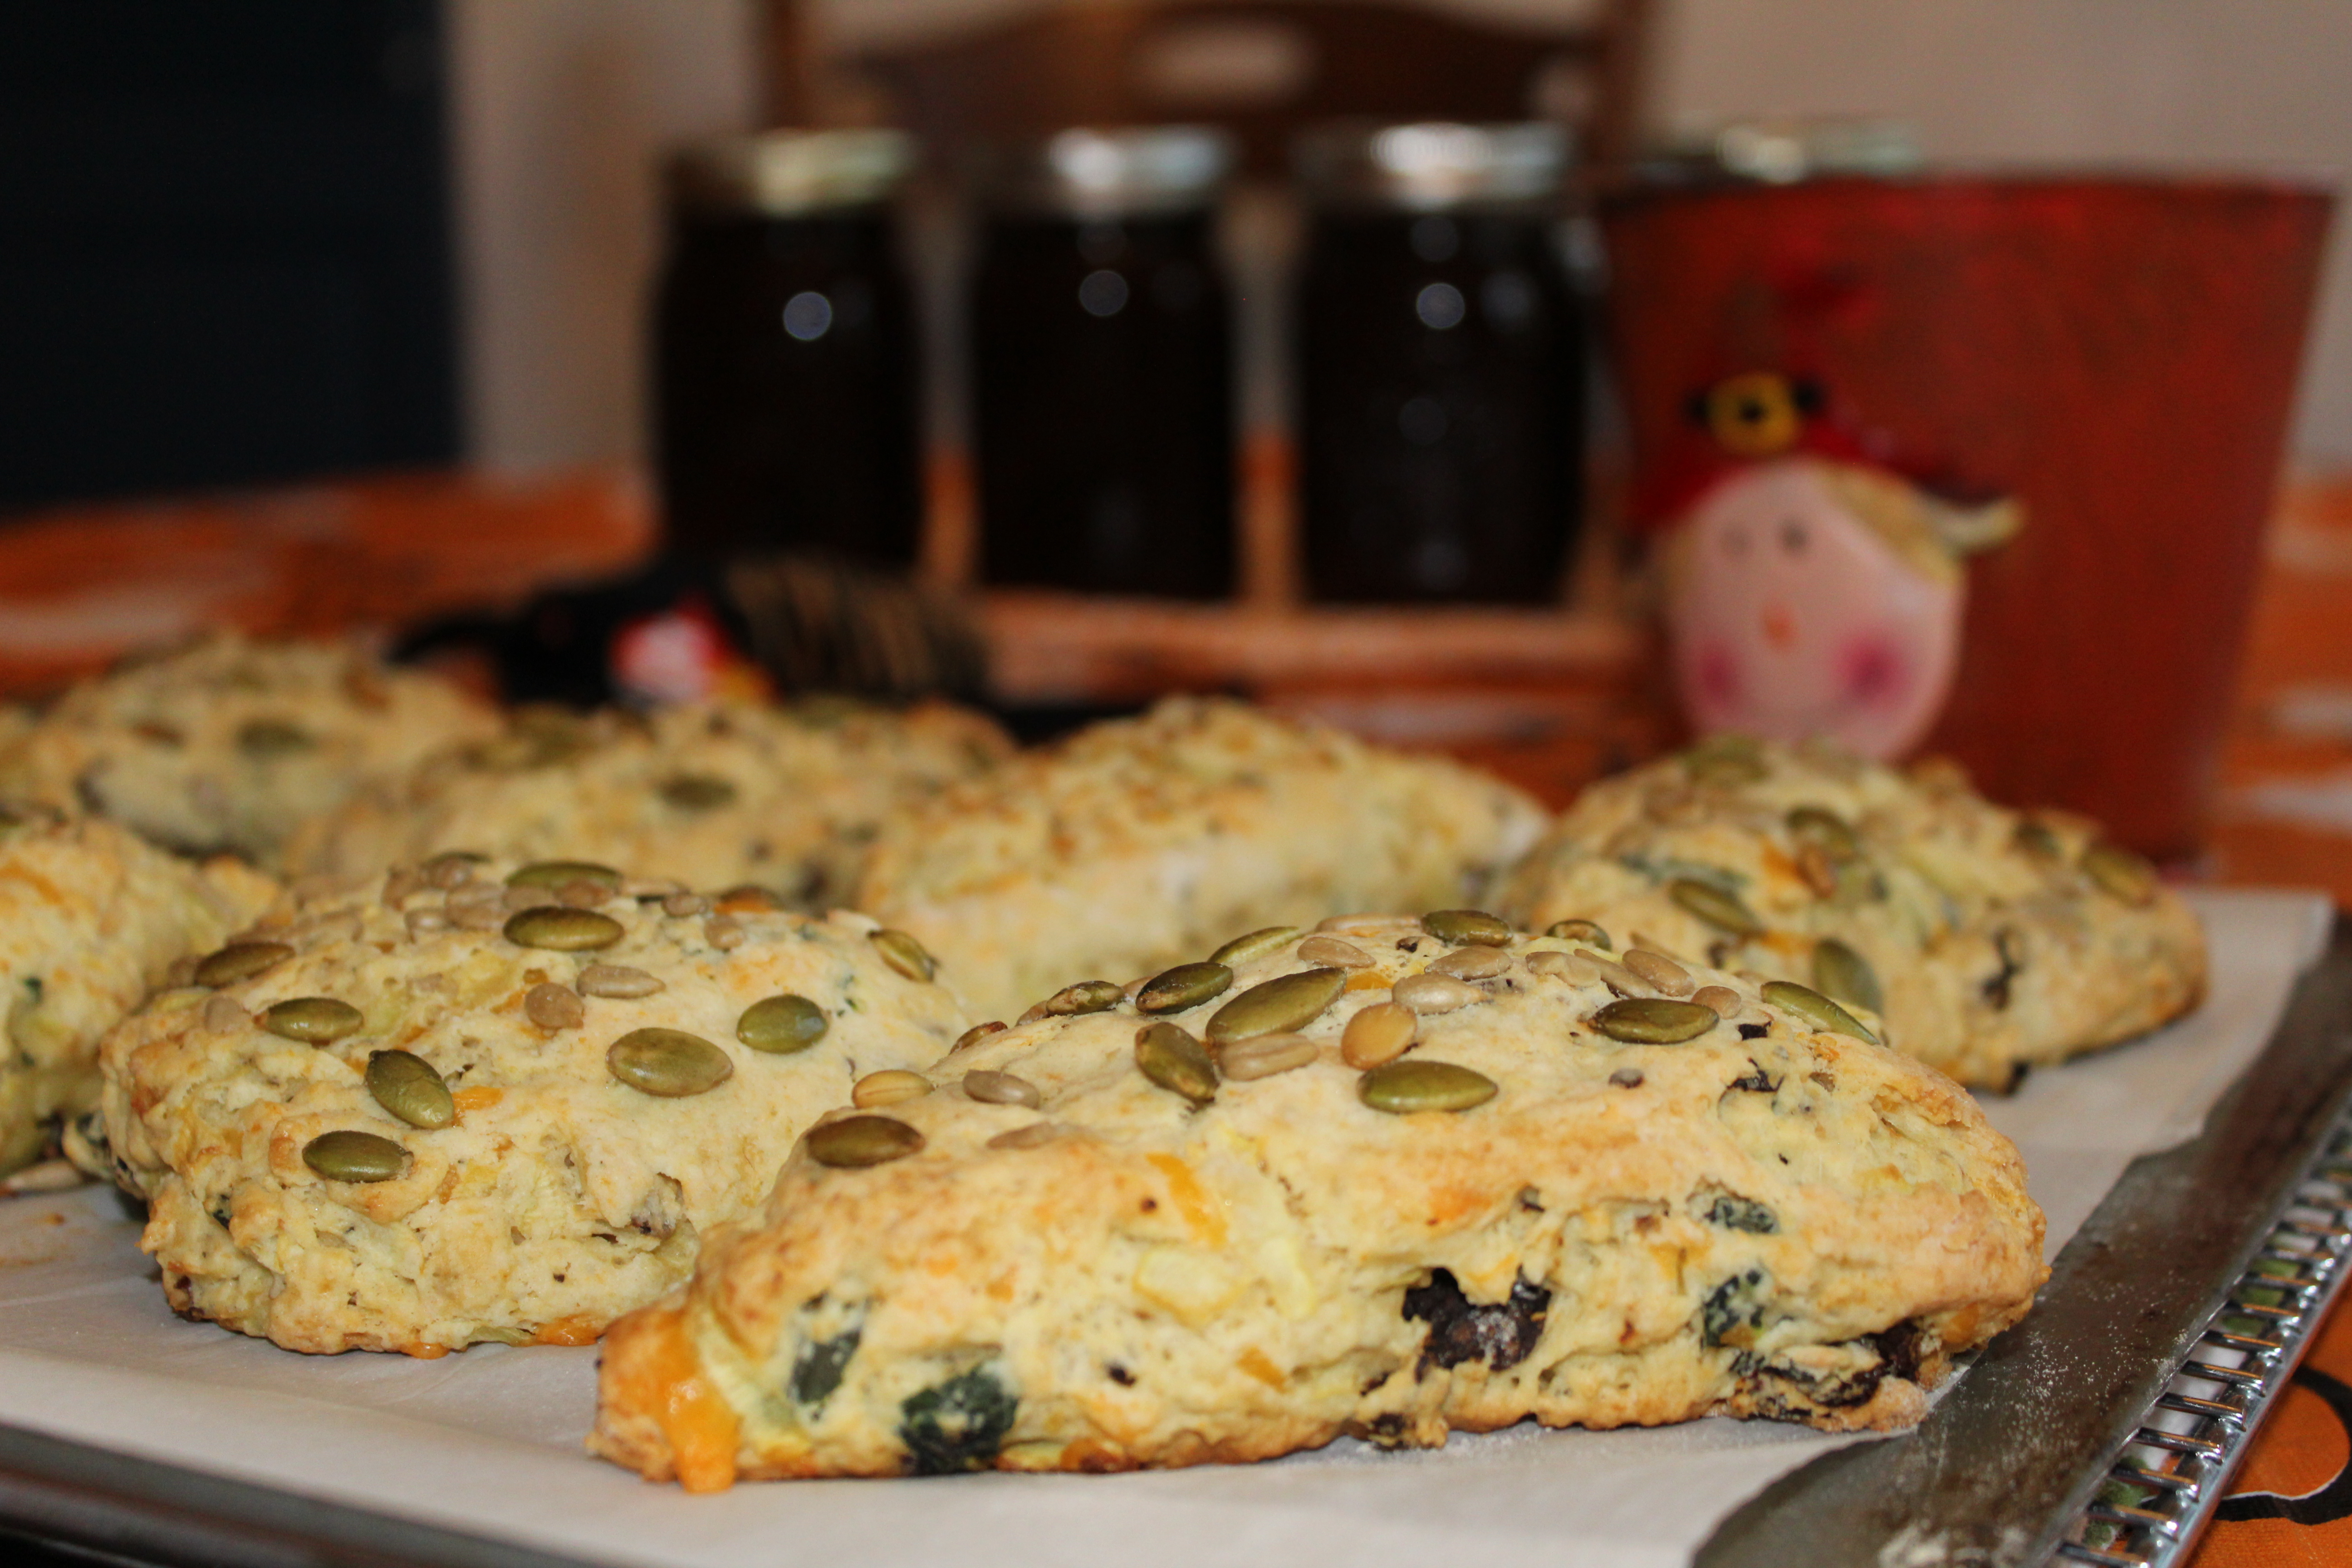
Here they are, all warm out of the oven.

Are you ready for the recipe yet?

haha

Here you are.

Zucchini and Sun Dried Tomato Scones

Ingredients:

2 1/2 cups of flour

1 tablespoon baking powder

1/2 teaspoon baking soda

1/2 teaspoon salt

1/2 cup or 1 stick butter (grated will cold)

1 egg

1/2 cup sour cream

3/4 cup sun dried tomatoes (chopped)

2/3 cup grated zucchini (well drained) I also peel my zucchini

1/2 cup grated cheddar cheese

2 tablespoons chopped fresh basil or  1 to 2 teaspoon dried basil (or add more) and it is optional ; )

Directions:

In a stand mixer or by hand, combine the flour, baking soda and powder and the salt. Add in the grated butter and toss around to coat the butter in the flour.

In a separate bowl, whisk together the egg and sour cream.

Grate the zucchini and the cheese.

Chop up the sun dried tomato and basil.

Add the zucchini, cheese, sun dried tomato and basil into the flour mixture.

Gently combine.

Slowly pour in the egg mixture into the flour mixture and using gentle combine to make a soft  dough.

Form into a ball and roll out into an 8 inch circle. Dough should be about 1 inch thick.

Cut into 8 triangles pieces. (look at the above pictures for guidance).

If you want to put seeds on top, brush each pieces with melted butter and add seeds.

Place the pieces on a parchment lined baking sheet and  bake in a 400 degree oven for about 20 minutes.

The scones should look golden brown when finished.

I served mine with my homemade butternut squash soup.

Enjoy!

Becky


Old Fashion Gingerbread

old-fashion-gingerbread

Happy Holidays Everyone!

It seems life and commitments to family and work have kept me from posting my recipes.

It has made me sad.

Just want you to know that I think about you and appreciate your patience while I try to juggle all things while messing up most of the time.

But, it is the holidays.

Time to be thankful!

And, I am thankful for you for taking time out of your busy day to read my little blog that has grown a few cobwebs as of late.

So, here’s to taking my kitchen broom to those cobwebs and start posting some recipes.

Shall we? : )

Here is my first one!

Good Old Fashion Gingerbread.

Gingerbread is just a classic dessert or gift to make during the holidays. The fragrance of spices baking together in the oven with the brown sugar and molasses just make your kitchen smell like the holidays. Add a touch of whipped cream, or in my case cool whip and a sprinkling of powdered sugar and you are good to go. You can change up the spices a bit to your liking, and I have cut down on the nutmeg and added a touch of salt to this recipe. Other than that, this recipe is family approved.

So lets get going!

This is what you will need to make this recipe.

img_5133

You will need some flour, brown sugar, molasses or sorghum, eggs, oil, baking soda, cinnamon, ground ginger,  ground cloves and salt and nutmeg which I forgot to put in the picture. Oh and water : )

img_5134

First thing you will do is add the two eggs to the mixing bowl and beat up a little bit.

img_5135

Now add in your brown sugar and mix until combined with the eggs.

img_5136

Now add in your oil and slowly mix with the brown sugar mixture or you will have a big mess….how would I know that LOL

img_5139

Now, add in your molasses or sorghum and mix in.

img_5140

In a medium bowl add in your flour.

img_5141

Add in all your seasoning, cinnamon, salt, nutmeg, ginger, cloves and baking soda and mix together.

img_5142

Add in the flour mixture into the brown sugar mixture and combine. This will be thick.

img_5143

Lastly add in one cup of boil water. Can you see the steam. Add this in slowly also, and mix until it is all incorporated.

img_5145

Now, pour into  your baking containers. This recipe is enough to fill a 9 by 13 pan. I have opted to bake a 8 by 8 and a round paper pan because I was testing out the paper pans to bake the gingerbread in as gifts to give away. It would great by the way!

img_5146

Here is a picture of the 8 by 8 pan and the round paper baking pan. Now pop the gingerbread in a preheated 350 degree oven for the 9 by 13 size pan. I baked mine at 325 for the paper pan. Bake for 20 to 25 minutes or until the gingerbread springs back slightly in the middle. Do not over bake.

img_5149

Here is what it should look like coming out of the oven. Just starting to crack a bit on top and the middle is cooked.

Doesn’t it look delicious?

It smells good too…. : )

Here is the recipe!

Old Fashion Gingerbread

Ingredients

2 eggs, beaten

3/4 cup packed brown sugar

3/4 cup molasses

3/4 cup oil

2 1/2 cup flour

2 teaspoons baking soda

1/2 teaspoon salt

2 teaspoon ground ginger

2 teaspoon cinnamon

1/4 teaspoon cloves

1/4 teaspoon nutmeg

1 cup boiling water

Optional: cool whip or sweeten whipped cream and/or powdered sugar for dusting

Directions:

Preheat your oven to 350 degrees. Grease and flour a 9 by 13 pan

Put the eggs in a mixing bowl and beat the eggs with the electric mixer.

Add the brown sugar to the beaten and eggs and combine.

Add in the molasses to the brown sugar mixture and combine thoroughly.

Slowly mix in the oil to the brown sugar mixture.

In a medium bowl, combine the flour, baking soda, salt, ginger, cinnamon, cloves and nutmeg.

Add the flour mixture to the brown sugar mixture. Combine.

Pour in the hot water a little at time and mix together with the electric mixer.

Pour the batter into the greased and flour baking pan and bake for 20 to 25 minutes or until the top barely cracks and the center is cooked.

img_5153

Dust with powdered sugar if you want. Now, just wait a couple of minutes and watch it start to disappear.

Enjoy!

Becky


Raspberry and White Chocolate Scones

Not sure if I have ever told you that I do not like to eat eggs.

Yes, I have backyard chickens and love collecting, counting and sharing my little egg shell wrapped yumminess, but I really do not like scrambled eggs. I technically eat eggs in backed goods…but that is like a cake or a cookie. : )  Believe it or not, I have really gotten better about eating eggs over the last few years. I have started eating the occasional boiled and deviled egg. Progress!

So, why am I talking about eggs when I am posting a recipe about delicious and moist, fruit and white chocolate filled scones covered in a drizzle of vanilla bean glaze.

Well, it is because these are the things that I like to eat for breakfast.

For those of us who do not eat that traditional breakfast of eggs, bacon and toast, we are experts at finding other breakfast combinations.

Pancakes, biscuits and cereal (which is what I had for breakfast this morning).

Which by the way…does include bacon! Ha!

Let’s talk scones. I do not want a dry, tasteless, biscuit like scone that you need a ton of marmalade to make it taste good. That does not mean that I do not like a scone that is covered in marmalade…you should know me better than that. Let just forget the dry and tasteless part…ok?

This recipe for Raspberry and White Chocolate Scones is moist and every crumb taste gooooood! It is sweet but not too sweet and the raspberries add that bit of tartness that I love.

These scones lasted for about 5 minutes after they were glazed.

Yes, about 5 minutes….I barely got to take a picture of them!

It is cool this morning in Mid Missouri. So, make you some hot tea and some warm scones and warm up that tummy.

It will make you happy!

Here is what you will need for the scones, the ingredients for the glaze is a little further down:

You will need flour, salt (I forgot to put the salt in the picture), baking powder, sugar, whipping cream (I was out so I used half and half and it worked fine), butter, raspberries, white chocolate chips and a course sugar to top them with. I used turbinado raw can sugar, but you can use a course sanding sugar like this too.

This is from Wilton brand sanding sugar.

I used by little blender to mix my scones together, but you can definitely use a pastry blender to cut in your butter. First, measure out your flour and put it a bowl or your little blender.

Add in the salt.

Now the baking powder and mix together.

Stir in the sugar.

Add in the cold butter slices and cut in with a pastry blender or pulse a few times on your blender.

Your dough should start looking like crumbs with small pieces of butter.

I transferred my flour and butter mixture to a bowl. Now, pour in the whipping cream (I used half and half) and stir together, gently.

The dough will start to take shape.

Measure out your raspberries and white chocolate chips.

Add in to your dough and gentle knead in the dough. Be care not to break apart all the berries and be gentle during this process.

Form the dough into a nice circle.

Cut like a pizza into  8 wedges.

Place the scones on a parchment lined cookie sheet.

With a pastry brush, brush the tops of each scone with half and half.

Sprinkle with turbinado sugar or sanding sugar. I love the little sugar crunch on the top. YUM! Put the scones in the oven and start baking. While the scones are baking, make the glaze.

You will need some more half and half, powdered sugar and vanilla bean paste. If you do not have vanilla bean paste, just use vanilla.

Add the powdered sugar, half and half and the vanilla bean paste.

Stir together until smooth. I LOVE the little bits of vanilla beans.

When the scones are warm and just out of the oven, drizzle the glaze over each one.

There you go!

You might not even need bacon to go with them : ).

If you are looking for a special breakfast or an afternoon tea scone, I think you will love these!

Here is the recipe:

Adapted from Southern Living

Raspberry and White Chocolate Scones

Ingredients:

2 cups of all purpose flour

1/3 cup sugar

1 tablespoon baking powder

1/2 teaspoon salt

1/2 cup cold butter cut into 1/2 inch cubes

1 cup whipping cream (save 2 tablespoons to brush on top of scones)

2/3 cups of fresh raspberries

1/2 cup white chocolate chips

Sanding sugar

Ingredients for the glaze:

1/2 powdered sugar

1 to 2 tablespoons milk to thin consistency ( I just went ahead and used my half and half)

1/4 teaspoon vanilla (I used vanilla paste)

Direction:

In a large bowl (I used my little blender) mix together the flour, salt, baking powder and sugar. Cut in the cold butter with a pastry blender until the mixture starts to look like crumbs. Pour in the half and half (save 2 tablespoons to brush on top of the scones) and gently stir to start forming a dough. Add in the raspberries and white chocolate chips. Gentle knead them in. Take the dough out of the bowl and form into a circle. Cut the dough like a pizza into 8 wedges. Brush each scone with the reserved whipping cream and sprinkle with turbinado sugar or a sanding sugar. Place the scones into a  450 degree preheated oven and bake 13 to 15 minutes until light golden color.

While the scones are baking, stir together the milk, powdered sugar and vanilla paste.

When the scones come out of the oven, drizzle with the glaze.

Now, try not to eat all of them!

Enjoy!

Becky

Here are some other post that might interest you:


Chocolate Peanut Butter Mousse Cake             Broccoli Rice Casserole

St. Patty’s Day Cooking

Are you ready for St. Patrick’s Day?

I just back from the store after purchasing my point cut corn beef, a onion, red potatoes and some cabbage. I knew I would be running around after church tomorrow and most likely would not have time for a trip to the grocery store. First thing on Monday morning, I will put my corn beef in the crock pot so it will be all cooked and tender for dinner that night.

If you have never made a corn beef, do not be intimidated! I did not make my first one until a few years ago. Just follow the direction from this post Point Cut Corn Beef. I have the step by step pictures and directions all ready for you to follow.

If you feel like a little Irish Soda Bread, the recipe for one is here. Irish Soda Bread is dense and slightly sweeten. Perfect with a hardy soup.

How about a fun GREEN bread made for a cake mix swirled with cinnamon sugar. You can find the recipe here.

Hope everyone in Missouri and elsewhere is enjoying the nice warm weather. Our snow has melted off and the ground is a little soggy but my bulbs are popping out of the ground reminding me that another season is on its way and it’s name is Spring!.

Have a great weekend!

Becky

P.S. here is another GREEN recipe!

Here is the recipe.

Banana Muffins with Streusel Topping

Banana Muffins with Streusel Topping

My youngest grandgirl loves her bananas.

Bananas are her go to snack during that in between time from getting home from day care and before dinner.

“Nana Please,” and she is not talking about me…she wants a banana.

So, you can pretty much count on that I will have some bananas in the house…somewhere. (youngest grandgirl likes to hide food behind my big chair in the living room.)

There are times though, that we cannot eat all of those needed bananas and I have to do something drastic to use up those bananas…like make banana muffins. (you did not think I would throw them away did you? hehe)

Anywho, I took my favorite and very simple banana bread recipe and topped it with a melt in your mouth streusel topping.

My old kids, my grand kids and myself included, could not stay out of them.

Yum a yum yummy!

If you need a little comfort food and you are looking at some bananas, do something drastic too…make some Banana Muffins with Streusel Topping.

Here is what you need to make them.

I bet you have pretty much all of this in your kitchen right now. Flour, sugar, powdered sugar, oil, butter, salt, baking soda, baking powder, cinnamon and a couple of eggs.

First thing I do is take a mixer to these bananas to smash them up.

Then I add my eggs. (these came from my backyard beauties)

With a mixer, mix in the eggs with the bananas, then mix in the oil. Add the sugar into the banana mixture…I forgot to get a picture of that…ooops.

In a separate bowl, add in the flour.

Add the baking powder and soda.

Add in the salt.

Whisk the dry ingredients together.

Add the dry ingredients to the banana mixture.

And now mix all up, without over mixing. (it causes tunnels in your muffins)

Fill the muffins tins up two-thirds with the batter.

Now, lets make the topping!

Cut off 5 tablespoons of butter.

You want to melt it. I just put mine in the microwave to melt.

Add in your flour.

Add in your powdered sugar.

Now cinnamon…yum!

A pinch of salt.

Mix it all together. The great thing about this topping is that  you can put it on any kind of muffin or quick breads to add a little homemade goodness.

Drop small pieces of the topping onto the top of each muffin. I also gently pressed the topping into the batter.

Put the muffins in a preheated 350 degree oven to bake. They take about 20 minutes.

Here is the recipe:

Banana Muffins with Streusel Topping

Ingredients:

3/4 cup of sugar

1/2 cup oil

2 eggs

3 ripe bananas, mashed

1 3/4 cups flour

2 teaspoon baking powder

1/2 teaspoon baking soda

1/2 teaspoon salt

Streusel Topping

5 tablespoons butter, melted (I have also used margarine)

2/3 cup flour

2/3 cup powdered sugar

1/4 teaspoon cinnamon

pinch of salt

Directions for the Banana Muffins

In a large mixing bowl, mix together the sugar, oil, eggs and the bananas.

Add in the flour, baking powder, baking soda and salt.

Heat the oven to 35o degrees.

Grease or line a muffin tin with papers and fill each muffin cup 2/3 full of batter.

Now, make the topping.

Directions for the Streusel topping:

In a medium size bowl, stir together the melted butter, flour, powdered sugar, cinnamon and salt. It will be clumpy, but that is ok.

Back to the muffins:

Now that the streusel is ready, sprinkle streusel on the top of each muffin. I pressed the streusel down slightly into the batter so it will bake on and not fall off when you take them out of the oven.

Bake the muffins in a preheated 350 degree oven for about 20 minutes or until a toothpick comes out clean when inserted into the muffin. Cool for 10 minutes then remove from muffin tin.

Makes about 15 muffins.

Enjoy!

Becky

Here are some other recipes you might enjoy.


Velvetta Cheese Soup                    Easter Bird Nest                           Pistachio Bread with Cinnamon Swirl

A Bucketful of Muffins

Have you ever had to cook for a crowd? Or just wanted to bake something that you could enjoy today and for later?

That is why I love to make these muffins.

When I had to start going to meetings before school, several of us teachers brought in enough goodies to feed all the teachers a nice breakfast. It is great to just hop in your car, drive to school, knowing that breakfast was there waiting for you. Yummy breakfast food to celebrate the start of school and to get you ready to go to all those FABULOUS meetings….. : ). One of the things that I made to share were these terrific muffins. They are full of raisin bran cereal and extra raisins. I love them so much, I made a batch for home and shared with Niener Wiener and Jeanie Beanie. I froze the rest in the freezer. All I had to do was pull a muffin out and microwave it for breakfast. It was like eating a fresh baked muffin. If you would rather bake a few of the muffins at a time, you can do that too. Just put the batter in the refrigerator and bake a few at a time. The only trick is that you do not stir the muffin batter after it goes into the fridge because it breaks down the cereal.

See, it really does make a bucket full of muffins!

Lets get started!

Can you tell I am making these at school? First thing you do is put all the dry ingredients together. This includes the flour, raisin bran cereal, sugar, more raisins, baking soda and salt.

Add the oil.

Add four beaten eggs.

Add a whole quart of buttermilk.

Mix together, but do not over mix because it will break down the raising bran cereal.

Bake muffins for 15 to 20 minutes in a 400 degree oven. I love the bits of cereal through the muffin.

The recipe says that the batter will last in the fridge for 4 weeks. If you can make yourself wait that long before eating all of them.

As you can tell I made the whole batch!

These muffins are moist and dense at the same time. I love all the raisins!

Hope you do too!

Becky

Here is the recipe:

Bucketful of Muffins

Adapted from a old church cookbook I found at Salvation Army

Ingredients:

Dry Ingredients:

1–15 ounce box Raisin Bran Cereal

5 teaspoons of baking soda

5 cup of all purpose flour

2 teaspoons salt

2 cups of raisins

3 cups of sugar

Wet Ingredients:

4 beaten eggs

1 cup of vegetable oil

1 quart buttermilk

Directions:

Mix all the dry ingredients in a very large bowl. Mix well. Add in the eggs, oil and buttermilk. Stir together but do not over mix and break down the cereal. If you are not baking all the muffins you can store in a covered container in the refrigerator. Do not stir any time after mixing the batter together.

Bake muffins as needed (or all of the batter like I did) in a 400 degree oven for 15 to 20 minutes.

Other post you may enjoy reading:


Taco Soup                                            Strawberry Bread                        Brown Sugar Meatloaf

Pistachio Bread

Top of the morning to  you!

Your eyes are not deceiving you….you are seeing green bread!

When I spied this recipe from an old newspaper clipping, I thought it would be a great bread to make to get ready for Saint Patrick’s Day.  It is simple to make, taste great, and it is GREEN. How cool is that? My foods class at school even made some on Friday. The students (picky eaters) loved this bread so much, they packed all their bread off and scooted out of the Foods Lab as soon as the bell rang. I think they must have seen an leprechaun who wanted a piece.

Anywho, if you are looking for something fun, easy to make, moist and tasty and most importantly GREEN to make on St. Patty’s Day, I hope you give this recipe a try.

Who knows, you might be able to bribe a leprechaun into telling you where the end of the rainbow is with a large slice of this bread.

You can make this bread with just a few ingredients:

You will need a yellow or white cake mix, sour cream, water, oil, cinnamon and sugar mixture and a box of pistachio pudding.


The first thing you need to do is crack the four eggs and beat them in a small bowl.


In a large bowl, put in the cake mix and pudding mix.


Add in the sour cream and the water. (see the pudding mix turn green)


Add the oil and the beaten eggs.


With an electric mixture, mix the bread batter together till smooth and fluffy.


In prepared pans (I spray lightly with vegetable oil and line the bottom with parchment paper) Put in 1/4 of the batter into the bottom of each of the pans.


Sprinkle half of the cinnamon sugar mixture on top of the batter in each pan. Save the other half of the cinnamon sugar mixture for the top. Spoon the remaining batter, in equal amounts on top of the cinnamon sugar layer.


Spread the batter evenly over the cinnamon sugar. Sprinkle the rest of the cinnamon sugar on the top layer of the bread.

Bale in a preheat 350 degree oven for around 40 minutes.

I just love that cinnamon sugary crusty top!

Here is the recipe

Pistachio Bread

Adapted from old newspaper clipping

Ingredients:

1 white or yellow box cake mix

1 box (3 1/2 ounce size) instant pistachio pudding

4 eggs beaten

1 cup sour cream

1/4 cup water

1/4 cup oil

Topping Ingredients:

6 tablespoon sugar

1 1/2 teaspoon cinnamon

Directions:

Preheat oven to 350 degrees. Prepare your loaf pans (you will need two) by lightly spraying with vegetable spray and covering the bottom with parchment paper.

In a small bowl, mix together the cinnamon and sugar for the topping and inside layer of bread.

In a small bowl, beat the four eggs.

In a large bowl, add the cake mix, pistachio pudding, sour cream, beaten eggs, water and oil. With an electric mixture, mix together until the batter is light and fluffy.

Put 1/4 of the batter into each of the loaf pans and spread evenly. Sprinkle 1/4 of the cinnamon sugar on evenly on top of the batter layer in both pans. Spoon the remaining batter on top of the cinnamon sugar layer, in both pans. Spread the batter evenly. Sprinkle the remaining cinnamon sugar mixture evenly on top of batter, in both pans.

Bake for 40 minutes. Remove, and leave in pan for 5 minutes. Run a knife around the edge and take the bread out of the pans and cool completely on a cooling rack.

Makes two loafs.

You will be glad it makes two loafs.

One for you and one for your little leprechauns.

Enjoy!

Becky

Other St. Pat’s Day recipes you may enjoy making:


Corn Beef                                                         Irish Soda Bread 

Molasses Oatmeal Bread

I love Molasses.

There I have said it.

I am a molasses snob too.

I want my molasses (sorghum) to taste just like I used to eat on hot biscuits at my grandma’s house.

I was so excited that I  found a farmers market in Springfield (Baby College Girl lives there) where a Mennonite family sells the exact tasting molasses I am looking for.

I pretty much bought them out, the last time I was in Springfield,

Anywho, when I can across this old bread recipe and it had molasses in it, I knew I would have to give it a try.

Here is what you need to make this bread.

You will need oatmeal, butter, flour, yeast and molasses or sorghum.


First thing you do is put the oatmeal in a bowl and pour hot water over it. Let it set for about 45 minutes or until it thickens up.


Now, you add the softened butter and the molasses. Stir to combine.


Add the yeast to lukewarm water to dissolve . Add the salt to the oatmeal and molasses mixture.


Once the yeast has dissolved you can add it to the molasses and oatmeal mixtures. Now, I switched to my stand mixer. I poured in the oatmeal mixture and added the flour.

I put on my dough hook and kneaded in the flour. The dough is very soft and sticky and that is ok for now.

I covered the dough with plastic wrap and put a towel over the bowl. I set the bowl in a warm place in my kitchen until it doubled in size.

In about a hour or so, the dough has risen to double it’s size.

Take the dough out of the bowl and put in on a well floured surface.

I sprinkled some more flour on top. I then kneaded the dough by hand, adding more flour as needed until I got a soft dough.


I cut the dough in half. I then formed the dough into loaves.


I put the loaves into little greased loaf pans. I covered them with a towel until they doubled in size.

Bake in a preheated 350 degree oven for about 50 minutes. Let cool in the pans for 10 minutes then remove.

Try to wait until the bread cools before slicing. I have a hard time with this!

I took one of these loaves to my sister Jeanie Beanie’s house for her dinner after church on Sunday. My other loaf is almost gone. Yikes! It went great with the beef stew I made for dinner.

Hope you give it a try.

Here is the recipe:

Molasses Oatmeal Bread

Ingredients:

2 cups boiling water

1 cup quick or regular oats

1/2 cup molasses or sorghum (do not use blackstrap molasses, it is too bitter for this recipe)

1 tablespoon butter

1 1/2 teaspoon salt

1/2 cup lukewarm water

1 package yeast

4 1/2 cups to 5 cups of flour (you will use an additional 1/2 to 3/4 cups for kneading later)

Directions:

Mix boiling water and the oats together in a large bowl. Let it sit for up to one hour or until the oatmeal thickens. Now, add the molasses, slat and butter. Stir to combine. In a small bowl, put the lukewarm water and yeast, stir to dissolve the yeast. Add the yeast mixture to the oatmeal mixture and stir together. Pour the oatmeal mixture into a stand mixer with an attached dough hook. Add the flour. Knead the flour and oatmeal mixture together for about 5 to 6 minutes. The dough will be sticky. If you do not have a stand mixer,  you can beat the flour in by hand as the dough is pretty soft.  Cover the dough with plastic wrap to prevent from drying out and then cover with a towel. Let the dough rise until it has double in size. Punch the dough down and put on a floured surface. Add enough flour to make the dough firm enough to knead. Shape the dough into two loaves. Put the loaves in greased loaf pans. Cover the pans with a towel and let rise till double. Bake the loaves in a preheated 350 degree oven for about 50 minutes. Let the loaves cool in the pans for about 10 minutes. Then take out of the pans and cool on a cooling rack.

Enjoy!

Becky

Other post you may want to check out:


Overnight Cinnamon Rolls                        Molasses Cookies                             Sausage Gravy and Biscuits


Honey Cornbread

Do you love cornbread as much as I do?

If you love a  sweet and moist cornbread, you are sure to love this recipe.

I don’t know if you have ever traveled to the Ozarks in Missouri. But you might have heard of a little town called Branson.

You know, Shepard of the Hills, Silver Dollar City (which they say now has the biggest and fastest wooden roller coaster in the United States), The Titanic Exhibit and we can’t forget Dixie Stampede (my grand girls  favorite place).

Well, in Branson there is this restaurant called McFarland’s. Every time I go to Branson, I have to eat there just to pig out on their cornbread and honey butter. They make the best cornbread and honey butter. With all the snow outside, I decided to make a pot of chili for my Super Hero, Oldest Daughter who does not cook and oldest grand girl. Oh and me too. I also made a big pan of McFarland’s Honey  Cornbread. When the Oldest Daughter came upstairs and saw I was making cornbread she immediately said, ” I love you Mom.”

If you love cornbread and want your kids to tell you how much they love you, try making this recipe.

Eat it with some chili, soup or all by itself (which is what the Super Hero did for dinner). It is that good.

Here are your step by step instructions:

This is what you will need to make the best corn bread….ever.


In a mixing bowl, add four eggs and a half a stick of margarine.


Next, add in the sugar and pour in the honey. If you spray your measuring cup with cooking spray it helps to keep the honey from sticking to the cup when pouring.

With a mixer, cream all the wet ingredients together.

In a separate bowl:


Measure out the flour, baking powder and salt.

Measure out the corn meal and add it to the flour mixture. Stir to combine.


Alternate mixing in the flour/corn meal mixture with the milk. Being careful not to over stir the batter. There might be some lumps and it is ok.

Pour the batter into a greased 9 by 13 baking dish.

Put the cornbread in a preheated 375 degree oven for 20 to 30 minutes or when ever a tooth pick comes out clean.

Easy Peasy! You can make this in no time!

Here is the recipe:

Honey Cornbread

Adapted from McFarland’s Restaurant

Ingredients:

2/3 cup sugar

2 and 1/3 cups of flour

4 eggs

1/4 cup margarine

1 and1/2 tablespoon baking powder

1/2 cup corn meal

1 and 1/4 cups milk (the original recipe calls for 1 and 1/3 cups of milk, but I find it makes the batter a little too runny)

1/2 cup honey

1 teaspoon salt

Directions:

Preheat your oven to 375. The original recipe says to heat the oven to 400 degrees but I find that it is too hot.

Cream sugar, margarine, eggs and honey together in a large mixing bowl.

In a separate mixing bowl, mix together the flour, baking powder, salt and corn meal.

Alternate adding the dry ingredients and the milk to the honey and sugar mixture. Do not over mix.

Pour the batter into a greased 9 by 13 pan. The original recipe says a 11 by 14 pan, but I always use a 9 by 13 and it works just fine.

Slather some butter on a while it is warm and take a big bite.

Yum!

Enjoy your day!

Becky

If you like Honey Cornbread you may also like:

                    Baking Powder Biscuits


Irish Soda Bread

Happy Saint Patrick’s Day!

Top of the Morning to You….well how about evening to you.

Are you wearing your green today?

Have you been pinched?

I hope everyone is doing great on this fine Irish Holiday!

I wanted to tell you more about my corn beef experiment today. It looks like it will have to wait a couple of days.

I guess I should back track and fill you in on what I am talking about.

When I went to buy a corn beef to roast for St. Pat’s day, I found you had two choices to choose from.  I guess I never paid attention before. So, I decided to buy one of each cut. I bought a point cut one and a flat cut ones. I roasted the point cut in an enamel cast iron dutch oven. I put the flat cut one in a crock pot.  We ate most of the point cut corn beef last night for dinner and the corn beef tasted so good and so tender. Bliss on a fork. I wanted to get the flat cut one out of the crock pot and show you it today. I also wanted to taste it to see if I could tell any difference.

Well…..blarney….it aint gonna happen.

I just ran out of time.

It is all safe and snug in the fridge for tomorrow night for dinner.

But…..

Today I did have time to make some Irish Soda Bread.

It is already baked, ready to heat up to go with the corn beef, potatoes and cabbage for tomorrow nights dinner.

It is missing a big slice out of it though.

Know why?

I ate it warm, right out of the oven, with honey…

Oh Baby….was it good too.

See that piece right in the middle with the honey dripping off of it?

I ate it, hehe……

Sometimes the cook needs to eat first.

Right?

If you have left over corn beef and want to make a very filling, quick bread, to go with it, this recipe does the trick.

I had it ready to go in the oven in about 10 minutes, and it was out of the oven in 50 minutes, and it was in my tum tum in about 5 minutes. (I would have been quicker but it took me 4 minutes to find the honey)

The oatmeal in this recipe, adds  rustic richness you and your loved ones are sure to love.

It does not have to an Irish holiday to bake it either. It will taste good on any day of the month, I promise.

Give it a try!

Becky

Here is your step by step instructions.

Here is what you will need, except I forgot to put the butter in the picture…Sorry! Also I used my powdered buttermilk, that I add to water to, to make the buttermilk. You can use regular buttermilk or substitute buttermik, by taking one cup of milk and add 1 tablesoon of vinegar to it and letting it set for about 5 minutes before using.


Measure out the flour and the oatmeal and put them in a bowl. I was going to use my hand held mixer today for this recipe, but if you have a standing mixer that will work great too.


Add your sugar and your baking soda.


Add the salt and the butter.


Pour in the butter milk. (I used powdered buttermilk mixed with water) Add two eggs. Oldest Grand Girl is helping me with the eggs.


Mix the dough together, being careful not to over mix because it will make your dough tough. Turn out onto a counter or pastry board and knead the dough two or three time, forming a nice circle of dough.

Place the dough on a baking sheet, lined with parchment paper or a silicone baking liner. Cut an X in the dough and sprinkle with oatmeal. Put it in a preheated 375 degree oven and bake for 40 to 50 minutes. (Mine took 50)

You will want to take a cake tester or a toothpick to make sure it cooked in the middle. The bread will sound hollow when it is baked through.

Here it is right out of the oven.

Now, all you need is a knife and some honey…or butter….or soup….or corn beef….or just eat it by itself.

It is hearty and filling and delicious and the best part…EASY.

Enjoy!

Here is the recipe:

Irish Soda Bread

Adapted from One Hundred Dollars A Month website

Ingredients:

4 cups of flour

1 cup of old fashion or steel cut oats

5 tablespoons of sugar

1 teaspoon of baking soda

1 and 1/2 teaspoons of salt

1 and 1/2 cup of buttermilk (I used my powdered buttermilk)

6 tablespoons of unsalted butter, soften

2 eggs

Directions:

In a large mixing bowl stir together the dry ingredients. Add the buttermilk, soften butter and eggs. With an electric mixer, mix together. Be careful not to over mix or it will make the dough tough.

Place dough on a floured surface (pastry board or counter) and knead 2 to three time, making a nice circle of dough.

Place the dough on a baking sheet lined with parchment paper or a silicone baking sheet.

Cut an X on top of the dough. Sprinkle with oats.

Bake in a preheated 375 degree oven until the dough is baked through.

Enjoy!

Related Posts Plugin for WordPress, Blogger...