Strawberry Row Update

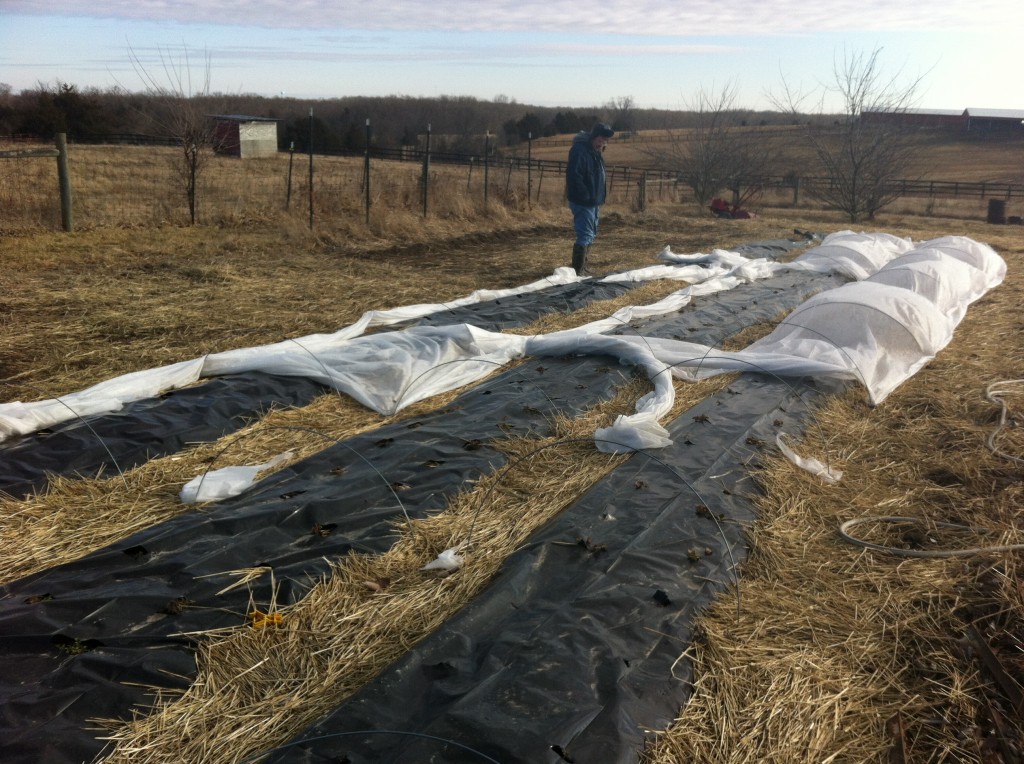
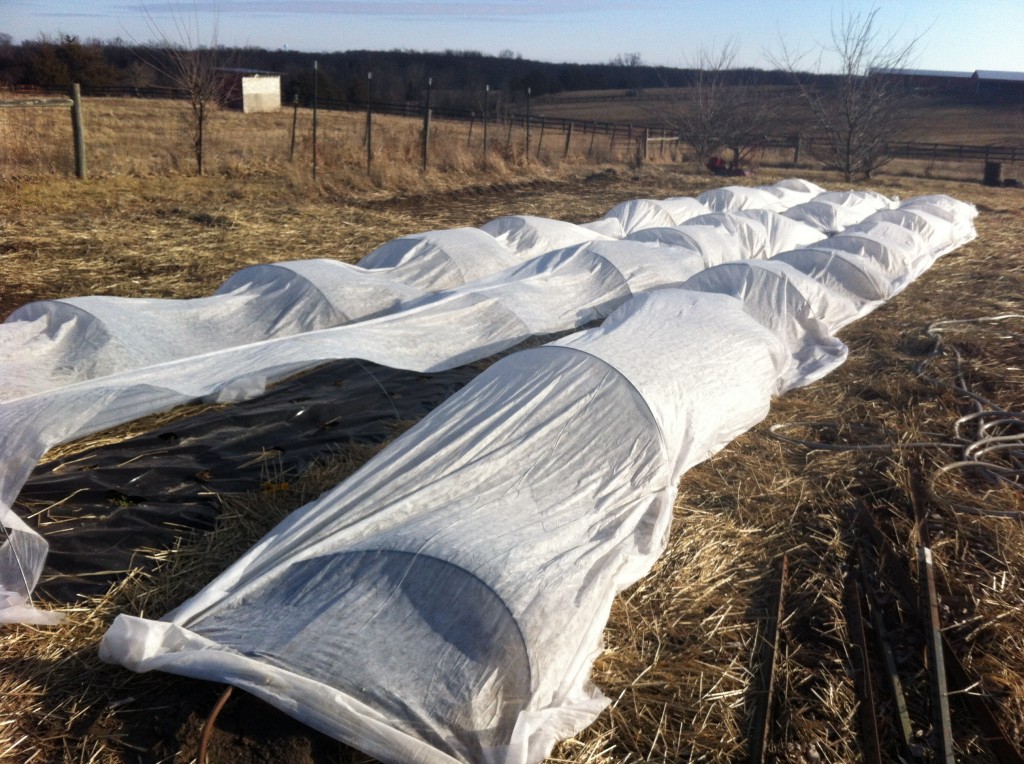
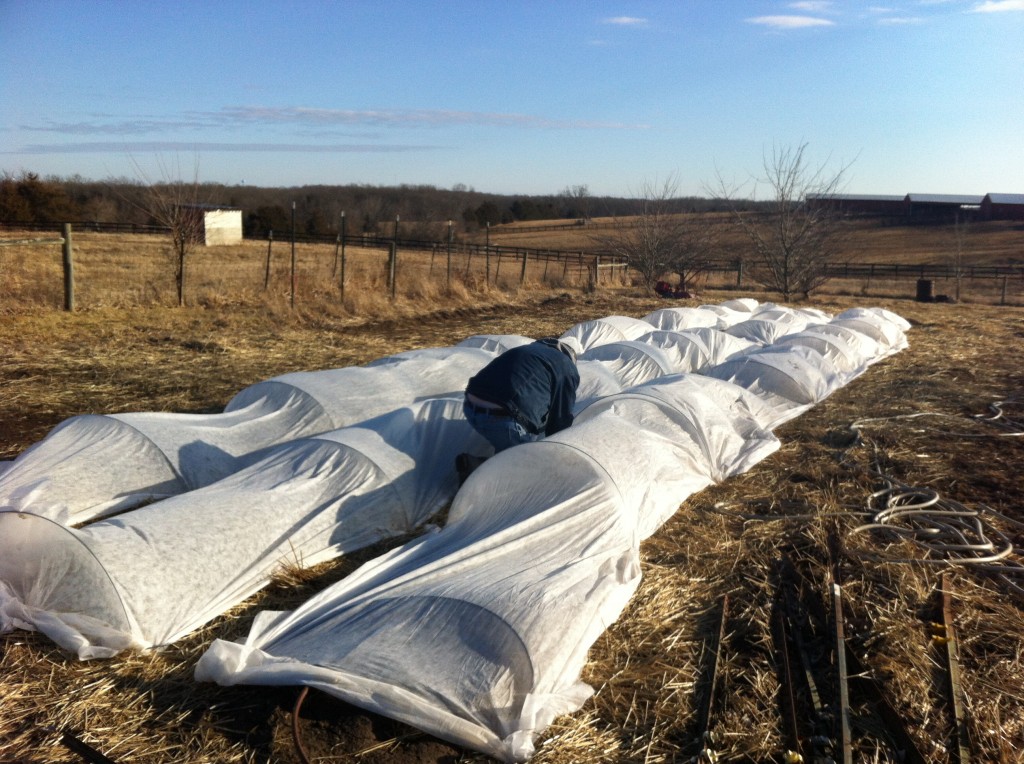
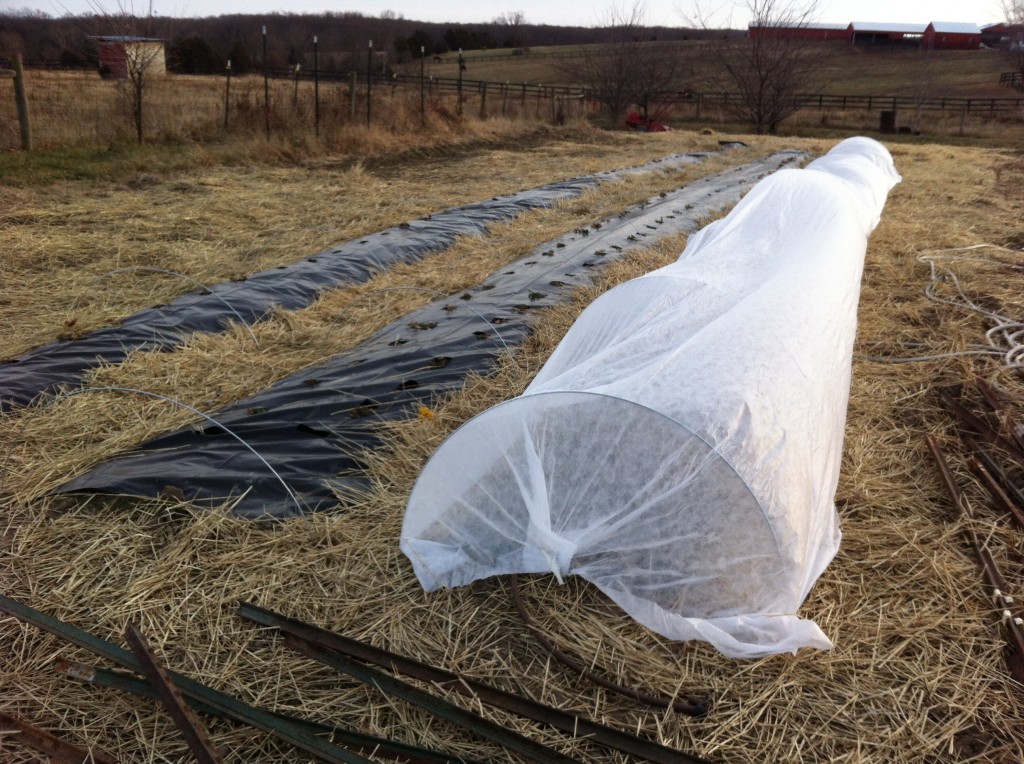
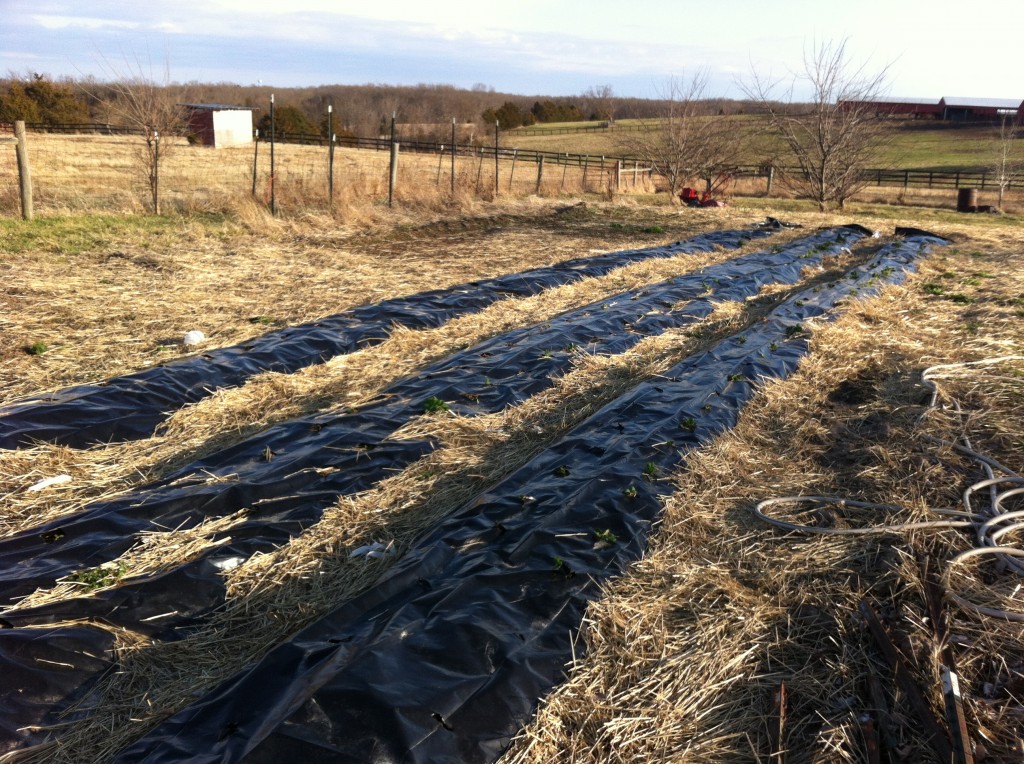
This last week, I went to Company’s house after work and we quickly took down the floating row covers. The wind had ripped, pulled and stretched the agri fabric, so much so, that I doubt much is salvageable to use again. We pulled up the hoops that held up the fabric along with the U landscape wire that held the fabric down. With both of us working, we made short work of the taking the floating row covers. Now, that the weather should stay above 20 degrees at night, we felt pretty confident that we could uncover the strawberries and let all the sun shine in.

After I did some reading about the fabric, I guess we could have left the floating rows up longer. The fabric lets the sun and the rain in. It warms up the air by several degrees and protects the plants from frost. But, the professional strawberry planters that use this system, takes their fabric down around this time. So, we did too. (we like to pretend we know what we are doing)

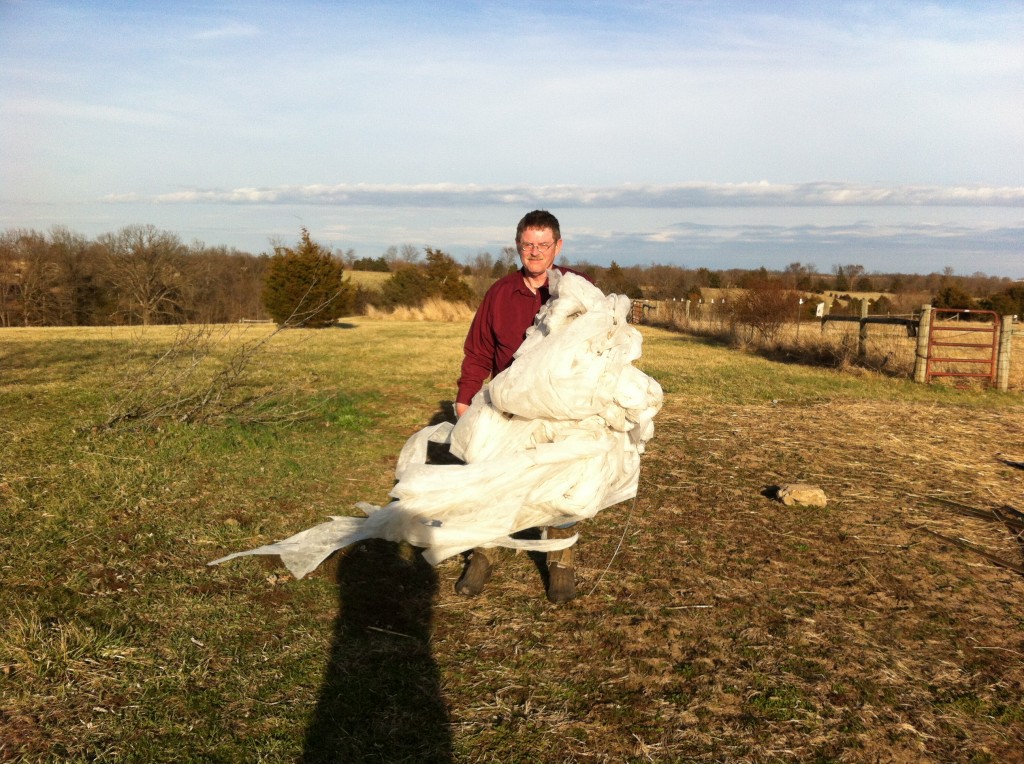
Here is Company carrying the torn fabric back to the house. That is my shadow. Looks like Company is getting ready for a toga party!

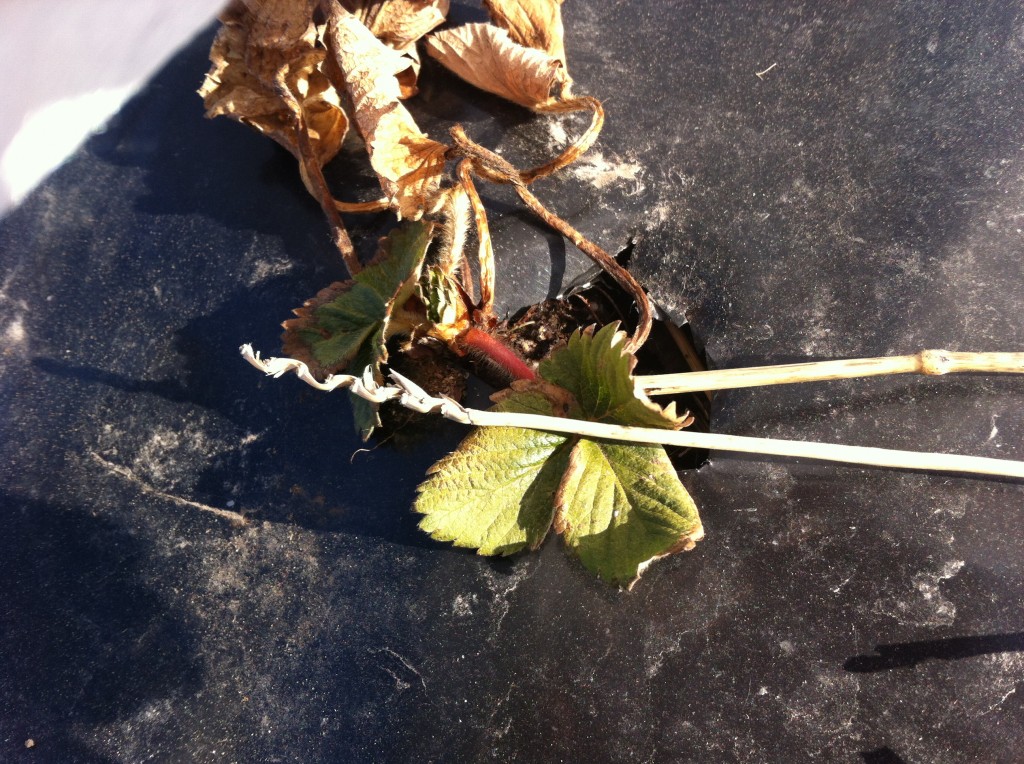
We were not surprised that some of the strawberry plugs did not make it. We had all those nights of 20 degree below winds.

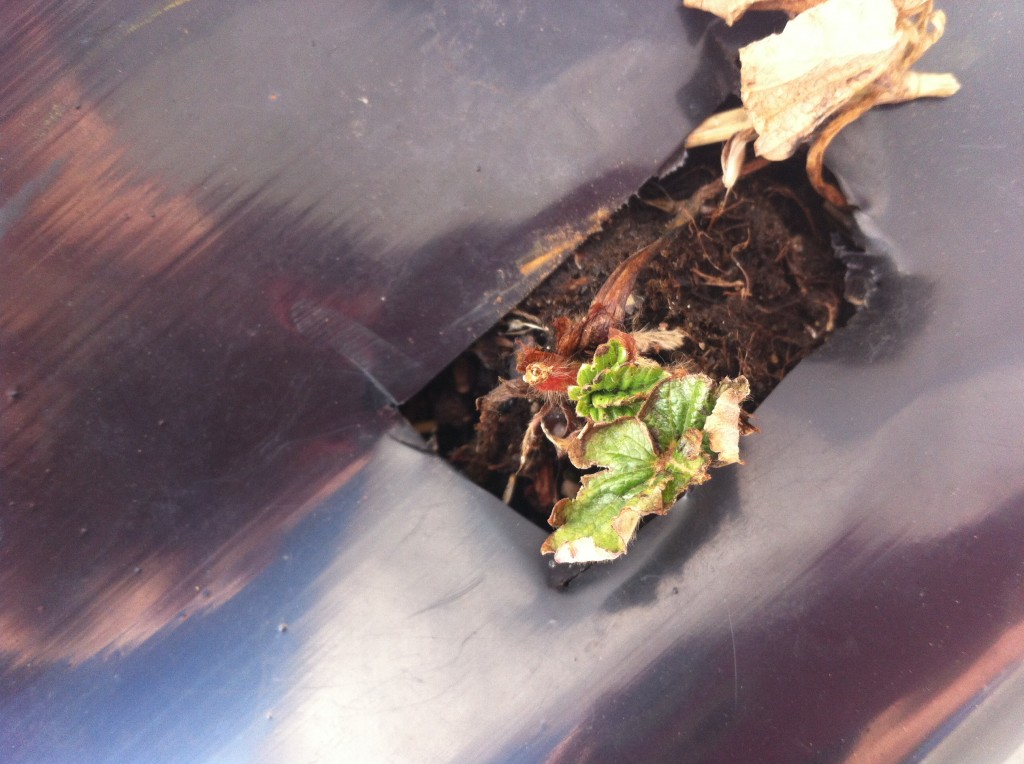
Don’t get too worried. We have more plants that made it than those that did not.

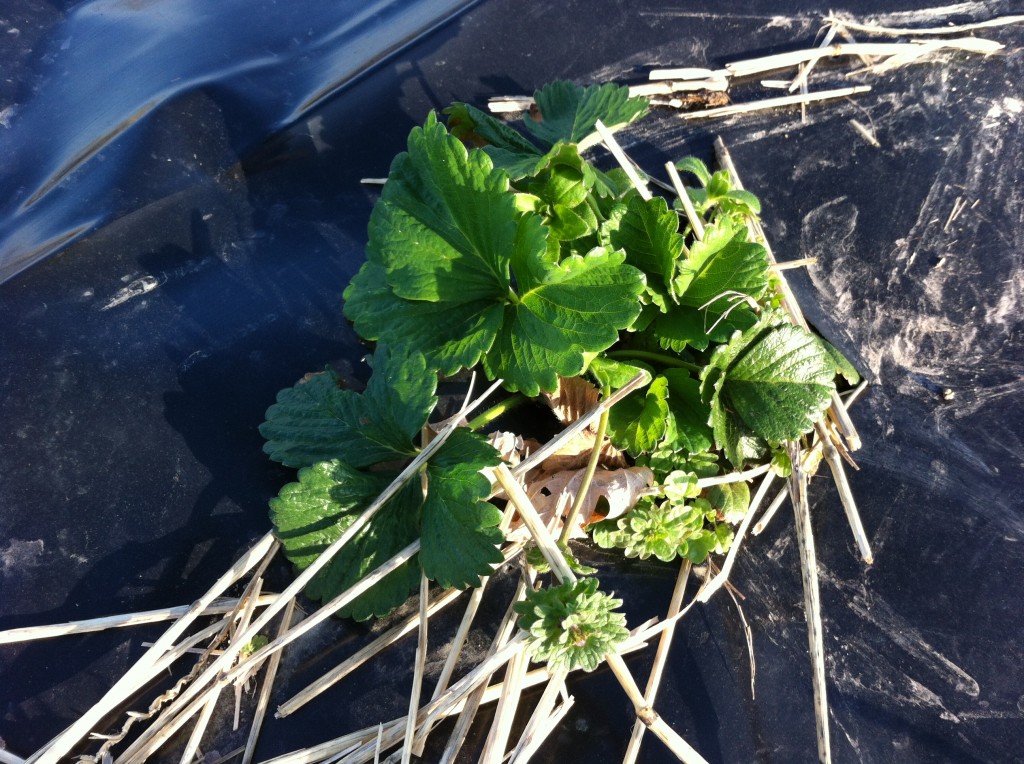
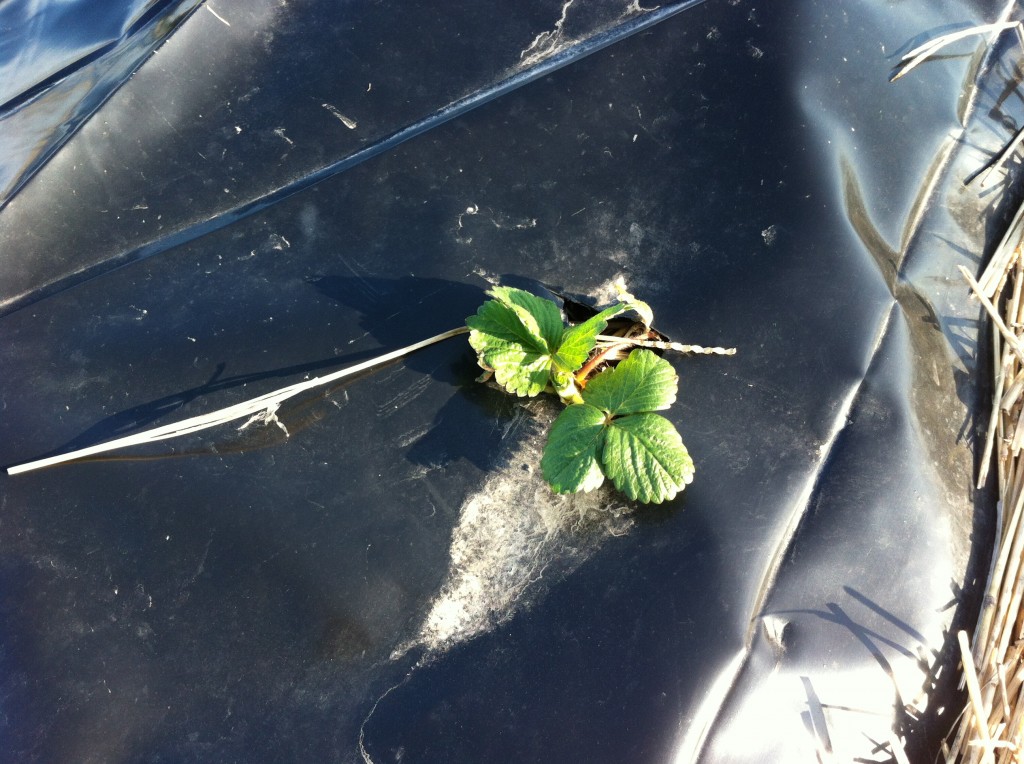
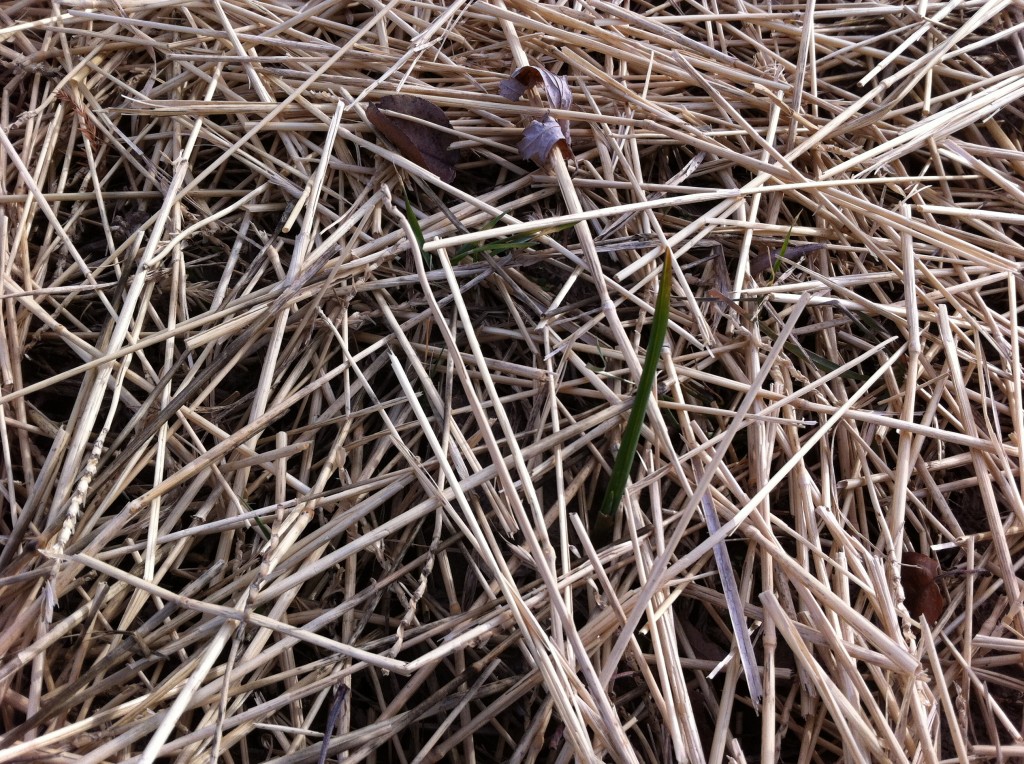
Some are playing a little peek a boo game with us.

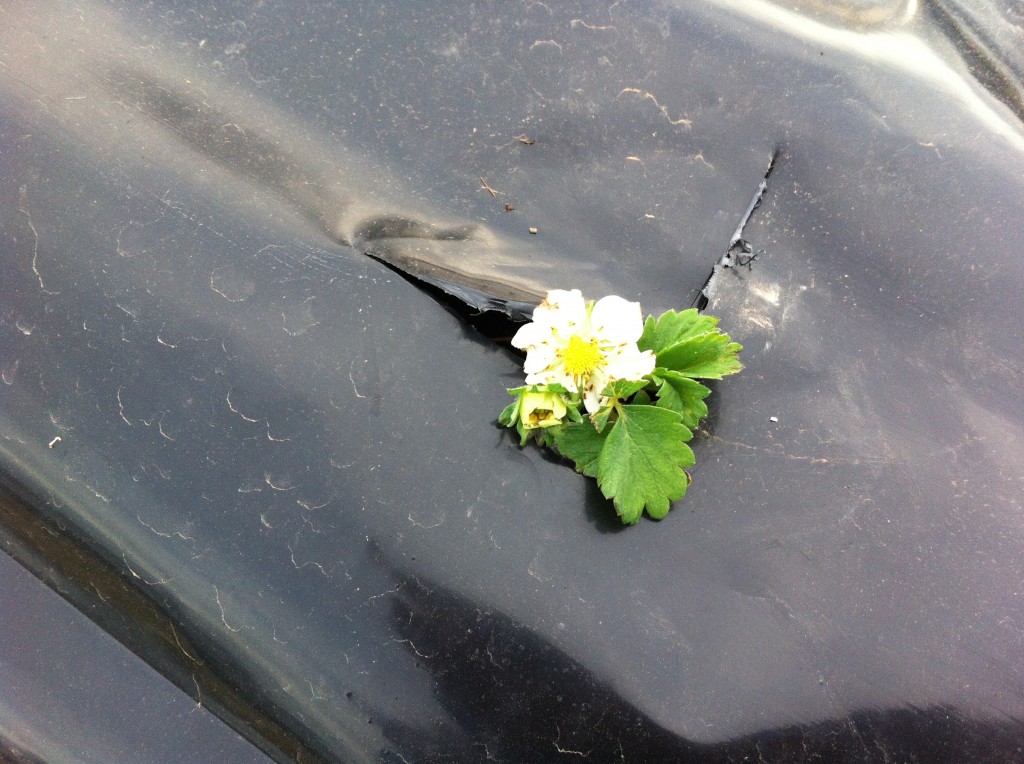
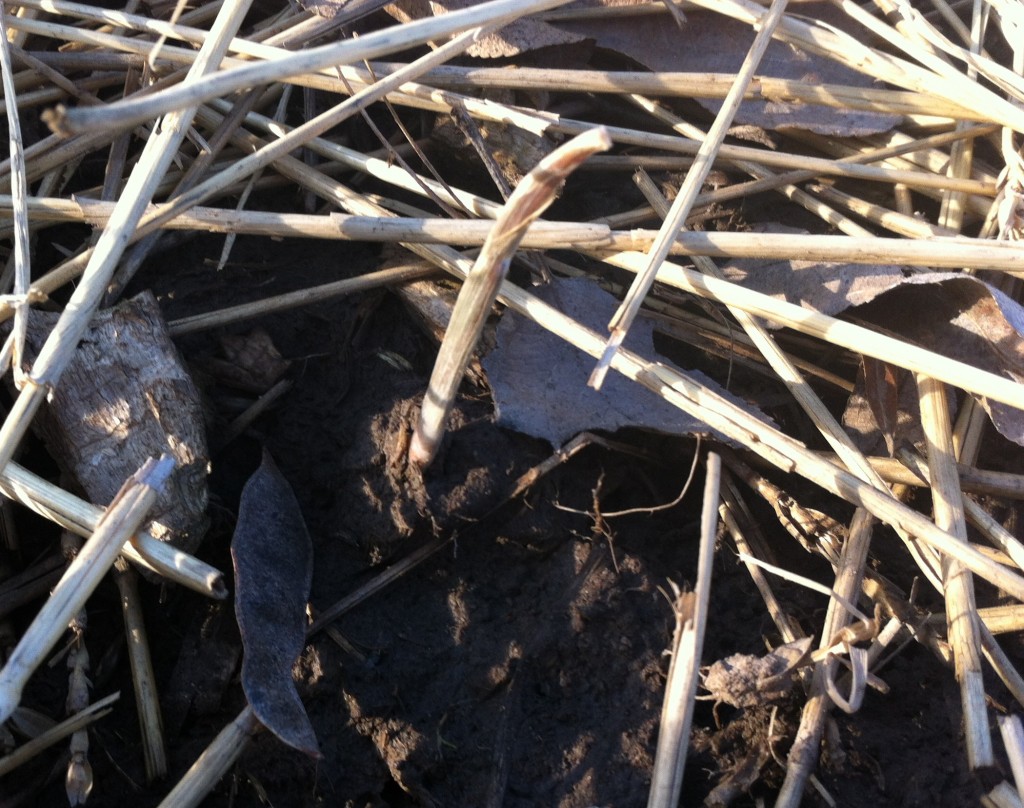
Today, when I checked on them again, I found a bloom.

YeeeHaw……

Hopefully, we will be in strawberry  heaven come May.

I even have more good news!

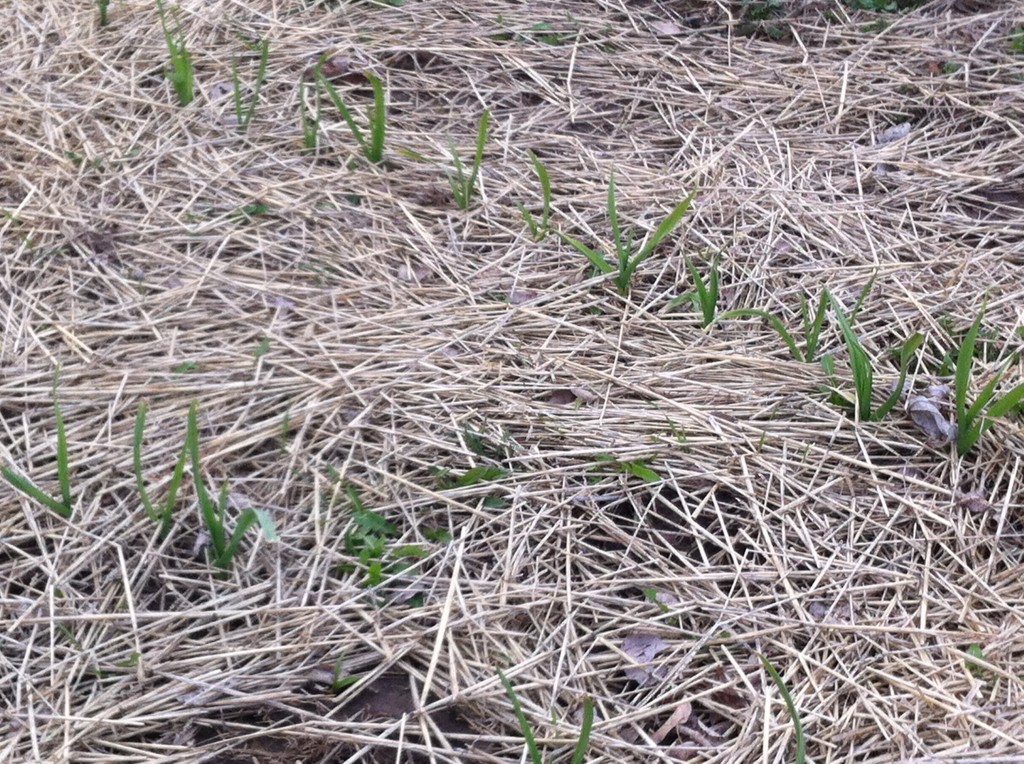
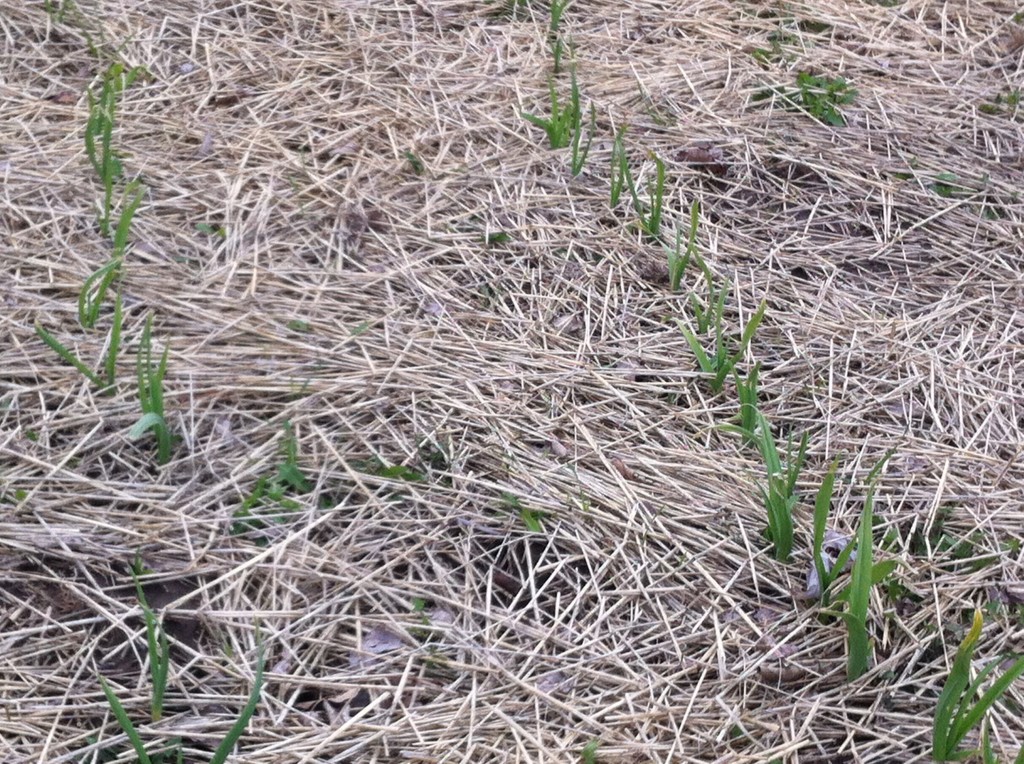
Look what is popping up out of the ground! These rows are the garlic and onion sets that we planted back in October/November.

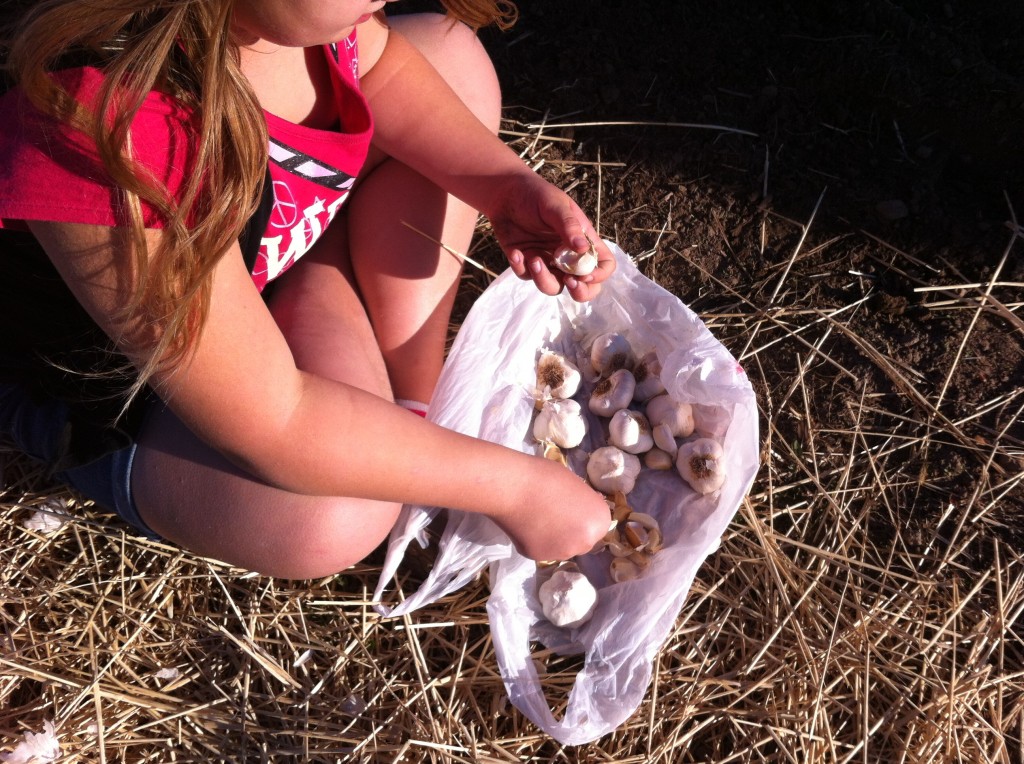
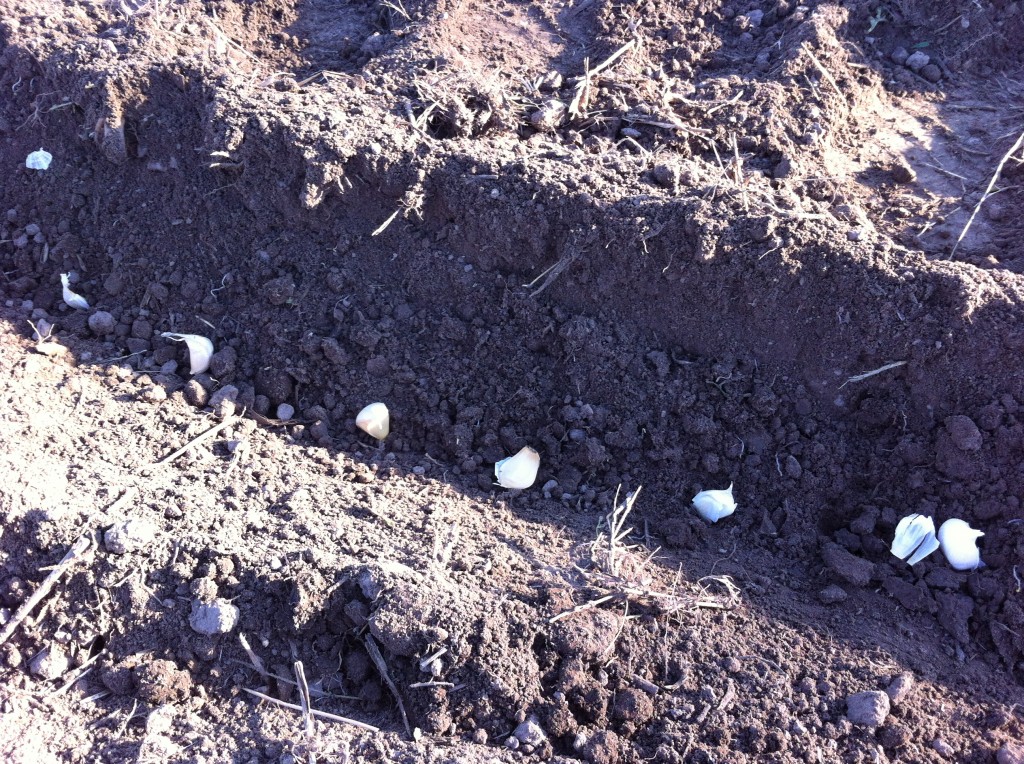
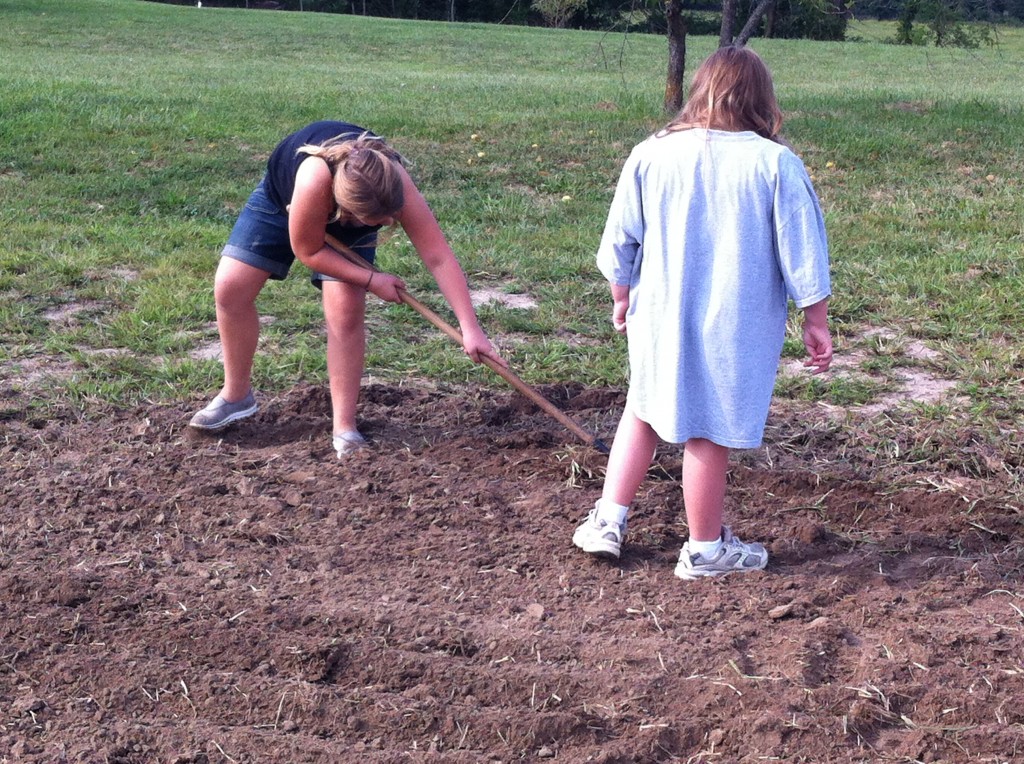
Here is one of the grand girls helping plant the garlic.

Do the grand girls look like future farmers? ; ) Middle Grand Girl did not want to get her clothes dirty, so she is wearing one of Company’s t-shirts over her clothes. Oldest Grand Girl, does not care if she gets dirty. Ever….

Don’t they look good? I just wish I knew which ones were the garlic and which are the onions. hehe……

I will let Company figure it out.

He HATES onions.

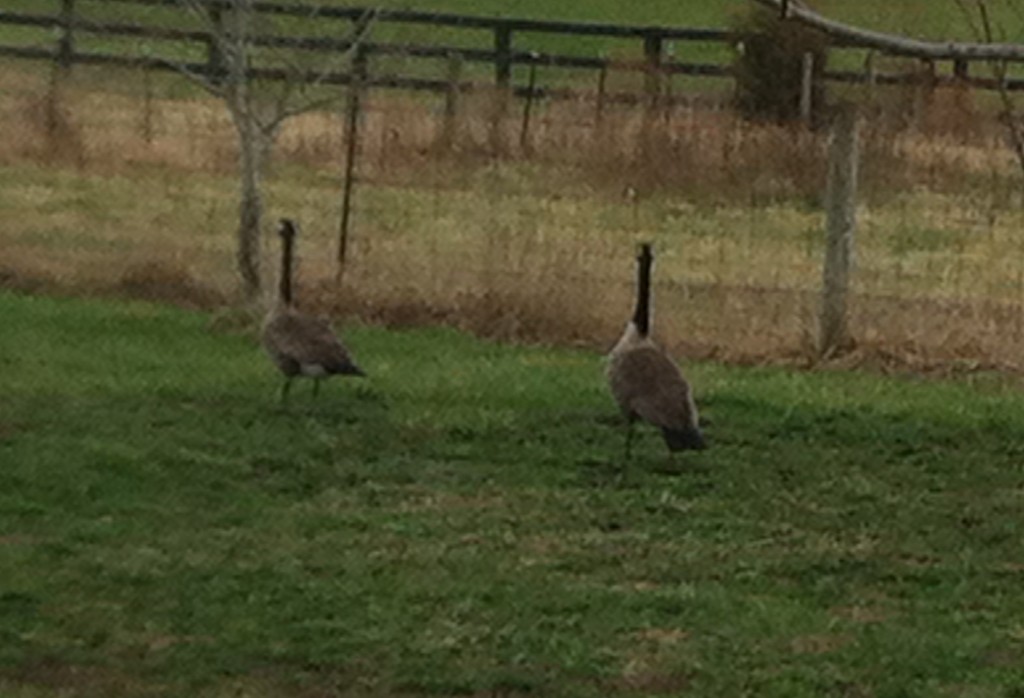
Maybe, he will ask the visiting geese for help.

Anywho, I am going to have to plant other things soon.

I don’t think strawberries, onions and garlic taste too well together.

How is your gardening going?

Becky

Post  you may enjoy:


Strawberry Bread                             Mountain Dew Dumplings              Apple Sour Cream Crumb Pie


Country Garden, Update, Update, and Update

If you have been following along, you will already know about the 250 strawberry plugs that Company and I planted way back in Oct. and Nov. and finished up in Dec.

If you are curious you can read all about how we put them in, here, here, here and finally, here.

A week ago Sunday, I went to Company’s house after church and we found that the fabric we installed for the floating row covers were blown off and some were torn in half.

YIKES!

Winter is not over yet.

We will not be pulling the covers off (at this rate) until later this month, we when feel confidant that the temperatures will not get below 20 degrees.

So, we got busy and tried our best to get the rows all covered up again.

It took about a little over an hour but we finally got them all tucked in tight again, until it starts to get warm and stay warm.

Here is Company finishing up the last row.

Whew, I still see a little life in the strawberry plugs. With the winter we had, we were not for sure how many of the 250 plants would make it through. I am thinking we may have lost 50 of them. But, only time or rather spring weather, will tell how many spring back to life. Regardless, we should have enough strawberries to share with family and friends.

Ok….now we will move on to the fruit trees.

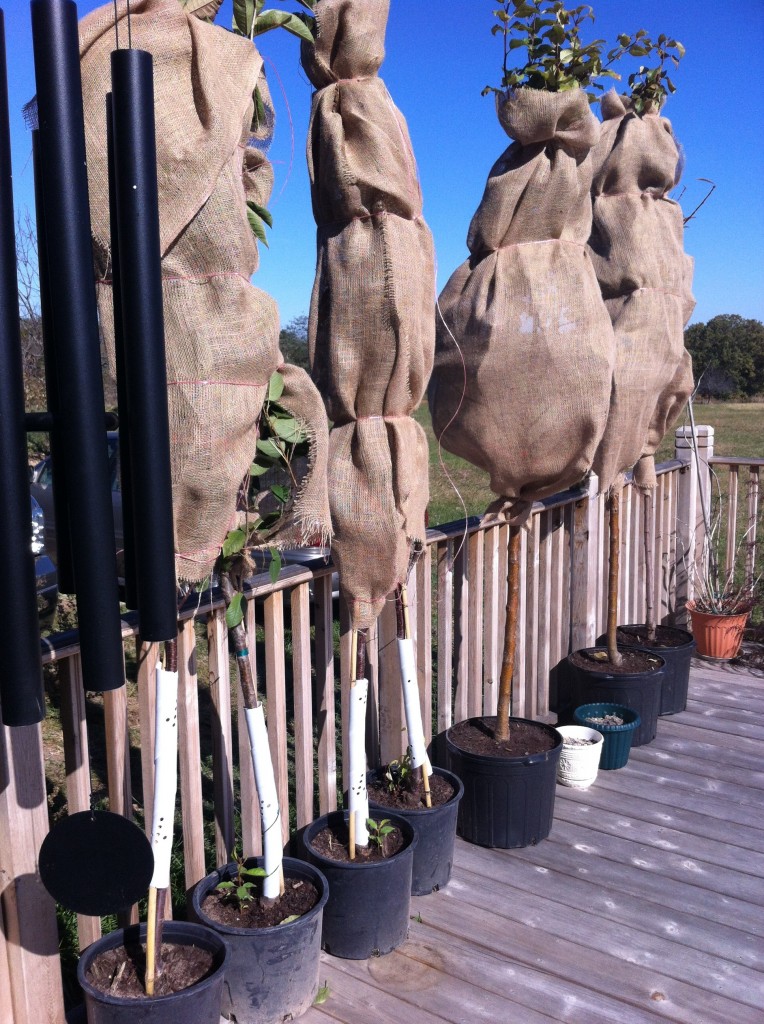
I think back in October or November we planted an additional 6 fruit trees to the apples trees that Company already had.

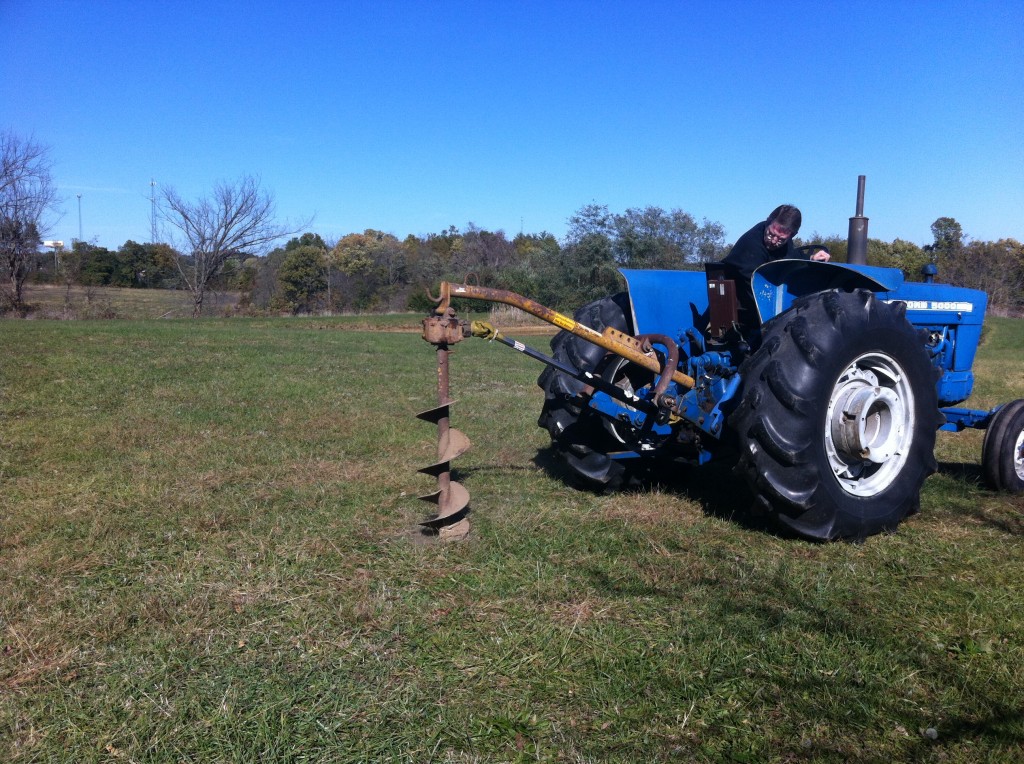
Of course, he cheats and uses this fancy hole digger to dig the hole that he can attach to his tractor.

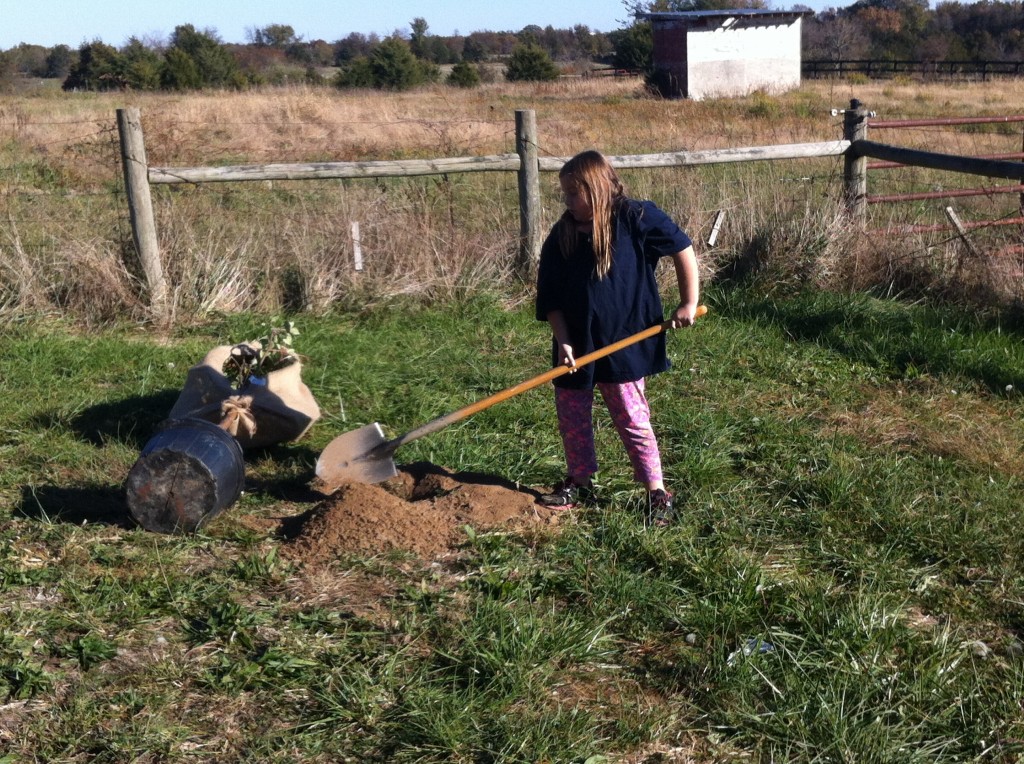
Here is middle Grandgirl, helping plant the apple trees.

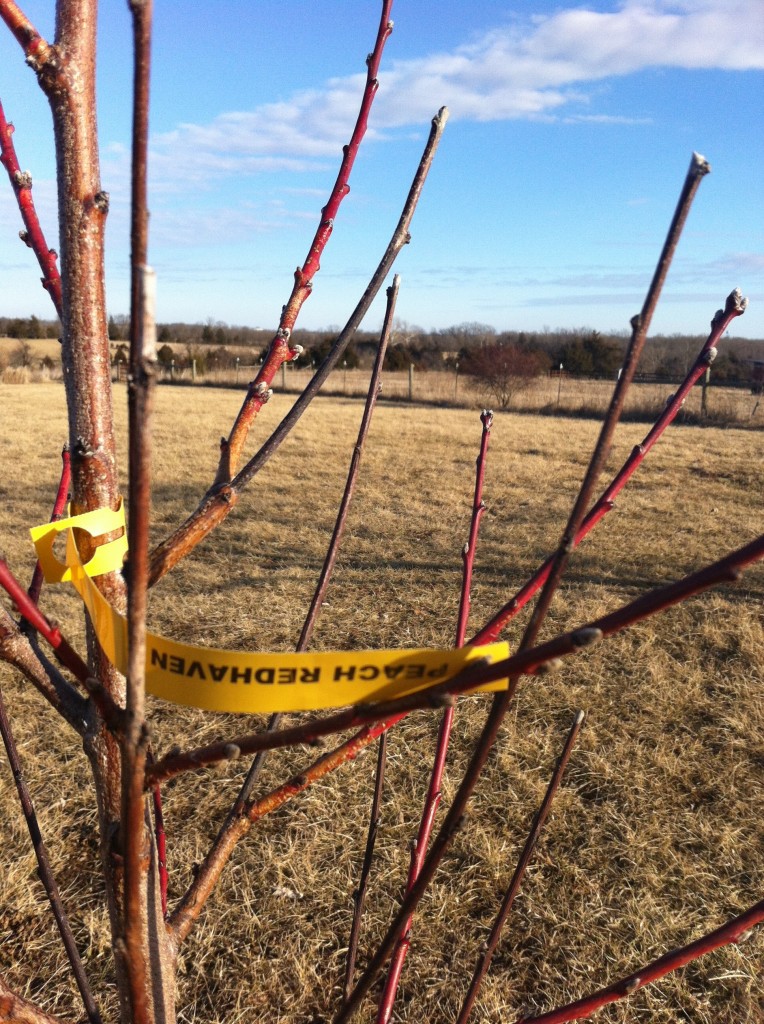
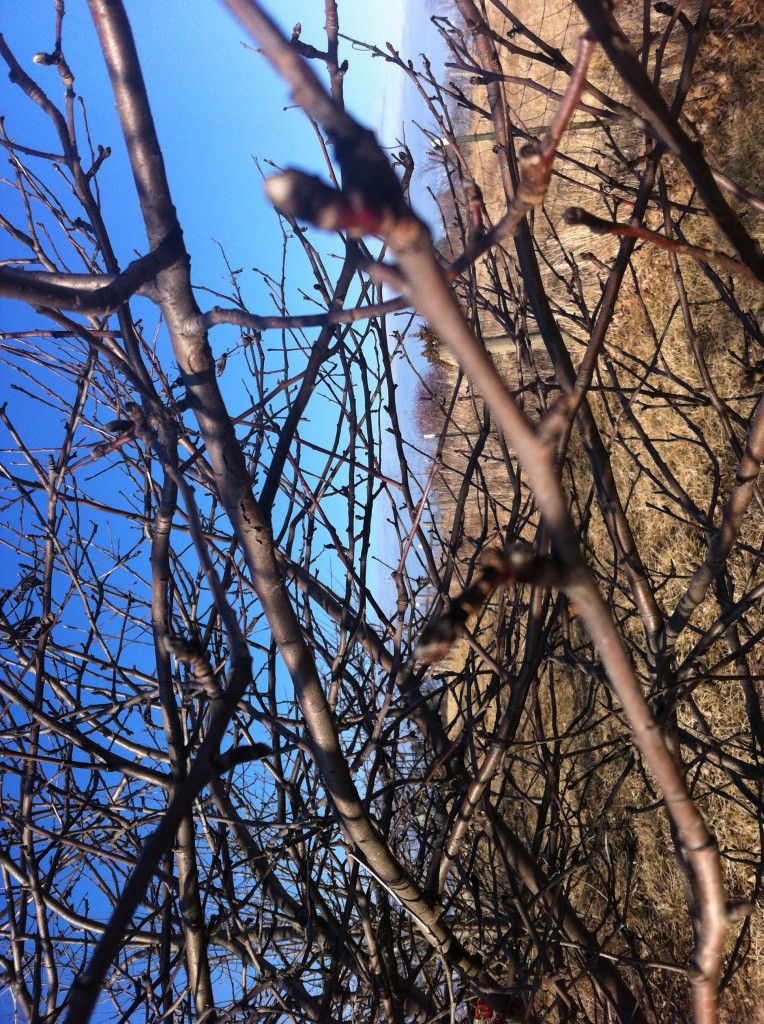
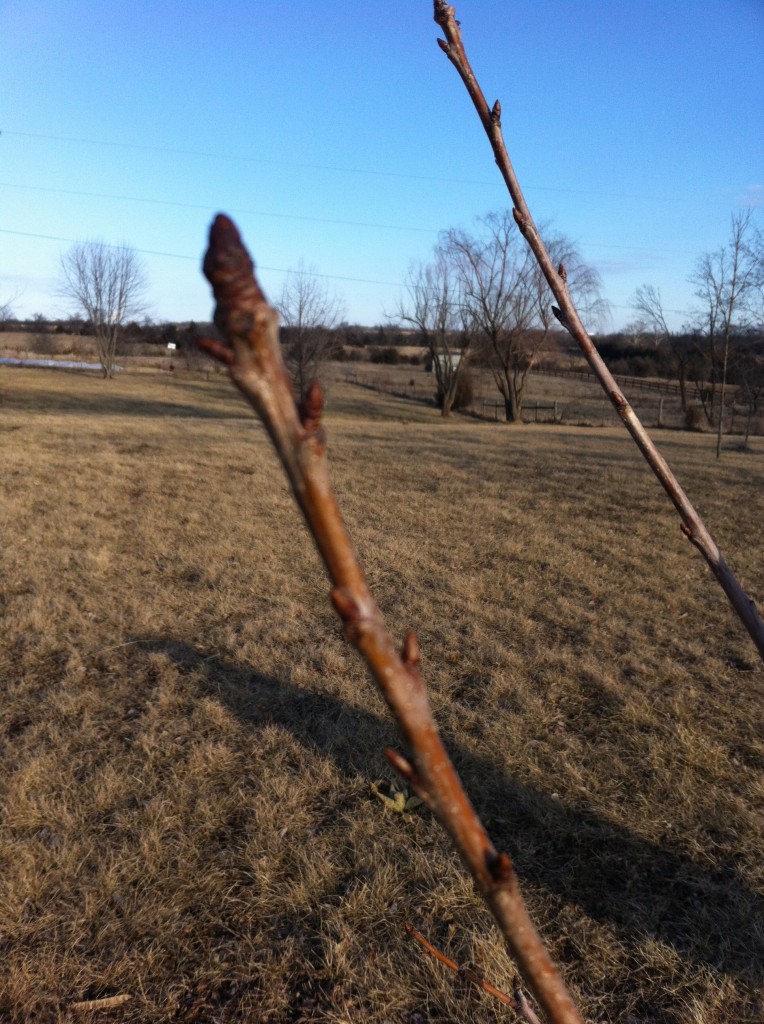
I am glad to report, as of a week ago, the fruit trees are doing great. This is the peach tree, and there is little buds on the branches.

All the apples trees have buds on them too. Sorry, the picture is blurry, but the cold air was blowing hard in farm country that afternoon.

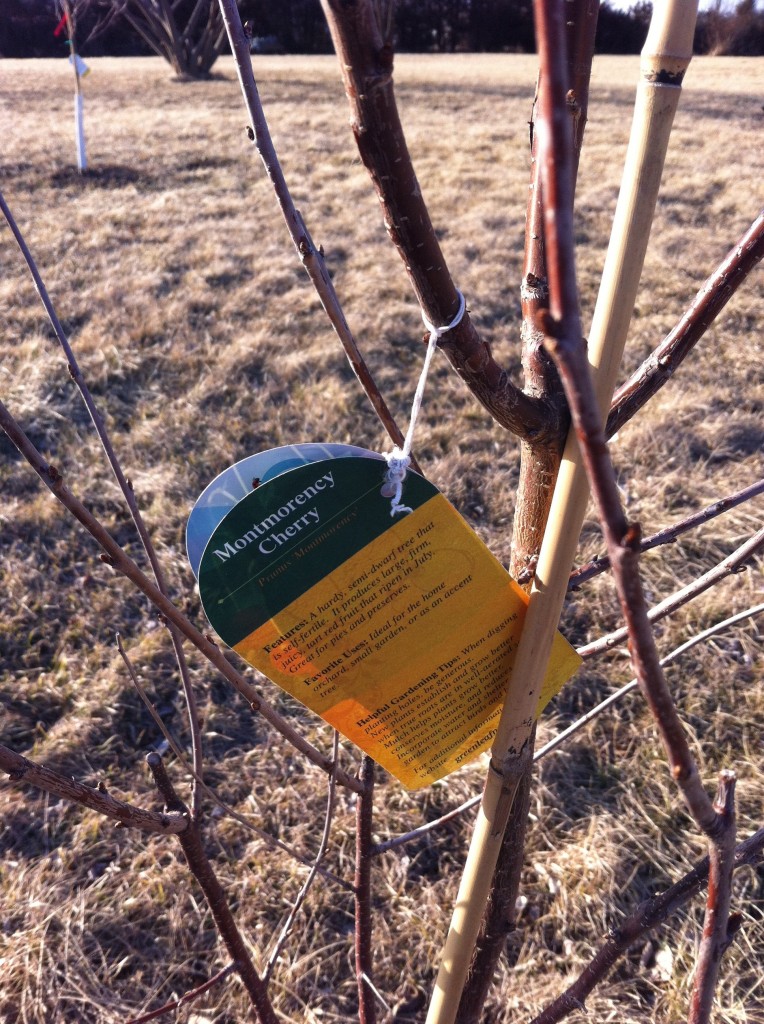
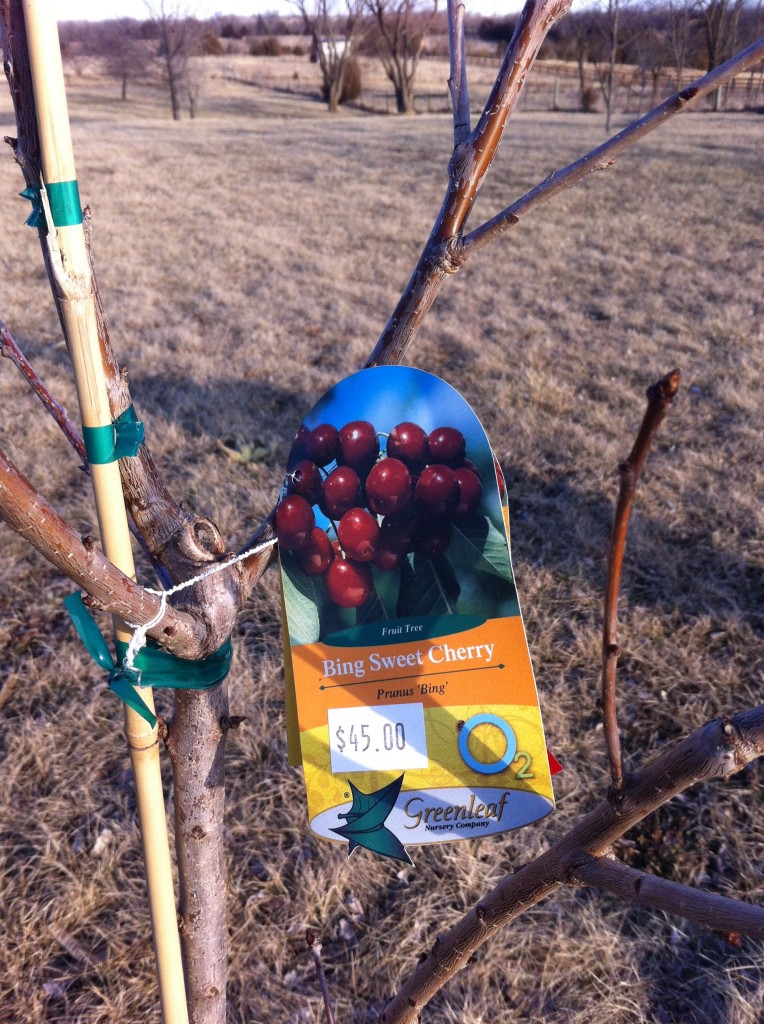
Here are a couple of the cherry trees we planted in the front yard.

I am glad to report that the cherry trees have buds on them too.

Now, I know we will not get fruit from the trees for a few more years, but you have to start somewhere right,

I wish I was feeling that confidant about our garlic and onion sets we planted in the fall.

This is a picture of the tops coming up taken the end of December.

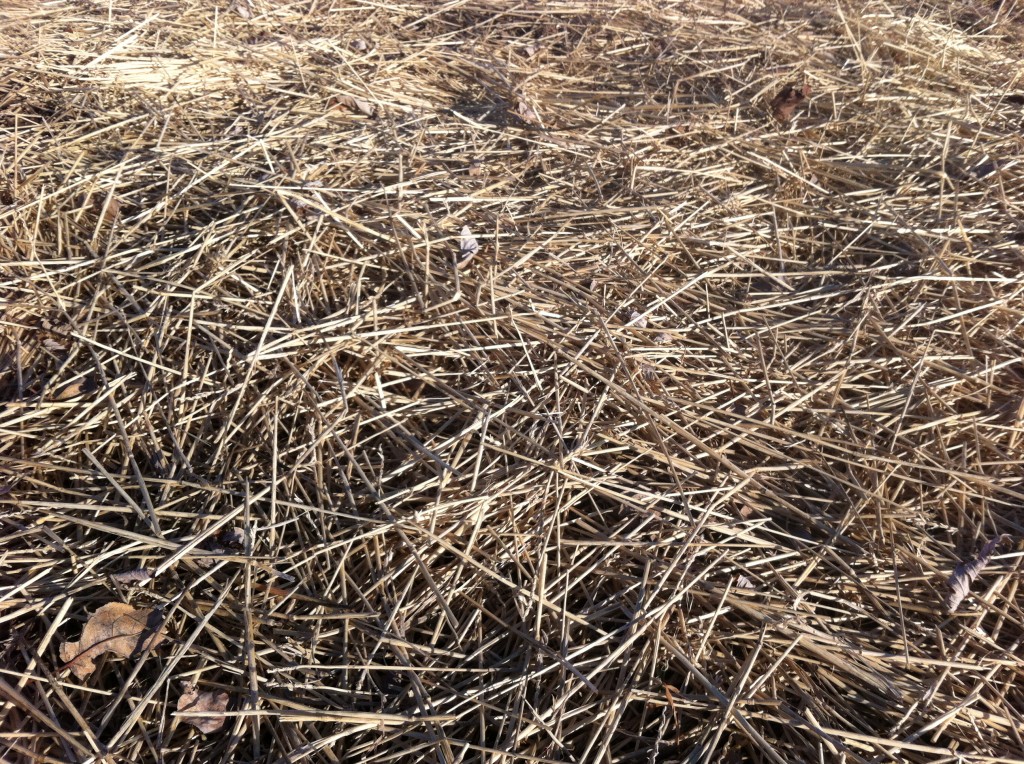
This is what I found a week ago. It was cold, and I had already spent over an hour (in my church clothes) fixing the floating row covers, so I could not get down and look over the whole patch. Anywho, we will have to wait to see what spring brings with the garlic and onions. Maybe, it was just so cold the tops froze. Maybe, it is too wet at the end of the garden and the bottoms rotted. Maybe, they will be just fine when it warms up, which I hope will be the case.

So, those are my three updates with the garden in the country.

I hope this inspires you to dig a hole and plant something : ).

You never know what will sprout up.

Becky


The Strawberry Project, part four, Floating Row Covers

How did you spend last weekend? Shopping for Christmas? Staying inside where it was warm?

I wish I could have joined you! I am not quite sure how to worked out that Company and I installed the floating row covers over the strawberry plugs right when those Canada freezing winds made it all the way down to Missouri!

BRRRRRR…….

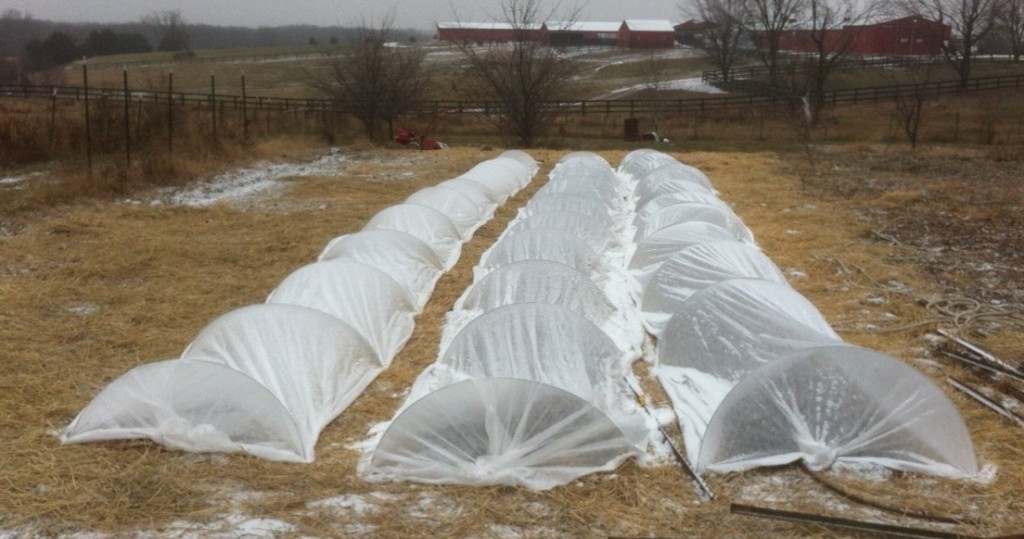
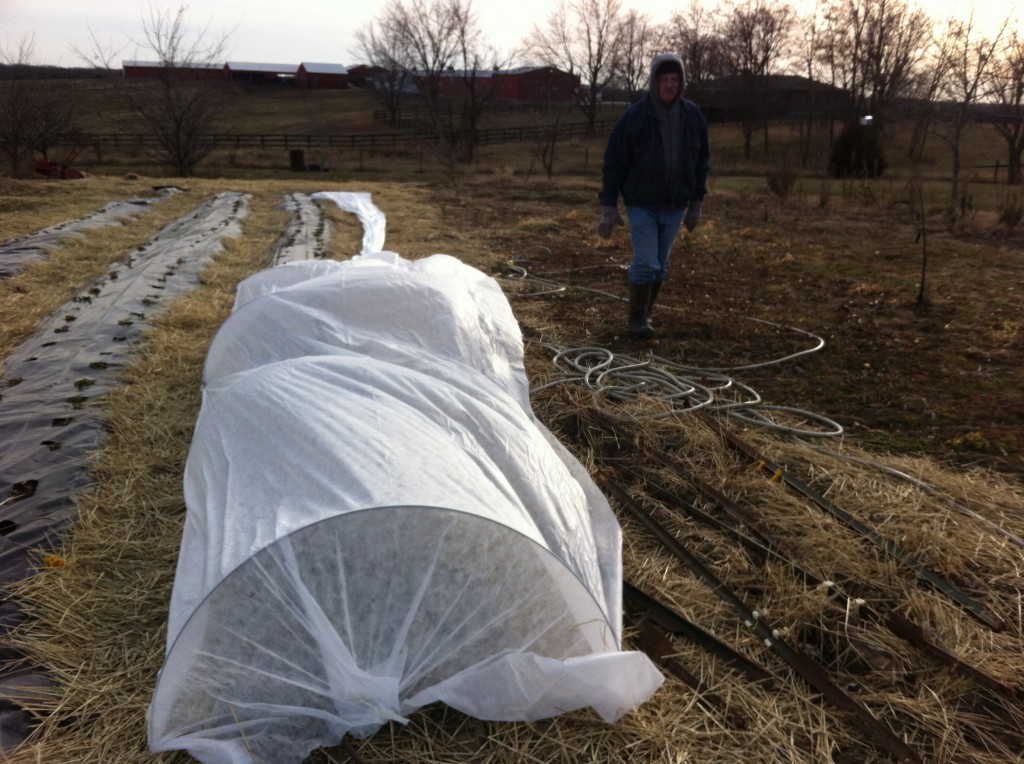
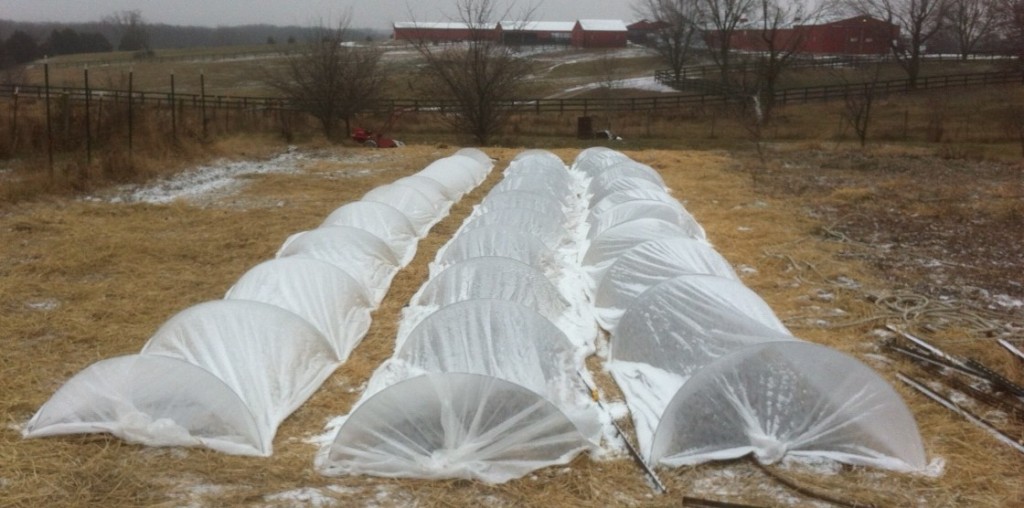
Underneath those ghostly looking fabric covered hoops, are the strawberry plugs (all 250 of them) that we planted back in October. The trick about installing the row covers, from what I have read, (cause  you know that I have not done this before) is that  you have to let the strawberries have a few cold nights so they will go dormant. If you install the row covers too early, the strawberries will not go to sleep for the winter, so we decided to wait and watch the weather. Thanksgiving weekend the weather was in the 60’s, we decided to wait one more week. Little did I know, waiting one more week, we would be installing these things in 20 degree weather with a wicked wind blowing on us.

I kept making excuses to go to the house to warm up. Company, on the other hand stayed out there working away in the cold. The biggest snag we hit was that we ran out of landscape staples to put in the ground to hold the row covers down over the hoops. We wasted a lot of time running to several stores trying to find them. It had something to do with them being out of season. Go figure!

Anywho, if you want to extend your garden a little longer into the winter, you can install a floating row cover over your garden rows. If you decide to do that, I would put the fabric down with staples on one side of the hoops and use small sand bags on the other, so you can take the sand bags off the fabric easily to get to the veggie goodies you are growing under them. For us, we covered the strawberries for the winter to hibernate and to keep the frost, sleet and snow off of them until we peek at them in February.
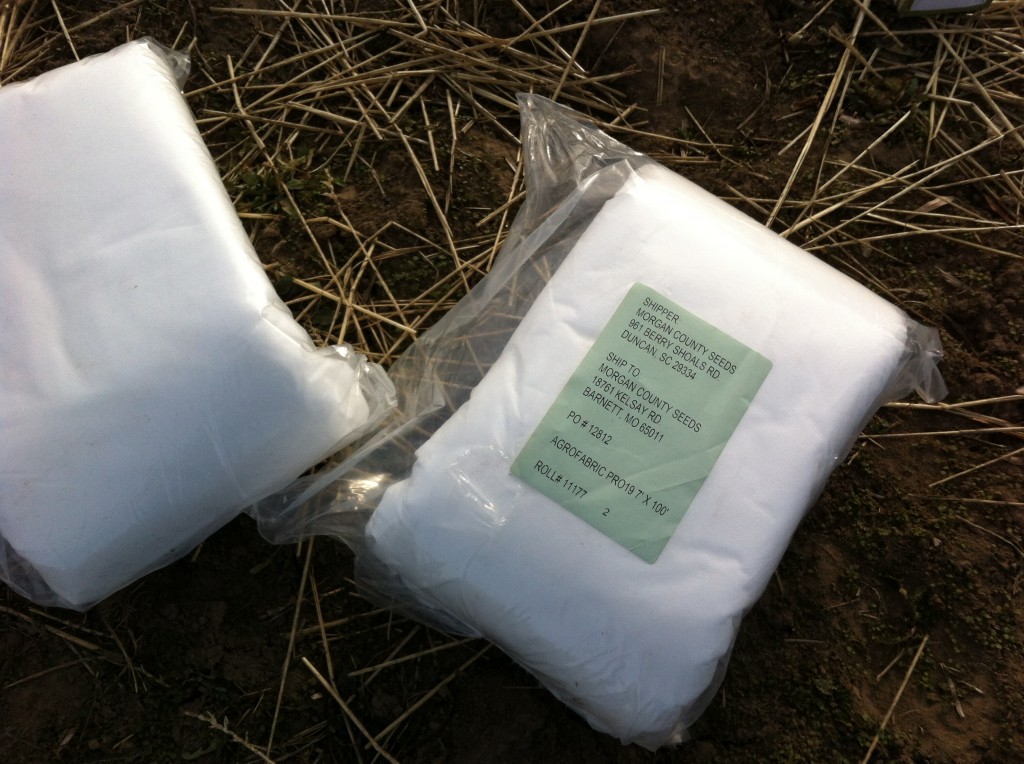
To install row covers you will need some kind of agrofabric. We use the 19 weight, but if are wanting to continue growing  longer into the fall you can get heavier fabric. I ordered ours from our locally owned garden center. We had 3-sixty foot long rows, so I ordered two packages of 7 foot wide 100 feet long.

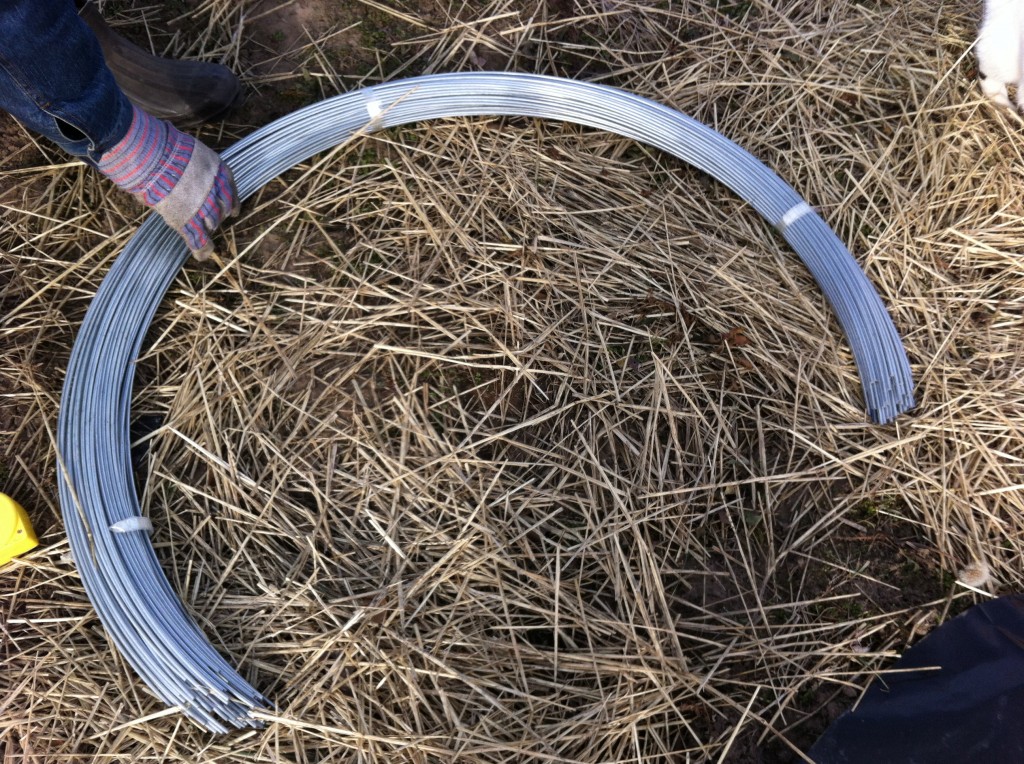
You will also need wire hoops to go into the ground. I ordered a package of 100 and we used 13 for each row. So…we have plenty left over for other projects, I can dream up.

You also need landscape staples. We ended up finding them at Menards for $2 for a pack of 50. We bought a bunch of packs so we would not run out.

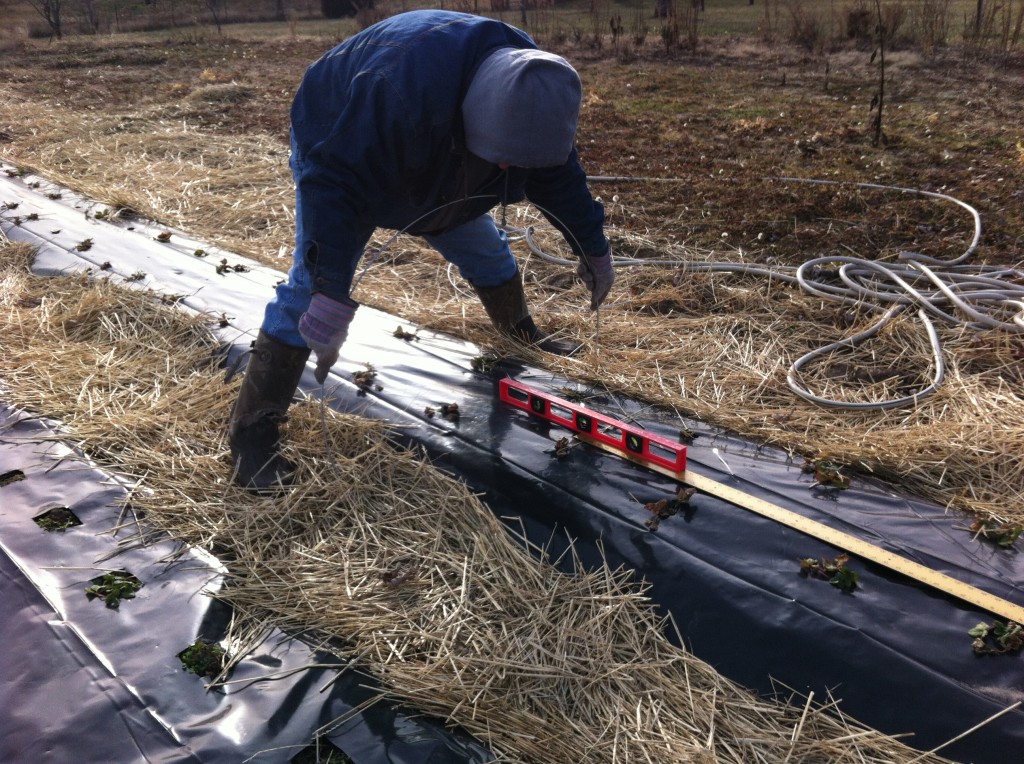
The first thing you do is put the wire hoops about 5 feet apart. Company had to measure each time to make sure they were 5 feet a part…it must be a guy thing. We were lucky that they went pretty easily into the ground.

The next thing we did was start covering the hoops with the fabric. The wind was blowing like crazy, so this took longer than I thought it would.

Here is our first row all covered up.

Here is a picture of the rest of strawberries all tucked in for winter.  Yippee!

If you missed the earlier post and complete start to finish photos of our strawberry plug project here are the links.

The Strawberry Project Part One.

The Strawberry Project Part Two

The Strawberry Project Part Three

Please keep your fingers crossed for us that come spring, we will have fresh strawberries to pick and share!

It might take until spring for us to thaw out!

Becky


“The Project, Part Two”

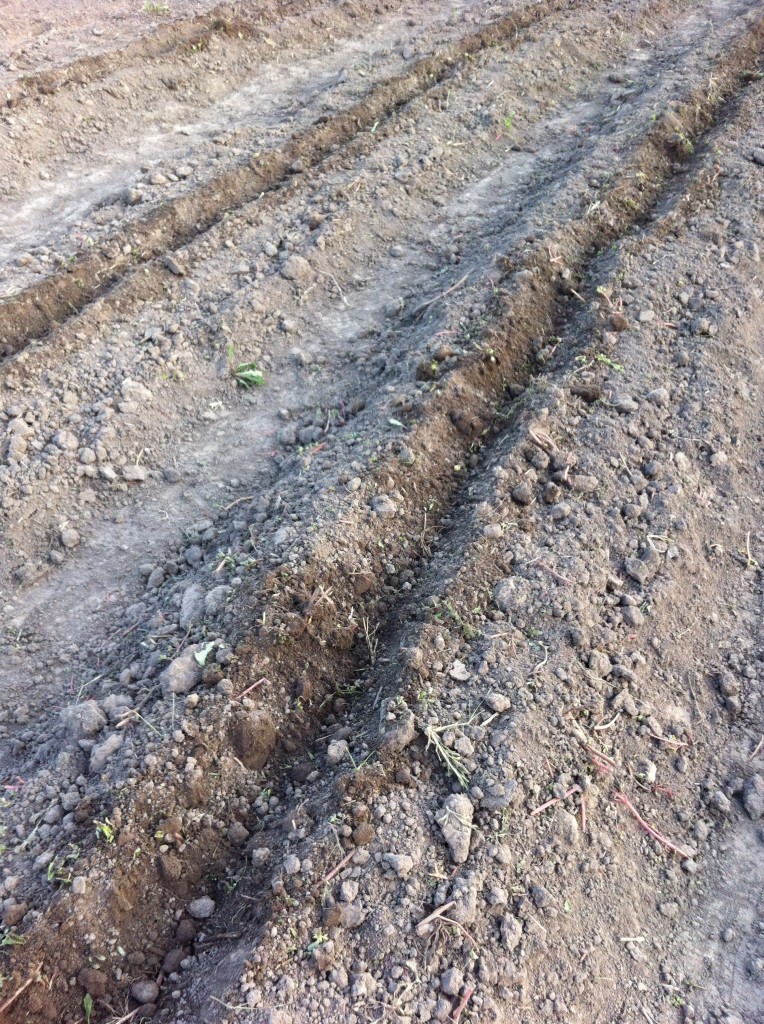
You eyes are not deceiving  you, we put a long groove in each of our future rows of strawberries.

Have we lost our minds?

At this point in the project, I thought maybe we had : ).

If  you read my last post, you know that the big project was starting a strawberry patch with a plastic mulch system. This works by, making a 2 foot wide mound of dirt and as long as you want to make your row. You cover the row with plastic, cause the plastic keeps the dirt warm and then you cut holes in the plastic and plant your strawberry plugs. When I did my research it did not sound too bad…..that is yet to be seen haha…

The one thing you have to think about is, that if you put plastic over the rows, you have to water the strawberry plugs somehow.

That is where drip lines come into play.

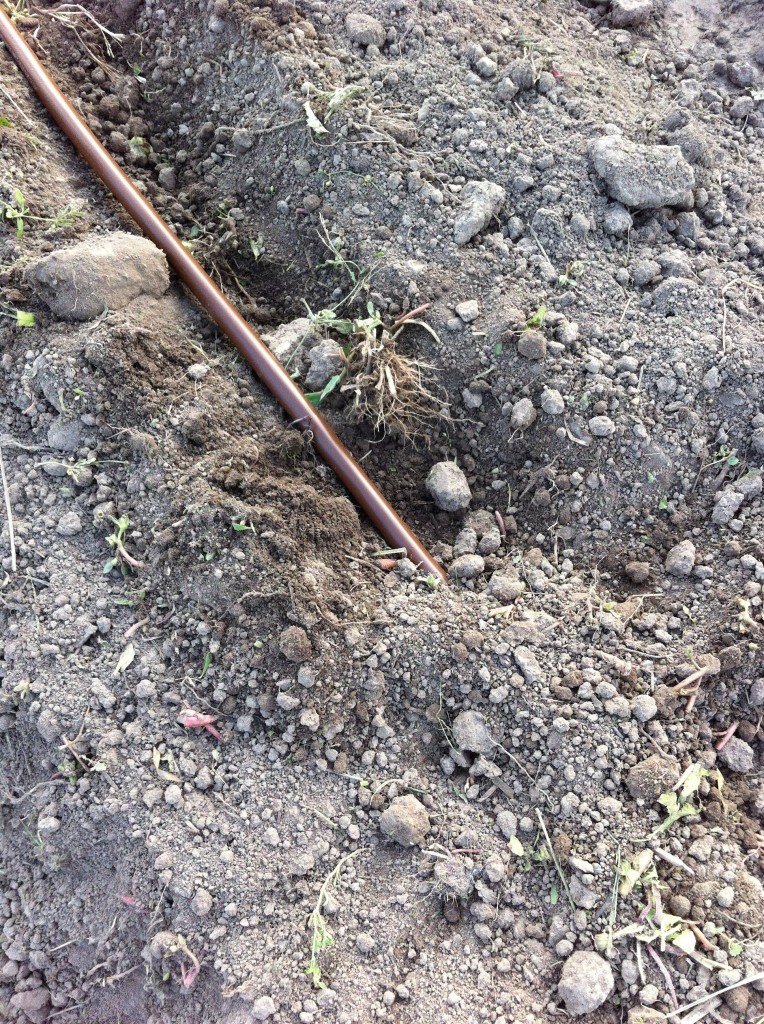
We installed a drip line that was 60 feet long and bury them a little below ground so we could water the strawberries.

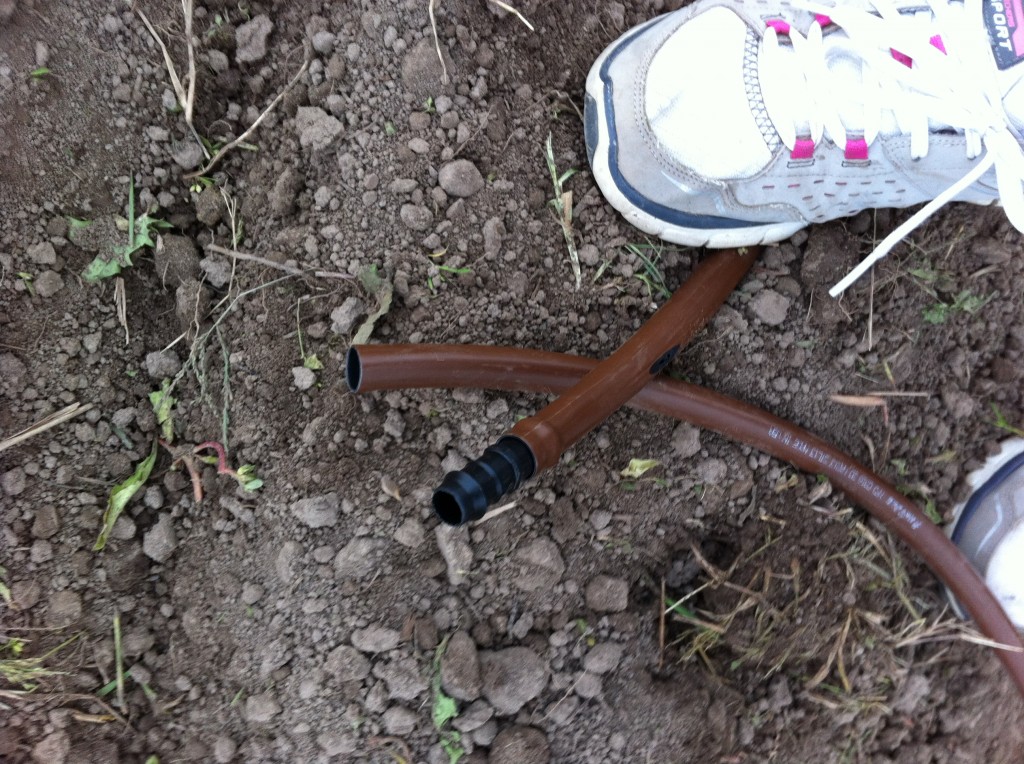
The drip lines come in 50 foot lengths, so we had to add several feet on to each line. You use this barb looking plastic inserts that connect the two lines.

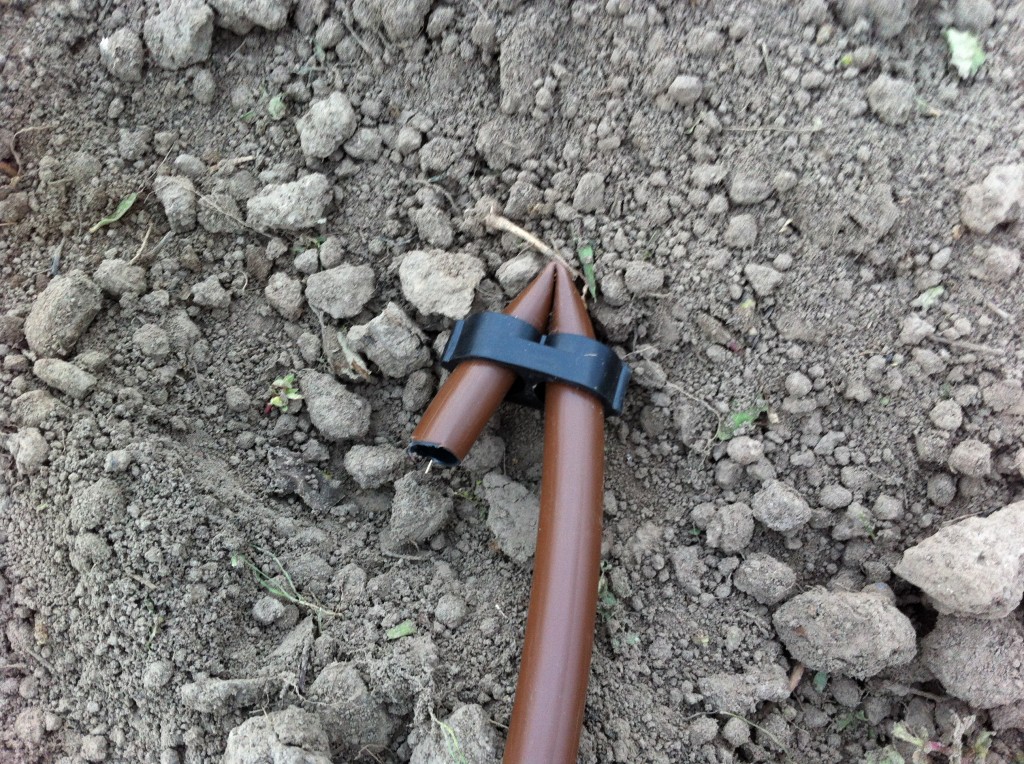
One end of the drip line is connected to a water hose and the other end is tied off using this doodad. Forgot the name of it, but it bends the drip line prevented the water from going out that end.

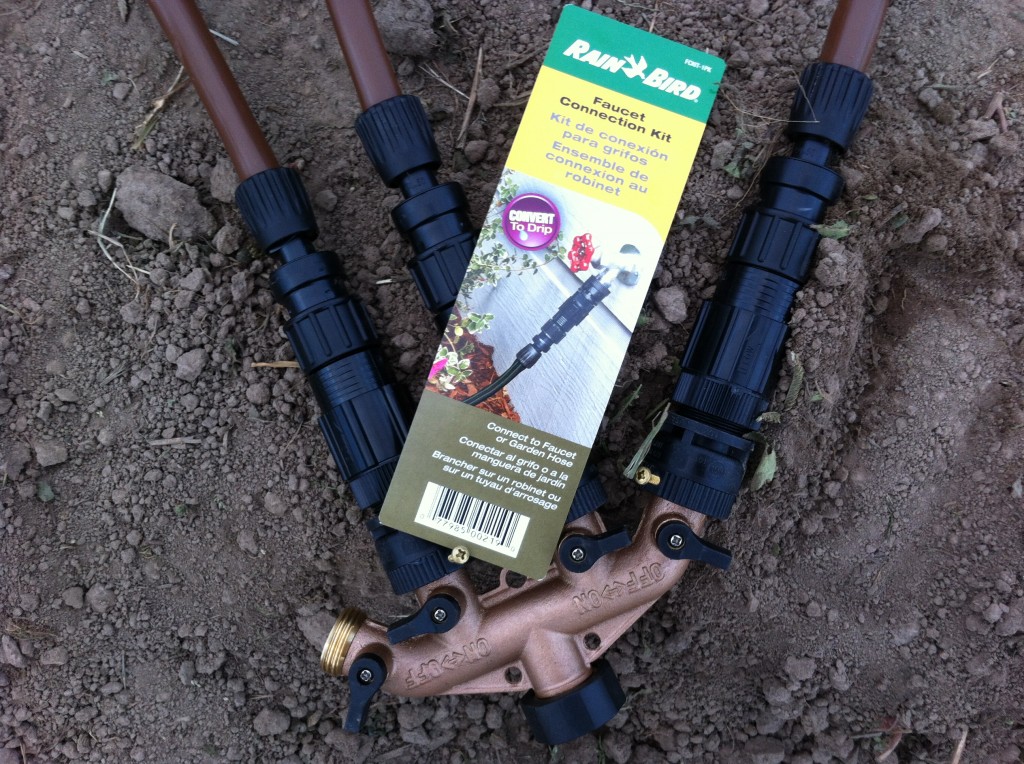
On the other end that connects to the water hose, you have to connect each drip line to this faucet set up. This one has enough hooks up for four drip lines. We also put these faucet connects on the end of the drip line to connect it to the faucet set up. Then you just connect your water hose from your hose and turn it on to water the strawberries. Cool uh? : )

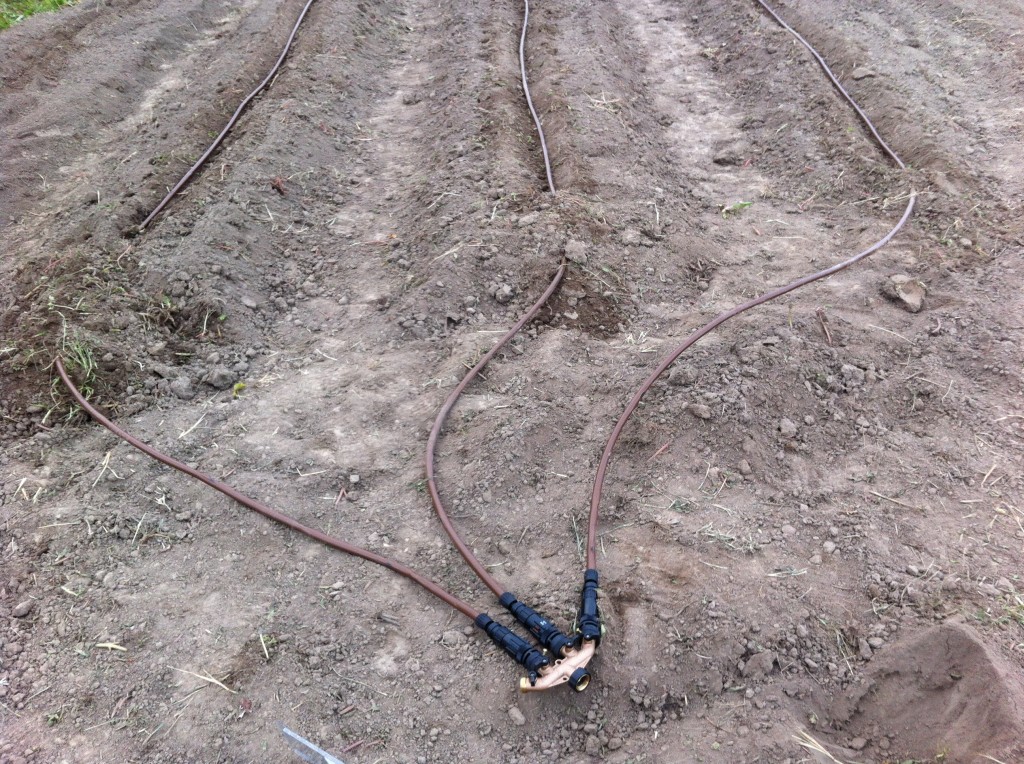
Here is a picture of all the installed drip lines before we buried them in. After we buried the drip lines, we started on the plastic.

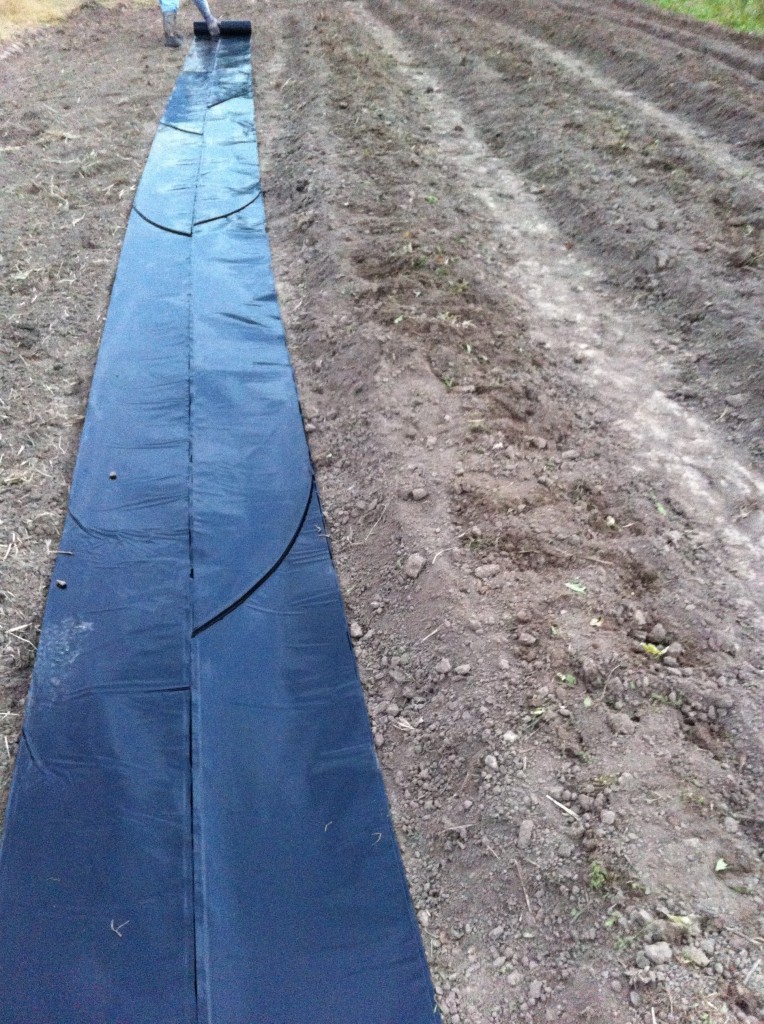
Now we unrolled the plastic and cut it to length. Then we unfolded it and cut  it into the width we needed.

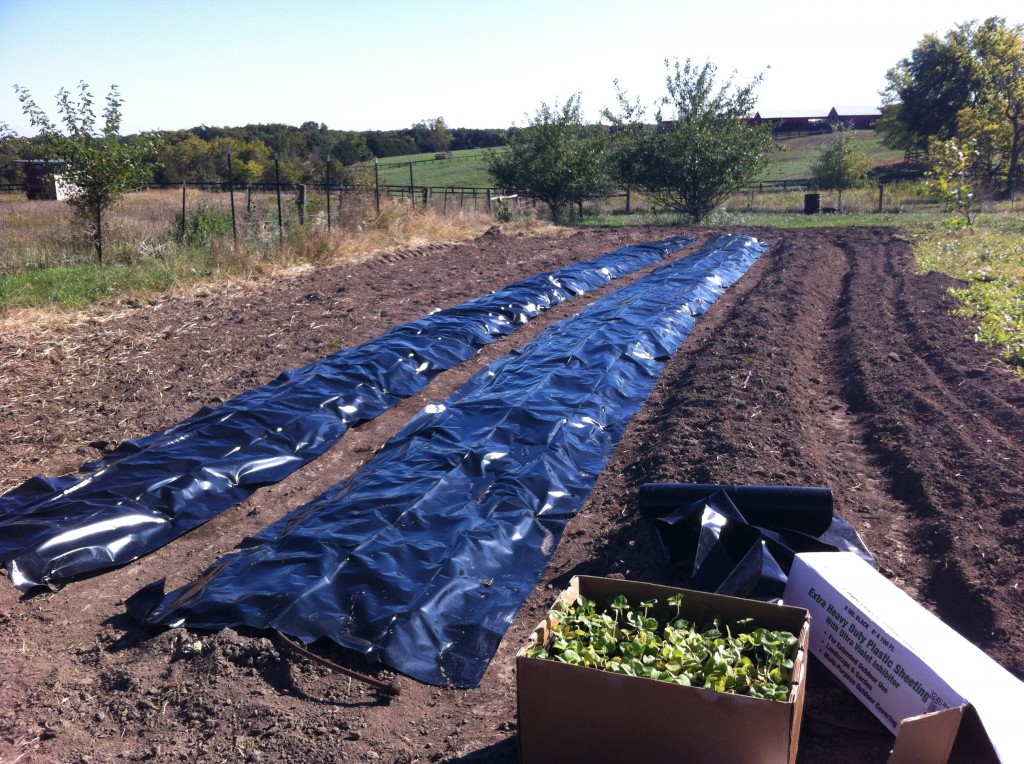
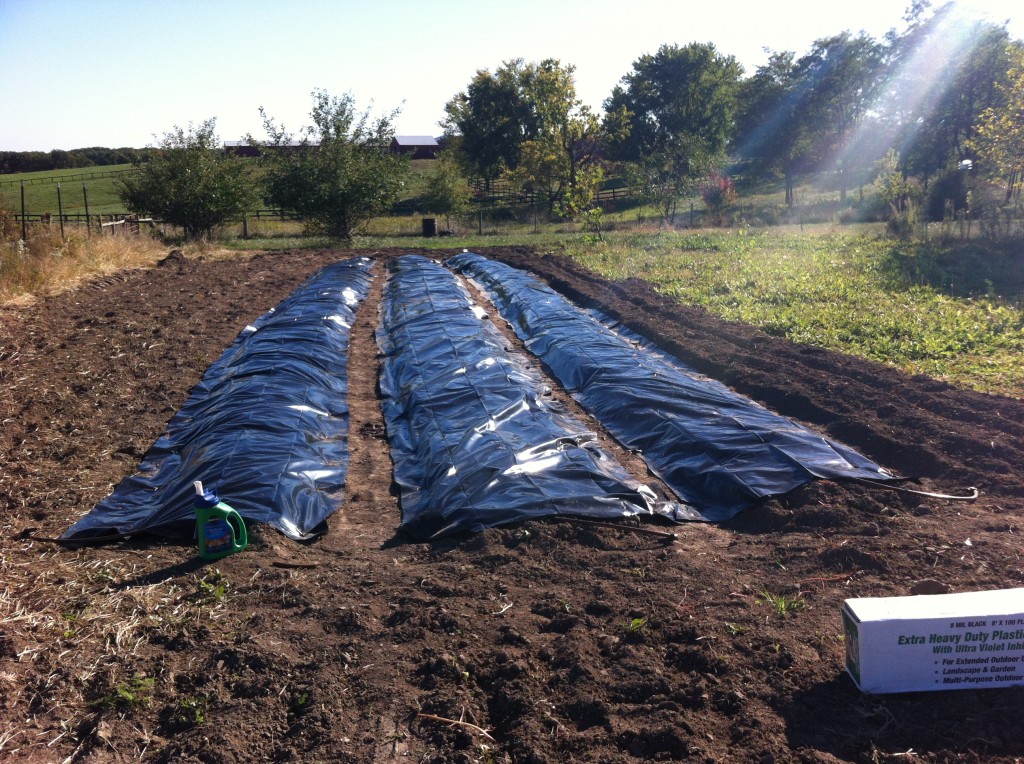
Here is what two of the rows looked like. You take landscape hooks and hook the plastic into the ground so it does not blow off. This is as far as we got one night. When I came the next day, I brought oldest grand girl to help plant the strawberries. It was then I realized we did not put our fertilizer on top of the dirt rows before we put the plastic down. So, before we could go any further, we had to take the plastic up on one side and sprinkle the fertilizer down and then re-stake the plastic. ugh!!!

Here is what the rows looked like after we covered each row with plastic.

Step two is done with our strawberry project.

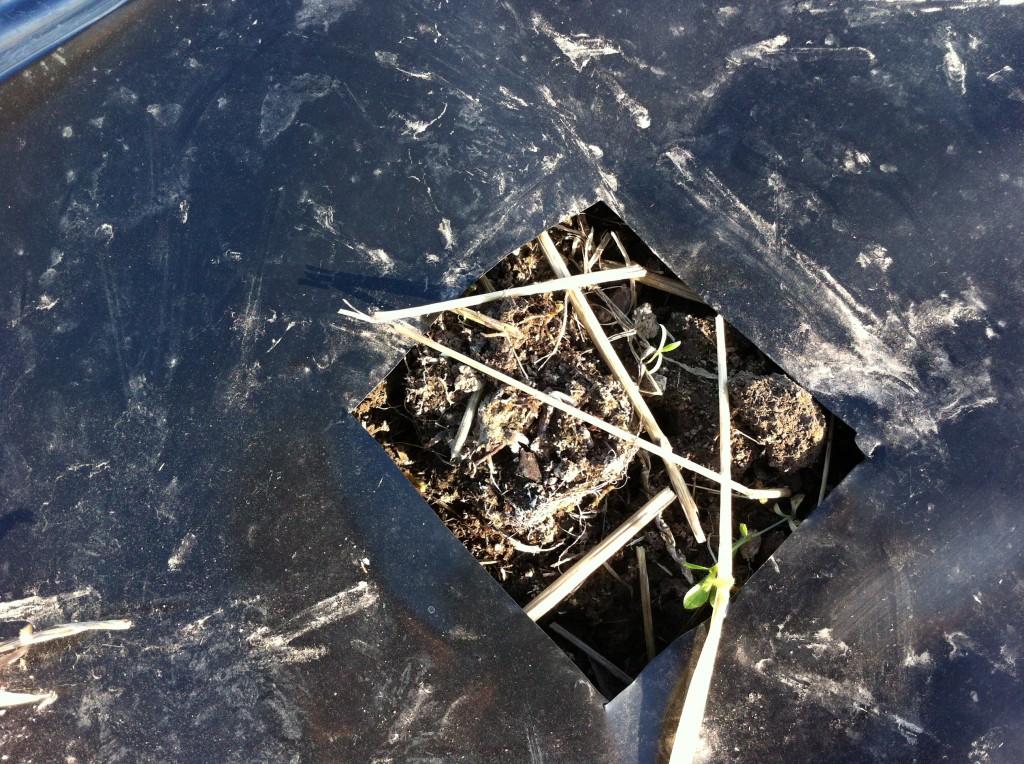
Tomorrow, I will tell you how we managed to get all those strawberry plugs planted. Let’s just say, we had to cut 250 round little holes in the plastic to be able to plant to the plugs in the ground.

Oh my…what have I got ourselves into….

That is the question of the day : ).

Becky


Related Posts Plugin for WordPress, Blogger...