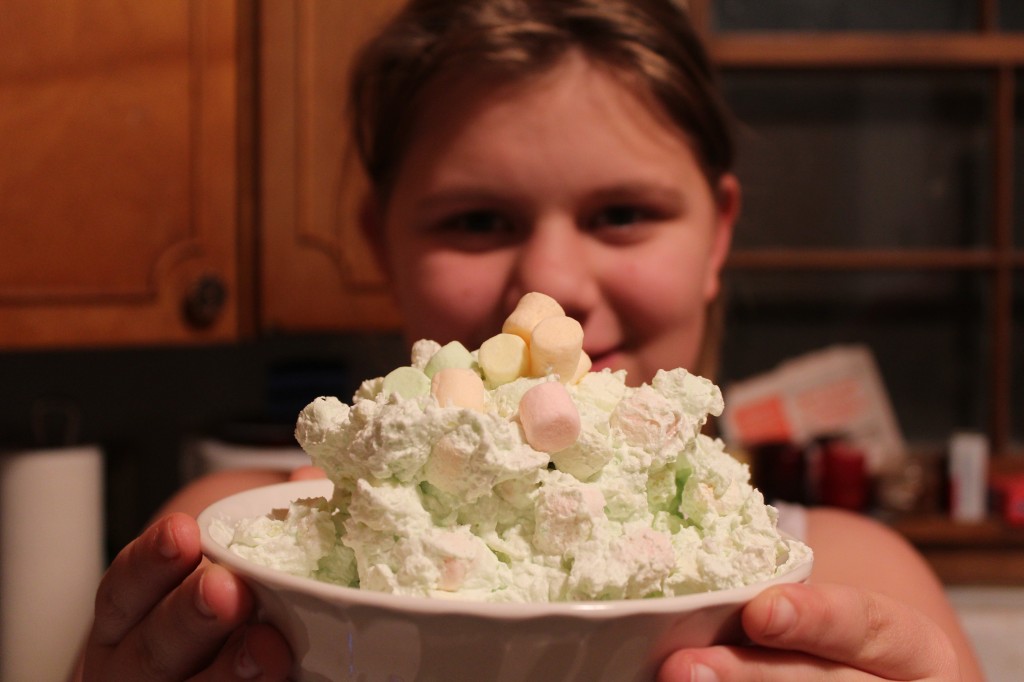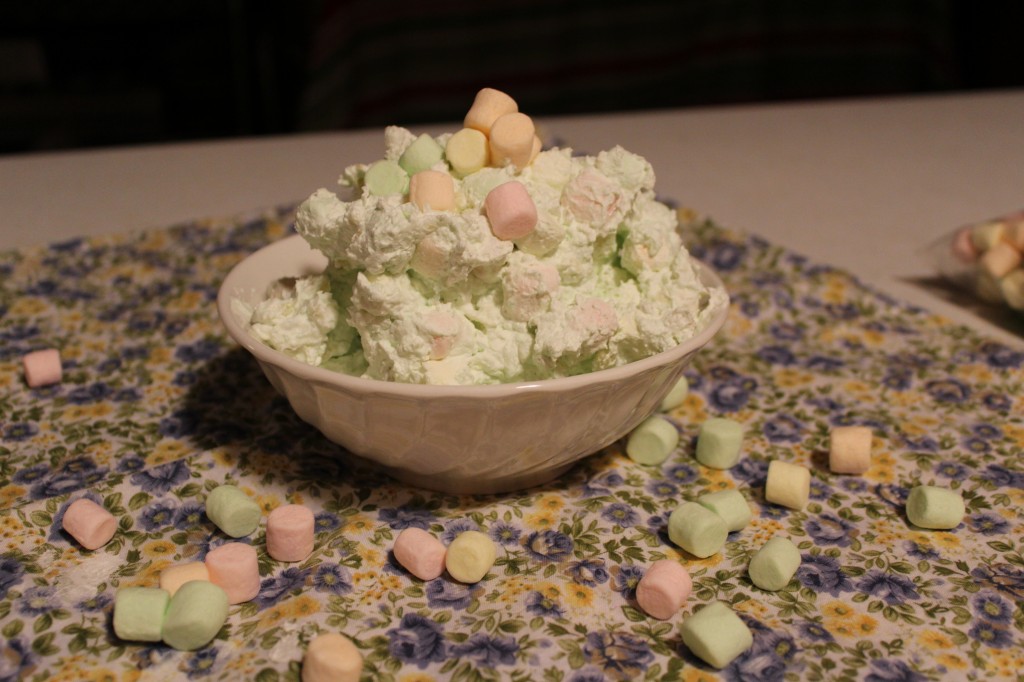
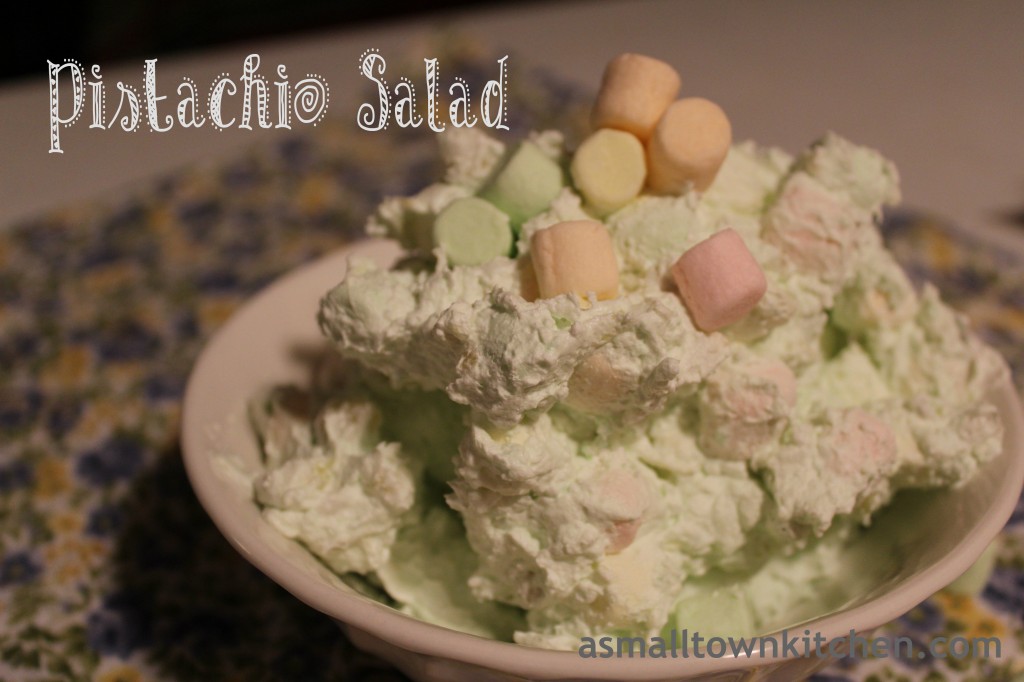
Pistachio Salad better know as “Green Stuff”

This is what my Oldest Grandgirl and her Aunt T calls the “Green Stuff.”

Green Stuff is a staple at  all our Thanksgiving and Christmas dinners. It is one of those dishes that you know your relative will always make, bring and share. Usually my PIC (other wise known as my sister in law) makes the Green Stuff. Because, being the awesome daughter that she is, she has been spending most of her free time with her dad in long term care after some major health issues, PIC was unable to make the Green Stuff!

It was so sweet that my Oldest Grandgirl came to the rescue! She volunteered to make the Green Stuff. Which just happens to be her favorite!!!

Anywho, this is the first, of I hope many, cooking post where my Grandgirls steal the show and make edible goodness in the kitchen. (as long as they wash their own dishes).

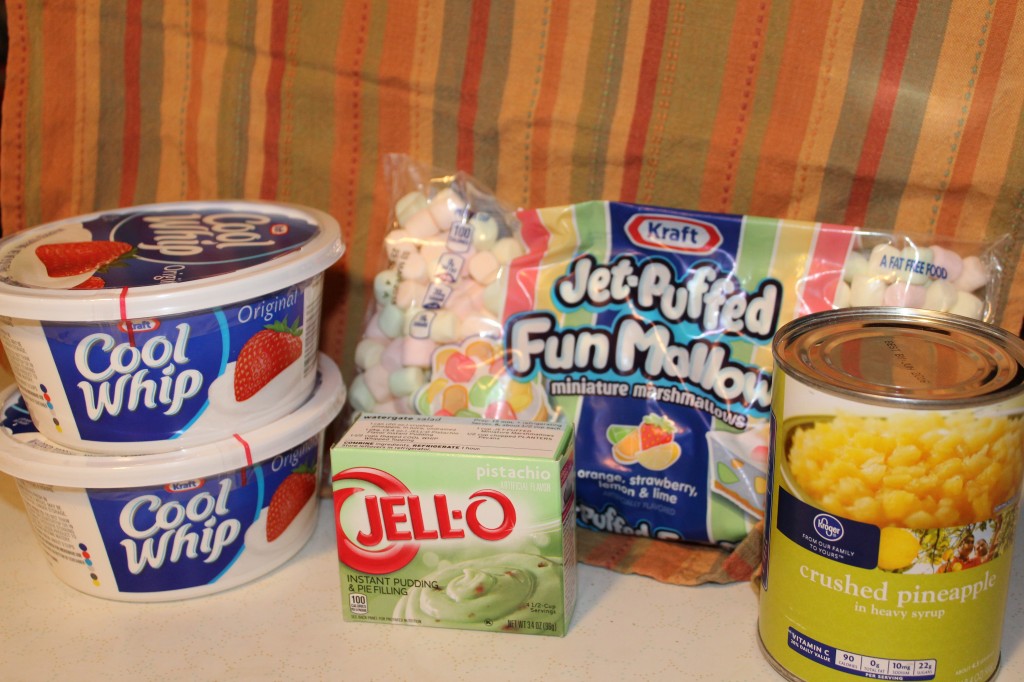
Here is what Oldest Grandgirls tells me she needs to make the legendary Green Stuff.

Two regular size cool whips, one regular size instant pistachio pudding, large can of crushed pineapple and  fruit flavored miniature marshmallows and if you like you can add some chopped pistachios or walnuts.

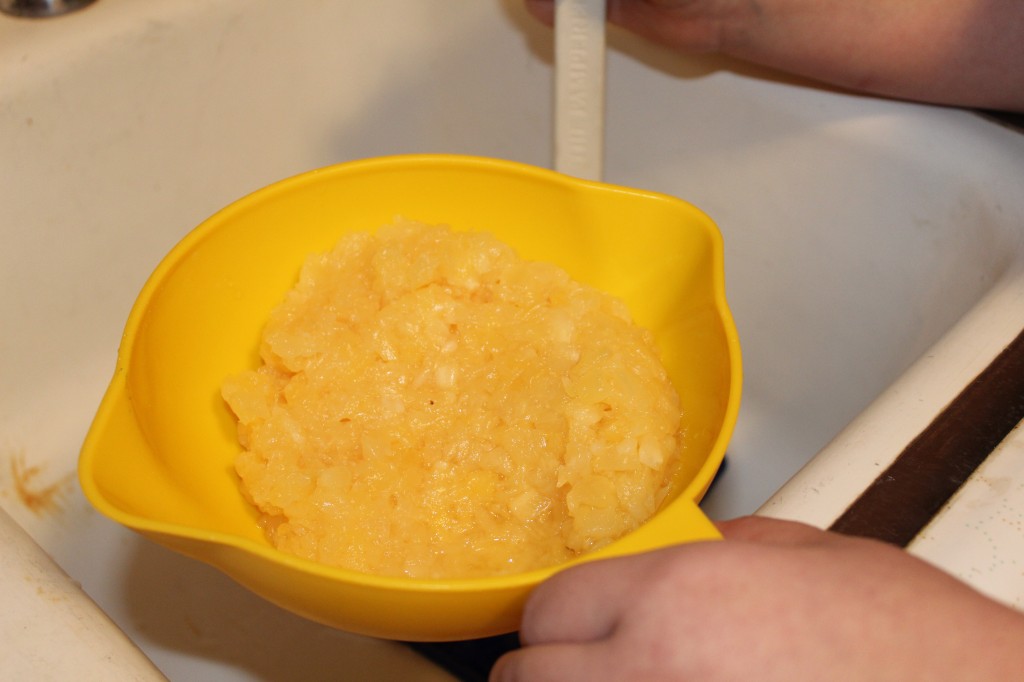
Drain the liquid from the pineapple.

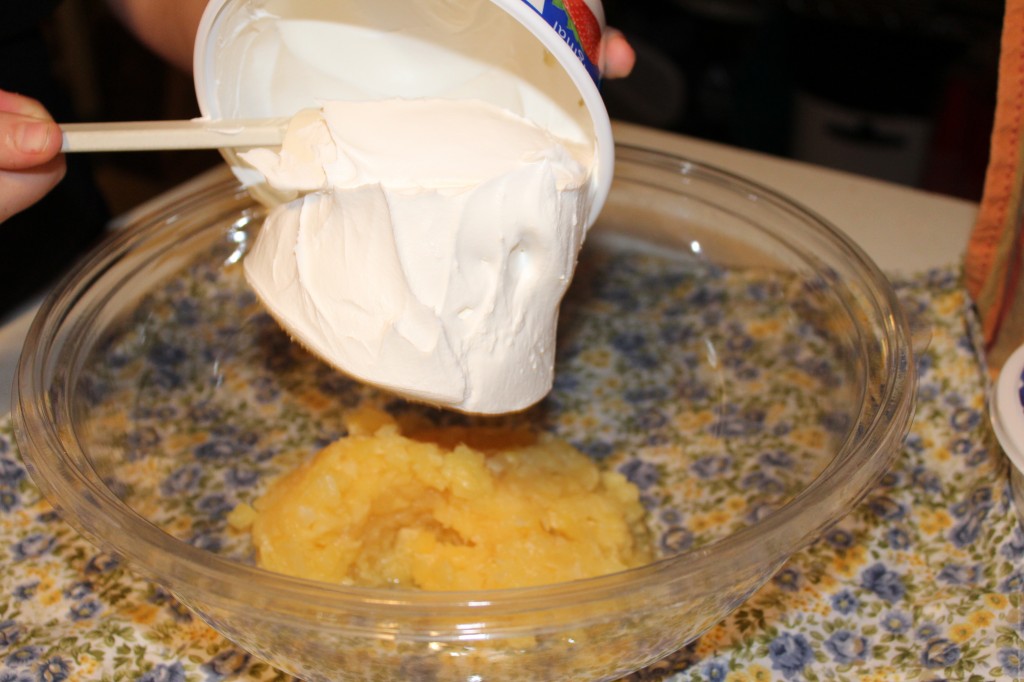
Put the drained crushed pineapple in a bowl and add the cool whip.

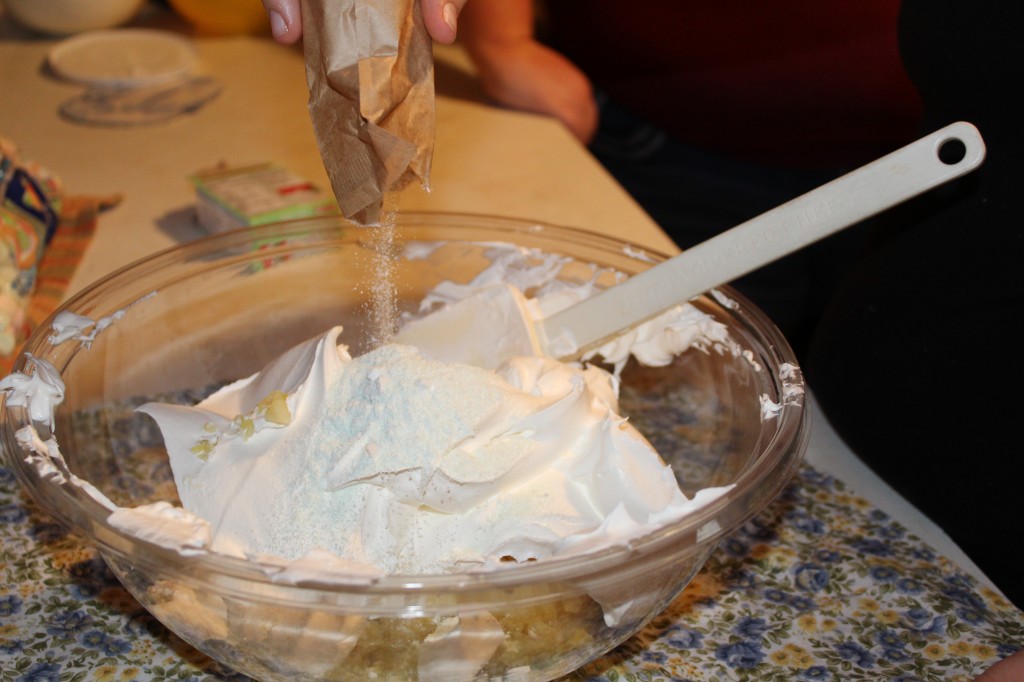
Add in the pistachio pudding.

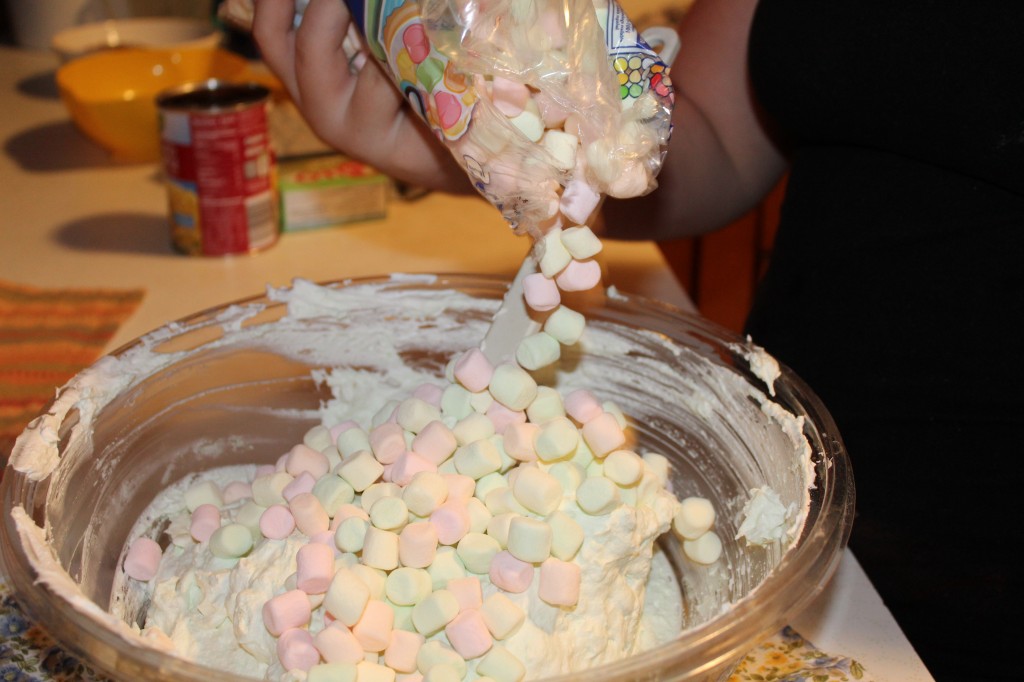
Add in the fruit flavored mini marshmallows.

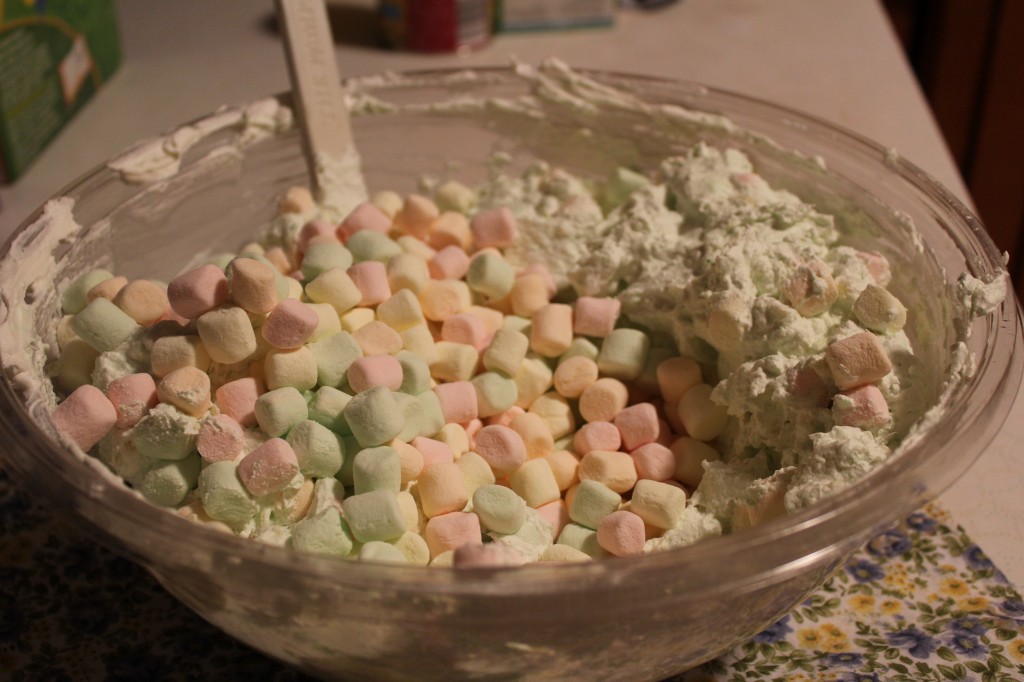
Stir together!

That is all there is to making, “The Green Stuff!”

Enjoy!

Oldest Grandgirl

Pistachio Salad

Recipe from PIC or Aunt T.

Ingredients:

1 – 20 ounces can crushed pineapple, drained

2 – 8 ounce containers of cool whip

1 – 3 ounce box of instant pistachio pudding mix

3 cups of fruit flavored miniature marshmallows

1 cup of chopped pistachios or walnuts  (optional) We did not add extra nuts because we have some family who do not like a lot of nuts in their food. I think they are nuts…LOL

Directions:

In a large bowl, add the drained pineapple, cool whip, pudding mix and the marshmallows. Stir until all the ingredients are combined. Cover and refrigerate until ready to serve. 


Other post you may enjoy:


Layered Mint Brownies     Chocolate Shortbread Brownies w/macaroon     Cracker Toffee


Fresh Strawberry Pie

Whew, I am so sorry it has taken me a couple of weeks to finally post a new recipe!

These last two weeks have been packed with all kinds of teaching summer school fun, that finally, just ended last week.

So, now I can officially say that I am on summer school break.

I can finally sing the song, “Schools Out for Summer!”

I am SO behind in posting so many amazing recipes that I have made over the last couple of months, that it will take me several days to get them posted.

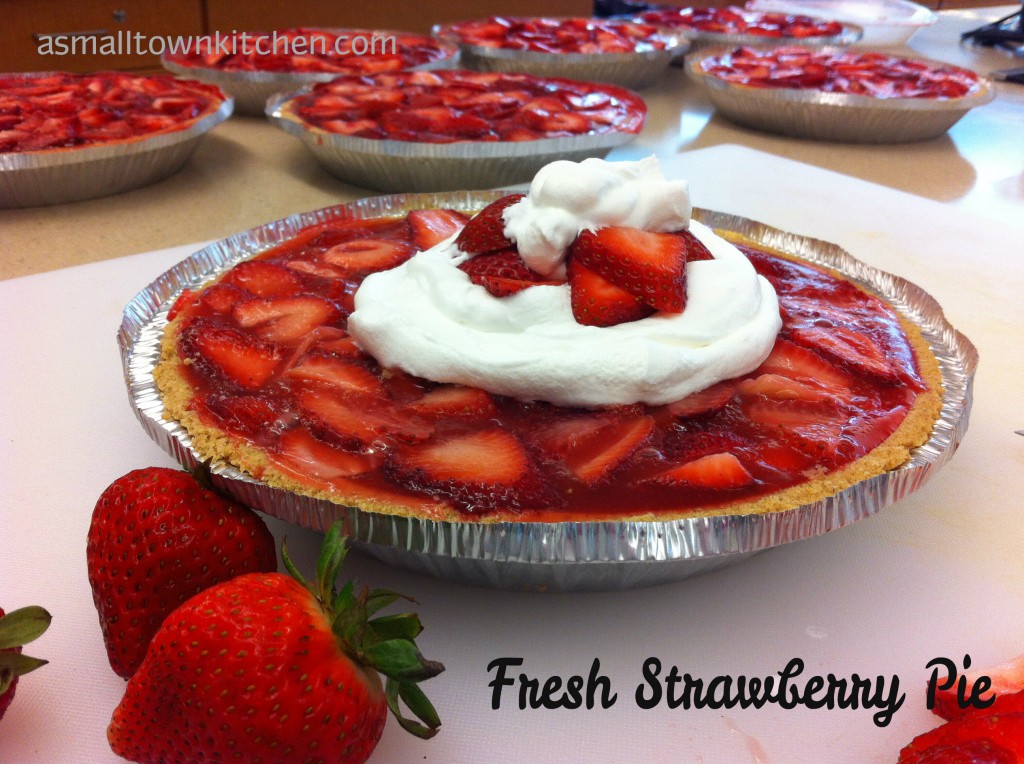
Anywho, I wanted to start off with this super easy Fresh Strawberry Pie.

At the end of the regular school year, I wanted to make treats for all the secretaries, guidance department, media center, custodians and the principals. This school year has been great, but a bit of a challenge opening up a brand new school. The end of the  school year was a great time to send treats and to celebrate that we survived ; ). There were just too many staff that I wanted to make treats for individually, that I just did not have enough time in the day to make it happen. So, I decided to make a pie or two for each department.

Am I a genius or what?

Even though Company and I did not have any strawberries to speak of this year because of the un-cooperating weather, a local store had strawberries on sale at a great price. I found a simple but delicious fresh strawberry pie recipe out of a old cookbook that I bought at a flea market and I went to work (at school) making strawberry pies.

Seven pies altogether.

I know it is a tad past strawberry seasons, but I still see great prices at the stores on strawberries. If you are looking for a easy, fresh, delicious summer pie, try a go at this recipe.

Here is the step by step directions with photos:
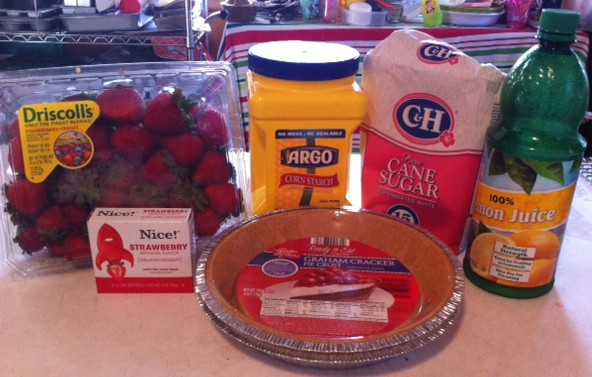
You will just need a few ingredients to make this simple but scrumptious pie.
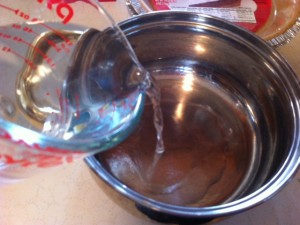
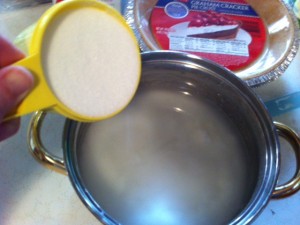
         

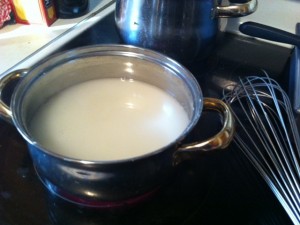
In a sauce pan measure in the water and the corn starch.
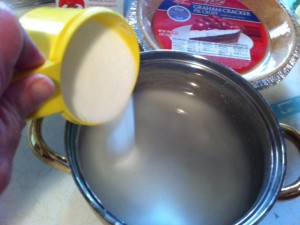
           

Add the sugar and stir. Cook over medium, stirring to prevent lumps.
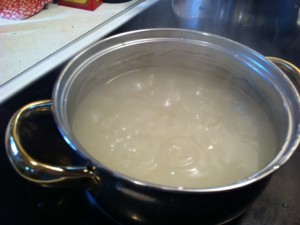
         

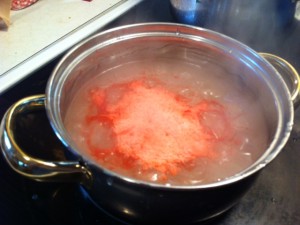
Bring the sugar and cornstarch mixture to a boil. Turn off the heat and the add the jello.
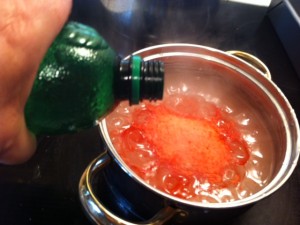
         

Add the lemon juice. Stir the jello and lemon juice in.
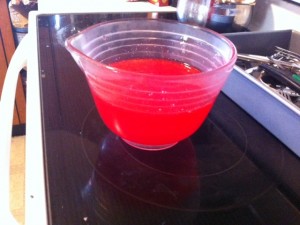
         

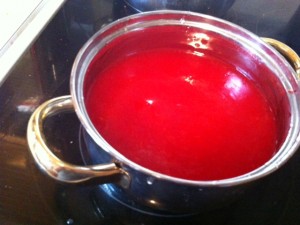
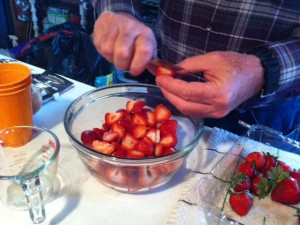
To speed up cooling the jello filling, I poured it into a bowl to cool. Find a volunteer to slice the strawberries. (this was Company’s job haha)
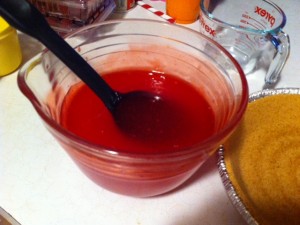
           

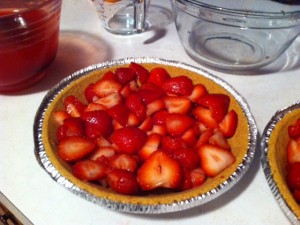
Stir the jello mixture (just in case a film formed on top while cooling). Fill the pie plates with strawberries. (I have also used a BIG bowl and mixed the filling and strawberries together first and then put in the crust. Either way works.)
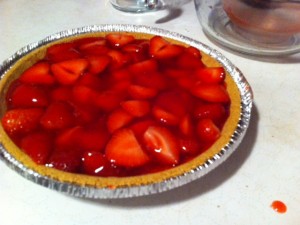

         

Pour equal amounts of the filling over the strawberries. Place the pies in the fridge for a least 4 hours to set up.
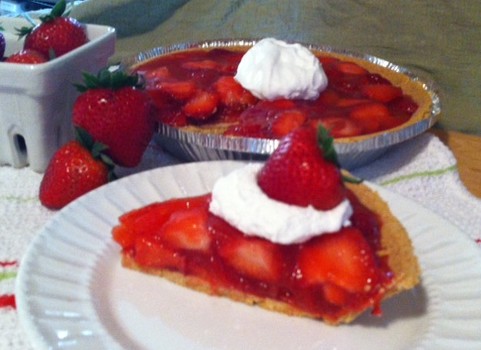
When it sets up, it slices up beautifully. Garnish with cool whip and sliced strawberries.

Before I give you the recipe, I just want to tell you a couple of details about the recipe changes I made to suit me. I used store bought graham cracker crust. The recipe will make enough filling for two small pies. I will be giving you the original recipe that will make one large 9 inch pie using a store bought pie crust. There you go! You can decide which size better fits your needs : ) or pie cravings.

Here is the recipe:

Fresh Strawberry Pie

Adapted from Old Cookbook

Ingredients:

1 quart (4 cups) washed, stemmed and sliced strawberries

1 and 1/2 cup sugar

1 (3 ounce) pkg. strawberry gelatin

1 and 1/2 cup water

1 tablespoon lemon juice

1/4 cup cornstarch

1 baked 9 in pie shell (or 2 small store bought graham cracker crust)

Cool Whip for topping

Directions:

In a medium sauce pan, combine the water, sugar and cornstarch. Heat and stir until thick and clear. Remove from the heat and stir in the gelatin and the lemon juice. Let the gelatin cool.

In a large bowl, place the sliced strawberries. When the gelatin cools, pour the gelatin over the strawberries and combine. Make sure the gelatin is evenly combined with the strawberries.

Pour the strawberry filling into the prebaked pie shell, or into the graham cracker crust.

Put the pie/pies into the refrigerator to firm. This will take about 4 hours.

Decorate the top of the pie with cool whip and sliced strawberries if you want.
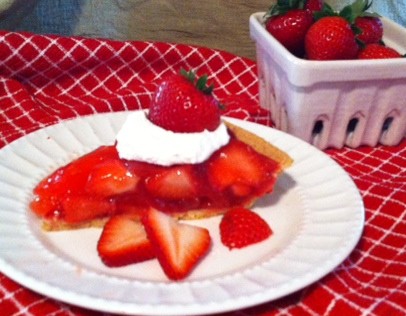
Enjoy the flavors of summer!

Becky

Other post you may enjoy reading:

                   

Blackberry Cobbler                       Strawberry Rhubarb Crisp           Broccoli Rice Casserole


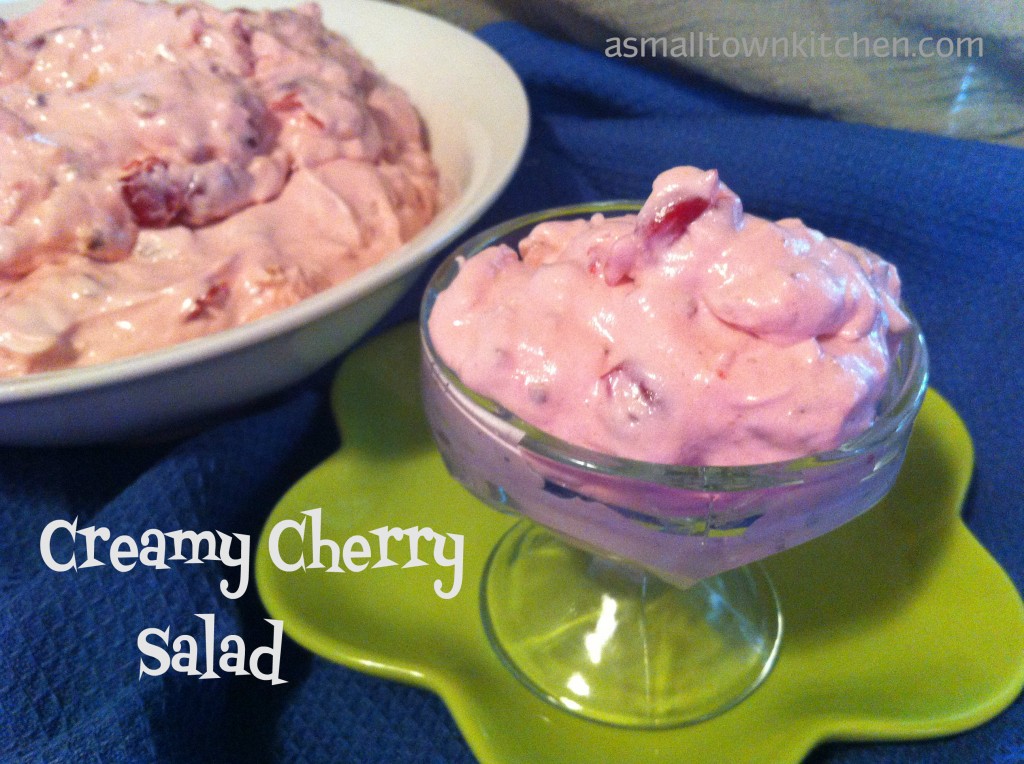
Creamy Cherry Salad

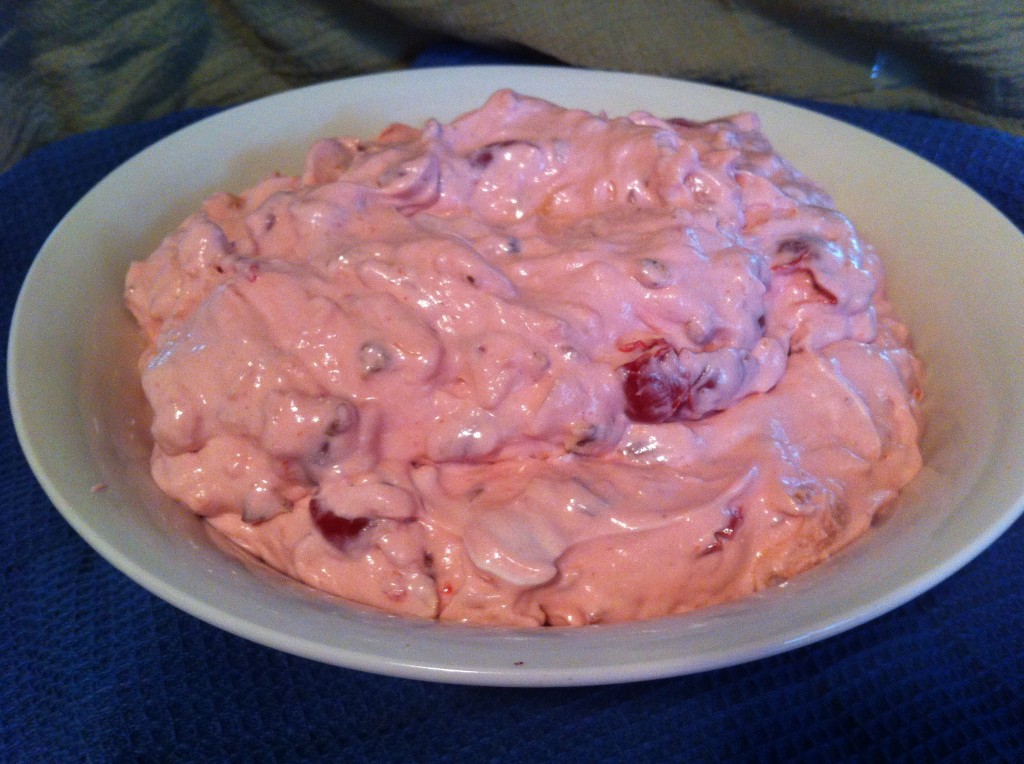
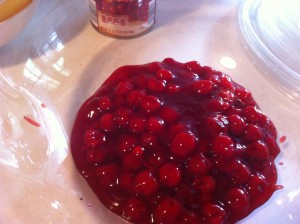
Does this picture want to make you run to the kitchen and get a spoon and take a big bite?

I hope it does!

We celebrated my Dad’s 96th birthday last Saturday. (His real birthday was on Memorial Day) I was making a bunch of things to go with the Tickle Your Ribs BBQ that my Little Brother is famous for. (well…famous in our family anyway!) Saturday, he fought the rain all day to grill pork steaks and pulled pork, drenched in his home made bbq sauce. YUMMY! I was looking for extra special recipes to make to compliment all his hard work on his grill.

I had been eyeing this Creamy Cherry Salad recipe for a long time. I have been saving the recipe for months waiting for a special dinner to make it. Dad’s birthday seemed like the perfect time! I had all the ingredients to make it too, except the sour cream (the one container I found had expired, poo). Super Hero son came to my rescue and went to the store to pick up the sour cream. In no time at all I had this beautiful salad made! You just open some containers, chop up some pecans, throw it all in a bowl and stir.

Easy Peasy Nice and Easy! (and delicious)

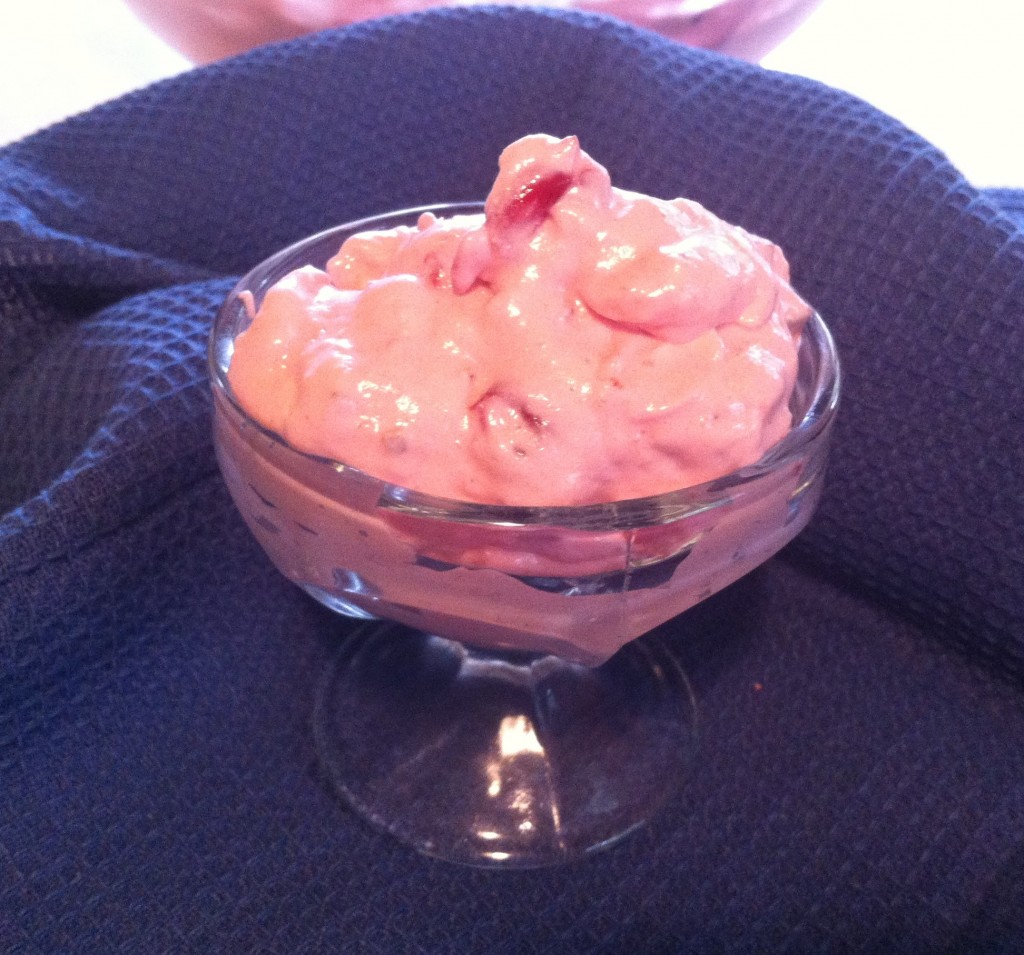
With the beautiful pink color and the pop of red from the cherries, it would be a perfect for Memorial Day, 4th of July or a Christmas dinner. (and any other time you want to indulge yourself)

Anywho, I took this dish and Niener Wiener wanted the recipe right away. (her DAR group theme is cherries this year and she wants to make it for their next carry in dinner, woohoo success!). I also made home style fresh green beans, that the grand girls helped me snap, Smokestack Baked Beans (recipe coming soon, Deviled Eggs and Strawberry Spinach Salad.

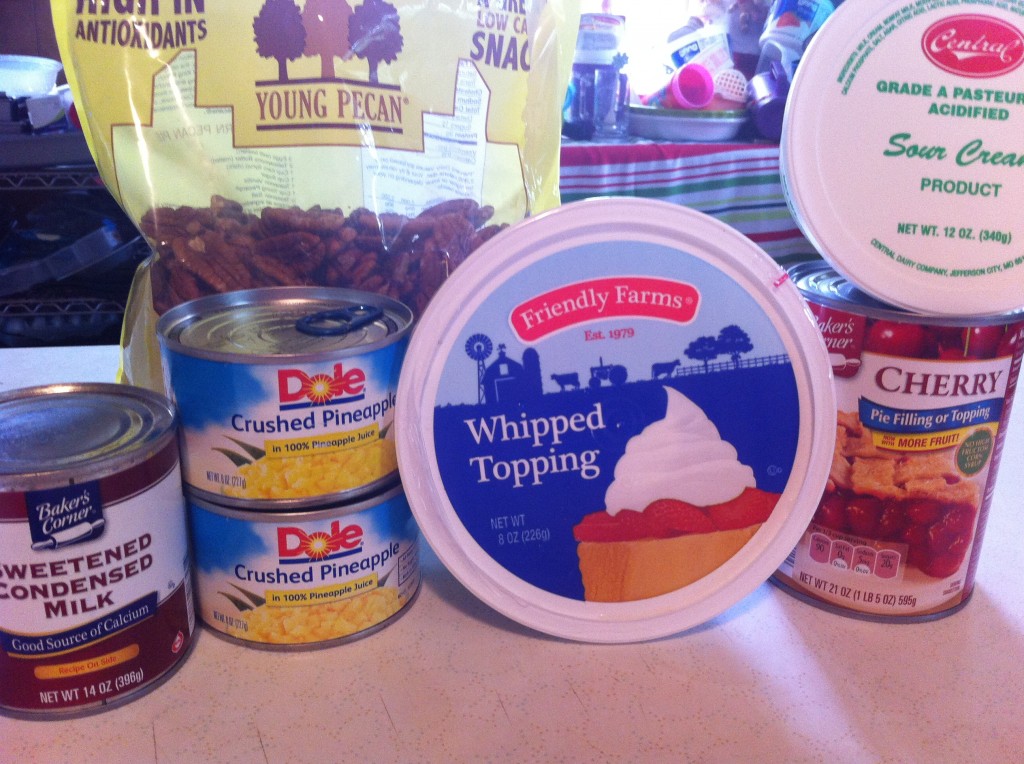
Here is all you need to make this quick and yummy recipe:

You will need one can of sweetened condensed milk, chopped pecans, 1 regular size can crushed pineapple, drained, (I  had to use to small cans because that is what I had on hand) some sour cream, 1 container cool whip and one can of cherry pie filling.


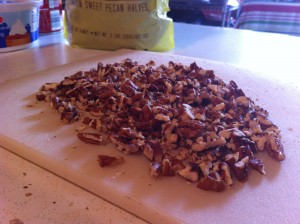
First thing I did was chop my pecans and drained the pineapple. (I saved the juice for the grand girls)


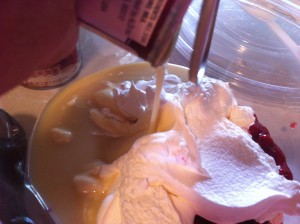
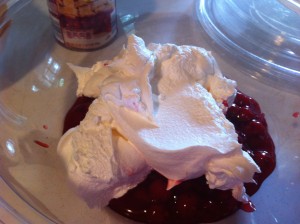
In a large bowl, (I was taking this to my dad’s birthday party, so I was using a clear plastic bowl that had a snap on lid for travel) add the can of cherry pie filling and the cool whip.


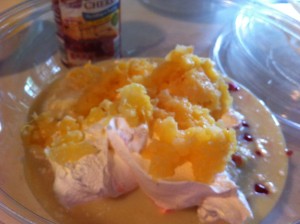
Pour in the whole can of sweetened condensed milk. Add the drained crushed pineapple.
              

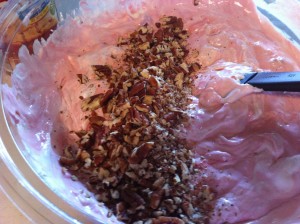
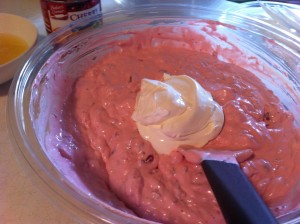
Add in the chopped pecans. Finally stir in the sour cream.

And then LOW and BEHOLD….you have a beautiful and deliciously creamy and yummy salad that looks like this….

Are you ready to grab a spoon now?

Here is your recipe:

Creamy Cherry Salad

Adapted from old Silver Dollar City Recipe Cookbook

Ingredients:

1 (20 ounce) can cherry pie filling 1 cup chopped pecans

1 (9 ounce) container of cool whip

1 (20 ounce) can crushed pineapple, drained well

1 cup sour cream

1 can sweetened condensed milk

Directions:

In a large serving bowl, blend all ingredients together. Chill until firm. Serves 10 to 15.

Enjoy!

Becky

Other post you may enjoy!


Vanilla Rhubarb Jam     Strawberry Pretzel Salad (coming soon)    Frozen Fluffy Strawberry Pie


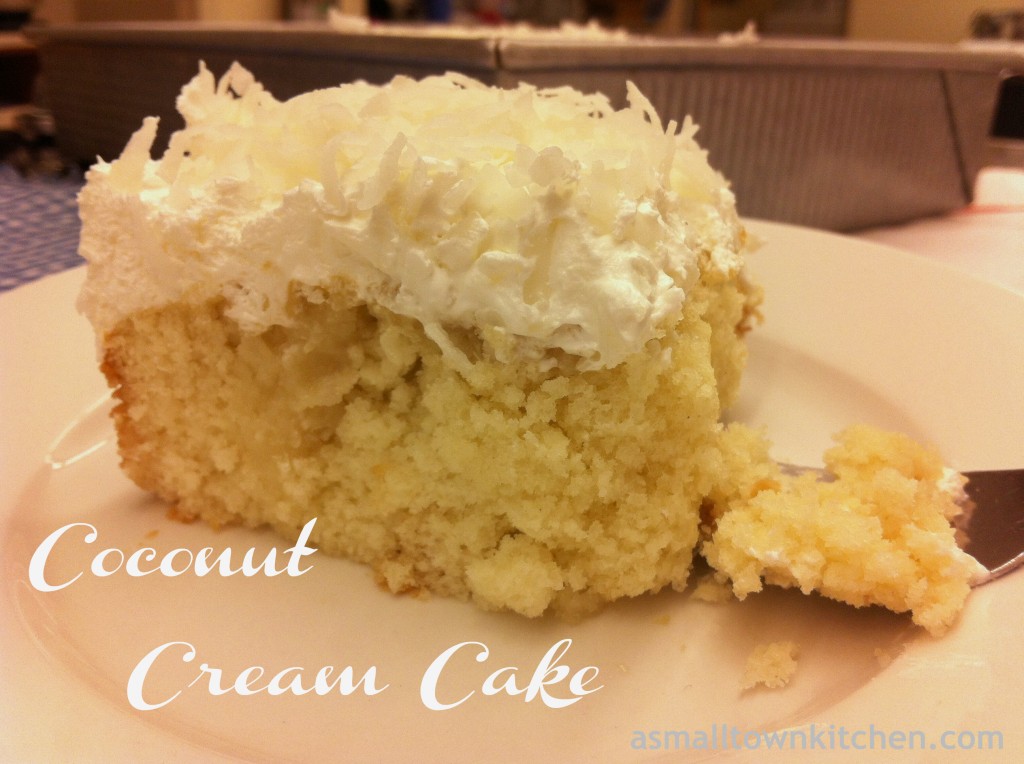
Coconut Cream Cake

I am nuts about coconuts!

And you thought I was just nuts… : )

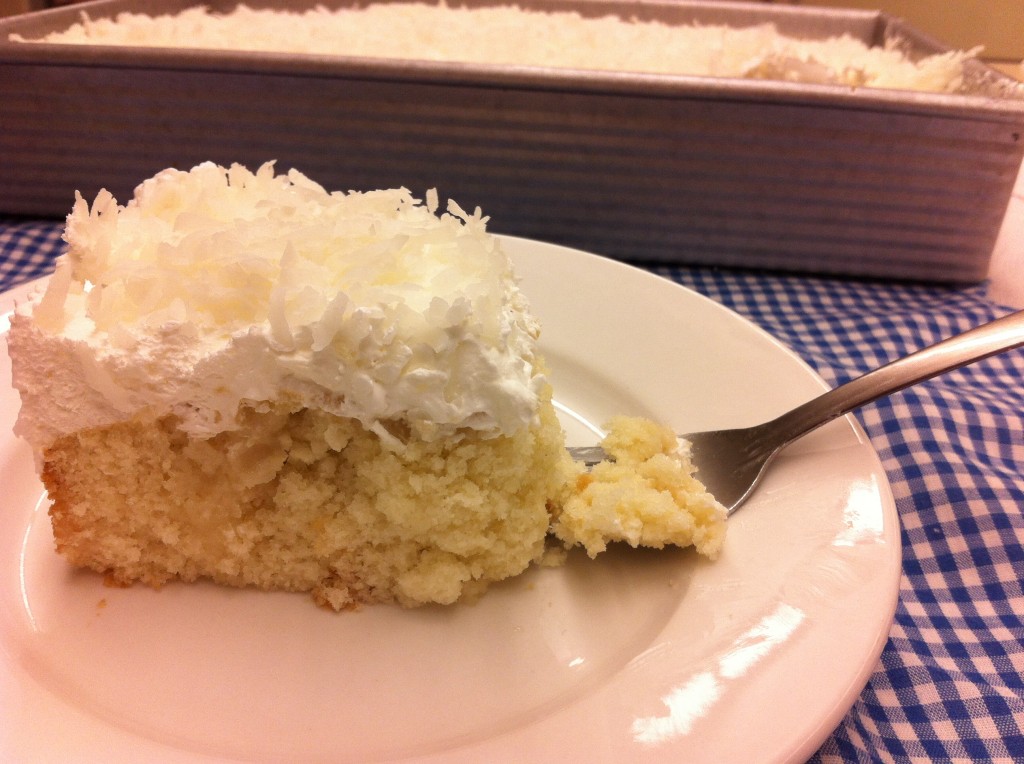
This week is treat day at school and I am making a few things to share. I found this super easy, super moist, recipe for Coconut Cream Cake. It was the perfect cake to make when you are a little pressed for time cause  you start with just a cake mix. I made this delicious cake a couple of days early and put it in the freezer. I can’t wait to share it later this week.
It has a secret ingredients….sshhhh…..

One of the things that makes this cake so, so, so, good, is that it  has a whole can of cream of coconut in it. You use half the can in the batter. The other half of the can you pour over the cake while it is still warm. The super sweet syrup seeps down into the cake making it super moist.

If you need a quick, easy and delicious cake, oh, and if  you love coconut as much as I do, this cake is perfect for you.

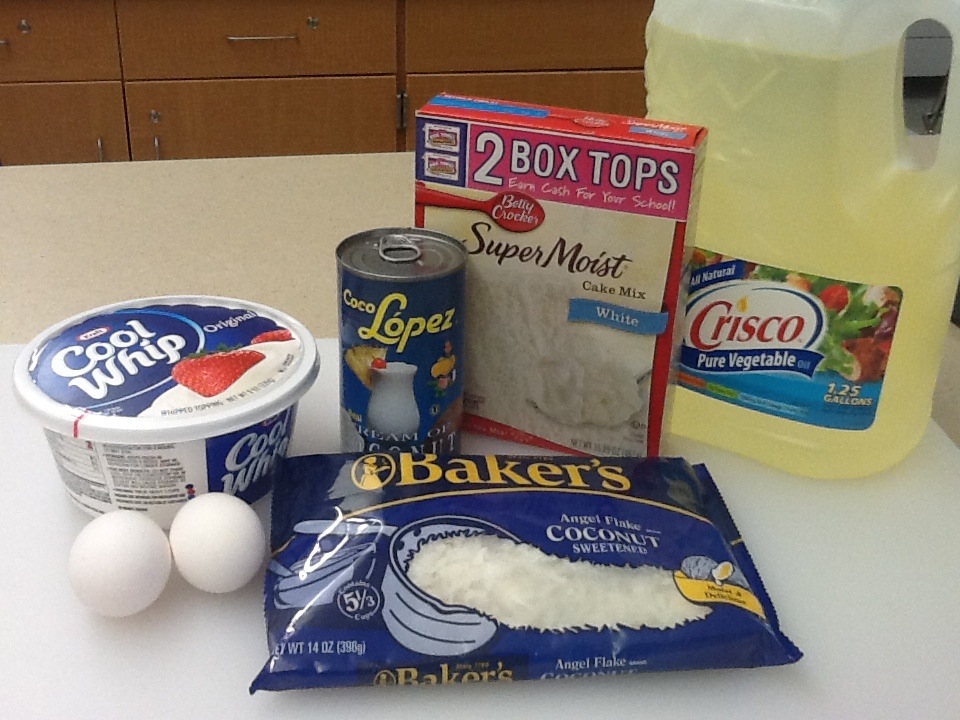
Here is what you need.

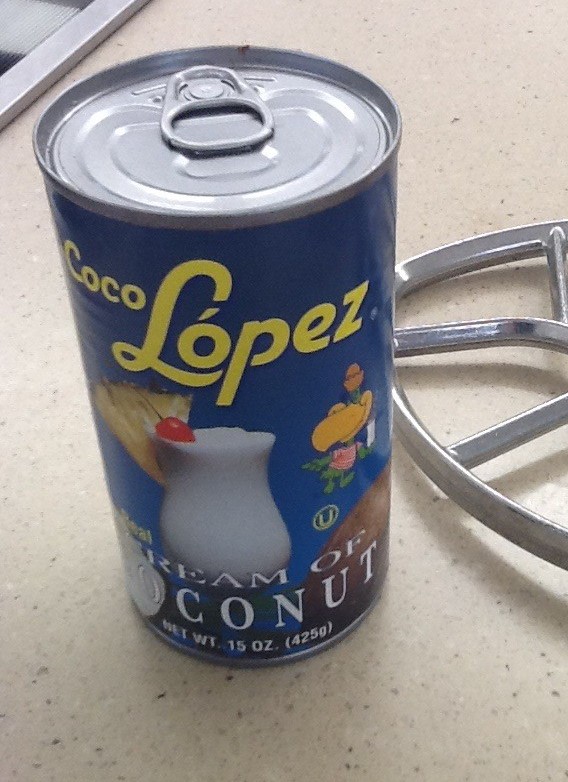
You just need a few simple ingredients for this cake. I only had to go to the store to get the cream of coconut. If  you have a hard time finding cream of coconut, you will need to look in the liquor department at your grocery store.

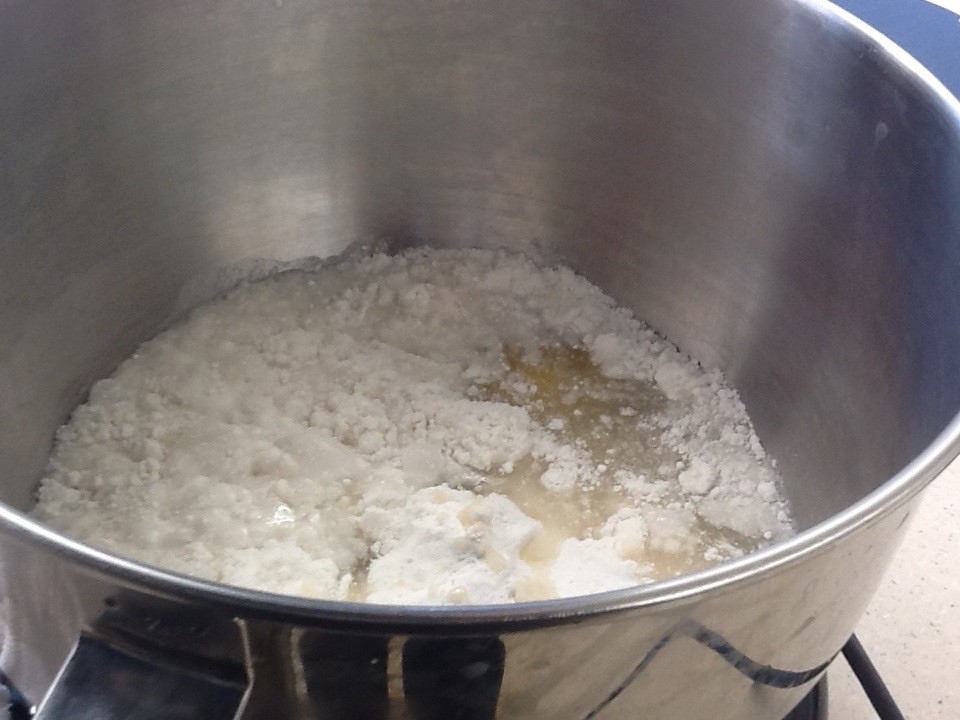
The first thing you need to do is start making the cake, following the directions on the back of the box. You can use a white or yellow cake mix.

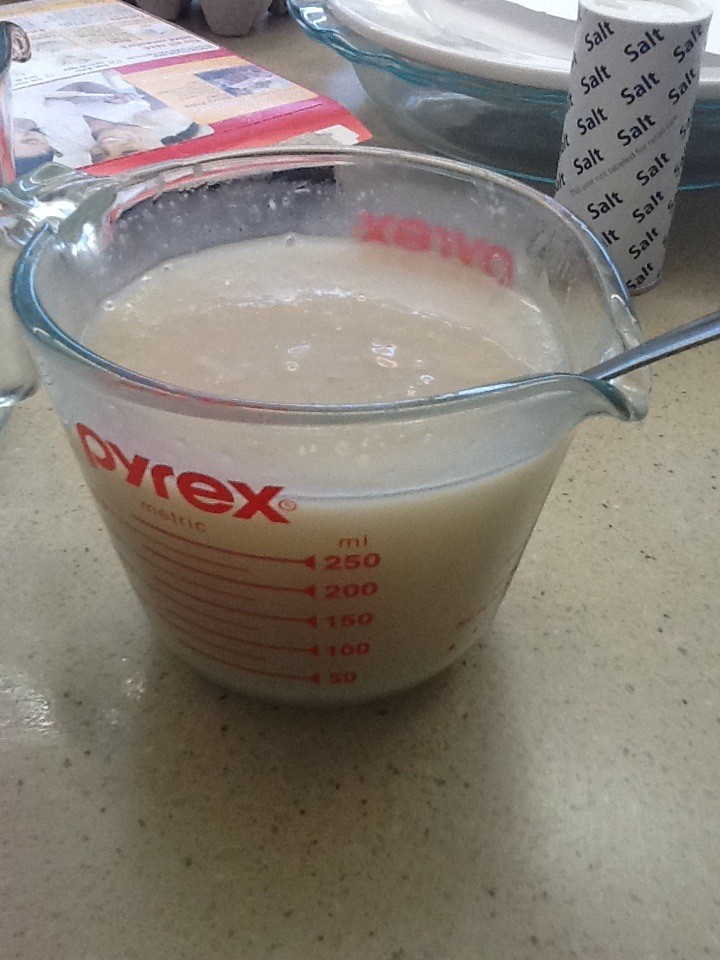
Next, you need to open your can of cream of coconut. You may need to stir the cream of coconut because the coconut fat might have risen to the top. I pour the cream of coconut into a measuring cup.  I think one can has about 1 1/2 cups of cream.

Pour approximately half of the cream of coconut into the cake batter.

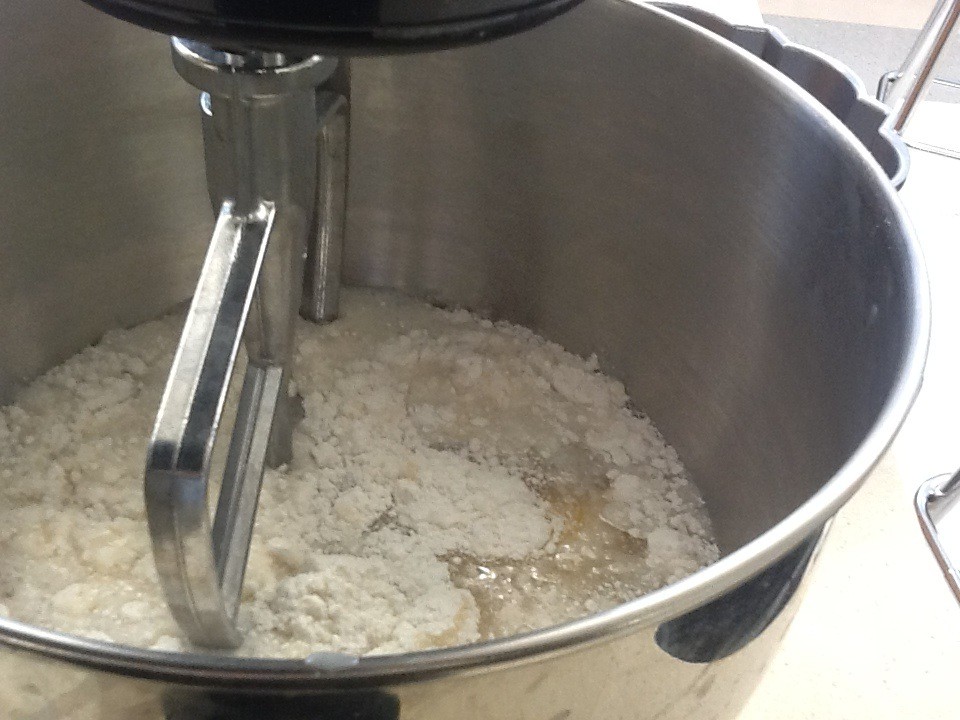
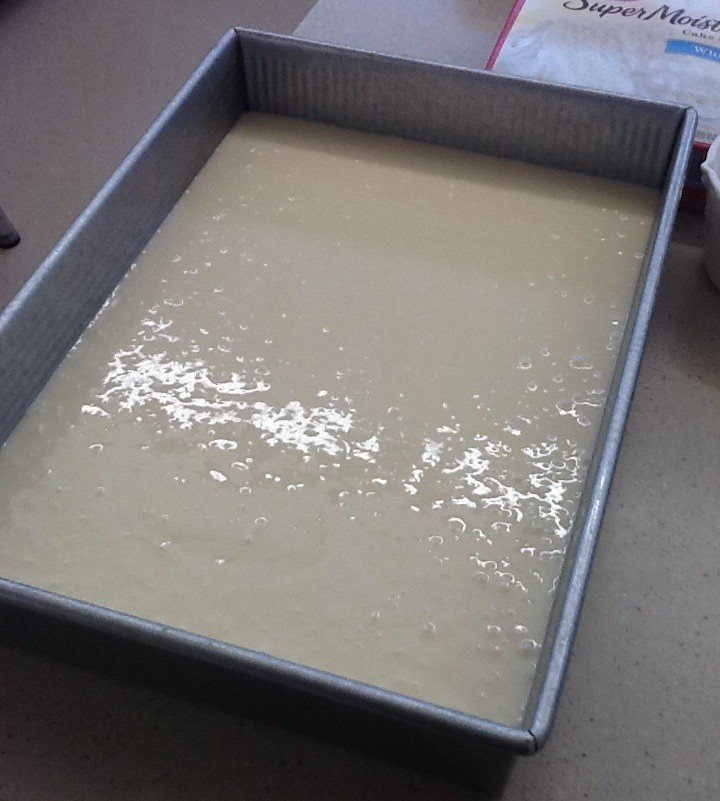
With a stand mixer, mix together the cake batter for about 3 minutes on medium. The batter will be slightly thin. Pour the batter into a 9 by 13 greased cake pan. Bake in a 350 preheated oven for around 30 minutes, or until a toothpick comes out clean in the middle.

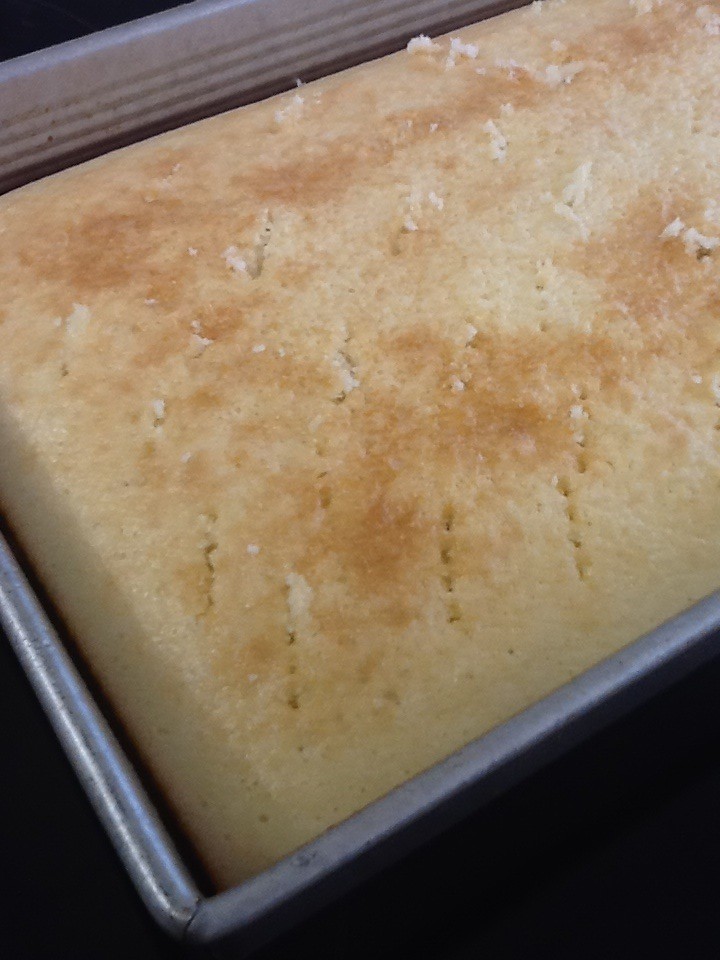
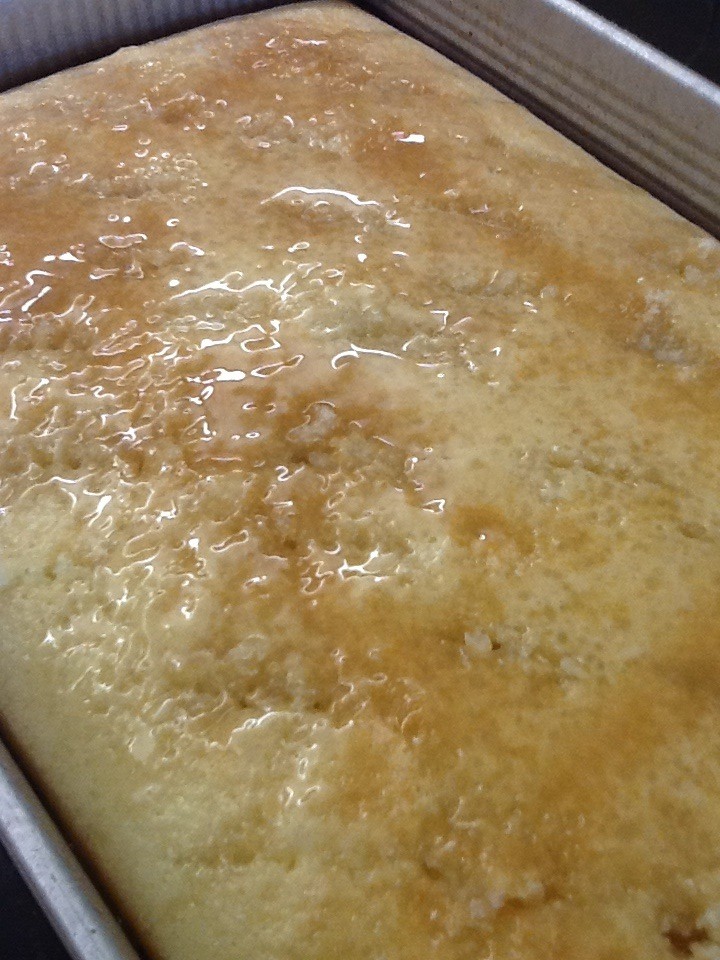
While the cake is still warm, take a fork and poke holes into the cake.

Now, you can pour the rest of the cream of coconut over the cake. It will seep into the holes you made into the cake with the fork. Let the cake cool completely now.

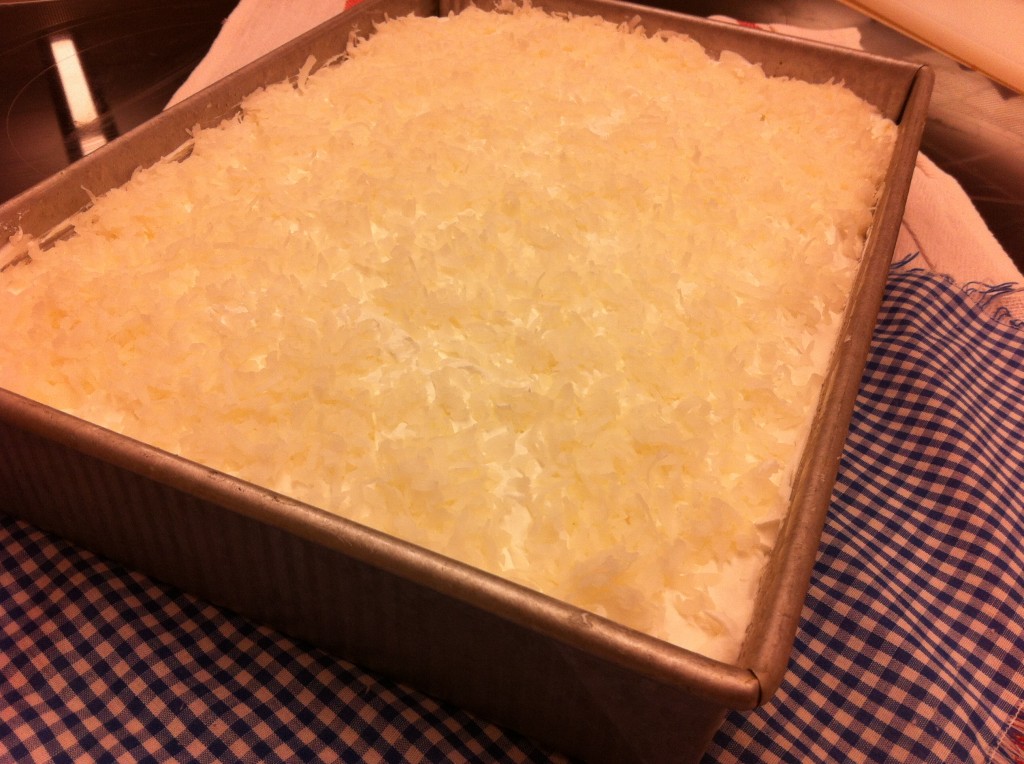
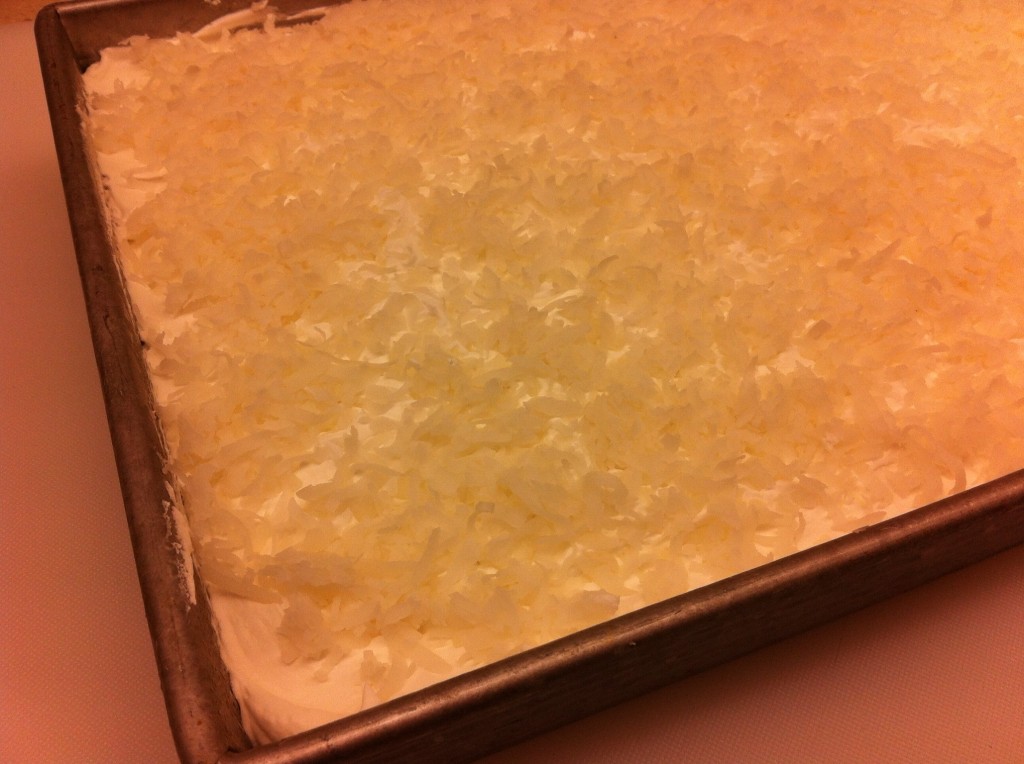
When the cake has cooled completely, frost the cake with cool whip. Lastly top the cool whip with the coconut. Add as little or as much coconut as you want.

See how easy peasy this cake it?

It is good too!

Here is the recipe:

Coconut Cream Cake

Ingredients:

White or Yellow cake mix (below are the amounts of eggs, water and oil that I used, you can use the amounts that is on the back of your cake box)

2 eggs

1/4 cup oil

1 1/3 cup water

1 can of cream of coconut

1 can of Angle Flake coconut (I could not find a can, so I just used part of a bag of Angle Flake coconut)

1 container of cool whip (sit it in the refrigerator to thaw enough to spread on cake)

Directions:

With a mixer, mix the cake mix, eggs, water and oil. Add half of the can of cream of coconut. Mix for 3 minutes. Pour the batter into a greased 9 by 13 cake pan.

Bake in a preheated 350 oven for approximately 30 minutes or until a tooth pick inserted in the middle comes out clean.

When the cake is done, poke holes in the cake with a fork.

Pour the rest of the coconut cream over the warm cake. Spread coconut cream over the top of the cake if necessary.

Cool Completely.

When the cake is cooled, frost the cake with cool whip. Top the cool whip with coconut.

I suggest storing this cake in the refrigerator after you top the cake with cool whip.

You will go nuts for this Coconut Cream Cake, just like I did.

Enjoy,

Becky

Other post your may enjoy:


Coconut Banana Bread with Lime Glaze               Oatcake with Blackberries and Blueberries


Related Posts Plugin for WordPress, Blogger...