Chocolate Pie

I love chocolate pie!

Every year around Easter, my whole family heads out, and we all meet at a church in a neighboring town and go to their annual fish fry. Besides having the best fried fish (and it is all you can eat) the little ladies of the church make all kinds of pies, (my favorite part…besides the fish).

Usually, we get about 8 different slices of various pies and pass them around and we all take a little bite. This way we get to try all the pies  and then decide which pie we want to eat a whole slice of. We are so bad!  Our strategy has worked well for a number of years until last year.  Last year we were all running late and by the time we got there, all the delicious cream pies where gobbled up already.

WHAT?

I even asked the servers if they were hiding some pies in kitchen. Nope, all they had left was what was out already.

We had to make do with a piece of cake….boo! There was not even a small scrap of  cobbler.

Anywho, I have been craving a nice creamy homemade piece of chocolate cream pie, for almost 6 months. So, this past Thanksgiving, Baby College Girl helped me make 3 chocolate pies. One for me, Two for me, Three for me….. Ok. Ok, I did share, but we make enough pies that there was one pie left that Company and I was able to eat a piece (or two) after Thanksgiving.

This pie is so easy to make and taste so delicious, it is so dangerous, that you will be tempted to make it all the time!

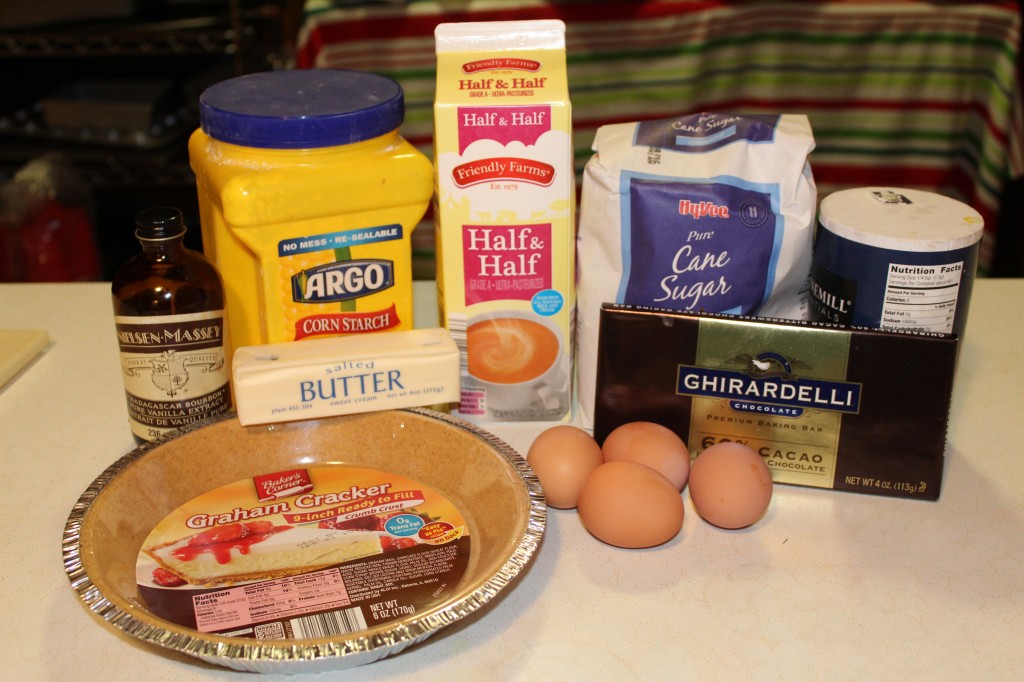
Here is what you will need to make it.

Bittersweet chocolate, butter, 4 eggs (I used my back yard chicken eggs whoohoo) vanilla, sugar, cornstarch, salt and half and half. (or you can use whole milk)

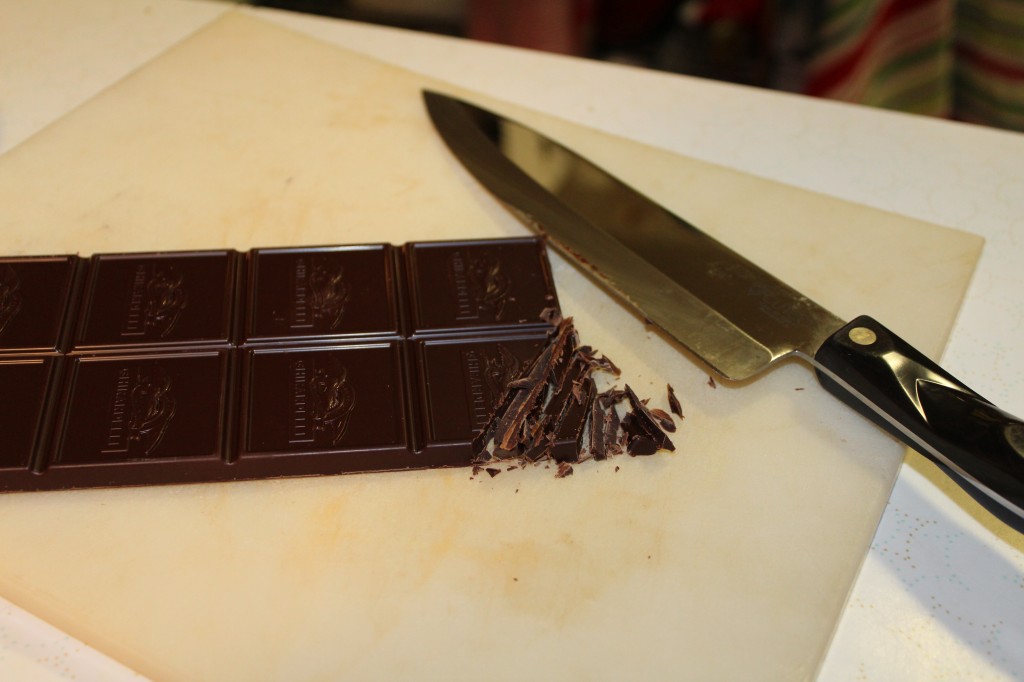
First thing that College Girl did was chop up the chocolate.

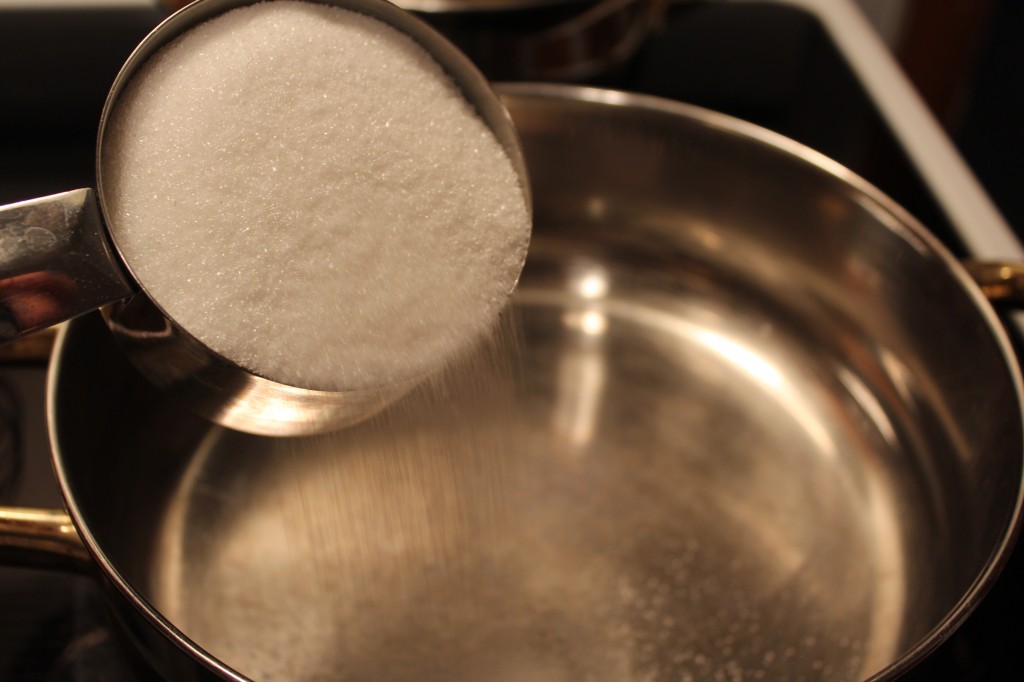
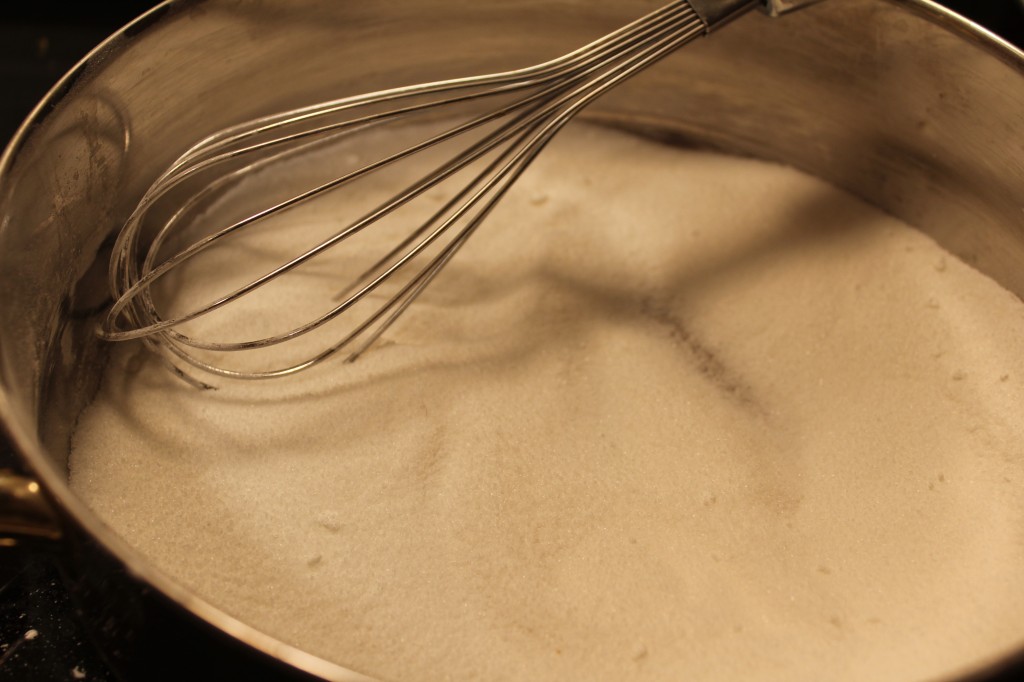
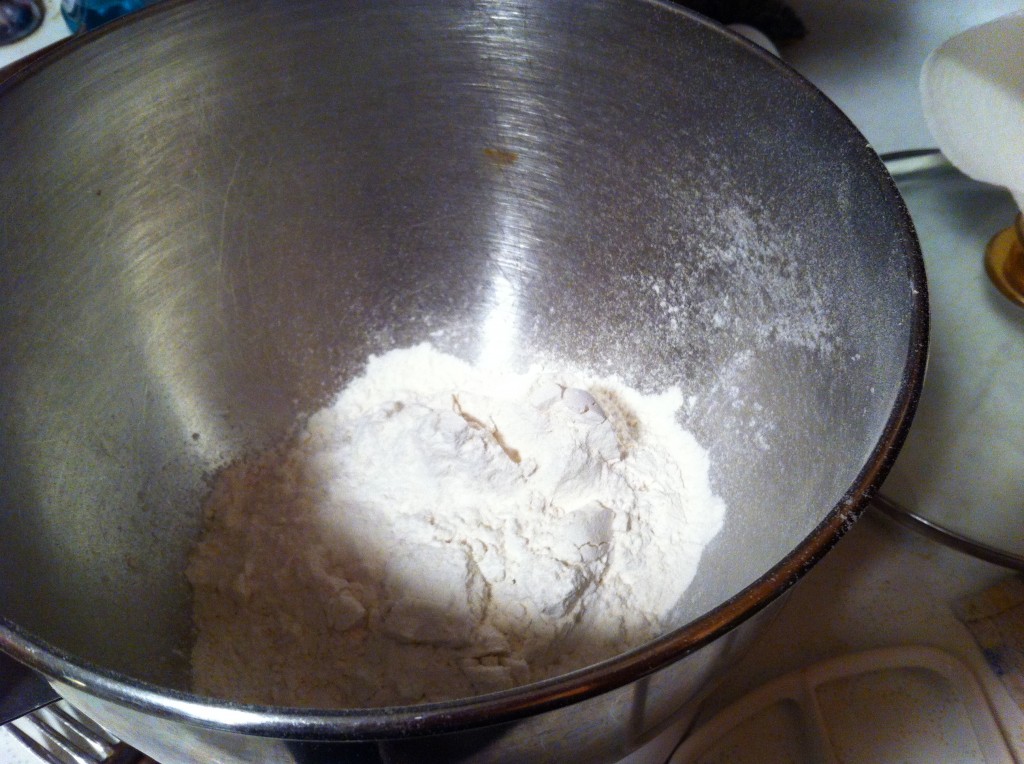
I got out a sauce pan and measured in the sugar.

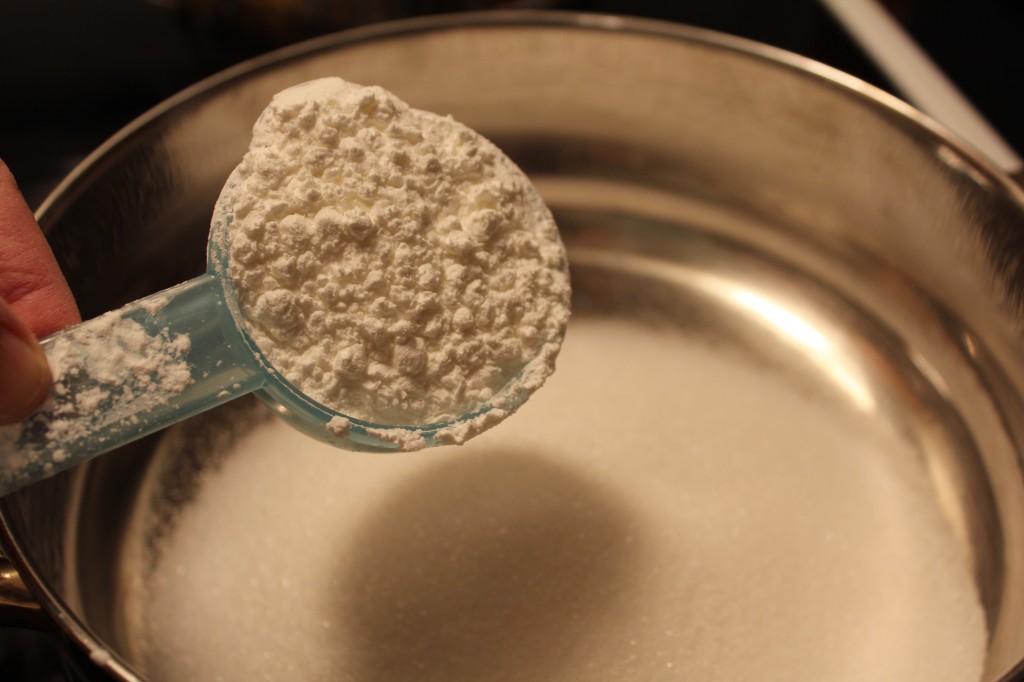
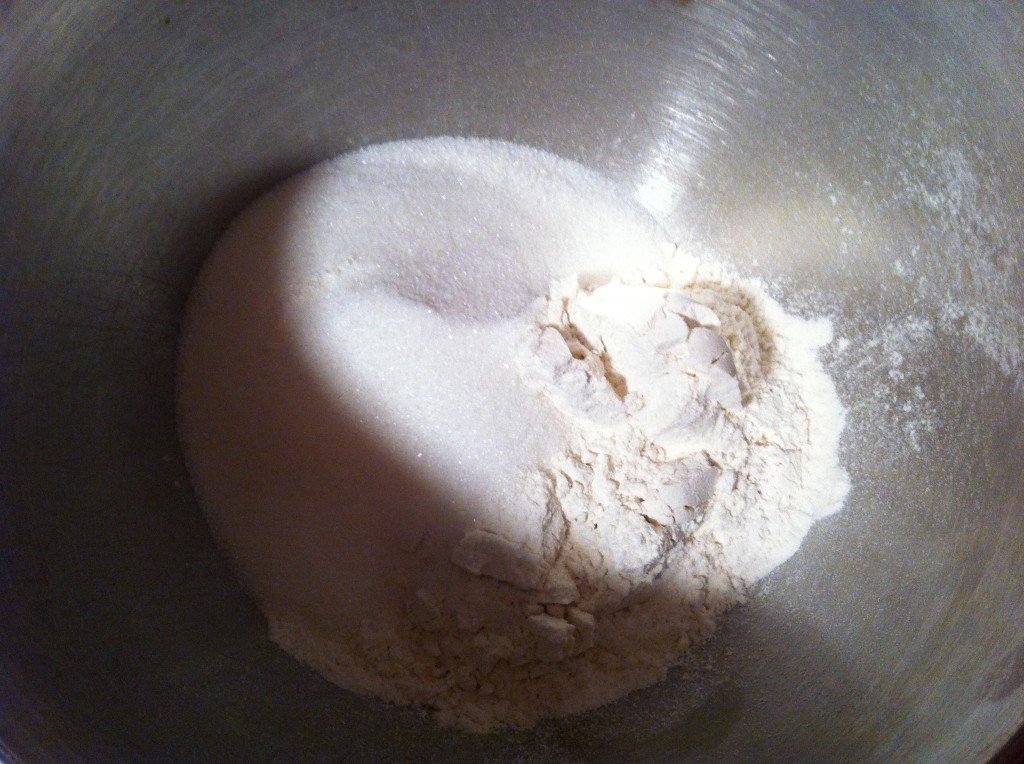
Then I added the corn starch and salt.

I whisked the dry ingredients together.

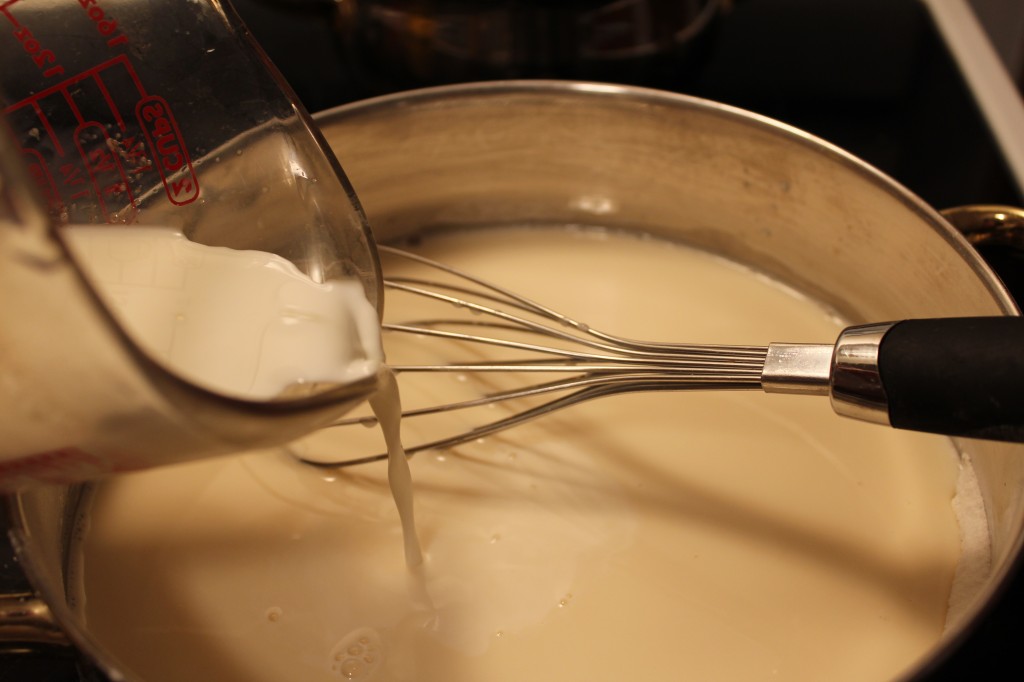
College girl measured the milk and poured it in cause she told me I was not measuring correctly…ha!

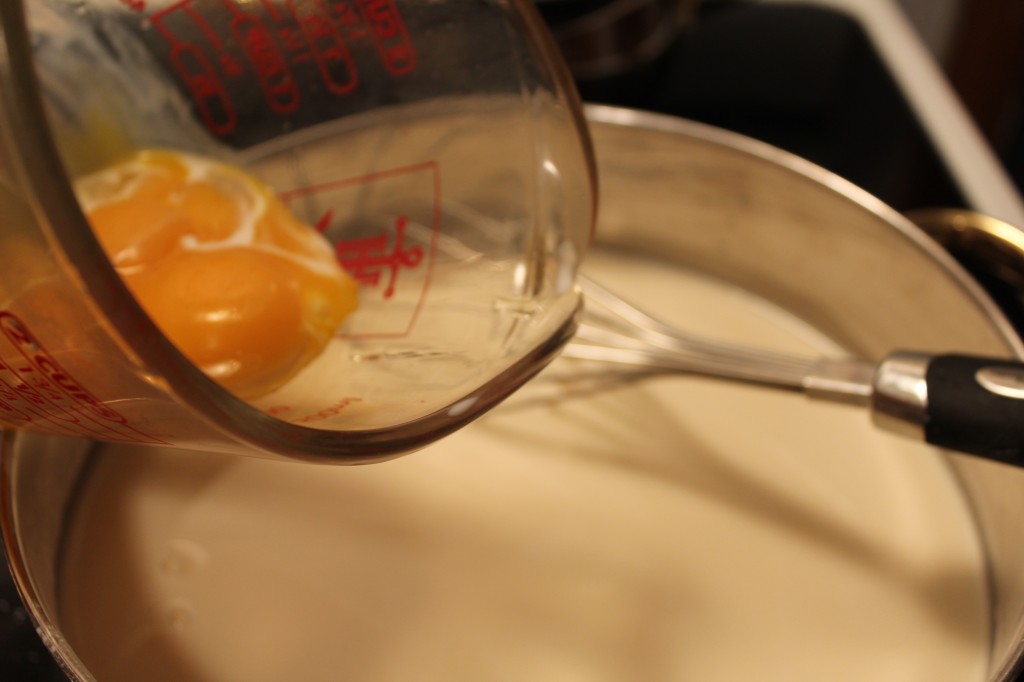
Add in the egg yolks. I suggest you take a fork and beat the egg yolks up first before adding them in to make it easier to combine completely.

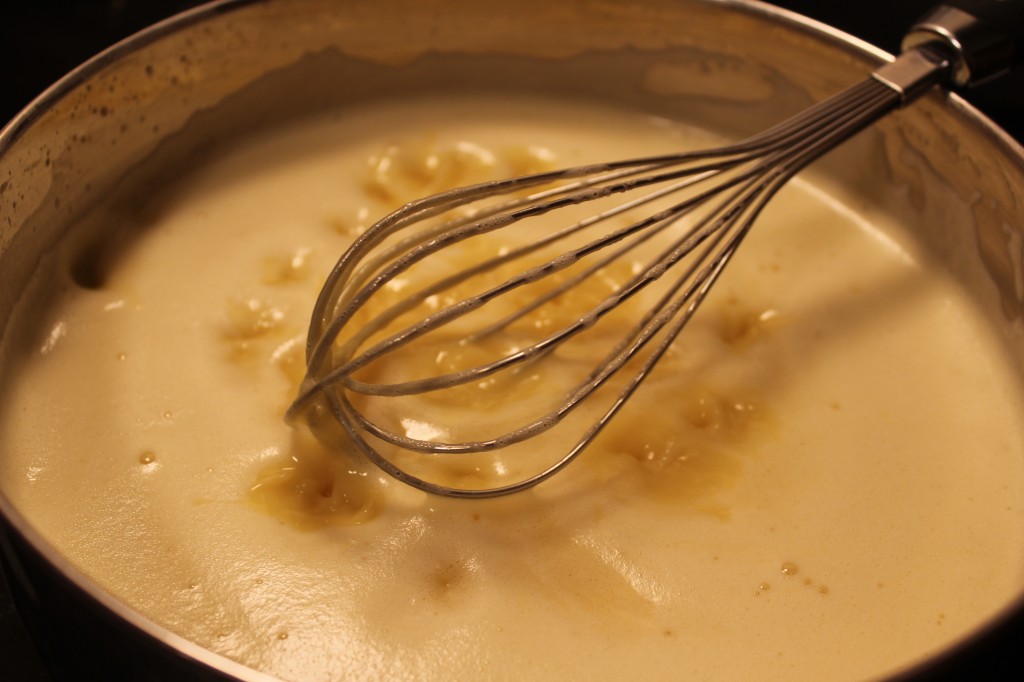
Cook the filling over medium heat, stirring constantly until the filling started to boil. When it starts to boil and thicken up take it off the heat.

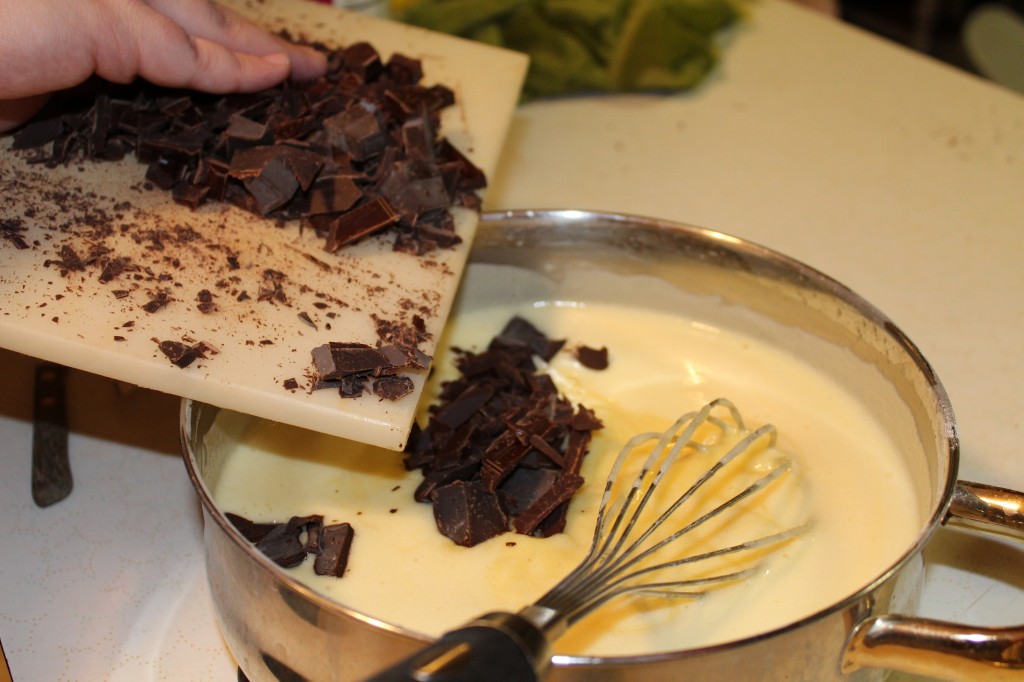
Add in the chopped chocolate into the hot the filling.

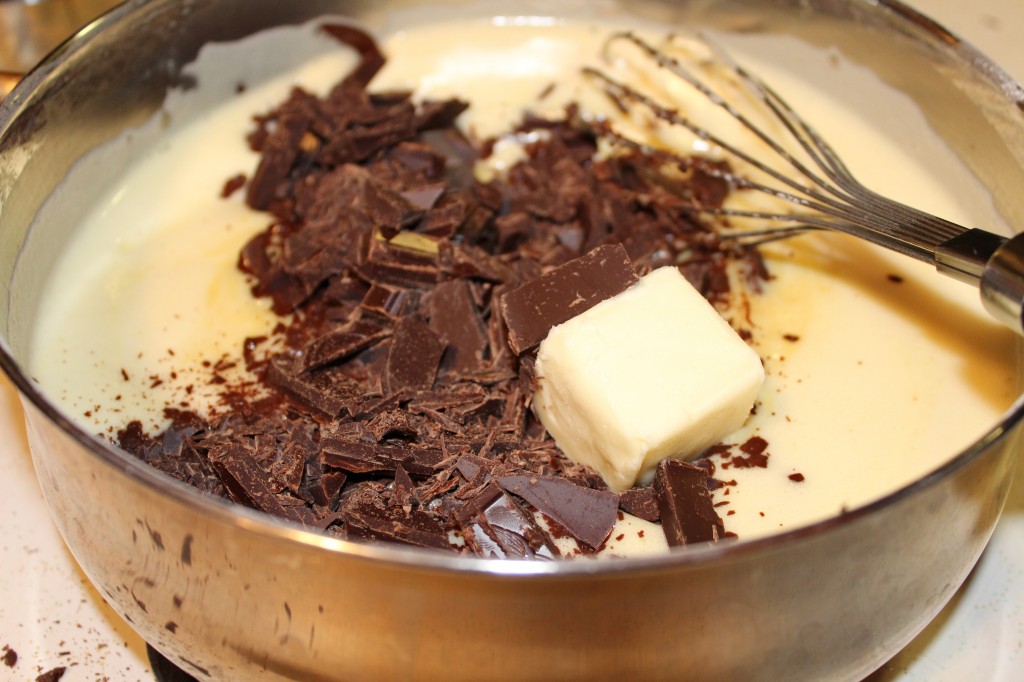
Add in the butter.

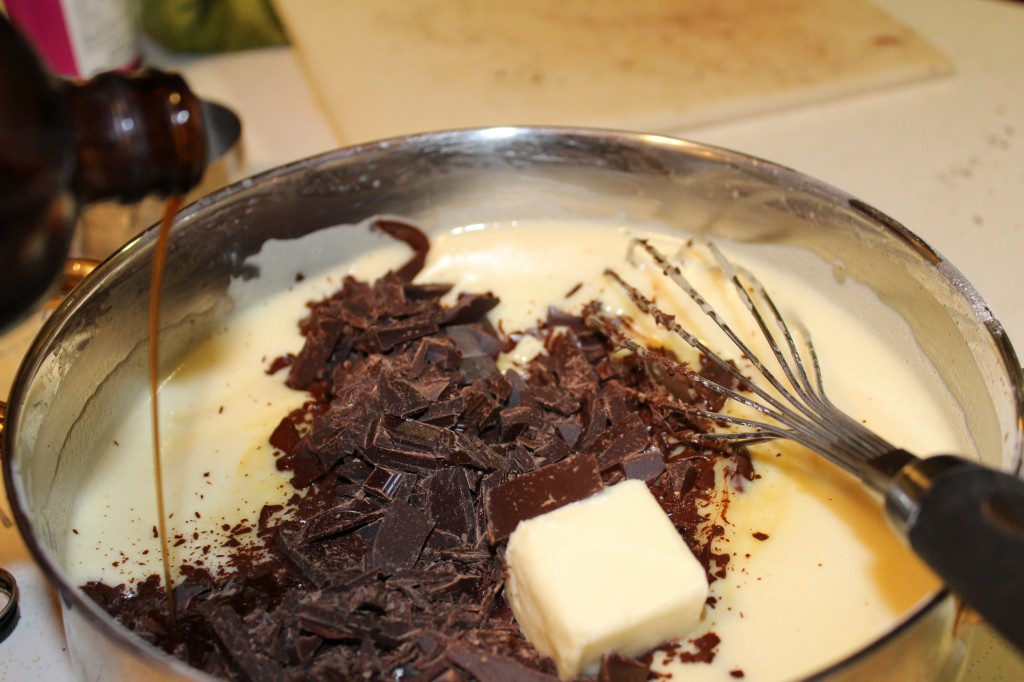
Pour in the vanilla.

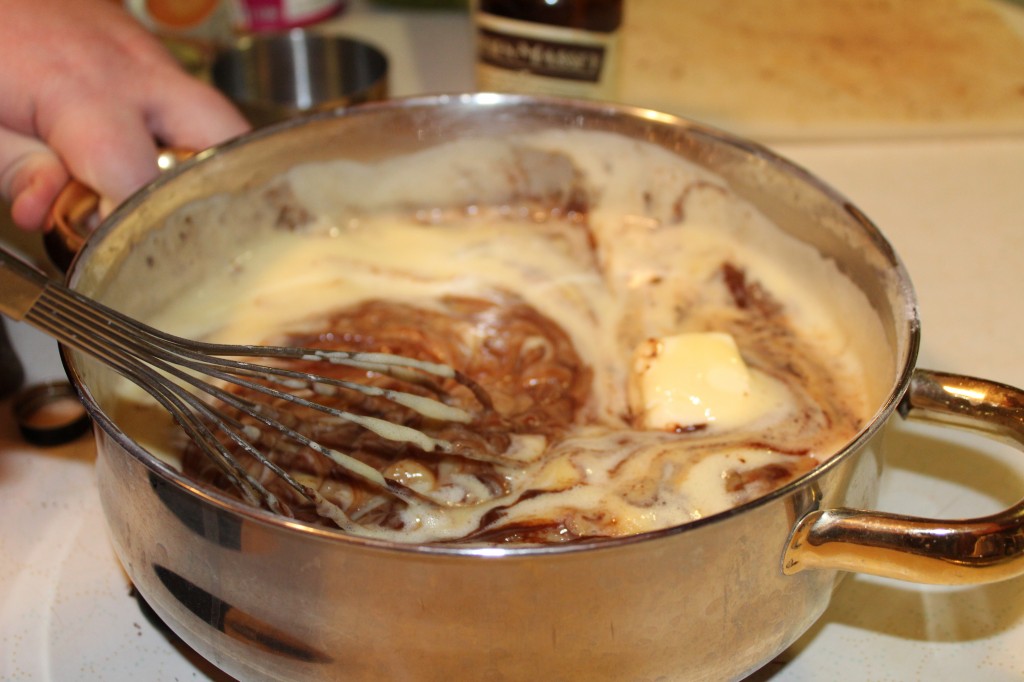
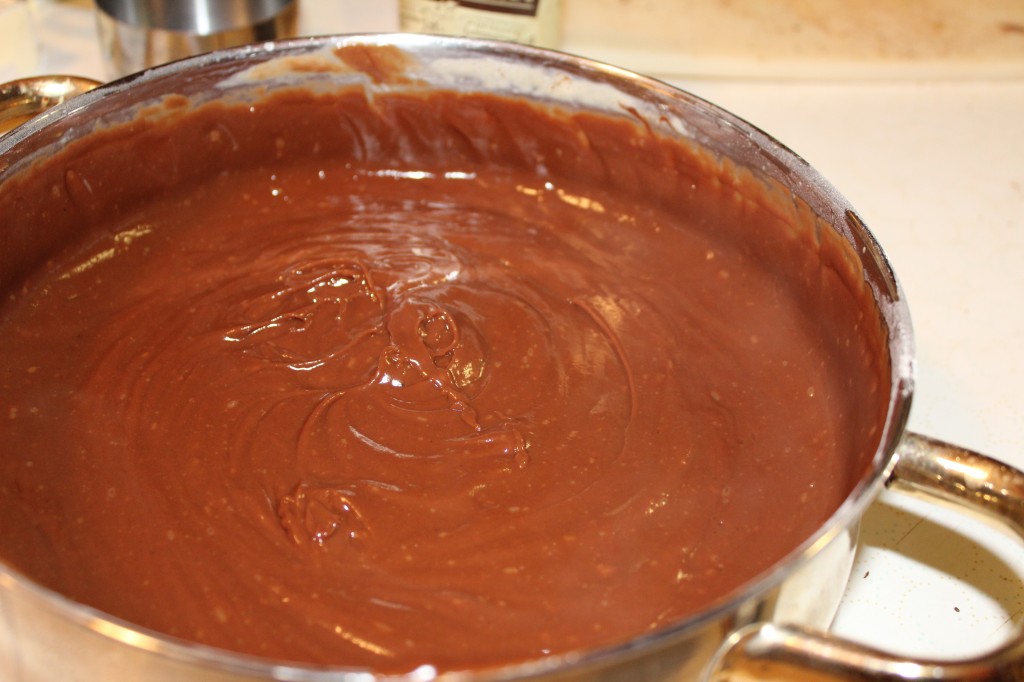
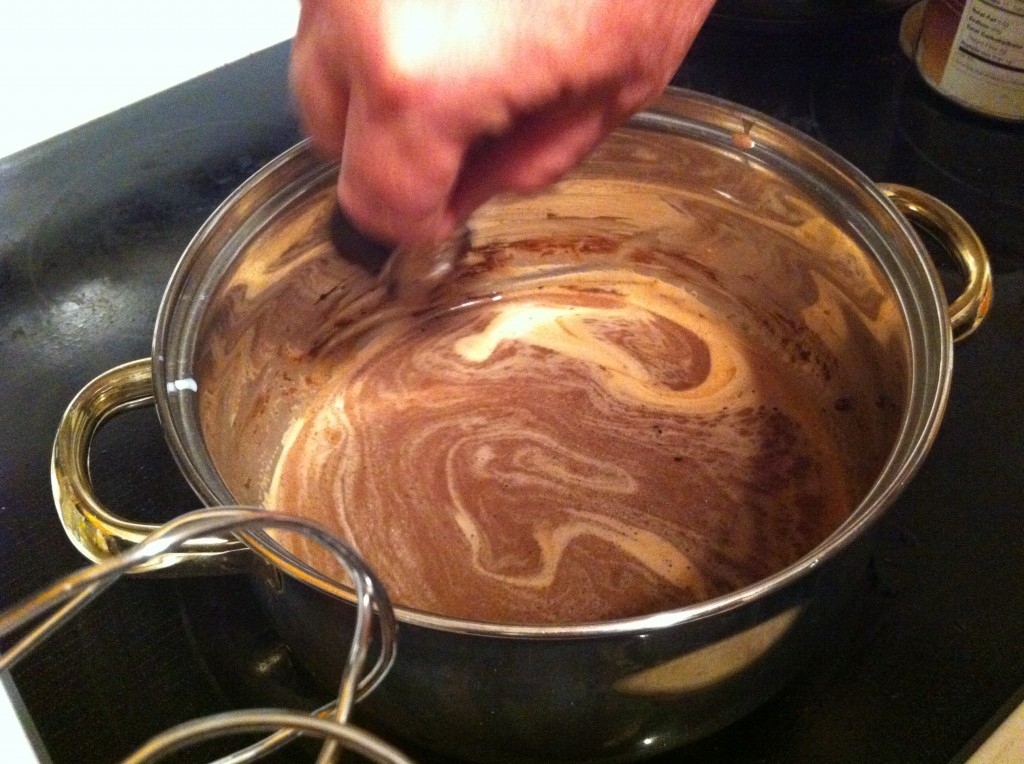
Whisk the filling until the chocolate melts completely and turns a rich chocolate color.

Perfect!

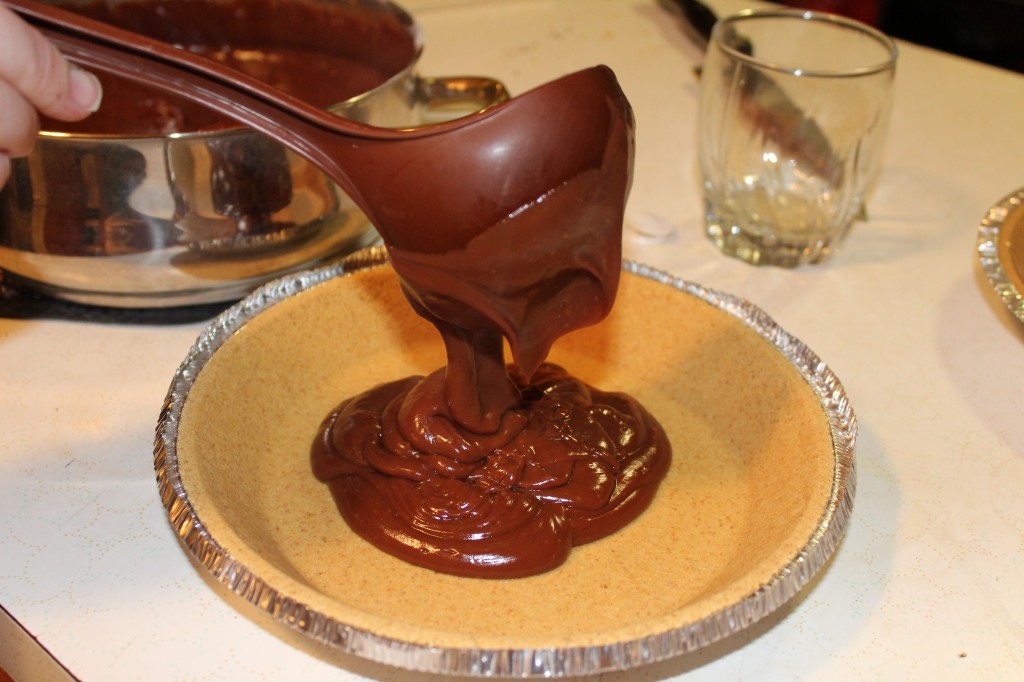
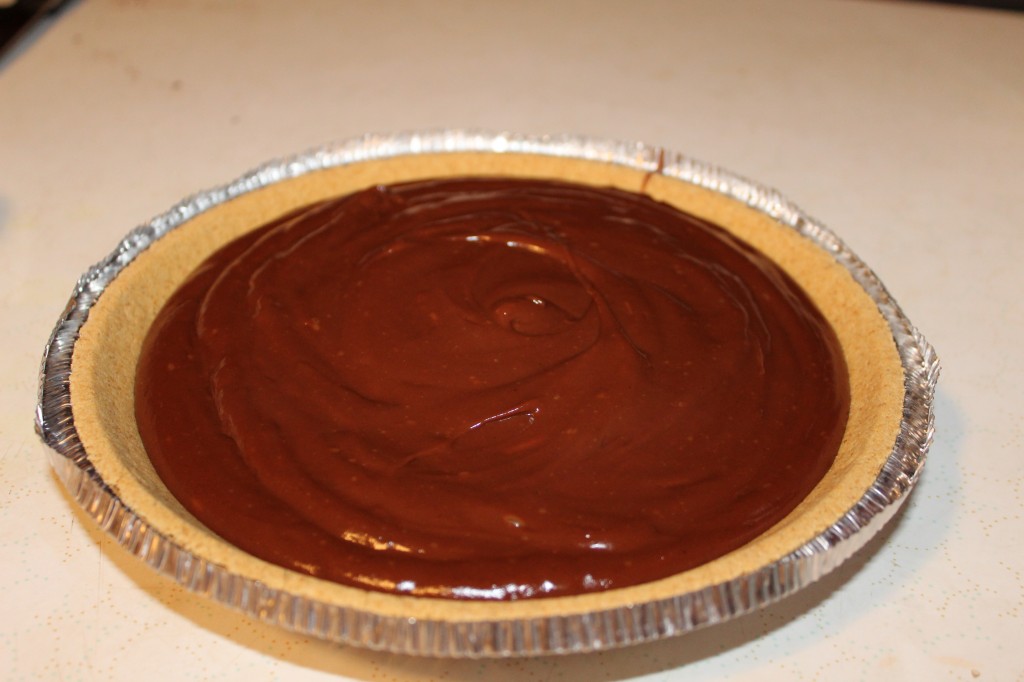
Pour the pudding into whatever crust you like. I used a graham cracker crust. I made two batches of filling and it made enough for 3 pies.

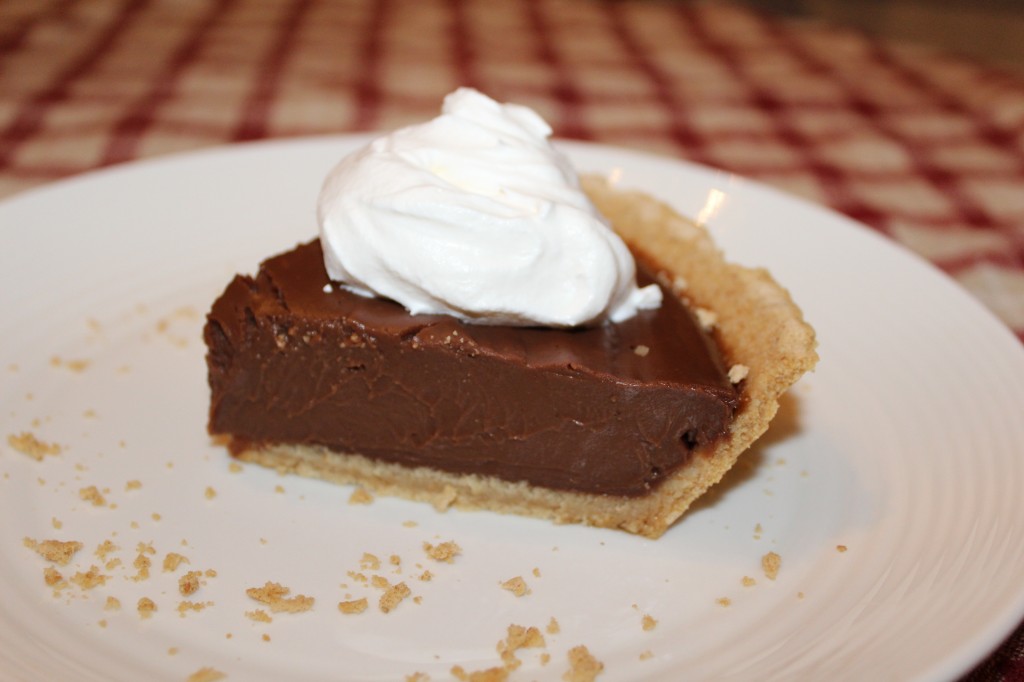
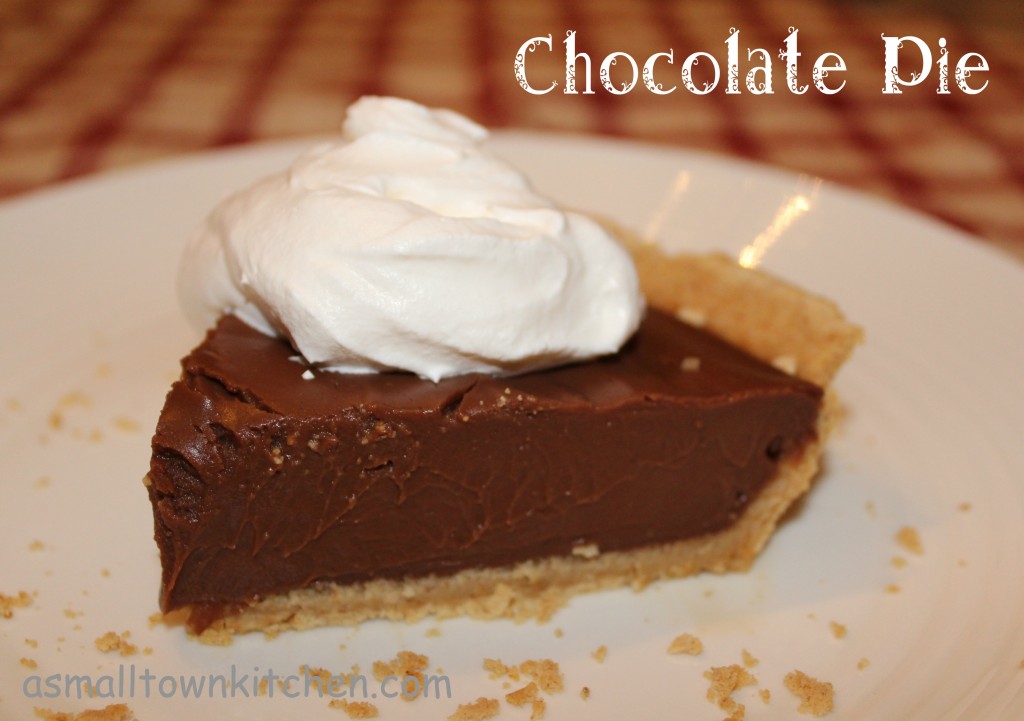
Chill at least 4 hours or overnight. I am amazed at how great this pie slices up.

Chocolate Pie

Adapted from Pioneer Woman

Ingredients for the filling:

1 1/2 cup sugar

1/4 cup cornstarch

1/4 teaspoon salt

3 cups half and half or whole milk (all I had was skim or half and half so I went with the half and half)

4 egg yolks

6 1/2 ounces bittersweet chocolate, chopped. I used part Gharardelle and Bakers Secret and it worked out fine.

2 teaspoons vanilla extract

2 tablespoons butter

Additional:

Some kind of pie crust for a 9 inch pie.  I used a graham cracker crust, but homemade crust or a oreo crust would work great.

Whipped Cream. I like plain ole Cool Whip…not that I don’t like real whipped cream. ; )

Directions:

Chop up the chocolate into small slivers. This makes the chocolate melt easier and faster.

In a sauce pan, combiner the sugar, cornstarch and the salt. Whisk together.

Whisk in the half and half (or milk if you are using whole milk) and egg yolks. Make sure that you whisk the yolks into the mixture completely. You do not want to see little pieces of yolk. HINT: you can use a blender and blend the milk and the yolks together first, then add.

Over medium heat, continue stirring until the mixture comes to a boil. Once it started boiling the mixture will thicken up. You want it to thicken until it looks like pudding. Take the filling off of the heat and add in the chopped chocolate, vanilla and butter. Stir everything together until the chocolate melts and fully combined.

Pour putting into a pie crust. (I used a graham cracker crust). Smooth the top. You might have extra…I sure did. Just put the extra into little cups to share….or to hid in the fridge till later : ).

Chill the pie for at least 4 hours, or overnight. Serve plain or with a big dollop of whipped topping.

Enjoy!

Becky

Additional Post  you may enjoy:


Sugared Pecans                  Cinnamon French Toast Bake          Creamy Cherry Salad
 

Layered Mint Brownies

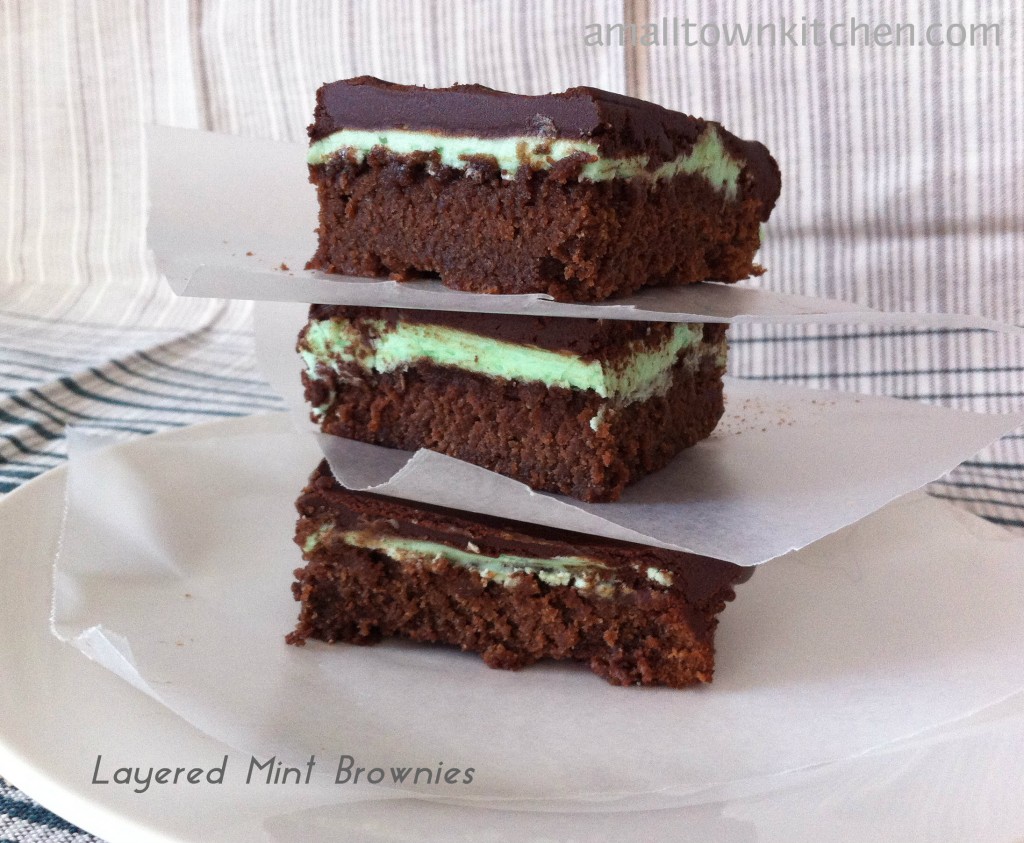
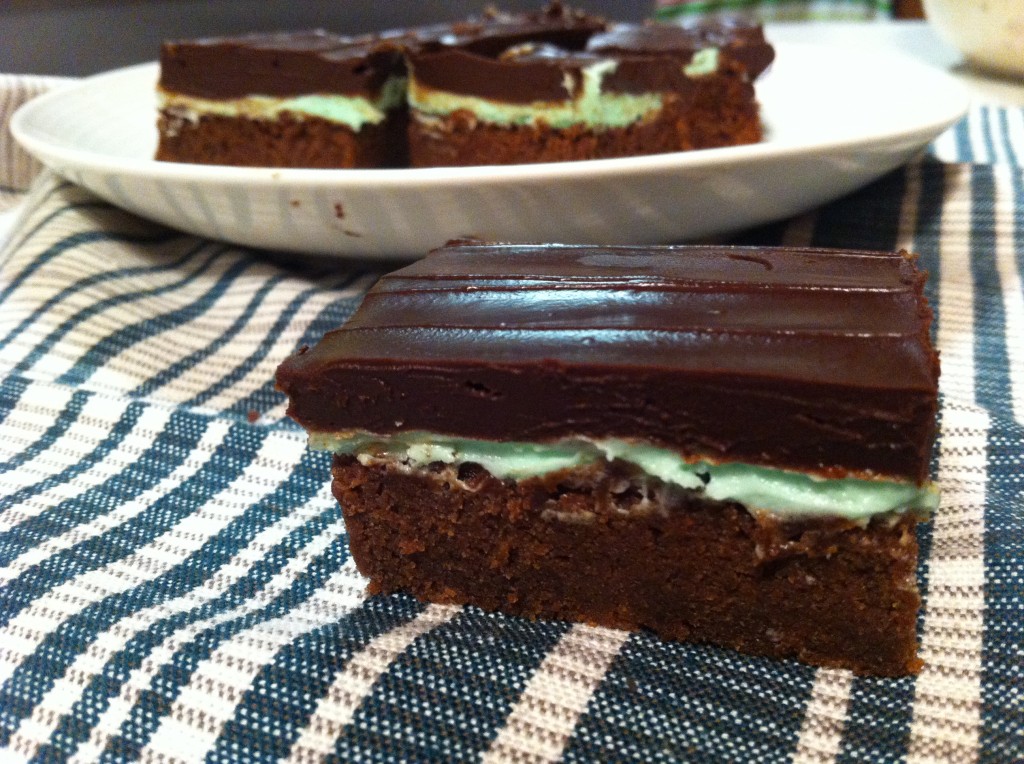
Last semester at school, my students presented a “cooking show” for their final exam. They had to show measuring and safety tips a long with showing the class the proper way to mix and prepare a recipe. One on my students prepared these layered mint brownies. It was a recipe she had gotten from her grandmother. Her grandmother prepared them every holiday for the family. The brownies were so pretty with the green mint icing and tasted just like an andies mint. I was in love. I made these for our little New Year’s Eve party and my kiddos, Company and Jeanie Beanie thought they were mmm mmm good. I am so grateful that my student shared her recipe with me.
Now, I am sharing it with you.

If you still have a holiday party to attend and need to bring a dessert, these brownies travel well and stay moist for several days. Be sure to bring the recipe, because your friends will want you to share it too. ; )

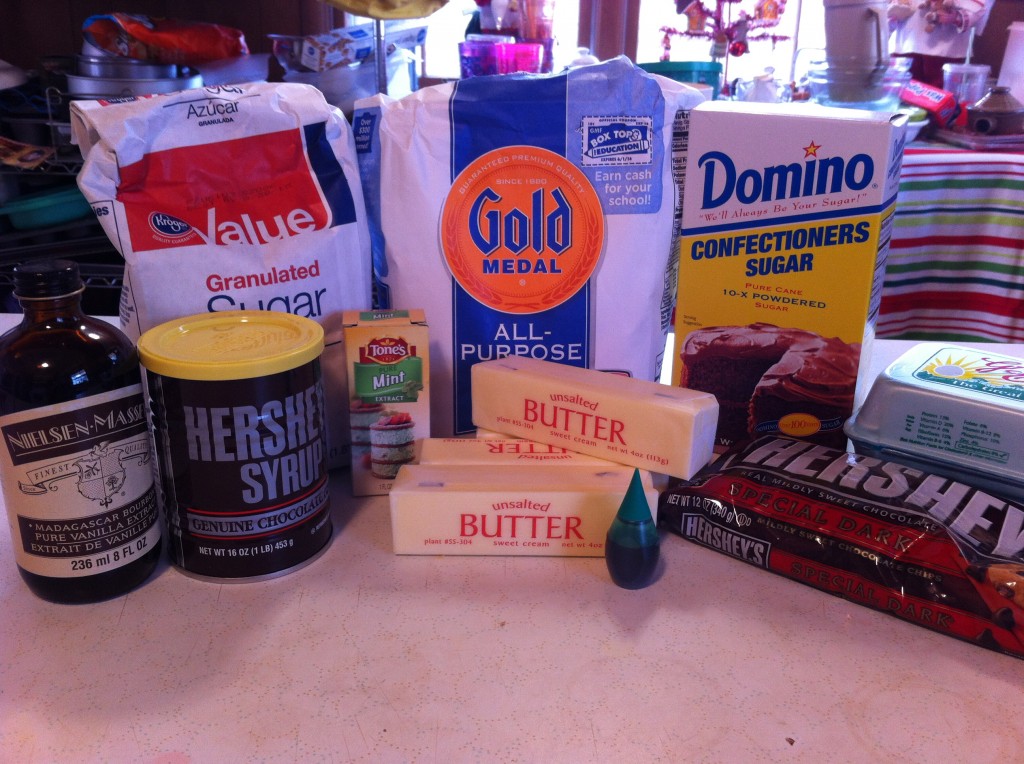
Here is what you will need to make a full, 9 by 13 pan, of brownies.

I used special dark chocolate chips for the icing, but semi sweet chips would work too.


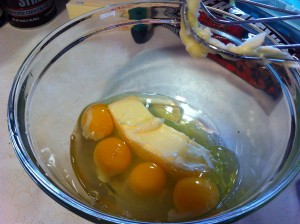
In a large mixing bowl, put the room temperature butter and four eggs in.


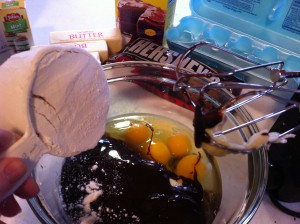
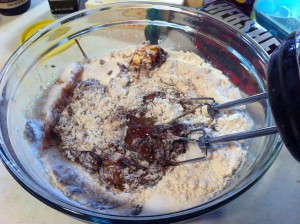
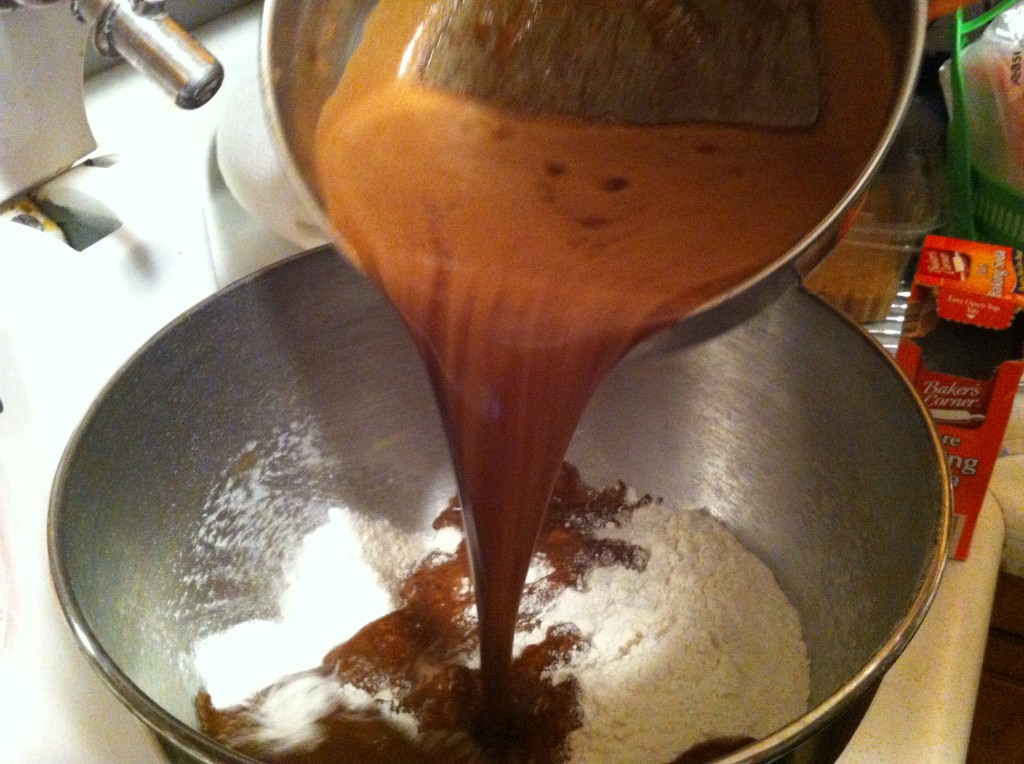
In the bowl with the eggs and the butter, add in one can of chocolate syrup. Next add the flour.


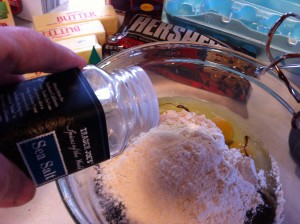
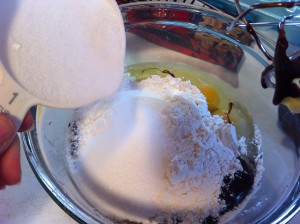
Now, add the salt and the sugar.


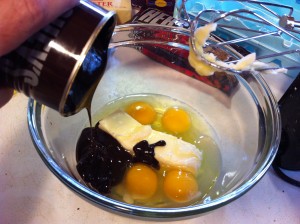
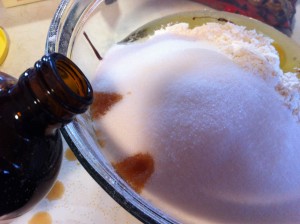
Lastly, add in the vanilla. (can see that I spilled it?). Now with a mixer mix all seven ingredients together.

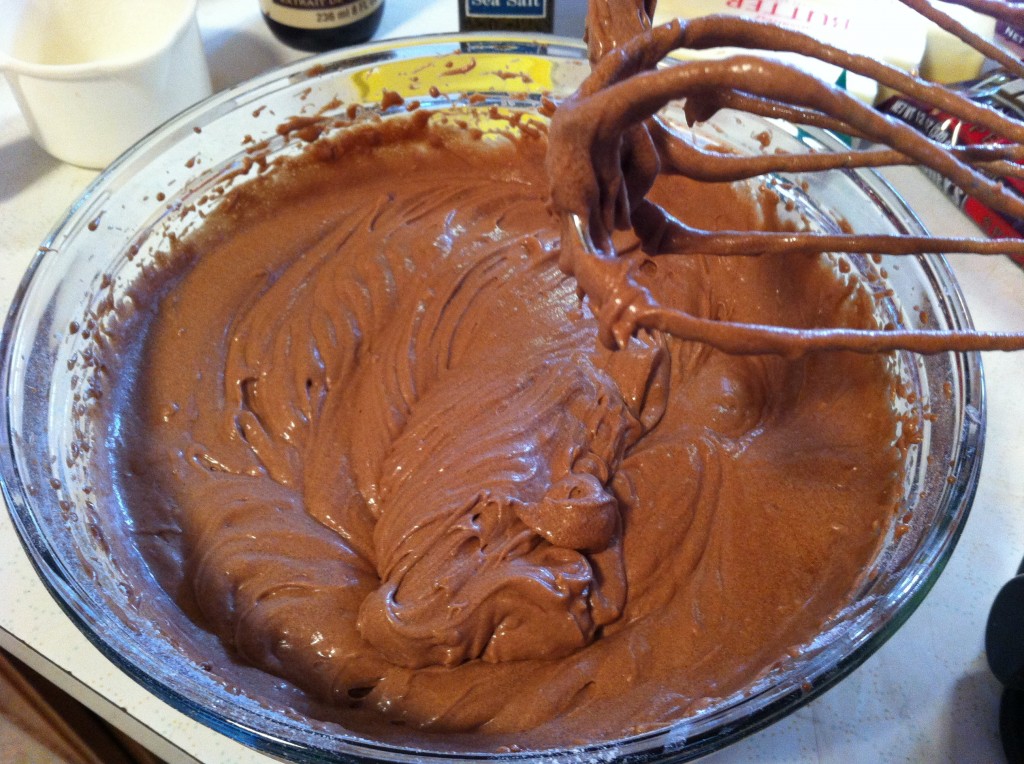
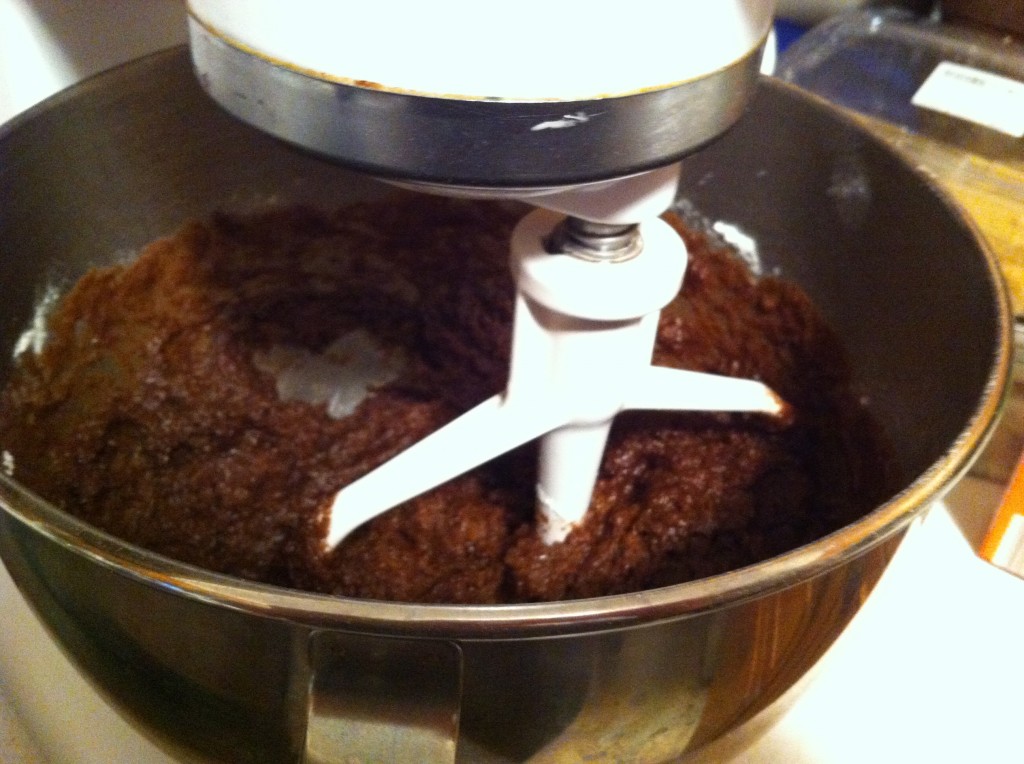
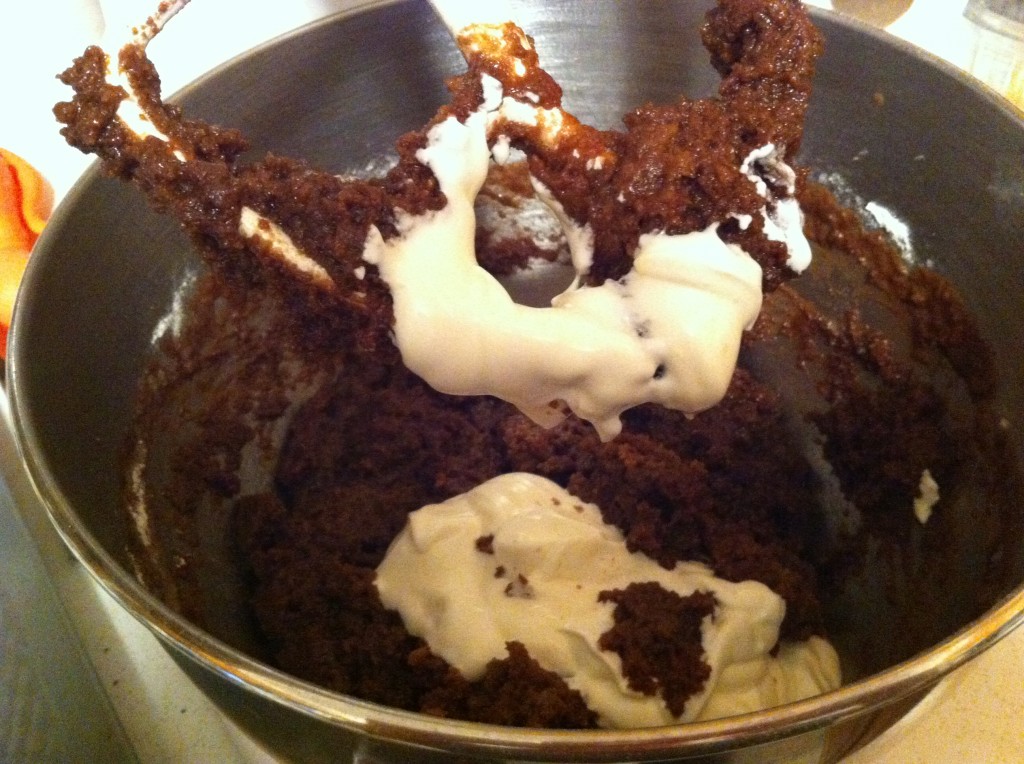
Be sure and the mix the brownie together for at least five minutes. The batter will fluff up and look rich and thick. Also, do not be alarmed because there is not baking powder or soda in this recipe.

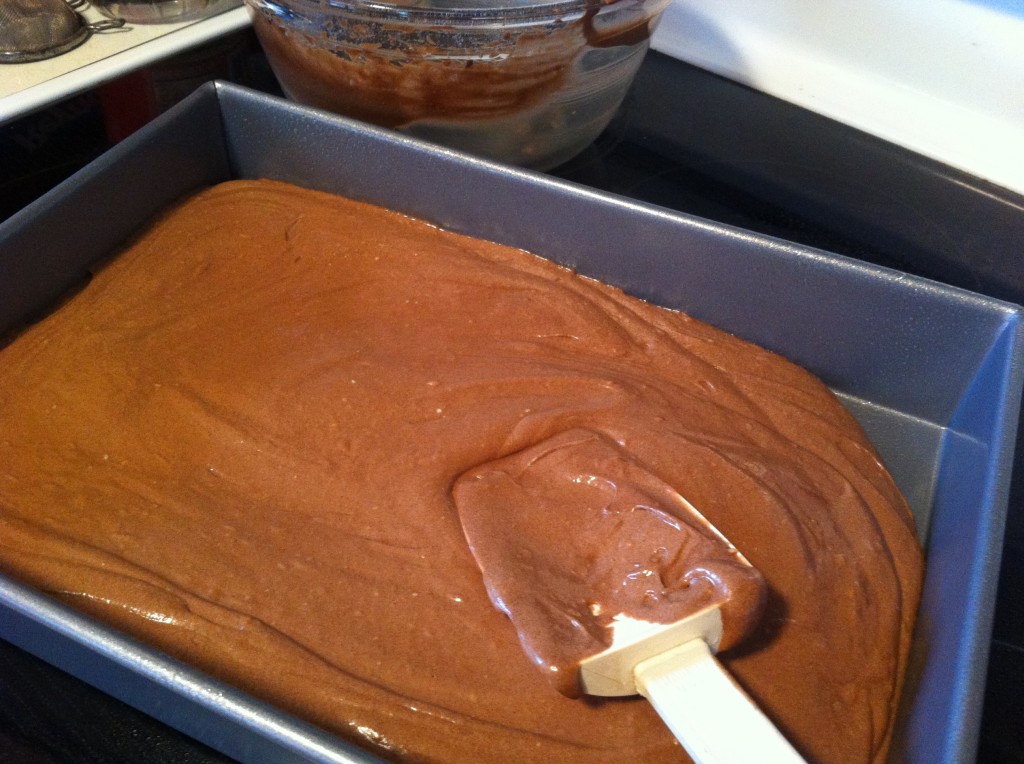
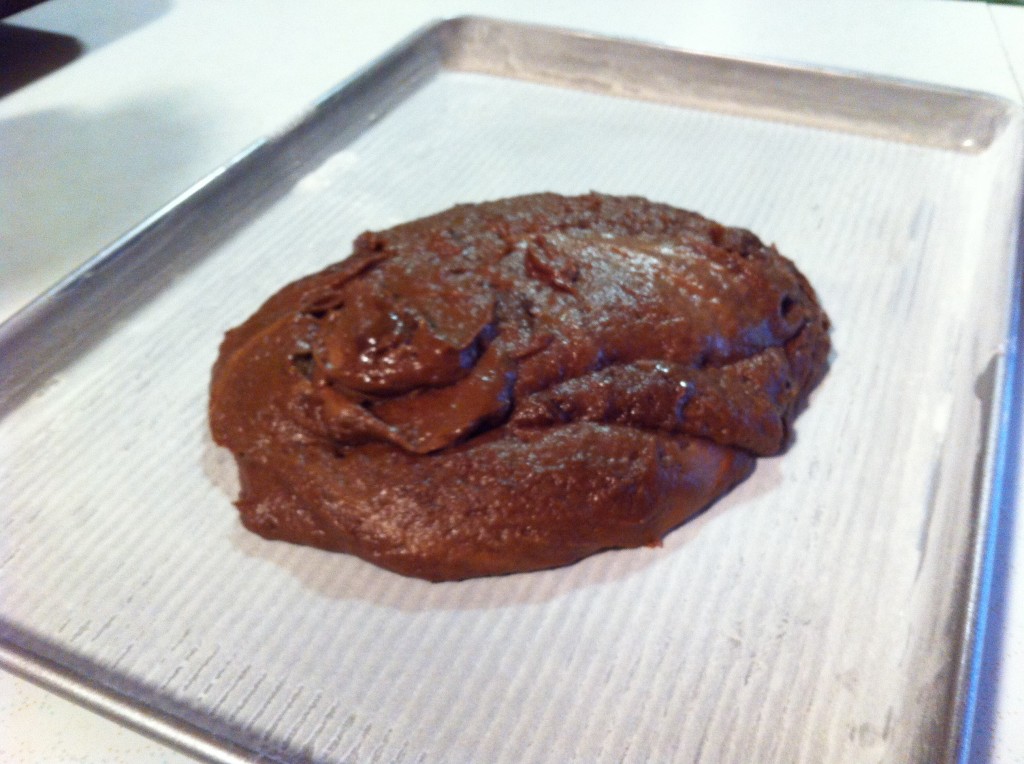
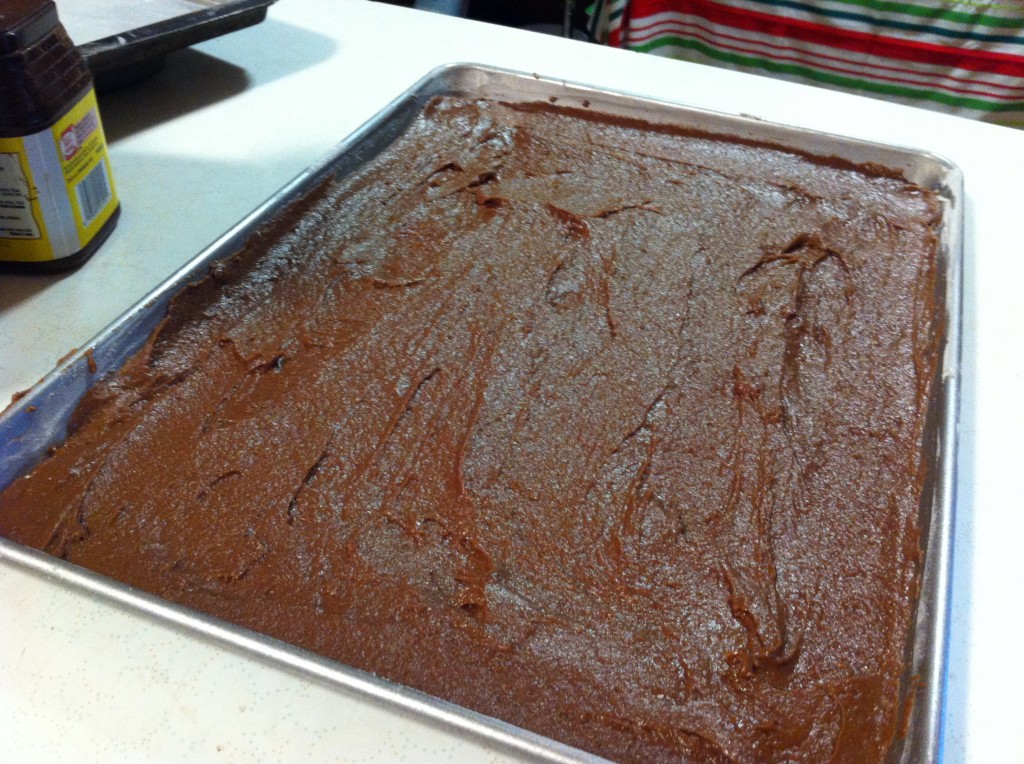
Spread the brownie batter evenly in a greased 9 by 13 pan. Bake in a preheated 350 degree oven for 25 to 30 minutes.

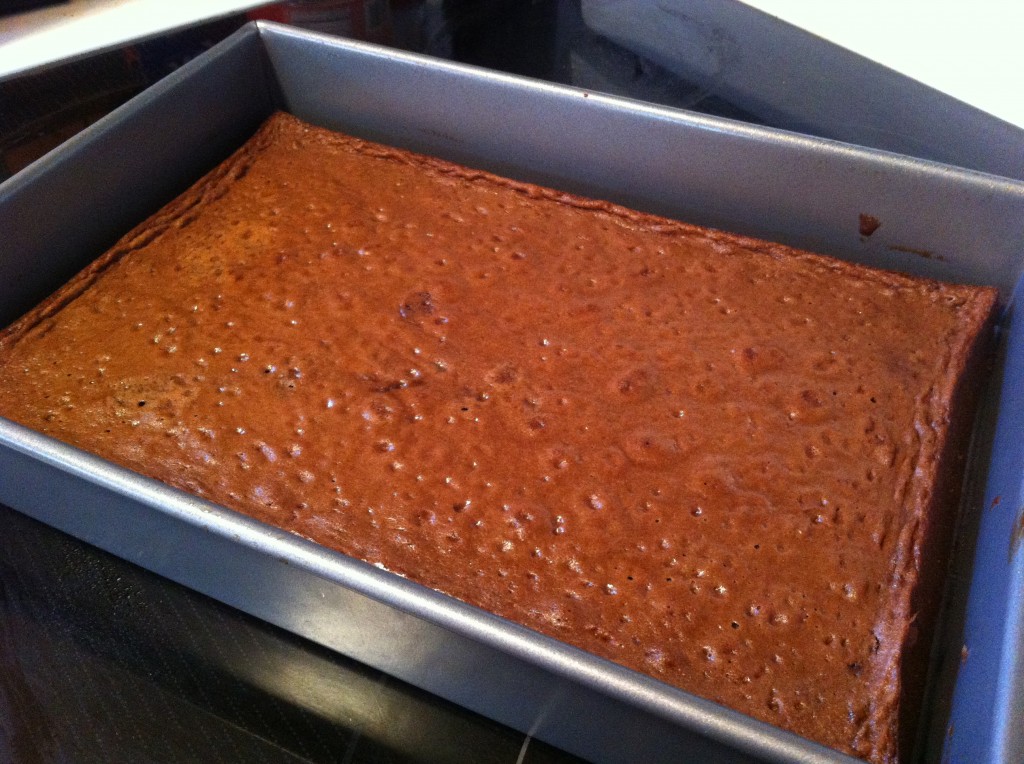
Here is what mine looked like when they came out of the oven.


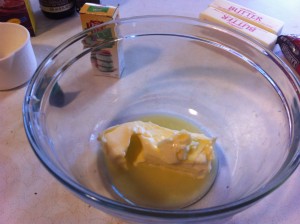
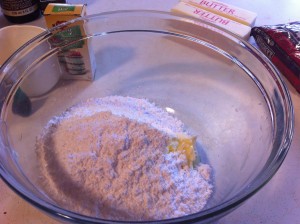
While the brownies cook completely, you can make the mint flavored icing. In a large mixing bowl put in room temperature butter and the powdered sugar.


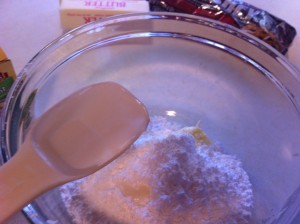
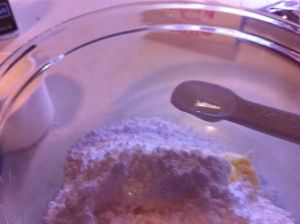
Now, add in one tablespoon water and one teaspoon mint flavoring.


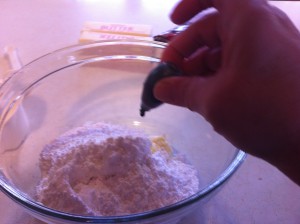
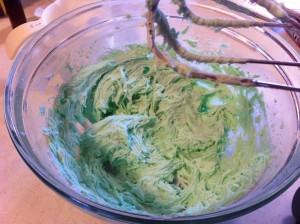
To give the icing a pretty green color, add in 3 drops of green food coloring. With a mixer, blend the ingredients together until the icing is smooth and fluffy.

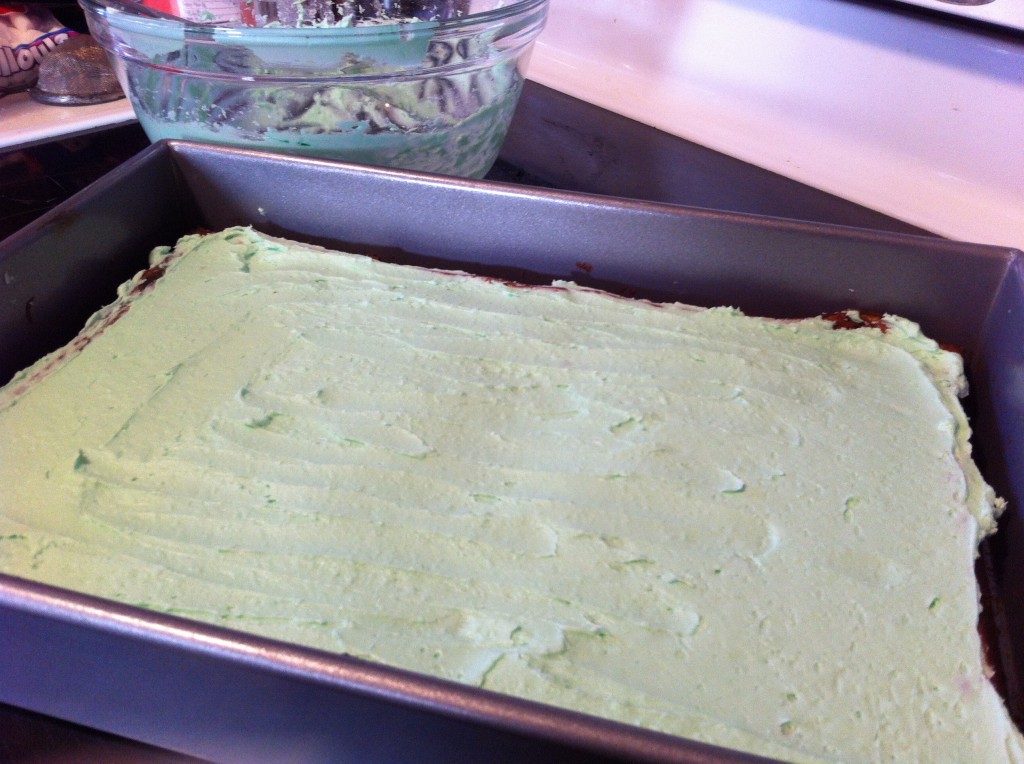
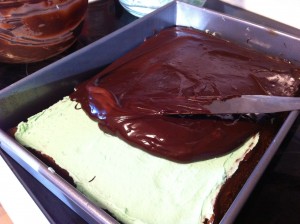
Spread the mint icing evenly over the completely cooled brownie.

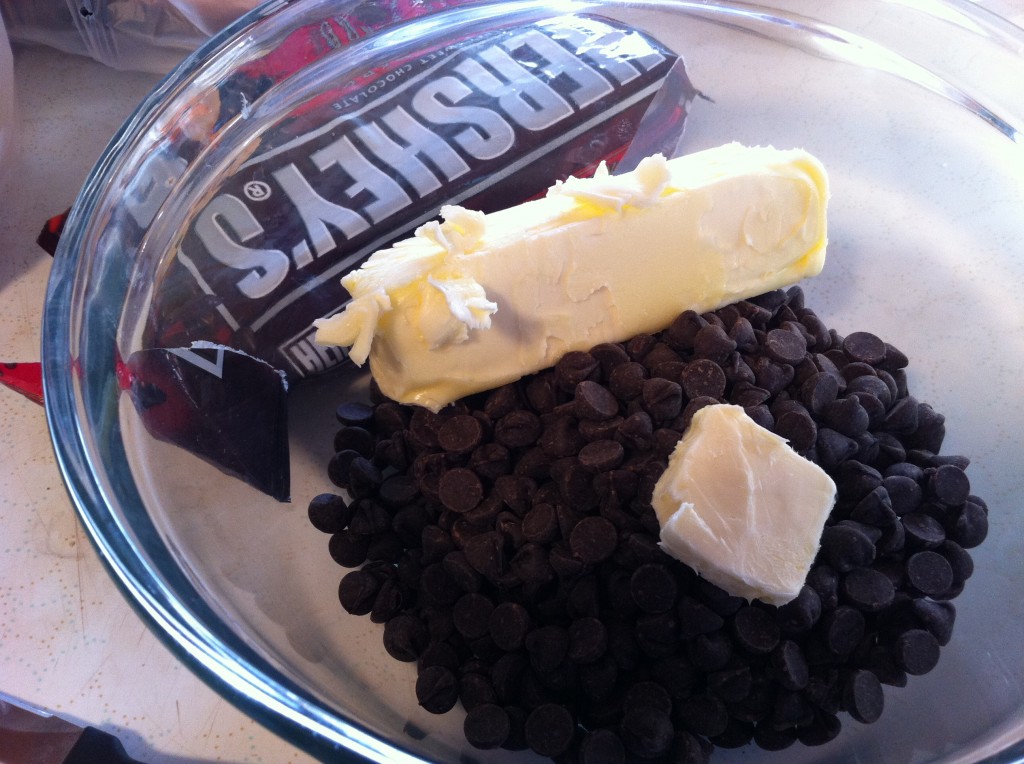
Now it is time to make the chocolate topping. In a microwaveable bowl, put in the butter and chocolate chips.


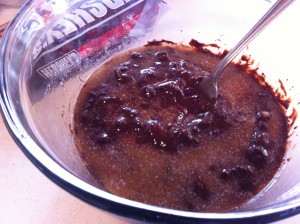
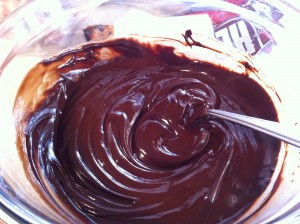
Put the bowl in the microwave for 30 seconds at a time and stir. When the butter completely melts and the chips are soft, stir the butter and chips together until the topping is smooth and all the chips are melted.


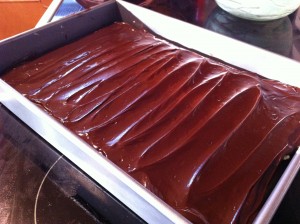
Let the chocolate topping cool for 3o minutes. It will thicken slightly. Spread the chocolate topping over the mint icing. Chill the brownies until the topping sets up.

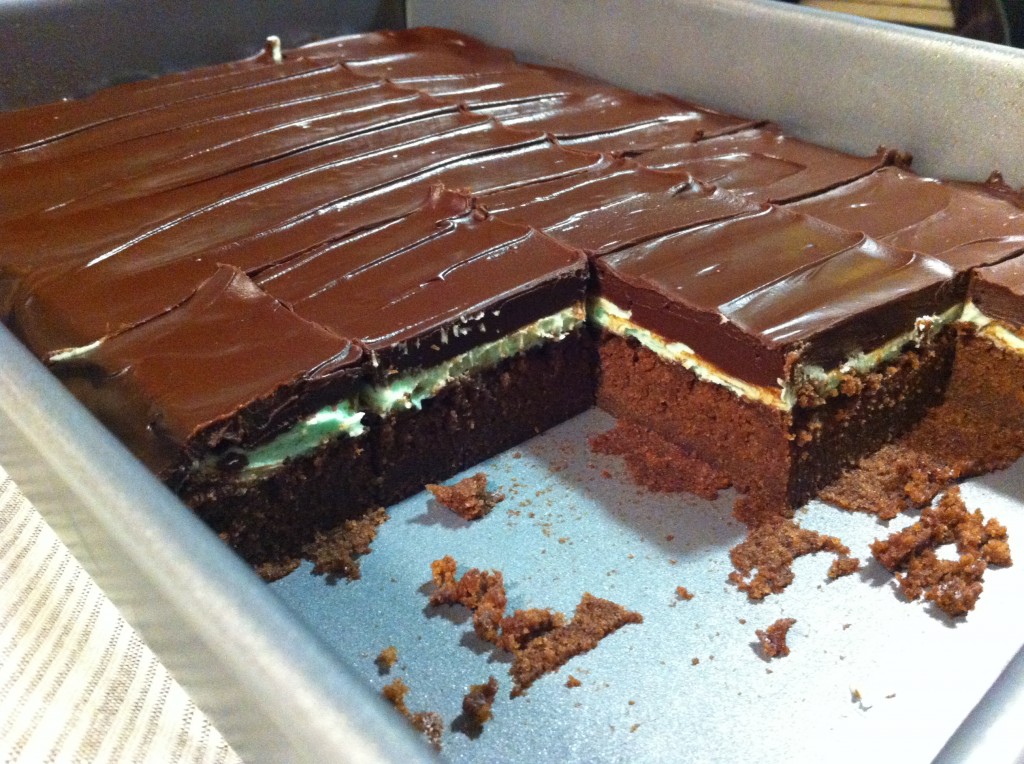
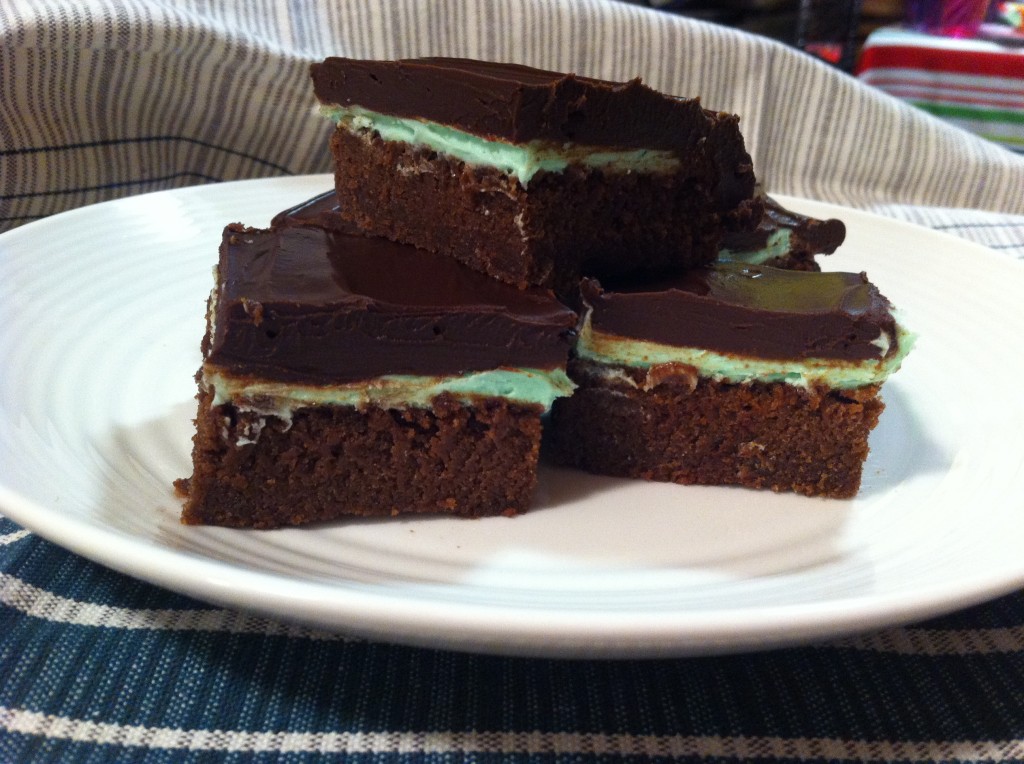
These brownies slice up so pretty.

They look so attractive stacked up together. The brownies are dense and rich. It will be hard not to nibble on them until they are all gone.

Here is the recipe:

Layered Mint Brownies

Recipe Adapted from Student’s Grandma

Ingredients:

1/2 cup  softened

4 eggs

1 – 16 ounce of chocolate syrup

1 cup flour

1 cup sugar

1 teaspoon vanilla

1/2 teaspoon salt

For the Mint Icing

1/2 cup butter softened

2 cups powdered sugar

1 tablespoon water

1/2 teaspoon mint flavoring

3 drops of green food coloring

For the chocolate topping

1 – 12 ounce package of dark chocolate chips

1/2 cup plus 1 tablespoon butter

Directions:

Preheat your oven till 350 degrees. Lightly grease a 9 by 13 pan.

In a large mixing bowl, combine the butter, eggs, flour, sugar, chocolate syrup, vanilla and salt. Mix all the ingredients with a mixer for five minutes. The batter will be thick and fluffy. Pour the batter into a lightly greased 9 by 13 pan. Bake for 25 to 30 minutes or until center comes out clean with a tooth pick. Take out of oven and cool completely.

To make the icing, combine the butter, powdered sugar, vanilla, water, mint flavoring and green food coloring. With a mixer, mix the ingredients together until the icing if smooth and fluffy. When the brownies are completely cooled, spread the icing on the brownies.

To make the chocolate topping. In a microwaveable bowl, melt the butter and the chocolate chips together in the microwave. Microwave for 30 seconds at a time and stir. Repeat until the butter and chocolate chips are melted. Let the topping cool for 30 minutes to thicken. Pour the topping over the icing and smooth evenly. Chill until the topping hardens. Cut into small squares.

Happy Holiday!

Becky

Other Post you might enjoy:


Banana Bars with Maple Frosting        Chocolate Shortbread Blondies with Macaroon


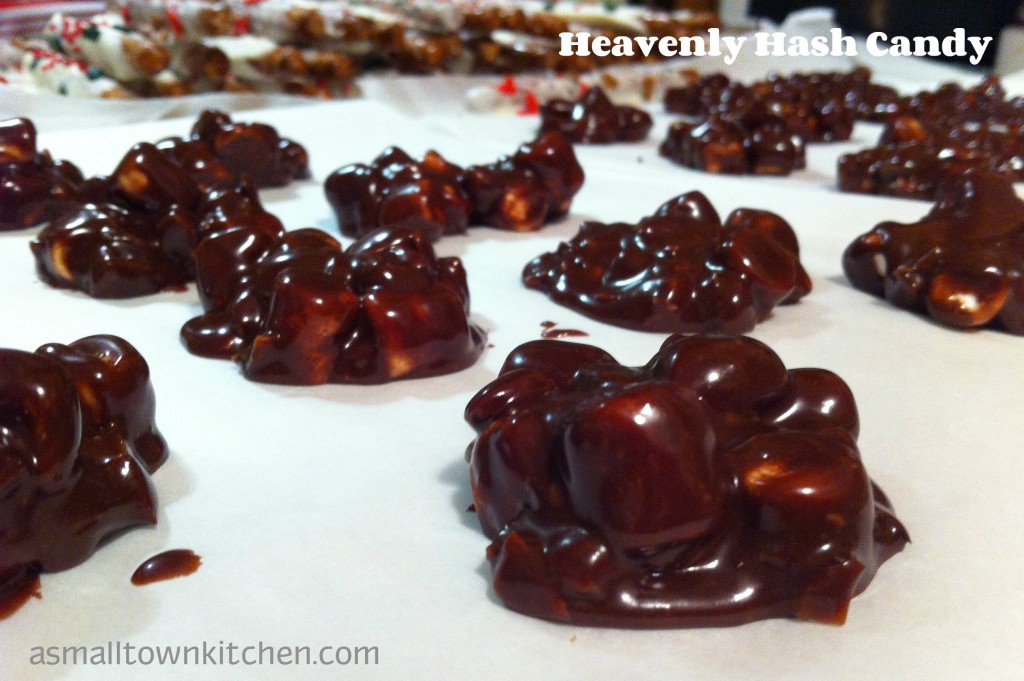
Heavenly Hash Candy

I must be feeling a little nostalgic. Yesterday, I made those cute and delicious,  strawberries in winter candy and today I am making another childhood favorite, heavenly hash candy.

I think it has something to do with marshmallows. I love anything to do with marshmallows. Marshmallow cream, marshmallows on top of sweet potatoes, on top of a steaming mug of cocoa and of course grabbing a handful right out of the bag for a snack. This candy is full of marshmallows.

I think I need an intervention!

Anywho, when I happen to run across a picture of this candy, it brought back memories of family gatherings and tables full of great food, I knew I had to add heavenly hash to the trays of goodies. They are full of marshmallows and nuts (I used almonds) and all coated in creamy chocolate goodness.

I will have to admit it took me a couple of tries to get it right. I am not sure if I mis-measured the sugar or I did not boil the milk and sugar for the full two minutes. The first batch just would not set up. I was not just going to give up, and I thought I would try it again. This time I took extra time to make sure I measured everything correctly and boiled the milk and sugar the full two minutes. This does not mean simmer either, make sure you boil it for two minutes to insure the candy will set up. I just finished my fourth third batch and the candy set up like a dream.

I know it will for you too.

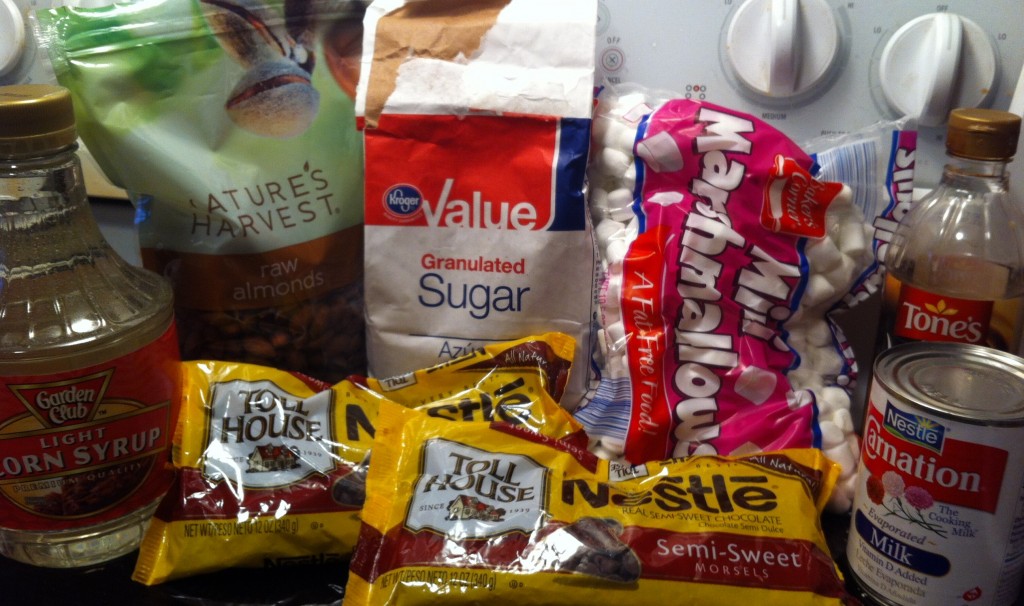
Here is everything you will need to make Heavenly Hash Candy.


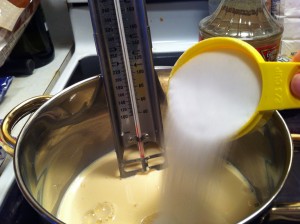
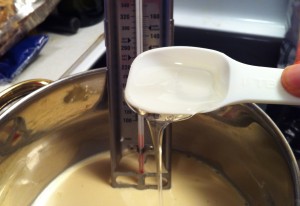
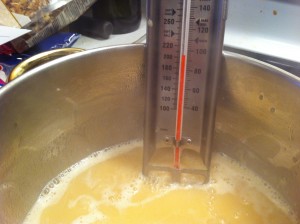
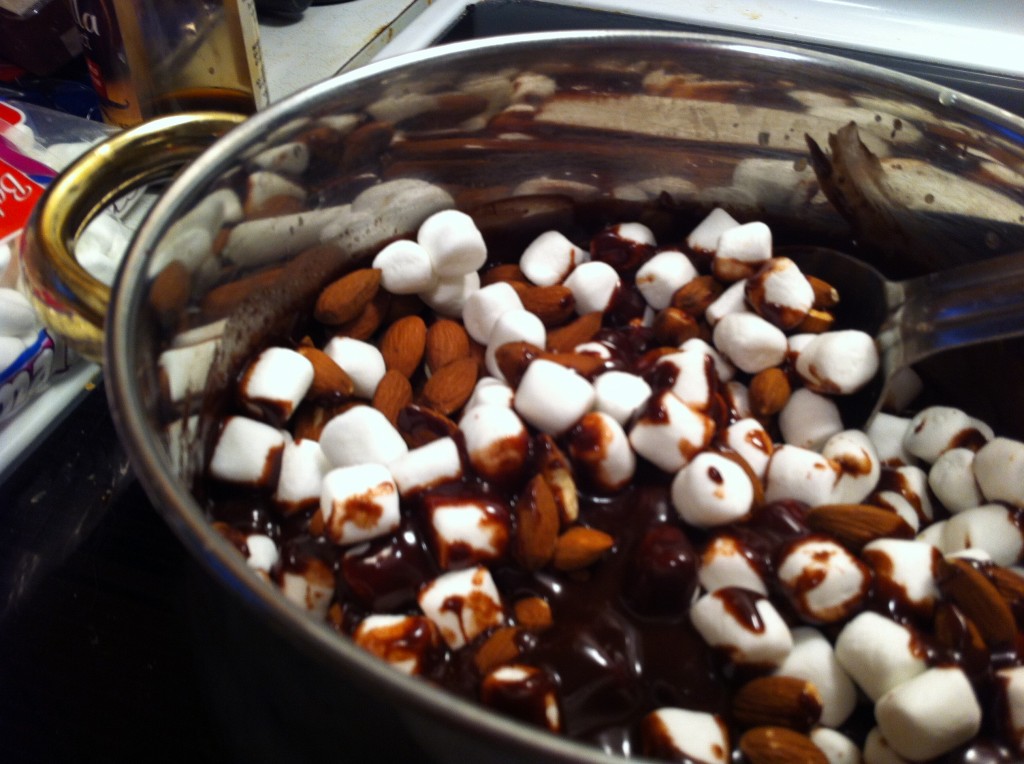
First thing you need to do is measure out one cup of evaporated milk. Put the milk in a medium size sauce pan and add one cup of sugar. Do not worry about using a candy thermometer. I was just curious to see what temperature the milk would get when I boiled it.


Now, add three tablespoons of corn syrup. Stir the milk, sugar and corn syrup until the sugar dissolves. Bring the milk mixture to a rolling boil and boil for two minutes. The mixture will look really foamy when it boils.


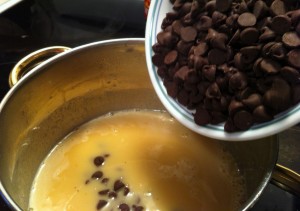
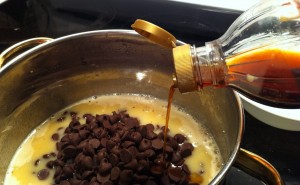
Let the hot milk mixture cool for two minutes. Then, add in the chocolate chips (two cups) and one teaspoon of vanilla.

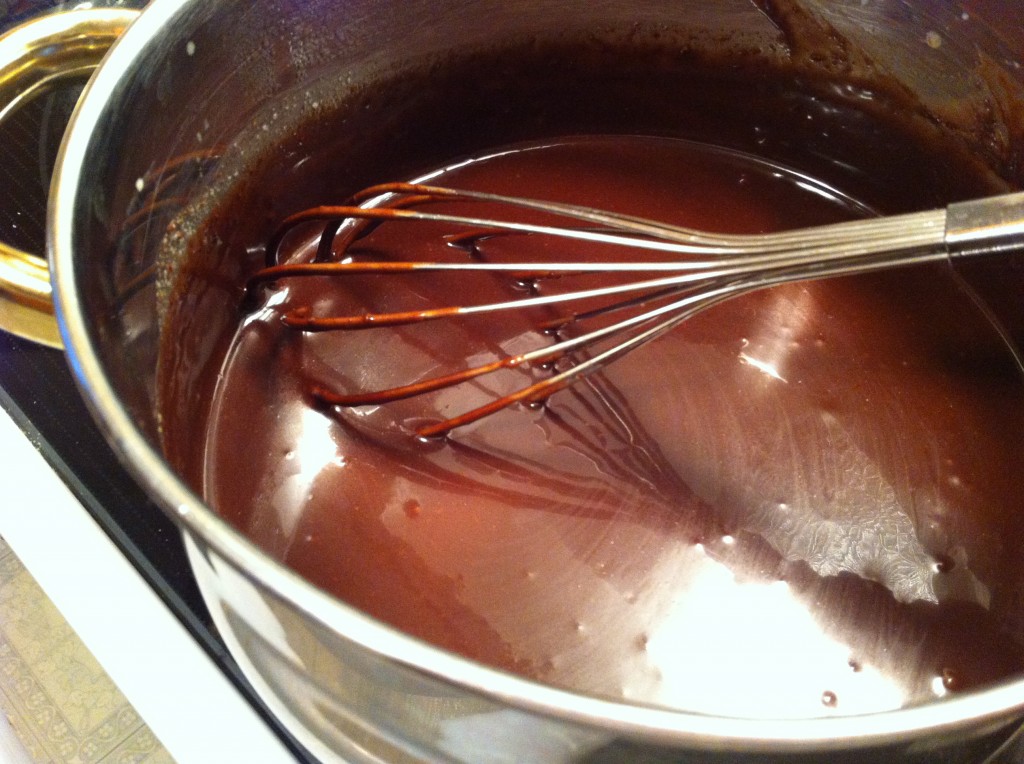
With a whisk, whisk the chocolate chips and vanilla with the hot milk mixture until the chocolate chips are melted. Let the chocolate mixture cool for 20 minutes.


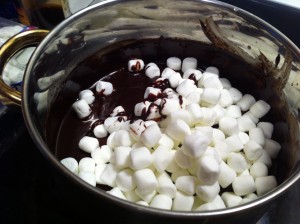
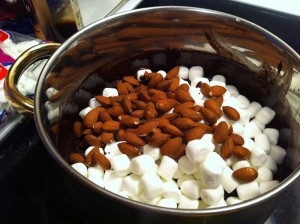
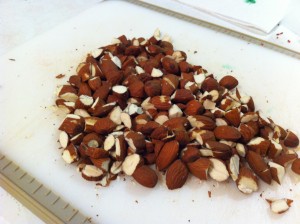
After the chocolate has cooled for twenty minutes, stir in two cups of miniature marshmallows and 2 cups of chopped nuts. I used almonds. I left some whole and some  I just did a rough chop on.

With a large spoon, stir all everything together until the marshmallows are well coated in chocolate.

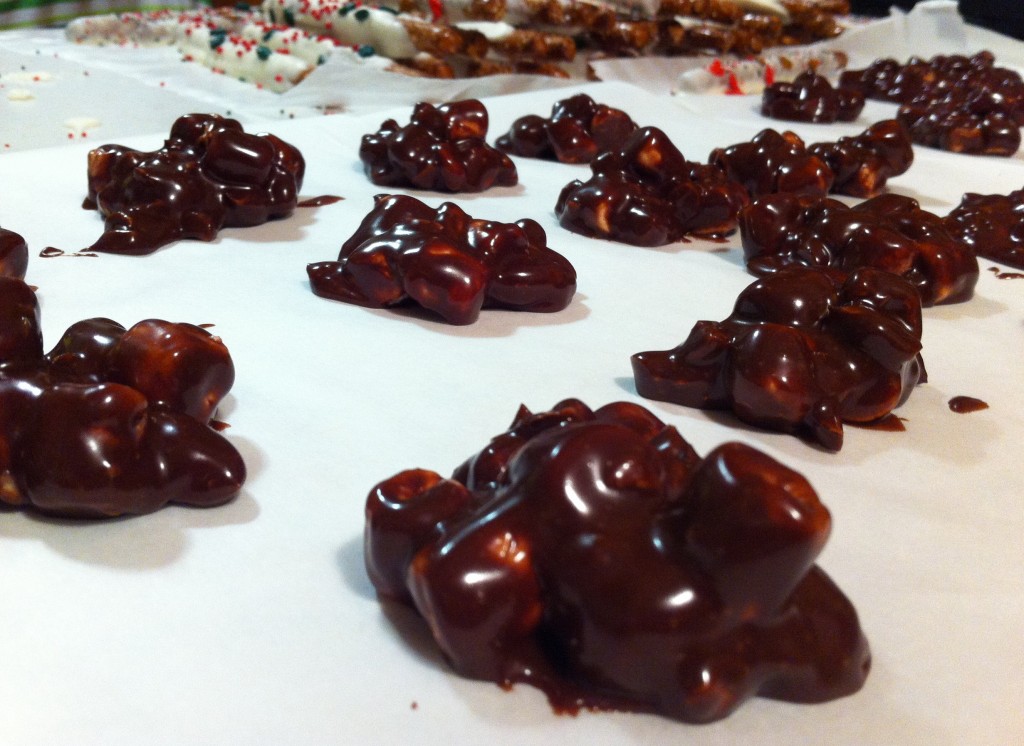
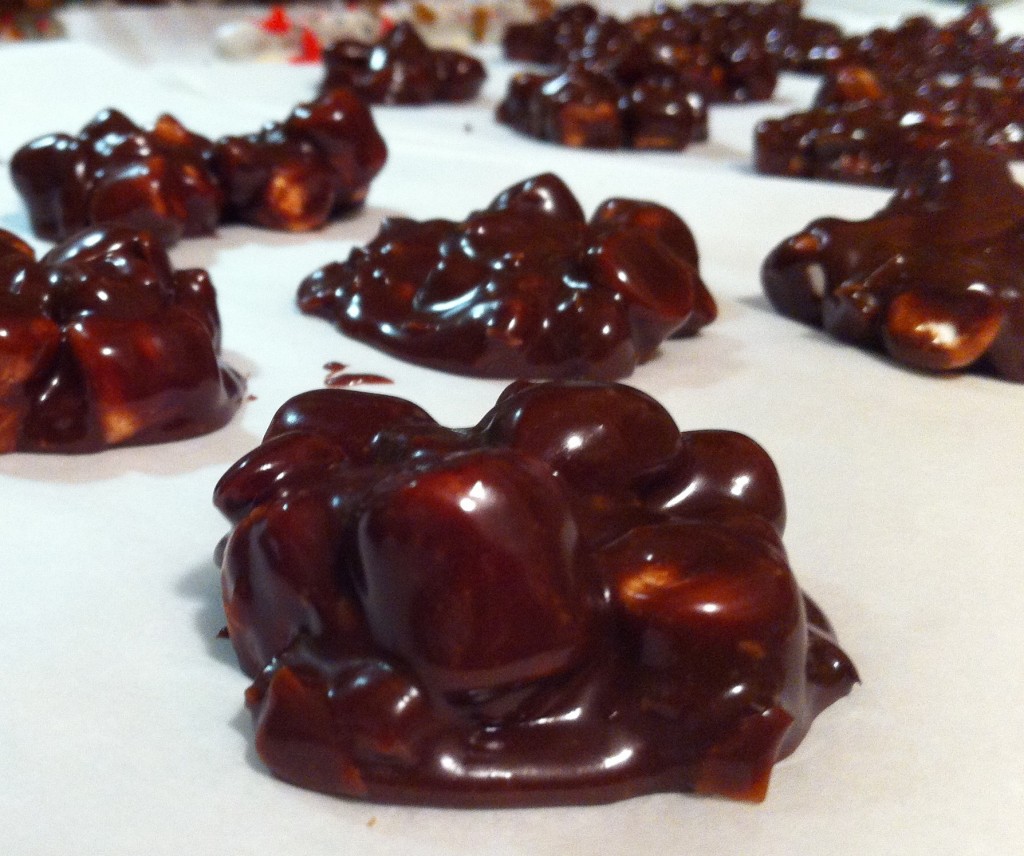
Using a spoon, scoop out the candy onto parchment paper to set up. This candy will set up faster in the fridge, but I just mine set up on the counter.  If you want, you can spread the candy in a parchment lined pan and cut into bars. I store the candy in the fridge until I am ready to fill my trays.

Bring a little bit heaven to your holiday candy making with these heavenly hash chocolate candies. I am sure your little angles will love them.

Here is the recipe:

Heavenly Hash Candy

Ingredients:

1 cup of evaporated milk

1 cup of sugar

3 tablespoons light corn syrup

2 cups of semi sweet chocolate chips

1 teaspoon vanilla

2 cups chopped nuts (I used almonds, leaving some whole and some I did a rough chopped)

2 cups miniature marshmallows.

Directions:

In a medium sauce pan, heat the evaporated milk, sugar and corn syrup, stirring until the sugar is dissolved. Bring the milk to a full boil and boil for a full two minutes (no short cuts here). Let the milk cool down for 2 minutes and add the chocolate chips and vanilla. Stir, until all the chocolate chips melts. Let the chocolate mixture cool for 20 minutes. When the chocolate mixture has cooled, stir in the marshmallows and the nuts. Stir until all the marshmallows are coated in chocolate. With a spoon, scoop out the candy and place on parchment paper to set up. Store in the refrigerator.

I hope your goodie making is going faster than mine!

Happy Candy Making,

Becky


Other post you might enjoy reading.

Caramel Toffee Pretzels


Texas Sheet Cake

Niener Wiener made me do it! Now, Jeanie Beanie wants the recipe…; )

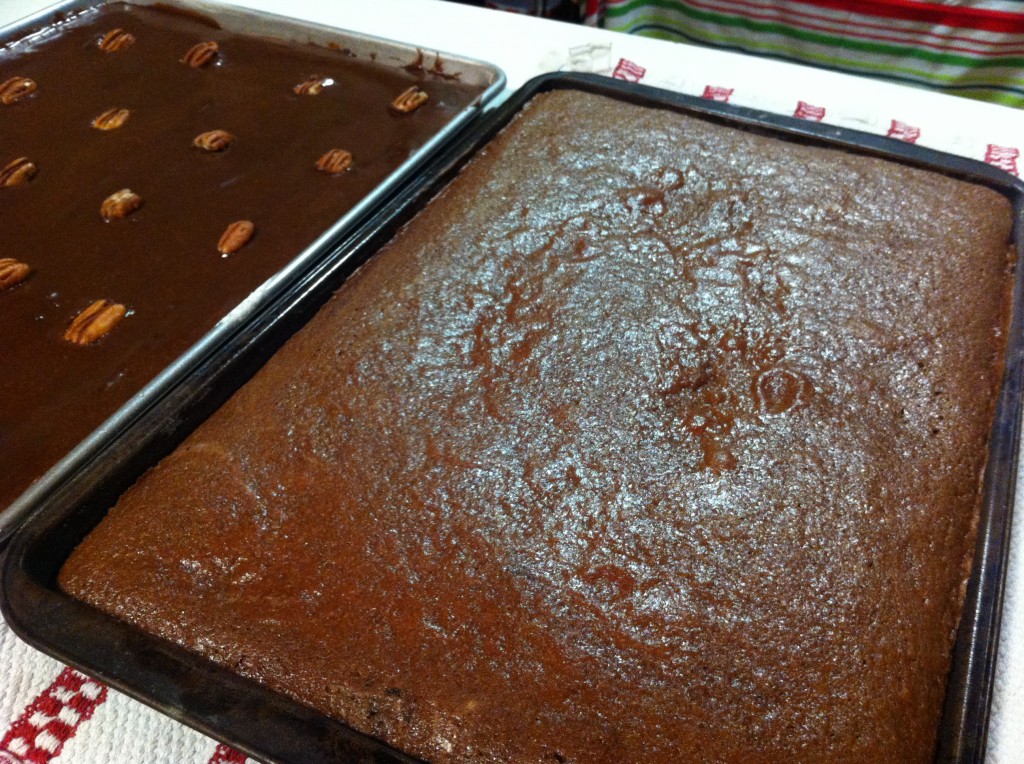
Yes, Niener Wiener was the one that talked me into making Texas Sheet Cakes.

It all started  with a silent auction to raise money for the old cemetery down by The Old Home Place.

Brother Robert made two roasters full of his famous chili, Auntie Corene made her famous pies (which I bought a whole one to take home to the child who does not cook) and I brought two large Texas Sheet Cakes that Company helped me bake the night before.

I don’t know if you have ever made Texas Sheet Cakes before, but they are easy, they feed a crowd and they taste good too! All winners in my book.

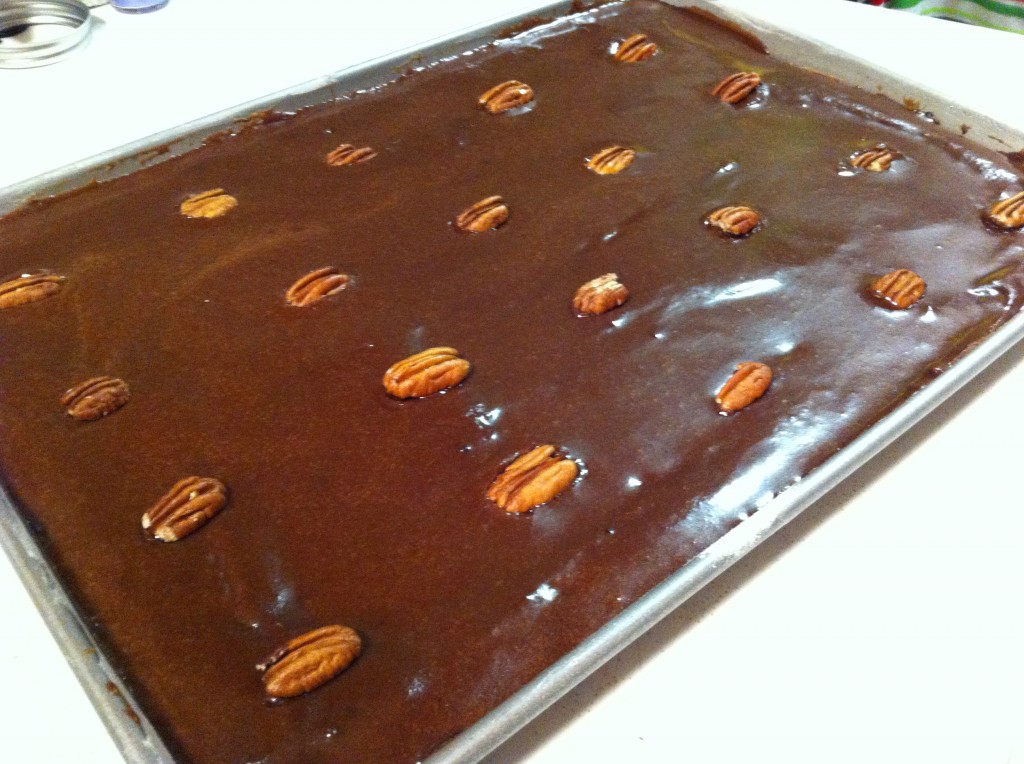
You can find several recipes for this cake. One is made with sour cream, one made with buttermilk, one with more eggs, one with more cocoa….YES, it does get a little confusing as to which recipe to use. As I am a creature of habit, I just use the same recipe I have been using for years. It is tried and true and has never let me down. I just put pecans as a decoration on the icing cause the Super Hero does not like nuts, but you can add chopped pecans to the icing, or not use nuts at all. It is up to you….I mean, we really are just eating it for the chocolate…right?

If you need a dessert recipe for a tailgate this weekend, or need a cake to snack on for movie night, you might try making a Texas Sheet Cake. And…you don’t even have to be in Texas to eat it.

Here is your step by step instructions:

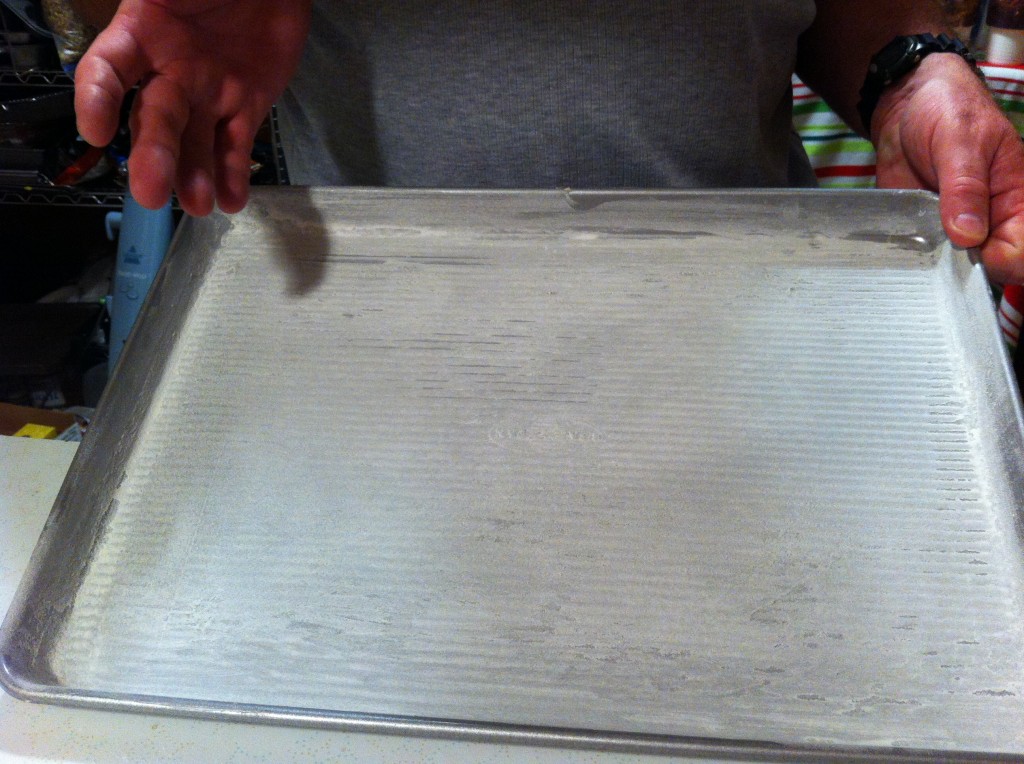
First, get your pan ready. You will need a 10 inch by 15 inch sheet cake pan. I used some vegetable shortening and flour to put on the sides and bottom of the pan. Yes, that is Company holding the pan. I did not realize he was such a ham!

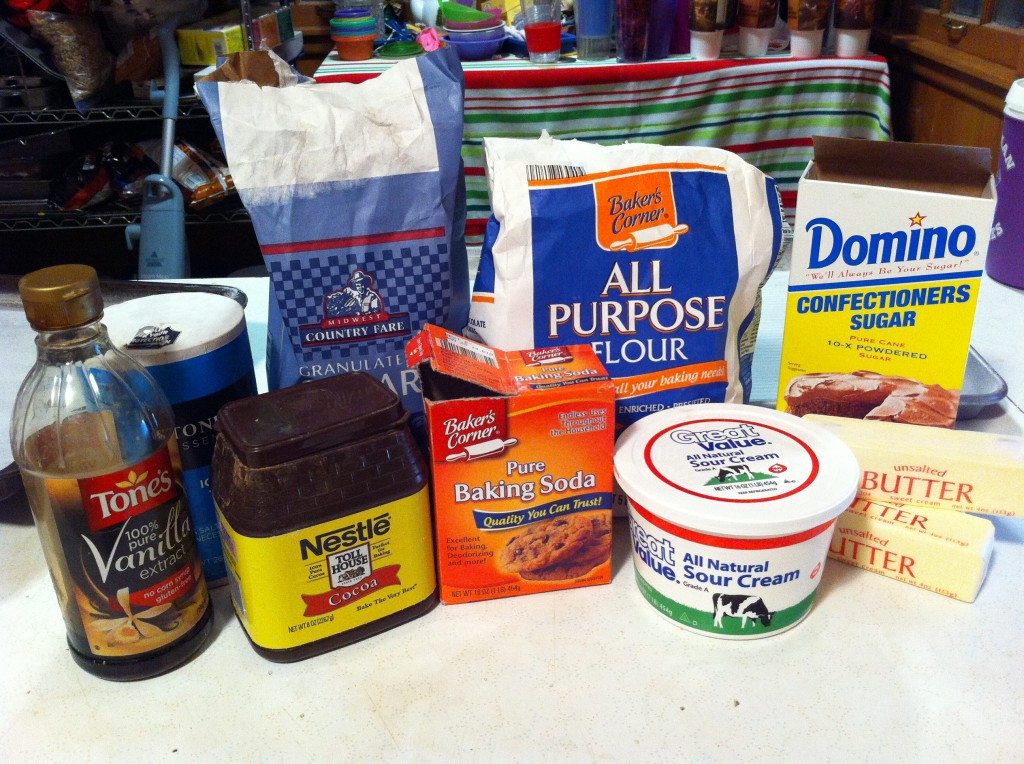
Here is what you will need to make this cake. I was so excited that I did not have to buy a thing and had plenty of everything to make two cakes. I forgot to put the milk in the picture…oops my bad!

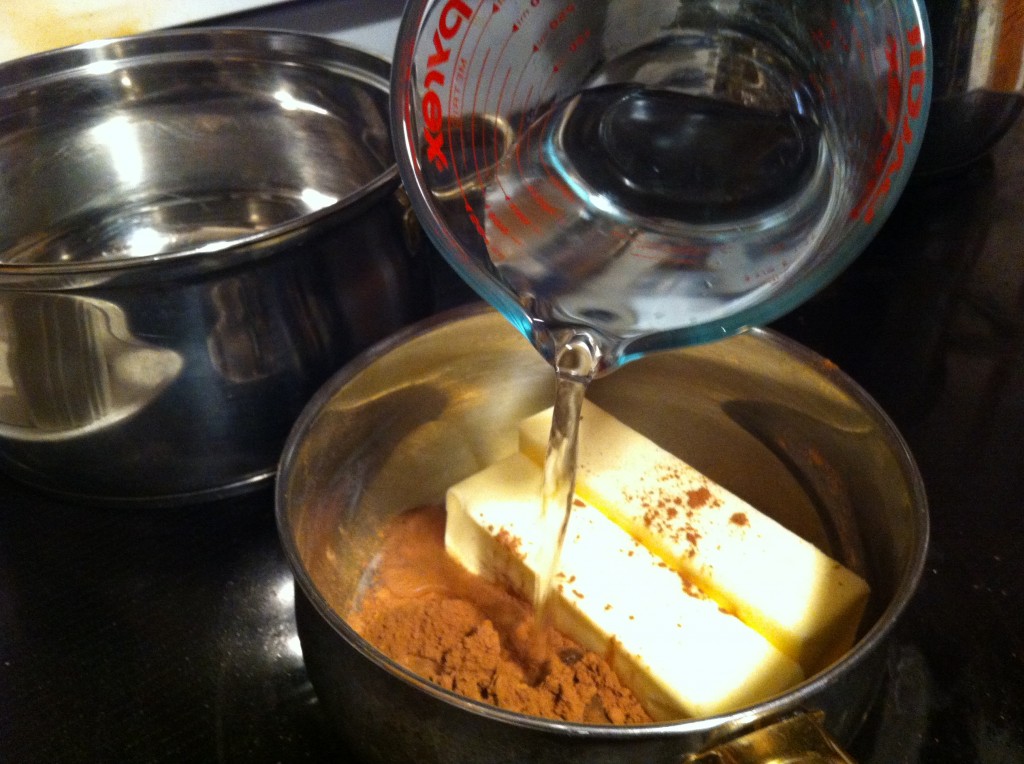
In a sauce pan bring the cocoa, water and the butter to a boil.

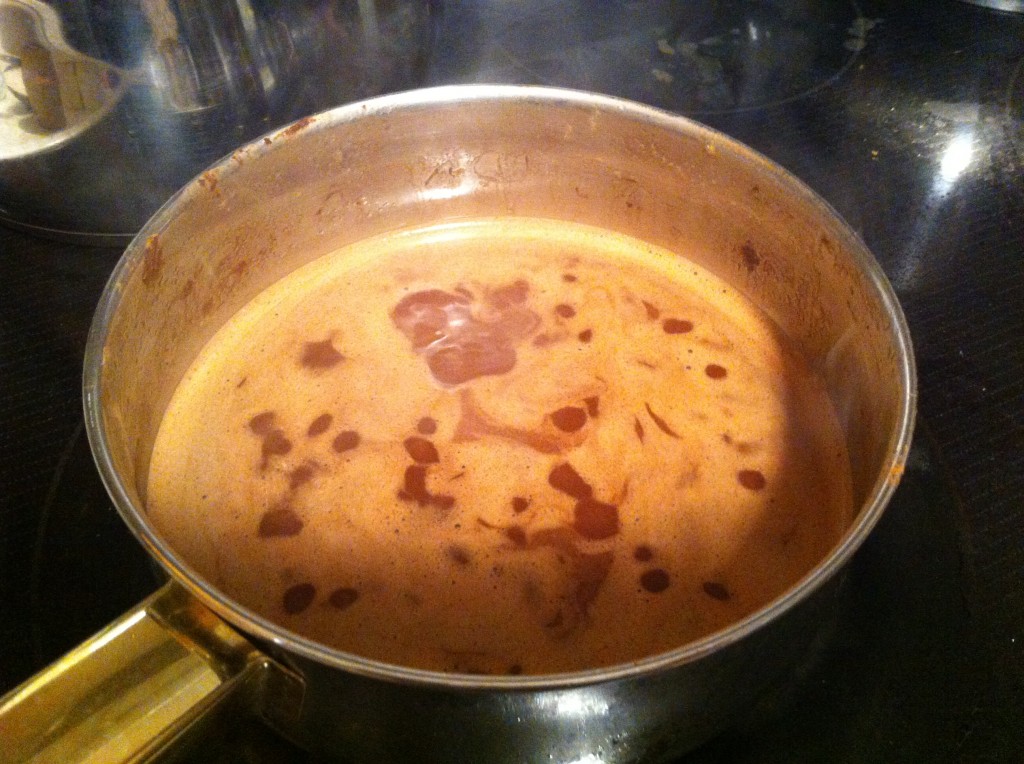
After you bring it to a boil, take it off the heat to cool slightly.

In a large mixing bowl, add the flour.

Now, add the sugar to the flour.


Now, add in the baking soda and the salt.    Stir all the dry ingredients together.

Now, we get to the fun part. Pour the warm cocoa mixture into the flour mixture.

Mix lightly together.

Now, add in the sour cream and lightly mix together until everything is incorporated.

Pour into the prepared sheet cake pan.

Spread batter evenly in pan. Put the cake in a preheated 350 degree oven and bake for about 20 minutes.

While the cake is baking start making the icing.

To make the icing, get out a large sauce pan stir together the butter, milk and cocoa.


Stir the cocoa mixture until it comes to a boil and then add the vanilla.

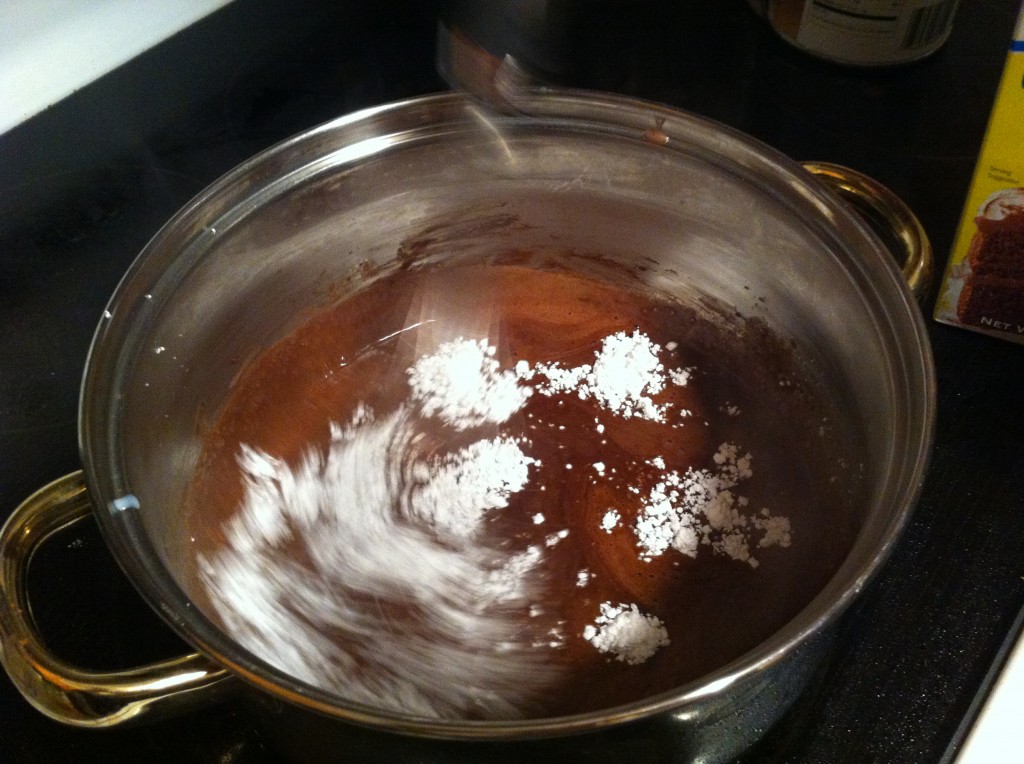
Now, while the mixture is warm, whisk in the powdered sugar. Company is doing the whisking here not me. Whisk in all the powdered sugar, making sure you get all the lumps outs.

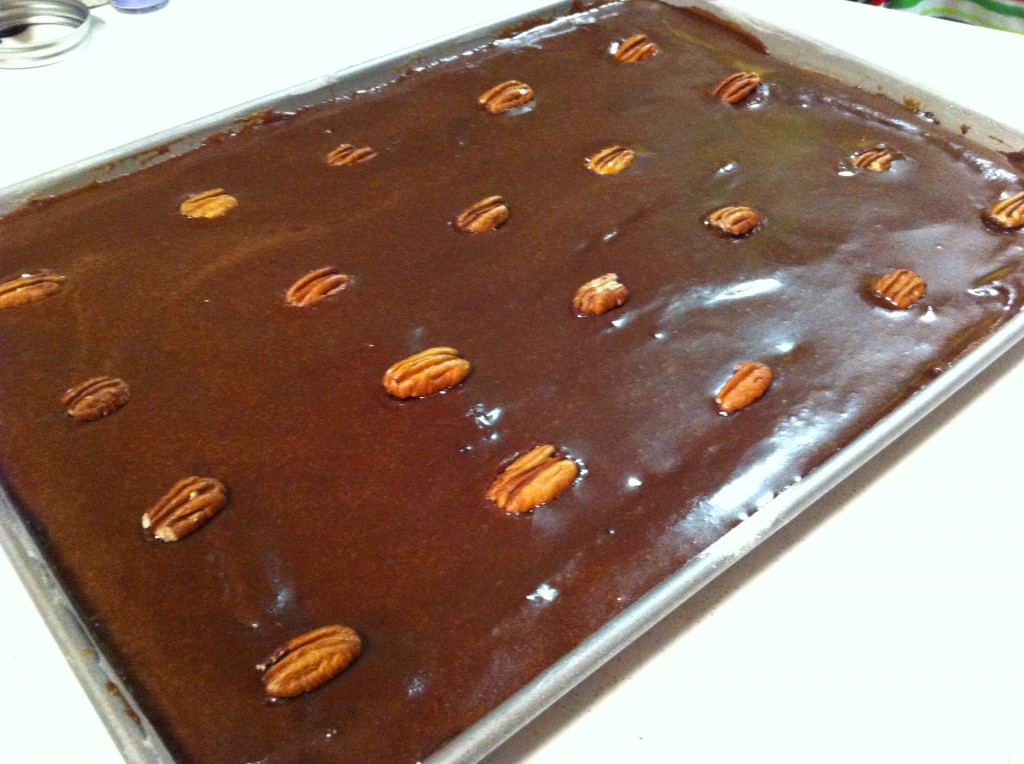
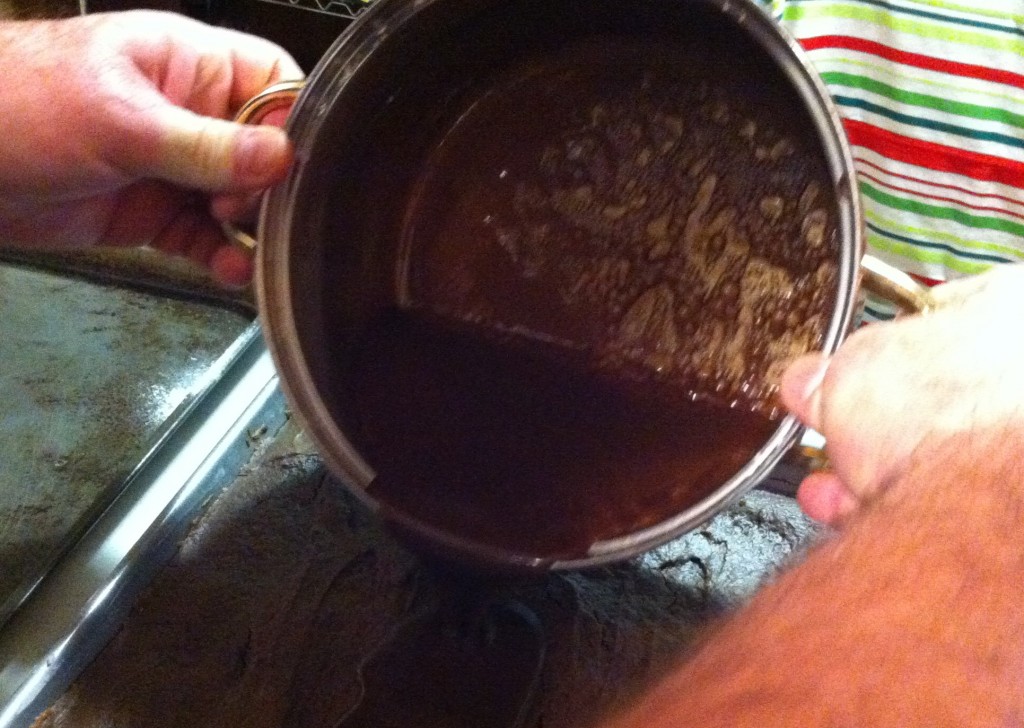
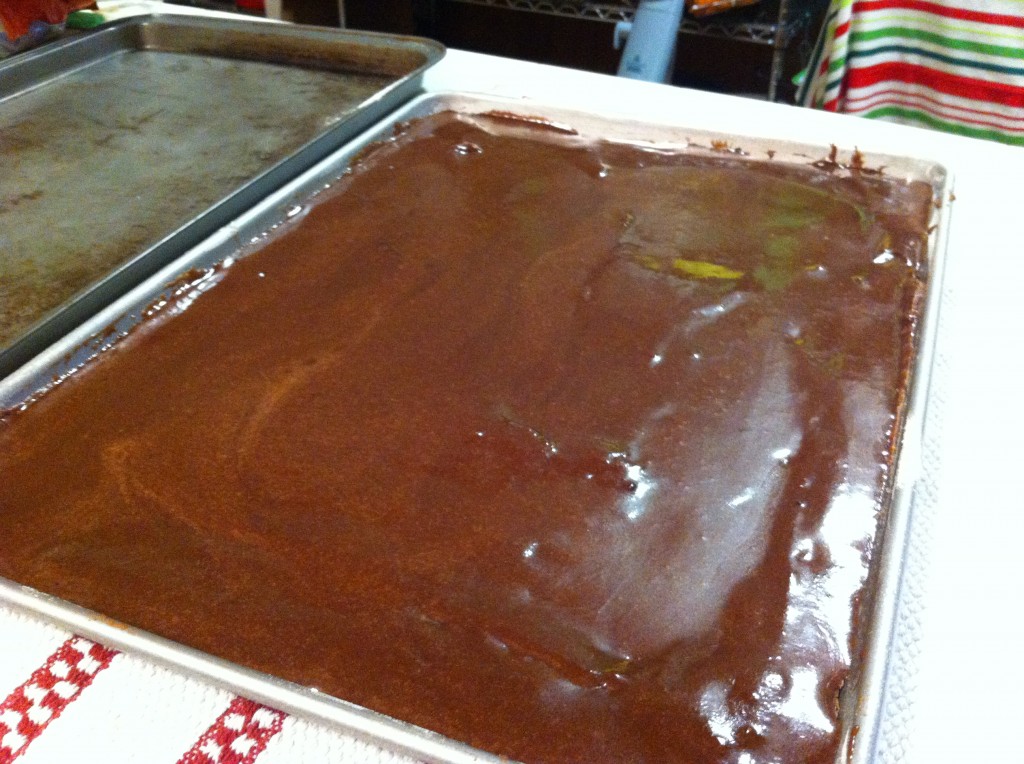
While the icing is till hot, pour it over the warm sheet cake. Company had to pour the icing on the cake too….gee…LOL

Spread the icing around while it is still warm to cover all the edges of the cake.

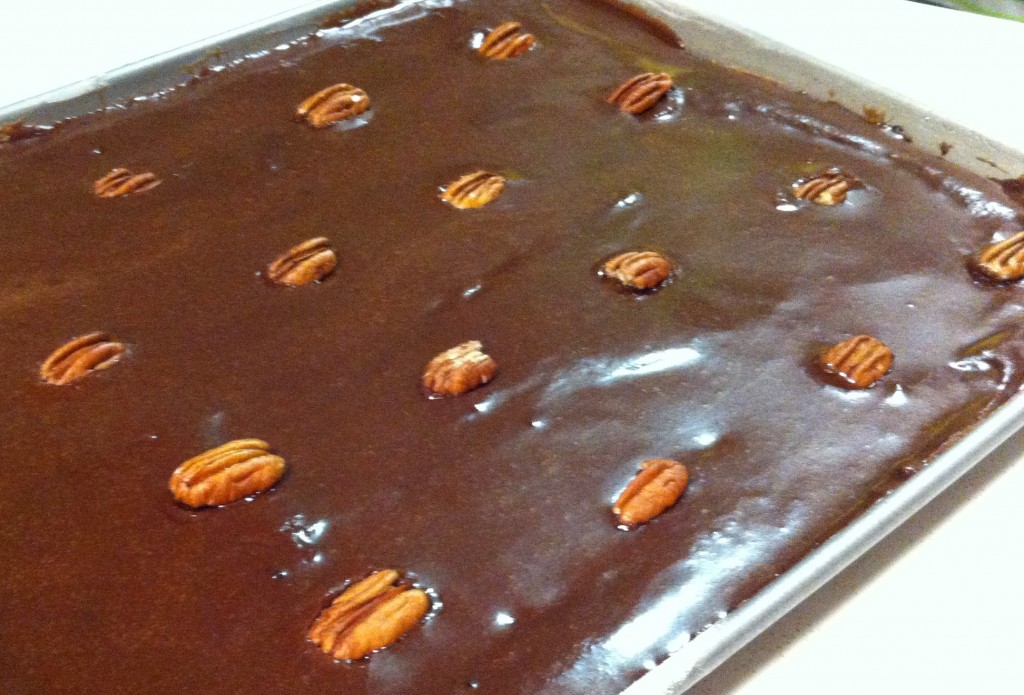
You can decorate the top with pecans halves if you want to.

If you make one, you might as well make two : ).

In case you are wondering, this cake does not contain eggs. If you want a lighter cake, you can add two eggs if you want. The batter will not be quite as thick but it will work : ).

Here is the recipe:

Texas Sheet Cake

Ingredient for the Cake:

2 cups of flour

2 cups of sugar

1 teaspoon baking soda

1/2 teaspoon salt

1/2 cup sour cream

1 cup butter

1 cup water

5 tablespoons unsweetened cocoa powder.

Ingredients for the Icing:

6 tablespoons milk

5 tablespoons unsweetened cocoa powder

1/2 cup butter

4 cups powdered sugar

1 teaspoon vanilla

pecans or walnut optional

Directions:

Preheat your oven to 350 degrees.

Prepare a jelly roll/sheet cake pan. 10 inches by 15 inches. I coated mine with vegetable shortening then with flour.

In a large sauce pan bring the water, cocoa and butter to a boil. Set aside to cool.

In a large mixing bowl, stir together the flour, sugar, baking soda and salt.

Pour in the warm cocoa mixture and blend together.

Add in the sour cream to the batter and mix all together.

Pour batter into greased pan and bake for around 20 minutes.

While the cake is baking prepare your icing.

In a large sauce pan, bring the milk, cocoa and butter to a simmer. Add the vanilla.

With a whisk, whisk in all the powdered sugar until all the lumps are dissolved.

While the icing is sill warm, pour over the warm cake.

Spread the icing out while it is still warm to cover all the edges of sides of the cake.

Decorate with nuts if you wish.

The only question  you need to ask yourself now, is how big you want to cut your piece of cake!

Enjoy!

Becky


Chocolate(chips) Anyone?

I thought I would share a couple of my, “deals of the week. ”

A couple of weeks ago Hershey put out a .50 cent coupon for any size chocolate chips. Whoohoo! With holiday baking right around the corner, this was the perfect coupon for me. I knew I would need these chocolate chips if I was going to make my PIC (sister in law) her favorite peanut clusters for Christmas. I was on a mission to score some cheap chocolate chips.

I had already used 4 of my coupons at Walgreens and got chocolate chips for $1.50 a bag (12 ounces). Not bad, since in the store they are running around $2.50 a bag. But my eyes about bugged out when I seen that a local grocery store was doing a 10 for $10 deal on chocolate chips. There were just the 6 ounce bag, but with .50 cent coupons that doubled, it would make them free.

Problem was I only had one coupon left.

I had to somehow talk my daughter out of her coupons. She does not cook anyway. (Don’t tell her I said that.) I needed those coupons.

I asked her real nice, she said she would look for them. I asked her again, she said she would look when she had time. I was getting desperate. I asked (really told) her that the sale was ending soon. I got the LOOK. You know what look I am talking about.

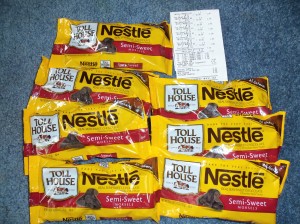
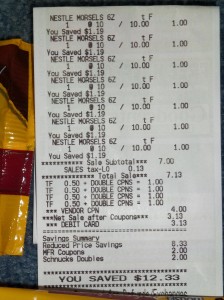
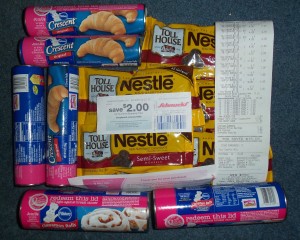
I was able to print off some coupons for .50 cent off of two bags and decided I would make do with those. The store I was going to has a 3 same coupon limit. I used the one .50 cents off of one, and then three .50 cents off of two. This is what I came home with.


Yippee! I got seven 6 ounces packages of chocolate chips for $3.13. Not to bad right??? 

I was still on a mission to get those coupons from my daughter. I had to take matters into my own hand.

Hand me the scissors.

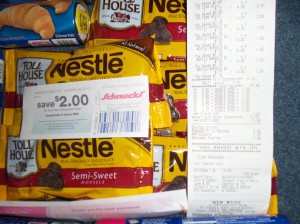
I found her inserts that she had not had time to cut out and found her coupons. By this time she came home and I got caught in the act. She really did not care. I told you she does not cook. I also told you not to tell her I said that! : ) Anywho, this is what I got on my, round two, shopping trip to buy chocolate chips.


For $10.85 I bought, two-8 count cinnnamon rolls, four-8 count cresent rolls and (what I really went after) five 6 ounce packages of chocolate chips. PLUS….I got a register rewards for $2 off my next purchase for buying 6 General Mills items. In addition General Mills will donate $2 to Susan B. Koman for the Cure. Since my Mom had breast cancer three years ago (she is a survivor YEA) this was really a easy way to coupon and support breast cancer research.

Whew….pass me some chocoate (chips).

What are your, “deals of the week?”

Becky


Chocolate Chip Cookie Dough Cheesecake

Have you ever used the excuse you had to make something just to buy the magazine the recipe was in?

Whew…I thought I was the only one that did that.

Tonight, I did just that! I was looking at all the great fall baking magazines at Sam’s Club. I was in recipe heaven! I kept going back and looking at this recipe in a Better Homes and Garden Holiday Baking magazine.  It was a cheesecake that had cookie dough in it. Hmmmmm…I did need to make a dessert tonight for a lady’s day church lunch tomorrow.

Perfect!

I can buy the magazine, make the cheesecake for tomorrow and not feel an ounce of guilt over buying the magazine. The bonus was, I had almost everything at home to make it. I bought the couple of items I needed (eggs and cream cheese) and headed home to make a cheesecake. My granddaughter helped me to make this cheesecake. We had it in the oven in less than 20 minutes. If I can do this with a 10 year old, I know you can whip this up in no time at your house.

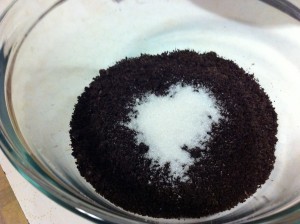
 For the Crust. First thing you need to do is crush the chocolate sandwich cookies. I did mine in a food processor. You can do yours in a zip lock bag and pound them with a rolling pin. Depends if you have had a bad day or not. 

I guess I had a pretty good day.


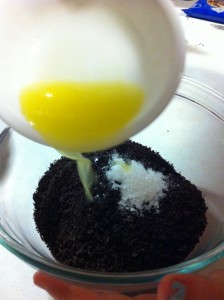
Next, add the sugar and melted butter to the crushed cookies.

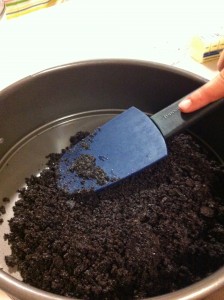
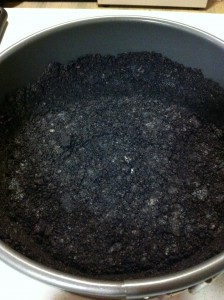
Put the cookie mix in a 9 inch spring-form pan and press onto the bottom and up the sides, 1 and 1/2 inch.


I started using a spatula. It was faster just to use my hands.


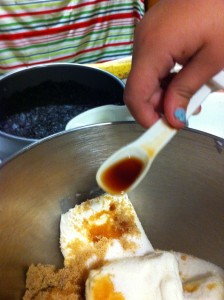
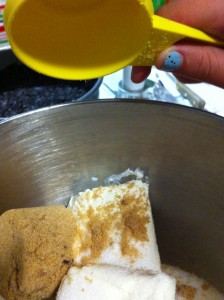
For the filling. In a large mixing bowl, add your cream cheese, sugar, brown sugar, vanilla, and flour. My granddaughter is adding the ingredients. Don’t you love her green sparkle nail polish : ) ?

Stir in the milk.

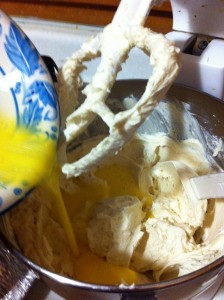
Add in your lightly beaten eggs. Mix together.


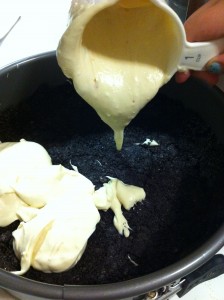
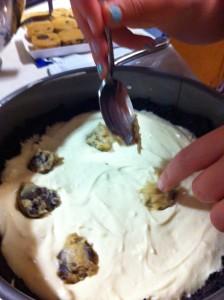
Take two cups of the cream cheese mixture an pour over the crust. Top the mixture with half of the cookie dough, a teaspoon at a time.


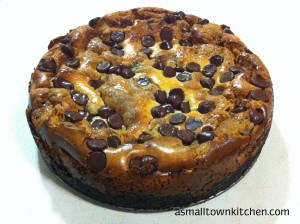
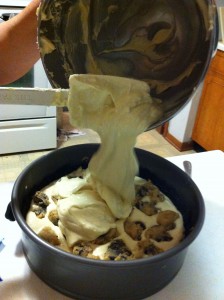
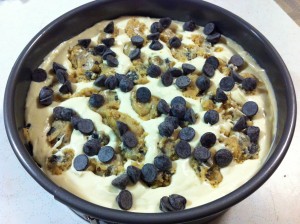
Pour the rest of the cream cheese mixture over the cookie dough. Add remaining cookie dough to the top and sprinkle with chocolate chips. Put the spring-form pan on a shallow baking dish. Put it in the oven at 350 degrees and bake for about an hour.

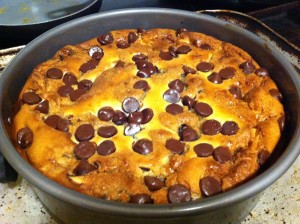
This is what mine looked like when it came out of the oven.

I hope the church ladies will be impressed. : )

I am happy I had a great excuse to buy a new magazine full of recipes : ).

I will let you know tomorrow if I have any left : ).

Enjoy!

Becky  

Chocolate Chip Cookie Dough Cheesecake

adapted from Better Home and Gardens Holiday Baking magazine

For the crust:

1 3/4 cup of finely crushed chocolate sandwich cookies.

1 tablespoons sugar

3 tablespoons melted butter

In a mixing bowl, mix crushed cookies, sugar and butter together. Press mixture onto the bottom and up the sides of a 9 in spring form pan.

For the filling:

3 – 8 ounce packages of cream cheese (softened)

3 eggs (slightly beaten)

1/2 cup sugar

1/2 cup brown sugar

2 tablespoons flour

1 teaspoon vanilla

1/4 cup milk

1 roll of refrigerated chocolate chip cookie dough.

1/2 cup chocolate chips

In a large mixing bowl, cream the cream cheese, sugar, brown sugar, vanilla and flour until combined. Beat in the milk until smooth, then stir in the eggs.

Pour half the mixture (about 2 cups) over the chocolate cookie crust. In spoonful amounts, dap half the cookie dough onto the cream cheese filling. When you are done, pour the rest of the filling over the cookie dough and cream cheese bottom. Top the second layer with spoonfuls of cookie dough, then sprinkle with chocolate chips.

Put the springform pan onto a shallow baking dish and place a 350 degree oven. Bake for approximately one hour.

A couple of helpful hints. Make sure the bottom of the spring-form pan is securely locked in. (why would I know that?)

The next time I bake this I will lower the temperature 10 degrees to 340 degrees. I thought it looked a little on the brown side and I only baked it 55 minutes.

Make sure you put it on a shallow pan. The butter from the cookie dough will leak out the bottom. If you put it on a cookie sheet you just might set off your smoke alarms. (been there done that).

Related Posts Plugin for WordPress, Blogger...