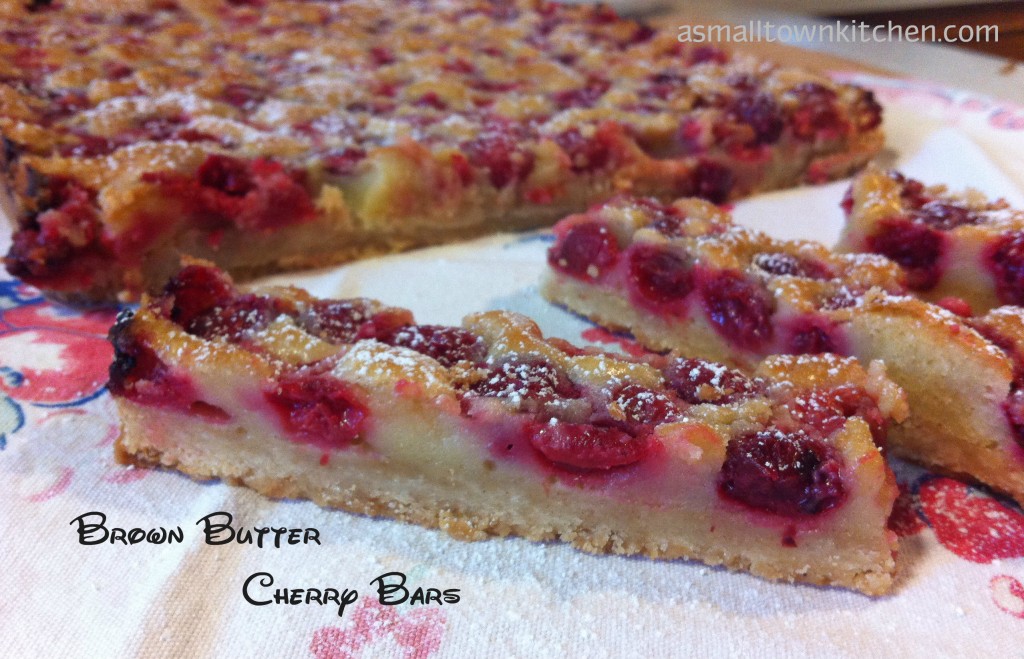
Brown Butter Cherry Bars

It is cherry picking time!

A couple of Sundays ago, after having lunch with my Dad and  the gang (Niener Wiener and Hubby, Jeanie Beanie, Baby Brother, Company and of course The Princess) for Father’s Day, Company and I went to Niener’s to pick a few cherries off of her cherry trees. Niener had already picked all she wanted the day before, on Saturday. Niener picked about 32 cups of cherries and it took her until the wee hours in the morning till she was finally done pitting her cherries. One thing about older sis is that when she starts something, she does not quit!

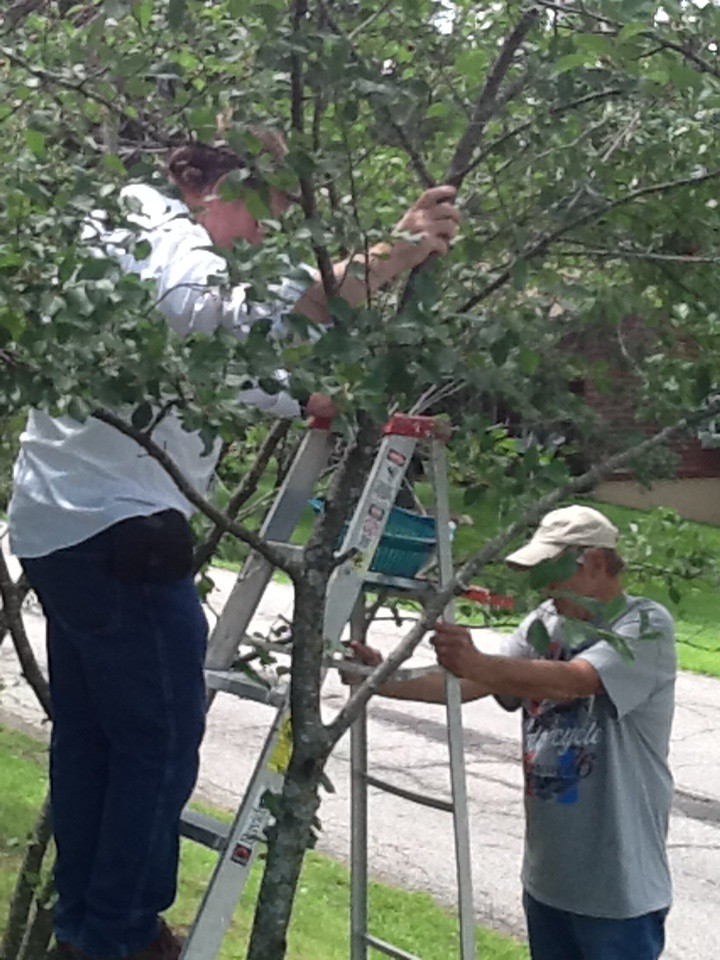
It was Company’s job to get on the ladder and pick the cherries on top of the trees, that niener could not reach and she left for us to pick. Niener is a wonderful sister, don’t you agree?  She also forgot to mention that we had to fight off the neighbor’s chickens (that were eating every cherry we dropped on the ground.) Plus, we were also assaulted by air from a couple of wood peckers who wanted to make the juicy cherries their dessert.

You gotta know that the men LOVED spending Father’s Day, picking cherries. hehe


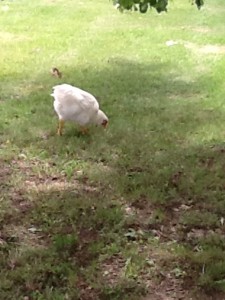
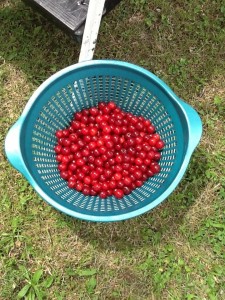
Here is one of the pesky cherry snatching chicken. Here is some of the cherries I (cough cough) picked.

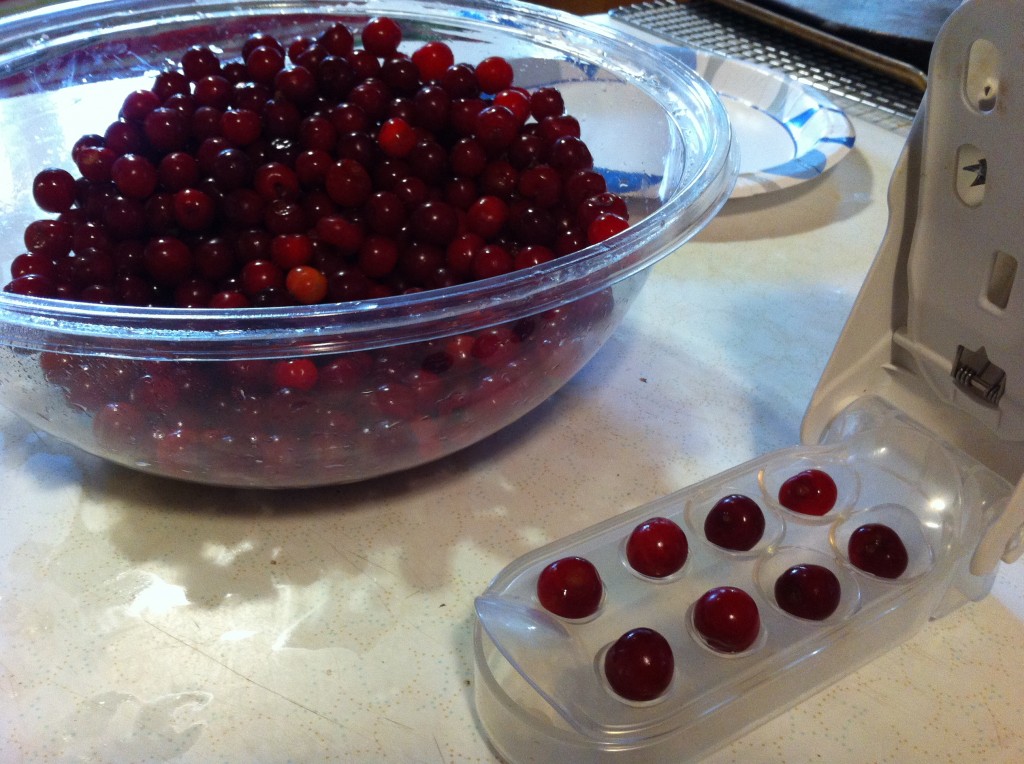
Here is what we ended up picking. It was about 7 cups of cherries. I bought this handy dandy cherry pitter at Bed Bath and Beyond a couple of  years ago. It pits four cherries at a time. I really saved us a bunch of time a couple of night ago, when I decided to make this new recipe I found that called for fresh cherries, at about 8 o’clock at night.

I never said I was very smart : )

Anywho, Company got to work on the cherries, taking the pits out, while I got to work making the crust for the Brown Butter Cherry Bars.

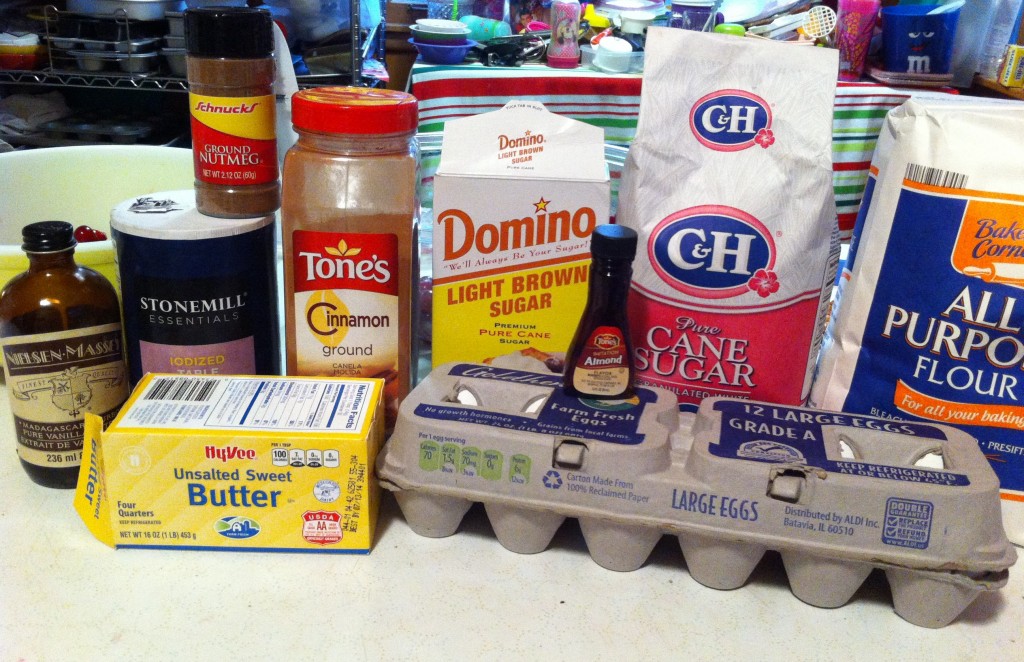
Here is everything you need to make this delicious Brown Butter Cherry Bars. (the cherries are in a bowl behind the vanilla).

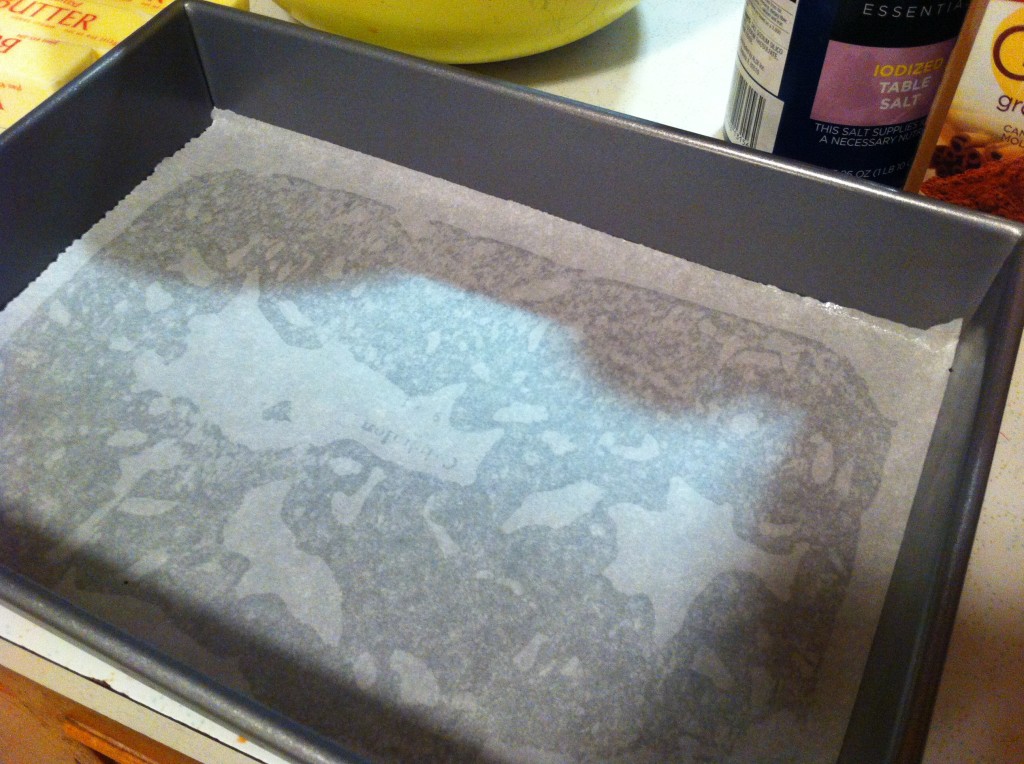
You HAVE to line your 9 by 13 pan with parchment paper.  I wish that I had brought it up higher on the sides so I could have actually lifted mine out using the parchment paper.


First thing you do is start the crust. Measure out the flour and then add the salt.


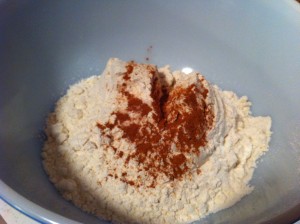
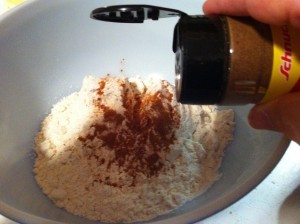
Put in the cinnamon and the nutmeg.


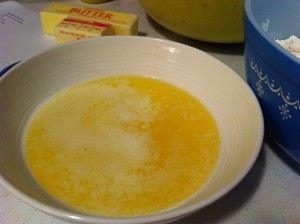
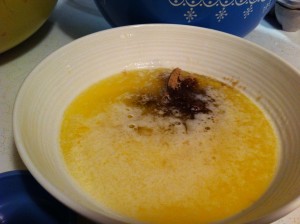
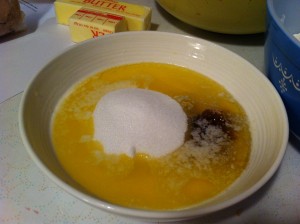
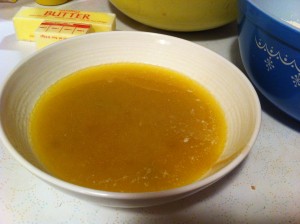
In a microwaveable bowl, melt the butter. Add the brown sugar to the butter.


Add in the sugar and the vanilla. Mix the butter and sugars mixture together.


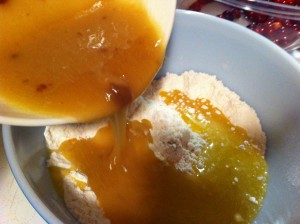
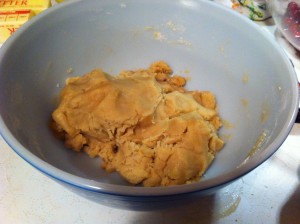
Pour the butter mixture over the flour. Make into a ball of dough.

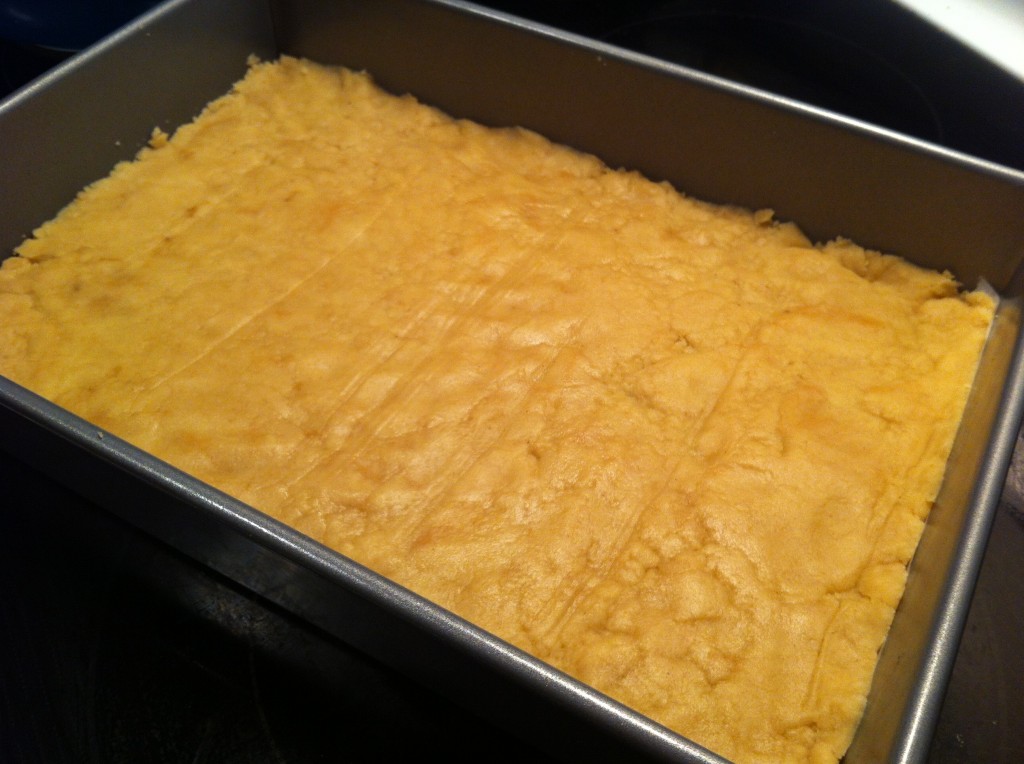
Take the crust and press it evenly onto the bottom of a 9 by 13 pan. Bake the crust in a 350 degree oven for 15 to 18 minutes.


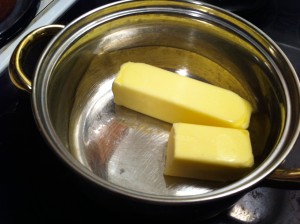
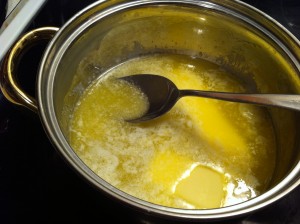
Now it is time to brown the butter. Melt the butter in  a heavy saucepan oven medium heat, stirring constantly.


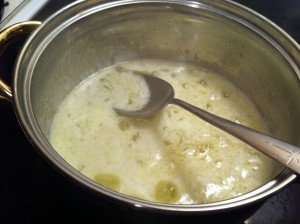
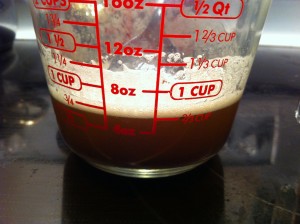
Cook until it foams up and starts to brown. I poured the browned butter into a measuring cup so  you could see the butter. Set the butter aside to cool


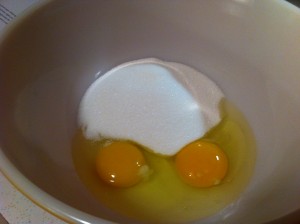
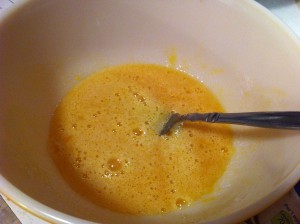
Now, lets start the filling. In a medium bowl add the eggs and the sugar.


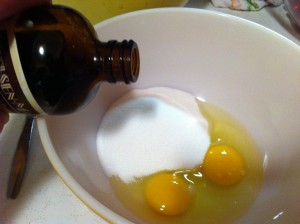
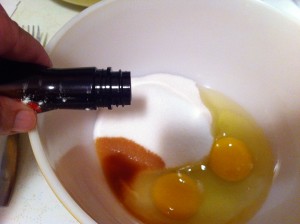
Add the vanilla.                                                                                        Add in the almond flavoring.


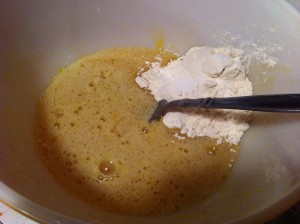
Mix together.                                                                                        Now, add in the flour.


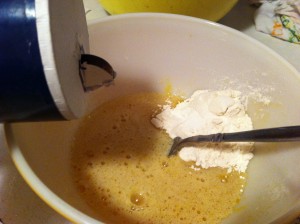
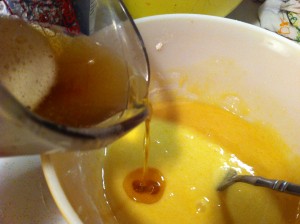
Add in the salt.                                                                                         Pour in the browned butter.


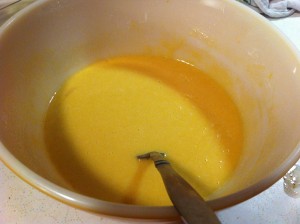
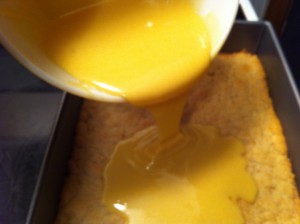
Mix the egg mixture and the browned butter together. Pour the filling over the baked crust.


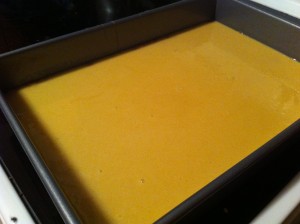
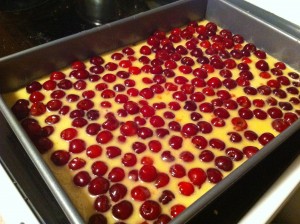
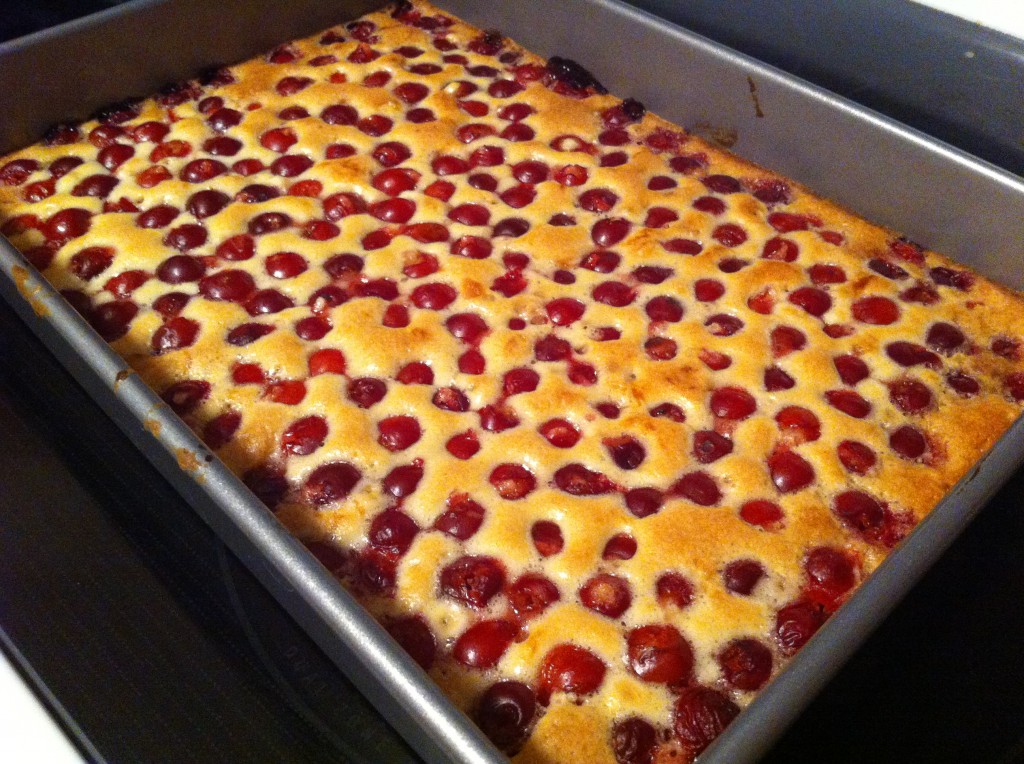
Spread the filling evenly over the crust. Sprinkle the cherries over the filling. Pressing the cherries into the filling.

Bale the bars for about 35 to 38 minutes in a 350 degree oven. Let the bars cool completely.

Carefully lift out the bars. The bars cut easier if you freeze the bars for 15 minutes first. (I skipped this step cause I was late for work and the mine cut into bars just fine.)

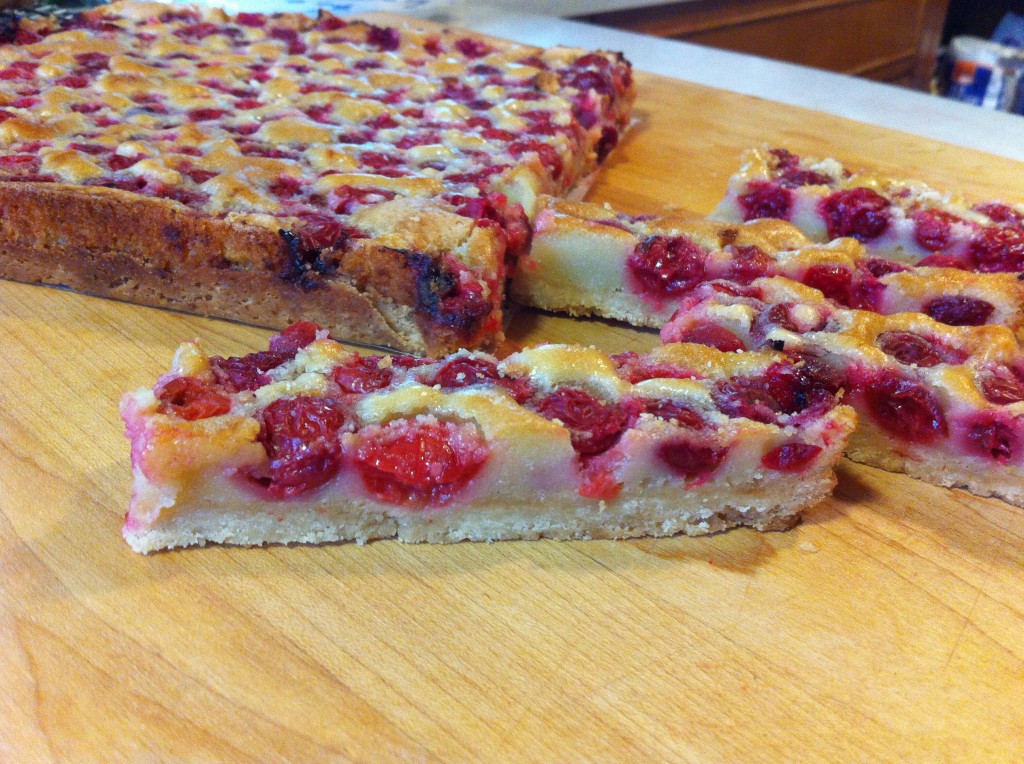
These bars are wonderful. I love the creamy filling with the tart cherries and the crunch of the sweetened crust. I took some to school and they are all gobbled up. Plus they are so pretty! Perfect to take to a friend.

Here is the recipe:

Brown Butter Cherry Bars

Adapted From Smitten Kitchen who adapted it from Bon A petit Magazine

Crust:

2 cups flour

1/8 teaspoon salt

1/2 teaspoon cinnamon

pinch of nutmeg

3/4 cup melted unsalted butter

1/2 cup sugar

2 tablespoons light brown sugar

1/2 teaspoon vanilla

Filling;

3/4 cup unsalted butter

2 large eggs

2/3 cup sugar

1 teaspoon vanilla

1 teaspoon almond extract

6 tablespoons flour

1/8 teaspoon salt

4 cups pitted fresh cherries

Directions:

Preheat your oven to 350 degrees.

Line a 9 by 13 pan with parchment paper. Have the parchment paper come up over the edge of the pan so you can use it to help you lift the bars out of the pan.

To make the crust:

In a medium bowl, whisk together the flour, salt cinnamon, and nutmeg. In a microwavable bowl, melt the butter and then combine it with the sugars and vanilla. Add the melted butter mixture to the flour mixture and combine to form a dough. Press the dough evenly onto the bottom of the 9 by 13 pan. Bake in the preheated oven for 15 to 18 minutes. Let cool for 15 to 20 minutes.

Browned butter:

To brown the butter, melt the butter in a heavy saucepan over medium heat. Stir constantly. It will begin to foam and the then turn clear and then it will turn a deep brown. This process will take about 5 to  7 minutes. Pour the butter into a container to cool. (I had some dark sediments that floated to the bottom on my container. I did not add those sediments to my filling)

To make the filling:

To prepare the filling, whisk the eggs, sugar and extracts together in a medium bowl until smooth. Add in the flour and slat and whisk into the egg mixture. Slowly pour the browned butter into the egg mixture, whisking in until smooth.

Pour the filling evenly over the crust. Arrange the cherries in a single layer across the top. Bake for 35 to 38 minutes o until the filling puffed up and is golden brown. Cool completely on a wire rack.

To help with removing the bars, chill the bars in the freezer for 15 minutes. Carefully lift the extra parchment paper to remove the bars. Place on a cutting board and cut into bars. Refrigerator until you are ready to serve.

I am sure that you will enjoy these bars!

Enjoy~

Becky

Other Post You May Enjoy:


Strawberry Spinach Salad                  Messy Marvins                              Coconut Cream Cake
 

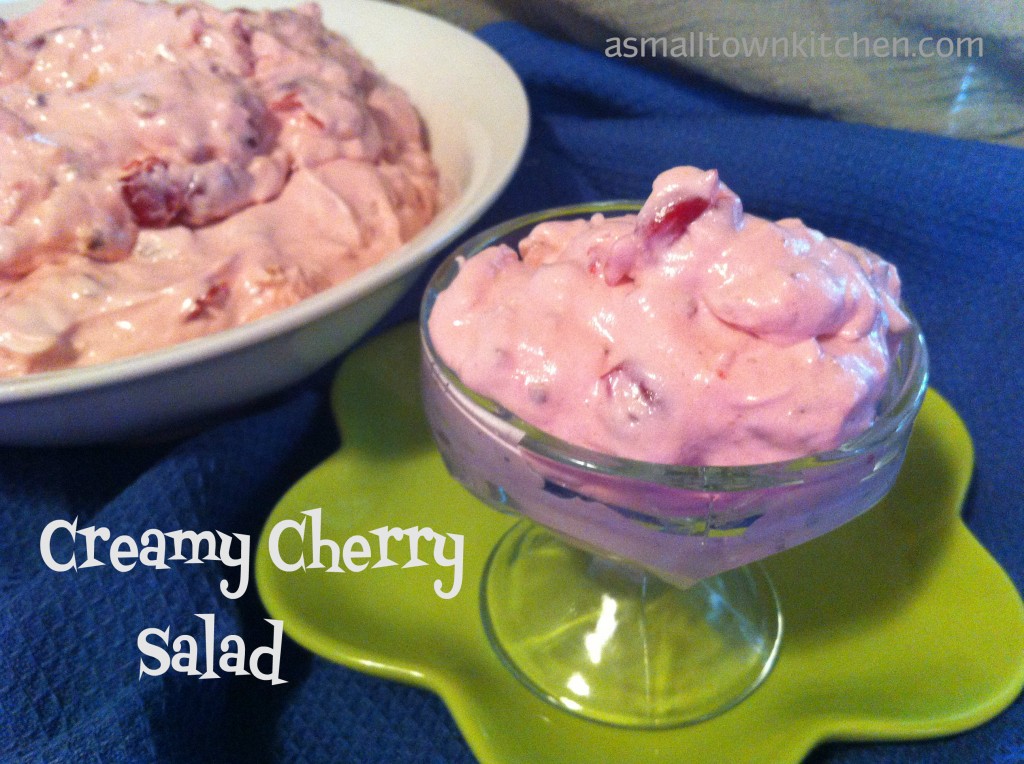
Creamy Cherry Salad

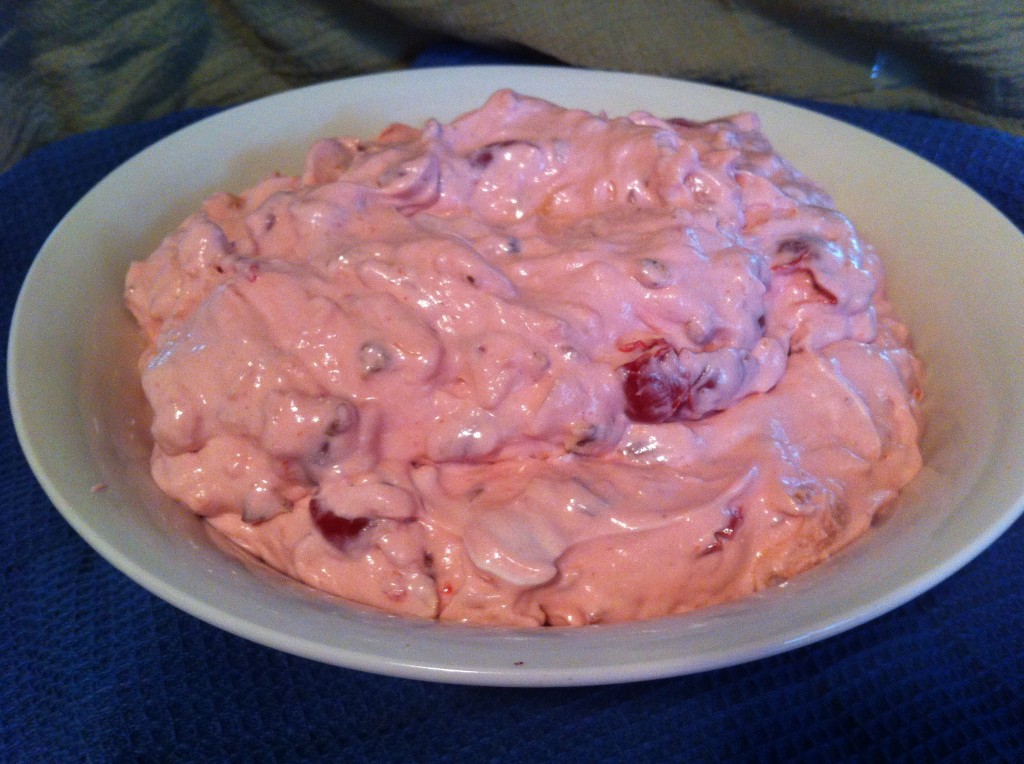
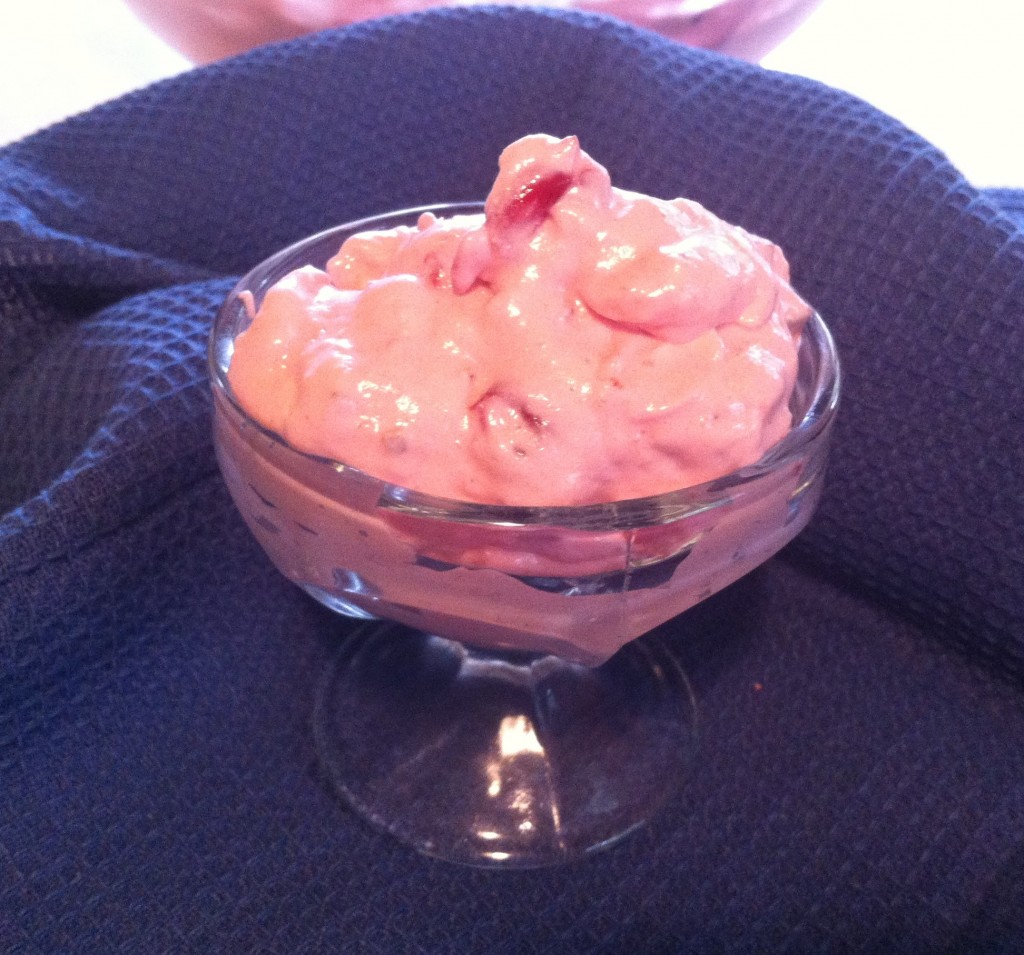
Does this picture want to make you run to the kitchen and get a spoon and take a big bite?

I hope it does!

We celebrated my Dad’s 96th birthday last Saturday. (His real birthday was on Memorial Day) I was making a bunch of things to go with the Tickle Your Ribs BBQ that my Little Brother is famous for. (well…famous in our family anyway!) Saturday, he fought the rain all day to grill pork steaks and pulled pork, drenched in his home made bbq sauce. YUMMY! I was looking for extra special recipes to make to compliment all his hard work on his grill.

I had been eyeing this Creamy Cherry Salad recipe for a long time. I have been saving the recipe for months waiting for a special dinner to make it. Dad’s birthday seemed like the perfect time! I had all the ingredients to make it too, except the sour cream (the one container I found had expired, poo). Super Hero son came to my rescue and went to the store to pick up the sour cream. In no time at all I had this beautiful salad made! You just open some containers, chop up some pecans, throw it all in a bowl and stir.

Easy Peasy Nice and Easy! (and delicious)

With the beautiful pink color and the pop of red from the cherries, it would be a perfect for Memorial Day, 4th of July or a Christmas dinner. (and any other time you want to indulge yourself)

Anywho, I took this dish and Niener Wiener wanted the recipe right away. (her DAR group theme is cherries this year and she wants to make it for their next carry in dinner, woohoo success!). I also made home style fresh green beans, that the grand girls helped me snap, Smokestack Baked Beans (recipe coming soon, Deviled Eggs and Strawberry Spinach Salad.

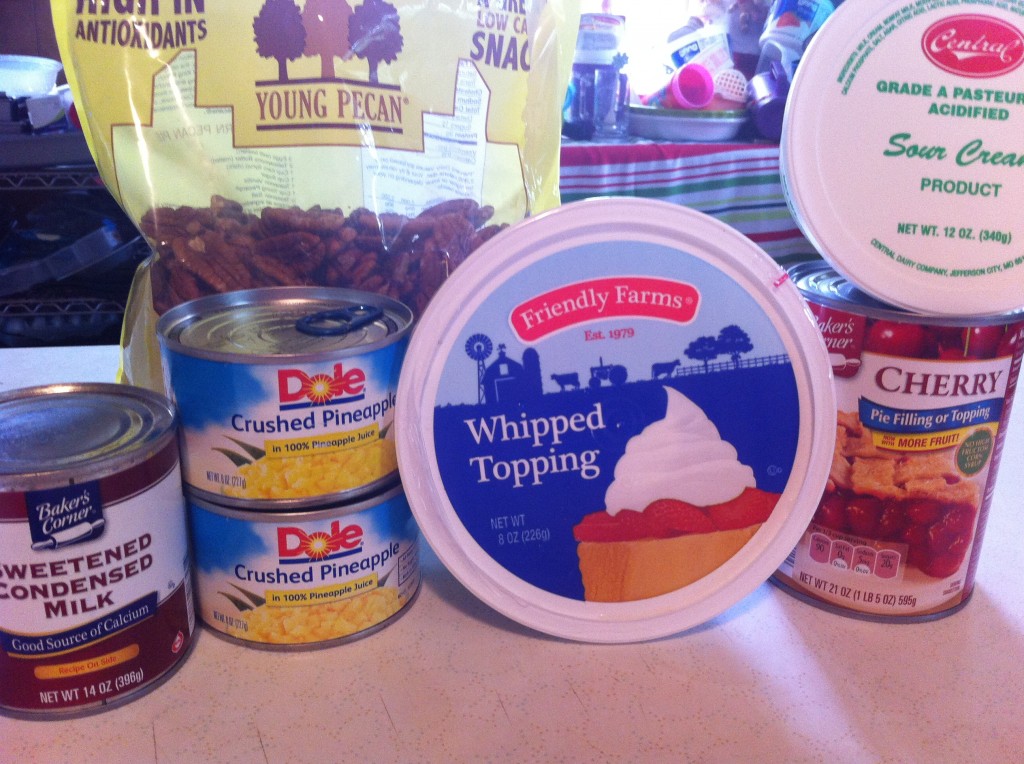
Here is all you need to make this quick and yummy recipe:

You will need one can of sweetened condensed milk, chopped pecans, 1 regular size can crushed pineapple, drained, (I  had to use to small cans because that is what I had on hand) some sour cream, 1 container cool whip and one can of cherry pie filling.


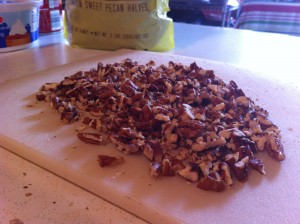
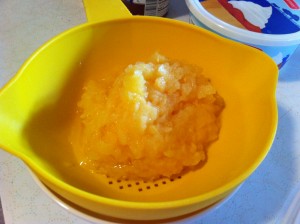
First thing I did was chop my pecans and drained the pineapple. (I saved the juice for the grand girls)


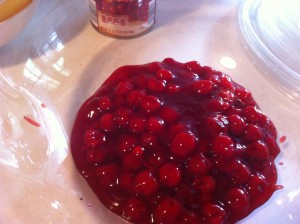
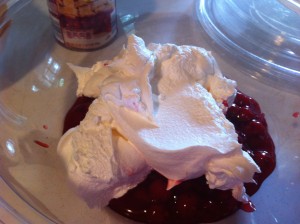
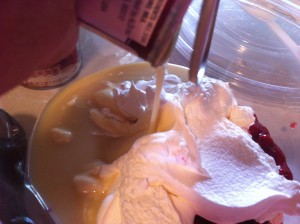
In a large bowl, (I was taking this to my dad’s birthday party, so I was using a clear plastic bowl that had a snap on lid for travel) add the can of cherry pie filling and the cool whip.


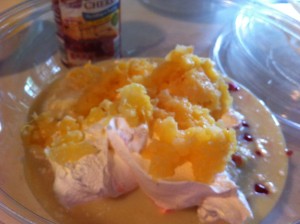
Pour in the whole can of sweetened condensed milk. Add the drained crushed pineapple.


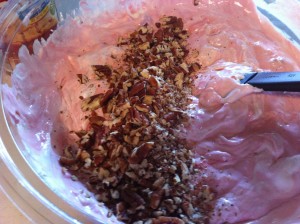
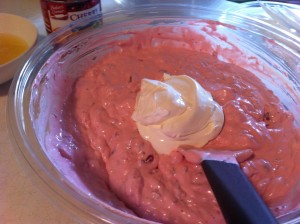
Add in the chopped pecans. Finally stir in the sour cream.

And then LOW and BEHOLD….you have a beautiful and deliciously creamy and yummy salad that looks like this….

Are you ready to grab a spoon now?

Here is your recipe:

Creamy Cherry Salad

Adapted from old Silver Dollar City Recipe Cookbook

Ingredients:

1 (20 ounce) can cherry pie filling 1 cup chopped pecans

1 (9 ounce) container of cool whip

1 (20 ounce) can crushed pineapple, drained well

1 cup sour cream

1 can sweetened condensed milk

Directions:

In a large serving bowl, blend all ingredients together. Chill until firm. Serves 10 to 15.

Enjoy!

Becky

Other post you may enjoy!


Vanilla Rhubarb Jam     Strawberry Pretzel Salad (coming soon)    Frozen Fluffy Strawberry Pie


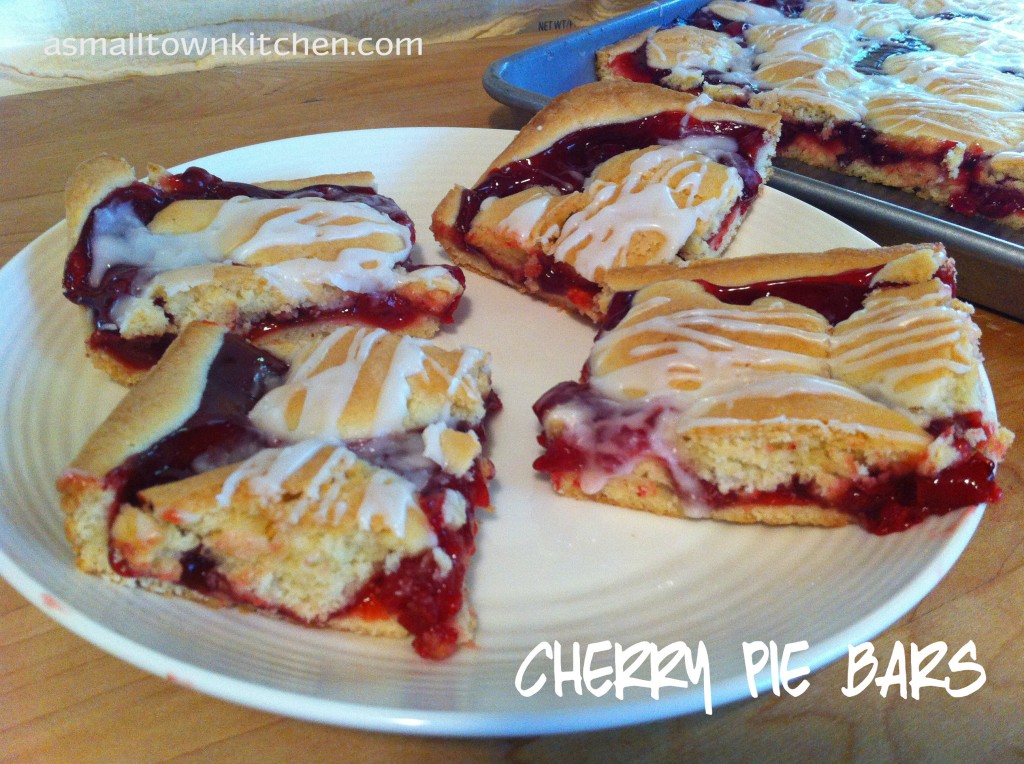
Cherry Pie Bars

My little brother’s birthday was a couple of weeks ago.

I love a great birthday party!

Especially one, with BBQ ribs and chicken.

And, birthday boy was doing all the cooking.

Little Brother was celebrating his birthday by BBQing his famous ribs and chicken and inviting Me and Company over for dinner.

All I needed to do was bring a dessert.

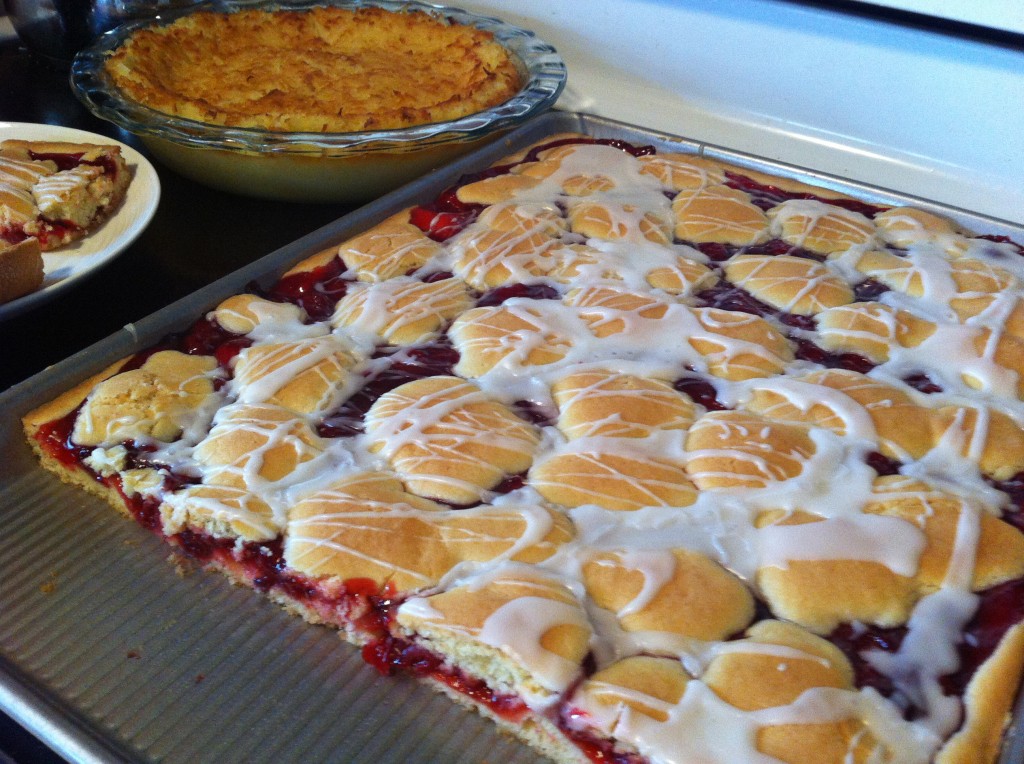
The big problem I had was that my little brother does not eat many sweets.  That is probably why he has kept his girlish figure…: ) He does love coconut cream pie and banana cream pie and peanut m and m’s. I just did not have a ton of time to go to the store and make the pie I really wanted to make for him. So, I settled for a dessert that I already had all the ingredients for, it could bake while I was getting ready to go and it travels great.

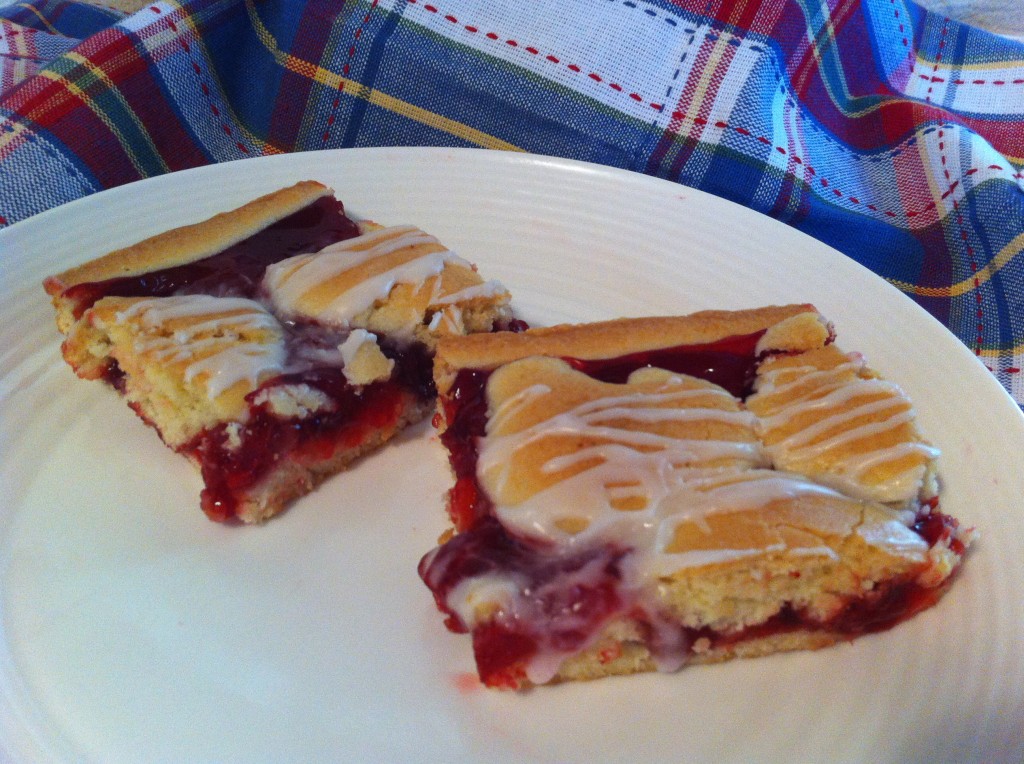
Did I mention that it is pretty to look at too.

And, most importantly, it taste great too.

The crust is tender, it is not too sweet and if you serve it warm, a big scoop of ice cream goes perfect on top.

So Anywho, if you are looking for a pretty dessert to take to a bbq or picnic, I really recommend this one.

Just make sure you leave a piece for you at home, cause there will not be any left overs.

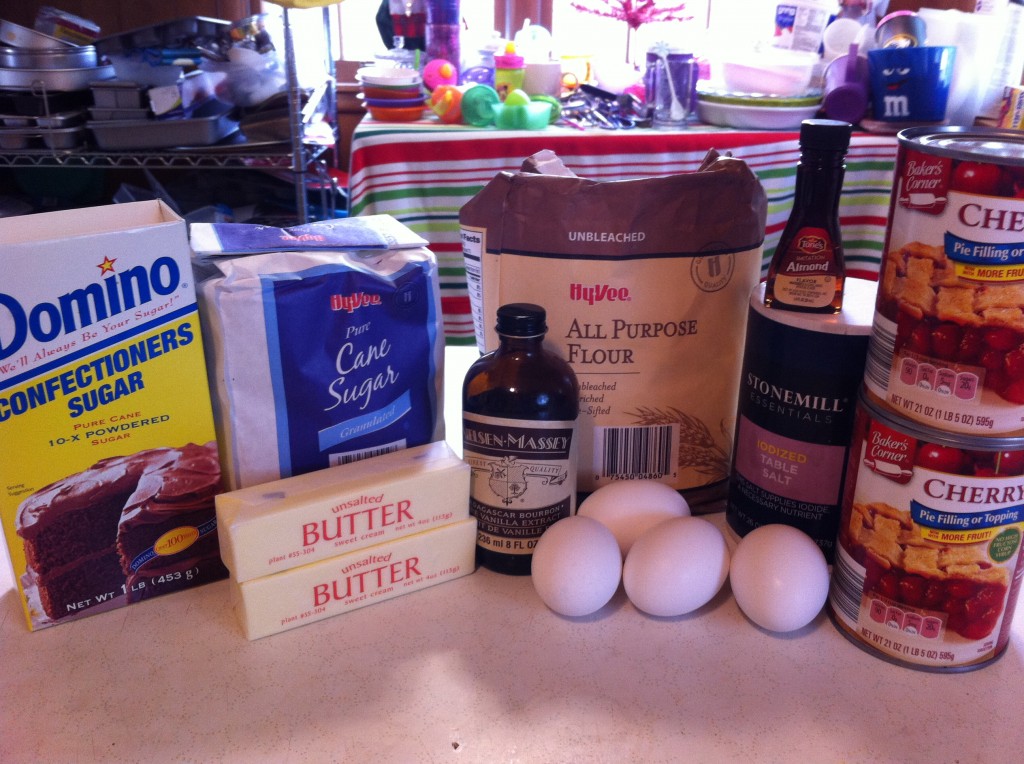
Here is what you need to make Cherry Pie Bars.

You will need some eggs, butter, vanilla, flour, powdered sugar, salt, almond extract and canned cherry pie filling. It calls for one big can, (which I did not have) so I used 2 smaller cans and it was the perfect amount.


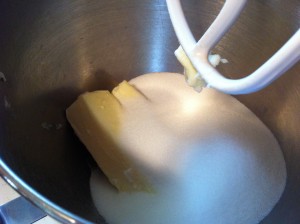
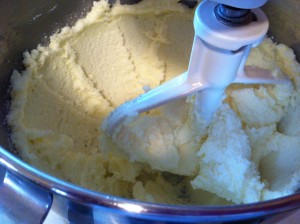
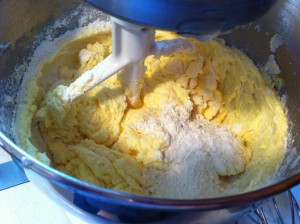
First thing you do is cream the butter and sugar together in a large mixing bowl with a mixer. I used my stand mixer.


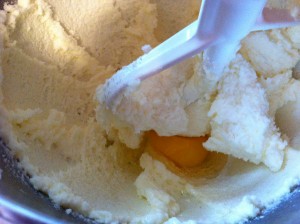
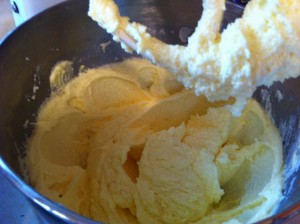
Next, add in the eggs, one at a time, beating the each egg in before adding the next one.


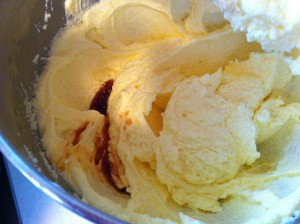
Add in the vanilla and almond extract. Lastly mix in the flour and salt. Now  you have the crust part all done.


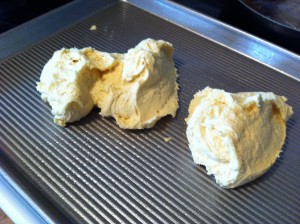
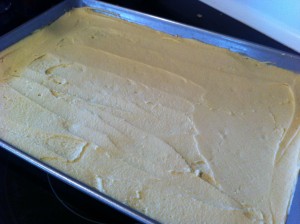
Scoop half of the crust onto a greased 9by 13 baking dish. (I used my jelly roll pan). Spread the crust out evenly on the bottom of the pan.


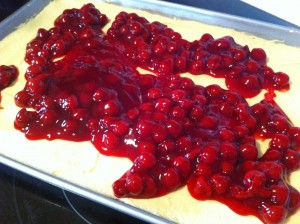
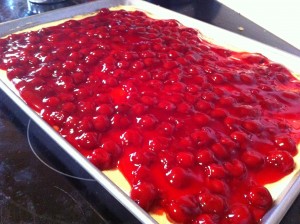
Cover the crust with the pie filling. Spread it out evenly on the crust.


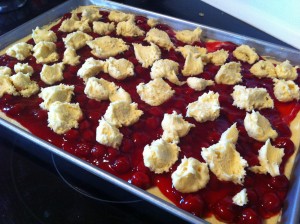
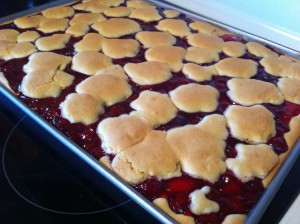
With the left over crust, with a teaspoon, drop teaspoonful’s on top of the cherry pie filling. It looks and taste better if you try to evenly drop the crust. Now, pop the bars into a preheated 350 degree oven and bake for about 30 to 35 minutes.


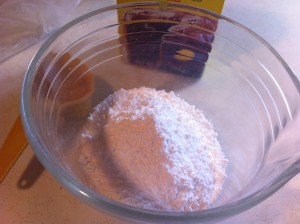
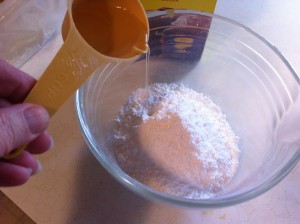
While the cherry pie bars are baking make your glaze. In a medium bowl, whisk together the powdered sugar and water.


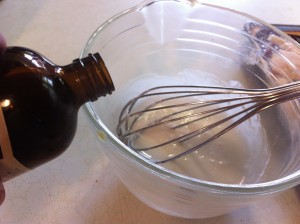
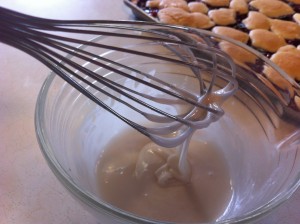
Whisk in the vanilla and almond extract. Whisk together until you do not have any lumps.

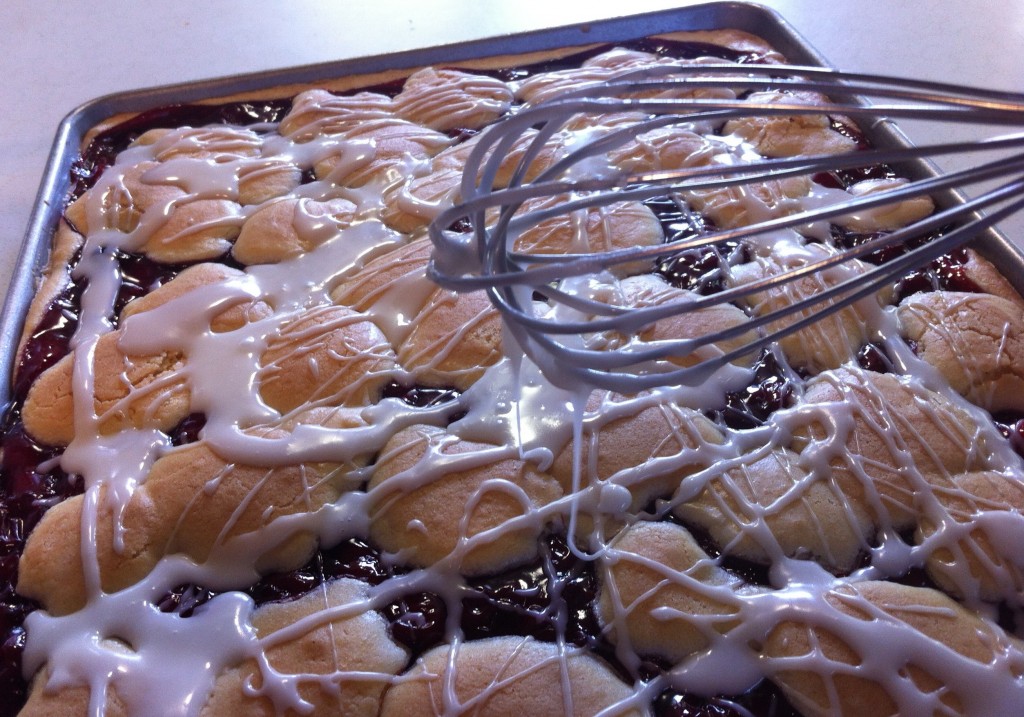
After the bars are baked and cooled, drizzle the glaze over the cherry pie bars. The glaze really adds a finishing touch!

Memorial Day is this weekend and this would be the perfect dessert to bake, take and share.

Here is the recipe:

Cherry Pie Bars

Adapted from Taste of Home

Ingredients:

1 cup soften butter

2 cups sugar

4 eggs

1 teaspoon vanilla

1/4 teaspoon almond extract

3 cups flour

1 teaspoon salt

1 can (21 ounce) cherry pie filling

Glaze

1 cup powdered sugar

1 teaspoon vanilla

1/2 teaspoon almond extract

2 teaspoon water or milk

Directions:

Grease a 9 by 13 baking sheet. Preheat oven to 350 degrees.

In a large bowl using a mixer, cream together the butter and sugar. Add the eggs, one at a time. Mix in the vanilla and the almond extract. Add in the flour and salt. Divide the dough in half. Press half of the dough evenly on the bottom of the greased baking sheet. Evenly spread the cherry pie filling over the dough. With a spoon, drop spoonfuls of dough evenly across the top of the cherry pie filling. Bake in the oven for about 30 to 35 minutes. Cool completely. Whisk together the ingredients for the glaze and drizzle evenly (this is the fun part) over the top of bars.

Now all you have to do is slice you a (few) pieces. See that pie way in the back on the left hand side? That is a make it own’s crust Coconut Pie. See, I did try to make the birthday boy a pie he would like to eat. The desserts were good enough to bribe little brother into bringing back left over ribs. : )

Besides being pretty, these are yummy and addictive.

Enjoy!

Becky

Other post you may enjoy reading:


  Farmer’s Oatmeal Cake            Frozen Fluffy Strawberry Pie             Mom’s Light Bread
Related Posts Plugin for WordPress, Blogger...