A Bucketful of Muffins

Have you ever had to cook for a crowd? Or just wanted to bake something that you could enjoy today and for later?

That is why I love to make these muffins.

When I had to start going to meetings before school, several of us teachers brought in enough goodies to feed all the teachers a nice breakfast. It is great to just hop in your car, drive to school, knowing that breakfast was there waiting for you. Yummy breakfast food to celebrate the start of school and to get you ready to go to all those FABULOUS meetings….. : ). One of the things that I made to share were these terrific muffins. They are full of raisin bran cereal and extra raisins. I love them so much, I made a batch for home and shared with Niener Wiener and Jeanie Beanie. I froze the rest in the freezer. All I had to do was pull a muffin out and microwave it for breakfast. It was like eating a fresh baked muffin. If you would rather bake a few of the muffins at a time, you can do that too. Just put the batter in the refrigerator and bake a few at a time. The only trick is that you do not stir the muffin batter after it goes into the fridge because it breaks down the cereal.

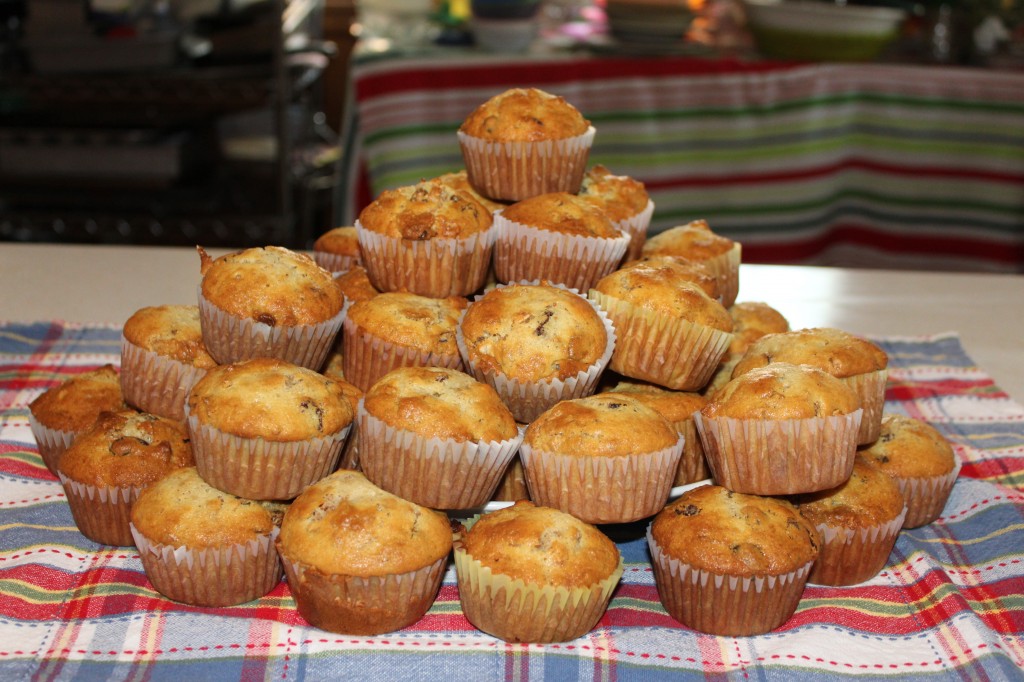
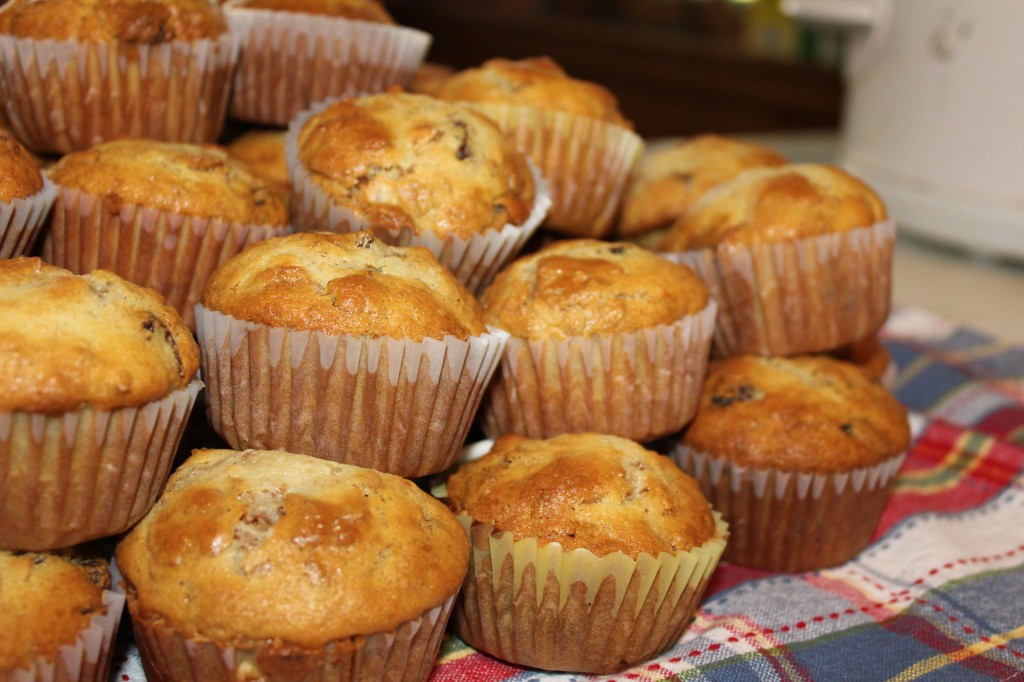
See, it really does make a bucket full of muffins!

Lets get started!

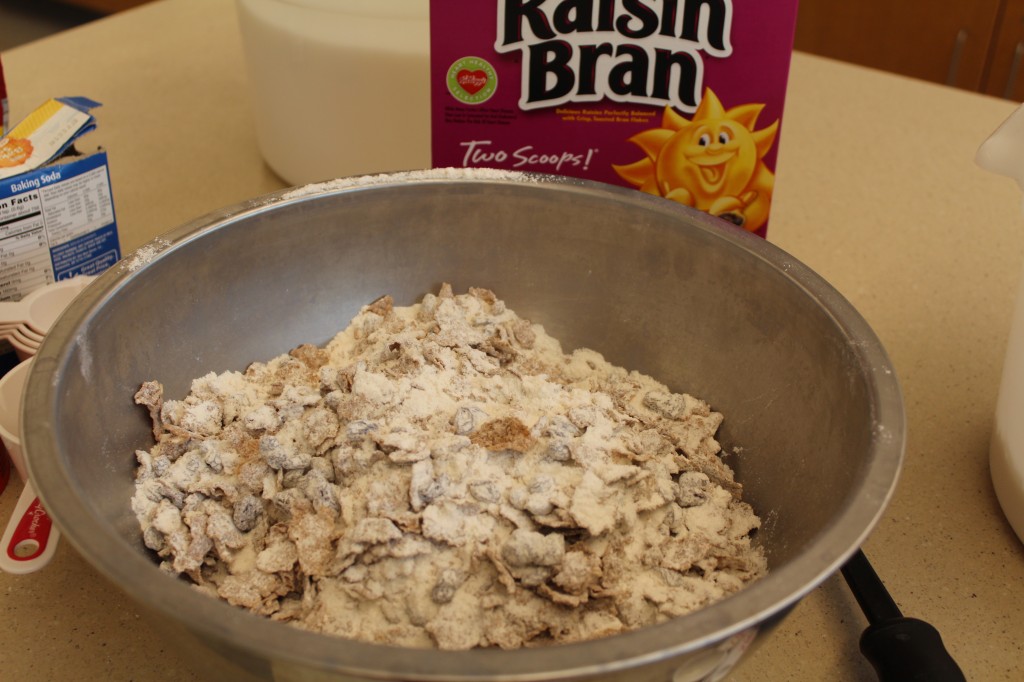
Can you tell I am making these at school? First thing you do is put all the dry ingredients together. This includes the flour, raisin bran cereal, sugar, more raisins, baking soda and salt.

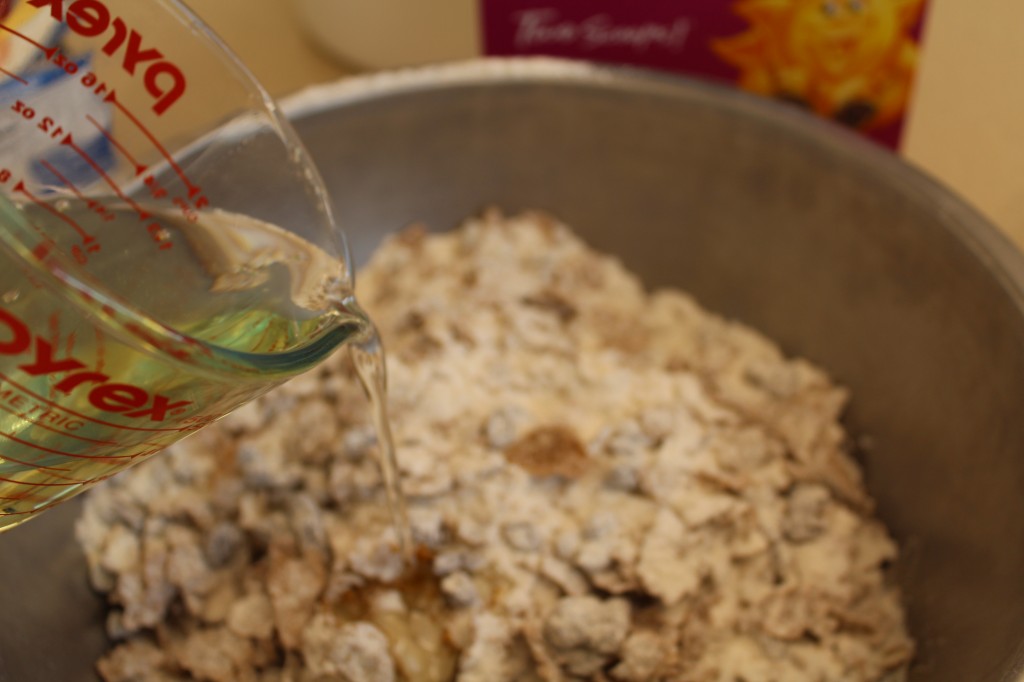
Add the oil.

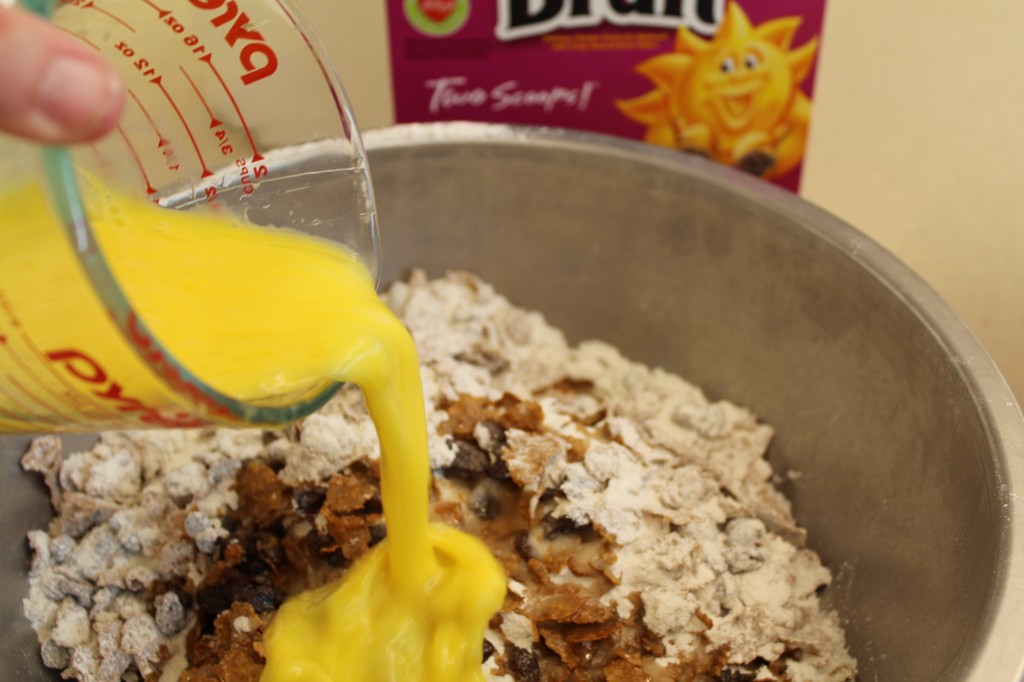
Add four beaten eggs.

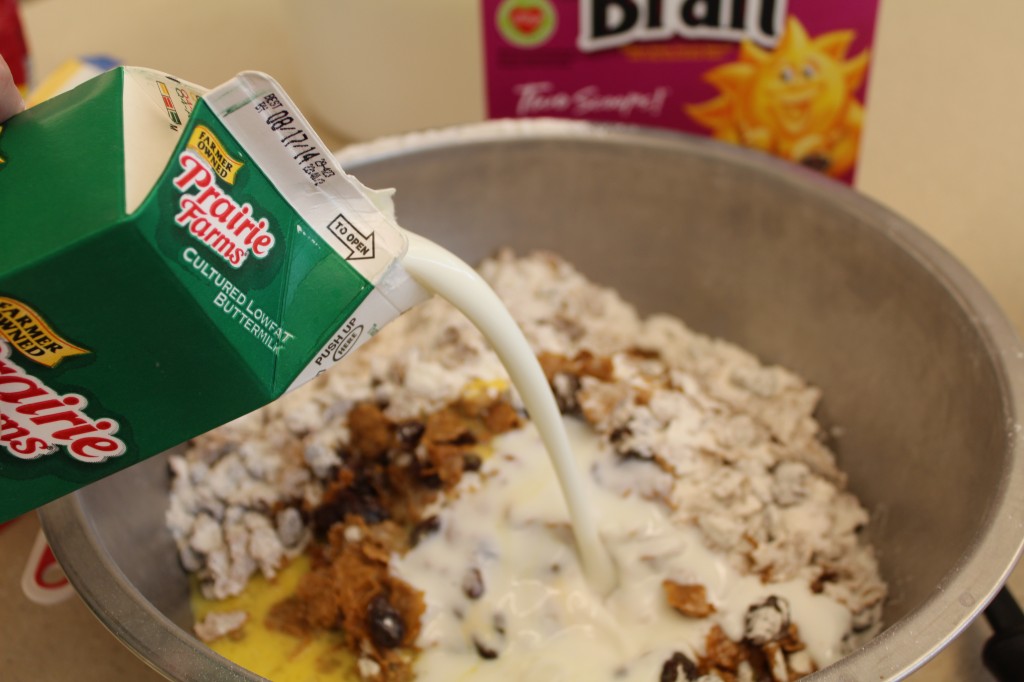
Add a whole quart of buttermilk.

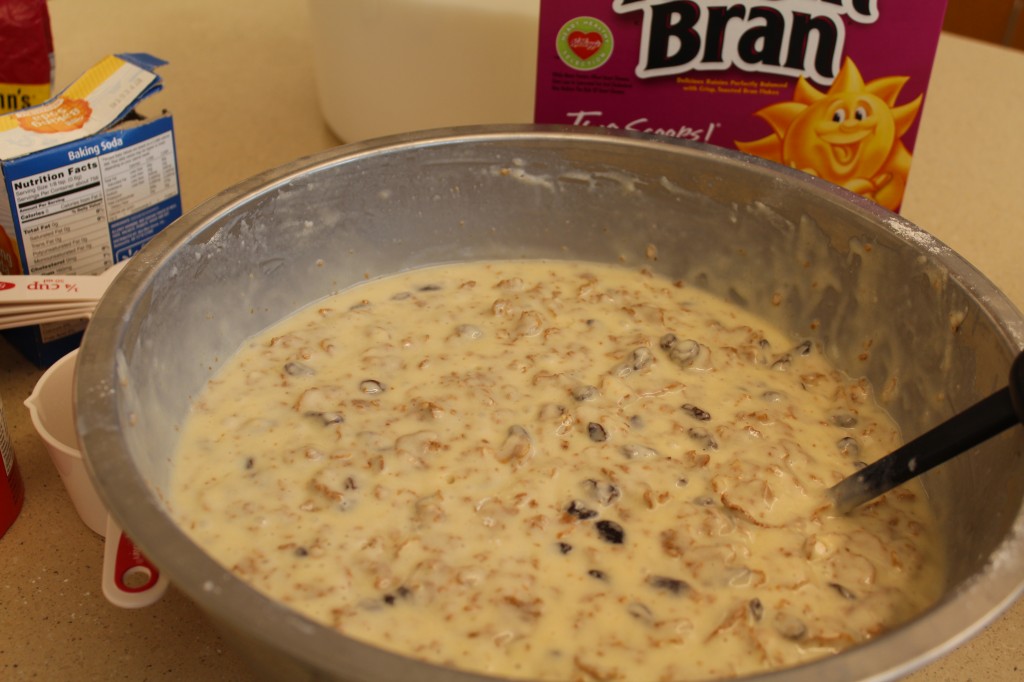
Mix together, but do not over mix because it will break down the raising bran cereal.

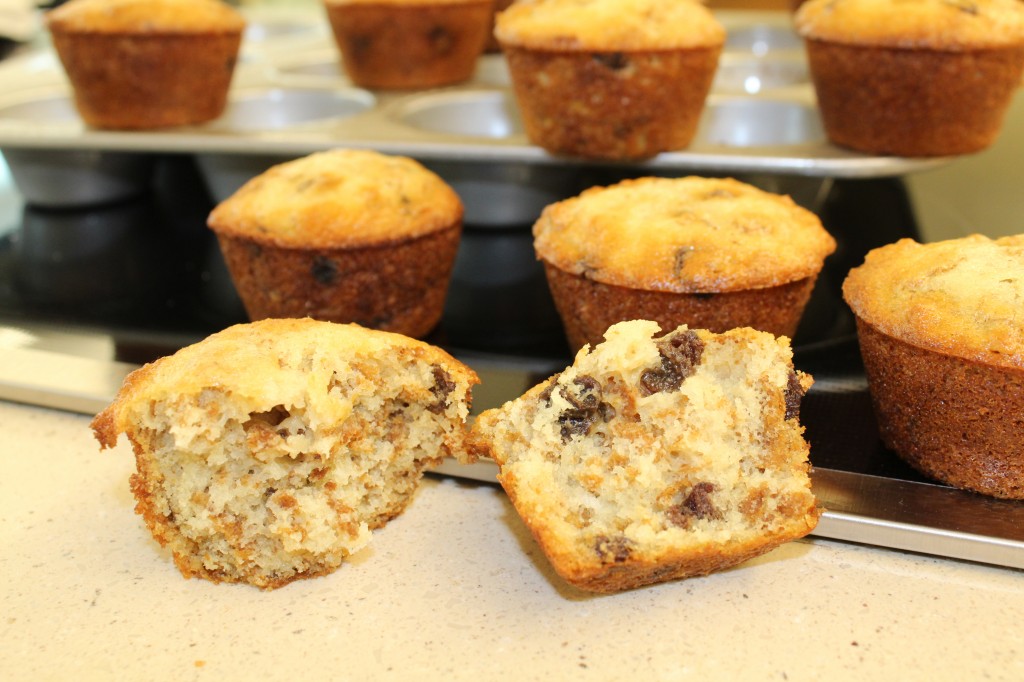
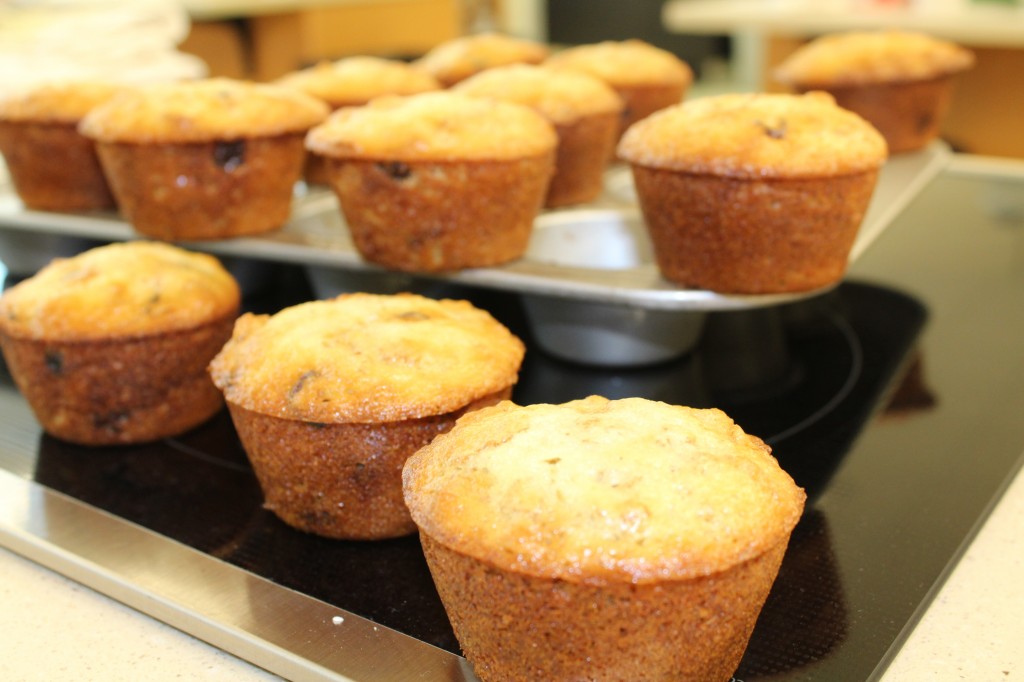
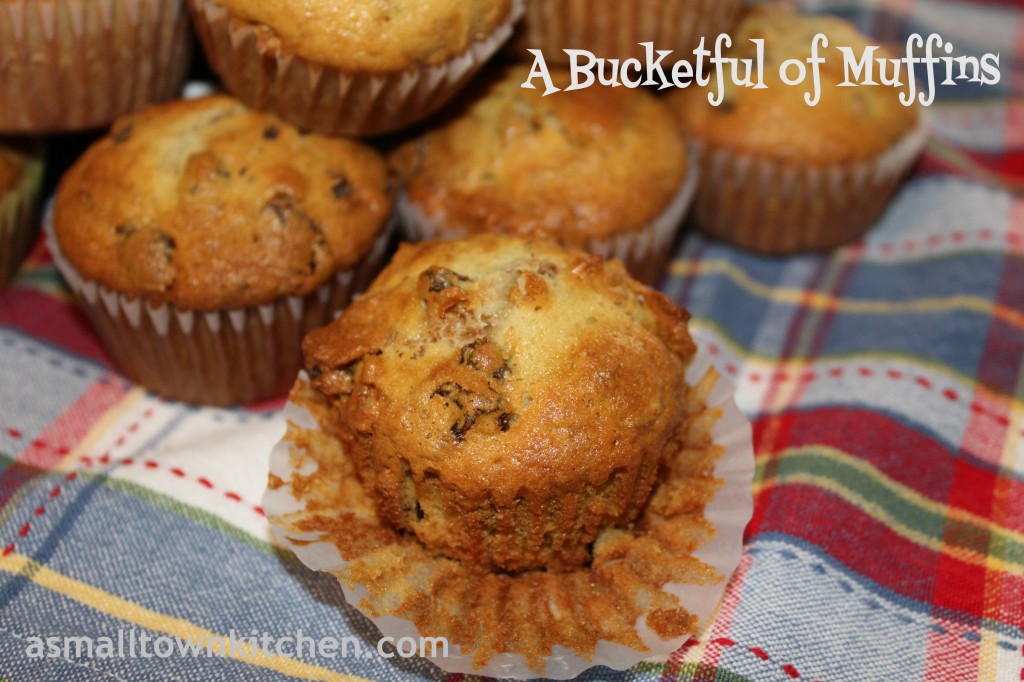
Bake muffins for 15 to 20 minutes in a 400 degree oven. I love the bits of cereal through the muffin.

The recipe says that the batter will last in the fridge for 4 weeks. If you can make yourself wait that long before eating all of them.

As you can tell I made the whole batch!

These muffins are moist and dense at the same time. I love all the raisins!

Hope you do too!

Becky

Here is the recipe:

Bucketful of Muffins

Adapted from a old church cookbook I found at Salvation Army

Ingredients:

Dry Ingredients:

1–15 ounce box Raisin Bran Cereal

5 teaspoons of baking soda

5 cup of all purpose flour

2 teaspoons salt

2 cups of raisins

3 cups of sugar

Wet Ingredients:

4 beaten eggs

1 cup of vegetable oil

1 quart buttermilk

Directions:

Mix all the dry ingredients in a very large bowl. Mix well. Add in the eggs, oil and buttermilk. Stir together but do not over mix and break down the cereal. If you are not baking all the muffins you can store in a covered container in the refrigerator. Do not stir any time after mixing the batter together.

Bake muffins as needed (or all of the batter like I did) in a 400 degree oven for 15 to 20 minutes.

Other post you may enjoy reading:


Taco Soup                                            Strawberry Bread                        Brown Sugar Meatloaf

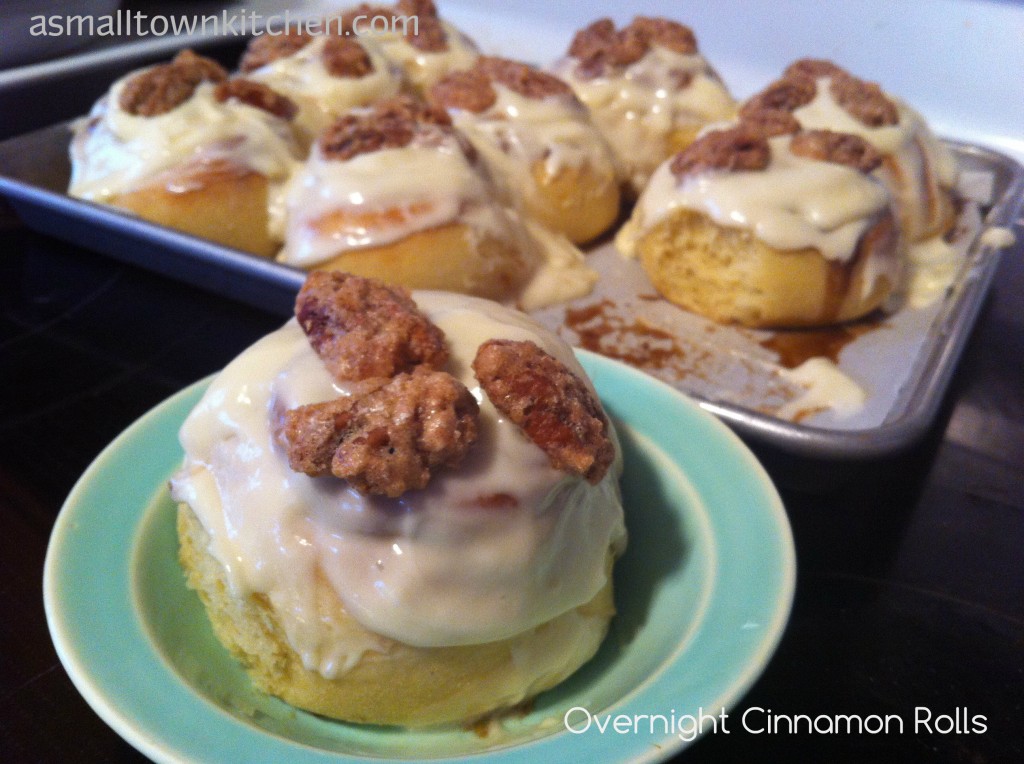
Overnight Cinnamon Rolls

Merry Christmas and Happy New Year!

I am finally in the upright position after having the flu for four days. I was pretty much in bed or pretending to feel well, walking and looking like a zombie, while baby college girl was home for Christmas. I think that Santa must have decided to give me the flu for Christmas instead of coal. Jeepers….I must have been a bad girl this last year ; )

Anywho, while I am still feeling good enough, I am going to finally post my overnight cinnamon roll recipe. I don’t know if you remember me talking about making over a hundred cinnamon rolls for the staff at my high school in December, but I had so many staff members wanting the recipe I thought I better get it posted in time for the new year. What better way to start 2014 than eating hot cinnamon rolls for breakfast, right? One of the best things about this recipe (besides the gooey icing) is that you can make them the day before, put them in the fridge overnight and bake them in the morning. I am using Alton Brown’s Overnight Cinnamon Roll recipe, with some changes and with a different, delicious cream cheese icing. From the viewers who made his recipe, some had a hard time getting the dough to rise. I have included the little tricks that I used and it worked for all 130 something cinnamon rolls. So come on, give them a try…who can resist warm cinnamon rolls.

Here is what you need to make these cinnamon rolls.
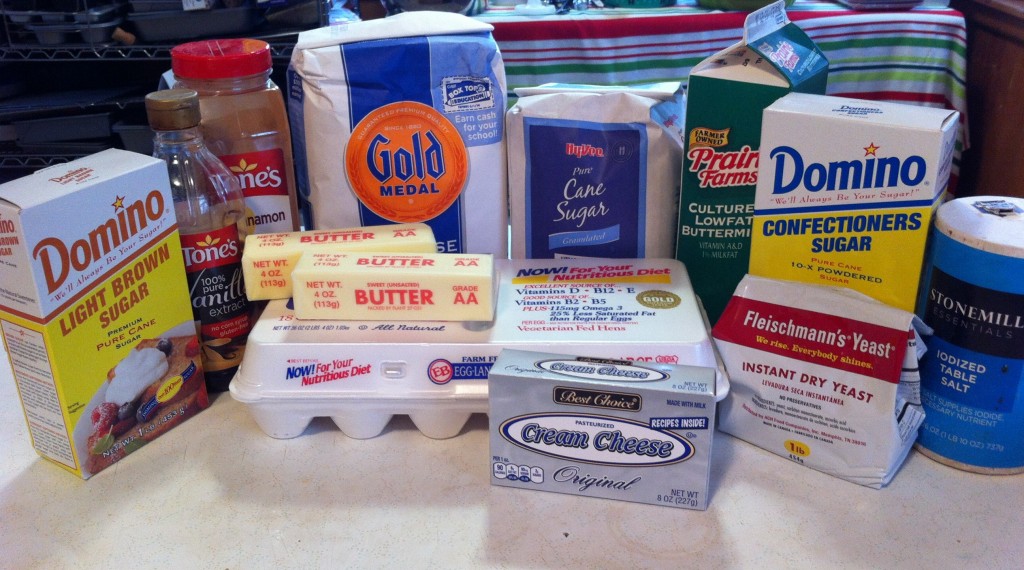
Make sure that your ingredients are at room temperature. This will help in the dough rising.
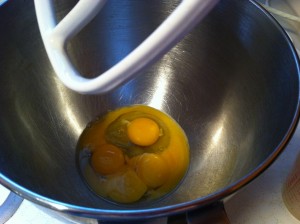
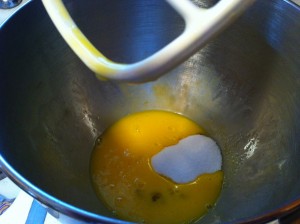
         

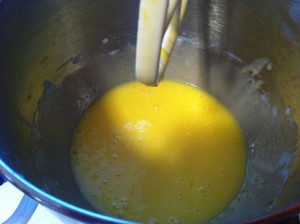
The first thing you need to do is put four egg yolks and one egg in a large mixing bowl. Next, add the sugar and combine.
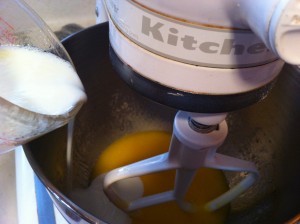
         

Next add the buttermilk. I warmed my buttermilk in the microwave for 3o seconds before I slowly poured it into the egg mixture. After, I mixed in the warm milk, I added the warm melted butter and combined everything together with the mixer.
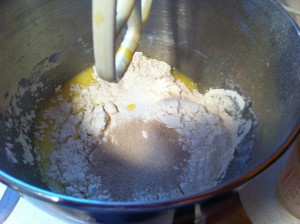
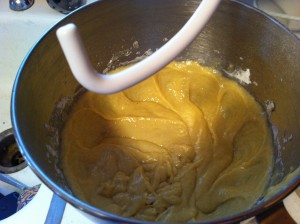
         

Now, add in two cups of flour, salt and the yeast. Use the paddle attachment to mix the dough until the flour and yeast is all mixed together. Now, take the paddle attachment off and put on the dough hook.
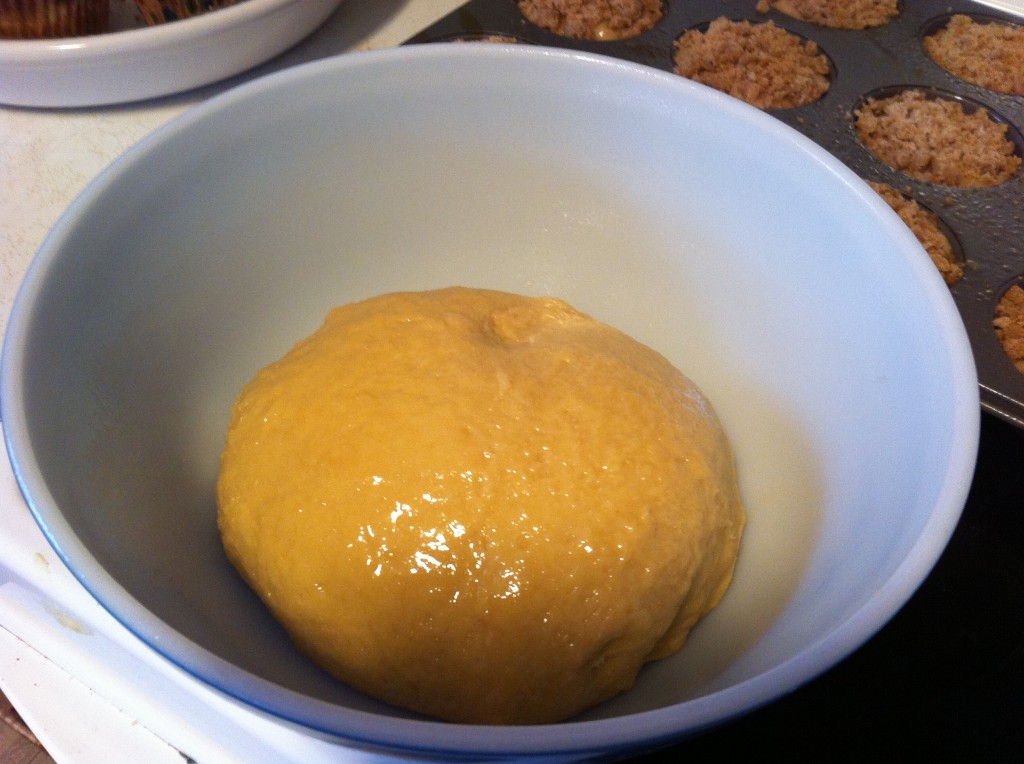
Add in enough flour to form a nice soft, slightly sticky dough. The amount of the flour depends a lot on how fresh the flour is. I just add about 1/2 cup of flour at time and when the dough starts pulling together with the dough hook, I just start tapping flour in a little at time until the dough cleans the sides of the bowl. You do not want to add too much flour because it can make your dough dry. When you dough is ready, use vegetable spray and spray a large bowl. Put the dough in the bowl to rise. I also spray the top of the dough so it does not dry out. I cover the bowl with a cloth and put the bowl in a warm place to rise.
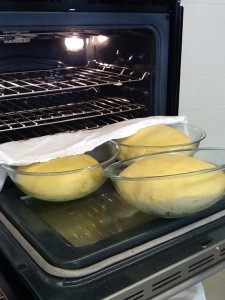
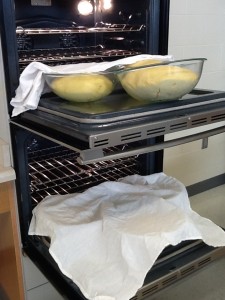
                  

Here is a picture of all the bowls of dough I had sitting on the oven doors to rise for the ones I made at school. I warmed the ovens up and then turned the ovens off. I sat the bowls on the oven doors with a cloth over them to rise. I felt like the dough needed the extra warmth to rise.
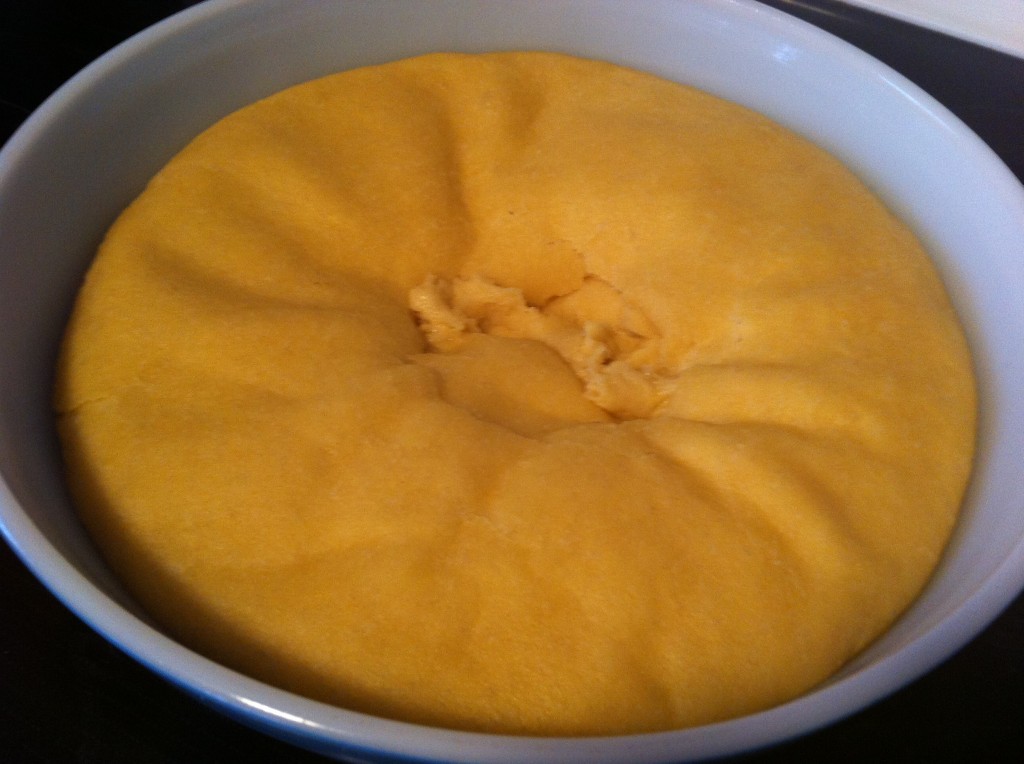
When the dough doubles in size (mine took about two hours), punch the dough down and get ready to roll the dough out.
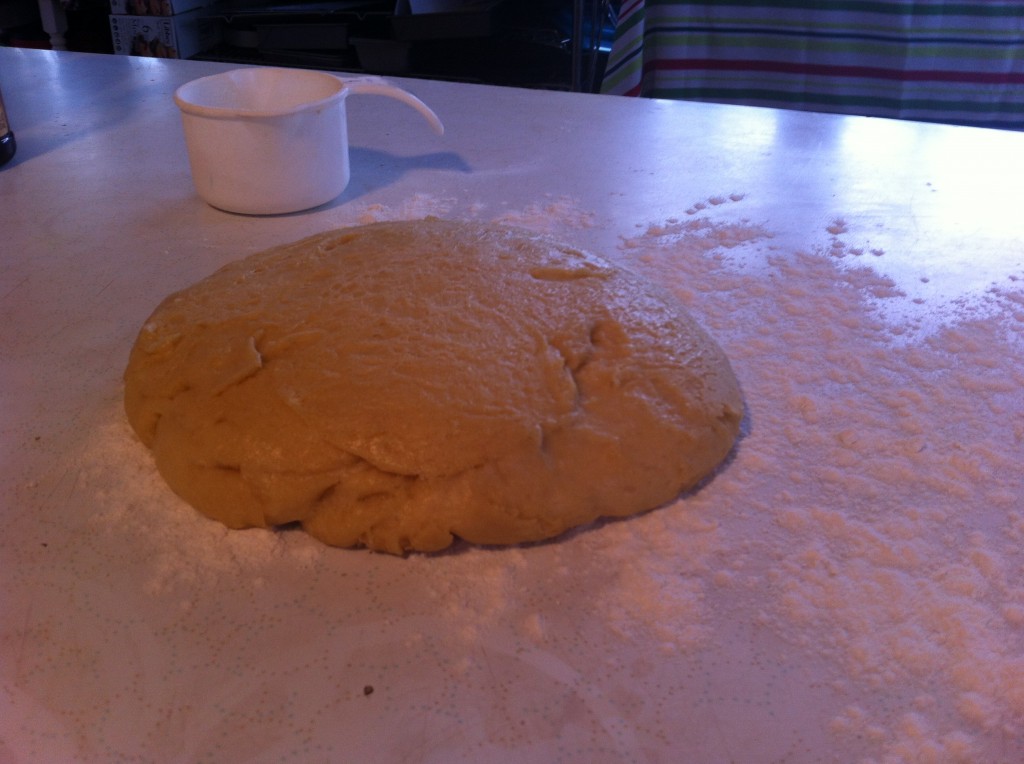
Lightly flour your counter top. Set the dough on top of the flour.
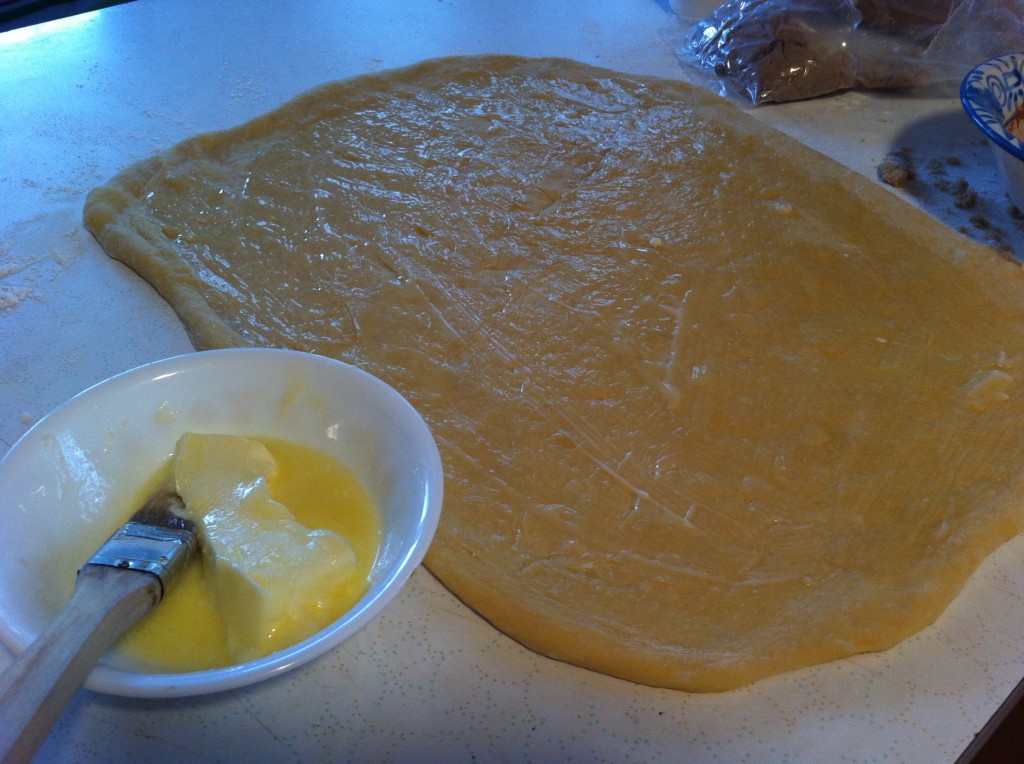
Roll the dough into a large rectangle about a 18 inch by 12 inch. Spread melted butter on top of the dough.
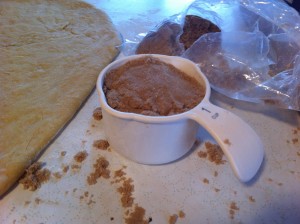
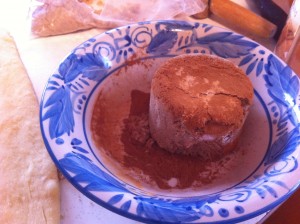
         

Measure out the brown sugar and the cinnamon and mix together.
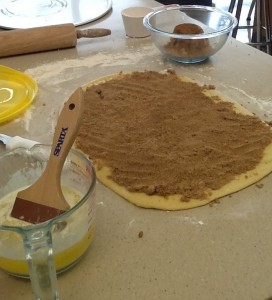
         

Spread the cinnamon brown sugar on top of the buttered dough. Starting with the long side of the dough, roll the dough up. Cut the dough into approximately 10 rolls.
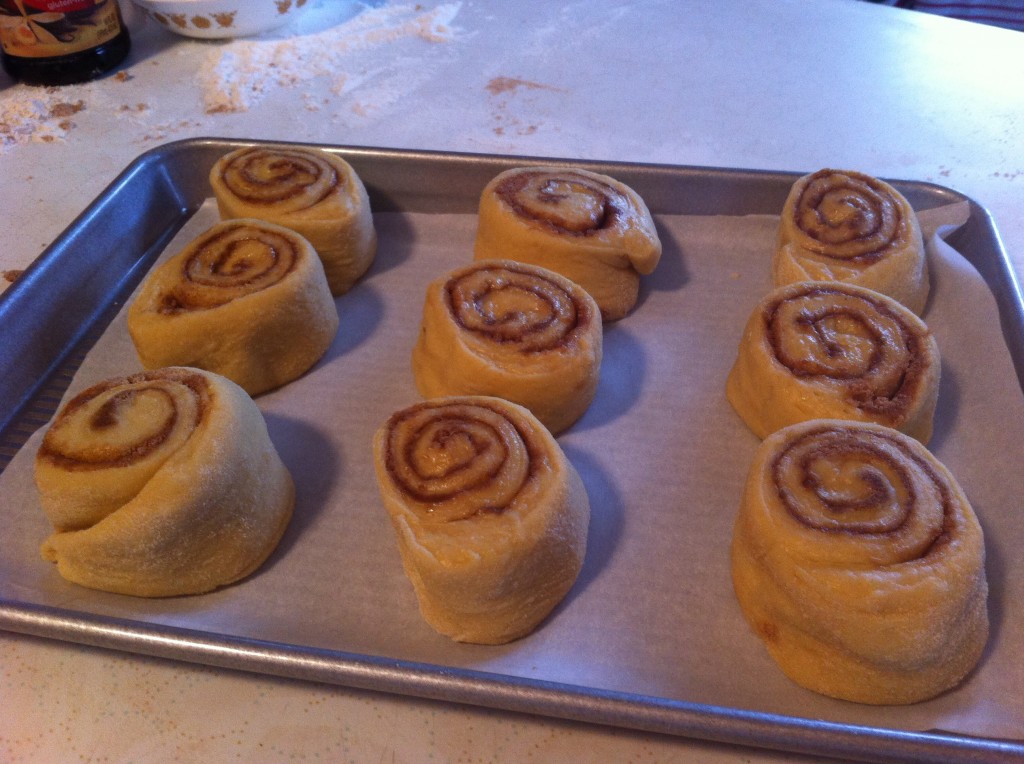
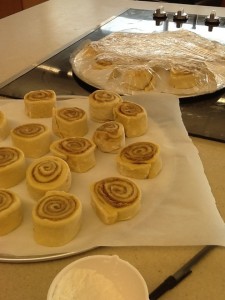
Set the rolls on a parchment paper covered cookie sheet. Cover with plastic wrap and put in the refrigerator until  you are ready to bake. When you are ready to bake, warm your oven to 200 degrees. Place the pan of rolls in the oven (take the plastic wrap off). Make sure to leave the door of the oven  ajar. Let the rolls rise for about 20 minutes. Take the rolls out of the oven and heat the oven up to 350. When the oven is preheated place the rolls back into the  oven and bake for about 20 minutes or until the inside of the roll is cooked through.
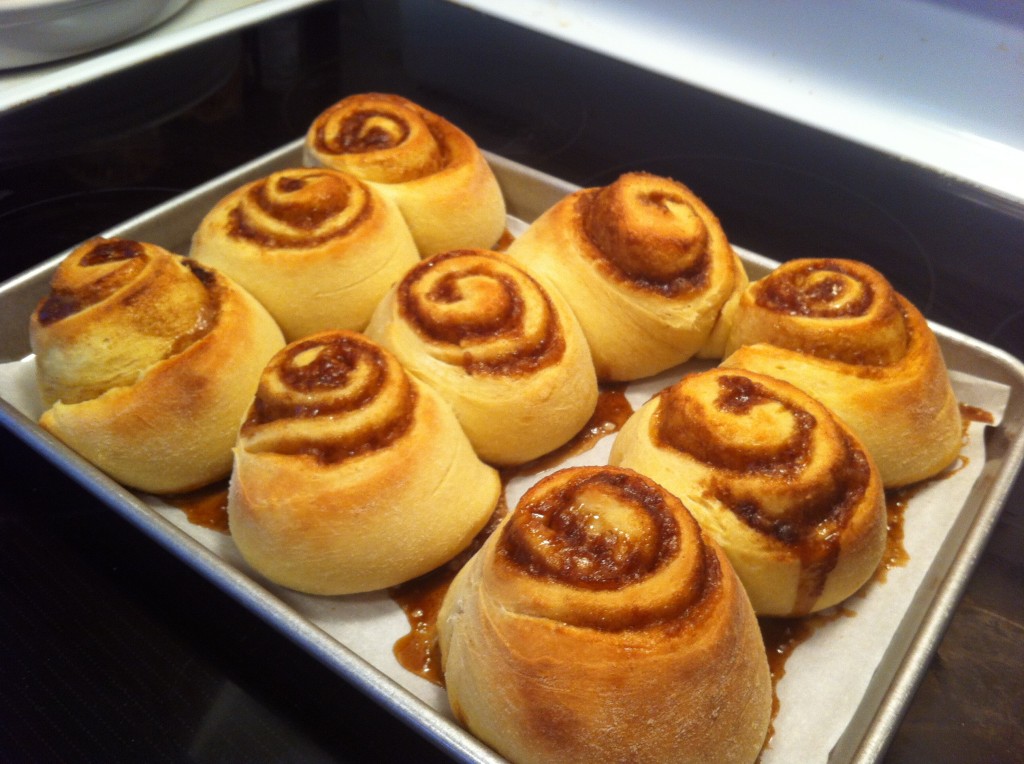
The rolls will pop up in the middle and brown sugar will start oozing out.
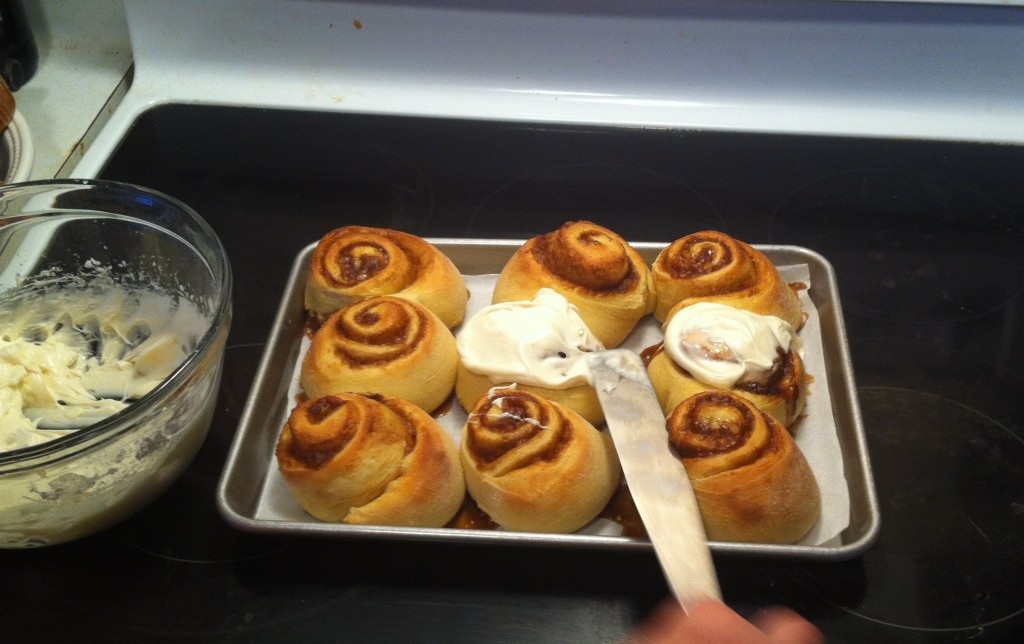
While the rolls are still warm, spread with the icing.
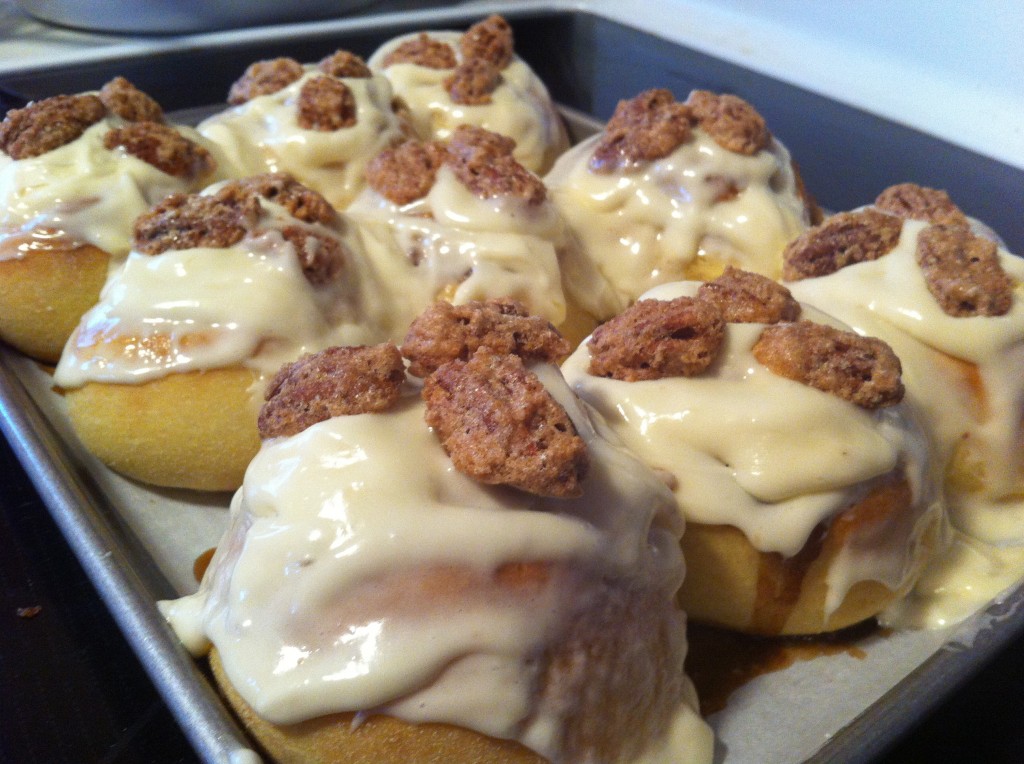
If you want, after you ice the warm cinnamon rolls you can top them with sugared pecans.

Here is how to make my favorite icing for the cinnamon rolls.
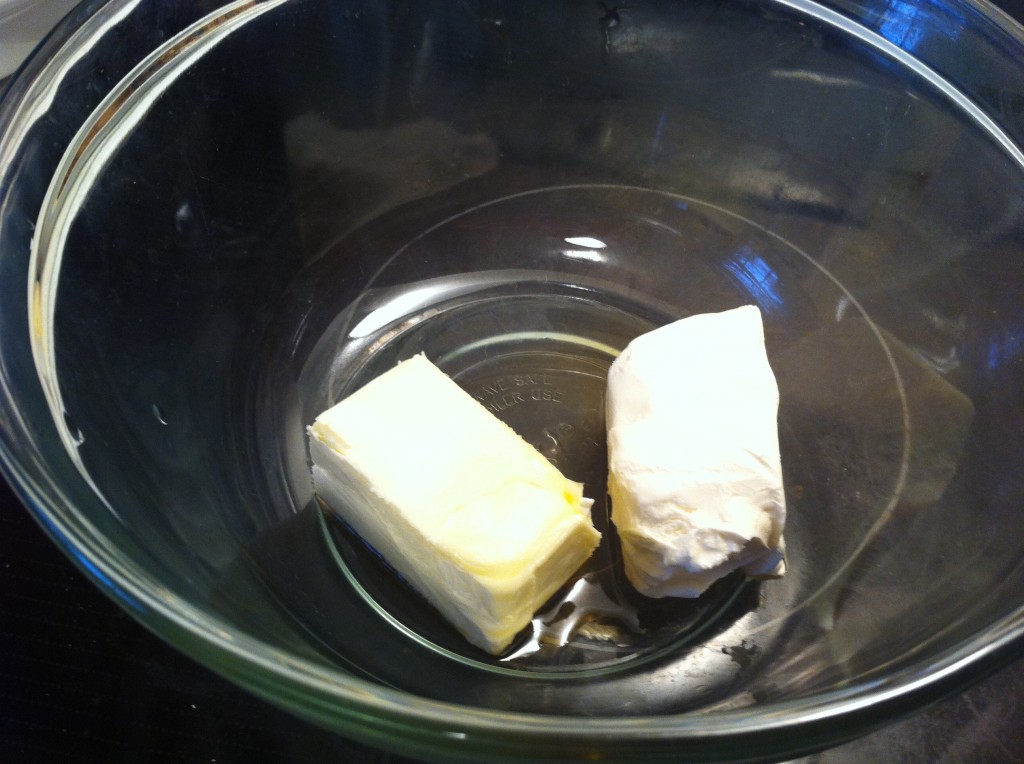
In a bowl add the soften butter and cream cheese.
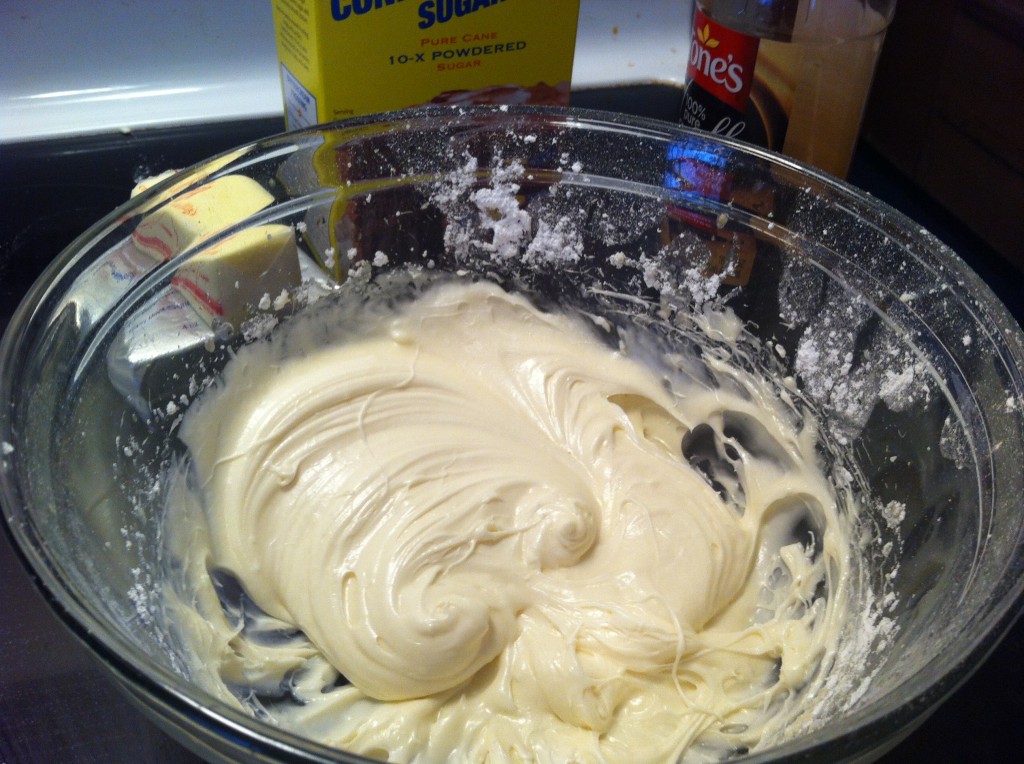
With a mixer, mix in the powdered sugar, warm water, vanilla and salt. You will end up with a bowl full of creamy icing.

Here is the recipe:

Overnight Cinnamon Rolls

Recipe adapted from Alton Brown

Ingredients:

4 large egg yolks: room temperature

1 large egg: room temperature

1/3 cup sugar

6 tablespoons melted butter

3/4 cup of buttermilk, warmed slightly in the microwave

Approximately 4 cups of flour: you may not use the total amount

1 package of instant dry yeast or 2 1/4 teaspoons

1 1/4 teaspoons salt

Vegetable spray

Filling:

1 cup packed brown sugar

1 tablespoon ground cinnamon

Melted butter: enough to brush on the dough approximately 2 tablespoons

Icing:

4 tablespoon butter, softened

2 ounces cream cheese, softened

1 1/2 cups powdered sugar

2 tablespoons warm water

1/2 teaspoon vanilla extract

1/4 teaspoon salt

Directions:

In a stand mixer with the paddle attachment, combine the egg yolks, egg, sugar, butter and buttermilk. Add 2 cups of flour along with the yeast and salt. Combined until all the flour is incorporated. Switch to the dough hook attachment. Add 1 cup of flour and  knead for 5 minutes. Add more flour until the dough cleans the sides of the bowl. The dough should be soft and moist. Spray a large bowl with vegetable oil. Take the dough out of the mixing bowl and transfer to the large bowl. Lightly spray the top of the dough with the oil. Cover and let rise in a warm place (I used a warm oven door) until the dough doubles in size. It took mine about 2 hours.

Combine the brown sugar, cinnamon and salt in a medium bowl.

Turn the dough out onto a lightly floured work surface. Roll the dough into a rectangle about a  18 by 12 inch rectangle. Brush the dough with melted butter. Sprinkle the dough with brown sugar and cinnamon. Leaving a edge on one side to use later to seal the rolled dough together. Press the brown sugar on to the dough. Beginning with the long edge, roll the dough up. Seal the edge together. With a serrated knife, slice the dough into 10 to 12 cinnamon rolls. Arrange on a cooking sheet, lined with parchment paper.  Cover the rolls with plastic wrap and refrigerate overnight.

In the morning, remove the rolls from the fridge and place in a warm 200 degree oven. Be sure and take off the plastic wrap. Turn the oven off and leave the door ajar. Let the rolls rise and proof for 20 minutes or until the rolls look slightly puffy. Take the rolls out of the oven.

Preheat the oven to 350 degrees.

When the oven is preheated, place the rolls in the preheated oven and bake until the rolls are golden brown. While the rolls are baking, make the icing. When the rolls come out of the oven, let them cool slightly. After the rolls have cooled, ice with the icing and serve.
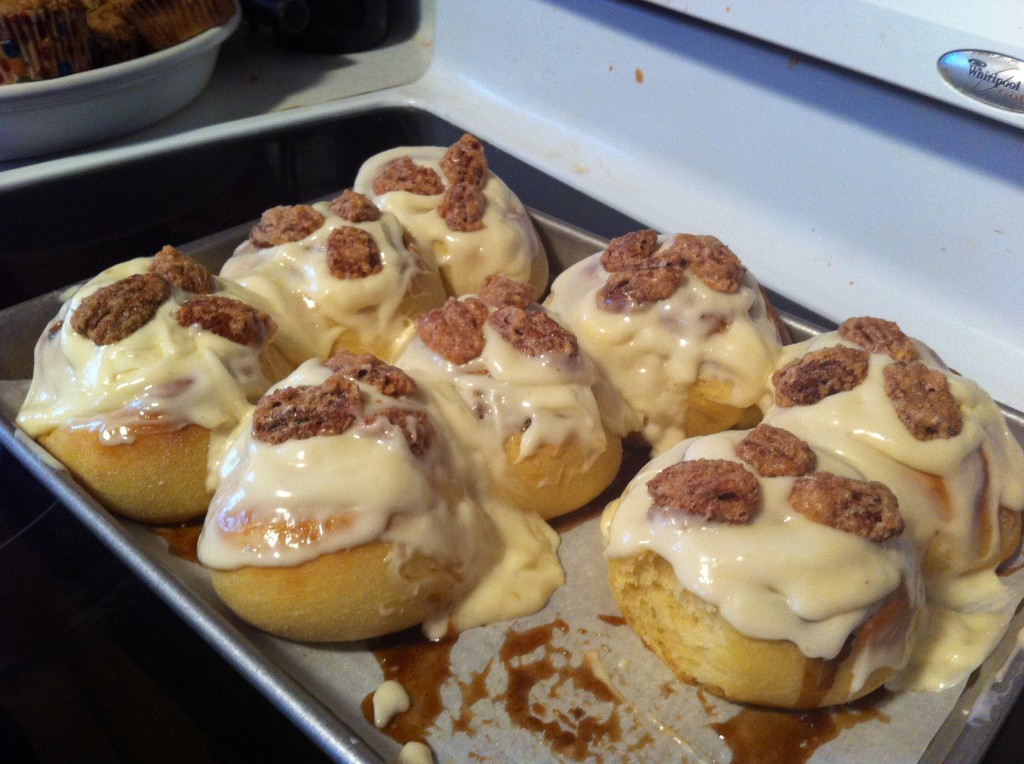
Before, I finish this post, I wanted to thank all the teachers who came to my rescue the morning I was making all those cinnamon rolls.
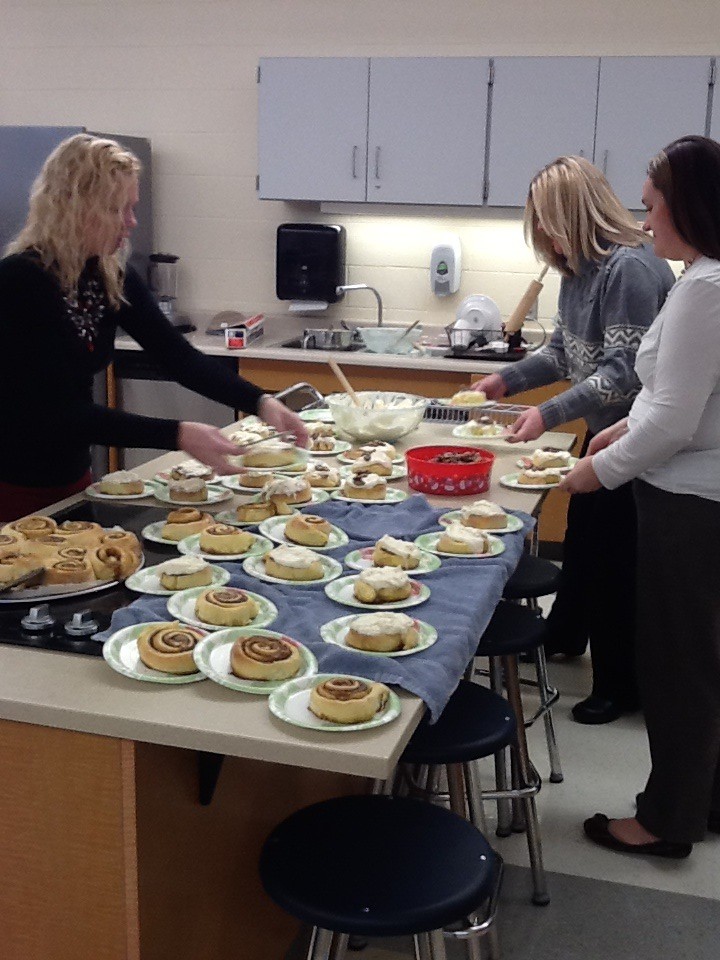
Does it look like we are having fun!!!
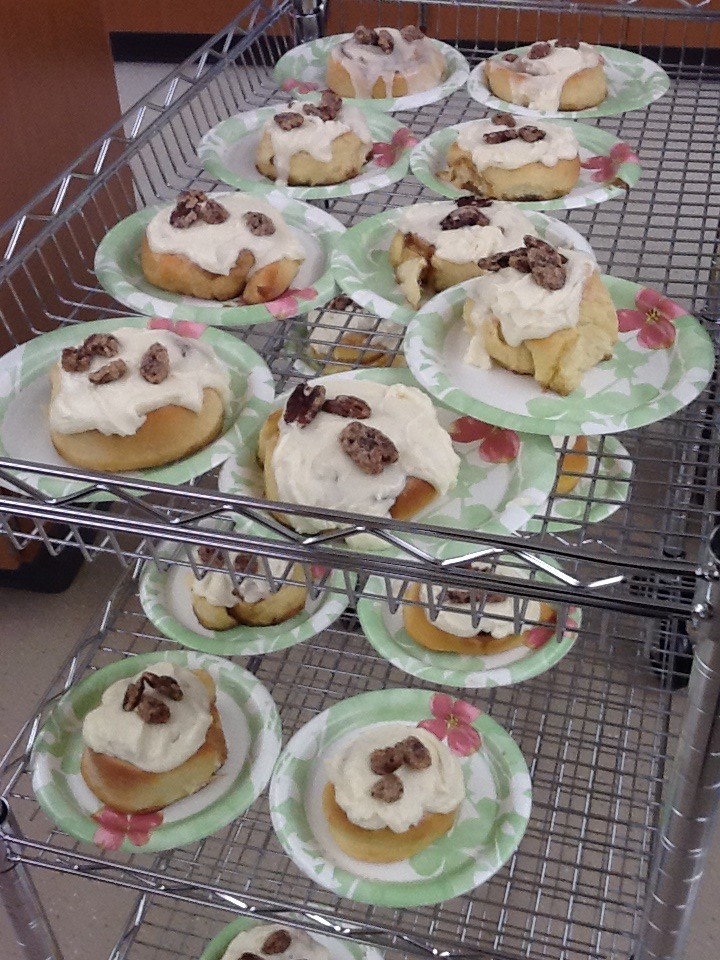
Don’t worry, you don’t have to make this many….not unless you have a really big family.

Enjoy!

Becky

Other Posts you may enjoy:
 

Buttermilk Pecan Pancakes
 

Day in the Kitchen

Today was the first time I had my kids at school cook something that was actually part of my classwork.

Yesterday, I put the students in kitchen groups, or I should say they put themselves in kitchen group,s that I had to approve. They got to explore a little bit in the kitchen they where assigned too, to see where everything is located. It did not take long until they had to inform me that they already knew where everything was.

Funny how they thought the big upright freezer was a refridgerator.

Whatever….  : D

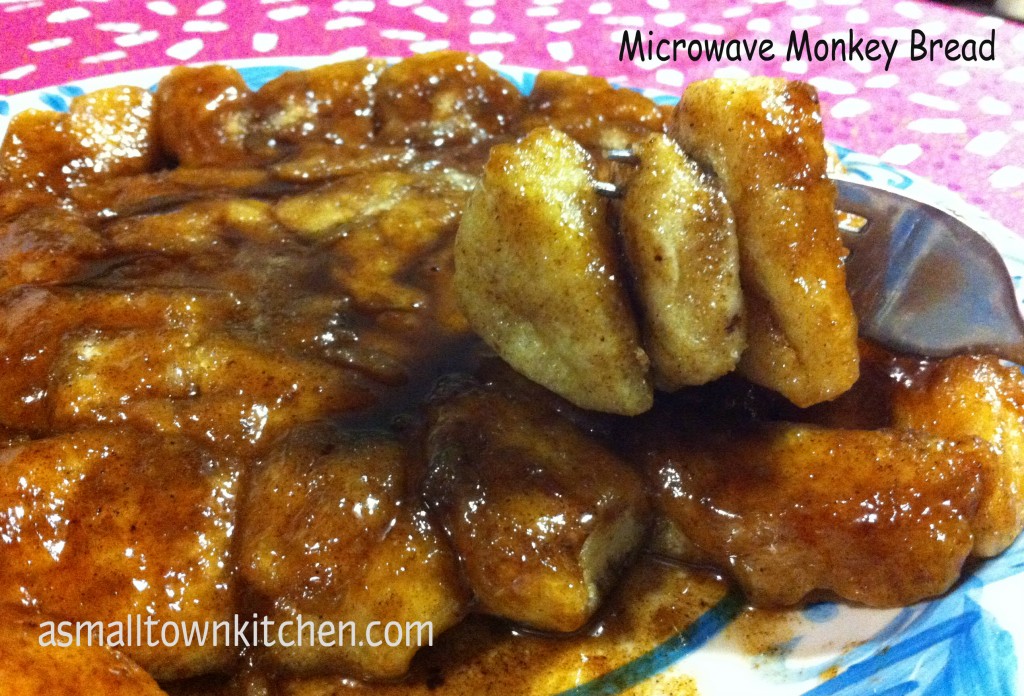
I got up early this morning; and by the way it was freezing outside; and made my way to the closest grocery store to buy the ingredients for microwave monkey bread. Microwave monkey bread is always the first cooking lab I do with my students. One of the main reasons is that it is so easy.  |It is also not expensive to make and the students love it. They love it so much, they did not even offer me a one little nibble all day. So much for getting up early on a freezing day to earn a bite of monkey bread.

I decided I would come home and make a batch that I could keep all to myself.

Right now it is hiding in the microwave. It is still warm, and gooey and cinnamony….. Please don’t tell oldest daughter who does not cook. She loves anything with cinnamon in it.

I am not sure where I got this recipe, or where I found this recipe, but I have been using it for years and years. I like to find recipes that my students are able to make at home, with ingredients that they probably already have.

If you need a super easy, super lip smacking, super fast treat on a Snow Day morning (all teachers dream of snow days), or any morning, you should  give this recipe a try!

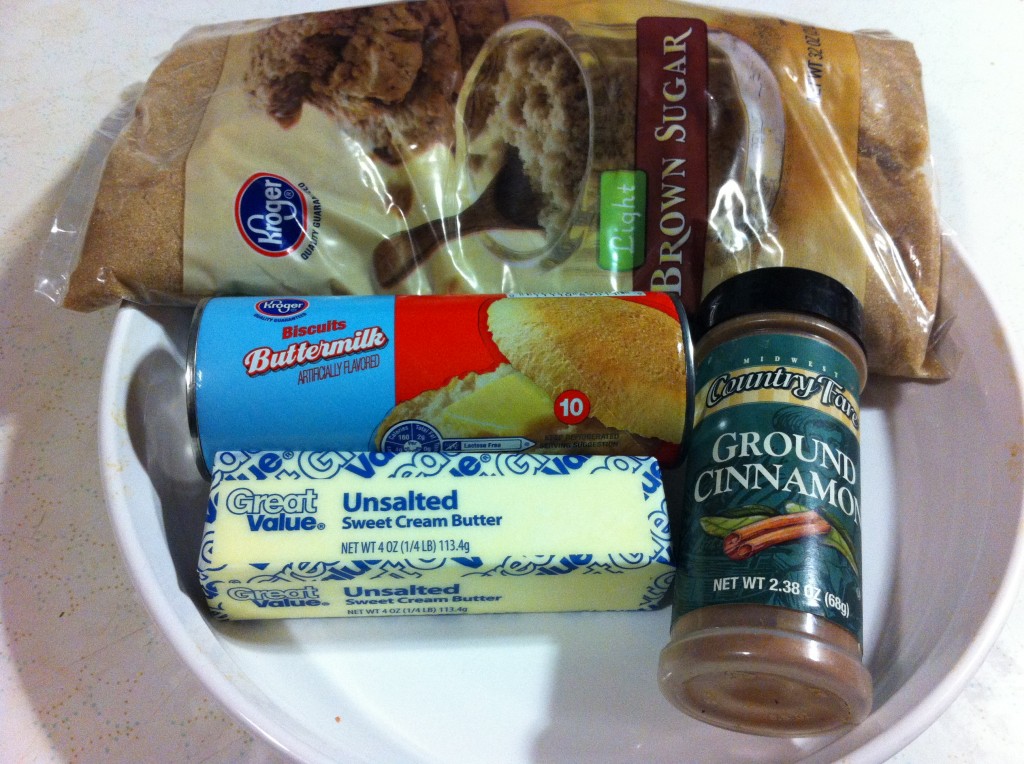
This is all you need! How cool is that?

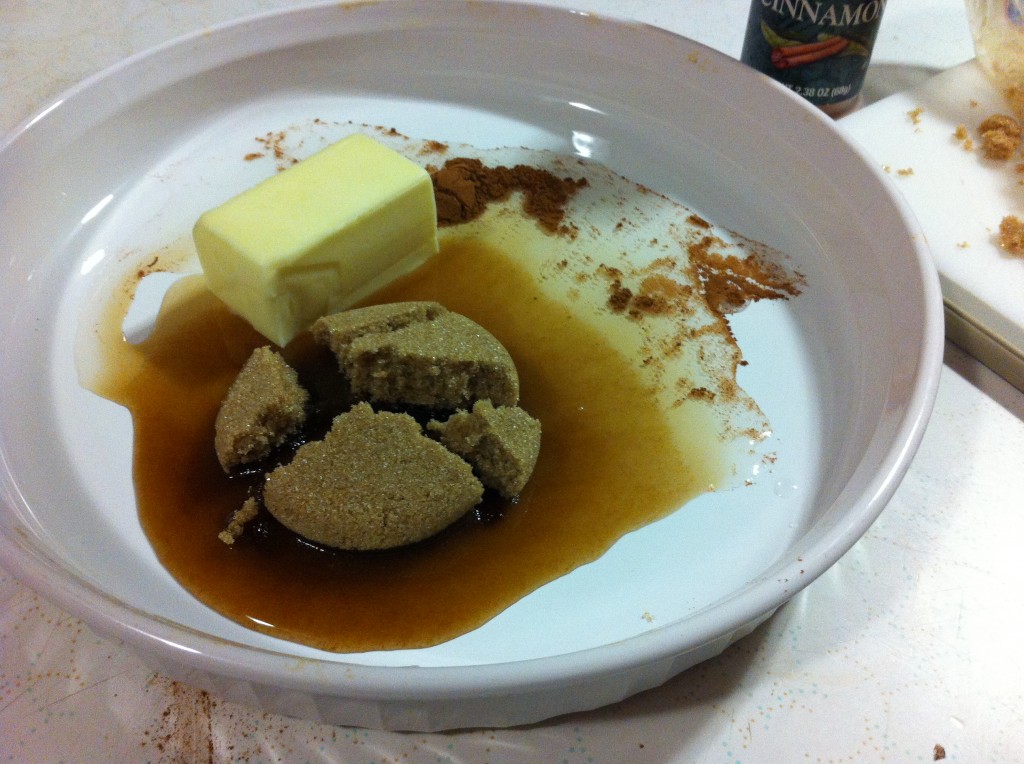
First thing you do is, melt 1/4 cup butter or margarine, 2 tablespoons of water, 1/2 cup of brown sugar and 1/2 teaspoon of cinnamon together in the microwave.


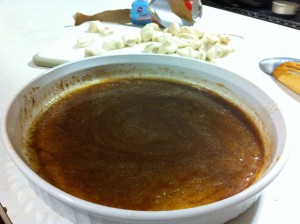
This is what it looks like melted.                                      This is what it looks like stired together


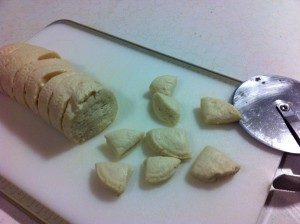
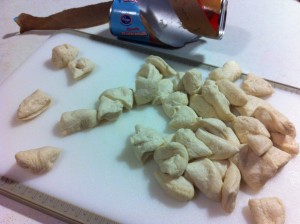
On a cutting board, using a pizza cutter (I found that it works the easiest) and cut each biscuit into four pieces.


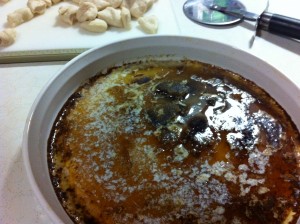
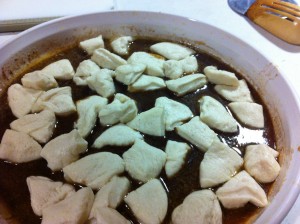
Put all the little pieces of biscuits in the brown sugar and butter sauce. Stir to coat each piece.


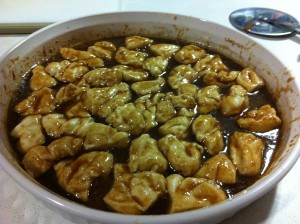
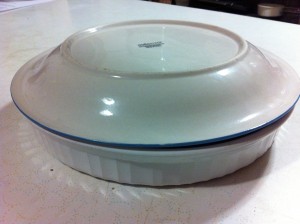
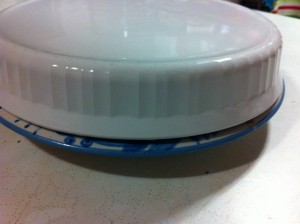
Cook for three minutes in the microwave. Take it out of the microwave and let it stand for 2 minutes. Place a plate over the top of the pan and invert.

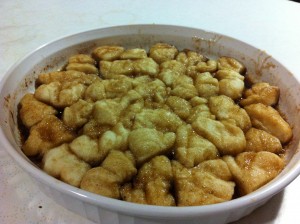
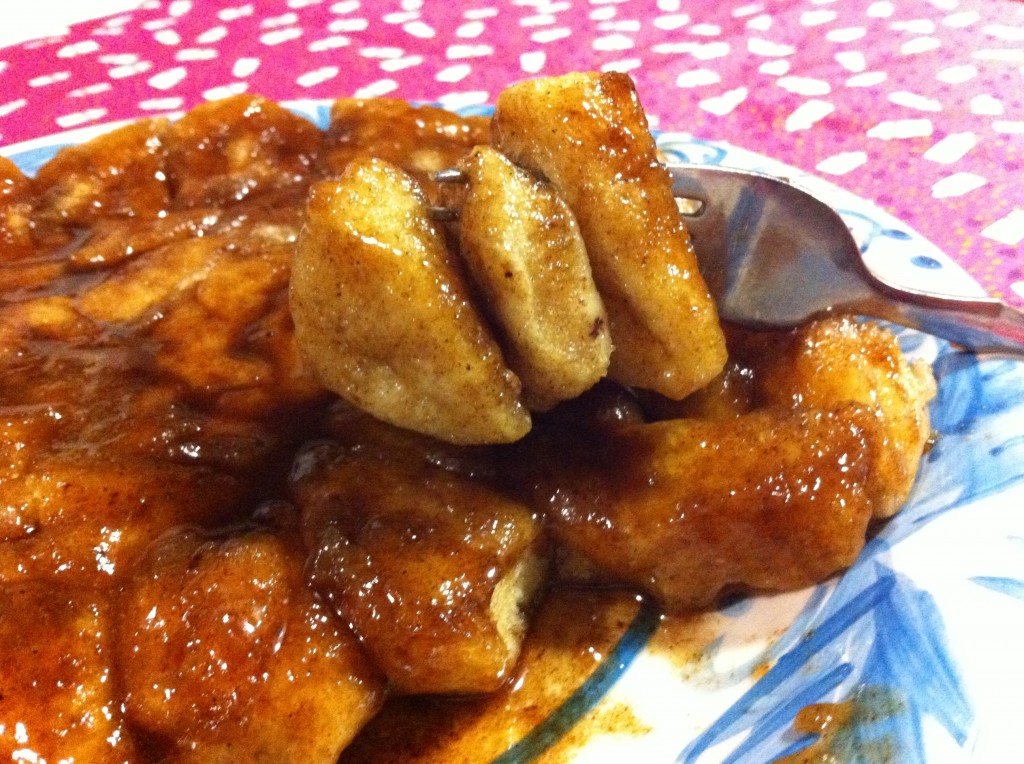
Invert the monkey bread onto a plate.

Grab a fork super quick and grab a bite, because they will not last long!

In fact, that is where I am heading.

Right to my golden, gooey, globs of deliciousness hiding in the microwave.

I just need to find a fork!

Enjoy,

Becky

Microwave Monkey Bread

Ingredients:

1/4 cup of margarine or butter

1/2 cup of brown sugar

2 tablespoons water

1/2 teaspoon cinnamon

1-7.5 ounce can of refrigerator biscuits (10 small biscuits)

Serves 4

Directions:

In a round microwave safe dish, melt the butter, brown sugar, water and cinnamon on high for 45 seconds. Place a lid on the dish to prevent splattering.

Cut each biscuit into 4 pieces. Place the biscuits into melted brown sugar and butter sauce. Stir to coat each piece of biscuit.

Cook biscuits in the microwave on high for 3 to 4 minutes or until the biscuits are cooked. remove from the microwave with potholders. Let the bread sit for one minute to allow the sauce to thicken. Place a plate over the pan and turn monkey bread over onto a plate to serve.


Mountain Dew Dumplings

A couple of weeks ago we had all day teachers meeting at schools. Teachers went to different meetings across the district to discuss different topics. The next day we all went back to our home school and compared notes on our meetings. My meeting provided a small breakfast consisting of bagels and juice but we got a free catered in lunch wowza……I think they were afraid for us to leave and eat lunch : ). One of my friends at my home school Jen, said they had beautiful breakfast casseroles made by the staff and brought in for breakfast. They got to leave and have Mexican for lunch. They must have looked a little more trustworthy to come back after lunch!

Anywho……I asked Jen what she made to bring in and she said, “Mountain Dew Dumplings.” I like the sound of dumplings, but Mountain Dew? I was intrigued. She said it was her mom’s recipe and her mom even came over to help her make it. When they were about half way making the first batch she not so politely told her mom, “I am not taking these things to school. ”

Wow! She was a disbeliever!

Her mom was not worried and assured Jen that if she didn’t like the first batch they would  make something else to take.

Relief!

But, here is what happened. They made the first batch, had a little taste. It was a spoonful of sweet, buttery goodness with a side of apples.

Jen told me they went ahead and made two batches to take to school and she did not bring home a single crumb home.

I had to try this recipe!

When I came home with a 2 liter bottle of Mountain Dew my two oldest kiddos got real excited! It was not diet and it had caffeine…..I knew I better make this recipe fast or I would have to buy another bottle of Mountain Dew.

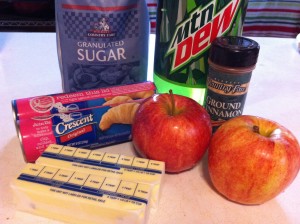
This is all you need for a whole pan of dumplings. I used honey crisp apples because I was buying a bag of apples and they are oldest daughters favorite.

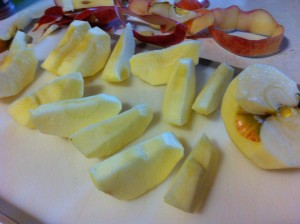
Peel and core 2 apples, cutting each apple into 8 wedges.

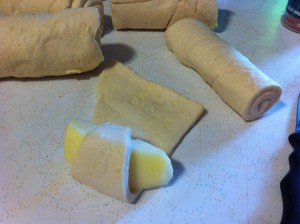
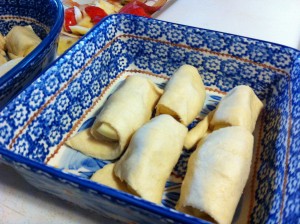
Wrap each apple wedge with a crescent roll.


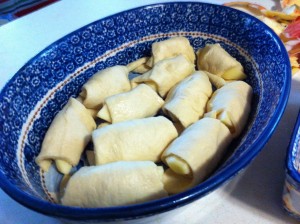
I wanted some for my family and another dish for a friend that just had surgery. So, I used two pans. If you want them all in one pan, no problem. Just use a bigger pan then I did.


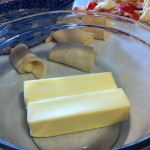
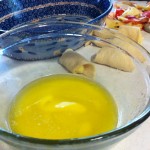
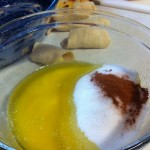
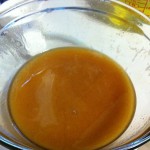
Get out two sticks of butter and melt them in the microwave. Add sugar and cinnamon.


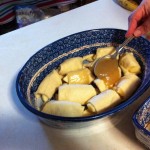
Stir the butter, sugar and cinnamon together and spoon over the dumplings.


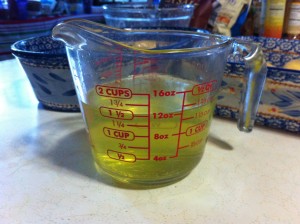
Measure out the Mountain Dew and pour over the dumplings.


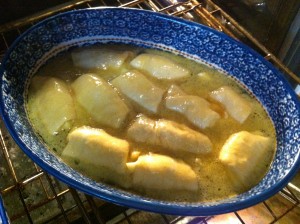
Place them in a preheated 350 degree oven for 45 minutes.

Check the dumplings and make sure they are thoroughly cooked but not overly brown on top.

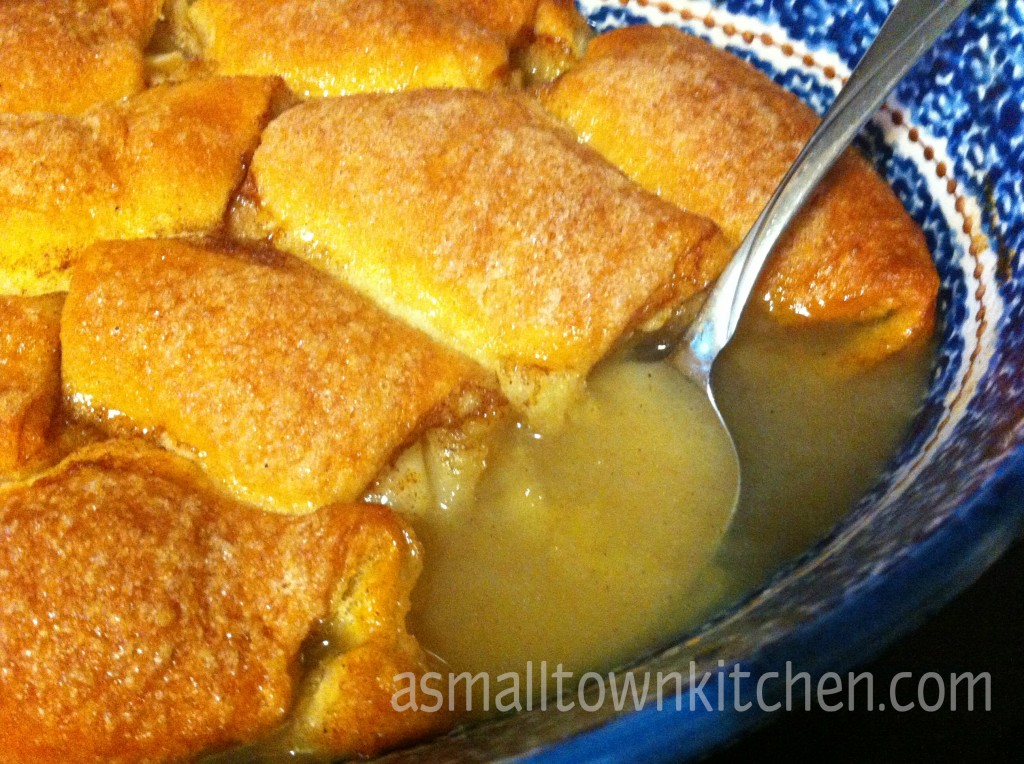
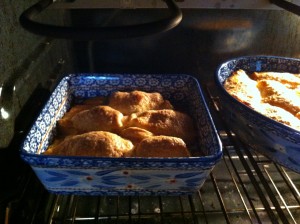
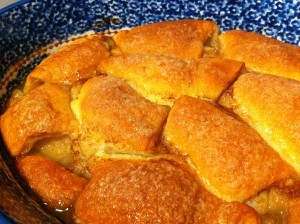
These are mine right after they came out of the oven.

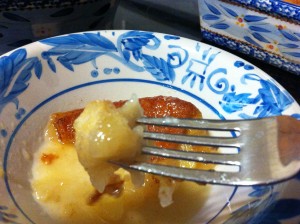
Here is a warm dumpling. These are great for breakfast but I can see adding  scoop of ice cream and having it for dessert.!

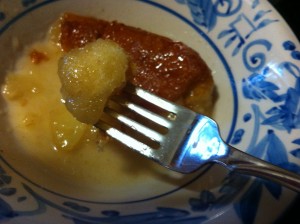
Here is my first bite.

Suddenly…..I heard Davy Jones from the Monkeys singing in my ear.

I thought love was only true in fairy tales
 Meant for someone else but not for me
 Love was out to get me
 That’s the way it seemed
 Disappointment haunted all my dreams
 
Then I tasted this dumpling,
 now I’m a believer
Not a trace of doubt in my mind
I’m in love,
I’m a believer
I couldn’t leave it if I tried!!!!
 
YOU will be a believer too!!
 
Enjoy,
Becky
 
Mountain Dew Dumpling
Ingredients:
2 cans crescent rolls
2 apples peeled and cut into 8 wedges
2 sticks butter
1 1/2 cups of sugar
1 tsp cinnamon
1-12 ounce can of Mountain Dew
 
Directions:
Wrap each apple wedge with a crescent roll from large to small end.
Spray pan with non stick spray
Melt butter and add sugar and cinnamon
Drizzle over the dumplings.
Pour Mountain Dew over the dumplings.
Bake at 350 degrees for 45 minutes


Related Posts Plugin for WordPress, Blogger...