Mark Your Calendars! Some Chick laid an Egg!

I have been on “egg alert” for a few weeks now. I know that all the books said that chickens do not start laying eggs until they are 5 months old.

But My little chicks, are over achievers.

I just knew that I would get an egg before they were 20 weeks old.

And guess what?

I did!

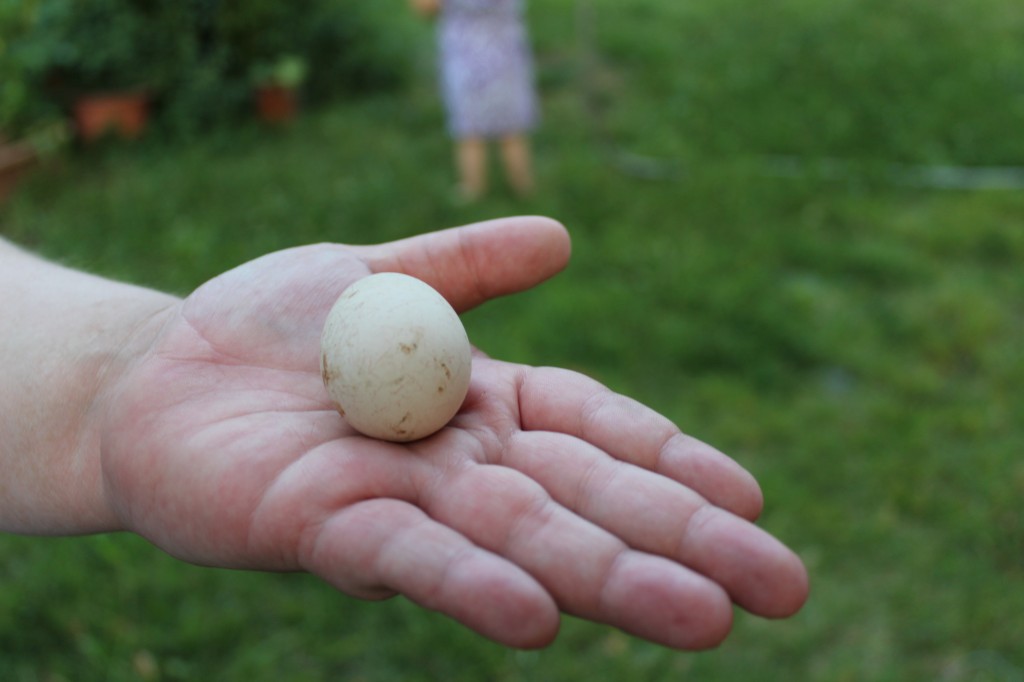
One of them laid a egg at 19 weeks and 5 days old. : )

My very first, urban chicken egg! (you would think I laid it myself, I am so proud)!

I would not have seen it if Oldest Daughter Who Does Not Cook  was not in, “Urban Chicken Keeping” training.

I will tell you the whole story!

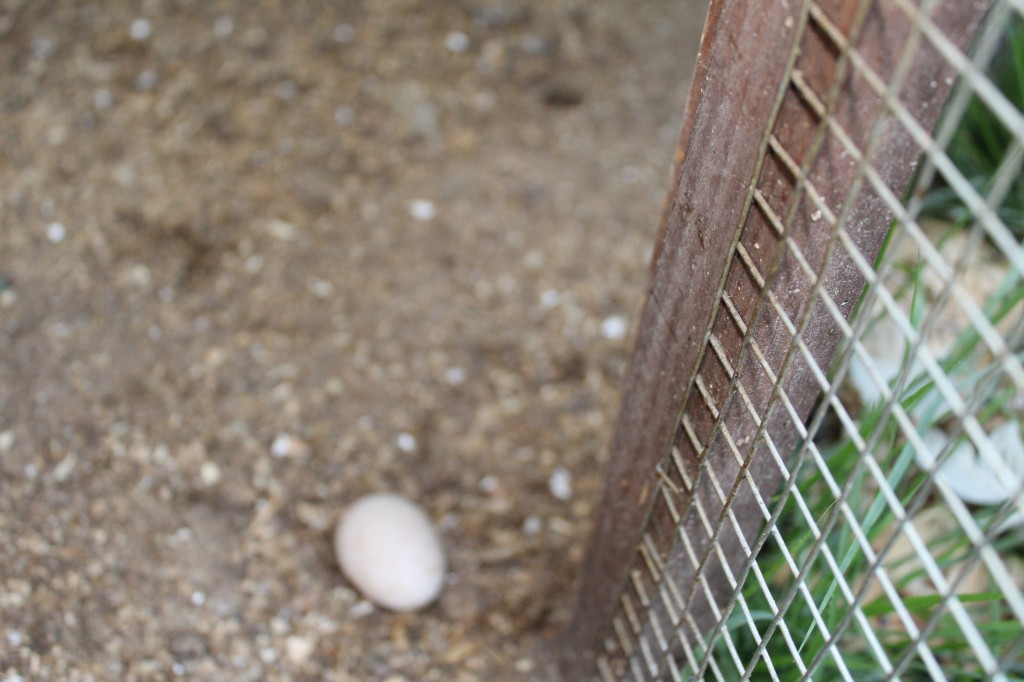
I am getting ready to leave on vacation. (yep, heading out of town (state) with PIC and baby brother, Sparkle (their daughter) PIC’s Mom and Company). So, Oldest Daughter will be on chicken duty for a week. She is SO excited! (cough cough). I was showing her how to change their (poopy) water, fill their crumble (food) feeder and throw in fresh pine shavings. Oldest Daughter was looking in the coop and she spotted something. She asked me if that was an egg. I told her there was not a egg in the nesting boxes, and she said, NO…down there on the ground, in the coop.

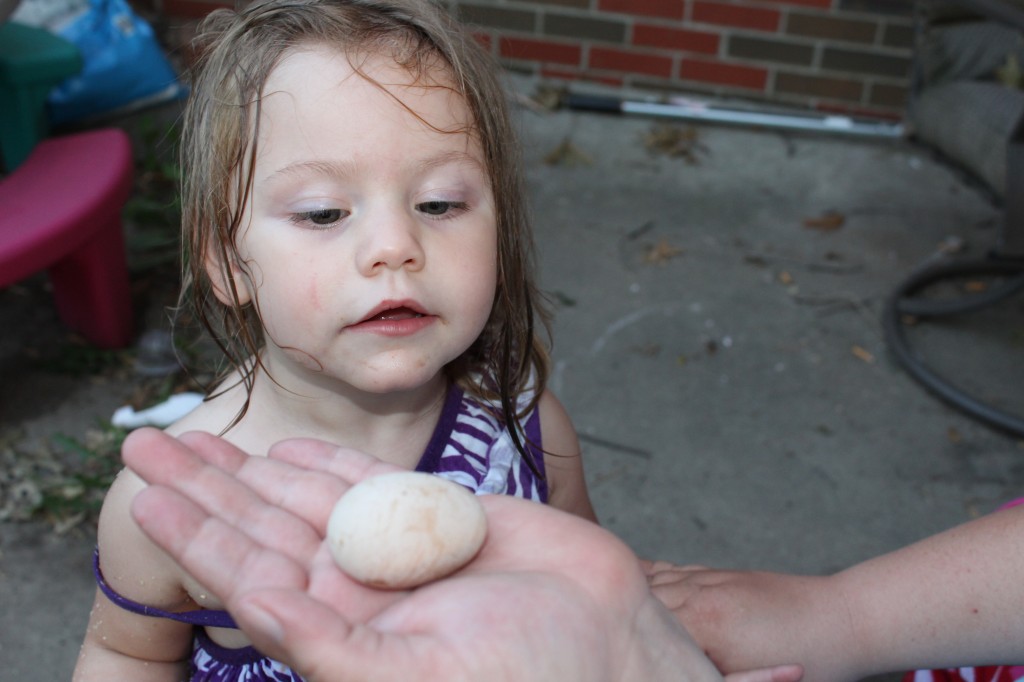
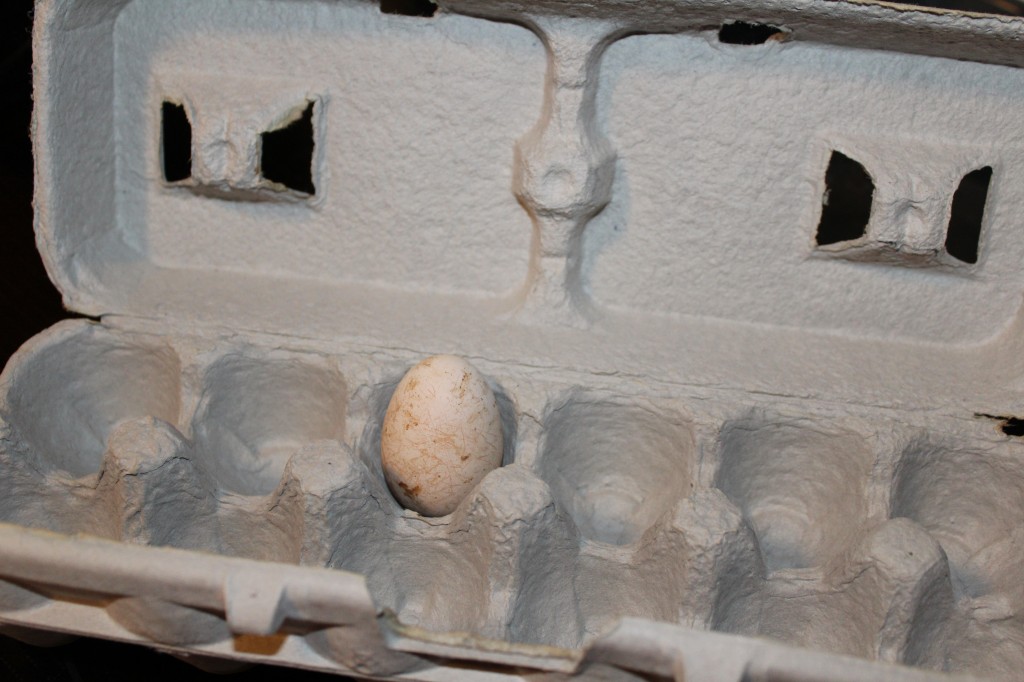
I looked closer and there is was…..a egg!

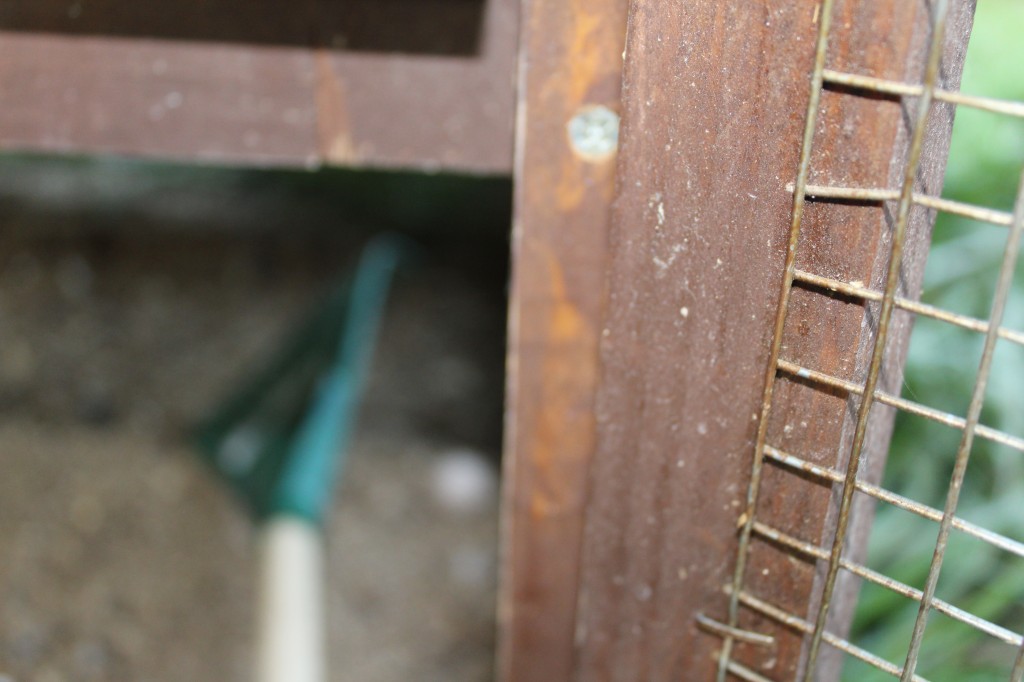
I start cackling (yelling) for the camera. One of the Rhode Island Red chickens peck at the egg. I quickly took my little rack I use to clean the coop out with and cover the little egg with it.

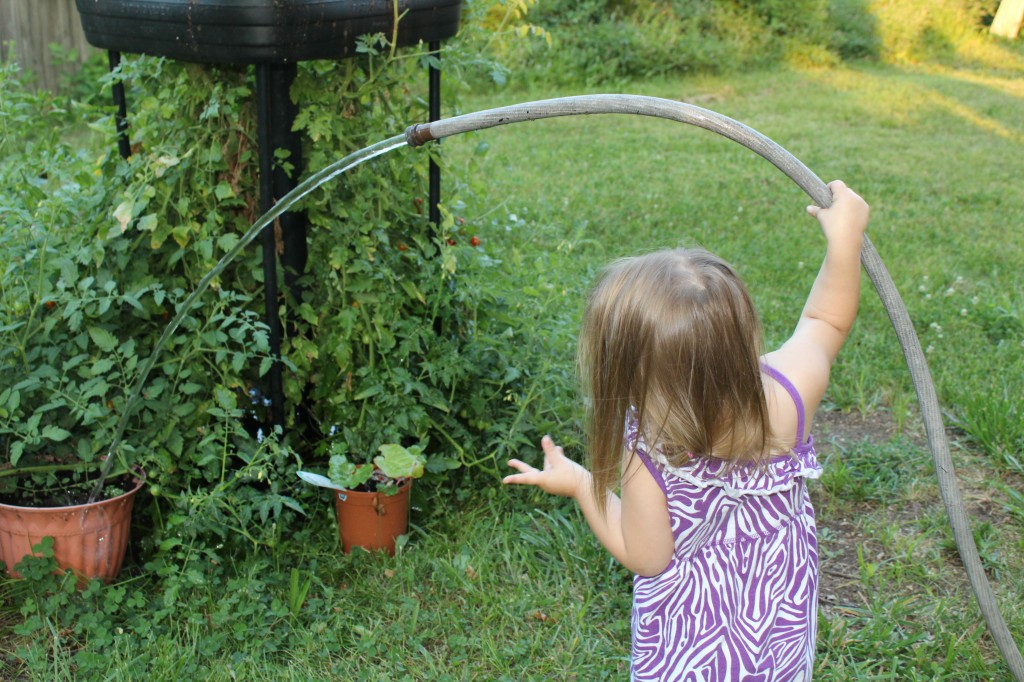
In the mist of all the eggciting news, youngest grandgirl got a hold of the hose.

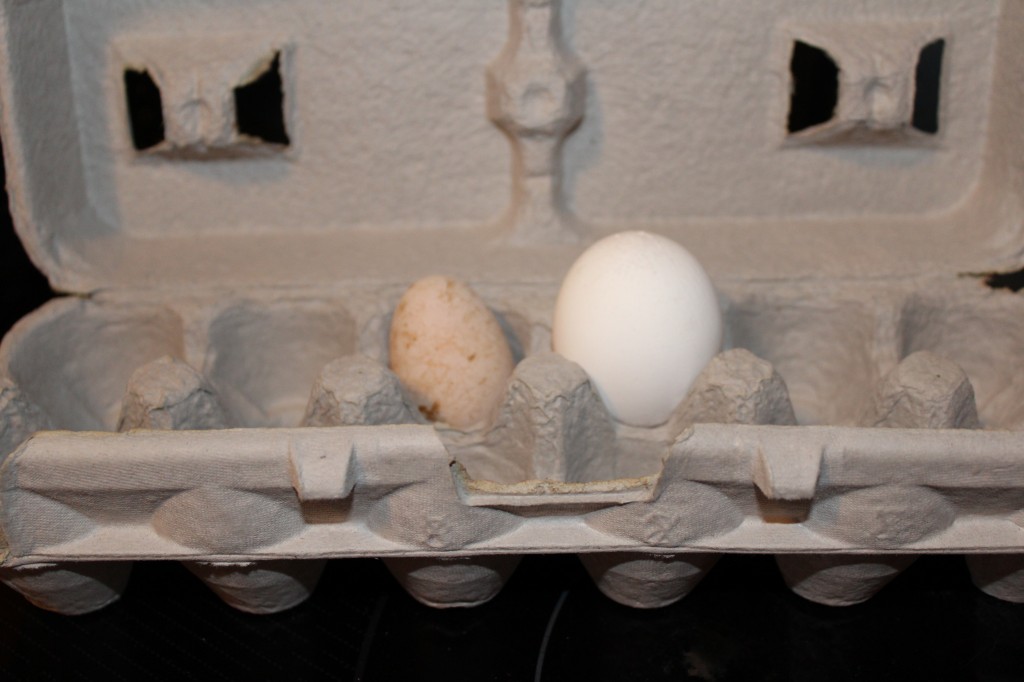
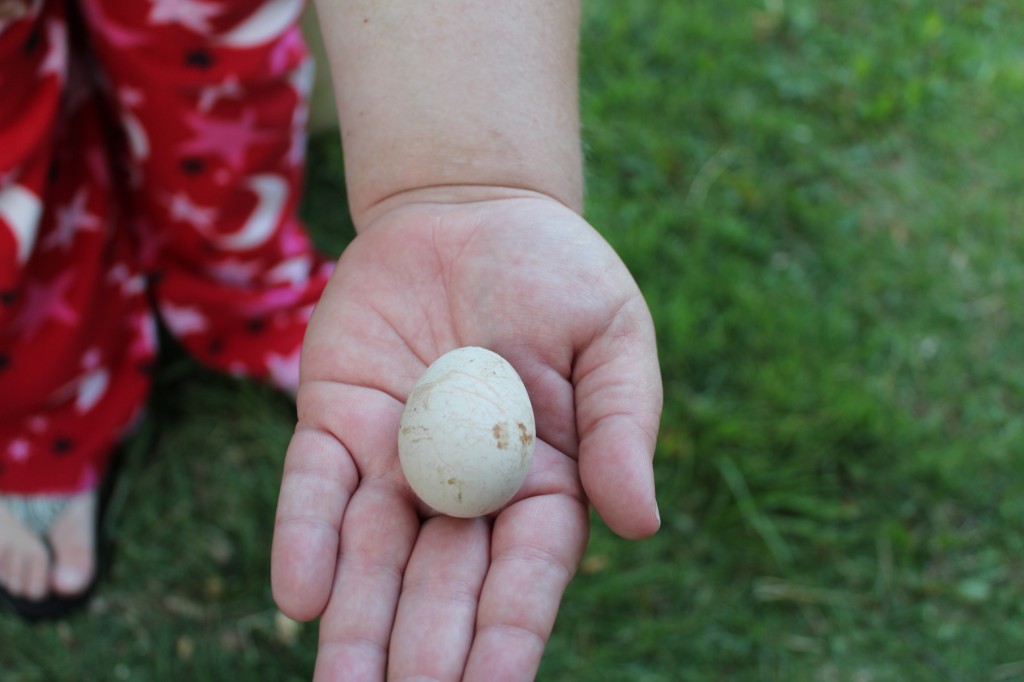
After she drenches herself and the rest of us, she takes a good look at the little egg.

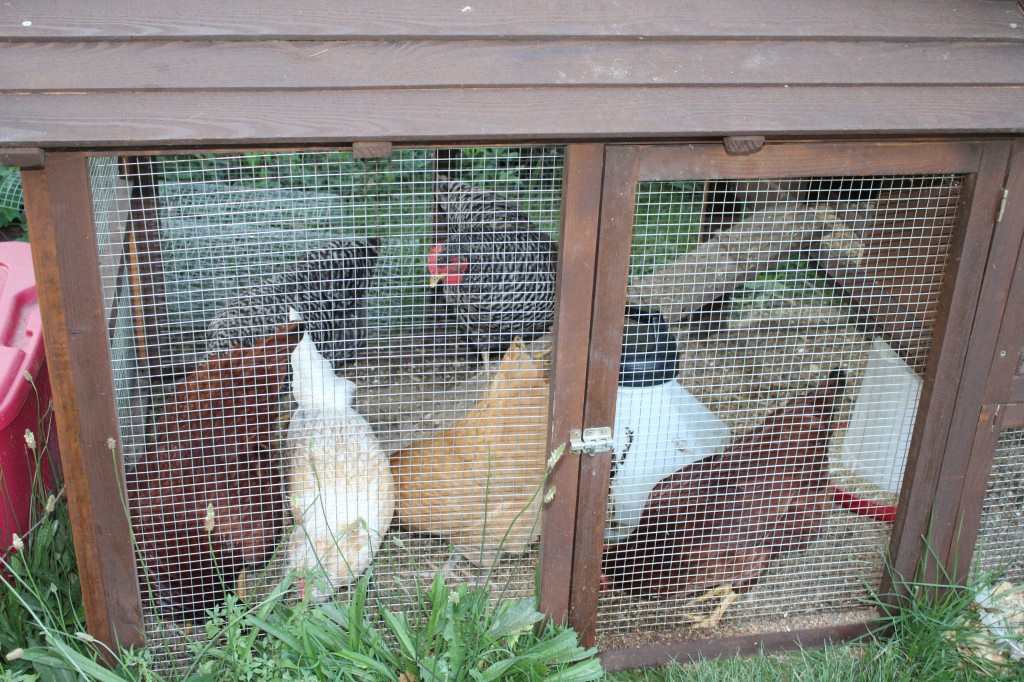
Which chicken do you think laid the egg?

The Rhode Island Reds?

The Barred Rocks?

The Buff Orpinton? (her name is Sunshine)

or…

The Easter Egger named Bunny?

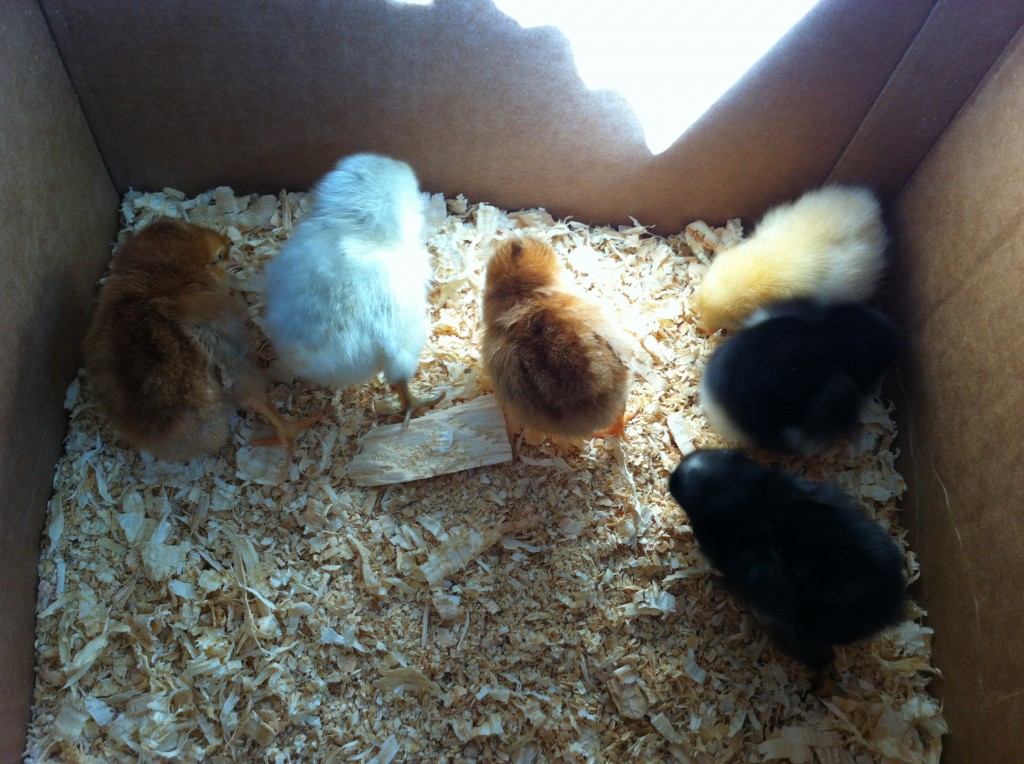
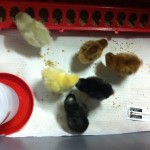
Here is a picture of the chicks in the box I brought them home in when they were one day old.

My how time flies!

There is the little beauty, but she looks a little lonely.

Are you my big sister?????

Another fun day in urban garden/chicken-ville.

Becky

Other post you may enjoy reading.


Call Me Mother Hen                     Checking Poopy Bottoms            Setting Up a Brooder


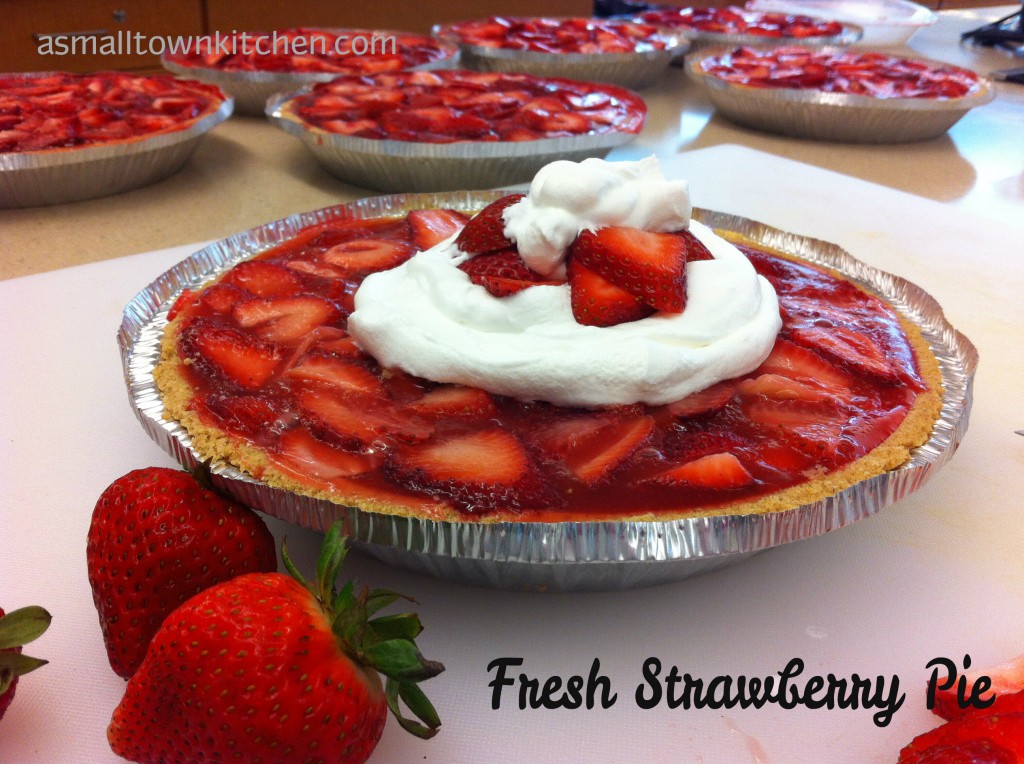
Fresh Strawberry Pie

Whew, I am so sorry it has taken me a couple of weeks to finally post a new recipe!

These last two weeks have been packed with all kinds of teaching summer school fun, that finally, just ended last week.

So, now I can officially say that I am on summer school break.

I can finally sing the song, “Schools Out for Summer!”

I am SO behind in posting so many amazing recipes that I have made over the last couple of months, that it will take me several days to get them posted.

Anywho, I wanted to start off with this super easy Fresh Strawberry Pie.

At the end of the regular school year, I wanted to make treats for all the secretaries, guidance department, media center, custodians and the principals. This school year has been great, but a bit of a challenge opening up a brand new school. The end of the  school year was a great time to send treats and to celebrate that we survived ; ). There were just too many staff that I wanted to make treats for individually, that I just did not have enough time in the day to make it happen. So, I decided to make a pie or two for each department.

Am I a genius or what?

Even though Company and I did not have any strawberries to speak of this year because of the un-cooperating weather, a local store had strawberries on sale at a great price. I found a simple but delicious fresh strawberry pie recipe out of a old cookbook that I bought at a flea market and I went to work (at school) making strawberry pies.

Seven pies altogether.

I know it is a tad past strawberry seasons, but I still see great prices at the stores on strawberries. If you are looking for a easy, fresh, delicious summer pie, try a go at this recipe.

Here is the step by step directions with photos:
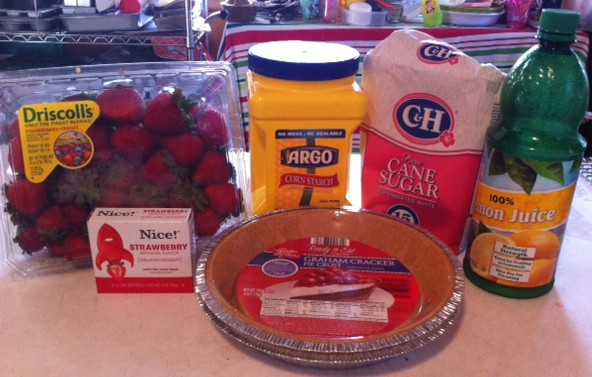
You will just need a few ingredients to make this simple but scrumptious pie.
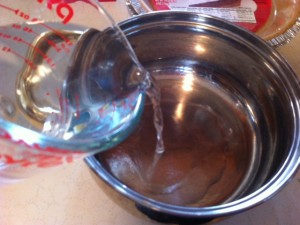
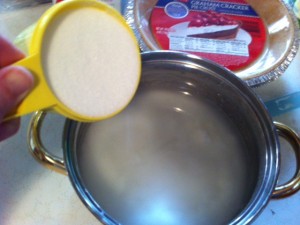
         

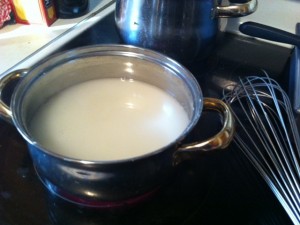
In a sauce pan measure in the water and the corn starch.
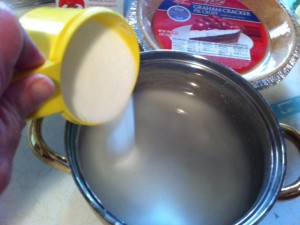
           

Add the sugar and stir. Cook over medium, stirring to prevent lumps.
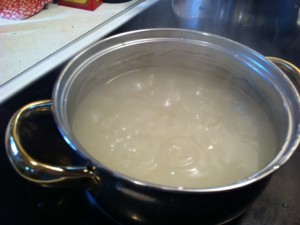
         

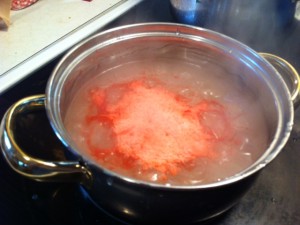
Bring the sugar and cornstarch mixture to a boil. Turn off the heat and the add the jello.
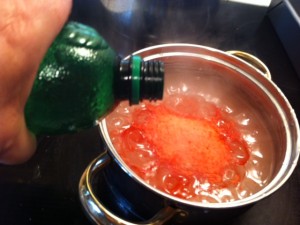
         

Add the lemon juice. Stir the jello and lemon juice in.
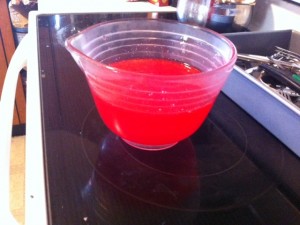
         

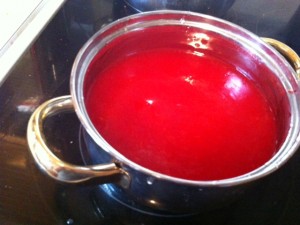
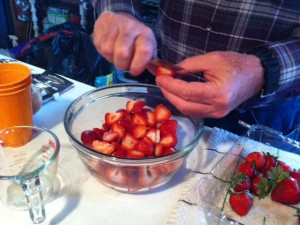
To speed up cooling the jello filling, I poured it into a bowl to cool. Find a volunteer to slice the strawberries. (this was Company’s job haha)
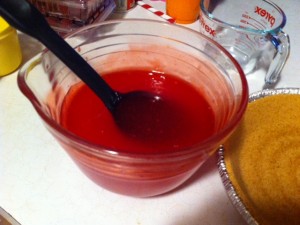
           

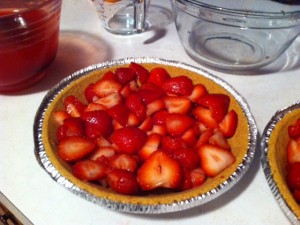
Stir the jello mixture (just in case a film formed on top while cooling). Fill the pie plates with strawberries. (I have also used a BIG bowl and mixed the filling and strawberries together first and then put in the crust. Either way works.)
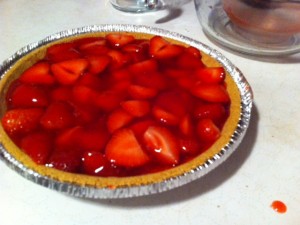

         

Pour equal amounts of the filling over the strawberries. Place the pies in the fridge for a least 4 hours to set up.
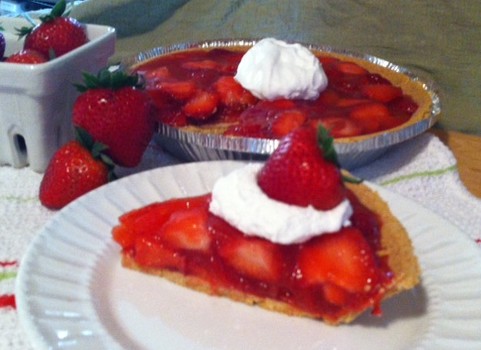
When it sets up, it slices up beautifully. Garnish with cool whip and sliced strawberries.

Before I give you the recipe, I just want to tell you a couple of details about the recipe changes I made to suit me. I used store bought graham cracker crust. The recipe will make enough filling for two small pies. I will be giving you the original recipe that will make one large 9 inch pie using a store bought pie crust. There you go! You can decide which size better fits your needs : ) or pie cravings.

Here is the recipe:

Fresh Strawberry Pie

Adapted from Old Cookbook

Ingredients:

1 quart (4 cups) washed, stemmed and sliced strawberries

1 and 1/2 cup sugar

1 (3 ounce) pkg. strawberry gelatin

1 and 1/2 cup water

1 tablespoon lemon juice

1/4 cup cornstarch

1 baked 9 in pie shell (or 2 small store bought graham cracker crust)

Cool Whip for topping

Directions:

In a medium sauce pan, combine the water, sugar and cornstarch. Heat and stir until thick and clear. Remove from the heat and stir in the gelatin and the lemon juice. Let the gelatin cool.

In a large bowl, place the sliced strawberries. When the gelatin cools, pour the gelatin over the strawberries and combine. Make sure the gelatin is evenly combined with the strawberries.

Pour the strawberry filling into the prebaked pie shell, or into the graham cracker crust.

Put the pie/pies into the refrigerator to firm. This will take about 4 hours.

Decorate the top of the pie with cool whip and sliced strawberries if you want.
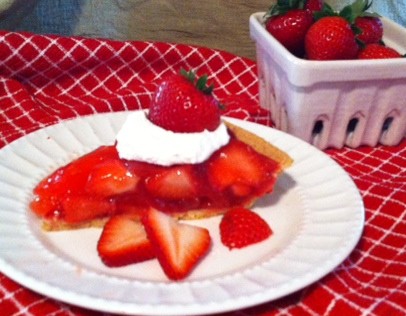
Enjoy the flavors of summer!

Becky

Other post you may enjoy reading:


Blackberry Cobbler                       Strawberry Rhubarb Crisp           Broccoli Rice Casserole


A Meal fit for a Chicken

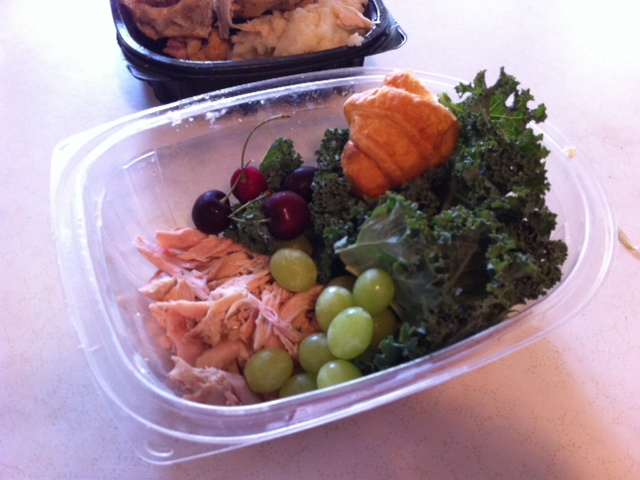
Doesn’t this meal look tasty?

It has some kale, grapes, cherries, a left over cresent roll and a surprise.

Today was a special day for the chickens. It is their 4 month old birthday.

So, I made them a special meal/treat.

The special surprise was left over chicken.

Yep, I feed my chicken some…..chicken.

Oldest daughter who does not cook, did not want to watch.

Here is the special birthday treat all ready for the chicks to dive in and start eating.

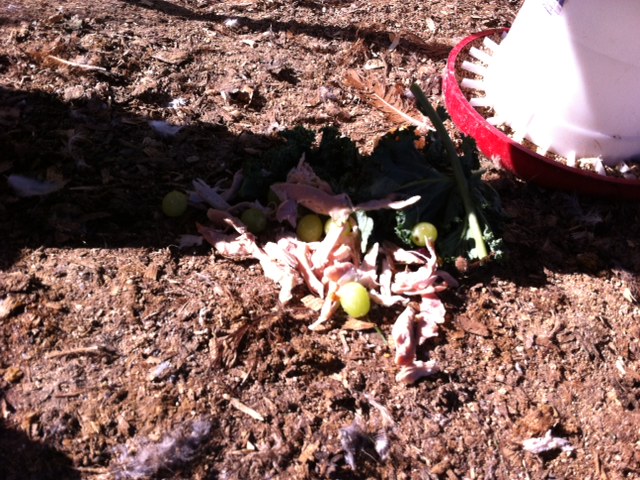
The cherries went first. They were grabbed by my Rhode island reds.

Then about a second later, they all went for the chicken.

They were grabbing the chicken from each others beaks.

It was funny (strange kinda funny) to see them running after each other and hiding in the corners of the coop to eat their chicken.

Oldest daughter, said it was just plain WRONG.

In my defense, I have been told a number of times to feed my  chickens a few more table scraps and that too include more protein.

I was told again last week, by a doctor who has chickens, that she always gave her chickens the chicken bones. She went on to say, that the extra protein was good for the chickens.

So, I  was just following doctors orders.

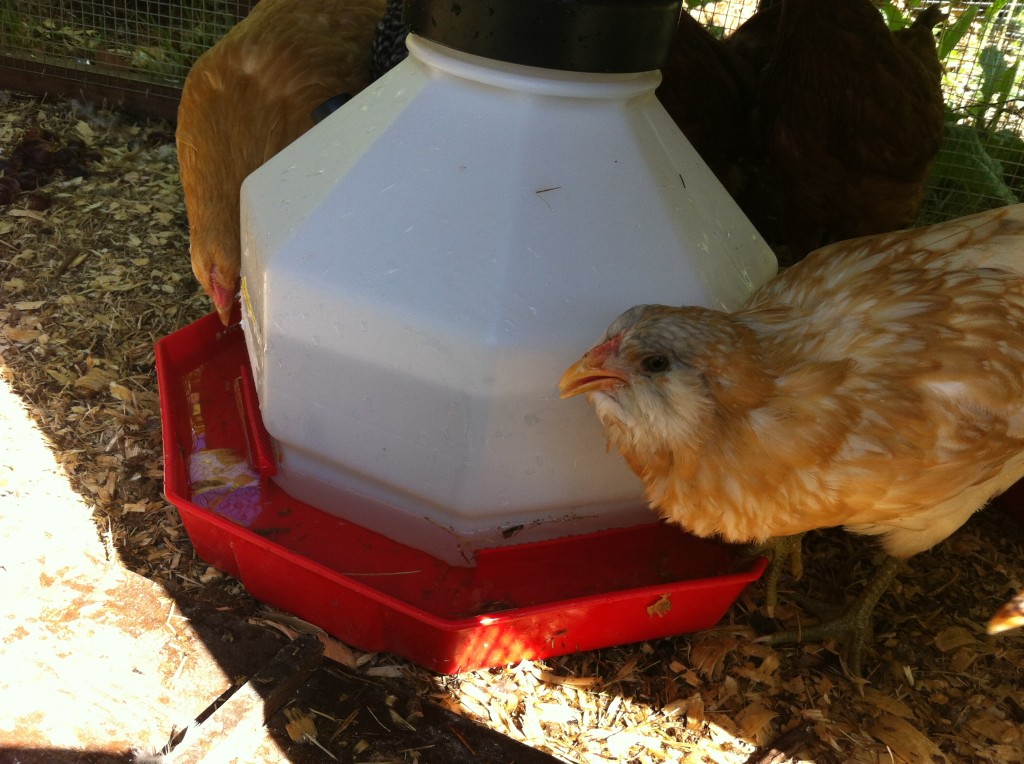
Here is a picture of Bunny the easter egger chicken. she has blue green legs. Her eggs will either be blue or green, when she starts laying. Sunshine, the Buff Orpington, is on the back side of the water container.

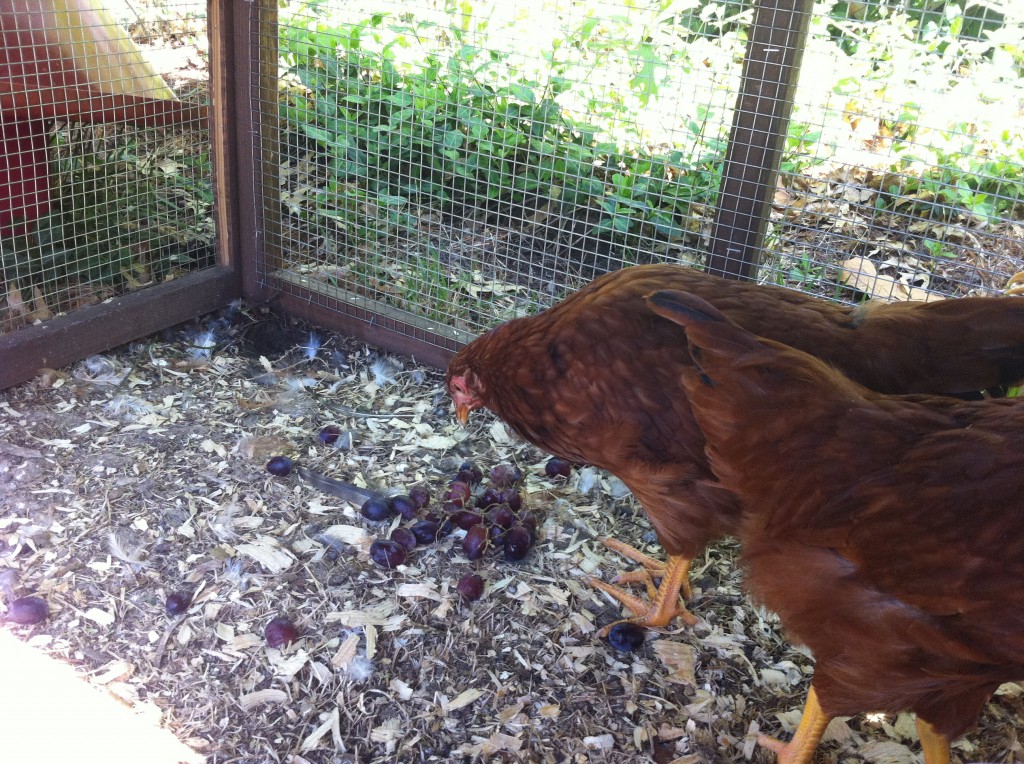
Here are the two Rhode Island Reds. Oldest grandgirl names these two after Disney princesses, but I forgot who was who. ooops

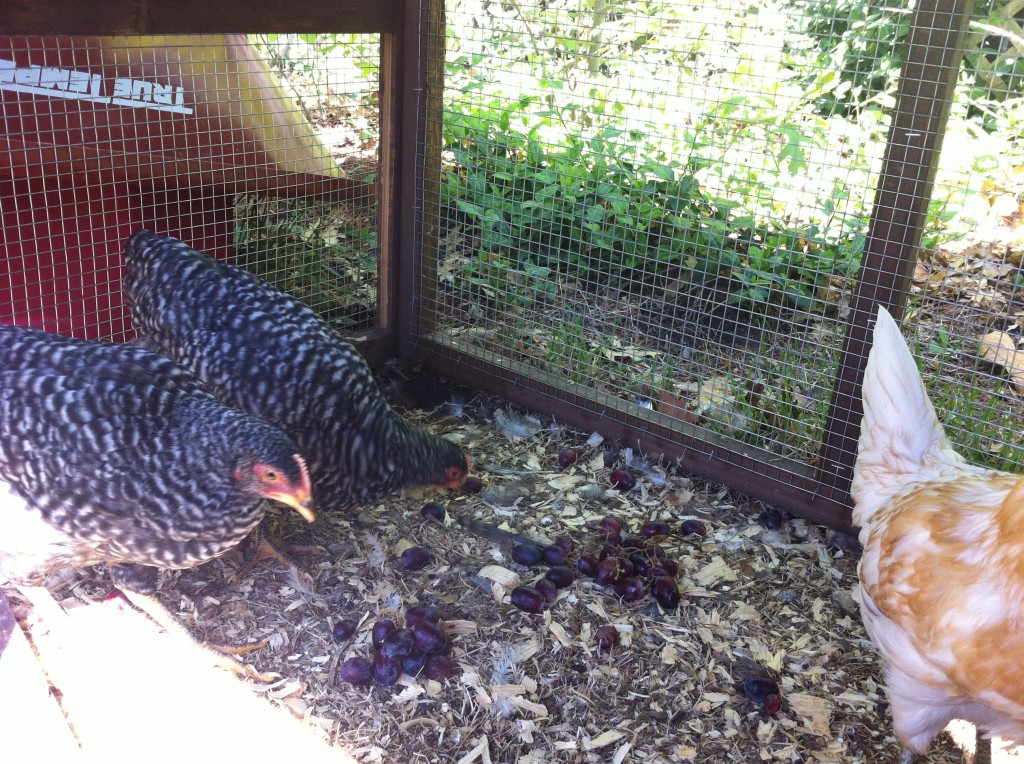
Here are the two Barrad Rock chickens. Those two girls love eating grapes!

Those are the six girls.

They are four months old now.

Now, I am just waiting for them to start laying eggs.

Becky


What’s That Smell

Garlic!

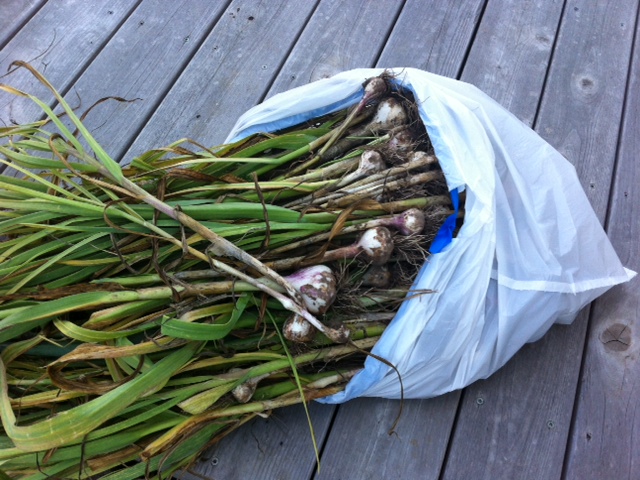
Here is our very first harvest of garlic.

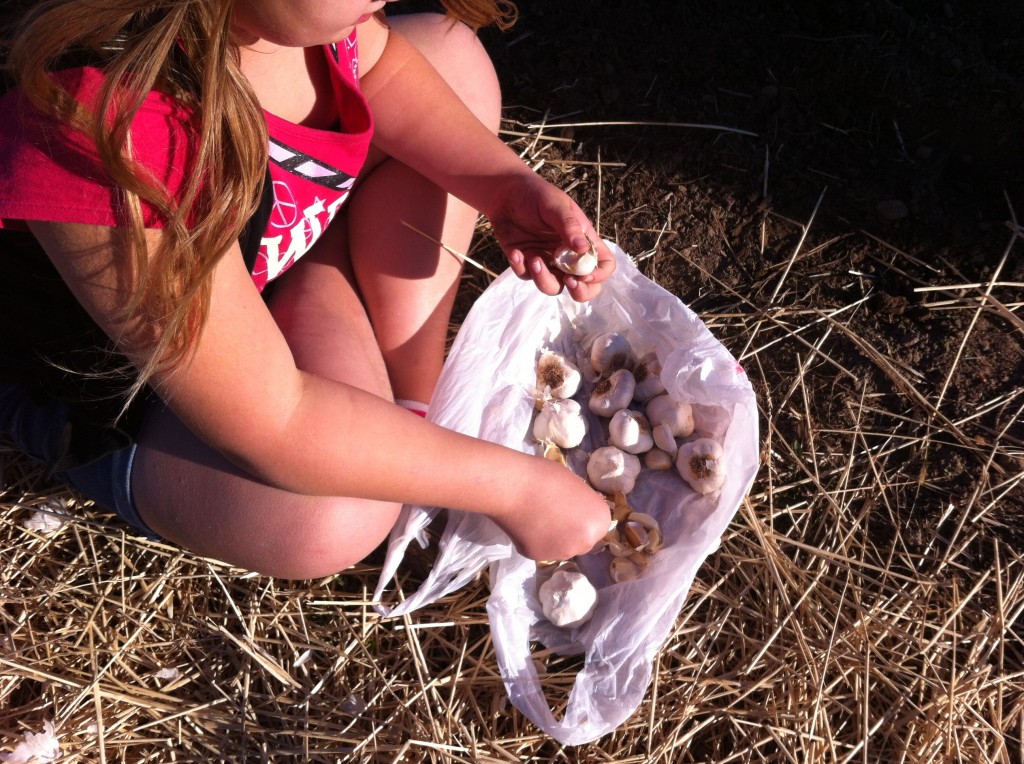
Last Sunday afternoon, Company and I (mostly Company) dug up the garlic. The outer stalks were starting to die, which is the first sign that the garlic is ready to harvest.

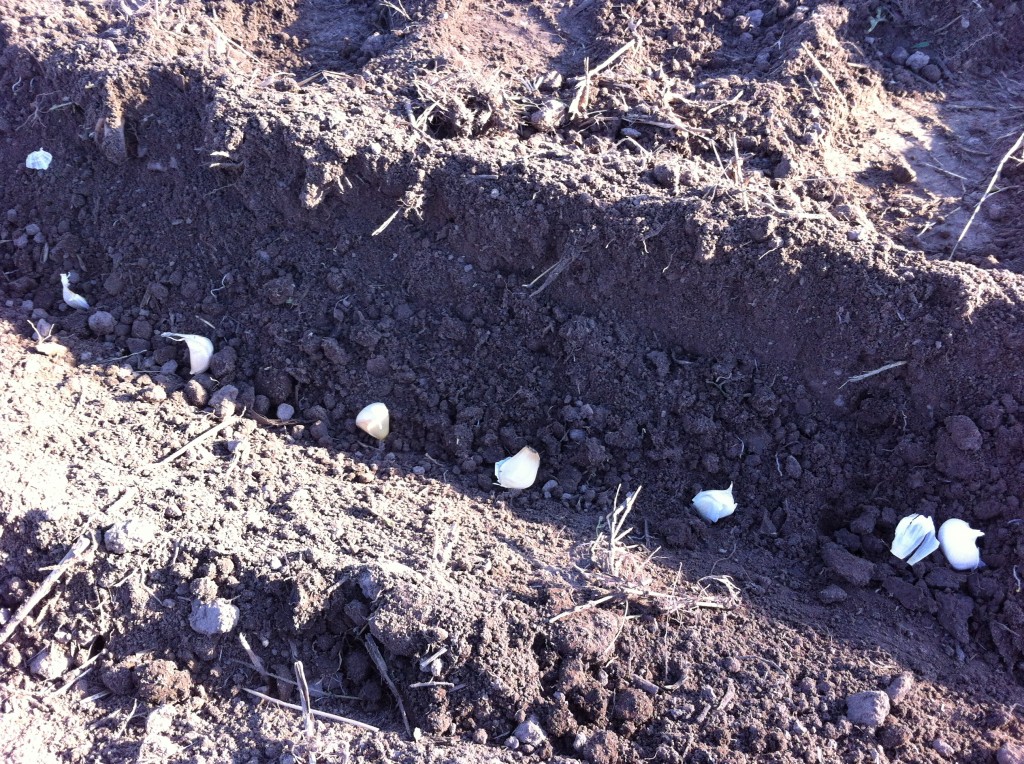
I don’t know if you remember that last fall the oldest grandgirl help plant the garlic at the bottom of the strawberry rows.

The local garden shops sell garlic bulbs to plant in the fall. You break apart the bulbs and plant the cloves. You plant the pointy end up. Then you just cover them up with dirt.

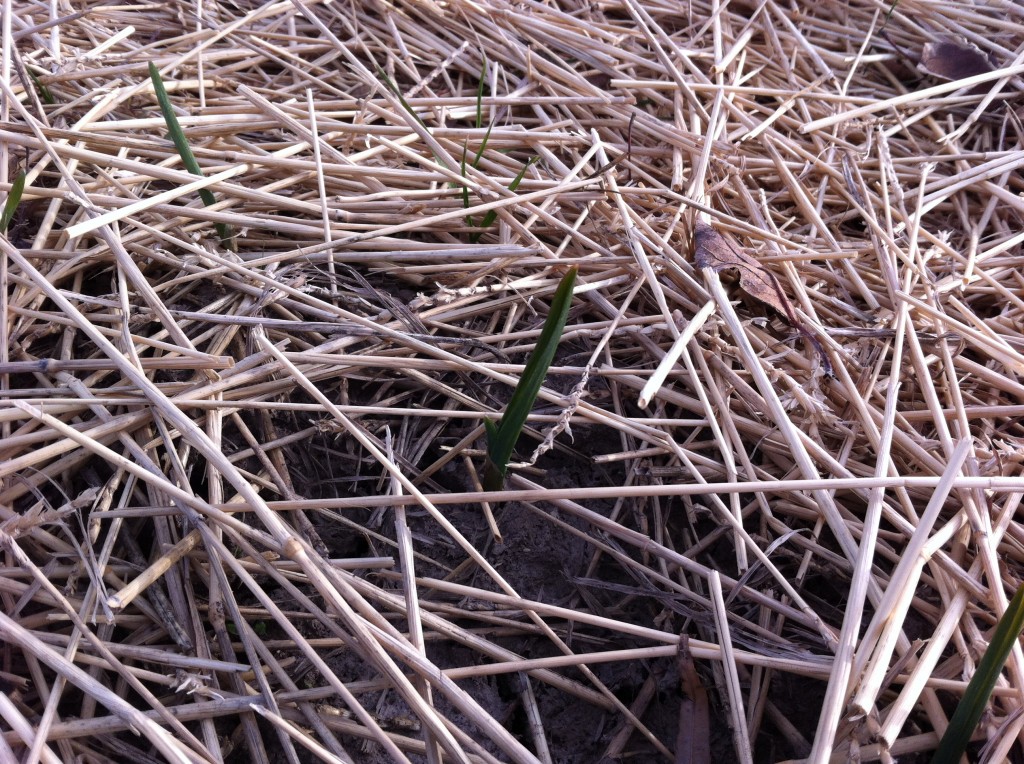
We then laid a cover layer of straw over the rows and waited for the little tops to pop up.

And guess??

They did.

Even after the harsh winter we had last year.

Growing garlic is as easy as that!

I now have the garlic in the garage (where it is dark and cool) drying out for a couple of weeks. I will then braid the stalks together and hand them up to store until I am ready to use them.

Bring on the fresh mints!

I will be eating me some garlic.

No more powdered garlic for me, cause (in my humble opinion) fresh is always best.

How is  your gardening going?

Becky


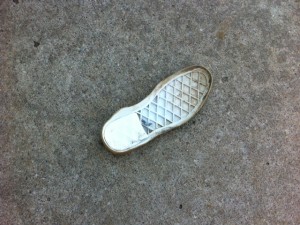
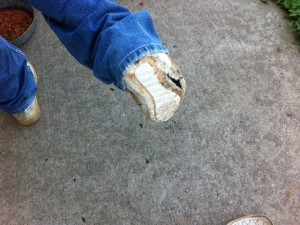
Thought you would get a little laugh from these two blooper photos. Company’s sole of his shoes completely fell off after he (er…we) were done digging up the garlic.
Nothing that a little super glue won’t fix….
Or a trip to the shoe store…..

Gardening is FUN!


Related Posts Plugin for WordPress, Blogger...