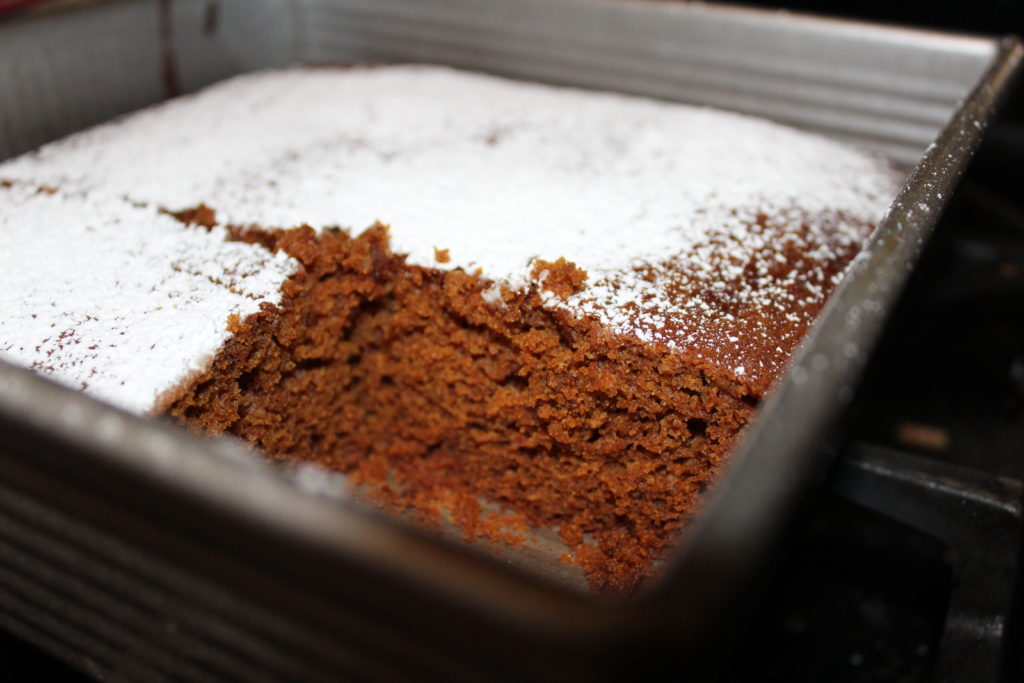
Cherry Winks
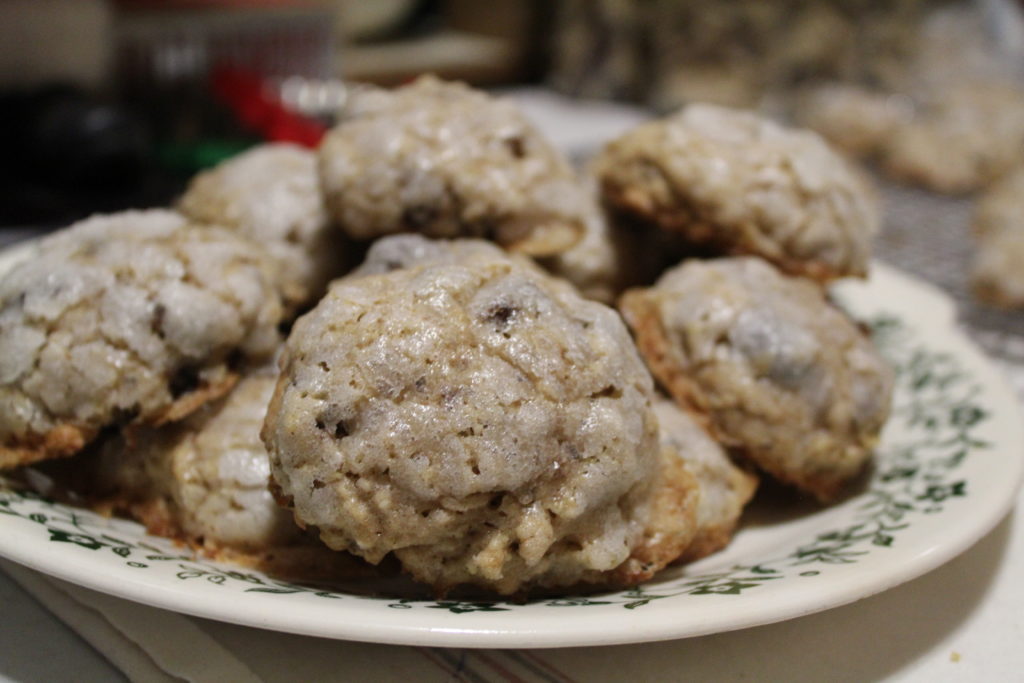
Sugar Glazed Oatmeal Raisin Cookies
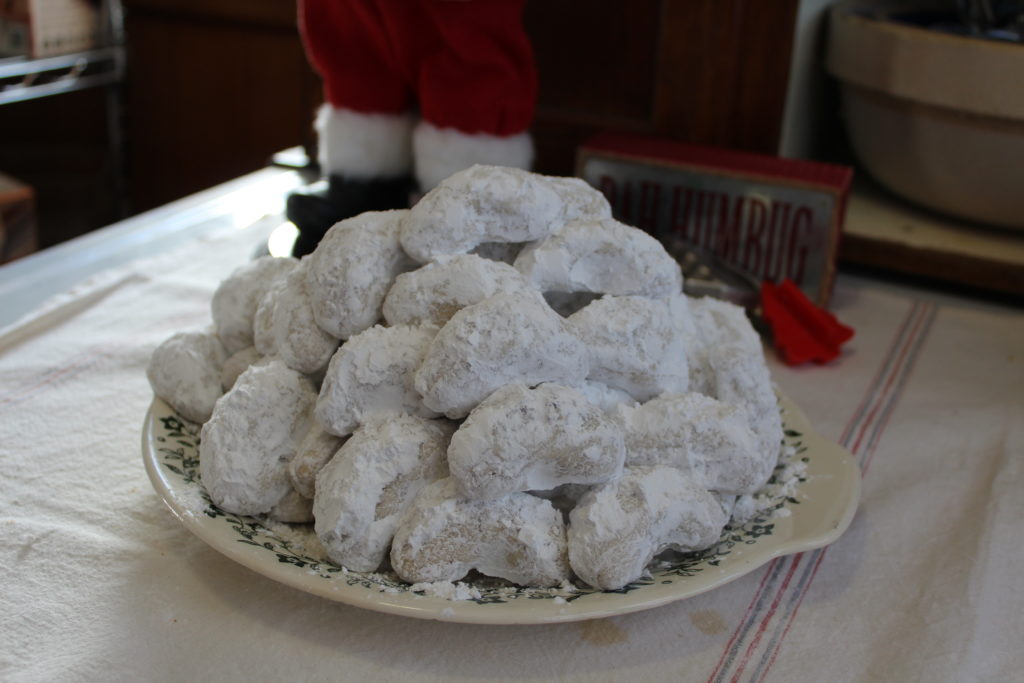
Crescent Cookies
Whew! Have you survived Christmas, are you still celebrating with family?
I am not sure that I have survived and recovered yet. LOL
Don’t get me wrong…I love, adore and dream of Christmas, all year long. When it is over, I am like,” what happened, it is over already?”
Gee… I must have blinked. Only a second ago, I had packages wrapped under the tree, cookies out for Santa, goodie trays nearly finished, and then I blinked and I have wrapping paper, boxes, and bows, cookie crumbs and little pieces of wrapping paper stuck with scotch tape all over the floor.
It was like Christmas exploded in my living room and kitchen.
I will be pulling little pieces of wrapping paper from under my couch till summer along with a few candy canes.
It just makes Christmas last that much longer.
Anywho…enough of my silly chit chat…LOL….lets talk Christmas baking and cookies. This year, I wanted to make new cookies. As in new to me, but old cookies to my Mom and family. I did make a delicious chocolate chip cookie for Christmas I will share with you later, but for my gifts to my teacher friends, I wanted to make some vintage cookies.
I settled on Cherry Winks, Glazed Raisin-Oatmeal Cookie and Crescent Cookies.
I have never posted 3 recipes in one post before and it would make this post really long with all the pictures.
So, let me start with the Cherry Winks.
I promise to add the other two later tonight or tomorrow morning.
My family loves maraschino cherries. I usually have a jar or two tucked away in the cabinet for some random cherry emergency….like….mmm these little sugar syrup little jewels look good enough to eat for a snack. I really am not saying that I do that…. when you have grand children you can always blame the grand kids for opening your mini marshmallow bags, chocolate chip bags and getting into your cherries when you are not looking. haha!
So, when I was looking through a old cookie cookbook and I saw these cookies, remembering that I have tasted them at church fellowship dinners or Christmas parties way back in my youth, I just knew I have to give them a try.
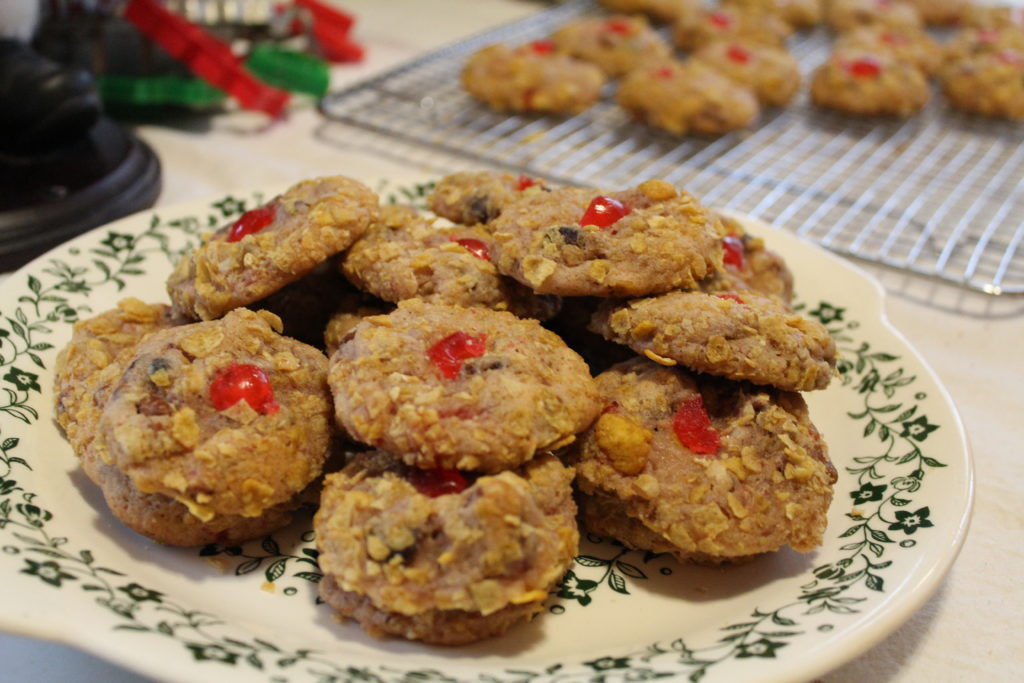
These cookies have little “winks” of cherries put on the top of each cookie, which gives these cookies their name. They also have chopped cherries added into the cookie dough to add flavor and a little pop of color. I loved the dates and the pecans in the cookies and the crunch of the crushed corn flakes that surround the edges and bottom of the cookies.
These Cherry Winks have all those vintage ingredients in them that you don’t see in a lot of recipes…..I mean dates…and rolled in corn flakes…..
But this adds to the charm of this cookie.
So if you are looking for a little nostalgia and a really good cookie all in a crunchy (but tender on the inside) cookie, give this cookie a try.
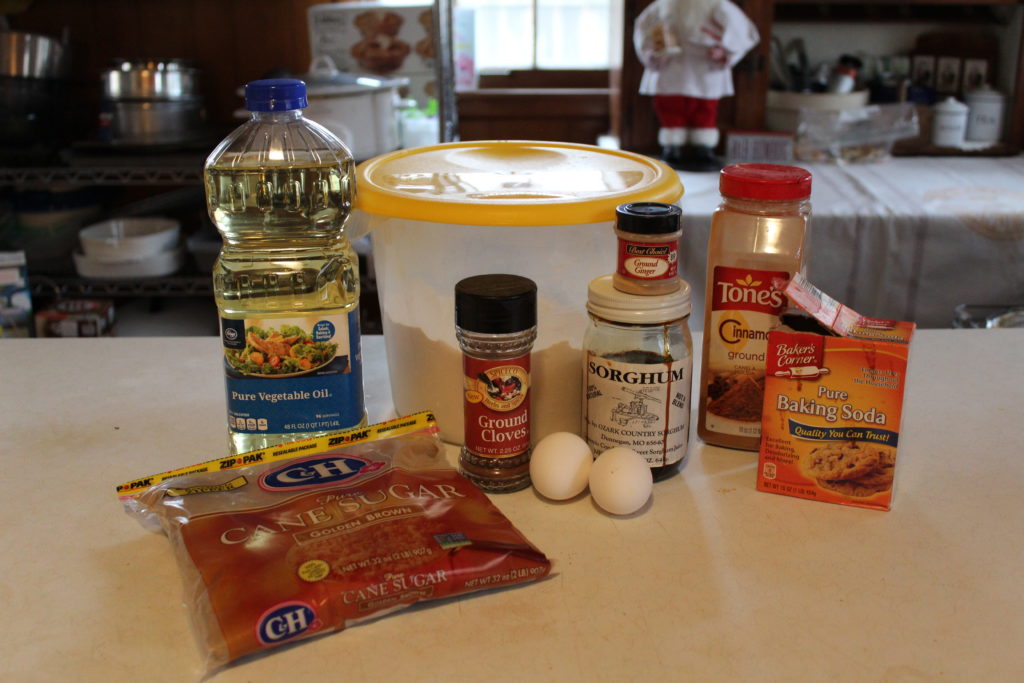
Here is what you will need! : )
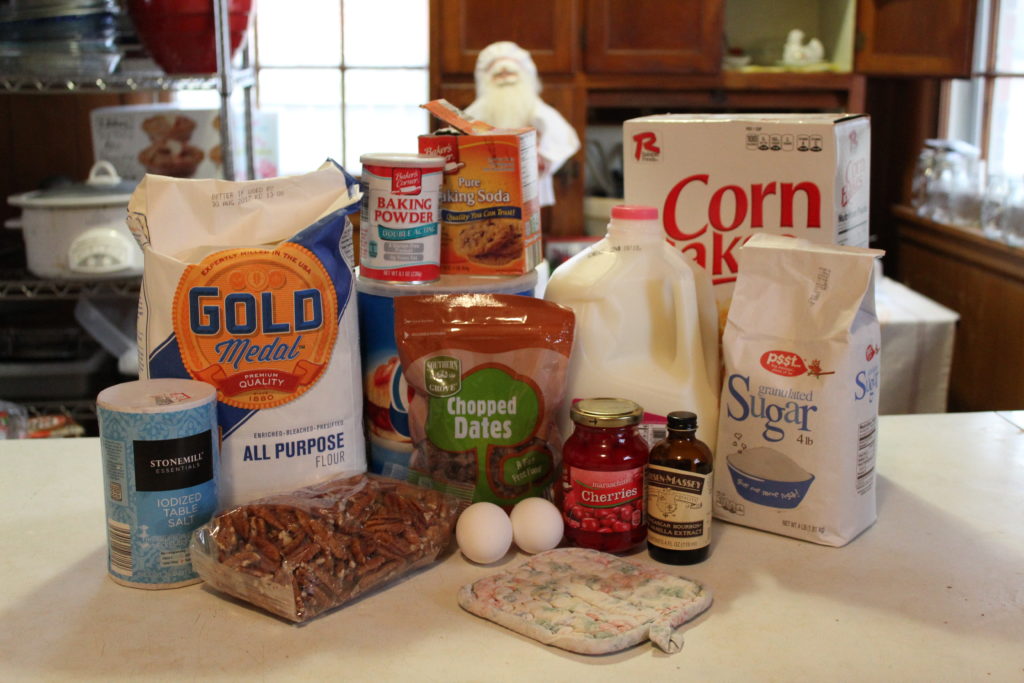
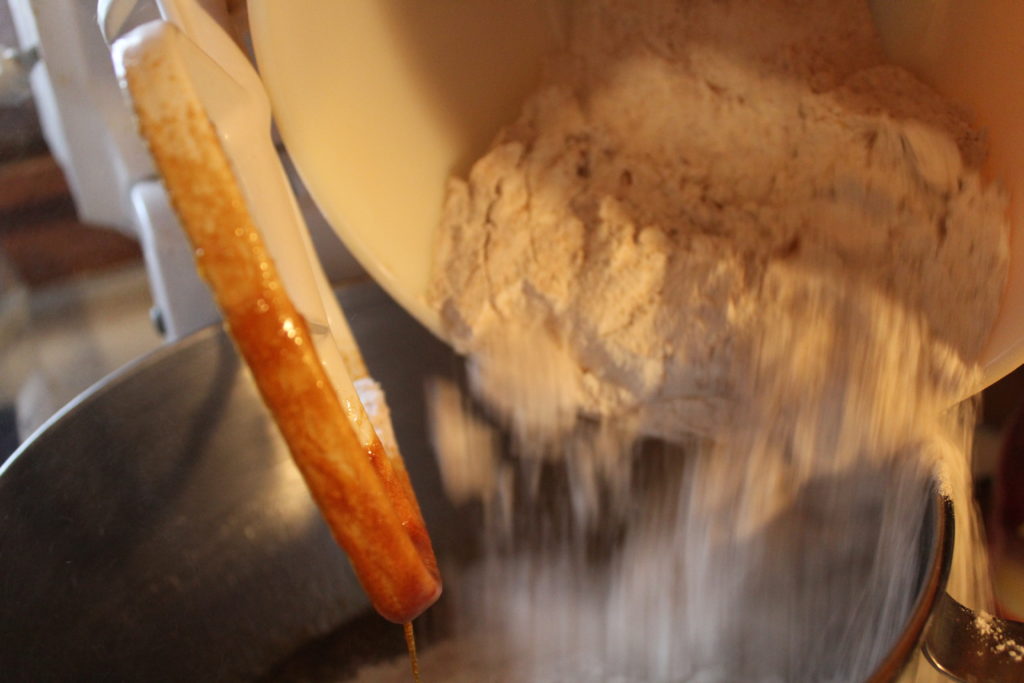
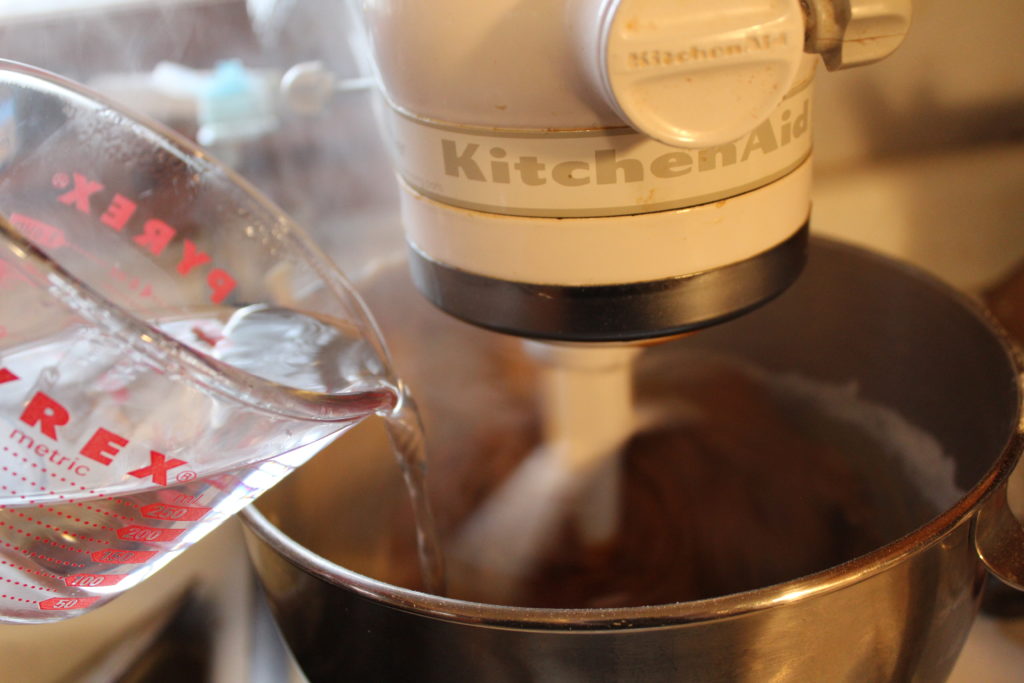
For this delicious cookie you will need flour, baking powder, baking soda, salt, shortening, sugar, eggs, vanilla, milk, chopped nuts, chopped dates, chopped maraschino cherries, and crushed corn flakes.
I took the ingredients to school and some of my wonderful students make this cookie dough when they were all caught up on their work, so I do not have the usual step by step pictures and directions for this recipe and I am sorry!!! The directions are listed below in the recipe though : ).
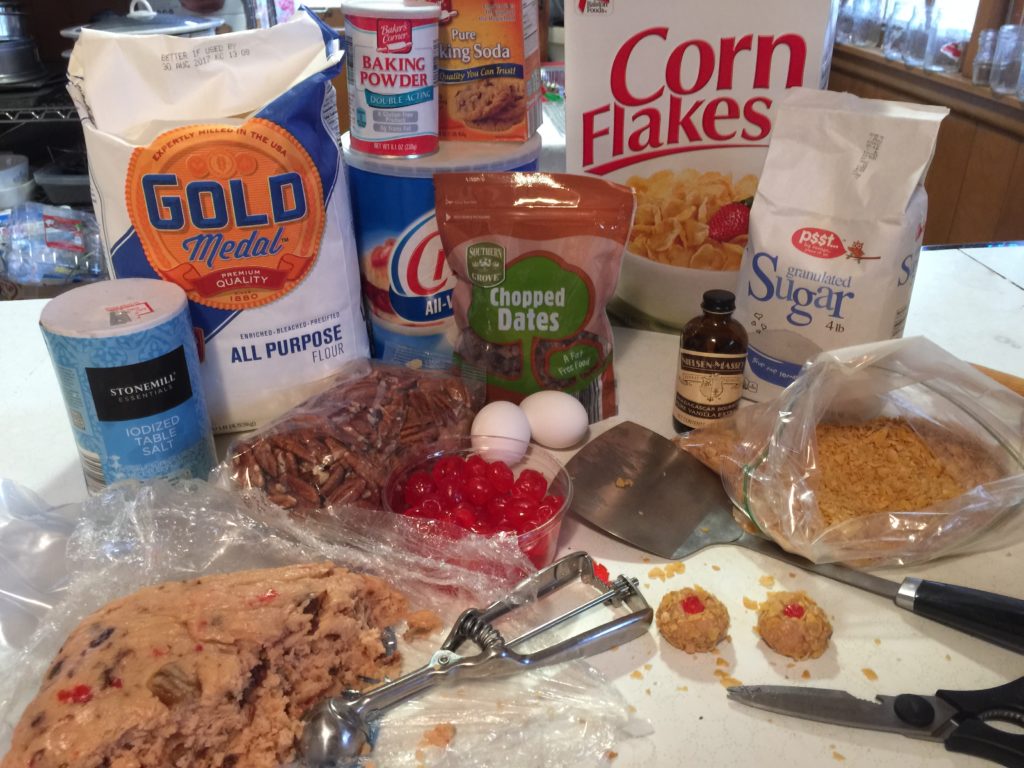
Look at that beautiful cookie dough. It is full of chopped pecans, dates, and maraschino cherries. I am using my kitchen shears to cut my cherries into small pieces to set down into the cookie dough to form the “wink.”
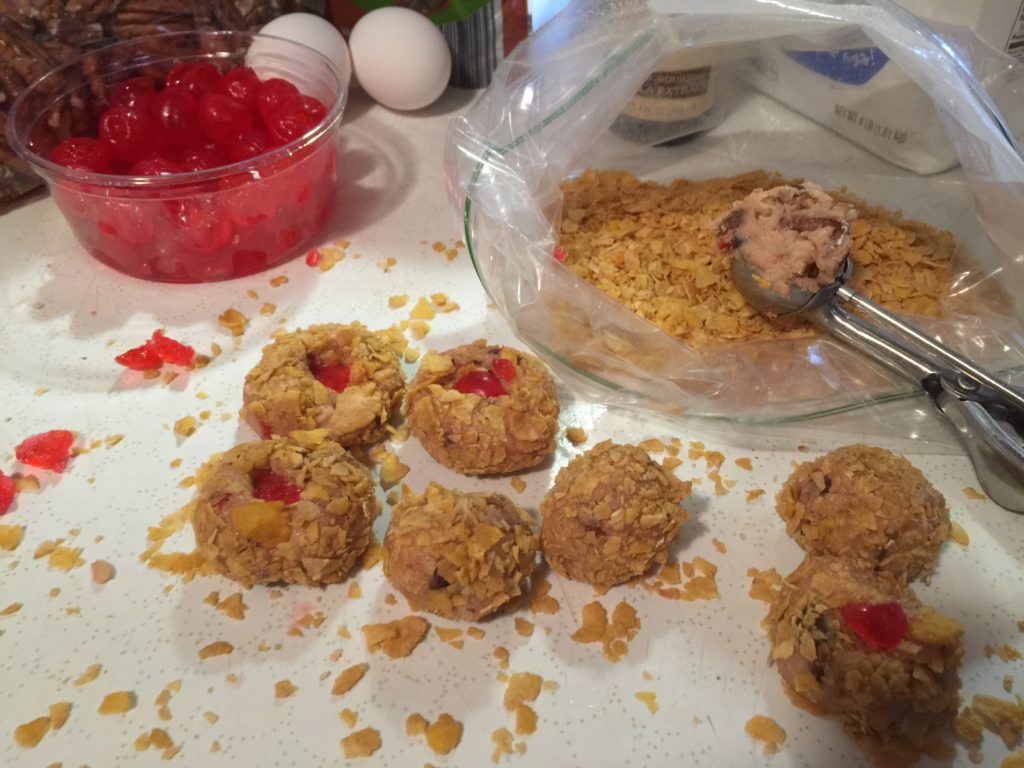
I used a cookie scoop to scoop out the dough and then I rolled the cookie dough into the crushed corn flakes. Then I pressed the cherry in the top. I ran out of maraschino cherries so I had to get into my candied cherries I bought for a cake…oh well.
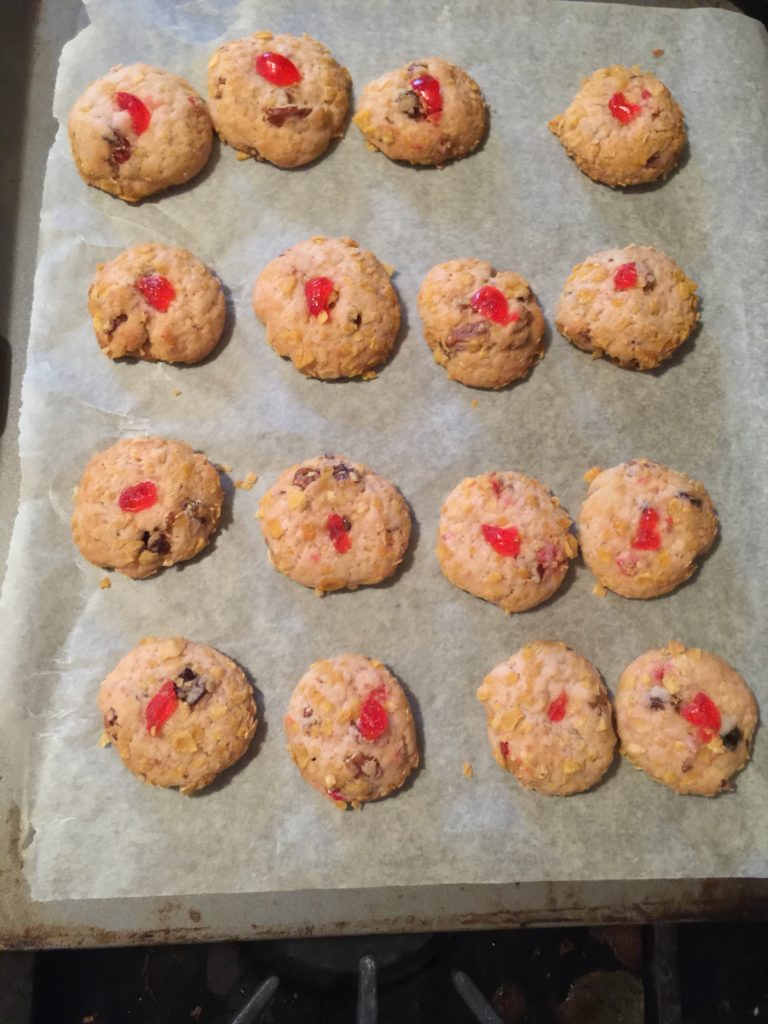
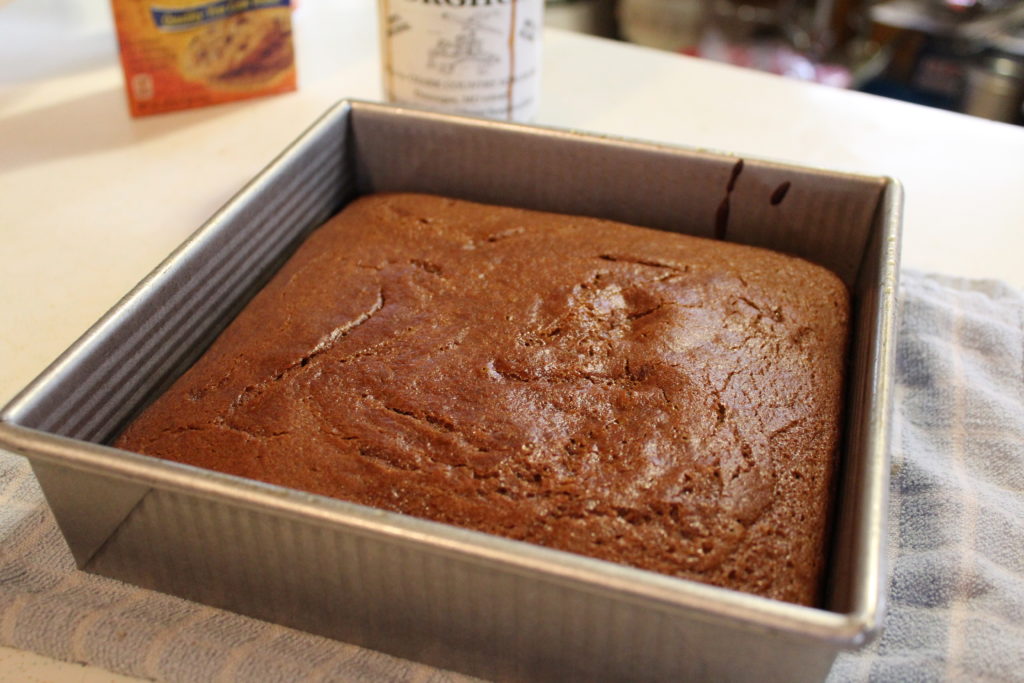
Place them on parchment paper and bake. They spread out just a bit and get light tan around the edges.
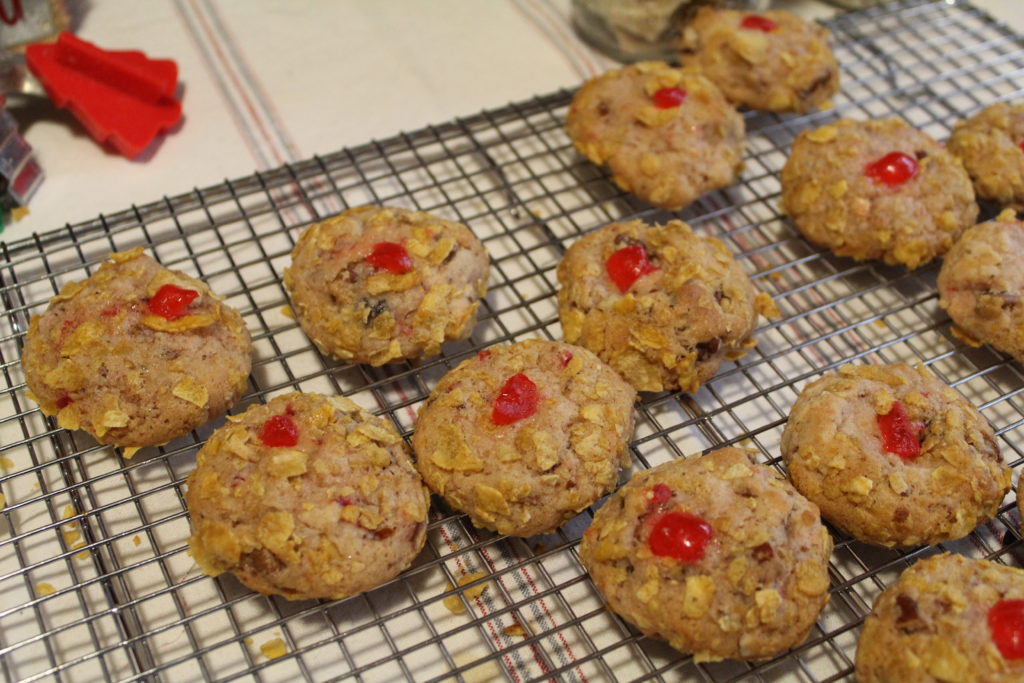
Then I cooled them on a cookie sheet until I put them in a cookie tin to stay moist.
Here’s to, “Winking at You.”
Here is the recipe:
Cherry Winks
From Vintage 1958 Cookie Cookbook
Ingredients:
21/4 cups flour
1 teaspoon baking powder
1/2 teaspoon soda
1/2 teaspoon salt
3/4 cup vegetable shortening
1 cup sugar
2 eggs
1 teaspoon vanilla
2 tablespoons milk
1 cup chopped nuts (I used pecans)
1 cup chopped dates
1/3 cup chopped maraschino cherries (more for cutting pieces for wink)
21/2 cup crushed corn flakes
Directions:
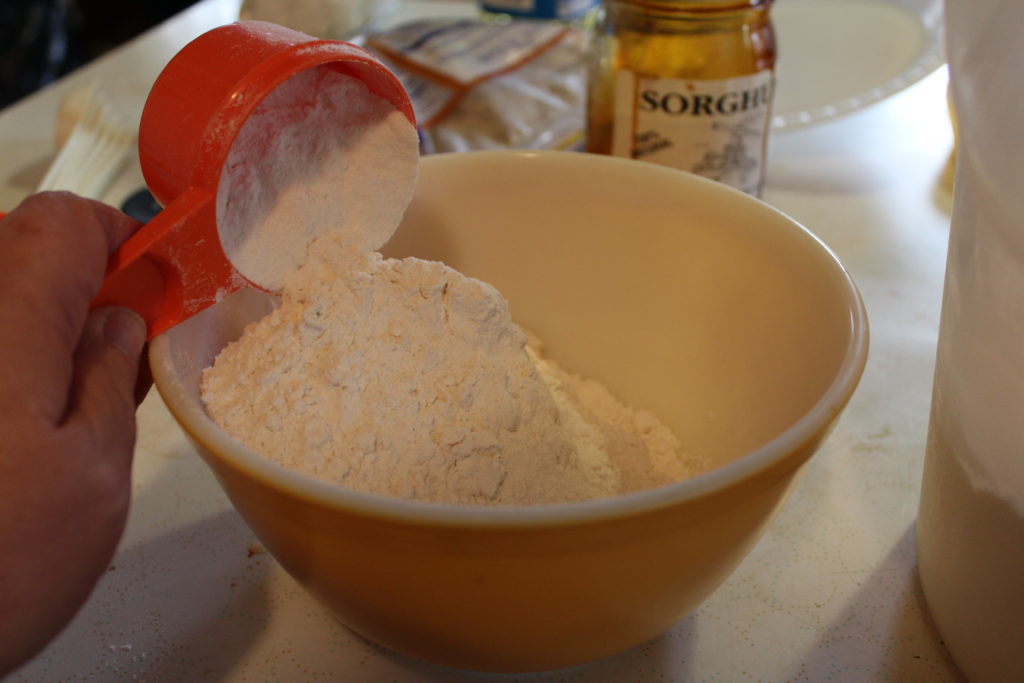
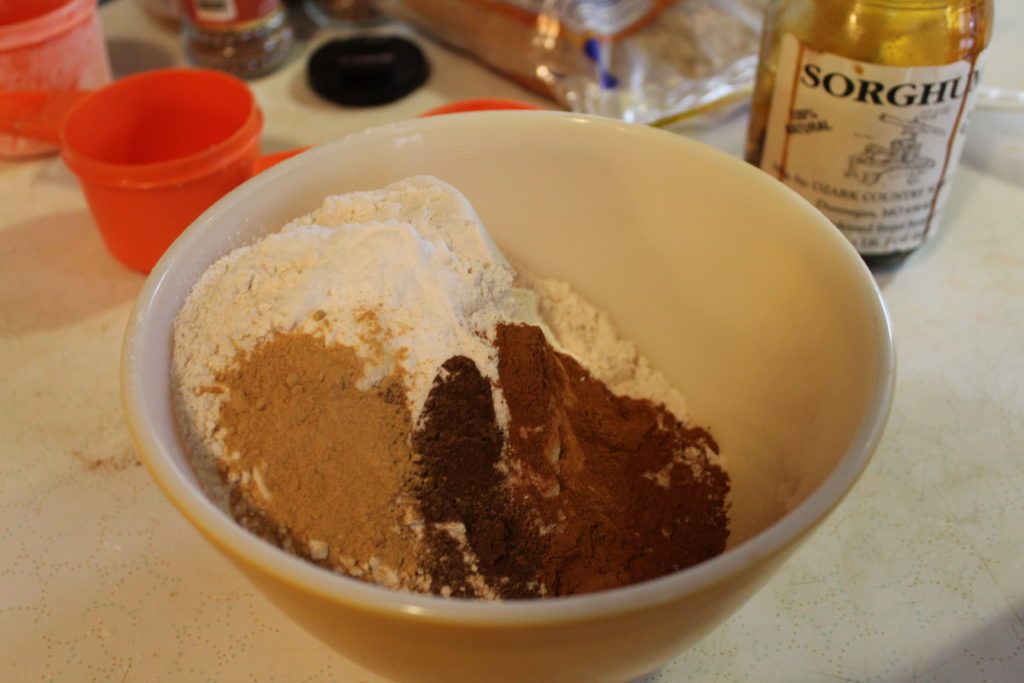
In a medium bowl lightly stir together flour, baking powder, salt and baking soda. Set aside.
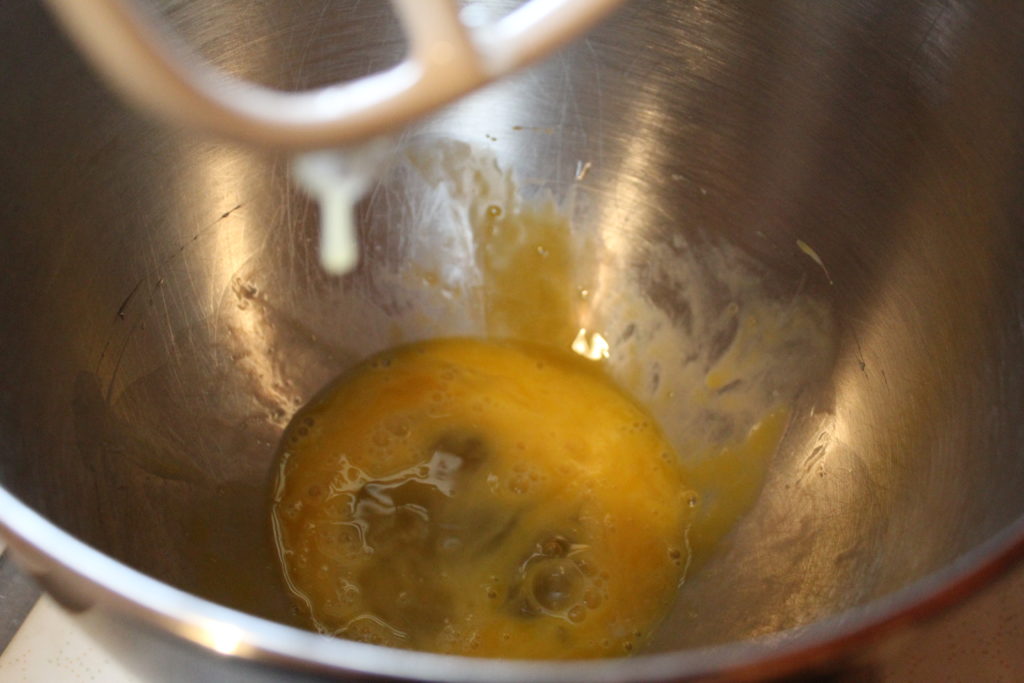
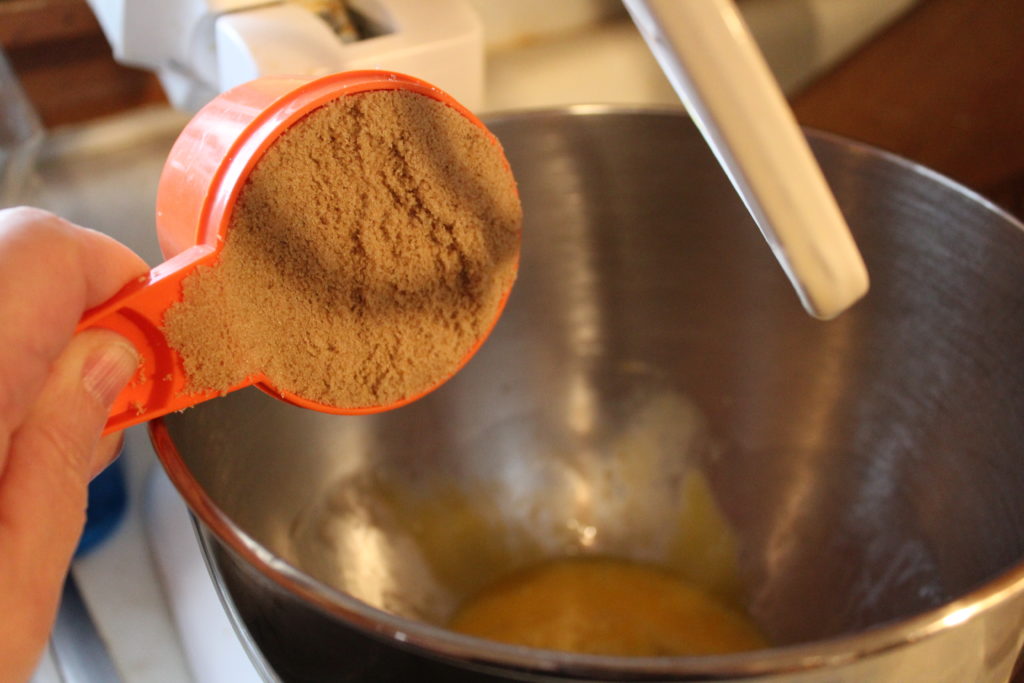
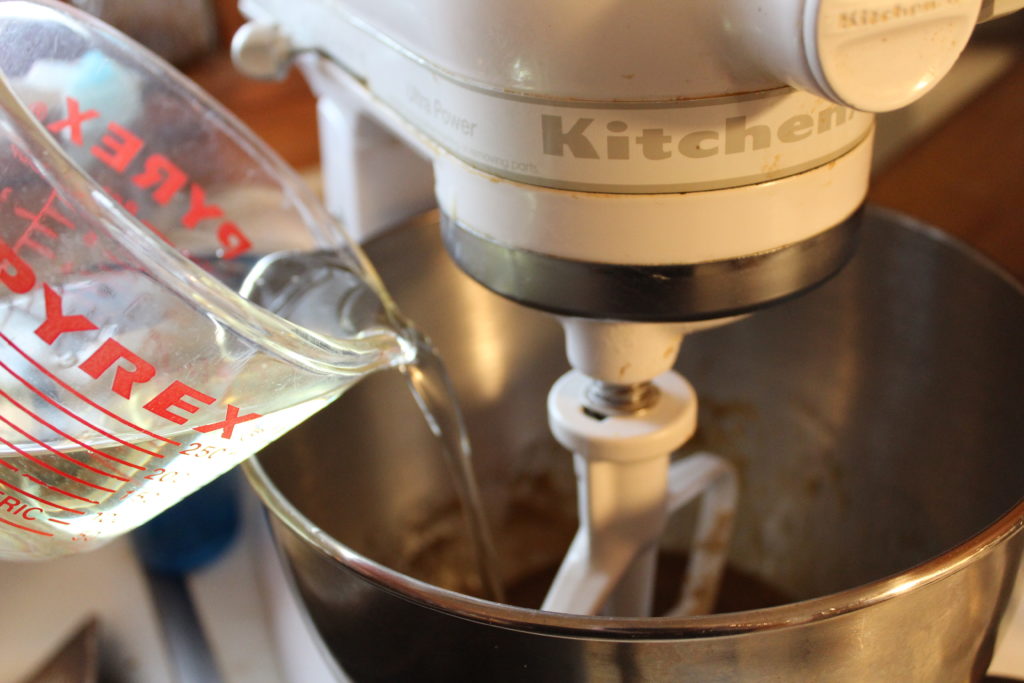
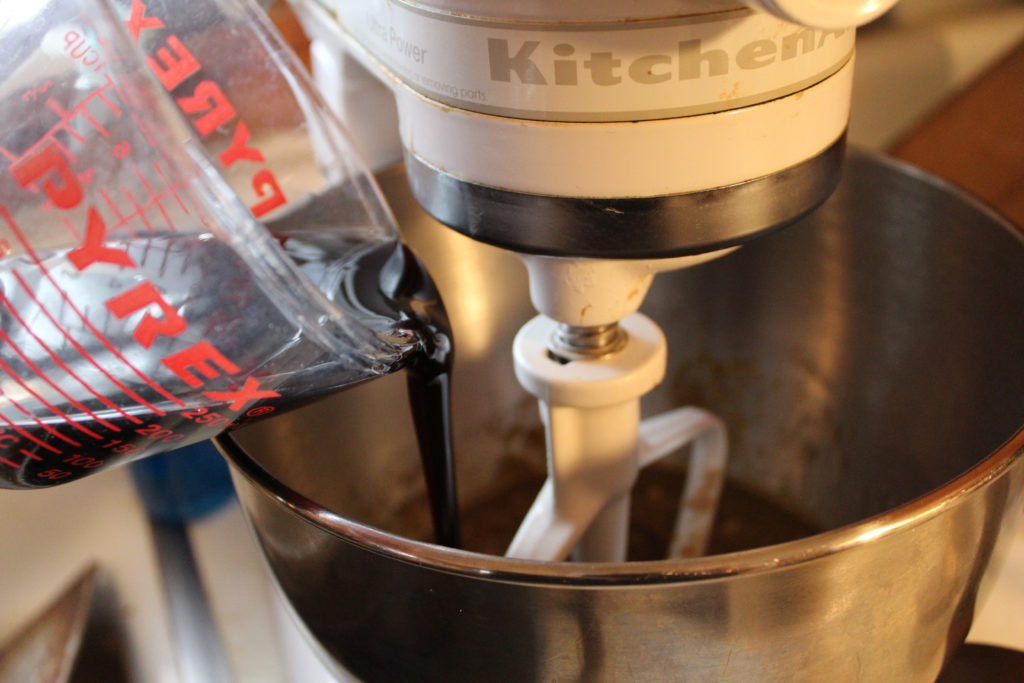
In a large mixing bowl, cream together shortening and sugar. Add eggs, vanilla and milk. Mix well. Blend in the dry ingredients (the flour mixture).
Mix well. Add in the nuts, dates and cherries. Shape the dough into balls. I used a cookie scoop. Roll each ball into the crushed corn flakes and top with one fourth of a cherry. Bake at 375 degrees for 10 to 12 minutes. Cool on a cookie sheet. Yield about 4 dozen cookies. I made mine a tad bigger and I did not get that many.
Hope you enjoy this cookie recipe!
Becky