Basil and Sweet Pepper Jelly

It has been sooooo long since I have posted anything.

I really do not know where to start.

Do I start with a recipe and pretend I have not posted in like 8 months?

Or, just say that with my sweet Daddy going to heaven and my Mom falling down several times and being in skilled nursing twice to recover, plus teaching summer and canning goodies from my garden and school starting again, it has taken this long to get my life in better balanced.

Just trying to balance life.

I know you all are too!

So…that being said let just start with a fun canning recipe.

Okay?

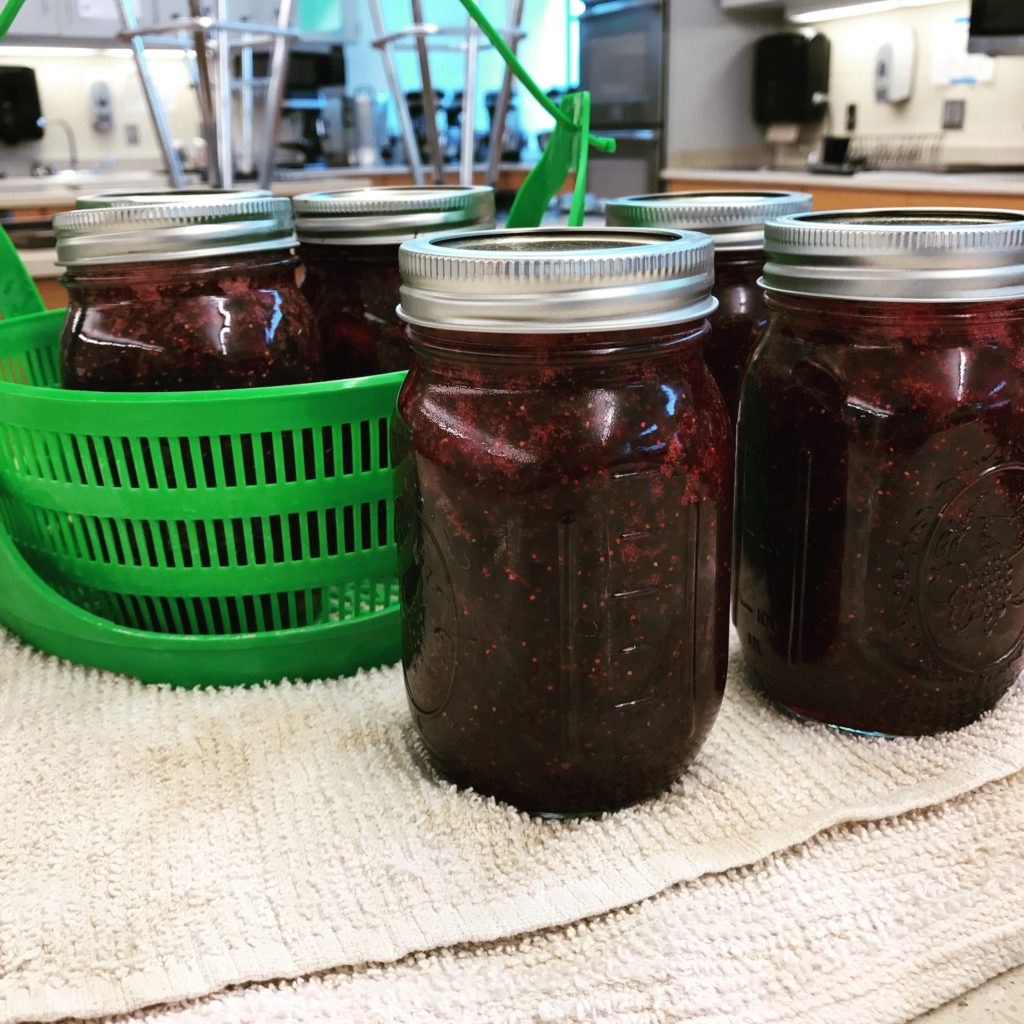
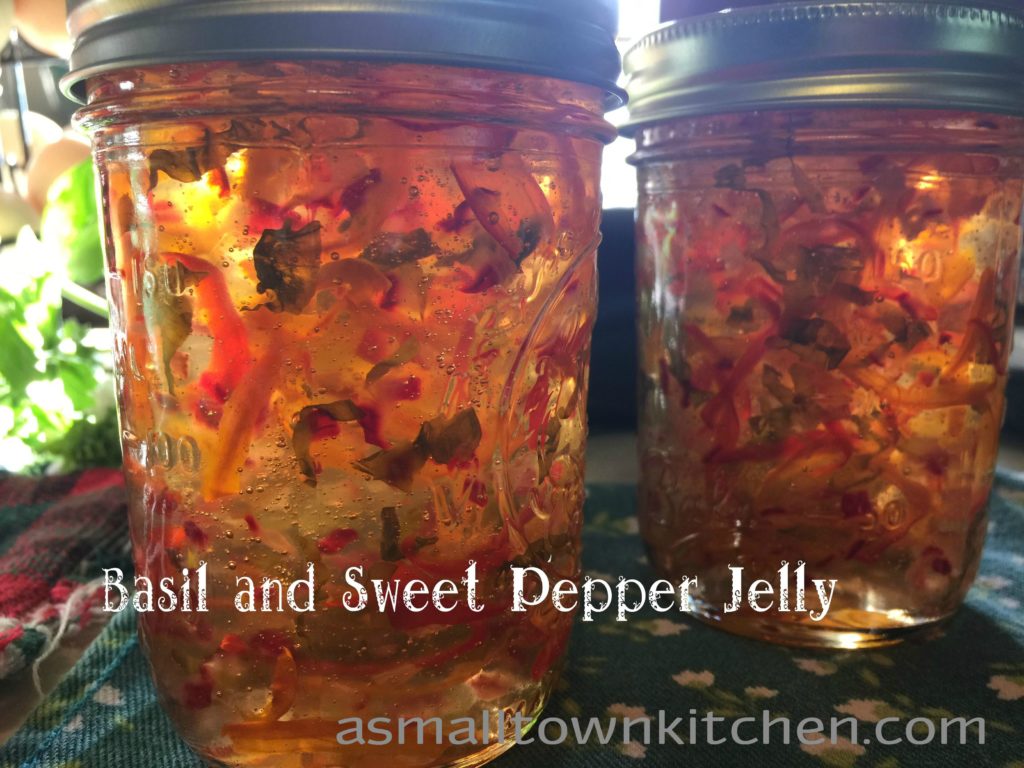
This recipe caught my attention a couple of years ago. I just thought it was beautiful. I love how the peppers just float, suspended in the jelly.

This is the perfect jelly to put over cream cheese and serve with crackers. Even though I just used mild sweet peppers, cause I am allergic to jalapeños, you could definitely switch out some sweet peppers for the hot ones.

That is the great thing about canning. As long as you stay within the “safe rules” you can mix things up a bit.

Add this beautiful and delicious jelly to your pantry. On a day when you need a fast appetizer just throw in on brie, cream cheese or serve it plan and it will be tasty and beautiful!

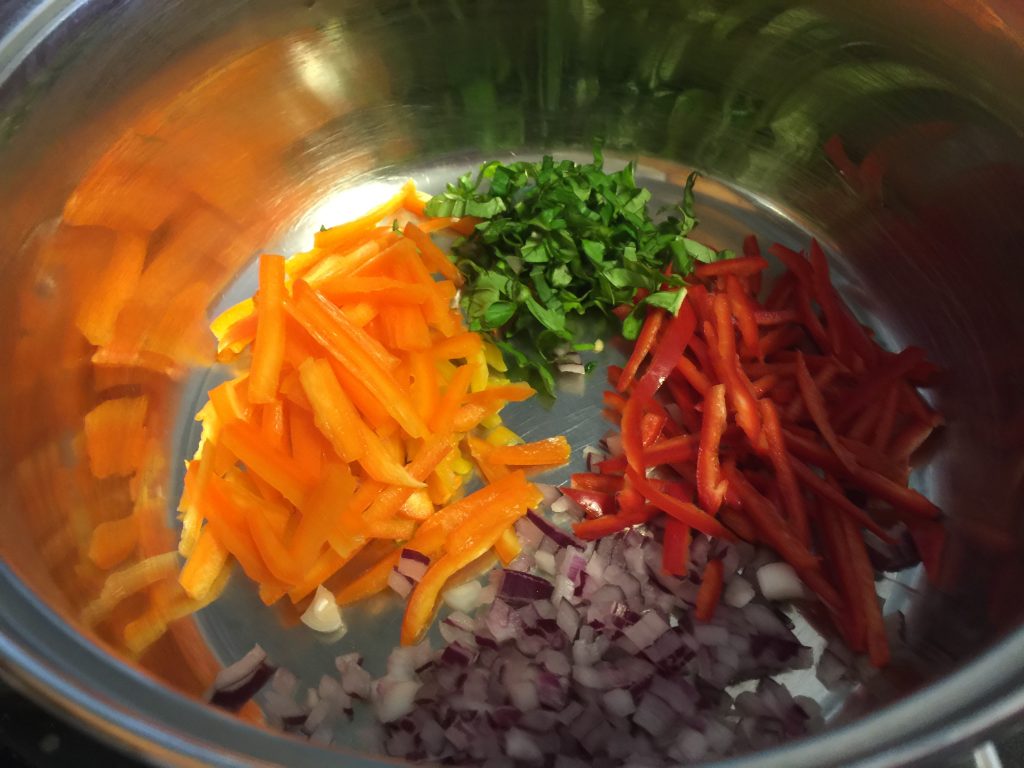
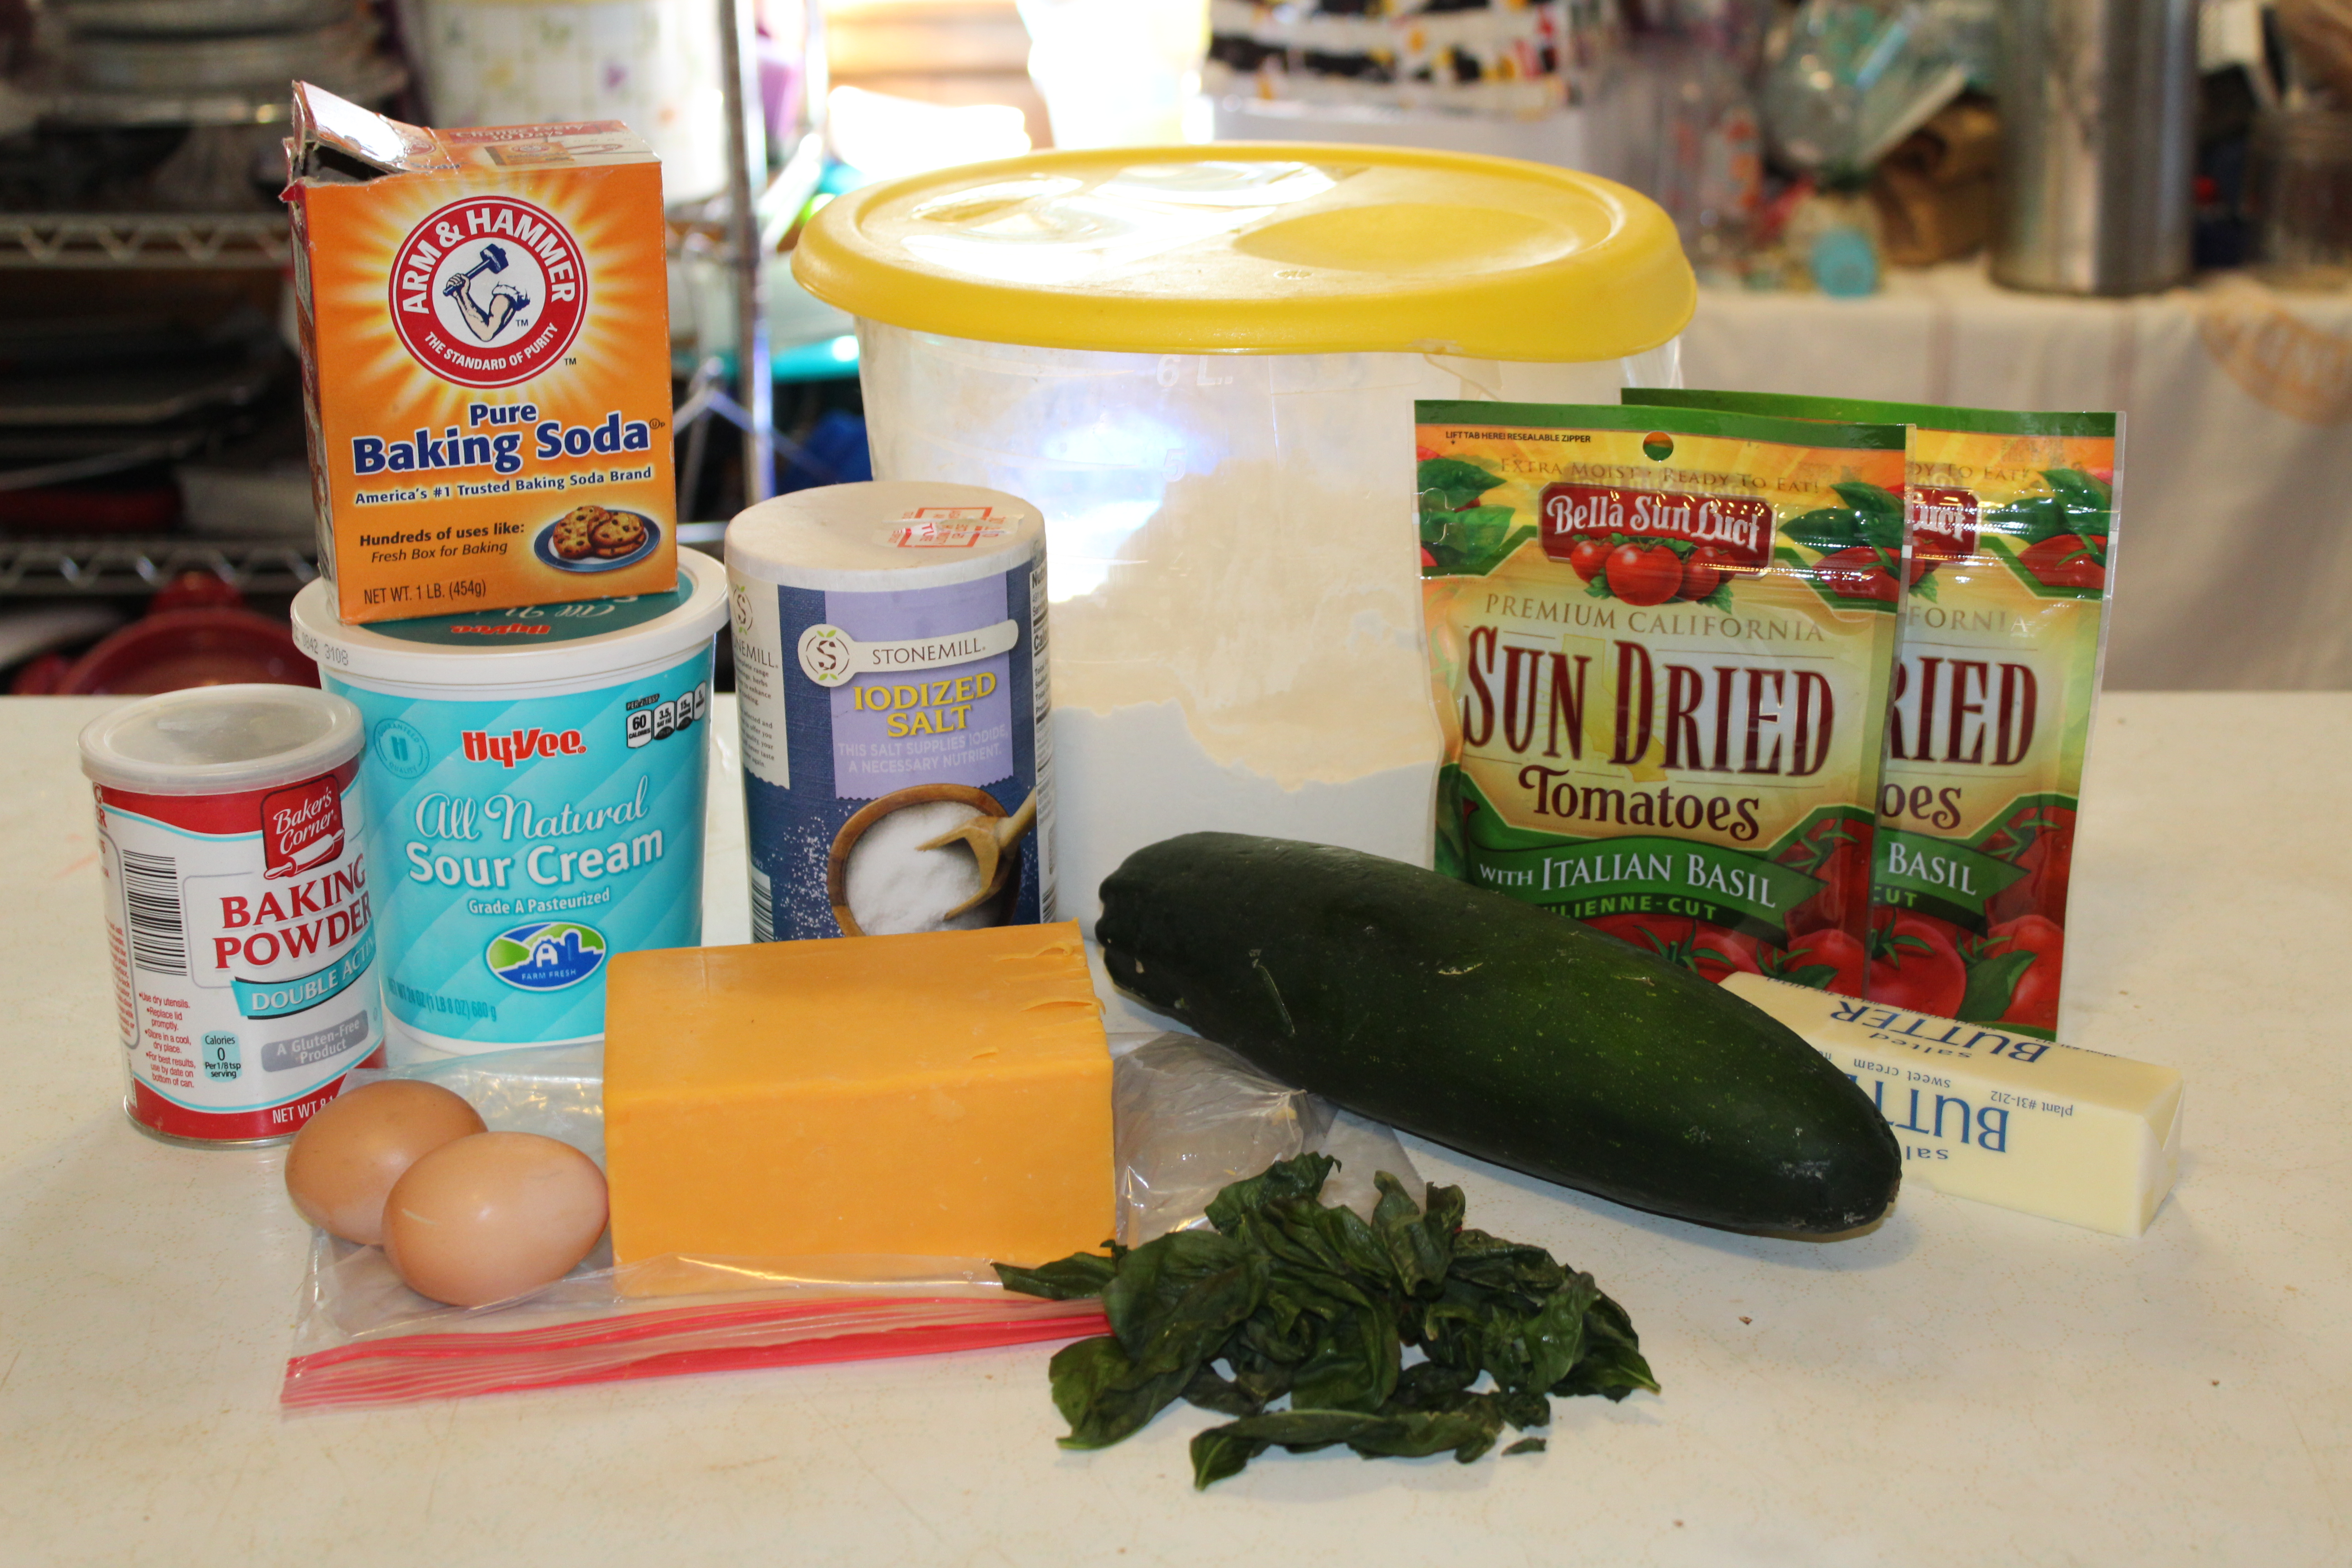
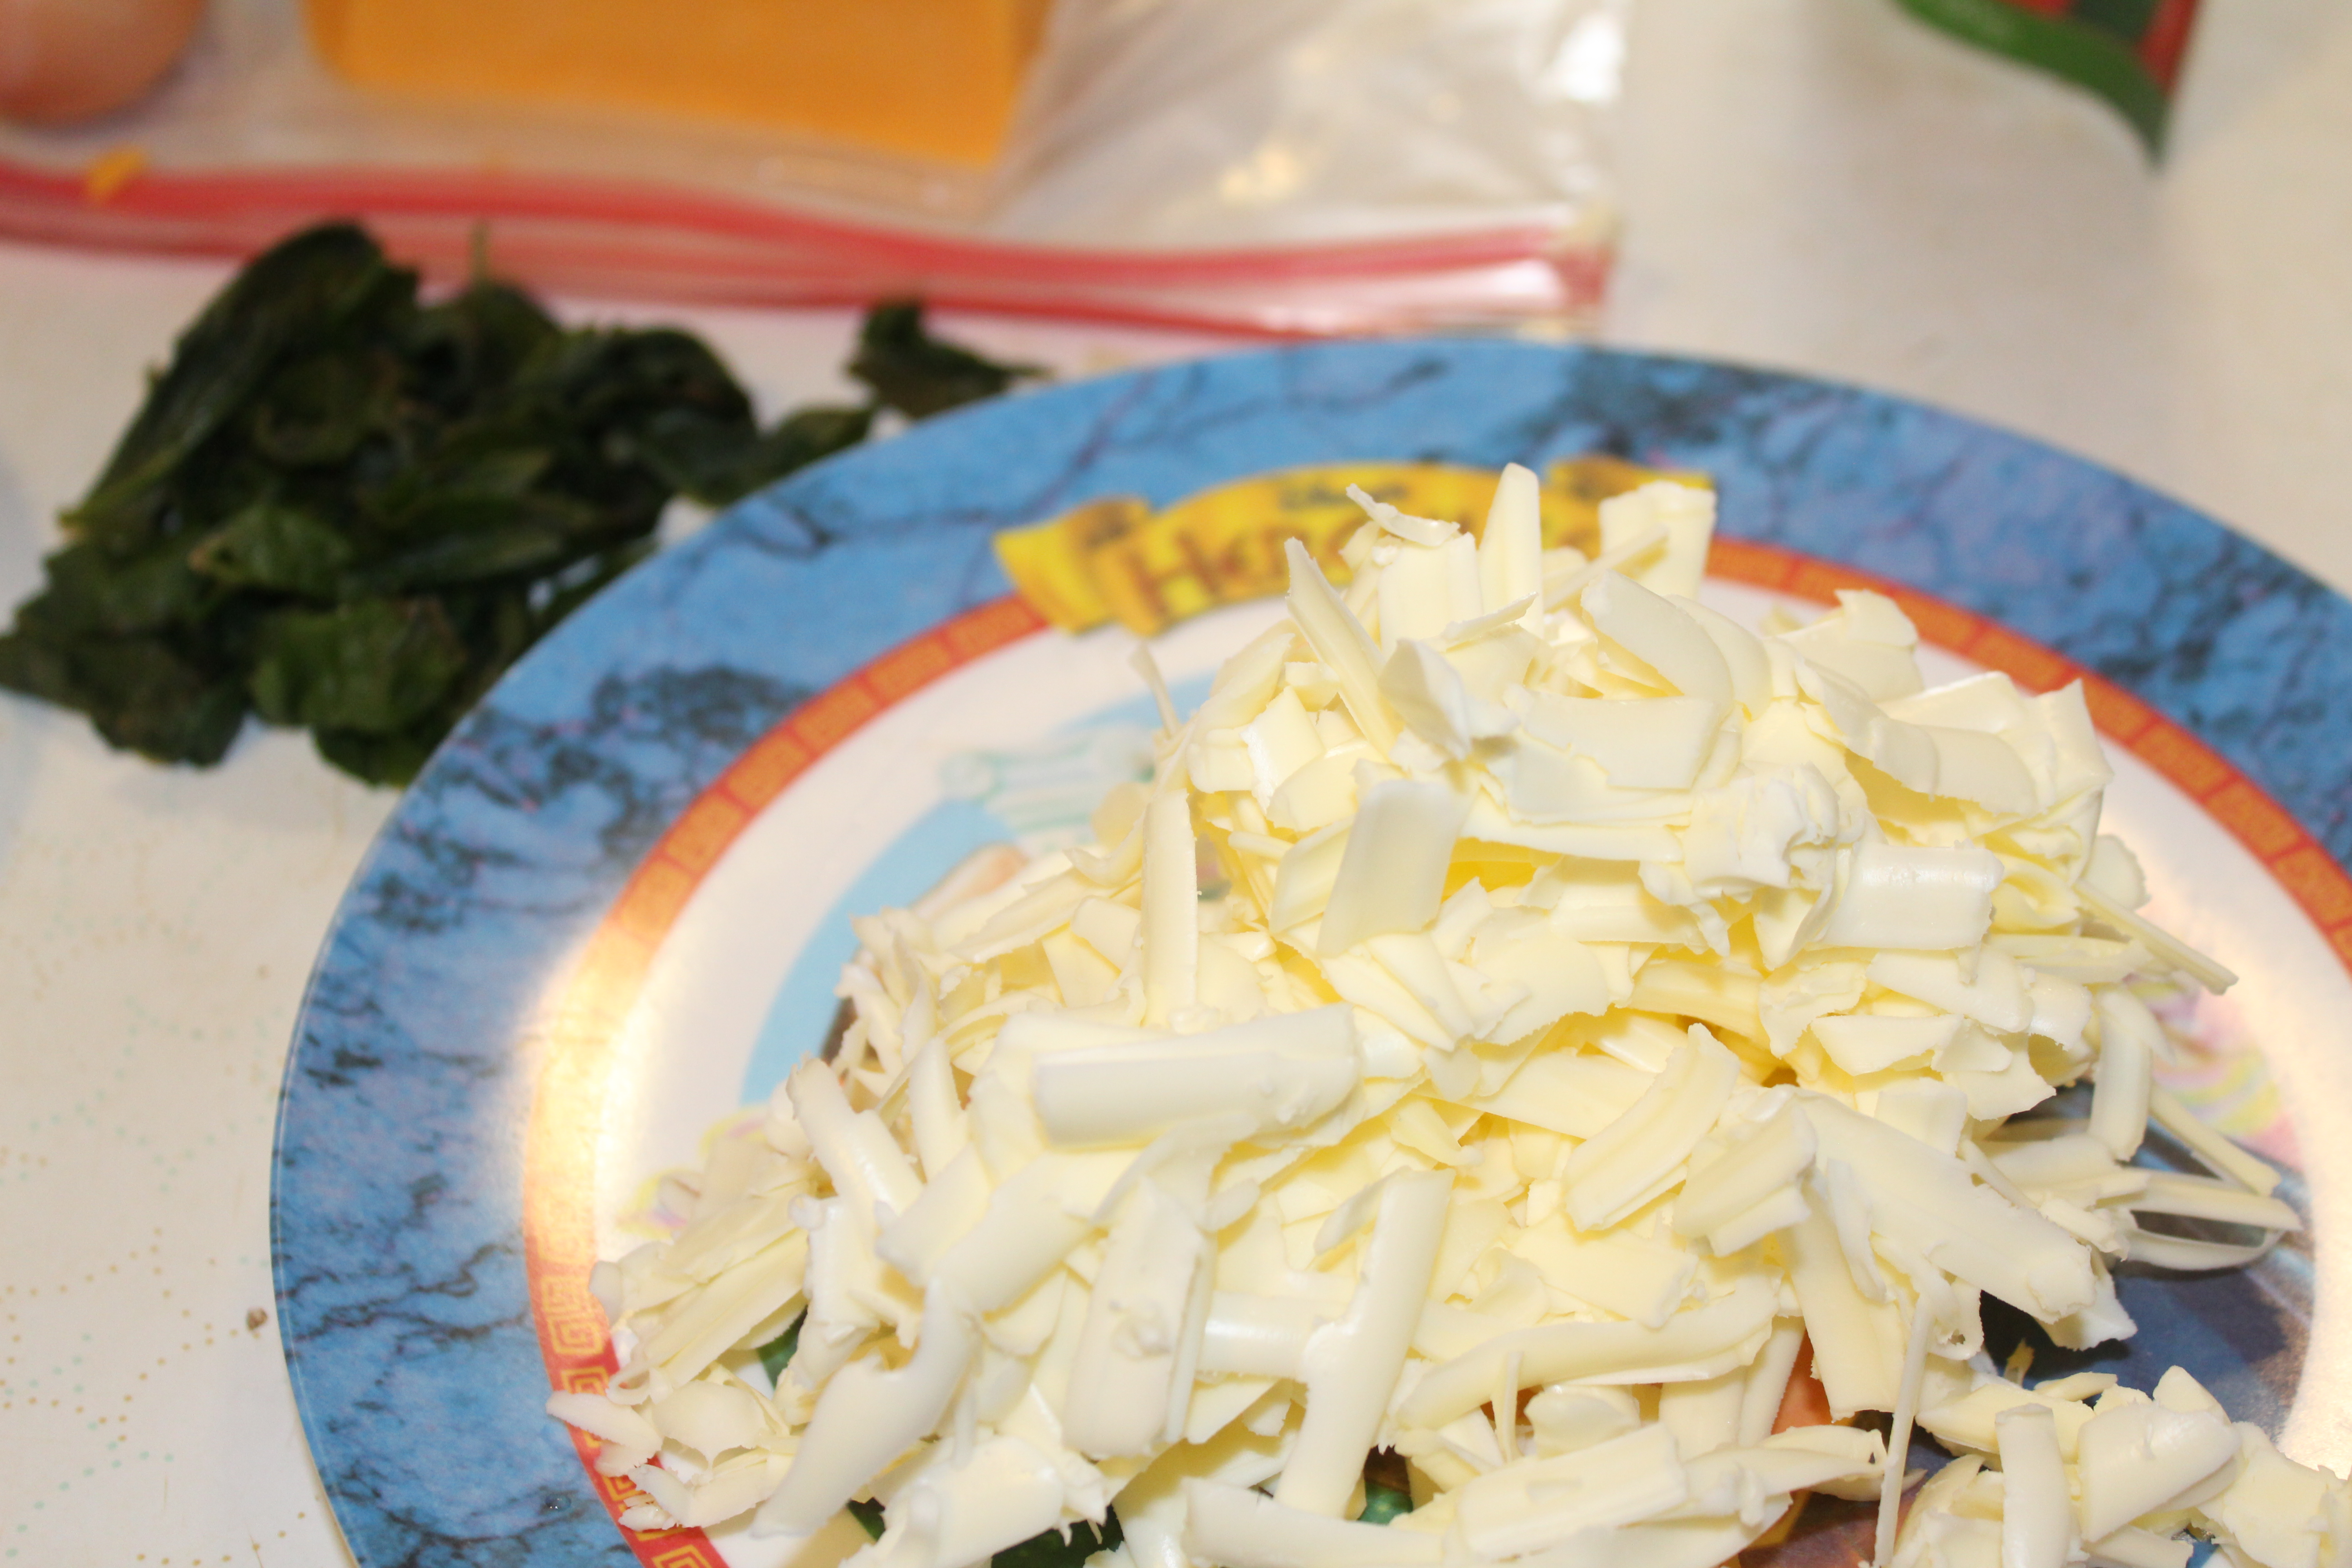
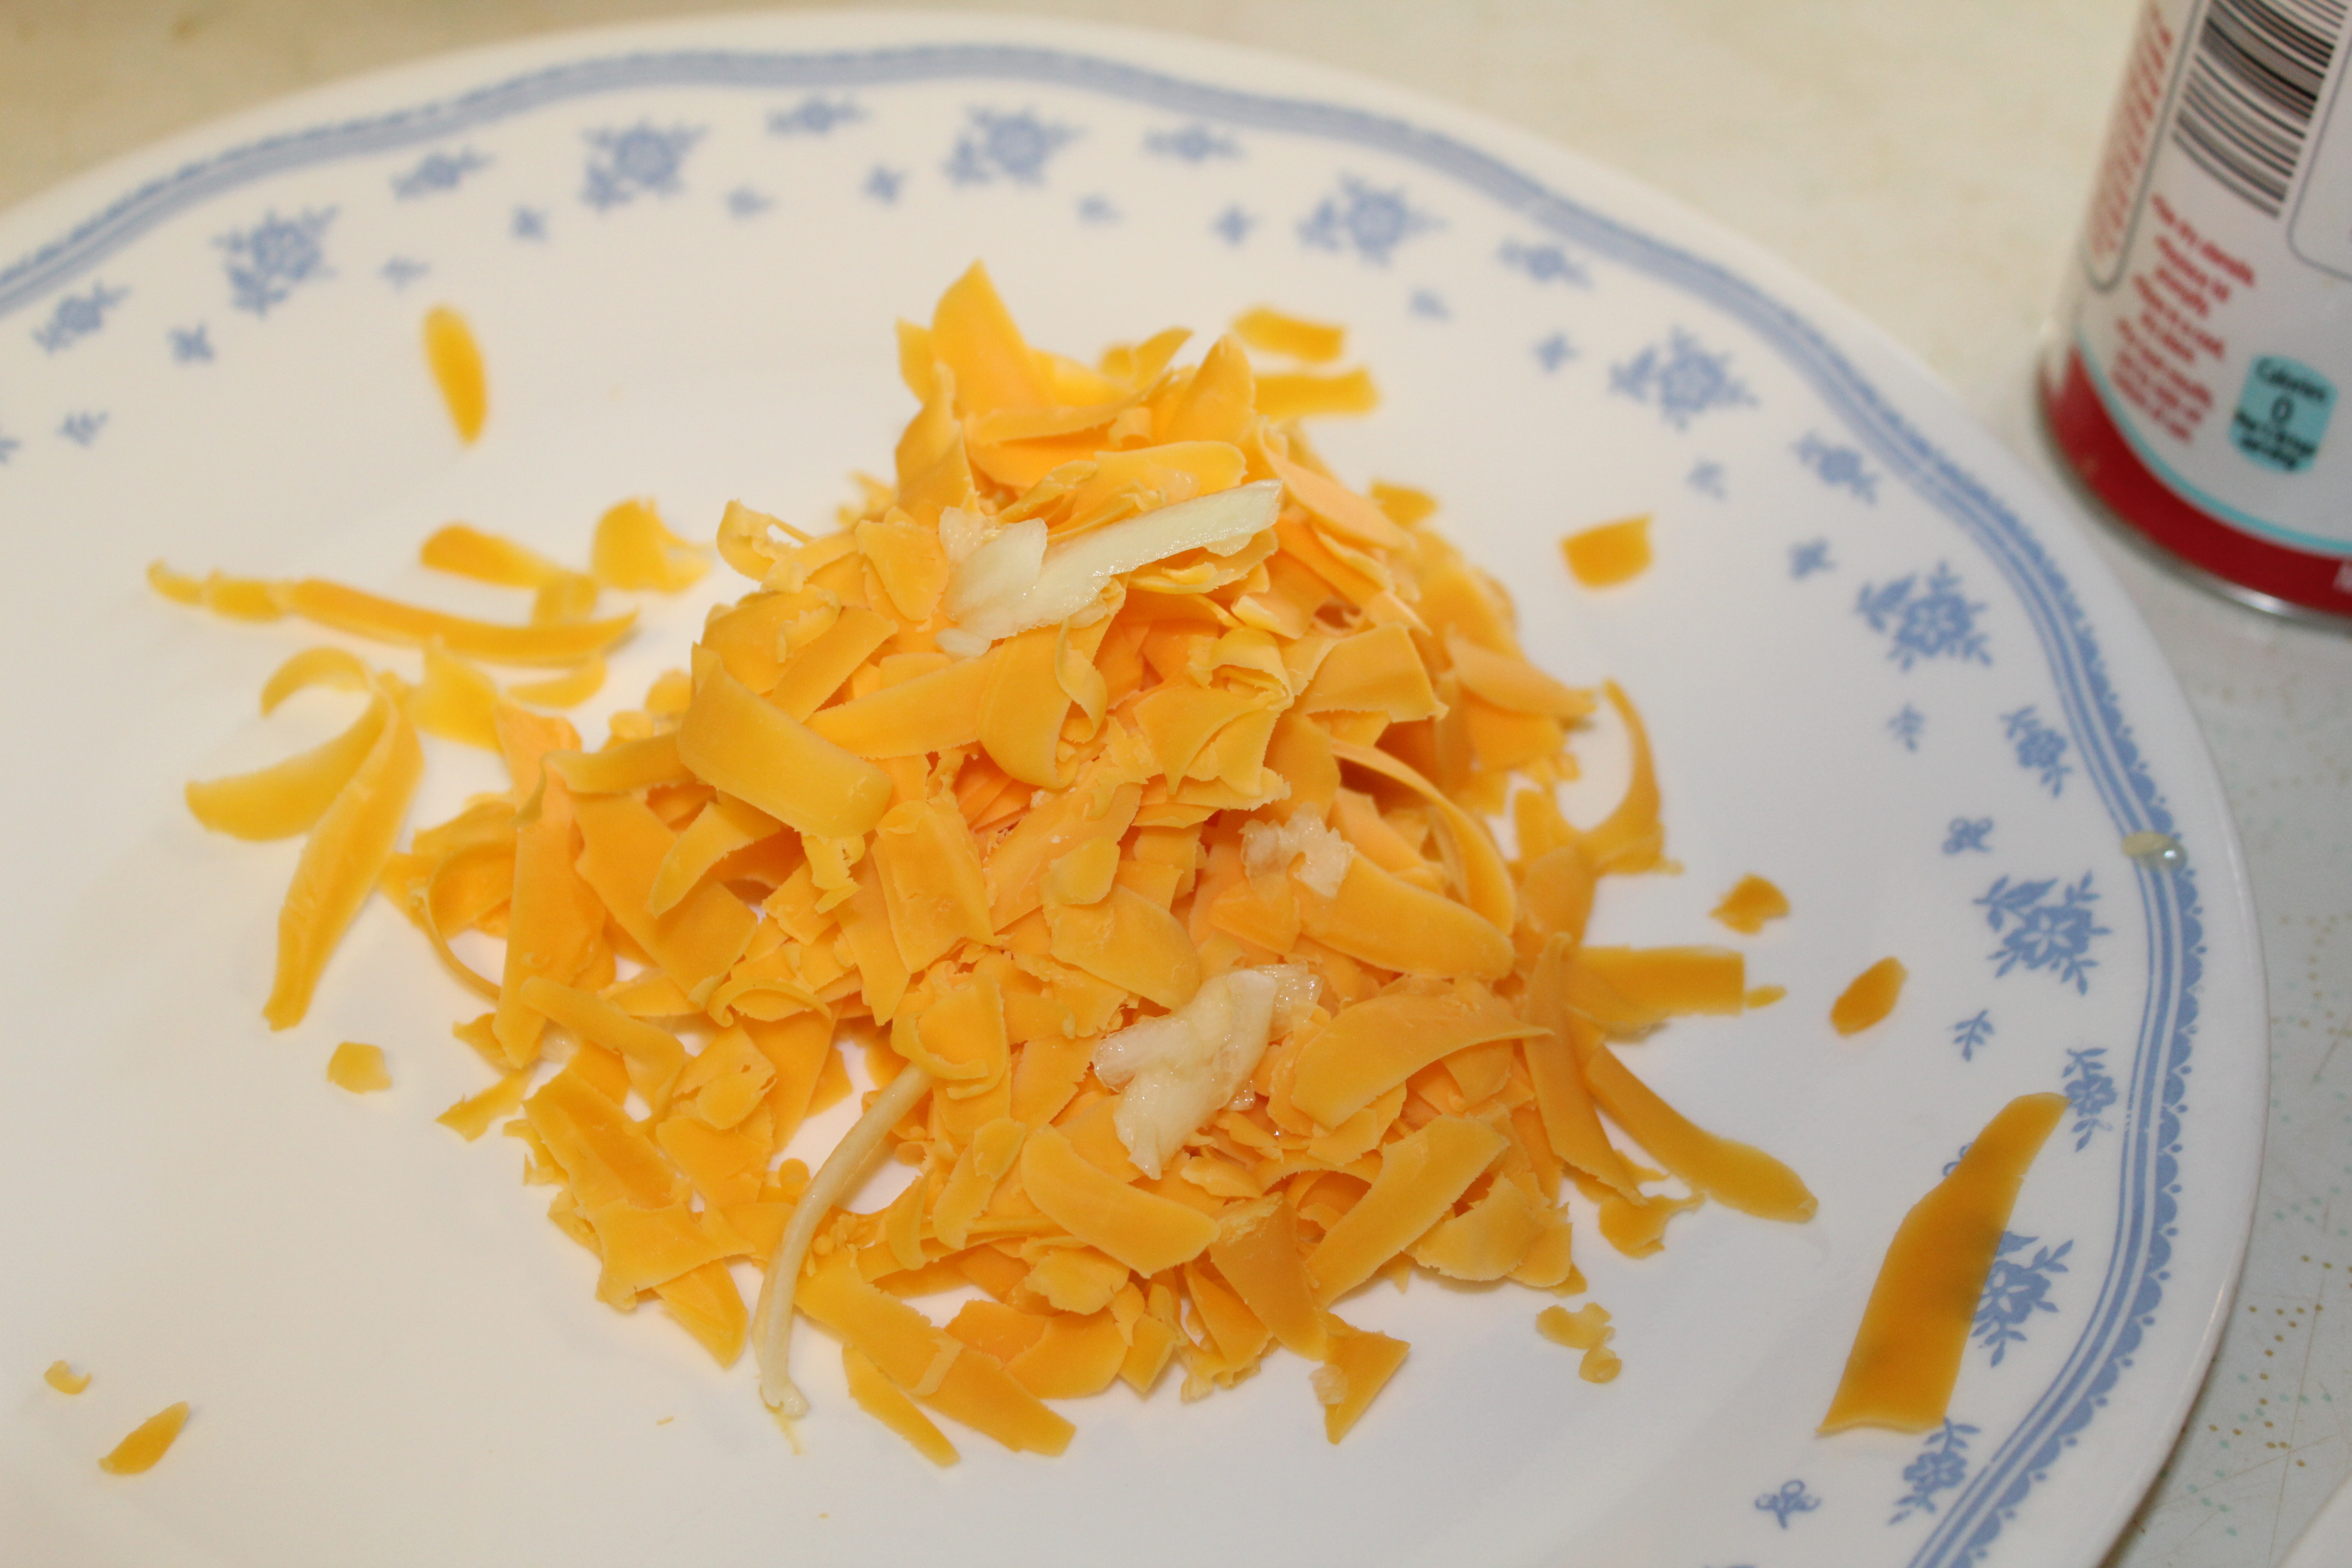
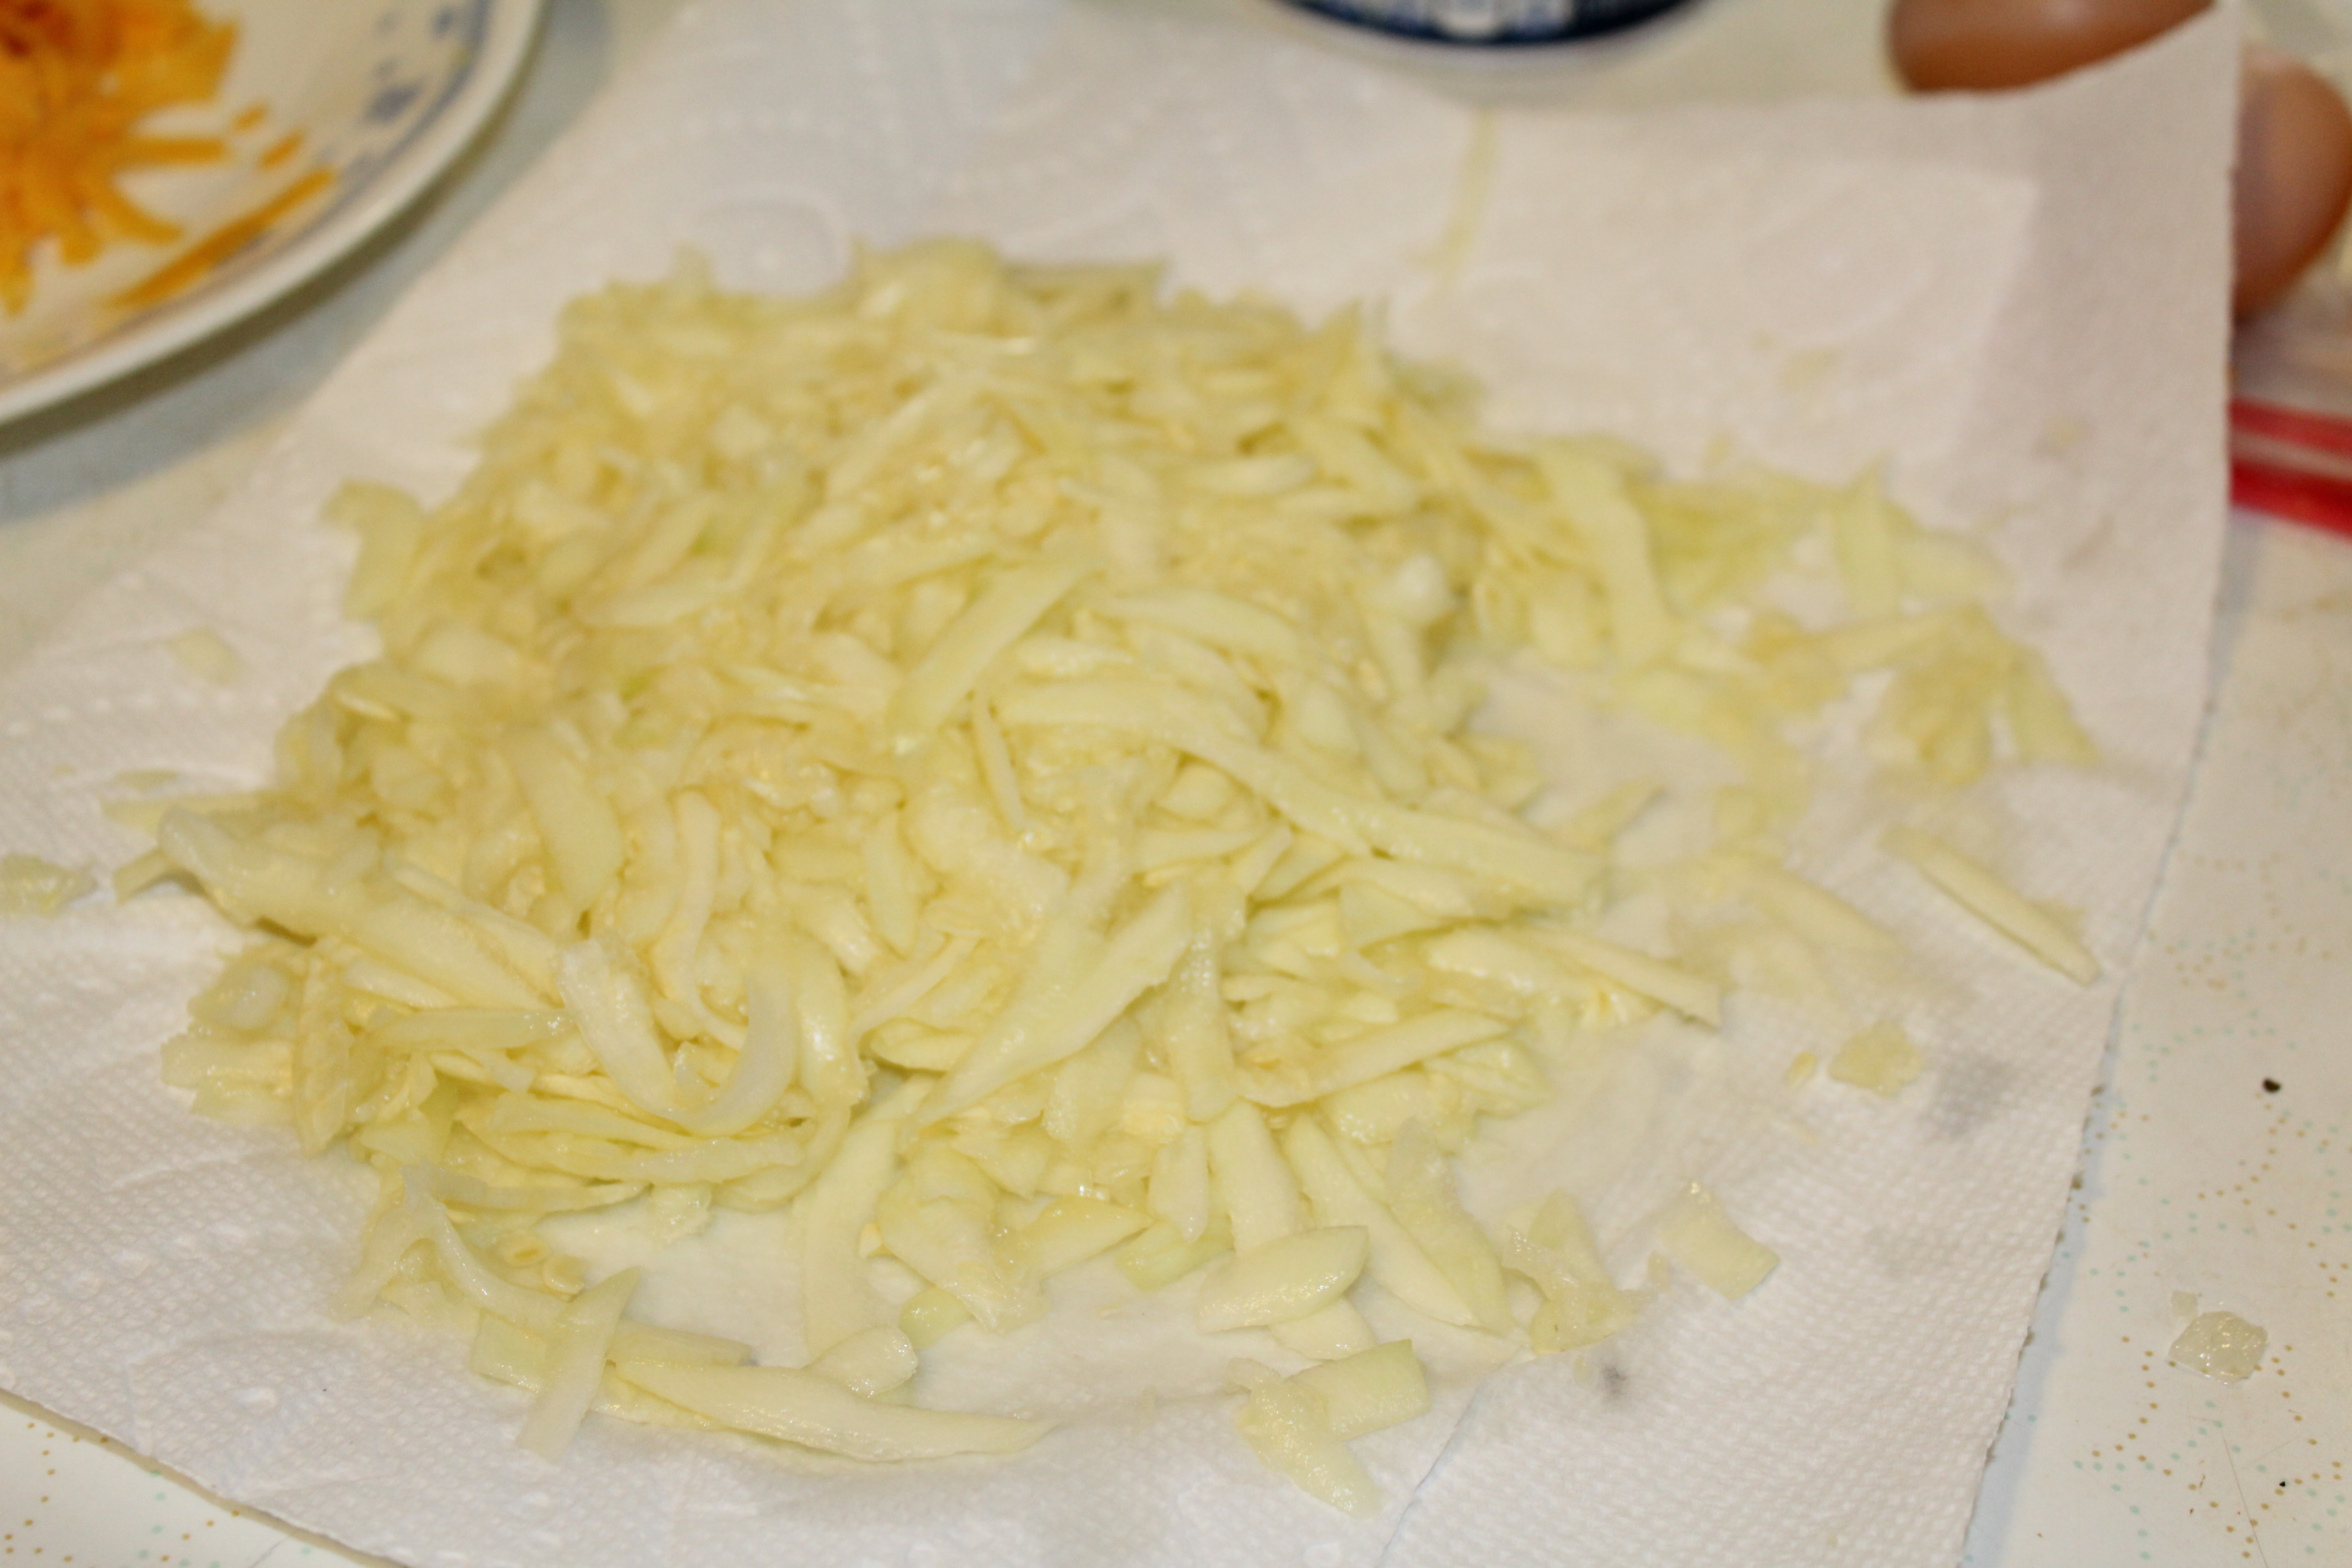
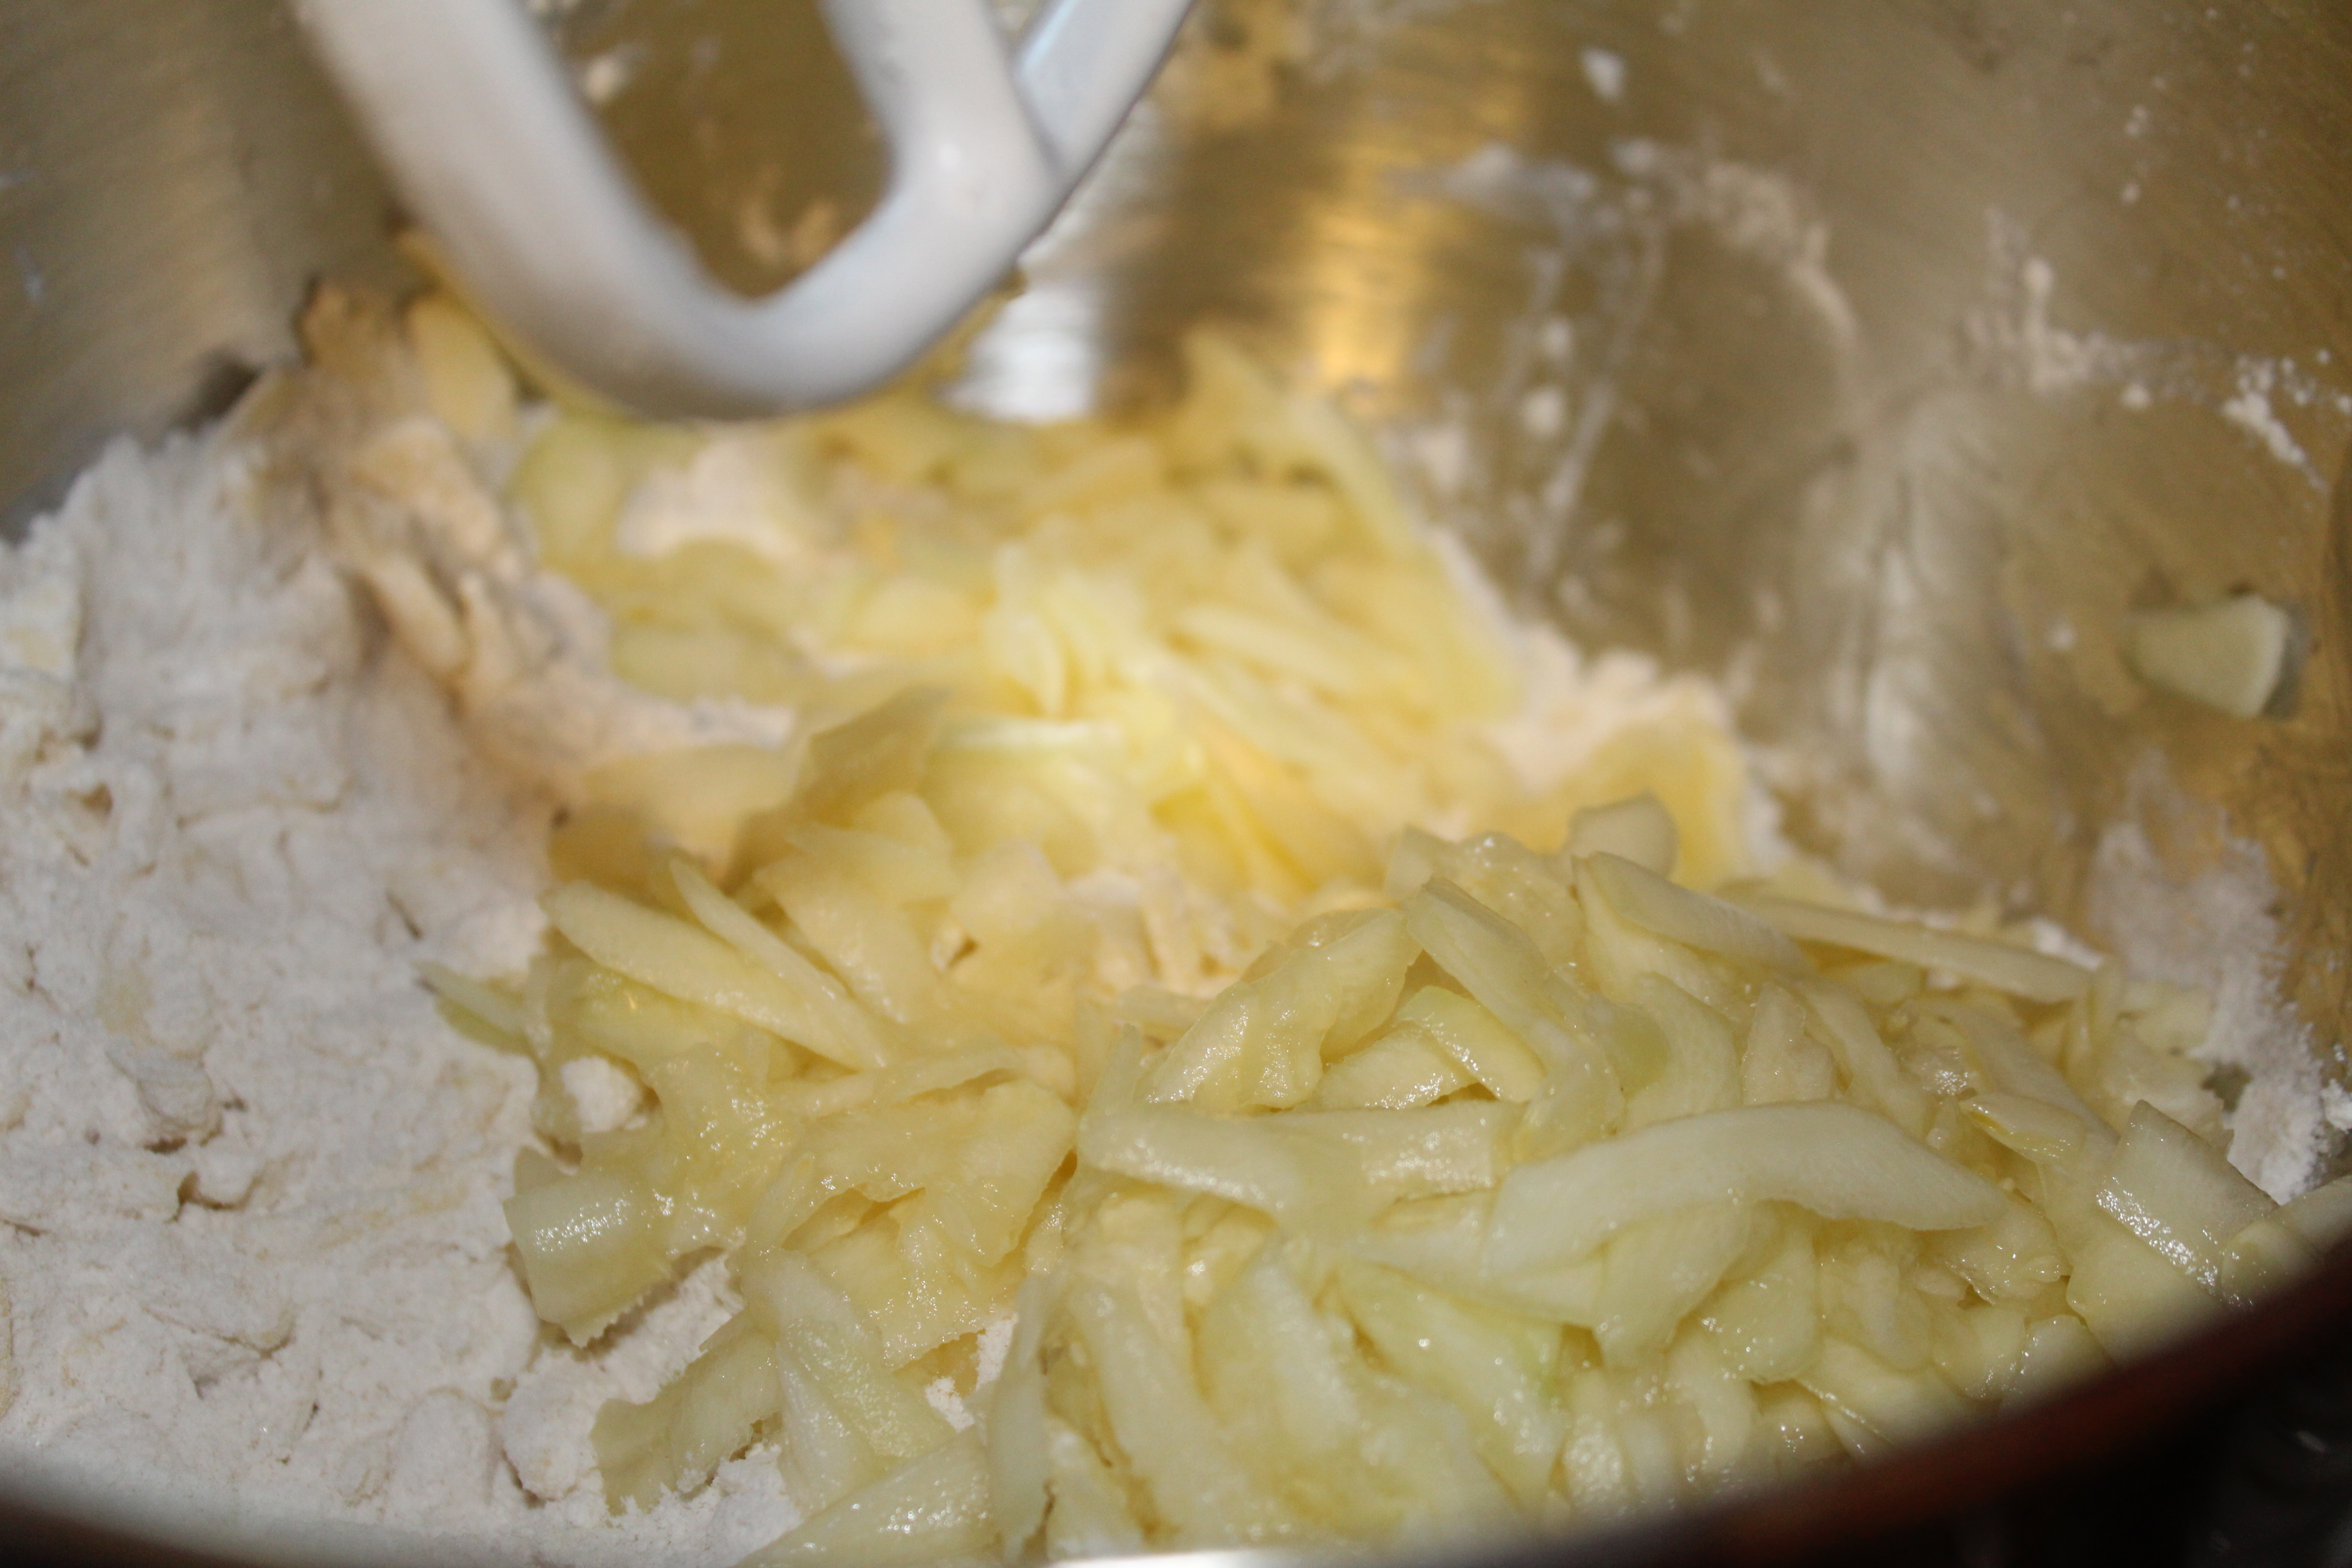
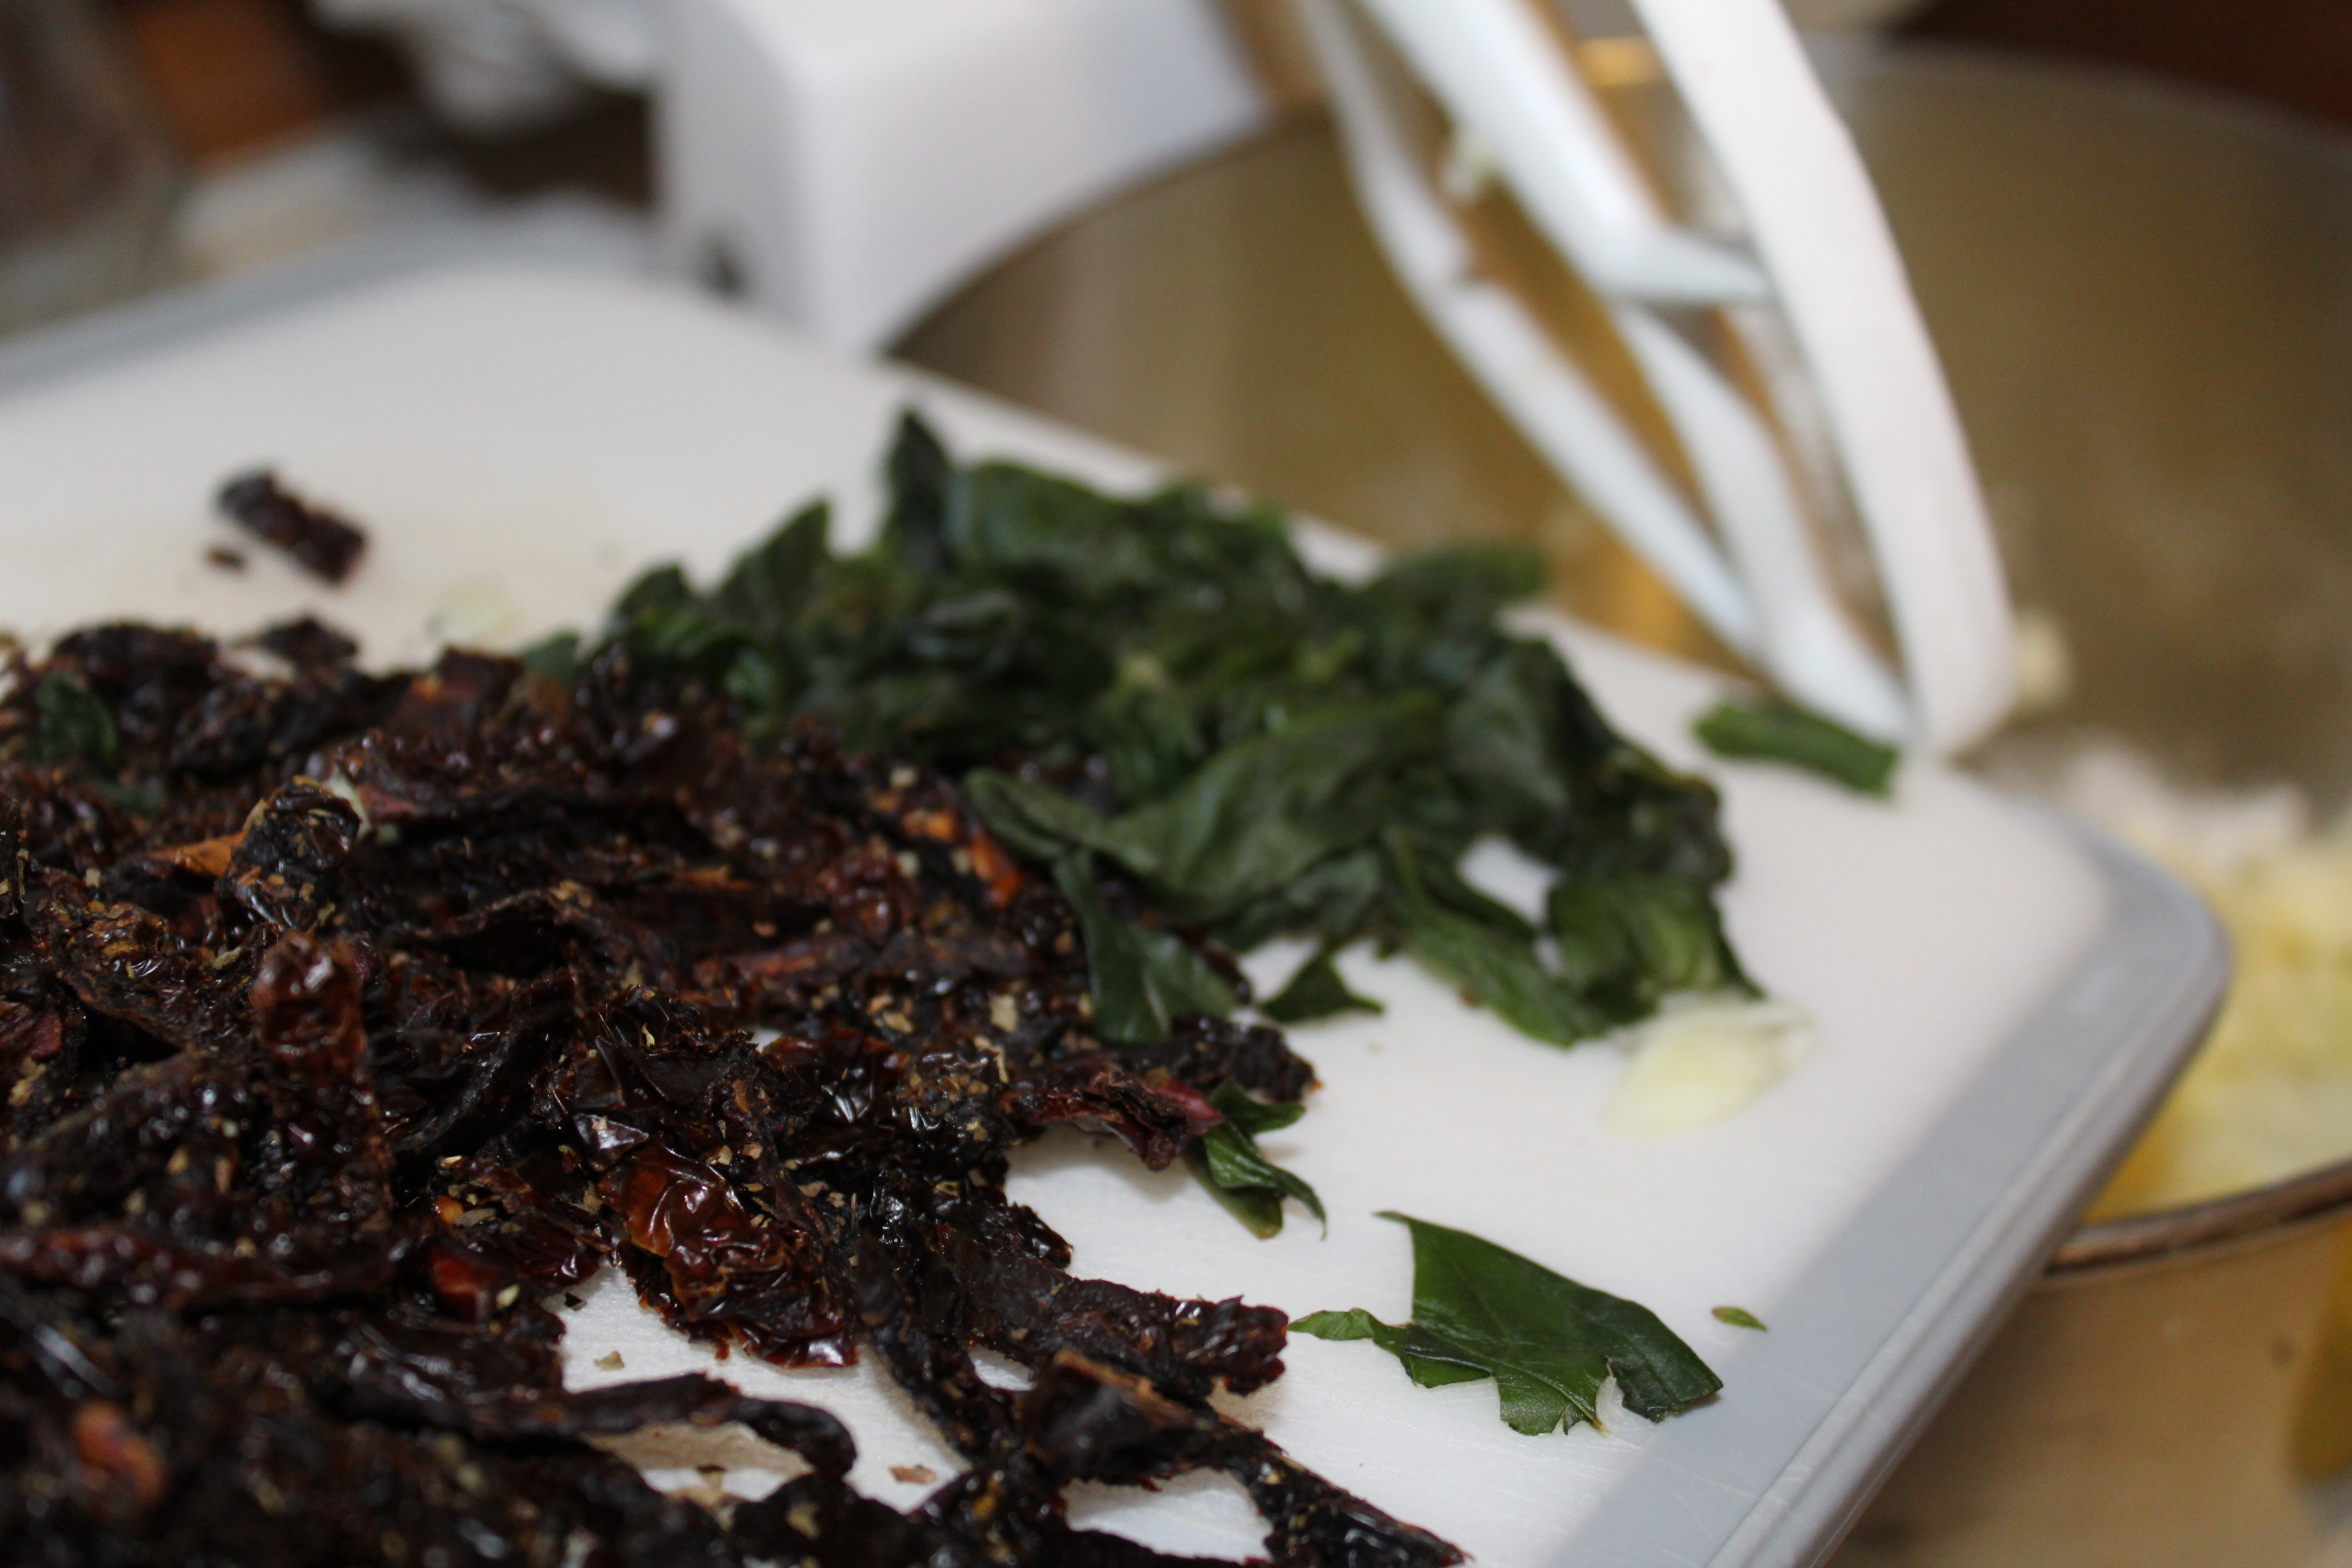
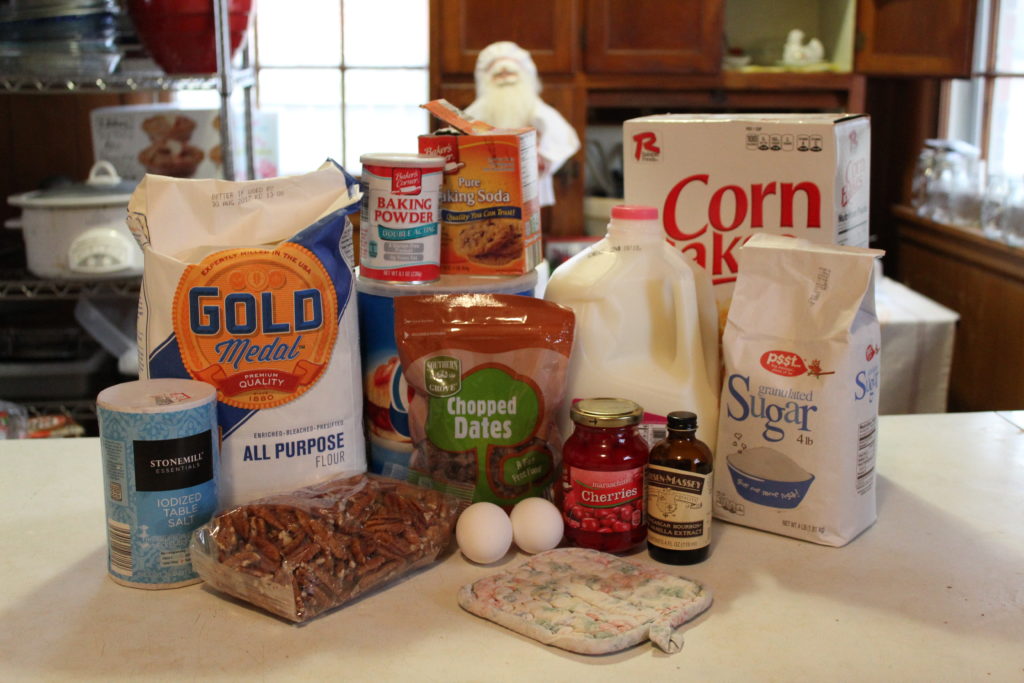
Here is what you will need for this recipe: thinly sliced mild yellow peppers, thinly sliced mild red peppers, chopped red onion, fresh basil cut in strips, dried basil, white vinegar, granulated sugar and 1 pouch of liquid pectin.

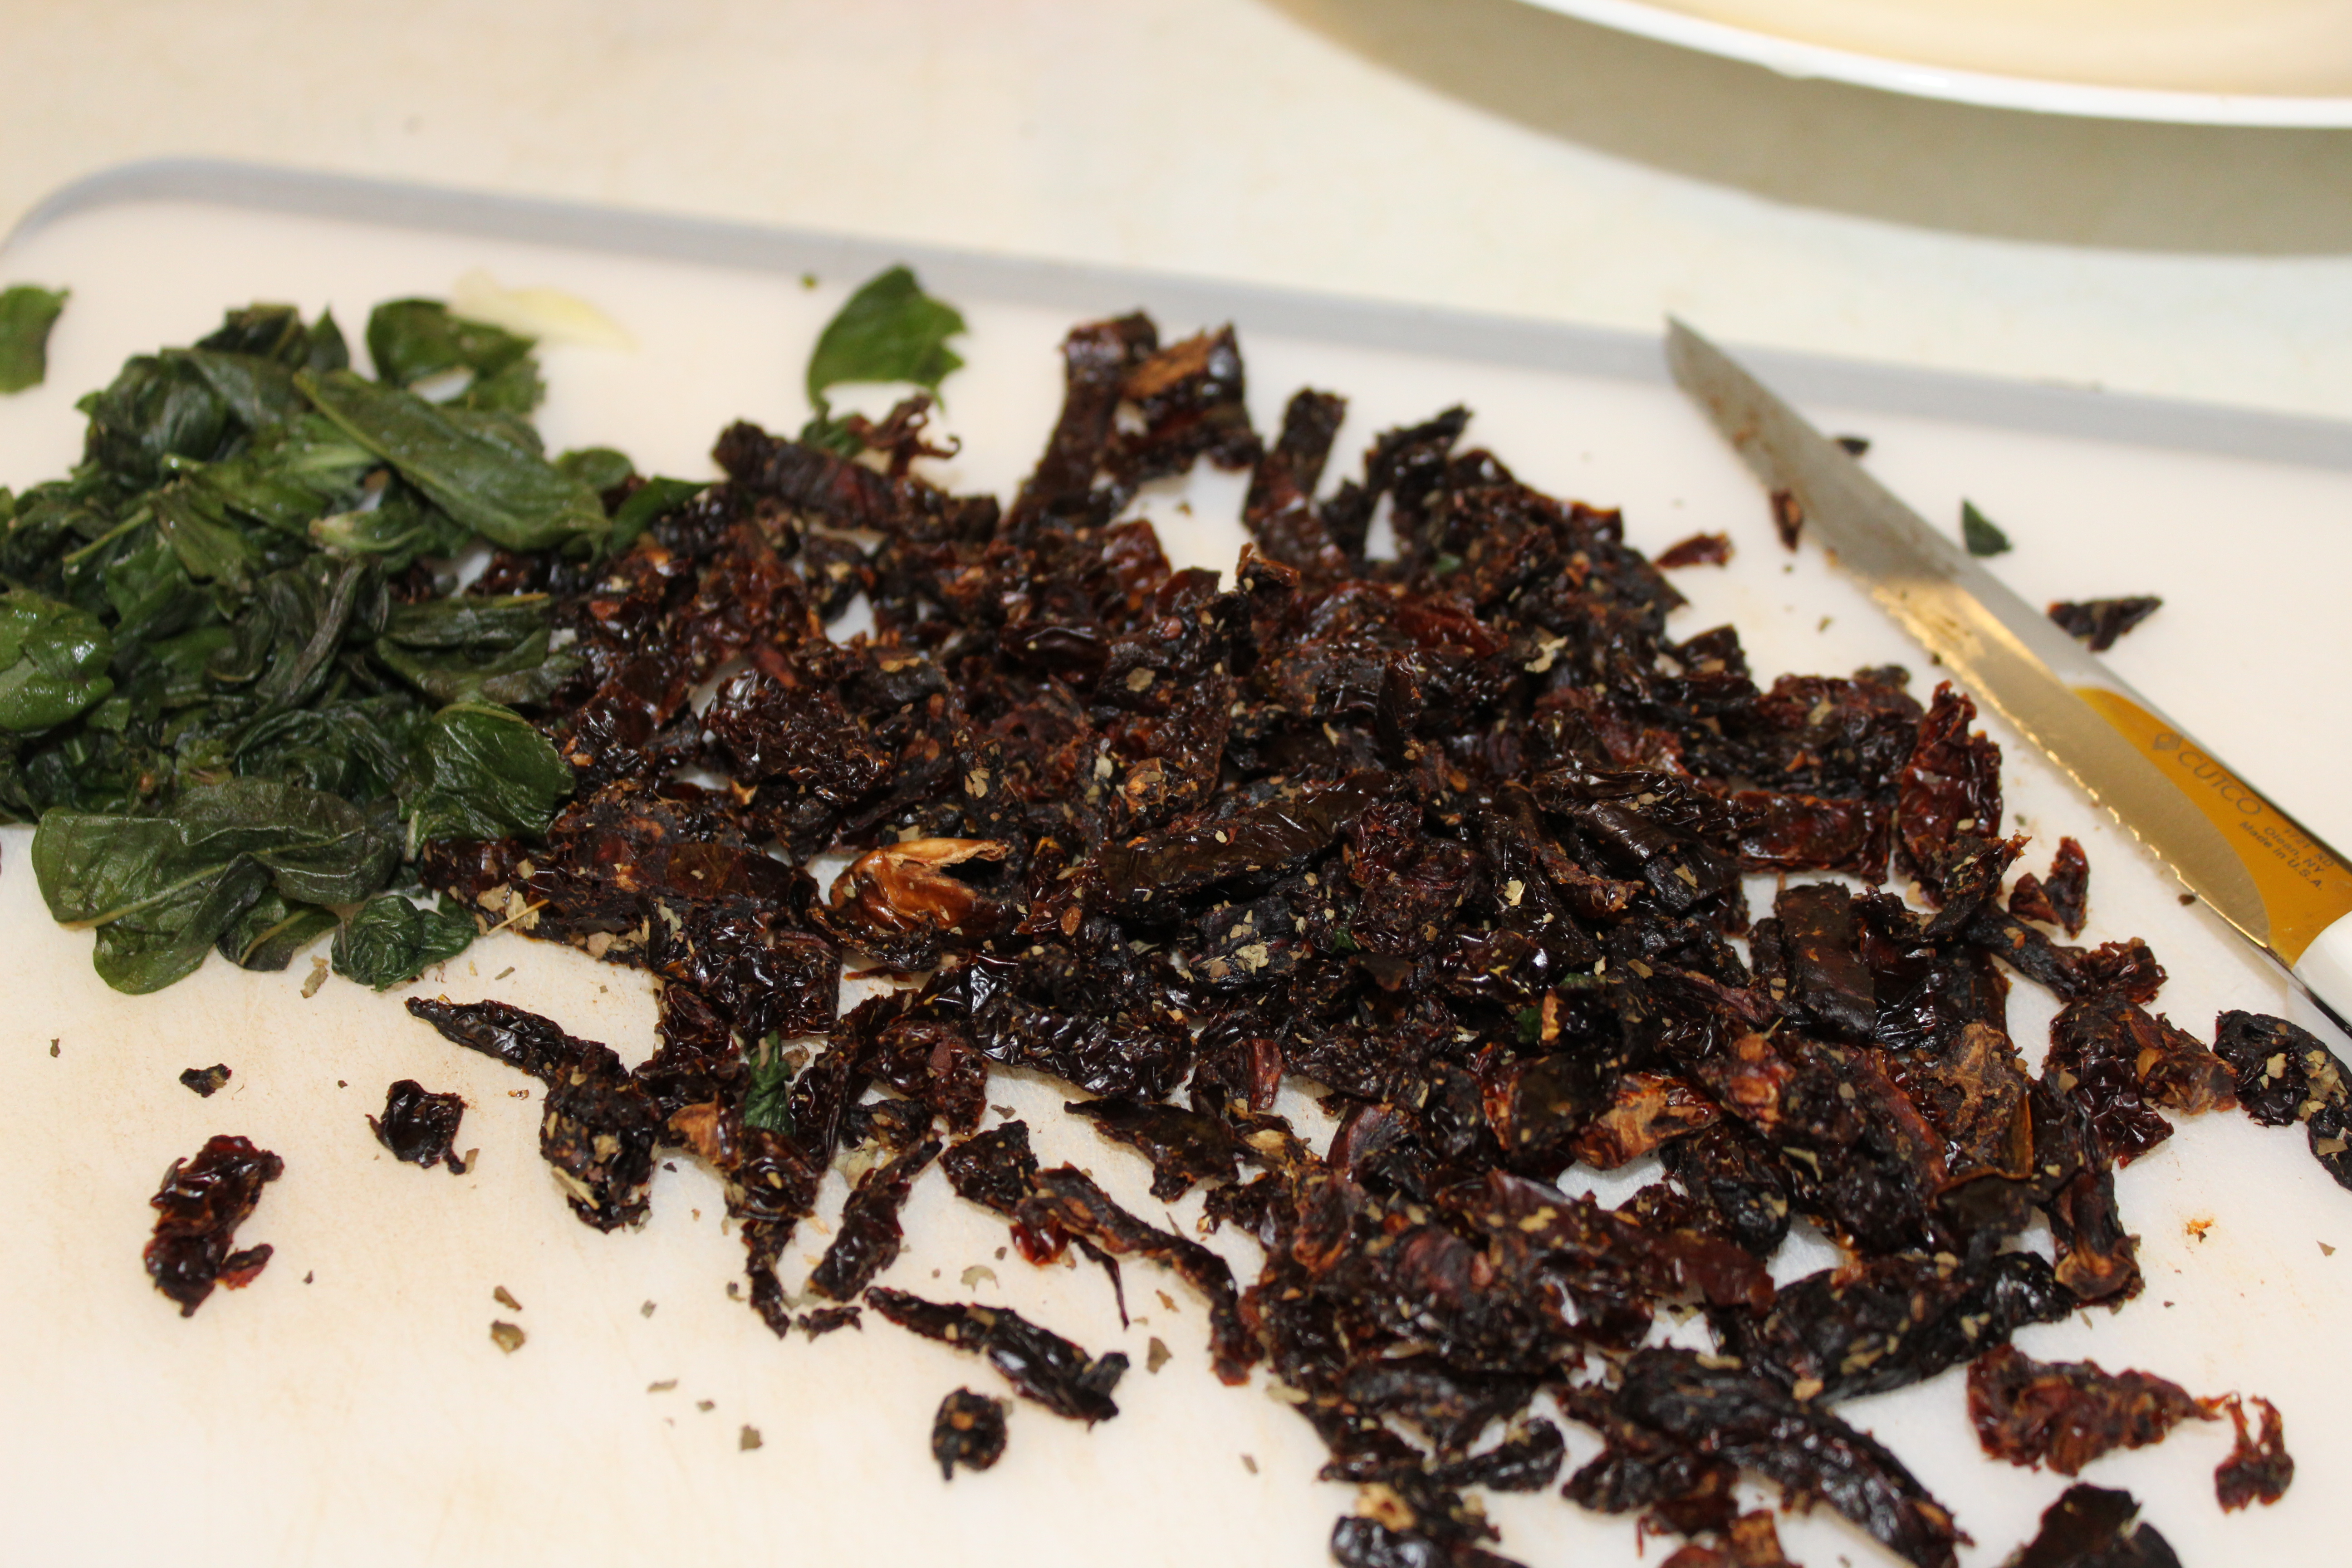
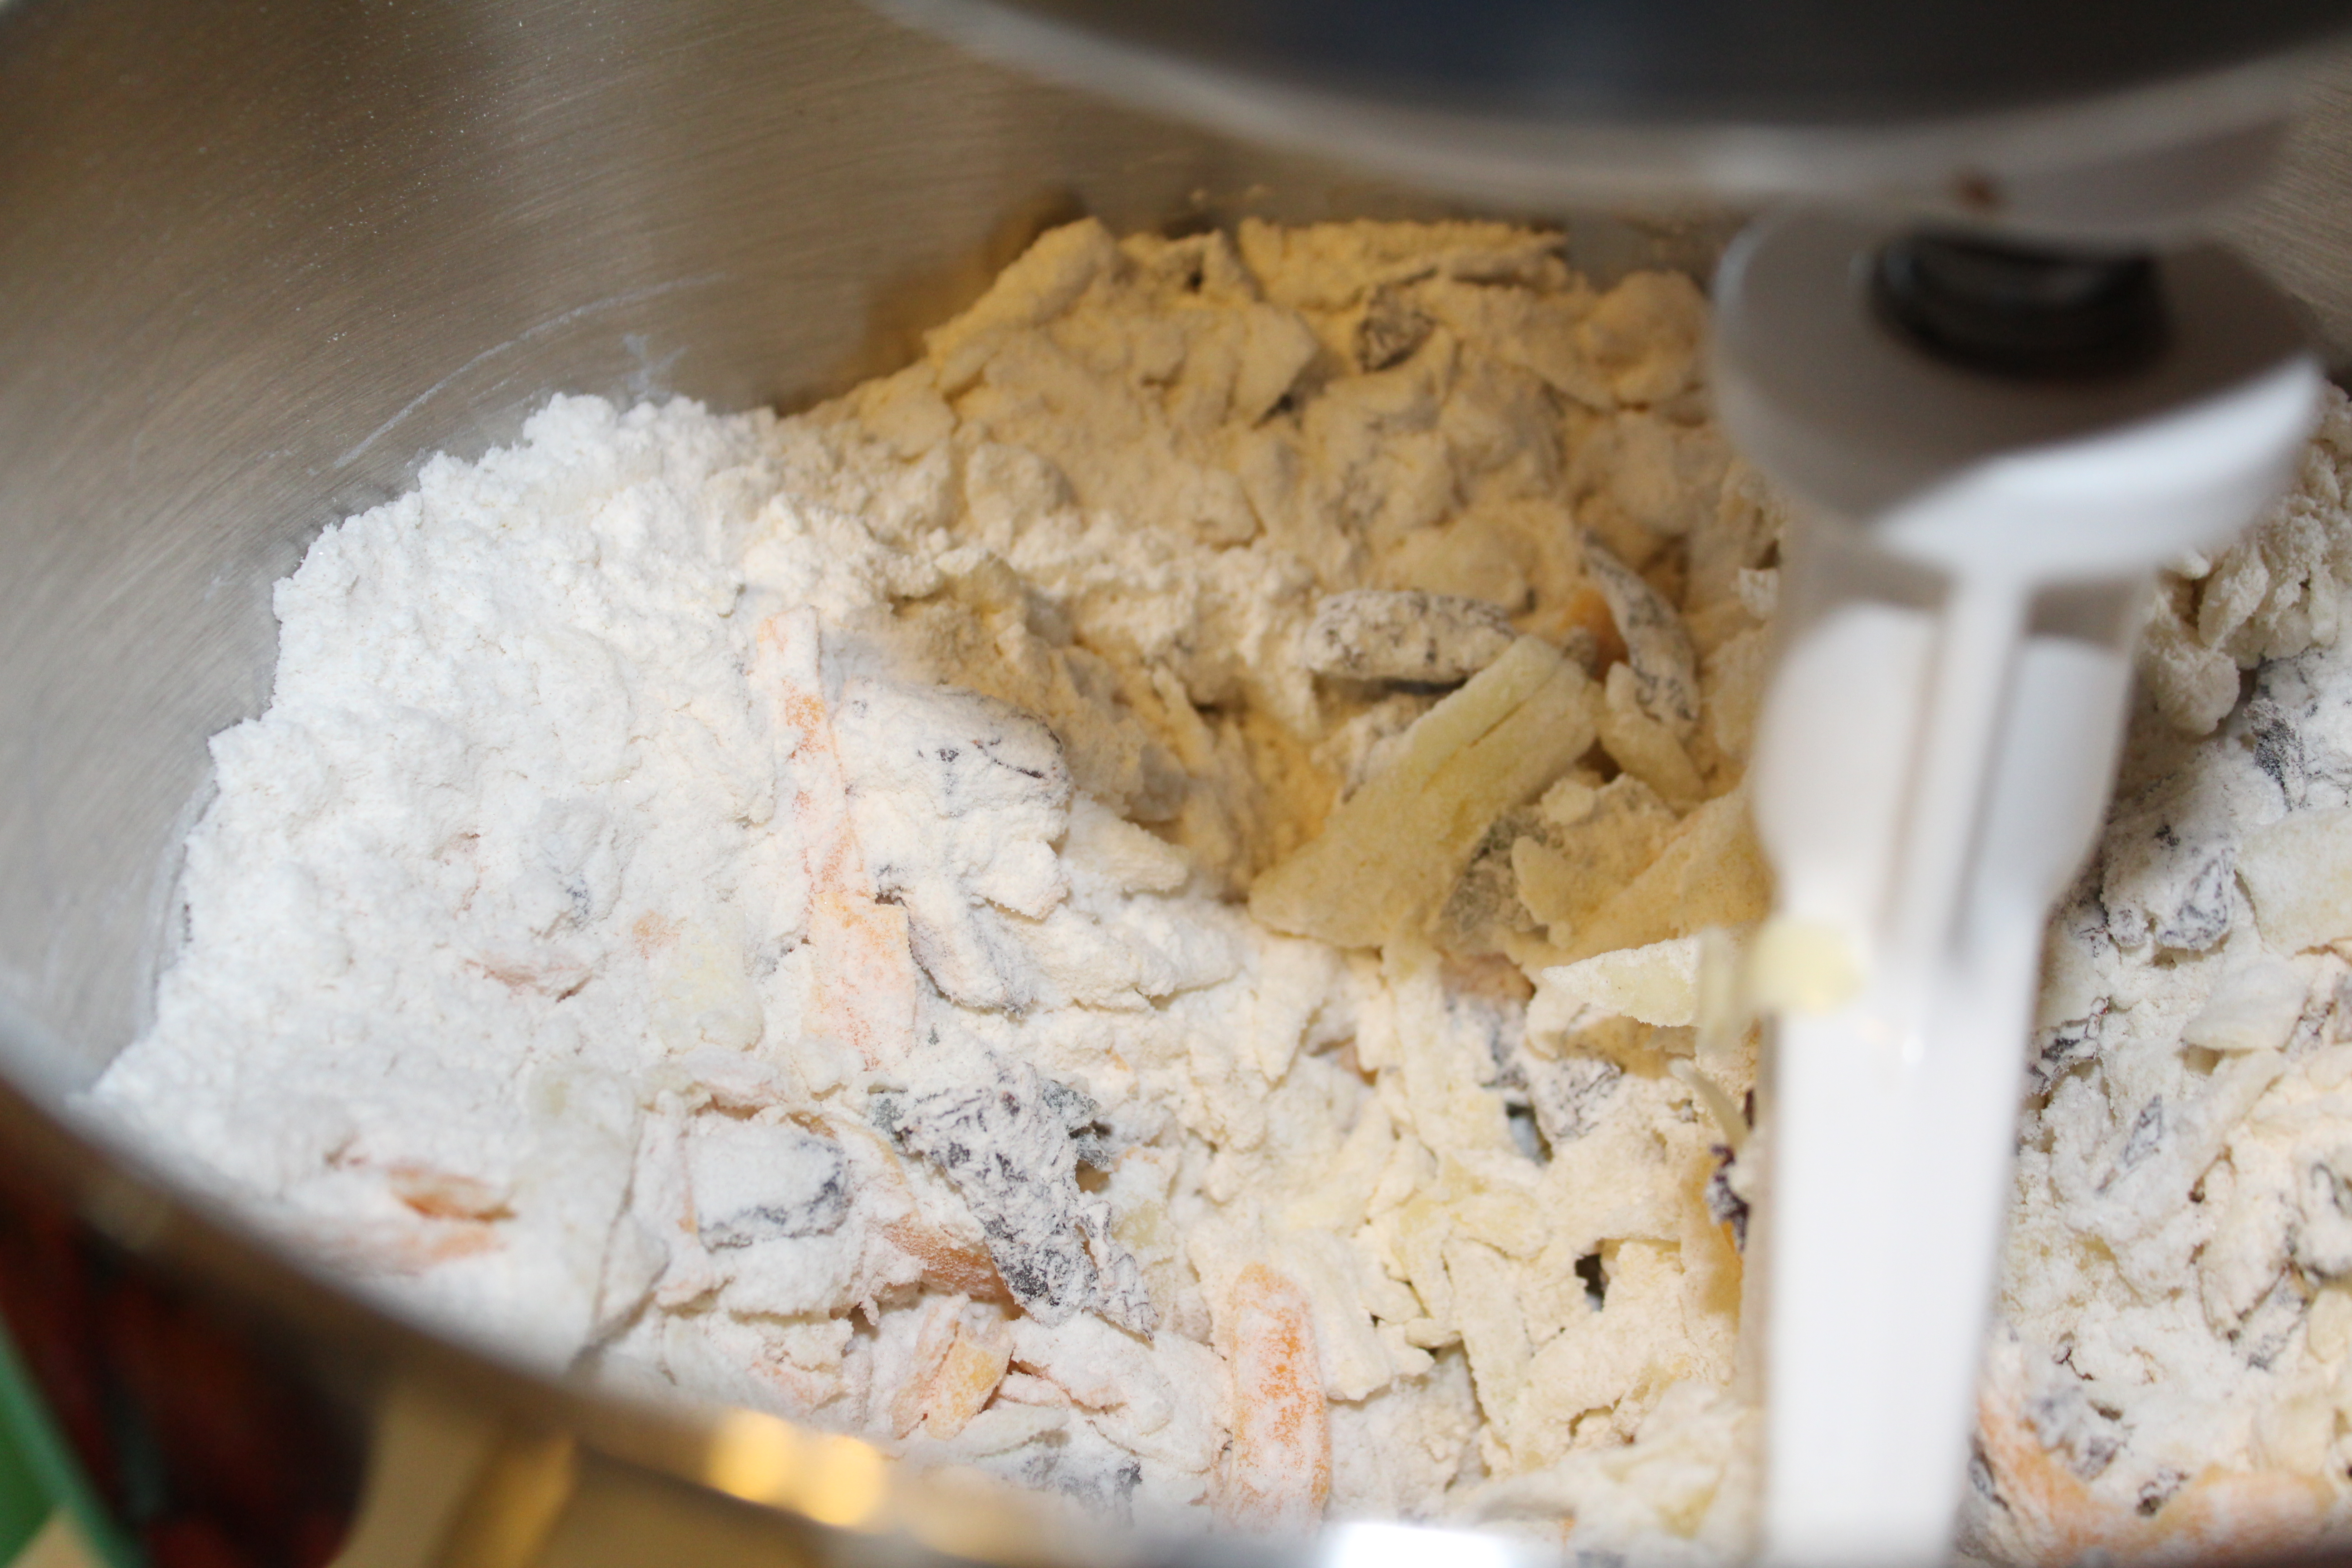
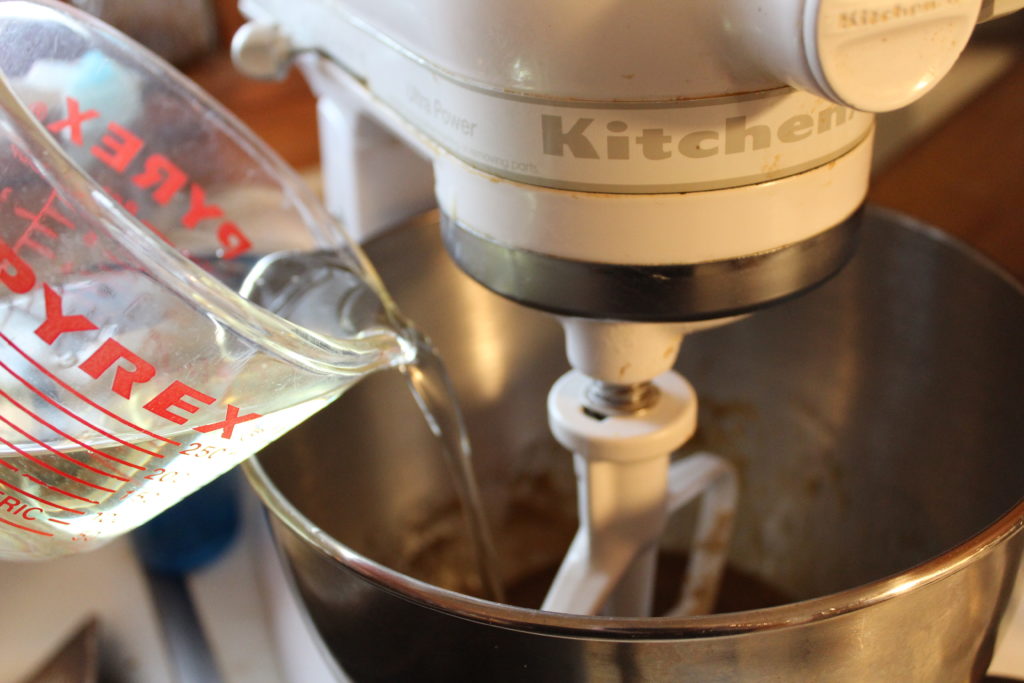
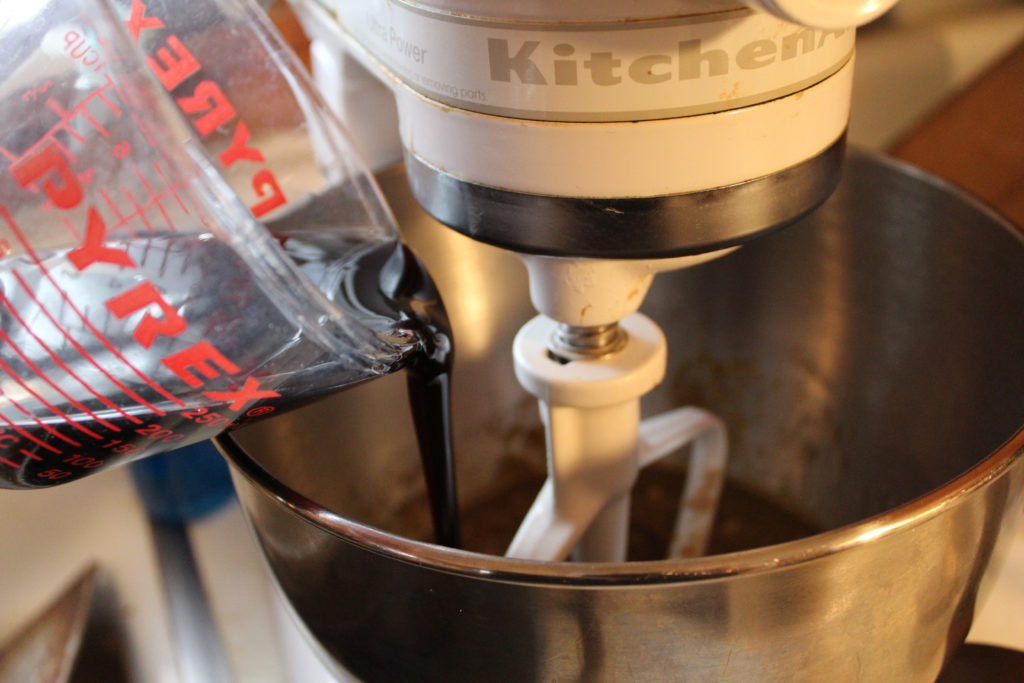
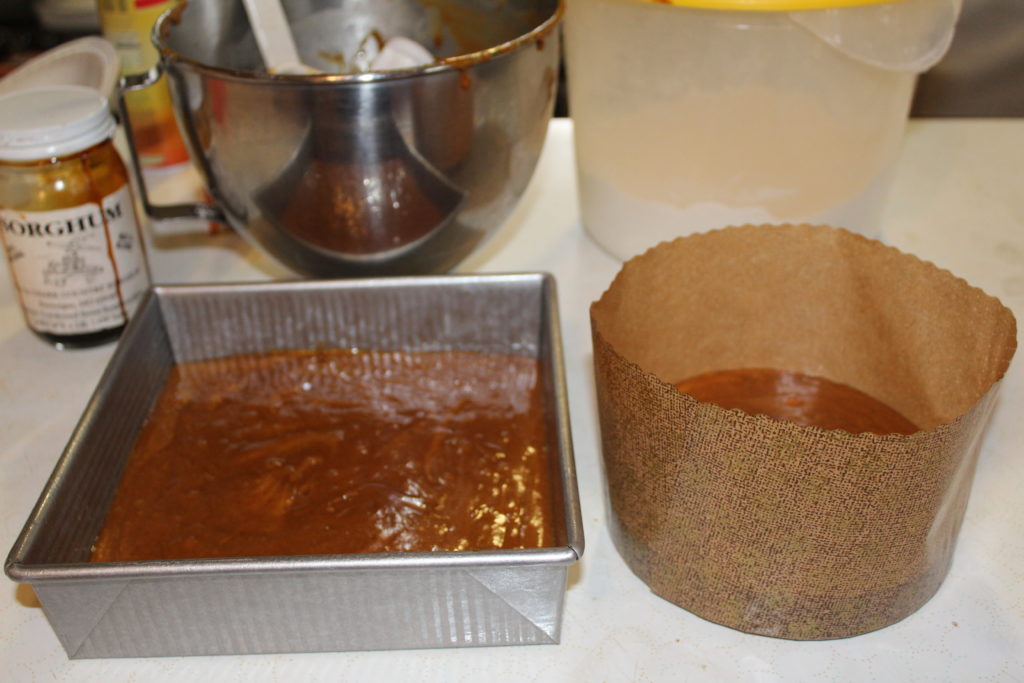
First thing you do is chop and slice all your veggies up. Put them in a deep sauce pan. Add in the vinegar, stir in the sugar.

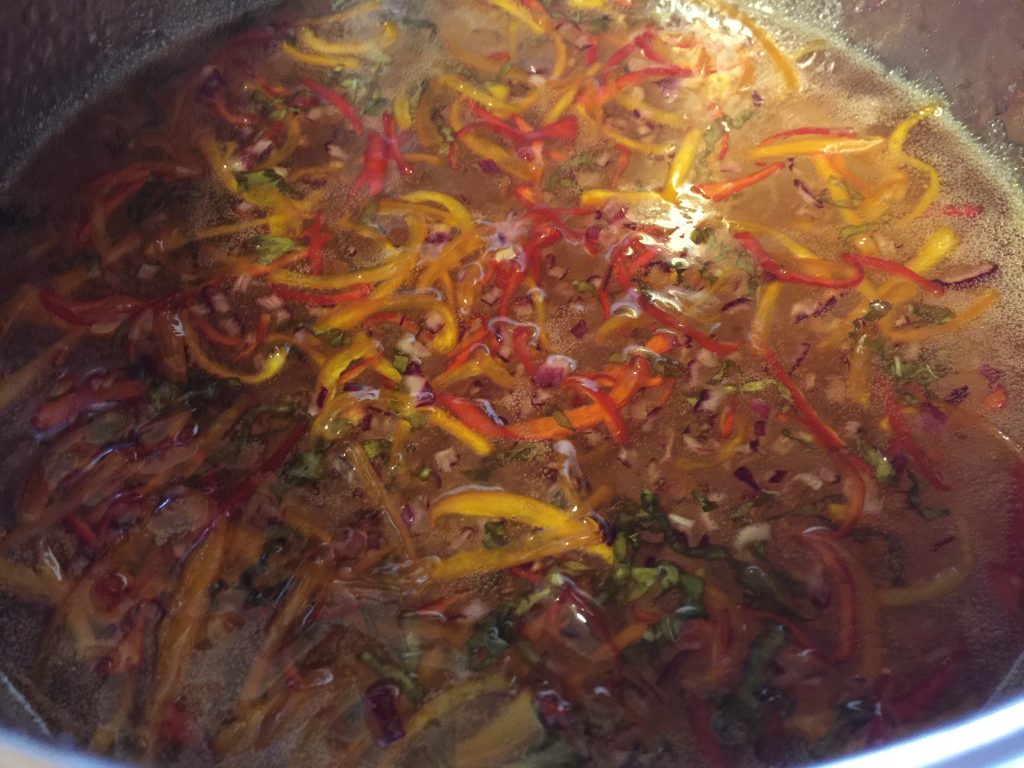
Over high heat, stirring to a full boil (that cannot be stirred down). Stir in the liquid pectin. Bring back to a boil, stirring constantly, and boil for a full minute. Remove from heat and skim off the foam.

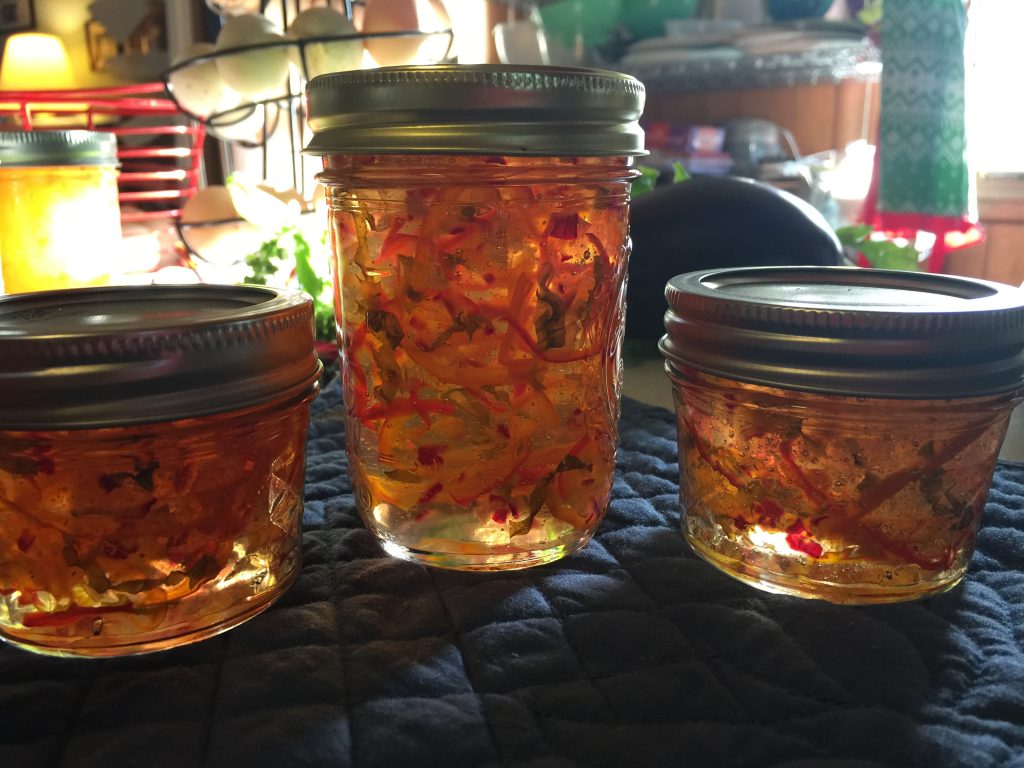
Pour hot jelly into hot jars, leaving 1/4 inch headspace. Wipe the rim, Center lid on the jar. Screw the band down, finger tight.

Place jars into water bath canner, make sure all the jars are completely covered with water and boil and process for 10 minutes.

Remove jars and cool.

Basil and Sweet Pepper Jelly Adapted from the Banana Pepper Jelly Recipe from Ball Preserving Book

Ingredients:

  • 1/2 cup thinly sliced yellow peppers
  • 1/4 cup thinly slice red peppers (this is where you could switch out to jalapeños)
  • 1/4 cup finely chopped red onion
  • 3 to 4 basil leaves, cut into ribbons
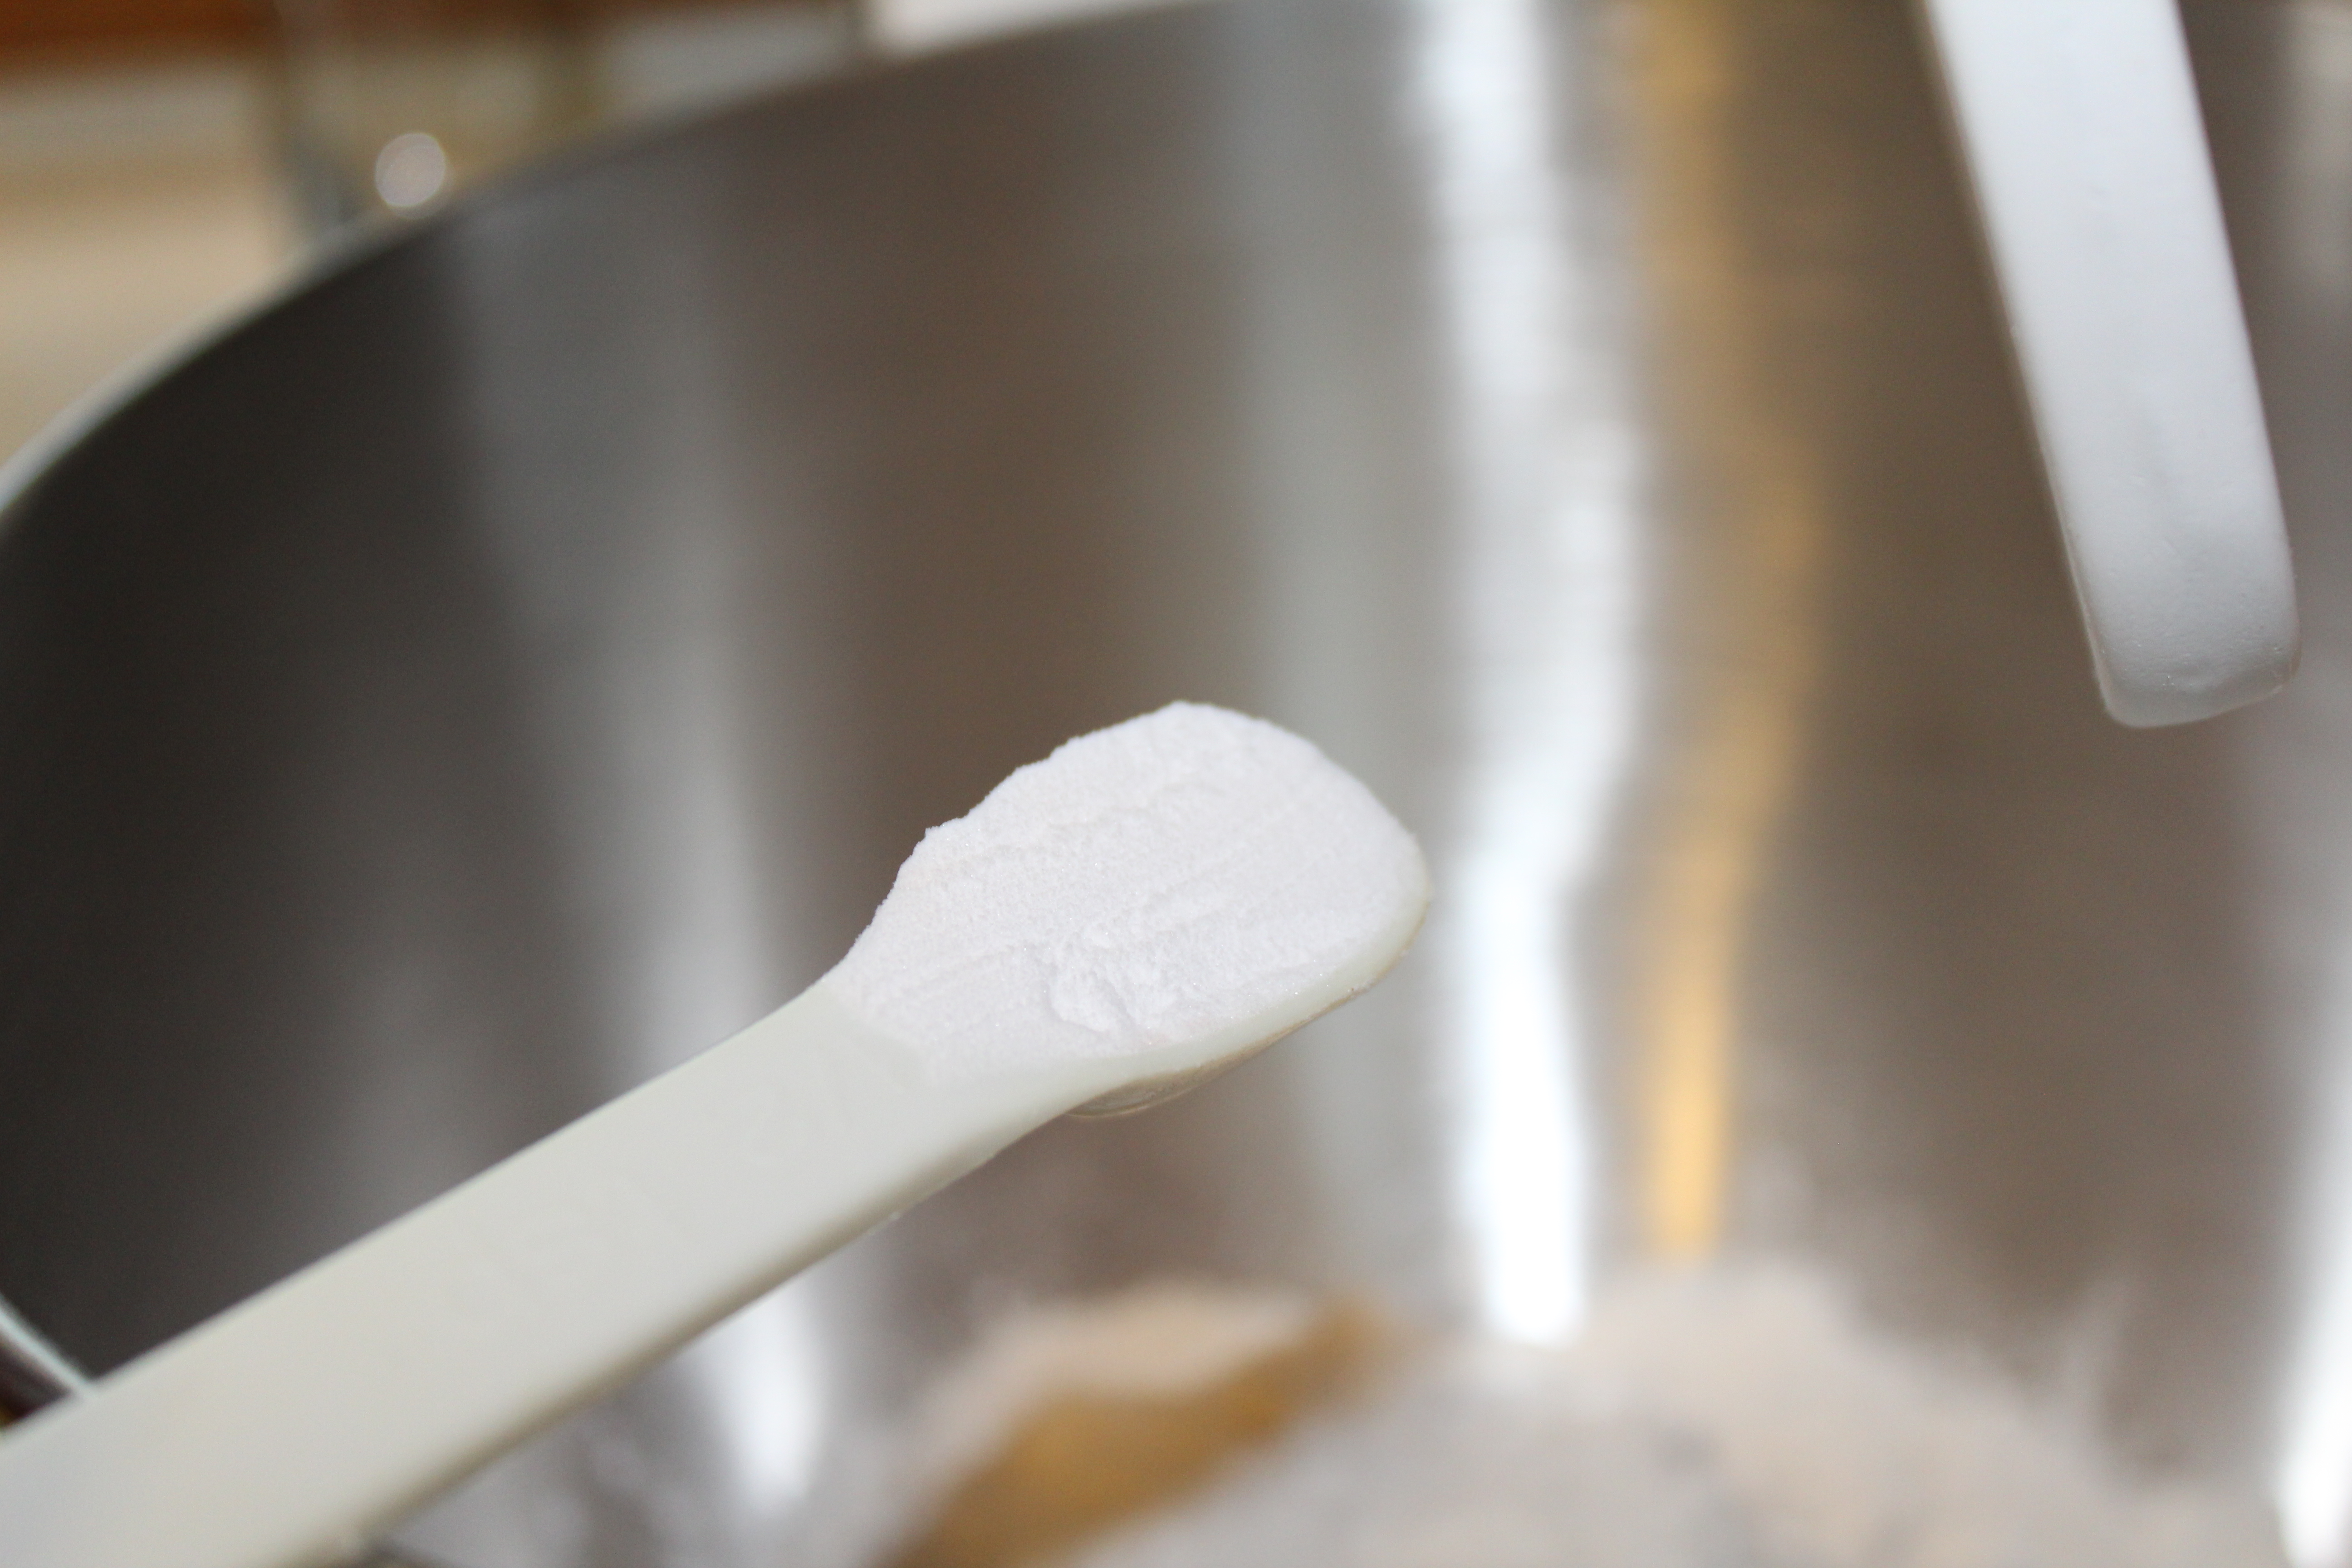
  • 1/4 tsp dried basil
  • 3/4 cup white vinegar
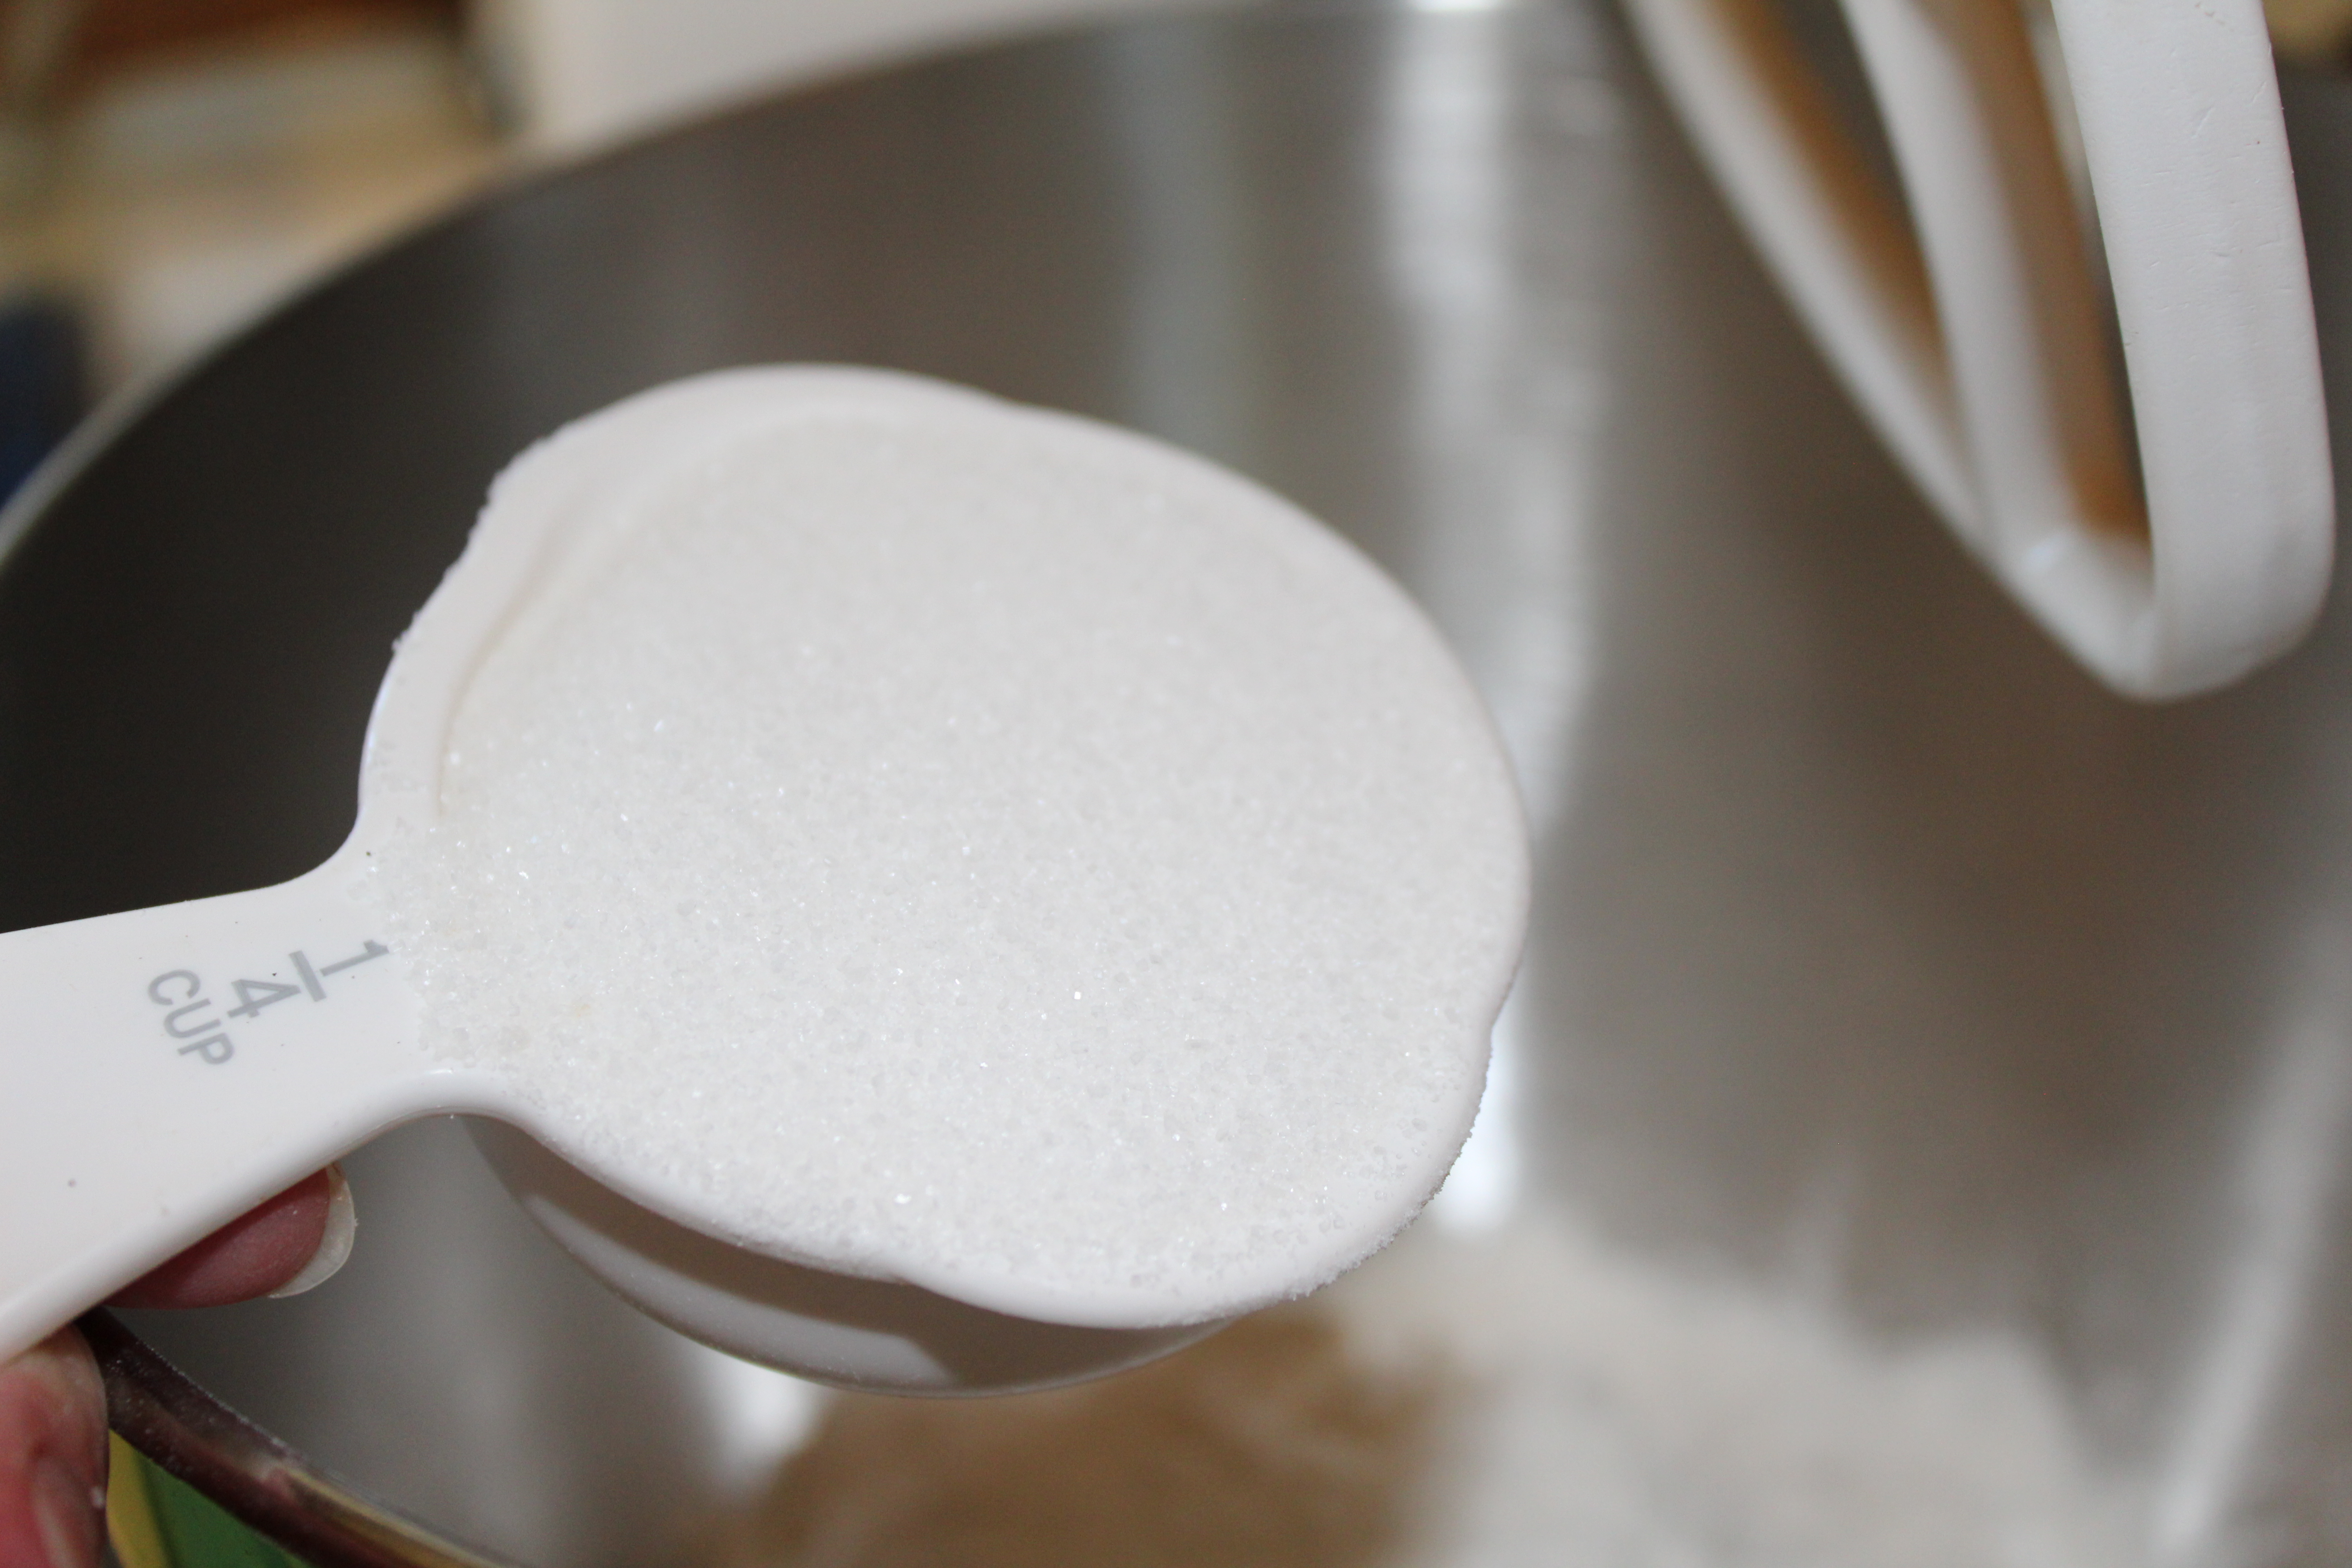
  • 3 cups sugar
  • 1 pouch liquid pectin

Directions:

  • Prepare your water bath canner. Put a touch of white vinegar in the water so you do not get calcium deposits on your jar.
  • In a large deep sauce pan, add your yellow and red peppers, onions, fresh and dried basil, vinegar and sugar.
  • Bring to a boil that you cannot stir down. this is very important to get your jelly to a certain temperature.
  • Stir in the pectin.
  • Bring to a hard boil, stirring constantly.
  • Boil for one full minute.
  • Remove from heat and skim off any foam.

Quickly ladle the jelly into hot jars, leaving 1/4 inch headspace and wipe the rims off with a warm paper towel to remove any jelly that might have spilled on the rim. Place the lid on and then the screw band. Tighten the band on finger tip tight.

Place jars in canner, making sure that they are completely immersed in water, and bring water back to a boil and process for 10 minutes. Remove jars and cool for 24 hours.

Whew…that is all there is to it!

You know what I am most proud of about this jelly?

I grew the peppers and basil in my little backyard garden.

But whether you grow them yourself or buy them, you will be proud of it too!

Enjoy!

Becky

Zucchini and Sun Dried Tomato Scones

This past summer was the first summer I was able to grow an abundance of zucchini. As you know, when zucchini finally starts producing, you are picking zucchini everyday. So, I went on  a mission to try as many zucchini recipes that caught my fancy to use up my zucchini. I came across this delicious recipe for Zucchini and Sun Dried Tomato Scones on a blog I follow called One Hundred Dollars a Month. (you should check her blog out sometime).

Anywho….I fell in love with it. Made it at work and had fellow teachers try it (Jill and Jamie) and they loved it too. I did tweak it a bit by adding some fresh home grown basil and add some crunchy seeds on top. You pick, if you want to add them. The basil in my opinion is a must, it was so good in them.

So below is the a picture of the ingredients I used.

I tried three different kinds of sun dried tomatoes and this brand was my favorite, even over the jars  with oil and sun dried tomatoes. AND…it has basil in them too.

So you need some baking soda and powder, salt, egg (I used two super small eggs from my backyard chickens), cheese, flour, butter, basil, and don’t forget the major players…the zucchini and sun dried tomatoes.

Here is what you do first:

I used my stand mixer but you can do mix by hand if you prefer. Put the flour in a bowl.

Add the baking powder.

Add the salt.

Add the baking soda.

and add the sugar and stir to combine the dry ingredients.

Grate your cold butter and toss it into the flour mixture and toss it together to coat the butter.

Next…in a bowl put in your eggs and sour cream. (yes it looks like two eggs cause it is…I was using super small eggs from the backyard chickens)

Whisk the egg and cream cheese together.


Now, cut up your sun dried tomatoes and basil. I used a super sharp knife for this. Some kitchen shears might work great too…but they were missing from my kitchen..MMMM granddaughter possibly?

Grate your cheese.

Grate your zucchini and then put it in a paper towel and squeeze all the moister out.

Now, toss in the well drained zucchini.

toss in the tomatoes and basil.

Next add the cheese.

I used my stand mixer to gently combine all the ingredients.

Now slowly add in the egg mixture and gently mix till it forms a soft dough.

Your dough should look like this.

On a gently floured surface form your dough into a circle.

With your hands or a rolling pin, form the dough into a circle.

Cut the dough in wedges like a pie.


I used these seeds on top. (sunflower and roasted pumpkin seeds)

I brushed a little melted butter on top and then topped them off with seeds. This is optional. : ) Put the scones on a parchment covered cookie sheet and bake.

Here they are, all warm out of the oven.

Are you ready for the recipe yet?

haha

Here you are.

Zucchini and Sun Dried Tomato Scones

Ingredients:

2 1/2 cups of flour

1 tablespoon baking powder

1/2 teaspoon baking soda

1/2 teaspoon salt

1/2 cup or 1 stick butter (grated will cold)

1 egg

1/2 cup sour cream

3/4 cup sun dried tomatoes (chopped)

2/3 cup grated zucchini (well drained) I also peel my zucchini

1/2 cup grated cheddar cheese

2 tablespoons chopped fresh basil or  1 to 2 teaspoon dried basil (or add more) and it is optional ; )

Directions:

In a stand mixer or by hand, combine the flour, baking soda and powder and the salt. Add in the grated butter and toss around to coat the butter in the flour.

In a separate bowl, whisk together the egg and sour cream.

Grate the zucchini and the cheese.

Chop up the sun dried tomato and basil.

Add the zucchini, cheese, sun dried tomato and basil into the flour mixture.

Gently combine.

Slowly pour in the egg mixture into the flour mixture and using gentle combine to make a soft  dough.

Form into a ball and roll out into an 8 inch circle. Dough should be about 1 inch thick.

Cut into 8 triangles pieces. (look at the above pictures for guidance).

If you want to put seeds on top, brush each pieces with melted butter and add seeds.

Place the pieces on a parchment lined baking sheet and  bake in a 400 degree oven for about 20 minutes.

The scones should look golden brown when finished.

I served mine with my homemade butternut squash soup.

Enjoy!

Becky


Tomato Basil Bisque

Are  you dreaming of fresh tomatoes from your garden? Or maybe, you are just ready to feast on some simple, uncomplicated meals, after all the great holiday food assortment from the last two weeks.

For me, it is a little of both. I walk by my raised garden beds everyday when I check on the backyard chicks. My garlic and onions are planted, mulched for winter, to make their reappearance this coming spring. But, the other beds are just hibernating, waiting till spring, when they will be full of veggies and (my favorite) tomatoes.

I have also eaten my fair share of…mmm…how do I say this politely….superfantastichighcaloriescrumptiousanddelicious creations that just so happened to cross my path. And, yet, I am not giving up till I finish that bag of Doritos. LOL

Regardless, I am just ready to eat simple for a bit. Most of you already know that I love soup. I have more soup recipes on this blog that I do anything else. (at least I think so)

This Tomato Basil Bisque, is one of my favorites. I peel and freeze tomatoes, that I grow in the summer, just to make this soup in the winter. But…don’t worry…you don’t have to grow your own tomatoes to make this cause canned tomatoes and tomato juice works just fine!

You will need some sort of blender to blend up all the veggies to make this smooth and creamy soup. I have used an immerseable blender to make this, or you can use a food processor.

Just be sure and try it once. If you love tomato soup, just think of rich and creamy (from a tad of whipping cream) soup with the perfect amount of basil seasoning. Yes, it goes perfect with some grilled cheese sandwiches.

Anywho, enough of me chatting away….let’s get to the recipe.

This is what you need:

You will need some fresh carrots, celery, garlic and onion, along with dice tomatoes, chicken broth, whipping cream, tomato paste, butter, sugar, pepper and oregano and basil.

Dice up your carrots. I peeled mine first.

Dice your celery.

And dice your onions and garlic (the garlic is not pictured)

In a large stock pan, add in your butter and celery, onions, carrots and garlic.

Sauté, stirring until they soften.

Add in tomato juice.

Then some chicken broth.

Diced tomatoes

tomato paste

oregano

basil…I used dried.

cracked pepper

Bring to a boil and simmer for 30 minutes.

Be careful…..blend the hot soup until smooth and creamy.

It will change color as you blend it smooth.

Pour the tomato mixture back into the stock pot

Add in the whipping cream

add in the sugar

and stir and cook on medium heat until heated through. Now, is the time to make the grilled cheese sandwiches.

Here is a close up, time to get your spoon ready. : )

Tomato Basil Bisque

Creamy and delicious, perfect with your favorite grilled cheese sandwich.
Course Soup
Cuisine American
Prep Time 20 minutes
Cook Time 15 minutes
Total Time 35 minutes
Servings 8

Ingredients

  • 1 cup celery chopped
  • 3/4 cup carrots chopped
  • 1/4 cup onion chopped
  • 1 tablespoon garlic minced
  • 1 tablespoon butter
  • 3 cups tomato juice
  • 1 cup chicken broth
  • 1 7.5 ounce can diced tomatoes or 3/4 cup chopped fresh tomatoes
  • 3 tablespoons tomato paste
  • 1 teaspoon dried basil
  • 1/2 teaspoon dried oregano
  • 1/2 teaspoon pepper
  • 1 cup whipping cream or you can save calories and use fat free half and half
  • 4 tablespoons sugar
  • 1/2 cup snipped fresh basil for garnish optional

Instructions

  • Chop the celery, carrot and onions. Mince the garlic.
    In a large saucepan, cook celery, carrots, onions and garlic in butter until tender. Add in tomato juice, chicken broth, undrained tomatoes, tomato paste, basil, oregano and pepper.
    Bring to a boil, then reduce heat. Simmer, uncovered for about 30 minutes or until slightly thickened.
    Place half of soup on in a blender or a food processor and blend or process until smooth. Repeat with the other half.
    Return tomato mixture to the saucepan. Stir in whipping cream and sugar. Heat through.
    Can garnish with fresh basil leaves or some pesto.

Notes

asmalltownkitchen.com

Here is the recipe:

Adapted from a fundraiser cookbook

Tomato Basil Bisque

1 cup chopped celery

3/4 cup chopped carrots

1/4 chopped yellow onion

1 tablespoon minced garlic

1 tablespoon butter

3 cups tomato juice

1 cup chicken broth

1 small can (7 1/2 ounce) can of diced tomatoes or use 3/4 cup chopped fresh tomato

1/2 (6 ounce) can tomato paste

1 tsp dried basil

1/2 tsp dried oregano

1/2 tsp pepper

1 cup whipping cream

4 tablespoons sugar

1/2 cup snipped fresh basil for garnish (optional)

Directions:

Chop the celery, carrot and onions. Mince the garlic.

In a large saucepan, cook celery, carrots, onions and garlic in butter until tender. Add in tomato juice, chicken broth, undrained tomatoes, tomato paste, basil, oregano and pepper.

Bring to a boil, then reduce heat. Simmer, uncovered for about 30 minutes or until slightly thickened.

Place half of soup on in a blender or a food processor and blend or process until smooth. Repeat with the other half.

Return tomato mixture to the saucepan. Stir in whipping cream and sugar. Heat through.

Can garnish with fresh basil leaves or some pesto.

Makes 8 servings.

Canning Season Has Begun

Yes, I know….for some serious “canners” you have been canning all year, but for me with my school schedule, my canning is more seasonal, to go along with summer break. I had a little break last week and was off (for the most part) the whole week. Summer school starts tomorrow though. But anywho, last week I drove my friend Carol to the Amish Produce Auction. I brought home a few goodies, my favorite being the fresh picked strawberries. The prices were pretty high, but I was able to buy a small box for $11.00. woohooo!! So I took them to school and put them in the fridge (so my grandchildren would not eat them) and later in the week I made my first couple of batches of strawberry jam. I was able to get 8 pints in all.

Good thing too….cause we were totally out of strawberry jam. If you have never made jam before, start with strawberry jam. It is easy and delicious AND if it does not set up, it makes a perfect strawberry syrup for pancakes, pies and cakes. Though, I am confident yours will turn out.  : )

I love the deep red color of this batch of jam. I think it is from the smaller, sweeter berries from the Amish. I am really going to try again to get a big strawberry patch going. Produce auctions are a ton of fun, but I would rather be picking things fresh from my own little backyard. : )

Here is the link to my previous post on how to make strawberry jam. It has step by step pictures and the recipe. No secret recipe. I just use the recipe from surjell package. It always works for me.

Oh….and if you need some homemade biscuits to go with that jam, here is my favorite recipe on how to make baking powder biscuits.

Have a wonderful Sunday!

Enjoy!

Becky

Vintage Cookie Baking for the Holidays

cherry-winks

Cherry Winks

Sugar Glazed Oatmeal Raisin Cookies

Sugar Glazed Oatmeal Raisin Cookies

img_5217

Crescent Cookies

Whew! Have you survived Christmas, are you still celebrating with family?

I am not sure that I have survived and recovered yet. LOL

Don’t get me wrong…I love, adore and dream of Christmas, all year long. When it is over, I am like,” what happened, it is over already?”

Gee… I must have blinked. Only a second ago, I had  packages wrapped under the tree, cookies out for Santa, goodie trays nearly finished, and then I blinked and I have wrapping paper, boxes, and bows, cookie crumbs and little pieces of wrapping paper stuck with scotch tape all over the floor.

It was like Christmas exploded in my living room and kitchen.

I will be pulling little pieces of wrapping paper from under my couch till summer along with a few candy canes.

It just makes Christmas last that much longer.

Anywho…enough of my silly chit chat…LOL….lets talk Christmas baking and cookies. This year, I wanted to make new cookies. As in new to me, but old cookies to my Mom and family. I did make a delicious chocolate chip cookie for Christmas I will share with you later, but for my gifts to my teacher friends, I wanted to make some vintage cookies.

I settled on Cherry Winks, Glazed Raisin-Oatmeal Cookie and Crescent Cookies.

I have never posted 3 recipes in one post before and it would make this post really long with all the pictures.

So, let me start with the Cherry Winks.

I promise to add the other two later tonight or tomorrow morning.

My family loves maraschino cherries. I usually have a jar or two tucked away in the cabinet for some random cherry emergency….like….mmm these little sugar syrup little jewels look good enough to eat for a snack. I really am not saying that I do that…. when you have grand children you can always blame the grand kids for opening your mini marshmallow bags, chocolate chip bags and getting into your cherries when you are not looking. haha!

So, when I was looking through a old cookie cookbook and I saw these cookies, remembering that I have tasted them at church fellowship dinners or Christmas parties way back in my youth, I just knew I have to give them a try.

These cookies have little “winks” of cherries put on the top of each cookie, which gives these cookies their name. They also have chopped cherries added into the cookie dough to add flavor and a little pop of color. I loved the dates and the pecans in the cookies and the crunch of the crushed corn flakes that surround the edges and bottom of the cookies.

These Cherry Winks have all those vintage ingredients in them that you don’t see in a lot of recipes…..I mean dates…and rolled in corn flakes…..

But this adds to the charm of this cookie.

So if you are looking for a little nostalgia and a really good cookie all in a crunchy (but tender on the inside) cookie, give this cookie a try.

Here is what you will need! : )

img_5176

For this delicious cookie you will need flour, baking powder, baking soda, salt, shortening, sugar, eggs, vanilla, milk, chopped nuts, chopped dates, chopped maraschino cherries, and crushed corn flakes.

I took the  ingredients to school and some of my wonderful students make this cookie dough when they were all caught up on their work, so I do not have the usual step by step pictures and directions for this recipe and I am sorry!!! The directions are listed below in the recipe though : ).

img_5144-1

Look at that beautiful cookie dough. It is full of chopped pecans, dates, and maraschino cherries.  I am using my kitchen shears to cut my cherries into small pieces to set down into the cookie dough to form the “wink.”

img_5150-1

I used a cookie scoop to scoop out the dough and then I rolled the cookie dough into the crushed corn flakes. Then I pressed the cherry in the top. I ran out of maraschino cherries so I had to get into my candied cherries I bought for a cake…oh well.

img_5146-1

Place them on parchment paper and bake. They spread out just a bit and get light tan around the edges.

img_5180

Then I cooled them on a cookie sheet until I put them in a cookie tin to stay moist.

img_5178

Here’s to, “Winking at You.”

Here is the recipe:

Cherry Winks

From Vintage 1958 Cookie Cookbook

Ingredients:

21/4 cups flour

1 teaspoon baking powder

1/2 teaspoon soda

1/2 teaspoon salt

3/4 cup vegetable shortening

1 cup sugar

2 eggs

1 teaspoon vanilla

2 tablespoons milk

1 cup chopped nuts (I used pecans)

1 cup chopped dates

1/3 cup chopped maraschino cherries (more for cutting pieces for wink)

21/2 cup crushed corn flakes

Directions:

In a medium bowl lightly stir together flour, baking powder, salt and baking soda. Set aside.

In a large mixing bowl, cream together shortening and sugar. Add eggs, vanilla and milk. Mix well. Blend in the dry ingredients (the flour mixture).

Mix well. Add in the nuts, dates and cherries. Shape the dough into balls. I used a cookie scoop. Roll each ball into the crushed corn flakes and top with one fourth of a cherry. Bake at 375 degrees for 10 to 12 minutes. Cool on a cookie sheet. Yield about 4 dozen cookies. I made mine a tad bigger and I did not get that many.

Hope you enjoy this cookie recipe!

Becky


Old Fashion Gingerbread

old-fashion-gingerbread

Happy Holidays Everyone!

It seems life and commitments to family and work have kept me from posting my recipes.

It has made me sad.

Just want you to know that I think about you and appreciate your patience while I try to juggle all things while messing up most of the time.

But, it is the holidays.

Time to be thankful!

And, I am thankful for you for taking time out of your busy day to read my little blog that has grown a few cobwebs as of late.

So, here’s to taking my kitchen broom to those cobwebs and start posting some recipes.

Shall we? : )

Here is my first one!

Good Old Fashion Gingerbread.

Gingerbread is just a classic dessert or gift to make during the holidays. The fragrance of spices baking together in the oven with the brown sugar and molasses just make your kitchen smell like the holidays. Add a touch of whipped cream, or in my case cool whip and a sprinkling of powdered sugar and you are good to go. You can change up the spices a bit to your liking, and I have cut down on the nutmeg and added a touch of salt to this recipe. Other than that, this recipe is family approved.

So lets get going!

This is what you will need to make this recipe.

img_5133

You will need some flour, brown sugar, molasses or sorghum, eggs, oil, baking soda, cinnamon, ground ginger,  ground cloves and salt and nutmeg which I forgot to put in the picture. Oh and water : )

img_5134

First thing you will do is add the two eggs to the mixing bowl and beat up a little bit.

img_5135

Now add in your brown sugar and mix until combined with the eggs.

img_5136

Now add in your oil and slowly mix with the brown sugar mixture or you will have a big mess….how would I know that LOL

img_5139

Now, add in your molasses or sorghum and mix in.

img_5140

In a medium bowl add in your flour.

img_5141

Add in all your seasoning, cinnamon, salt, nutmeg, ginger, cloves and baking soda and mix together.

img_5142

Add in the flour mixture into the brown sugar mixture and combine. This will be thick.

img_5143

Lastly add in one cup of boil water. Can you see the steam. Add this in slowly also, and mix until it is all incorporated.

img_5145

Now, pour into  your baking containers. This recipe is enough to fill a 9 by 13 pan. I have opted to bake a 8 by 8 and a round paper pan because I was testing out the paper pans to bake the gingerbread in as gifts to give away. It would great by the way!

img_5146

Here is a picture of the 8 by 8 pan and the round paper baking pan. Now pop the gingerbread in a preheated 350 degree oven for the 9 by 13 size pan. I baked mine at 325 for the paper pan. Bake for 20 to 25 minutes or until the gingerbread springs back slightly in the middle. Do not over bake.

img_5149

Here is what it should look like coming out of the oven. Just starting to crack a bit on top and the middle is cooked.

Doesn’t it look delicious?

It smells good too…. : )

Here is the recipe!

Old Fashion Gingerbread

Ingredients

2 eggs, beaten

3/4 cup packed brown sugar

3/4 cup molasses

3/4 cup oil

2 1/2 cup flour

2 teaspoons baking soda

1/2 teaspoon salt

2 teaspoon ground ginger

2 teaspoon cinnamon

1/4 teaspoon cloves

1/4 teaspoon nutmeg

1 cup boiling water

Optional: cool whip or sweeten whipped cream and/or powdered sugar for dusting

Directions:

Preheat your oven to 350 degrees. Grease and flour a 9 by 13 pan

Put the eggs in a mixing bowl and beat the eggs with the electric mixer.

Add the brown sugar to the beaten and eggs and combine.

Add in the molasses to the brown sugar mixture and combine thoroughly.

Slowly mix in the oil to the brown sugar mixture.

In a medium bowl, combine the flour, baking soda, salt, ginger, cinnamon, cloves and nutmeg.

Add the flour mixture to the brown sugar mixture. Combine.

Pour in the hot water a little at time and mix together with the electric mixer.

Pour the batter into the greased and flour baking pan and bake for 20 to 25 minutes or until the top barely cracks and the center is cooked.

img_5153

Dust with powdered sugar if you want. Now, just wait a couple of minutes and watch it start to disappear.

Enjoy!

Becky


Zucchini Relish

I know is has been a LONG while since I have posted a recipe.

It has been a LONG few months for me.

Most of my extra time has been full of family and work. With out going into a lot of boring details….cause HEY who wants boring? But, in case you are worried, everything seems to be going pretty smooth right now. I just finished teaching summer school, my Mom the Princess, is doing much better and I am ready to spend more time in my garden, messing with my backyard chickens and of course and always in the kitchen cooking and messing it up. (cleaning is for grandchildren to do right?) Ha!

Since it is gardening season now, and if you are like a lot of my friends that grow zucchini, sometimes you get an abundance of zucchini. You grow so much that you are giving it away to everyone and then your friends start avoiding you when they seen you coming toward them with zucchini. So, I thought I would help you out and post a few zucchini recipes.  I will start with  my favorite zucchini relish recipe that my kids and grand kids will eat first, before they even think about opening a can of store bought relish. It is a sweet relish. You can use it in any recipe that calls for sweet relish. Like, chicken salad and tater sauce and it is great on brats and hot dogs.

Besides being tasty and delicious…it looks great in the jars. ; ) I mean…we want pretty fill jars too…right?

Here goes:

Above is a picture of the relish I made with a mixture of orange and red sweet peppers. I love the colors!

Here is what you need. Zucchini (0f course) apple cider vinegar (I put the white vinegar in the picture by mistake oops), sugar, sweet peppers, sweet onion, mustard seed and celery seed.

First you chop up your zucchini. I do not peel mine. I like the texture of the peelings being left on in the relish.

Chop up the sweet pepper. In this picture I used green peppers. Make sure you remove all the white pith and seeds out of the chopped peppers.

Chop up the onion. Try not to cry. I seem to always cry chopping onions.

In a large bowl put in the zucchini, onions and peppers.

Cover with cold water.

Add salt and stir. Let the mixture sit for 2 hours.

Drain off the salted water, rinse, and drain again.

Here is a picture of the correct cider vinegar…oops.

In a large sauce pan or stock pot, pour in the vinegar.

Add in the sugar.

Add in the mustard seeds.

Lastly, add in the celery seeds.

Bring to a boil.

Add in the zucchini mixture.

Bring to a simmer, and simmer for 10 minutes.

Fill jars and water bath can for 10 minutes.

It really is easy and I have doubled this recipe when I have made it and it turned out fine. (I would not double a jam or jelly recipe though.)

Anywho, I hope you give it a try and let me know how you like it!

Enjoy!

Becky

Here is the  recipe:

Zucchini Relish

Adapted from Ball Blue Book

Ingredients:

2 cups chopped zucchini (I do not peel mine)

1 cup chopped sweet onion (I used vidalia onions)

1 cup chopped sweet peppers (In one batched I used green in another I used a mixture of orange and red)

2 Tablespoons salt

1 cup apple cider vinegar

1 1/2 cup sugar

1 teaspoon mustard seeds

2 teaspoons celery seeds

Directions:

Chop the zucchini, onions and peppers. Put the veggies in a large bowl and cover with cold water. Sprinkle the salt over the mixture and stir. Let it sit for 2 hours. Drain off the salted water, rinse and drain again.

In a large saucepan, add in the vinegar, sugar, mustard and celery seeds. Now, add in the zucchini mixture. Bring to a simmering boil for 10 minutes.

Hot pack the relish in pint jars, leaving a 1/4 inch head space. Remove air pockets by poking a skewer or a Popsicle stick in the relish. Wipe off the jar rims and put on the lid and ring.

Water bath can for 10 minutes in boiling water.

Follow water bath canning instructions found on the Ball Canning web site if you need further instruction

Remove the relish from the water and let the jars cool over night. Making sure the lids are sealed.


Velvet Chicken Soup

Last night the Oldest Daughter who does not cook, bought a rotisserie chicken.

She made mashed potatoes (from instant, but good).

She thawed freezer corn and heated it up in the microwave.

She sliced some chicken.

Dinner was ready!

Woot Woot! I came home from tutoring at school and dinner was there waiting for me.

So tonight, I took the left over chicken from the rotisserie chicken and made her some soup.

She loves soup about as much as I do.

About as much as her Auntie Trina does.

But not as much as me.

Anywho. I remember having bought these cookbooks from The Blue Owl restaurant when I went there for my birthday three years ago. I have not made anything from this adorable cookbooks until tonight.

I took a chance and made their Velvet Chicken Soup recipe.

It was good, yummy, yum yum…..

You get my drift….it was good.

So before I put the recipe away and forget to load my pictures to the computer, I thought I would go ahead and post this simple and delicious soup recipe.

And my sweet friend Lori S. asked for the recipe.

I love it when people ask me for a recipe.

So  here you go Lori S.!

Here is what you need to make this soup.

You will need some cooked chicken, (I used left over rotisserie chicken) whipping cream (I used half and half) milk, chicken broth, butter, flour, chicken soup base, salt and pepper.

First thing you do is melt the butter in a large saucepan.

Add in the flour to the melted butter.

Stir it with a whisk and cook for a couple of minutes to remove the raw flour taste.

Add in the whipping cream and the milk

Whisk and cook until smooth. Don’t panic the lumps cook out…just keep whisking.

Add in 2 cup of chicken broth and whisk in until smooth. Then add in the rest of the broth and bring to a simmer.

Now, taste your broth and add small amounts of soup base until you get the flavor you want. Be careful the soup base is salty!

I added about a half a teaspoon of Trader Joe’s 21 seasonings that I love to use. So, if  you want to add a little extra seasoning to yours it is fine. A little garlic, basil…

Lastly, add in your diced cooked chicken.

Stir and heat to a simmer until the chicken is heated through.

Now, you are ready to serve!

So here is the recipe!

Velvet Chicken Soup

I did make a few minor changes : )

Ingredients:

1/2 cup butter

3/4 cup flour

6 cups chicken stock

1 cup milk

1 cup heavy cream (you can use half and half or evaporated milk)

2 to 3 cups diced cooked chicken (I used 3 cups)

2 teaspoons chicken soup base OR 2 tablespoons instant chicken broth

Directions:

Melt the butter in a large saucepan. Add in the flour and whisk to remove any lumps. Cook till flour bubbles and to remove any raw flour taste. Stir in the milk and the whipping cream. Keep whisking to make a smooth paste. Stir in 2 cup of chicken both and whisk till smooth.

Add in 2 cups of the chicken broth and whisk until smooth. Now add in the rest of the chicken stock and whisk together.

Now, taste it and if you feel like it needs more depth add in 1 to 2 teaspoons of chicken soup base. Be careful with the soup base as it is very salty. Add a little at a time and taste after each time till you get the way you want it to taste.

I added in some of this…cause I love this stuff. This is optional.

Add in the diced chicken

Salt and Pepper to taste.

Enjoy!

Becky

In a Pickle!

Have you ever made something, but then could not eat it for a couple of months?

That was me!

Or, have you ever found yourself so busy with family and work that you had to put off working on something you love doing for a few months, until things slow down?

That was me!!

It seemed, there for a few months, my life and free time was, “in a pickle!”

I guess that is my way of explaining why I have not posted in 6 long months!

I missed all my readers!

I missed posting my recipes and talking about my back yard girls as I affectionately call my chickens.

I missed everything there was to do about staying connected with everyone through this webpage.

So, I think my life is slowly, slowing down, and I can finally get back on track with posting and chit-chatting with everyone now.

You might have wondered what I have been up to the last few months, and I will explain in the coming recipe post, as I try to get caught up.

Even though, I might not have posted a recipe, my kitchen has been busy and so has my camera!

I have a ton of things to share!!!

One thing I will share now to try to explain my absence is that my Mom “The Princess” first had a breast cancer scare and then had a heart attack along with pneumonia right before the holidays. My super strong mom is a fighter though and is slowly getting her strength back and is now able to get out of the house some and going back to church.

Prayers were answered!

So anywho, I thought what was more fitting to get back to posting and get my webpage out of being “in a pickle,” was to post about me canning sweet pickles.

So here goes!!

Sweet Cucumber Pickles!

When I first made my pickles and water bath canned them, my pickles floated. I thought maybe I had acquired magic powers to get pickles to float, only to find out that after a couple of weeks they settled down and went to the bottom. I was later to learn that the air trapped inside the cucumbers had to slowly release for the pickles to stay where they were suppose too.

By the time the pickles were ready to eat, they decided to quit showing off and sit still.

These little pickles are perfect to snack on and are the perfect size to put on little slider hamburgers.

Here is what you need to make these delicious little sweet pickles.

Pickling cucumbers, (not regular salad cucumbers that are bigger and longer) sugar, pickling salt, ice, vinegar (5%), celery seed, whole allspice and  mustard seed.

The first thing you need to do is cut the blossom end off the cucumber, (it can cause soft pickles) and then slice the cucumbers into slices. Mine are about 1/4 inch.

My sliced cucumbers filled up this big bowl.

Next, sprinkle the pickling salt over the cucumbers.

The next thing you do is cover the cucumbers with ice and put in the refrigerator for 3 to 4 hours. If the ice melts, add more ice. Now you can get all your jars, lids and rings out and set up for water bath canning….or you can take a nap, like me..LOL

Time to make the brine. Measure out the vinegar and pour it into a large sauce pan.

Add the sugar to the vinegar.

Add the celery seed to the vinegar and sugar mixture.

Next, add in the mustard seeds.

Now, add in the whole allspice. Bring the mixture to a boil.

Be sure and sterilize your jars before you fill them with cucumbers. I do a dip in boiling water with my jars before I fill them up.

Take you pickles out to the fridge. See how much they have shrunk….LOL…

Drain the pickles and remove any ice that is left.

Fill each jar with pickles to 1/2 inch from the top. Try to pack tightly as the pickles will shrink as they are processed.

Fill the jars with the hot brine leaving 1/2 inch head space. Remove the air bubbles. You can do this with a wooden skewer but running it down the inside side of the jars.

Wipe the rim of each jar with a wet paper towel to remove any syrup/brine and put on the lids and rims.

Water bath can or process the jars in boiling water for 10 minutes for pints or 15 minutes for quarts.

Now, here is one of my favorite parts….waiting to hear the pop of the lids after you take the jars out of the boiling water.

The hardest part of this recipe is waiting a few weeks (4 to 5) to allow the pickles to develop the ideal flavor.

As with any food that is canned, be sure to use a certified canning recipe and follow all the steps. Please refer to the Ball book of canning or  your local extension office  for complete instructions on water bath canning.

Here is the recipe.

This recipe is from Ohio Extension Office. They have a great video you can watch to assist you making these pickles. Here is the link. https://www.youtube.com/watch?v=Vo5Yx6ADsTg

Ingredients!

8 pounds 3 to 4 inch pickling cucumbers

1/3 cup canning or pickling salt

4 1/2 cups sugar

3 1/2 cups vinegar (5%)

2 teaspoons celery seed

1 tablespoon whole allspice

2 tablespoons mustard seed

Directions:

Cut 1/4 inch off the blossom end of the cucumber and discard. This blossom end can lead to soft pickles. Cut cucumbers into 1/4 inch slices. Place in a bowl and sprinkle with 1/3 cup canning salt. Cover with ice and put into the refrigerator for 3 to 4 hours. This will help draw the moisture from the cucumbers.

Combine sugar, vinegar, celery seed, allspice and mustard seed into a large saucepan. Heat to boiling.

Drain the liquid from the cucumbers.

Pack the cucumbers into the jars and fill the jars leaving 1/2 inch head space at the top.

Fill the jars with the hot canning liquid. Filling the jars to  1/2 inch from the top.

Remove any air bubbles. (you can use a wooden skewer to do this but running it down the inside side of the jars)

Adjust the lids and rings.

Water bath process for 10 minutes for pints or 15 minutes for quarts.

After procession and cooling, store the jars for 4 to 5 weeks to allow pickles to develop the best flavor.

As with any canning, be sure to use approved recipes and follow all the proper canning steps to prevent spoilage.

Enjoy!

Becky


Corn From My Freezer

I have been hording my frozen corn all winter.

Kinda funny, right?

I mean, the reason why we freeze or can food in the summer is so we can eat it all winter.

I think that is right, right?

So, why am I hording it?

Maybe, I have a problem with sharing.

Maybe, I was saving it to eat on a snow day from school….which we did not get any…well, maybe we got one. (but I did not feel like sharing that day).

But, I think the real reason I have turned into a corn hoarder is…

drumroll…….

Cause it taste so good!

And ya know, cooks in the kitchen want that taste to last the whole year.

Two more months till fresh sweet corn from the Amish.

I better count my supply to make sure it last until then.

Making Cheesy Corn Chowder, find the recipe HERE.

Grand girls and great nephew playing in the corn bind when we went to the corn maze last year.

Sweet Freezer Corn recipe HERE.

I am giving the recipe I used, but I tried a new one last summer and I will get that one posted soon so you can compare the two and see which one  you like better.

I guess I better get out of here and go teach summer school!

Becky


Related Posts Plugin for WordPress, Blogger...