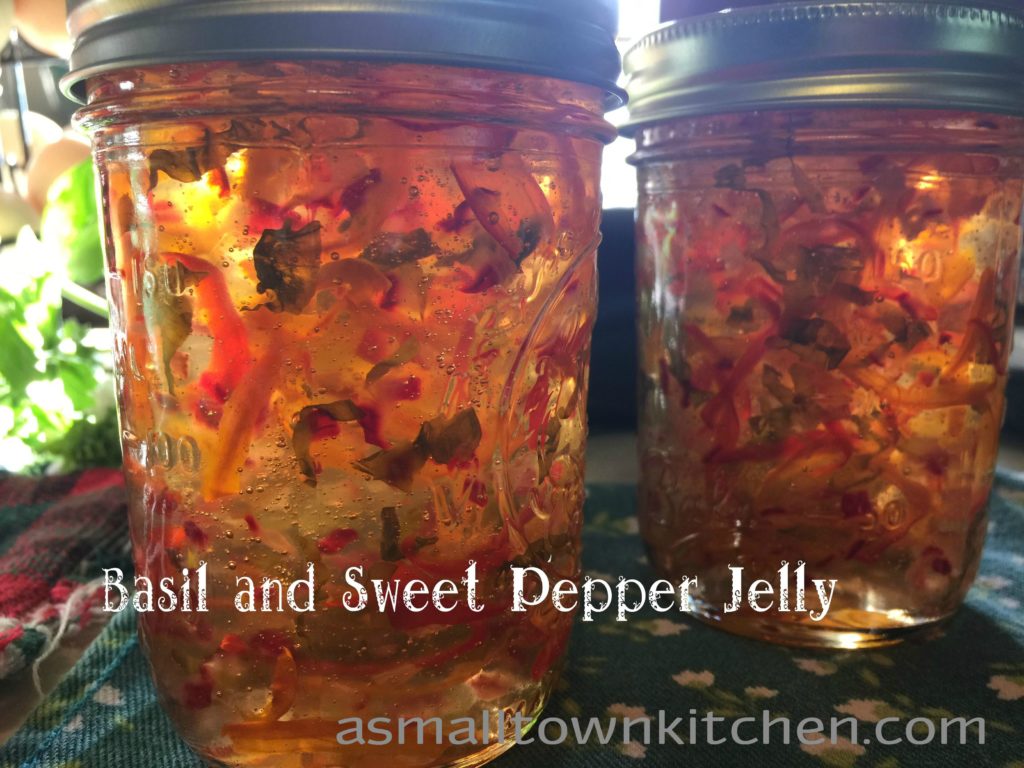
Basil and Sweet Pepper Jelly

It has been sooooo long since I have posted anything.

I really do not know where to start.

Do I start with a recipe and pretend I have not posted in like 8 months?

Or, just say that with my sweet Daddy going to heaven and my Mom falling down several times and being in skilled nursing twice to recover, plus teaching summer and canning goodies from my garden and school starting again, it has taken this long to get my life in better balanced.

Just trying to balance life.

I know you all are too!

So…that being said let just start with a fun canning recipe.

Okay?

This recipe caught my attention a couple of years ago. I just thought it was beautiful. I love how the peppers just float, suspended in the jelly.

This is the perfect jelly to put over cream cheese and serve with crackers. Even though I just used mild sweet peppers, cause I am allergic to jalapeños, you could definitely switch out some sweet peppers for the hot ones.

That is the great thing about canning. As long as you stay within the “safe rules” you can mix things up a bit.

Add this beautiful and delicious jelly to your pantry. On a day when you need a fast appetizer just throw in on brie, cream cheese or serve it plan and it will be tasty and beautiful!
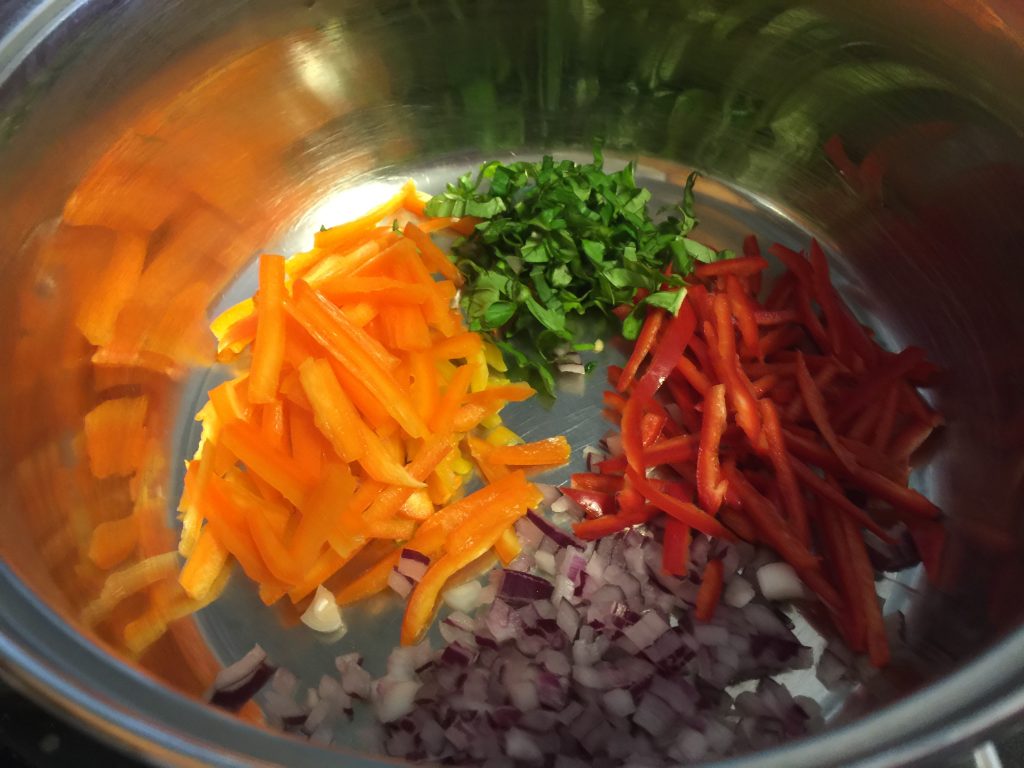
Here is what you will need for this recipe: thinly sliced mild yellow peppers, thinly sliced mild red peppers, chopped red onion, fresh basil cut in strips, dried basil, white vinegar, granulated sugar and 1 pouch of liquid pectin.

First thing you do is chop and slice all your veggies up. Put them in a deep sauce pan. Add in the vinegar, stir in the sugar.
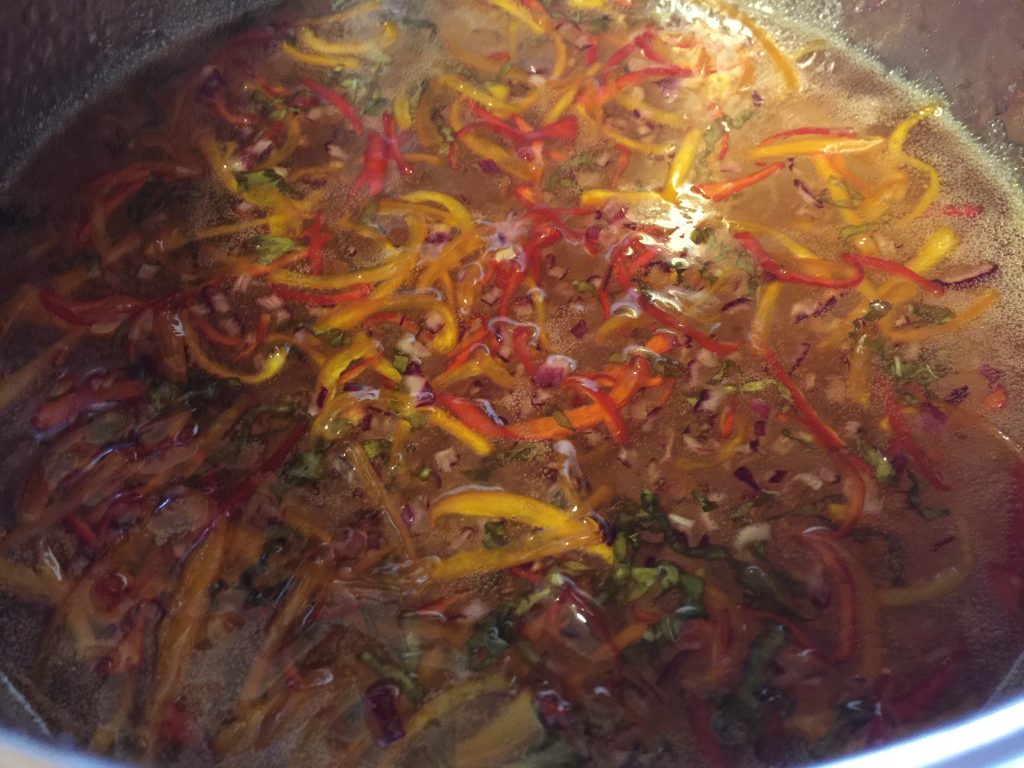
Over high heat, stirring to a full boil (that cannot be stirred down). Stir in the liquid pectin. Bring back to a boil, stirring constantly, and boil for a full minute. Remove from heat and skim off the foam.
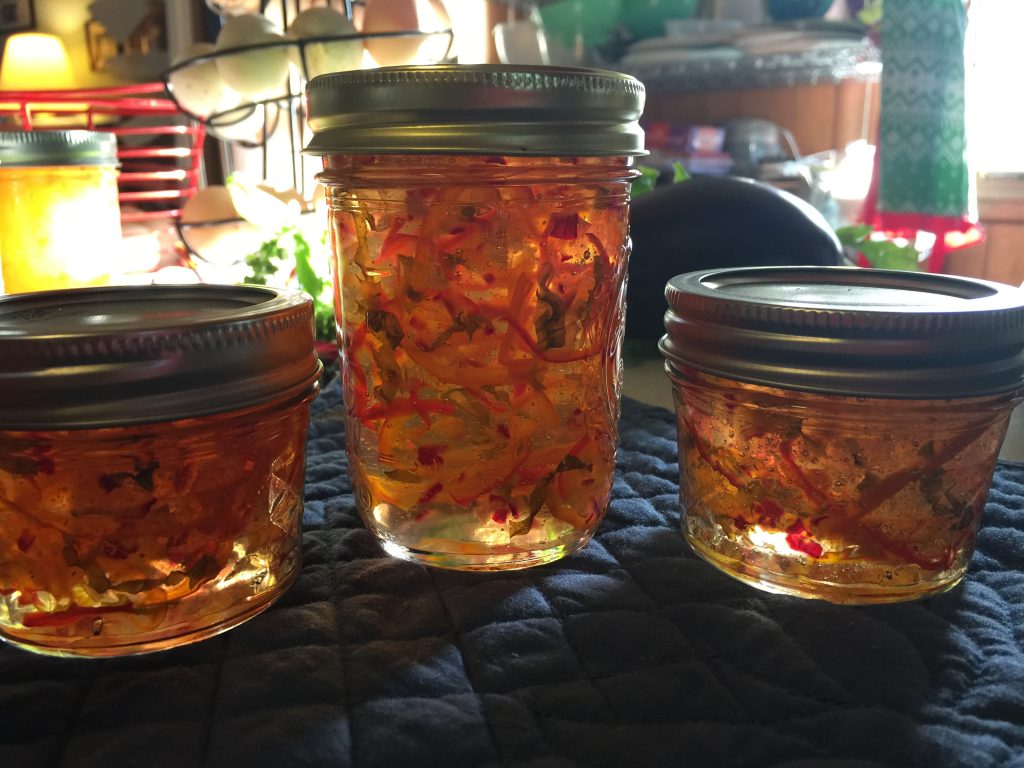
Pour hot jelly into hot jars, leaving 1/4 inch headspace. Wipe the rim, Center lid on the jar. Screw the band down, finger tight.

Place jars into water bath canner, make sure all the jars are completely covered with water and boil and process for 10 minutes.

Remove jars and cool.

Basil and Sweet Pepper Jelly Adapted from the Banana Pepper Jelly Recipe from Ball Preserving Book

Ingredients:

  • 1/2 cup thinly sliced yellow peppers
  • 1/4 cup thinly slice red peppers (this is where you could switch out to jalapeños)
  • 1/4 cup finely chopped red onion
  • 3 to 4 basil leaves, cut into ribbons
  • 1/4 tsp dried basil
  • 3/4 cup white vinegar
  • 3 cups sugar
  • 1 pouch liquid pectin

Directions:

  • Prepare your water bath canner. Put a touch of white vinegar in the water so you do not get calcium deposits on your jar.
  • In a large deep sauce pan, add your yellow and red peppers, onions, fresh and dried basil, vinegar and sugar.
  • Bring to a boil that you cannot stir down. this is very important to get your jelly to a certain temperature.
  • Stir in the pectin.
  • Bring to a hard boil, stirring constantly.
  • Boil for one full minute.
  • Remove from heat and skim off any foam.

Quickly ladle the jelly into hot jars, leaving 1/4 inch headspace and wipe the rims off with a warm paper towel to remove any jelly that might have spilled on the rim. Place the lid on and then the screw band. Tighten the band on finger tip tight.

Place jars in canner, making sure that they are completely immersed in water, and bring water back to a boil and process for 10 minutes. Remove jars and cool for 24 hours.

Whew…that is all there is to it!

You know what I am most proud of about this jelly?

I grew the peppers and basil in my little backyard garden.

But whether you grow them yourself or buy them, you will be proud of it too!

Enjoy!

Becky

Tomato Basil Bisque

Are  you dreaming of fresh tomatoes from your garden? Or maybe, you are just ready to feast on some simple, uncomplicated meals, after all the great holiday food assortment from the last two weeks.

For me, it is a little of both. I walk by my raised garden beds everyday when I check on the backyard chicks. My garlic and onions are planted, mulched for winter, to make their reappearance this coming spring. But, the other beds are just hibernating, waiting till spring, when they will be full of veggies and (my favorite) tomatoes.

I have also eaten my fair share of…mmm…how do I say this politely….superfantastichighcaloriescrumptiousanddelicious creations that just so happened to cross my path. And, yet, I am not giving up till I finish that bag of Doritos. LOL

Regardless, I am just ready to eat simple for a bit. Most of you already know that I love soup. I have more soup recipes on this blog that I do anything else. (at least I think so)

This Tomato Basil Bisque, is one of my favorites. I peel and freeze tomatoes, that I grow in the summer, just to make this soup in the winter. But…don’t worry…you don’t have to grow your own tomatoes to make this cause canned tomatoes and tomato juice works just fine!

You will need some sort of blender to blend up all the veggies to make this smooth and creamy soup. I have used an immerseable blender to make this, or you can use a food processor.

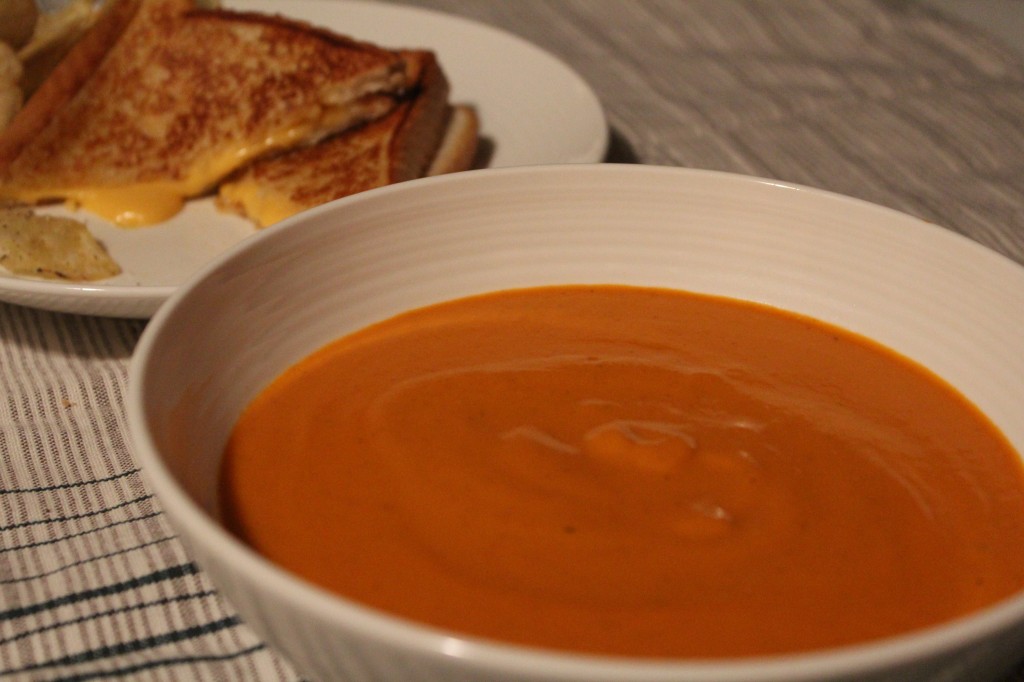
Just be sure and try it once. If you love tomato soup, just think of rich and creamy (from a tad of whipping cream) soup with the perfect amount of basil seasoning. Yes, it goes perfect with some grilled cheese sandwiches.

Anywho, enough of me chatting away….let’s get to the recipe.

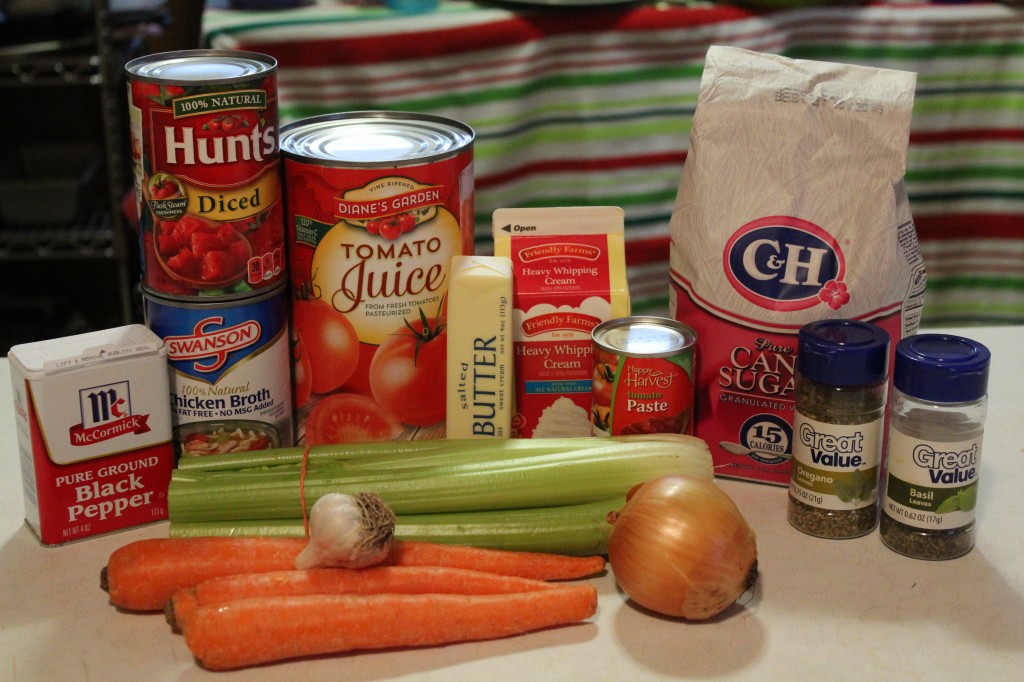
This is what you need:

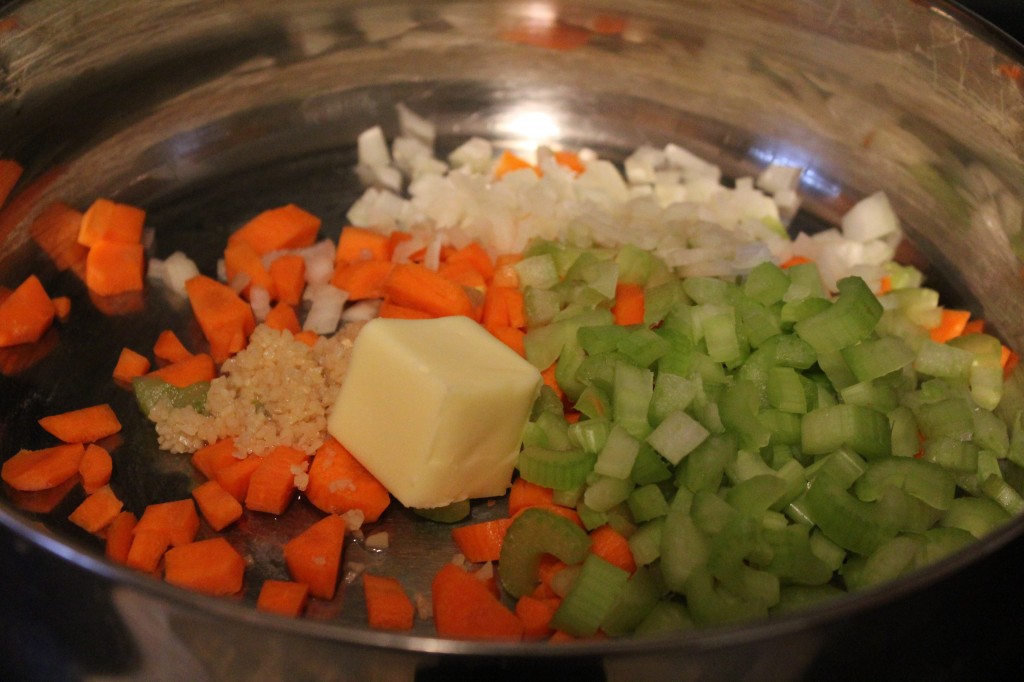
You will need some fresh carrots, celery, garlic and onion, along with dice tomatoes, chicken broth, whipping cream, tomato paste, butter, sugar, pepper and oregano and basil.

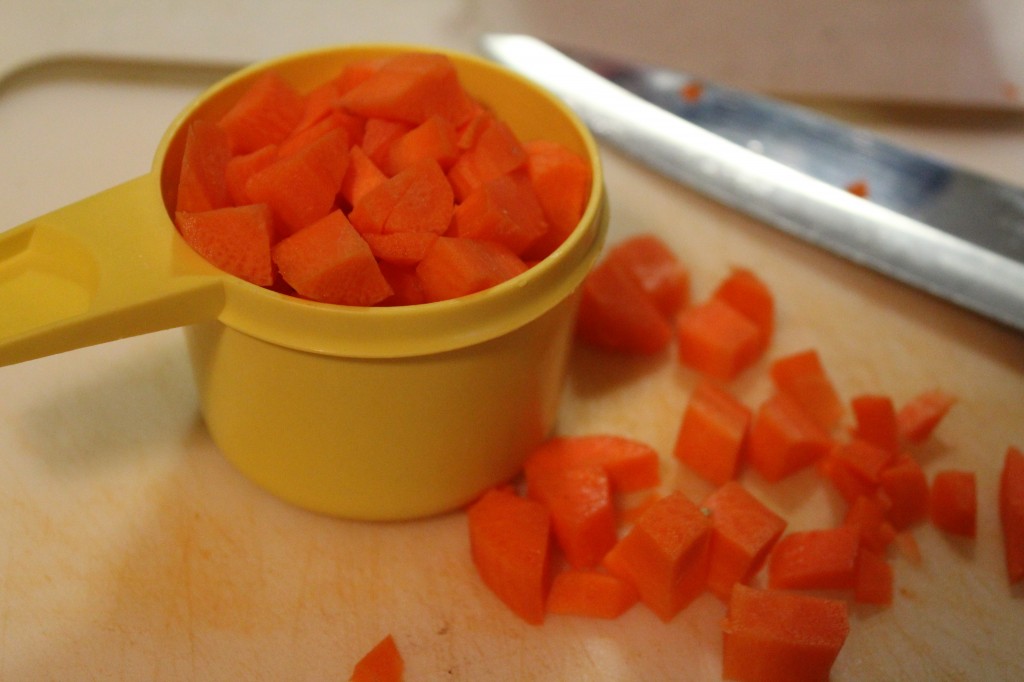
Dice up your carrots. I peeled mine first.

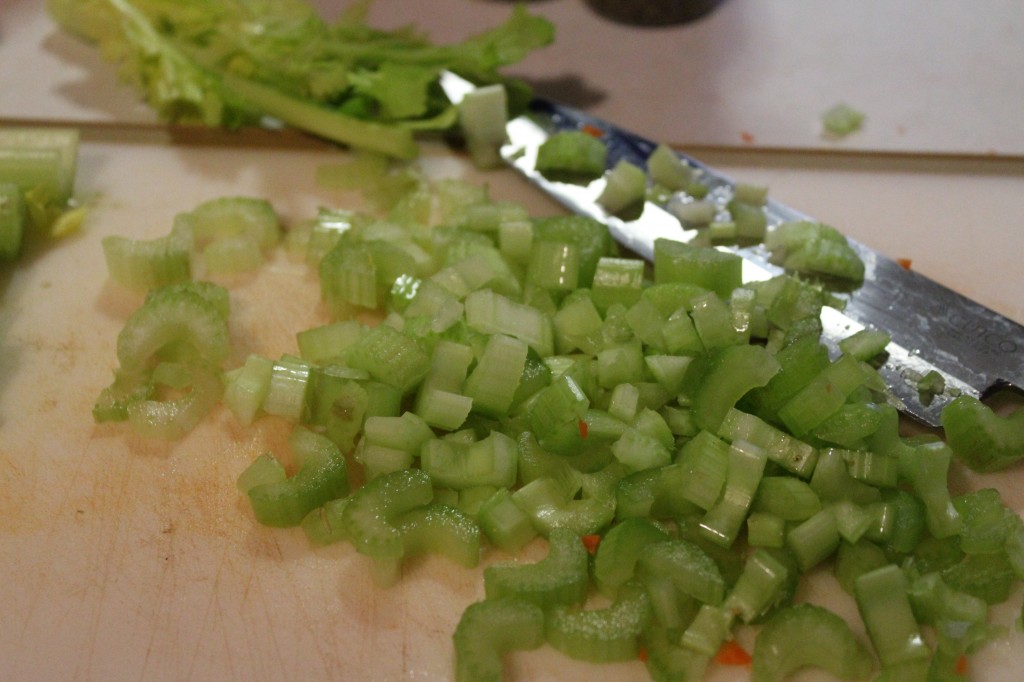
Dice your celery.

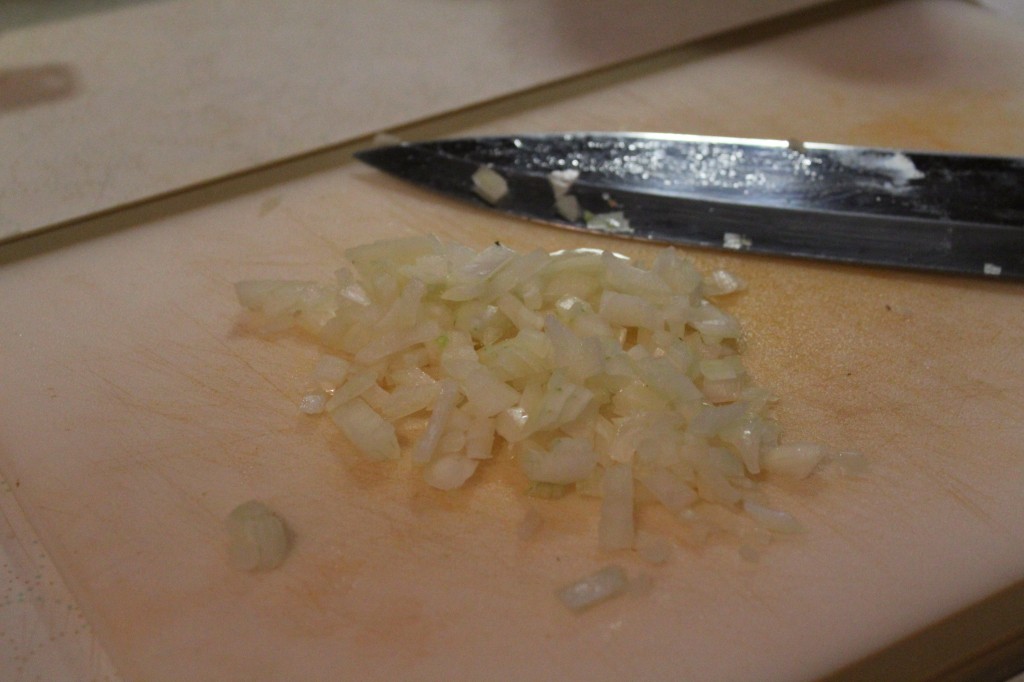
And dice your onions and garlic (the garlic is not pictured)

In a large stock pan, add in your butter and celery, onions, carrots and garlic.

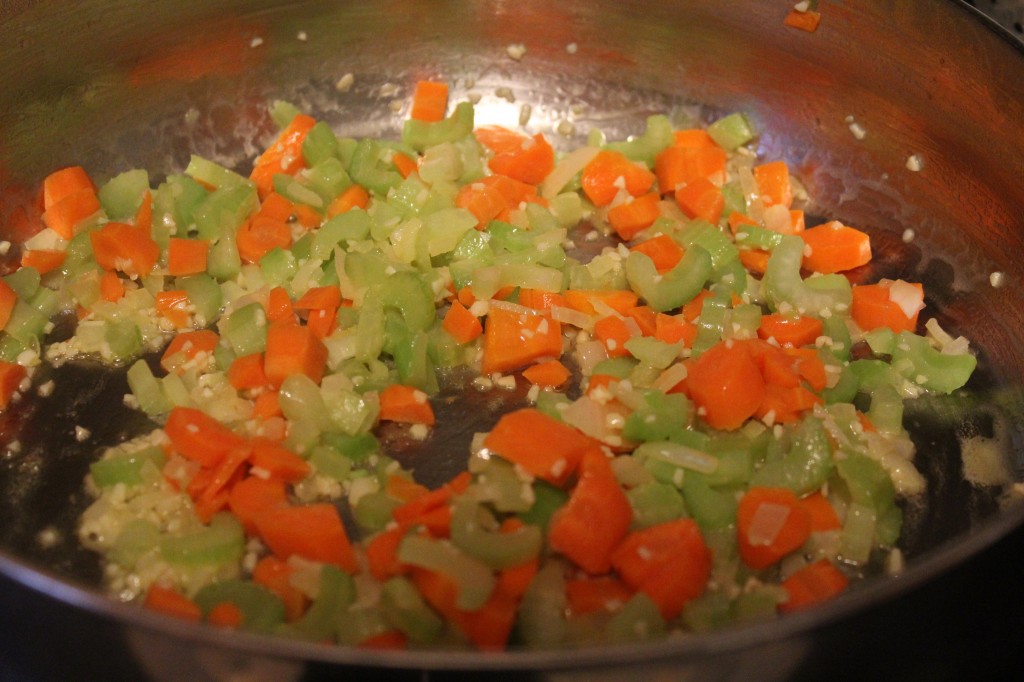
Sauté, stirring until they soften.

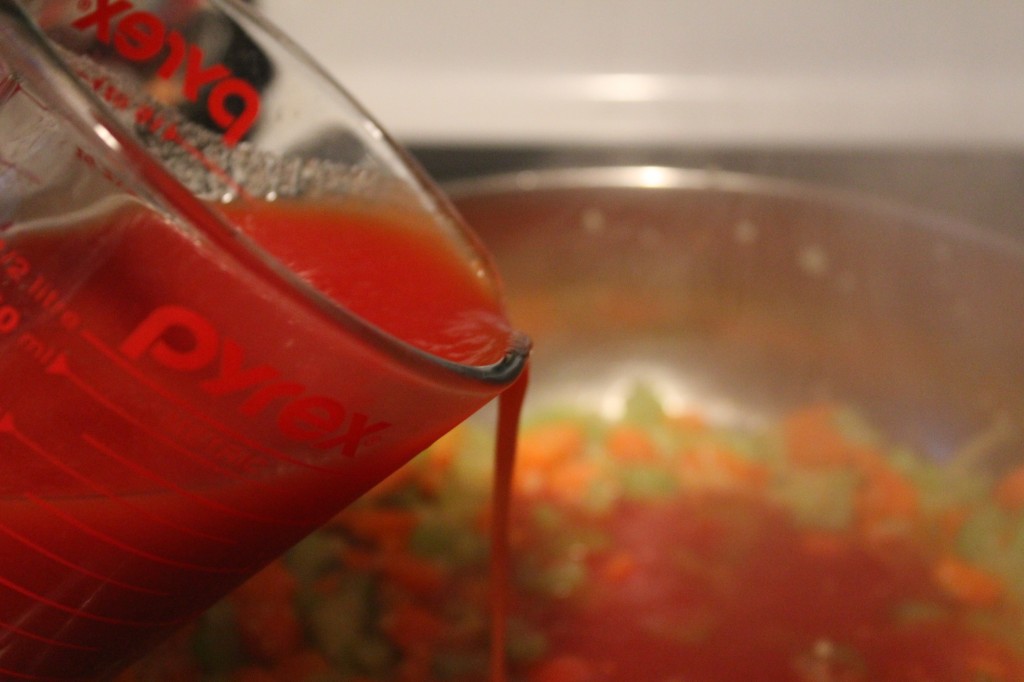
Add in tomato juice.

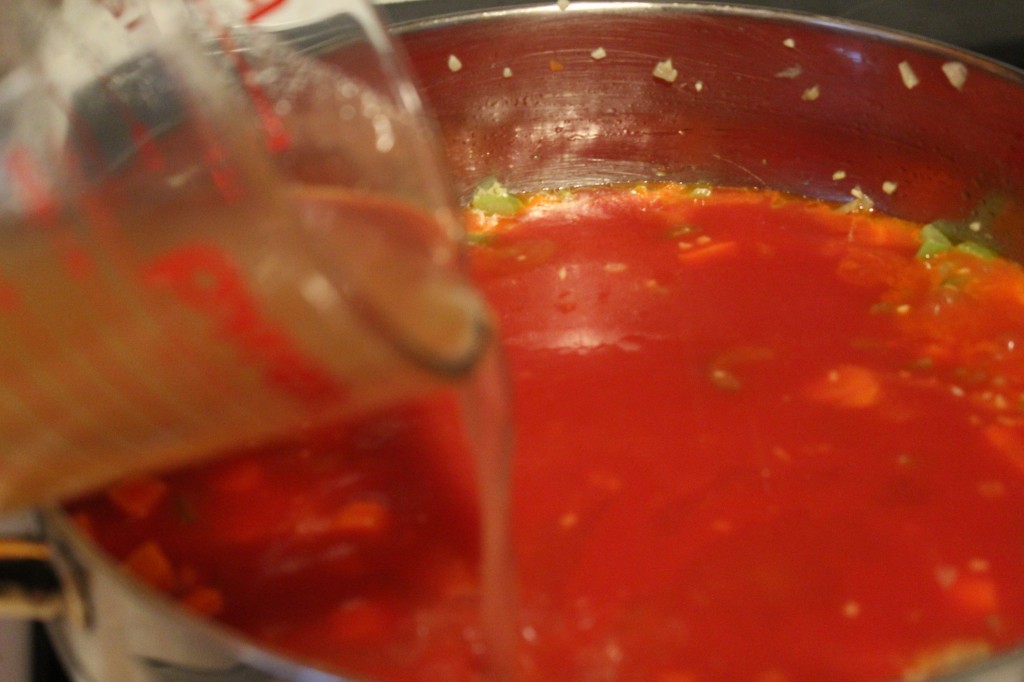
Then some chicken broth.

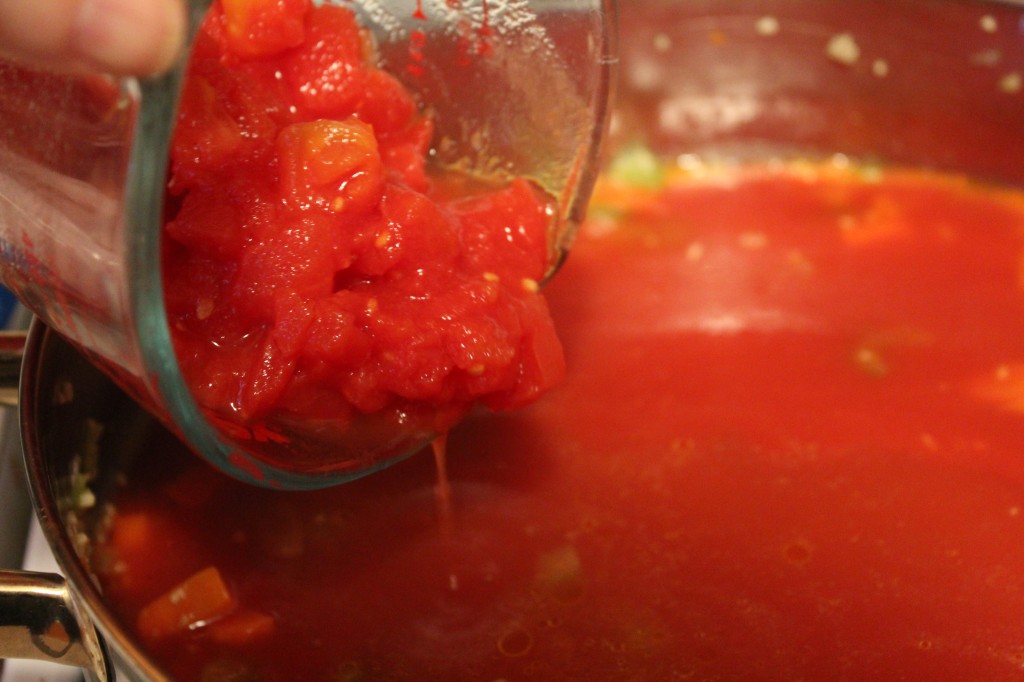
Diced tomatoes

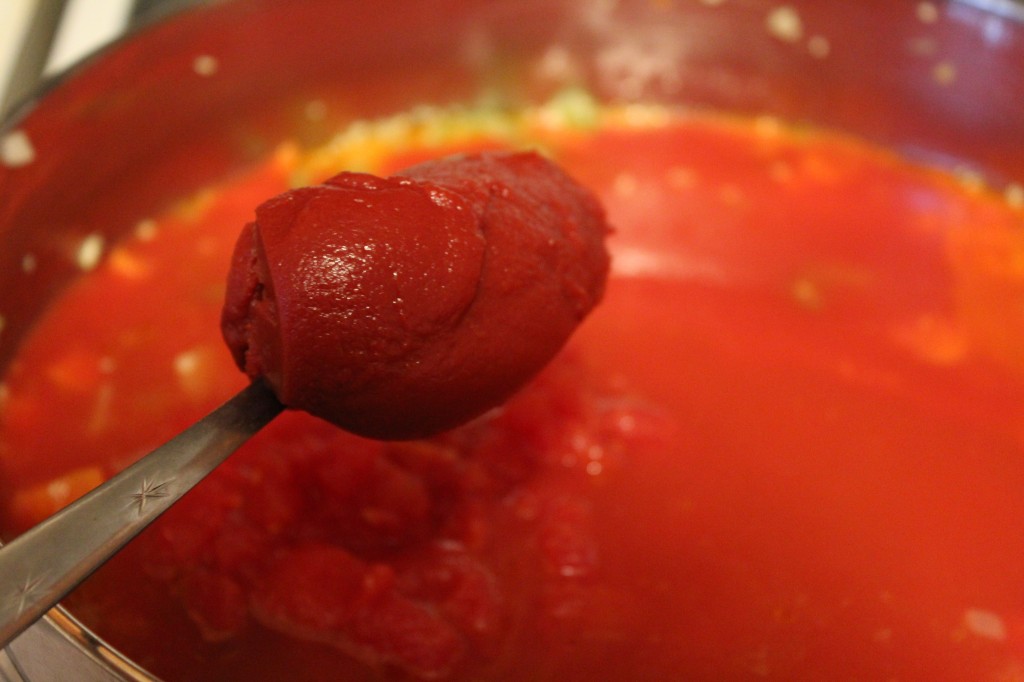
tomato paste

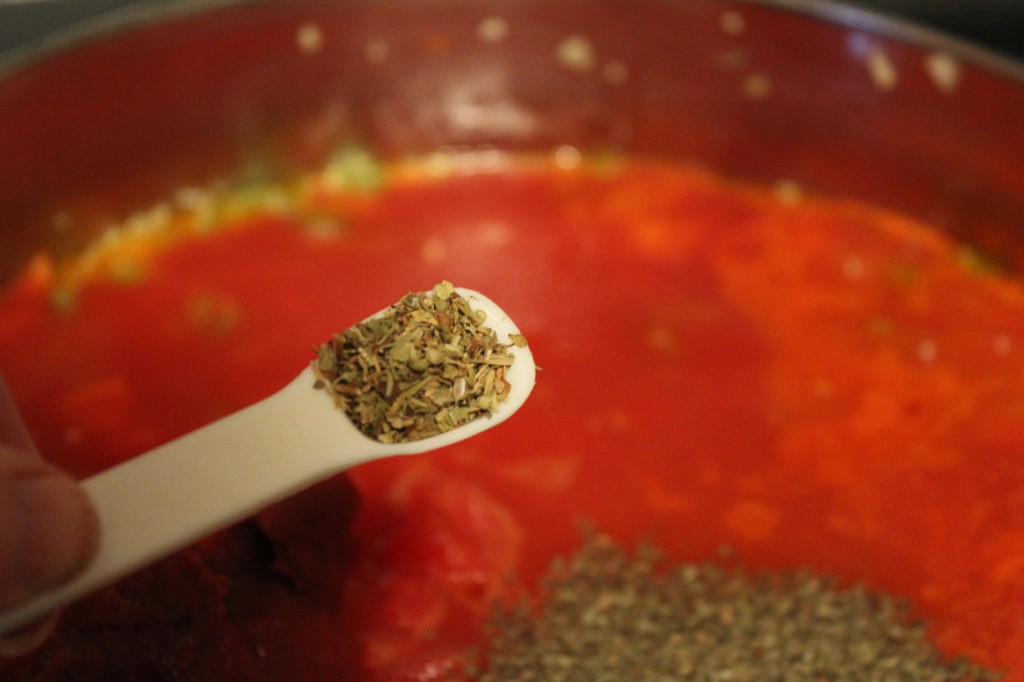
oregano

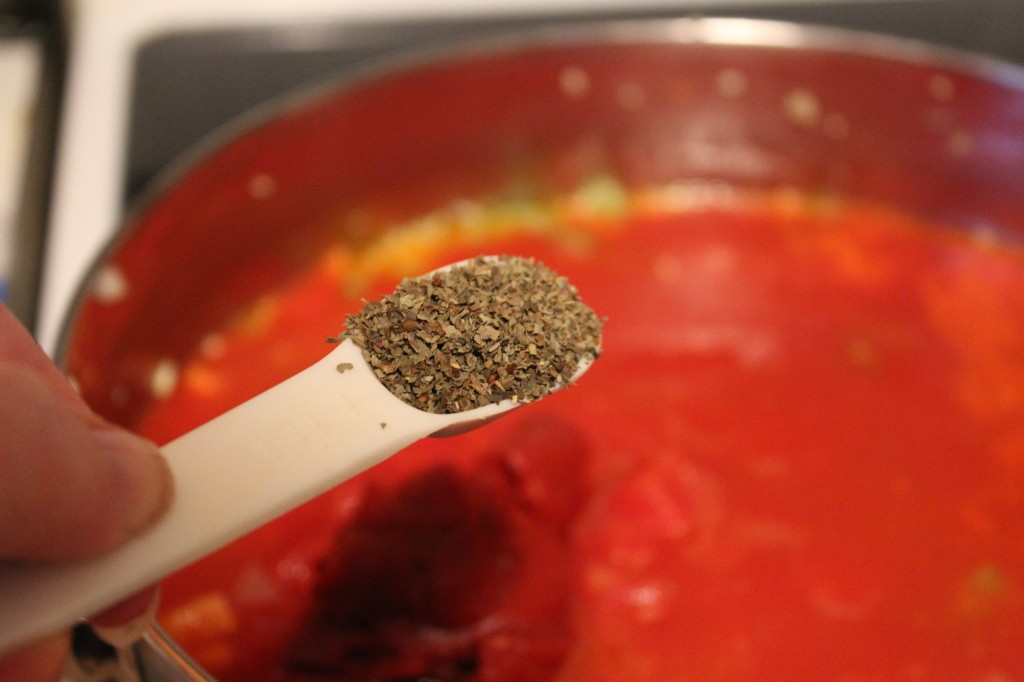
basil…I used dried.

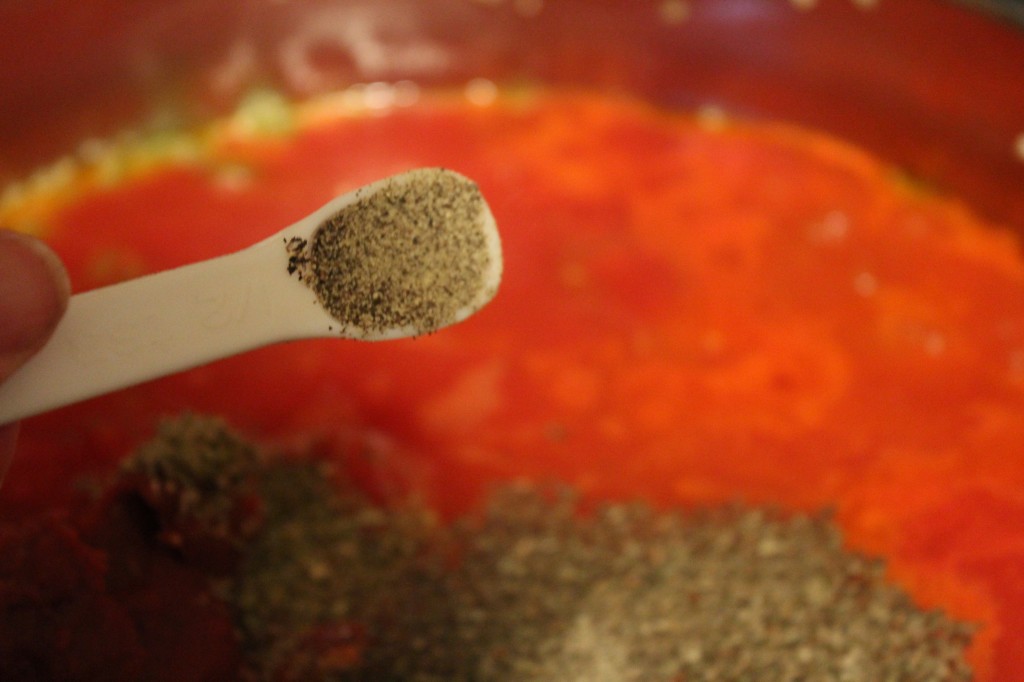
cracked pepper

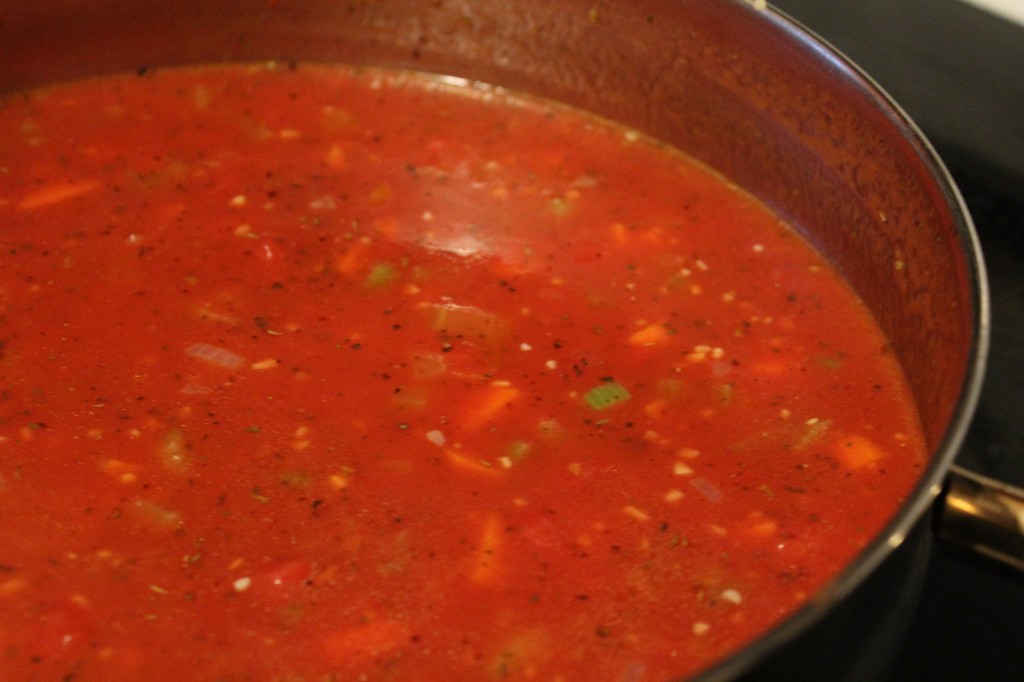
Bring to a boil and simmer for 30 minutes.

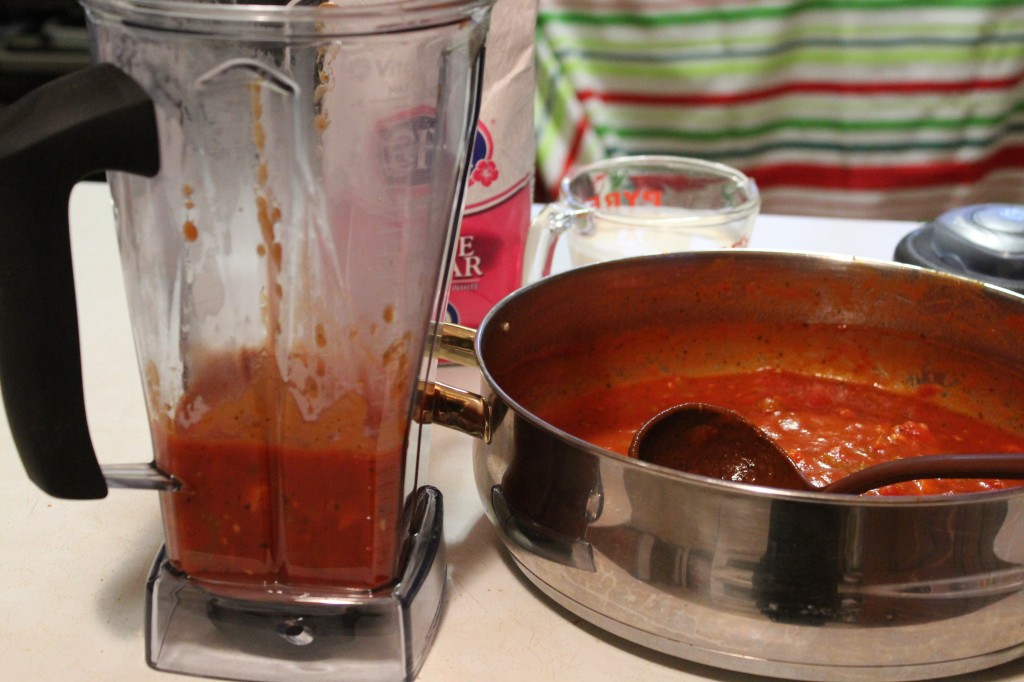
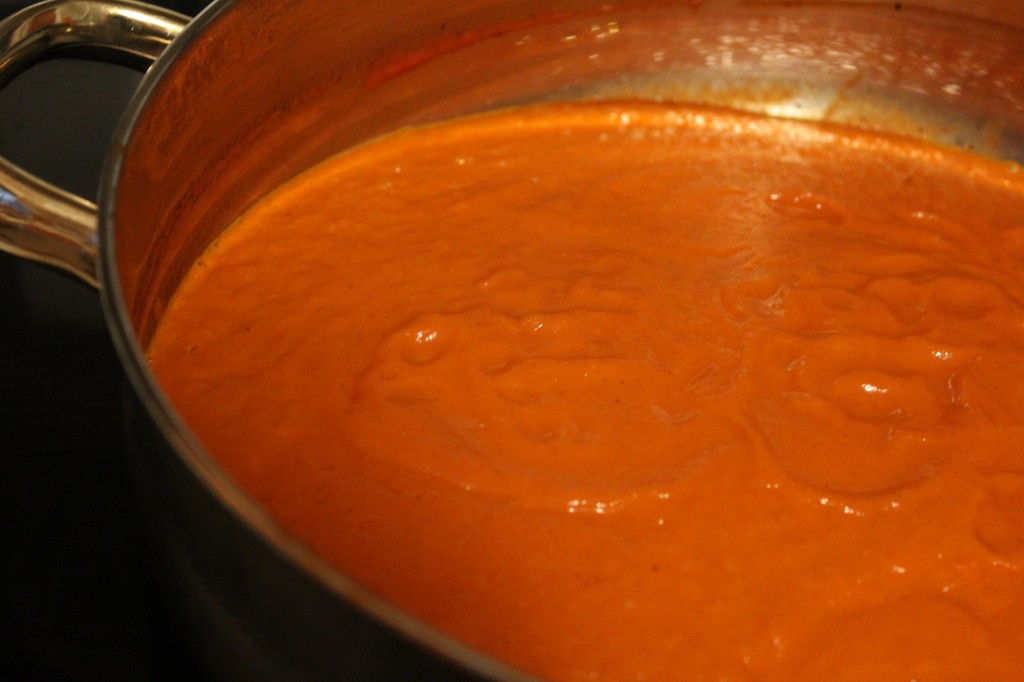
Be careful…..blend the hot soup until smooth and creamy.

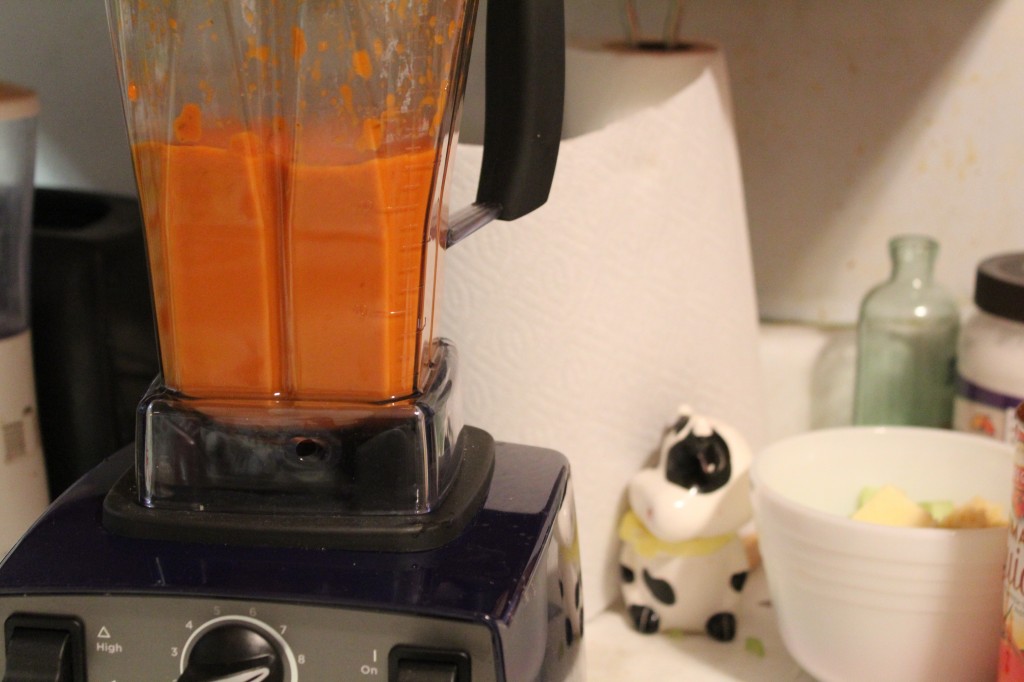
It will change color as you blend it smooth.

Pour the tomato mixture back into the stock pot

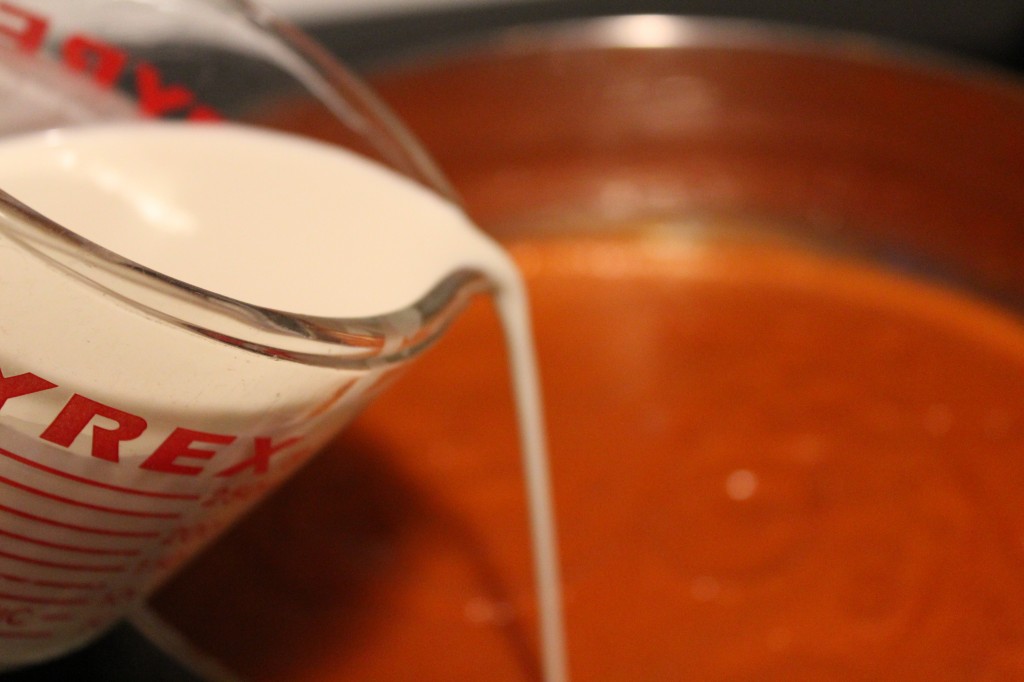
Add in the whipping cream

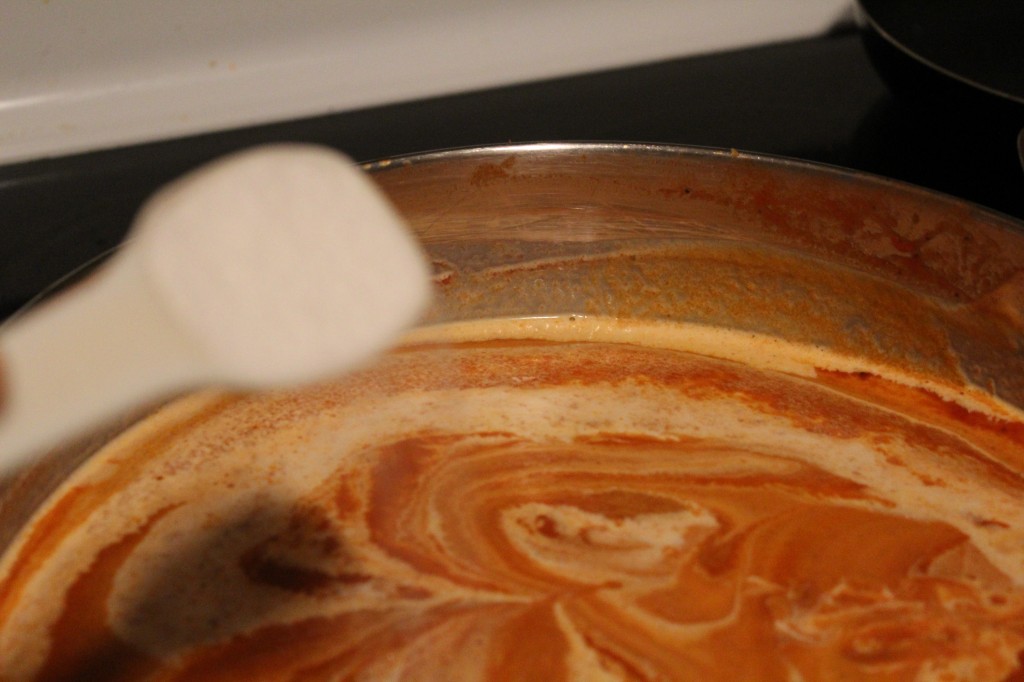
add in the sugar

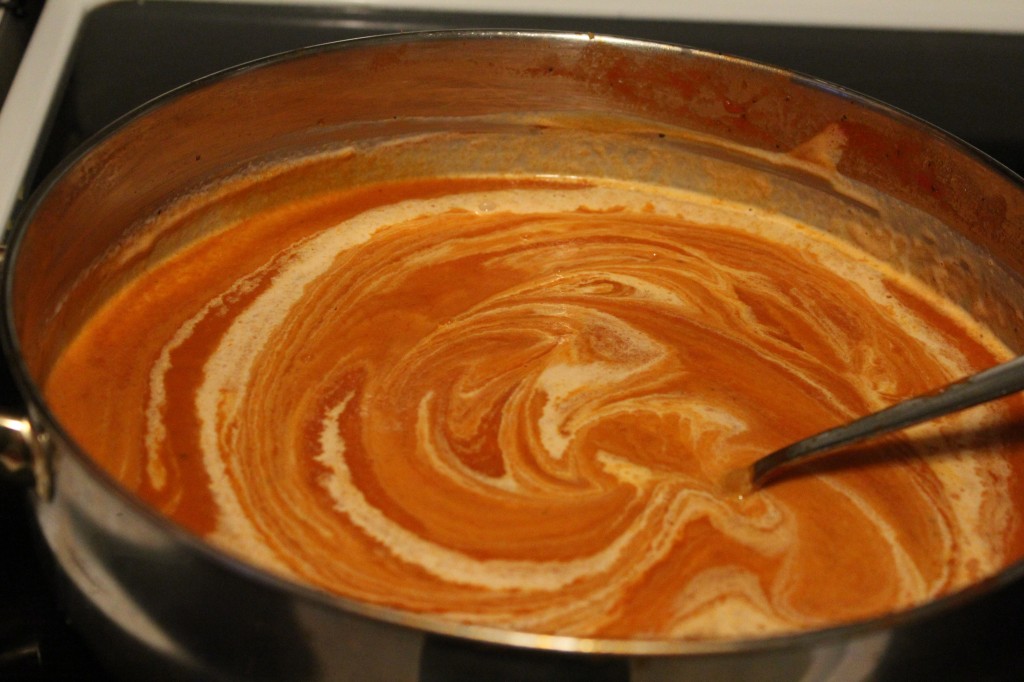
and stir and cook on medium heat until heated through. Now, is the time to make the grilled cheese sandwiches.

Here is a close up, time to get your spoon ready. : )

Tomato Basil Bisque

Creamy and delicious, perfect with your favorite grilled cheese sandwich.
Course Soup
Cuisine American
Prep Time 20 minutes
Cook Time 15 minutes
Total Time 35 minutes
Servings 8

Ingredients

  • 1 cup celery chopped
  • 3/4 cup carrots chopped
  • 1/4 cup onion chopped
  • 1 tablespoon garlic minced
  • 1 tablespoon butter
  • 3 cups tomato juice
  • 1 cup chicken broth
  • 1 7.5 ounce can diced tomatoes or 3/4 cup chopped fresh tomatoes
  • 3 tablespoons tomato paste
  • 1 teaspoon dried basil
  • 1/2 teaspoon dried oregano
  • 1/2 teaspoon pepper
  • 1 cup whipping cream or you can save calories and use fat free half and half
  • 4 tablespoons sugar
  • 1/2 cup snipped fresh basil for garnish optional

Instructions

  • Chop the celery, carrot and onions. Mince the garlic.
    In a large saucepan, cook celery, carrots, onions and garlic in butter until tender. Add in tomato juice, chicken broth, undrained tomatoes, tomato paste, basil, oregano and pepper.
    Bring to a boil, then reduce heat. Simmer, uncovered for about 30 minutes or until slightly thickened.
    Place half of soup on in a blender or a food processor and blend or process until smooth. Repeat with the other half.
    Return tomato mixture to the saucepan. Stir in whipping cream and sugar. Heat through.
    Can garnish with fresh basil leaves or some pesto.

Notes

asmalltownkitchen.com

Here is the recipe:

Adapted from a fundraiser cookbook

Tomato Basil Bisque

1 cup chopped celery

3/4 cup chopped carrots

1/4 chopped yellow onion

1 tablespoon minced garlic

1 tablespoon butter

3 cups tomato juice

1 cup chicken broth

1 small can (7 1/2 ounce) can of diced tomatoes or use 3/4 cup chopped fresh tomato

1/2 (6 ounce) can tomato paste

1 tsp dried basil

1/2 tsp dried oregano

1/2 tsp pepper

1 cup whipping cream

4 tablespoons sugar

1/2 cup snipped fresh basil for garnish (optional)

Directions:

Chop the celery, carrot and onions. Mince the garlic.

In a large saucepan, cook celery, carrots, onions and garlic in butter until tender. Add in tomato juice, chicken broth, undrained tomatoes, tomato paste, basil, oregano and pepper.

Bring to a boil, then reduce heat. Simmer, uncovered for about 30 minutes or until slightly thickened.

Place half of soup on in a blender or a food processor and blend or process until smooth. Repeat with the other half.

Return tomato mixture to the saucepan. Stir in whipping cream and sugar. Heat through.

Can garnish with fresh basil leaves or some pesto.

Makes 8 servings.

In a Pickle!

Have you ever made something, but then could not eat it for a couple of months?

That was me!

Or, have you ever found yourself so busy with family and work that you had to put off working on something you love doing for a few months, until things slow down?

That was me!!

It seemed, there for a few months, my life and free time was, “in a pickle!”

I guess that is my way of explaining why I have not posted in 6 long months!

I missed all my readers!

I missed posting my recipes and talking about my back yard girls as I affectionately call my chickens.

I missed everything there was to do about staying connected with everyone through this webpage.

So, I think my life is slowly, slowing down, and I can finally get back on track with posting and chit-chatting with everyone now.

You might have wondered what I have been up to the last few months, and I will explain in the coming recipe post, as I try to get caught up.

Even though, I might not have posted a recipe, my kitchen has been busy and so has my camera!

I have a ton of things to share!!!

One thing I will share now to try to explain my absence is that my Mom “The Princess” first had a breast cancer scare and then had a heart attack along with pneumonia right before the holidays. My super strong mom is a fighter though and is slowly getting her strength back and is now able to get out of the house some and going back to church.

Prayers were answered!

So anywho, I thought what was more fitting to get back to posting and get my webpage out of being “in a pickle,” was to post about me canning sweet pickles.

So here goes!!

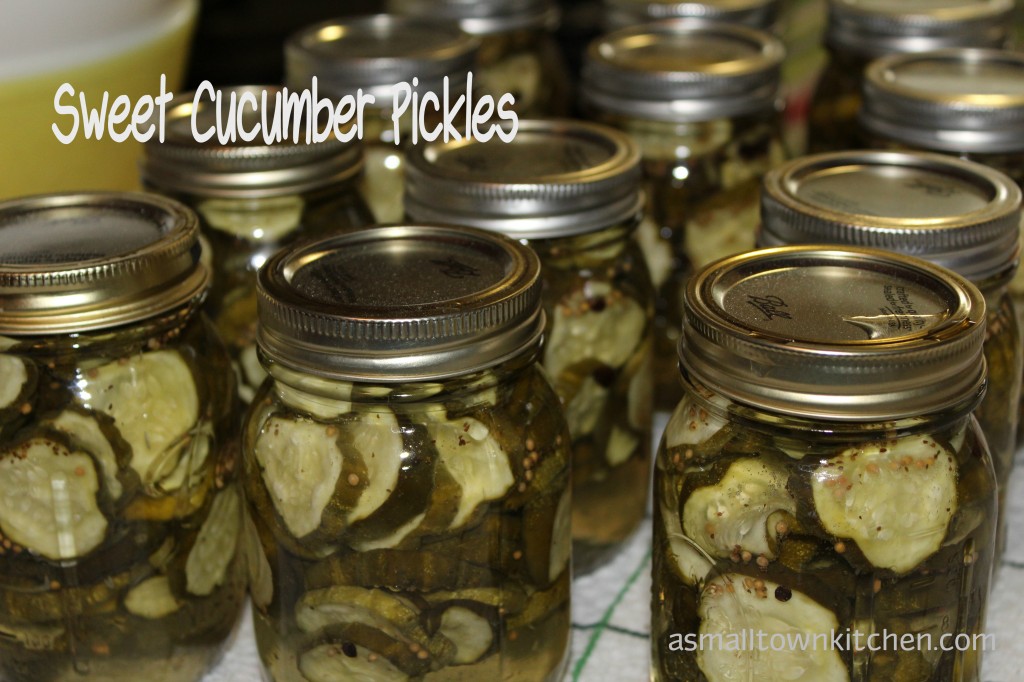
Sweet Cucumber Pickles!

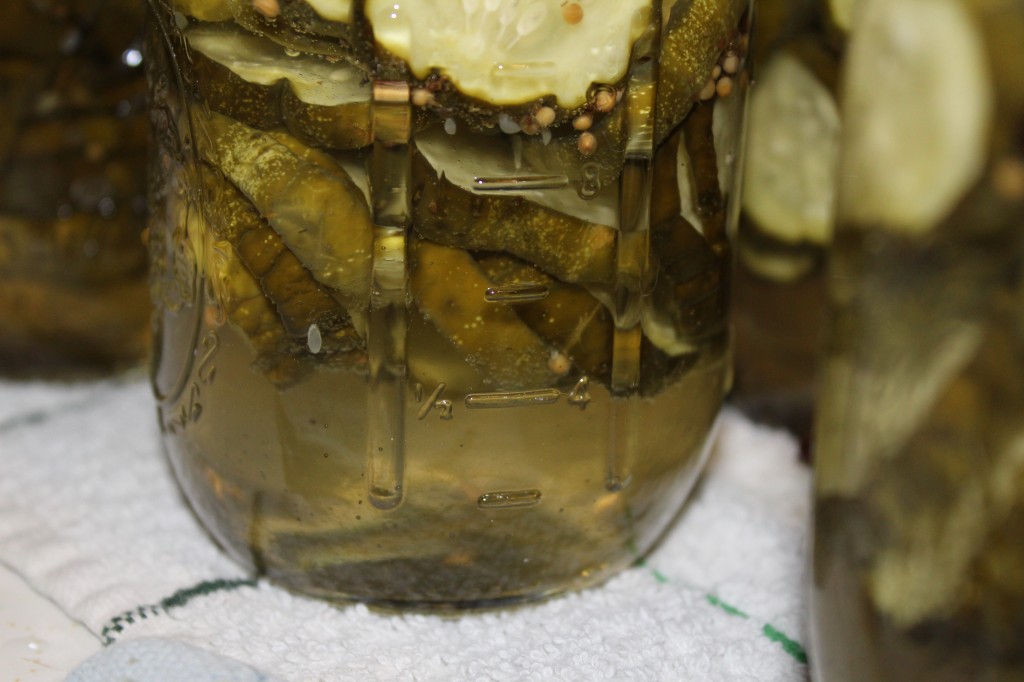
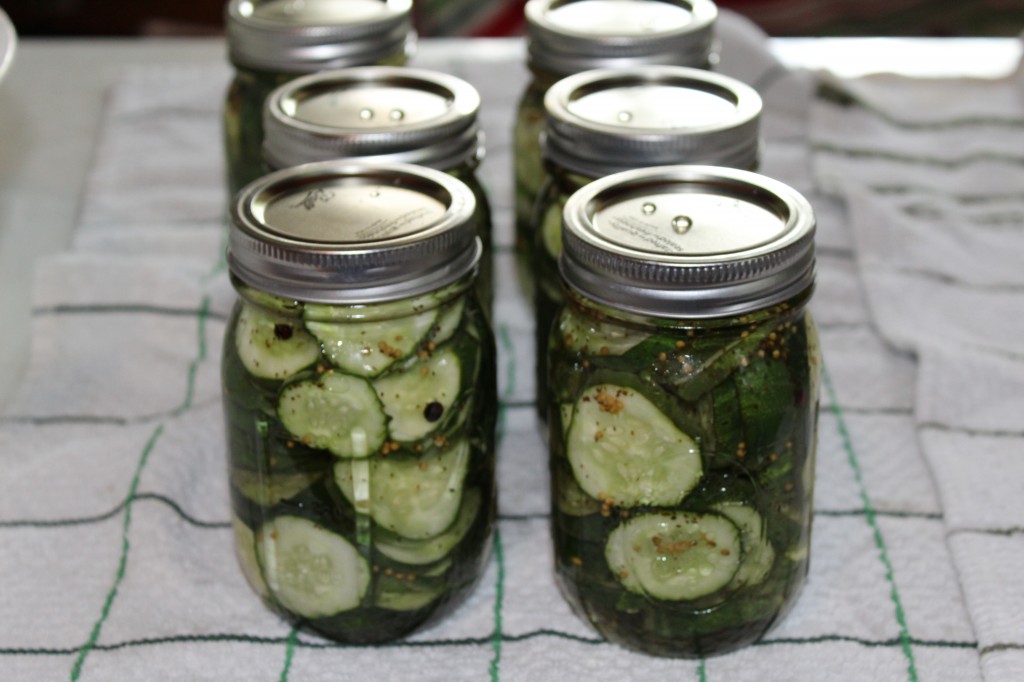
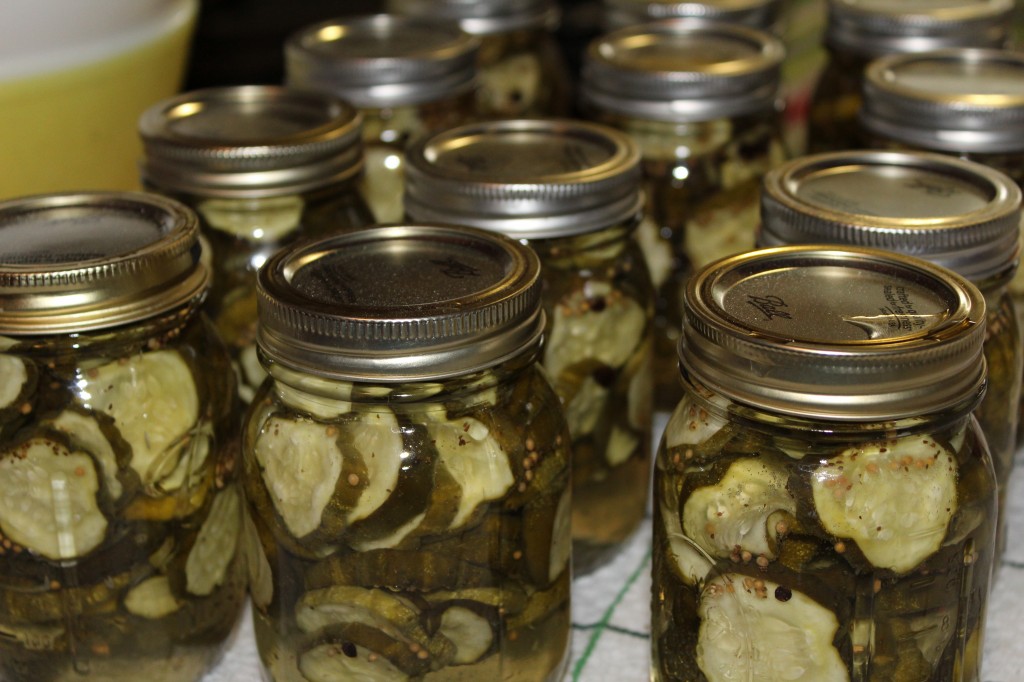
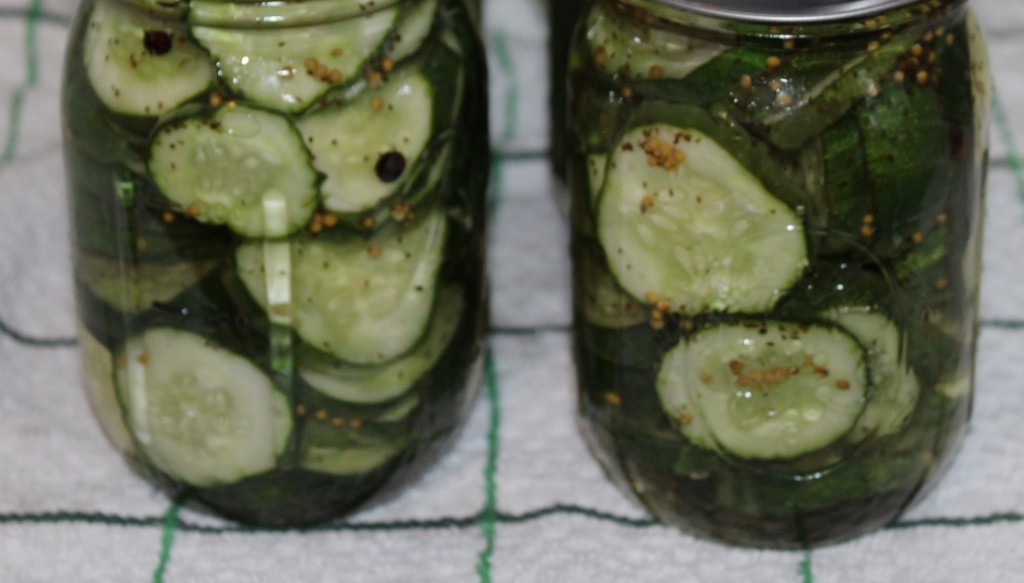
When I first made my pickles and water bath canned them, my pickles floated. I thought maybe I had acquired magic powers to get pickles to float, only to find out that after a couple of weeks they settled down and went to the bottom. I was later to learn that the air trapped inside the cucumbers had to slowly release for the pickles to stay where they were suppose too.

By the time the pickles were ready to eat, they decided to quit showing off and sit still.

These little pickles are perfect to snack on and are the perfect size to put on little slider hamburgers.

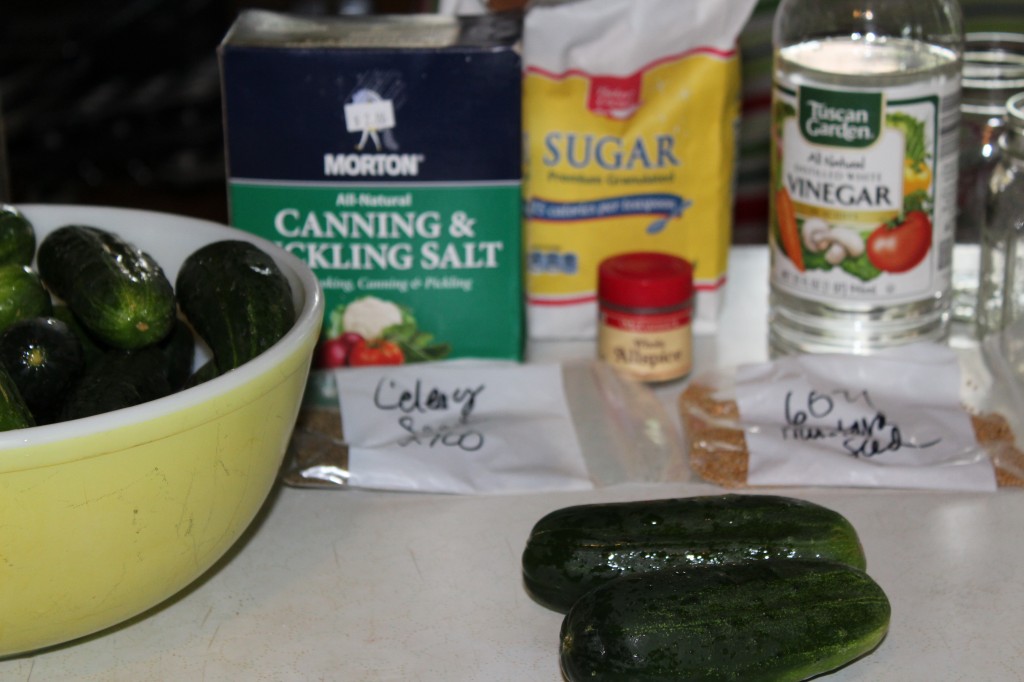
Here is what you need to make these delicious little sweet pickles.

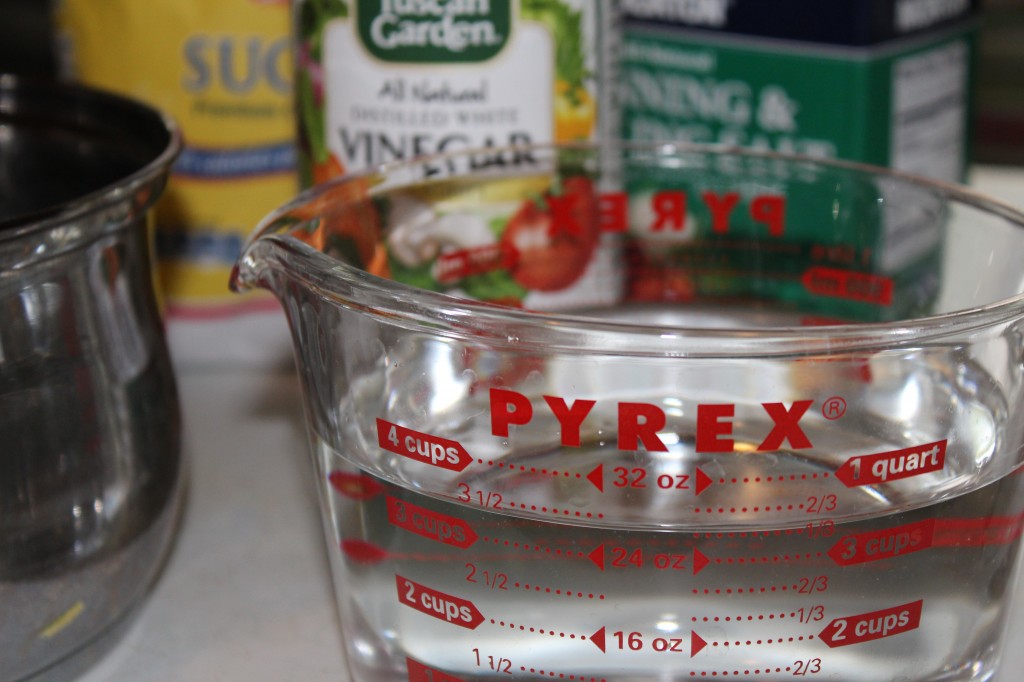
Pickling cucumbers, (not regular salad cucumbers that are bigger and longer) sugar, pickling salt, ice, vinegar (5%), celery seed, whole allspice and  mustard seed.

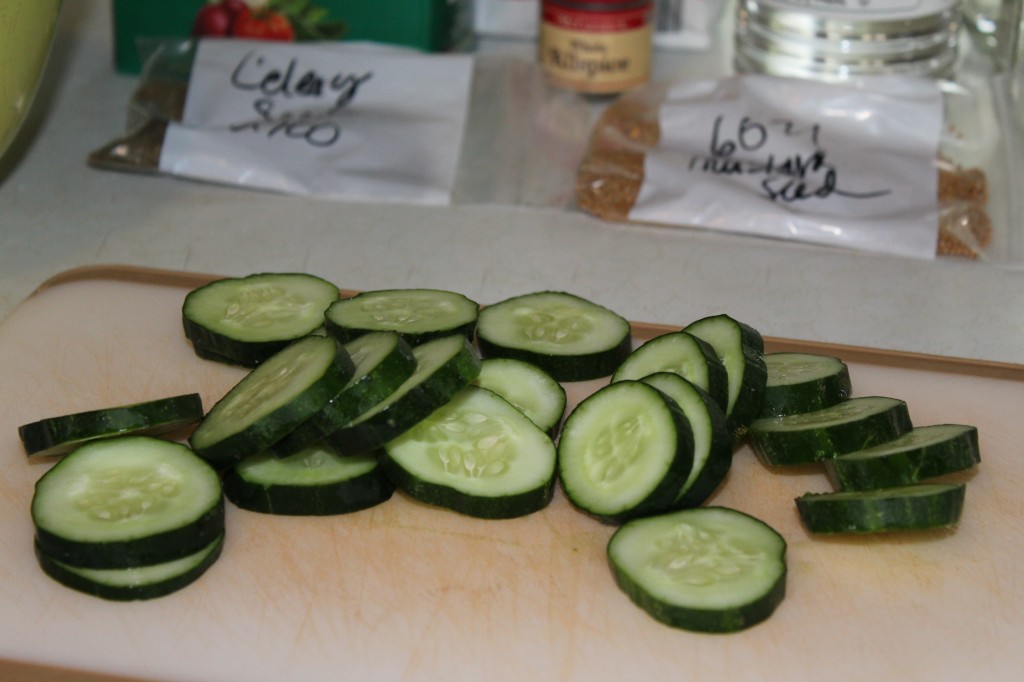
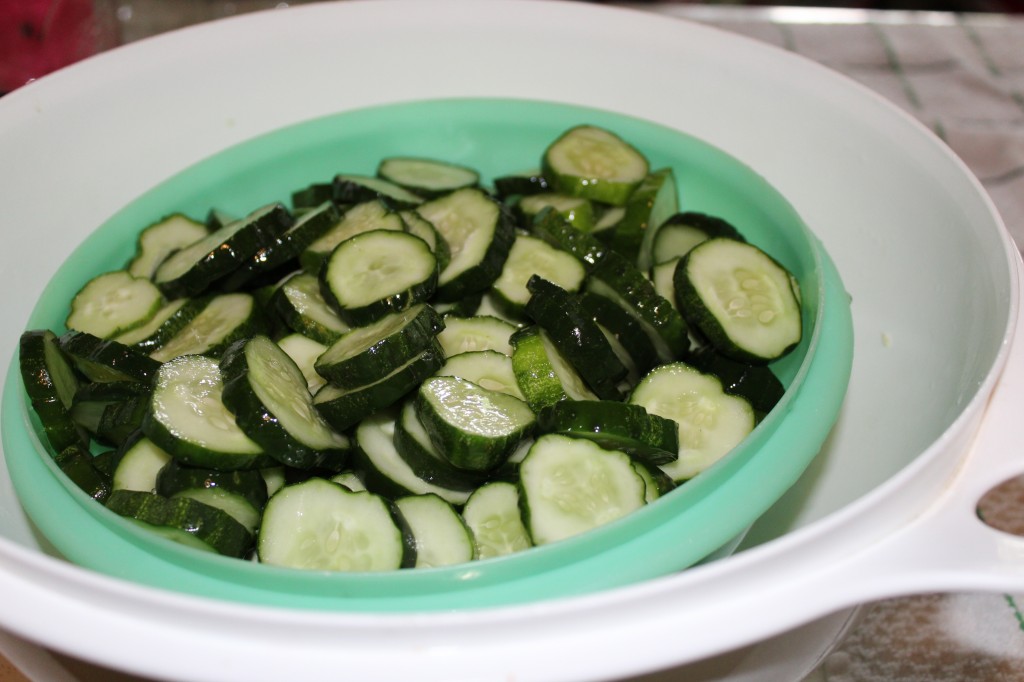
The first thing you need to do is cut the blossom end off the cucumber, (it can cause soft pickles) and then slice the cucumbers into slices. Mine are about 1/4 inch.

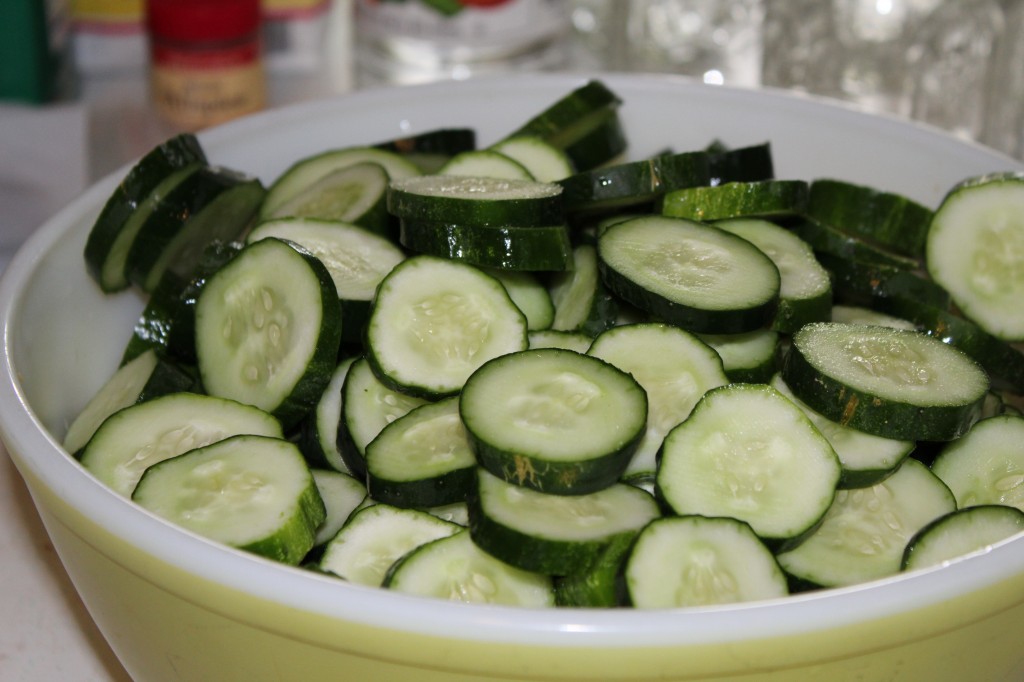
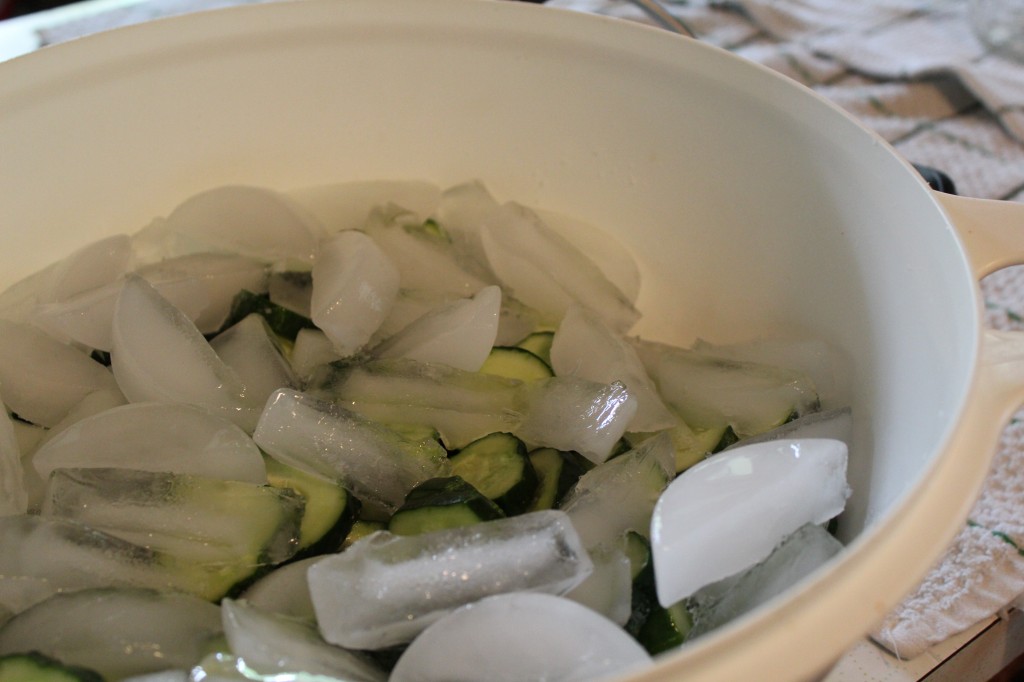
My sliced cucumbers filled up this big bowl.

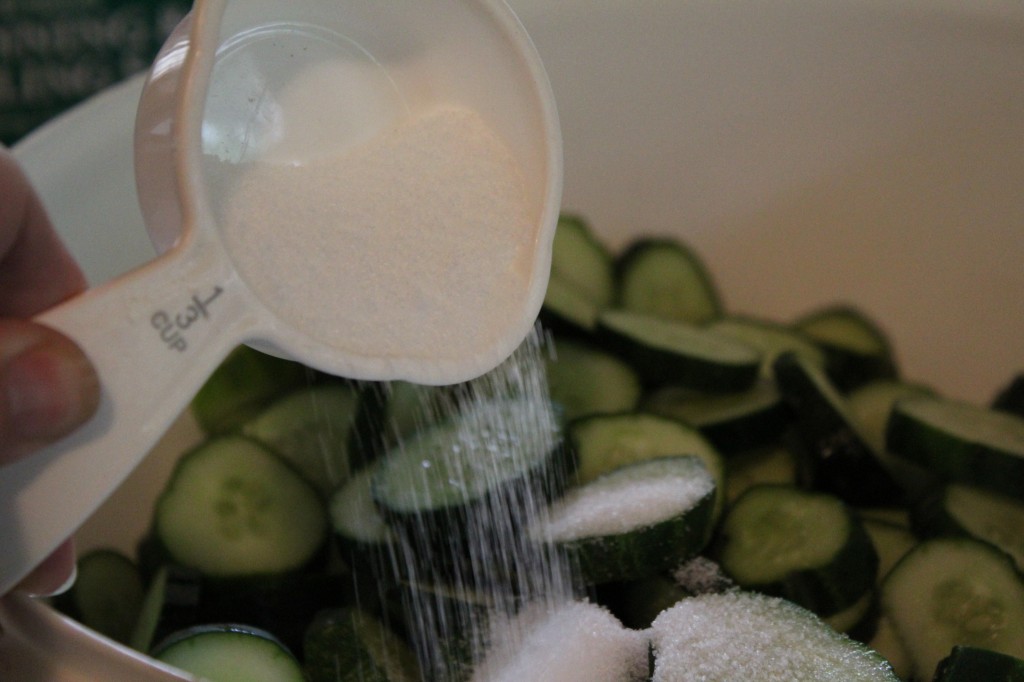
Next, sprinkle the pickling salt over the cucumbers.

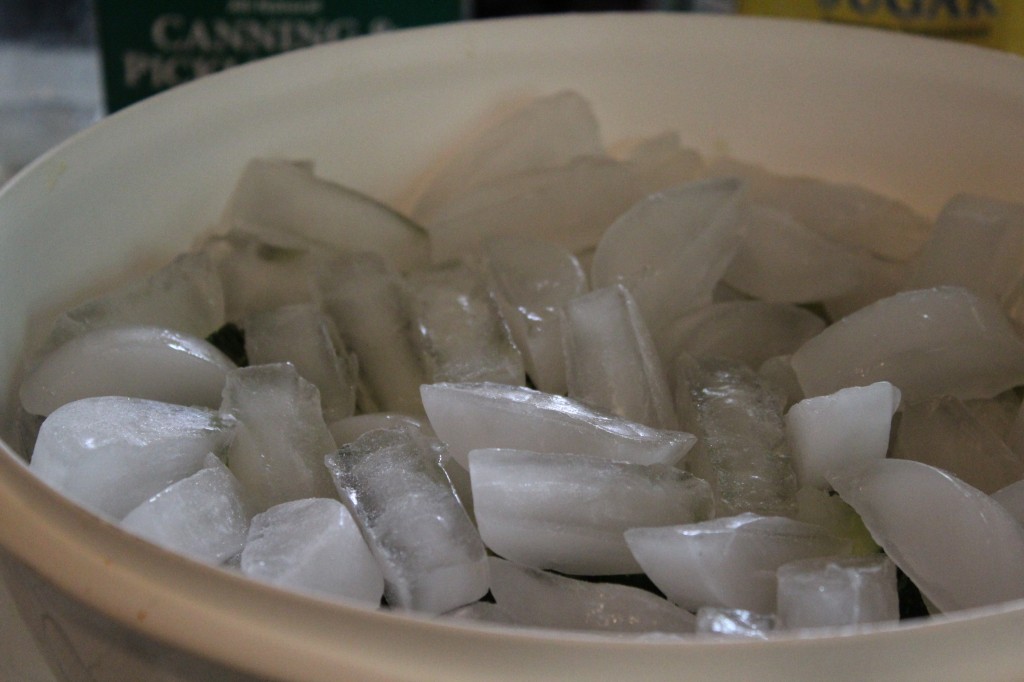
The next thing you do is cover the cucumbers with ice and put in the refrigerator for 3 to 4 hours. If the ice melts, add more ice. Now you can get all your jars, lids and rings out and set up for water bath canning….or you can take a nap, like me..LOL

Time to make the brine. Measure out the vinegar and pour it into a large sauce pan.

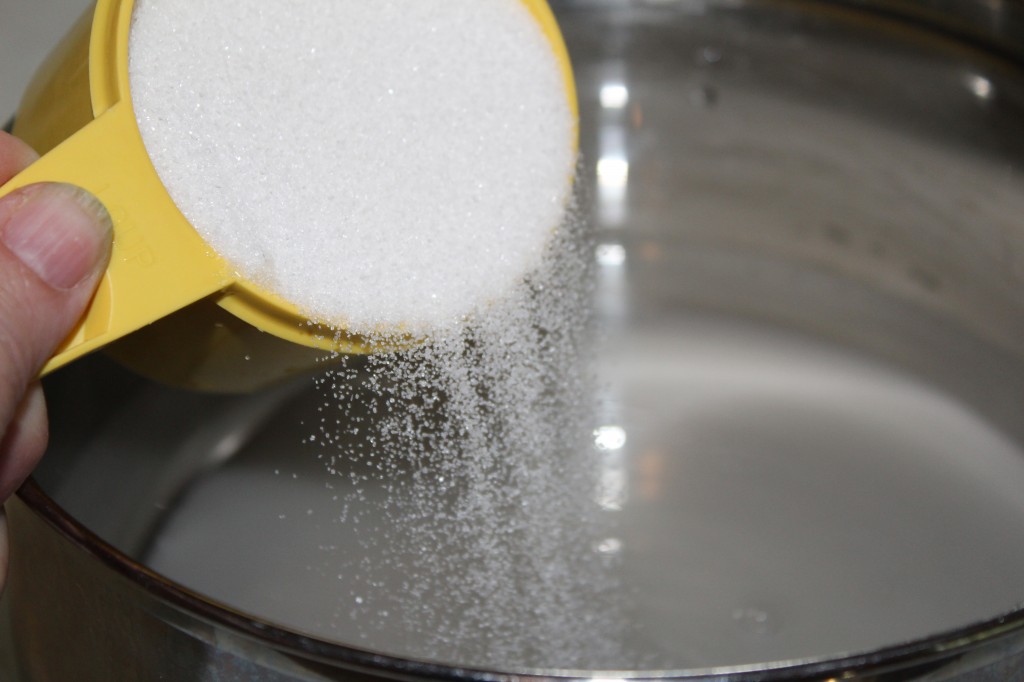
Add the sugar to the vinegar.

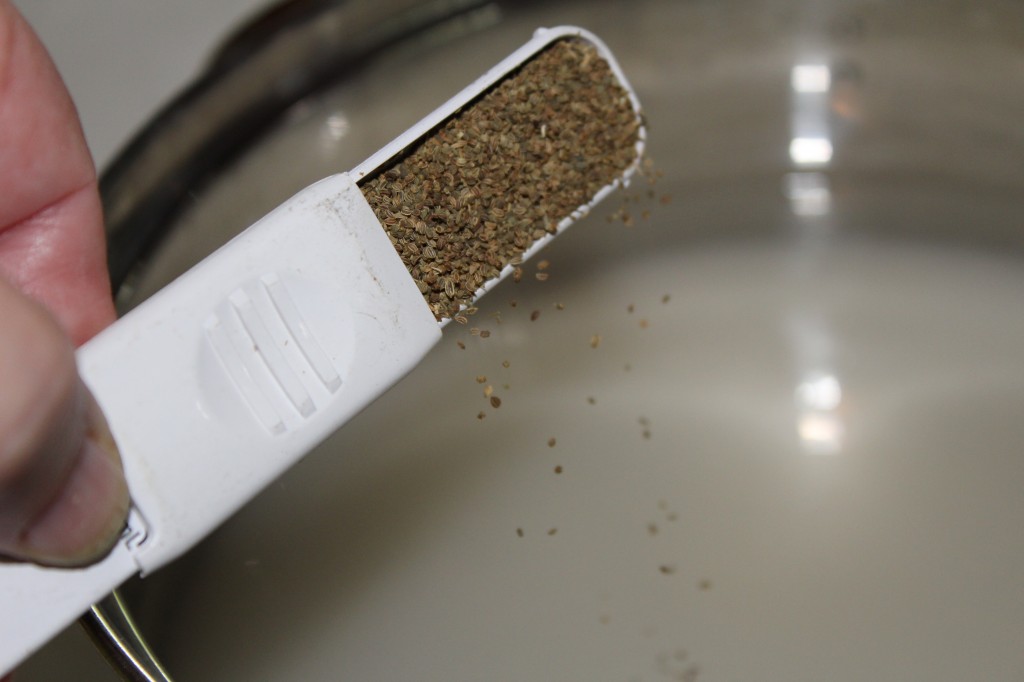
Add the celery seed to the vinegar and sugar mixture.

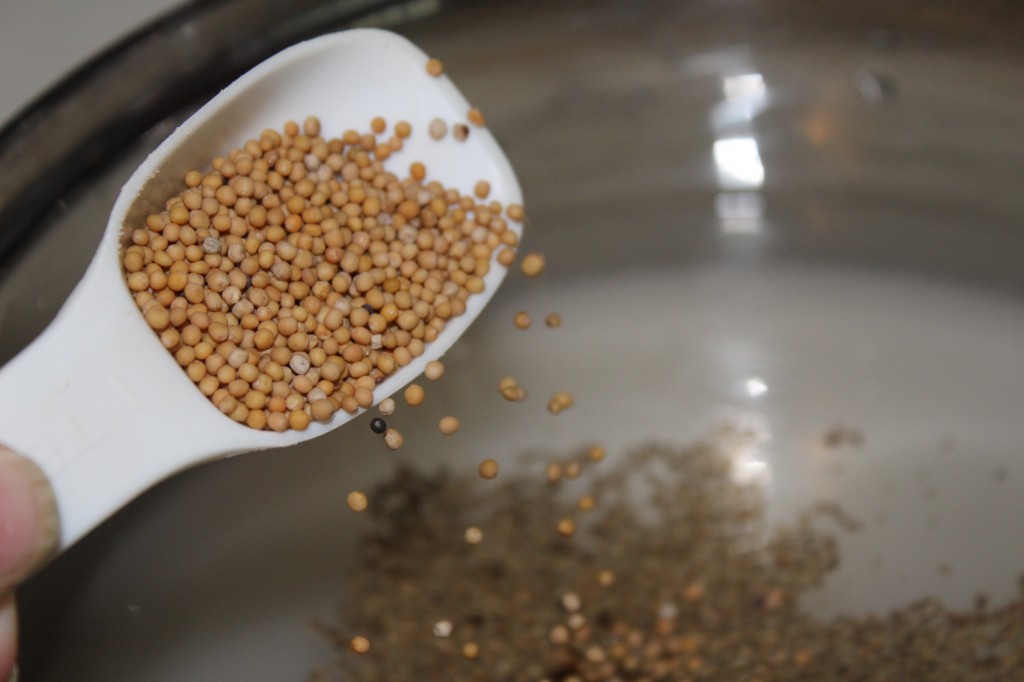
Next, add in the mustard seeds.

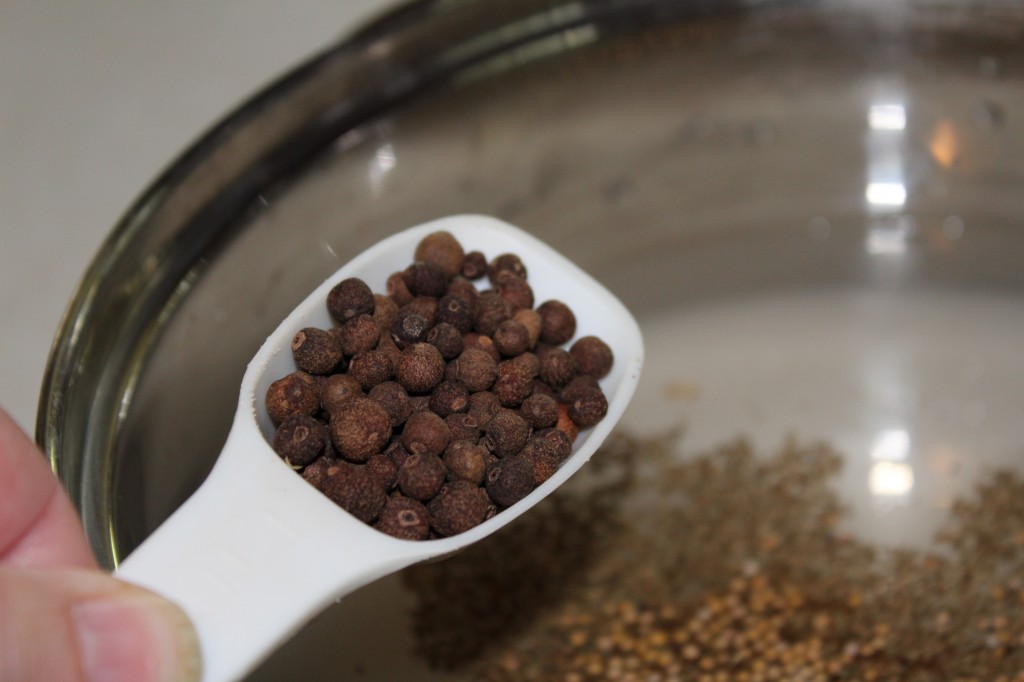
Now, add in the whole allspice. Bring the mixture to a boil.

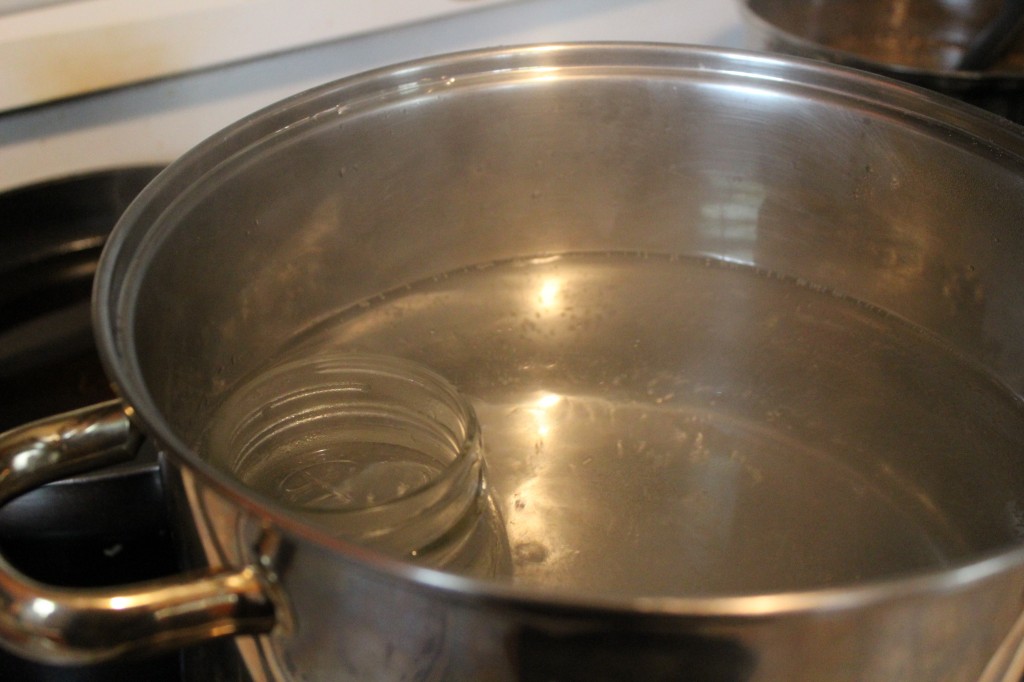
Be sure and sterilize your jars before you fill them with cucumbers. I do a dip in boiling water with my jars before I fill them up.

Take you pickles out to the fridge. See how much they have shrunk….LOL…

Drain the pickles and remove any ice that is left.

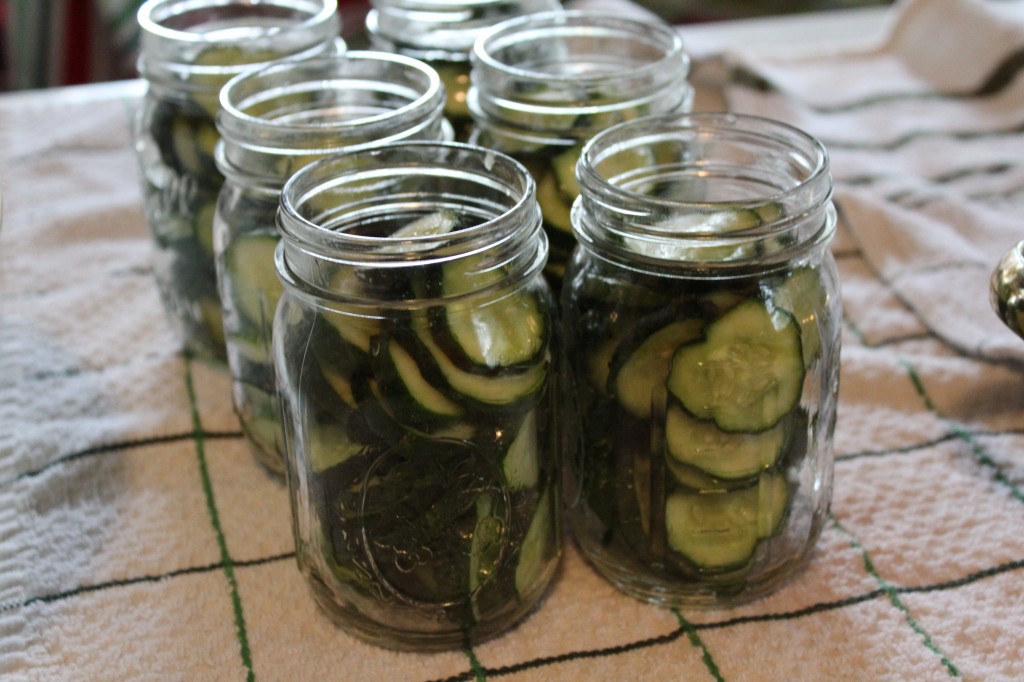
Fill each jar with pickles to 1/2 inch from the top. Try to pack tightly as the pickles will shrink as they are processed.

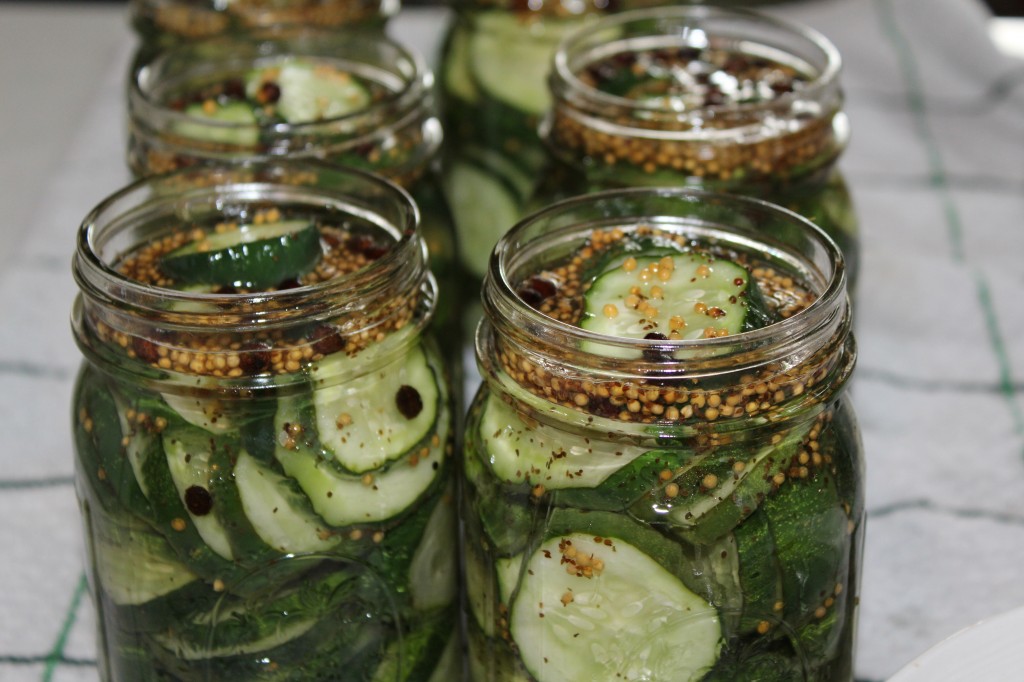
Fill the jars with the hot brine leaving 1/2 inch head space. Remove the air bubbles. You can do this with a wooden skewer but running it down the inside side of the jars.

Wipe the rim of each jar with a wet paper towel to remove any syrup/brine and put on the lids and rims.

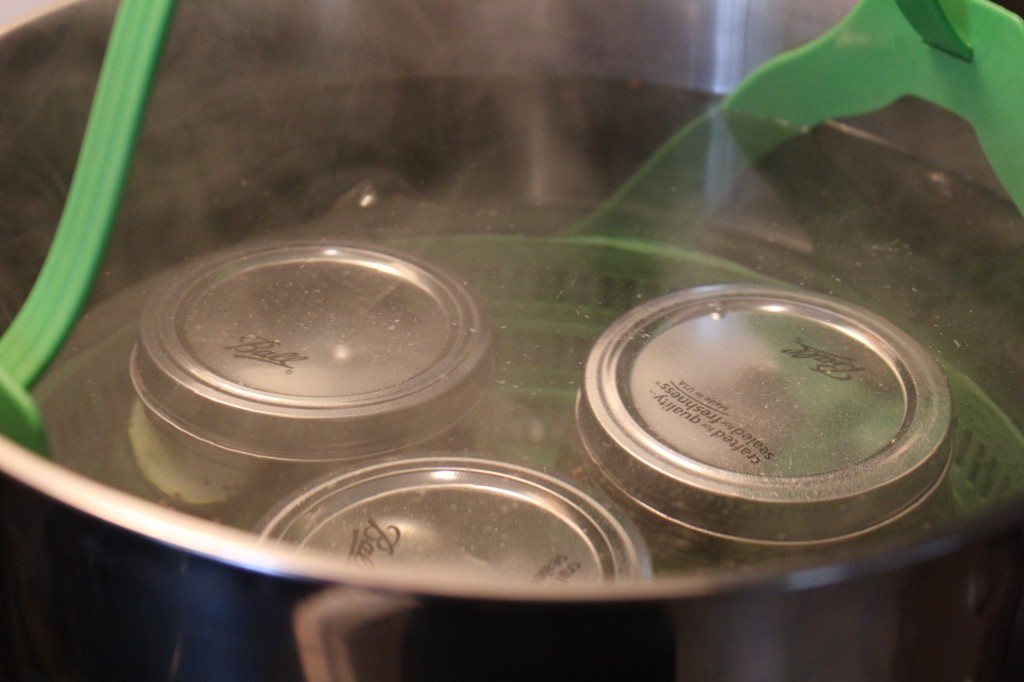
Water bath can or process the jars in boiling water for 10 minutes for pints or 15 minutes for quarts.

Now, here is one of my favorite parts….waiting to hear the pop of the lids after you take the jars out of the boiling water.

The hardest part of this recipe is waiting a few weeks (4 to 5) to allow the pickles to develop the ideal flavor.

As with any food that is canned, be sure to use a certified canning recipe and follow all the steps. Please refer to the Ball book of canning or  your local extension office  for complete instructions on water bath canning.

Here is the recipe.

This recipe is from Ohio Extension Office. They have a great video you can watch to assist you making these pickles. Here is the link. https://www.youtube.com/watch?v=Vo5Yx6ADsTg

Ingredients!

8 pounds 3 to 4 inch pickling cucumbers

1/3 cup canning or pickling salt

4 1/2 cups sugar

3 1/2 cups vinegar (5%)

2 teaspoons celery seed

1 tablespoon whole allspice

2 tablespoons mustard seed

Directions:

Cut 1/4 inch off the blossom end of the cucumber and discard. This blossom end can lead to soft pickles. Cut cucumbers into 1/4 inch slices. Place in a bowl and sprinkle with 1/3 cup canning salt. Cover with ice and put into the refrigerator for 3 to 4 hours. This will help draw the moisture from the cucumbers.

Combine sugar, vinegar, celery seed, allspice and mustard seed into a large saucepan. Heat to boiling.

Drain the liquid from the cucumbers.

Pack the cucumbers into the jars and fill the jars leaving 1/2 inch head space at the top.

Fill the jars with the hot canning liquid. Filling the jars to  1/2 inch from the top.

Remove any air bubbles. (you can use a wooden skewer to do this but running it down the inside side of the jars)

Adjust the lids and rings.

Water bath process for 10 minutes for pints or 15 minutes for quarts.

After procession and cooling, store the jars for 4 to 5 weeks to allow pickles to develop the best flavor.

As with any canning, be sure to use approved recipes and follow all the proper canning steps to prevent spoilage.

Enjoy!

Becky


Whew….I am back!

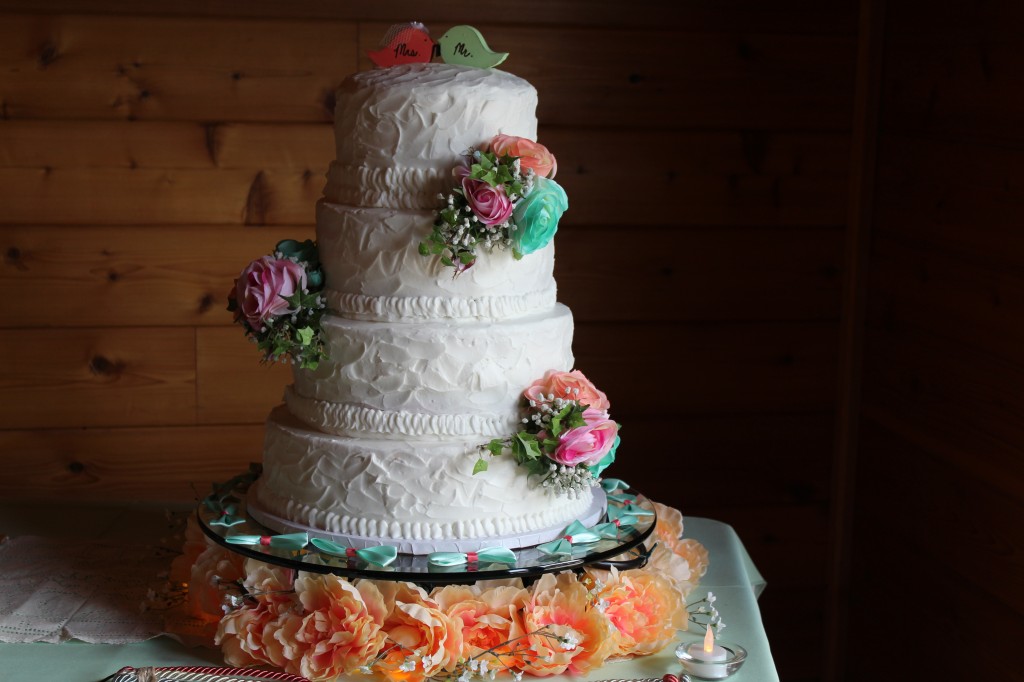
This is my baby girl Tricia, and she got married last weekend.

It has been pretty busy around my house getting ready for her wedding and trying to can up some tomatoes I bought from the Amish.

Yes, the wedding was more important than my tomatoes but I got to keep my life real and canning tomatoes kept me too busy to think about my baby becoming a wife.

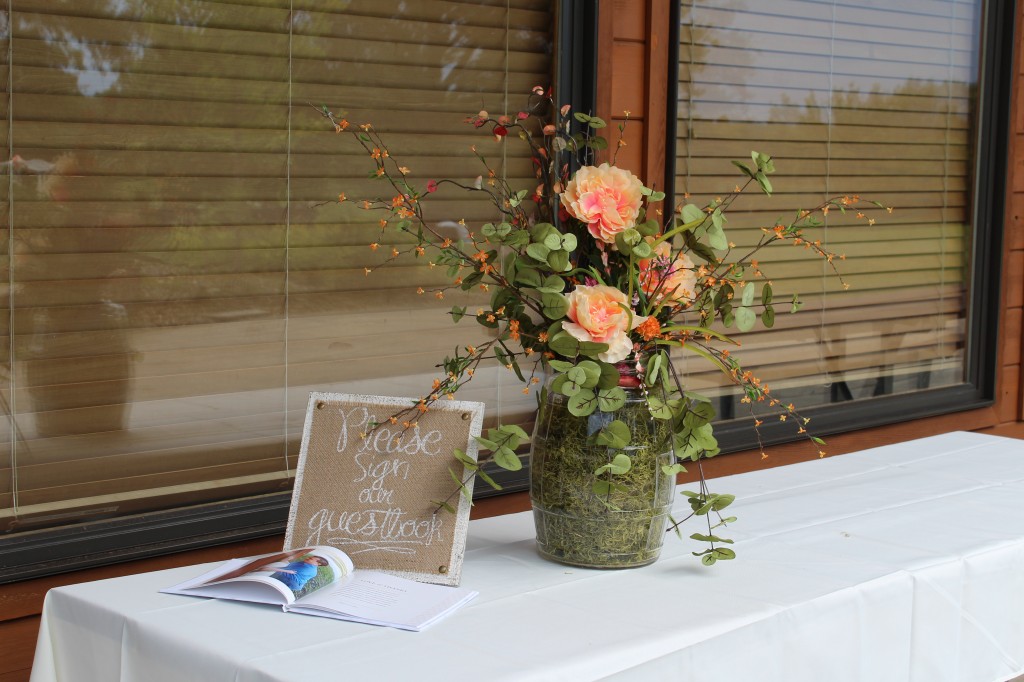
It all the excitement and trying to finish up decorating, I was able to take a few pictures I thought you might enjoy seeing. These were her bridesmaids bouquets made with fresh flowers.

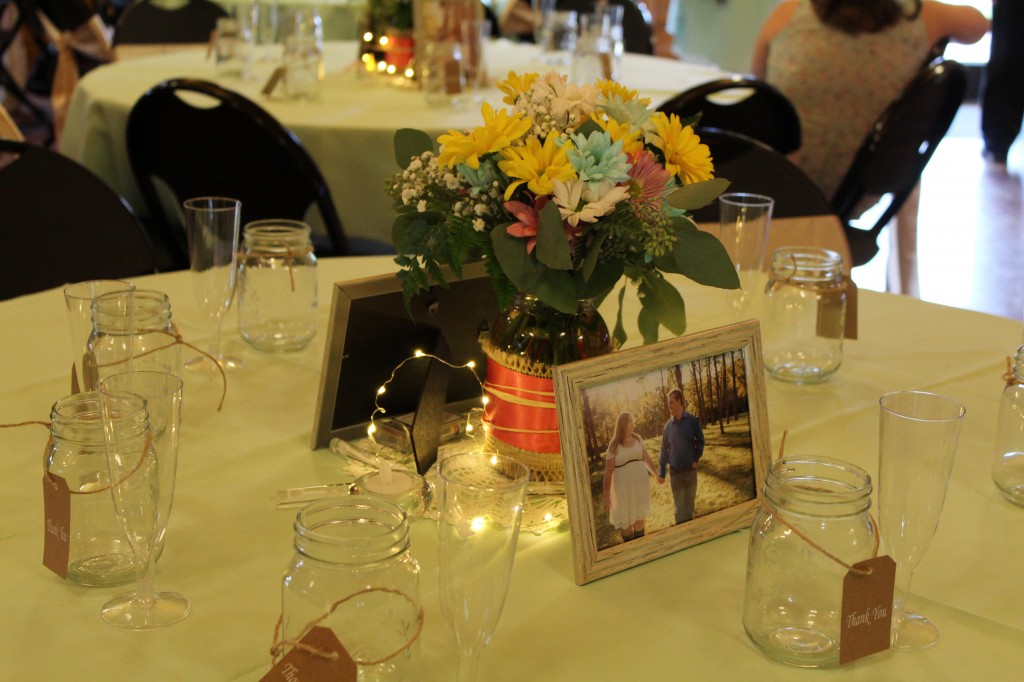
This is how we decorated the tables. Tricia glass etched all the mason jars for gifts to give to her guest.

The cake was so yummy. It was tiered with strawberry, red velvet and vanilla flavors.

The is what the bottom of the cake looked like.

She has an outdoor wedding. Seating up the chairs took many helping hands.

My super dooper friend Roberta helped decorate all the vases. This vase is actually a antique pickle jar that belongs to my mom.

Here is a picture of my daughters bouquet. Tricia had a piece of jewelry from her other grandma put in the bouquet to remember her grandma by since she has gone on to heaven.

We had a candy bar too. Oldest daughter who does not cook provided this. It was a big hit!

So anywho, that is why I have been absent from posting for a few weeks, and I hope you understand!

But, I am back now and I have recipes already to go and get posted.

Stay tuned!

Becky

Here is a couple of prior post you may enjoy!

Fried Eggplant 

ooops I cannot find the picture. I will keep looking!


Deviled Eggs


Varmint in the Backyard!

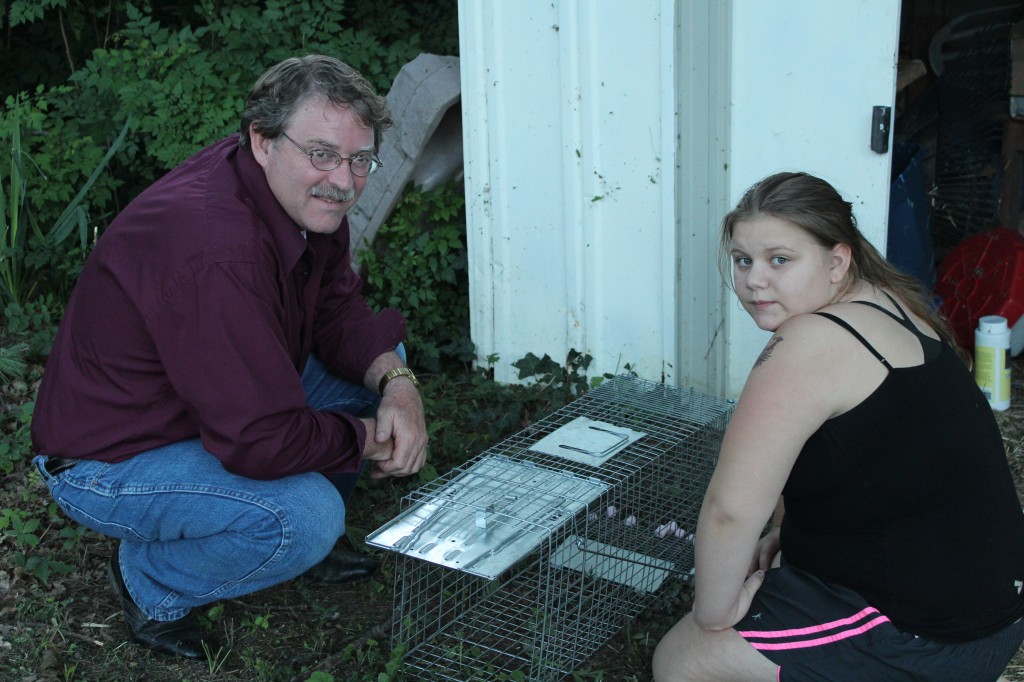
For the last couple of week, some varmint has been getting into the shed in the backyard where I keep the chicken food and breaking in and eating it!

The doors would be pulled shut each night and in the morning one of the doors would be pulled forward making it go off the hinges.

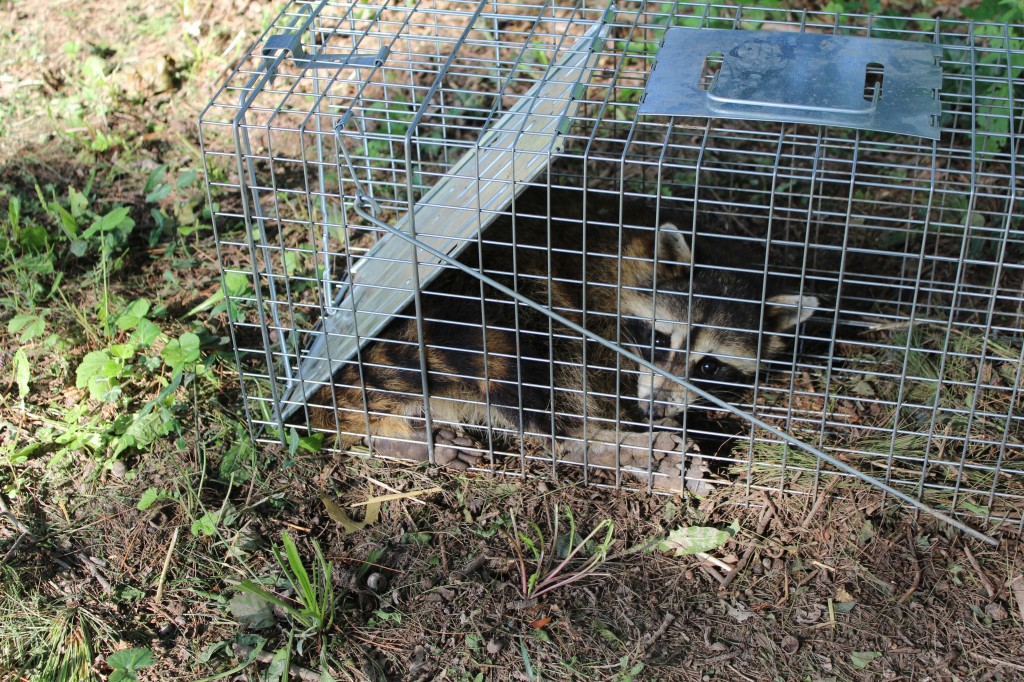
After much deliberation and denial that I might have a real live raccoon (that could potentially break into the coop after the chickens) I decided it was time to get a trap and try to capture it.

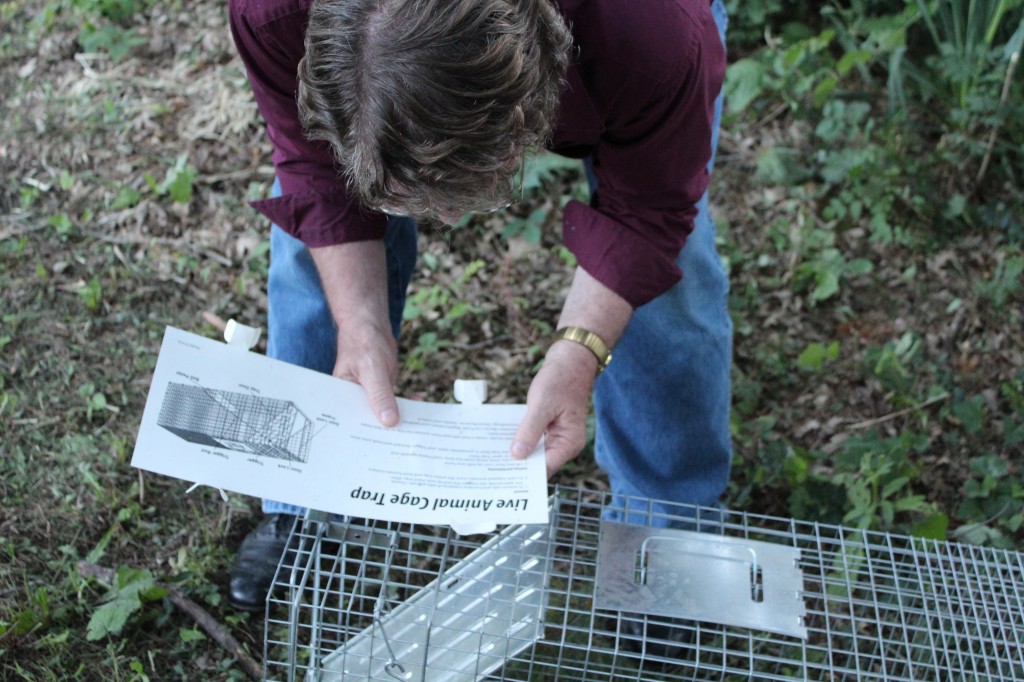
Company reading the directions and trying to get the trap set up.

Oldest grand girl decides to take over.

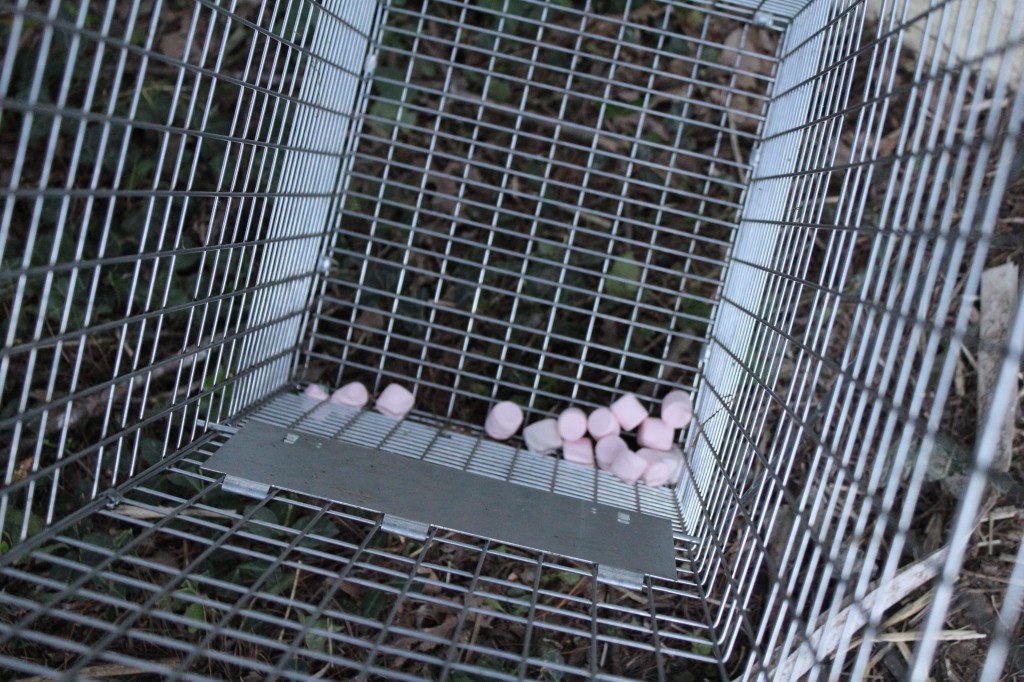
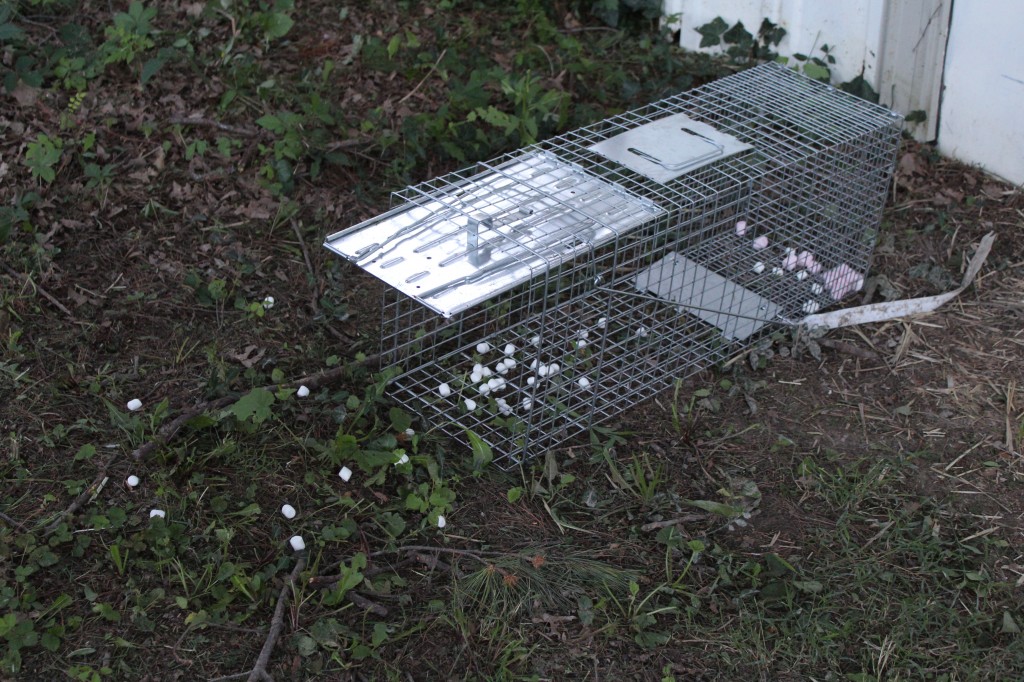
She loaded the trap with strawberry marshmallows.

Then she put a trail of marshmallows to  the inside of the trap.

After we caught the raccoon we took it miles away to a conservation/wildlife area.

We are going to put the trap out a few more times to see if it has any friends.

But, for now the chickens are safe in their coop at night and I even wire the door at two places for extra security.

Bye for now….

From the Mother Hen


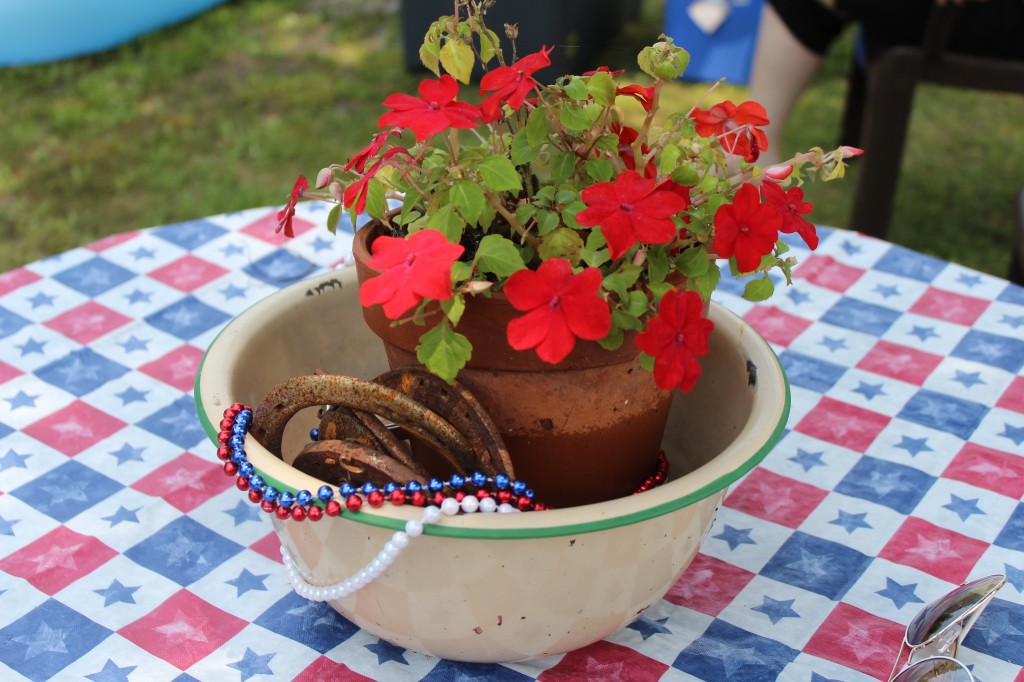
Happy Belated 4th of July

fourth of july

How was everyone’s Fourth?

I hope you able to relax with family and friends and eat some great food.

My sisters and I took Mom the Princess and Dad to spend the day at my Aunt Lily’s country home. She bought it a few months ago and has been renovating it with her daughter Lisa.

We had such a fun day!

aunt lily country home

Here is my Aunt Lily.

She sure knows how to put on a party!

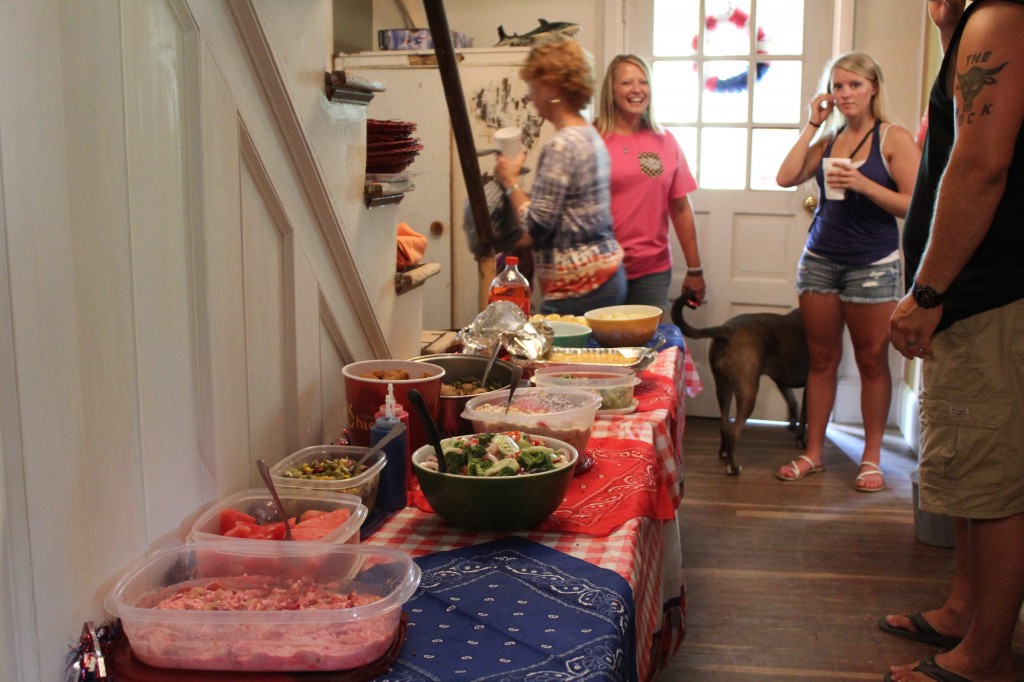
We had a ton of food, and cousins and a dog there.

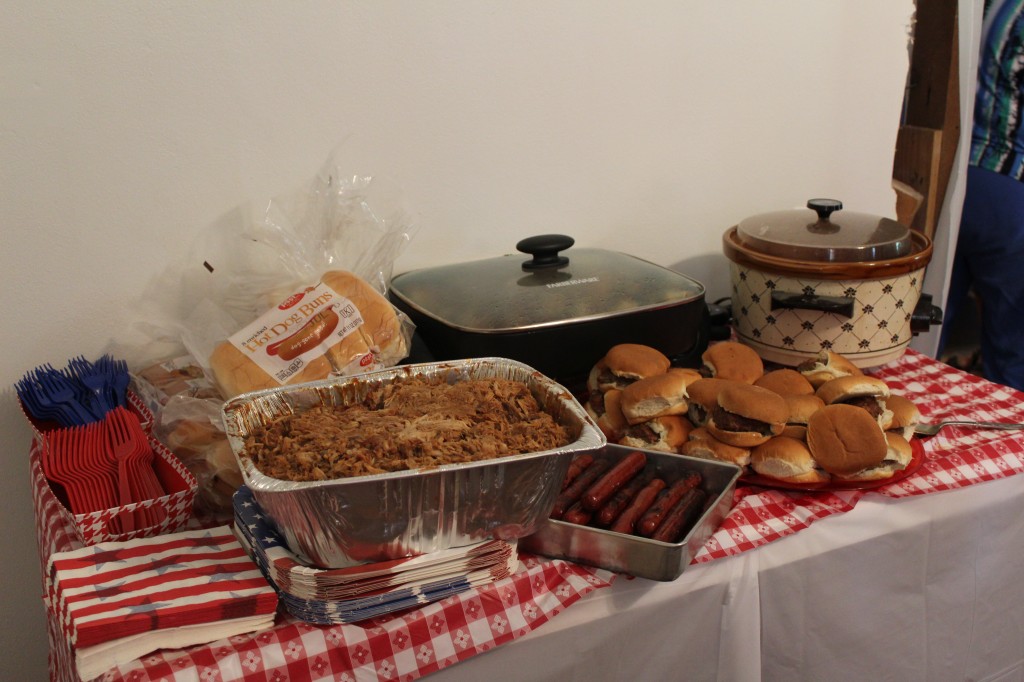
We had some BBQ.

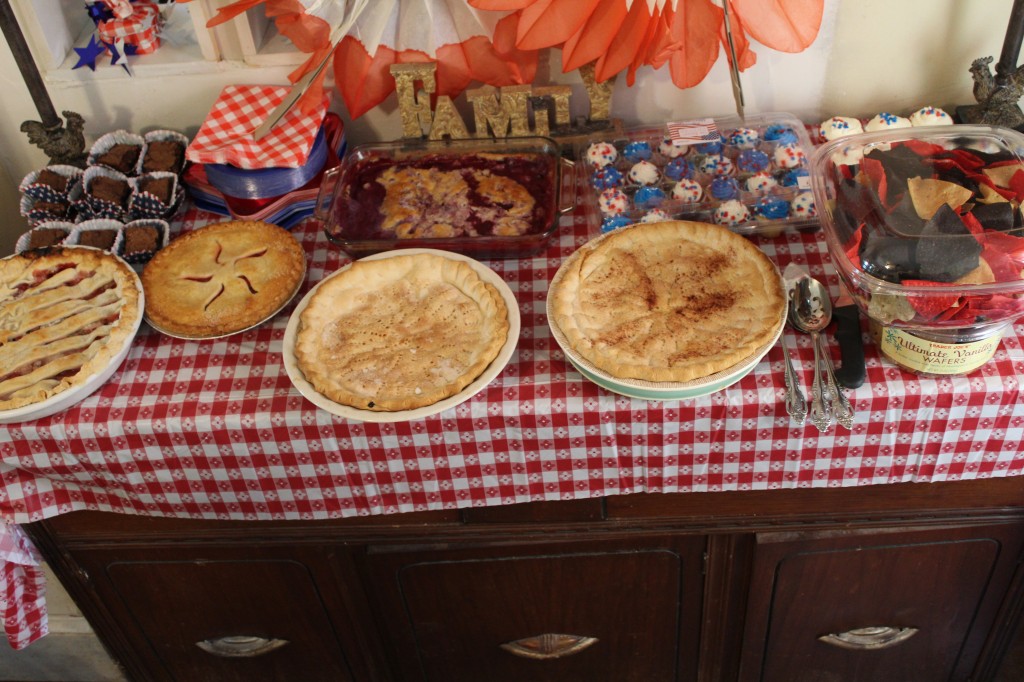
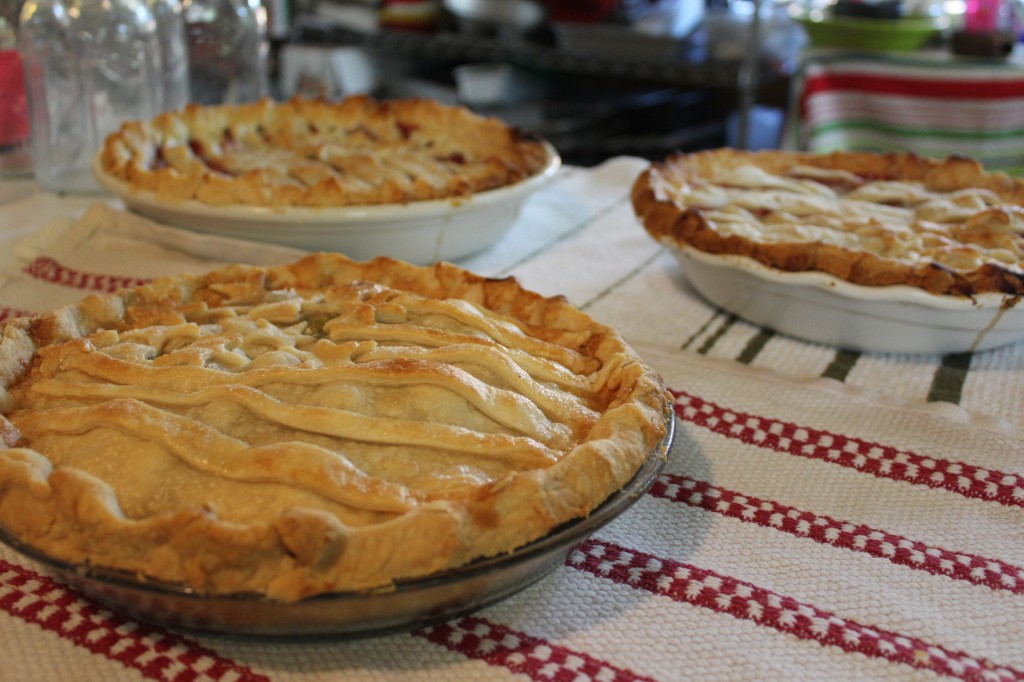
We had desserts! The two big pies in the middle were made by my Aunt Corene. She is famous for her pies, and of course they were eaten first.

We had a home made slip and slide with bubbles. This is my great nephew Boston enjoying the water!

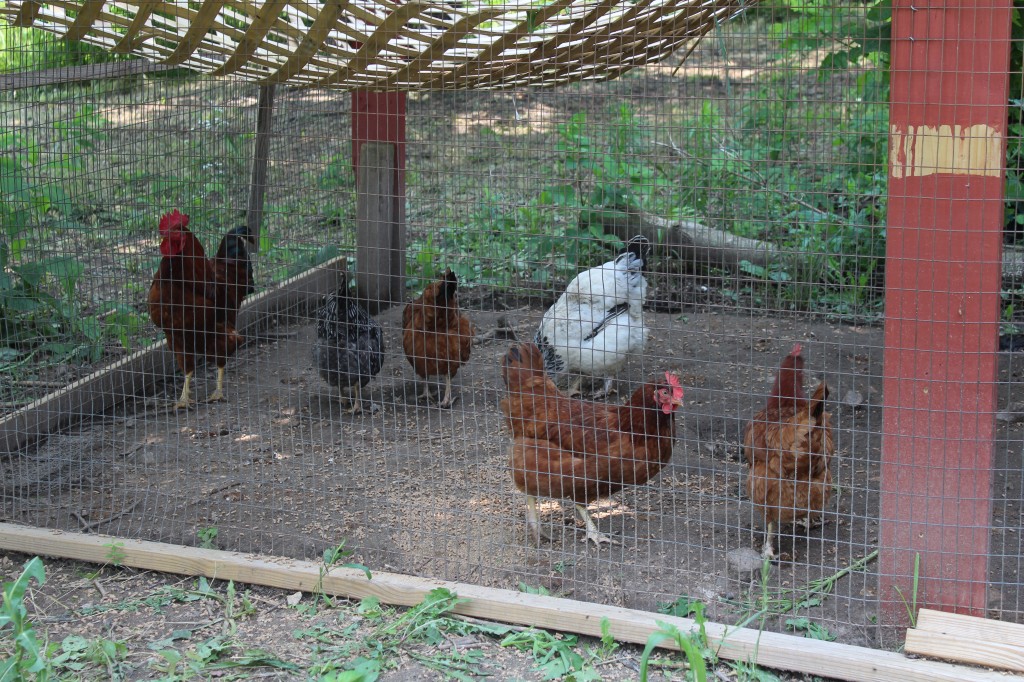
Aunt Lily has chickens and a rooster!

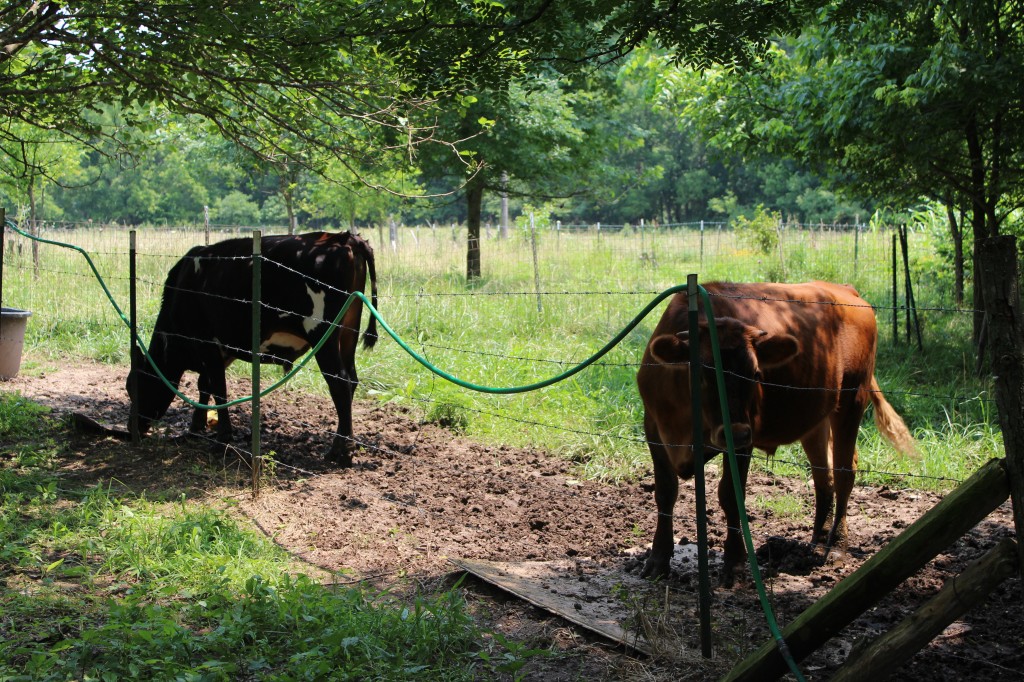
Pet cows. Ha! There were suppose to be freezer meat but now they are pets with names.

And of course every old country farm house has a cemetery next to it. Funny thing is, it is a family tradition. My Grandma and Grandpa Wright had a cemetery next to their house. It was where all of us cousins would go play in when we were visiting.

It was a wonderful day in the country with many aunts, uncles and cousins.

You just can’t buy those kind of memories!

Becky

Oh..,I made a few pies myself….though not as tasty as my Aunt Corenes.

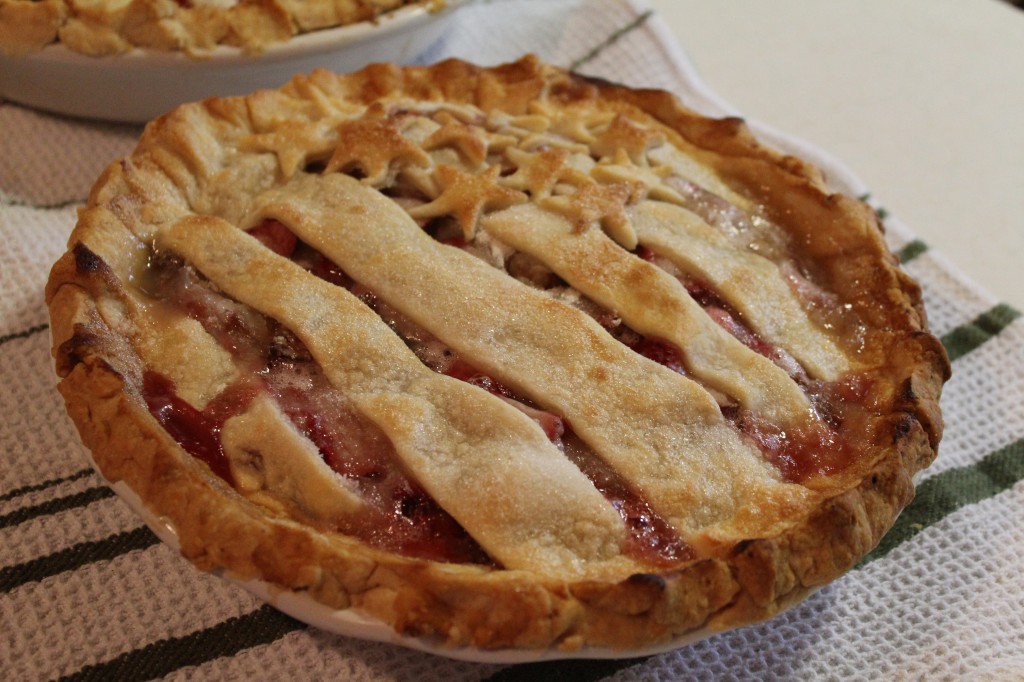
I made two strawberry rhubarb pies and a gooseberry.

I will get the recipes posted soon : )

Becky


Corn From My Freezer

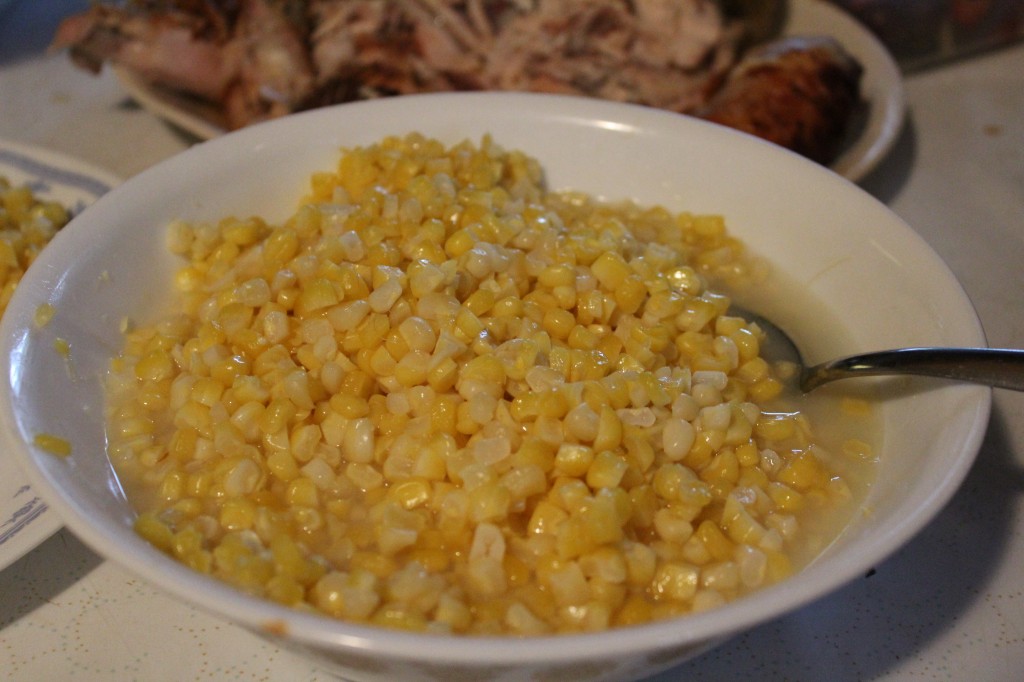
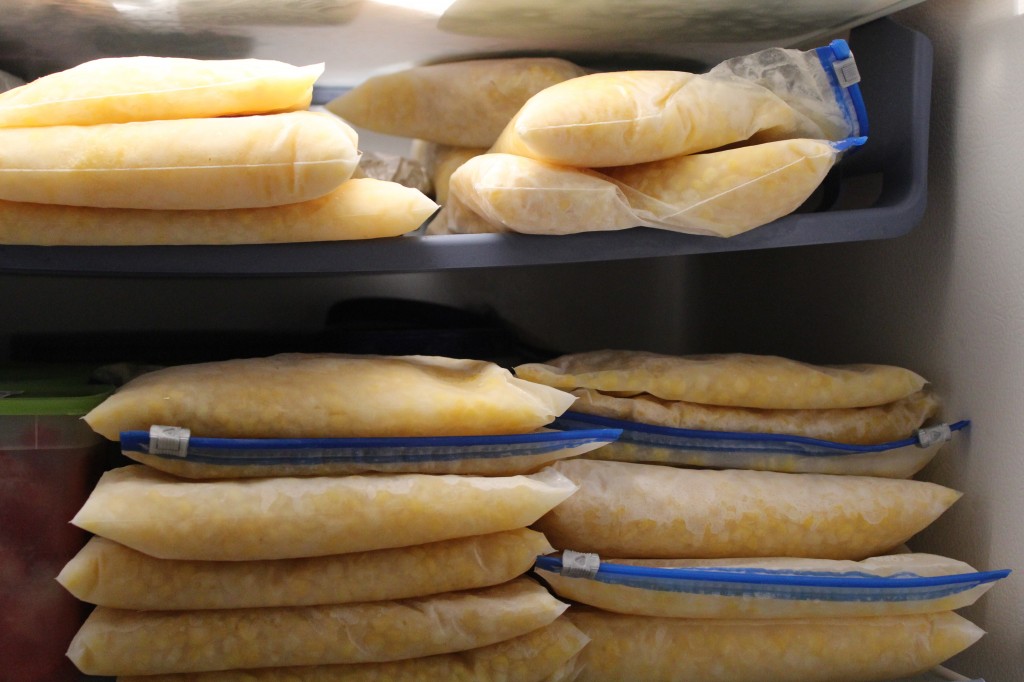
I have been hording my frozen corn all winter.

Kinda funny, right?

I mean, the reason why we freeze or can food in the summer is so we can eat it all winter.

I think that is right, right?

So, why am I hording it?

Maybe, I have a problem with sharing.

Maybe, I was saving it to eat on a snow day from school….which we did not get any…well, maybe we got one. (but I did not feel like sharing that day).

But, I think the real reason I have turned into a corn hoarder is…

drumroll…….

Cause it taste so good!

And ya know, cooks in the kitchen want that taste to last the whole year.

Two more months till fresh sweet corn from the Amish.

I better count my supply to make sure it last until then.

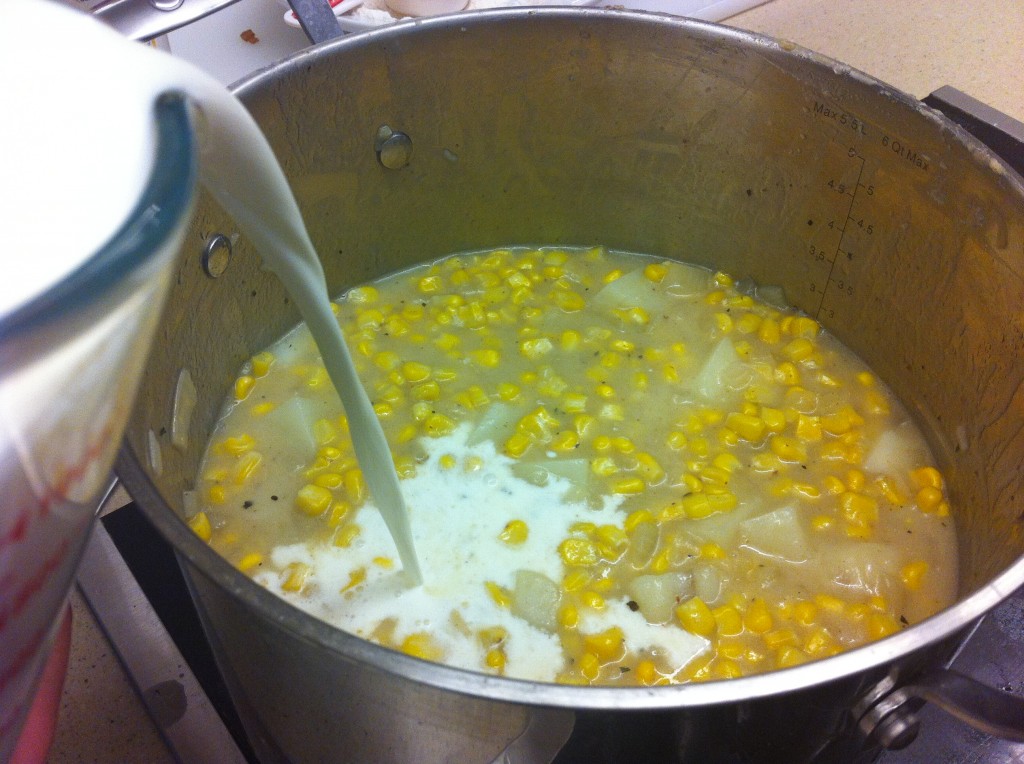
Making Cheesy Corn Chowder, find the recipe HERE.

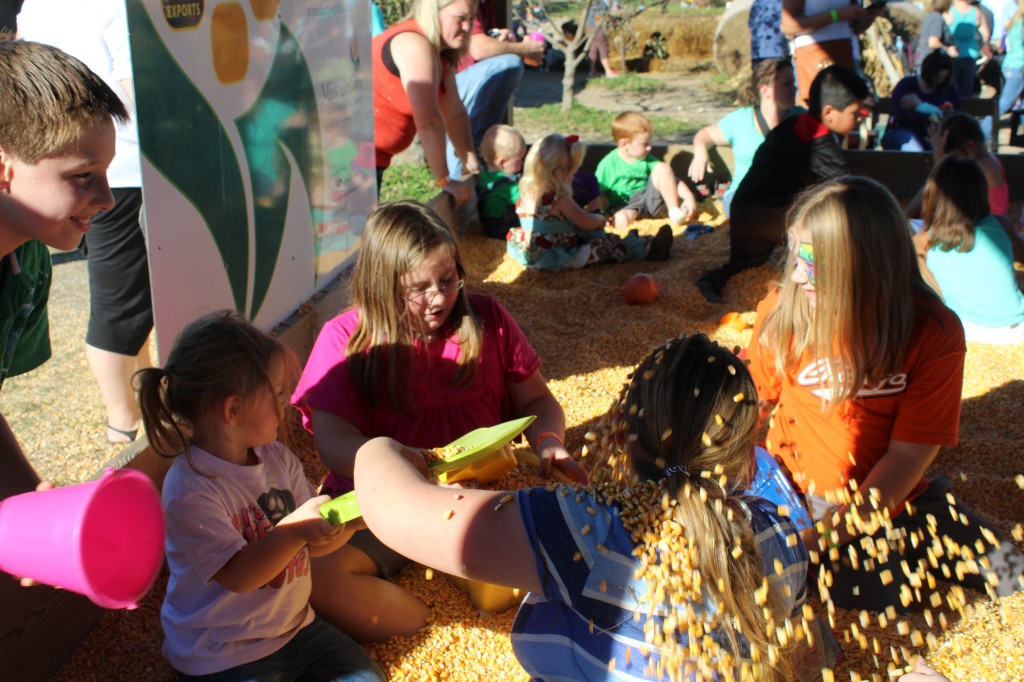
Grand girls and great nephew playing in the corn bind when we went to the corn maze last year.

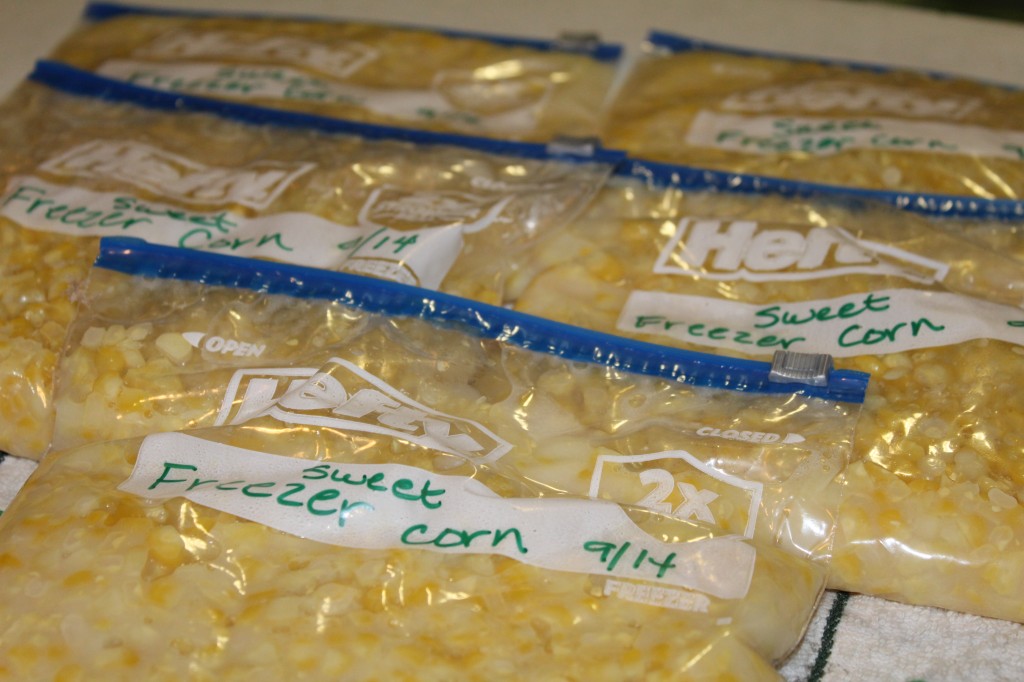
Sweet Freezer Corn recipe HERE.

I am giving the recipe I used, but I tried a new one last summer and I will get that one posted soon so you can compare the two and see which one  you like better.

I guess I better get out of here and go teach summer school!

Becky


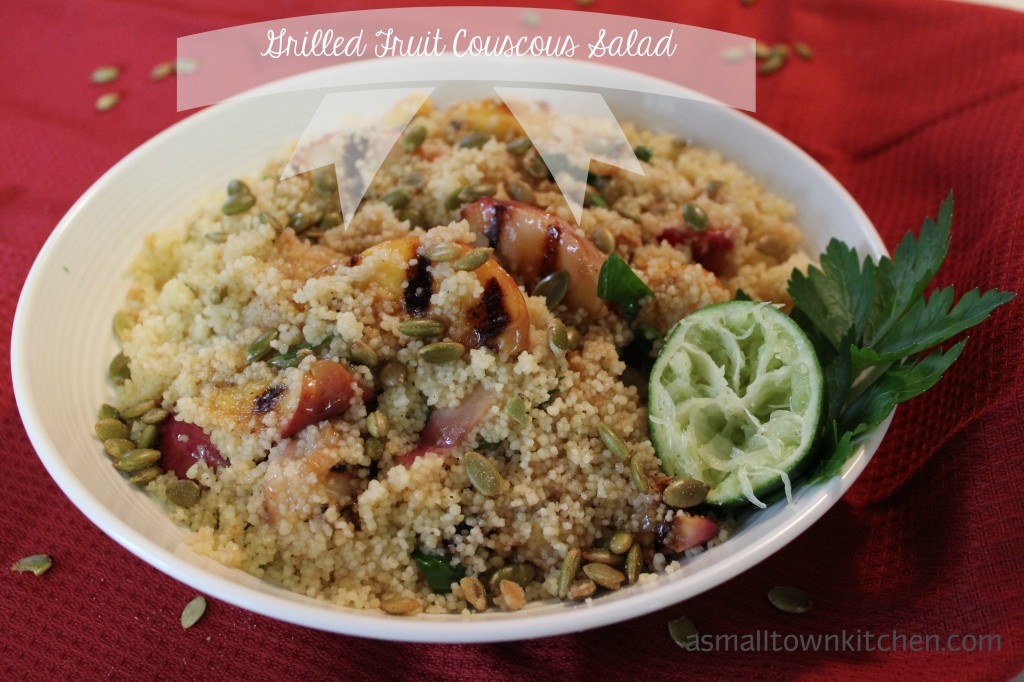
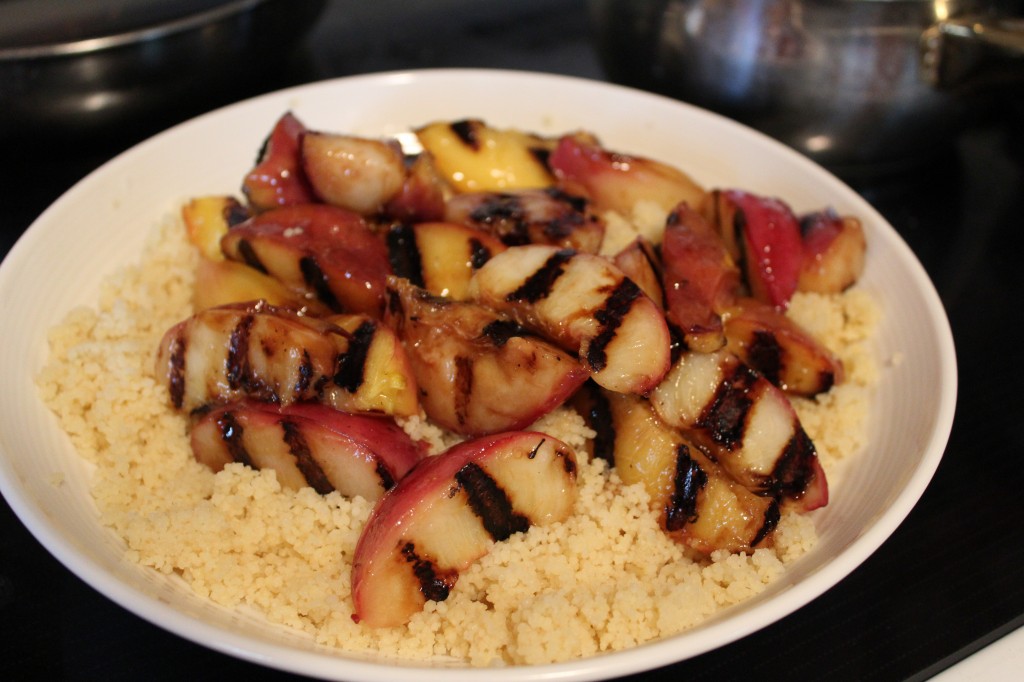
Grilled Fruit Couscous Salad

I have been buying small little boxes of couscous at Aldi’s every few times that I go there to shop.

The funny thing is, is that I had never used any of it.

I think I must like buying it because of the cool name. Couscous Couscous…..

Or maybe it is the interesting shape of the tiny little pastas that have me intrigued.

Maybe, I just like buying groceries. Ha!

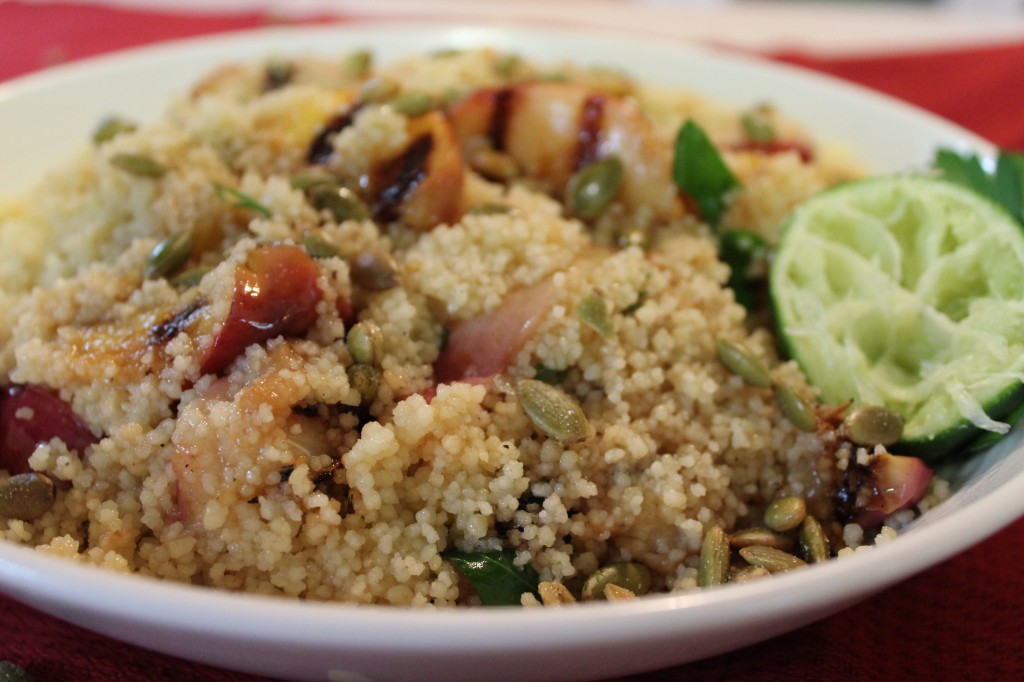
Needless to say, I was glad I had some in my pantry when I came across this recipe for Grilled Fruit Couscous Salad!

I love about anything grilled on a grill. I used my indoor grill to grill the fruit, and I am kinda glad I did because I did not have to worry about the fruit falling through the grates on my outdoor gas grill.  I cut my fruit in fourths and grilled it, but if  you were to do it outside you just grill the fruit that was cut in half. This would prevent the fruit from slipping. So really, indoor or outdoor, it does not matter which one. Just be careful no to let the fruit stick on the grill.

I also loved the ingredients in the salad dressing…olive oil, lime juice, spices and sweetened with honey. YUM!

Fresh cilantro and parsley too.

AND topped with those roasted and salted pumpkin seeds called pepitas. I love those things! They added that bit of tasty crunch to the salad.

I hope you will give this recipe a try!

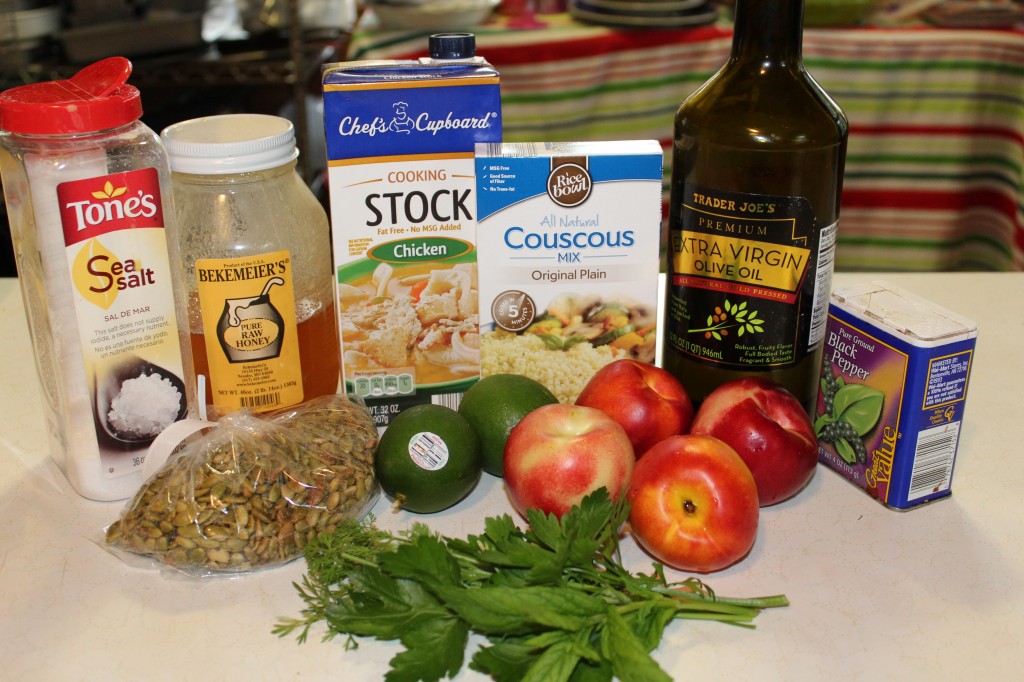
Here is what you will need : )

Chicken broth, couscous, olive oil, pepper, salt, honey, lime, nectarines and plums (I forgot to put the plums in the picture), fresh cilantro and parsley and the pepitas. I found these in the health food section of my grocery store. I have also bought them in bulk at my local Amish store. (Also I did not add an green onion to the salad, even though I love onions, because Company does not like onions.)

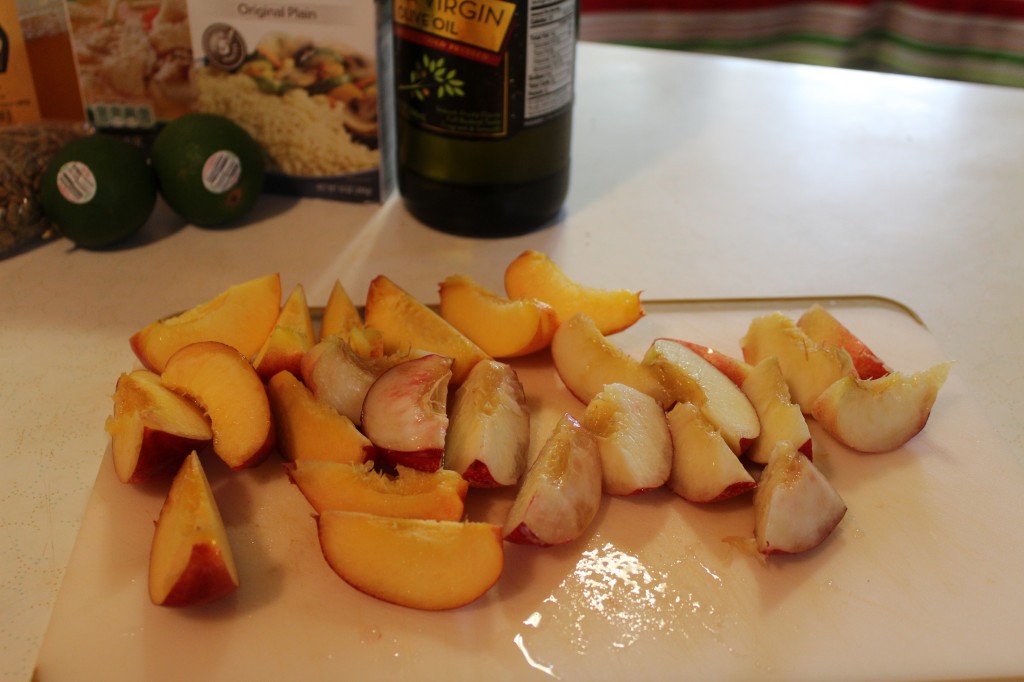
First t hing I did was quarter my fruit.

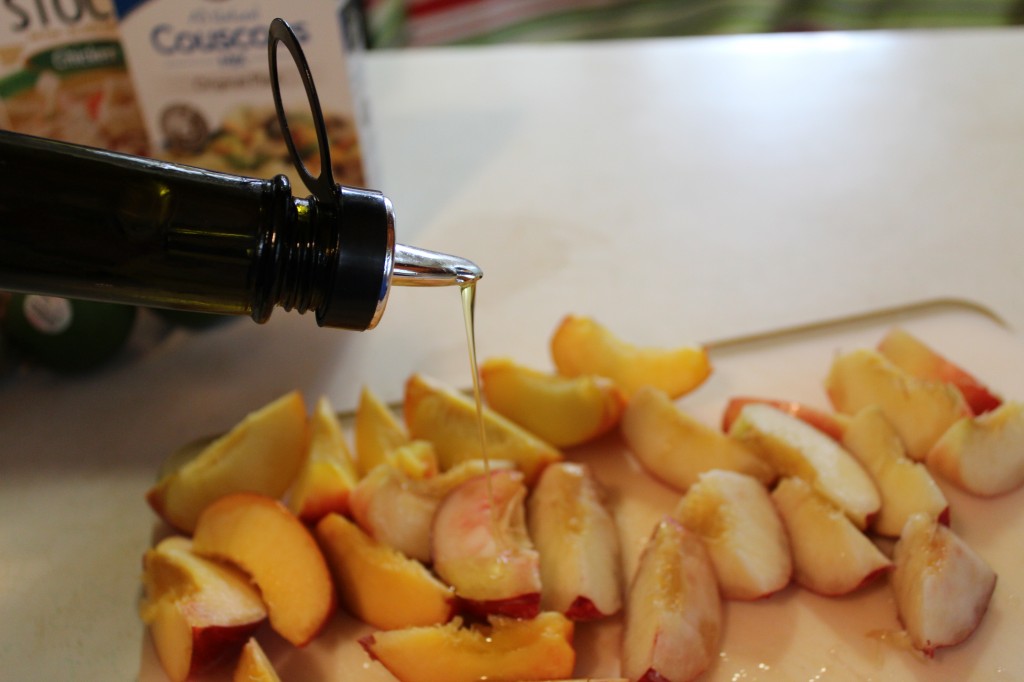
I drizzled olive oil on the fruit to keep it from sticking to the grill.

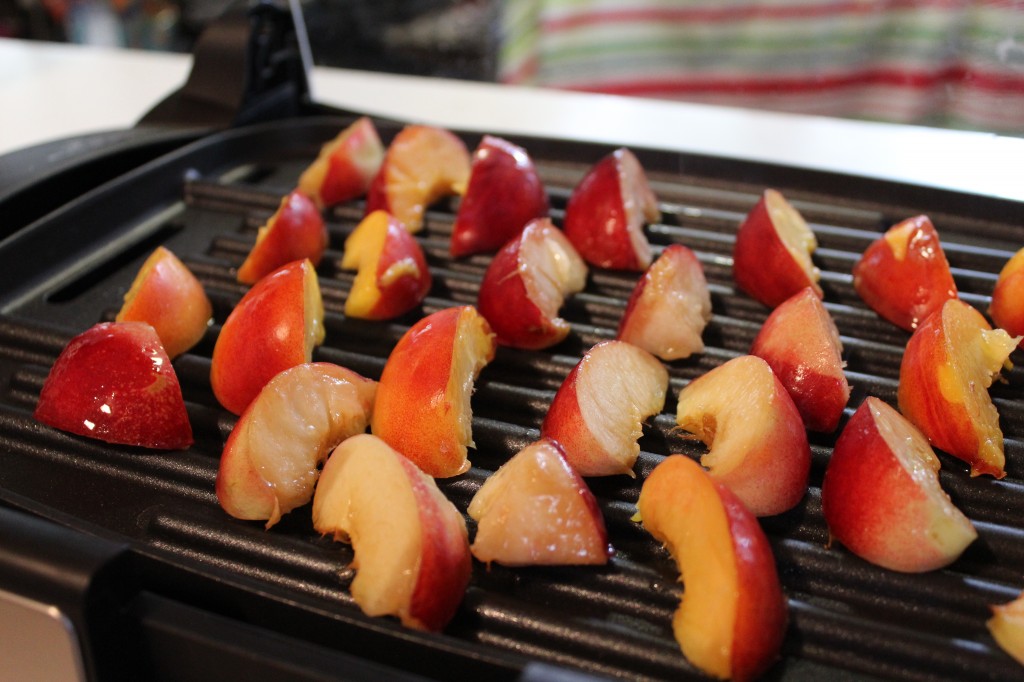
Then I put them on my indoor grill (feel free to use your outdoor grill) and I grilled both sides of them.

This is what they looked like grill. I love grill marks!

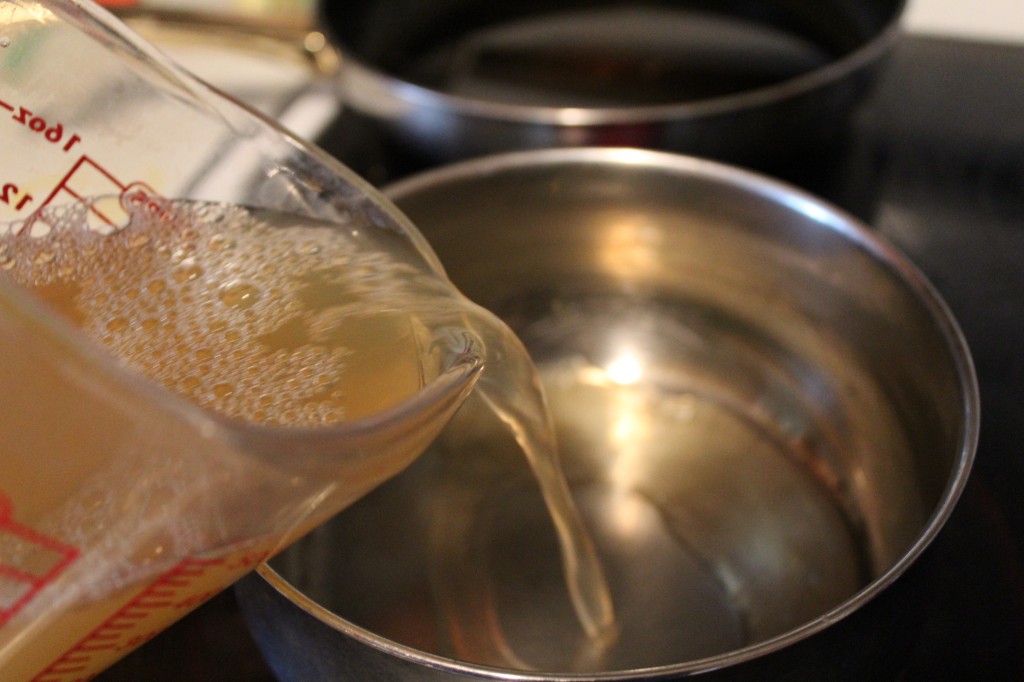
Then in a medium sauce pan I poured in my chicken stock and brought it to a boil. The chicken stock seasons the couscous, so be sure and taste your stock and make sure you do not need to season it up a bit.

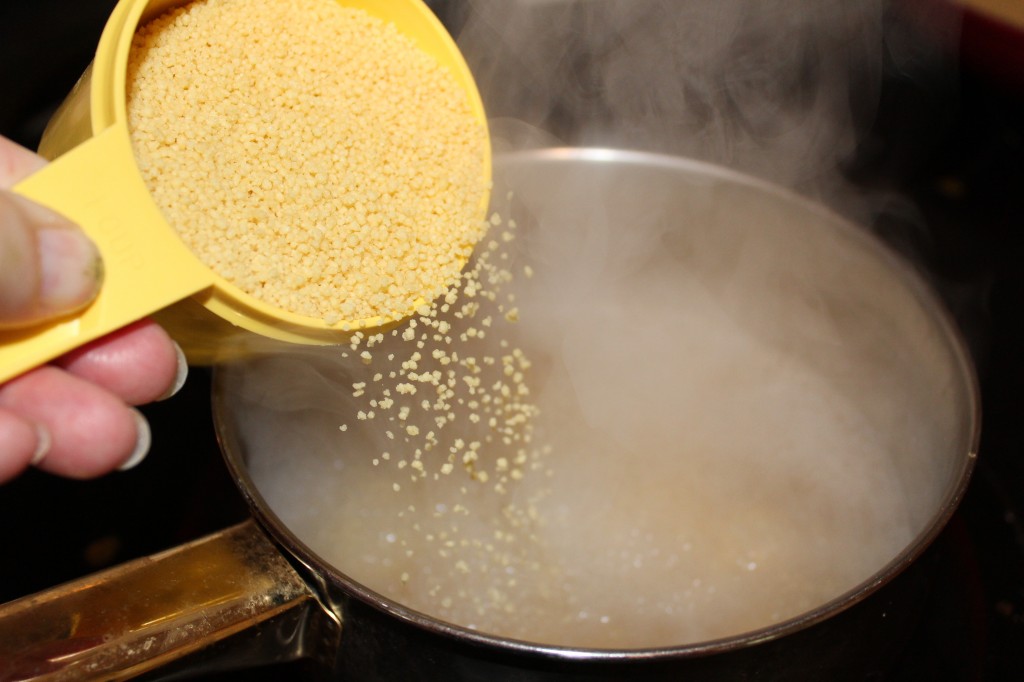
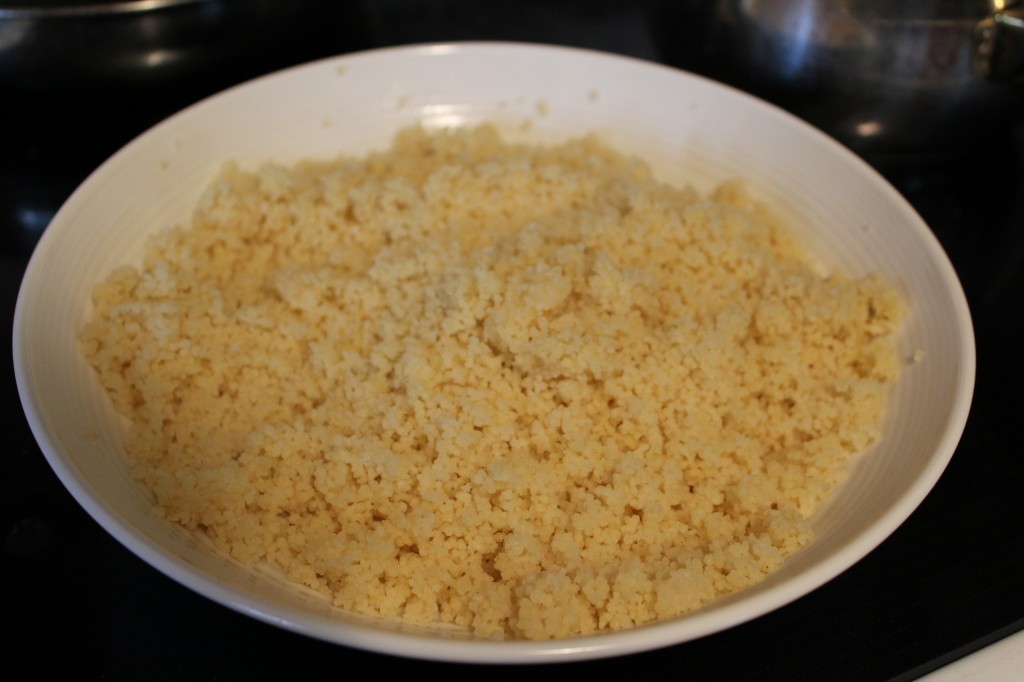
When the broth is boiling add in the couscous. Take the couscous off the heat and let it stand for 5 minutes and then fluff with a fork.

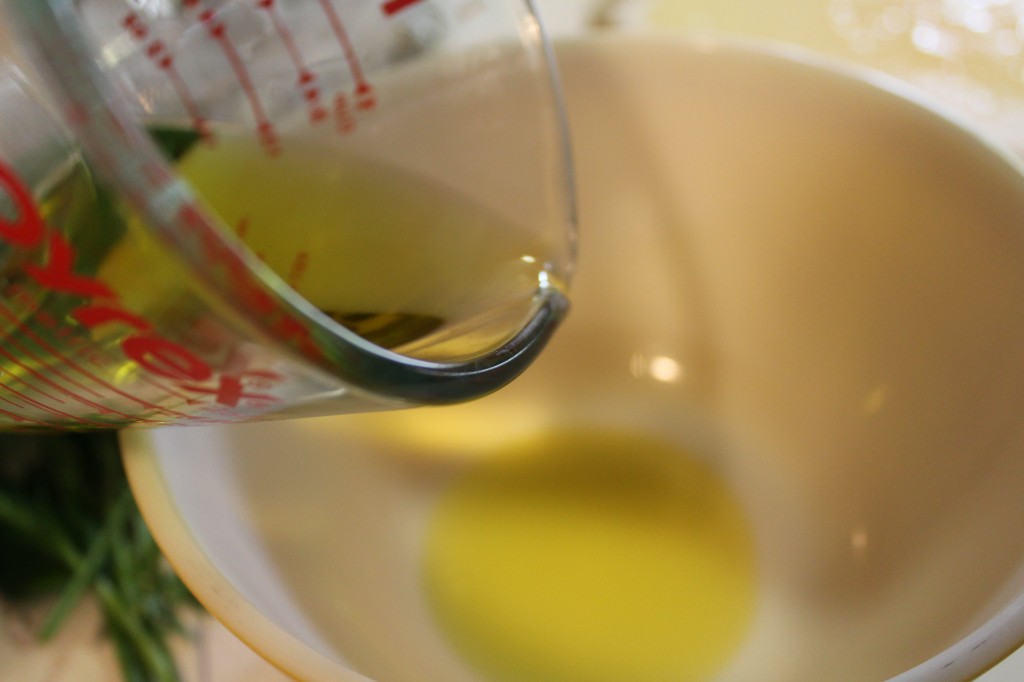
Now, lets make the dressing. In a medium bowl pour in the olive oil.

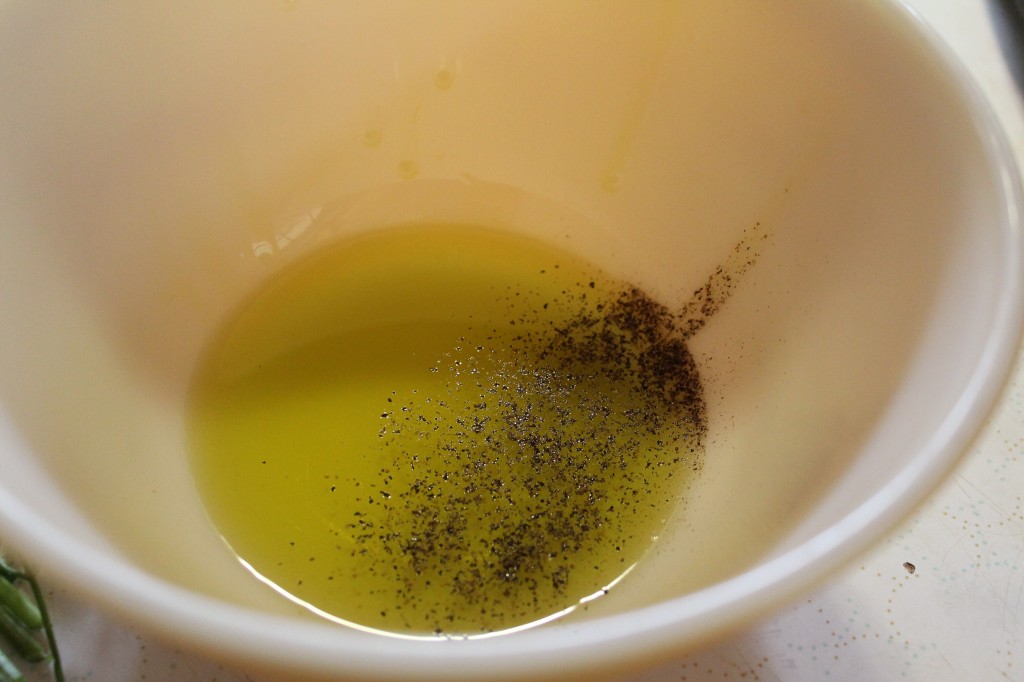
Add in some pepper.

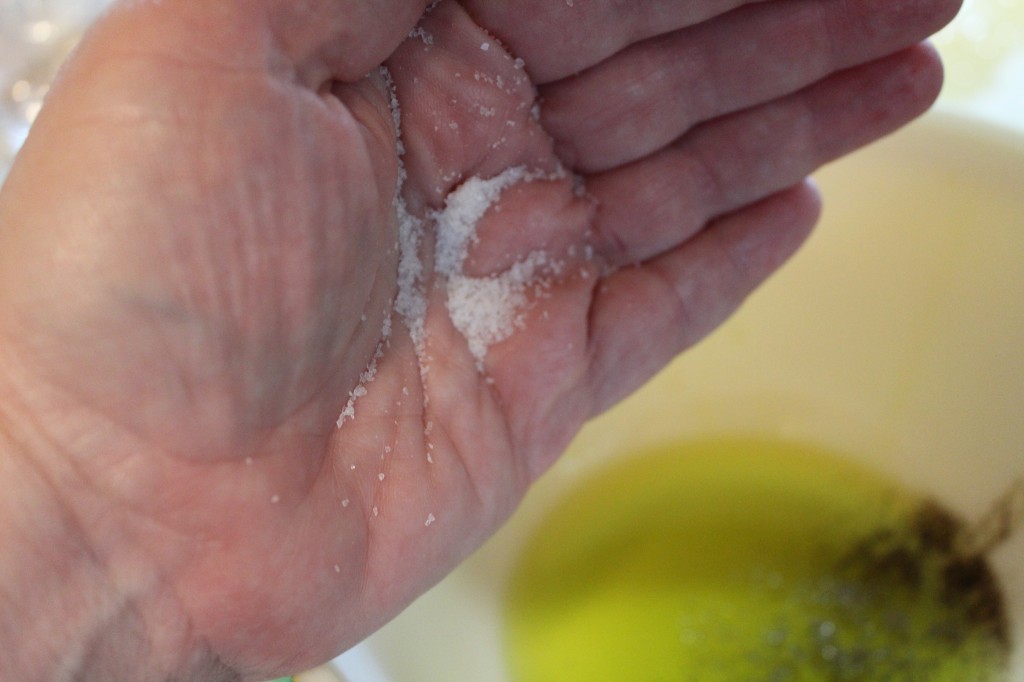
Add in some salt. I used sea salt.

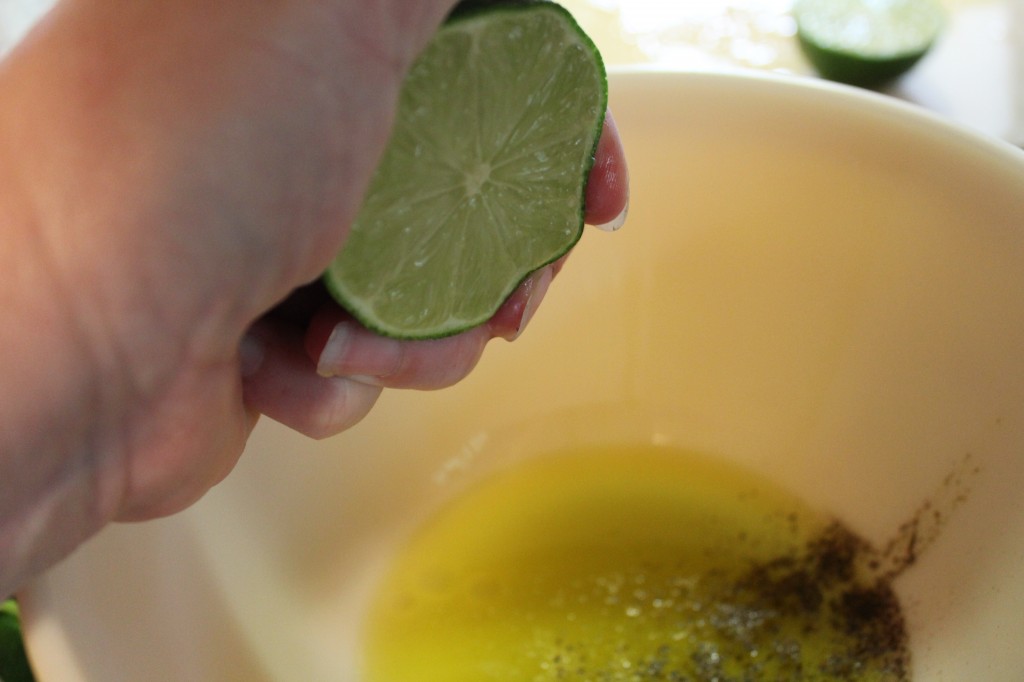
Add in some fresh lime juice.

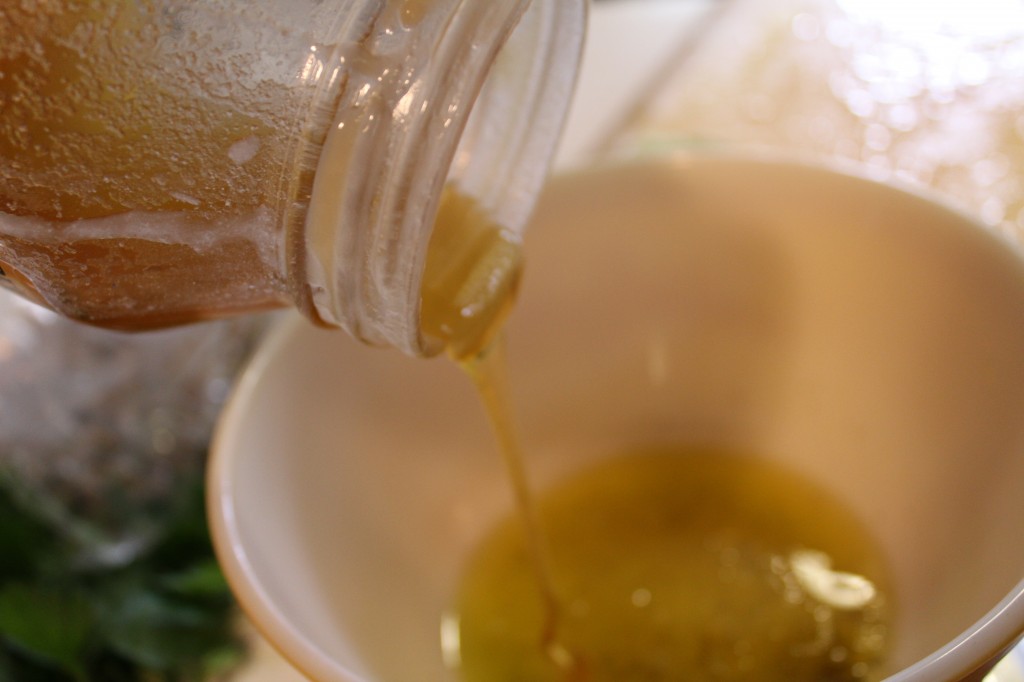
My favorite part….the honey.

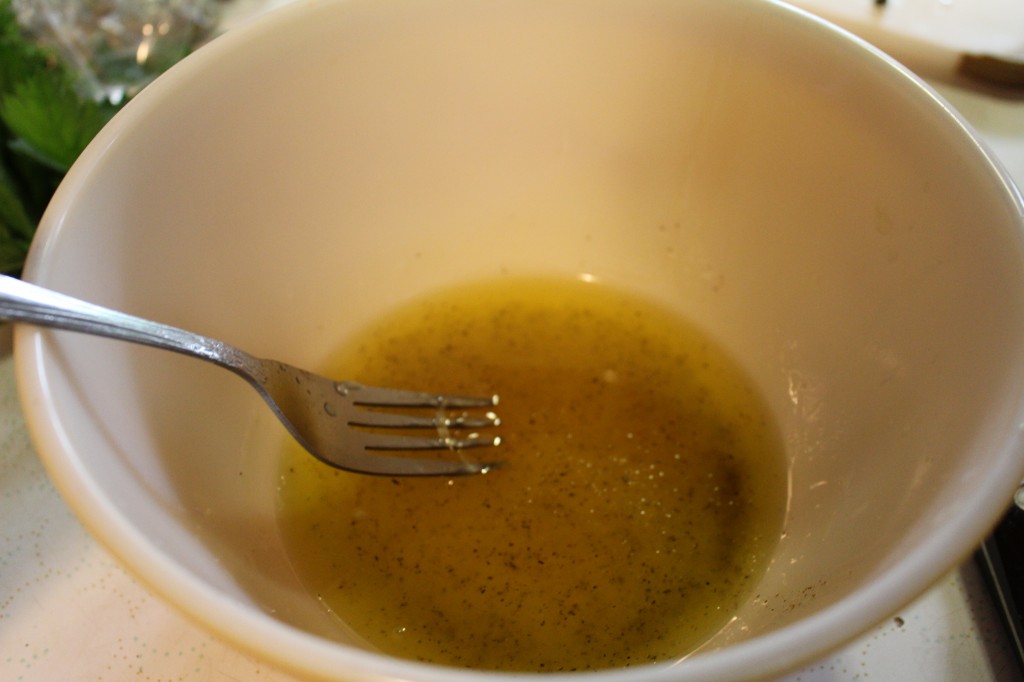
Mix together. This can also be done in a small blender. Give your dressing a quick taste and add more honey or seasonings to suit your taste.

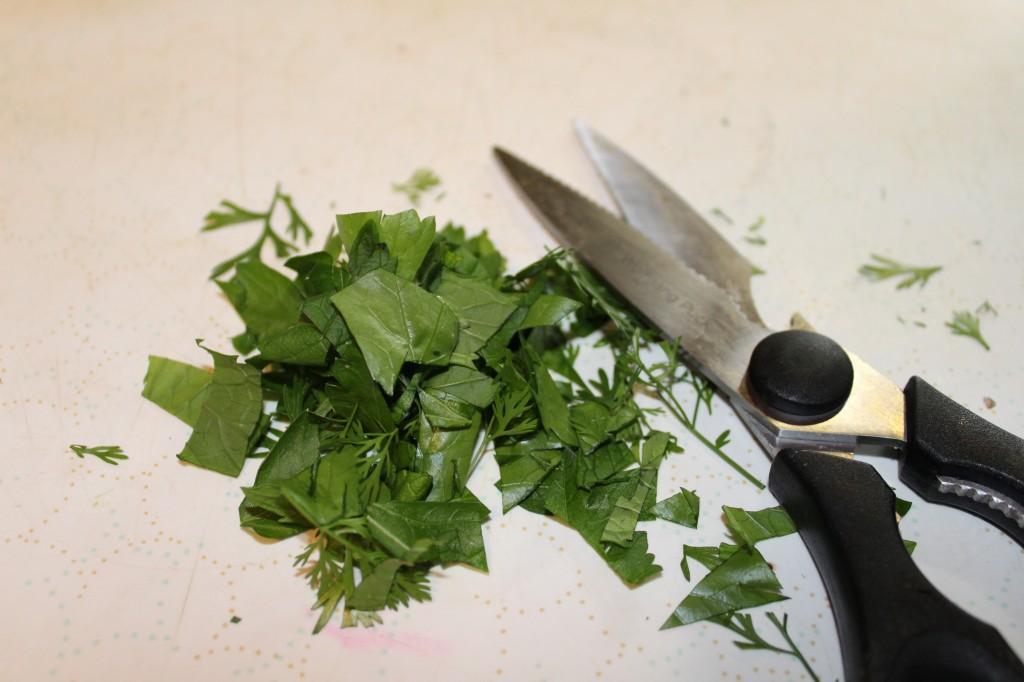
Cut your fresh parsley and cilantro, be sure and take out the stems of the cilantro.

Put the cooked couscous in a large serving bowl.

Add in your grilled fruit.

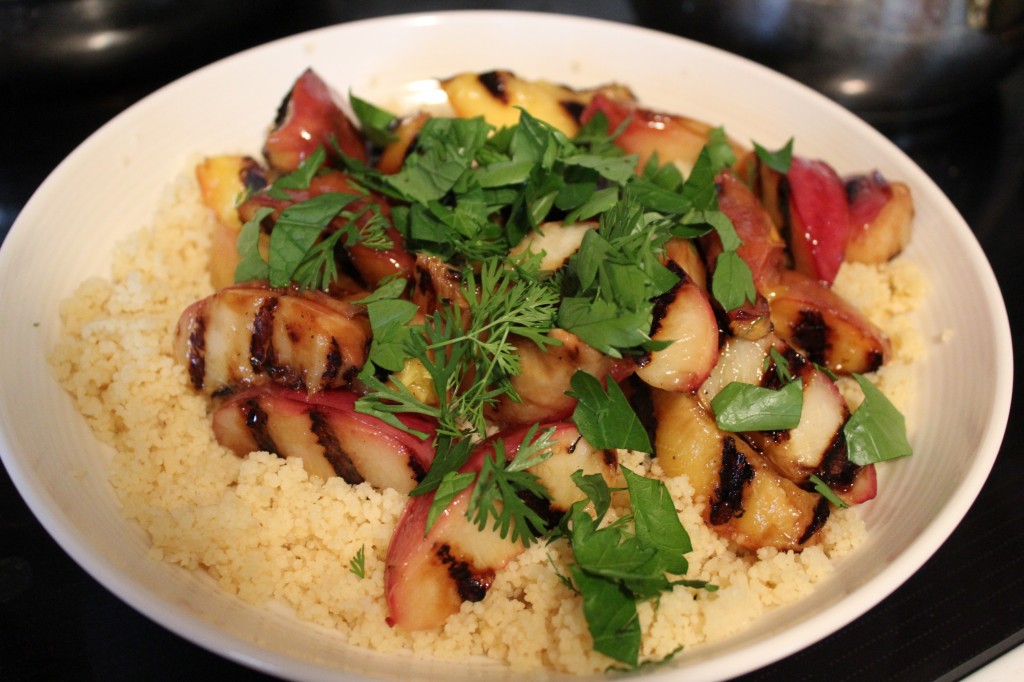
Top with your fresh herbs and if  you are using a chopped green onion, now is the time to add that in too.

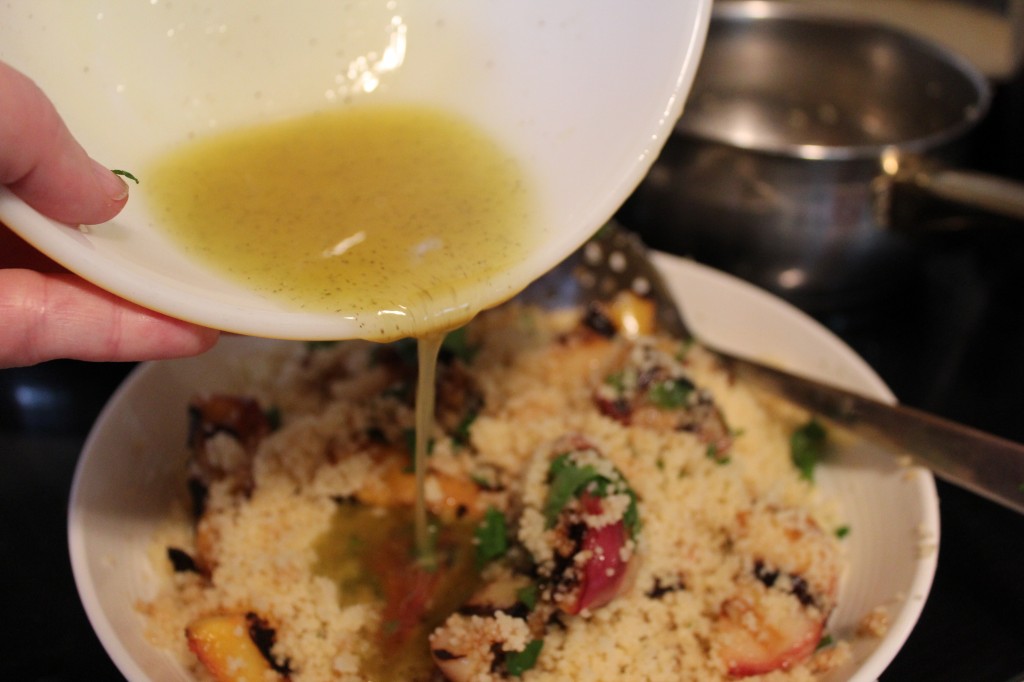
Drizzle with the dress and gently toss.

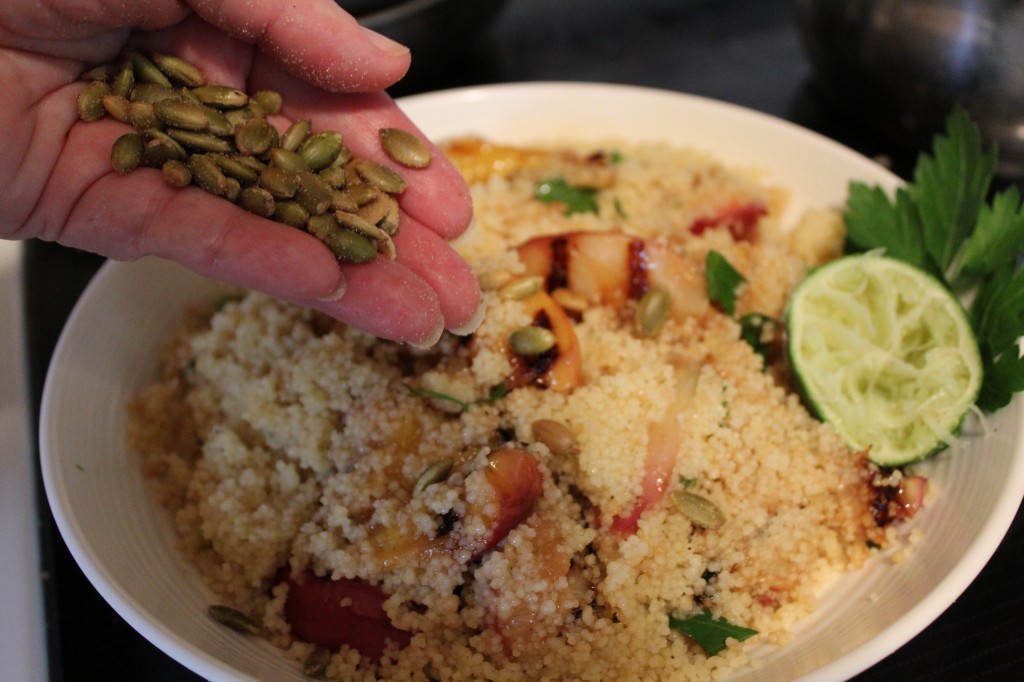
Top with the roasted pepitas (roasted and salted pumpkin seeds).

I decorated the salad with my squeezed lime and large parsley leaf.

Do you wish you had a fork??

I was glad I had a fork and a large bowl!

Enjoy!

Becky
Here is the recipe:

Adapted from Better Homes and Garden

Ingredients:

2 fresh plums, pitted and halved

2 fresh nectarines, pitted and halved

1/4 cup olive oil and 1 tablespoon to coat the fruit before grilling

1 1/2 cup chicken broth or you may use vegetable broth

1 cup couscous

2 scallions or green onions diced small

3 tablespoons lime juice (I used the juice from one lime)

2 tablespoons honey

2 tablespoons snipped fresh cilantro

1 tablespoon snipped fresh parsley

Garnish with salad toppings or I used roasted salted pumpkin seeds called pepitas. I buy them in the bulk health food section.

Directions:

Brush the fruit with olive oil. I cut mine in quarters and then put olive oil on them. I used my indoor grill and grilled both sides of the fruit unit I got nice grill marks. If you are using an outdoor charcoal or gas grill leave the fruit in half then quarter. In a medium saucepan bring the broth to a boil. Add in the couscous and remove from the heat. Cover and let stand for 5 minutes. Fluff with a fork.

Mix the dressing together in a small bowl. Whisk together the olive oil, lime juice, honey, 1/4 teaspoon each of salt and pepper.

In a large serving bowl, put in the couscous and then the fruit. Drizzle with the dressing and then cilantro and parsley. Toss together.

Garnish the salad with  your favorite salad topping or with roasted salted pumpkin seeds call pepitas.

Here are some other post you may enjoy! ; )


Freezing Fresh Corn                                                                Sausage Stuffed Acorn Squash


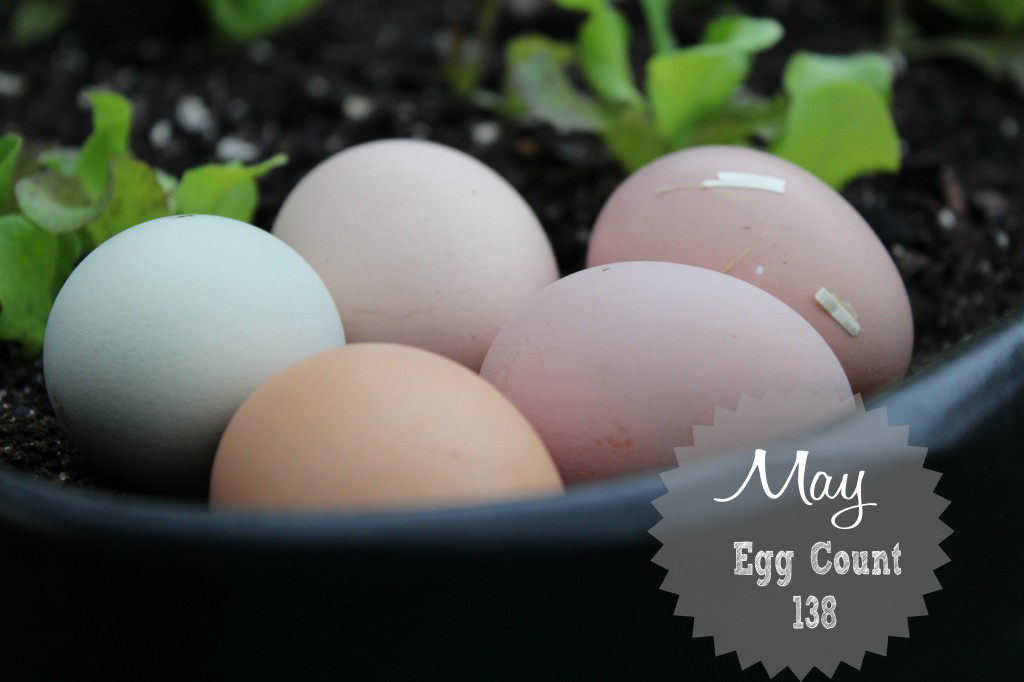
Eggciting News! Counting Eggs for May

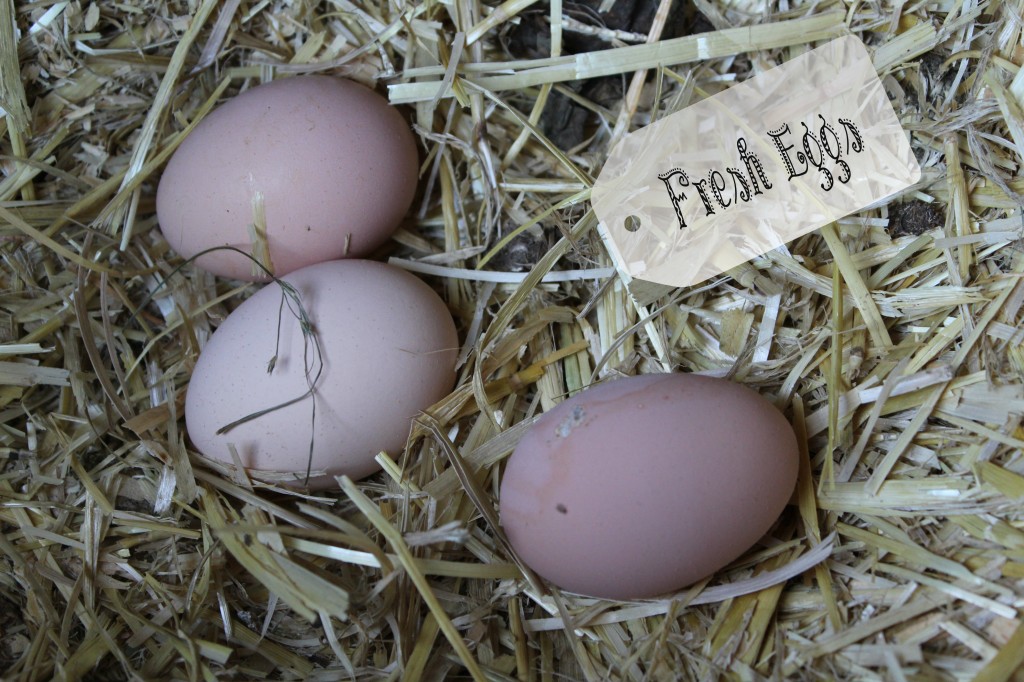
This is my highest number of eggs for one month since I started this backyard chicken adventure a little over a year ago.

As you know I have raised these girls since they were one day old.

Many poopy butts and days of changing dirty water and I still love having backyard chickens.

When I stick my head in the coop where the girls sleep and lay eggs, it smells like the barns on my grandparents farms. The warm straw and earthy wood smell reminds me of younger days and long ago memories when my grandparents were still here on earth.

It warms my heart!

The only pictures I have of my siblings and I playing with the chickens with their baby chicks and hunting eggs, are the ones from my memory.

They are good memories!

Funny how chickens and eggs can make you happy!

Until  you have to clean the coop! HA!

Becky
Other Post you may enjoy reading:
A Meal Fit for a Chicken

Mark Your Calendar a Chicken Laid an Egg


Related Posts Plugin for WordPress, Blogger...